CANicoll
-
Posts
1,927 -
Joined
-
Last visited
Content Type
Profiles
Forums
Events
Gallery
Everything posted by CANicoll
-
Earlier this week it was pretty bad here in Northern Va. The building I am in overlooks the Potomac River and some days I can't see the other side of the complex, forget seeing the river which is less than 1/2 mile away. Smells like a fire, too. Stay safe!!
-
 Rob, the Arado looks amazing and the work you did on the glazing really does show off well. Have not gone through the WIP but she looks fantastic.
 -
Neighborhood Kids Choice Award in modeling excellence.
CANicoll replied to Clunkmeister's topic in Archived GB's Sub Forum
Ernie, Have you announced the winners yet? Hope I didn't miss it - There are some amazing builds in the GB so I want to see which ones the judges picked. Thanks! Chris -
Beautiful work, Hubert!
-
thanks gents!!
-
Be careful shopping on eBay for Barracuda Studios resin parts!
CANicoll replied to ScottsGT's topic in Barracuda Studios
Thanks for the warning. I usually buy directly from Barracuda's website or SB, Hannants, etc. -
Looking great Tim!!
-
1/48 C-47 lookalike from Trumpeter
CANicoll replied to Martinnfb's topic in LSM 1/48 Work in Progress
Martin, you are definitely making it happen! Well done and can't wait to see the lights on. -
An Arado of another color
CANicoll replied to DRUMS01's topic in LSM 1/32 and Larger Aircraft Ready for Inspection
Very well done and the finish is terrific - love the camo pattern. I'm a huge fan of putting pilots/gunners into aircraft so win-win there for you and your son. Keep up the terrific work. Chris -
That is a proper disaster of a holiday. So sorry to hear Bill. UGH!!
-
Happy Happy Birthday, Martin! We'll be celebrating with Fireworks for you today - all over the country! 🍺
-
Hubert, in the profile shots: at the top photo, the corrected nose is on the left. In the second picture, it is on the right.
-
Where are you that its 107F? OUCH.
-
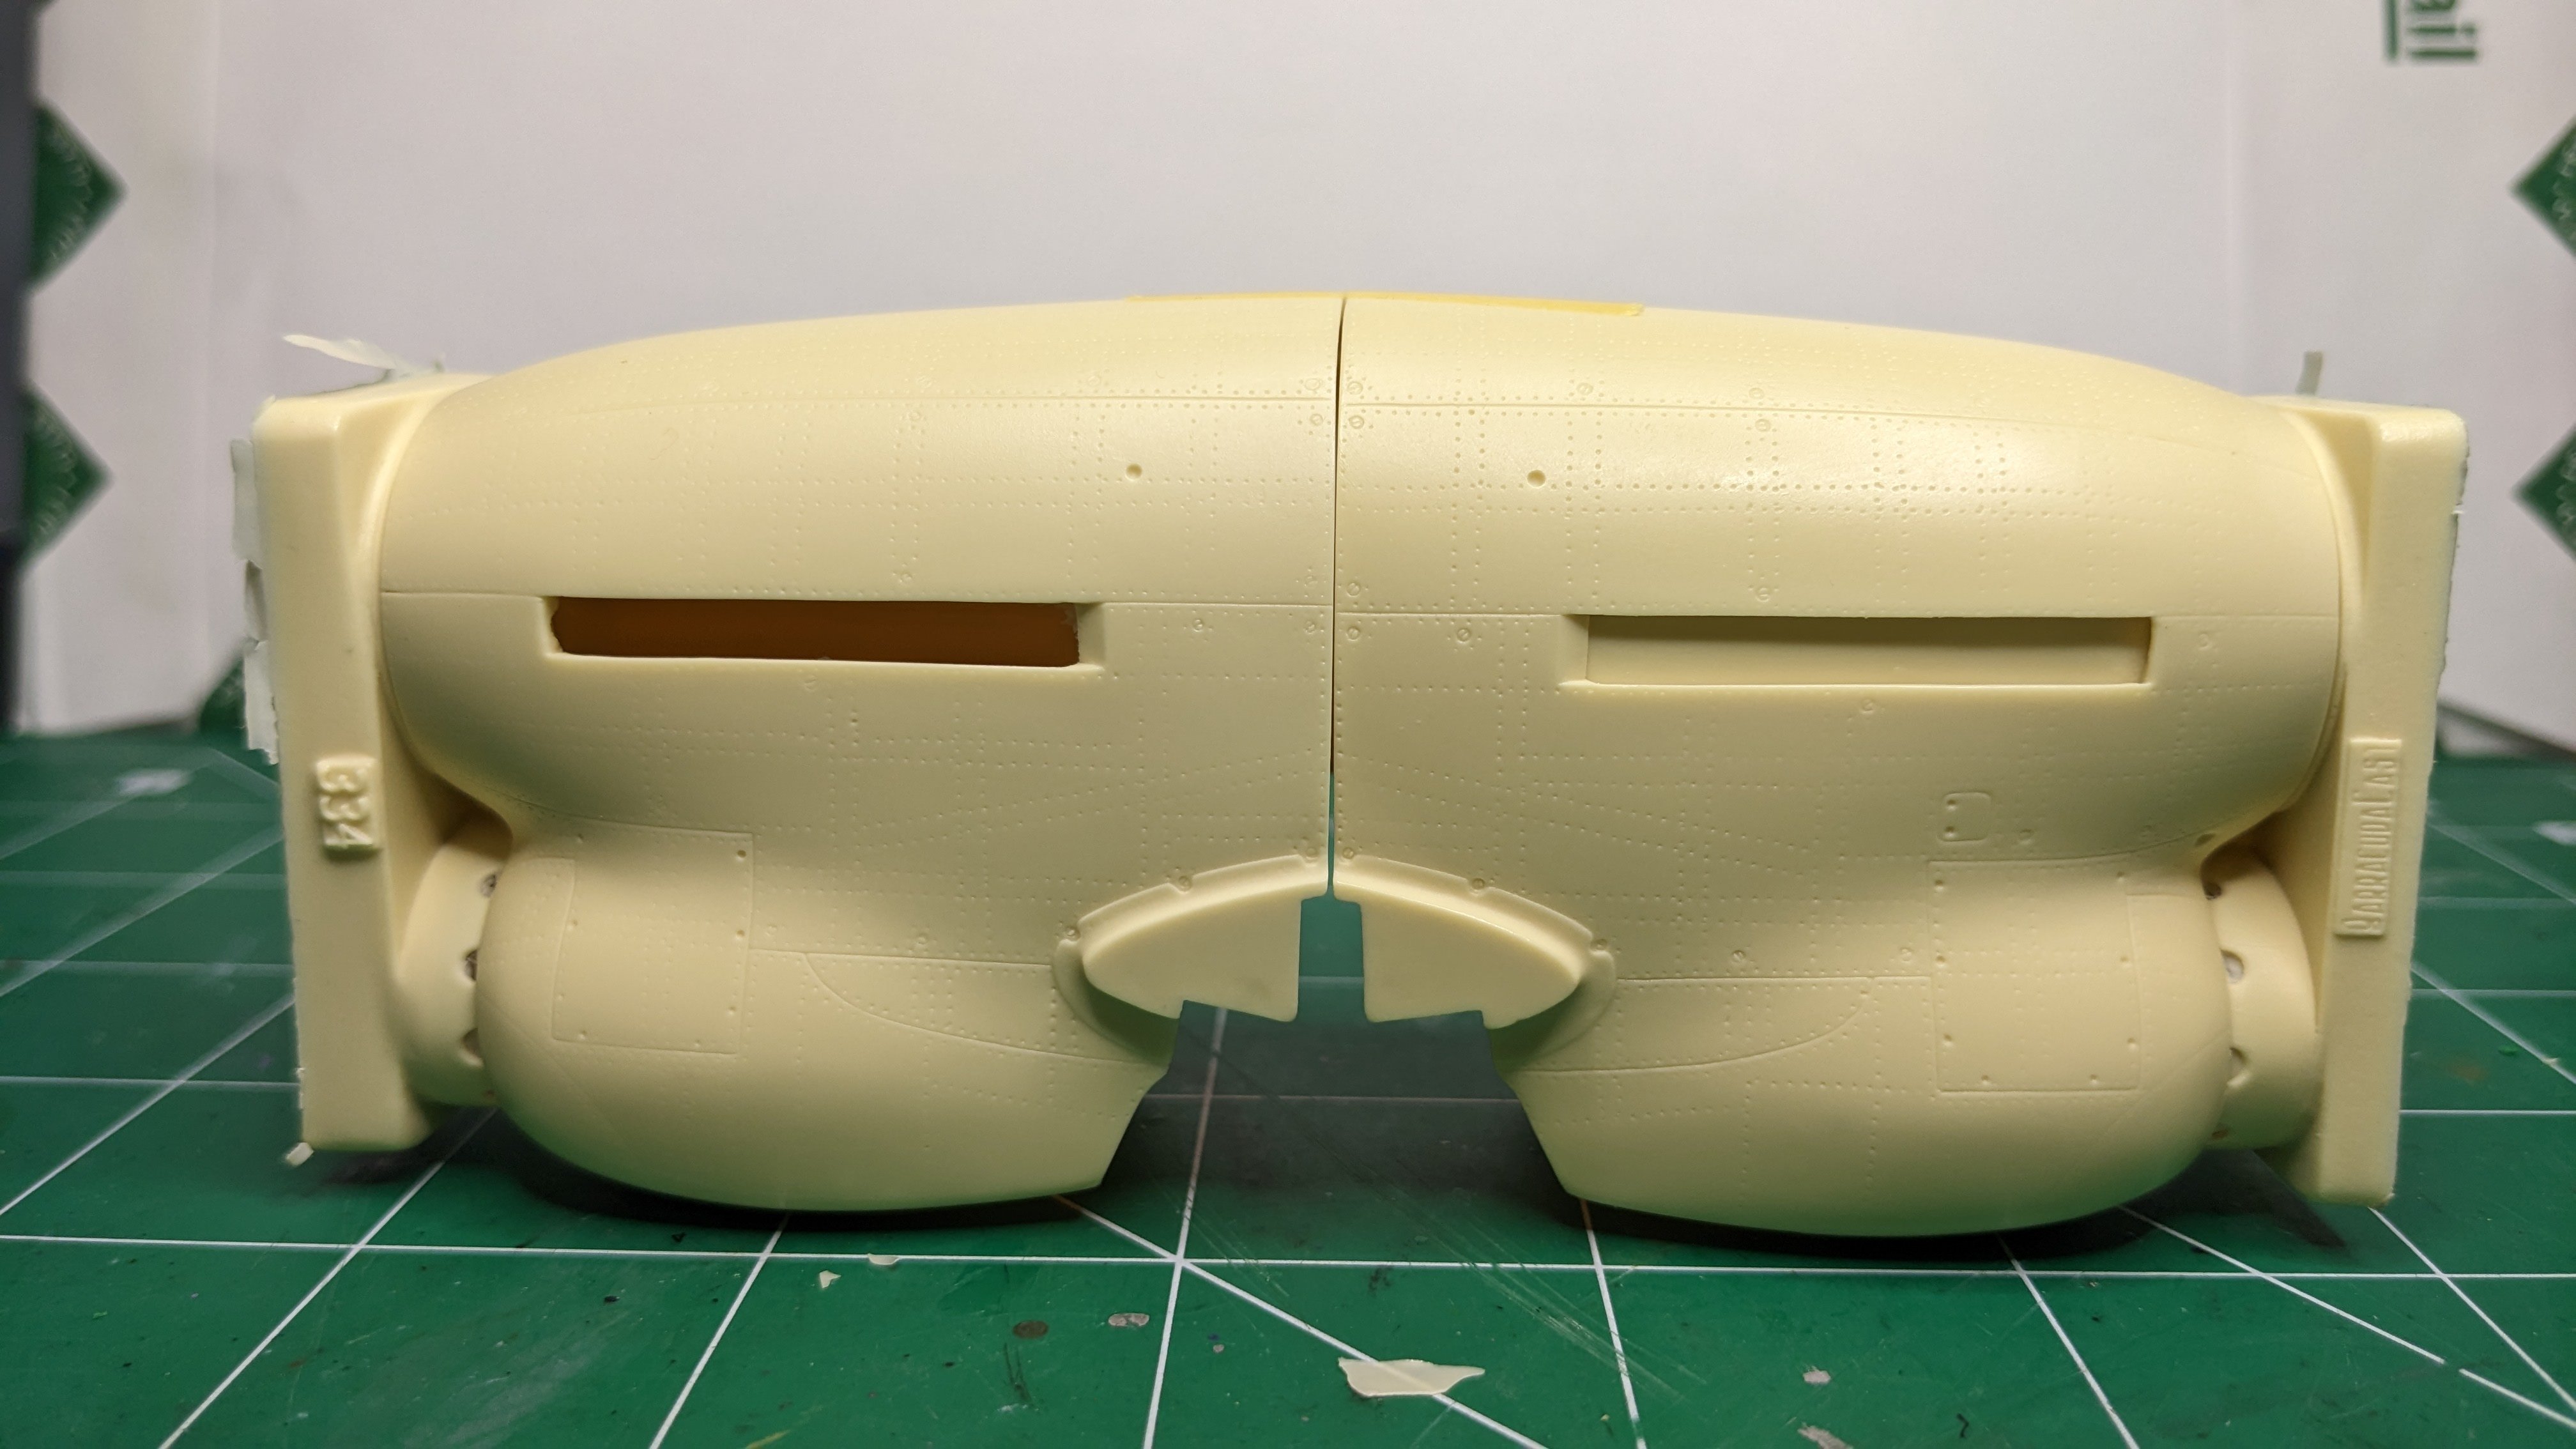
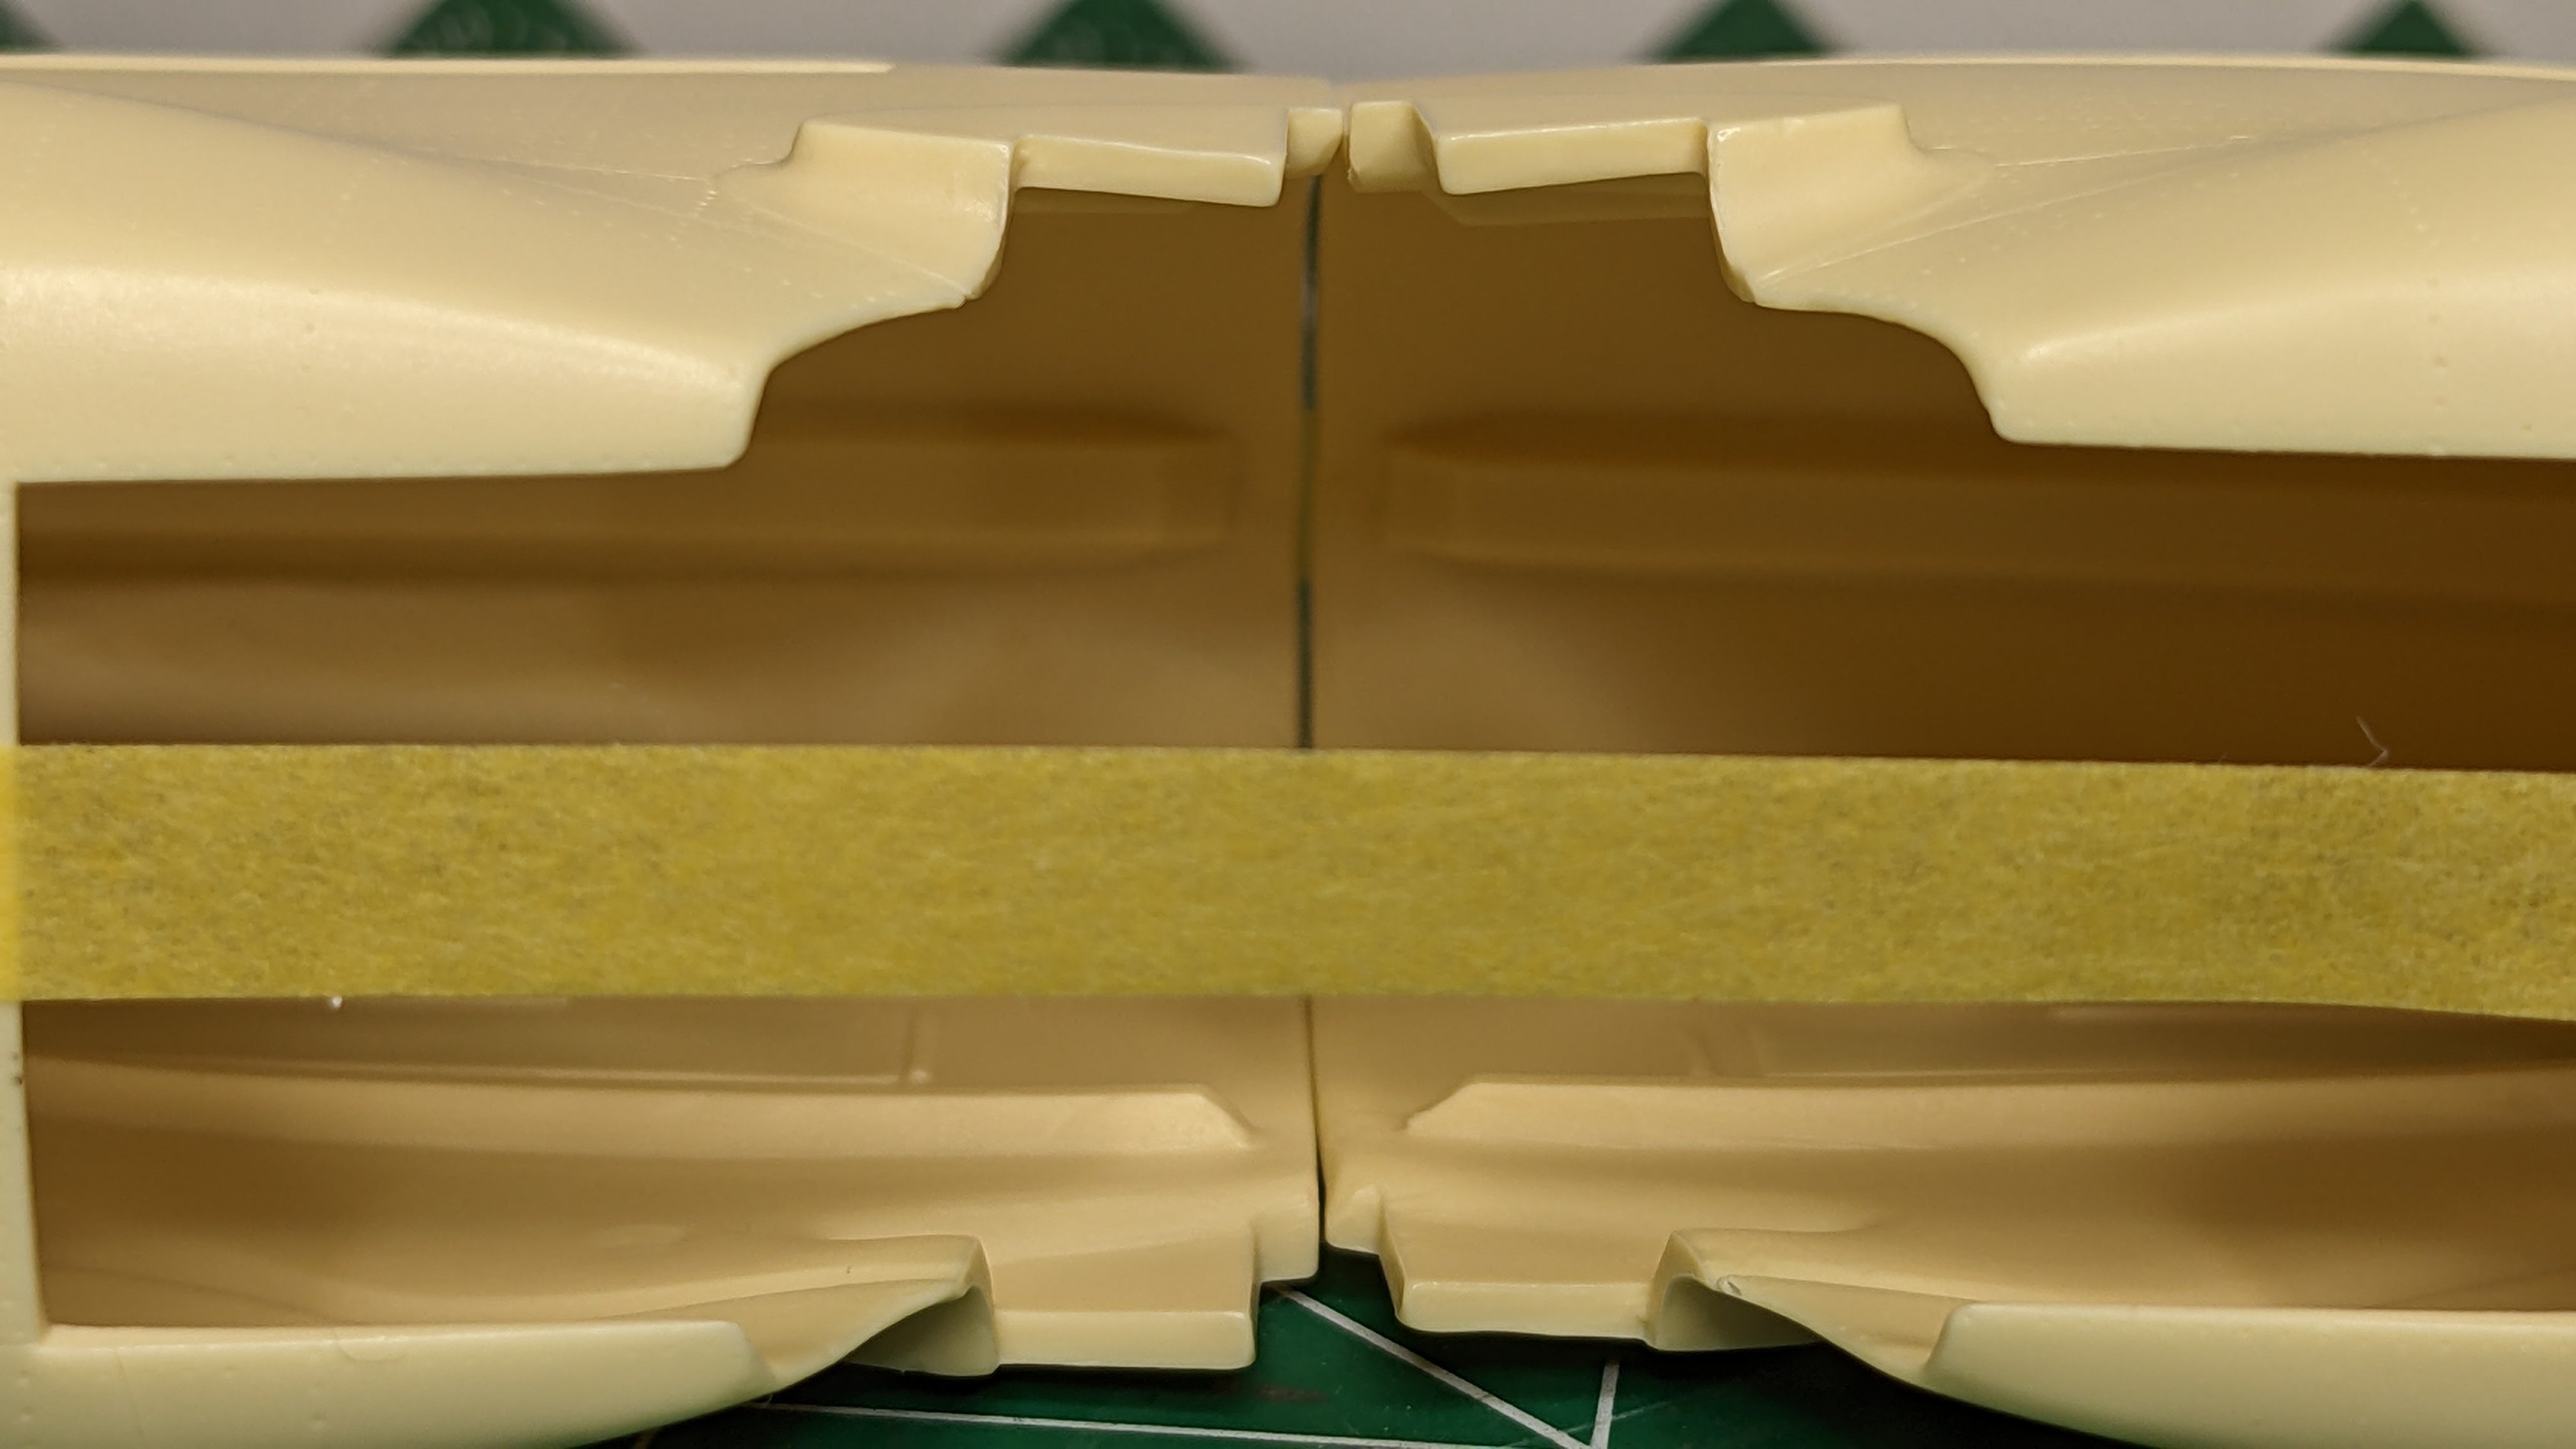
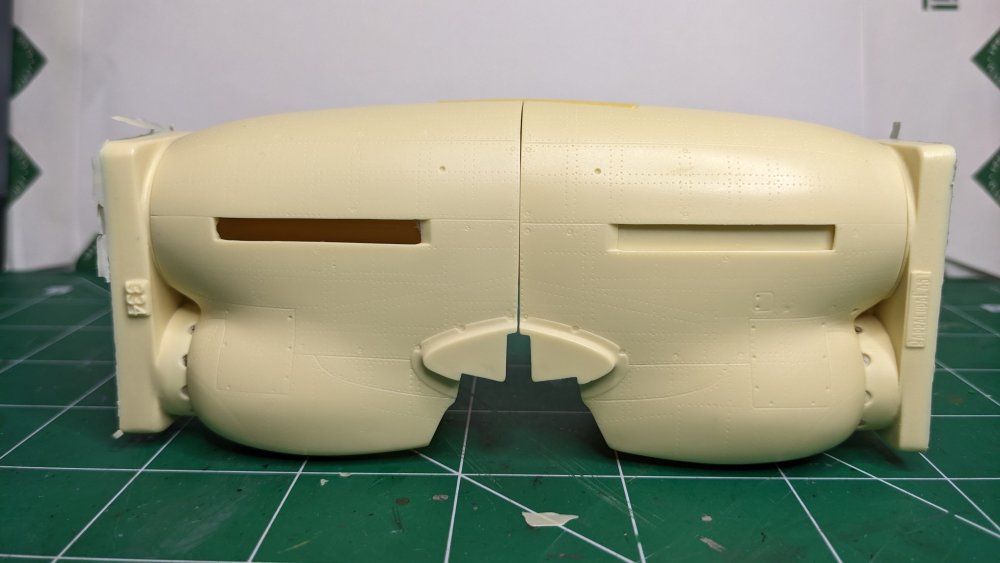
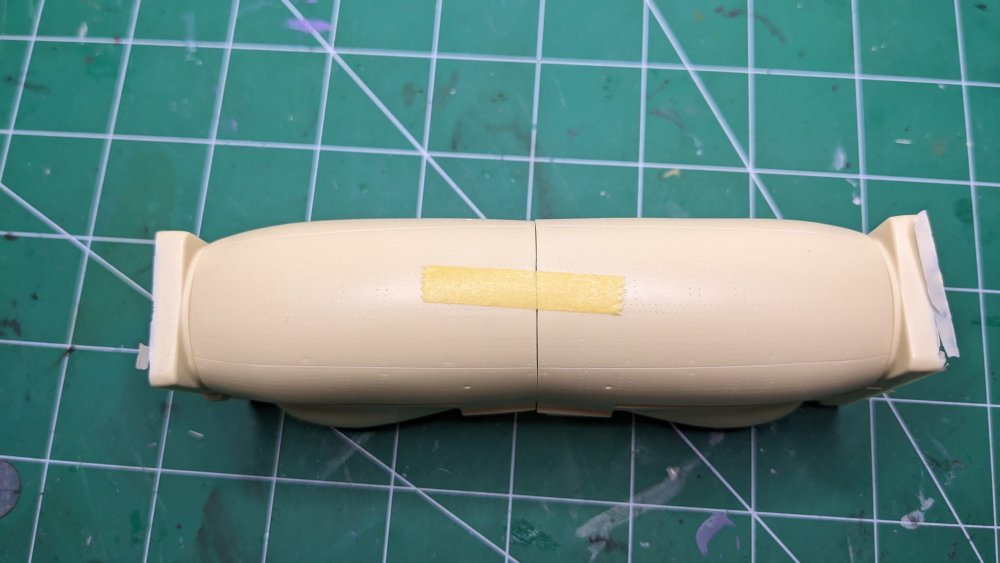
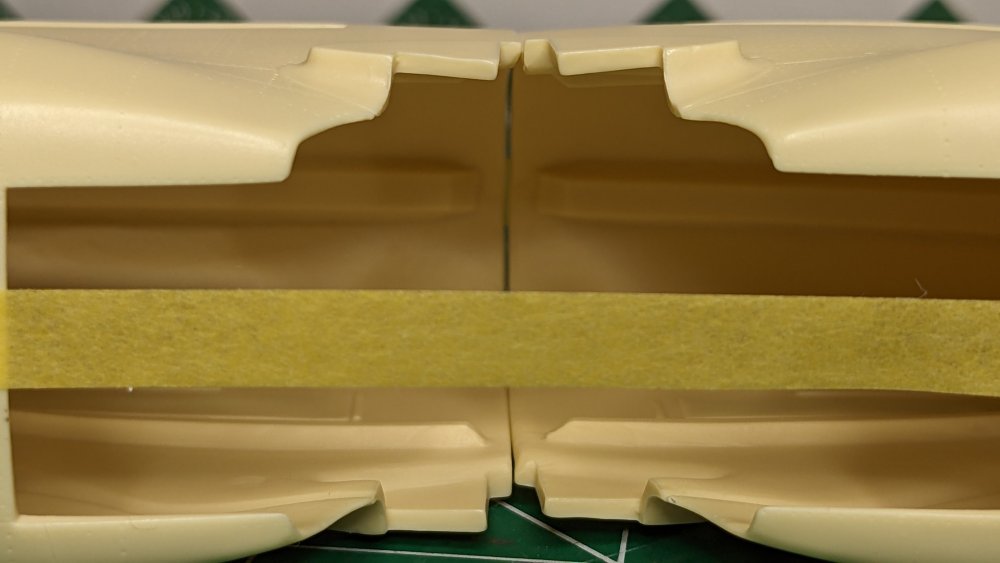
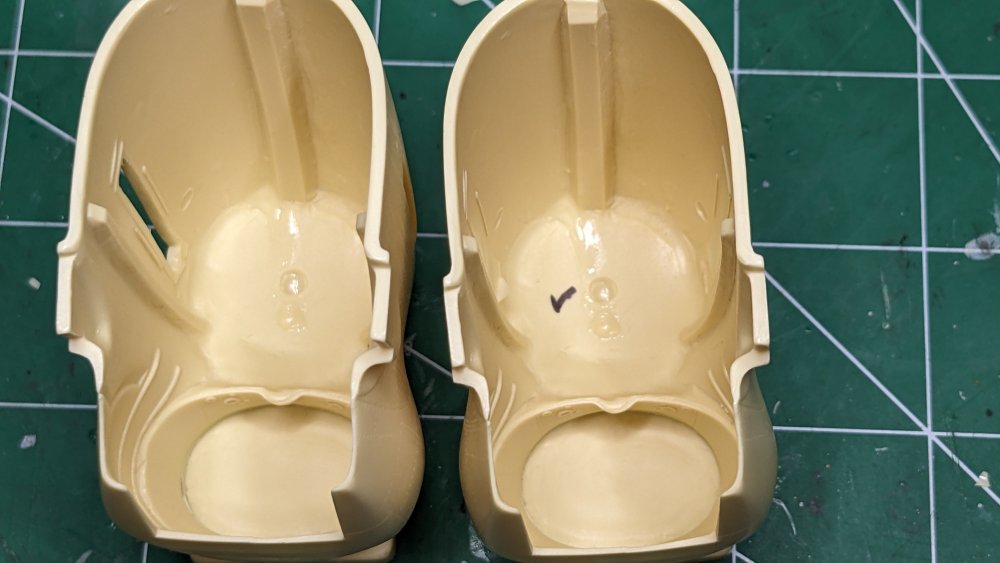
Carl, I just pulled both the original resin part I ordered, and the update which was sent after. Here are pictures of the two, side-by-side. One side: And the other: Everything seems to line up ok? Top view (sorry it's not directly over the top) From the inside: And the inside Honestly, I can't tell the difference between the original, and the 'updated' part. The new one has the check mark inside it. But to my eyes I cannot tell the difference between the two. From the top two pictures, I don't see a height difference between the two. This is not a lot of help, but interesting to hear your second nose fit perfectly. I wonder if I will run into the same problem, but with both of mine having the lip? Chris

-
Nice work, Bill, and thanks for the pics and notes. Have not built a ZM kit yet, but have a couple in the stash. Nice to see the fit is good. Enjoy the cruise!
-
31CA868E-4AE7-40CD-BBDF-DE79BA8C7355.jpeg
CANicoll commented on Clunkmeister's gallery image in Gallery of COMPLETED Aircraft models
 One of the most iconic aircraft and kits ever made! Beautifully done, Ernie.
 -
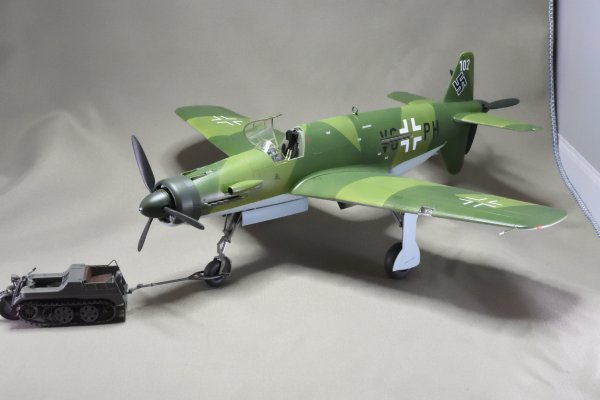
From the album: 1:48 Tamiya Do-335A
-
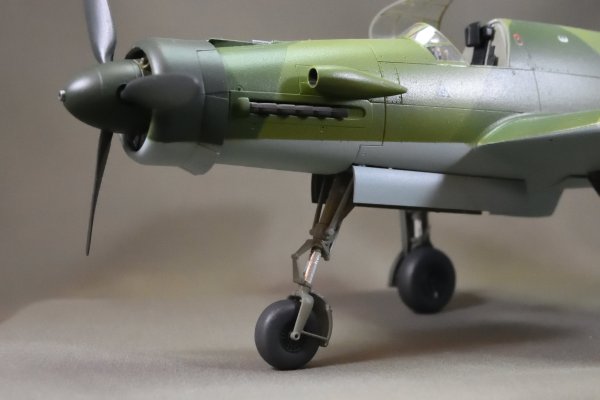
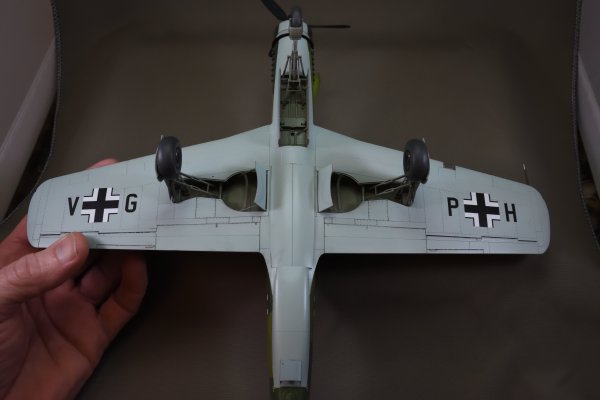
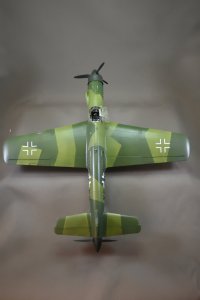
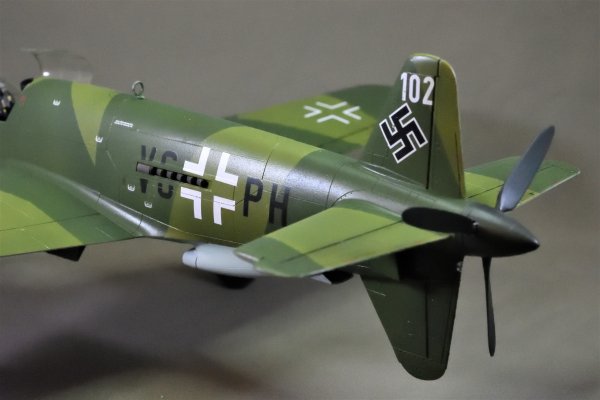
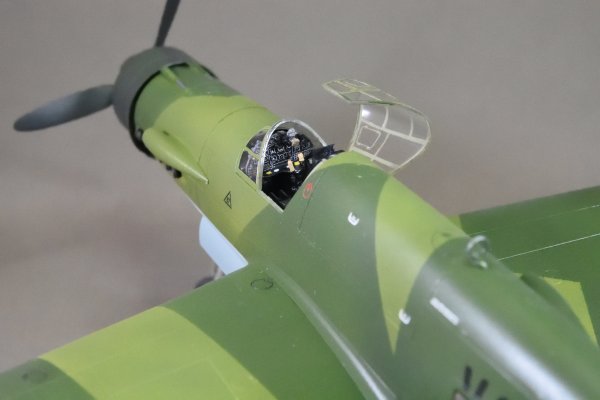
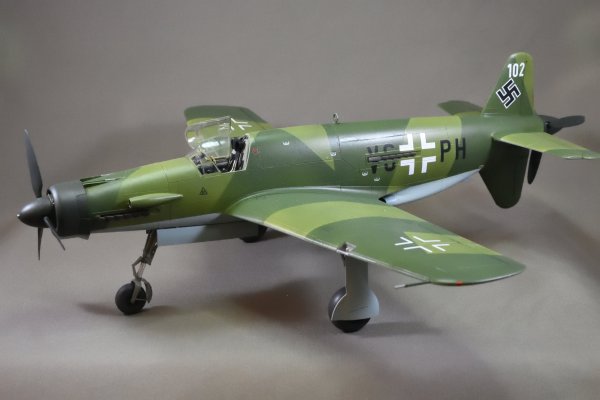
1:48 Tamiya Do-335A
Images added to a gallery album owned by CANicoll in Gallery of COMPLETED Aircraft models
-
-

From the album: 1:48 Tamiya Do-335A
-
From the album: 1:48 Tamiya Do-335A
-
From the album: 1:48 Tamiya Do-335A
-
From the album: 1:48 Tamiya Do-335A
-
From the album: 1:48 Tamiya Do-335A
-
From the album: 1:48 Tamiya Do-335A
-
From the album: 1:48 Tamiya Do-335A