JeroenPeters
-
Posts
4,904 -
Joined
-
Last visited
Content Type
Profiles
Forums
Events
Gallery
Everything posted by JeroenPeters
-

1/1 Revi16 restoration
JeroenPeters replied to JeroenPeters's topic in LSM 1/35 and Larger Work In Progress
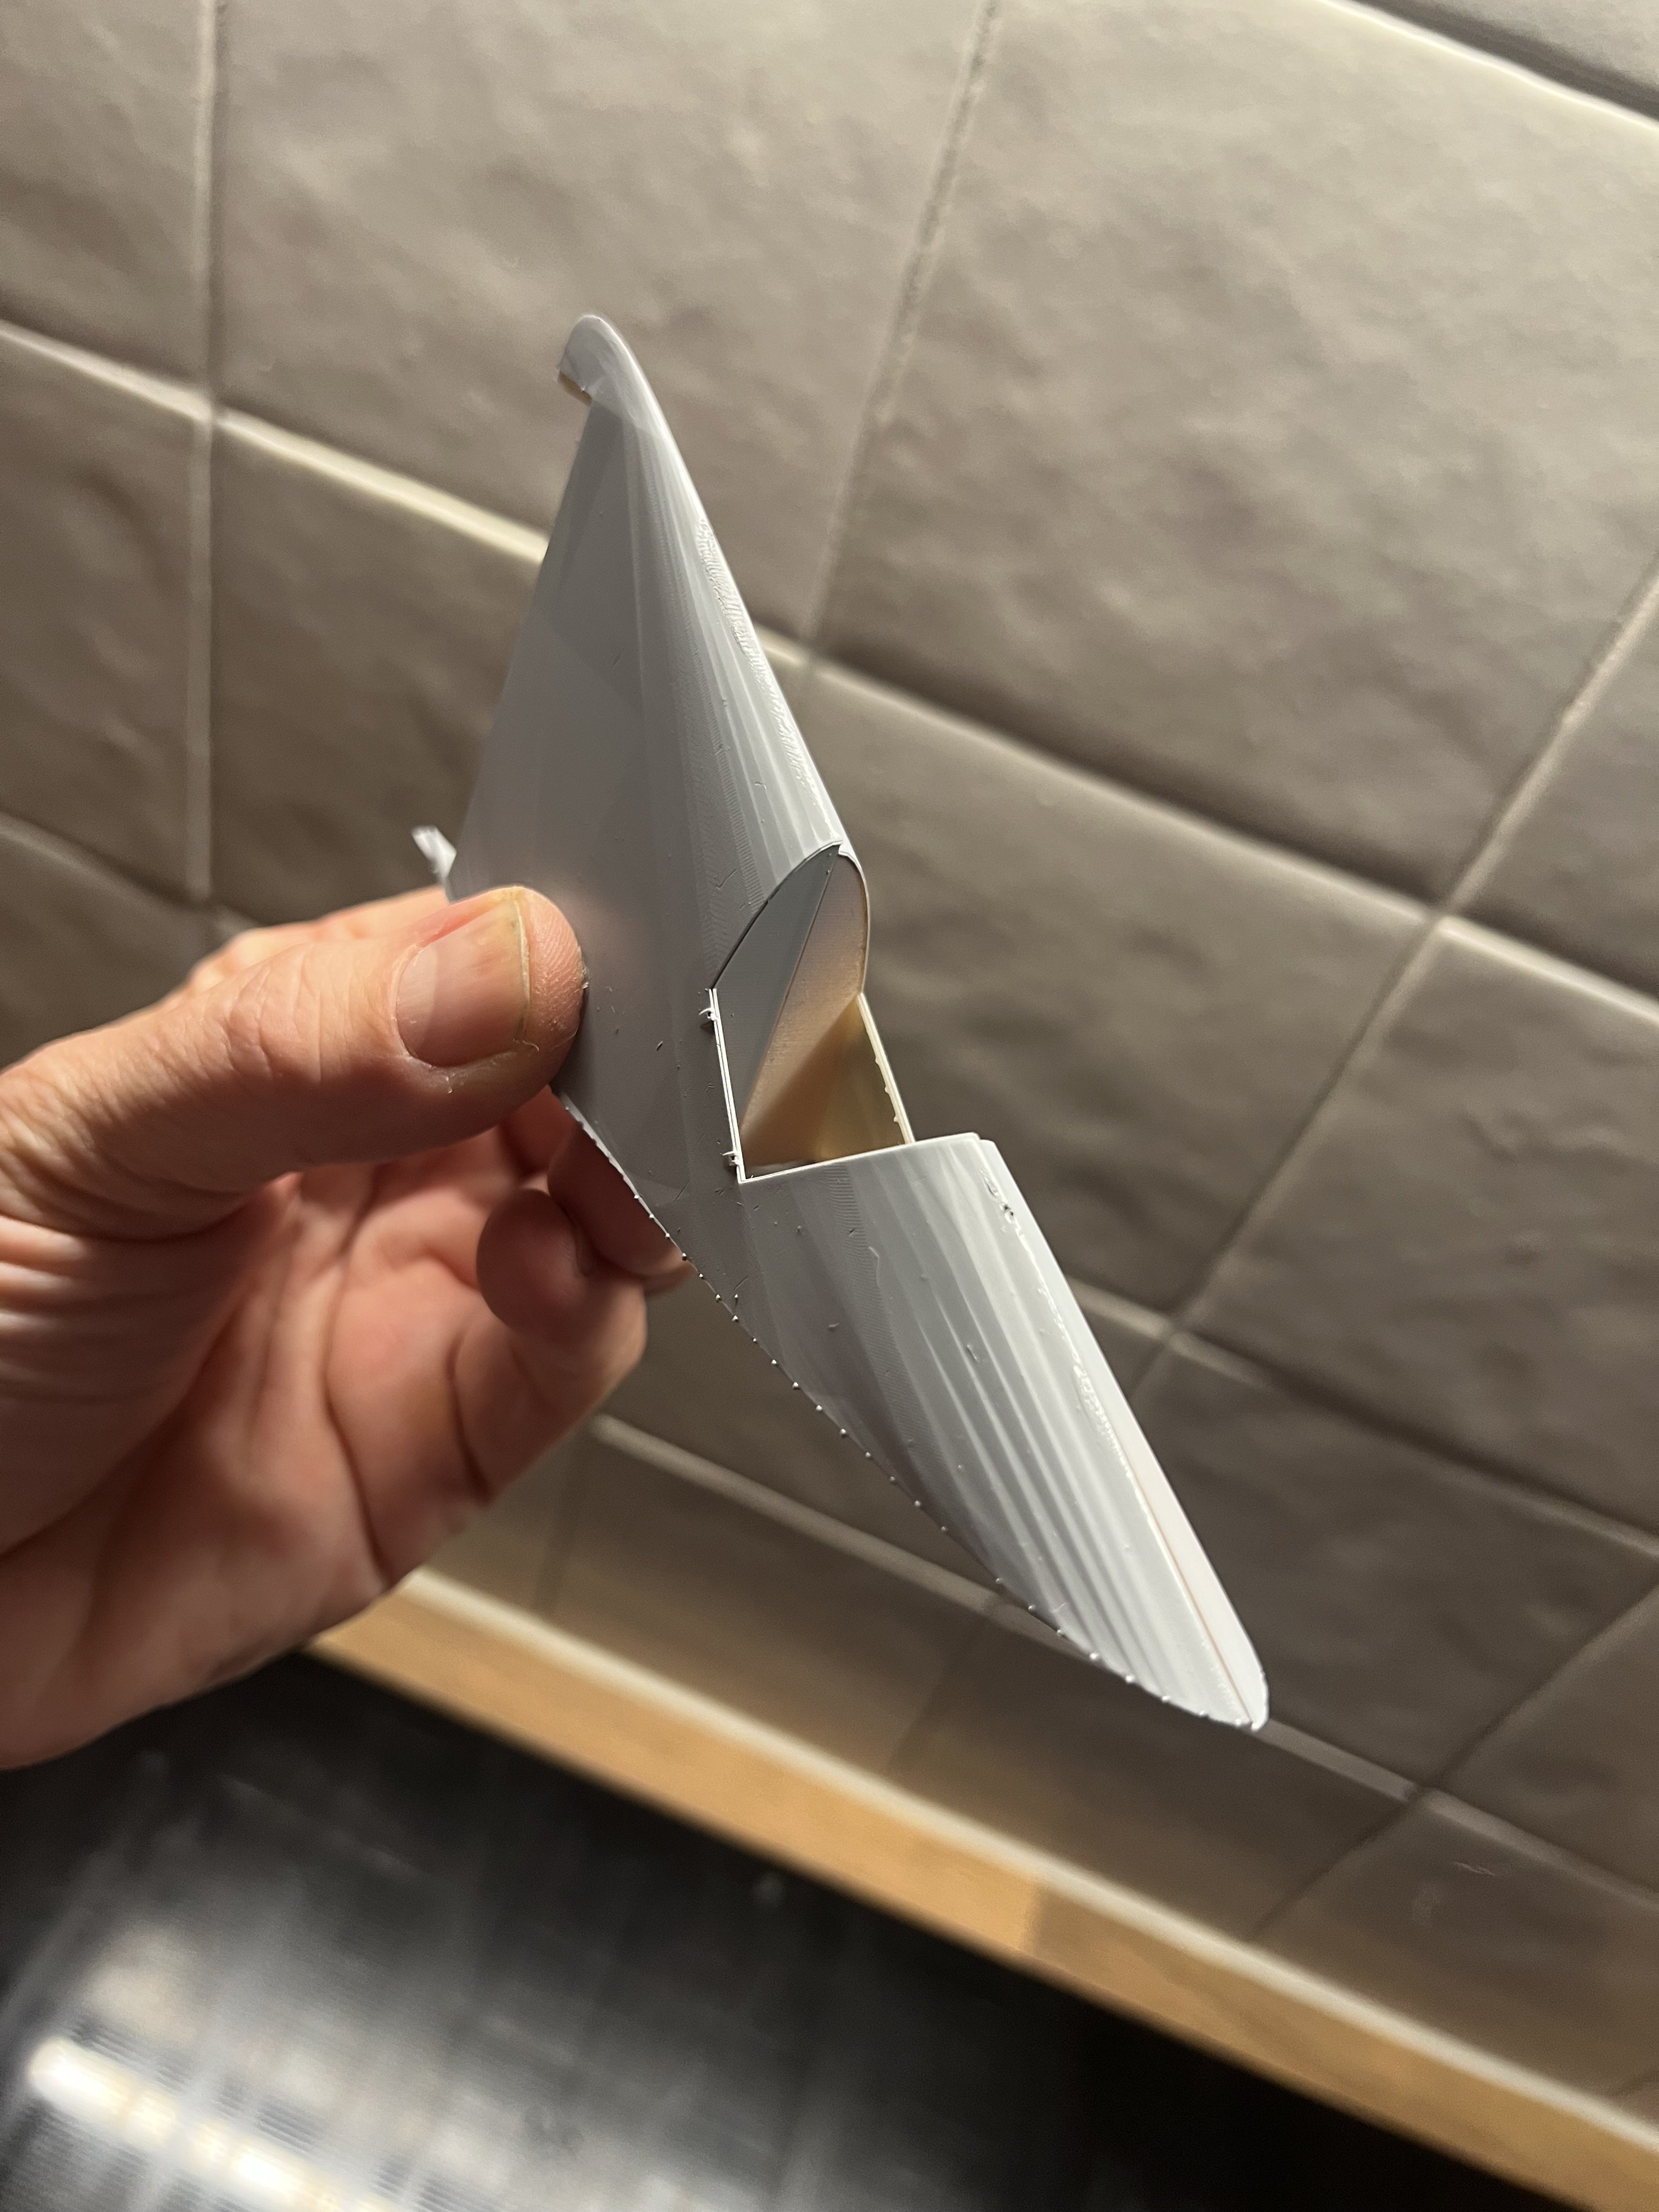
Figured life is too short for polishing and had the clear glass lasered from acrylic transparent plastic. Only need to sand the edge in an angle.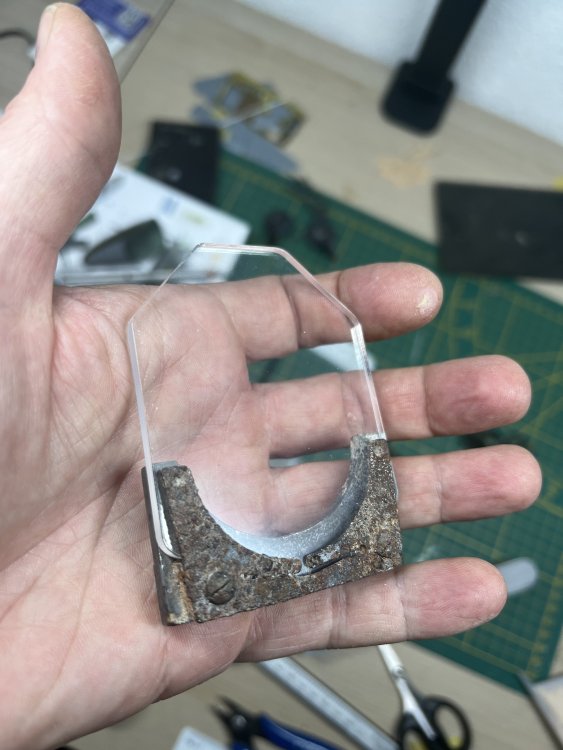


-
1/32 Lippisch P.13a / 3d printed
JeroenPeters replied to JeroenPeters's topic in LSM 1/35 and Larger Work In Progress
Final bits and bobs
-
1/1 Revi16 restoration
JeroenPeters replied to JeroenPeters's topic in LSM 1/35 and Larger Work In Progress
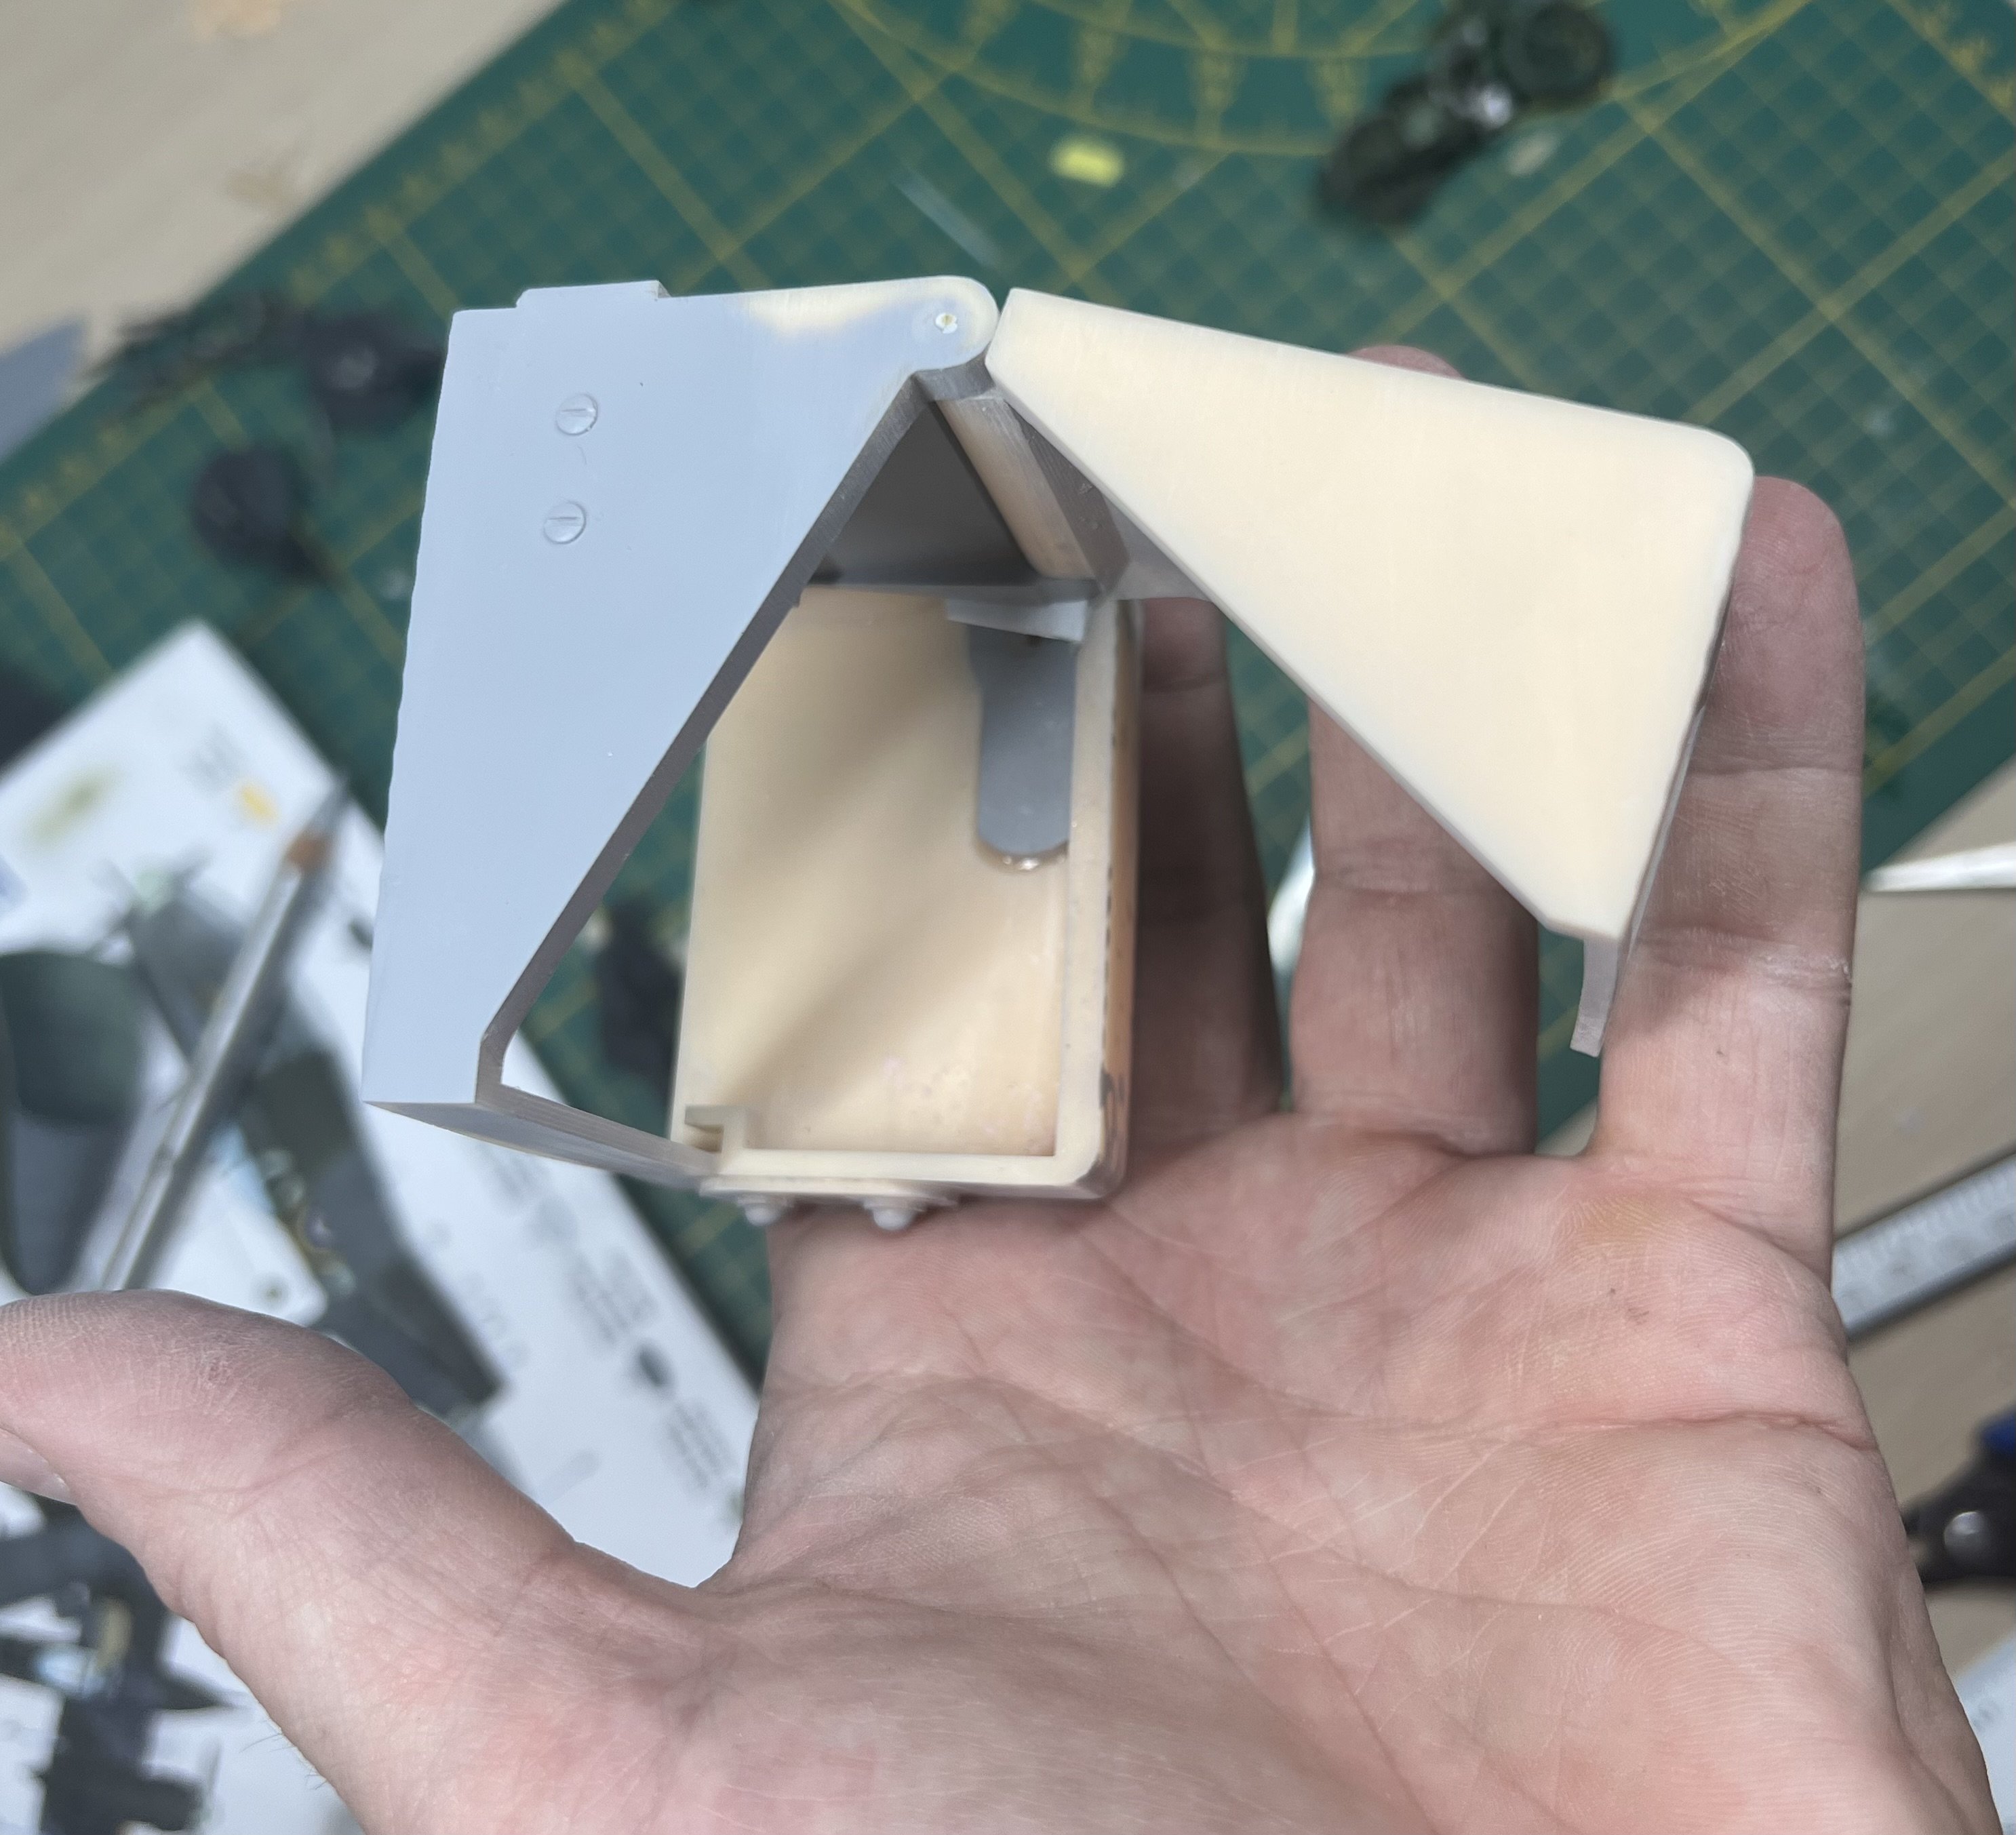
Assembling and sanding the box. Made a hinge from copper rod.

-
1/1 Revi16 restoration
JeroenPeters replied to JeroenPeters's topic in LSM 1/35 and Larger Work In Progress
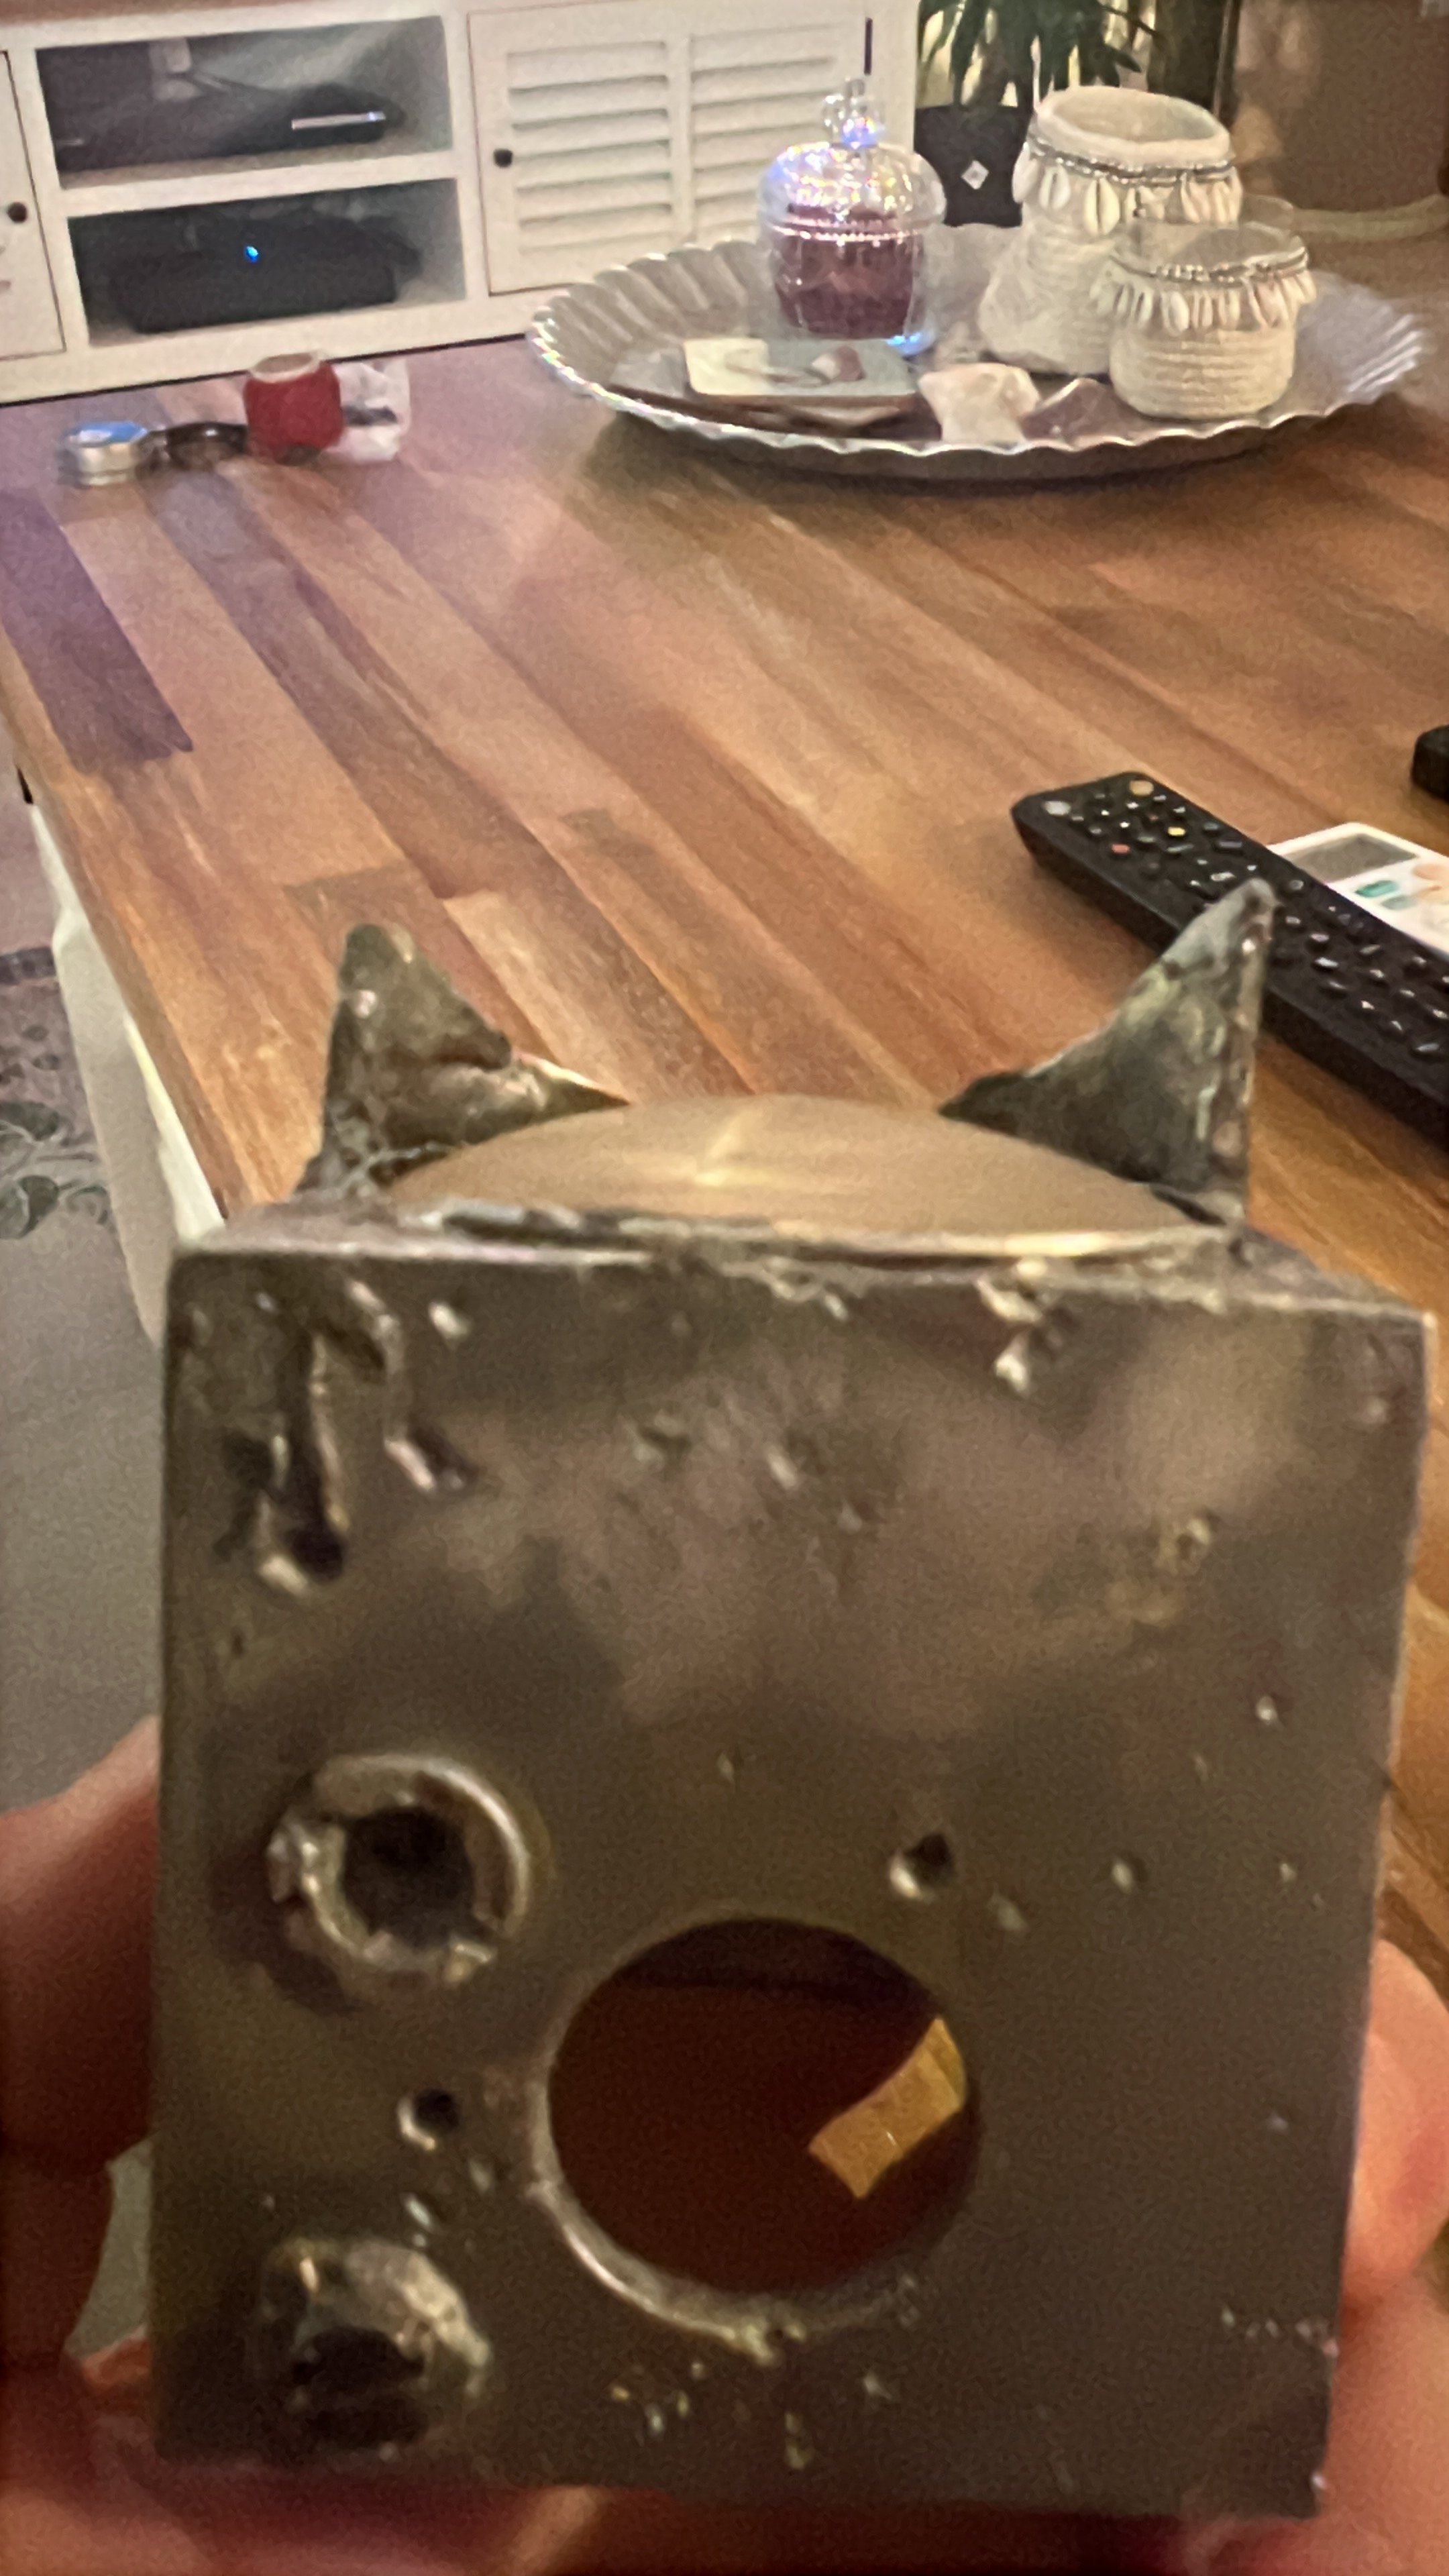
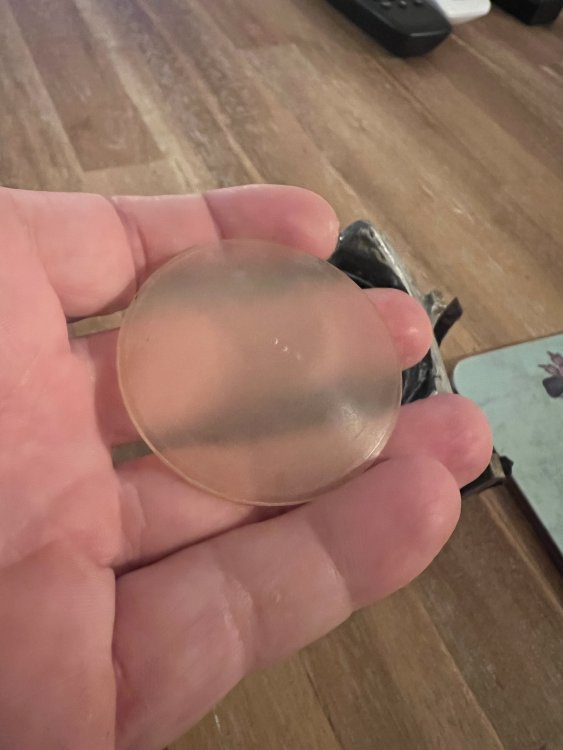
Printed the transparent glass too. Now for a lot of polishing and after care to get it properly transparent IMG_2800.mov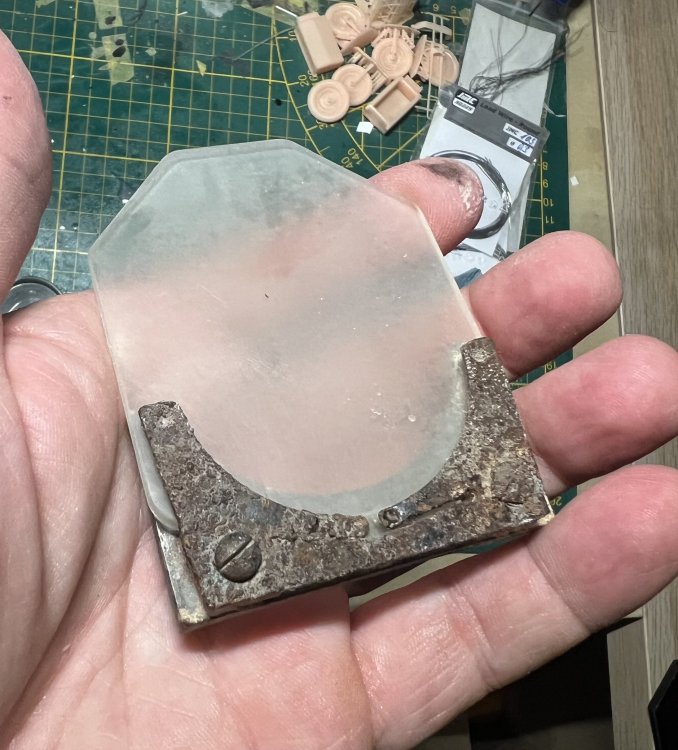
-
1/1 Revi16 restoration
JeroenPeters replied to JeroenPeters's topic in LSM 1/35 and Larger Work In Progress
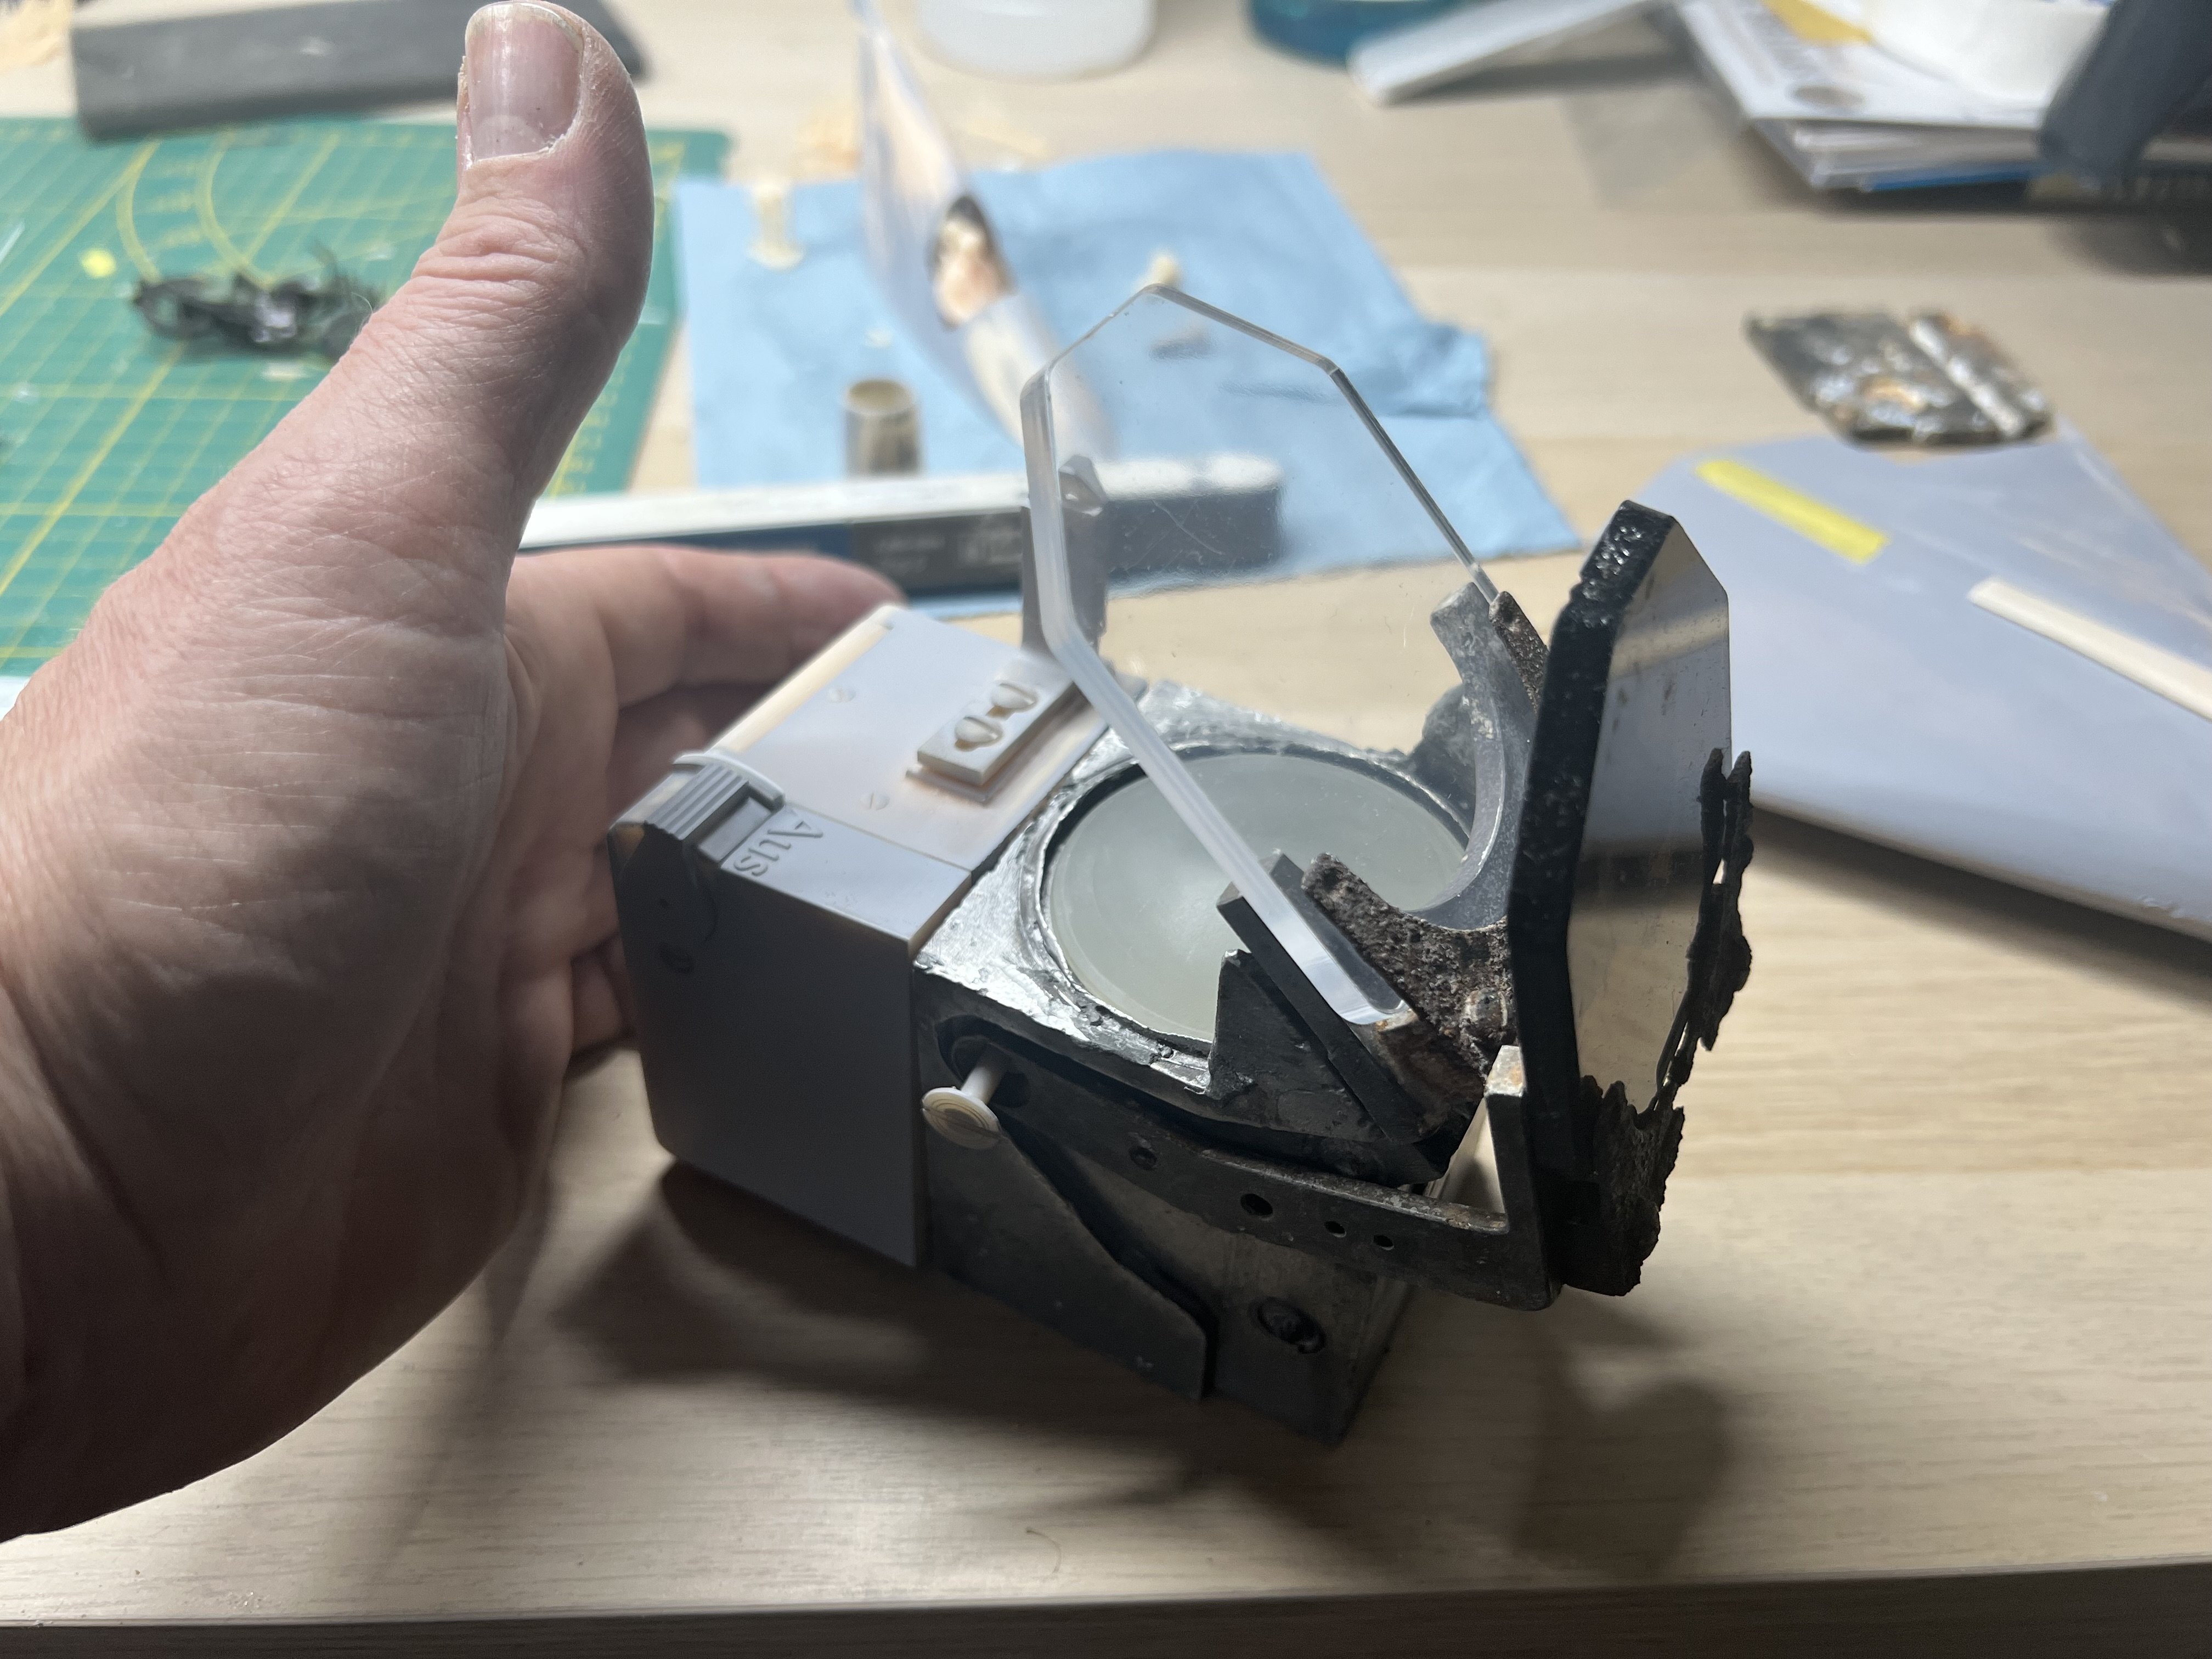
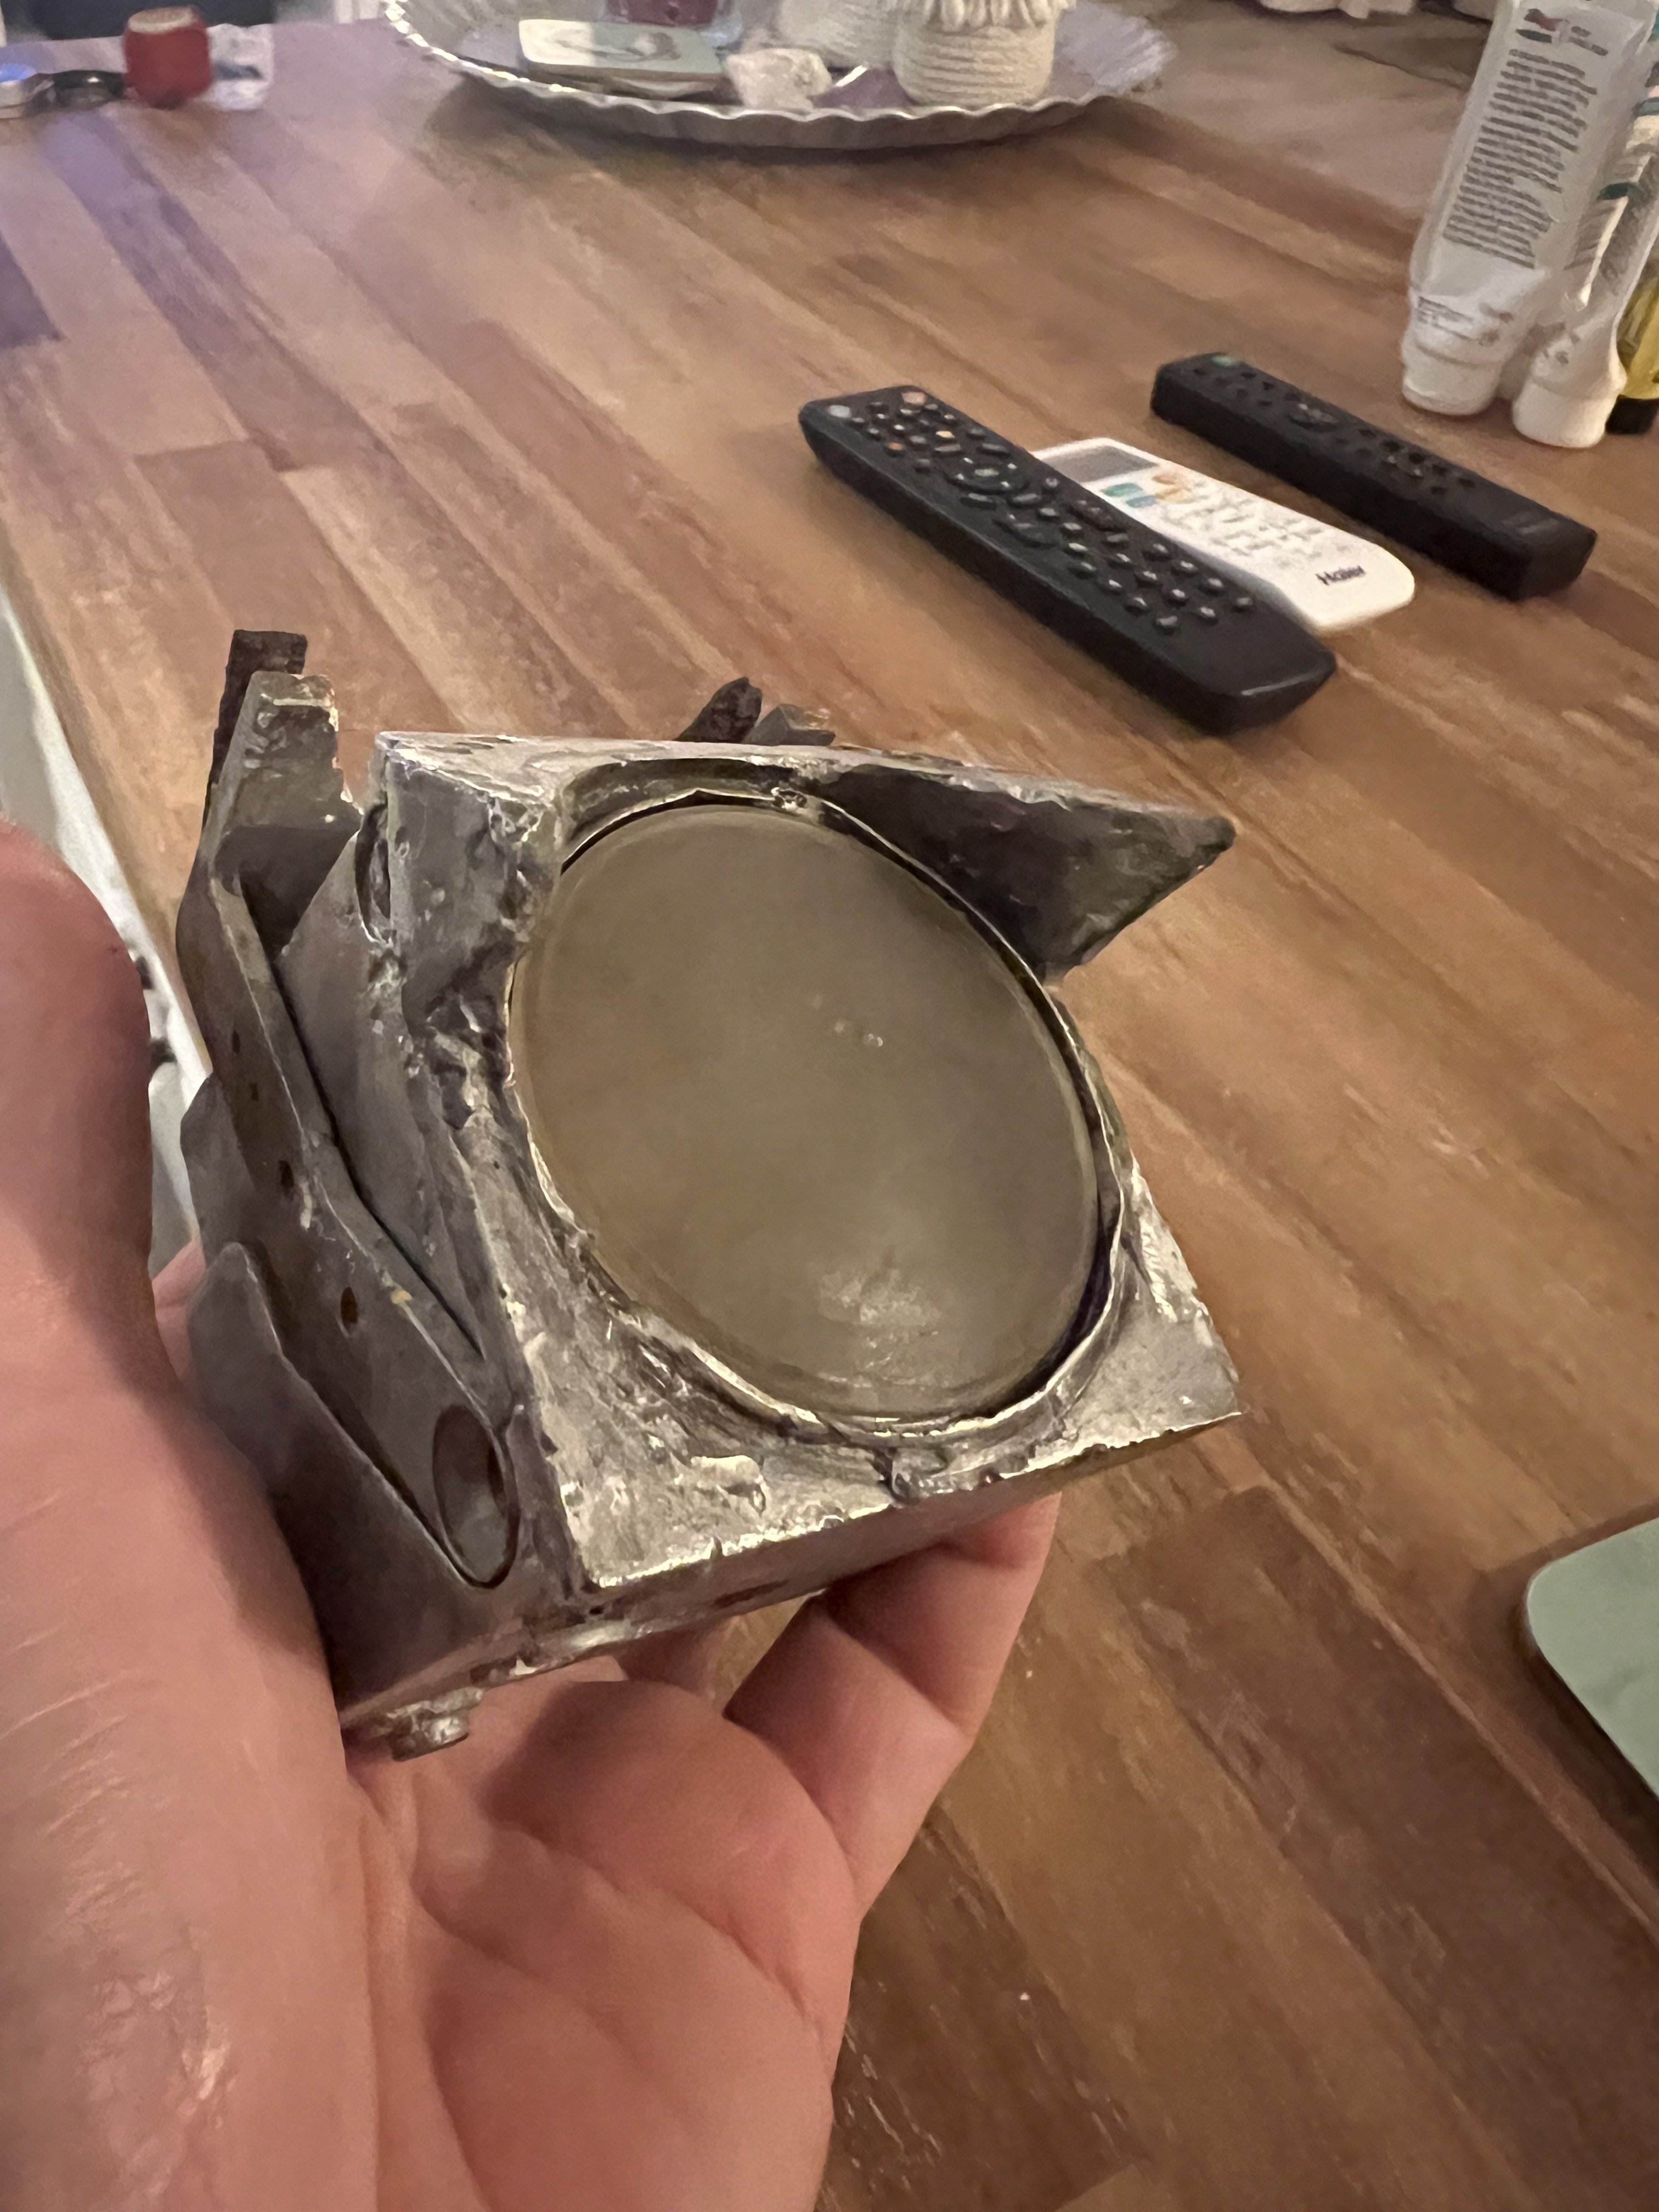
I have some technical drawings and drew a 3d model of the top lense. Printed it in transparent resin and it fits like a glove. Now to polish it and treat it with a heat gun to make it crystal clear.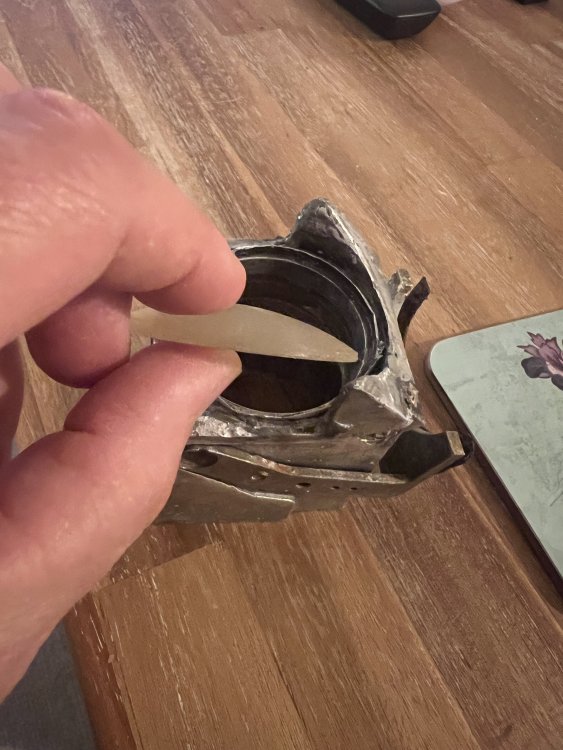


-
1/32 Lippisch P.13a / 3d printed
JeroenPeters replied to JeroenPeters's topic in LSM 1/35 and Larger Work In Progress
Things are getting smooth!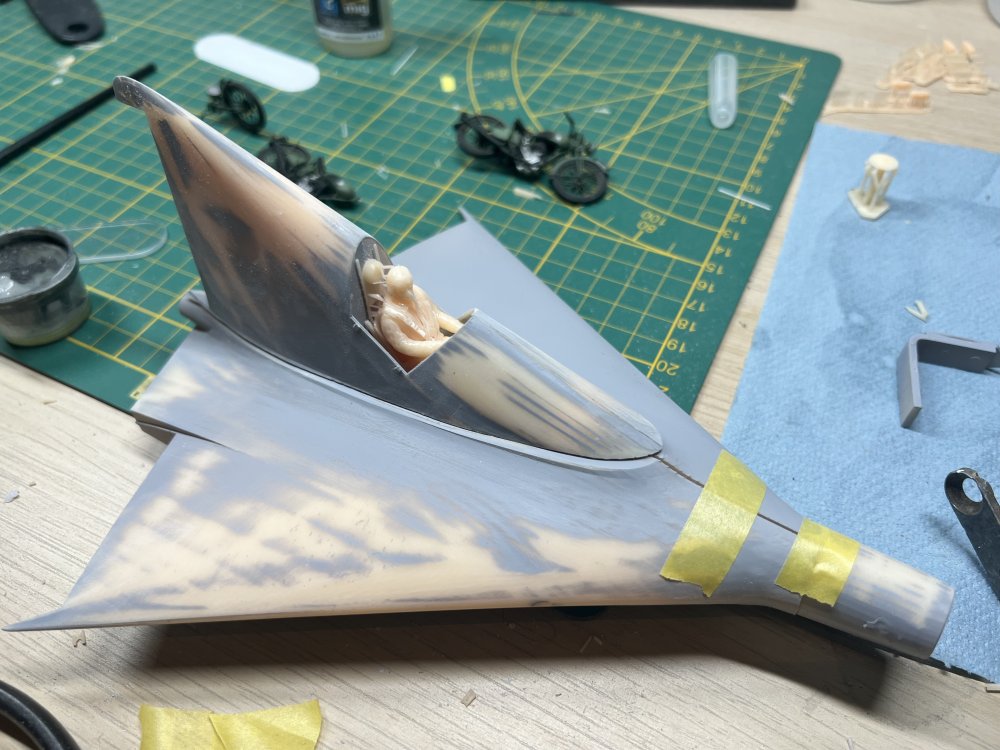
-
1/1 Revi16 restoration
JeroenPeters replied to JeroenPeters's topic in LSM 1/35 and Larger Work In Progress
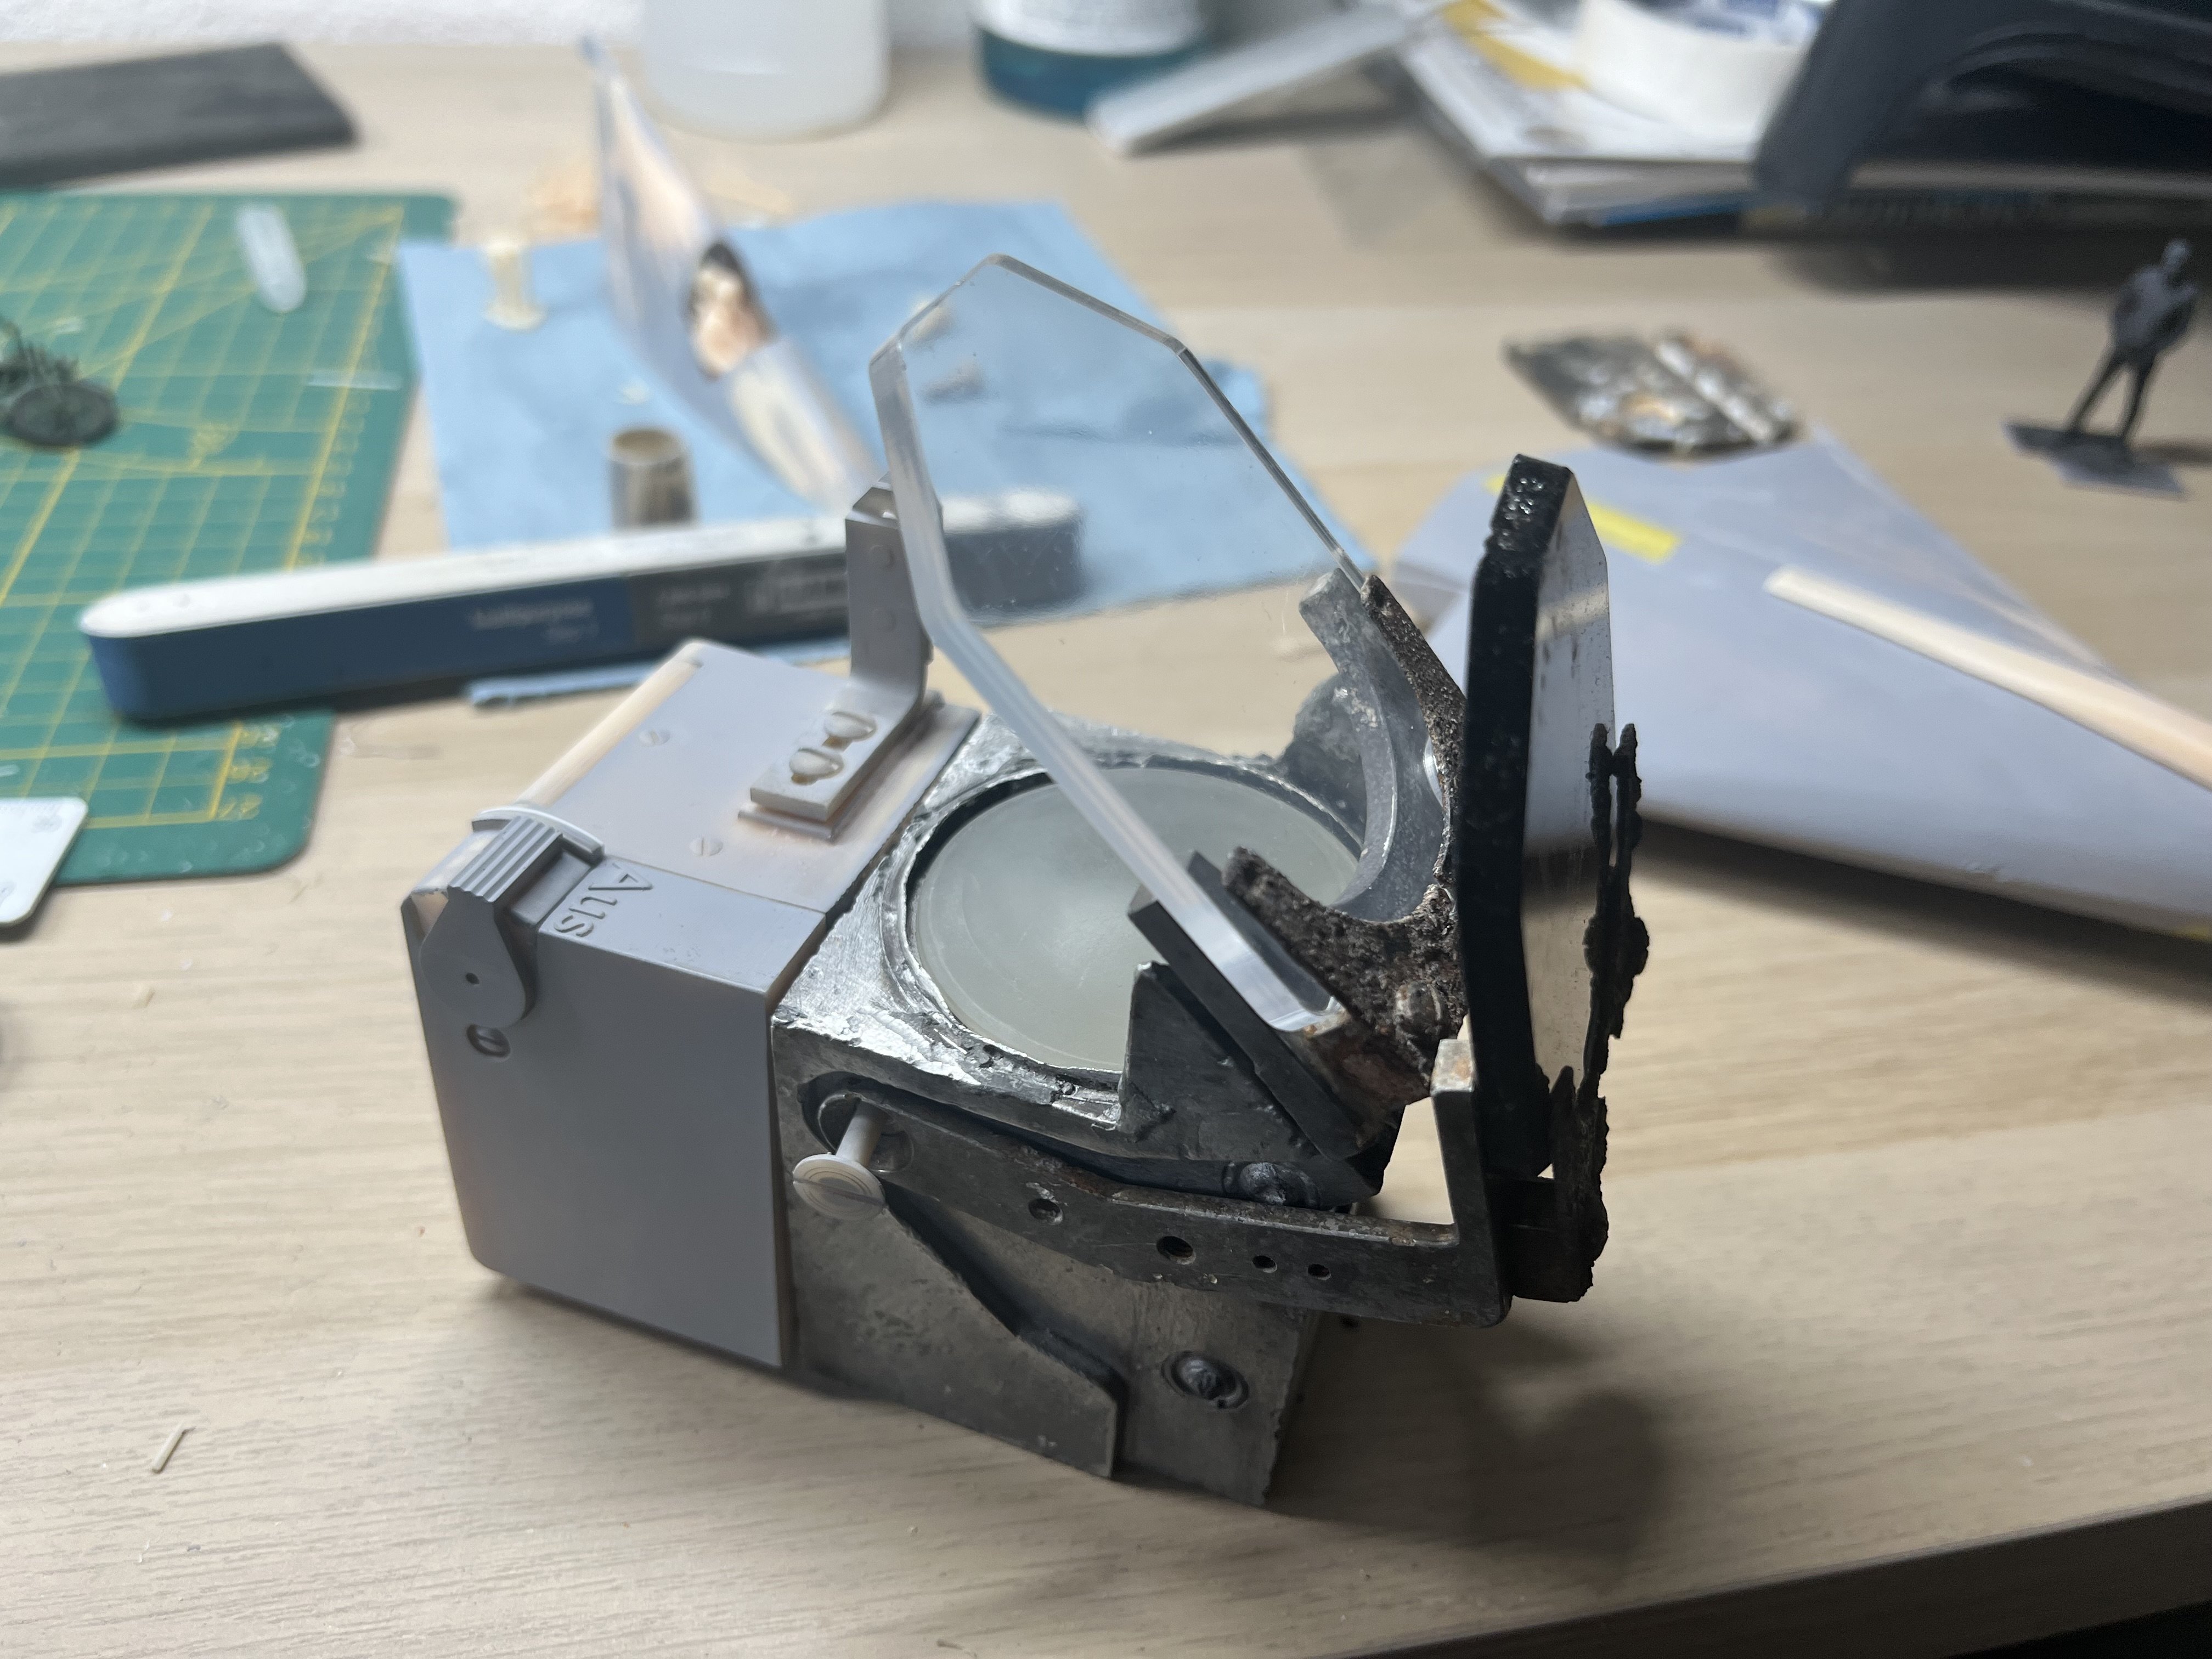
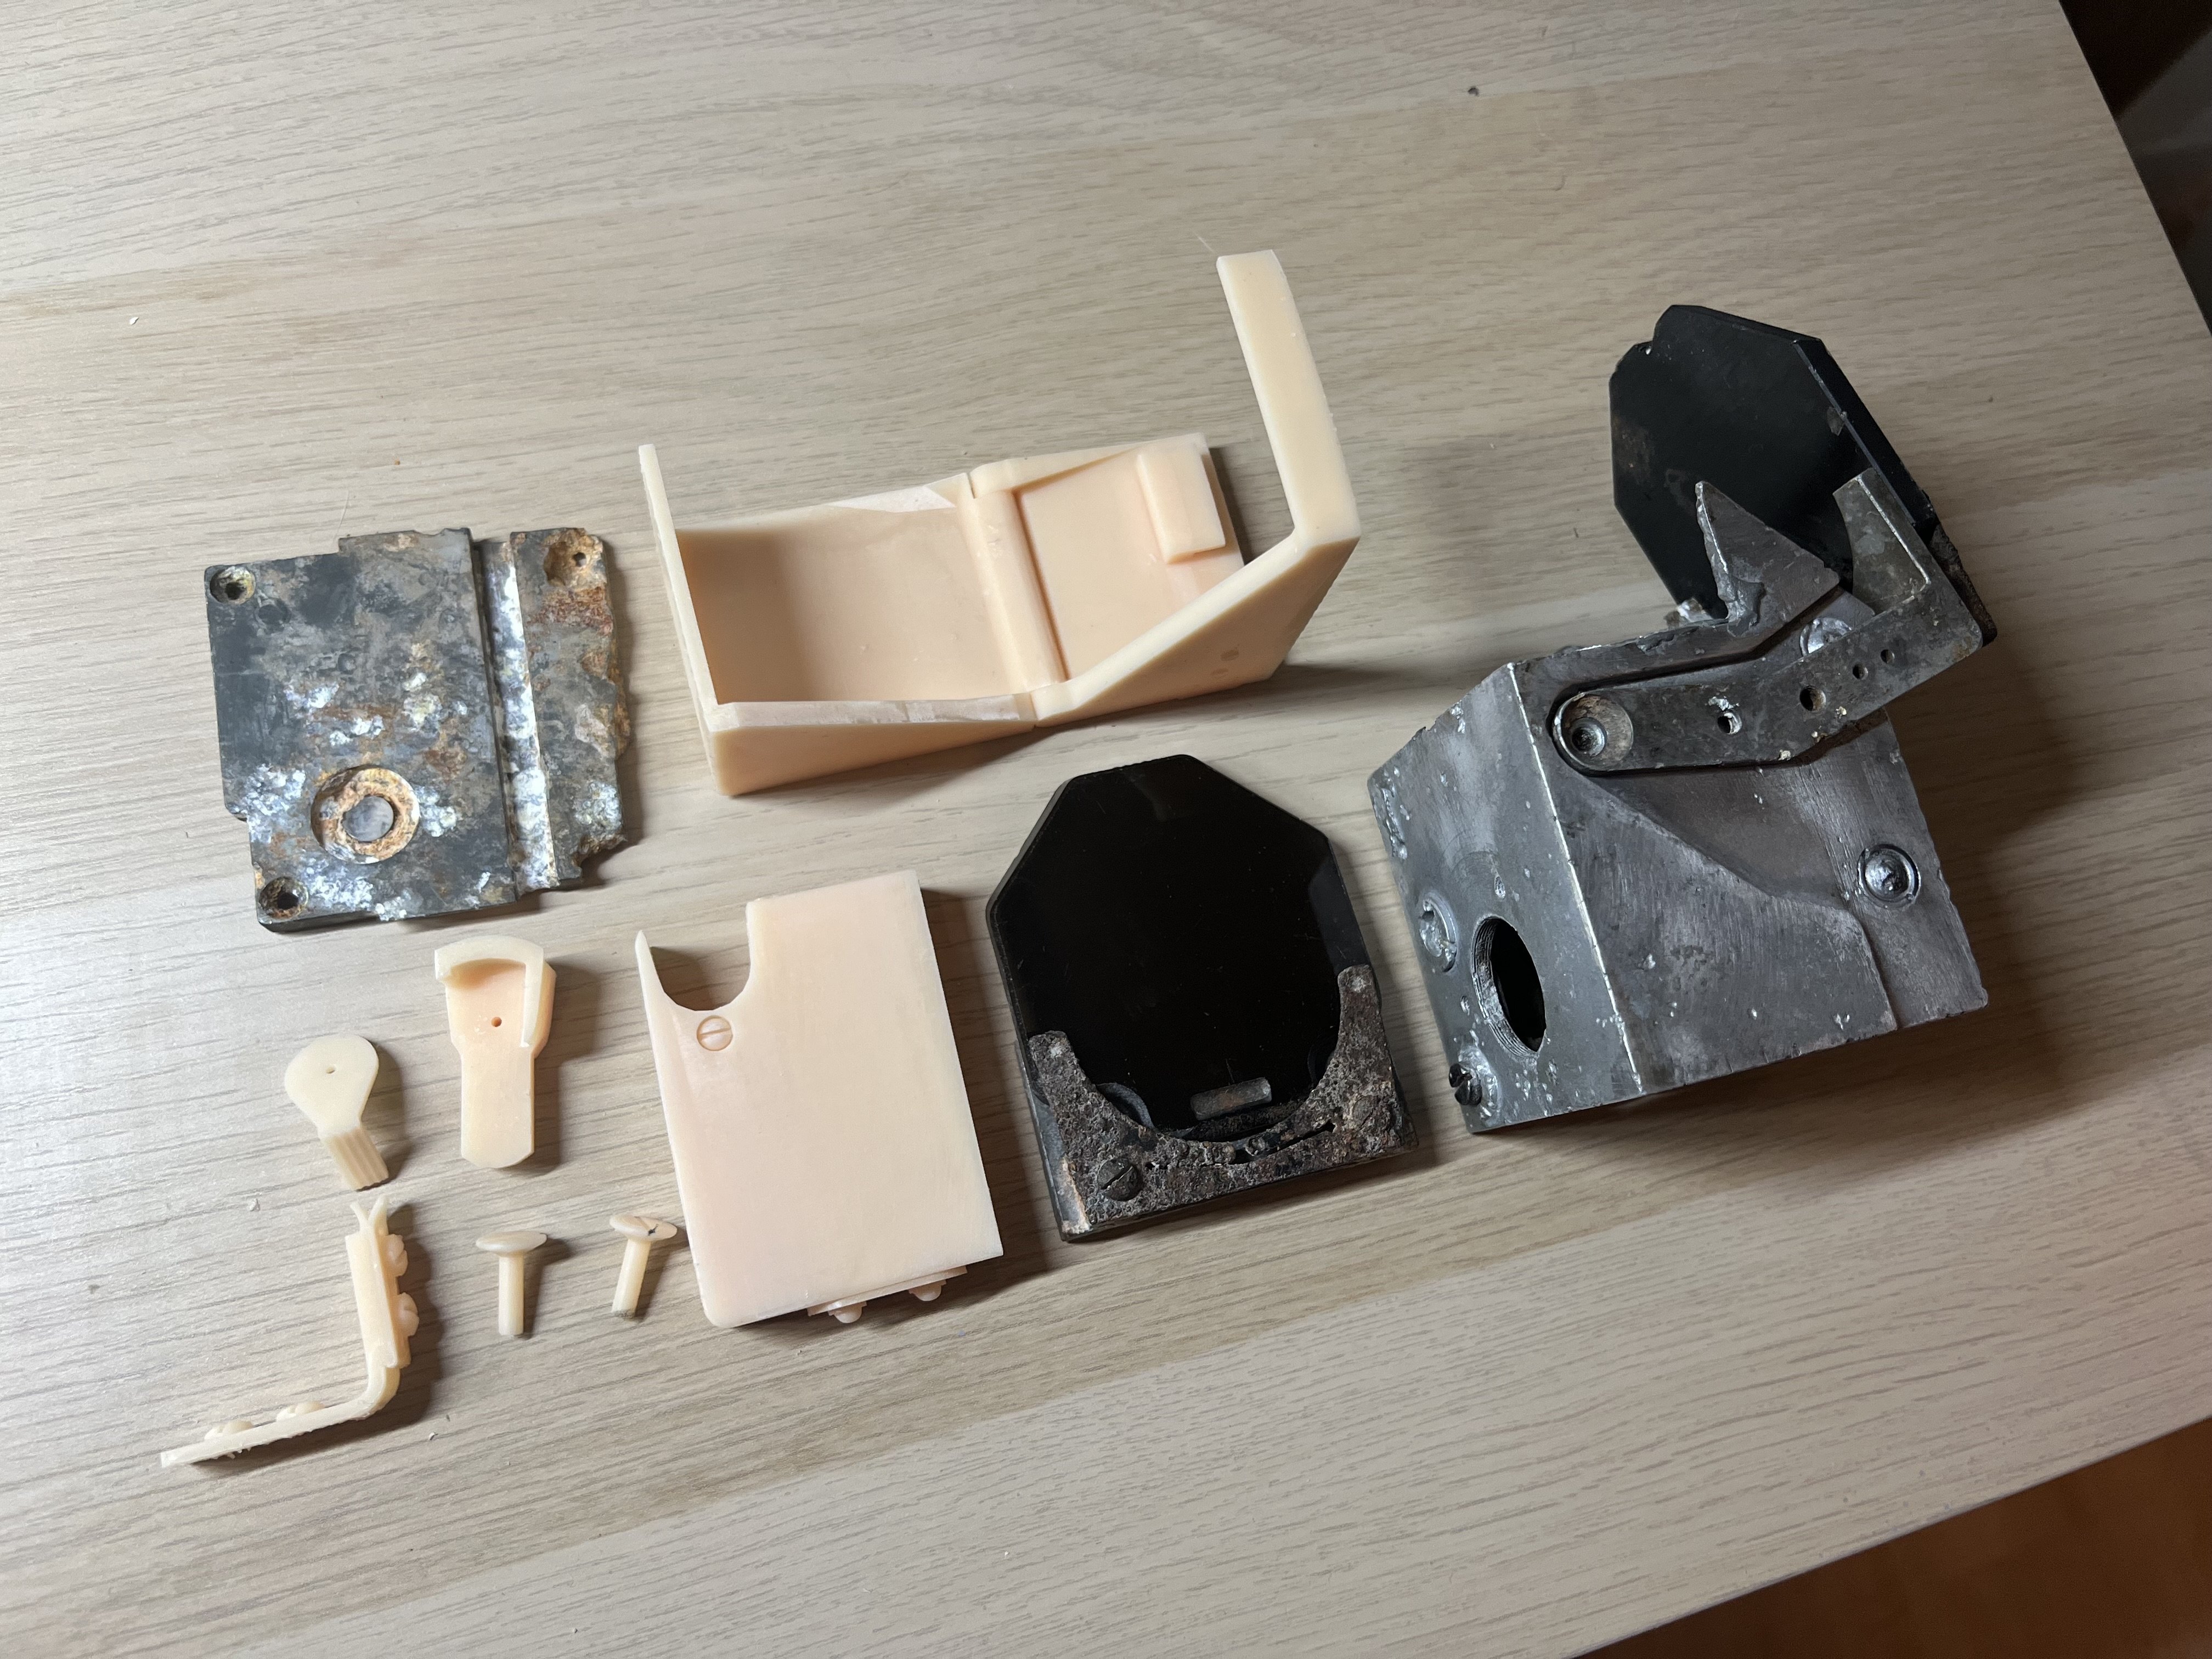
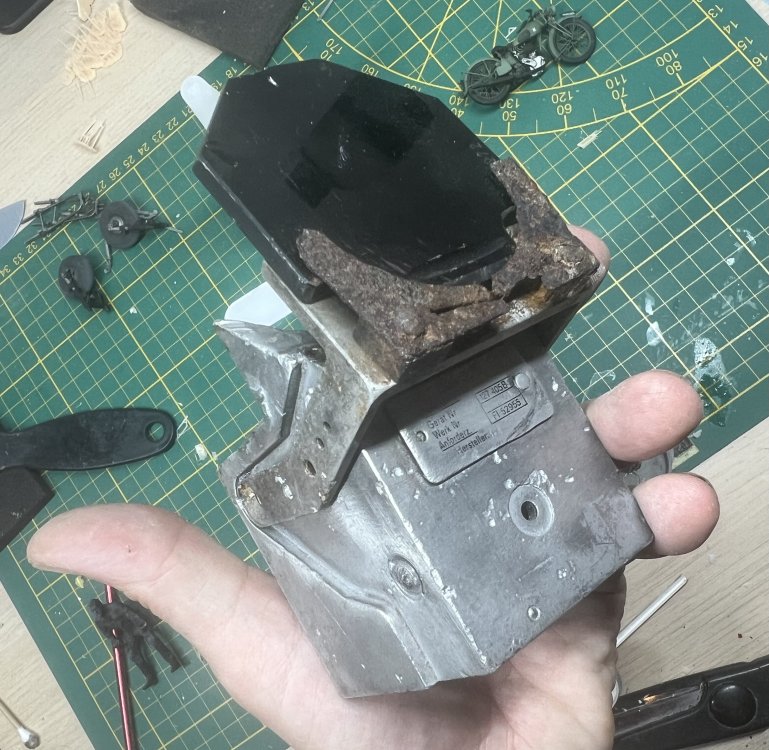
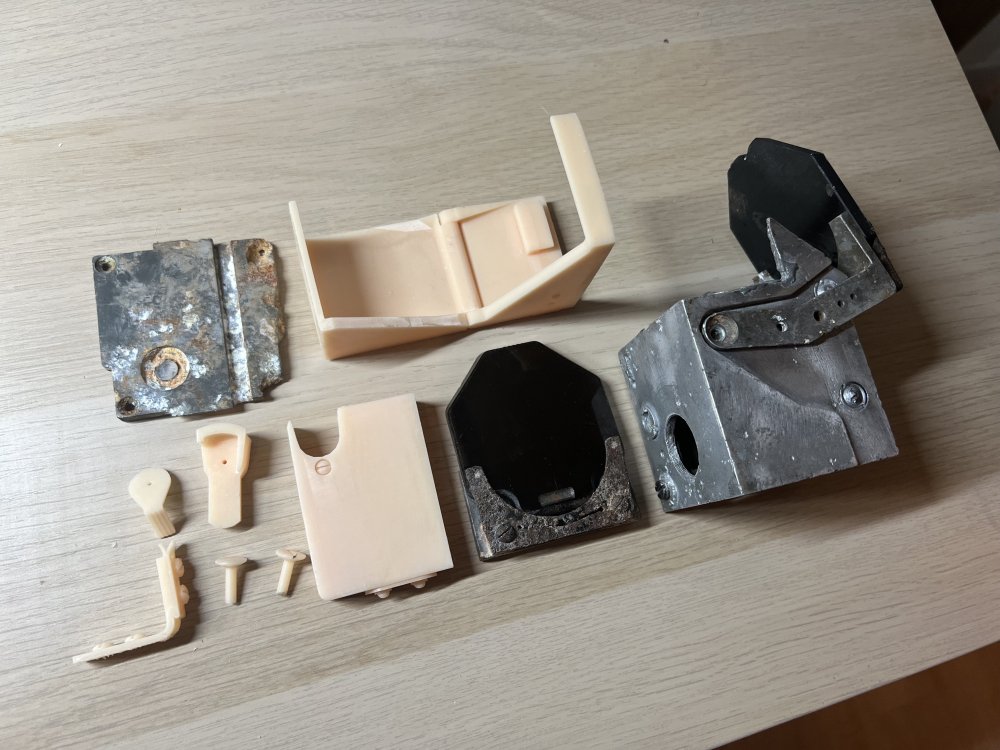
Here we go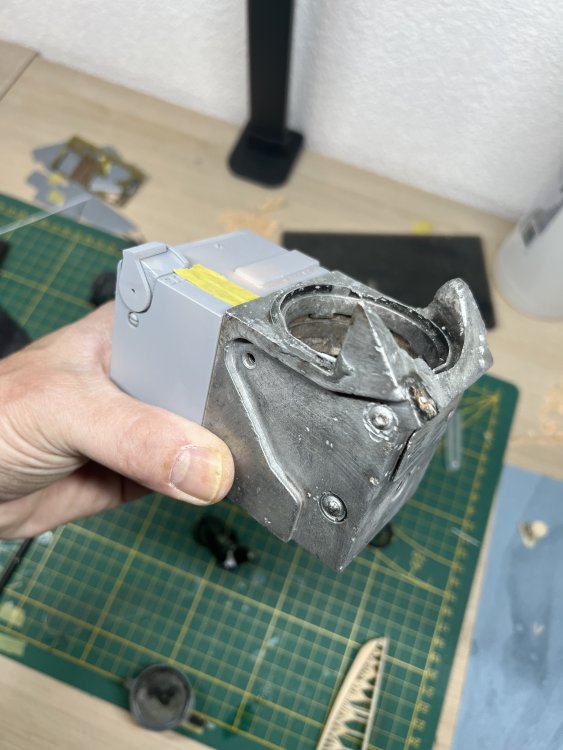

-
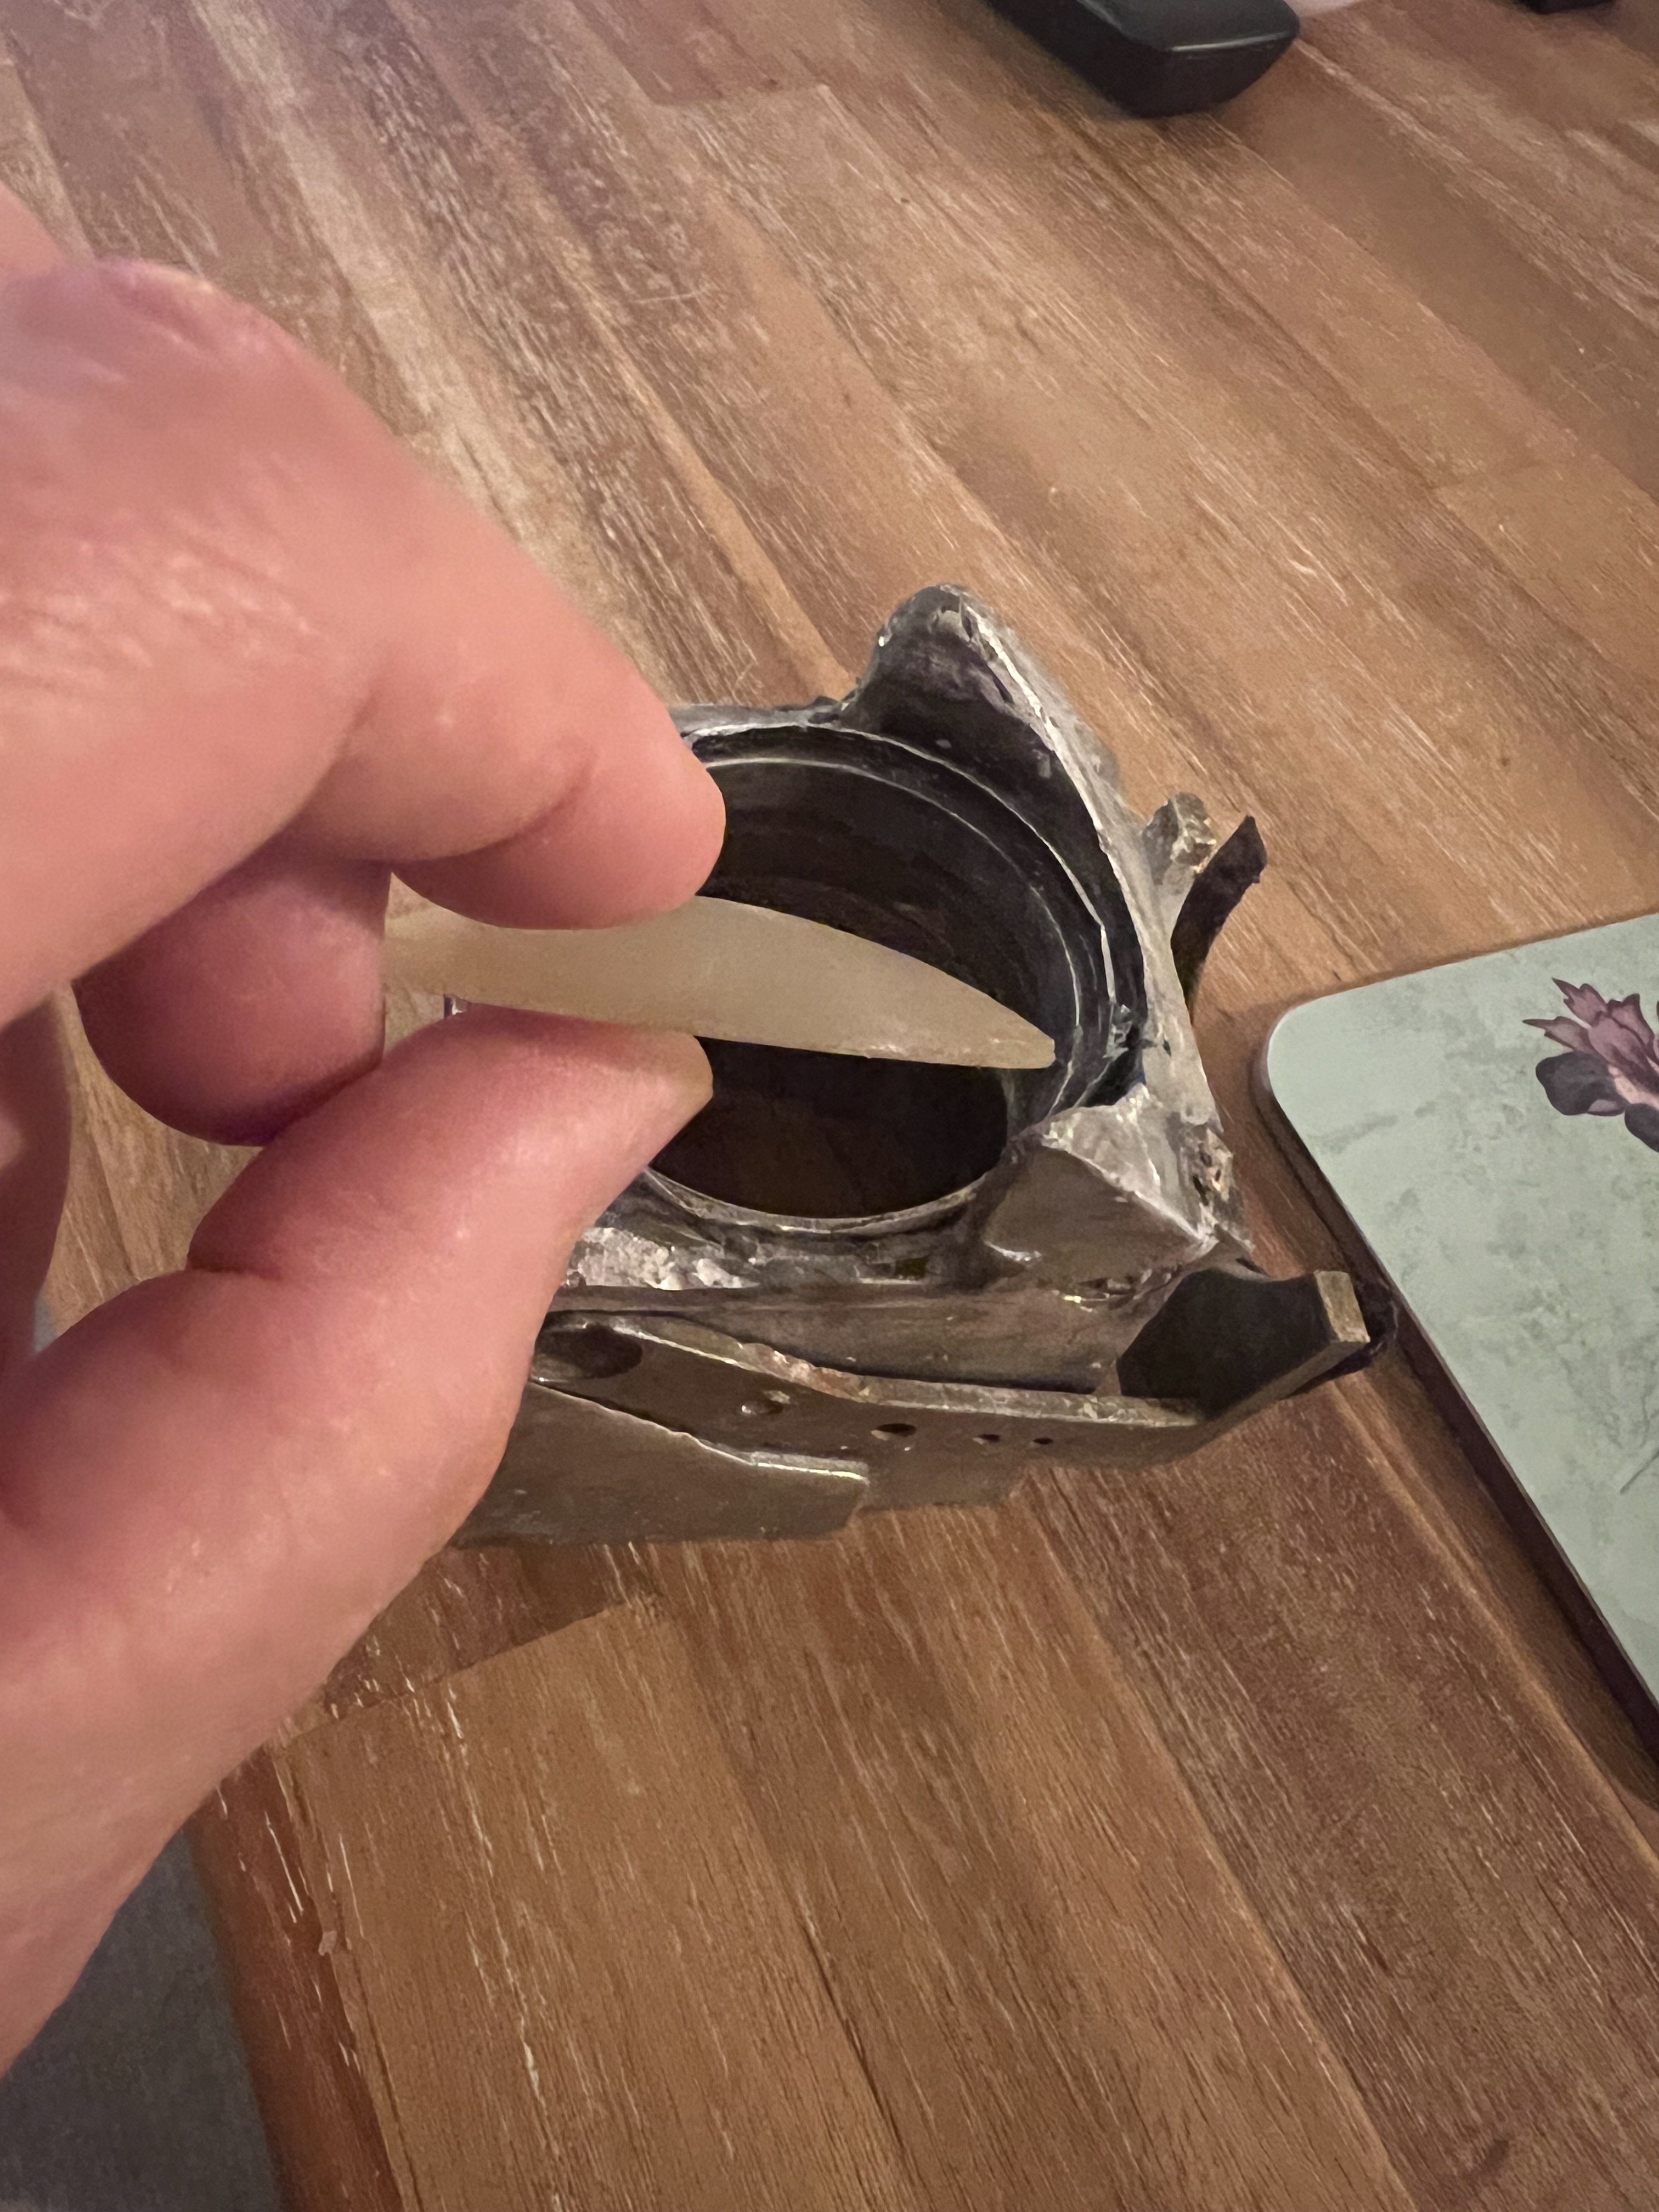
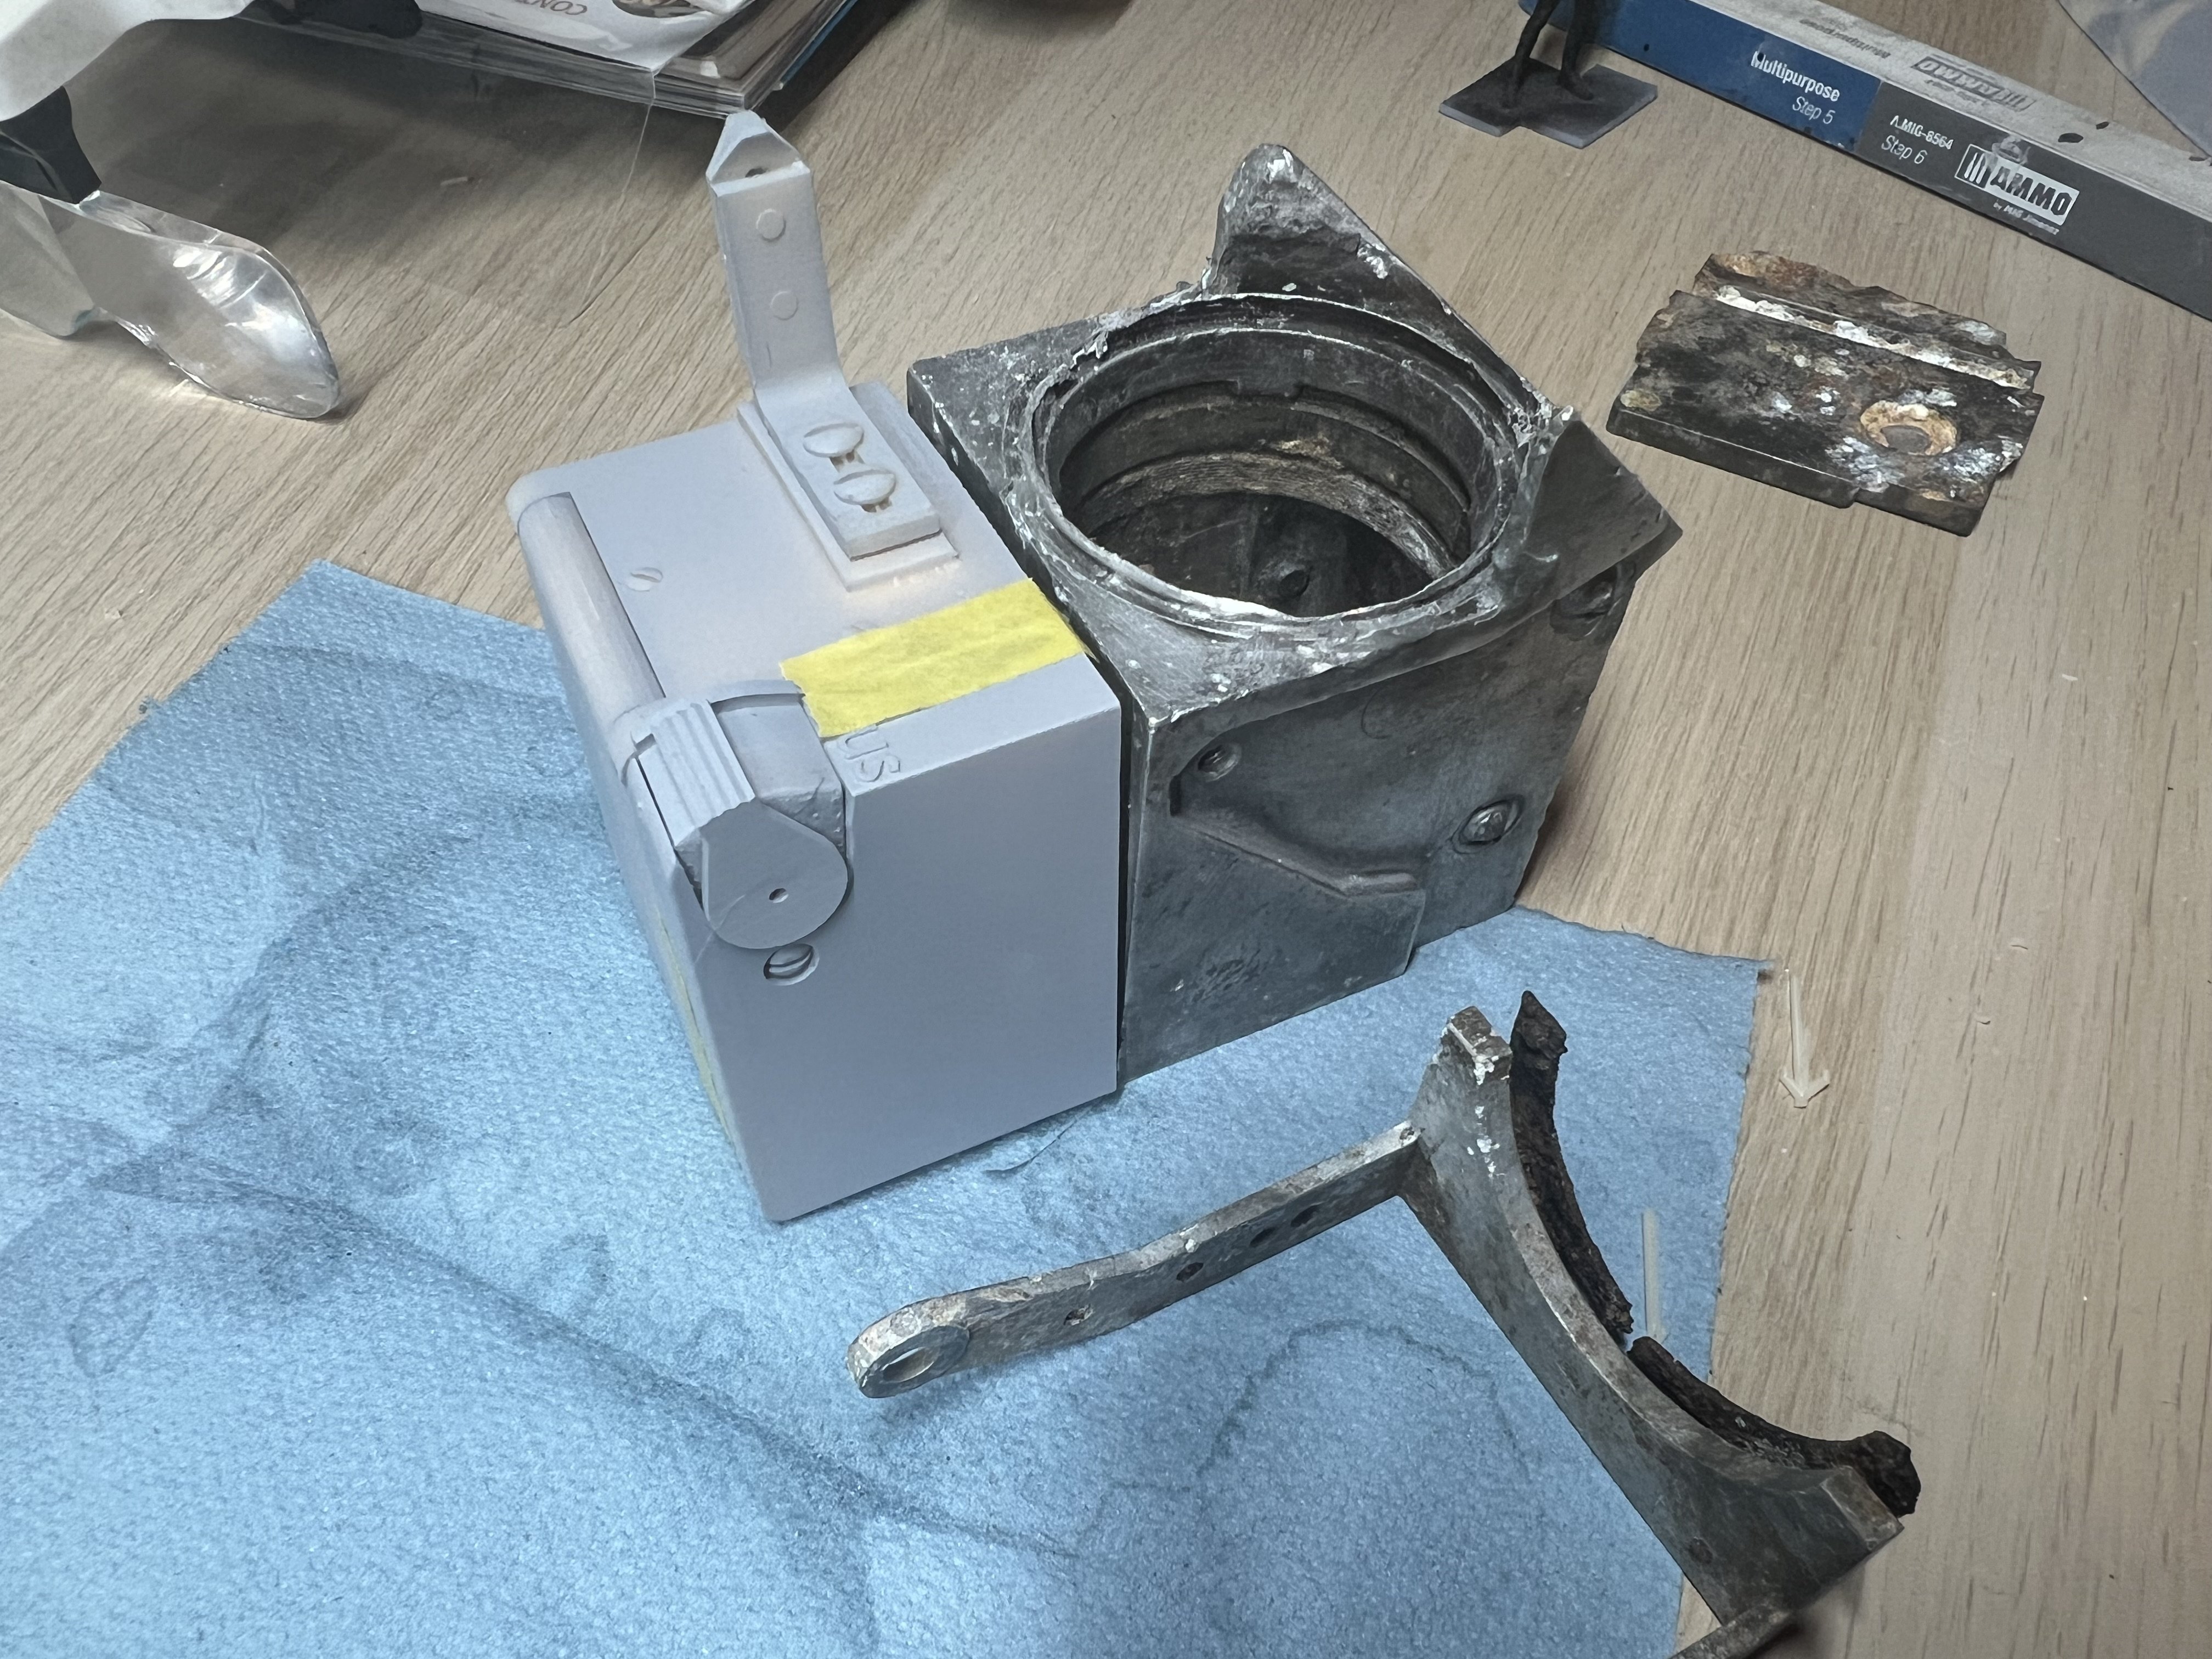
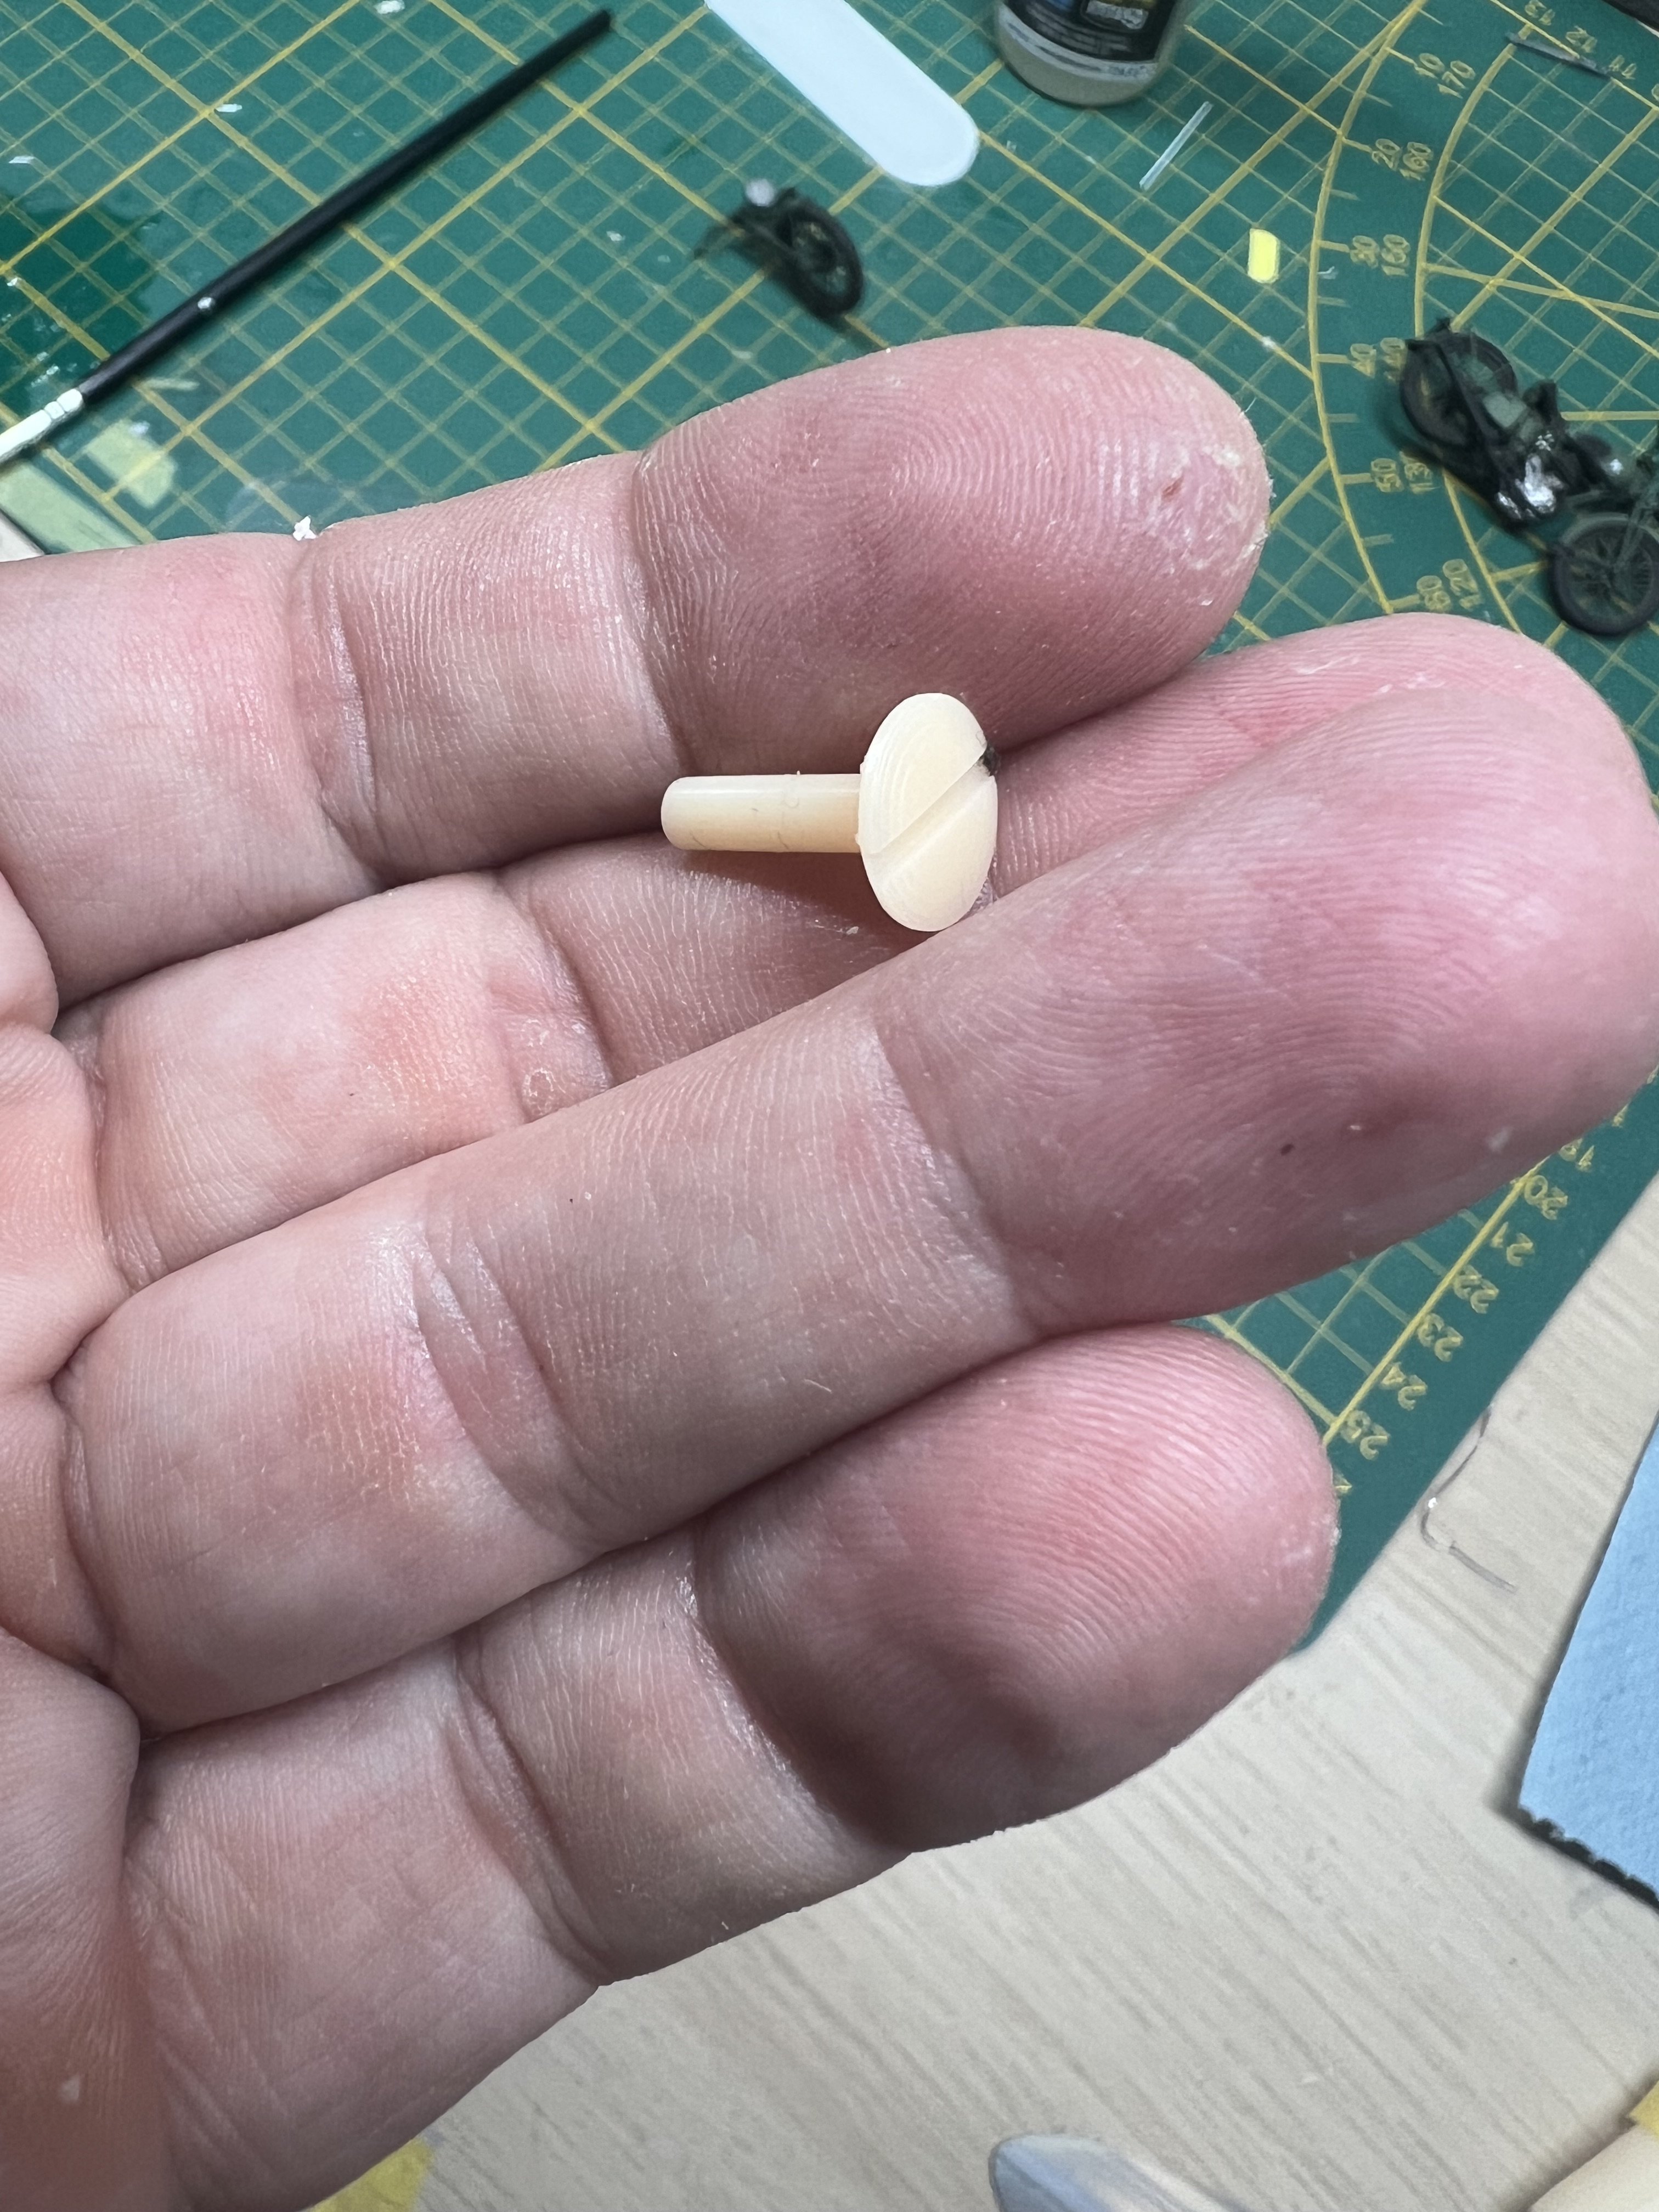
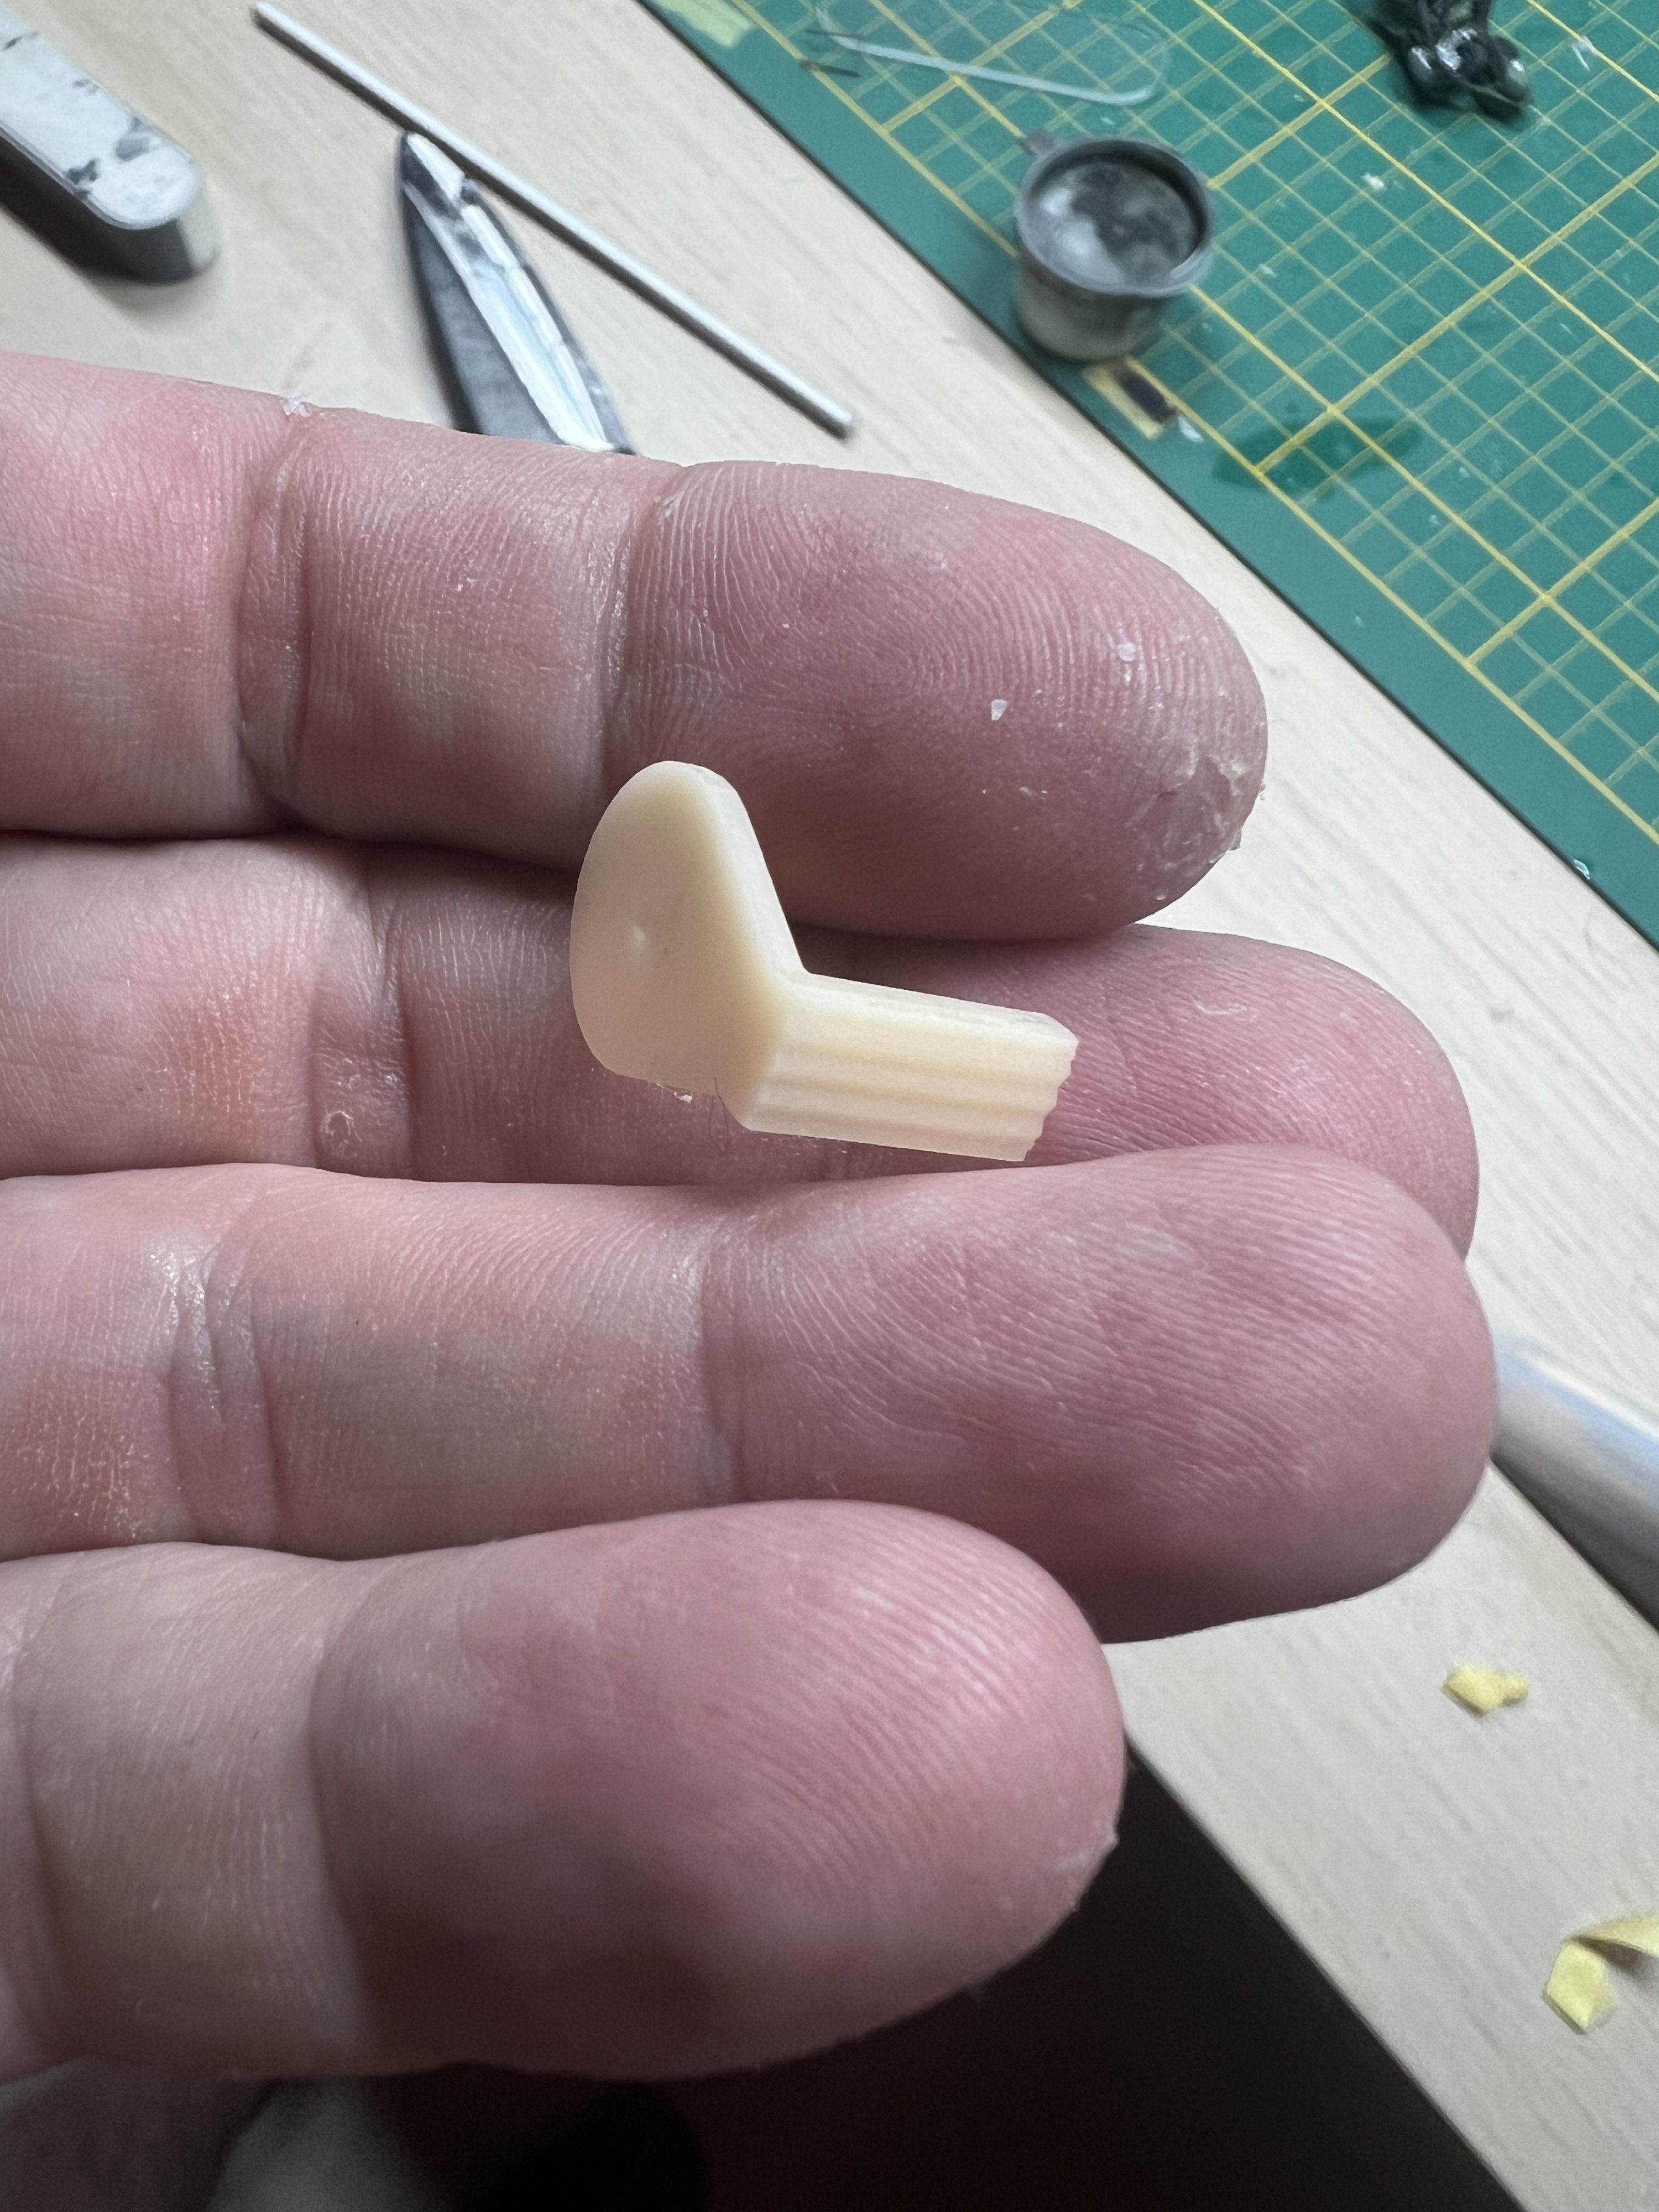
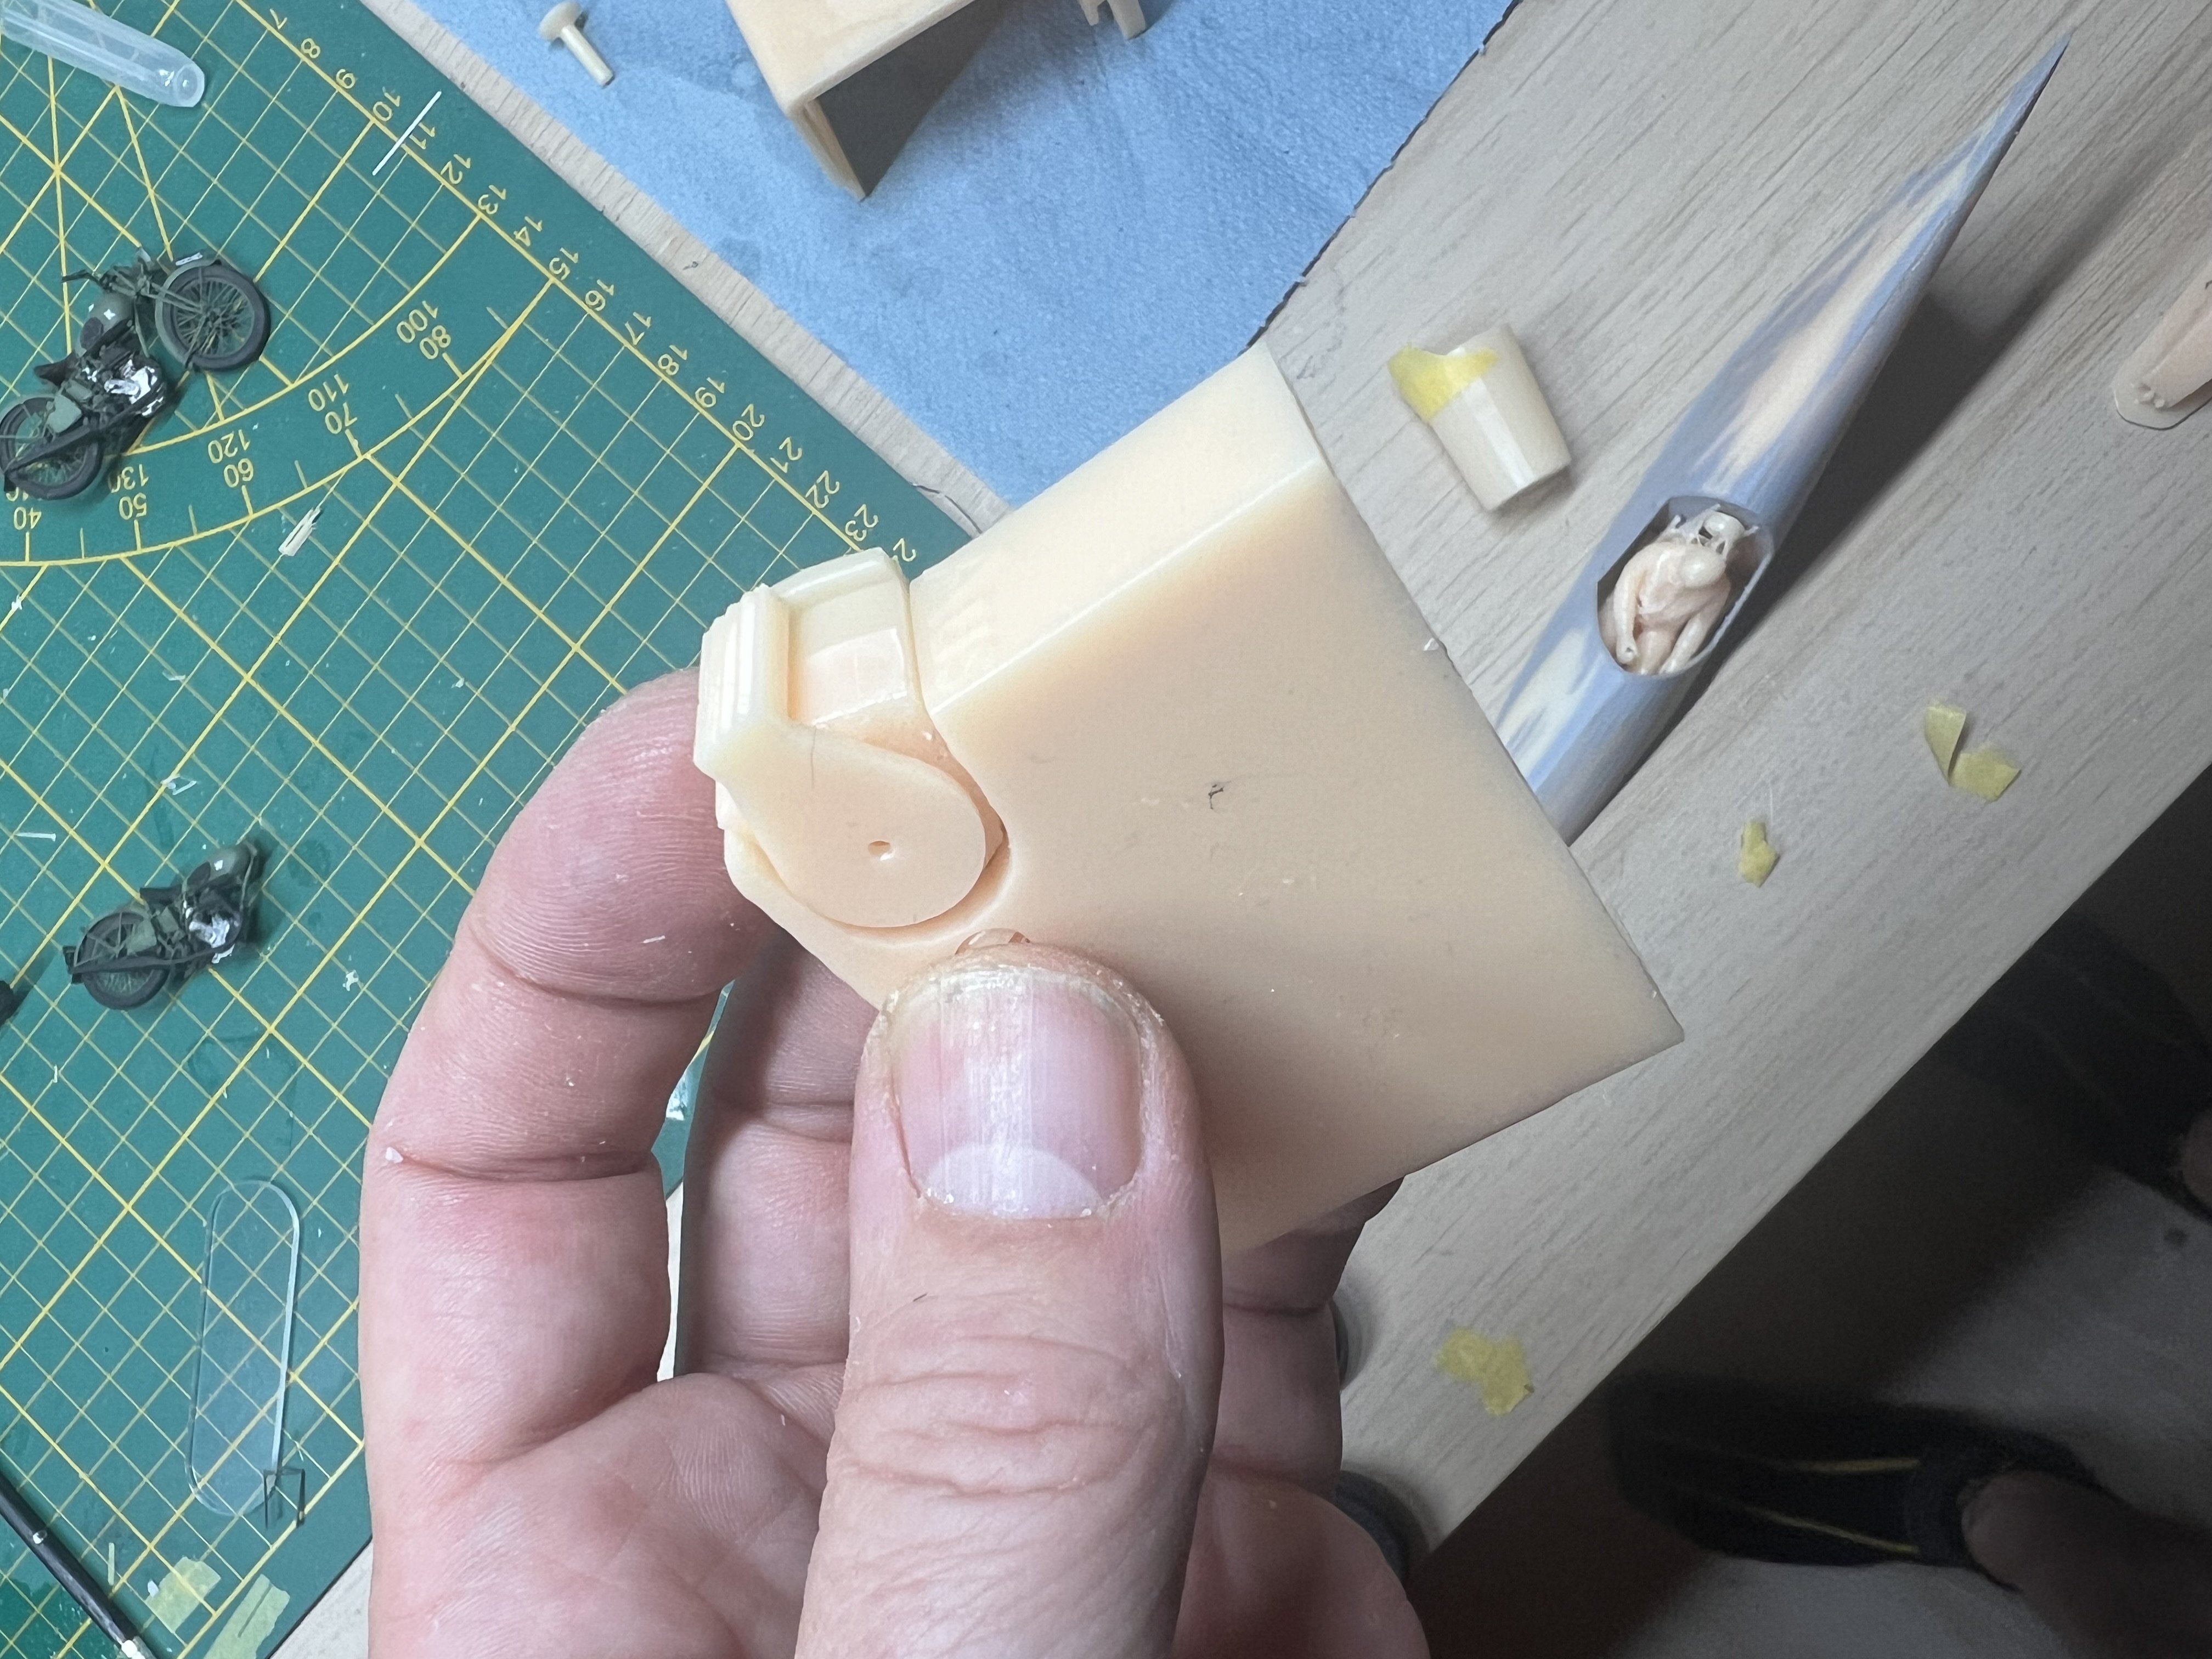
Another side project. Got this revi16 crash relic with missing half of it’s body. Drew these parts in 3D and printed them.


-
1/32 Lippisch P.13a / 3d printed
JeroenPeters replied to JeroenPeters's topic in LSM 1/35 and Larger Work In Progress
Started altering a RAF Bomber pilot I bought online. Drew the oxygen hose in a way so I can alter it to any pose. Now I'll need to measure the HK pilot seat in order to make this fit. Then on to the nose gunner. The booths look a little off-ish, but they won't be visible.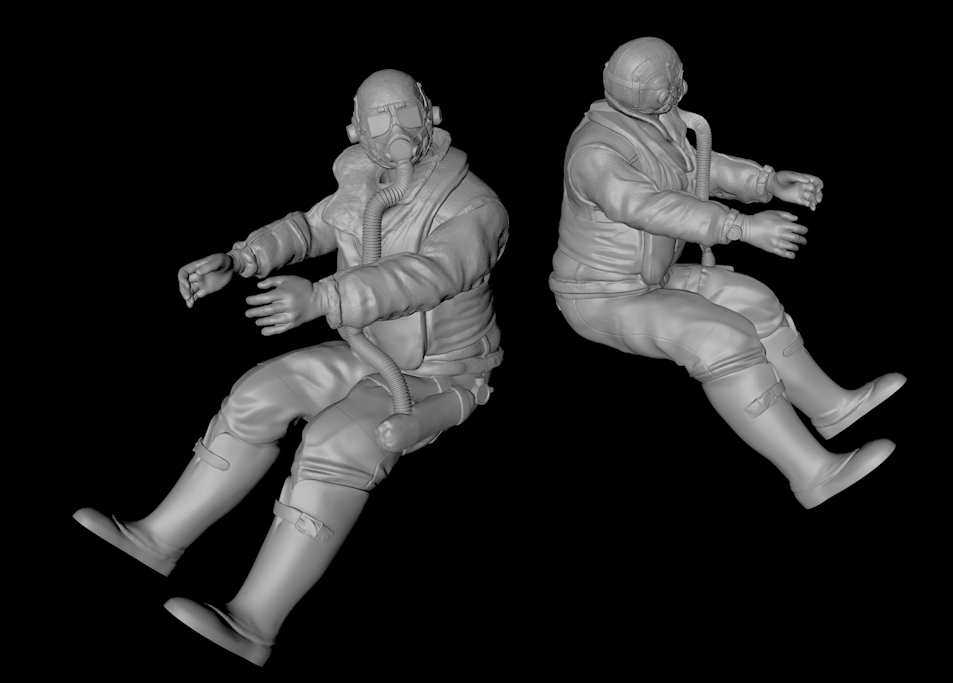
-
1/32 Lippisch P.13a / 3d printed
JeroenPeters replied to JeroenPeters's topic in LSM 1/35 and Larger Work In Progress
This is the idea: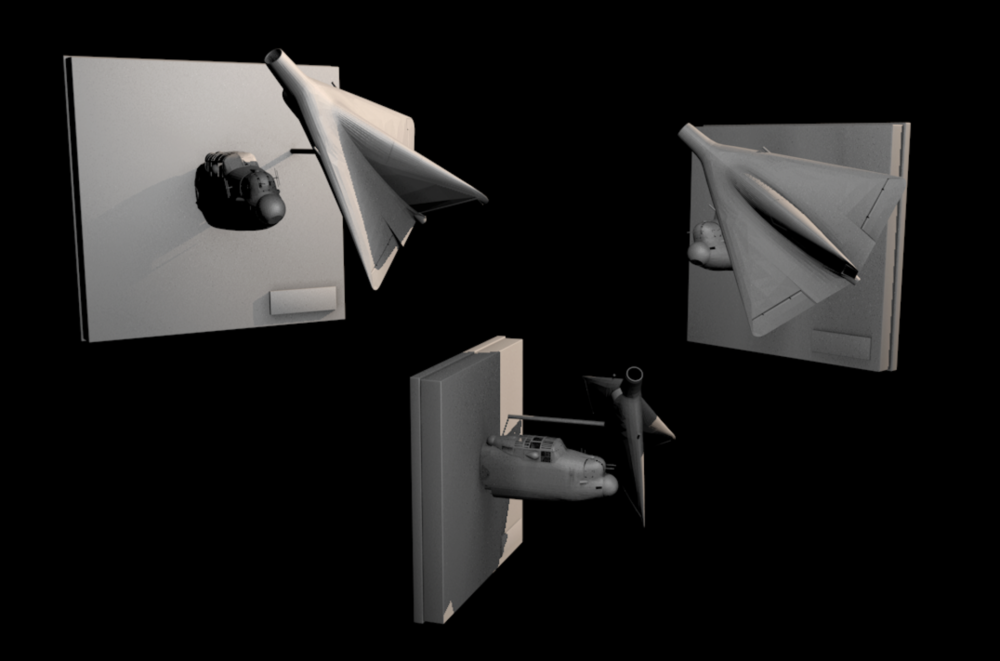
-
1/32 Lippisch P.13a / 3d printed
JeroenPeters replied to JeroenPeters's topic in LSM 1/35 and Larger Work In Progress
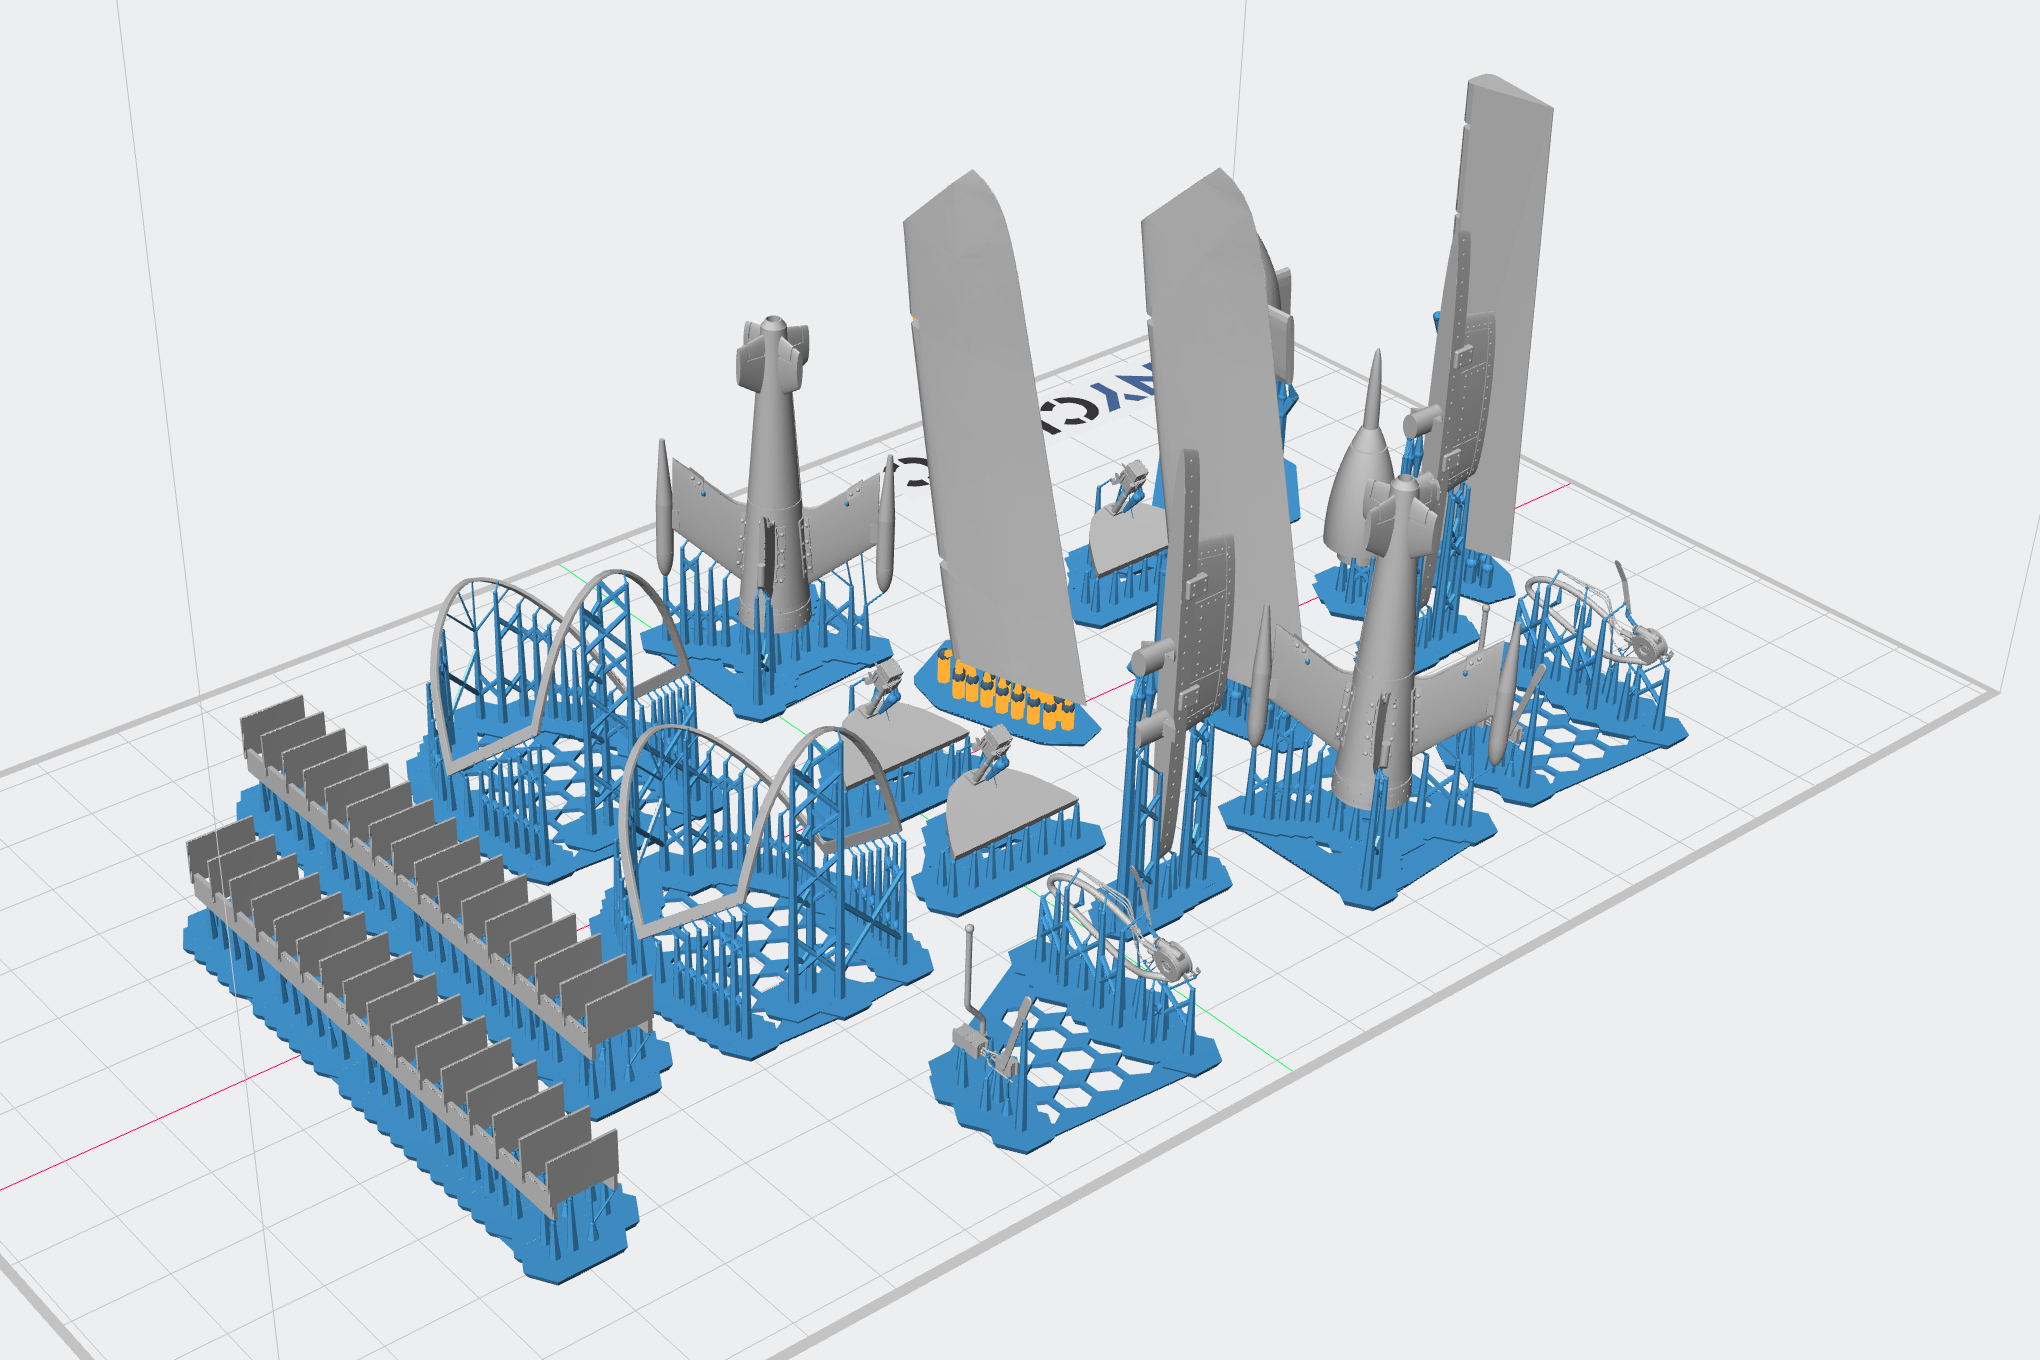
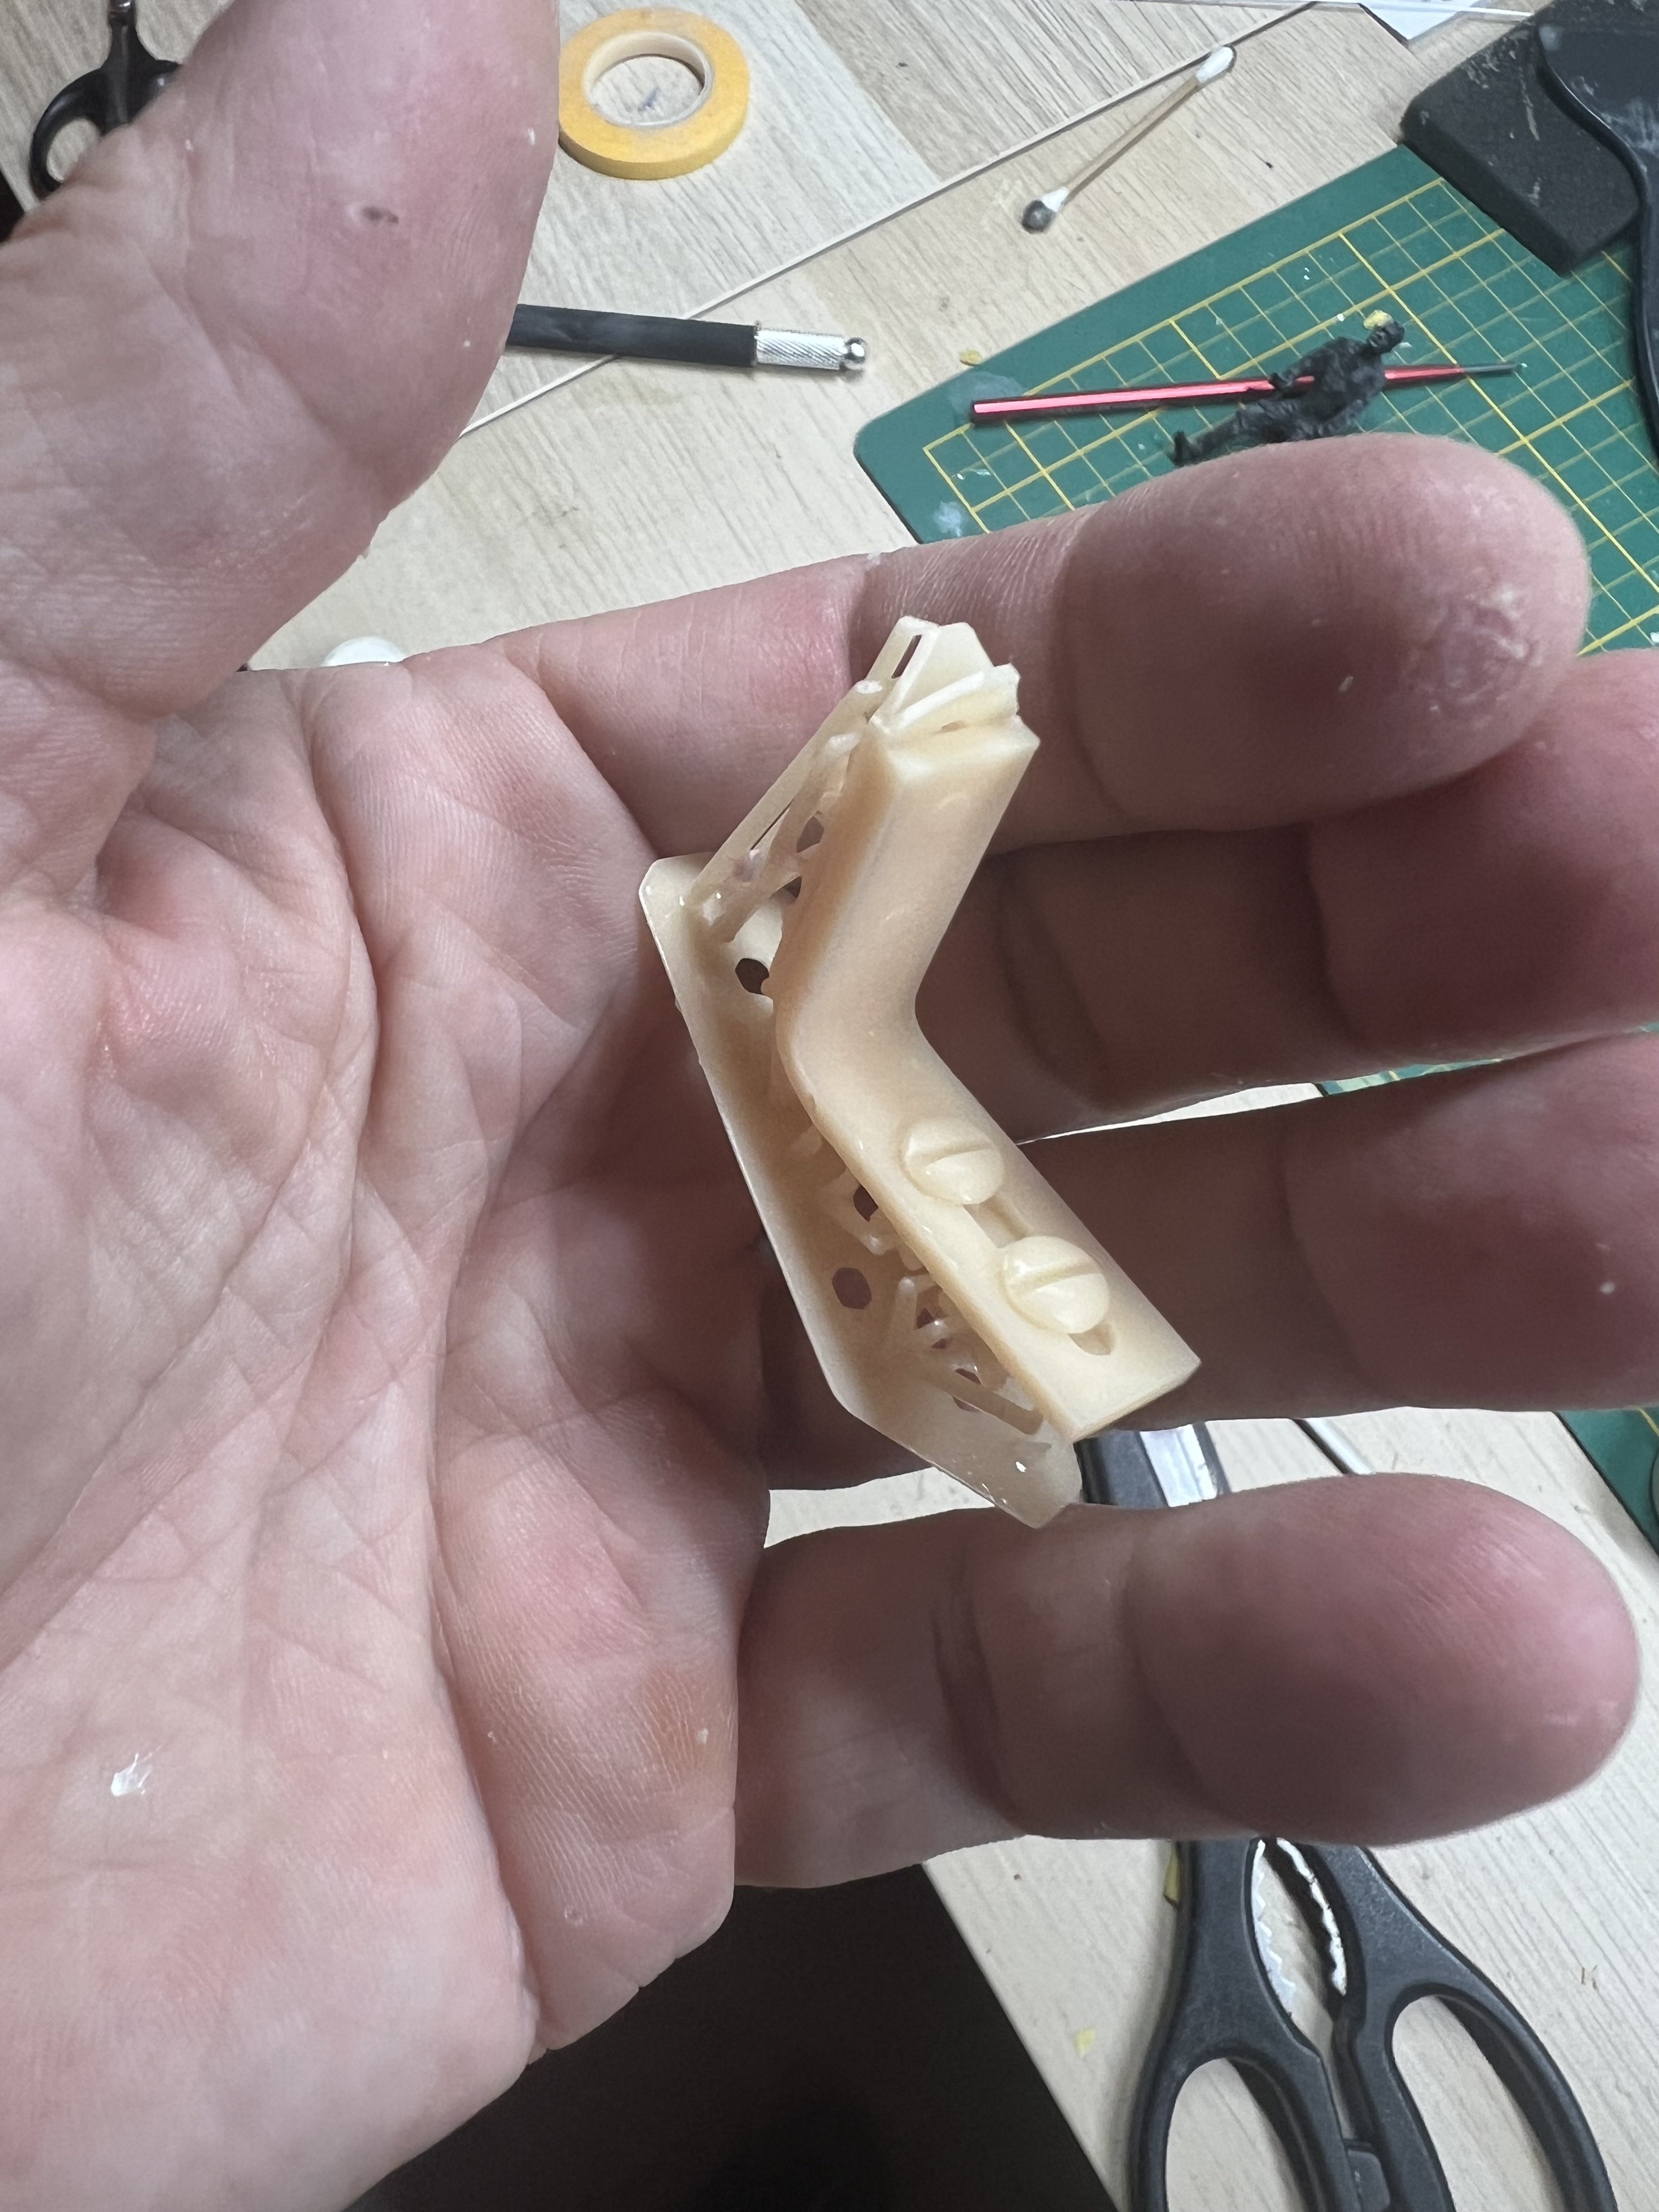
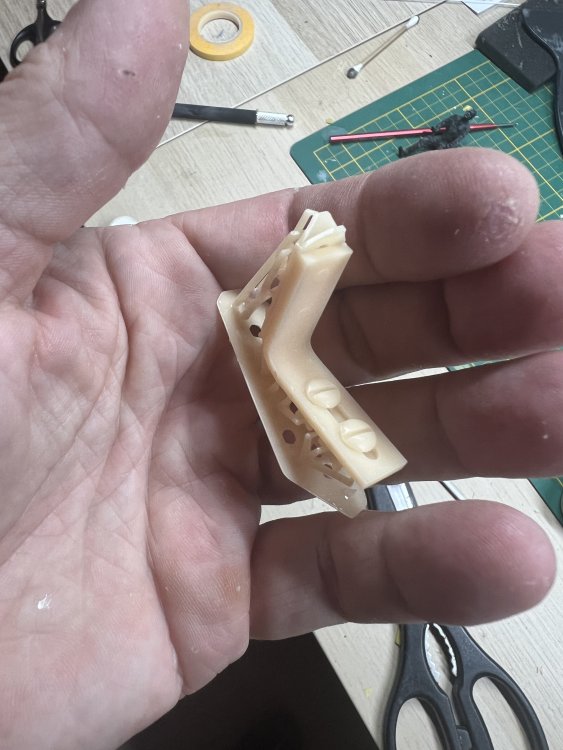
Fresh of the printer! Now you realize how big this thing is. The internal structure is hollow with a honeycomb and has drain holes. I managed to add polygons in order to ger a smooth surface. Now: priming and scribing, the nose, skid and new printed pilot are curing now.
-
1/32 Westland Whirlwind
JeroenPeters replied to JeroenPeters's topic in LSM 1/35 and Larger Work In Progress
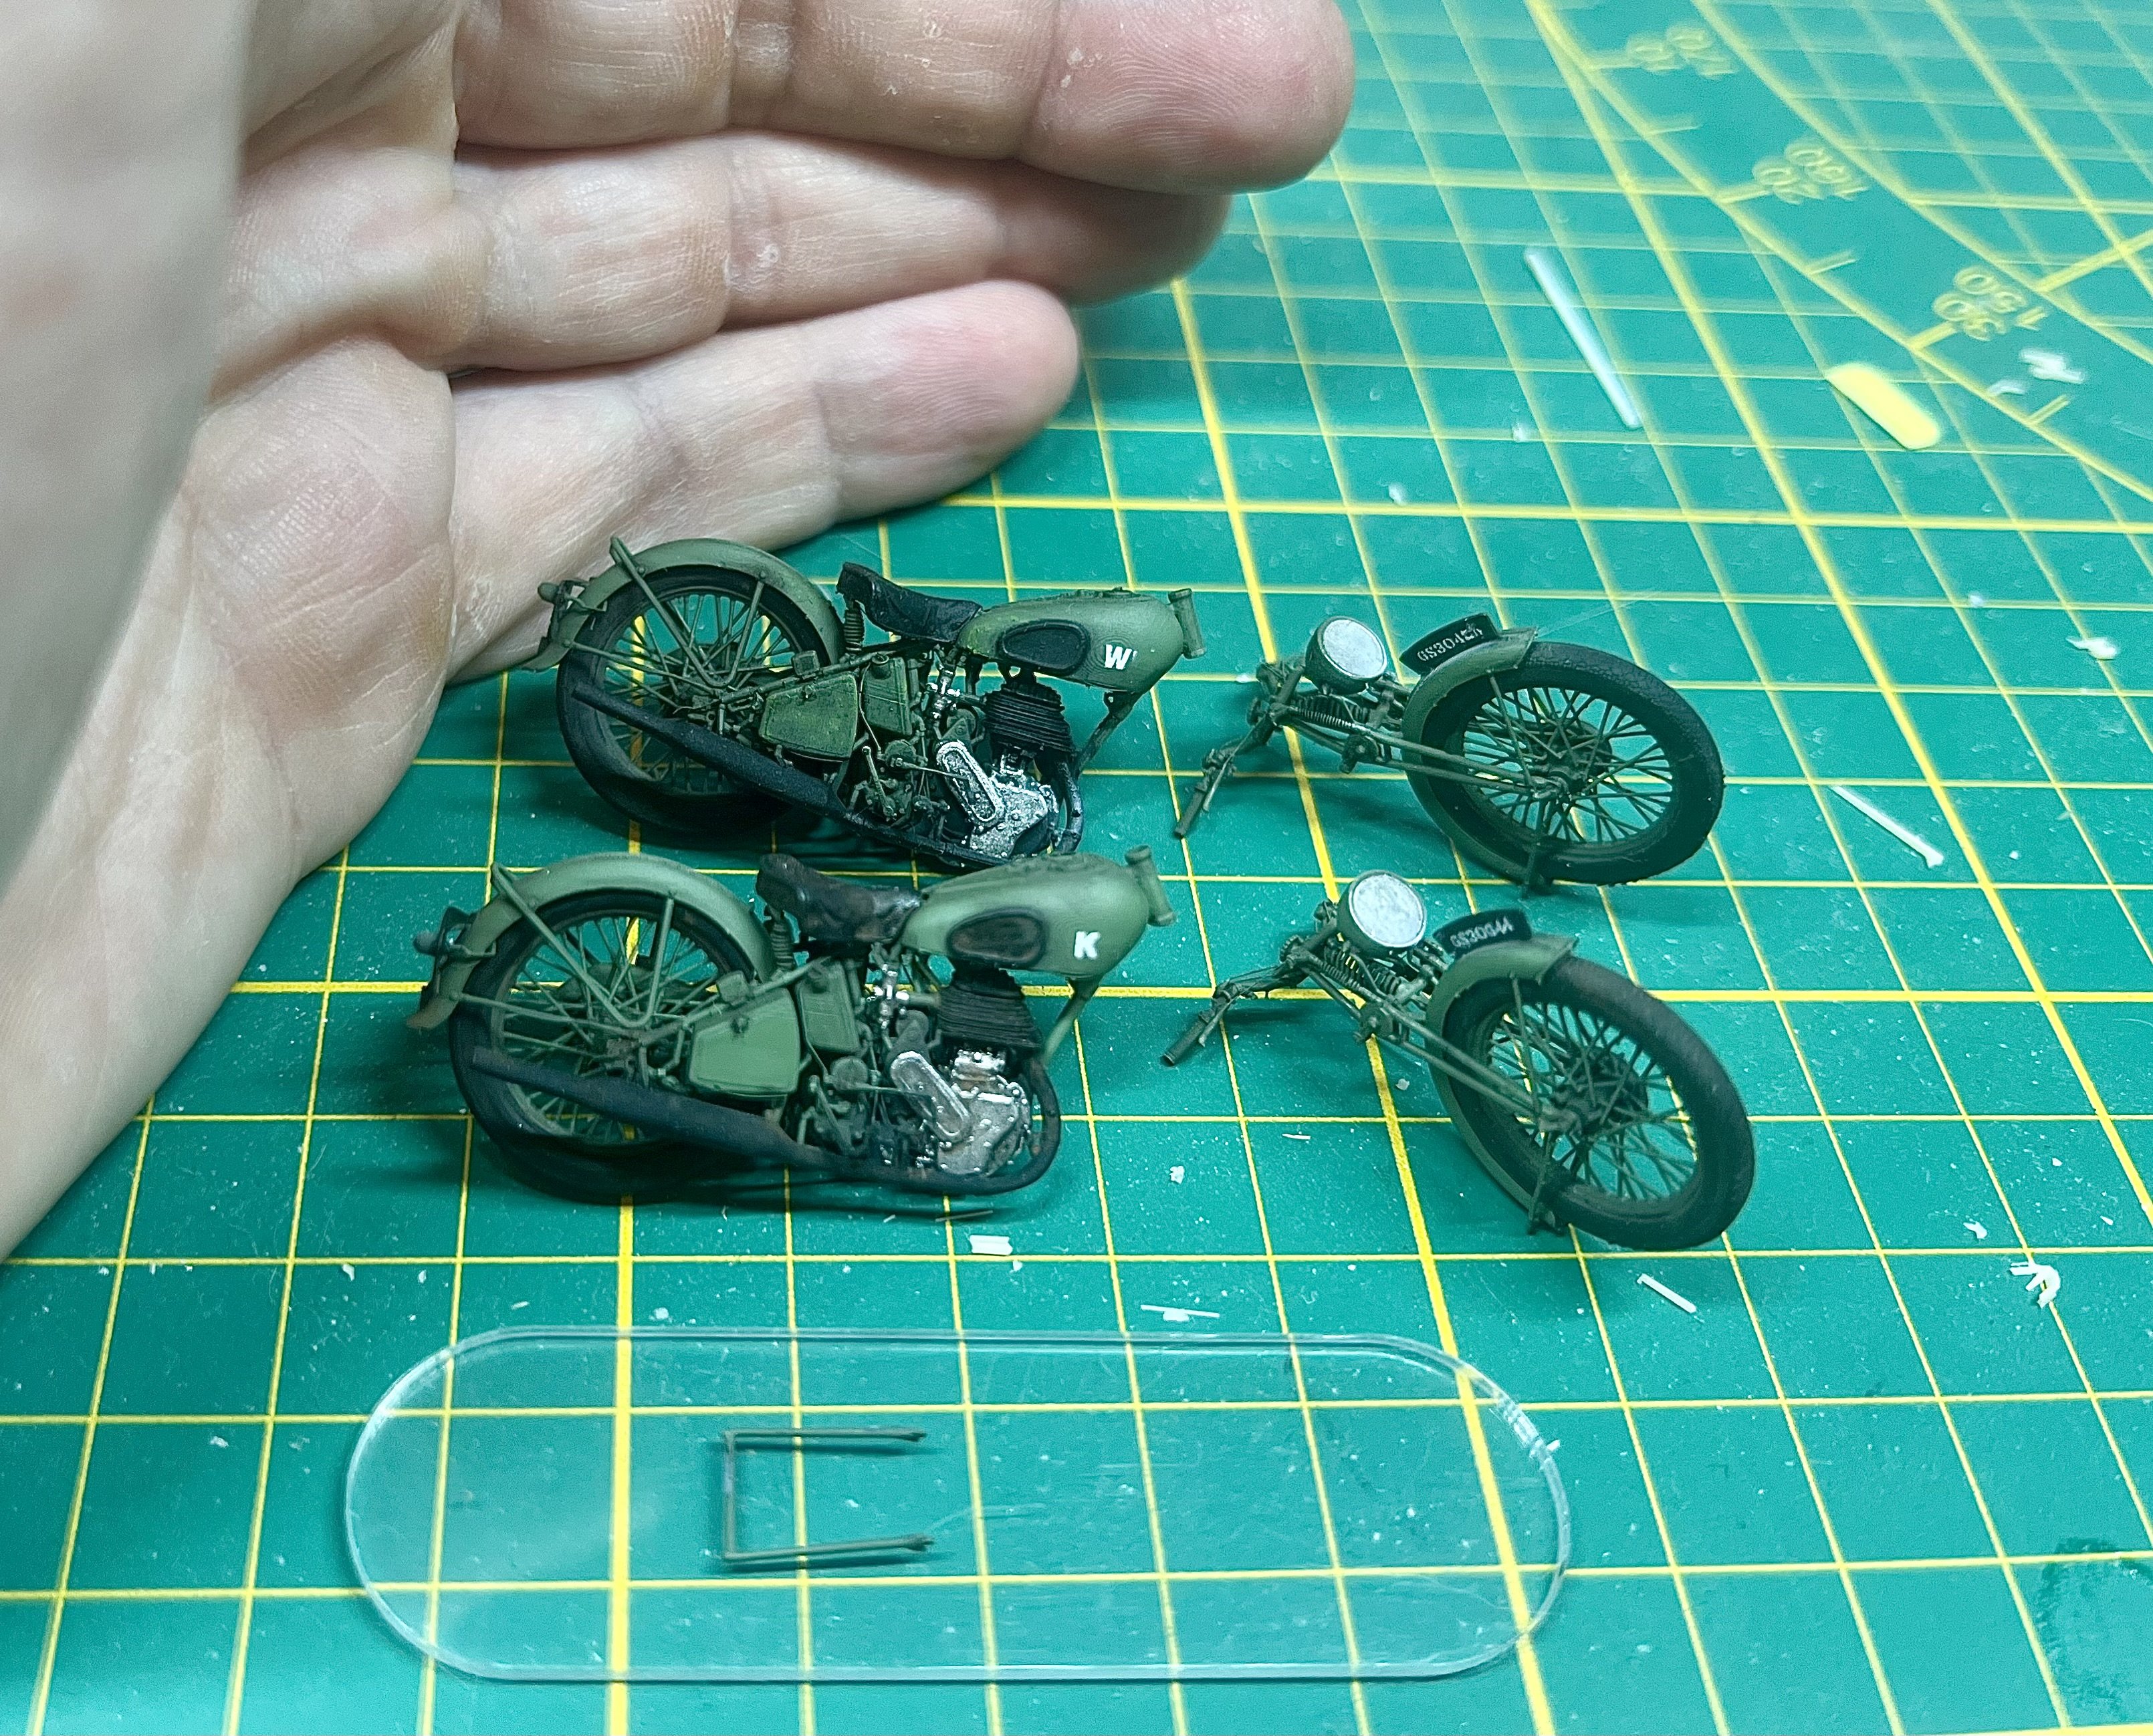
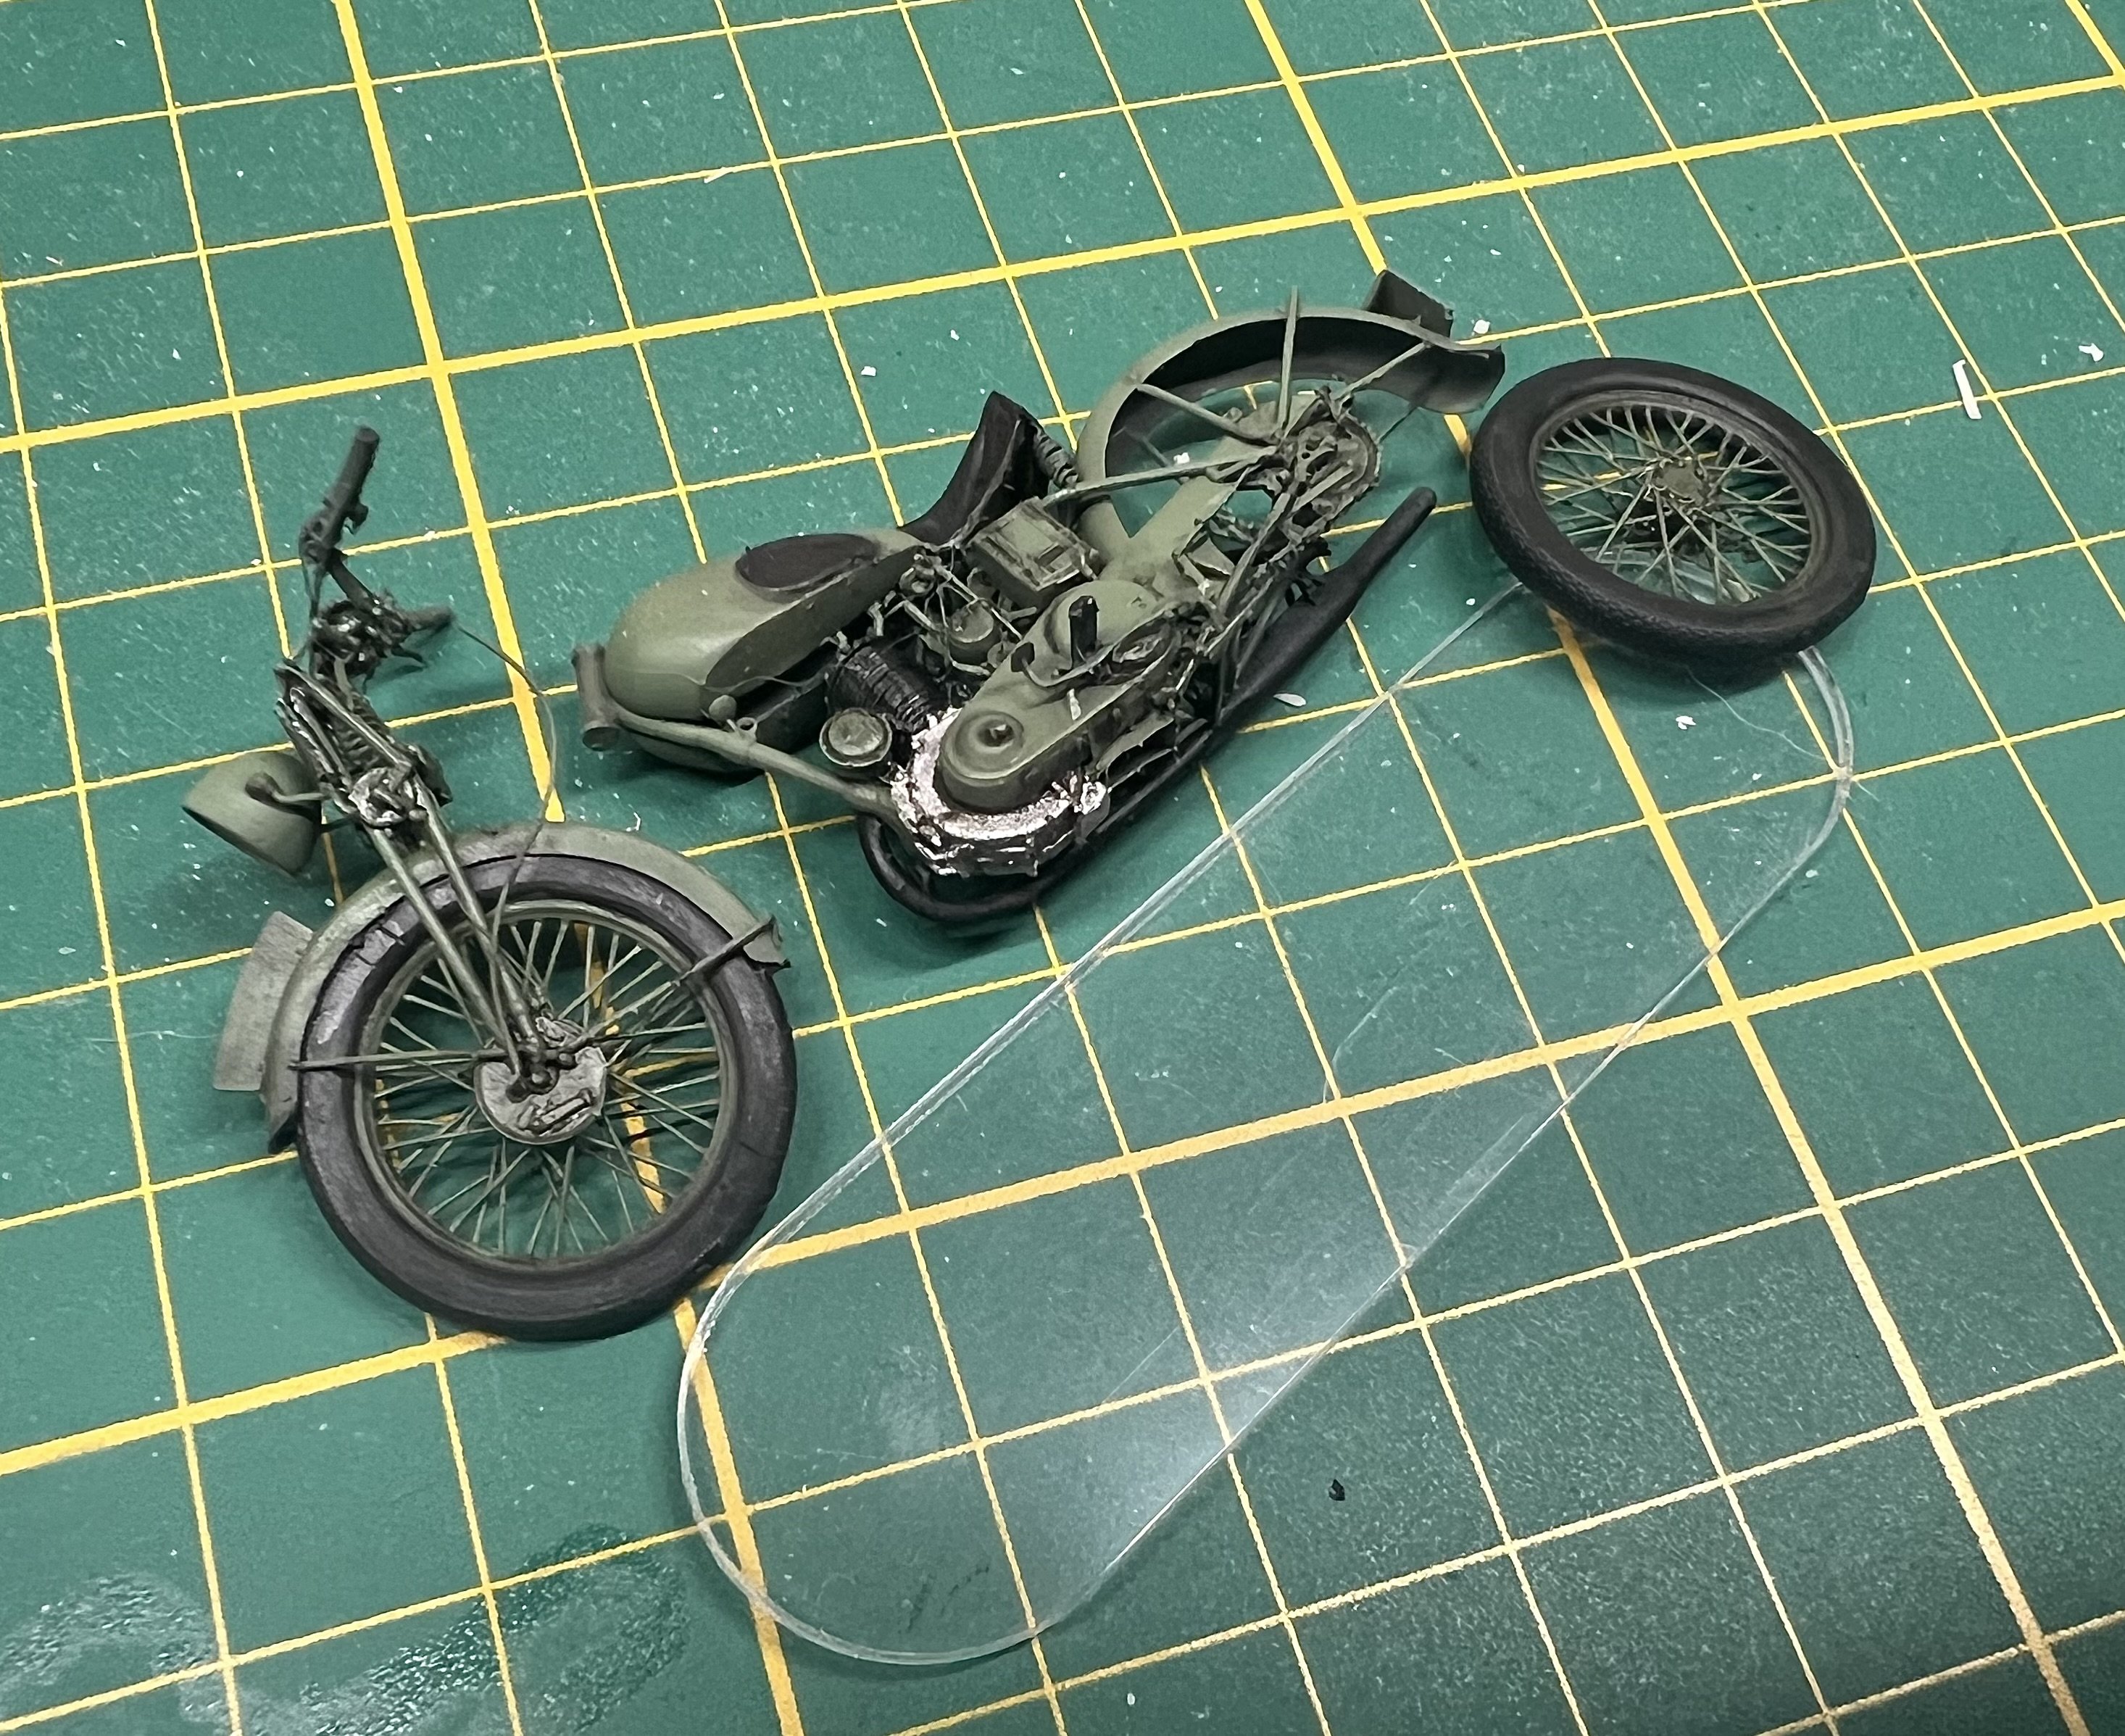
Here’s one of the two bikes. Still needs way more paint and weathering. Only needs the kick stand and it’s ready.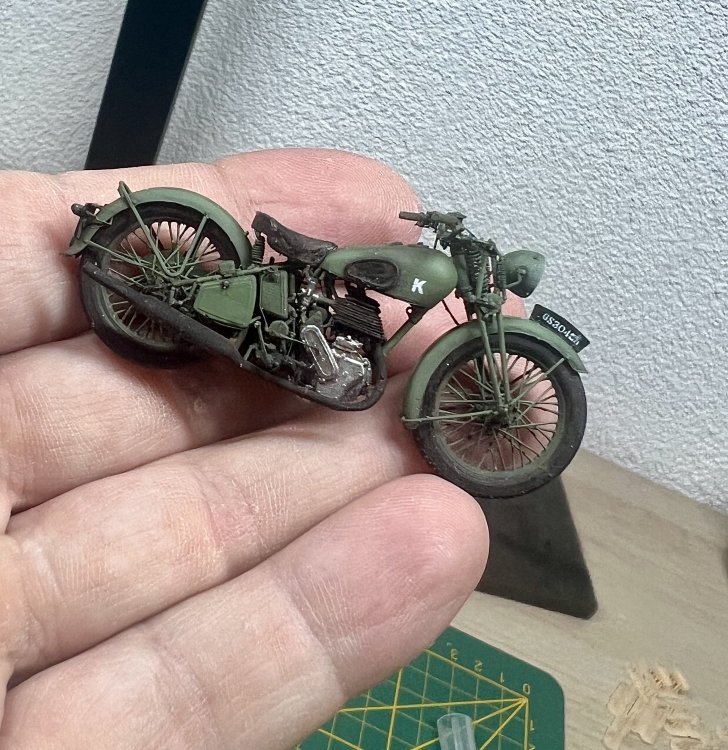
-
1/32 Lippisch P.13a / 3d printed
JeroenPeters replied to JeroenPeters's topic in LSM 1/35 and Larger Work In Progress
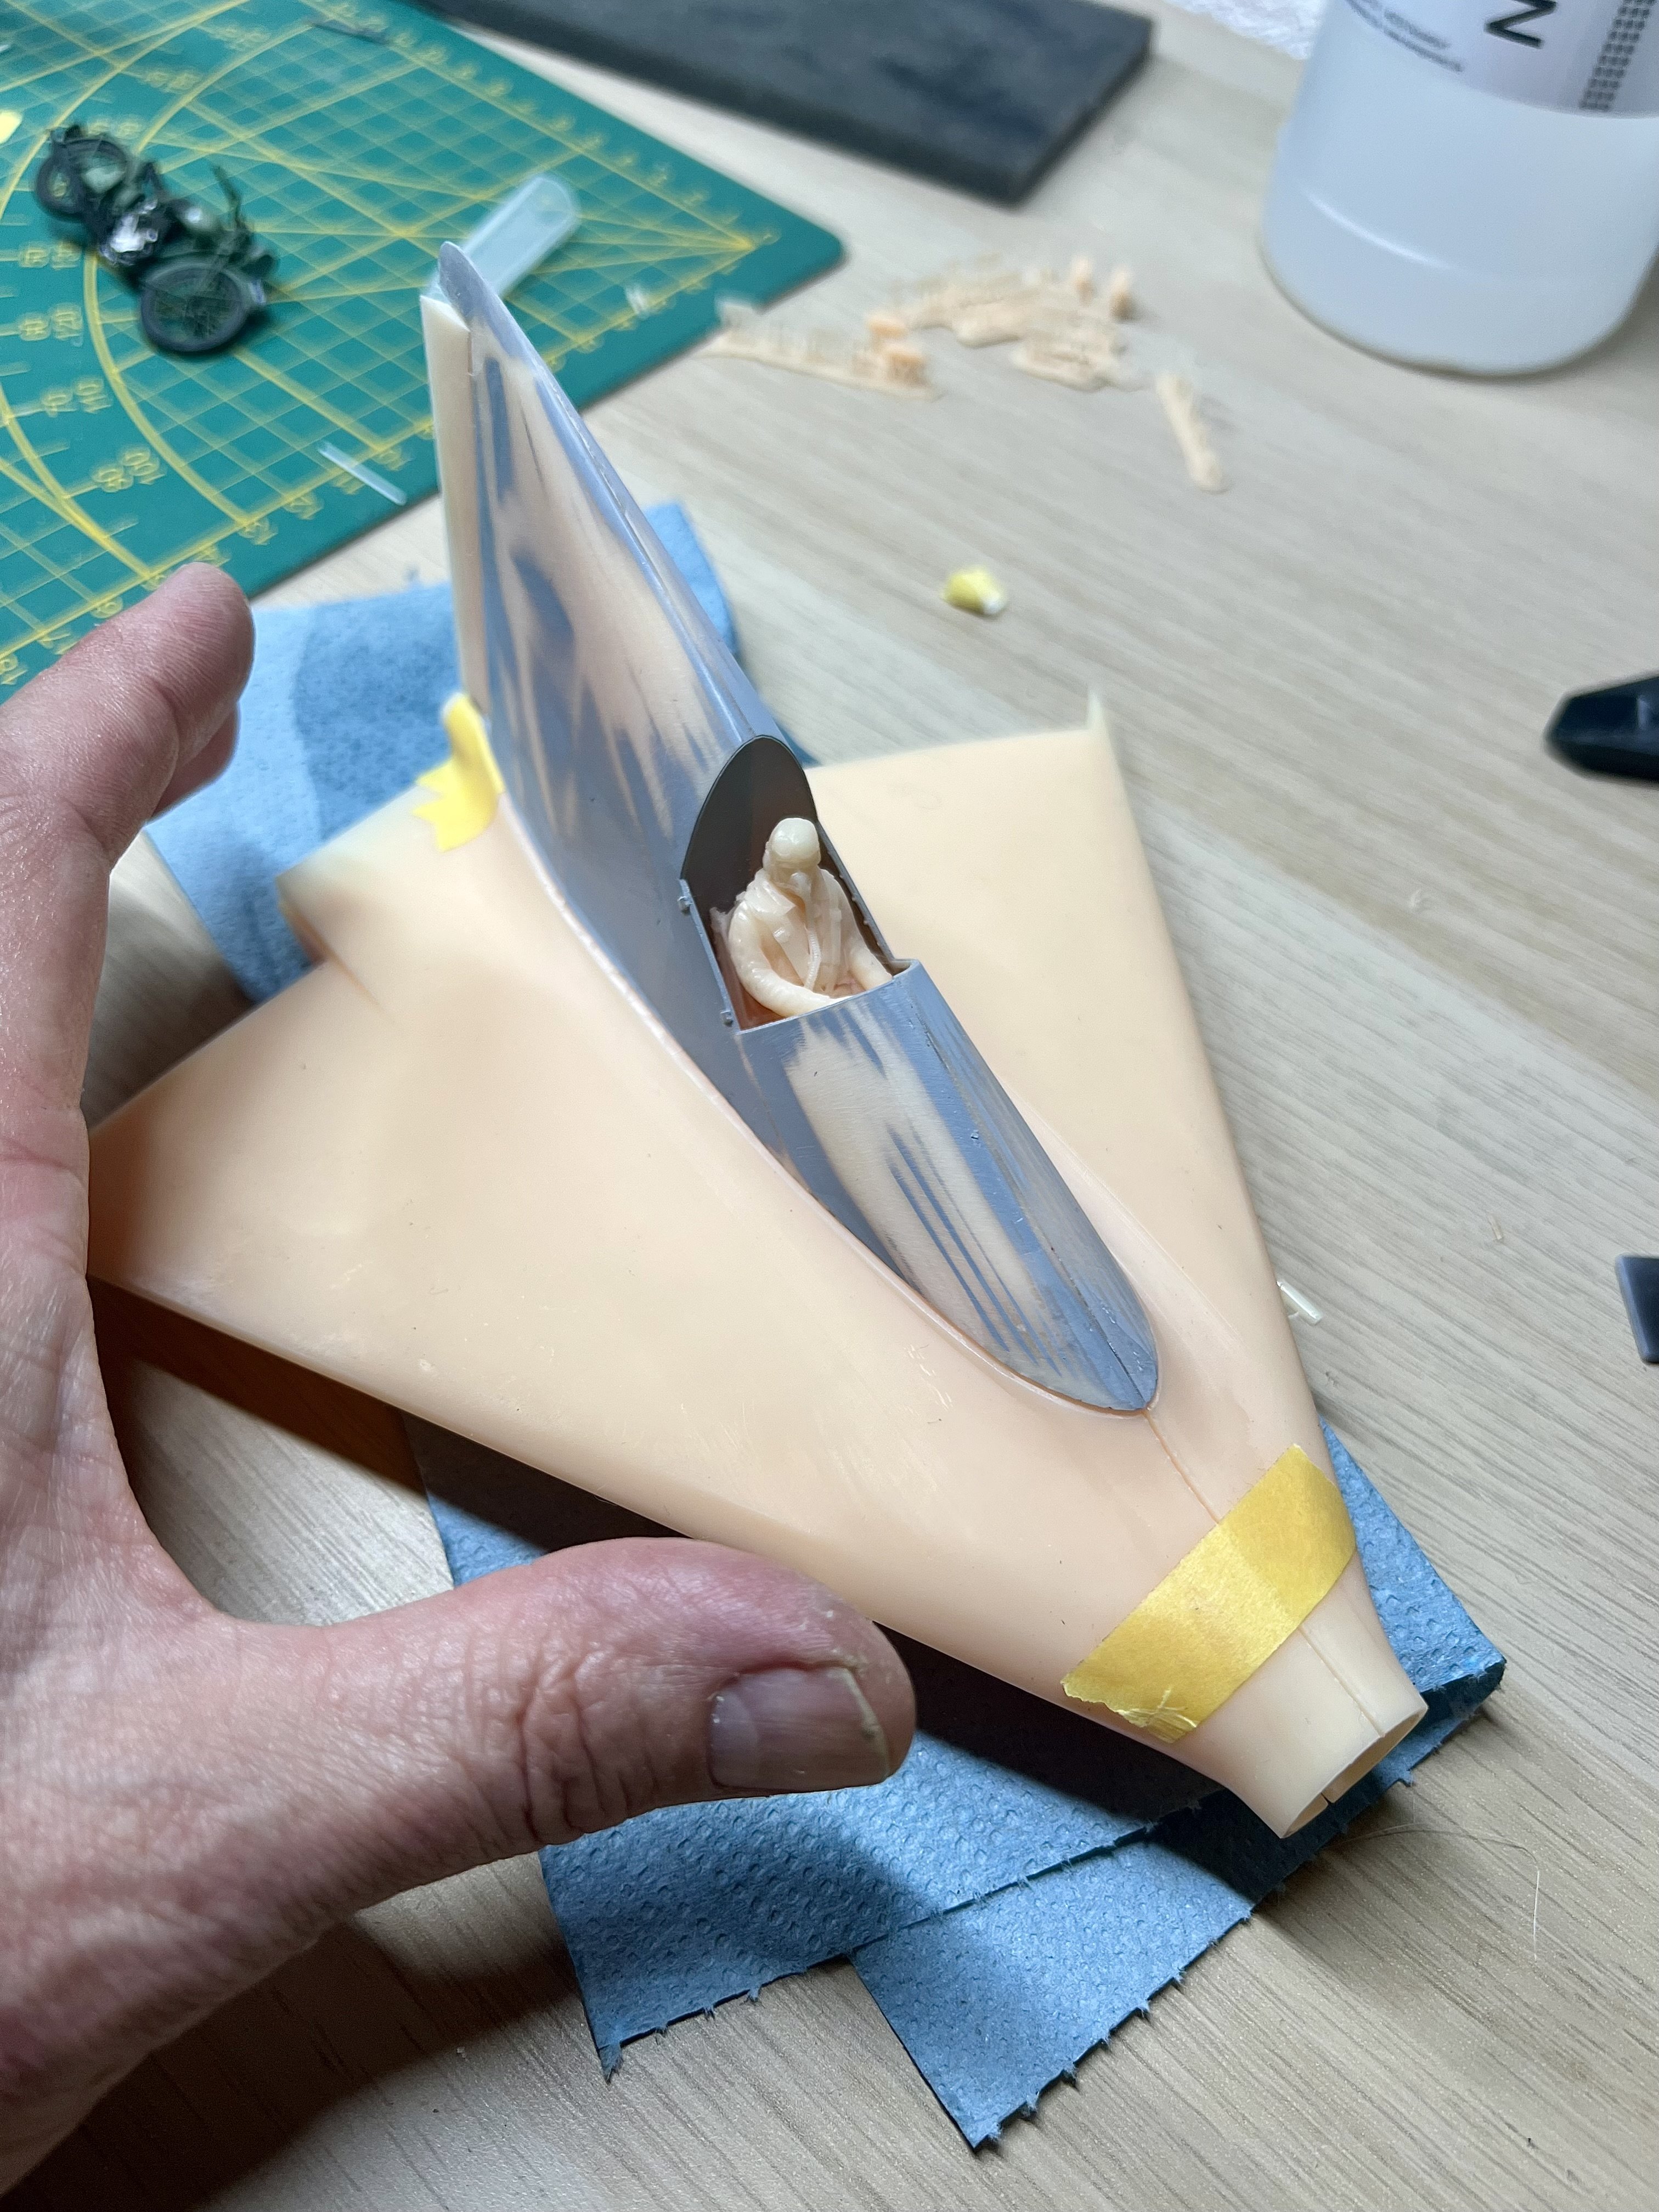
Glued the two halves together since there’s enough access from the bottom for pit detailing. This Lippisch will be in flight, cutting off a lanc nose section with crew.
-
1/32 Lippisch P.13a / 3d printed
JeroenPeters replied to JeroenPeters's topic in LSM 1/35 and Larger Work In Progress
Next big parts... I have a pretty large print bed, but this one only barely fits.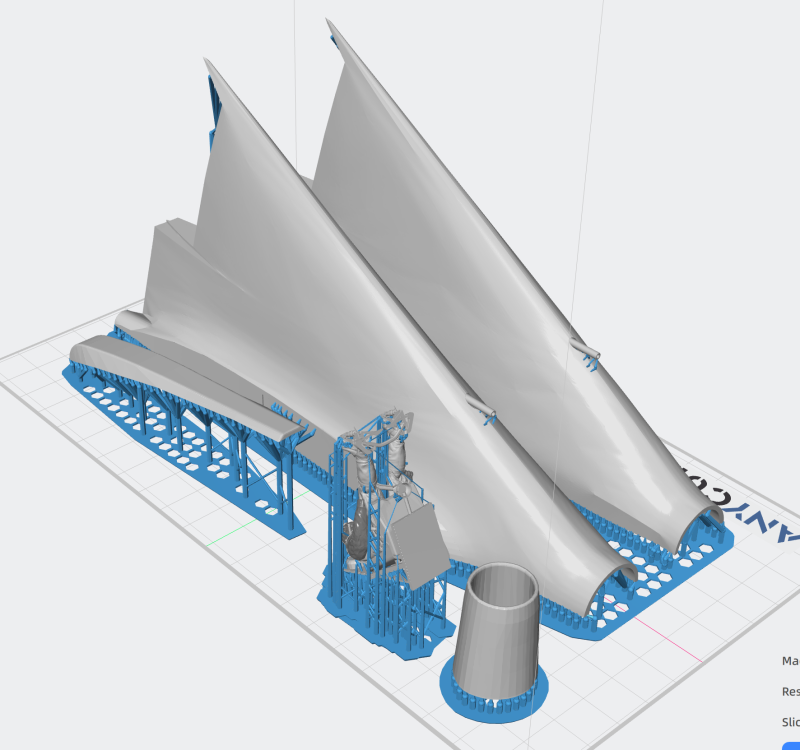
-
1/32 Lippisch P.13a / 3d printed
JeroenPeters replied to JeroenPeters's topic in LSM 1/35 and Larger Work In Progress
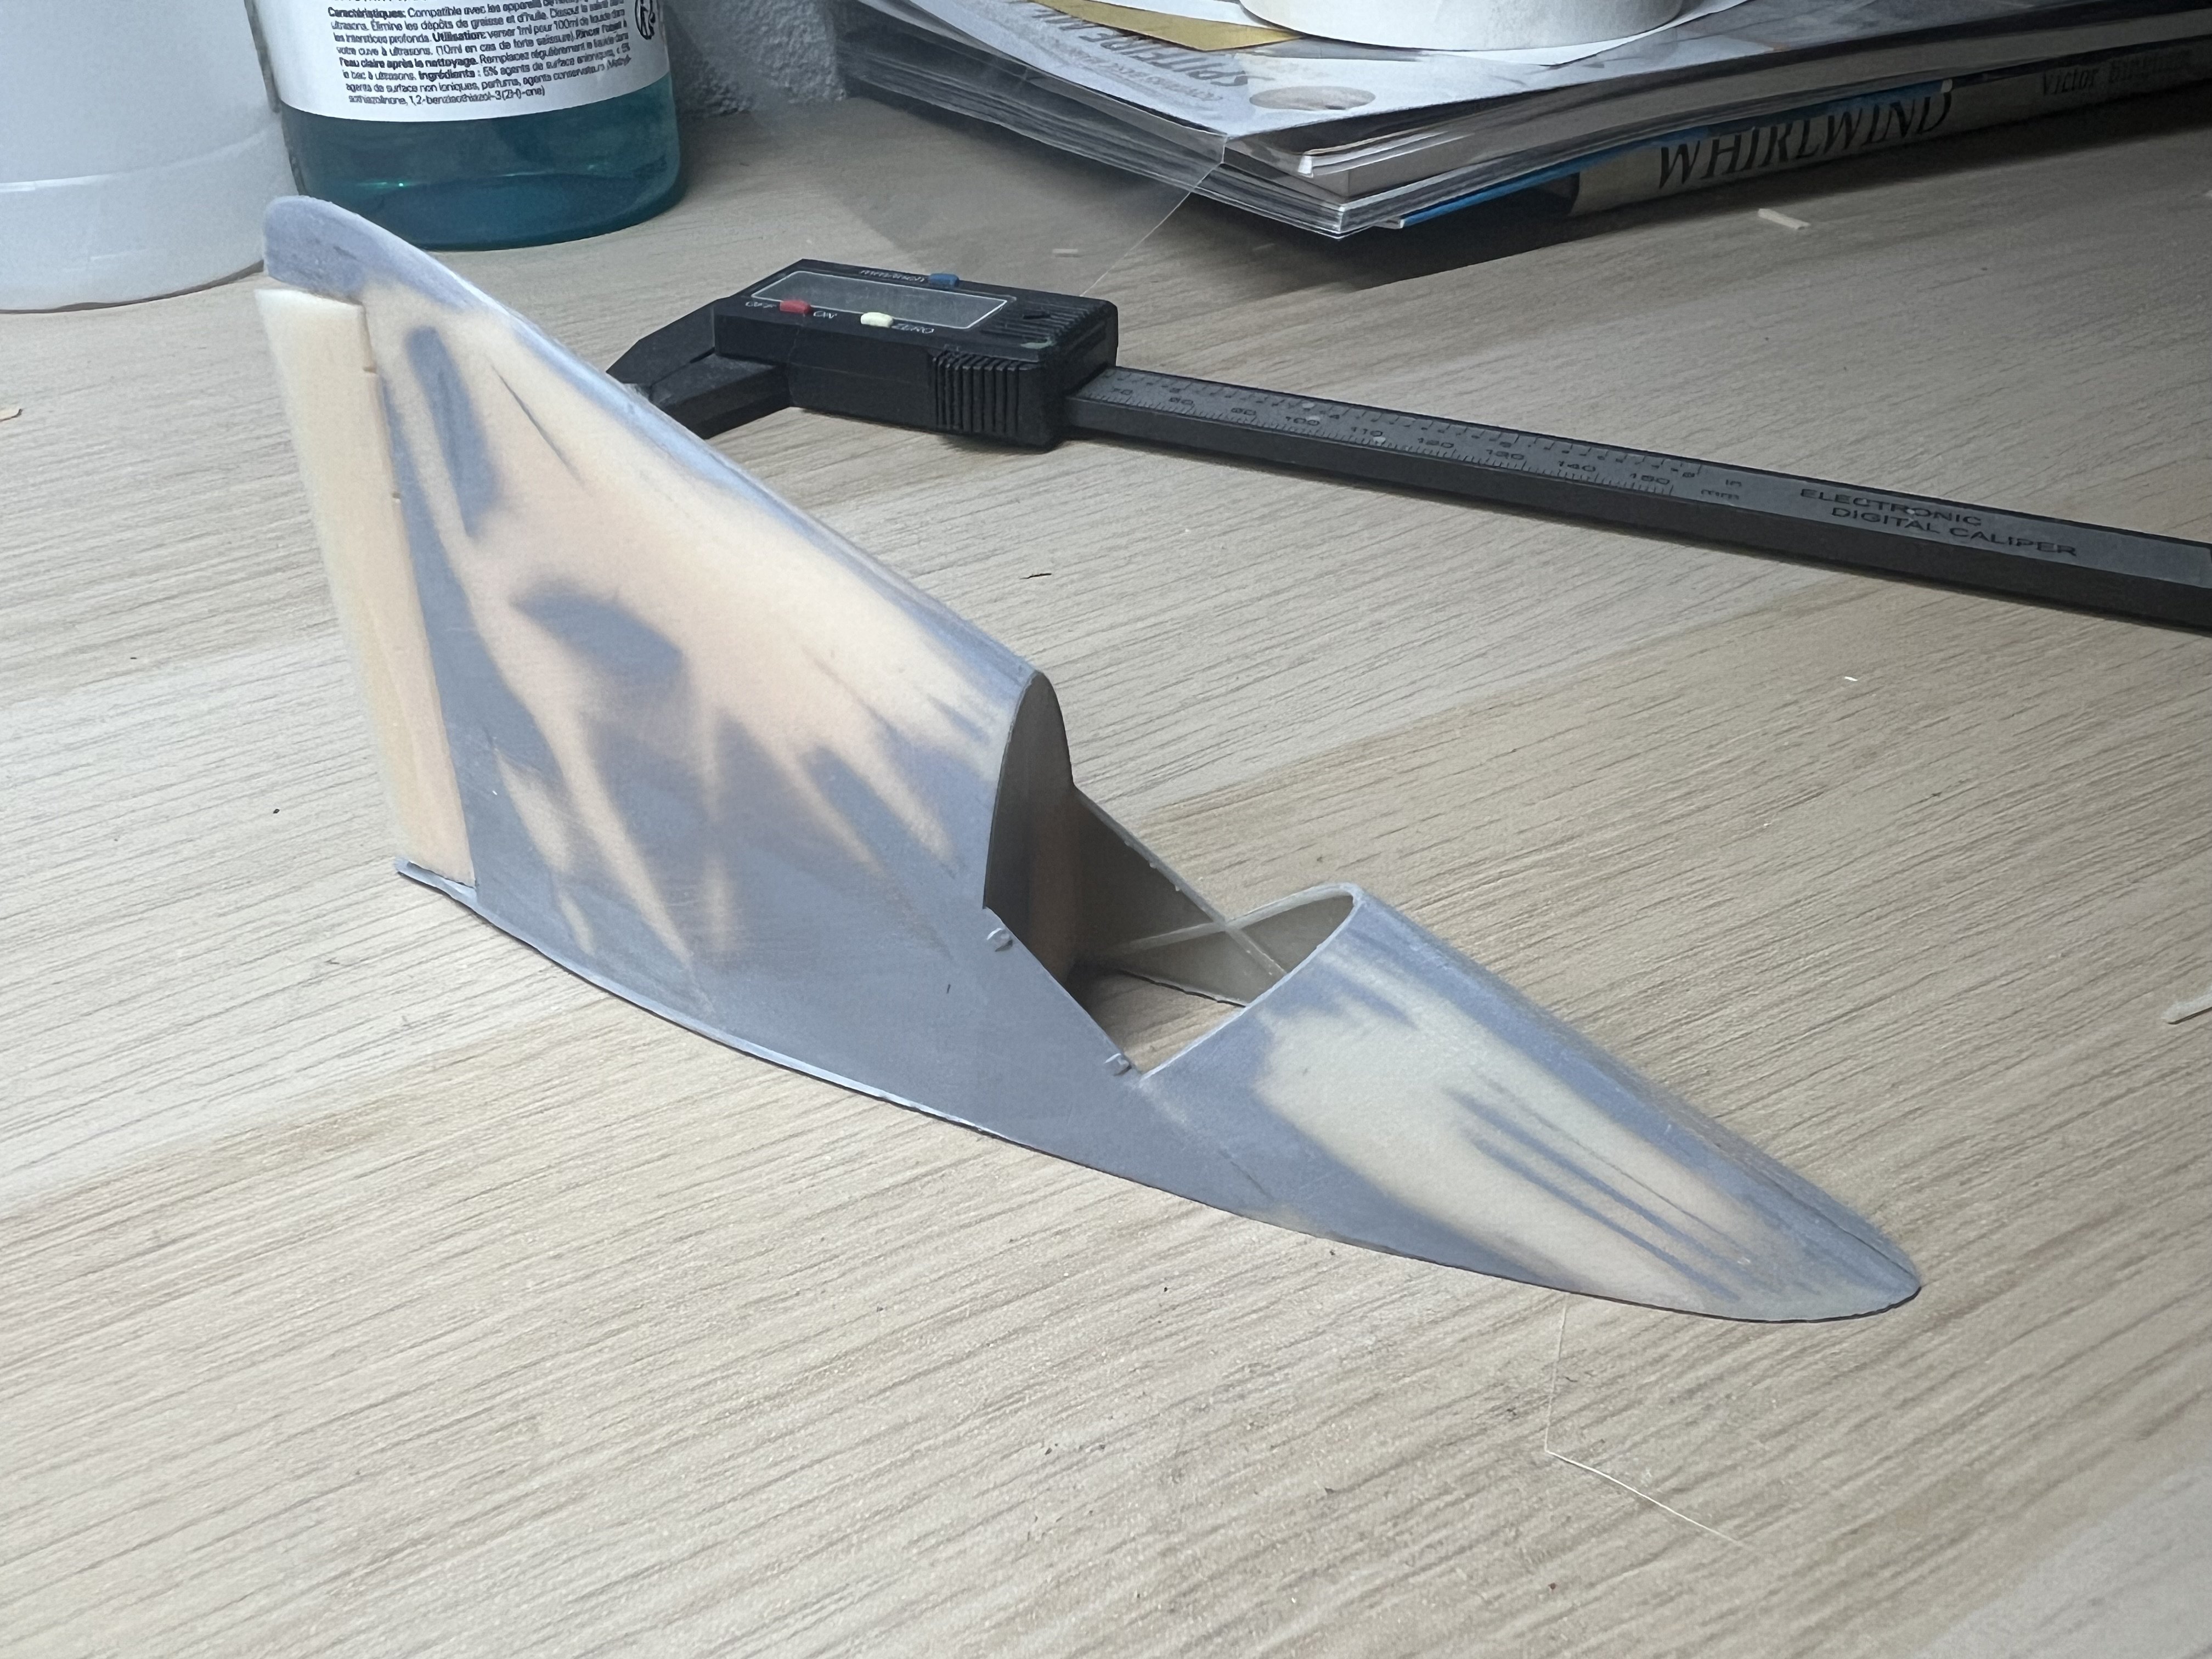
This beige resin luckily sands well. Almost a smooth serface now. I hope it scribes well for panellines too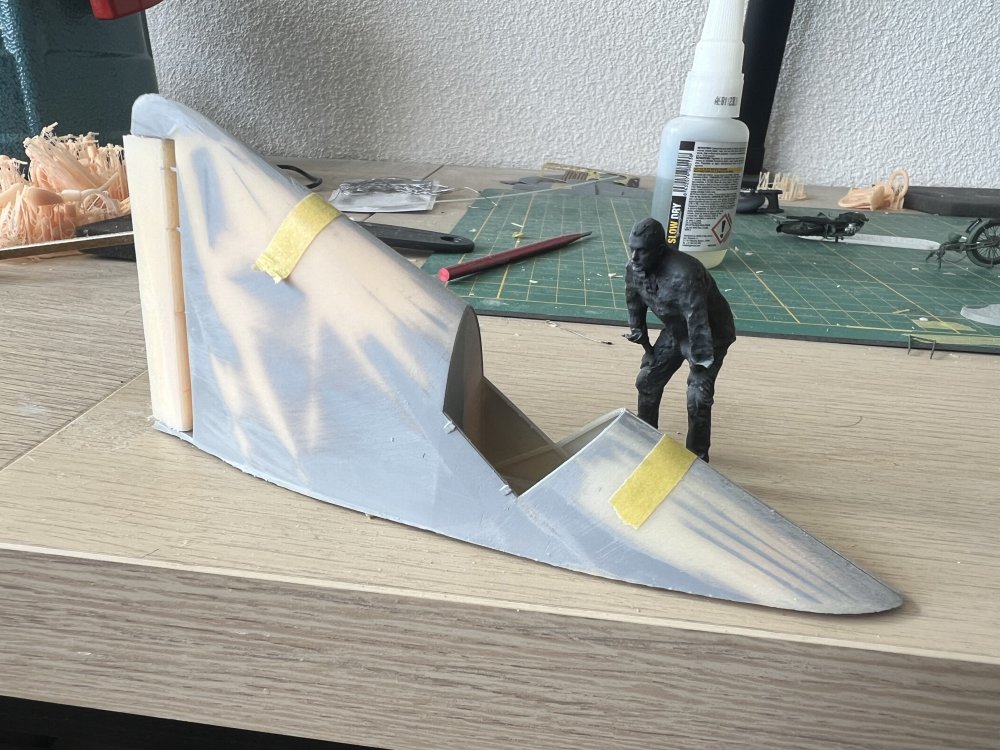
-
1/32 Lippisch P.13a / 3d printed
JeroenPeters replied to JeroenPeters's topic in LSM 1/35 and Larger Work In Progress
There are a lot of 3d polygons or facets on the print. I couldnt get it more detailed. So i hit the sides with mr surfacer and see if i can sand the thing smooth. Otherwise i need to try and smooth the 3d modeL

-
1/32 Lippisch P.13a / 3d printed
JeroenPeters replied to JeroenPeters's topic in LSM 1/35 and Larger Work In Progress
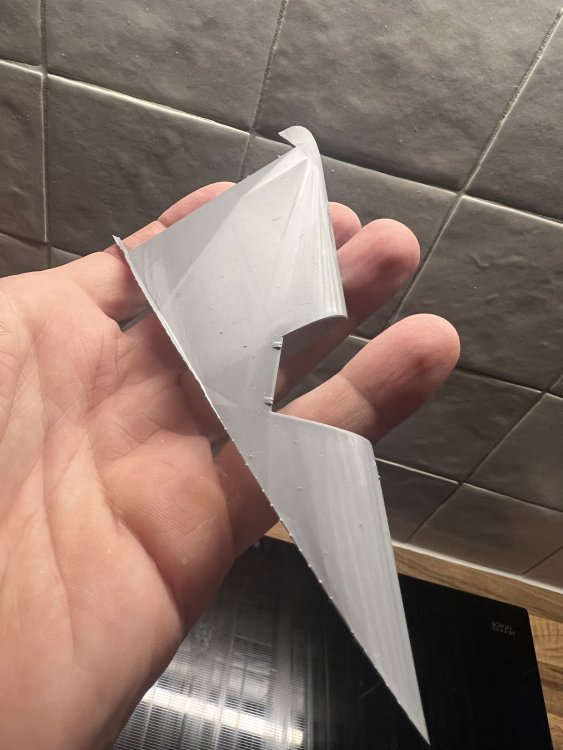
First test print


-
1/32 Lippisch P.13a / 3d printed
JeroenPeters replied to JeroenPeters's topic in LSM 1/35 and Larger Work In Progress
Here's the pilot.
-
1/32 Lippisch P.13a / 3d printed
JeroenPeters replied to JeroenPeters's topic in LSM 1/35 and Larger Work In Progress
Splitted the upper deck. We'll see how far I'll get with this one. The trickiest part is to use the right resin that allows you to make proper panel lines.
-
1/32 Lippisch P.13a / 3d printed
JeroenPeters posted a topic in LSM 1/35 and Larger Work In Progress
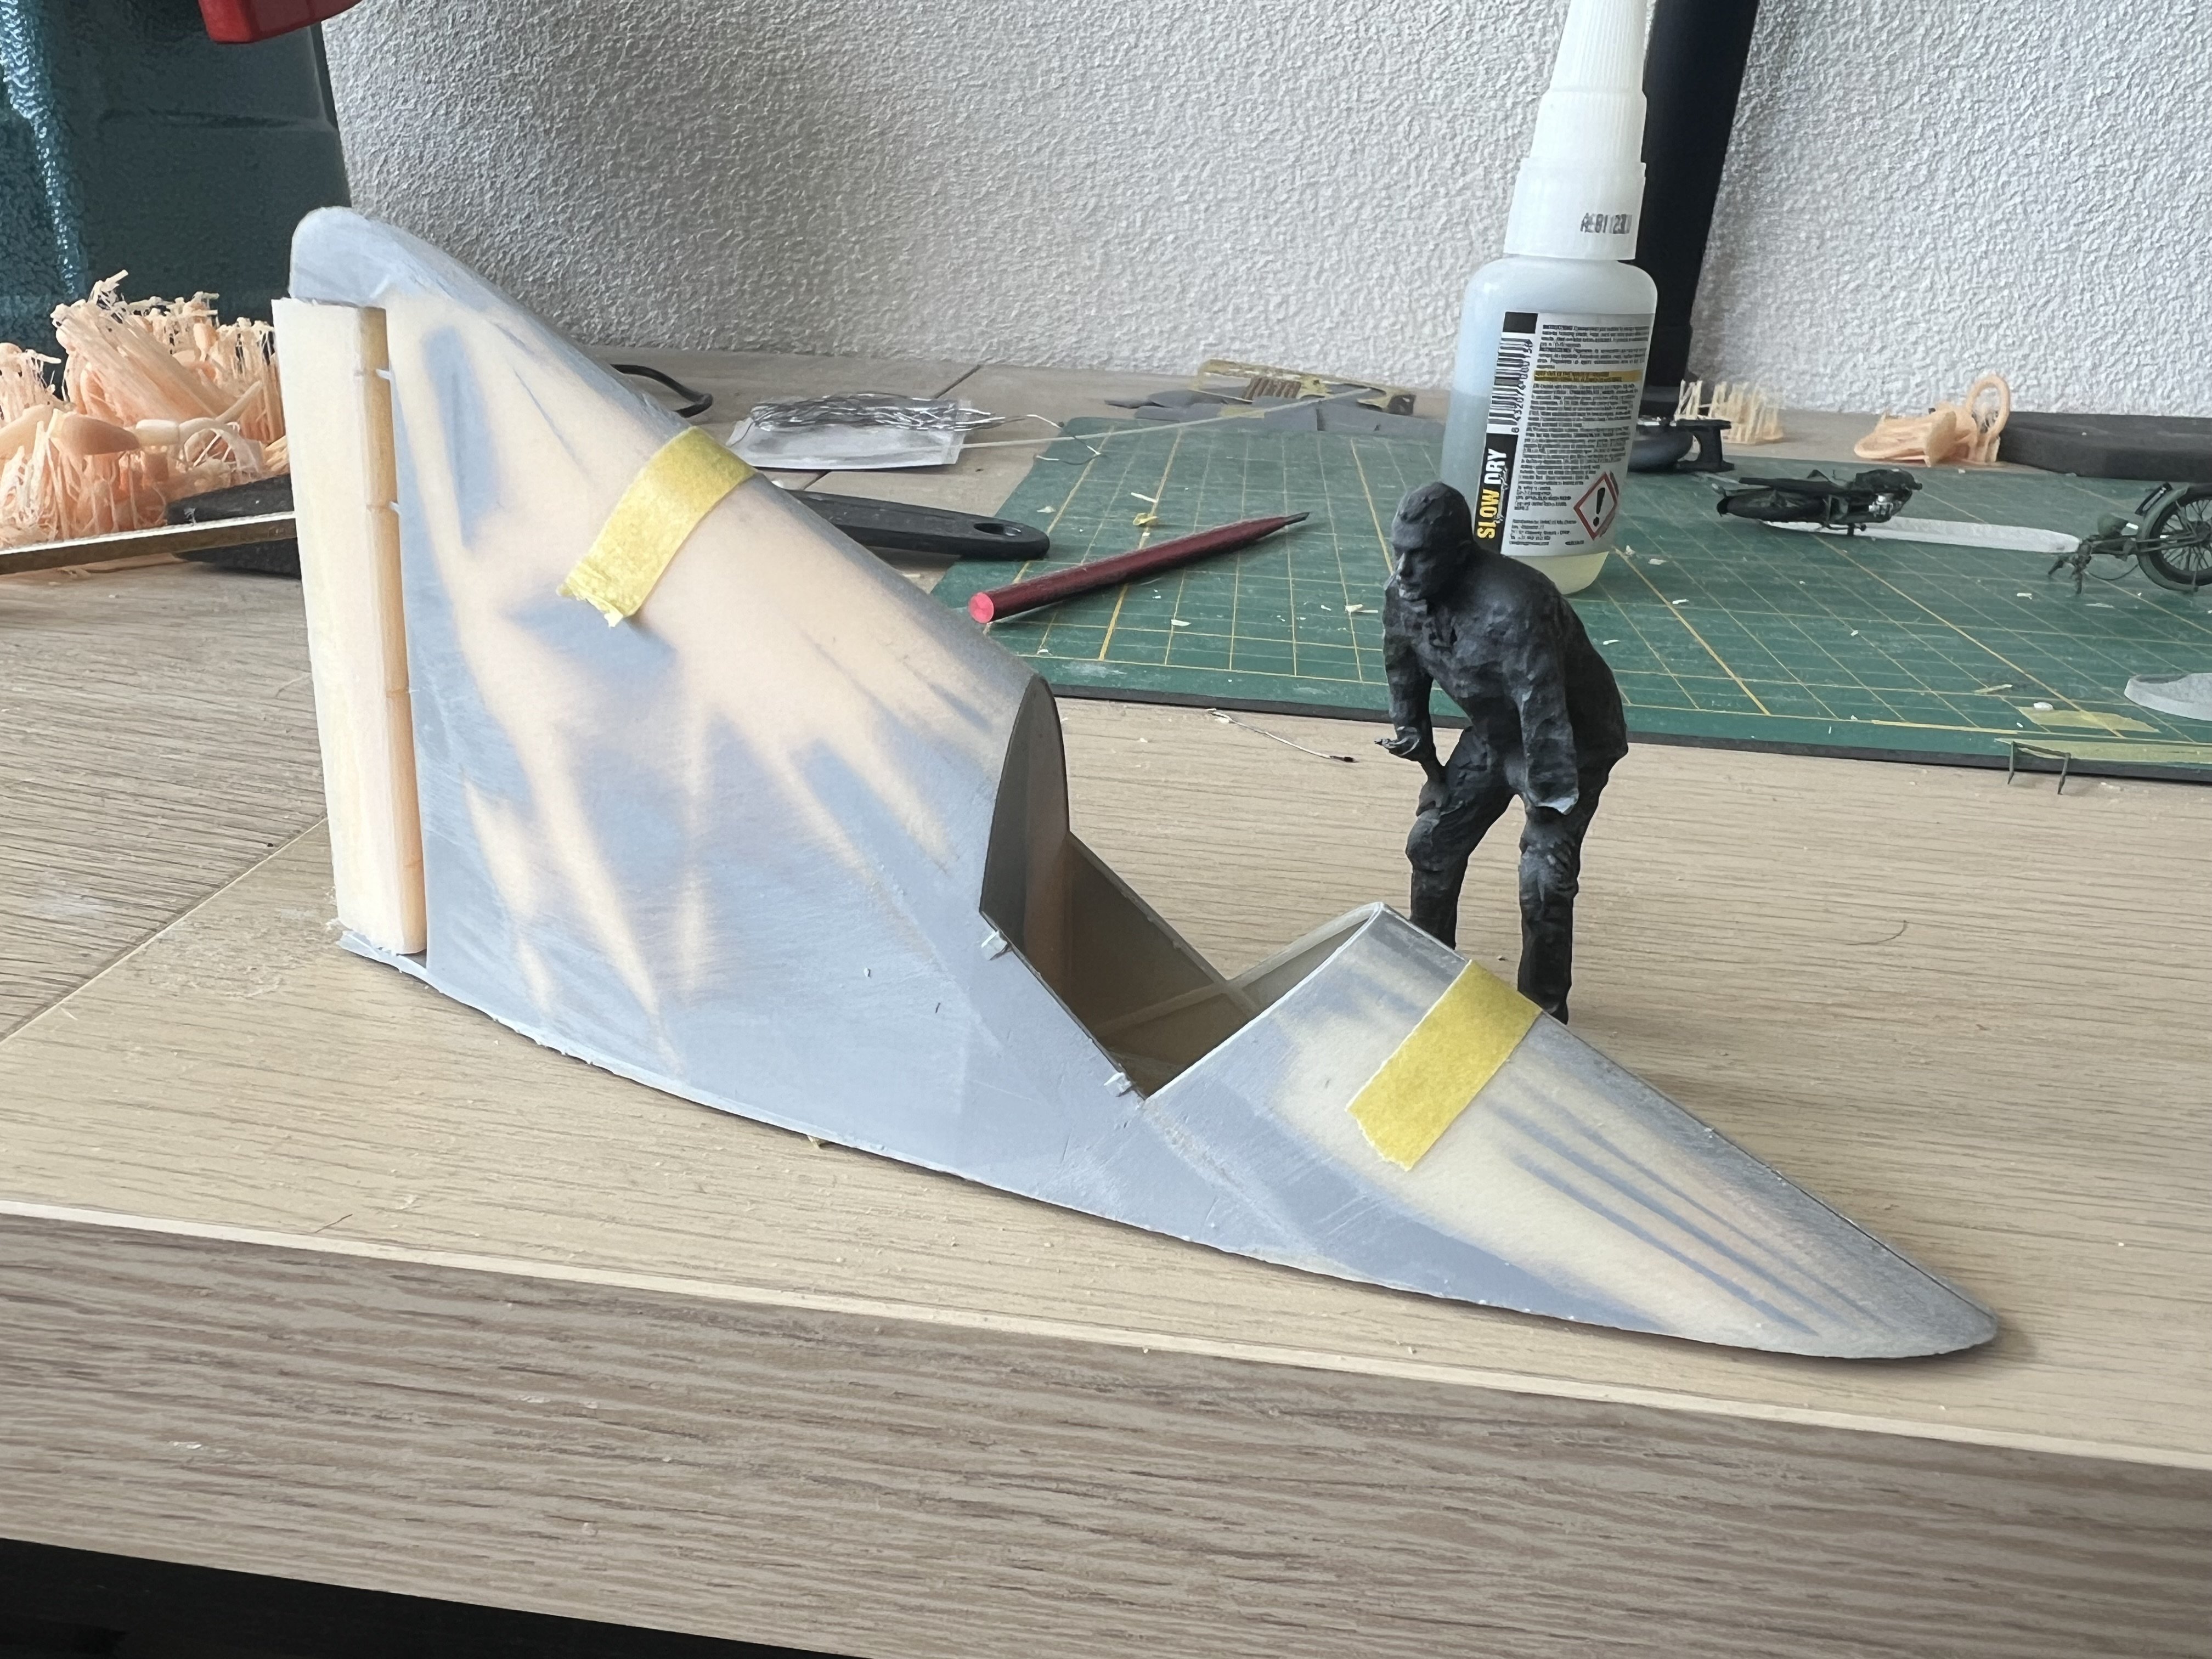
To be able to continue modelling, even when I don't have any bench time, I like to plug away at 3D models, hoping to one day print them. Downloaded a 3d model from Render Hub of the P13a and started to cut it up. Clean it up and add detail. The idea is to build it flying and whistling past the nose of a HK Lancaster nose art kit. All mounted to my wall. We'll see... Started adding and modifying a pilot. When working on the model I discovered this is by no means a small plane! Almost 21cm long! Never knew that... 6.7meters long in reality.


-
1/32 Westland Whirlwind
JeroenPeters replied to JeroenPeters's topic in LSM 1/35 and Larger Work In Progress
Sprayed the registration codes on the fender and license plates.
-
1/32 Westland Whirlwind
JeroenPeters replied to JeroenPeters's topic in LSM 1/35 and Larger Work In Progress
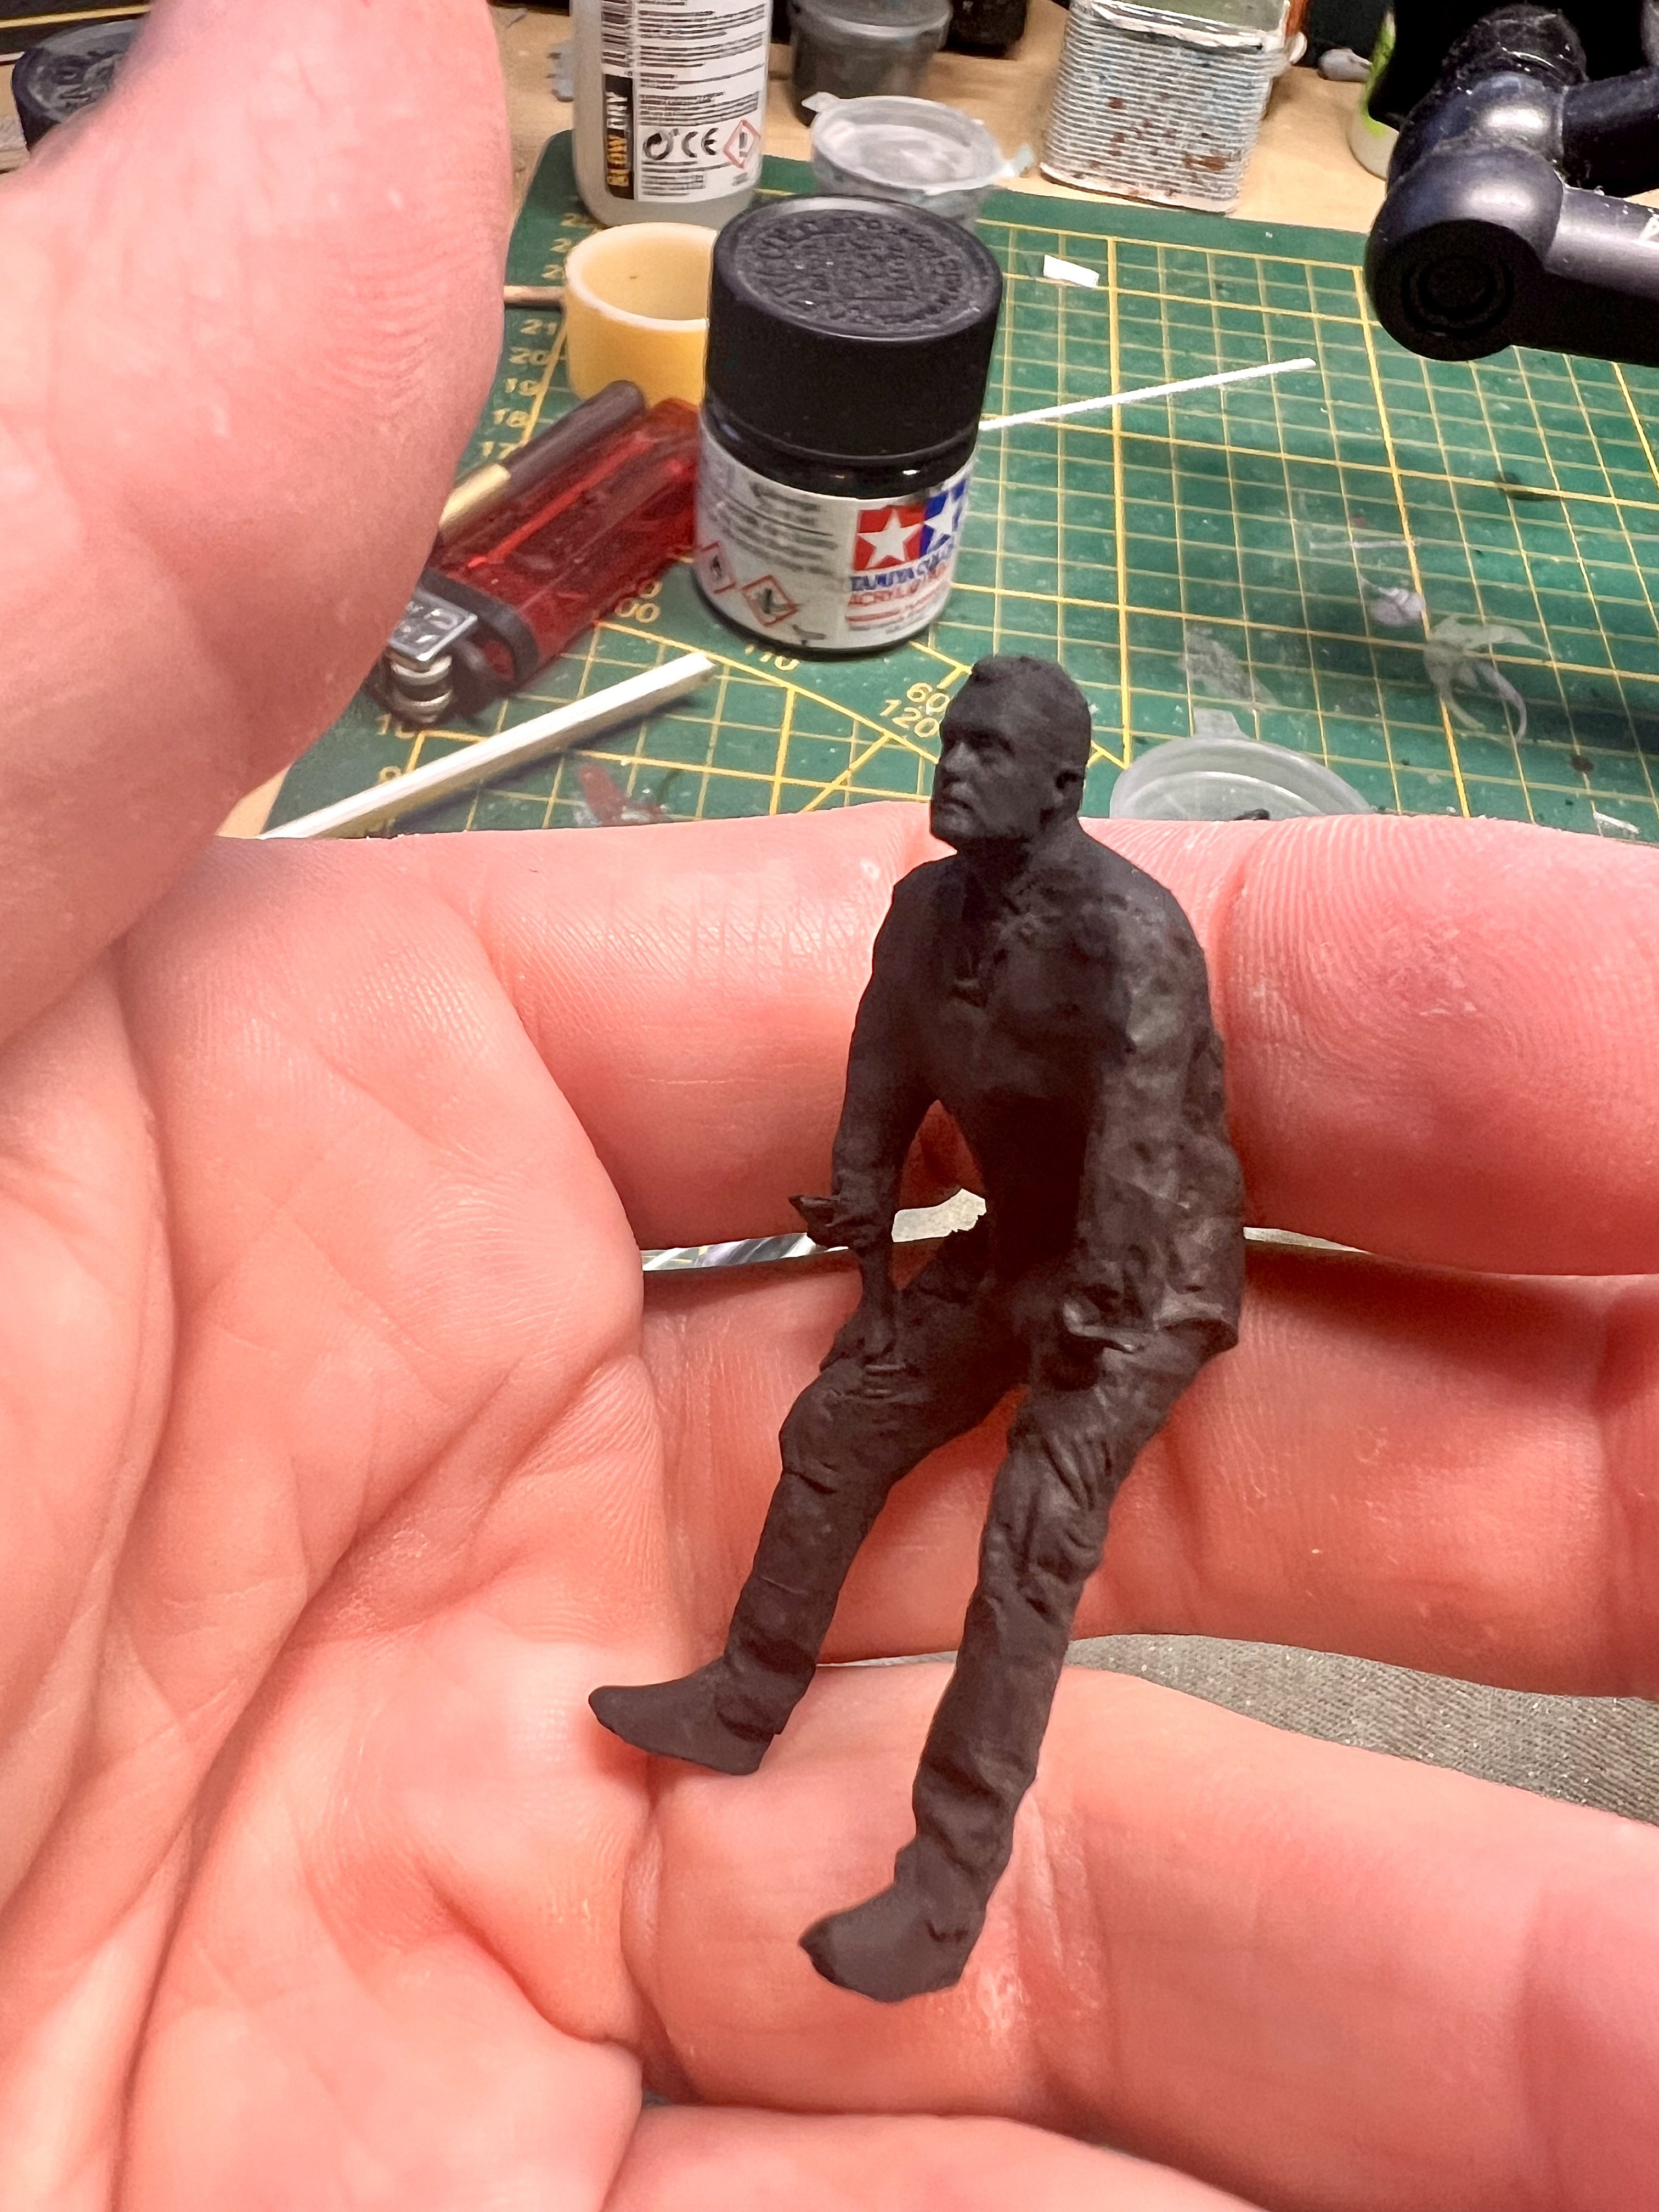
And here’s little ol’ me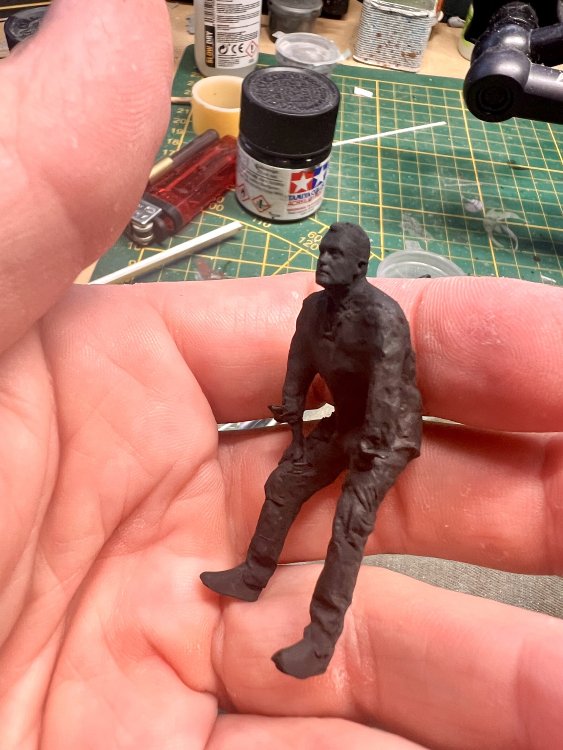
-
1/32 Westland Whirlwind
JeroenPeters replied to JeroenPeters's topic in LSM 1/35 and Larger Work In Progress
Getting there! i had 2mm transparent bases cut for the bikes.
-
1/32 Westland Whirlwind
JeroenPeters replied to JeroenPeters's topic in LSM 1/35 and Larger Work In Progress
Here is one segment: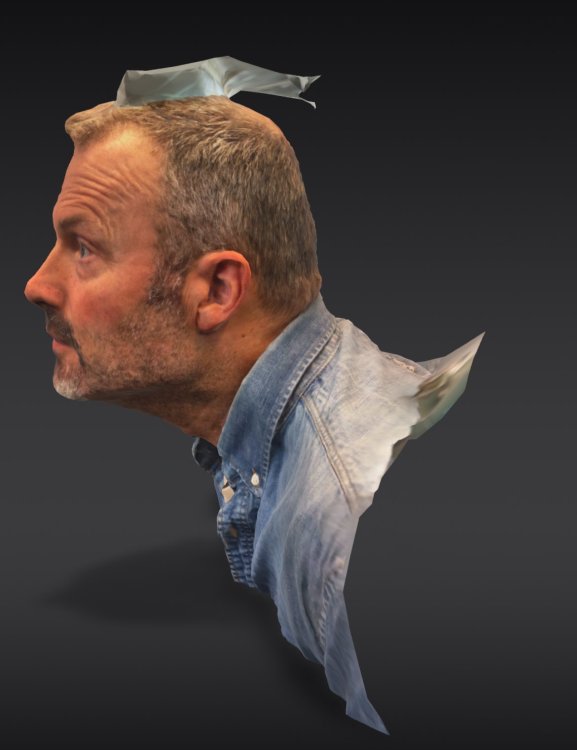
-
1/32 Westland Whirlwind
JeroenPeters replied to JeroenPeters's topic in LSM 1/35 and Larger Work In Progress
Sure. With the iphone. I used the app Sapling. Perfect for scanning smaller object, but when you want to scan an entire person, you need to do it in segments since the polygon count per scan is limited.