Wingco57
-
Posts
3,925 -
Joined
-
Last visited
Content Type
Profiles
Forums
Events
Gallery
Everything posted by Wingco57
-
 One side at the time otherwise you get crosseyed.
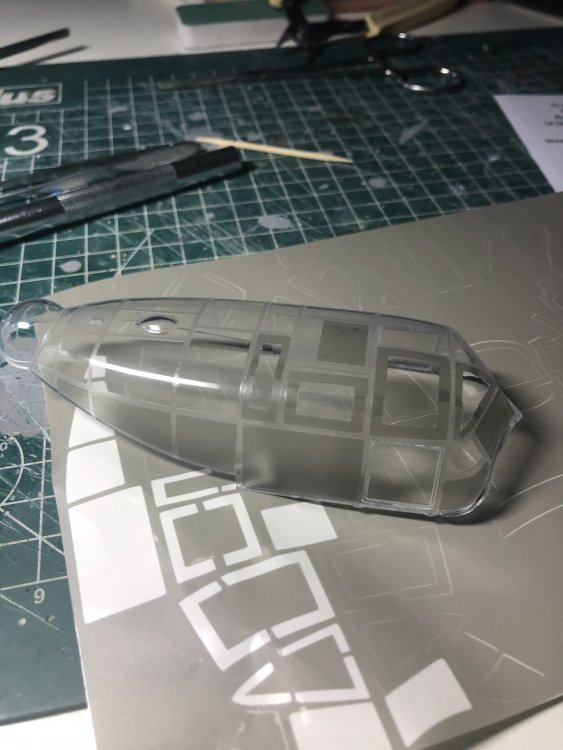
-
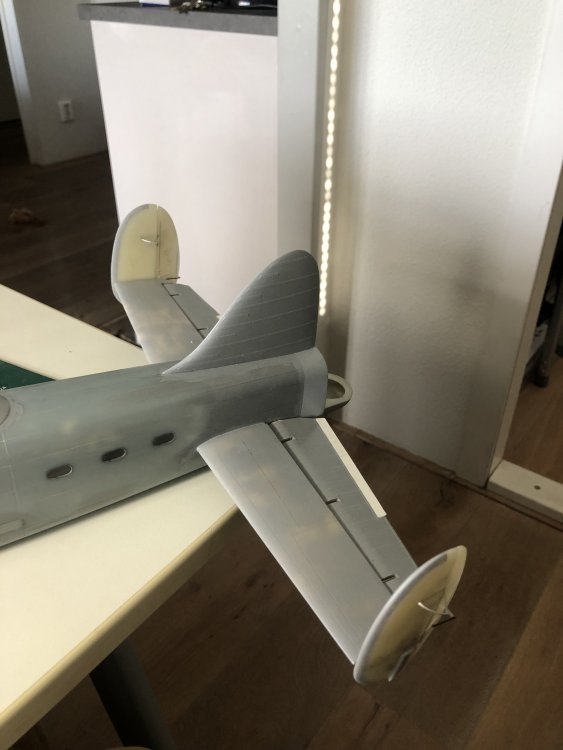
And I felt the fins needed to be fitted.
-
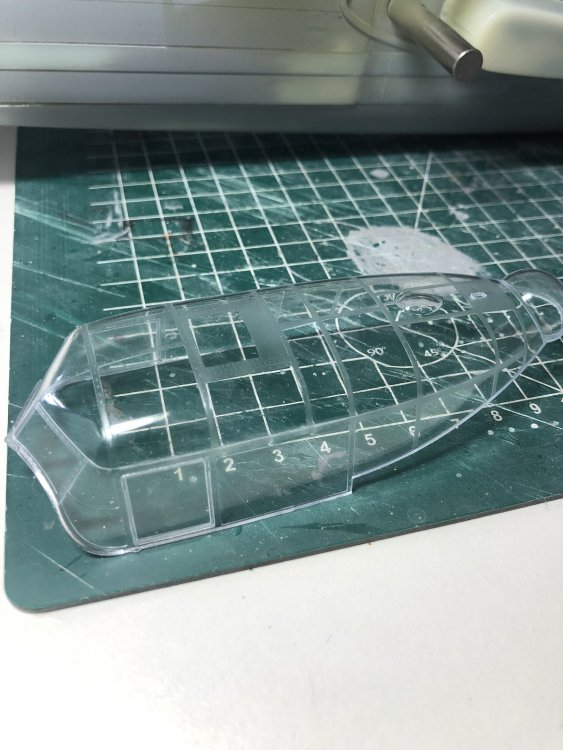
Well the second try was not a succes as the clear coat was contaminated and as a sesult the canopy was not very clear. so here is attemp #3, where the sliding sidewindows have been fitted. Closed in my case. After a thorough clean it will be masked inside and out. cheers Cees
-
How could I have missed this thread. What fantastic paintwork. You really like them scruffy. Cees
-
1/18 P51C Mustang "Lopes Hope 3rd"
Wingco57 replied to airscale's topic in LSM 1/35 and Larger Work In Progress
Wonderful work as always Peter. Have you figured out how to represent the weld on that fillet? Cheers Cees -
Hurricane llc Trop.
Wingco57 replied to Clunkmeister's topic in LSM 1/35 and Larger Work In Progress
There is not much of dihedral on the Hurricane. The top of the wings if almost horizontal but the underside of the outerwings slope upwards creating the impression of dihedral. Hth Cees -
Frazer Nash FN5 gun-turrets
Wingco57 replied to Fidd88's topic in LSM 1/35 and Larger Work In Progress
Absolutely bl@@dy fantastic. Just a thing for the man cave. Although I have never seen that type of fire-extinguisher in any British power turret. Well done. Cheers Cees -
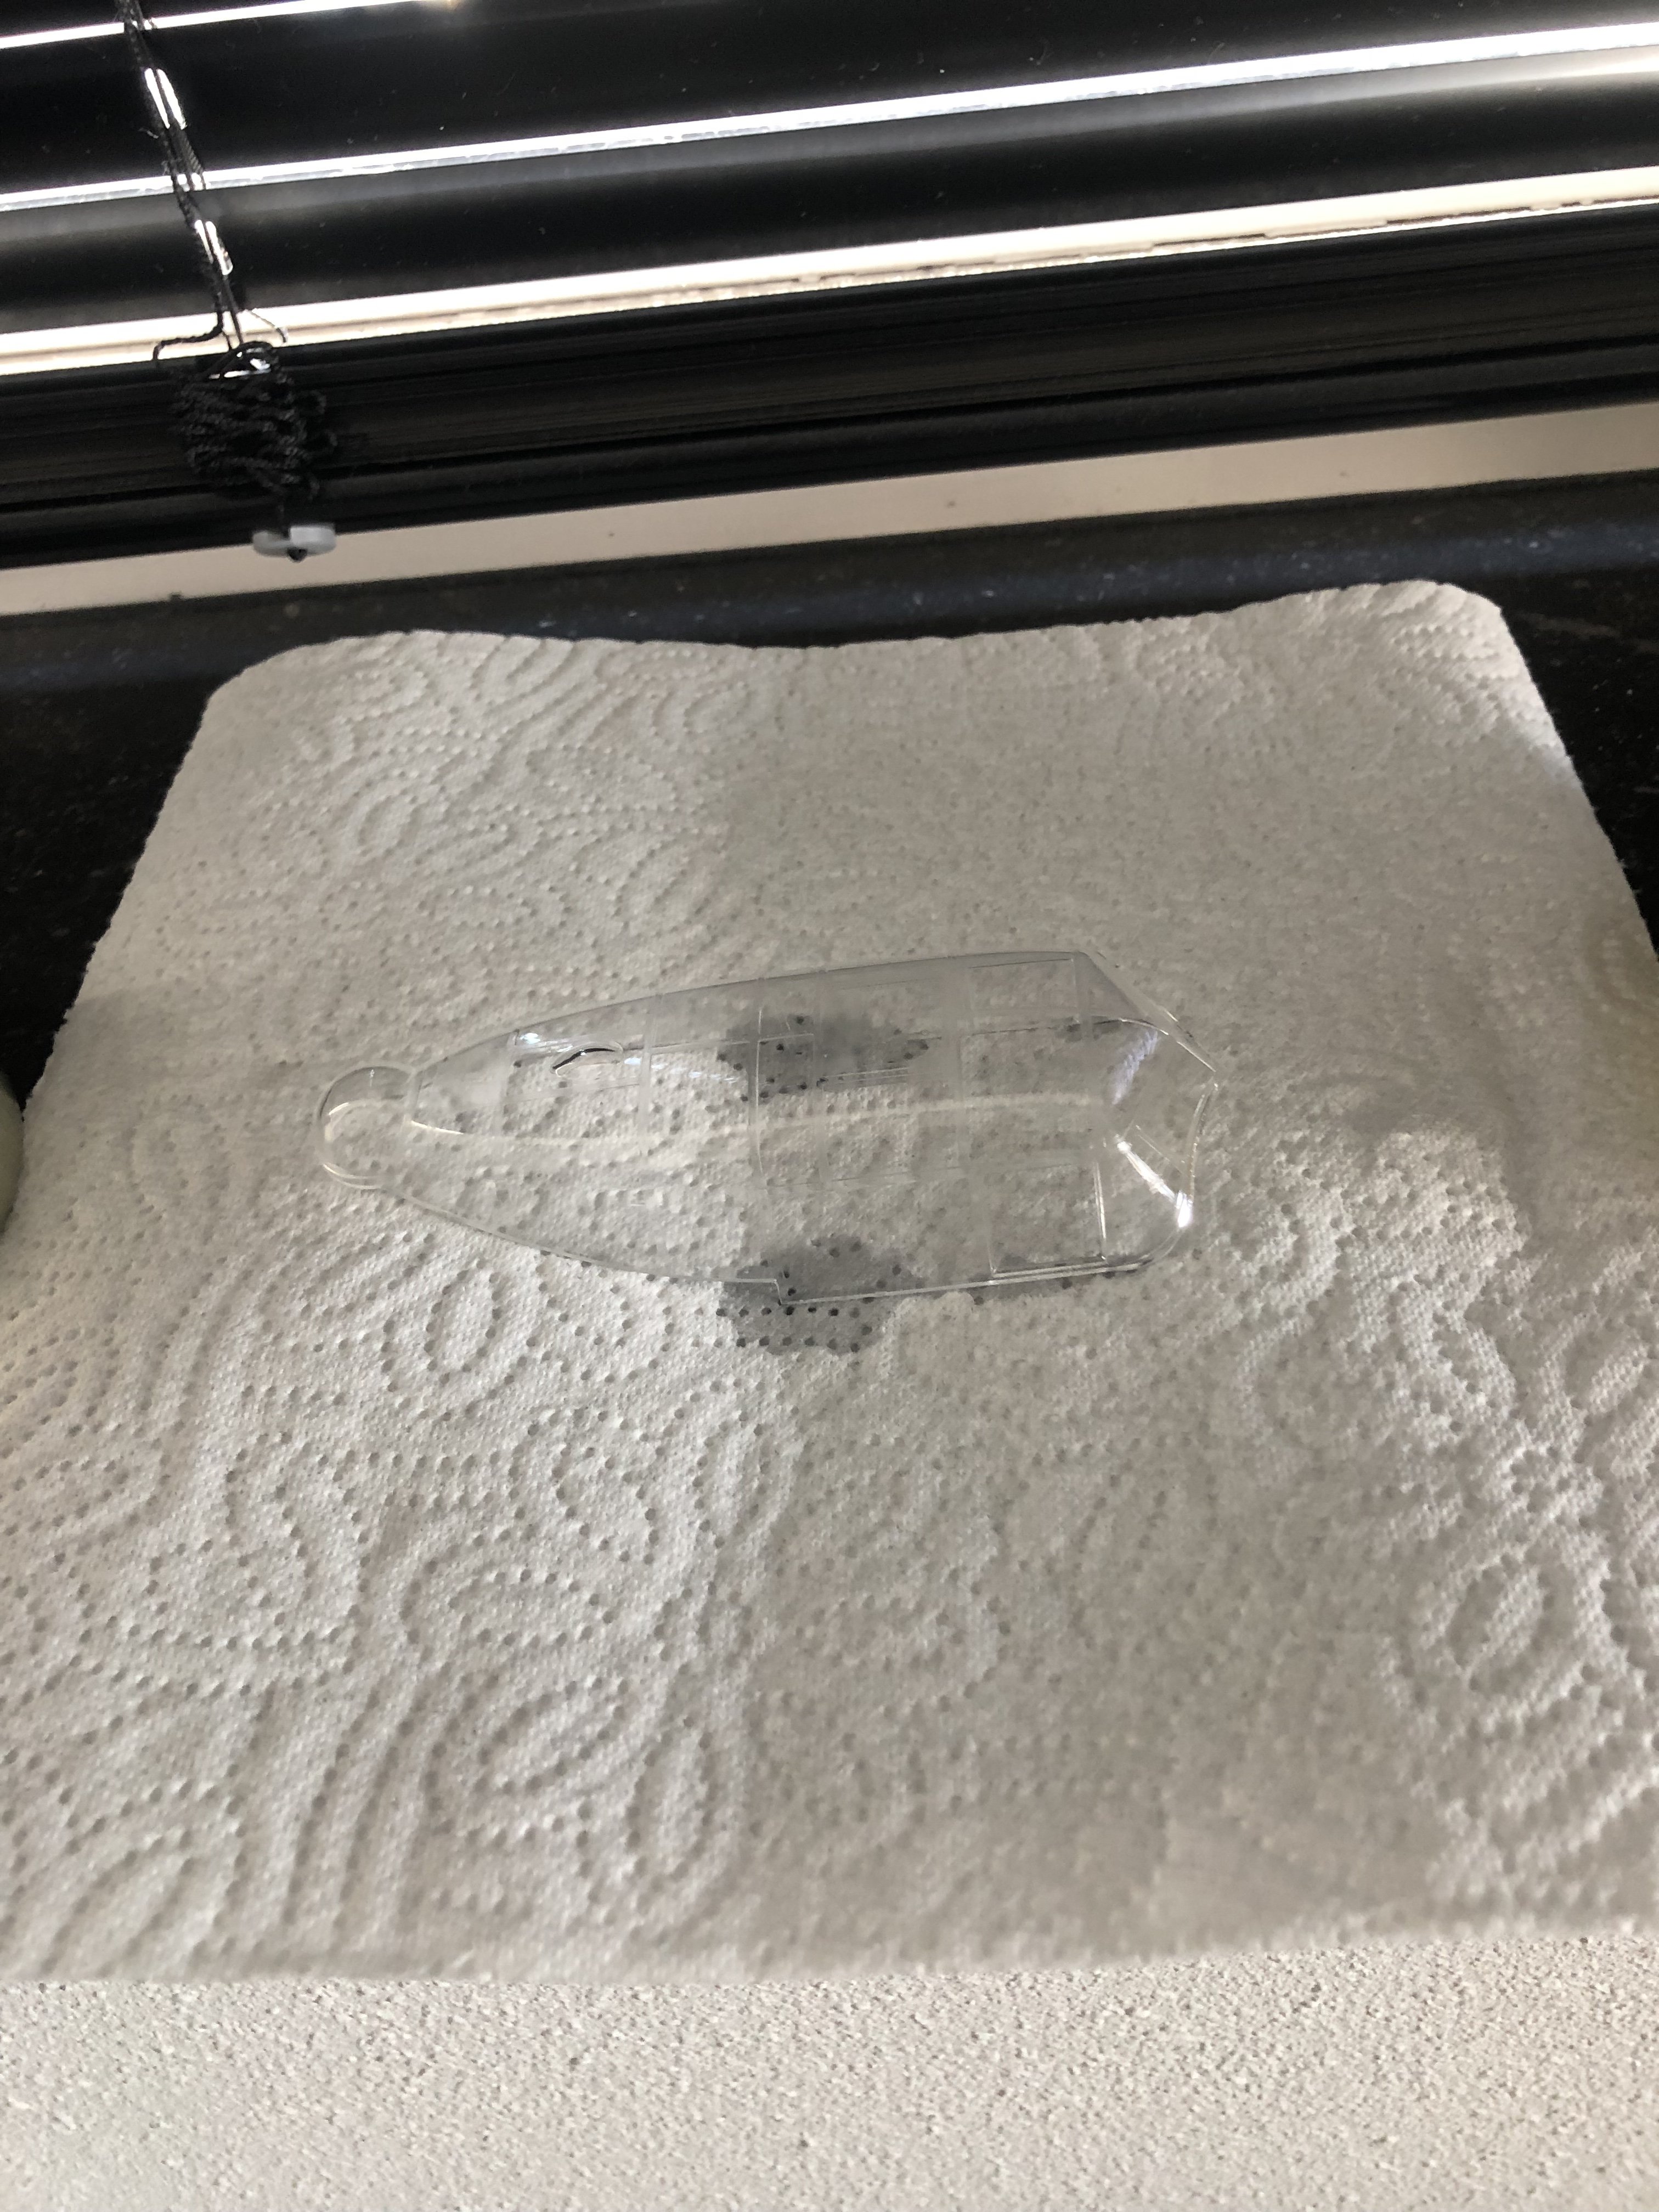
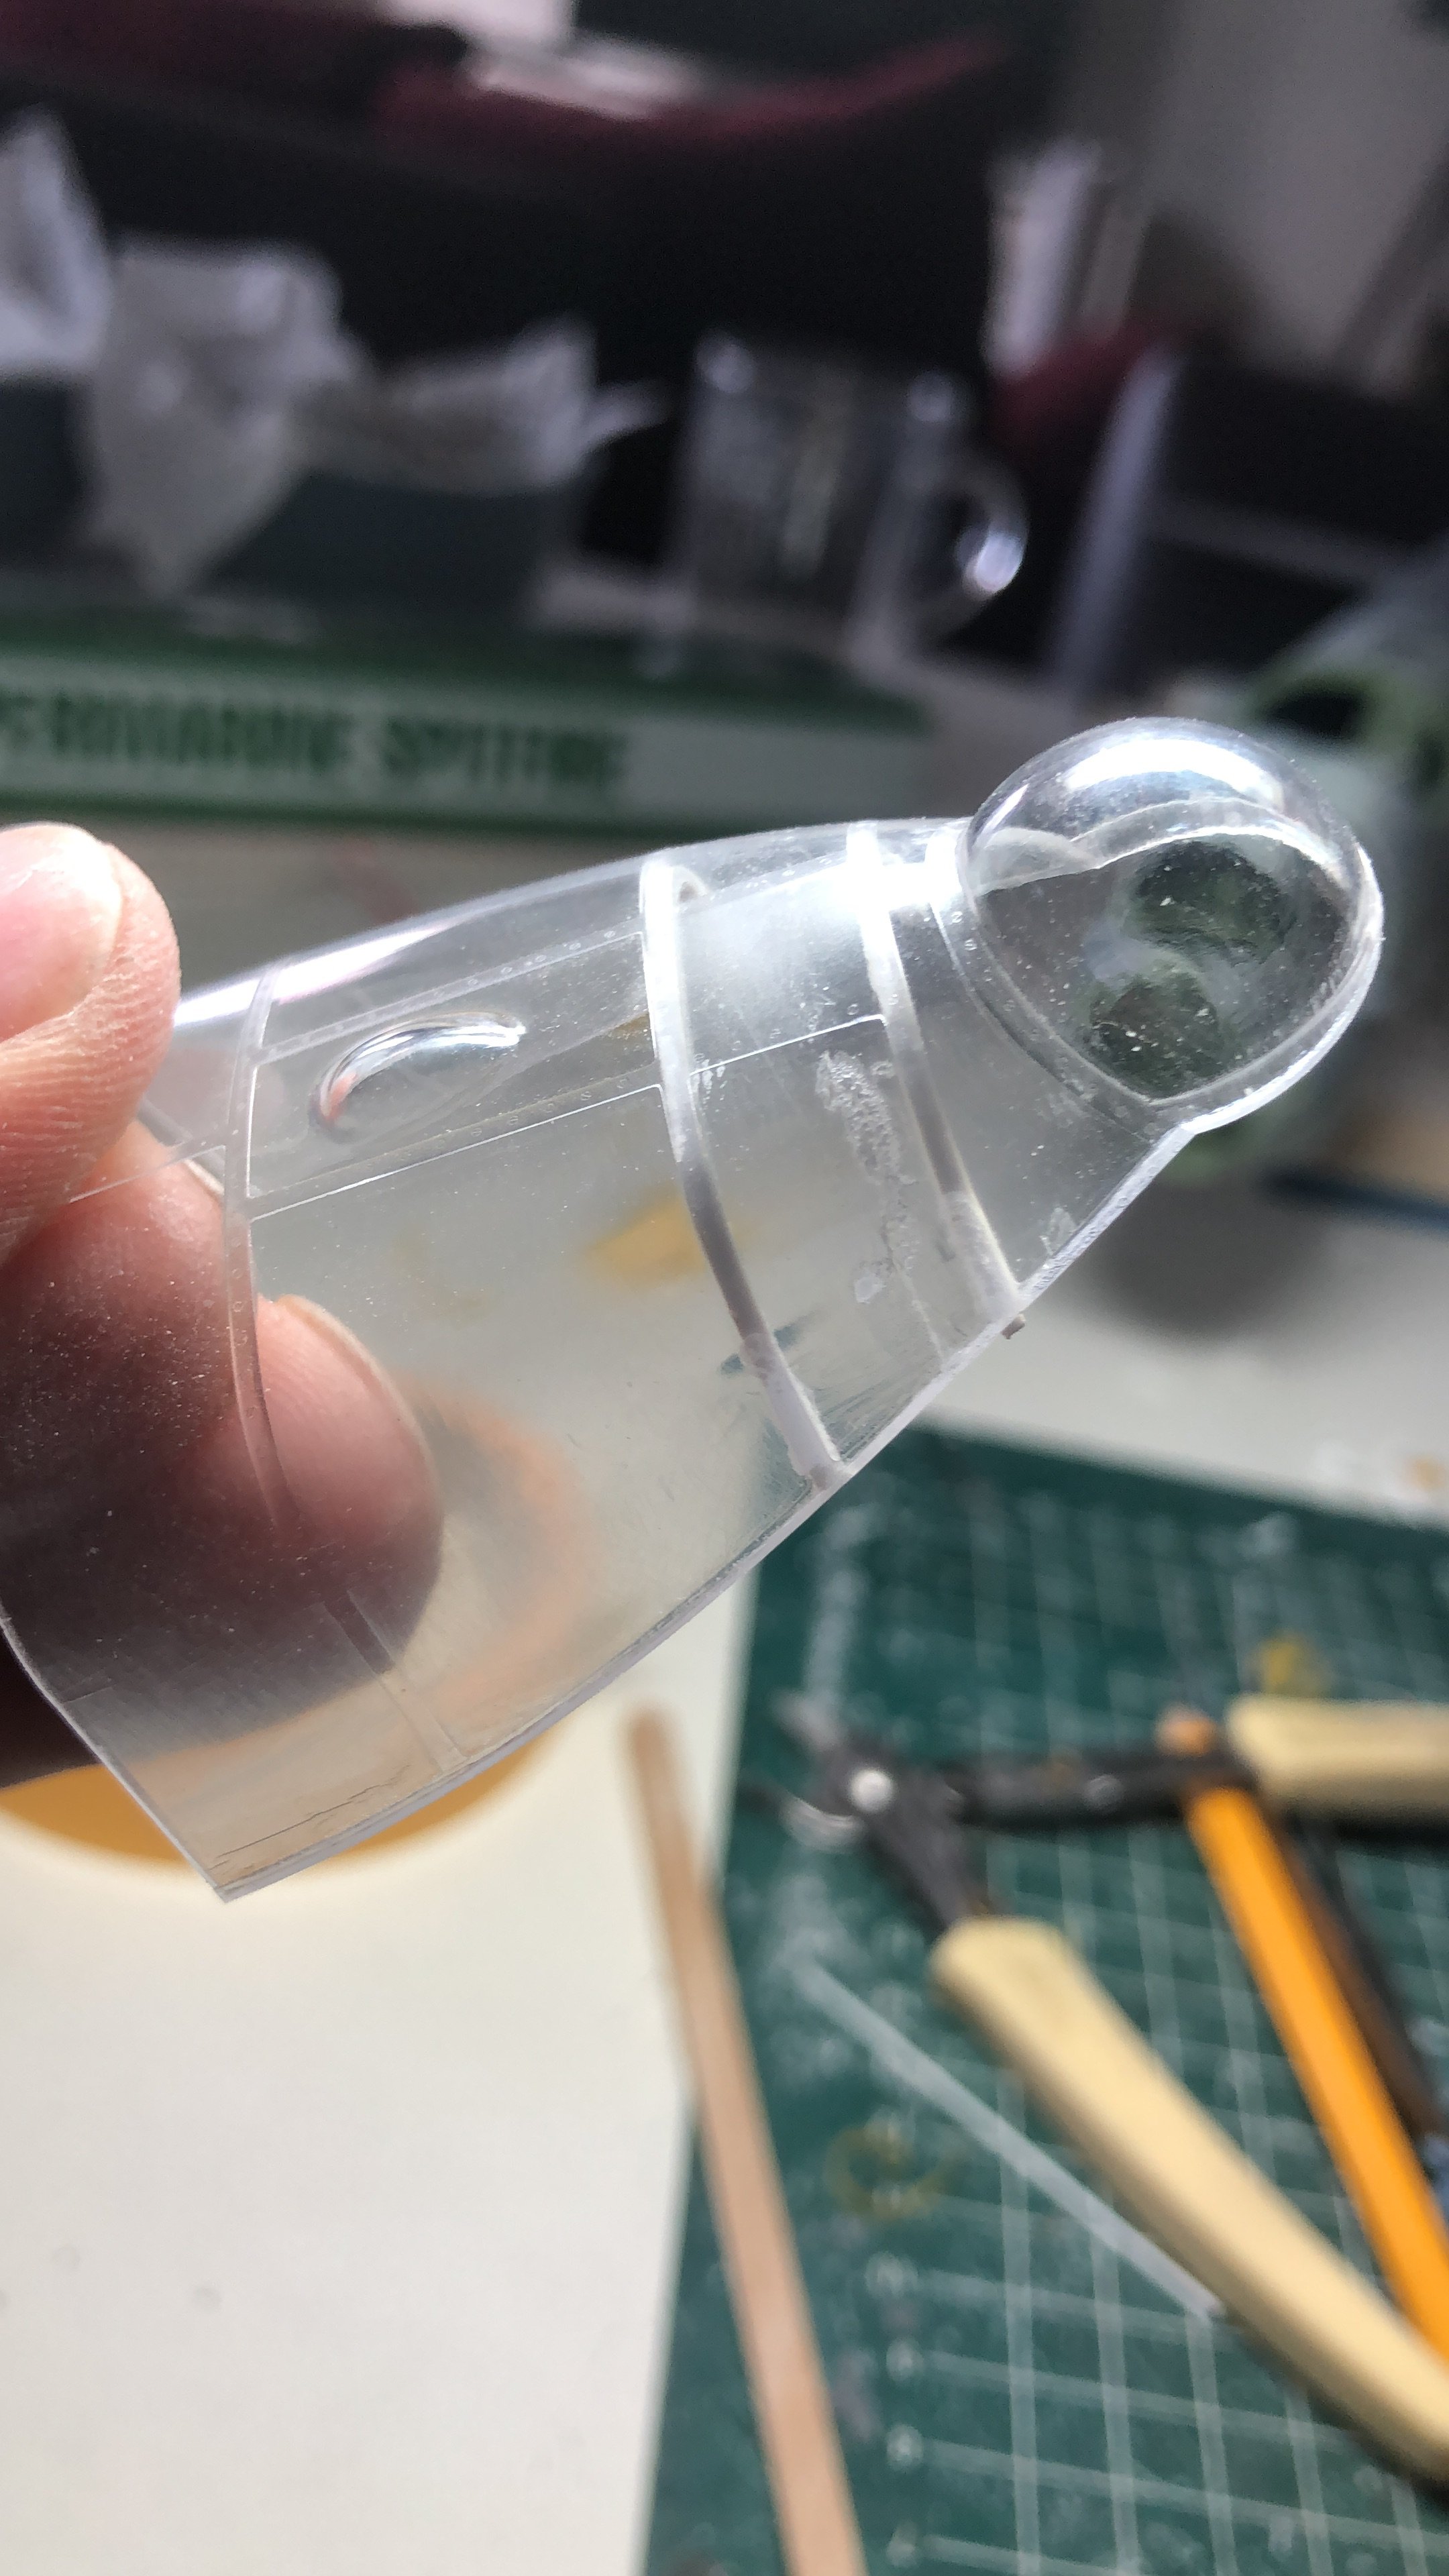
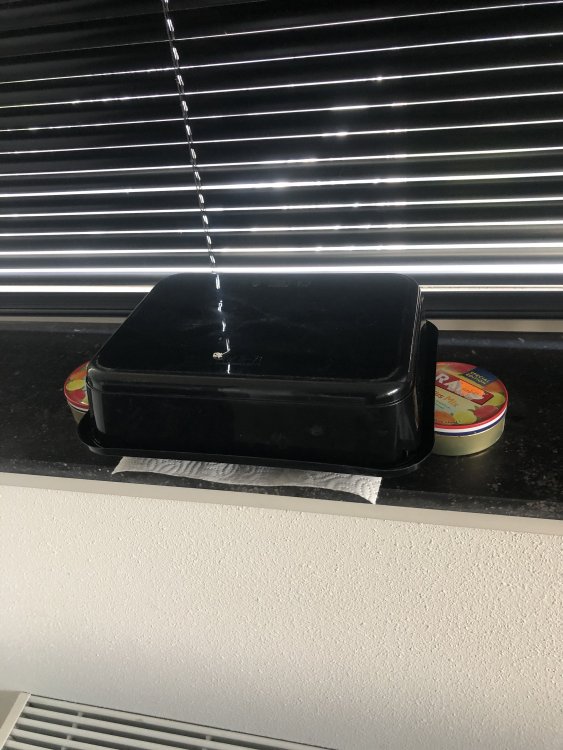
Dipping it.

-
After sanding and first stage polishing. A bath in a futurelike product will hopefully restore clarity. Cees
-
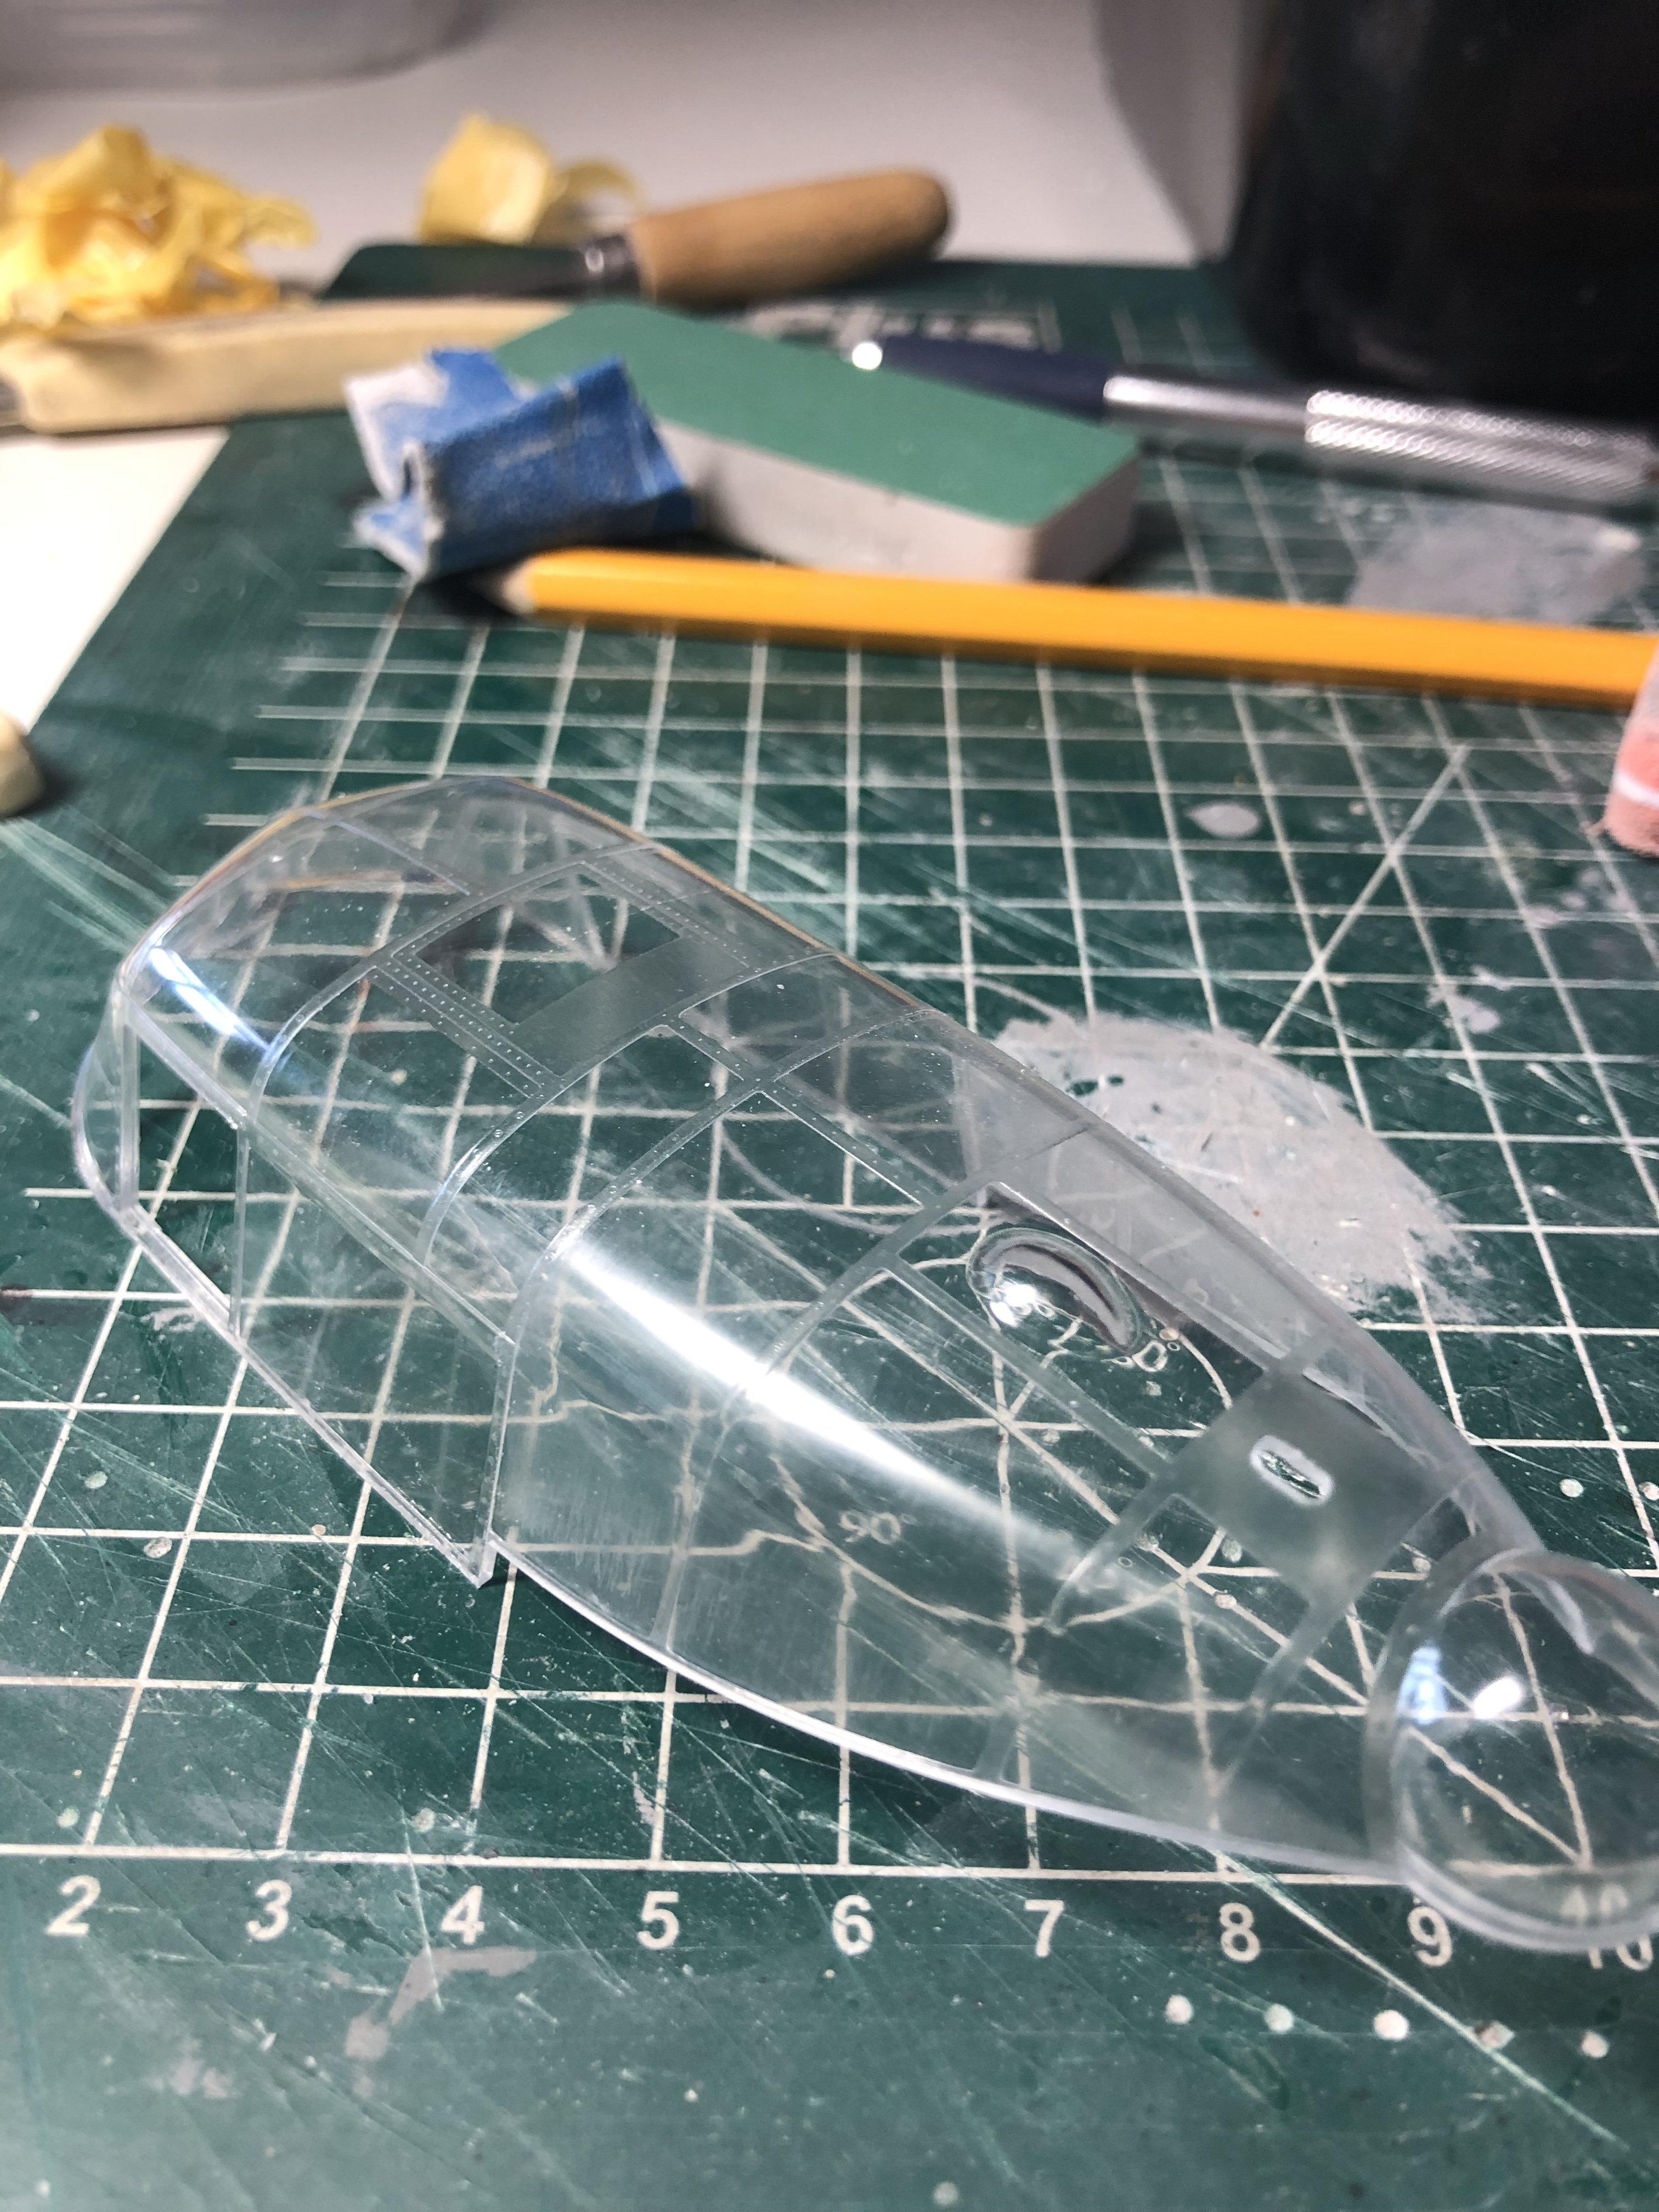
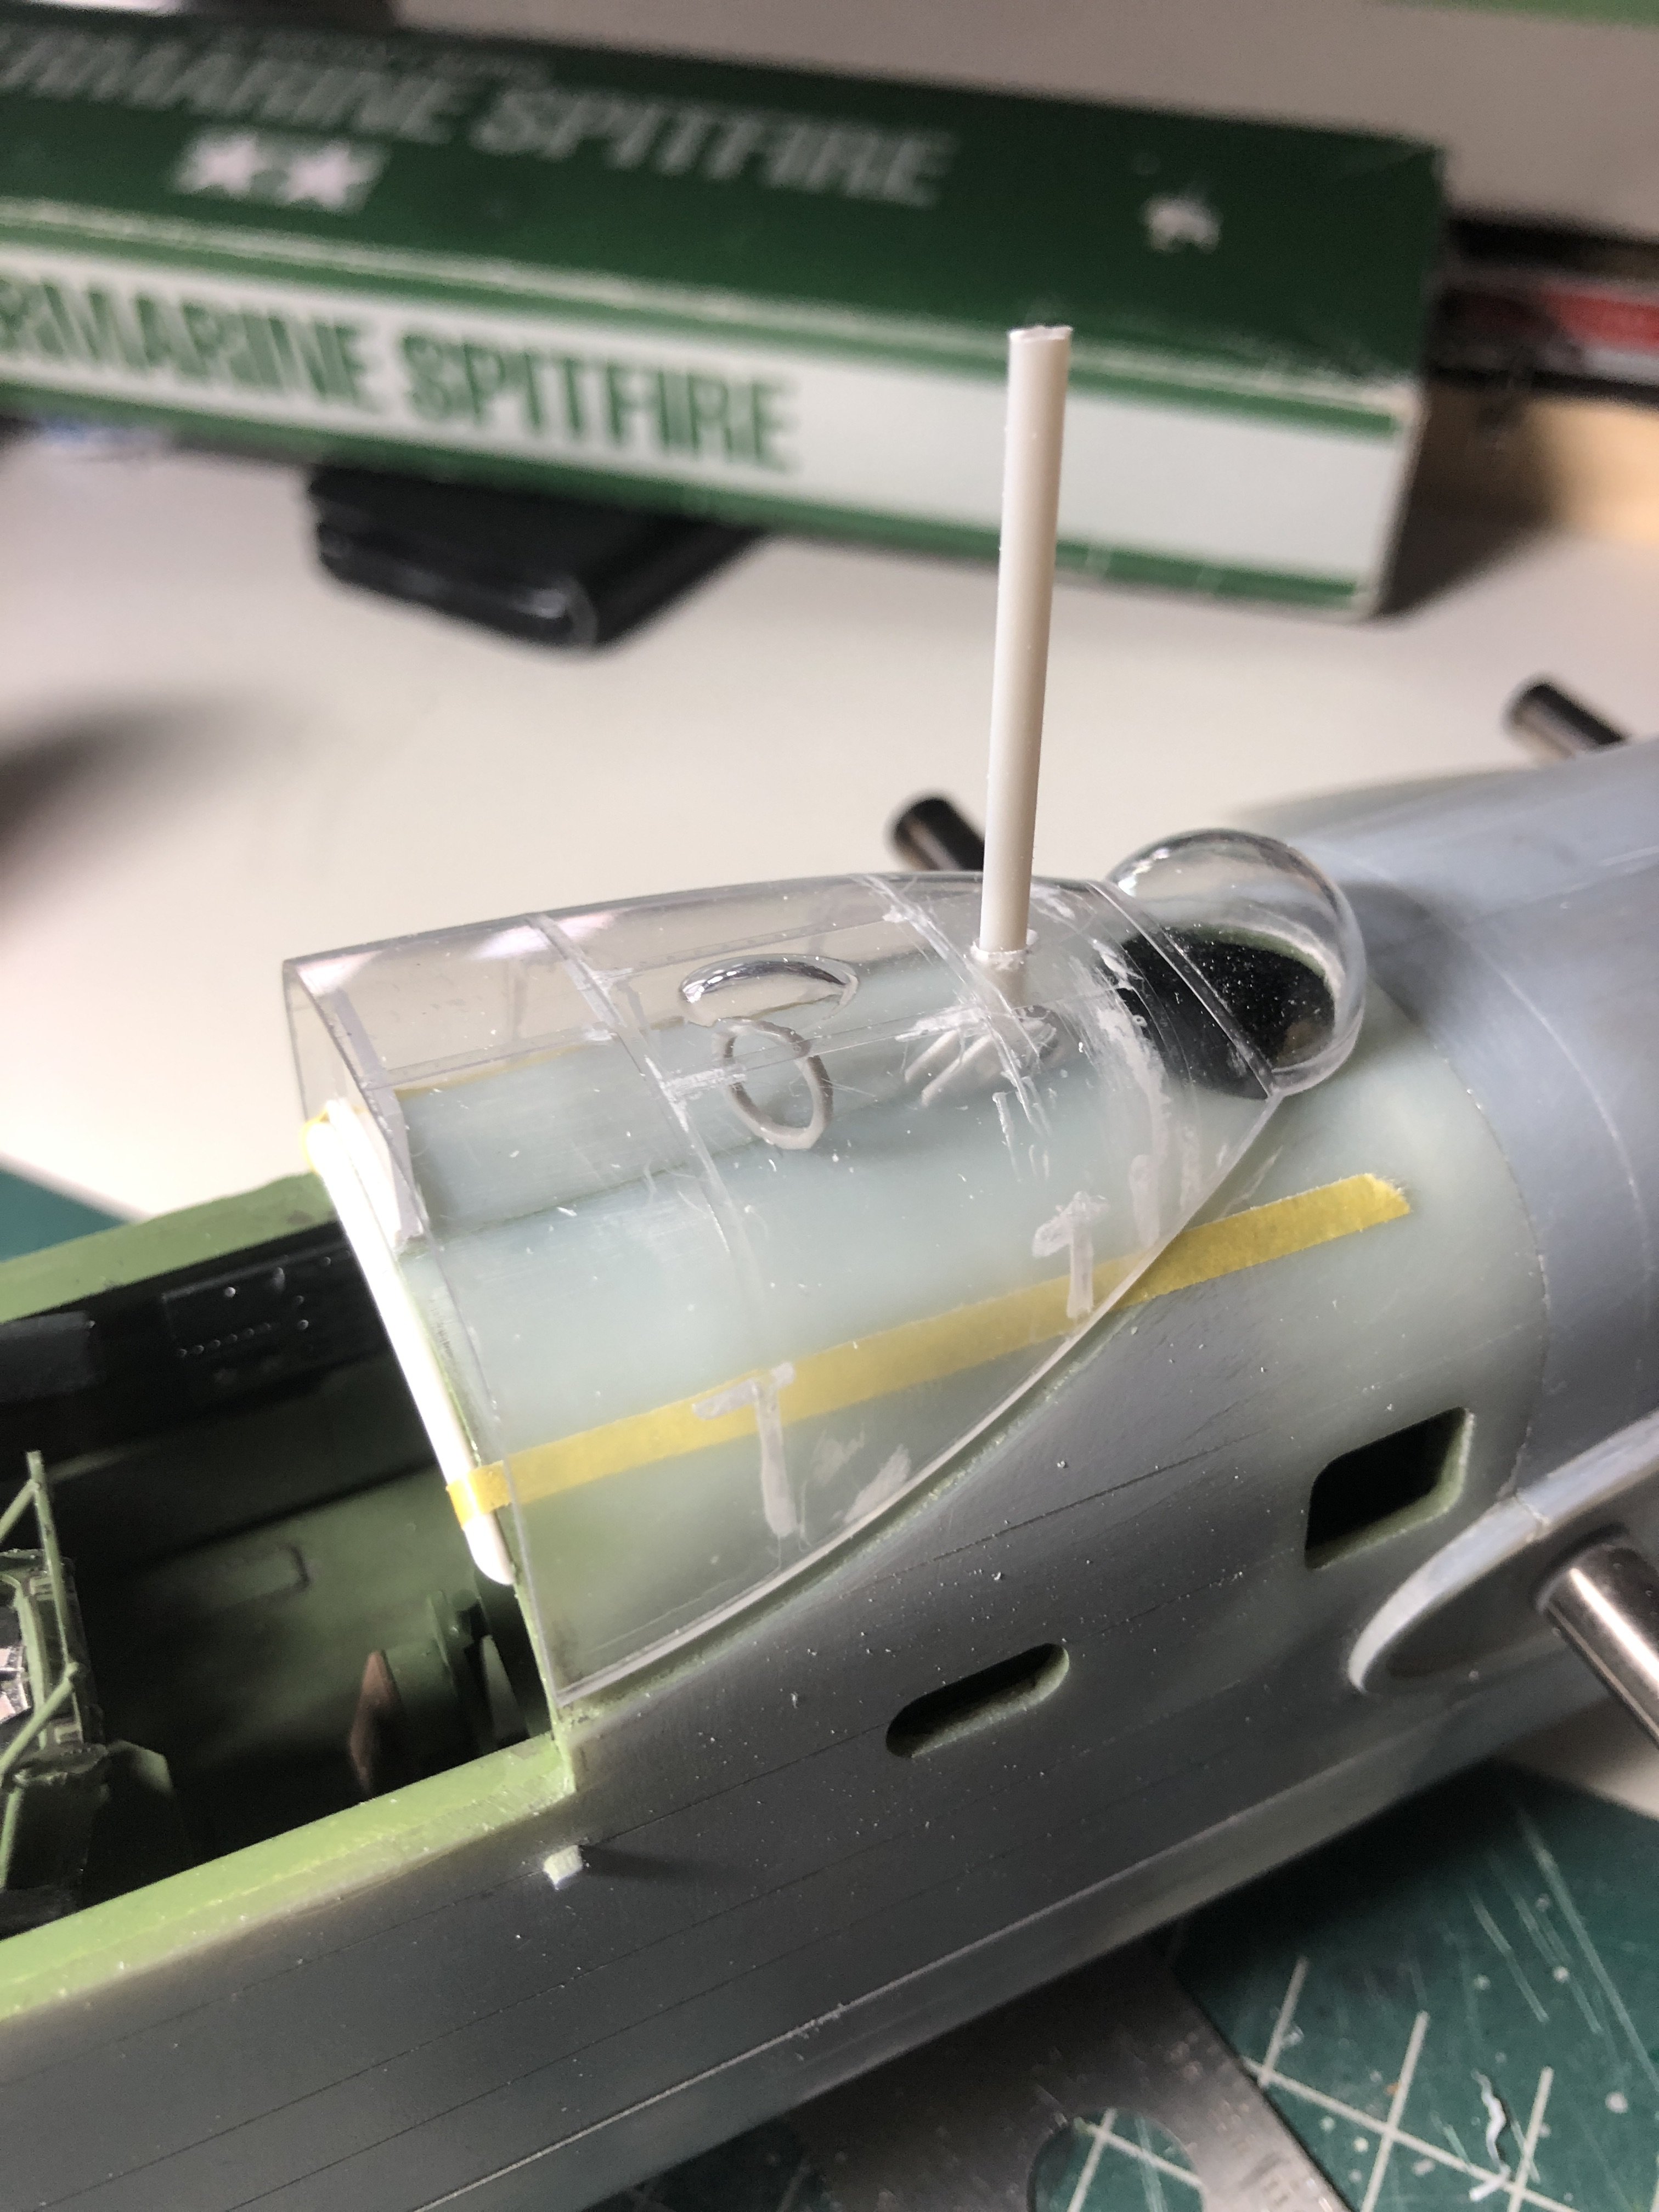
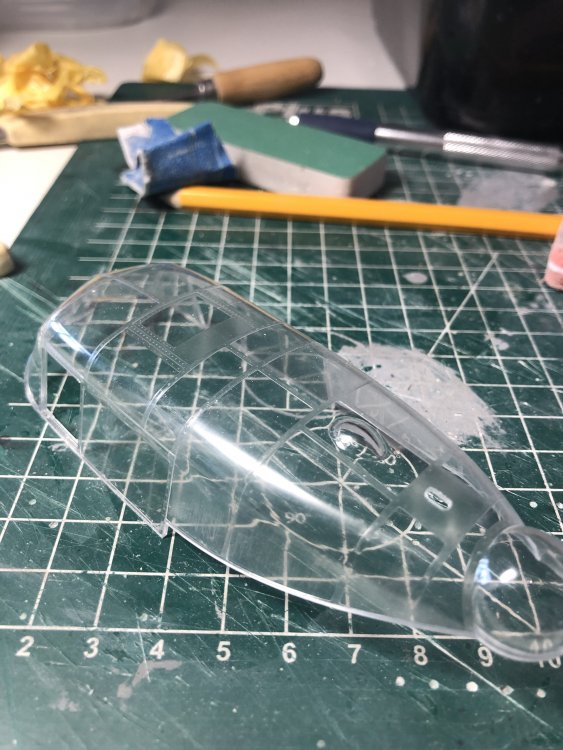
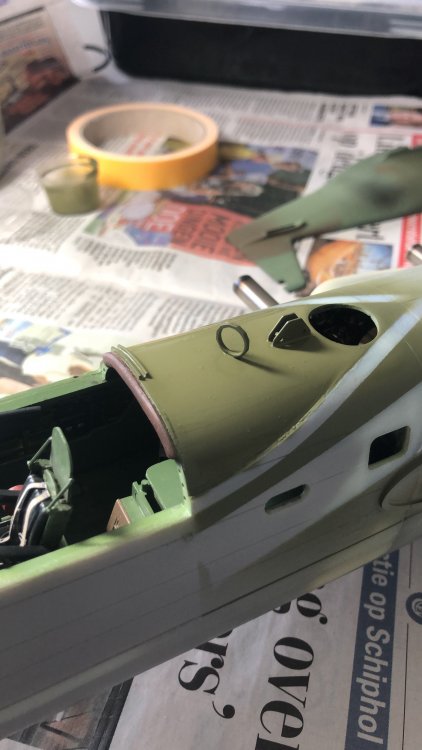
Making the antenna fit the canopy by drilling holes and filing out to shape. Next to sand away the horizontal frames on the exterior of the rear canopy section. Cees
-
well, dark green it is. Cees
-
Looks like leather. Cees

-
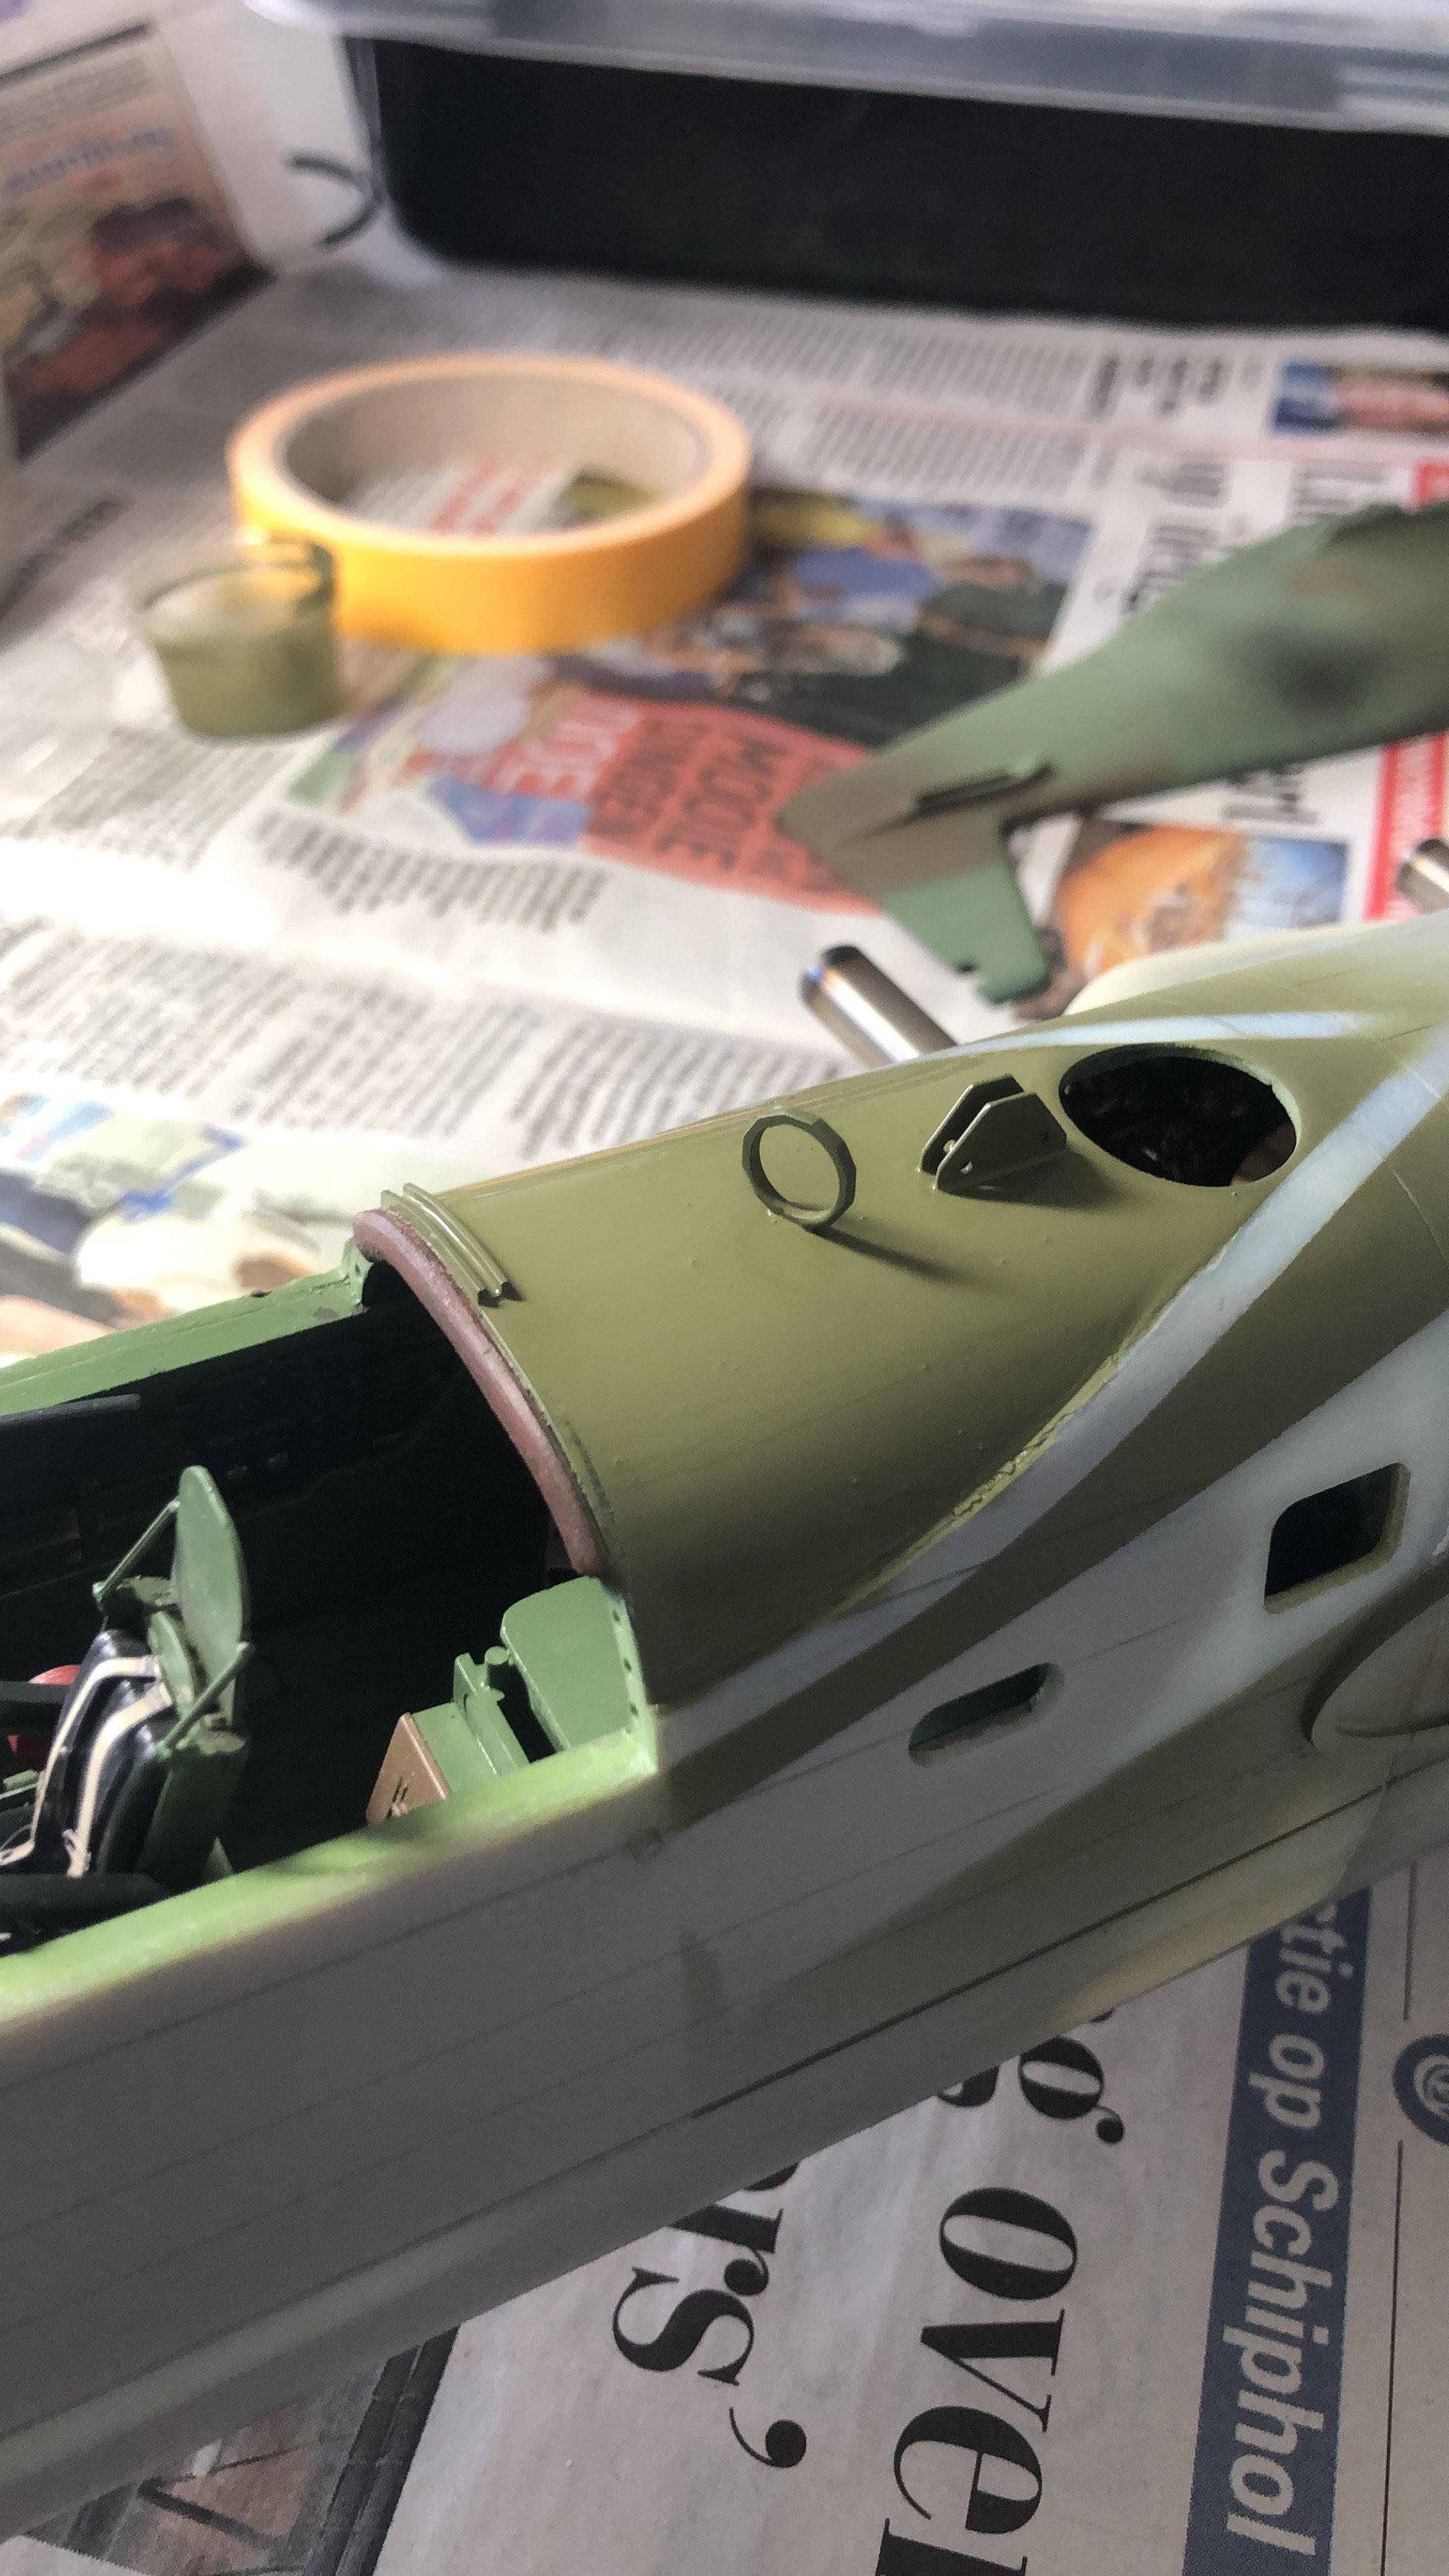
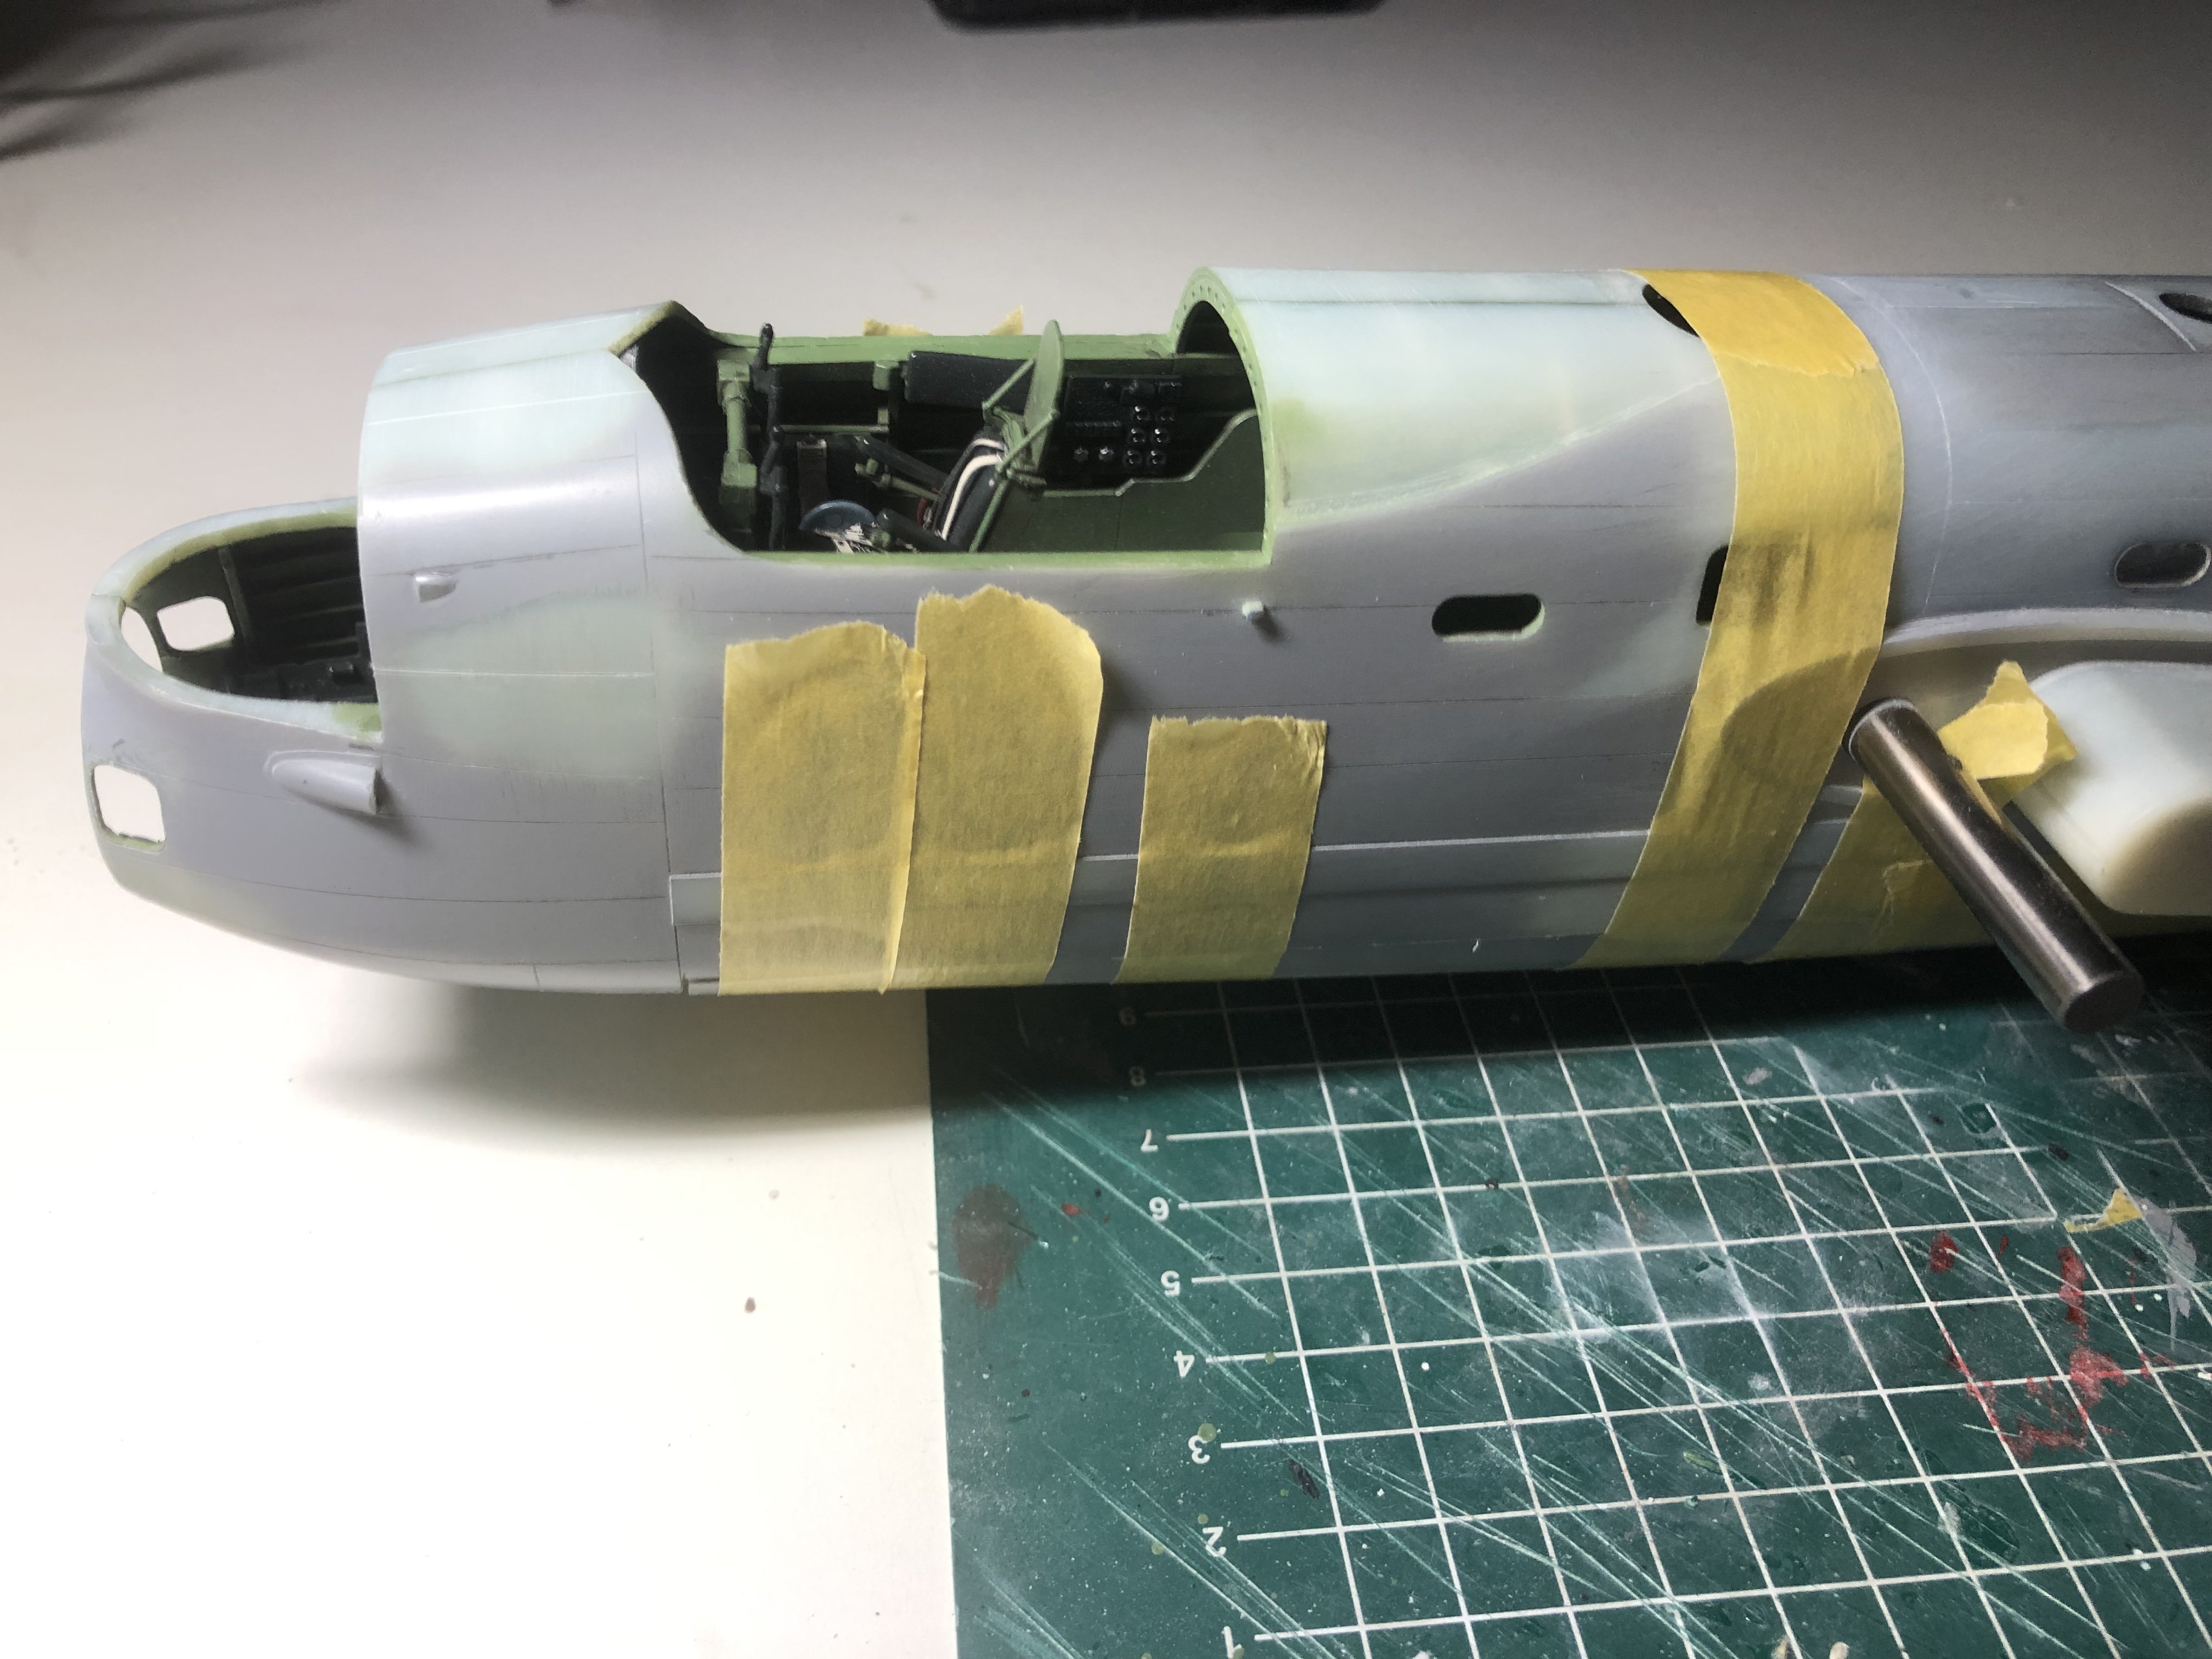
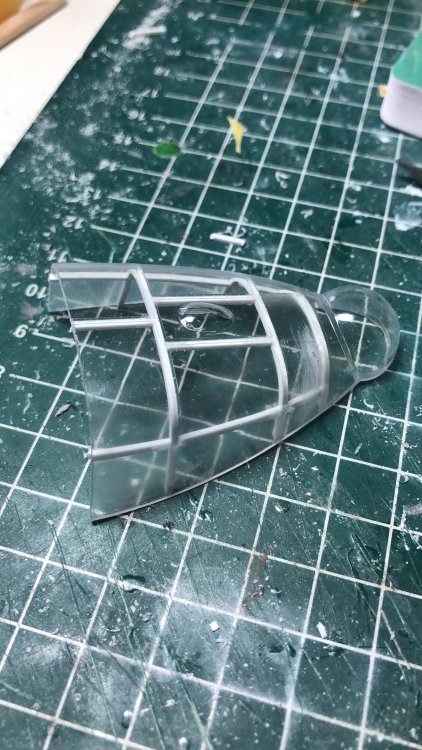
I have a spare. The reason why I cut off the rear section from the first canopy is to have better access. I think making the interior structure is more of a pain in the petoetie than that it's worth. So am thinking about representing the structure with painted strips of thick tape, or just paint over from the outside. The horizontal frames will be sanded off and the frames need to be represented on the inside. Only the boltheads were visible on the outside. We tried to pass that info on to HKM but they didn't take it up. The canopy masks are on their way. After the canopy and the fuselage windows have been masked of, I think it's time the fuselage gets a primer coat. But I am happy with the progress so far. Cees
-
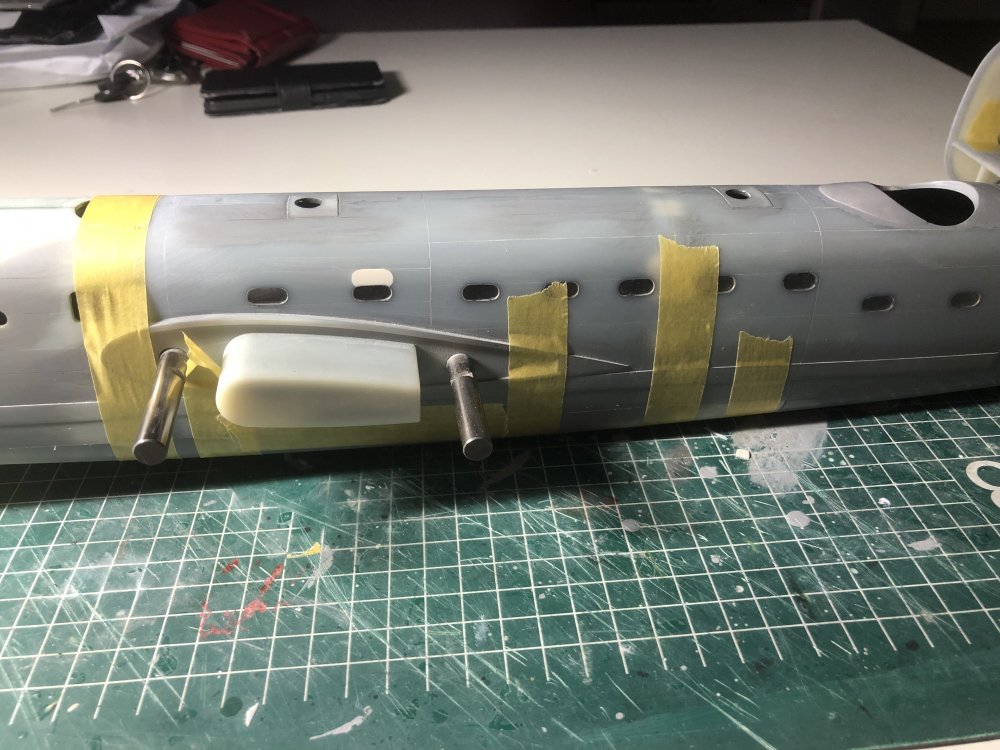
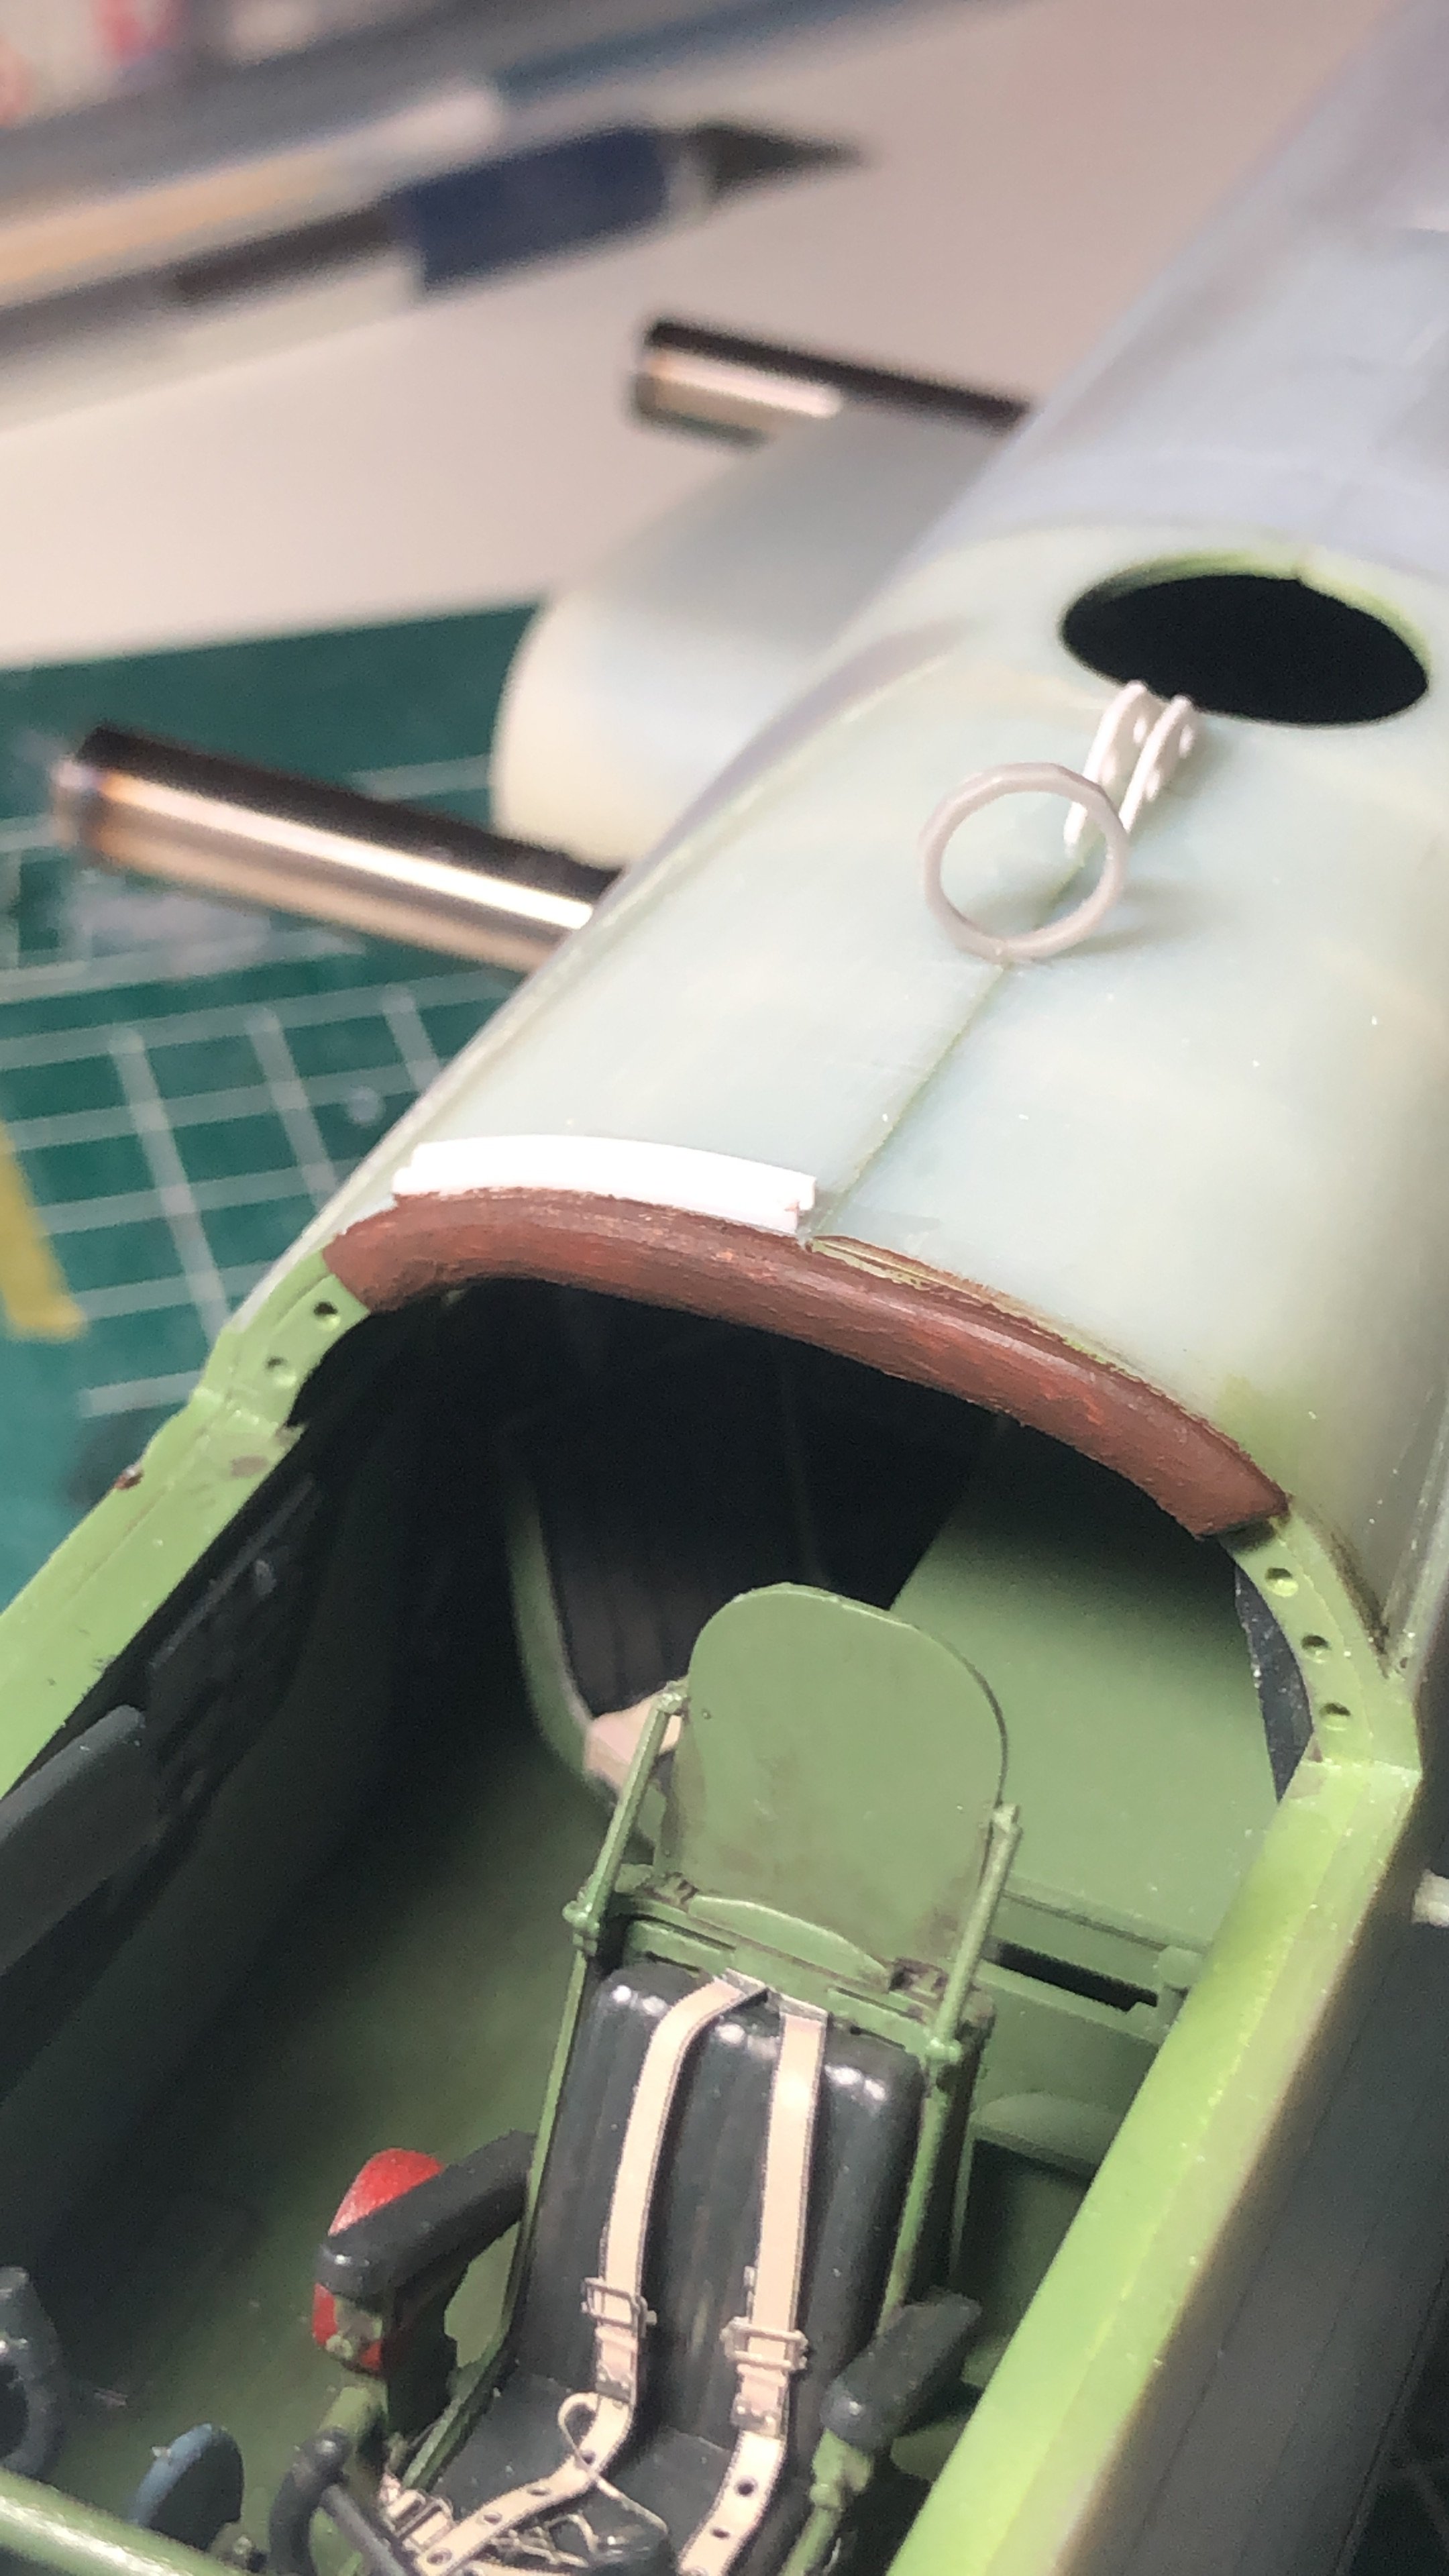
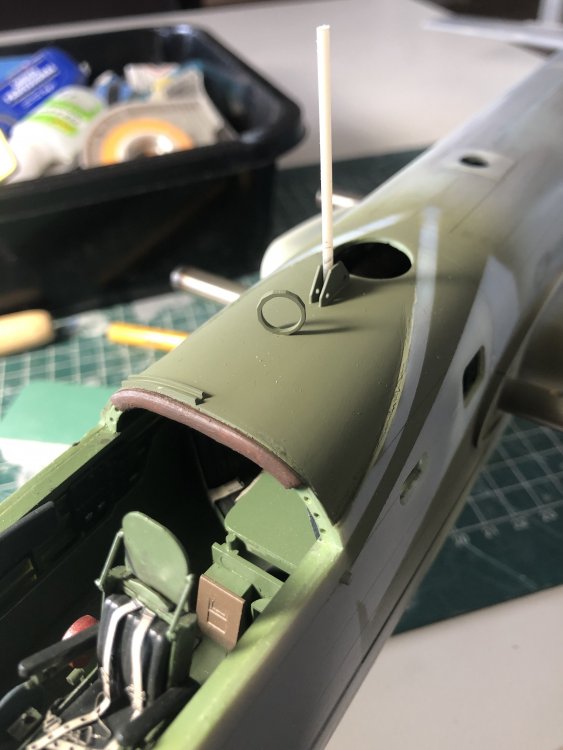
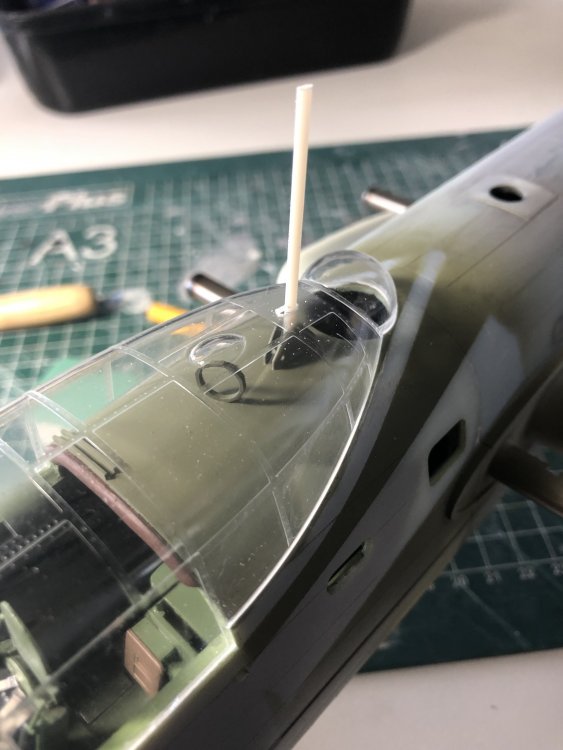
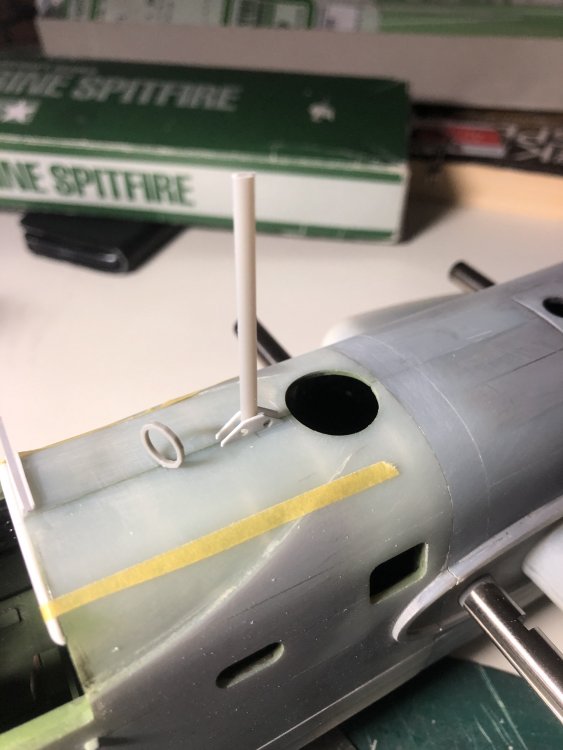
And the antenne has been made, still needs to cut to length. A steel pin serves as anchor and the mast is intended to be fitted after the canopy.

-
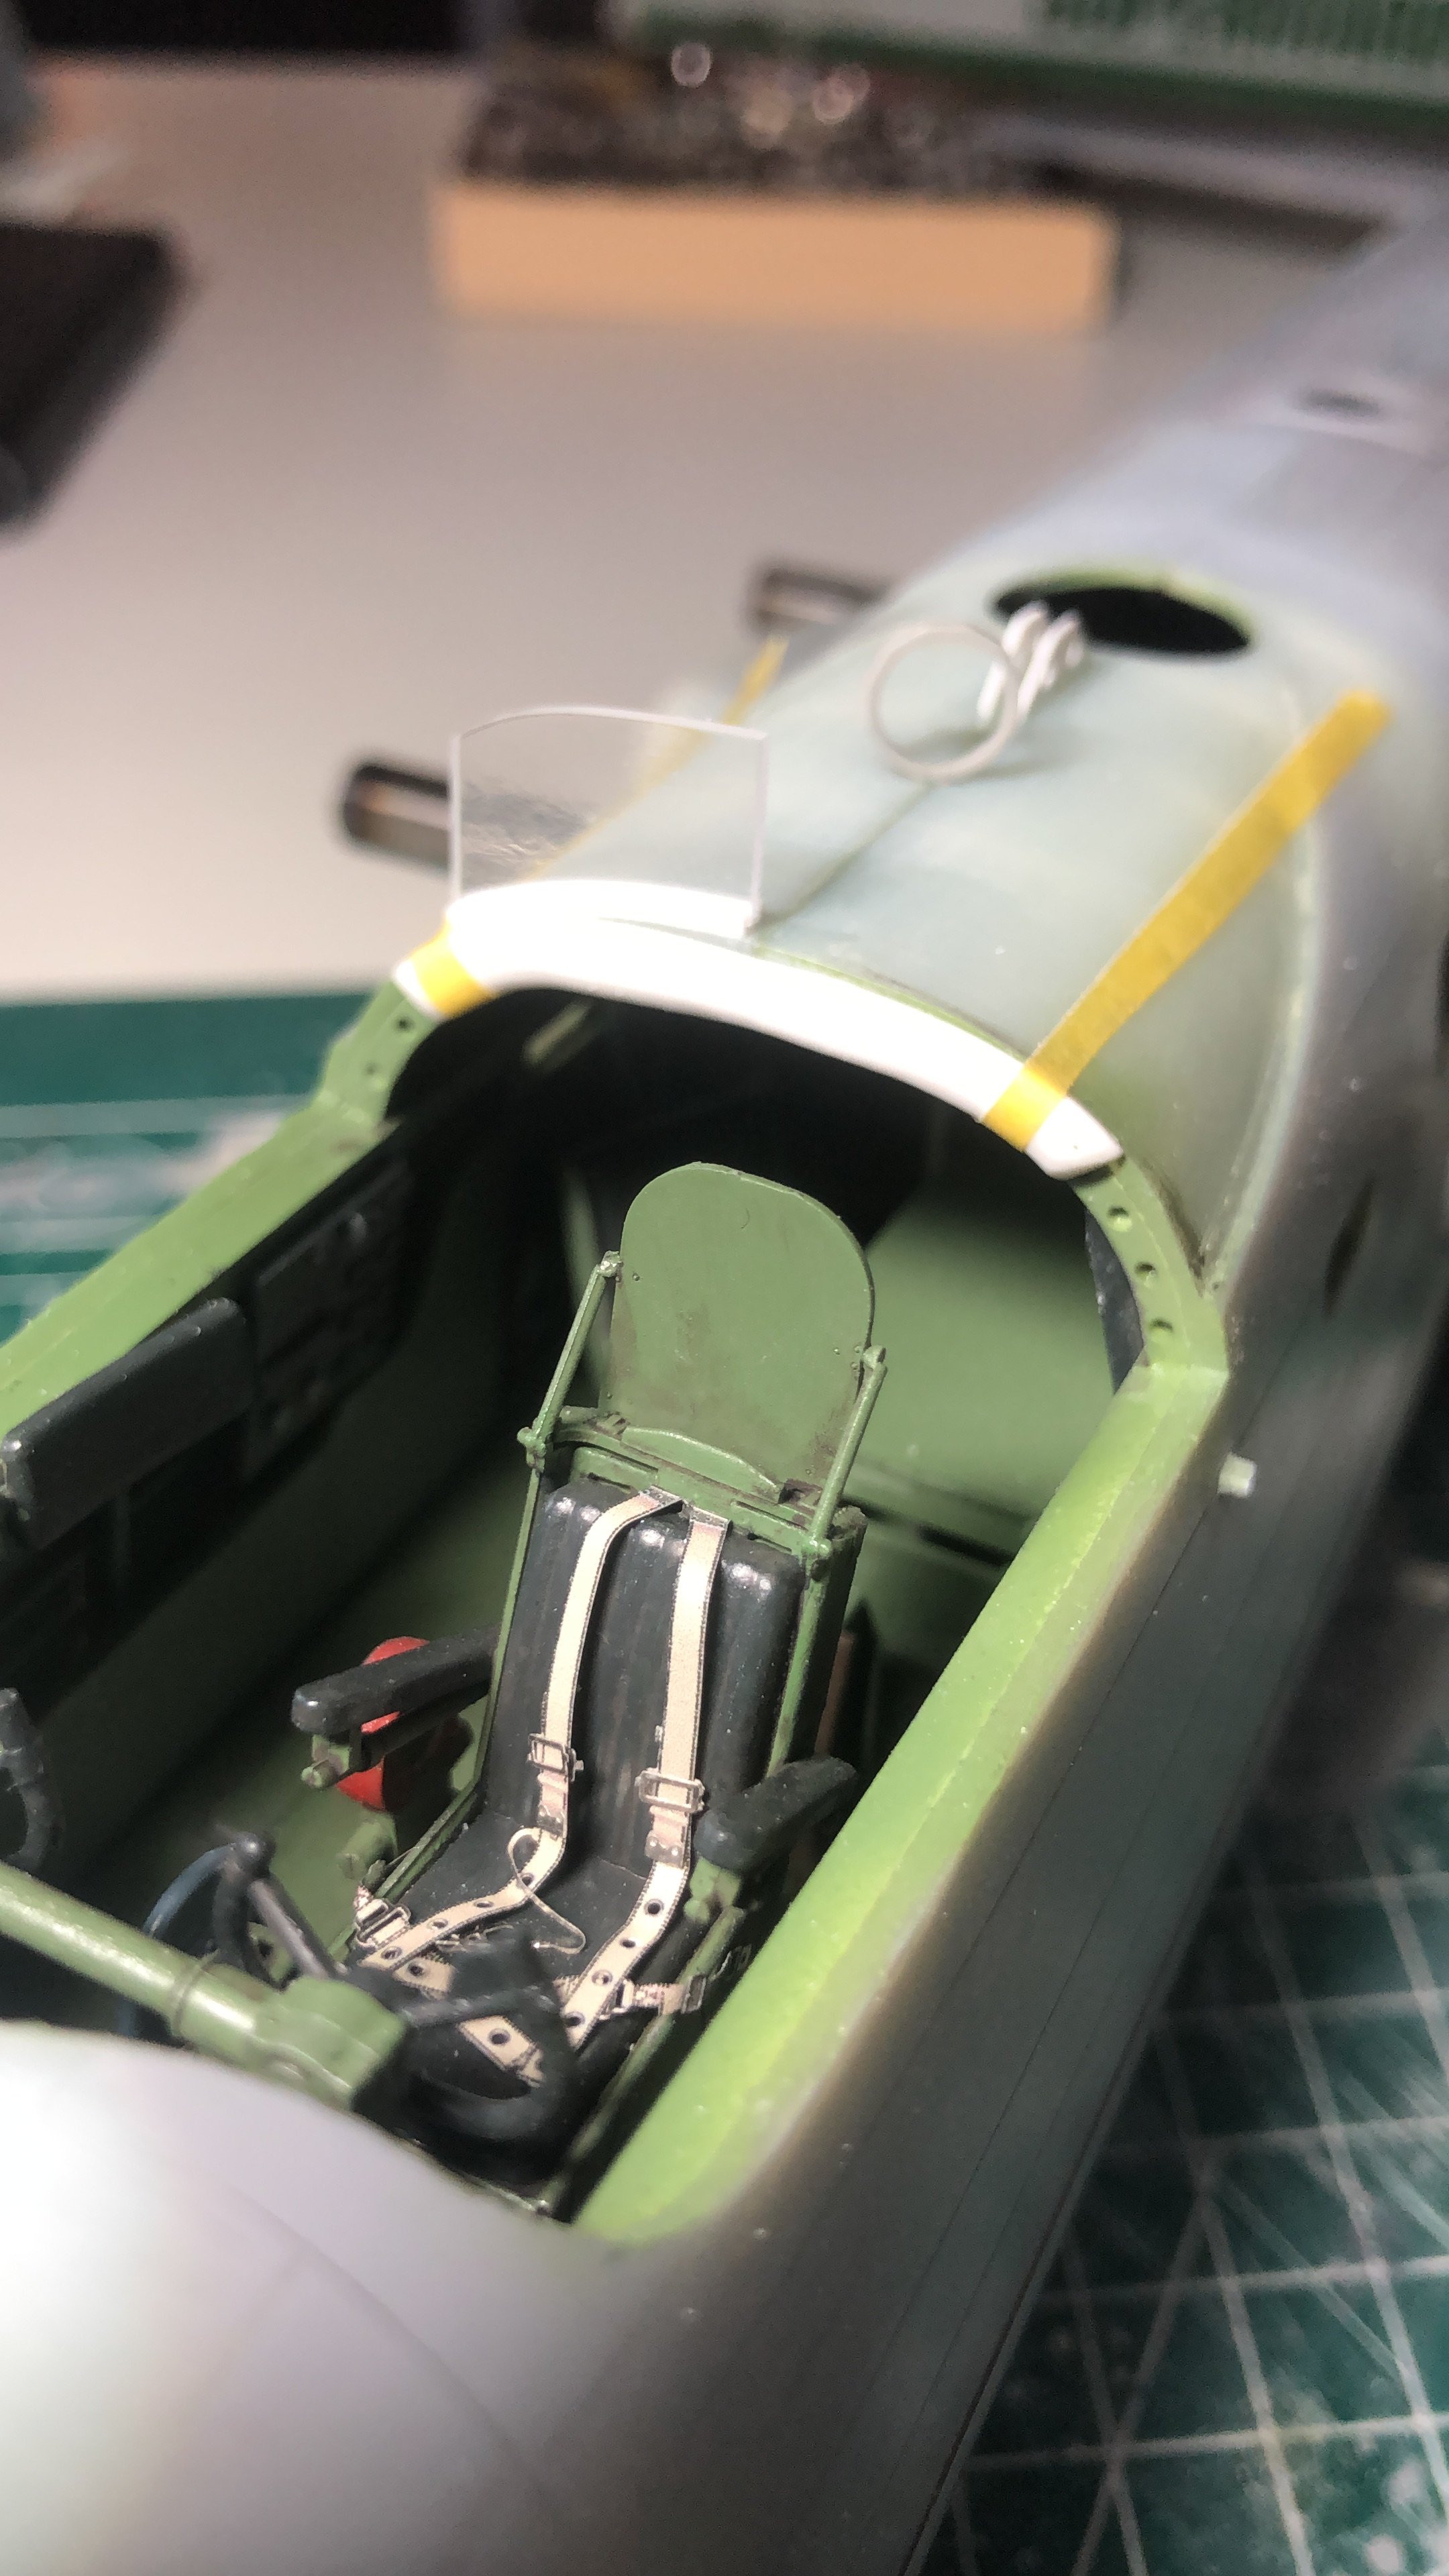
The leather cushion to prevent injury to airmen’s heads had been fitted.

-
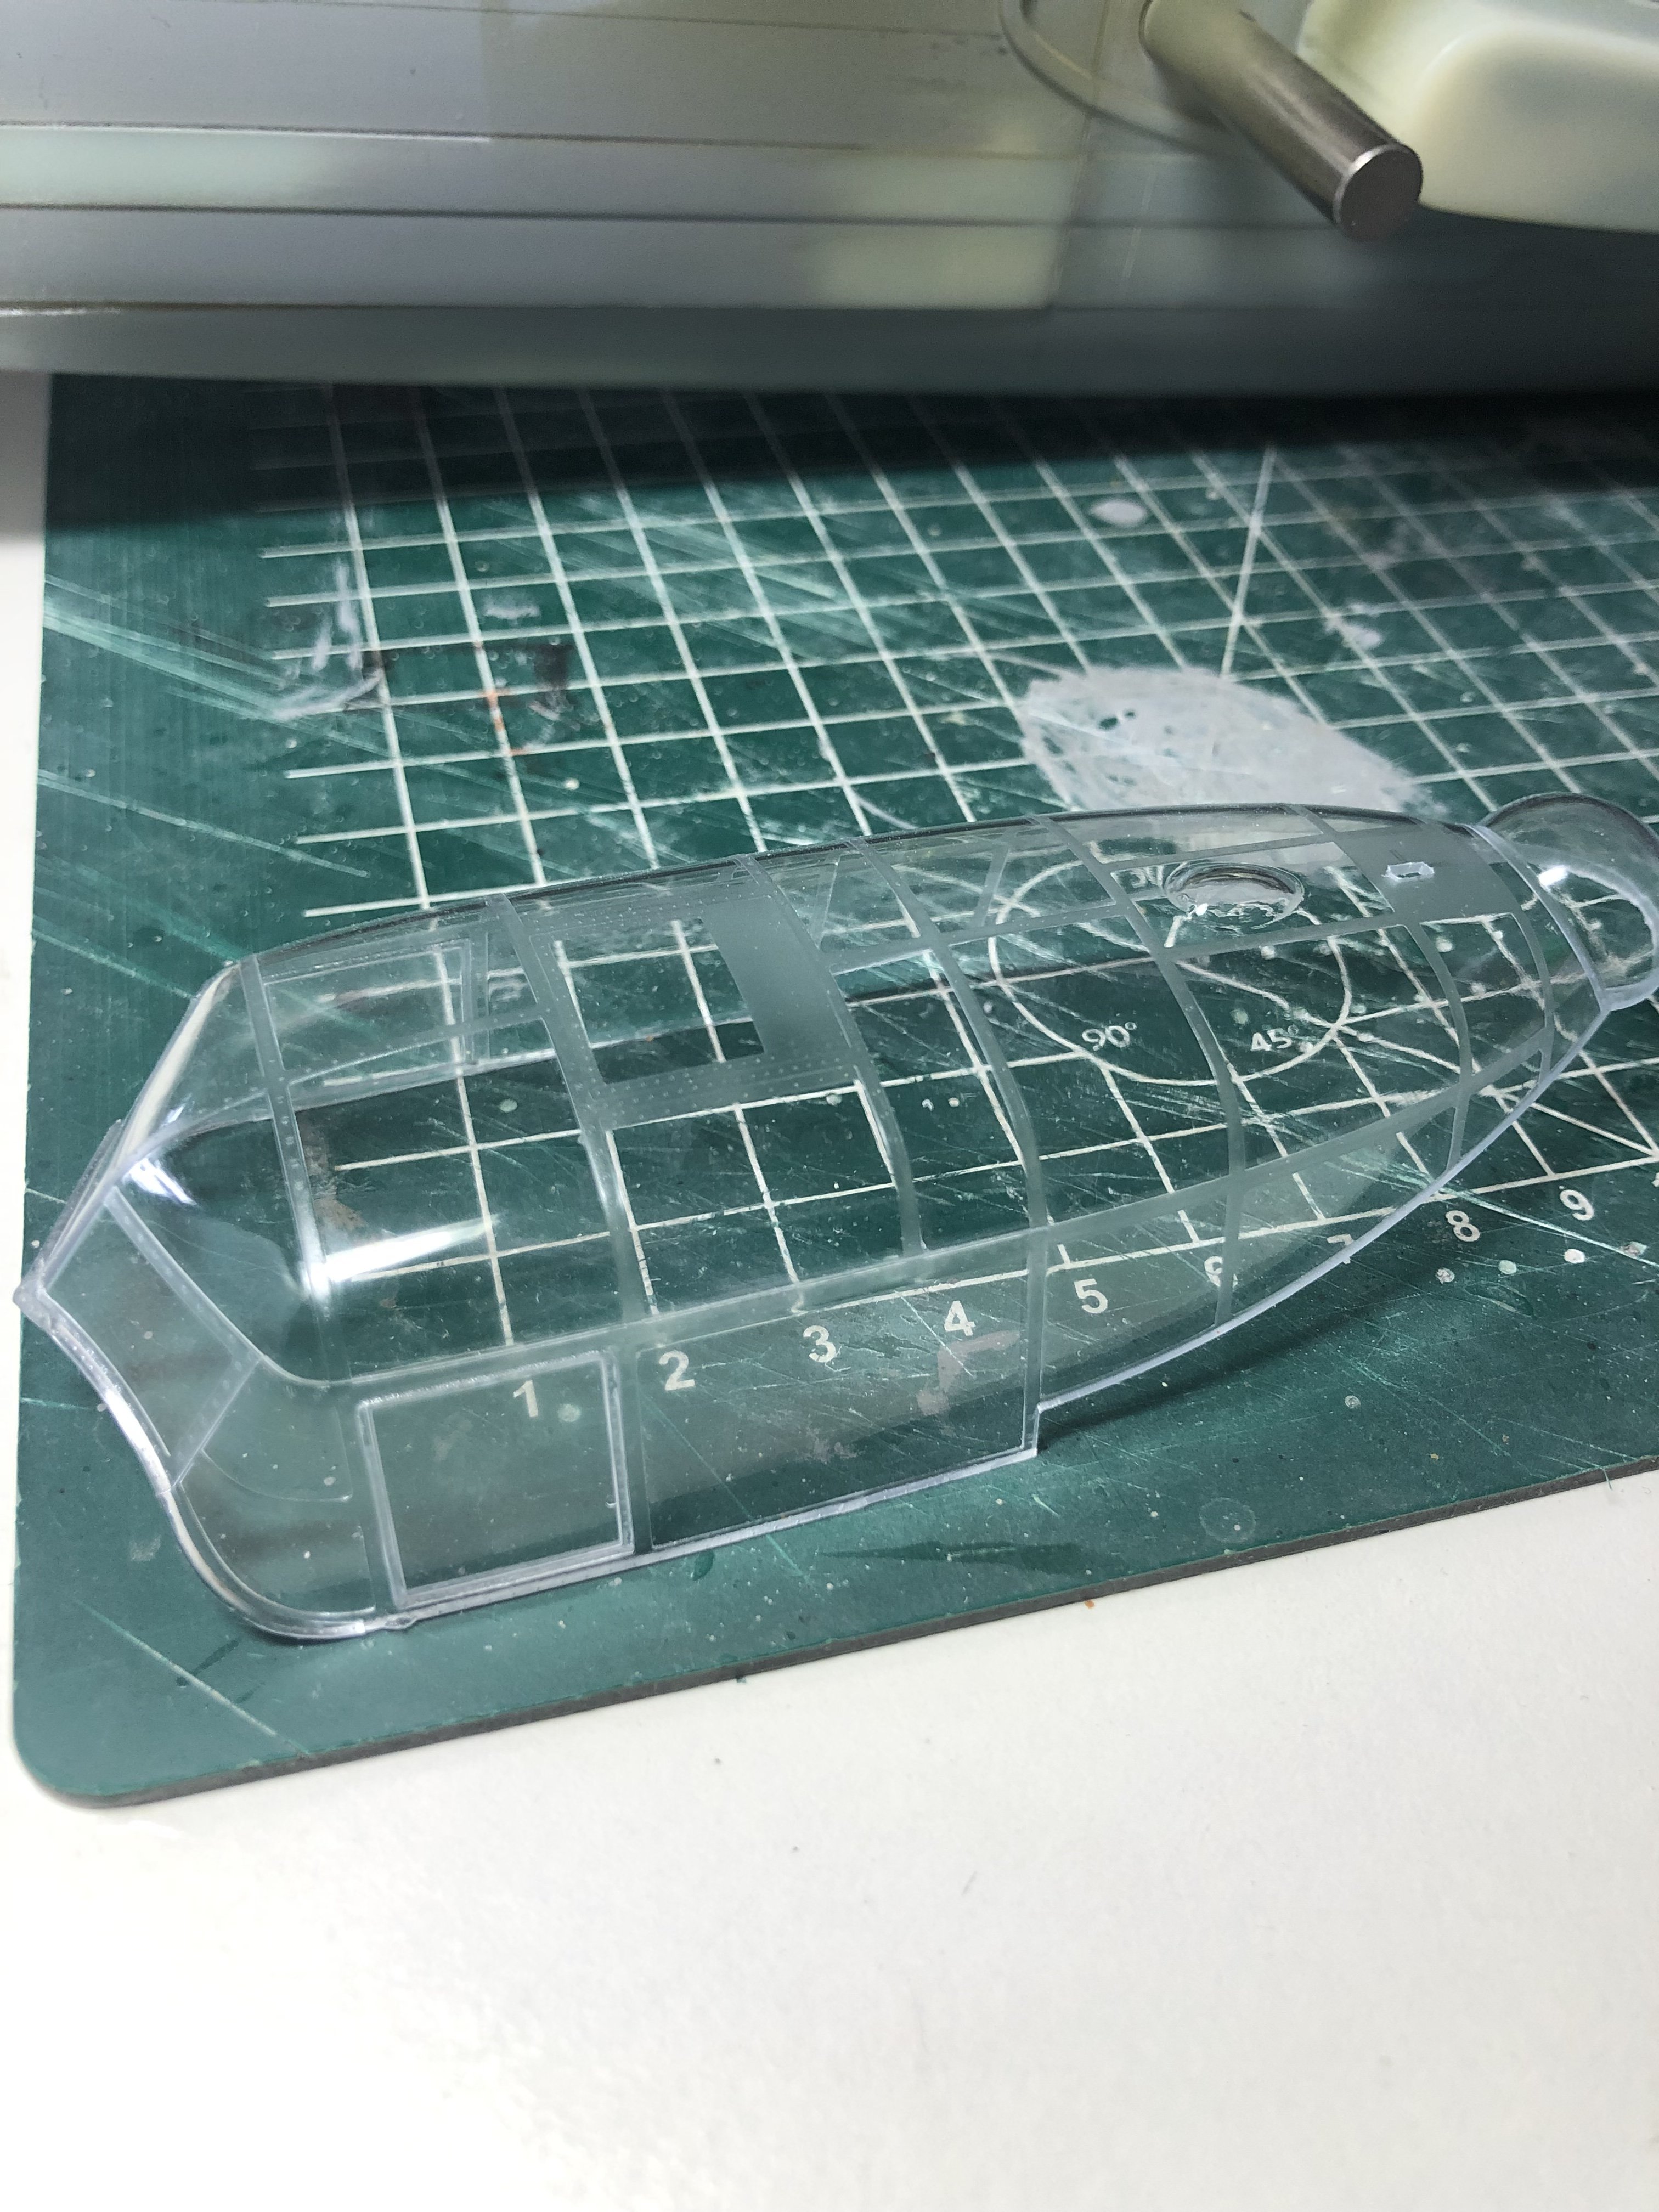
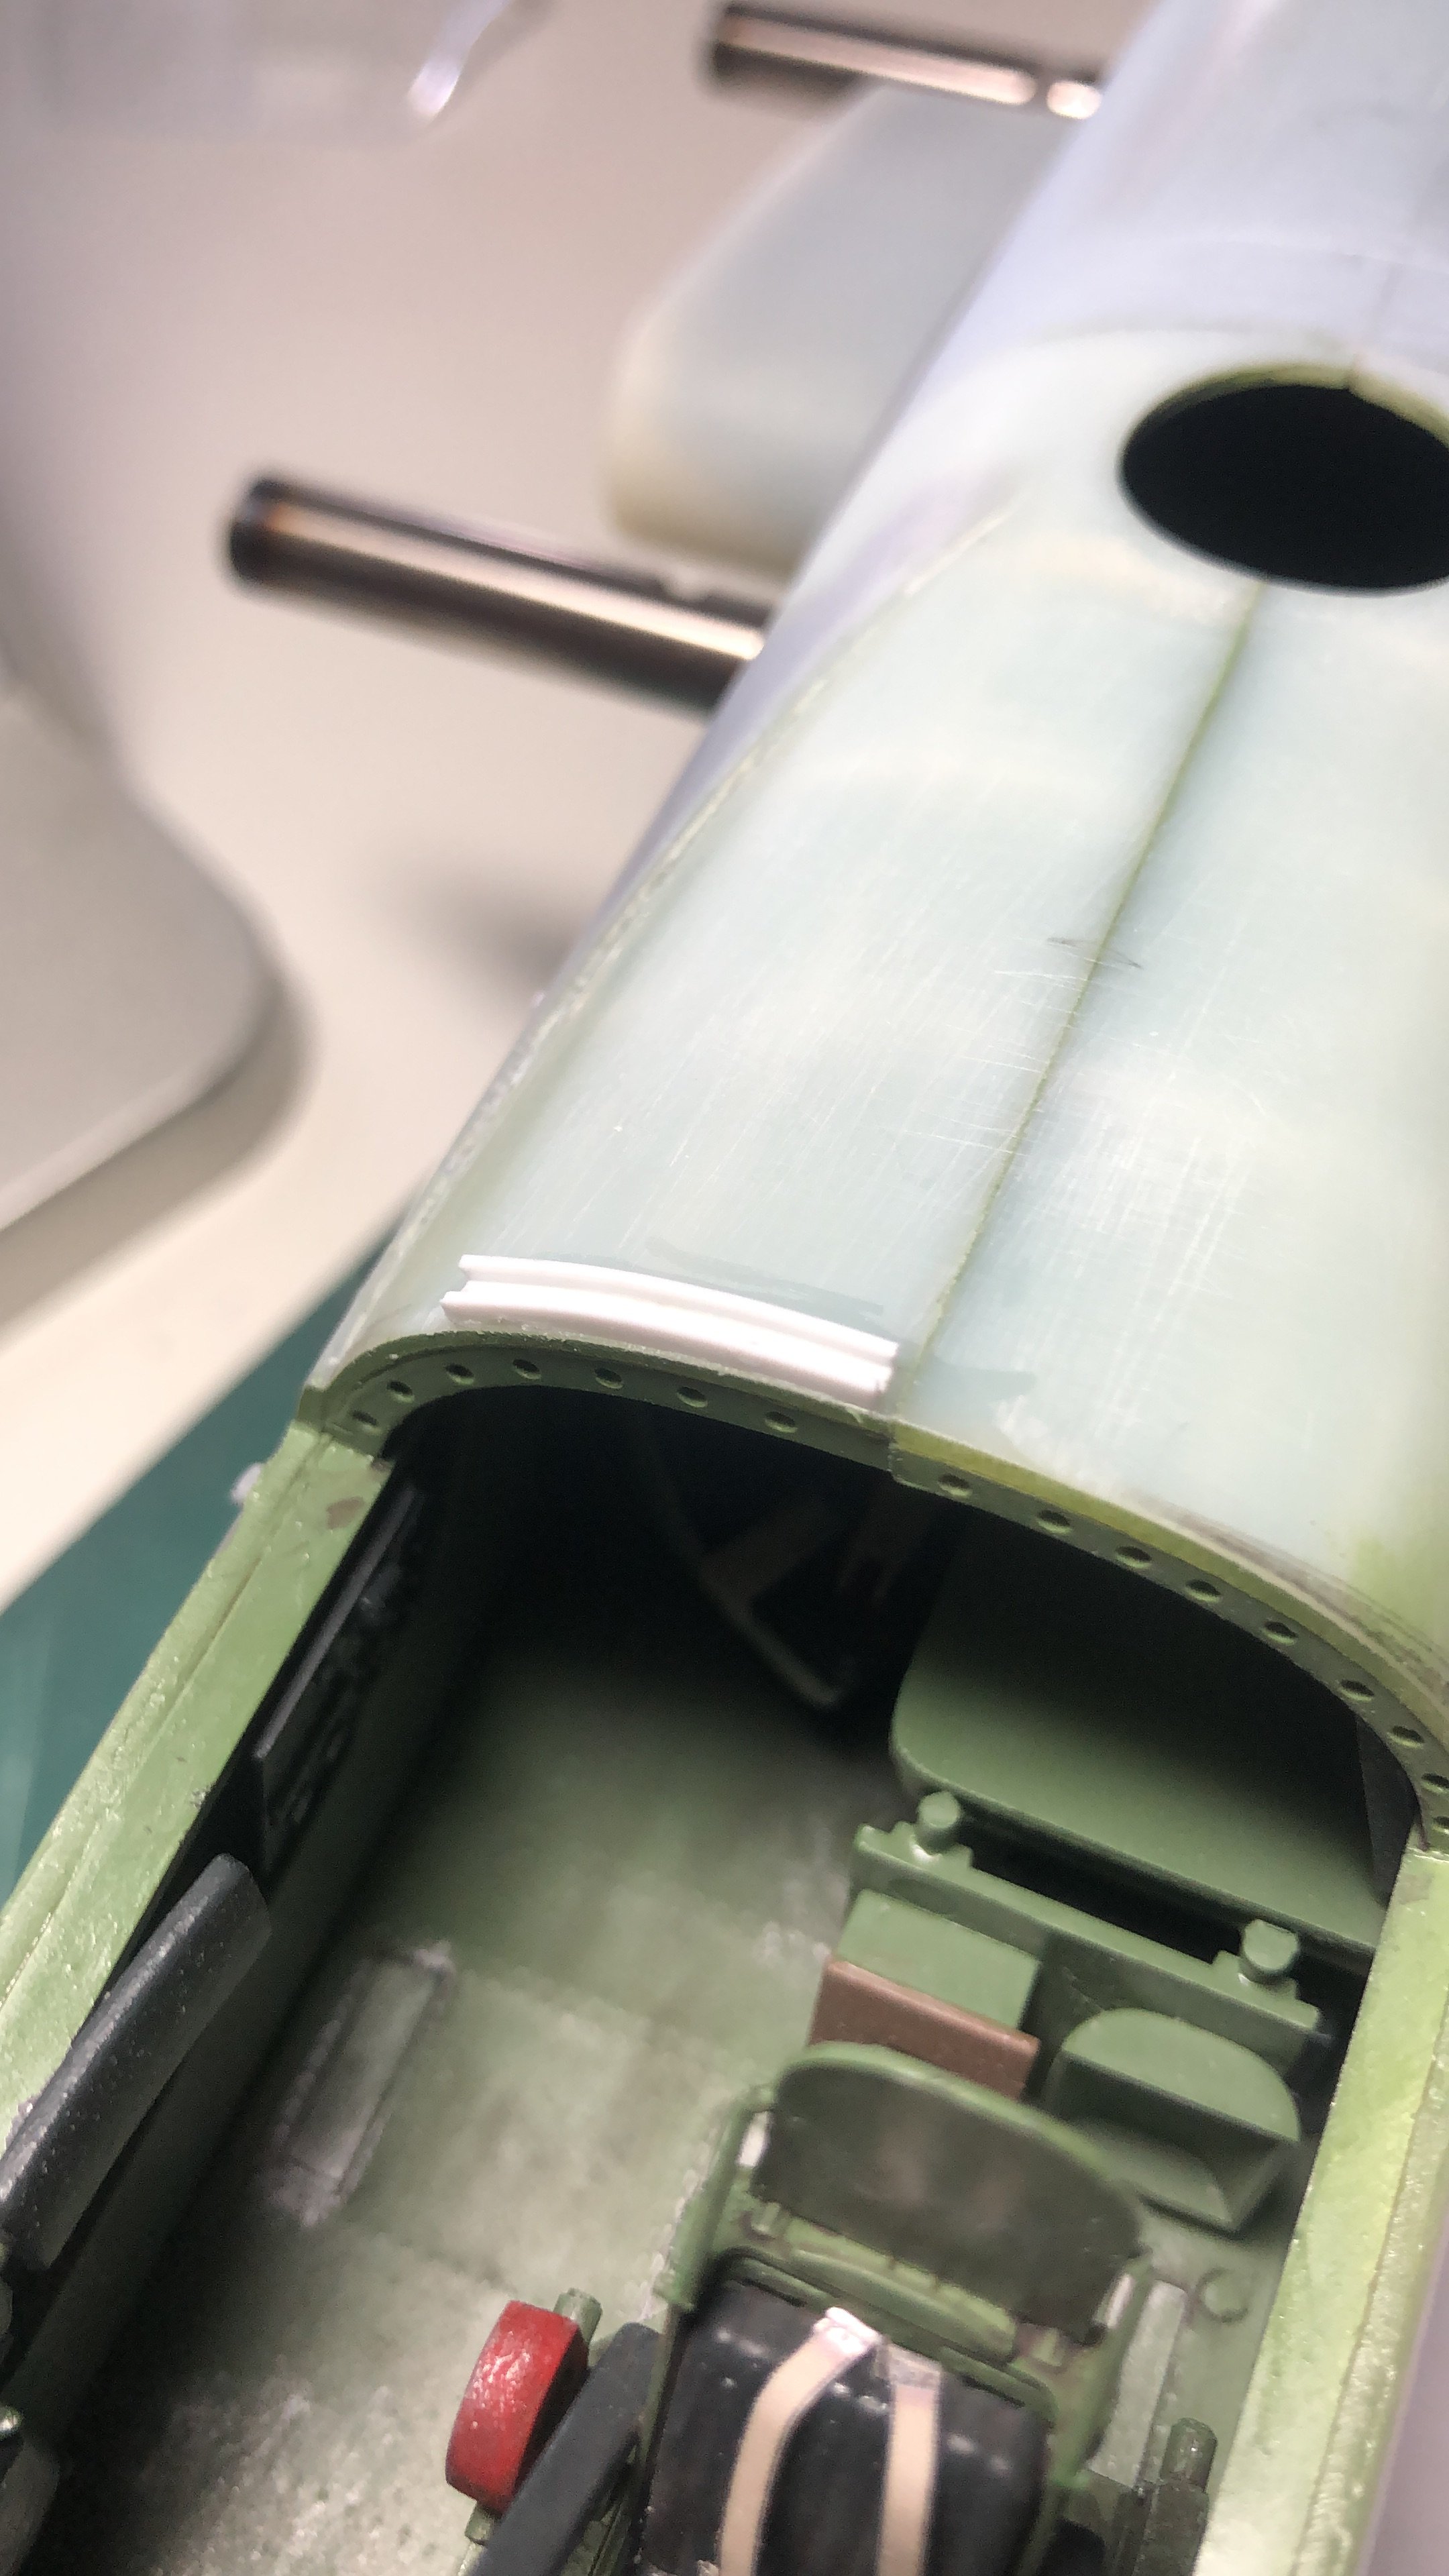
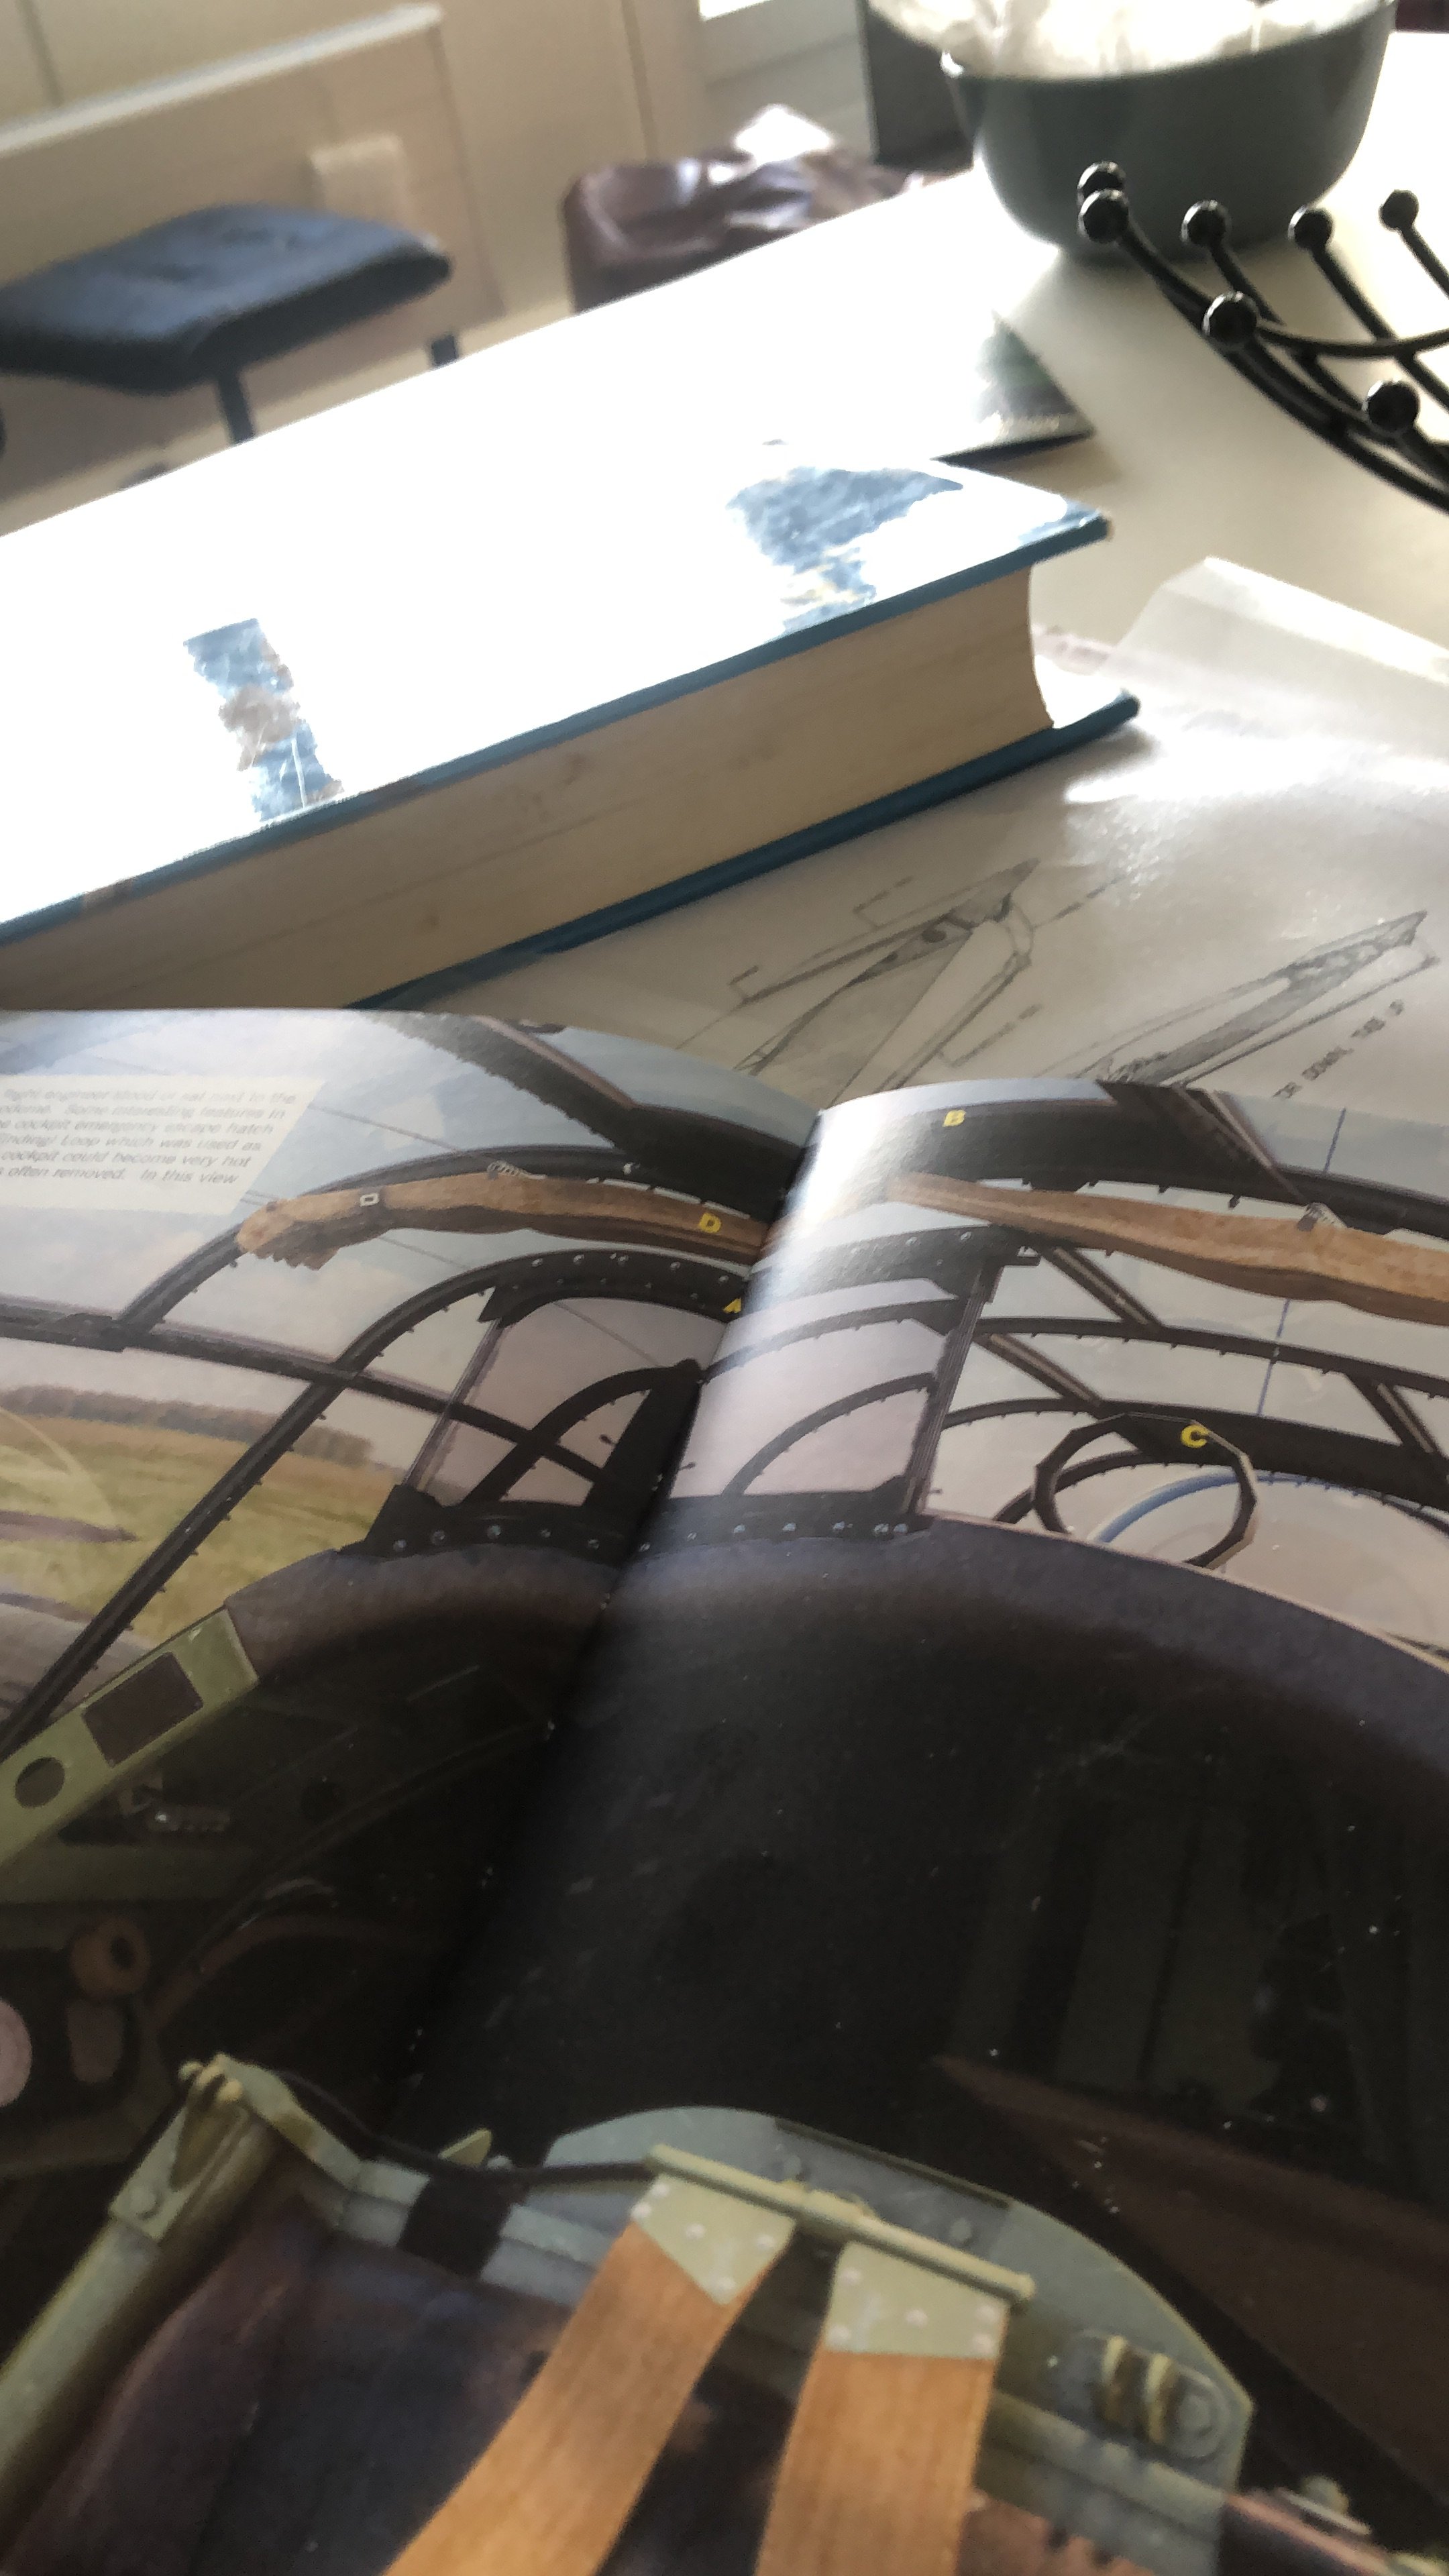
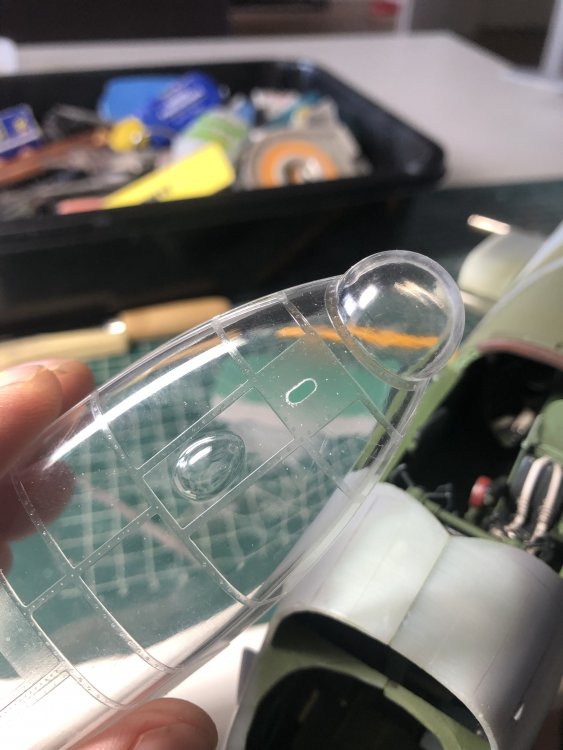
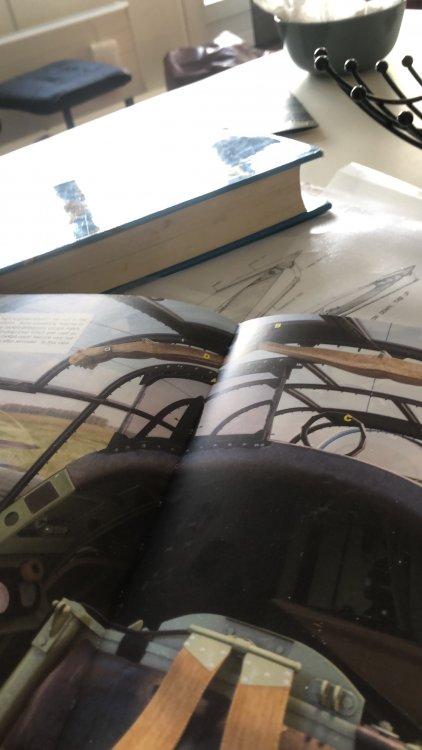
Been a while but I got some work done on the Mancunian. If you look hard on photographs there is something fitted under the rear canopy. This is a piece of armourglass to protect the flight engineer. In the book Dambuster Lancaster this becomes clearer, see pic. so this is my representation. I also attempted to make the structure inside the rear canopy which is made from spruce strips on the real Lanc. Unfortunately glue was smeared on the clear plastic. Oh well, back to square one.


-
1/32 Connie Edwards Ha-1112 Buchon
Wingco57 replied to JeroenPeters's topic in LSM 1/35 and Larger Work In Progress
Nice butchery Jeroen, the majority of those Buchons are flying again in the UK. Cees -
That is looking mighty fine Ernie. Well done. Cees
-
Very nice work, regarding glazing the windows, I usally work with discarded CD-covers. That works fine and can be polished back to full clarity. Cees
-
Hobby Boss P-61 re-started
Wingco57 replied to JohnB's topic in LSM 1/35 and Larger Work In Progress
Very nice John, Shall we call it the Shelf of Delay from now on? Cees -
Considering your opinion I rate this kit unbuildable. Cees
-
Mike, That looks fantastic please make it a separate thread for all of us to enjoy. Cheers Cees
-
Ho229 at the Udvar-Hazy Center
Wingco57 replied to JeroenPeters's topic in LSM 1/35 and Larger Work In Progress
There's no stopping you! But then again you like 'em dirty. Wonderful. -
Bombdoors are on! Cees