Wingco57
-
Posts
3,925 -
Joined
-
Last visited
Content Type
Profiles
Forums
Events
Gallery
Everything posted by Wingco57
-
 Very nice work, never knew the Canadian post war lancs had their own style of turretness.
 -
The doors are doubleskinned so apart from rivetlines there is no detail.
-
Ho229 at the Udvar-Hazy Center
Wingco57 replied to JeroenPeters's topic in LSM 1/35 and Larger Work In Progress
Looking very noise already. Cees -
dambuster Hong Kong Models 1/32 Avro Lancaster Dambuster
Wingco57 replied to JeroenPeters's topic in Aircraft Reviews
Well timed release! -
Takom 1/35 V2 Rocket
Wingco57 replied to JeroenPeters's topic in LSM 1/35 and Larger Work In Progress
I understand, you are not used to small balls. New balls please! Very nice set up. Cees -
Takom 1/35 V2 Rocket
Wingco57 replied to JeroenPeters's topic in LSM 1/35 and Larger Work In Progress
Very nice Jeroen, The original bit of V2 really tops it off. Cees -
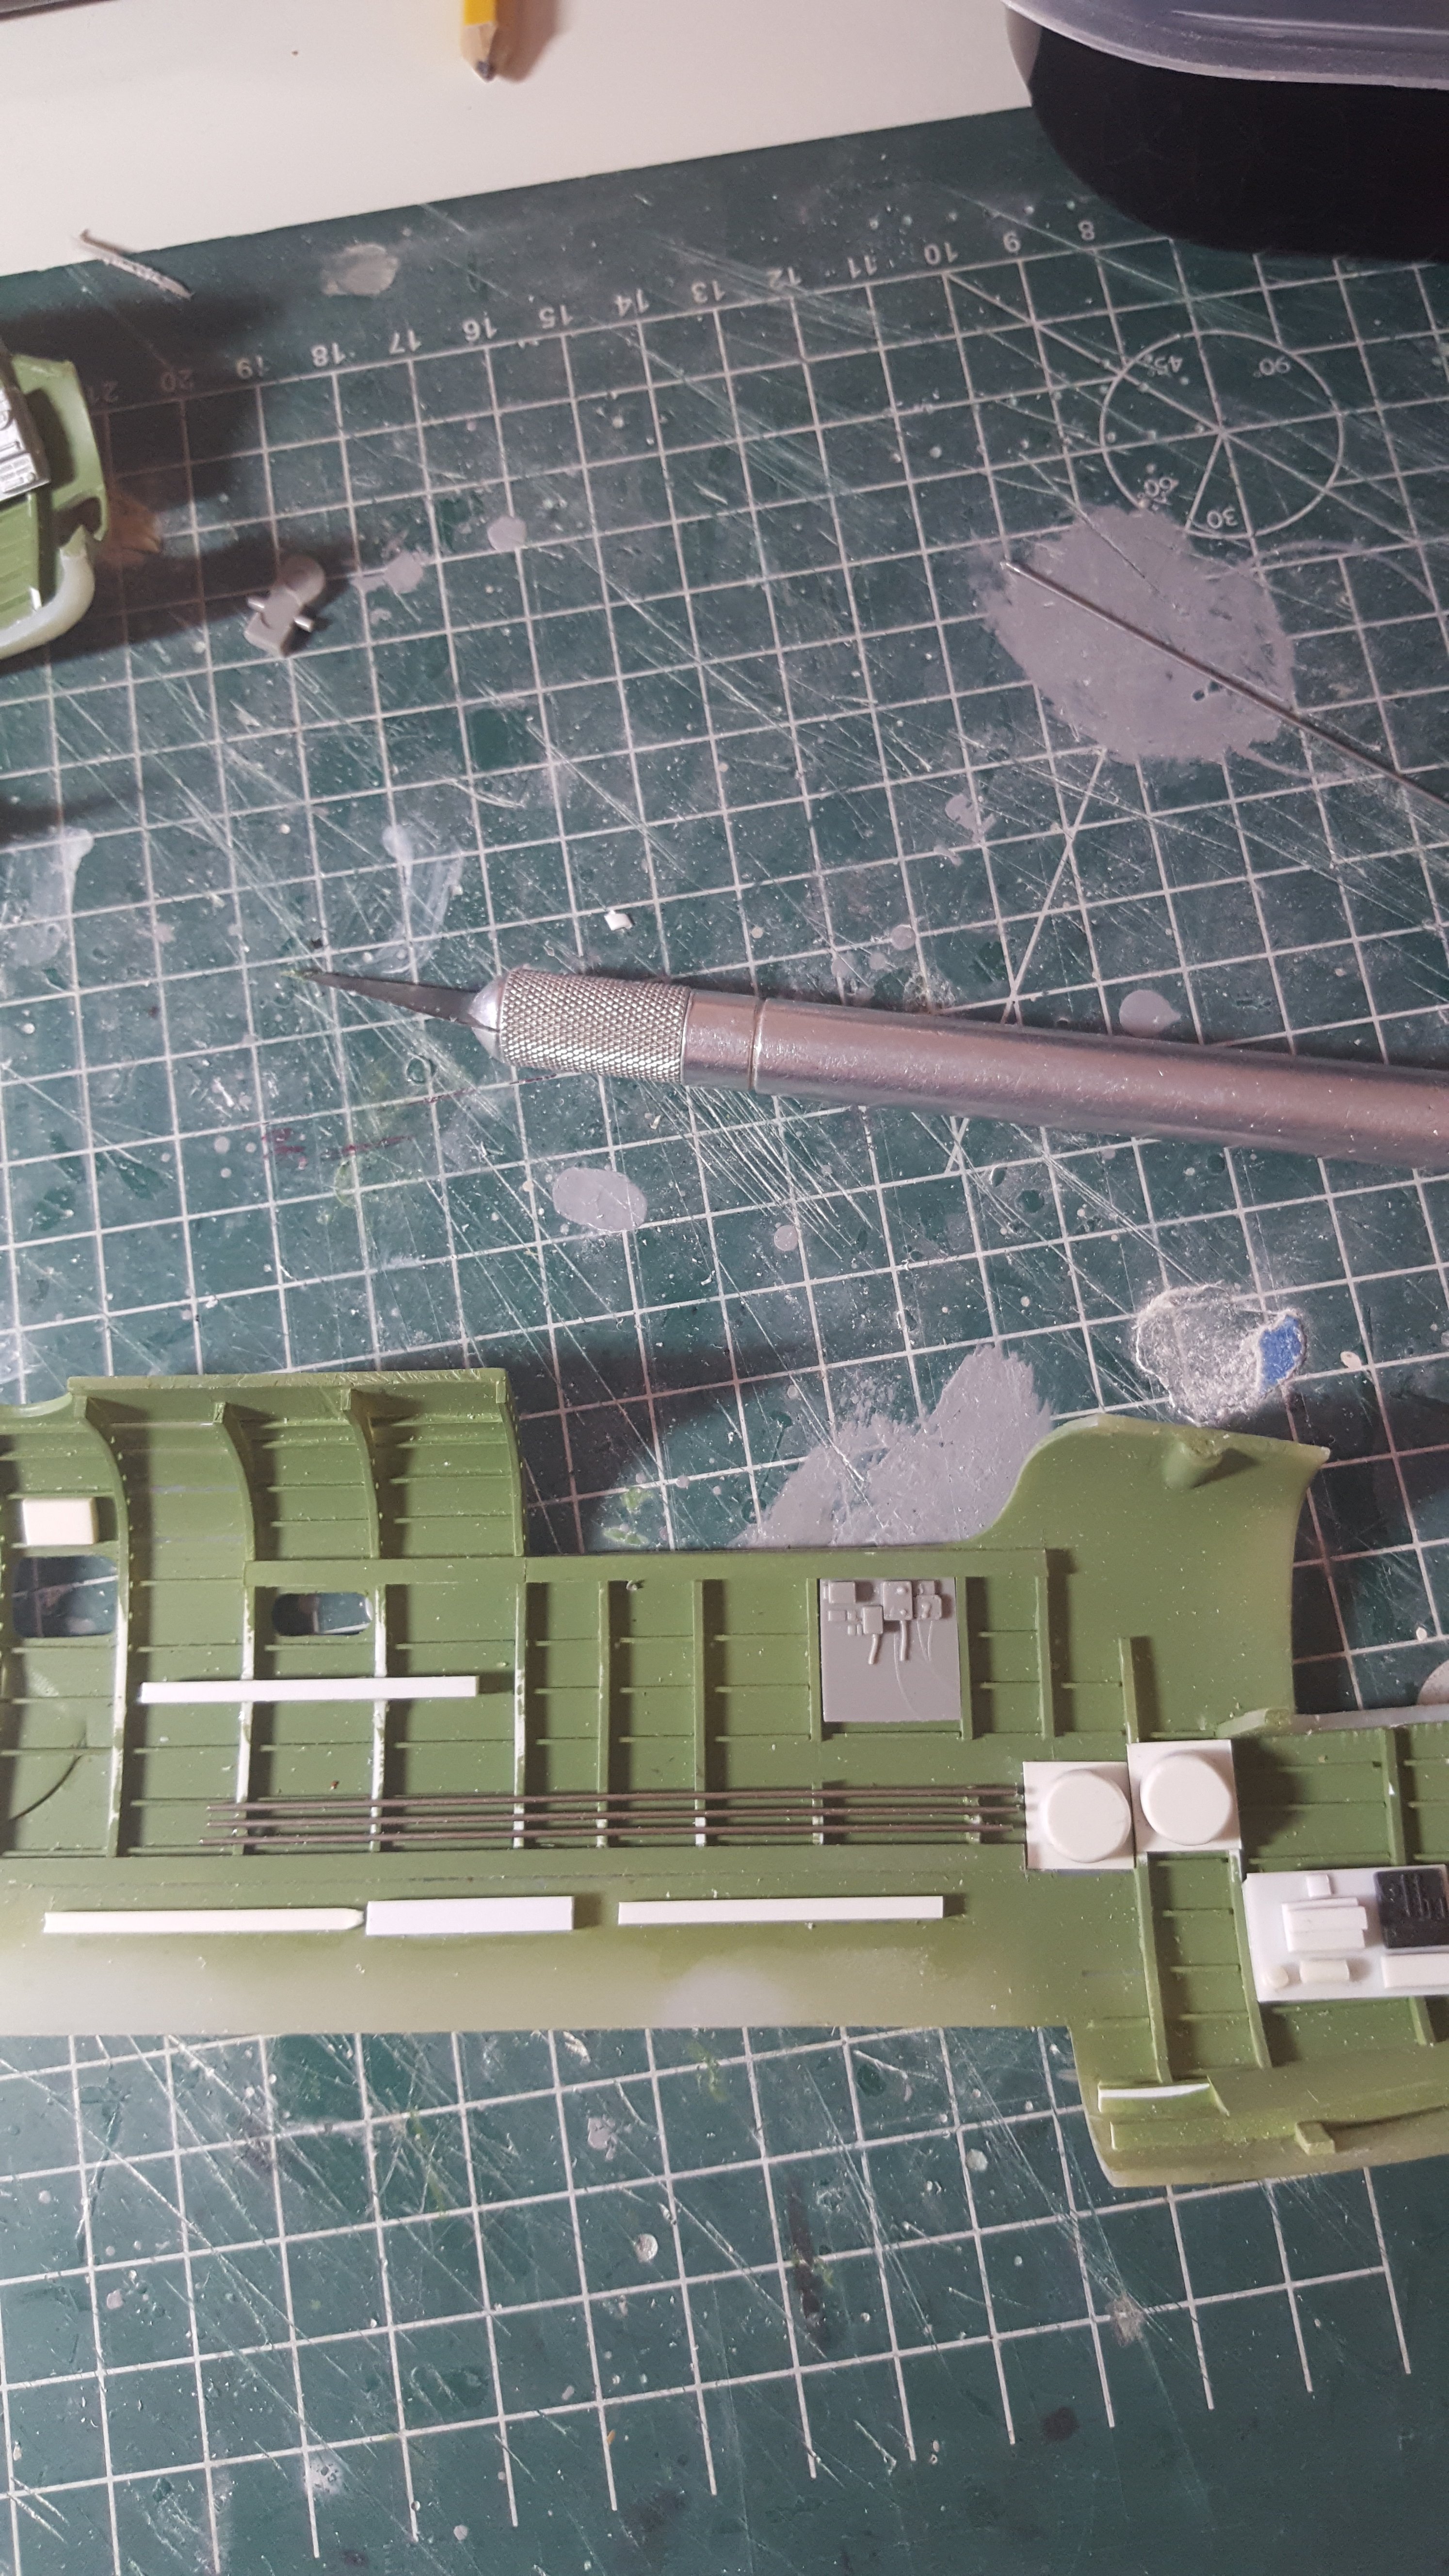
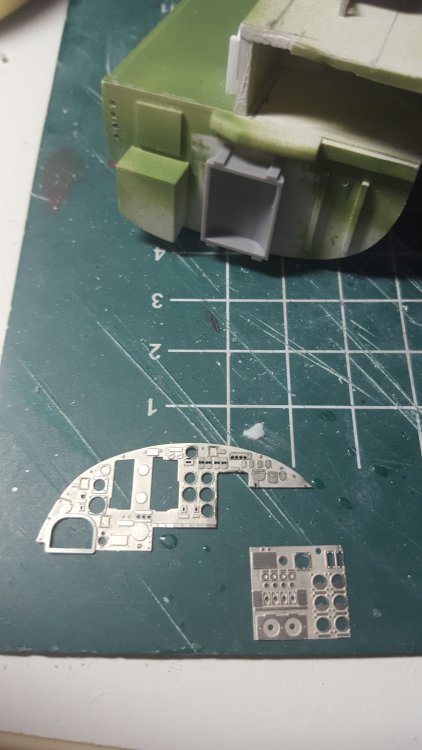
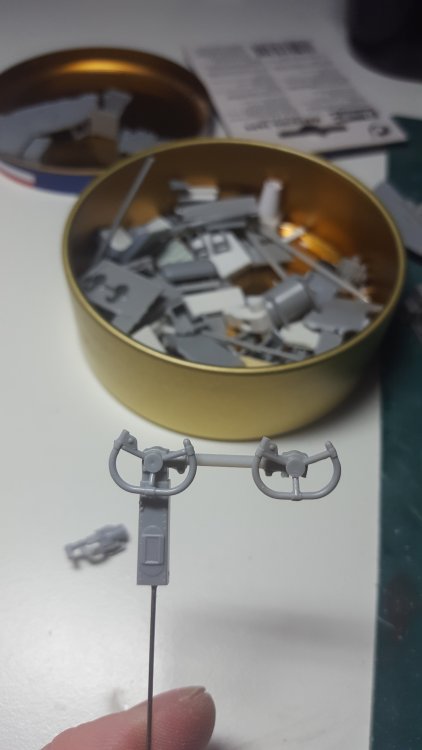
Some progress. Cutting up the Airscale Lancaster pe parts. Just remove what's Lancaster. Sorry Peter. Also been doing some further work in the portside fitting piping. And the twin controlwheels. Cees

-
Me 163B 'Komet', 'White 13' (re-titled!)
Wingco57 replied to JayDee's topic in LSM 1/35 and Larger Work In Progress
Well fairings usually were screwed to the fuselage and the thickness of the metal made it stand a bit proud of the surface. Cees -
I have news for you. It certainly is beginning to look like a very nice Beau. Cees
-
Very nice review James. Graham told me that there are no surviving drawing of the Attacker and he measured the last remaining one at Yeovilton. Also there have been some reports on the net that the intakes are wider than the rear fuselage that fits onto them. I read in the instructions that it was because the intake rims are more bulbous. Will have to check first. Cees
-
Takom 1/35 V2 Rocket
Wingco57 replied to JeroenPeters's topic in LSM 1/35 and Larger Work In Progress
Oh get a room you two -
1/32nd scratch build RAF towed Bowser COMPLETED
Wingco57 replied to FME erk's topic in LSM 1/35 and Larger Work In Progress
Fantastic! Nice subject too. Cees -
The Force is strong with this one...
Wingco57 replied to Bill_S's topic in LSM 1/35 and Larger Work In Progress
Just to be sure, the horizontal frame at the rear of the canopy is on the inside, the outside is smooth and the raised lines should be scraped away. The only thing you see from the outside are the boltheads. We have mentioned this several times to Neil but to no avail. Cees -
RR Spey powered RAF Phantom conversion
Wingco57 replied to Wingco57's topic in LSM 1/35 and Larger Work In Progress
Thanks very much Check, this is what I was looking for. Cees- 414 replies
-
- 2
-

-
- conversion
- phantom
- (and 1 more)
-
Tubeway Army? I like the way you want to represent the cannon tubes. I did it the easy way and drilled them out and capping the inside with tubing slit horizontally to avoid the see through look. Great work. Cees
-
Back on the chaindrill gang Jim? Looks to be a nice conversion. Cees
-
RR Spey powered RAF Phantom conversion
Wingco57 replied to Wingco57's topic in LSM 1/35 and Larger Work In Progress
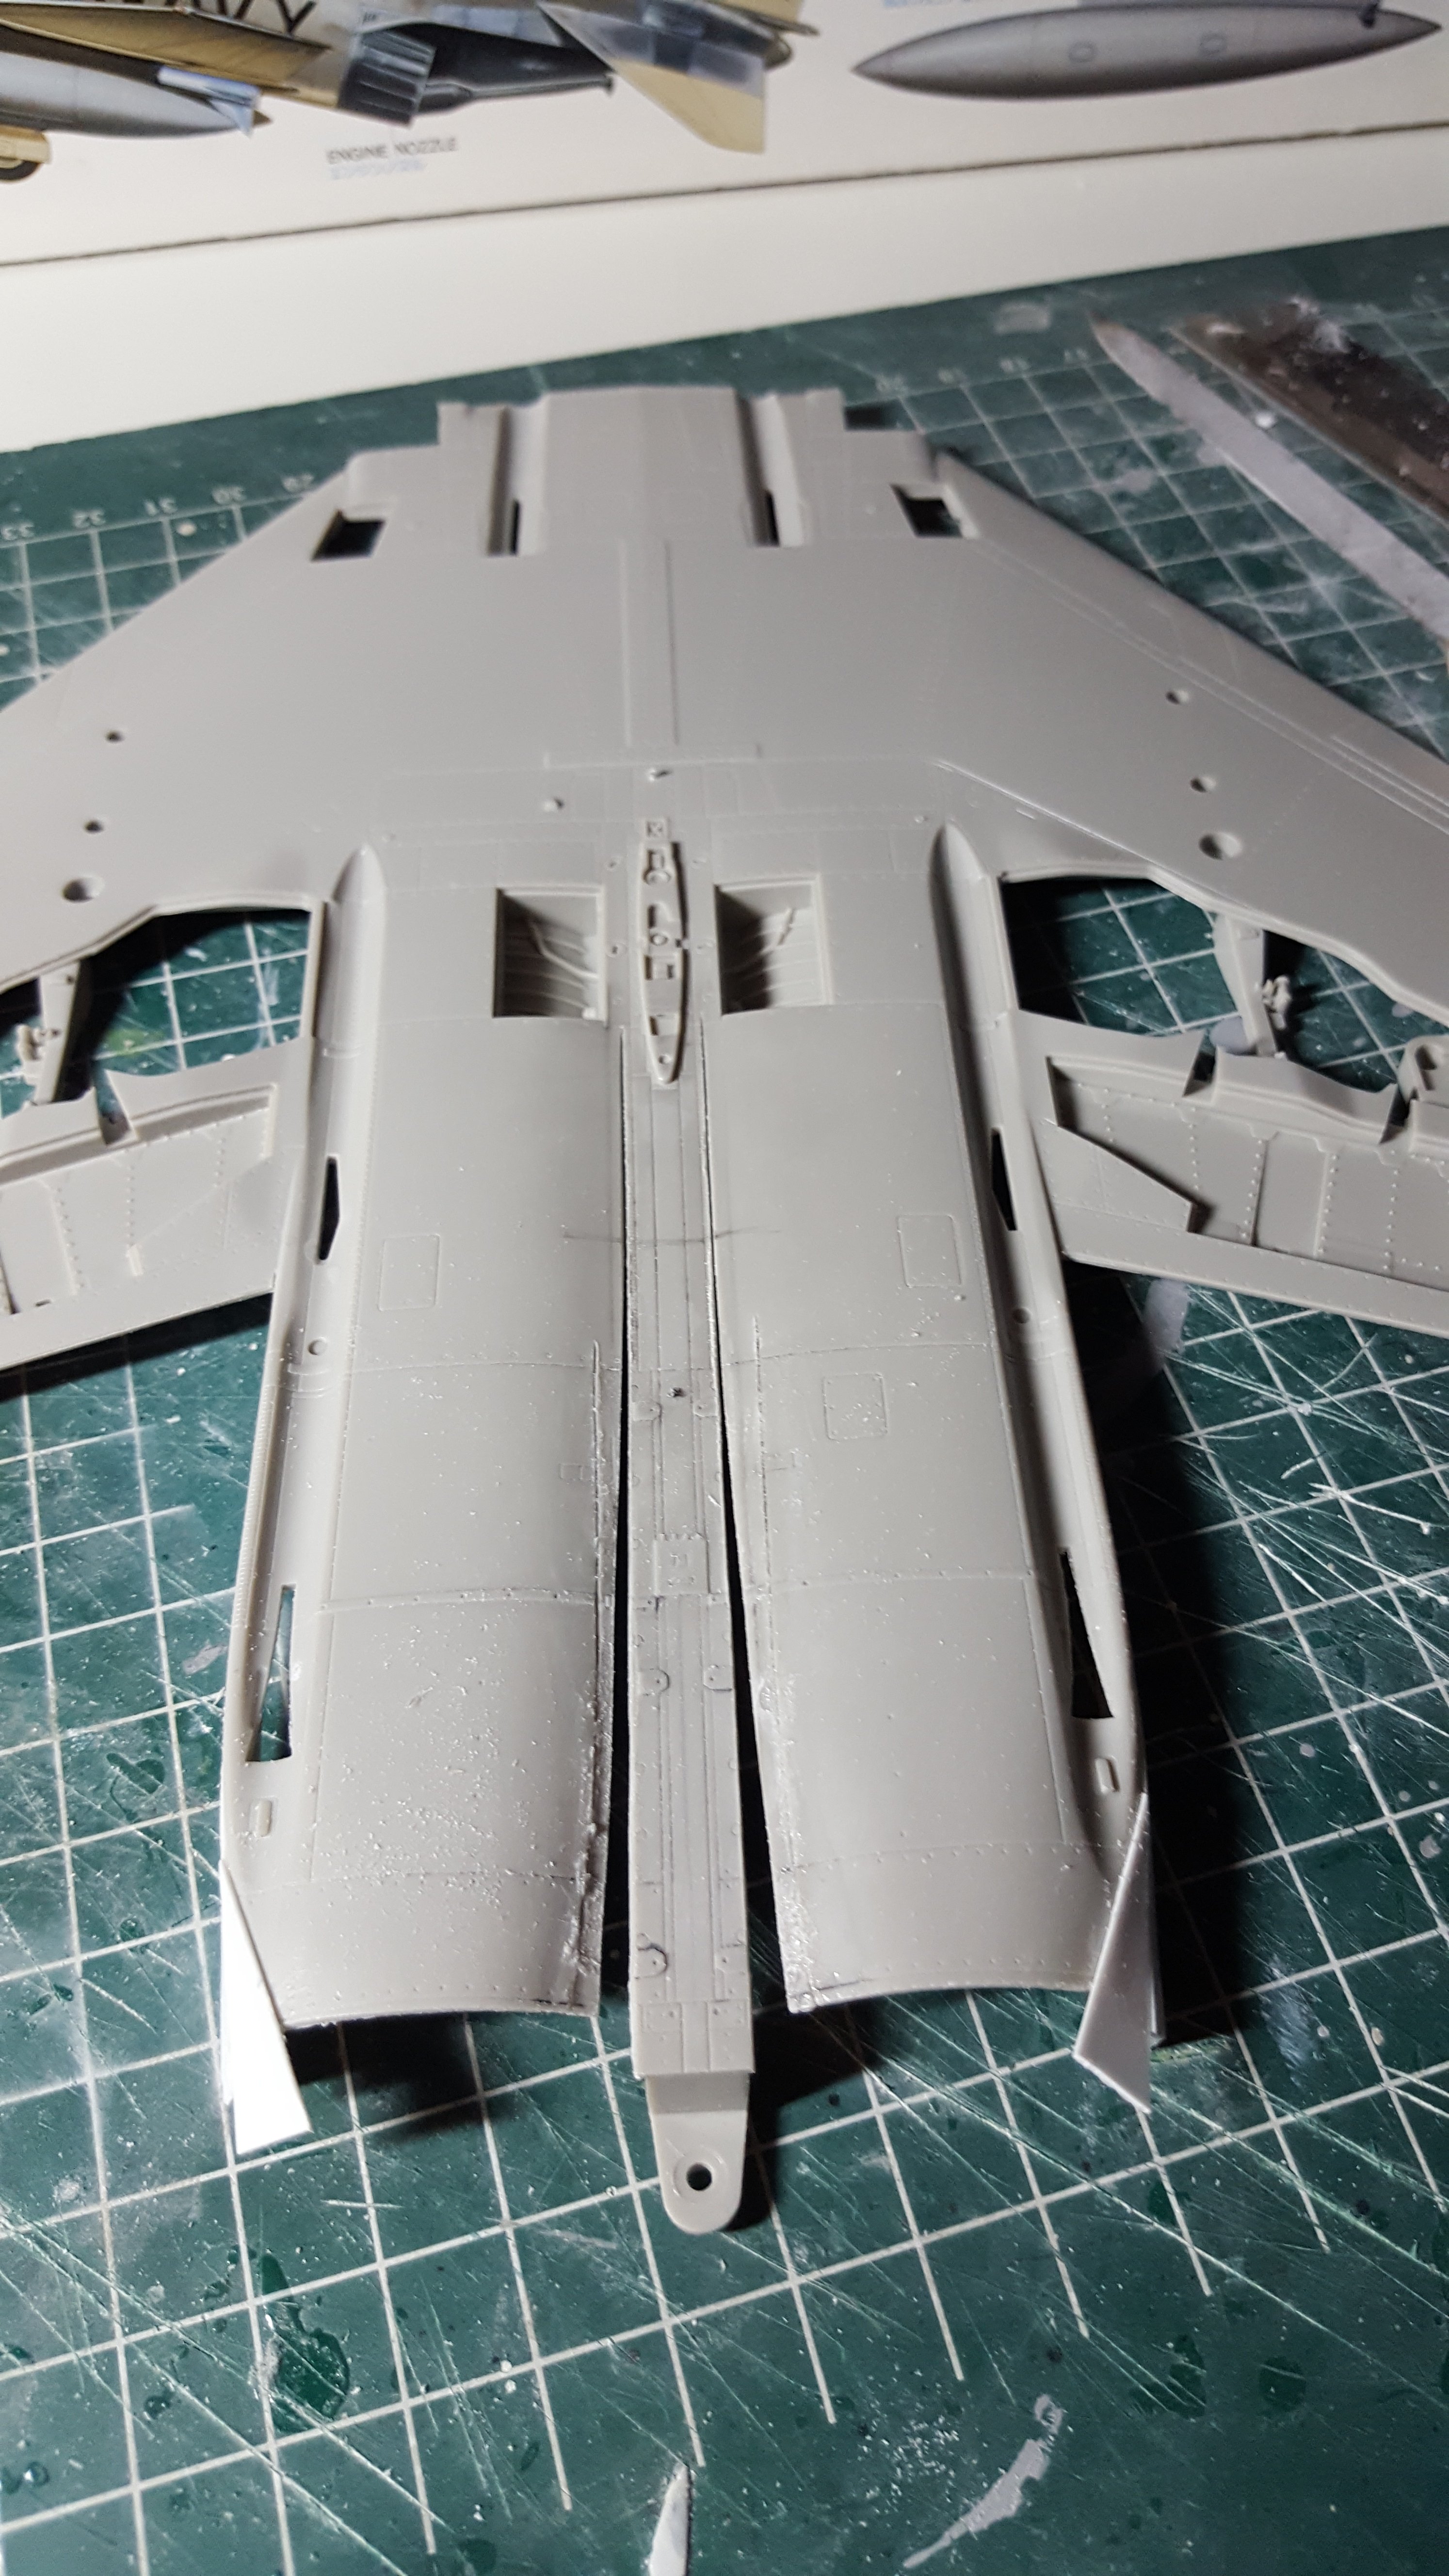
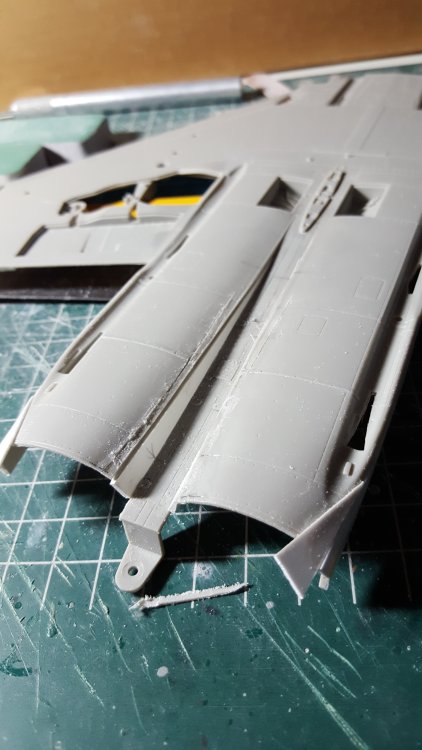
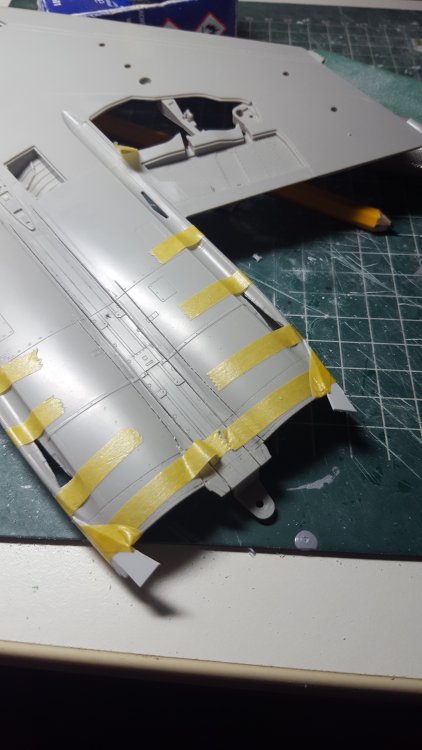
Time for an update. I thought I messed it up as I had to correct the previous sawcuts. But when I widend the gap it made sense. The triangular wedges have been glued in and the deeper FGR2 rear fuselage profile begins to emerge. The insides will be reinforced with Miliput as the seams are fragile. Looks like I got it. I'm happy. Cees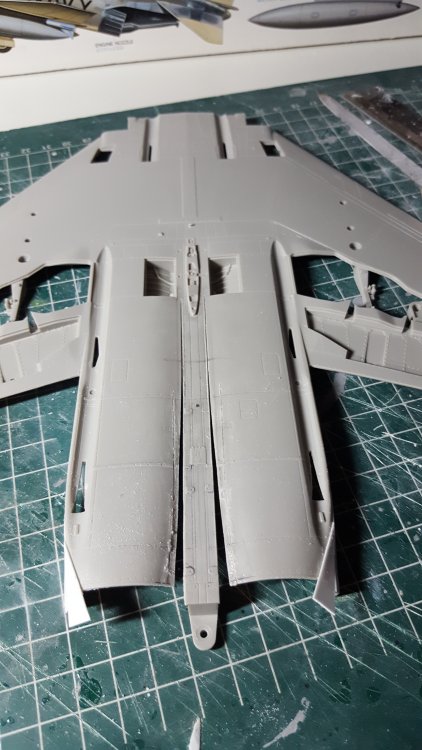

- 414 replies
-
- 4
-
-
- conversion
- phantom
- (and 1 more)
-
One to watch for sure. Cees
-
That tailwheelcompartment looks like the dog's danglies. But how on earth will you be painting this? The point and spray technique? Cees
-
RR Spey powered RAF Phantom conversion
Wingco57 replied to Wingco57's topic in LSM 1/35 and Larger Work In Progress
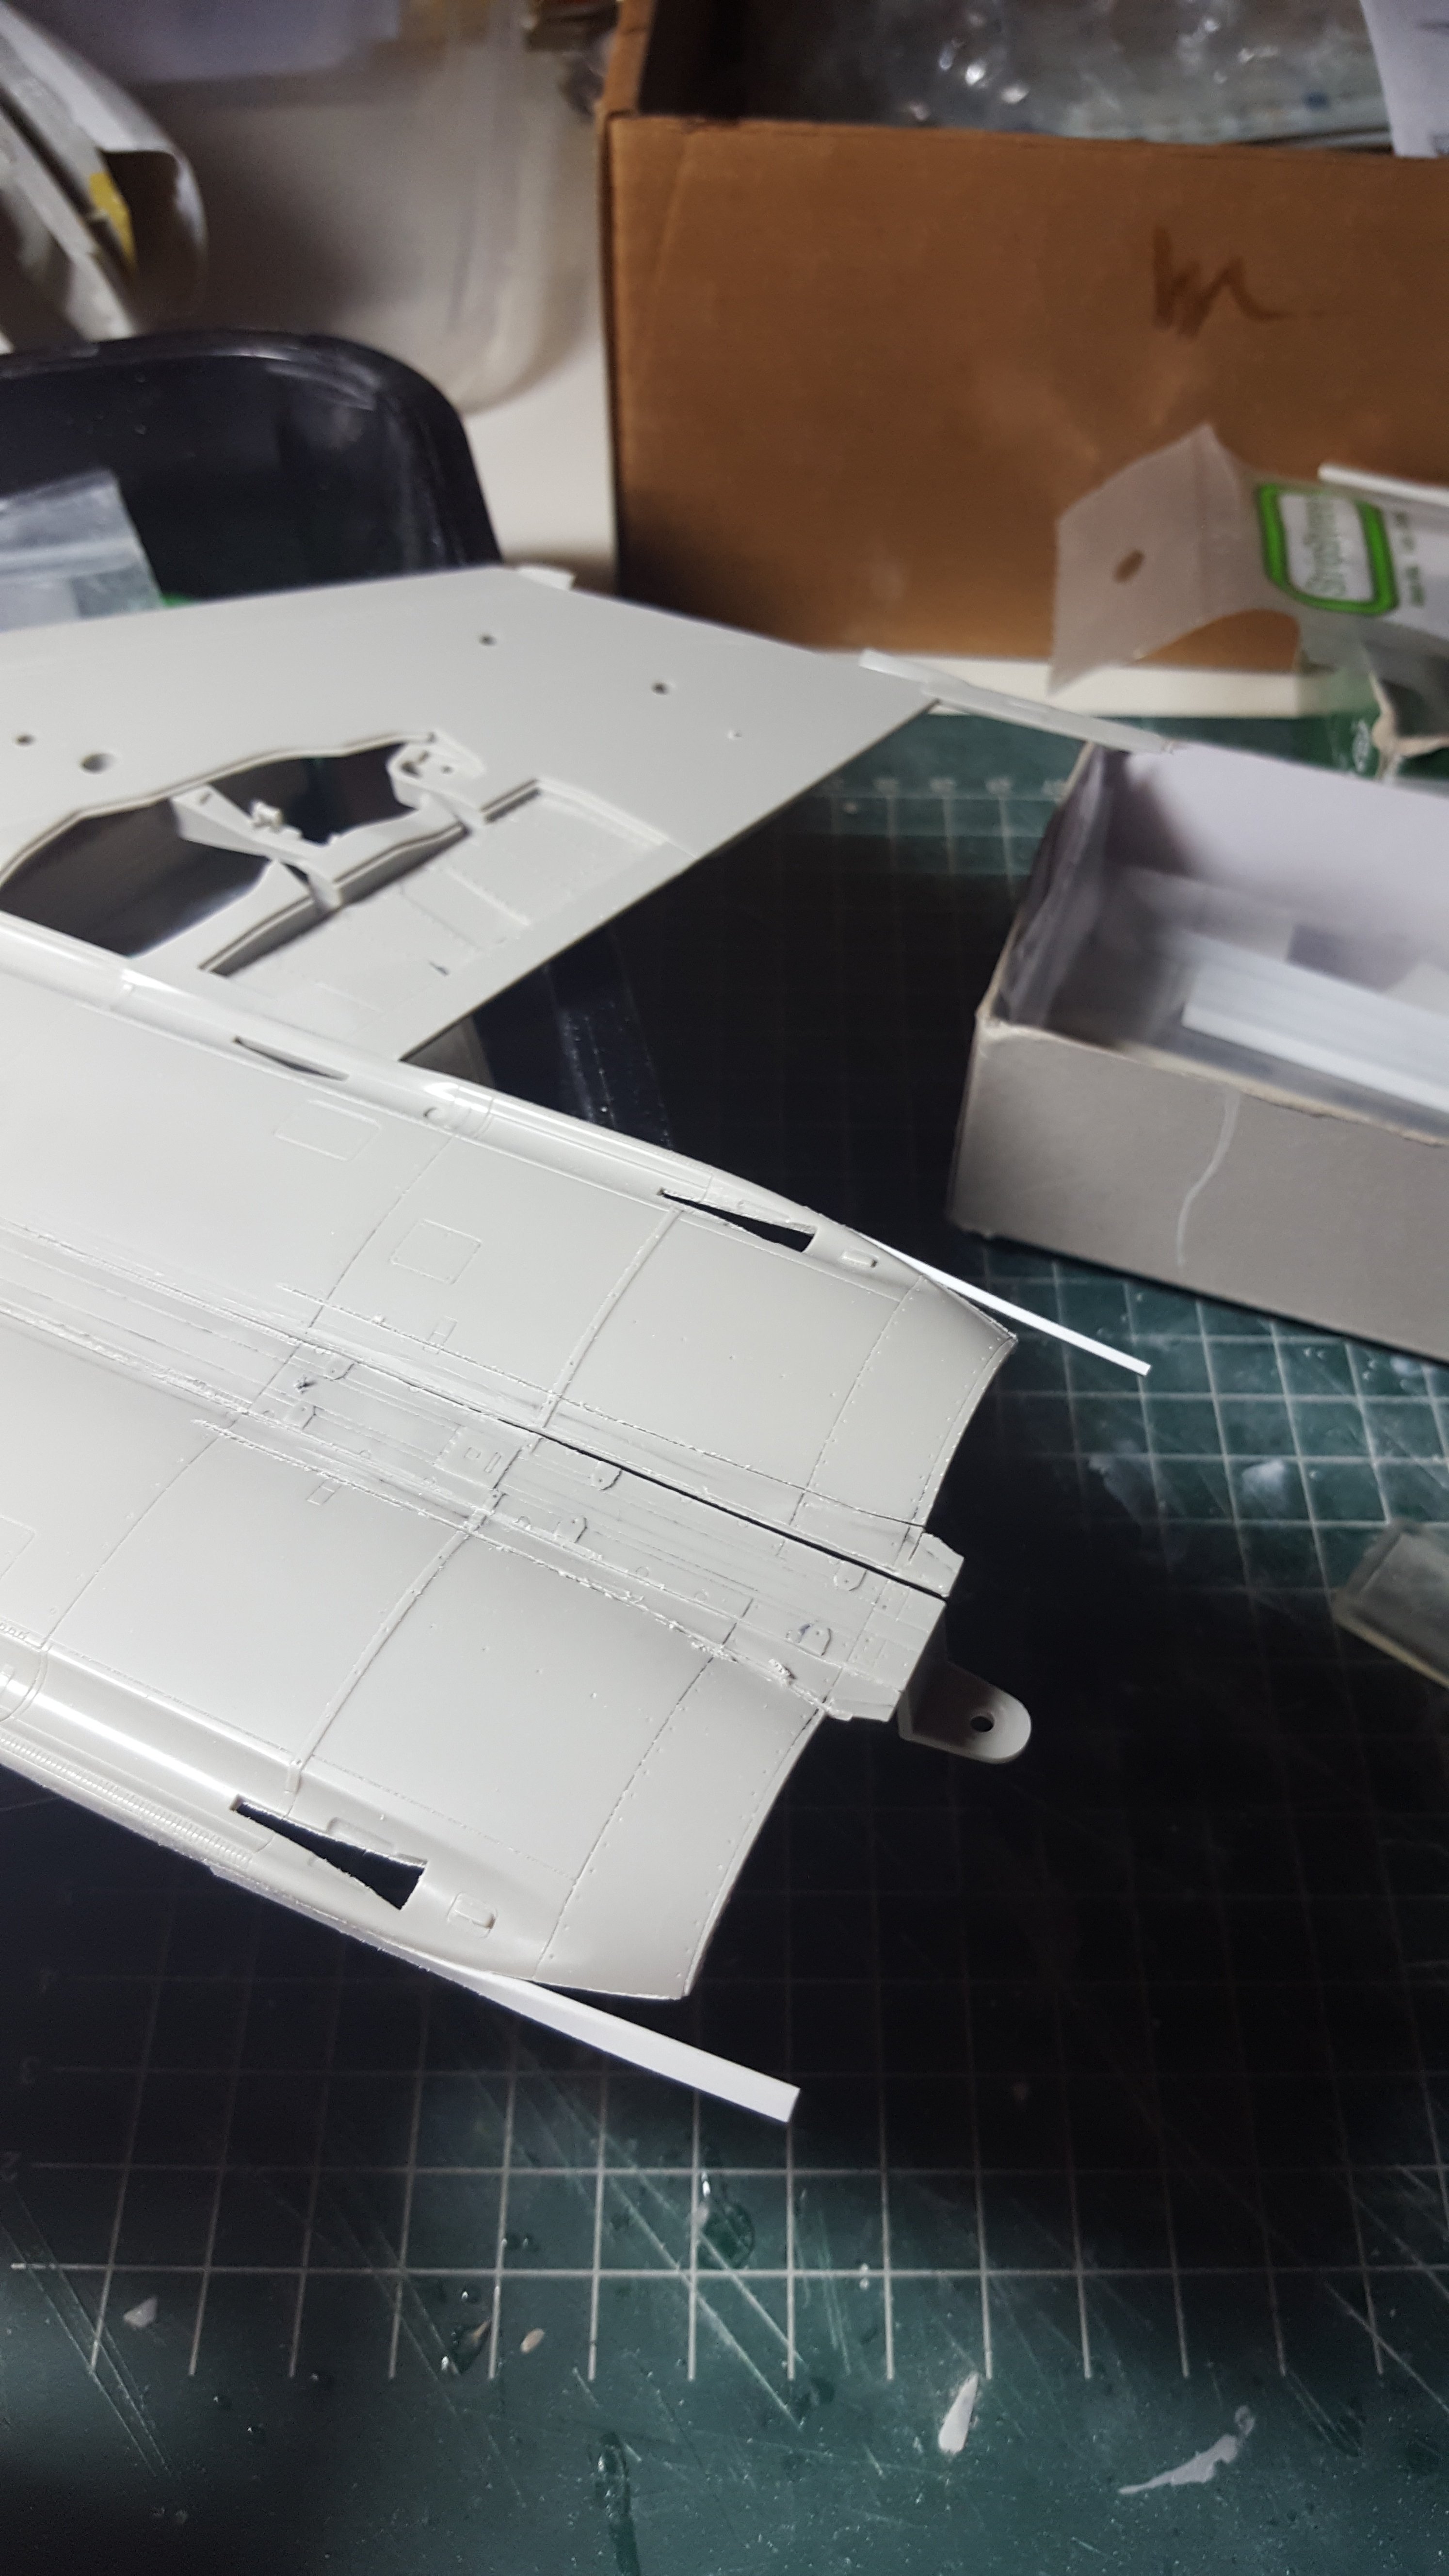
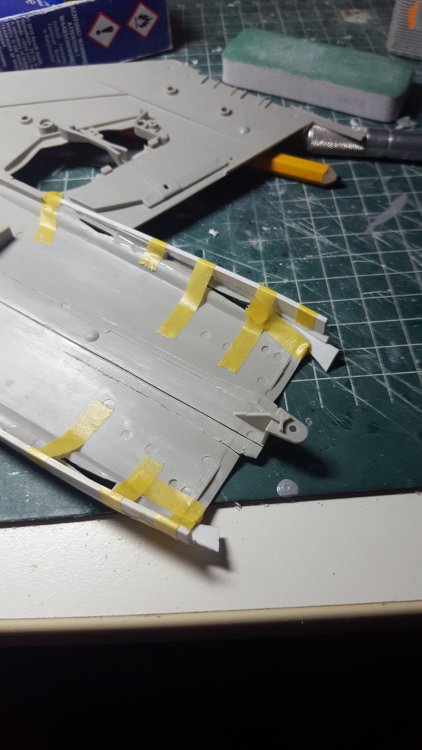
Some progress. Cees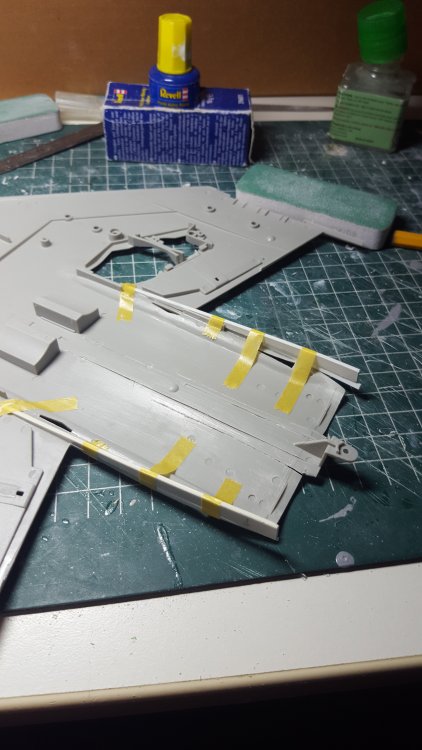
- 414 replies
-
- 4
-
-
- conversion
- phantom
- (and 1 more)
-
RR Spey powered RAF Phantom conversion
Wingco57 replied to Wingco57's topic in LSM 1/35 and Larger Work In Progress
Thanks Check, I was thinking the same thing. sometimes I wonder how Frank managed his conversion as the angles are sometimes quite square and difficult to correct. Cheers, Cees- 414 replies
-
- 2
-
-
- conversion
- phantom
- (and 1 more)
-
RR Spey powered RAF Phantom conversion
Wingco57 replied to Wingco57's topic in LSM 1/35 and Larger Work In Progress
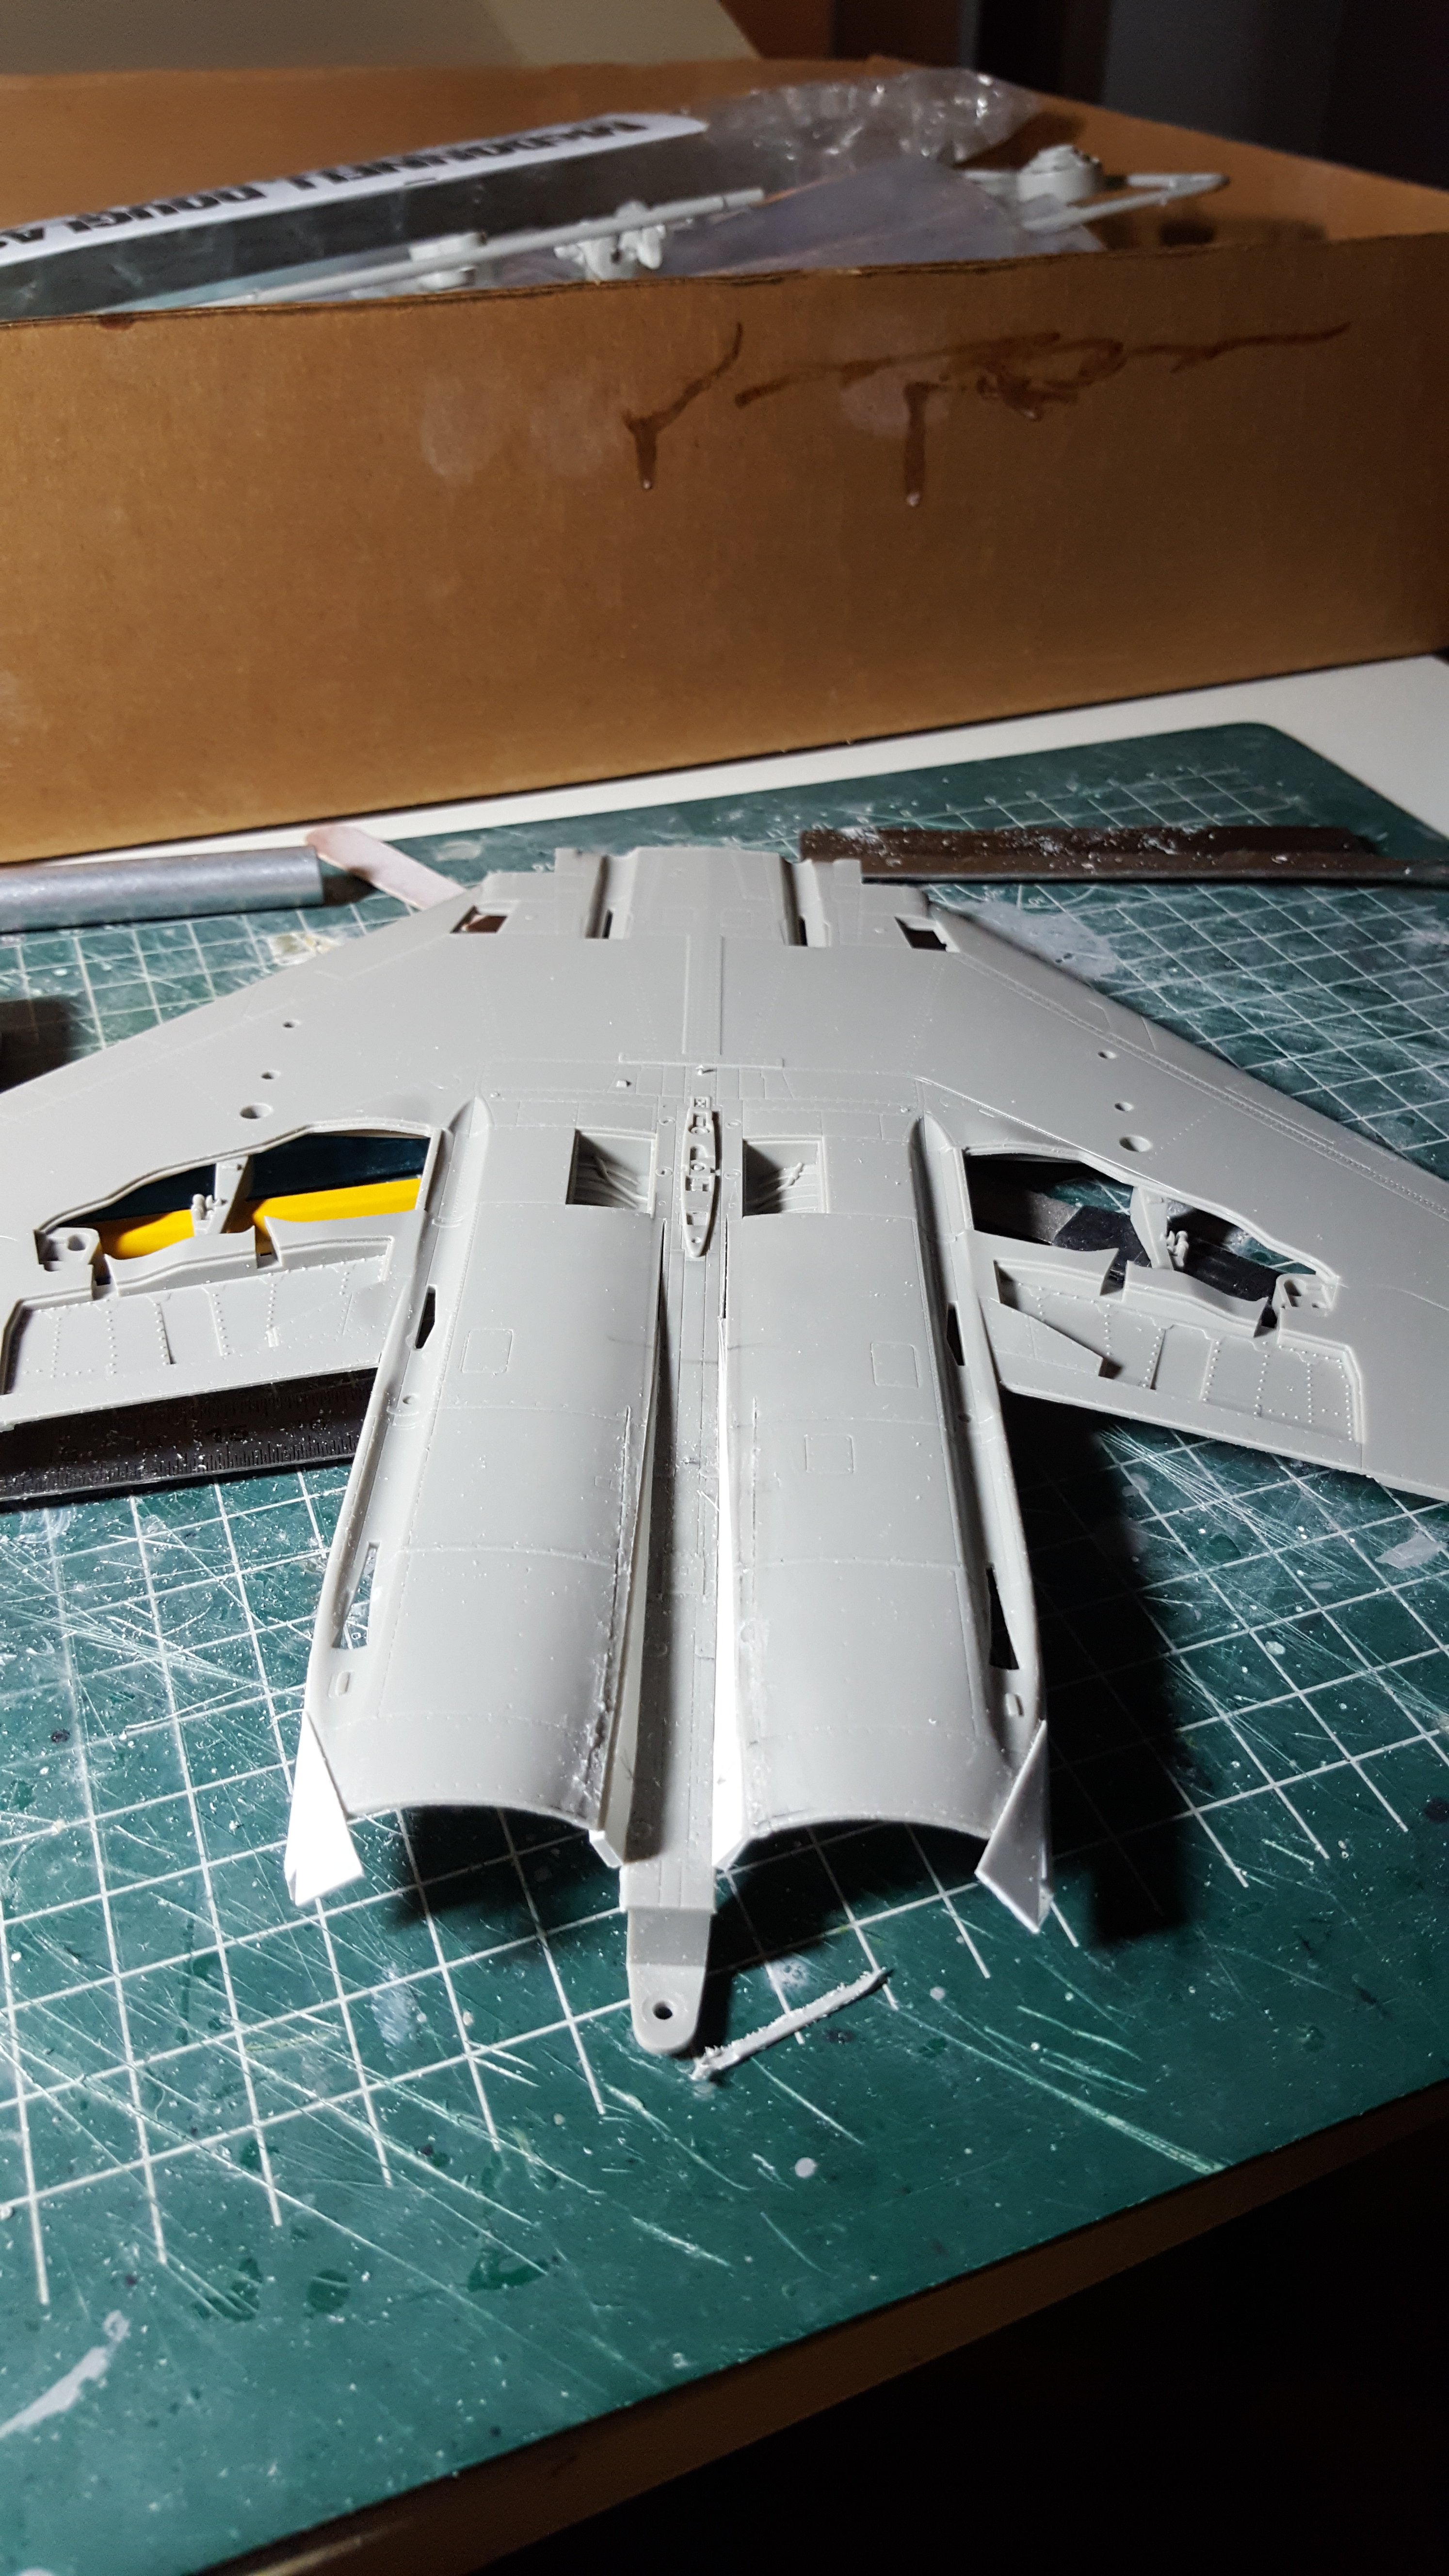
Despite the Frank Mitchell articles to hand enlarging the rear fuselage it not so easy. Slowly but surely... Cees
- 414 replies
-
- 5
-
-
- conversion
- phantom
- (and 1 more)
-
DN Models Lancaster Paint Mask set (Canopy and Windows)
Wingco57 replied to JeroenPeters's topic in Aircraft Reviews
Very nice Jeroen, I can use that for the Manchester too. Want! Cees -
hk models Lancaster B Mk.I, R5868, PO-S (S-Sugar)
Wingco57 replied to JayDee's topic in LSM 1/35 and Larger Work In Progress
Wonderful! -
RR Spey powered RAF Phantom conversion
Wingco57 replied to Wingco57's topic in LSM 1/35 and Larger Work In Progress
Thanks Ivan, this will be very useful when I get to the engraving part. Cheers Cees- 414 replies
-
- 3
-
-
- conversion
- phantom
- (and 1 more)