DocRob
-
Posts
7,015 -
Joined
-
Last visited
Content Type
Profiles
Forums
Events
Gallery
Everything posted by DocRob
-

The Legend - Lotus 72D - Tamiya 1/12
DocRob replied to DocRob's topic in LSM 1/35 and Larger Work In Progress
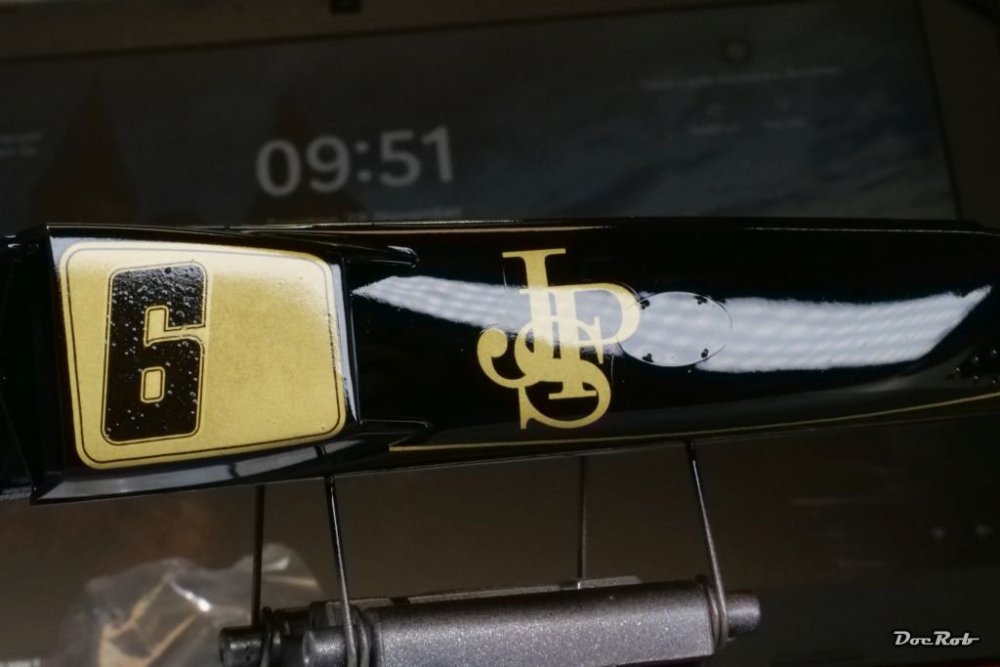
Thank you Carl, it only affected the black numbers. All the golden decals from the same sheet had no problems at all. The bubbles started with the third coat of paint, crazy. Cheers Rob -
The Legend - Lotus 72D - Tamiya 1/12
DocRob replied to DocRob's topic in LSM 1/35 and Larger Work In Progress
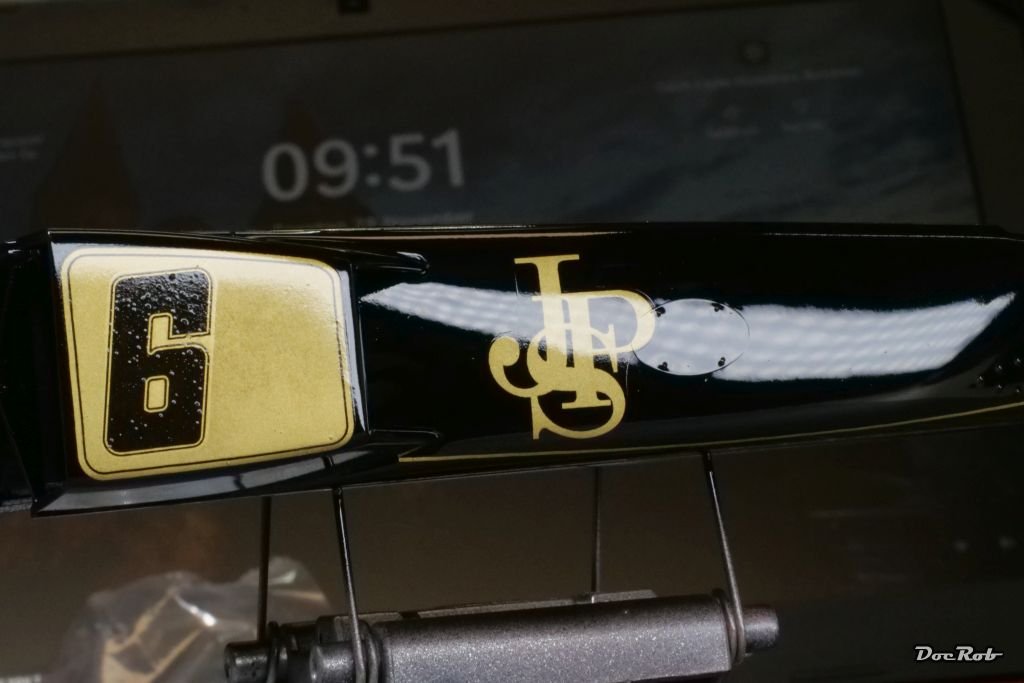
After 24 hours of curing time, I dared to look at the body parts a little closer. The Zero Paints Lacquer Clear was phenomenal to work with once again. I first sprayed a thin layer un thinned, to seal the decals, without harming them, blowing the color dry with the airbrush for faster curing and less reaction time. This layer has a bit of orange peel, but that doesn´t matter now. After about half an hour, I thinned the clear for the second coat with about 30% to 40% of leveling thinner and had a much better surface quality then before. Until now, no probs with the decals. The third and fourth coat followed after shorter periods of drying time, as I wanted them to melt into the former layers. The clear was thinned with about 55% to 60% of leveling thinner. The surface becomes almost perfect, but the black #6 decals got some tiny bubbles, a reaction with the clear coat or the thinner, unfortunately. I´m thinking about sanding the bubbles away very carefully and apply the Tamiya #6 decals onto them, which hopefully have the same size. I will check that before sanding with the #8 decal. I´m not sure, if I polish the body parts, as they look near perfect right now. I will decide that after two or three days of further curing time, before, I won´t touch the parts. Cheers Rob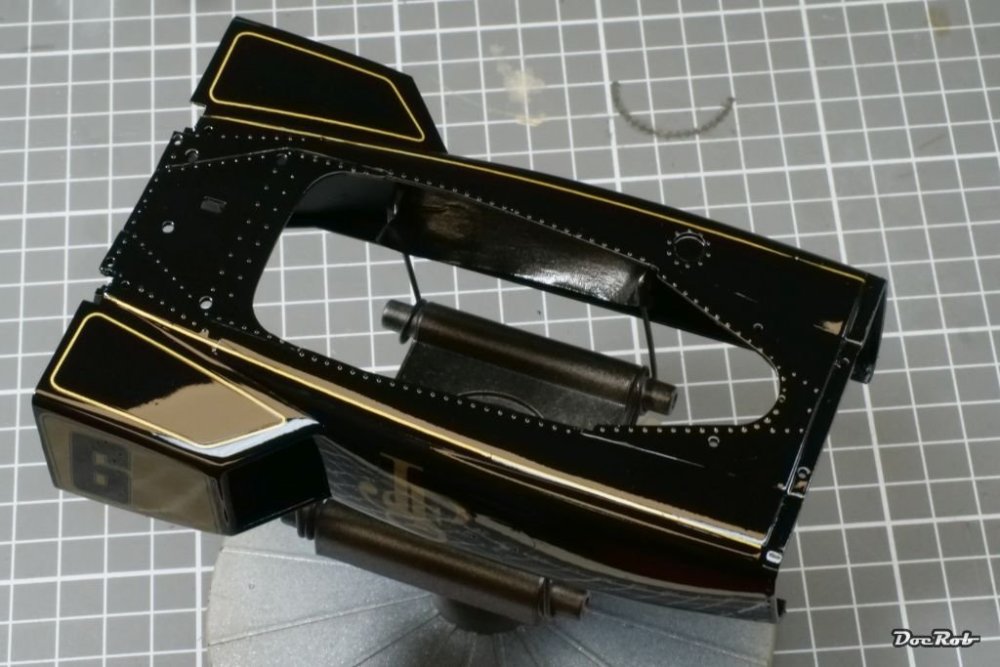


-
The Legend - Lotus 72D - Tamiya 1/12
DocRob replied to DocRob's topic in LSM 1/35 and Larger Work In Progress
Thanks for the warning about the decals of Revell´s VW flower power bus. I thought about getting one, but will let go now. The TBDecals finally had some issues. I will show the probs in my next post with some pictures. Cheers Rob -
I use different iterations of the CRplus since years and absolutely love them as an ex engineer. Easy to maintain and always reliable, you´ll love it Paul. I personally use the Giraldez edition since one and a half years, it´s my favorite, despite it´s strange trigger, but have the regular edition as well. Cheer Rob
-
The Legend - Lotus 72D - Tamiya 1/12
DocRob replied to DocRob's topic in LSM 1/35 and Larger Work In Progress
Thank you guys, angst might not be the right term, Gus, but I feel always some tension with car body works, until the last coat of clear has dried. There are so many possibilities to ruin the kit during the process. Cheers Rob -
The Legend - Lotus 72D - Tamiya 1/12
DocRob replied to DocRob's topic in LSM 1/35 and Larger Work In Progress
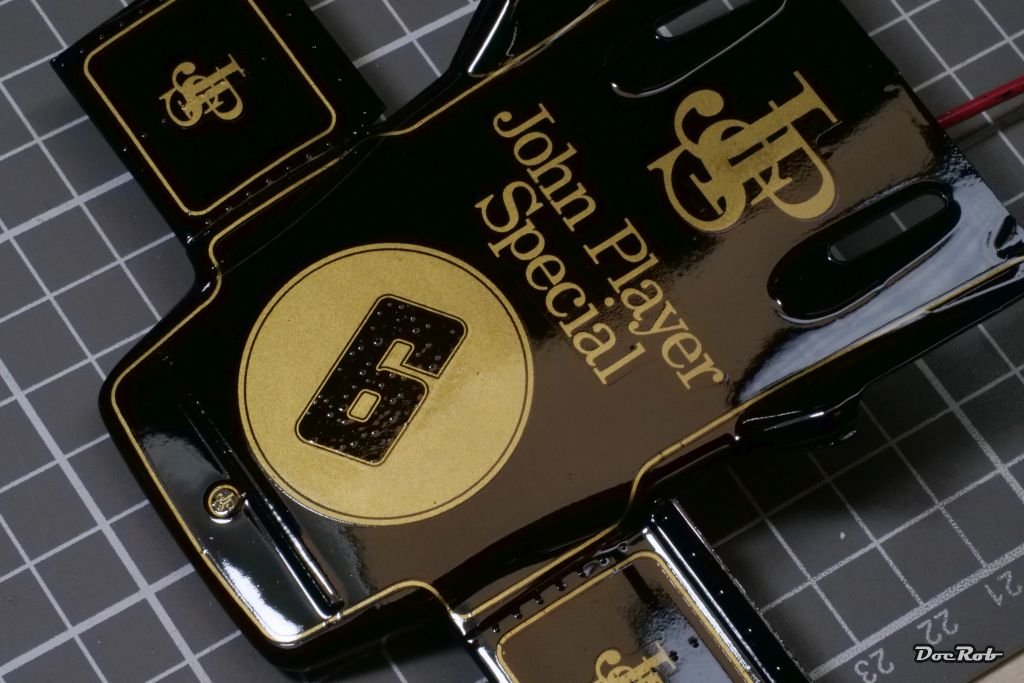
Decaling is mostly done. I have to do some touch ups and the Fittipaldi helmet. The pinstripes proved to be difficult to apply, especially around the cockpit. The front with the Texaco sign was a nightmare, because the pinstripes are separate decals, easy to guess, how fragile and difficult to arrange they were. I could have used the Tamiya decal for that, but there is a lot of carrier film all around. On the back of the cockpit, I used Tamiya´s pinstripes, which luckily have the same color. I will let dry for a day now and then clean off the water residues before clear coating. Cheers Rob
-
The Legend - Lotus 72D - Tamiya 1/12
DocRob replied to DocRob's topic in LSM 1/35 and Larger Work In Progress
Muchas gracias amigos, I hope the rest of this very old kit holds up to the bodyworks, but I wanted to do this first, as it is the dealbreaker. Cheers Rob -
The Legend - Lotus 72D - Tamiya 1/12
DocRob replied to DocRob's topic in LSM 1/35 and Larger Work In Progress
After the three jars of Tamiya LP-1 have cured, I started with the decaling. The TBDecals are very good to work with, the carrier film is very thin and they can be slipped off the backing paper within seconds. Some of the stripes folded over, but none teared. I used only warm water with a drop of detergent for decaling, luckily there are not many curves to contour the decals around. The multi piece pinstripes on the body and nose were applied quite rapidly in one go, to get them aligned perfectly and symmetrical. I hope the decals are not too sensitive concerning a later clear coat to seal everything in. Cheers Rob

- 89 replies
-
- 12
-

-
The Legend - Lotus 72D - Tamiya 1/12
DocRob replied to DocRob's topic in LSM 1/35 and Larger Work In Progress
Thanks Carl, the Tamiya LP-1 is always good for a deep shiny finish, without orange peel effect, when thinned properly. I think it´s best, to prepare as good as possible for the best finish. Sanding and polishing in the end on the clear is difficult in places. Cheers Rob -
The Legend - Lotus 72D - Tamiya 1/12
DocRob replied to DocRob's topic in LSM 1/35 and Larger Work In Progress
Thank you Kevin, my go to base for metallics is Tamiya LP-1 which also dries very hard. The only problems, I sometimes have are tiny color runs, because my last coat is so highly thinned, to get a perfect shiny surface. It´s kind of a struggle to get it right, but a good shiny base reduces the needed polishing work in the end. Which some hard to reach areas for example on the wings, it´s worth the struggle. Cheers Rob -
Nice (extra) work, Chris. I´m sure, you will pull through with the big thing. Weird, how you exchanged the super bad Italeri kit for a bad modelcollect one. It seems there is some need for a really good kit. Cheers Rob
-
What is on your bench right now ? Share a picture :)
DocRob replied to Martinnfb's topic in Modelling Discussion
You are no Gundam Carl, only human. There are no parts to exchange, so all the best for your shoulder. Cheers Rob -
The Legend - Lotus 72D - Tamiya 1/12
DocRob replied to DocRob's topic in LSM 1/35 and Larger Work In Progress
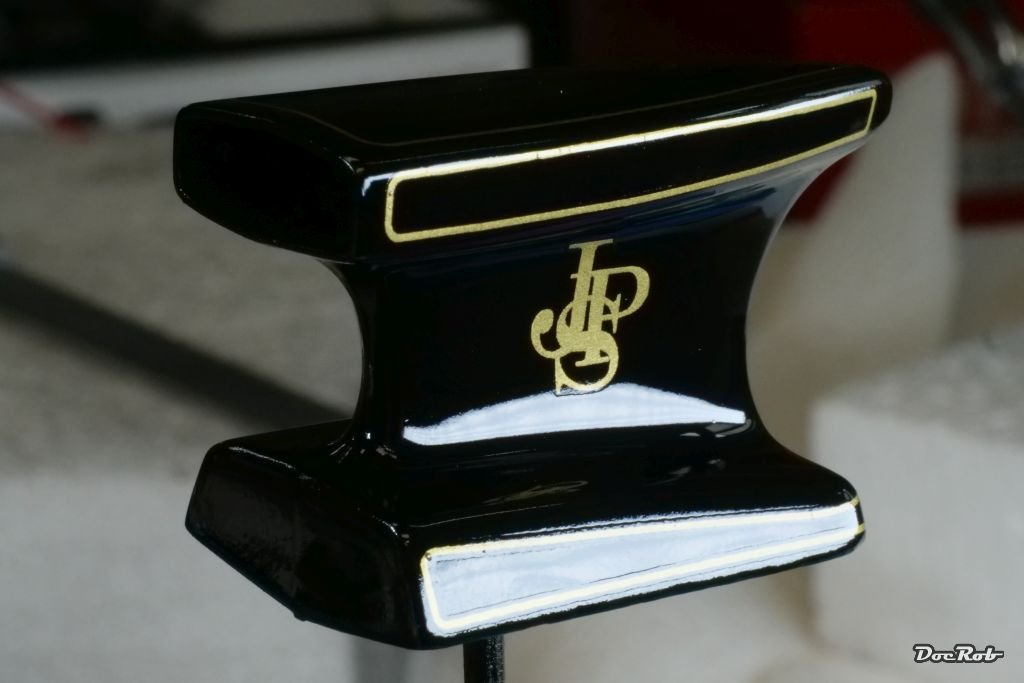
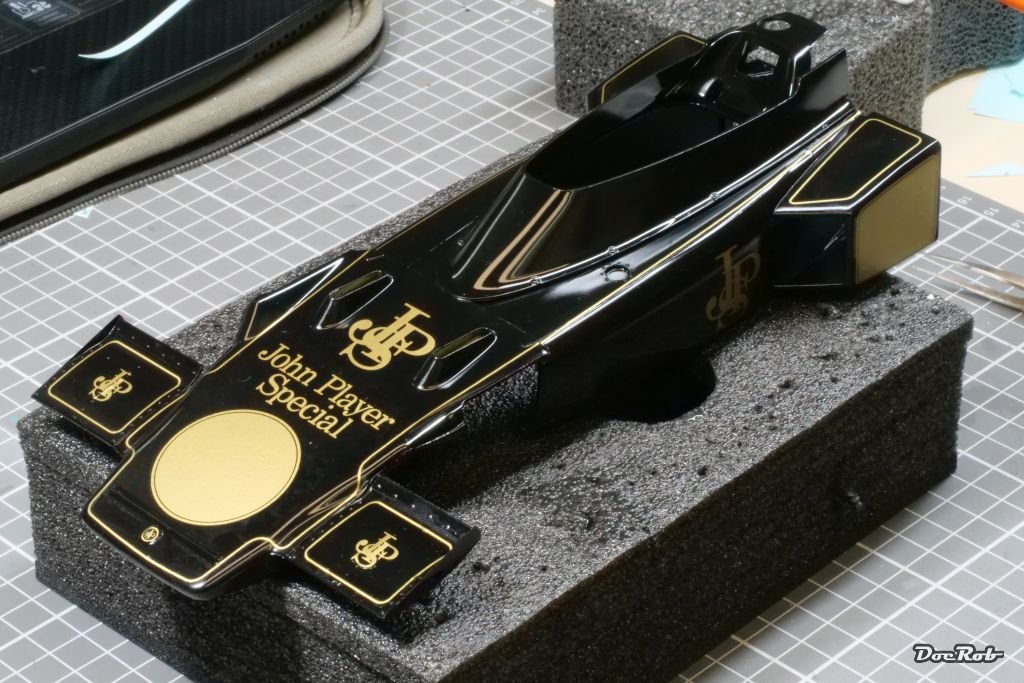
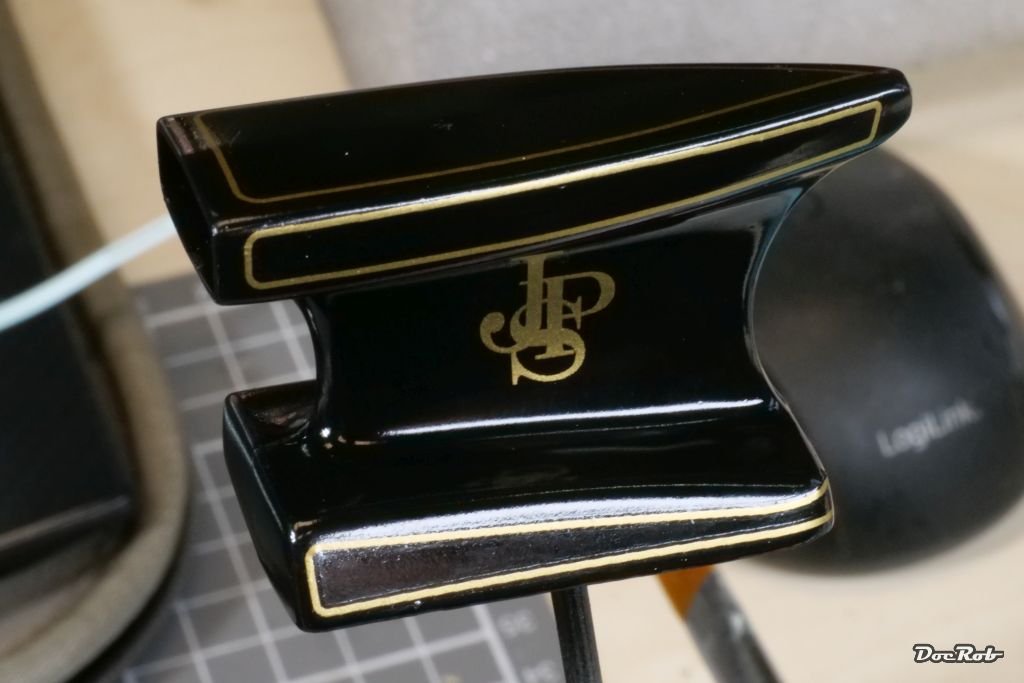
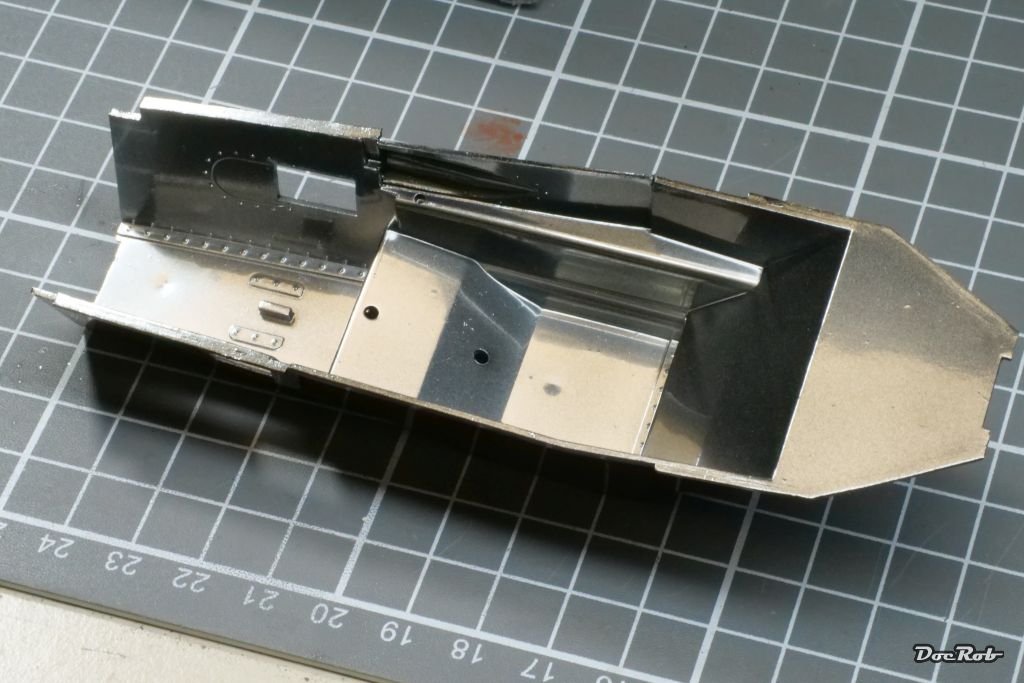
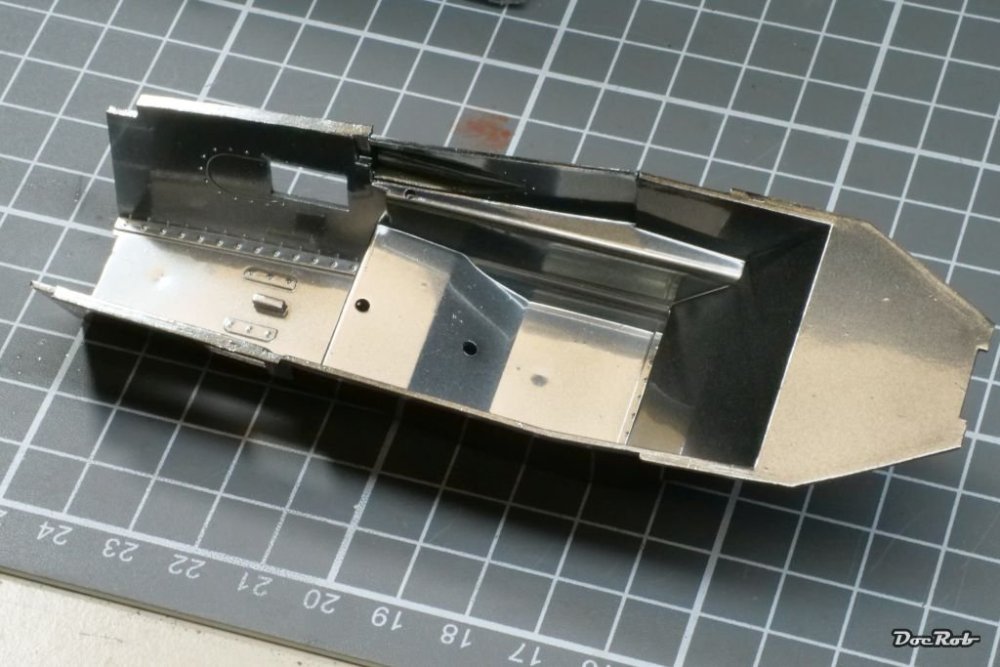
Over the last days, I did a lot of sanding and test fitting, to prepare the body and wing parts for painting and decaling. I decided to add the front wings to the nose and built up the upper side of the body along the radiator housings for not having to glue these parts later after painting and decaling. This way, I could ensure a proper fit and alignment of the parts, which will help later in the build. I primed the parts with Mr. Surfacer 1500 black primer and then sprayed Tamiya LP-1 gloss black on, heavily thinned with leveling thinner. Unfortunately, I had some tiny color runs, which easily happens with paint, thinned so much. After drying, I sanded away the imperfections and today, I resprayed the black body color. Now it looks decal ready with a near perfect high gloss finish. I also sprayed the cockpit with Ammo´s polished aluminum, which is shining fantastic, even better to the human eye, than on the picture. I read rumors, these Ammo metallic are the same as Alclad, but I don´t know for sure. Anyway, polished aluminum sprays perfectly in very fine layers over a base coat of Tamiya LP-1 gloss black. Cheers Rob
-
The Legend - Lotus 72D - Tamiya 1/12
DocRob replied to DocRob's topic in LSM 1/35 and Larger Work In Progress
In fact, the Lotus 72D was so famous, that it got it´s own song. A Samba piece by Zé Roberto. Cheers Rob -
The Legend - Lotus 72D - Tamiya 1/12
DocRob replied to DocRob's topic in LSM 1/35 and Larger Work In Progress
Thanks Mike, I hope the best for the nose section. The body parts fit so far with the nose, but I have to see, how it works with the innards. I will use Tamiya LP1 as gloss black. Actually I started with it, but have some tiny runners on the body and have to wait until it´s completely cured, before I sand again. Companies like Zero or Number Five sell different Lotus blacks for different types, weird. Cheers Rob -
The Legend - Lotus 72D - Tamiya 1/12
DocRob replied to DocRob's topic in LSM 1/35 and Larger Work In Progress
Thanks for your confidence, PW. The kit isn´t too bad until now, not up to todays standards, but decent. It´s my first JPS livery, but I have some more Lotus in my stash. Until I stopped smoking two decades ago, it was Players Navy Cut or Senior Service, sometimes Lucky Strike, but there are no F1 liveries except for the latter. Cheers Rob -
The Legend - Lotus 72D - Tamiya 1/12
DocRob replied to DocRob's topic in LSM 1/35 and Larger Work In Progress
Good to have you with me, Martin and Carl. I´m preparing the body for painting and decaling right now. It needs a bit of extra love, because of the age of the molds. Cheers Rob -
You can always use some lead or copper wire Paul, easy to bend and to add to the fuel tanks. Cheers Rob
-
I love the locomotive, PW, unfortunately the spelling isn´t correct. It should read müssen instead of müsen. I know, we Germans are terrible . Cheers Rob
-
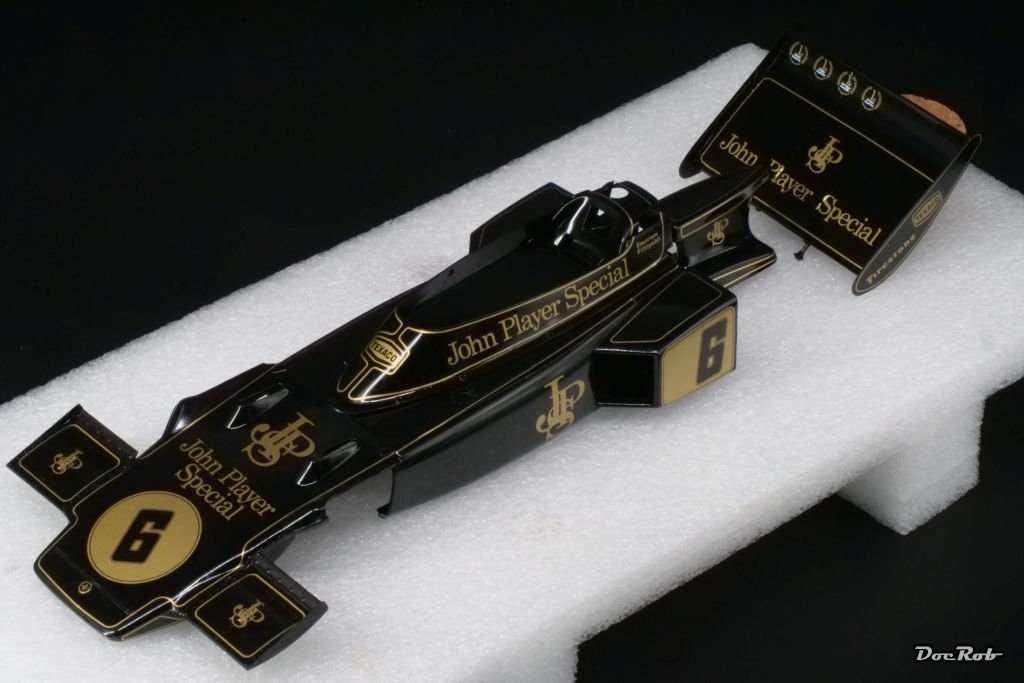
Hola amigos of the 70´s Formula 1 cars. For my next build, I chose the most iconic one of it´s time, the Lotus Type 72D, produced by Tamiya first in 1973. It´s an old kit, which will need a bit of attention. Tamiya re-released the kit a while ago, adding PE parts, seat belts and new decals. The decals unfortunately don´t have the JPS branding included and therefore, I added a complete TBDecals sheet. Other extras will be MFH aluminum air funnels and distributor and maybe MFH seatbelts, if I don´t use the included driver figure of Emerson Fittipaldi. Here are the extras; For a start, I test fitted the body section, to see, how the fit is and what will be my painting and decaling approach. There will be a lot of sanding and maybe filling to get rid off the seams. I started with the air intake and it took a lot of sanding, to erase the parting line. Cheers Rob


-
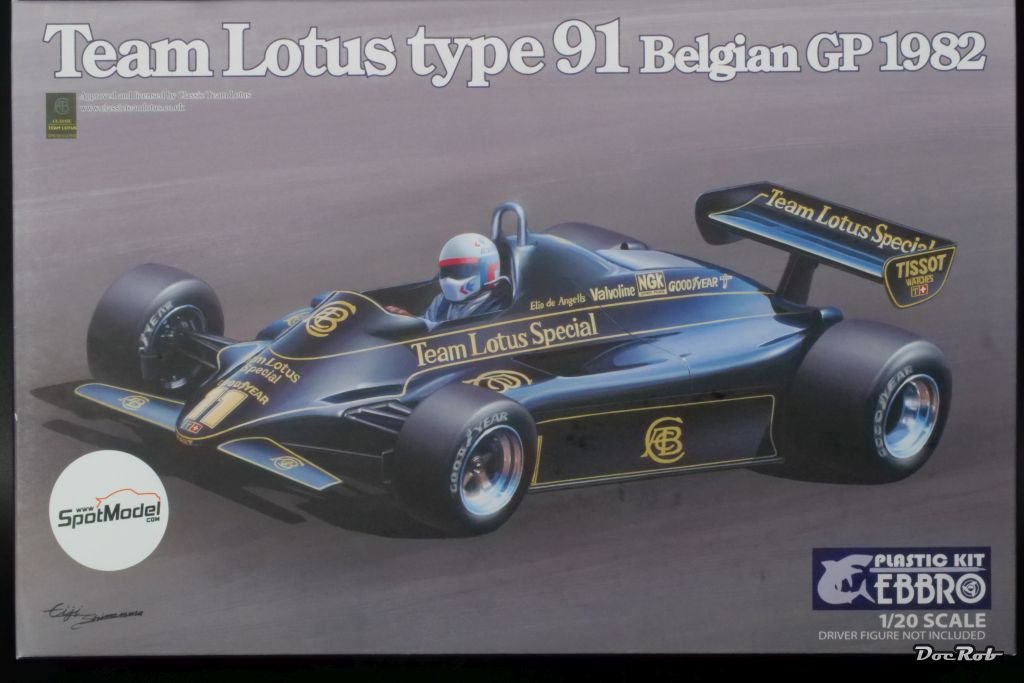
Yeah, I know, I ranted more than a bit about the Ebbro Lotus Type 49c, I recently finished. On the other hand, parts of the kit were great and Ebbro´s subjects are rarely represented as kits. I couldn´t resist buying their Lotus Type 91 and added a sheet of TBDecals with JPS branding, because they were no part of the kit. It´s crazy, how these brands are banned from decal sheets, but my last build, a very recent Revell of Germany McLaren MP4/25 sported Johnny Walker branding directly on the kits decal sheet. Apart from that, it will be an oob build, because the engine is completely covered. Cheers Rob

-
Love it, PW, great setting and weathering, it looks real. Cheers Rob
-
Those engines look fantastic. I love it, when plastic doesn´t look like plastic anymore due to a great paint and weathering finish. Cheers Rob
-
1:32nd scale Fokker D.VII (OAW)
DocRob replied to sandbagger's topic in WNW and WW1 Ready for Inspection'
Beautiful, Mike, like always with your signature finish, I love it. Cheers Rob -
Wow, thanks for showing, Kevin. There is a lot of creativity and talent on show, impressing. Cheers Rob