DocRob
-
Posts
7,015 -
Joined
-
Last visited
Content Type
Profiles
Forums
Events
Gallery
Everything posted by DocRob
-
Fantastic result, denders. I love the matte look and how you made the monochrome PZL look interesting with your paintjob. Cheers Rob
-
I clean my airbrushes (H&S infinity / Rotring) very thoroughly after use, taking out the nozzle and clean it with a steel needle, which is flattened on one side. I also clean the innards of the AB with round brushes. Between colors, I usually spray some cleaner through, backflush (closing the nozzle with my fingers and spray and clean the cup. With chrome or similar finishes or high gloss clear coats, I clean more thoroughly, even between colors. It doesn´t take that much time and became a habit. Cheers Rob
-
The Enigma is a weird looking machine, but indeed a bit plain if monochrome painted without weathering. I added Friuls for mine along with a very extensive Voyager PE set, a metal barrel, a resin set for the extra armor, which looked less uniform and resin wheels, partly with burned off rubber parts. Cheers Rob
-
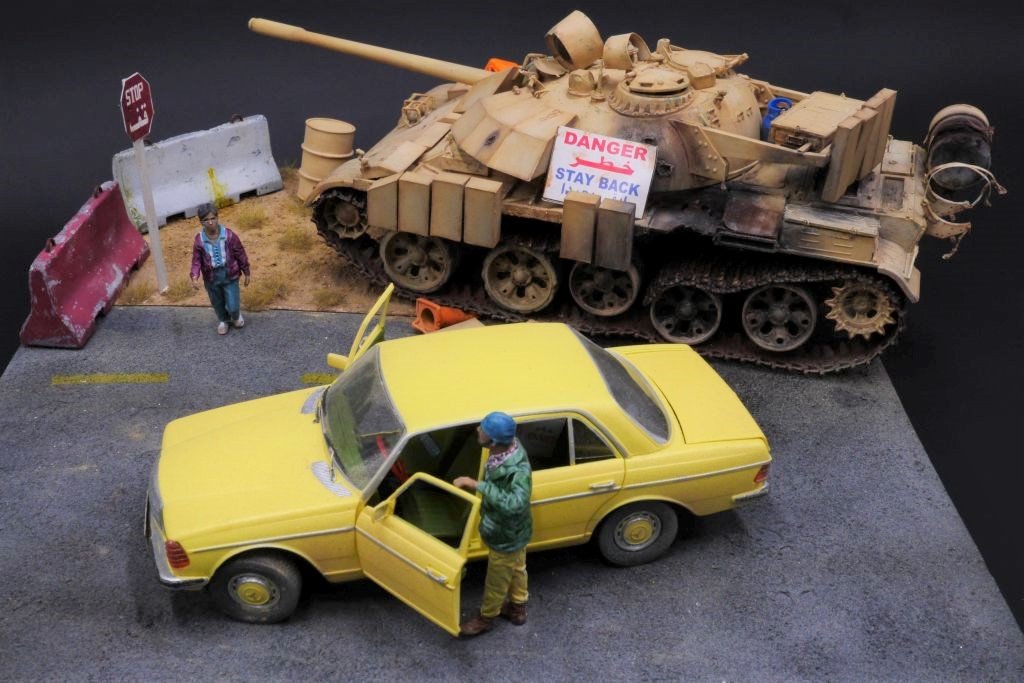
Yup, it´s the Diopark Benz, I bought it directly, when it came out and started the dio. I owned one of these for a while and loved it, as I love old Mercs generally. Actually, there seems to be one available from Plastic Model Republic. Can´t tell, if they are reliable, but ordered an oop F1 kit Saturday from them. (USED) 70's German Made Civilian Car W/IED Accessary Model Kit (1/35 70年代のドイツ製セダン IEDアクセサリー付 [DP35013]) | Buy from Plastic Model Republic - Online Shop for Plastic Model Kits Cheers Rob
-
Enjoy Paul, I built one with a lot of extras many moons ago and had a lot of fun. It was my first go at a dio, if I remember it correctly. I never noticed, that it is a valuable kit.

-
I am really sorry for your loss. It´s like loosing a family member, I´ve been there too. I hope you keep a lot of beautiful memories of your Garfield. Rob
-

What is on your bench right now ? Share a picture :)
DocRob replied to Martinnfb's topic in Modelling Discussion
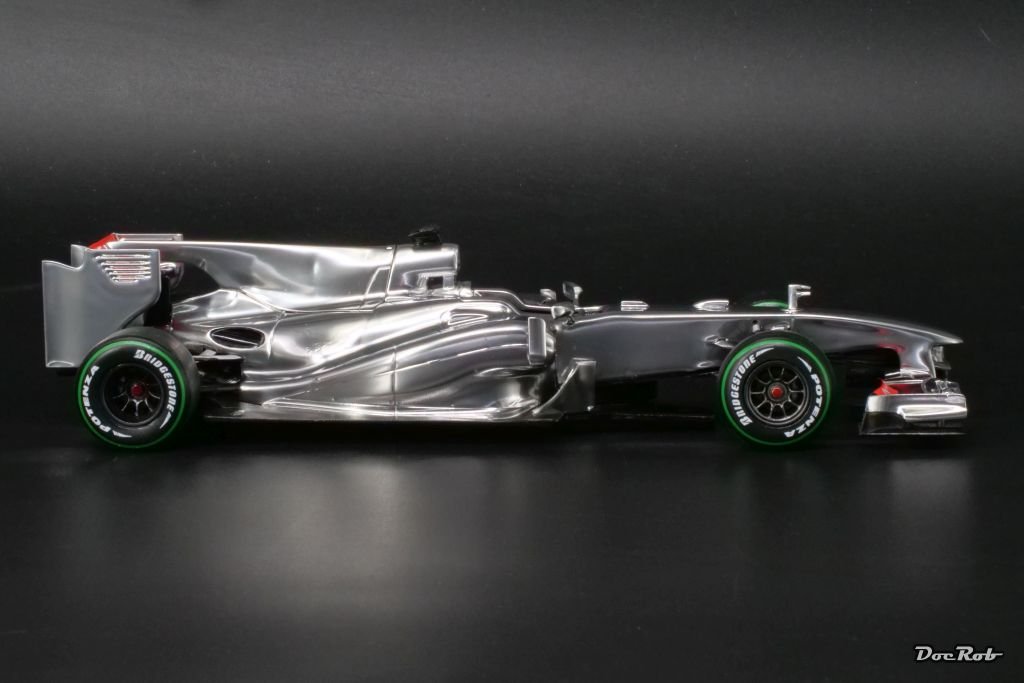
Thanks Carl, it´s a Silberpfeil, a silver arrow now in the purest sense . I considered, reaching out to Revell for a replacement sheet, but decided against. It´s complicated to get it to my place and I lost my patience with the need of stripping the paint, preparing for another chrome finish, ... The project was about chrome and carbon fiber and I failed. It happens sometimes. Cheers Rob -
What is on your bench right now ? Share a picture :)
DocRob replied to Martinnfb's topic in Modelling Discussion
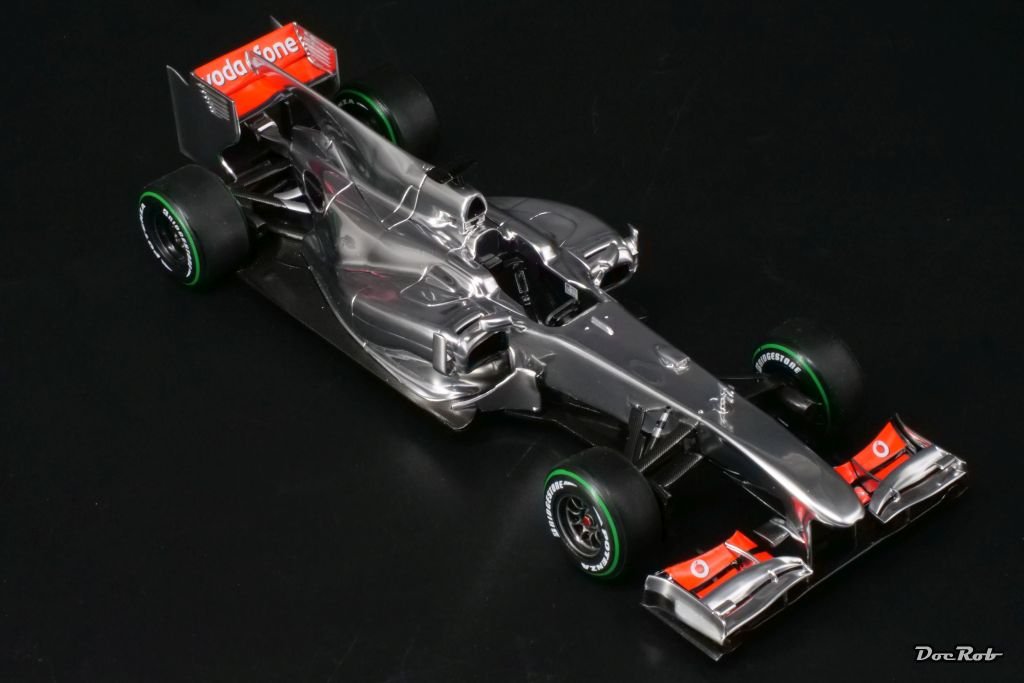
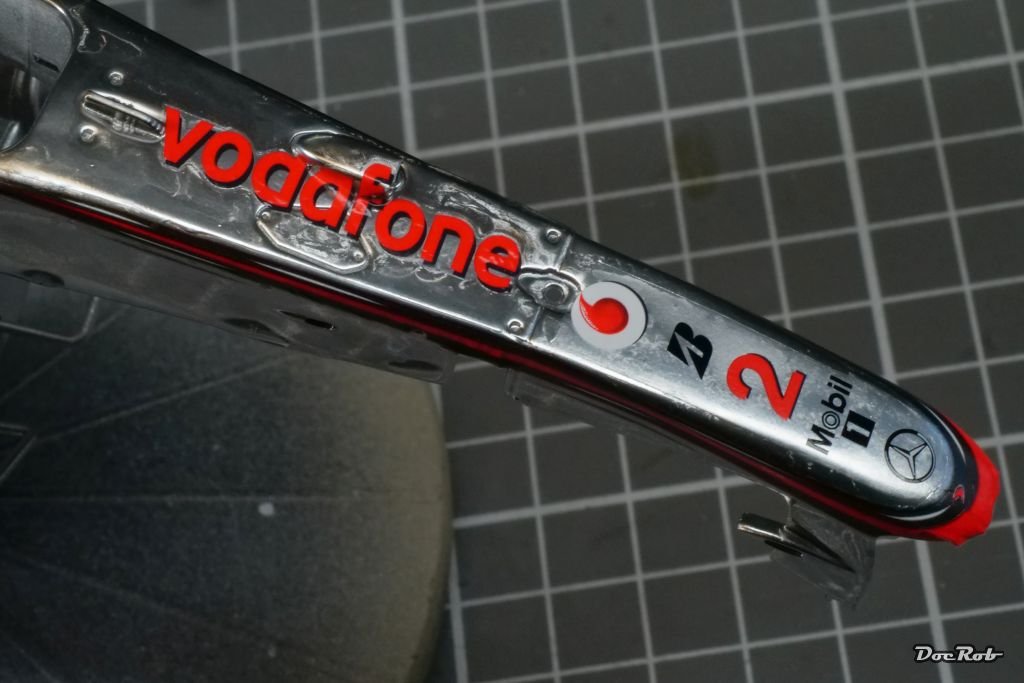
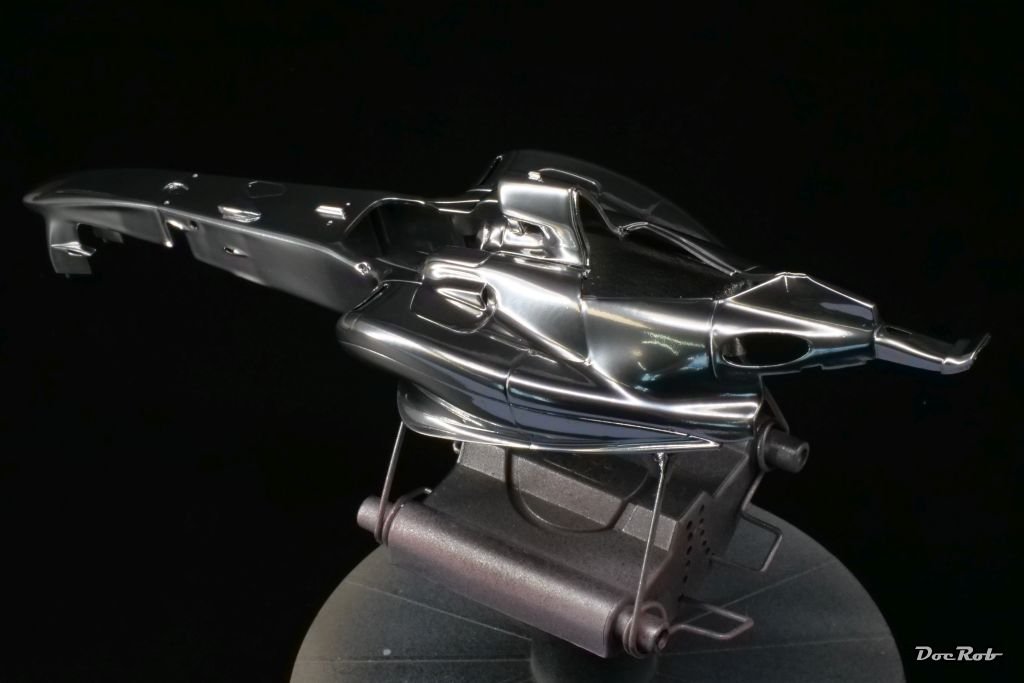
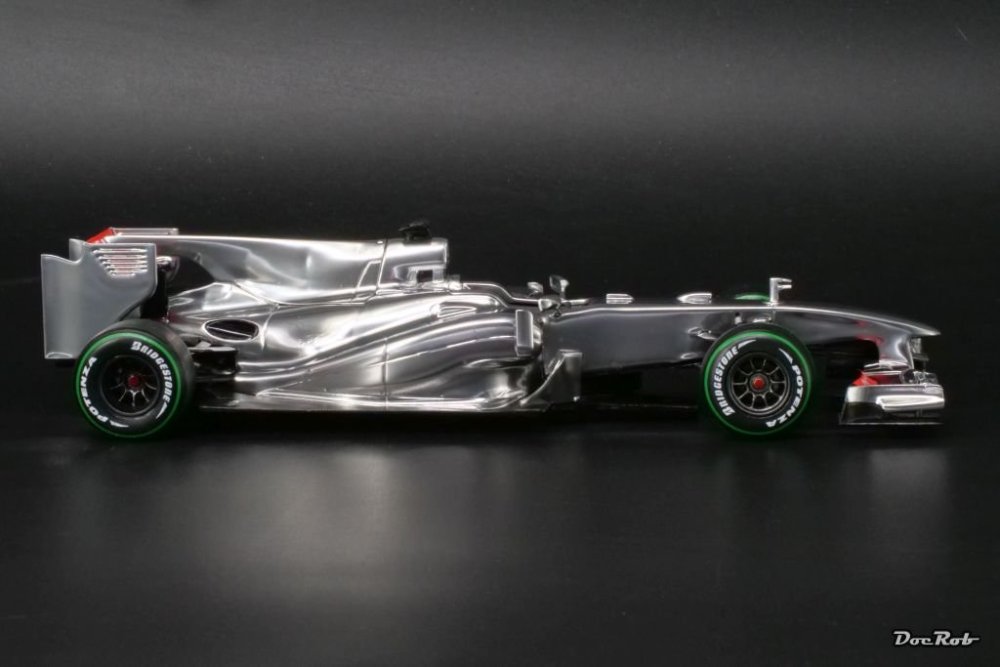
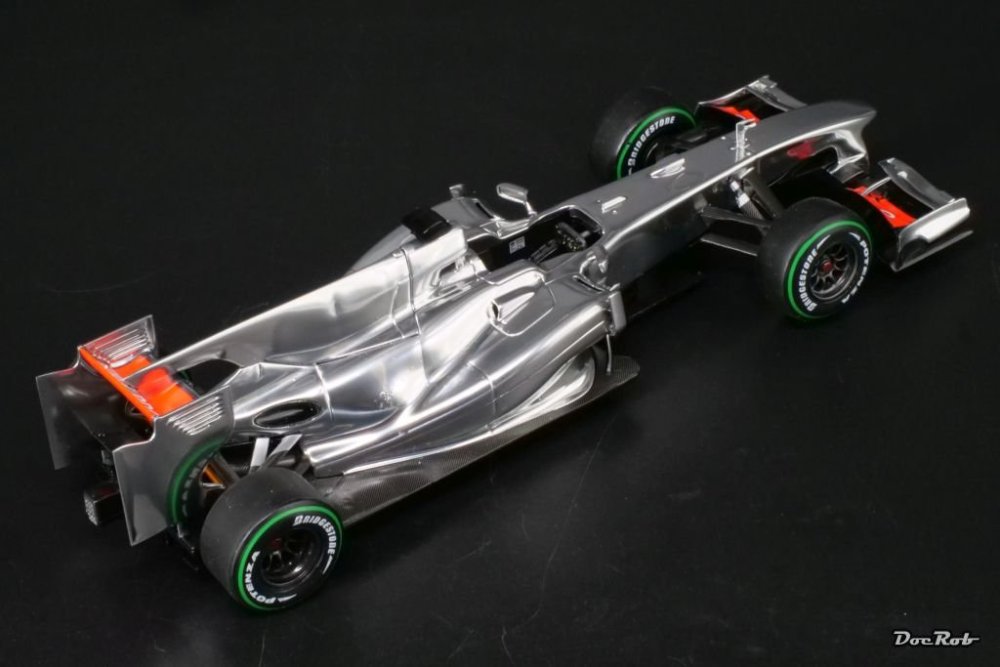
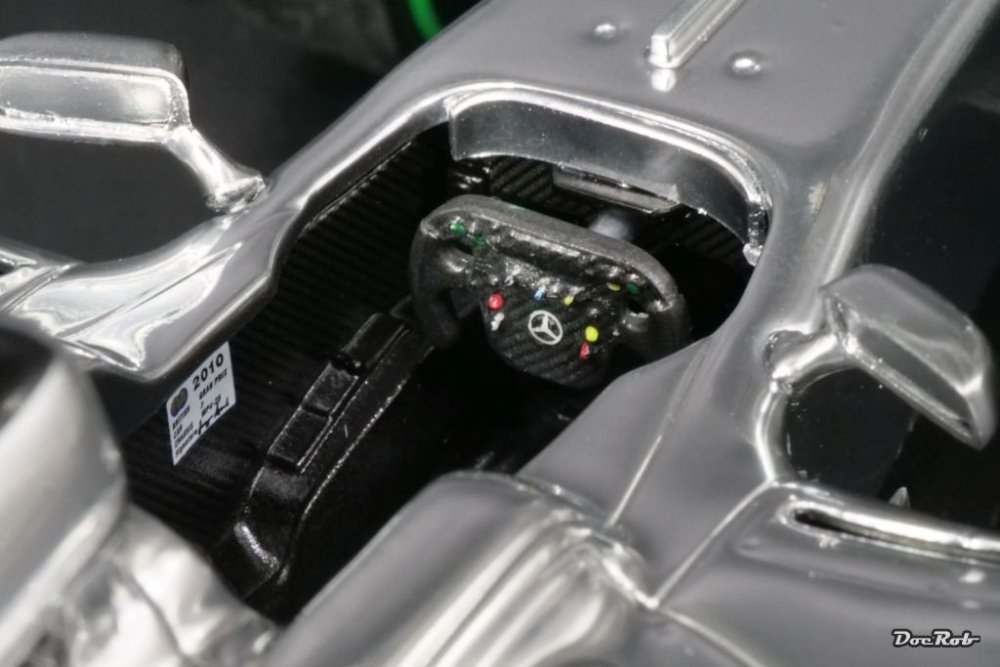
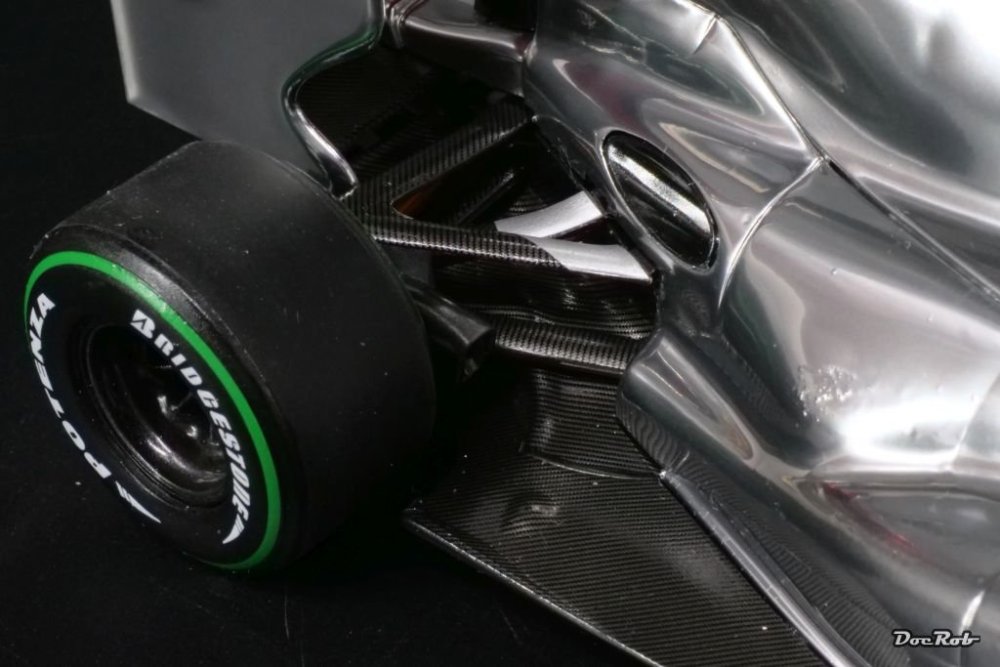
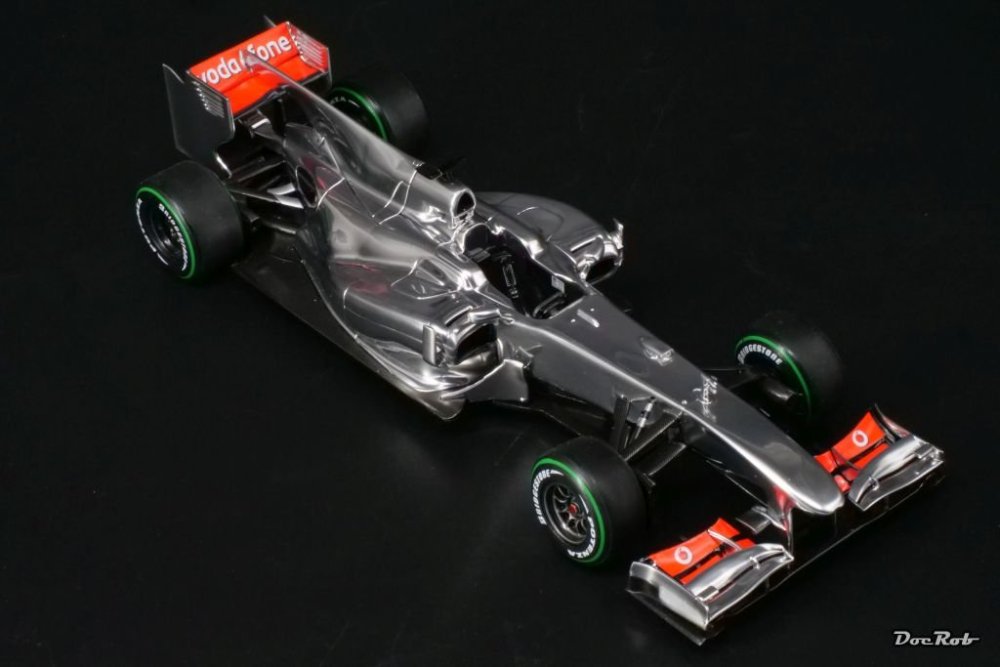
I kind of finished my McLaren MP4/25. I had to remove some of the decals off the chrome and therefore, there was no option for re-decaling. The kit itself is very good, a bit soft on the main panel lines, but given the delicate shape of the car, it´s easy to build and not too fragile. The carbon fiber decals are absolutely fantastic and I guess the rest of the decals are as well. AK´s Super Chrome gave me headaches, being ultra fragile. After the decaling fiasco, I chrome painted the body and rear wing again and during assembly had marks all over the body. I have no clue, if the paint wasn´t fully cured after 30 hours. I painted the body for a third time and left it dry for almost three days before assembly. There are some new marks now, which can´t be polished away. A fun project which ended very unfunny thanks to the über-fragility of the Super Chrome. The chrome look is hard to capture on photos, in reality it´s even more shiny. You can presume, when you look for the reflection of the rear wheel in the wing side on pic #2 Cheers Rob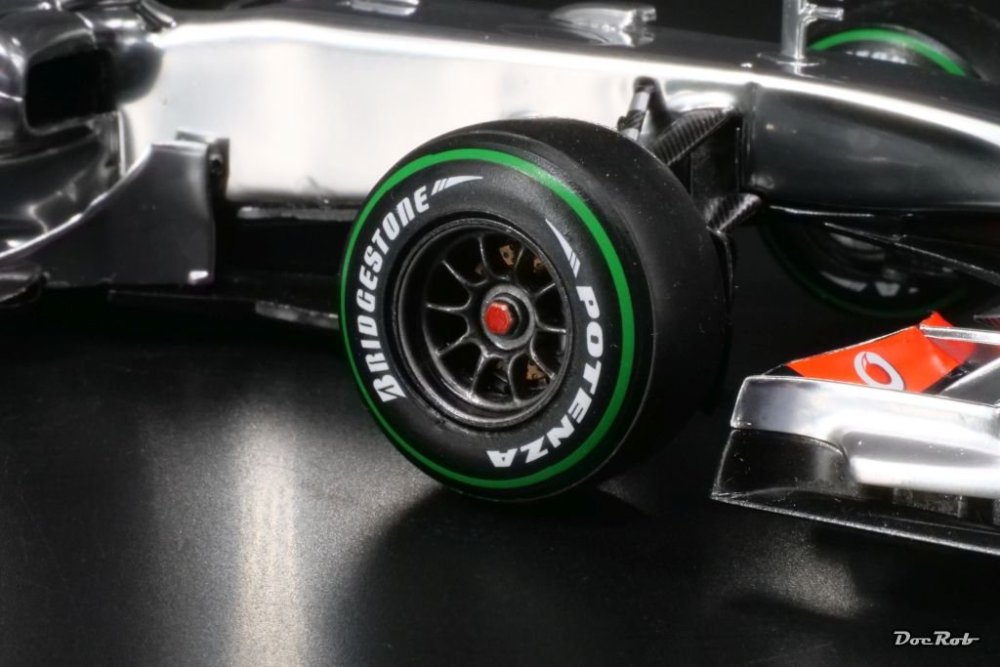
-
What is on your bench right now ? Share a picture :)
DocRob replied to Martinnfb's topic in Modelling Discussion
It just happens sometimes, Hubert. I had the Super Chrome in my shopping basket for a while anyway, but it was not available at the time you mentioned it. I have to check, if I have some Aqua Gloss and will try it, as the Super Chrome looks too good. Cheers Rob -
What is on your bench right now ? Share a picture :)
DocRob replied to Martinnfb's topic in Modelling Discussion
While removing the decals and polishing afterwards, I touched the chromed body often, without leaving any prints. This seems to be the only thing the Super Chrome is resistant to. Cheers Rob -
What is on your bench right now ? Share a picture :)
DocRob replied to Martinnfb's topic in Modelling Discussion
I considered Alclad or Extreme Metals from AK, where I have used chrome and polished aluminum from both. Usually, Extreme Metallics are a bit more durable than Alclad, but the Super Chrome is ultra fragile. I wanted all out chrome but had to pay the price. Your Hustler is looking sharp with the metal finish. Cheers Rob -
What is on your bench right now ? Share a picture :)
DocRob replied to Martinnfb's topic in Modelling Discussion
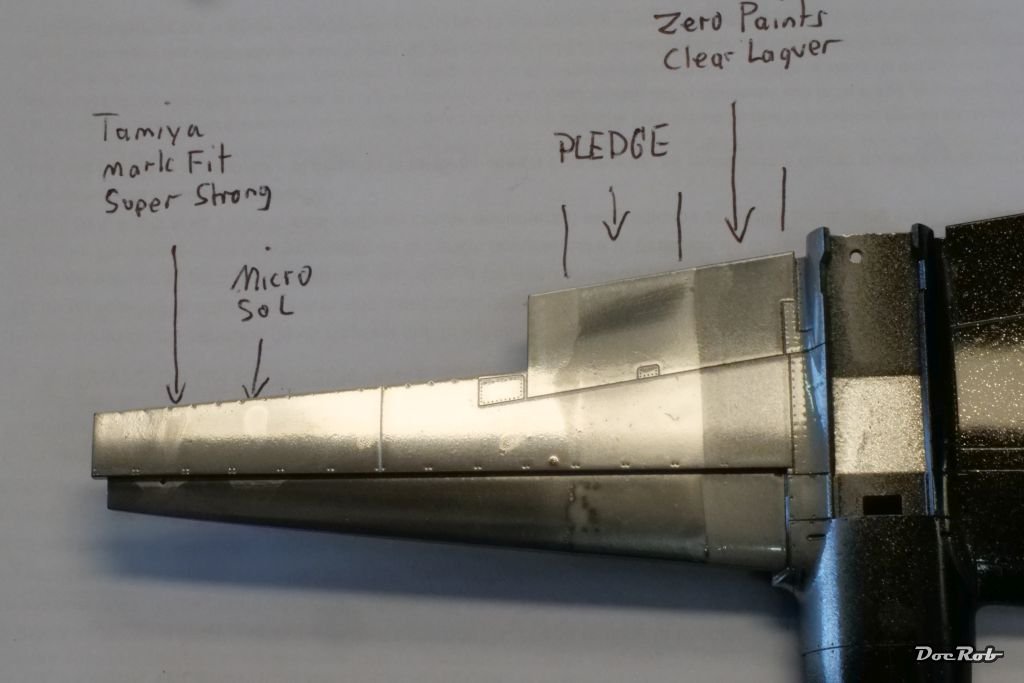
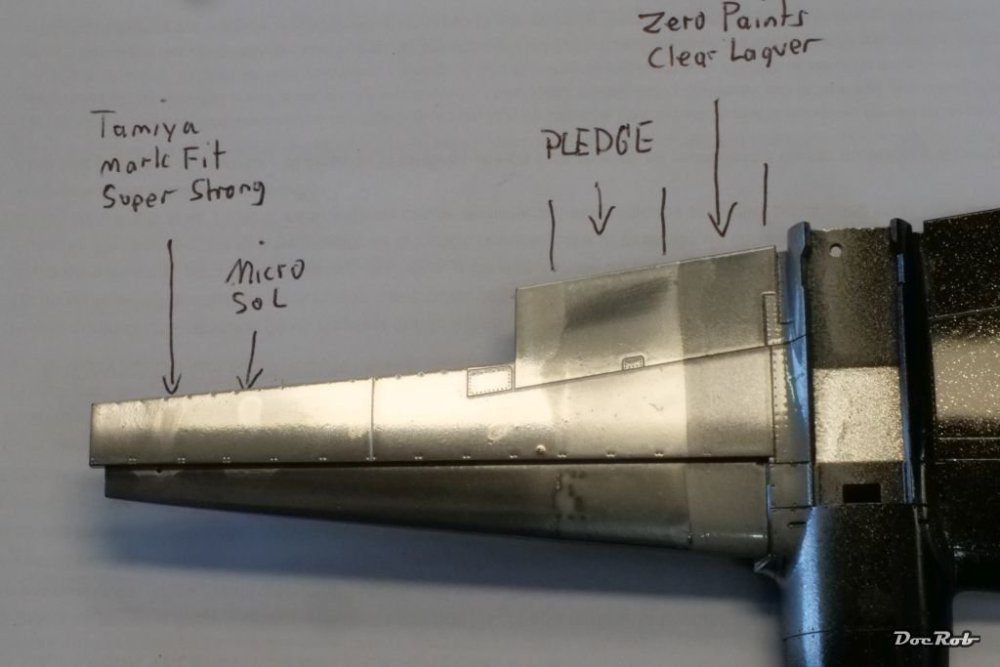
Yesterday, I was absolutely excited about AK´s Super Chrome and other than in some reviews, mine didn´t dull while drying. I decided to do some testing, before I got serious with decaling the McLaren. In short, what is possible with AK´s Super Chrome - ABSOLUTELY NOTHING. I tried decal solutions on the left side and both harmed the surface. Same with the clear coating, which I considered before decaling, again no way. If you tack on kabuki tape, you lift off a lot of paint, no masking allowed. But it got worse, after all that testing, I was certain, that only lukewarm water with a drop of detergent would be the way, but even that harmed the surface. The MP4/25 project is officially a fail now and the verdict on AK´s Super Chrome is: It´s the chromiest chrome around, but only usable for a Silver Surfer figure. Cheers Rob
-
What is on your bench right now ? Share a picture :)
DocRob replied to Martinnfb's topic in Modelling Discussion
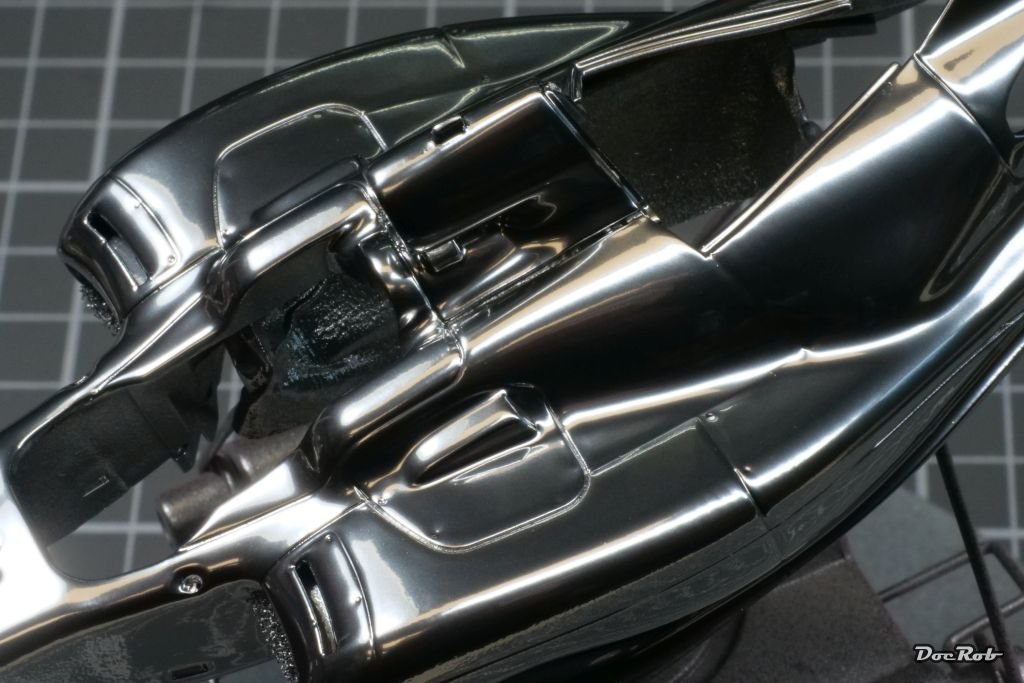
Hombres, I´m not often overexcited with modeling products, least not when they claim to be "Super". AK´s Super Chrome earned the super, along mega, hyper and simply fantastic. I sprayed it on top of my glossy black primed McLaren body and it is absolutely chrome. First, I tested it on a dummy and I was disappointed. My usual chrome spraying approach of misting super fine layers of chrome onto each other didn´t work here. The shine comes with a heavy, wet coat, pretty unusual for chrome paint. Now, I have to wait, until it dried completely and then I test durability, masking and decaling including decal fluids on top, fingers crossed. Thanks to @HubertB for pointing it out. Cheers Rob

-
Trumpeter P-47D Razorback
DocRob replied to crazypoet's topic in LSM 1/35 and Larger Work In Progress
I like the looks of the gunports and ammo belts. Sometime it helps to lean back and envision the model as it looks when ready and my guess is, it will be a beauty and the ammo belts will fit in perfectly. Cheers Rob -
What is on your bench right now ? Share a picture :)
DocRob replied to Martinnfb's topic in Modelling Discussion
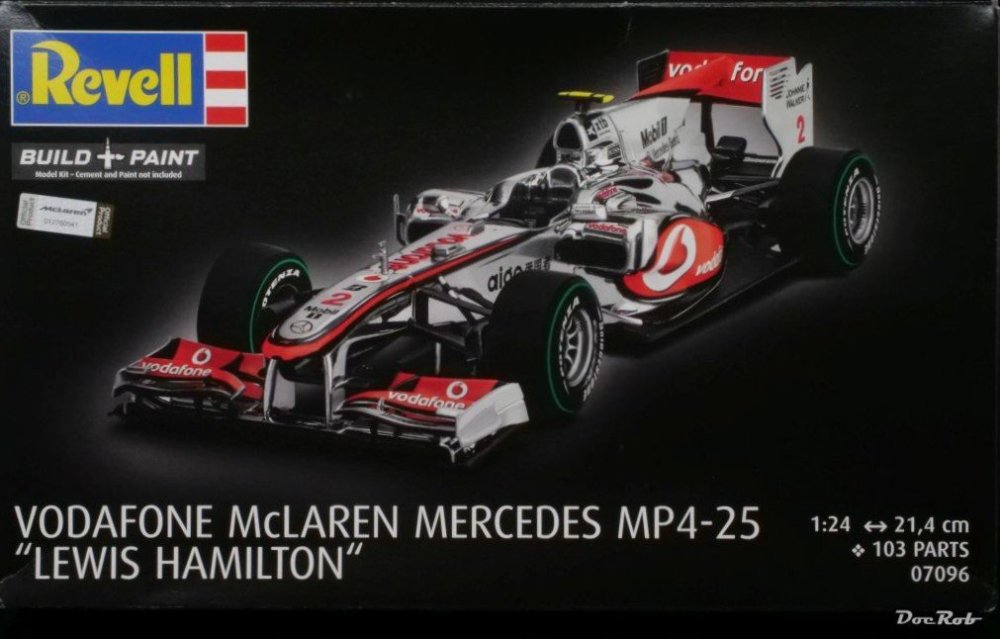
Well, beauty lays in the eye of the beholder, I like the chrome body, but else,.... The decals are fantastic, I nearly finished the CF-decals today and started assembling the rear section. I also "primed" all body parts for the chrome finish. I again used Tamiya LP-1 gloss black, which can be sprayed to a perfect glossy finish, when thinned properly. Did I mention, it´s a TOP OPENING box from Revell, there is a revolution going on . cheers Rob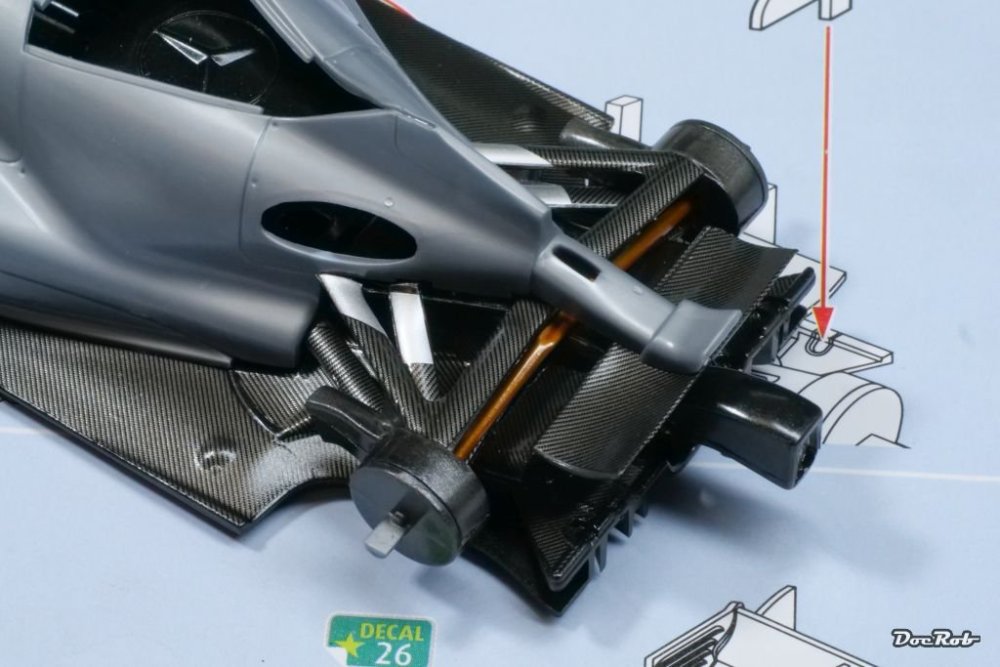

-
Sad to hear it, Chris, but sometimes it´s better to quit, than to burden yourself with a very unpleasant build experience as a mojo killer. I always hesitate twice, before buying an Italeri kit, there are so many bad ones and that from a major company. I wish you luck with the new kit in town. Cheers Rob
-
Muchas gracias amigo, always nice to hear when my work is an inspiration for others, that´s a two way process to me and what forums like LSM are made for. I profited so often from the input of fellows here as well. One thing that always drives me, besides realistic material reproduction is that I hate to quit. It happened, but not very often, luckily. Cheers Rob
-
What is on your bench right now ? Share a picture :)
DocRob replied to Martinnfb's topic in Modelling Discussion
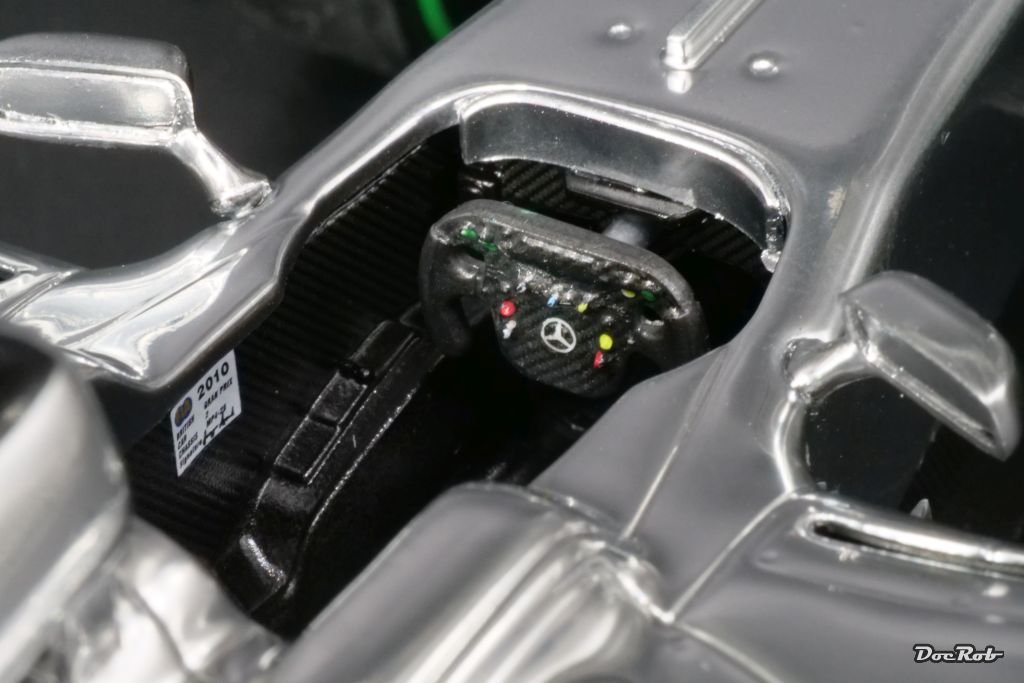
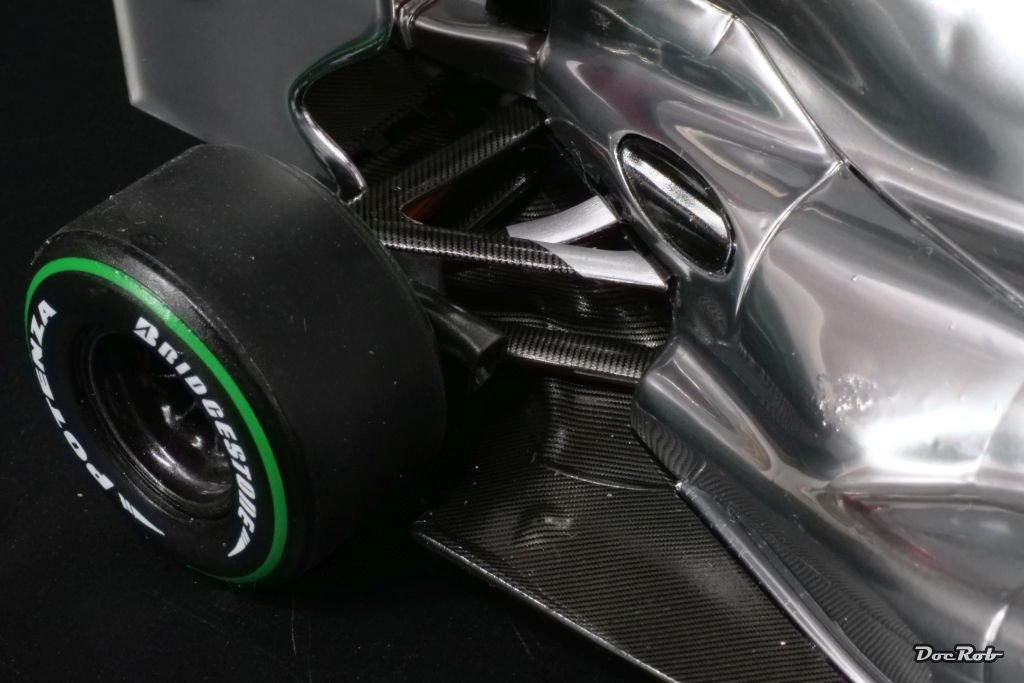
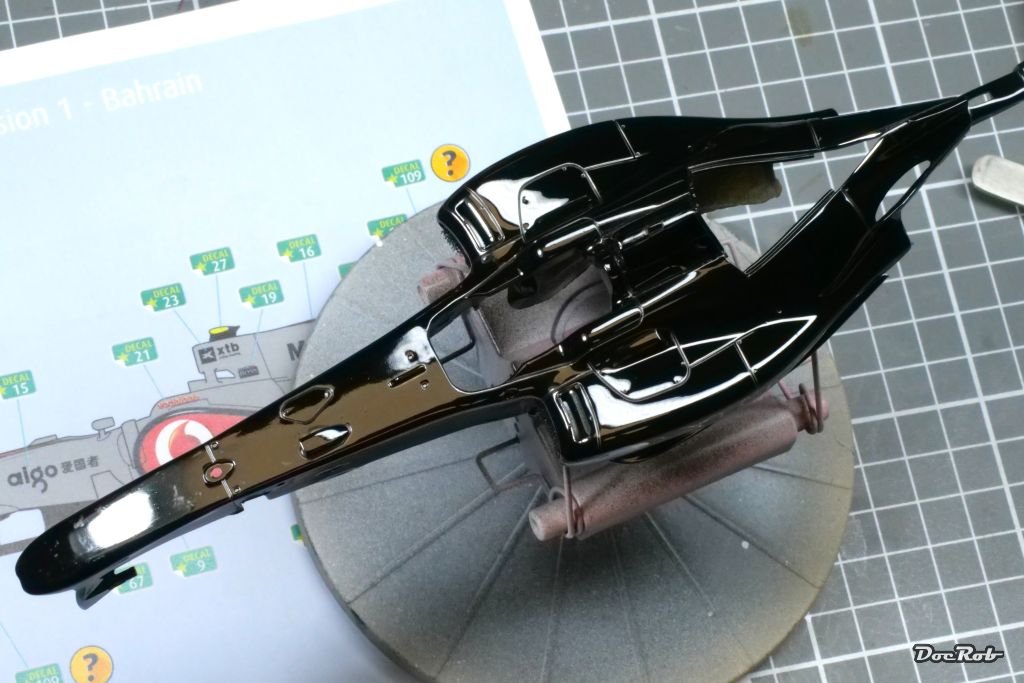
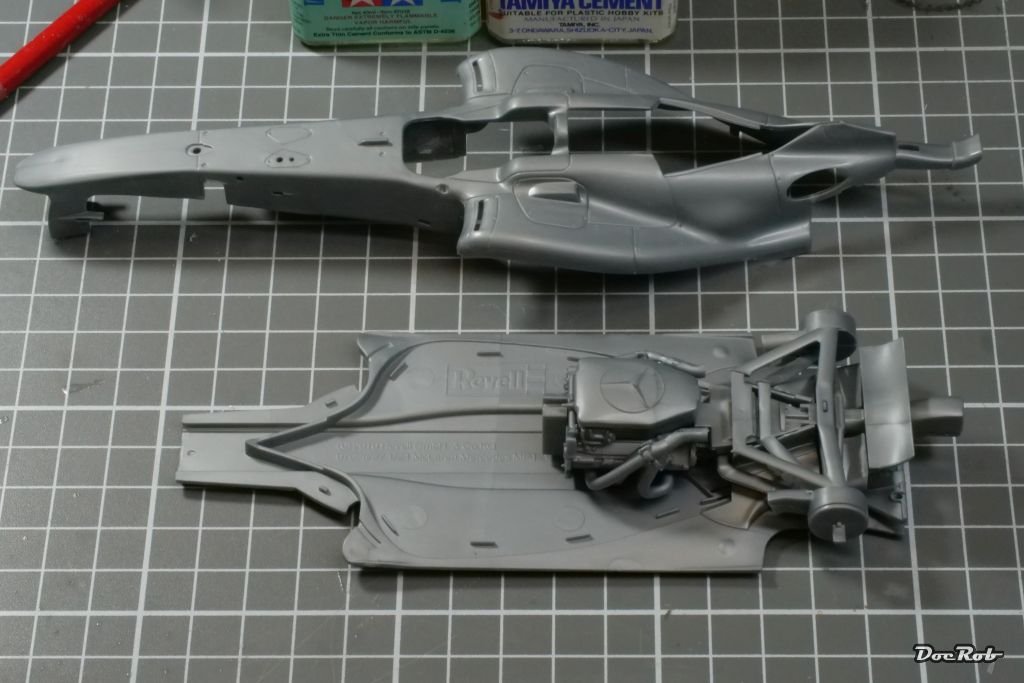
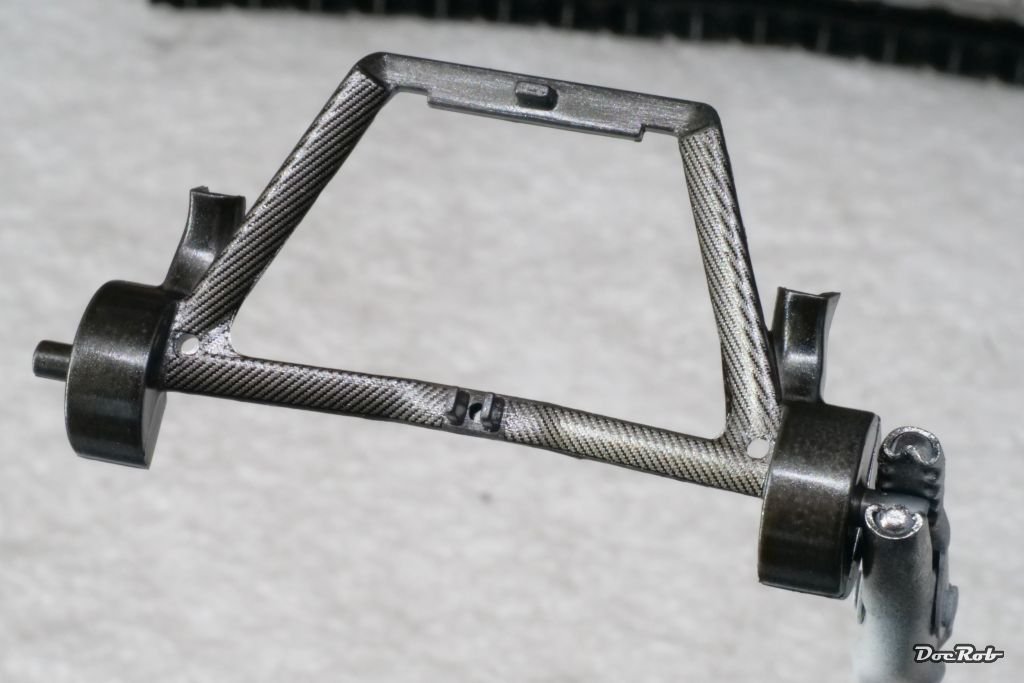
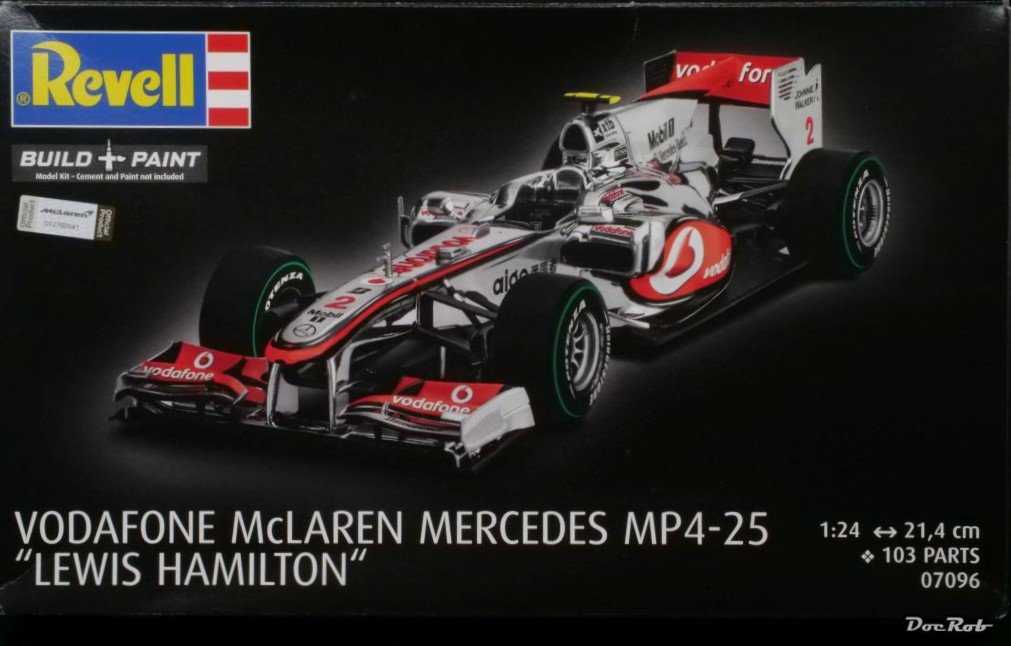
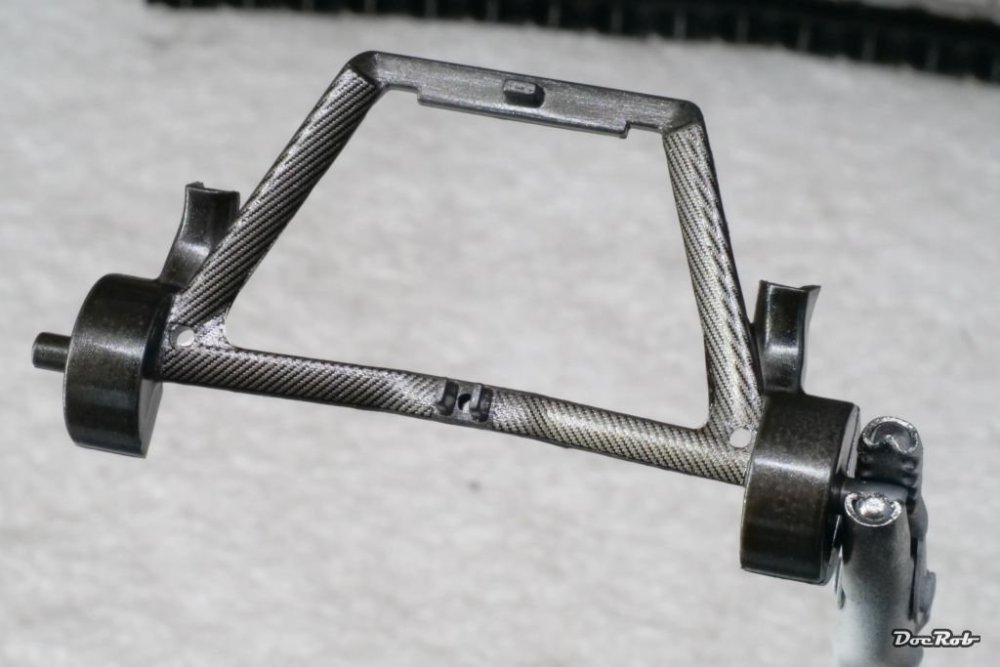
I got this little kit for a few Euros and thought, it could serve as a quick, relaxing build. I´m not that interested in modern F1 cars, but the box said "build and paint". My main goal is going oob for a high shine chrome finish with carbon fiber decals applied. There is not enough interesting stuff going on for a WIP. The kit parts fit well and until now, the build is easy. I prepared nearly all the parts and here you see the engine on the floor pan. There is no way to show the engine, which is a bit weird. I only painted it black and hide it inside the body. There are a few mold lines to address on the body, but nothing really bad. For now, the absolute highlight of the kit is the extensive decal sheet, including a lot of carbon fiber decals. I primed the CF-covered parts with Tamiya LP Metallic Black, which sprayed to a high shine finish, thinned with leveling thinner and an absolute recommendation under CF-decals. The decals fit like a glove, are not brittle and respond well to hairdryer and Tamiya Mr. Mark Strong, even on delicate shapes. Cheers Rob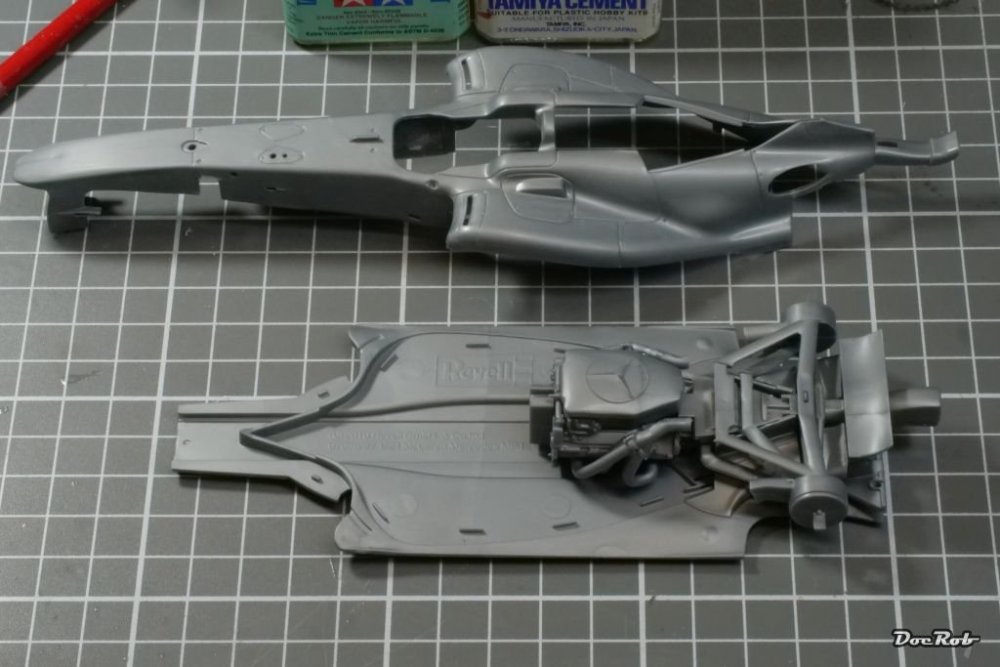

-
About 500 times have guessed myself if I want one, maybe I should buy it. An iconic movie with iconic ca.... - er ... gliders, ...er..., spinners. I wouldn´t mind a WIP, Carl. Cheers Rob
-
Thank you Count, you are certainly right about the seat belt material. It looks far better then a decal and I had no blue Christmas ribbon left. Cheers Rob
-
I don´t attend shows, so those requirements don´t apply to me, but what´s important with my car and bike builds is believable material reproduction and correct shininess of materials scale wise. For example, the rear rims of the Lotus 49 weren´t high polished aluminum, instead very slightly dull, but with a fine processed surface, given what photos of the real car show. Chrome wouldn´t do here and look wrong. Cheers Rob
-
Thank you PW, indeed a 60´s design, which raced in 1970 for the last time, giving way to the famous type 72. Cars and bikes need a completely different approach while building and painting. Nice when a well designed kit helps and doesn´t pour sugar in the tank. Cheers Rob
-
Lots of fine detail. I´m sure, you´ll weather the hell out of it. Cheers Rob
-
Henschel Hs-123 A-1 ICM 1/32
DocRob replied to Marek Models's topic in LSM 1/35 and Larger Work In Progress
Welcome to LSM. Cockpit and engine of your Henschel look fantastic. Can´t wait to see the fabric on the wings finished. Cheers Rob -
Thank you gents, there are builds, where you wish they would never end and some you´re happy to have them finished. This is one of the latter, but it looks like a Lotus 49 in the end and has a vivid appearance in the display shelf. I have some more Ebbro kits and even with the experience of this build, I´m looking forward to build them. There is a lot to like about the kits, like the pre printed tires, lots of detail and the choice of subjects. Cheers Rob