DocRob
-
Posts
7,045 -
Joined
-
Last visited
Content Type
Profiles
Forums
Events
Gallery
Everything posted by DocRob
-
 Excitement finally granted, Martin , you were right. The Crockers were all hand built and not two of them were equal. The ignition system varied with two different types, magneto or distributor type. The ominous third wire leads to a condensor coil, which is shown on your pic. Earlier ´Small tank´versions of the Crocker had that coil behind the engine under the seatpost. The later model had it often hidden under the tank, or like on your pic in front of the engine. I cannot say from my sampled pictures, how the original configuration looked and which are modified later on. Over on Modelshipworld, there were some very knowledgeful fellows, who added a lot of information in my mirrored build thread. Cheers Rob
 -
Thank you Carl, the wiring is just the beginning. There are more fuel lines, some steering cables, the ignition wiring and the shifting mechanism to be done. Until now, I finished only the later hard to reach lines, manipulating the engine with all the wiring and tubing would be difficult. Cheers ROb
-
Thank you Phil, I guess, the final weight will be about one kilogram, but the metal engine feels weighty. There are two stands with the kit, a side stand and a rectangular stand for the rear wheel. Cheers Rob
-
A fantastic looking big bird, Martin. Everything is coming together now and the layered weathering is amazing. The turret barrels caught my eye as well as Hubert´s, hopefully it´s only caused by the wide angle lens. Cheers Rob
-
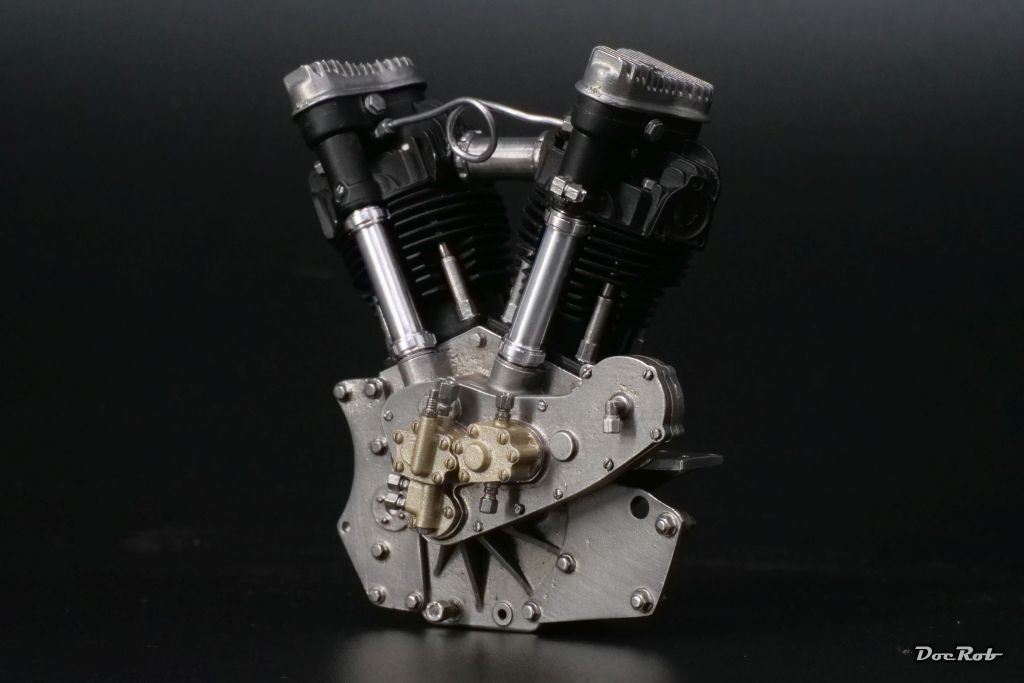
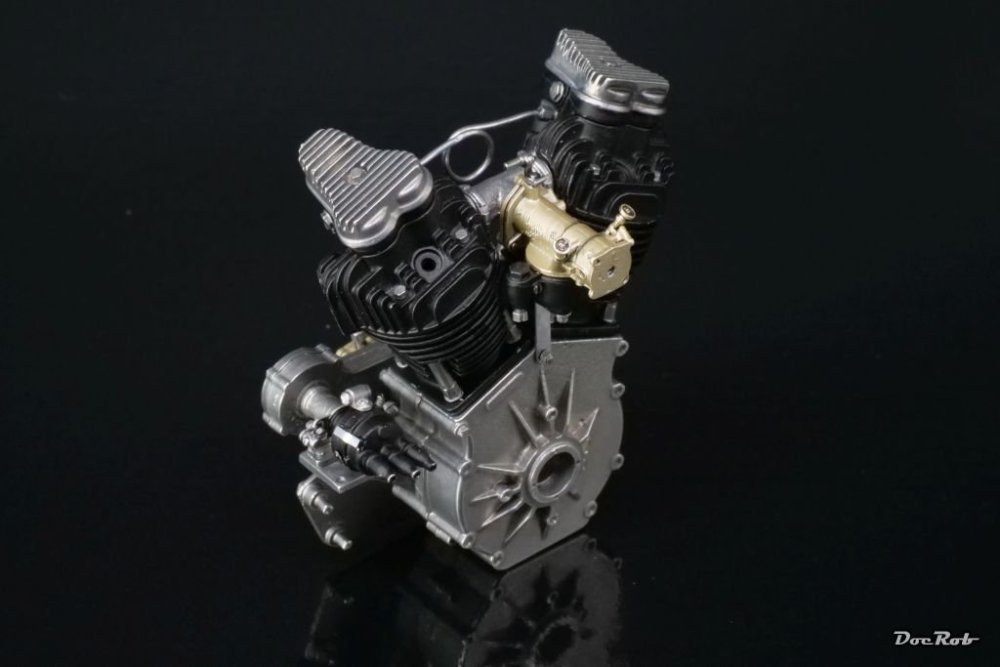
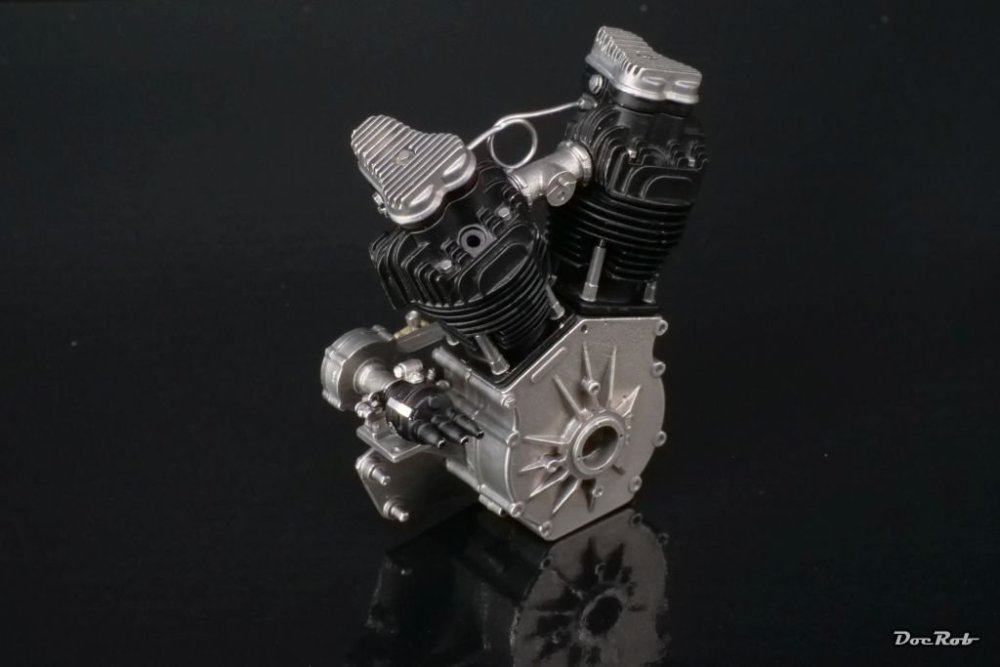
After airbrushing the frame with Tamiya LP-1 gloss black, I continued with the engine. I added the carburetor and some fuel lines, which are hard to reach later. The engine is more or less finished now and will be mounted into the frame next. Cheers Rob
- 157 replies
-
- 11
-

-

-
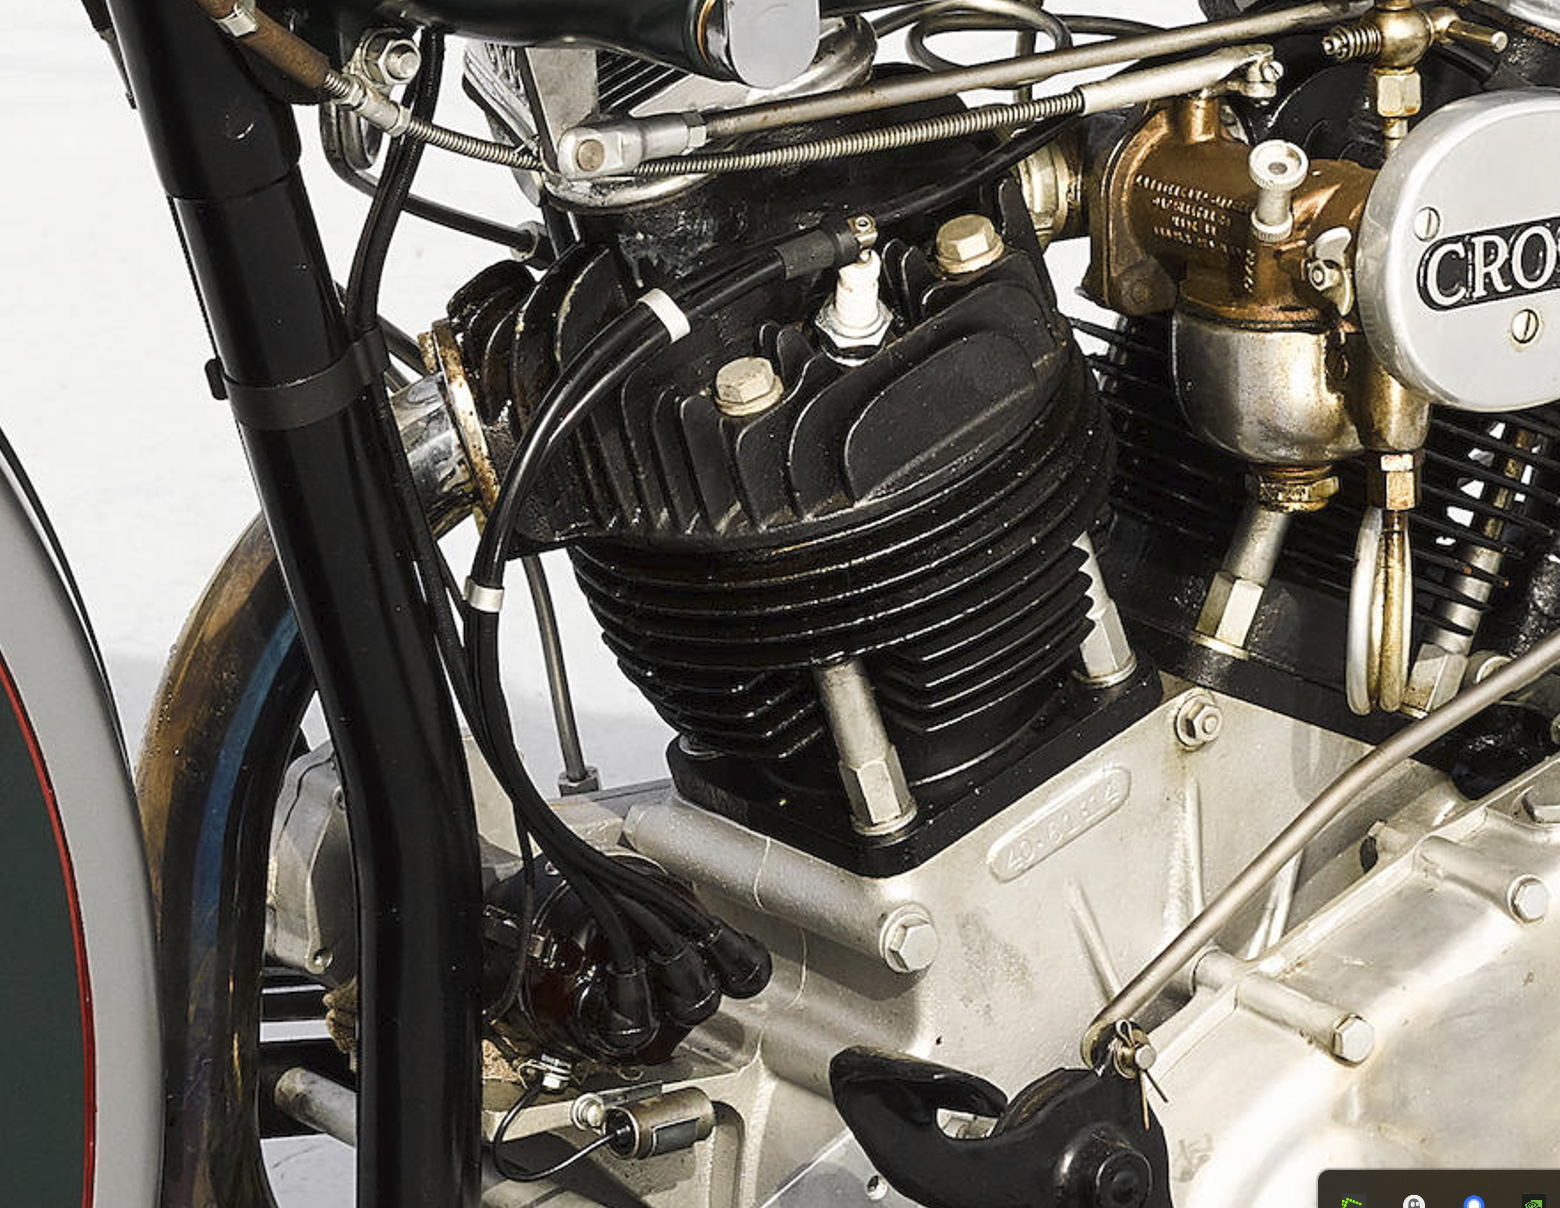
Thanks Martin and Hubert, this picture shows my configuration with the distributor. The third wire vanishes somewhere under the tank, like shown in the manual as well. Cheers Rob

-
Thanks for the photo, Martin, my Crocker´s set up is different from the pic, yours show the magneto version, mine has the smaller distributor. Said cable goes up under the tank, possibly to one of the both ignition keys?????? Cheers Rob
-
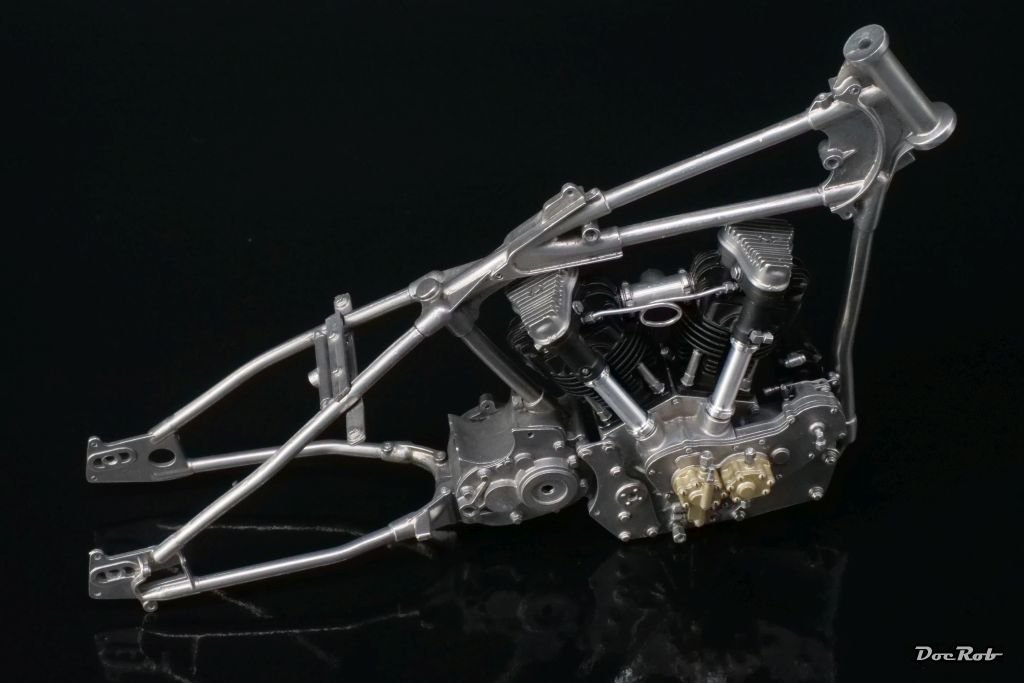
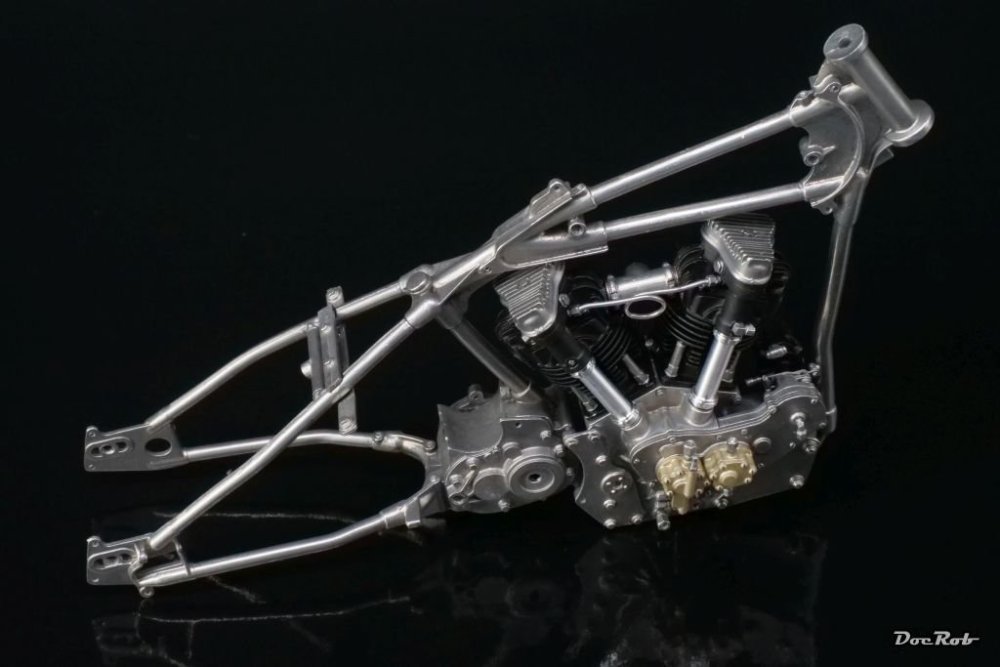
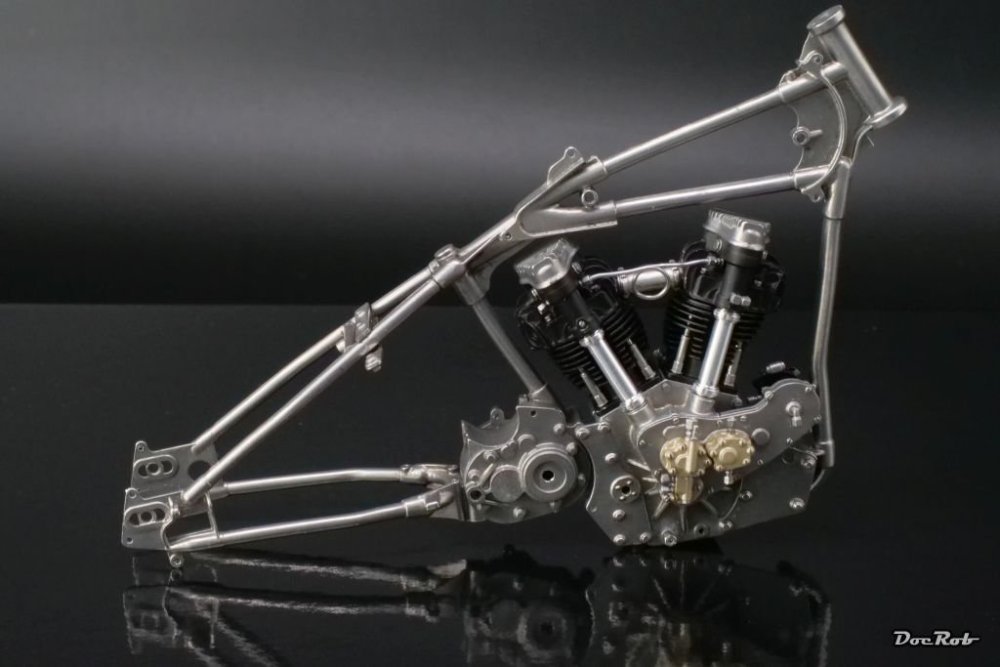
I built up the frame from it´s various parts, which again included lots of drilling and leafing through the manual, to see, which diameter is needed for a hole and what´s going in. Luckily the precision of the casting is fantastic and there are only minimal irritations in the parts. Here is a mock up with the engine mounted into the frame. Meanwhile said frame is primed and the missing carburetor parts got airbrushed. Cheers Rob
-
Thank you Peter, I have lots of fun working with metal for a change, but you are right, precision and a good plan are needed to tackle these kits. Cheers Rob
-
Pst Hubert, you discovered the secret, why the Crocker was so fast, the hidden third cylinder . The third wire leads somewhere into the front, but the manual does not show, where exactly. About the function, I have no idea. Cheers Rob
-
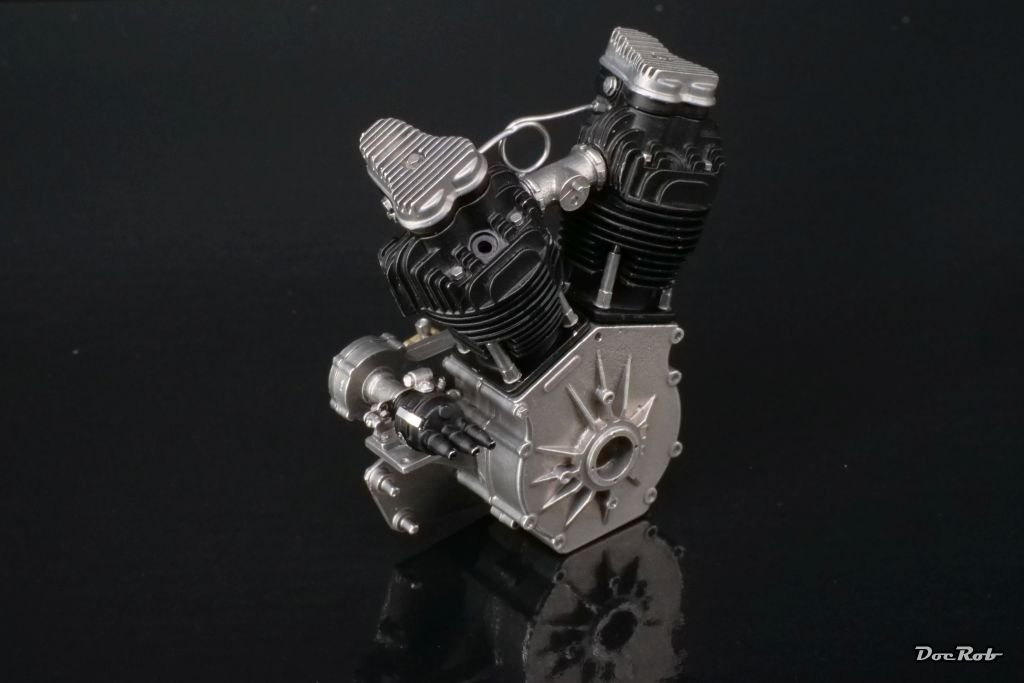
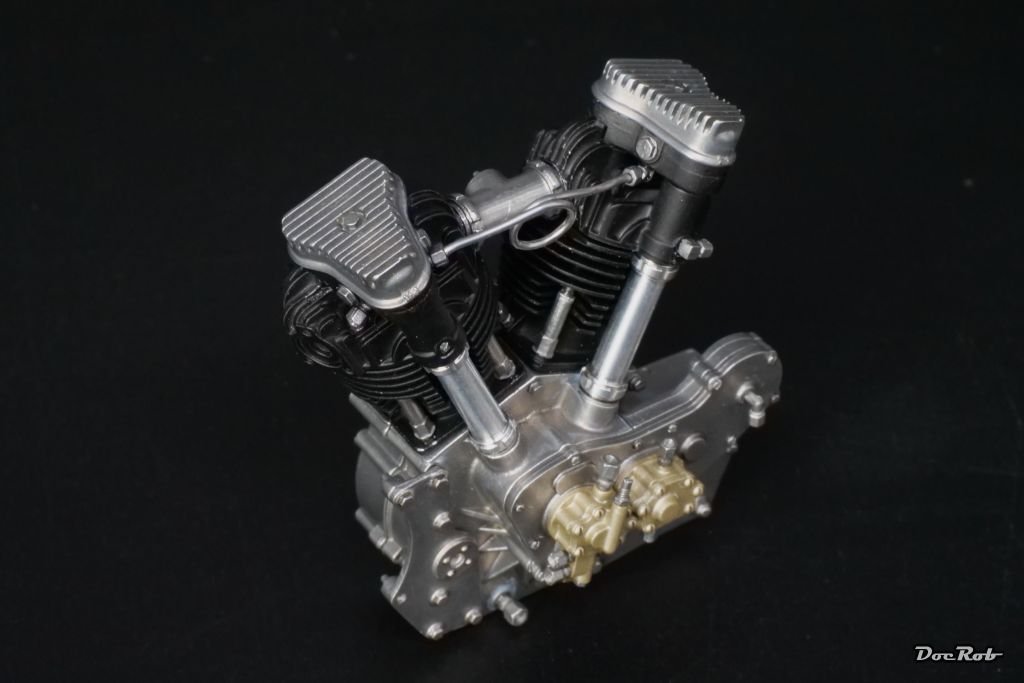
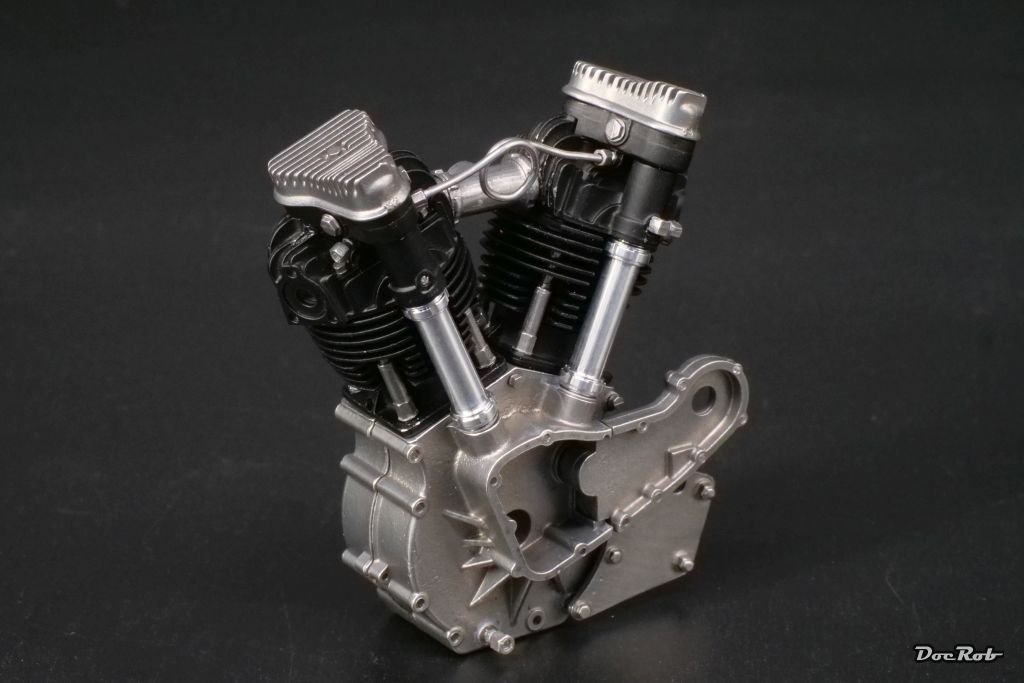
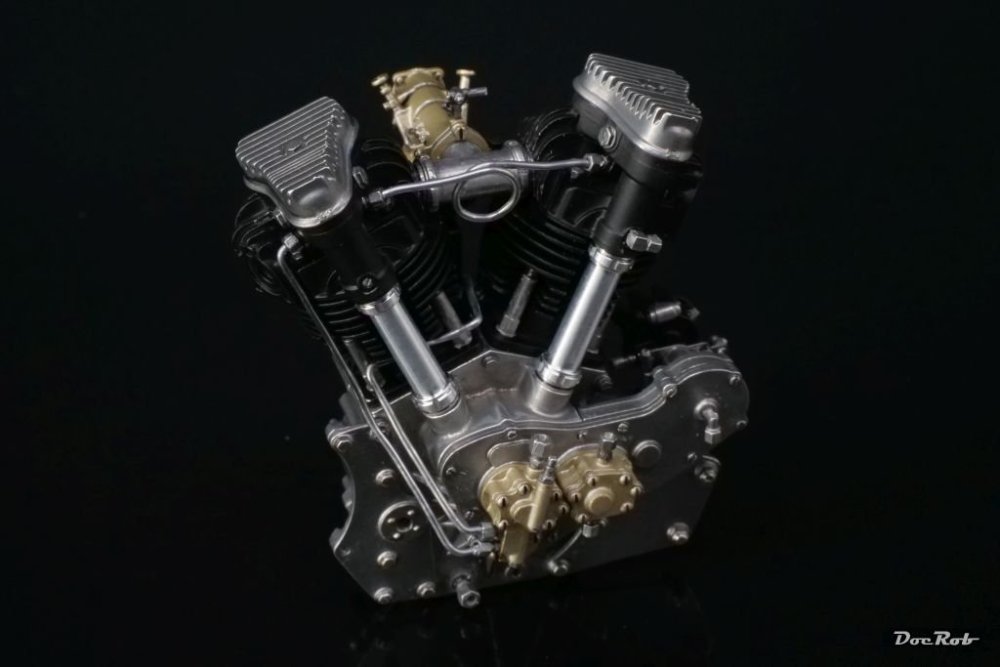
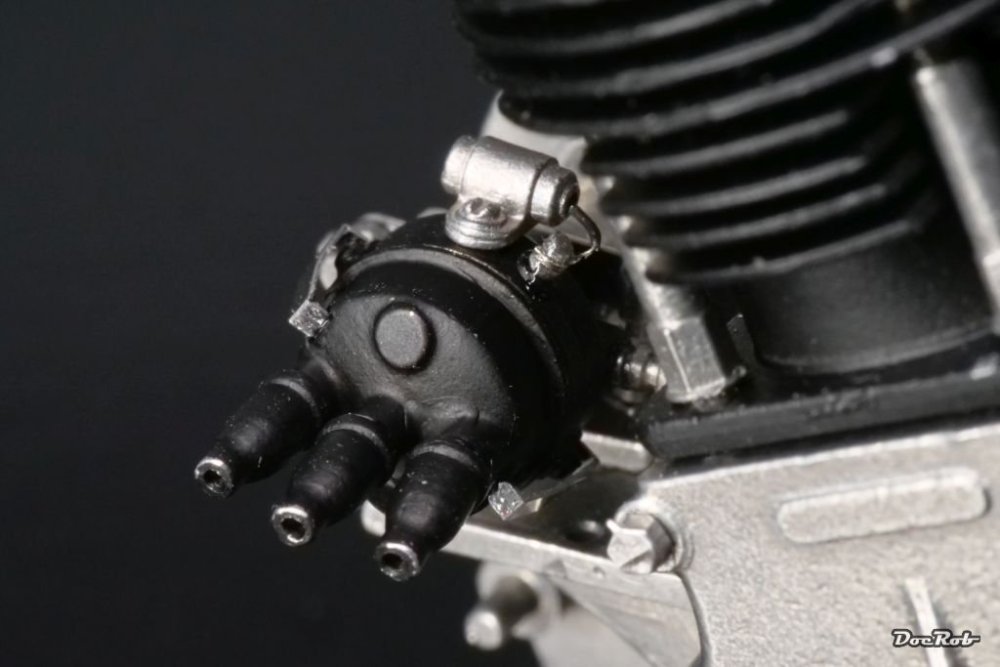
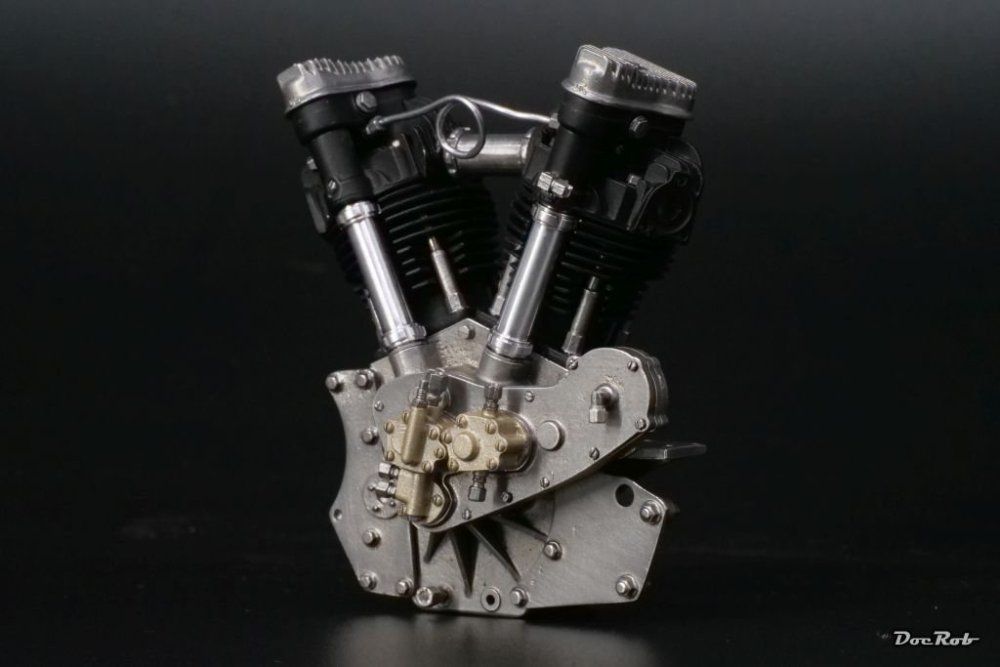
The last build sequence was a bit fiddly, with wiring the spark plugs with tiny etched parts and micro rivets, followed by the distributor, which consists of about 20 parts, a lot need to be pre drilled for various installments. There are two variants and I chose the more complicated. The magneto has a fewer parts count, but looks odd and the pictures I have of the real bike always have the distributor installed. I prepared the wires, but add them later, when the engine meets the frame. And that´s how tiny the distributor is, you find it on the left side of the engine, lower middle. Cheers Rob
-
Never played lotto my whole life, Phil, but I´m tempted now . Maybe these AIMS roundels are a way for your Camel of the SOD. I´d like to see it in full bloom. Cheers Rob
-
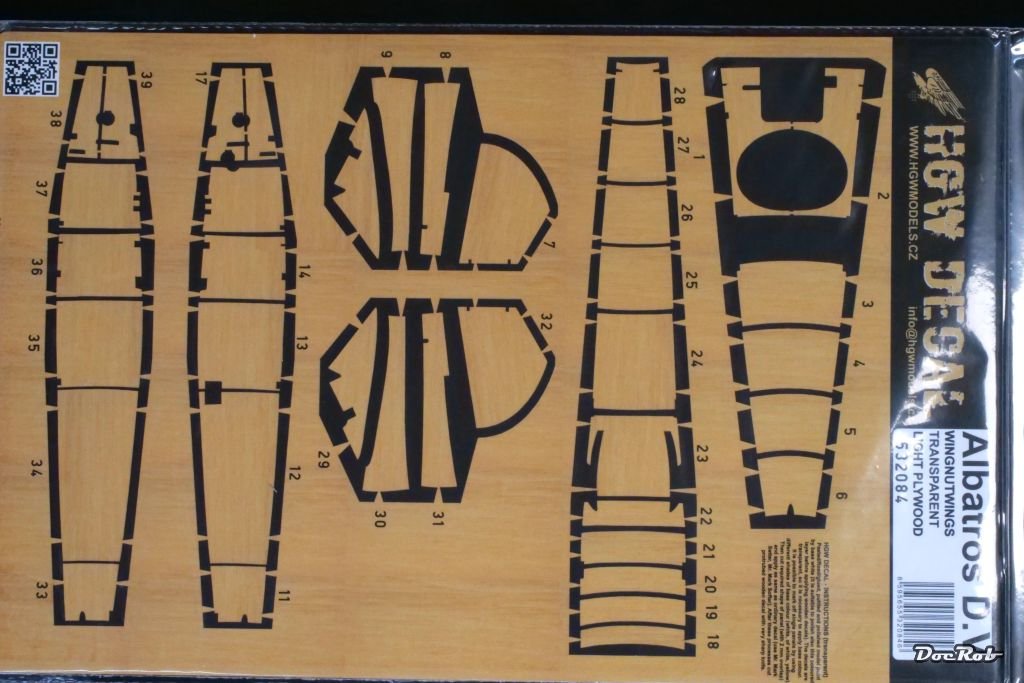
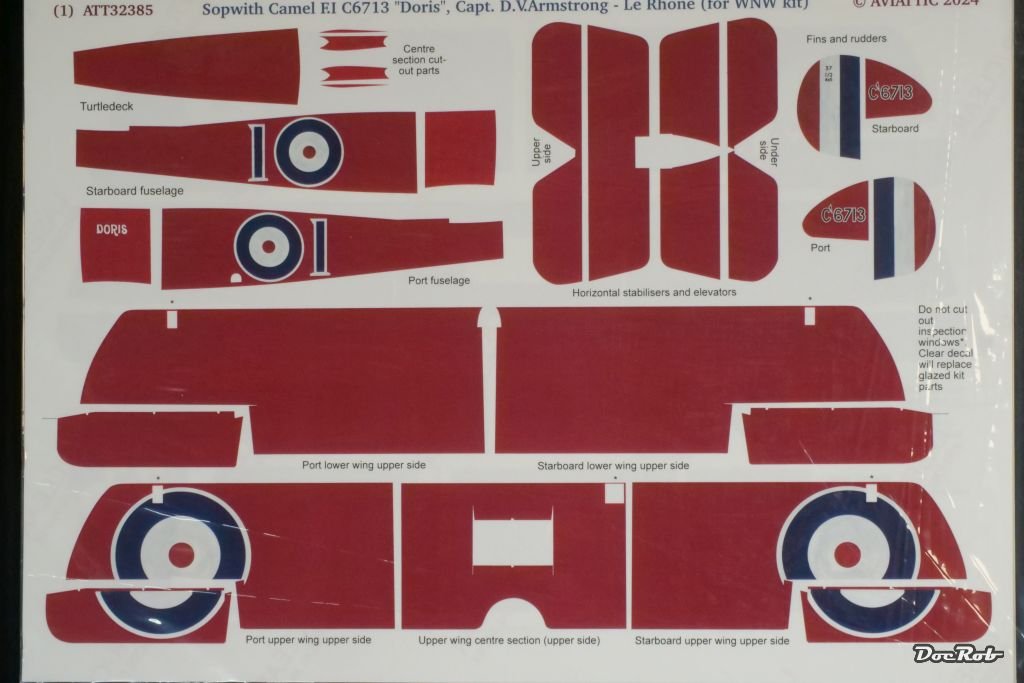
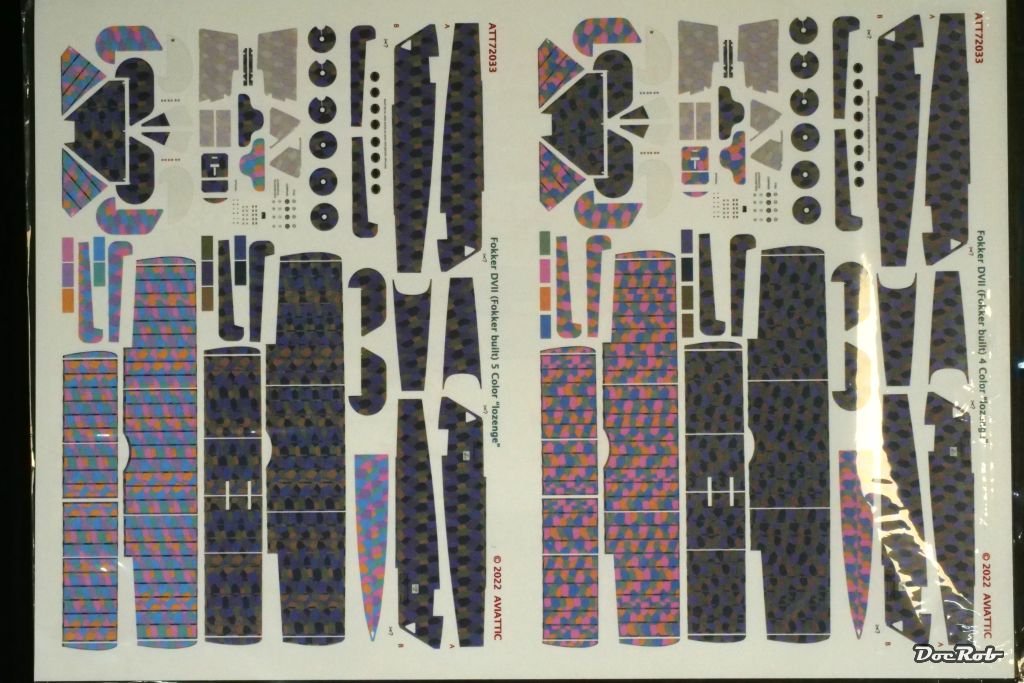
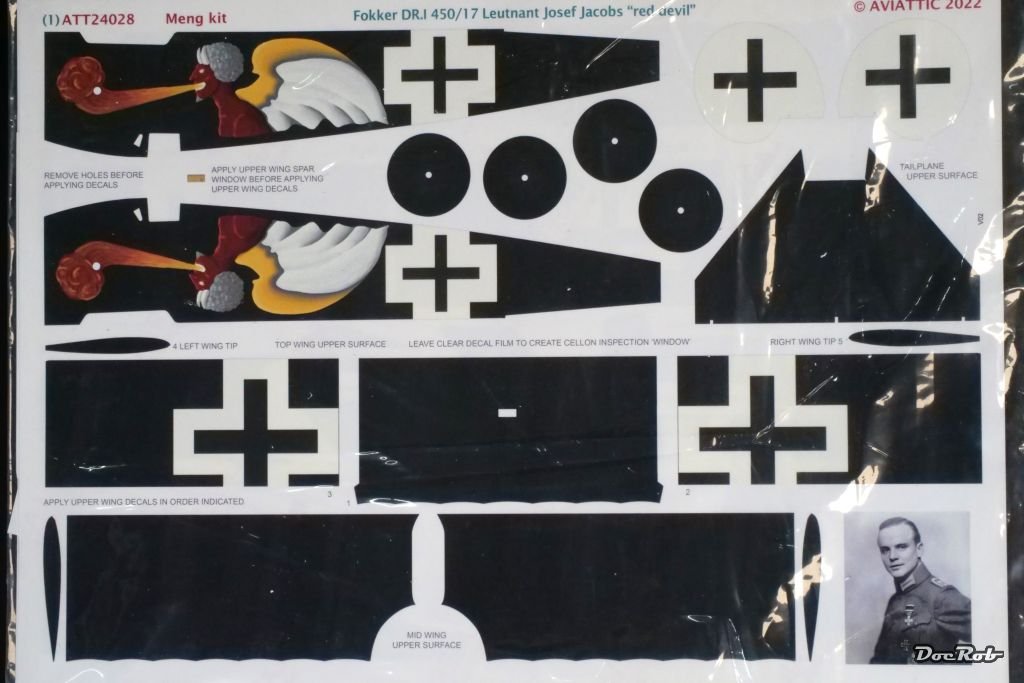
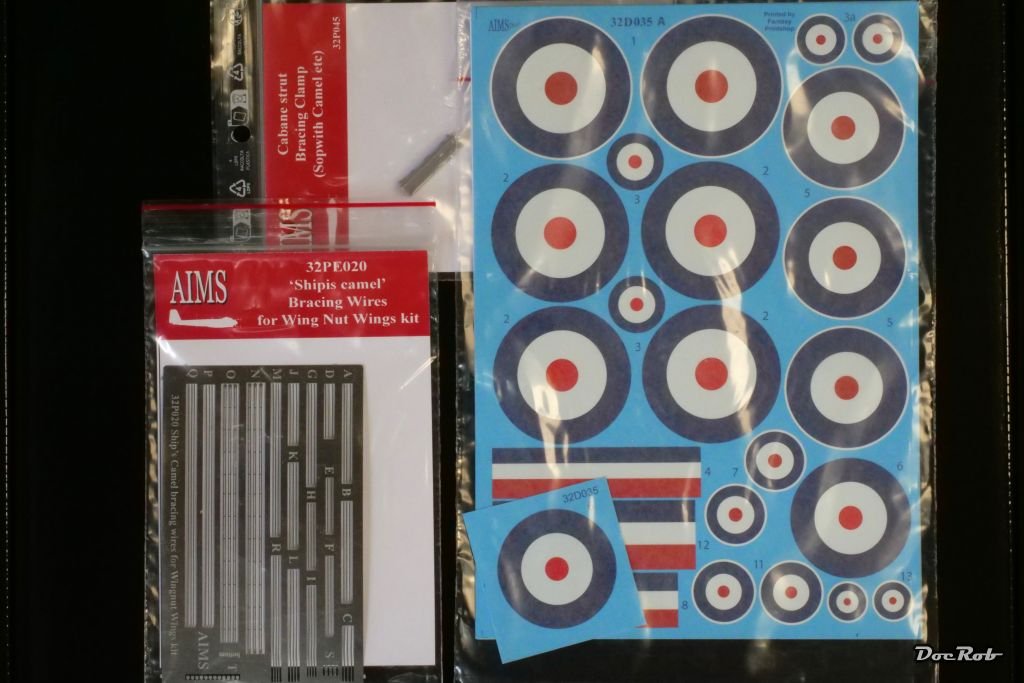
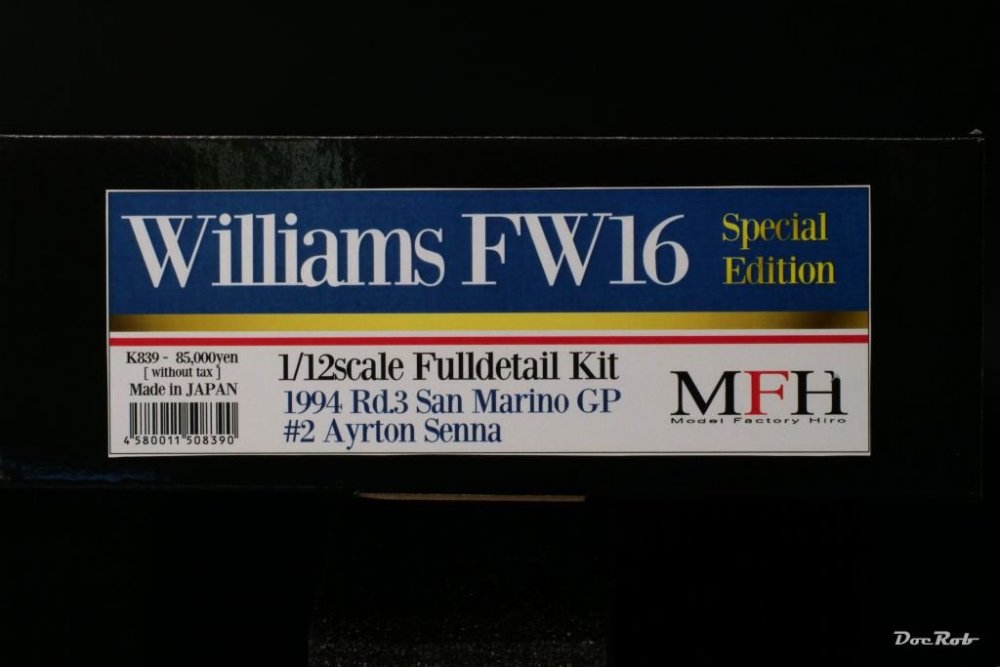
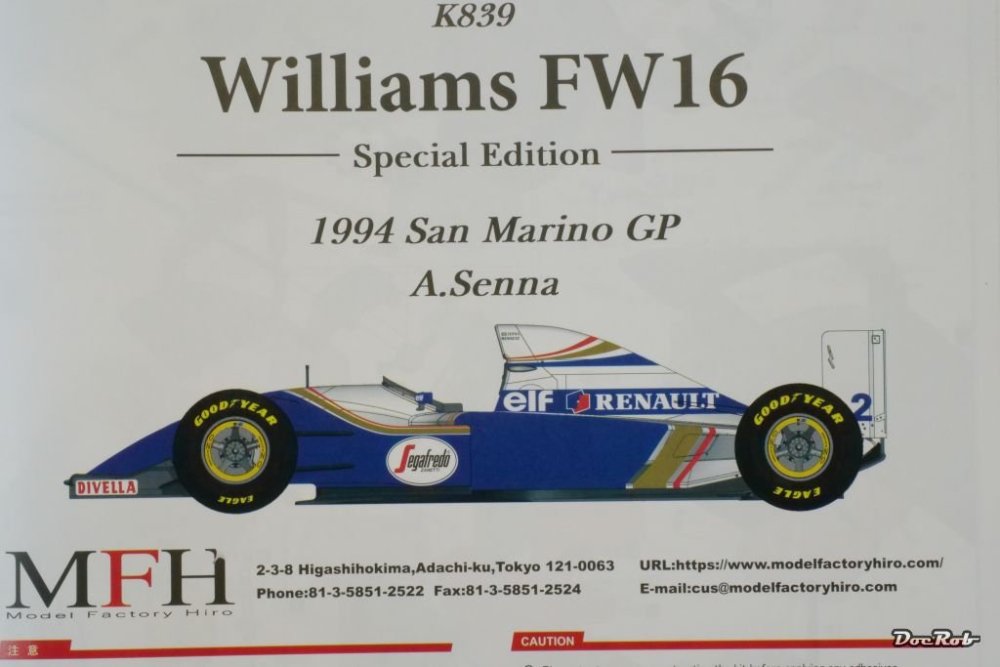
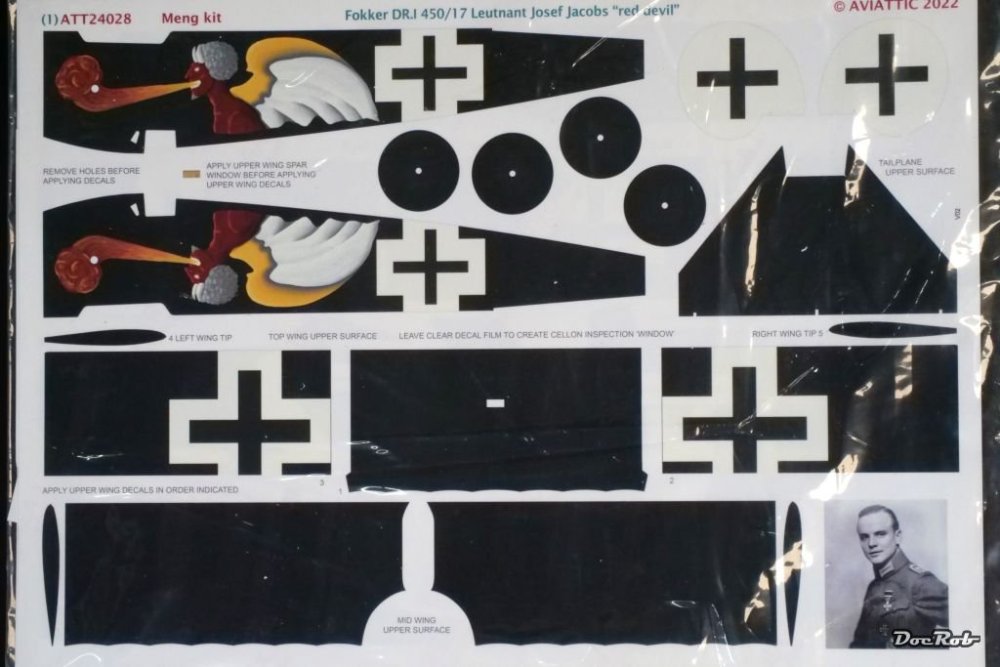
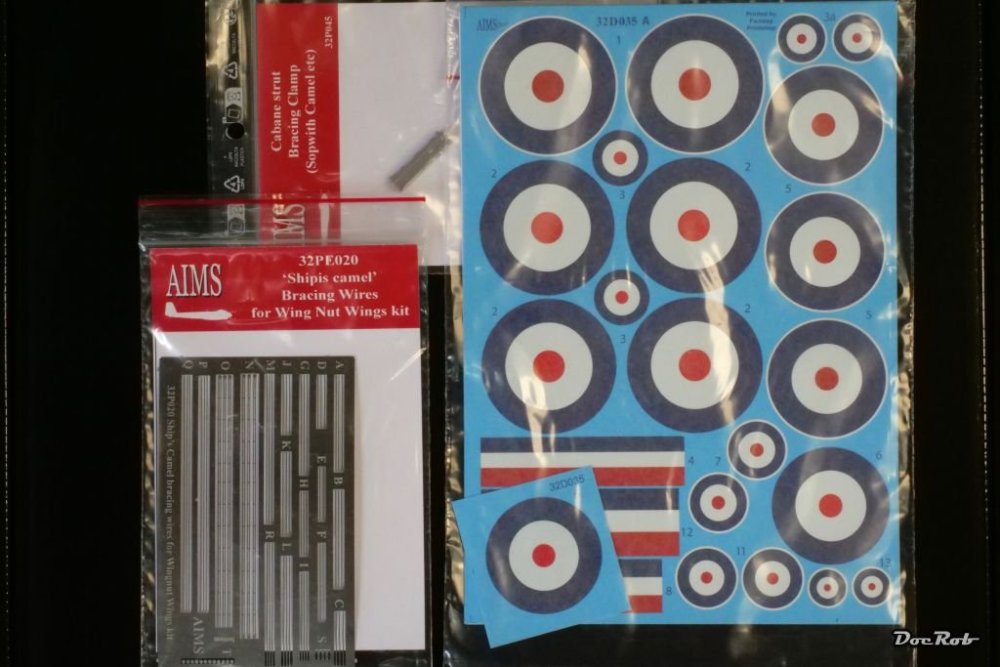
Today feels like Christmas in May. I was lucky enough to score one of the only 200 Model Factory Hiro 1/12 kits of The Williams FW16 Special edition. Sale started at 07:00 pm JST on May 07 and a quarter of an hour later, there was a massage, all were sold. What a relieve, to receive an email some hours later, that my request was successful. MFH released that kit some years ago, but revised a lot of parts for this edition. Decals are Cartograph printed now and include the bubu sponsor decals hidden in a separate envelope. Now there are three sheets of carbon decals (formerly one) and some of the resin parts were revised, where the carbon structure was casted on. Also with this release, the complete engine is made from white metal parts, no resin parts, like in the former release. MFH added masking templates and a 1/12 resin figure of a standing Ayrton Senna and beautifully etched nameplate. Not as spectacular, but nonetheless very welcome were a lot of decal sets for different WWI projects. For my soon to start in between build of the Meng 1/24 Fokker DR.I I added Aviattics Joseph Jacobs livery. Sidenote, not all DR.I were red . But my WNW Le Rhone Camel will be red with this set of Aviattic decals I also added etched bracing wire for testing with the Camel and fitting resin bracing clamps from AIMS and British Roundels for different WNW kits, because I often read, the kit supplied decals for the roundels are prone to tear. Some HGW plywood for my Albatros D.VII. This is a new edition and I hope they work well. I have not the best experiences with HGW decals to say the least. If they fail, it´s oil colors. Lastly some lozenge for my 1/72 Eduard Fokkers, also a nice in between build and Aviattics interpretation of lozenge schemes looks so much superior to the Eduard kit decals. Not shown, two sheets of Aviattic French linen decal for my Copper State Caudron G.III. Cheers Rob


-
Thank you Peter, with every step, the engine will be more and more difficult to handle. I guess only the distributor itself consists of more than a dozen parts. I managed to break off larger parts during handling, while correcting the carburetor tube. I guess, I not helped myself to easiest of MFH kits, due to the super detailed and part heavy heart piece engine. Cheers Rob
-
The Viggen looks fantastic with the decals on. Lately I had some decal madness, first with the carbon decals on my McLaren and later with the Wingnut AEG´s night lozenge. Like with yours, some of the decals didn´t settle perfectly with Micro Sol and I was forced to use something stronger. In his build book about the AEG, Karim Bibi mentioned to dilute the strong Mr. Mark Softener with some drops of water. I tried and it worked with my lozenge decals, also printed by Cartograph. I hope you had time to spend in beautiful Edinburgh, a place, I want to re visit sooner or later on a future Scotland trip. Cheers Rob
-
Neat and clean, Peter, she looks like a nice Mustang right now. Good you figured the canopy types. I have only the Zoukei Moura Mustang, where the three different canopies are described in the manual. You may want to look for. The manual is available on Scalemates. 272083-44-instructions.pdf (scalemates.com) Cheers Rob
-
Good to hear no one get hurt around and your home and goods were spared. What a destruction in such short time, Cheers Rob
-
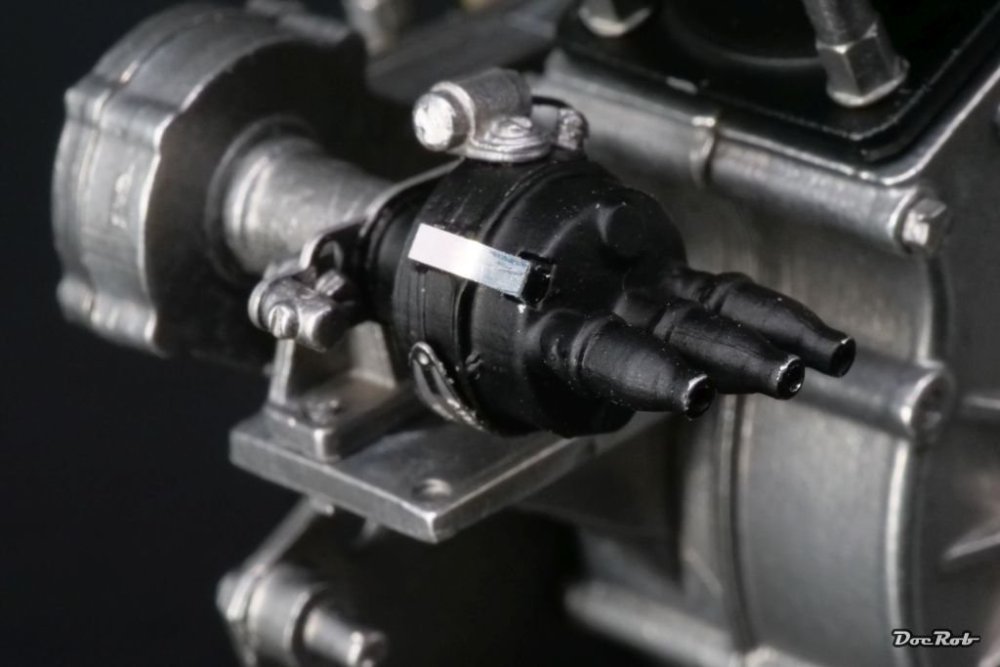
I added more details to the engine and also prepared the distributor. Drilling the tiny oil tube connectors proved tricky. They need to be drilled to accept the oil tubing made from solder wire. Most of the screws shown on the casings are separate parts and also need to be pre drilled and then inserted. The manual suggests to add the oil tubes next, but I will do it later, because handling the still not finished engine would be a nightmare with the soft wiring on. Luckily the places for the tubing should be reachable later. I also added some dots of black panel wash here and there to enhance contrasts. Cheers Rob

-
Thank you Carl, luckily there are no working pistons and other in that engine, it would make the construction even more complicated. Cheers Rob
-
You can´t have enough of these buggers for a MFH build. I drilled dozens of tiny holes, the most complicating are the tube connectors, ultra small and need a centered 0,8 mm hole drilled out. I broke one or two bits per year with my usual modeling, but the Crocker made me brake three already. Cheers Rob
-
Thank you Peter, I simply hate touch up work. I always try to do everything right the first time, but of course sometimes fail, like here. The engine with all the added aggregates is quite complex, dozens of tiny holes need to be drilled and it´s easy to forget or misalign something when not fully concentrated. The toll of broken drill bits raises as well and soon I have to restock these. Cheers Rob
-
The Scharnhorst 1/200 by Trumpter-Operation Paderborn
DocRob replied to KevinM's topic in Non LSM 'WIP
Glad you are not doing 1/700 scale, Kevin, I would need a larger screen to watch . Cheers Rob -
REVELL 1/72 WW2 GERMAN S-100 FAST ATTACK CRAFT
DocRob replied to Gene's topic in Modelling Discussion
Just twenty seconds of googling, try Scalemates, as I´m to lazy to post the link. Cheers Rob -
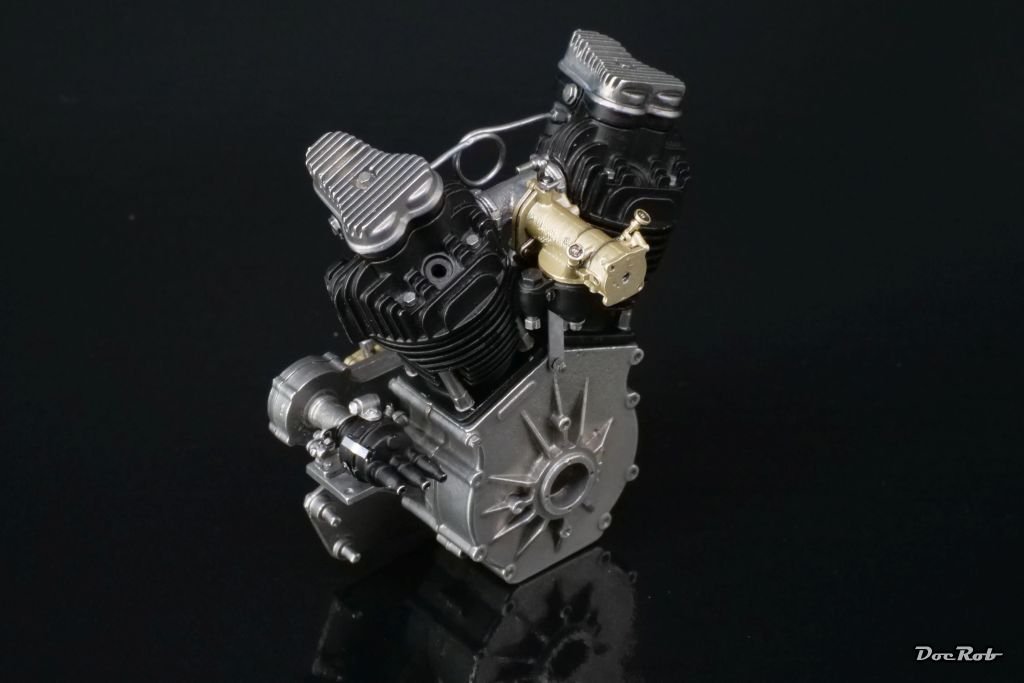
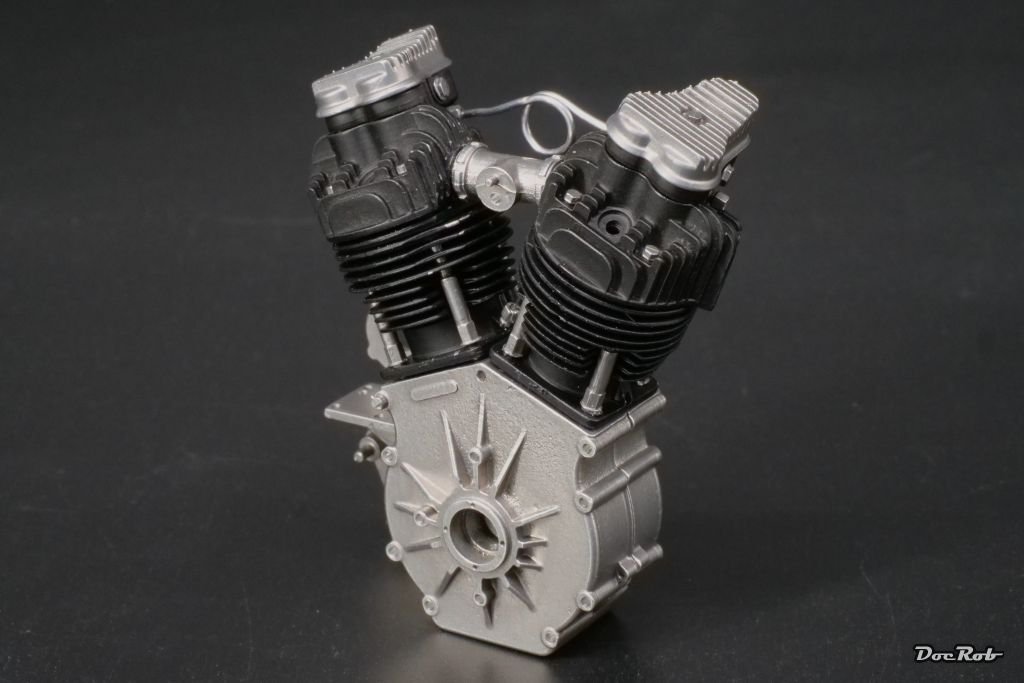
The engine is on it´s way and it is a bit fiddly, but due to great engineering and tight tolerances manageable. Adding all the V-shaped cylinder parts proved tricky, when the rocker came into play and the connecting tube (carburetor) needed to be added at the same time. Unfortunately, I mis-orientated this part and had to pry it loose later, which was no fun at all and caused some spots for later touch ups. Cheers Rob


- 157 replies
-
- 10
-
-
Lets hope so Phil, building metal kits is a whole new experience. Thank you for the info about soldering, I will test it if necessary, when time comes. Cheers Rob