DocRob
-
Posts
7,045 -
Joined
-
Last visited
Content Type
Profiles
Forums
Events
Gallery
Everything posted by DocRob
-

What is on your bench right now ? Share a picture :)
DocRob replied to Martinnfb's topic in Modelling Discussion
Hmmh, not so much of a (relatively) modern jet guy, but clearly F-16. I never liked the F-18 shape wise. Cheers Rob -
AEG G.IV - Creature of the Night - WNW 1/32
DocRob replied to DocRob's topic in The Great Twins Broup Bluild
Thank you amigos, the painting and weathering of the engines was pure fun, the installation of the nacelles, struts and rigging around the engines is not so much. There is just no wiggle room and sometimes two different struts share the same hole, with added eyelets around for rigging and a steering shaft . The struts are relatively robust, except for the very fragile area directly behind the connector tabs. I broke some of them and I hope, in the end the mid section will be robust enough. Progress is slow at the moment, and it has to do with some of you. I read the actual threads about ageing, falling and hurting themselves and remember older ones as well. With my 60 years, I seem to be a youngster here, but of course, I feel the burden of age as well, but decided, to tackle the subject with more expanded physical activity. So it´s two kilometers of ocean swimming in the morning, followed by some yoga. Tomorrow I will run through the wood with de dog and then it´s mountainbiking and hoping for some surfable waves soon. Your threads made me thinking and were a bit of a wake up call out of my usual early spring lethargy. Thank you for that, guys. Cheers Rob -
Same with me, I like the Flory clay washes or self mixed washes from oil colors, where the depth is very controllable and they are also risk free to remove. My bought PLW are drying out since some time. Cheers Rob
-
She looks peteresque, in other words fantastic, with your typical clean and contrast rich signature finish. Good that you added most of the stencils, which make the build even better. Somehow this is addictive, isn´t it? I sometimes wondered over decals for the same plane, lately Eduards Cartograph decals for a 1/48 Phantom compared to HGW´s wet transfers. Cheers Rob
-
The Scharnhorst 1/200 by Trumpter-Operation Paderborn
DocRob replied to KevinM's topic in Non LSM 'WIP
Wow Kevin, great progress with all these nasty details, the Scharnhorst is coming together nicely. I had to smile a bit nostalgically, when I read your baseball stories, having played for 25 years in German leagues. Cheers Rob -
Autocar 9964 B conversion to heavy haul...
DocRob replied to Jeff's topic in LSM 1/35 and Larger Work In Progress
Cute indeed Jeff , but not only you, the truck as well. I love the detailing and the right amount of patina. Your WIP is great, because of the background information. I´m not into trucks, so it´s interesting to hear a bit about these work horses from a former user. Cheers Rob- 56 replies
-
- 2
-

-

-
- hevy haul off road tractor
- b.c. logging
- (and 1 more)
-
Looking good Chris, I like the heat protection and the seats. Like you, I have always trouble with filling seams. I have no idea, how some of you do that to perfection. Cheers Rob
-
Madness takes over , have fun Gus. Cheers Rob
-
Zoukei-Mura P51D Mustang SWS No 4.
DocRob replied to Bomber_County's topic in LSM 1/35 and Larger Work In Progress
Looking really good Phil. Like Peter mentioned, these ZM kits have their annoyances. I found some on their TA-152, but somehow got her finished. Yor P-51 is a beauty and I will reference to your build, when I dig out my RAF/late boxing. AAAAAAAnd, bring on the figures . Cheers Rob -
I also recommend Tesa professional tape, which is a tiny bit less flexible and a tad stronger adhesive than Tamiya Kabuli, but works perfectly. Cheers Rob
-
Autocar 9964 B conversion to heavy haul...
DocRob replied to Jeff's topic in LSM 1/35 and Larger Work In Progress
Splendid weathering, Jeff. The dust and accumulated dried mud look terrific and somehow enhance the sight onto the many extra details you added. Cheers Rob- 56 replies
-
- 3
-
-
- hevy haul off road tractor
- b.c. logging
- (and 1 more)
-
AEG G.IV - Creature of the Night - WNW 1/32
DocRob replied to DocRob's topic in The Great Twins Broup Bluild
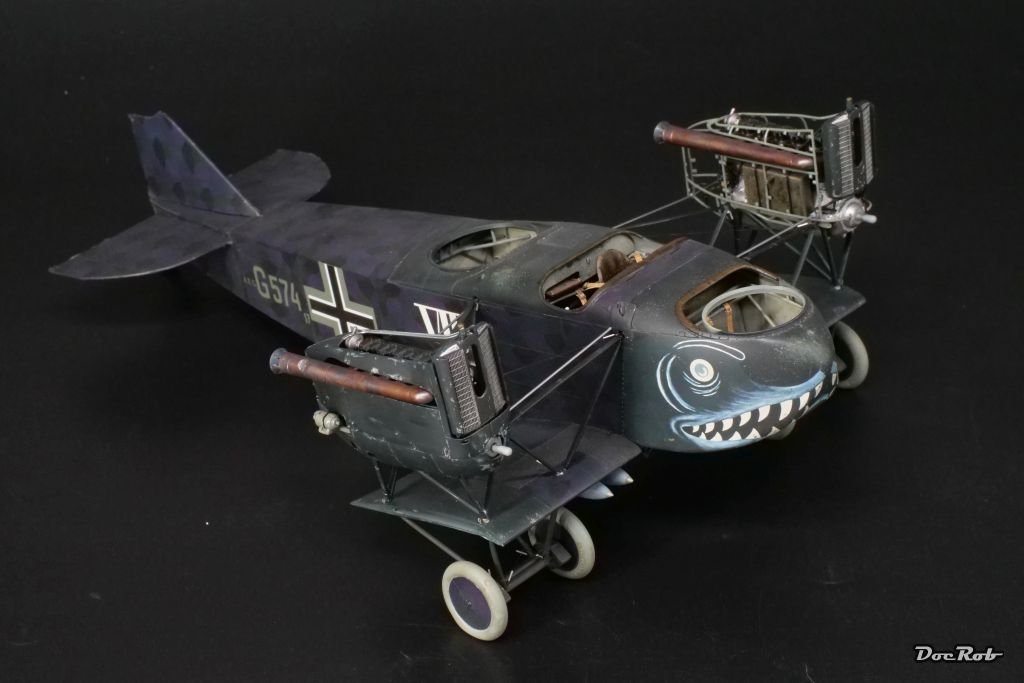
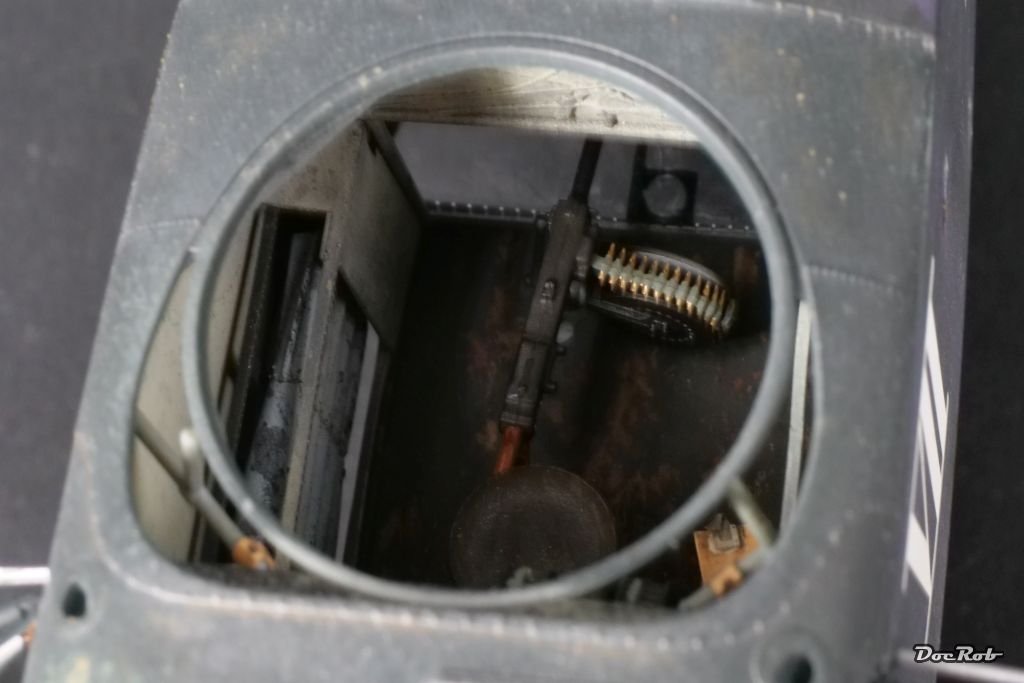
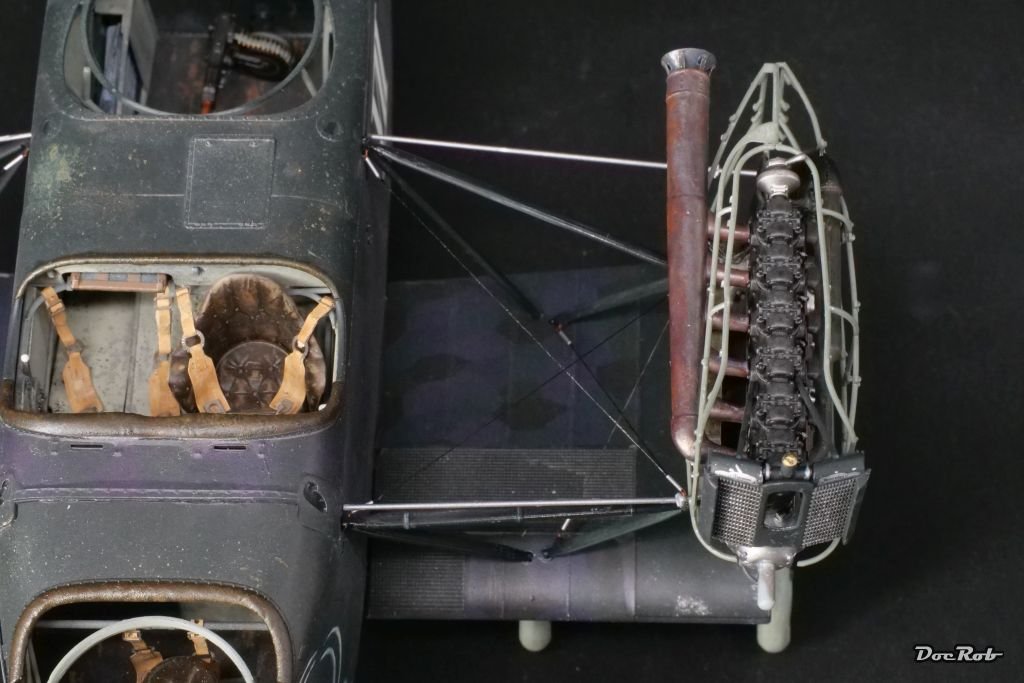
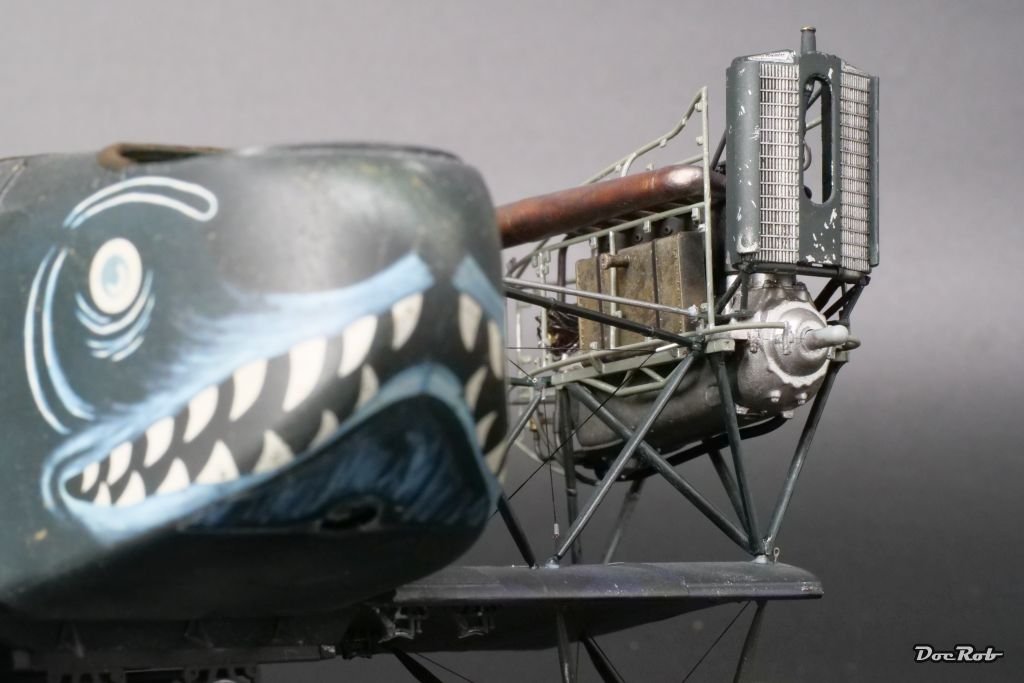
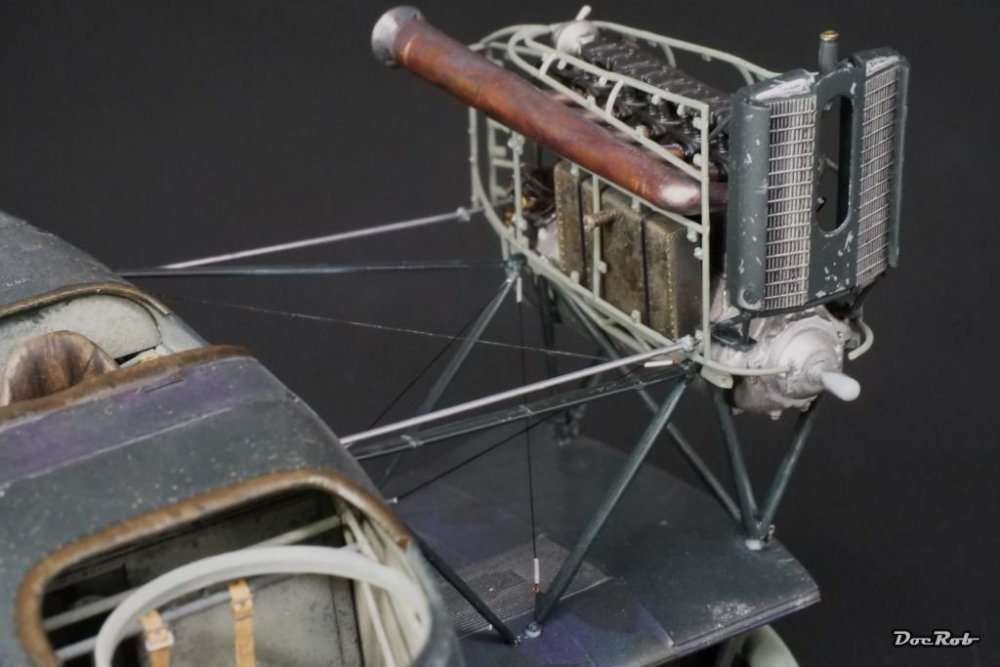
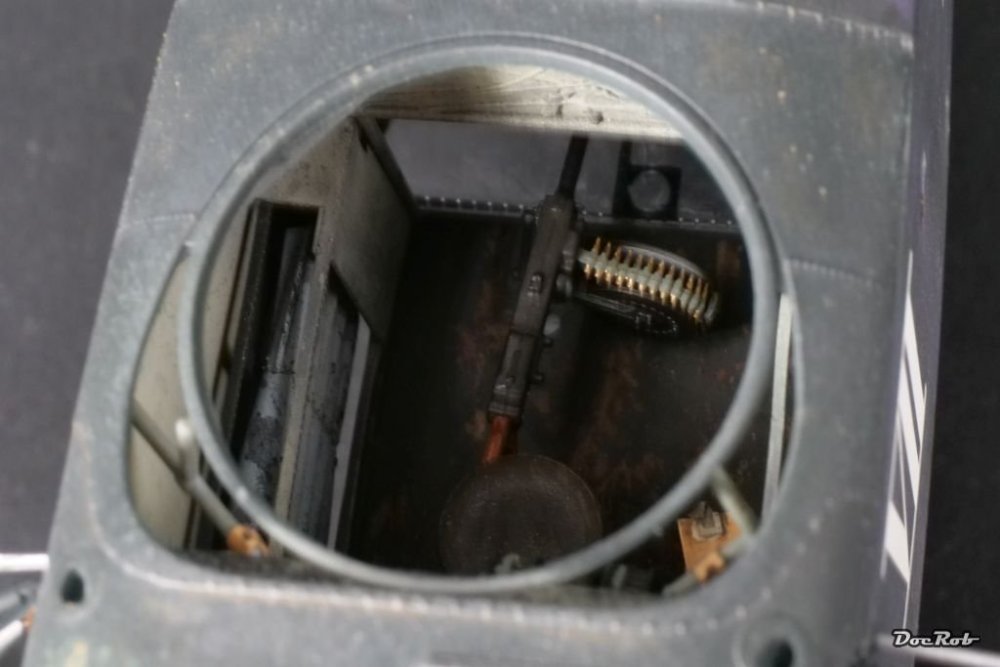
Today, I reached one important milestone with the huge bat. After painting the internal MG, I installed it into the fuselage, because this area will be harder to reach, when the wings are on. Then, I installed the nacelle struts, which received eyelets before for the nacelles rigging. Before adding the engine nacelles itself, I finished the rigging between the fuselage and the struts, a hard to reach area, after the engines are in place. I used Infini elastic rigging thread and tiny aluminum tubes for the rigging and tried successfully not to break the struts while rigging. Lastly, I added the engine nacelles itself and the radiator and engine steering axles. It was a nerve wrecking task and not all went completely satisfactory. The starbord engine isn´t perfectly upright, but there was no way to correct it without a lot of fuss. Cheers Rob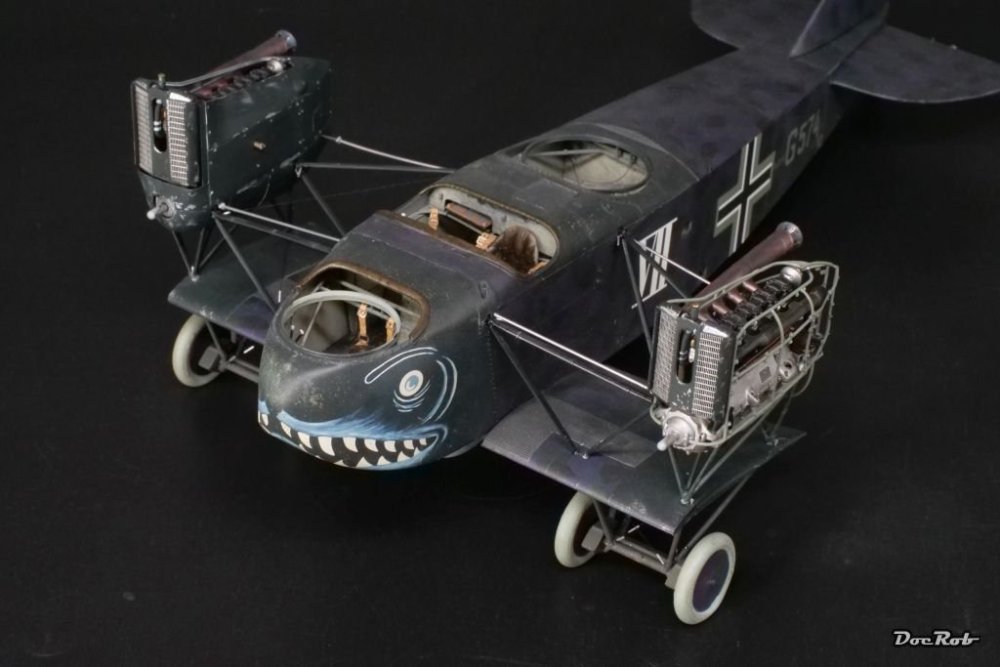


-
These are horrible news, Peter. Luckily nothing worse happened. You have to take care for both of you now. Good to hear, Diana is in competent hands for the treatment. Best wishes, Rob
-
A true beauty, Carl. The mottling came out great and the markings blend in beautifully. The long barrels and the lack of two tone camo on the wing make her look positively different. Makes me want to start mine, but this is for later. Cheers Rob
-
She is a beauty ,Peter. I love your chosen paint scheme, which adds dynamic and contrast to the elegant airframe. Still a long way to go, but you´ll master it for sure. Cheers Rob
-
AEG G.IV - Creature of the Night - WNW 1/32
DocRob replied to DocRob's topic in The Great Twins Broup Bluild
Thank you Jeff, oils are just the best to replicate leather, it looks real almost instantly. Cheers Rob -
AEG G.IV - Creature of the Night - WNW 1/32
DocRob replied to DocRob's topic in The Great Twins Broup Bluild
Thank you Mike, the build is not that difficult, in general pretty forward, due to great fit and engineering. Decaling took a lot of time and rigging of the nacelles will become a bit nasty. Rigging the wings will be not so hard, I hope, there is relatively large space between the wings and like many German birds, rigging is not over complicated. Cheers Rob -
Wow, the 109 looks great, everything blends in perfectly, congratulations. Cheers Rob
-
There goes the Kabuki . I´m the same Gus, I´m a coward, when it comes to large area masking jobs and can´t bring myself to add a stencil with the airbrush, without masking half a square meter around. Cheers Rob
-
Autocar 9964 B conversion to heavy haul...
DocRob replied to Jeff's topic in LSM 1/35 and Larger Work In Progress
The cabin painting came out great, Jeff, I love the slightly weathered, bit sun bleached appearance. Tyres and rims look great too. By accident, I have seen a Peterbilt resin engine some minutes ago. It might not be for this build, but... GPmodeling DD60: Engine 1/24 scale - Peterbilt Detroit Diesel Series 60 - for Italeri references 3857, 3894, 740 and 746, or Revell references REV07527 and 7527 (ref. DD60) | SpotModel Cheers Rob- 56 replies
-
- 4
-
-
- hevy haul off road tractor
- b.c. logging
- (and 1 more)
-
AEG G.IV - Creature of the Night - WNW 1/32
DocRob replied to DocRob's topic in The Great Twins Broup Bluild
You´ll love the oil colors, Peter. They are perfect for replicating wood or leather as they cover well, blend perfectly and can be applied without leaving brushstrokes. The downside is the long drying time, but that can be reduced with fast drying thinner. There is also a matte thinner, which reduces the shine a bit, so you can play a bit with the reflectivity of materials. For weathering, you can use the oil dot technique which allows for easy controllable tinted, irregular effects on painted surfaces. Lastly you can make your own washes and panel liners with oils, which are great to use and very controllable. Cheers Rob -
AEG G.IV - Creature of the Night - WNW 1/32
DocRob replied to DocRob's topic in The Great Twins Broup Bluild
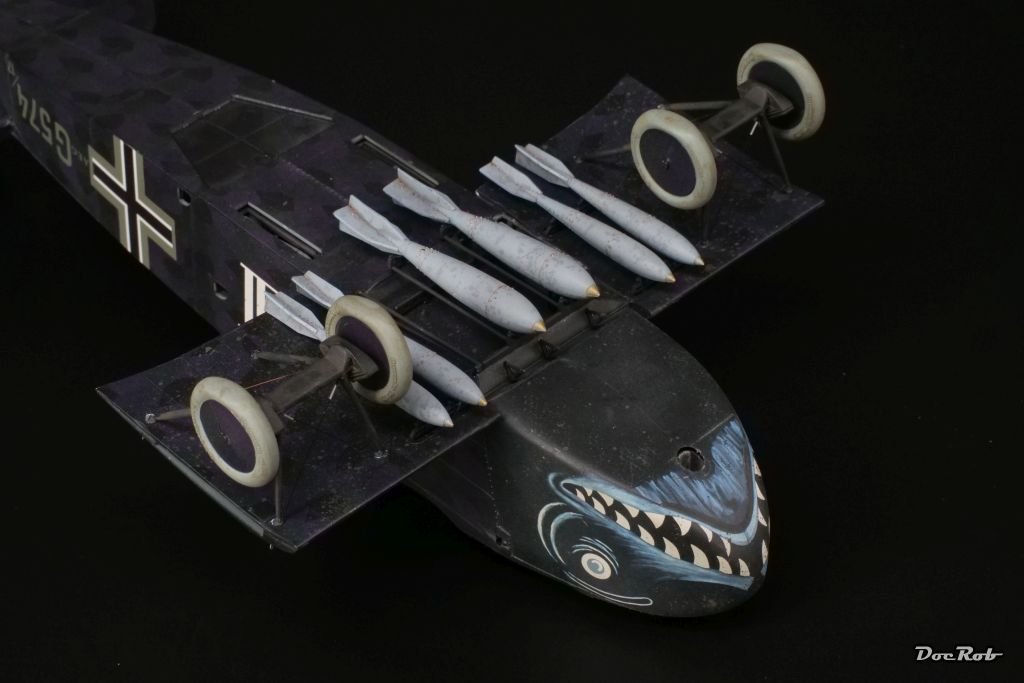
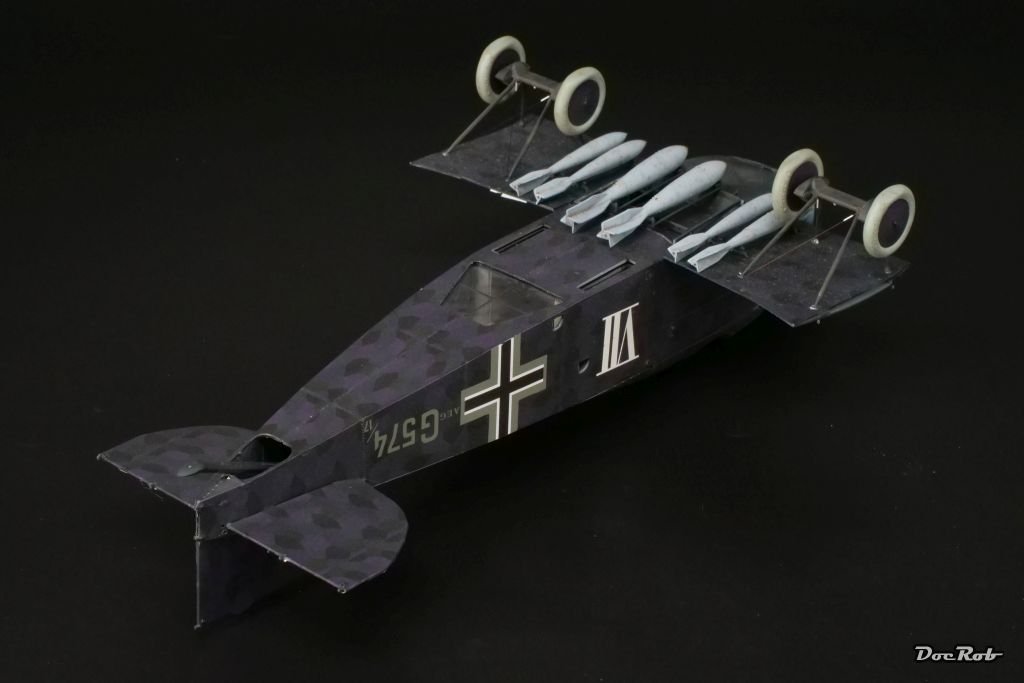
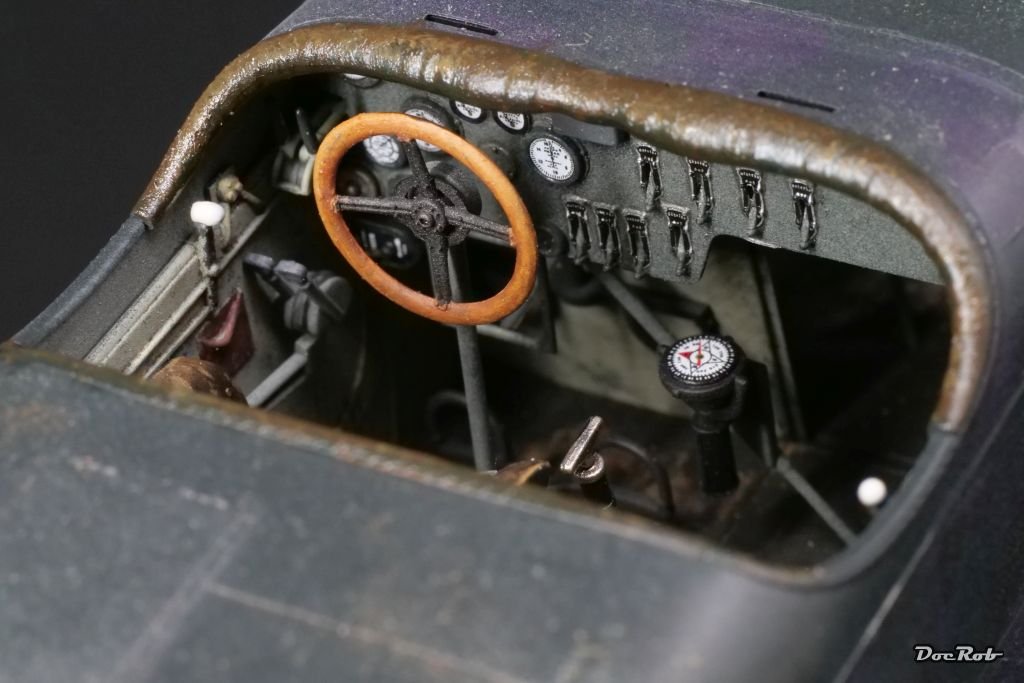
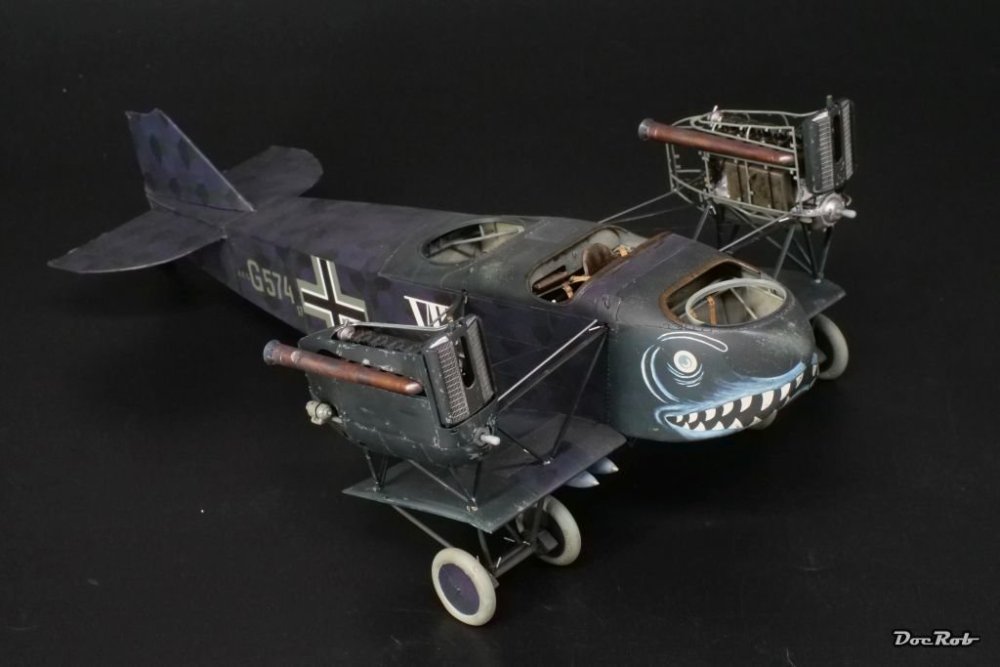
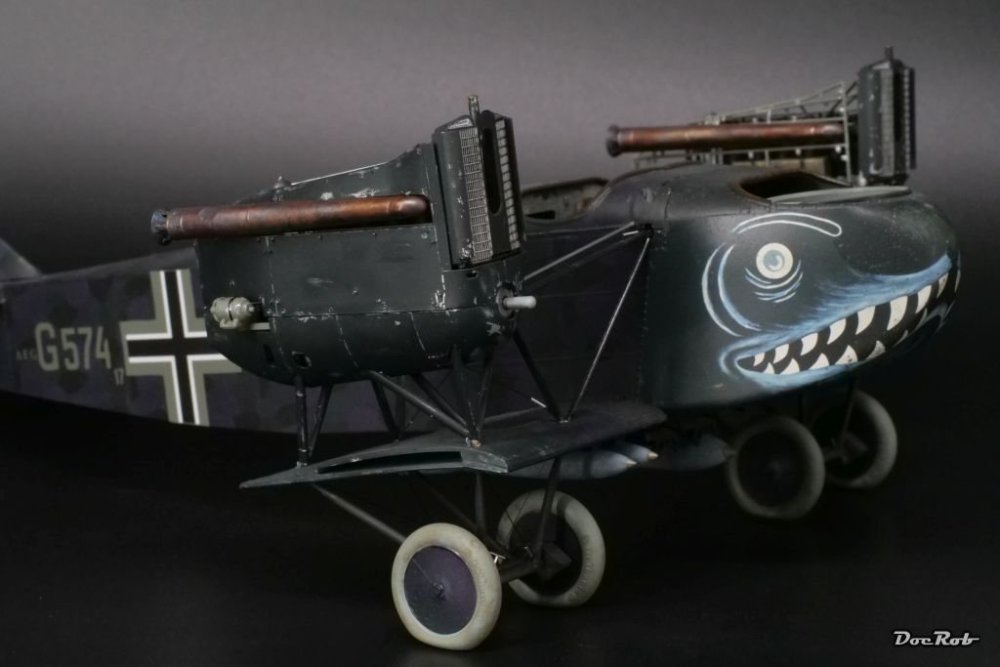
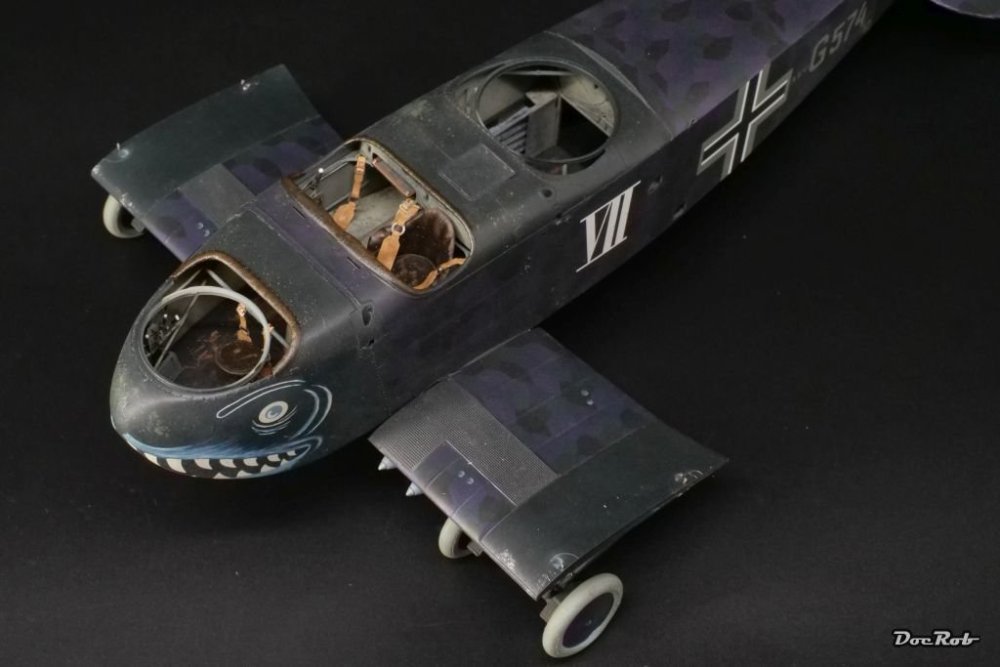
The beast got teeth, literally I mean. After installing the bomb racks, I added the bomb load. Again, I used CA to glue the parts in place, which I prefer with painted parts. There is less risk of damaging the paint and applied with a tooth pick, it´s a very fine method. I will add some holding belts later, which I will make from fine Kabuki strips. The tailskid fits into a massive part inside the fuselage, but lasts only on a tiny plastic peg on the rear end. As this was damaged while handling the AEG, I replaced it with a 1mm brass rod for some extra strength. The fuselage window was very dirty from the inside, possibly due to lacquer fumes, but I could reach the inside from above and clean the panes I removed the masks from the cockpit openings and painted the paddings with oil colors and matte medium thinner. I used a dark brown base color, which I darkened for crevices and shadows with dark blue and lightened with some vanilla yellow for highlighting. I really like oil colors for replicating leather, you get great coverage, easy modulation and about the right shine. Cheers Rob


-
Wait with your jealousy, until it´s started. The build will be a challenge I guess. Many new things to learn, specially how to work with white metal best. Speaking of, I still try to find a way to get a magnetic tumbler polisher to my island, but no cookies. Seems to be a bigger problem, as I want to use it for cleaning and refining the white metal parts. I hope, I will start my MFH builds very soon, but the Cobra Coupe will not be the first. It´s either the Crocker motorcycle or another one. Cheers Rob
-
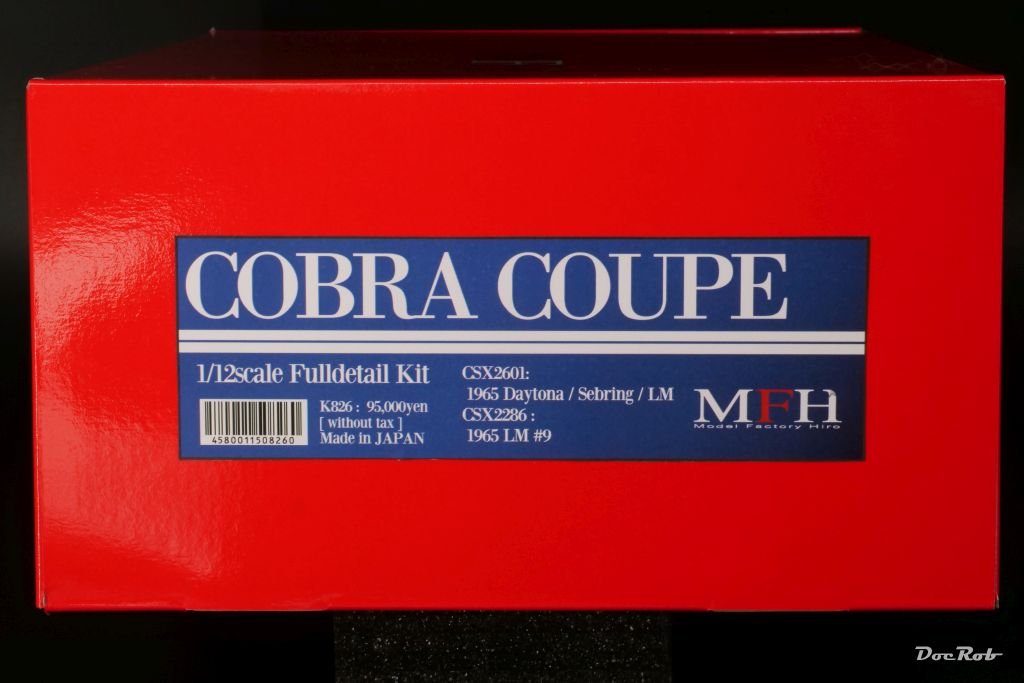
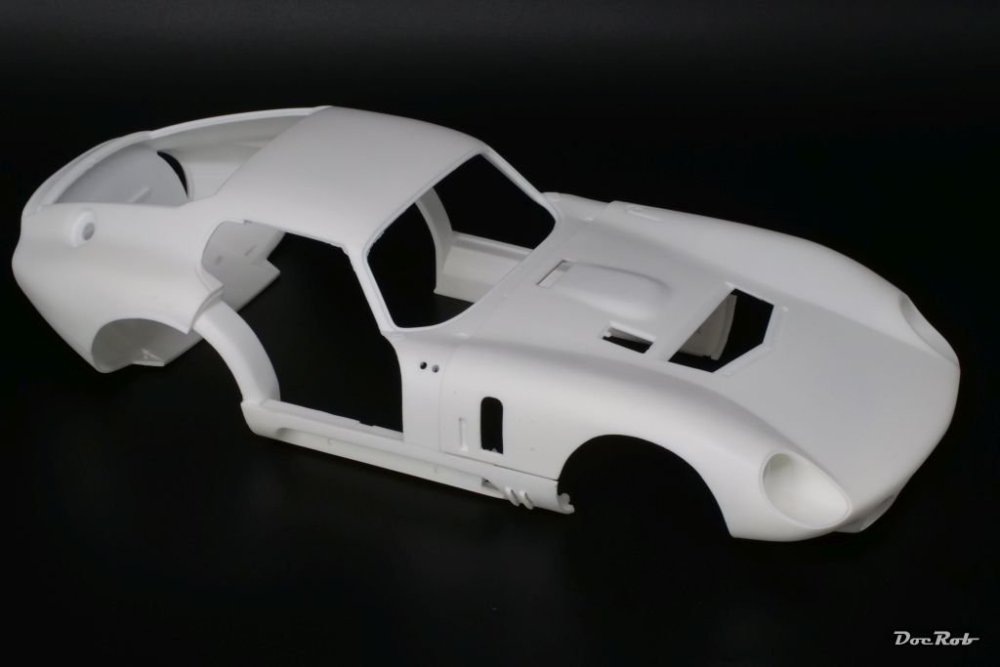
My second Model Factory Hiro kit arrived today. It´s the 1/12 Cobra Coupe, which won Le Mans as the first American car. Only six were build. I´m looking forward to tackle this piece of muscle. Again, no customs need to be paid for whatever reason and the pricing from Hiro direct from Japan is very reasonable and shipping is ultra fast. The following pictures were borrowed from the MFH homepage, to show the beast in it´s full beauty. Cheers Rob

-
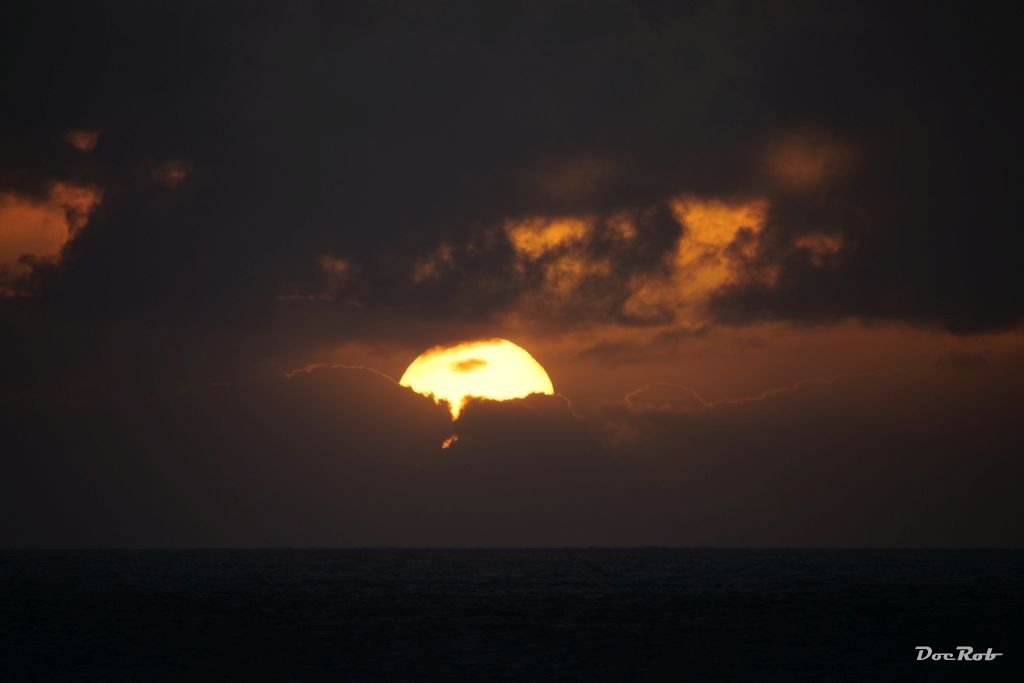
Nice pics, señhores. On my island in the Atlantic, they claimed the start of the eclipse might be visible, but nope, only dramatic sun/cloud pics to show. Cheers Rob