
krow113
-
Posts
927 -
Joined
-
Last visited
Content Type
Profiles
Forums
Events
Gallery
Everything posted by krow113
-
Threw the gas tanks on , plumbing and rigging to come:

-
Not really news , but might be 'new'. I've recently noticed the not frenzied but shall we say interesting up sale in the WNW kits. Suppliers are selling them as fast as they put them up , and already I see small talk about prices going up as availability decrease'. Could be good for guys who wont mind selling their WNW kits. I think I have the average 16-17 including 3 dogfight doubles , and if some one wants to pay stupid prices , I will sell them. Interesting times in the modelling world.
-
Tryna do a bit each day , here is the outer lower wing walkways done in white then silver, wash to follow:

-
Holy crap!
-
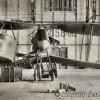
Thank you , cpoet. And the rigging. I've avoided it as long as I can. At this point in construction not addressing the min9mal needed will make it a lot harder later on. Specifically in the engine pods and the front 6 wing struts. ( A note : There are 8 of these front struts supplied , you only need 6 of them.) . Here they are laid up vertically to allow the wires to hang down. All I did was nick the moulded on patch where the wire exits from the plywood fairing and a little med cyano , very little, to hold. I then go in with the thinned white glue and wick in a solid joint: I do my rigging in stages , eyelets and turnbuckles are installed during assy , some are in after. With the 6 wires involved in an engine pod , only 2 are visible as they exit the top of the pod. As one of mine is exposed there are two to address on each side. All of these ae in the WNW instructions. Here is one side of the pod. You can see the wires pulled through the eyelet and turnbuckles , this has been dabbed with the white glue and will be left to dry as I do other work. **WARNING EXTREME CLOSEUP OF IMAGINED WW 1 BOMBER ENGINE POD FOLLOWS** Here is the tool setup for today , a pinvice and drill hold the bobbin for easy length layout . The drill for clearing the eyelet and tbuckle holes , tweezers for , well , you know. And the rest is obvious. DO NOT leave the drill case open , I did for the pics , but simply brushing my hand past the first row took them all out! As I rotate through the work, the glue sets and I'm able to pull the wire and loop it through the eyelet crossing over itself , and hung with lightweight clothespins and secured with the wicked in white glue. After all is set , I'll go back inand wrap the loose ends back over the wires: A few hours later and nicely done. You can see the white glue 'beads' on the doubled back wires , simulating the wrapped or intertwined wires. Also the 2 wires going to the upper wing have been secured in the exposed pod: When the top wing goes on ,I'll connect the 2 wires for the exposed pod .And since there are no wires from the complete pod , I'll use the 2 exposed pod wires to visually guage where the 2 wires drop into the complete pod. These will most likely have a weight attached and dropped be into the pod in the appropriate spot.
-
lol nice with the disclaimer at the end there!
-
 Nicely done camo!
 -
The one reaction I got was that I was a : "lone internet nutcase". Which is how the OBC reacts to anyone or anything they dont like. Immediate discrediting for pointing out the obvious failure . Same to me as the guy who "vetted" a kit and almost simultaneously with the kits release ,released his own upgrade set. Obvious collusion with the manufacturer , which I dont care about , but the kit supplied parts were inferior , creating the need for the upgrade set. That aint right.
-
Same thing , unproven after market crap.
-
"elastic tensioned metal rigging' Is a misunderstanding of the problem. The problem is the incompatibility of 2 materials and the expansion and contraction rate of two different materials. A sliding mount or tensioned mount or Star Wars tribble mount , none will work. Throw it in the bin if you have it, or into material stock. If it was workeable and a proven method , we wouldnt be discussing it. Another symptom of the OBC problem.
-
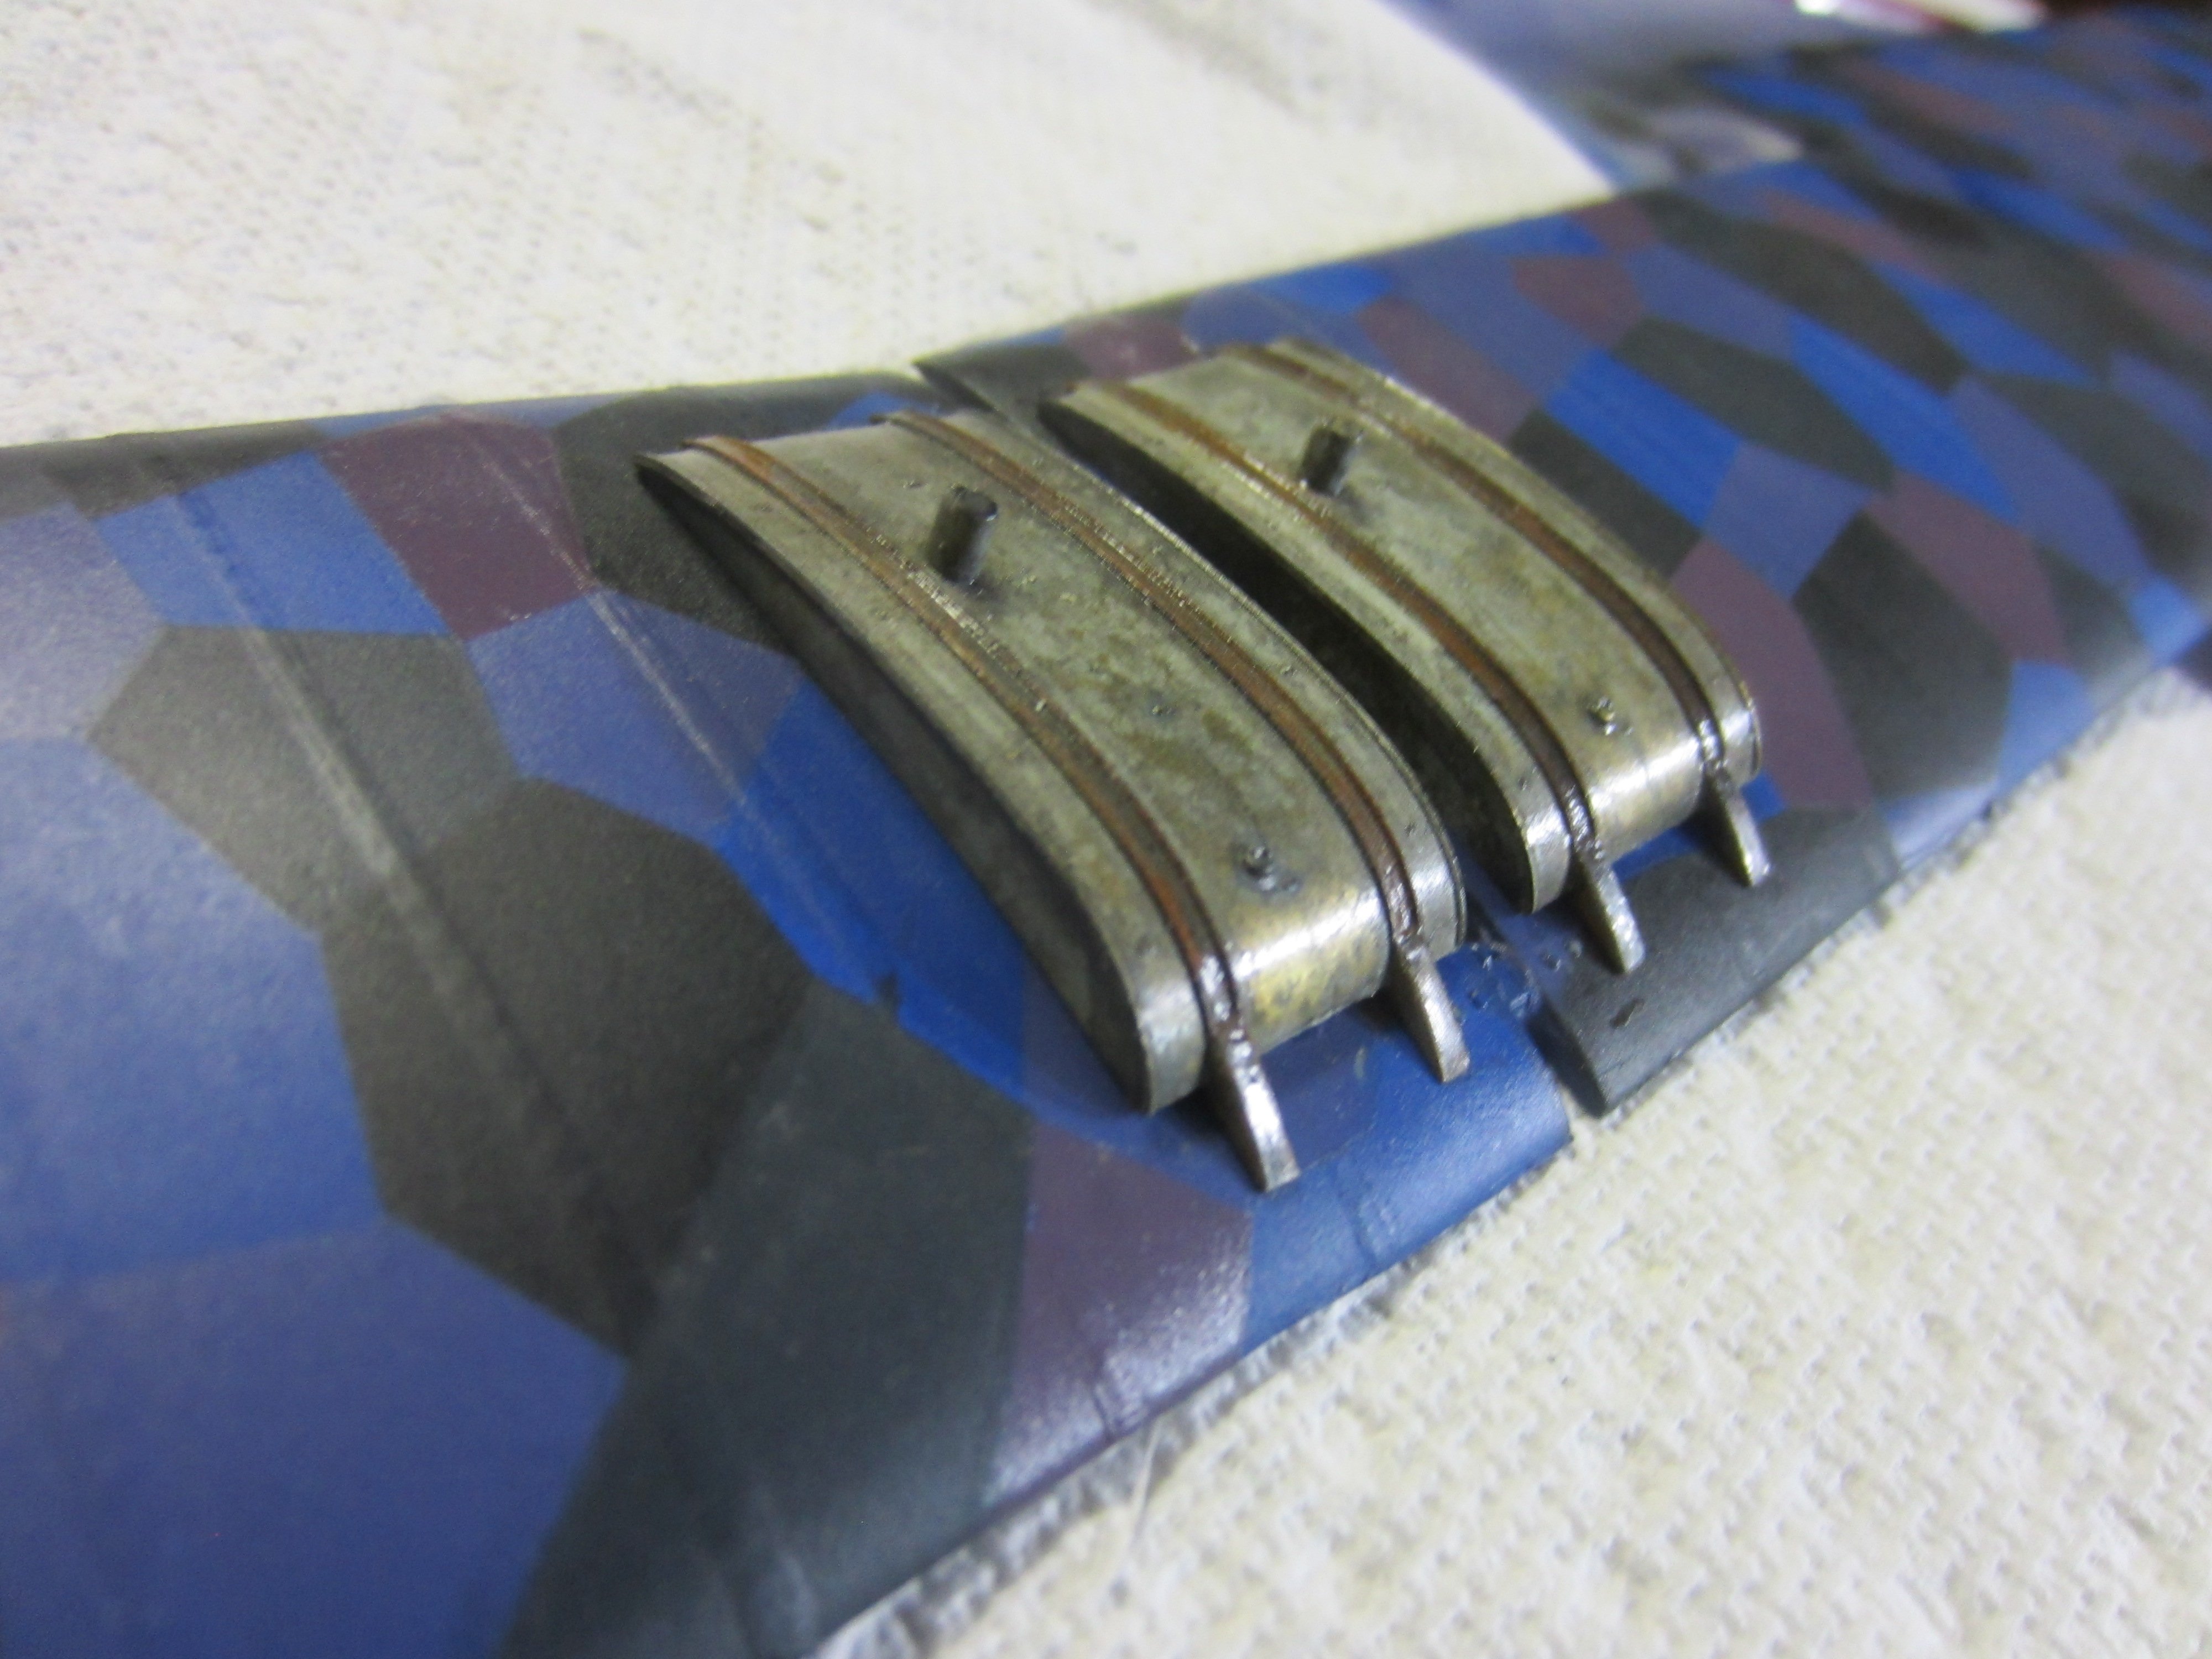
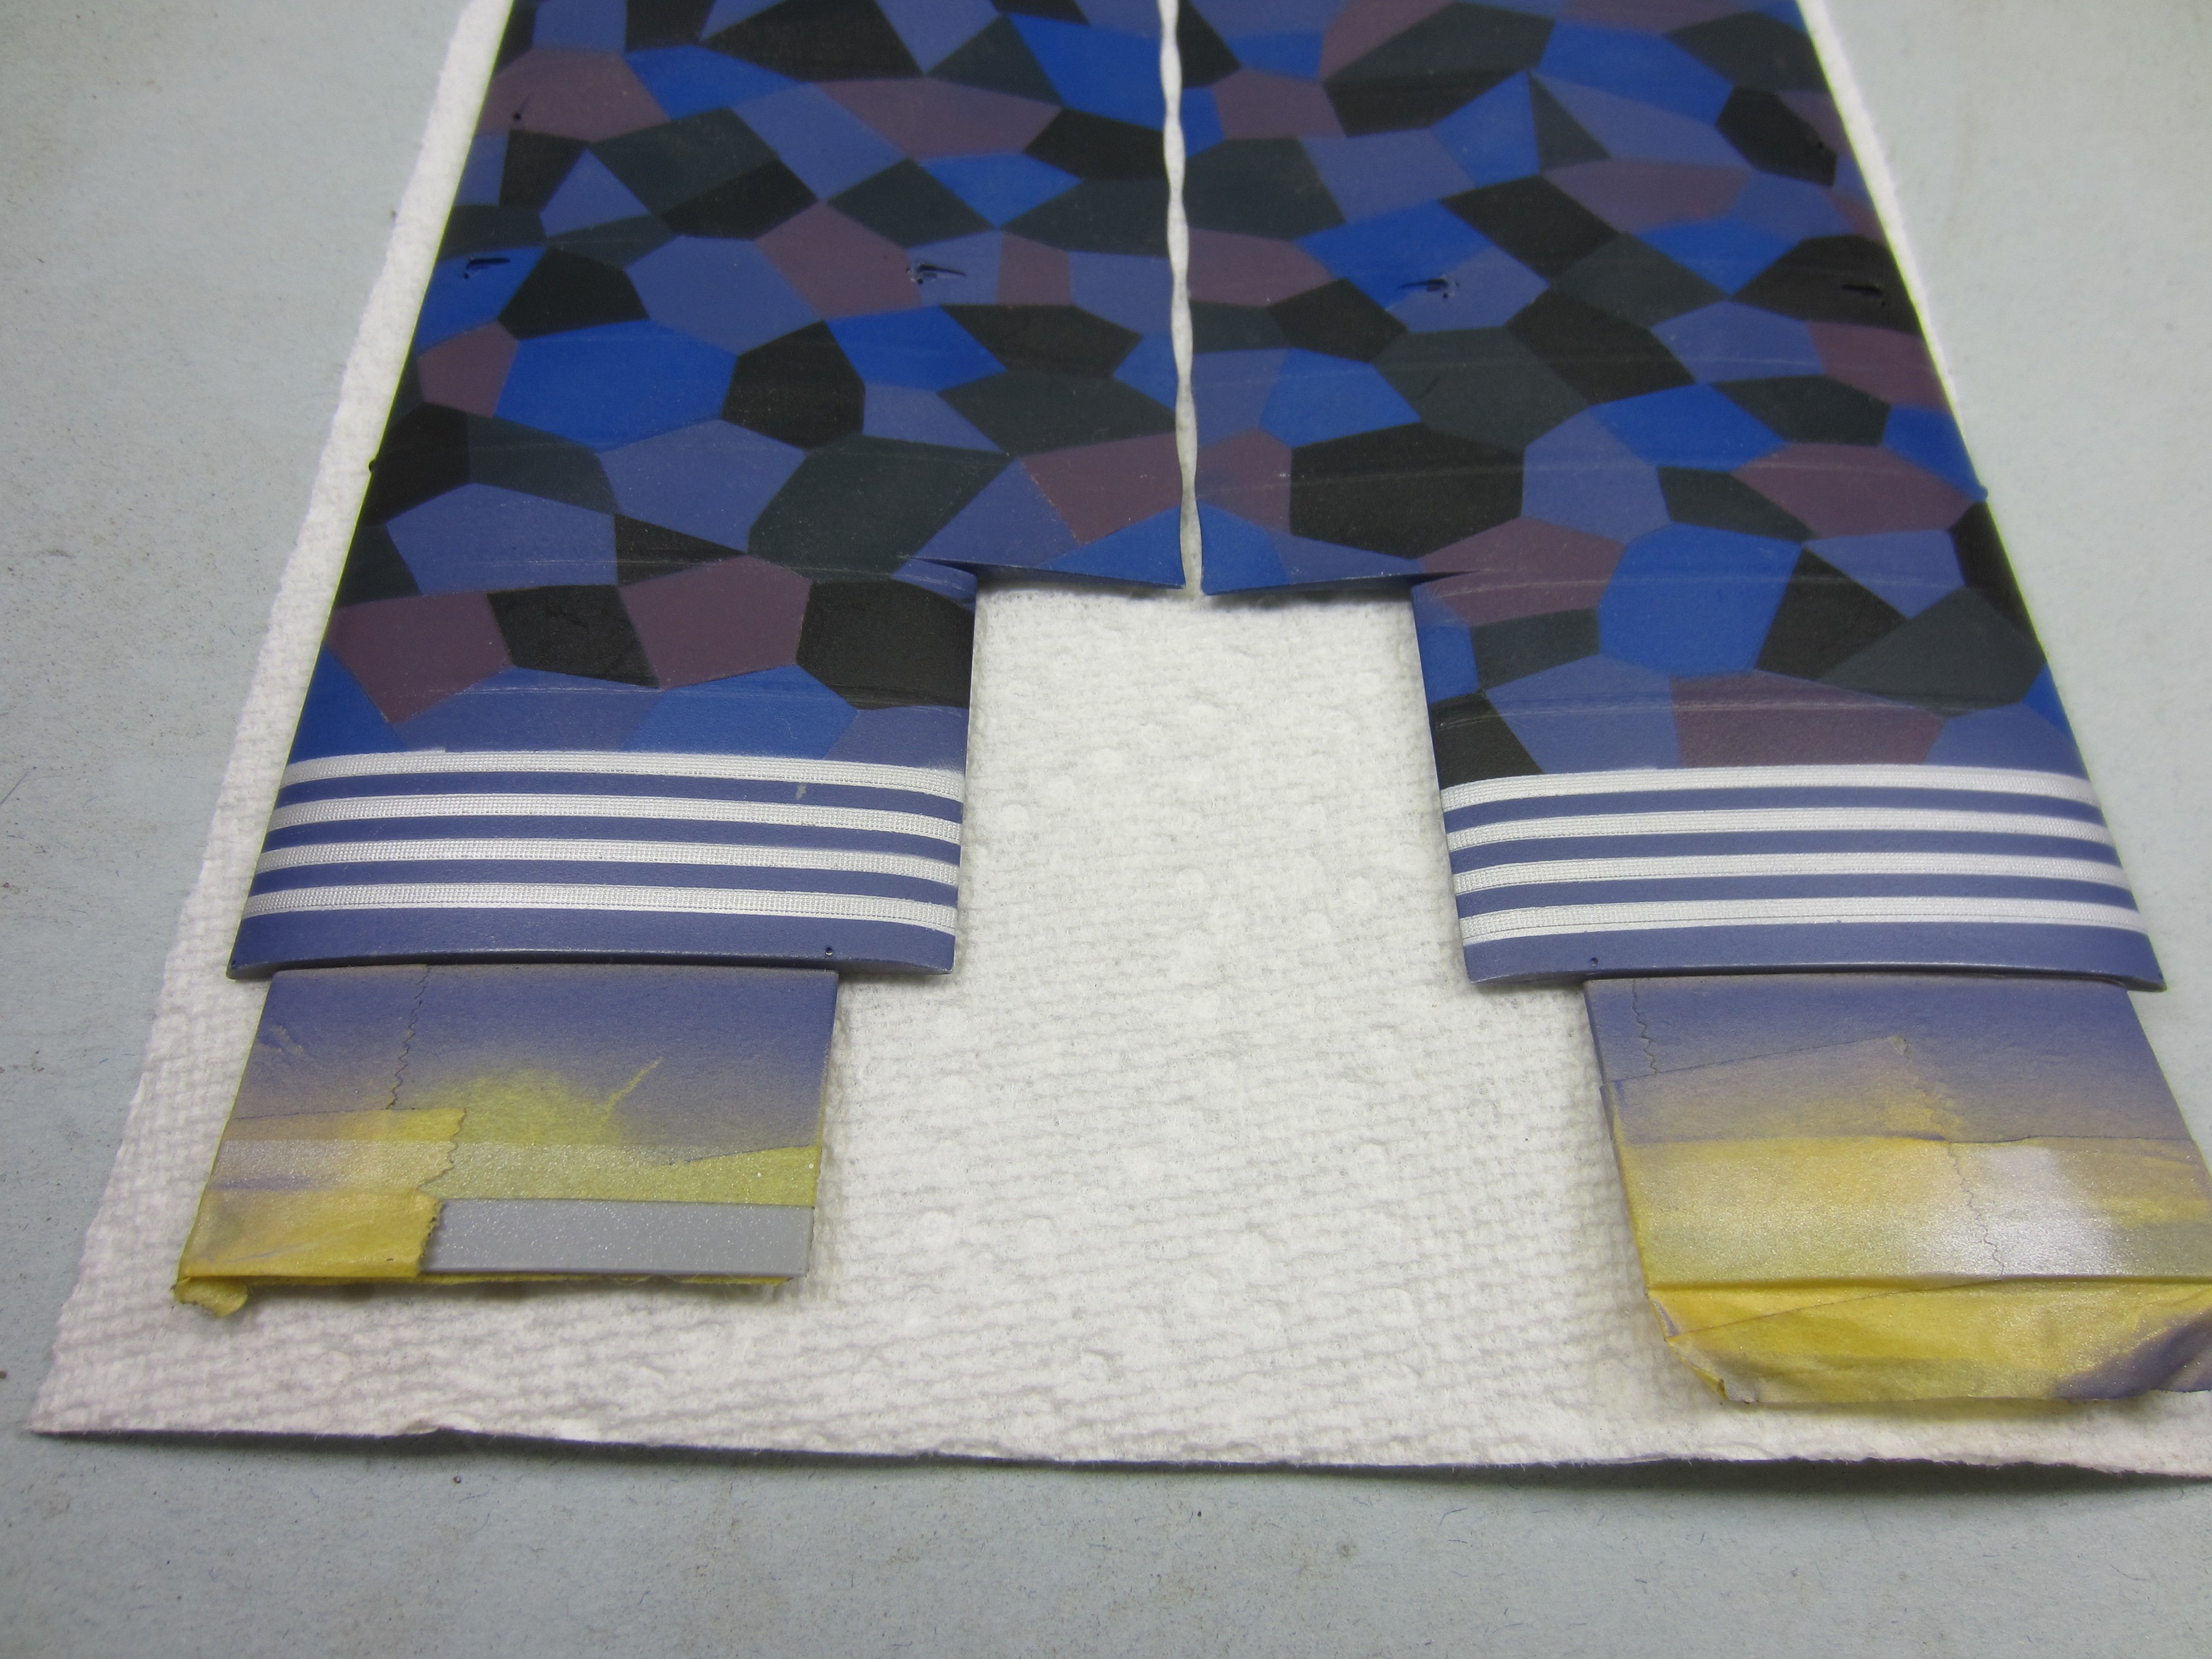
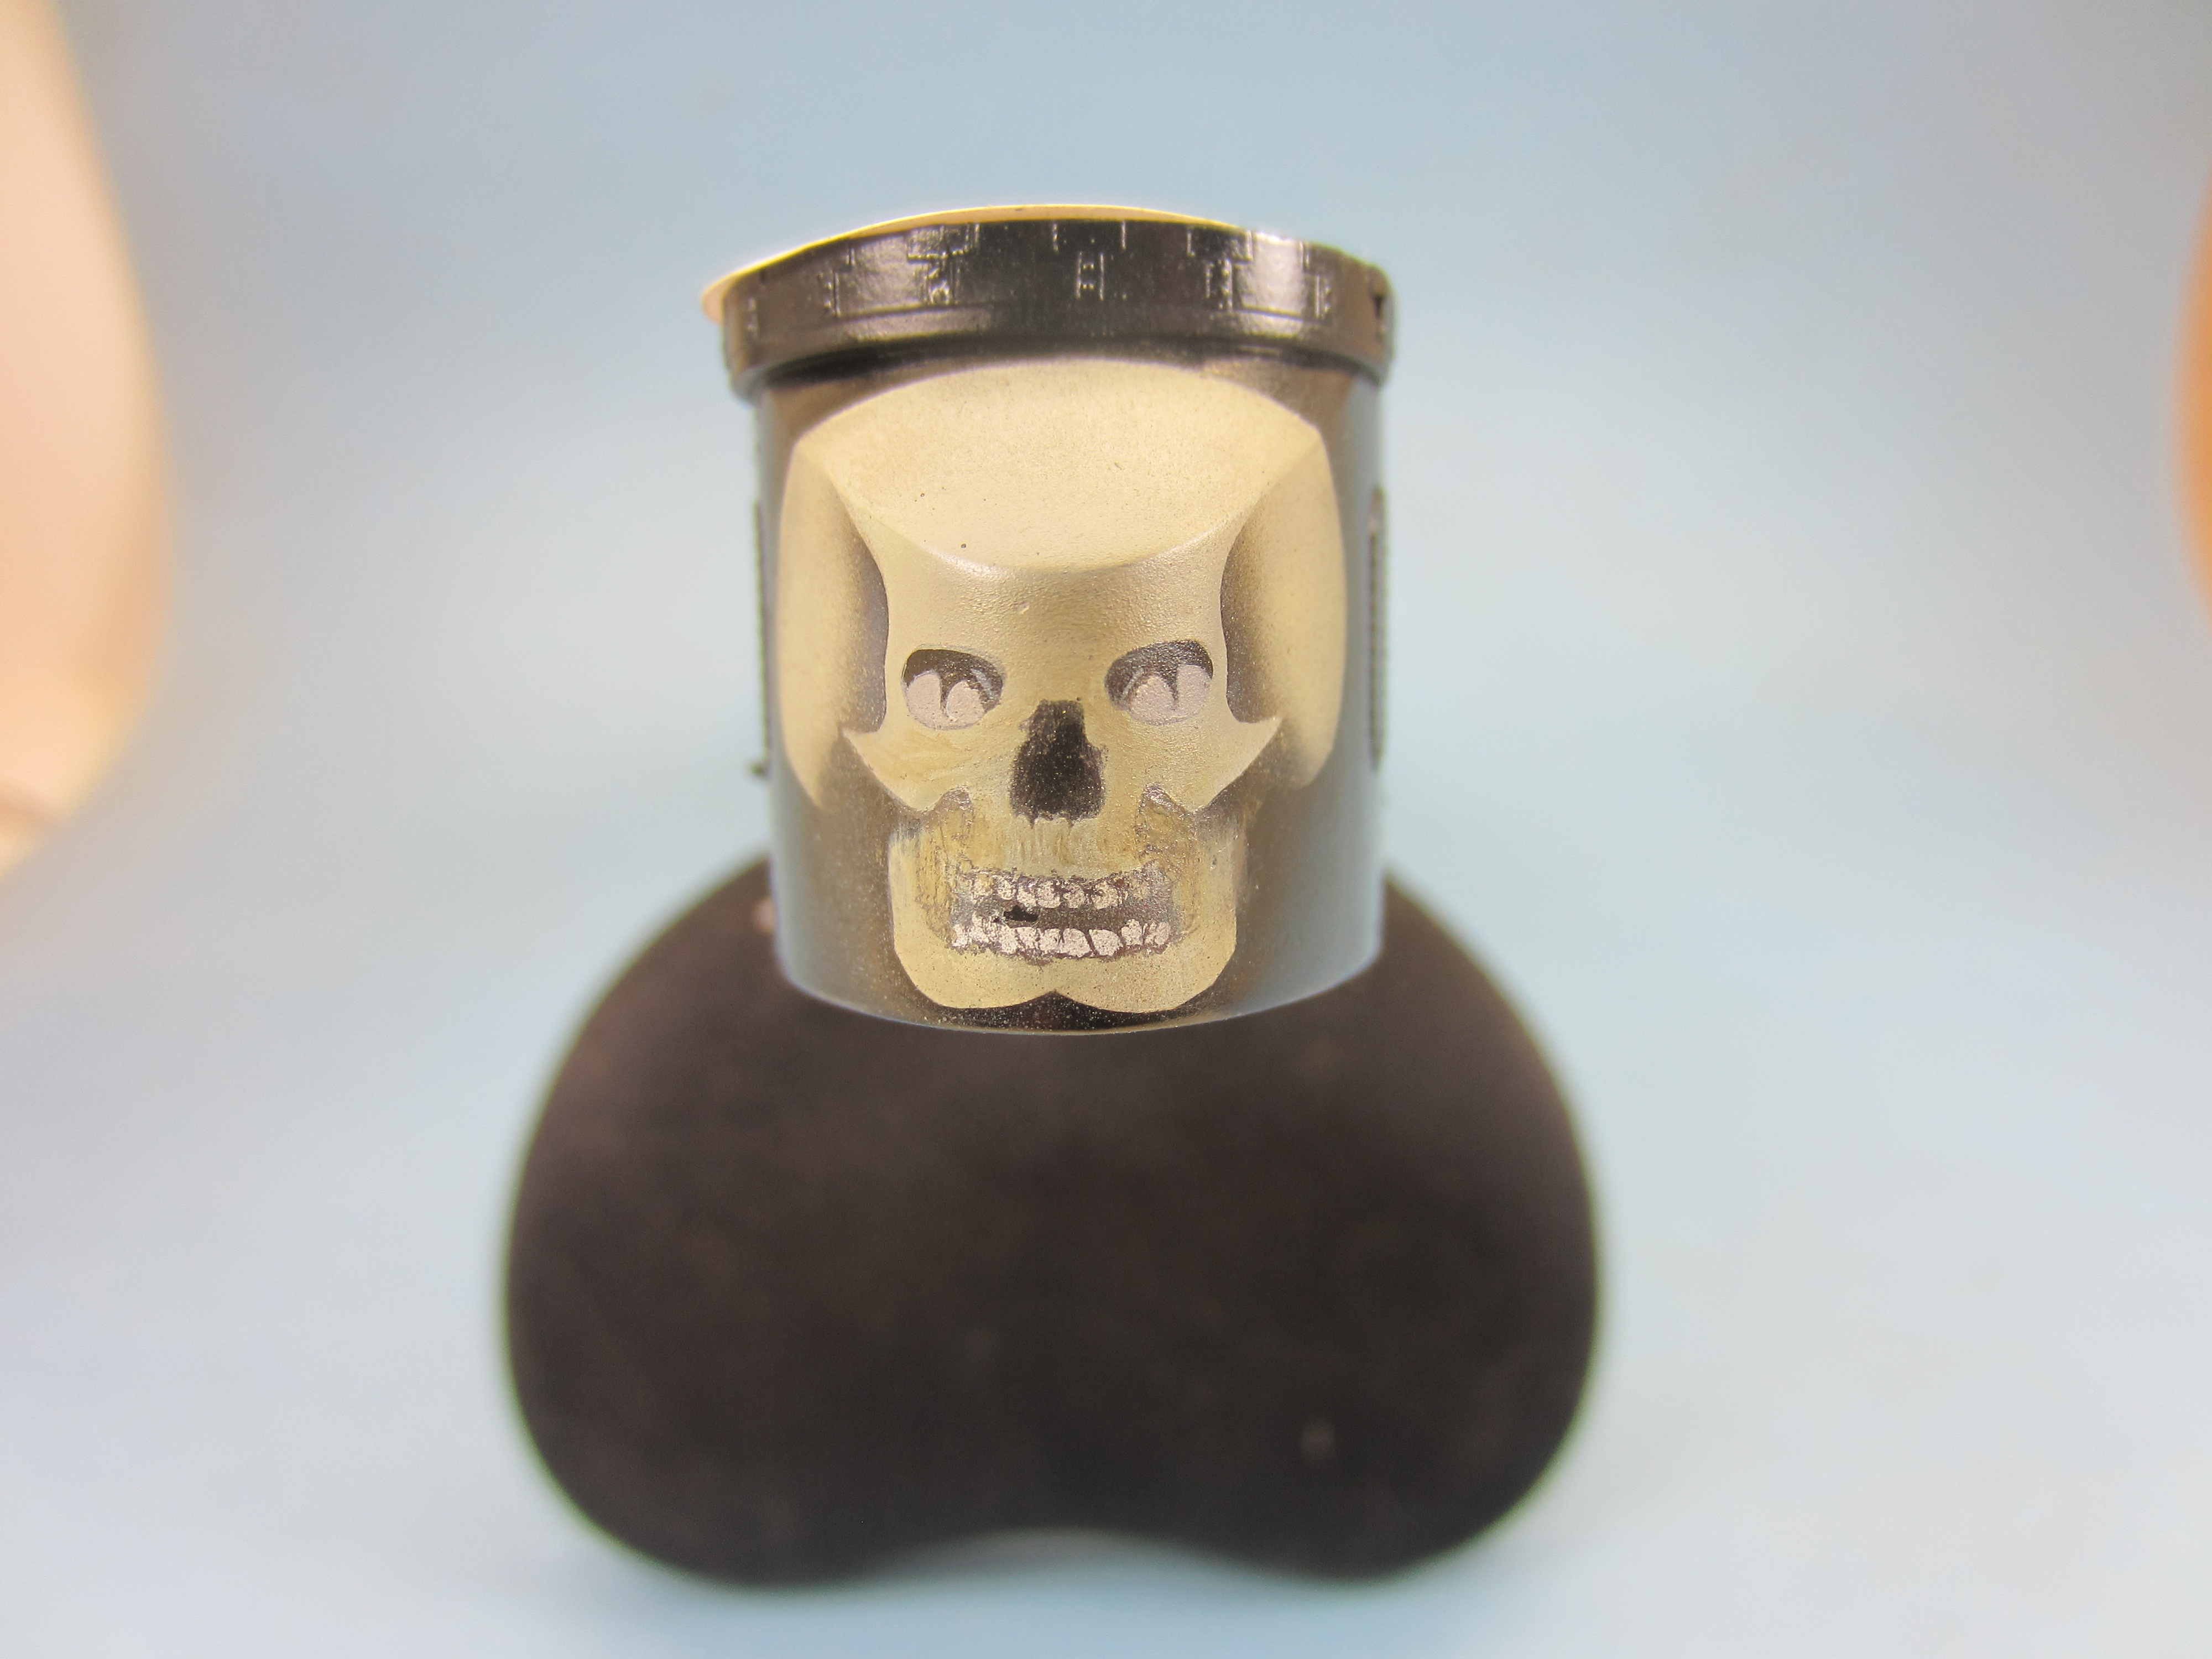
Fuse maskset includes The Deathhead , cross' ( same as tail ) and the custom serials: Applied wet they will sit for a while , and obviously filler masks will be applied then some white mix. For the Dhead I dunno , the well known pic show an off white , and in a brilliant observation , I notice the shade match's the engine pod behind it almost perfectly. The plane is a G III and was most likely delivered in the light grey-green color so well known to Gotha's. I'm not grabbin' the g/g just yet though.
-
That all happened in front of my entire IPMS crew. I was doing a tutorial on the p/e wires . I spent good money ,over $100 on the stuff as well as a few other guy's. I did use some of it for detailing a tail boom of a 1/72 Hiller 'copter So there's that , and the feeling you shared as well.
-
I'm afraid that statement regarding the p/e flying wires is not true to my experience with that stuff. I put 45 years of custom fabrication experience onto the problem and failed in every attempt to make it work. Sanding the ends and not gluing to create a floating installation? ABSOLUTE POPPYCOCK The p/e by production has the sharpest edges possible and does not take to sanding and fitting with the intention of moving inside the p/e wire terminals. IT DOES NOT WORK on the finer 2-3 bay WW 1 subjects. I have seen it work on post war monoplanes that have rigid wings and heavier structure. Here is one of a dozen pics of my attempts: Does that deflection look like the terminal will be able to absorb the amount of movement? After 3-4 WEEKS of trying to get the problem solved , I rigged The Biff Piece in 3 days with the recommended Prym.:
-
Thanks and see my comment half way through asking for more pics...lol.
-
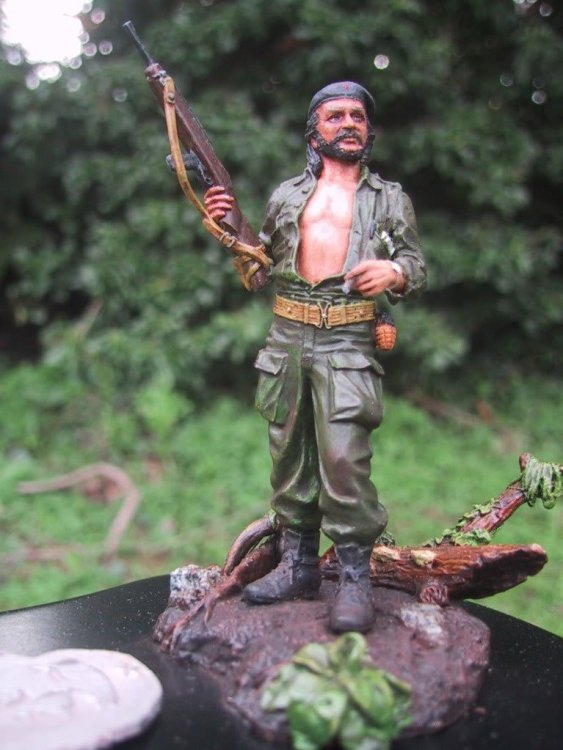
This does not concern me in the slightest. I liek to see any and all examples. There are a few on the website that range from meh to holy crap! All of them commendable for the effort and finishing the model.
-
I'd like to see some pics of your Gotha... before your sh&tfaced.
-
...and succinct too.
-
yes even longer , some posts go back to 2014 thats why I'm wary of the 1/48 177 kit , it is a serious model
-
. You're quite loquacious.
-
A 1/32 177? help me Jebus! I have the 1/48 Hi-Tech from Special Hobby , I look in the box once and a while and then I carefully close it back up and put it back on the shelf.
-
Fuselage marking gets complicated. Begining with white. Cross' , serials . oh ya and the deathhead: Vector file realized , I'll try to cut the masks tomorrow.
-
yes famously in Goldfinger if I remember correctly
-
lol looks like C 130 droppings...
-
Seagull alert! We dont do that here.
-
...and when the inevitable start up begins ; a GV to round out the Gothas. I buy 'exotic' wood of all kinds , maple , cedar , all kinds of burls. What is happening these days , I put out a blast on fbook etc asking about burls. I get a lot of response' - being in the middle of the forest industry in B. C. One thing that became apparent, a lot of garages were filled with burls by guys who have passed on. Their kids have NO IDEA what to do with these things. I generally get truckloads for a few hundred dollars. Will this be the fate of WNW kits in the future? Will the well over 45 age group that dominates modelling cling to their kits and have them end up like this? Lets face it , there are VERY FEW kids interested in modelling , so when the current dominant dynamic starts to die off and their kids get the models as inheritance what will they do? In my experience we'll start to hear ; "I have no idea what to do with that crap" and " I'll be so glad when all of this is gone" or "Just give me what you think its worth" This is real life experience and it along with a lot of other experiences tell me that this will blow over ,and the world wont be the same , We heard that after 9/11 , a world shaking event , not the temporary closing of a model company ,so I dont buy into the hyperbole and guesstimating going on. There are tons of models to build without factoring in WNW , they set a sorely needed standard and may have proved that is too expensive to maintain and WE got some great models. Like I said think of the company as being run as a 'loser' , the most likely truth , and you will begin to see the business decision they had to make.