JohnB
-
Posts
7,220 -
Joined
-
Last visited
Content Type
Profiles
Forums
Events
Gallery
Everything posted by JohnB
-

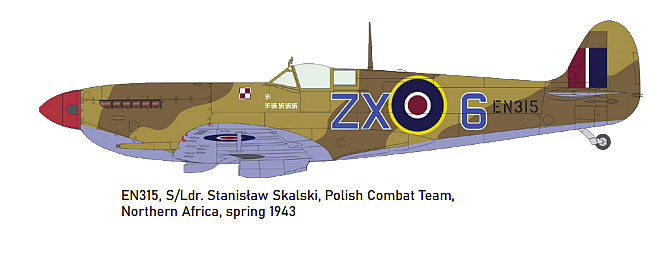
Tamiya 1/32 Mk IX Spitfire Polish Fighting Team
JohnB replied to JohnB's topic in LSM 1/35 and Larger Work In Progress
-
Tamiya 1/32 Mk IX Spitfire Polish Fighting Team
JohnB replied to JohnB's topic in LSM 1/35 and Larger Work In Progress
Me too Chris. Most of the N. Africa schemes look interesting, especially for the Poles with the blue/white codes. I wish Tamiya would resurrect their 1/32 a/c line. Too much to hope for I'm afraid. -
Tamiya 1/32 Mk IX Spitfire Polish Fighting Team
JohnB replied to JohnB's topic in LSM 1/35 and Larger Work In Progress
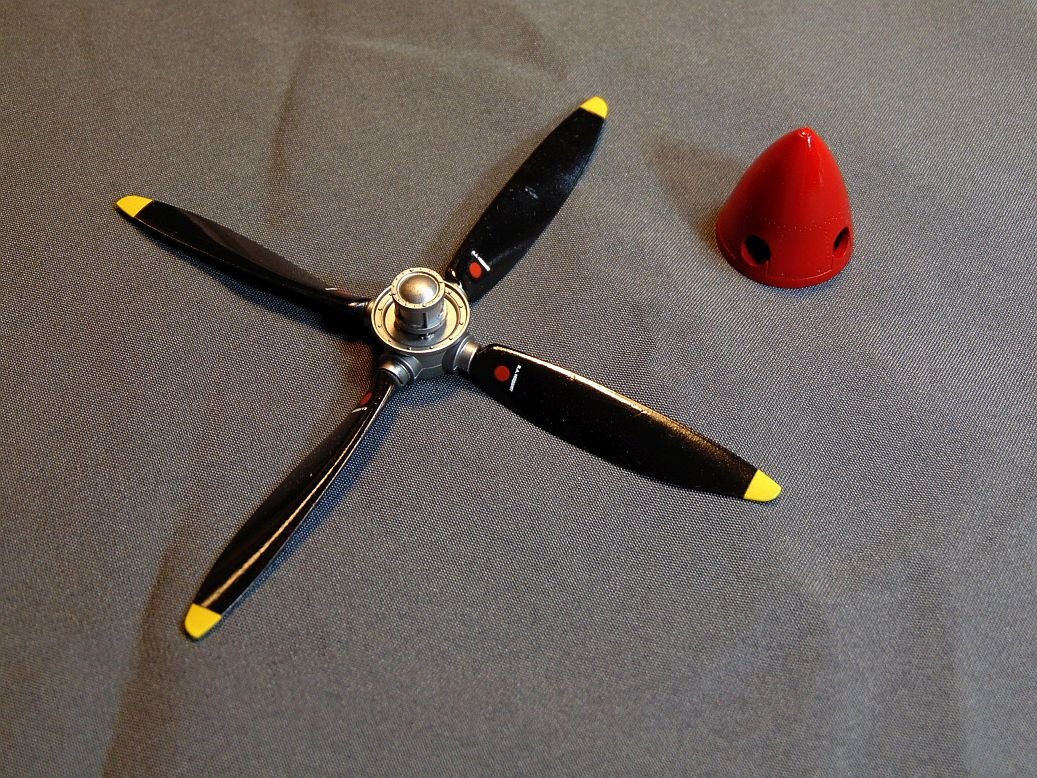
Prop and spinner done. I almost hate to add the spinner and hide the nice prop dome detail!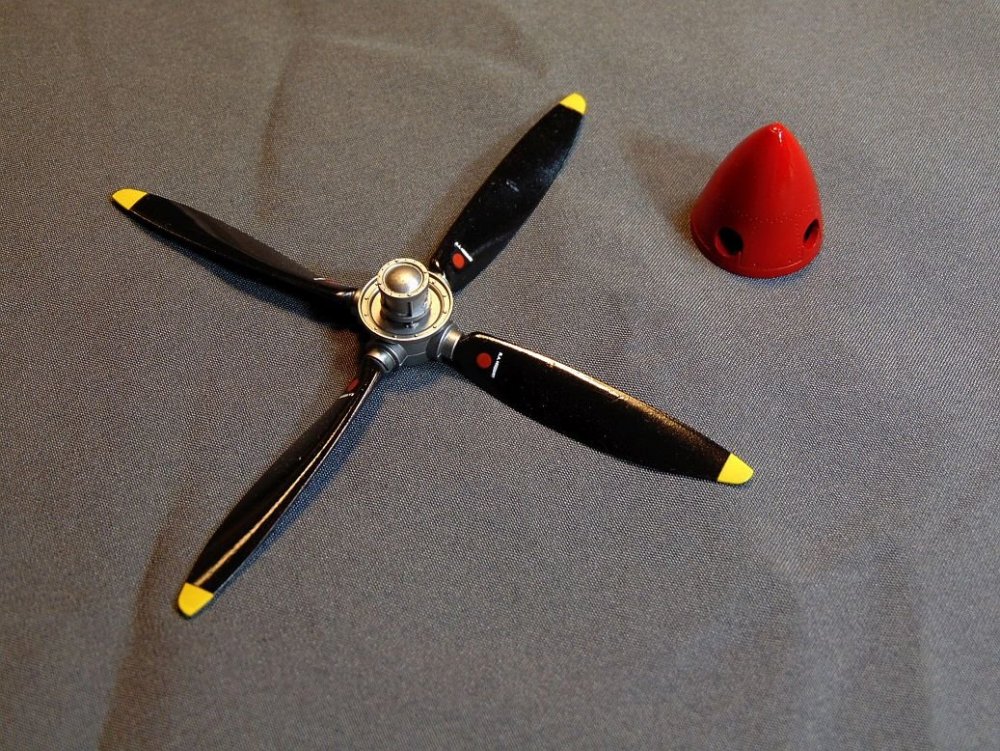
-
Outstanding Peter. Nicely done and colorful!
-
Tamiya 1/32 Mk IX Spitfire Polish Fighting Team
JohnB replied to JohnB's topic in LSM 1/35 and Larger Work In Progress
It's a very nice kit KUROK. Some areas are pretty fiddly due to the detachable cowlings. Not easy to get them to fit just right. That's where I am right now on mine. I hope to have them sorted out today some time. -
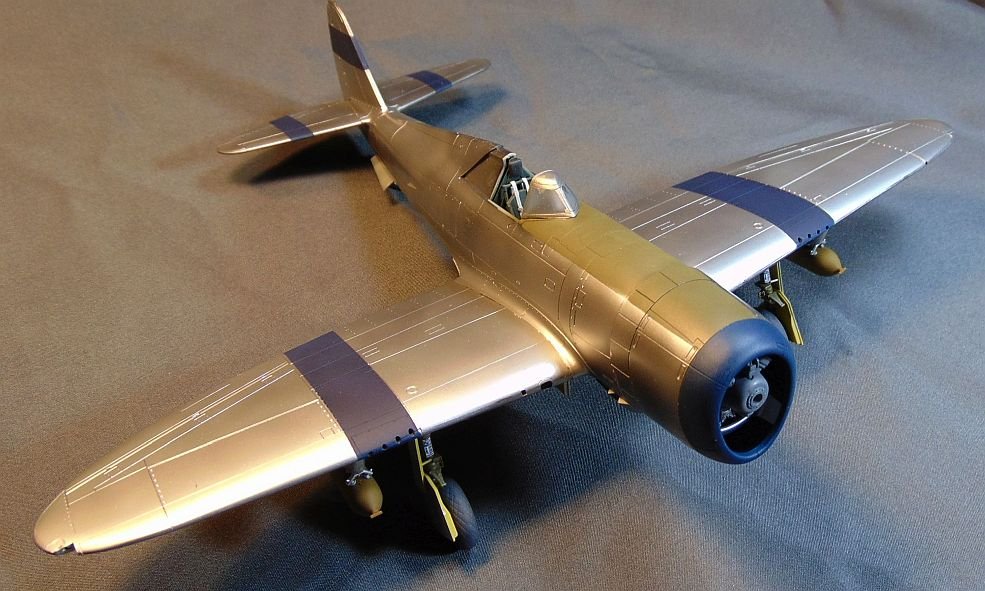
Hasegawa P-47 Razorback Burma Banshees RFI
JohnB replied to JohnB's topic in LSM 1/48 Aircraft Ready for Inspection
Thanks Kevin. Another scheme that is a little bit different. -
Tamiya 1/32 Mk IX Spitfire Polish Fighting Team
JohnB replied to JohnB's topic in LSM 1/35 and Larger Work In Progress
Yes indeed Kevin. Schemes out of the "usual" can create a lot of interest. The blue/white codes on those Polish Farting Team a/c look really good. -
Tamiya 1/32 Mk IX Spitfire Polish Fighting Team
JohnB replied to JohnB's topic in LSM 1/35 and Larger Work In Progress
Agreed Carl. A bit different from the Green/Grey scheme. -
Tamiya 1/32 Mk IX Spitfire Polish Fighting Team
JohnB replied to JohnB's topic in LSM 1/35 and Larger Work In Progress
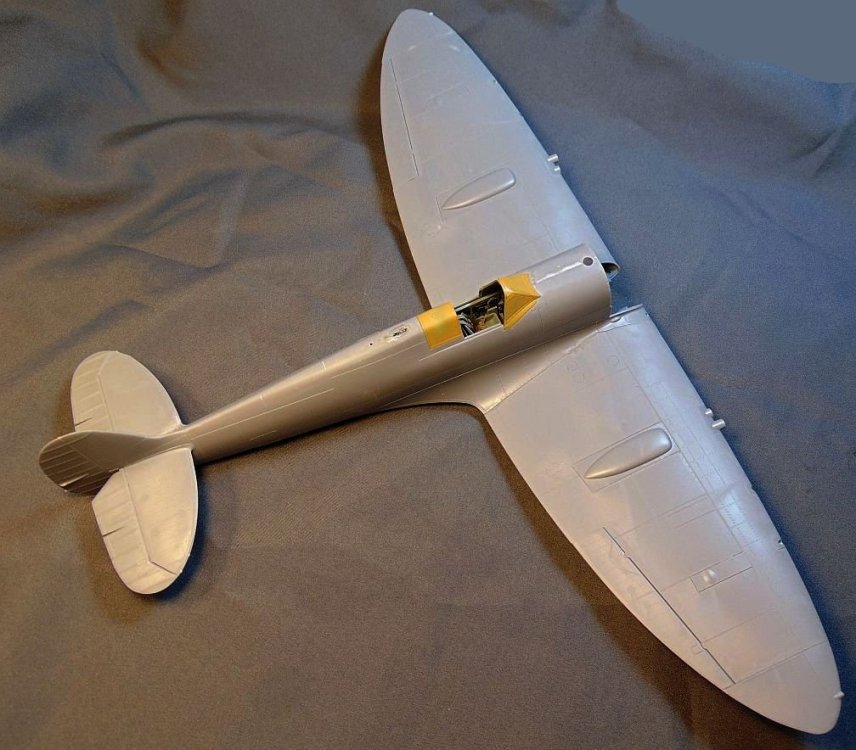
Making good progress now.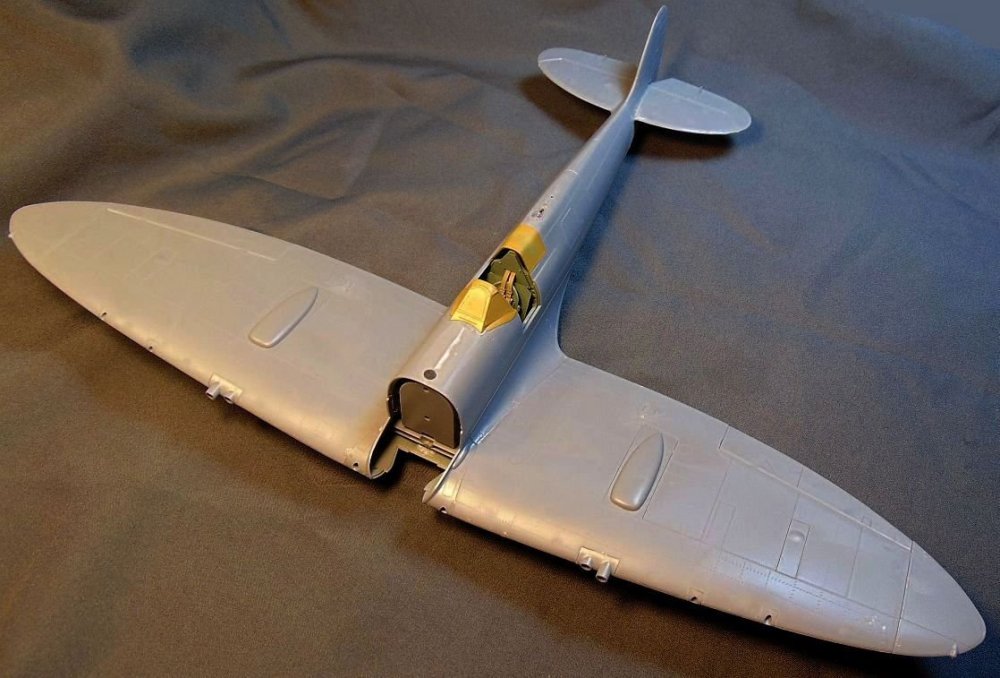
-
Hasegawa P-47 Razorback Burma Banshees RFI
JohnB replied to JohnB's topic in LSM 1/48 Aircraft Ready for Inspection
Thanks Martin. I agree they had lots of interesting markings and I'm glad you like the results of my modeling efforts. I'll likely do another before long. It would be a shame to just let those great decals just sit in the decal stash! 😄 -
Hasegawa P-47 Razorback Burma Banshees RFI
JohnB replied to JohnB's topic in LSM 1/48 Aircraft Ready for Inspection
Thank you Peter. -
All done! https://forum.largescalemodeller.com/topic/20137-hasegawa-p-47-razorback-burma-banshees-rfi/
-
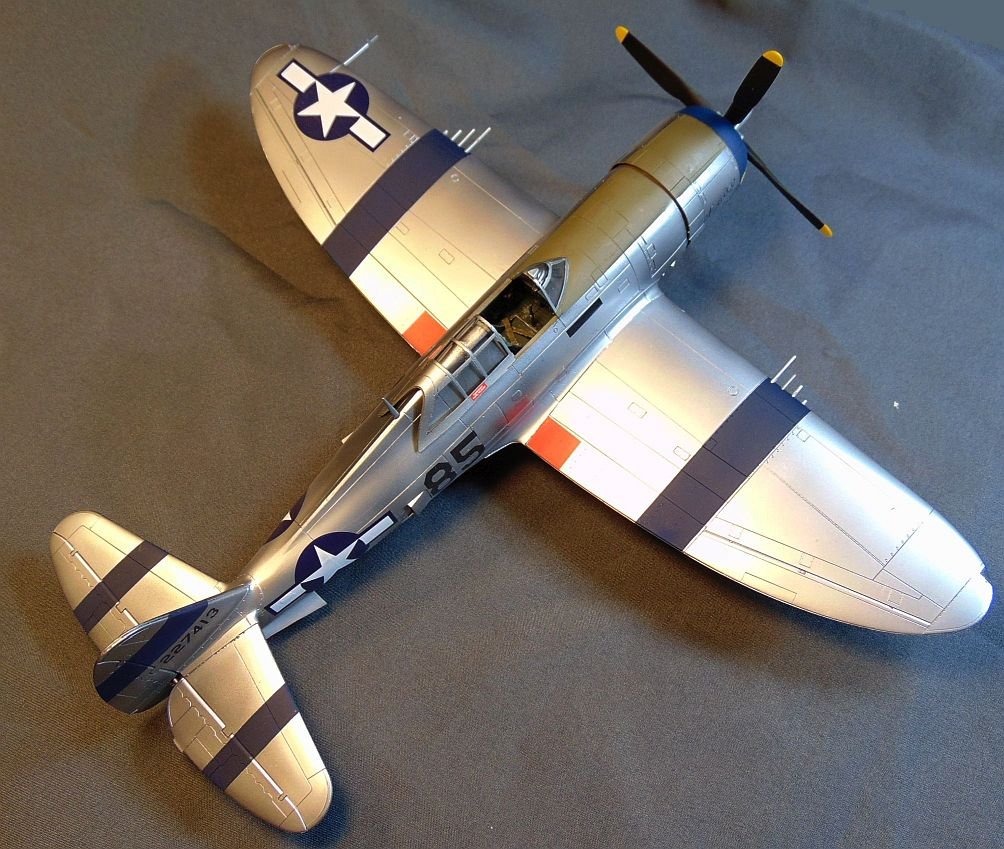
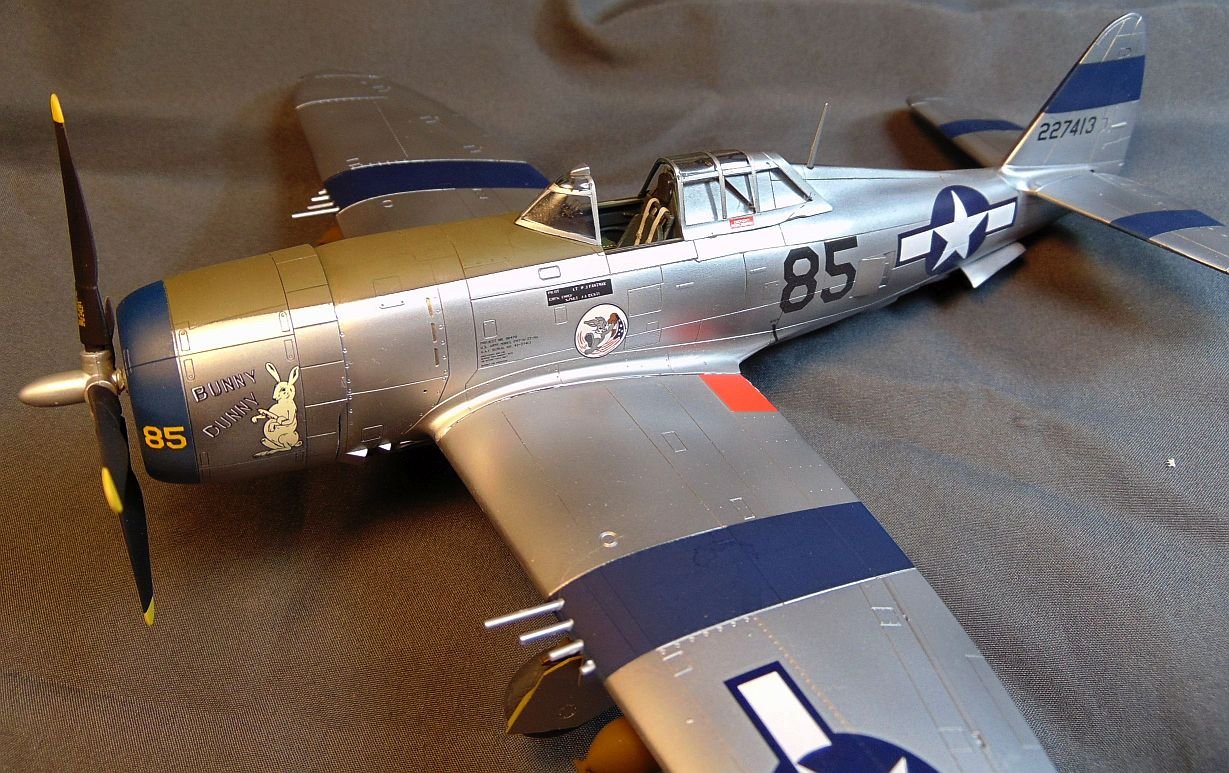
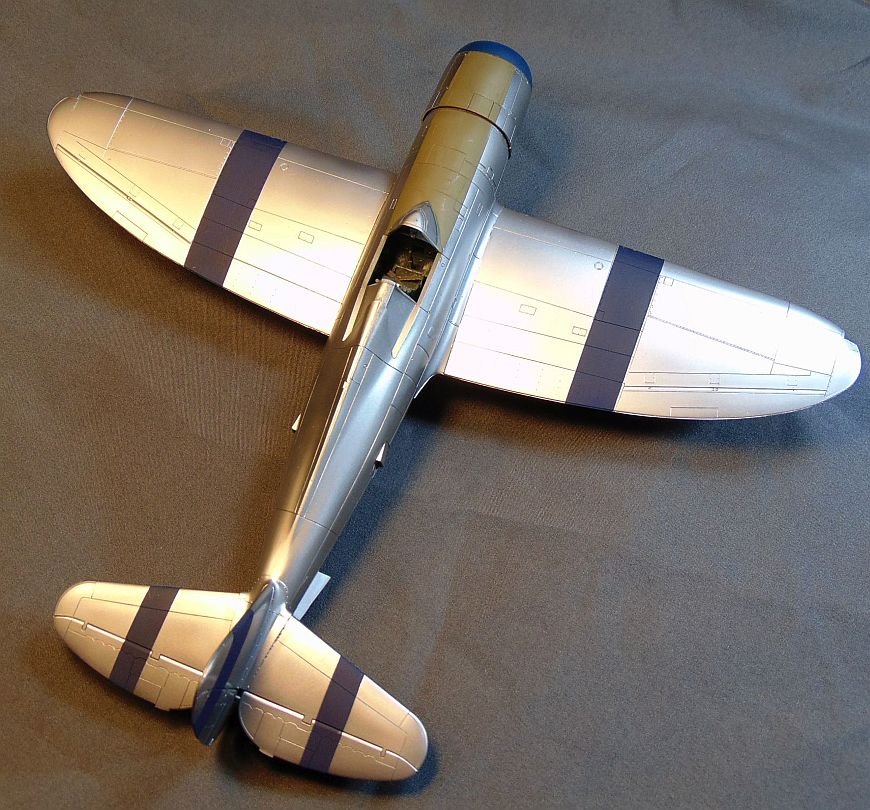
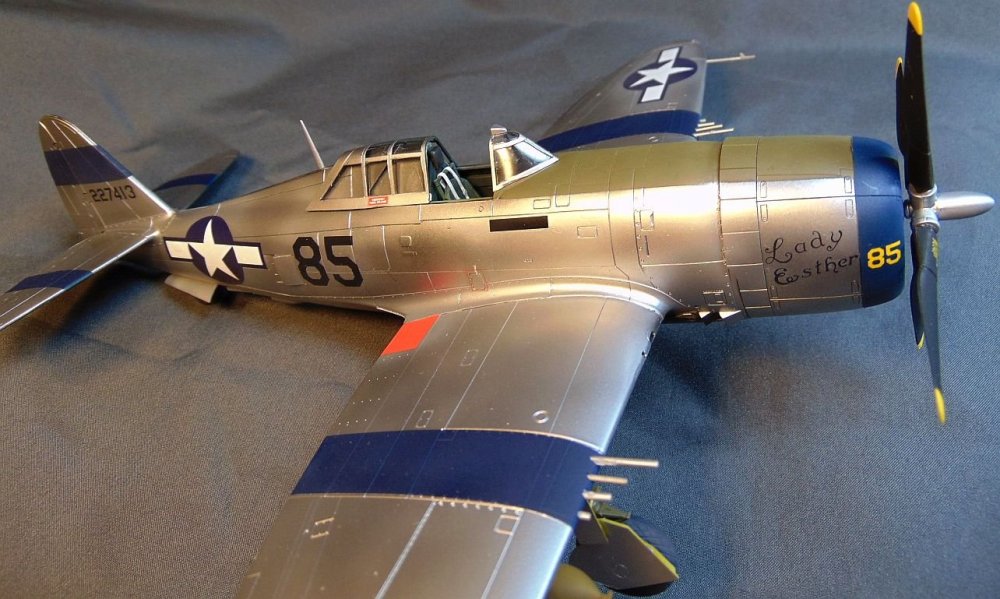
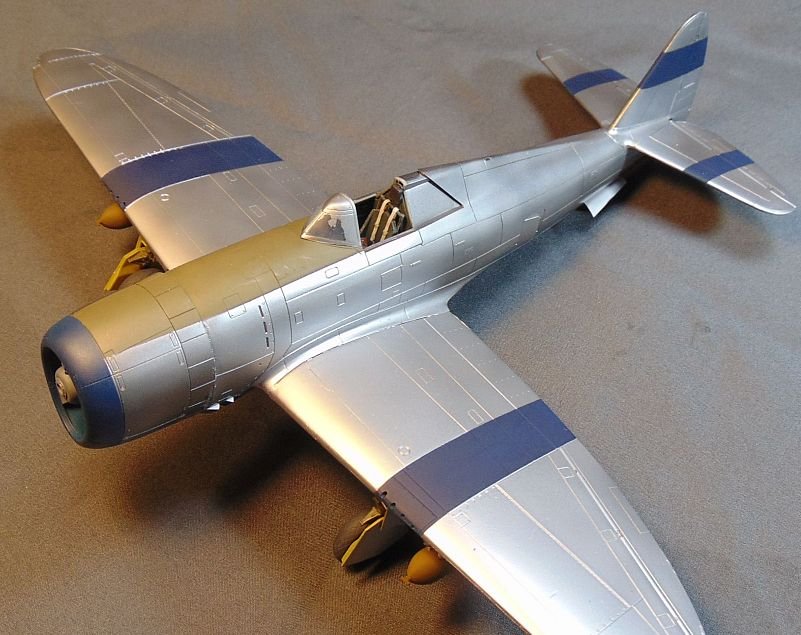
Finished with this one. The very nice Thundercals decals go well with the Hasegawa Razorback P-47. Easy build with no fit problems made this a enjoyable build. The Thundercals decals are nice and thin and are easy to apply. Painted with Alclad Aluminum, Testor's Yellow Zinc Chromate and OD, and Colourcoats Dull Dark Green. Seat belts are FineMolds. I will probably do another Burma Banshee P-47 since the Thundercals sheet has many good looking subjects. I hope you like it. Remember to click on the 1st photo for best resolution and to view as a slide show. Easy peasy!


-
Sure is a good looking Jug Peter! Excellent scheme. I LIKE it!
-
Tamiya 1/32 Mk IX Spitfire Polish Fighting Team
JohnB replied to JohnB's topic in LSM 1/35 and Larger Work In Progress
Thanks Peter. I've always liked the looks of those Spits the Poles flew in N. Africa. The blue/white codes go well with that a/c. -
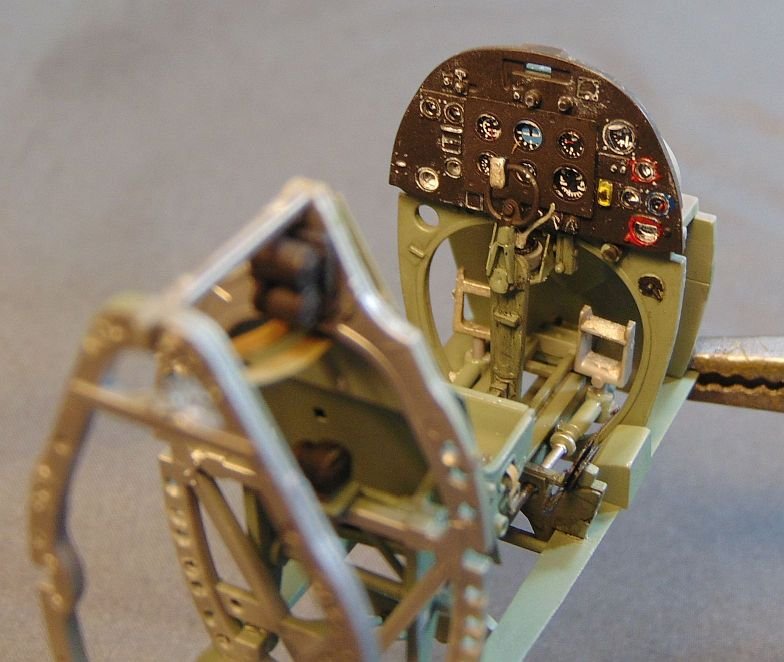
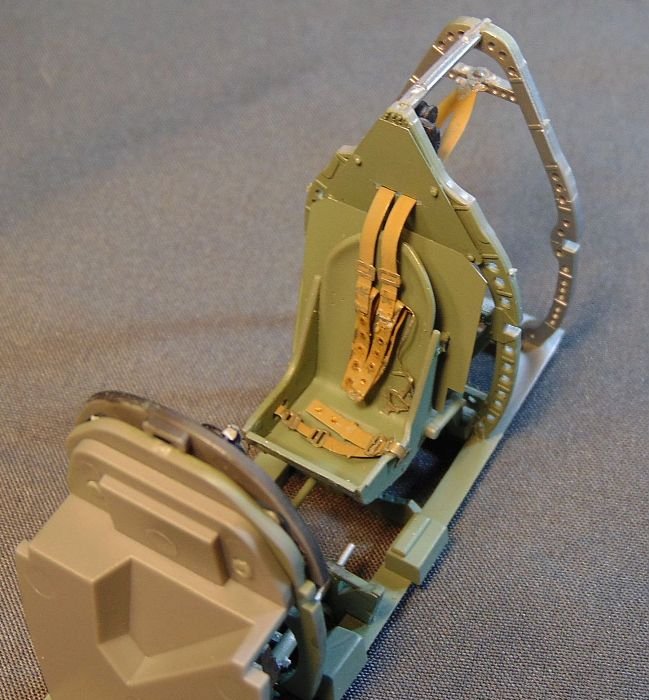
It's been a while since I built a Tamiya Spit (a couple of Revell's, yes) so I decided it was time to get with the program. The Tamiya kits are SO MUCH better than the Revell kits, even though there is a fairly big difference in their prices, I decided a Tamiya build was the way to go. The Revell kits are pretty good but, like I said, the Tamiya kits are better. Excellent detail and fit. So here's the one I'm intending to do. I plan for it to be OOB except some after market wheels to replace the kit rubber ones. Decals for this a/c are provided in the kit. I've about got the cockpit sub assembly completed even using the fiddly kit PE belts. Stay tuned.
- 36 replies
-
- 11
-

-
When I first saw that decal sheet for Burma Banshees I knew I had to do that particular a/c. I like the markings, etc.
-
If you are already decaling then you are ahead of me.
-
SH P-39Q "Zoot Shooter" RFI
JohnB replied to JohnB's topic in LSM 1/32 and Larger Aircraft Ready for Inspection
Thanks Martin. Your help is appreciated. -
Thanks. I hope to finish it off in a day or two.
-
Getting there!

-
SH P-39Q "Zoot Shooter" RFI
JohnB replied to JohnB's topic in LSM 1/32 and Larger Aircraft Ready for Inspection
Thanks Kevin. -
P-39Q Special Hobby "Zoot Shooter"
JohnB replied to JohnB's topic in LSM 1/35 and Larger Work In Progress
Thanks KUROK! Much appreciated. -
P-39Q Special Hobby "Zoot Shooter"
JohnB replied to JohnB's topic in LSM 1/35 and Larger Work In Progress
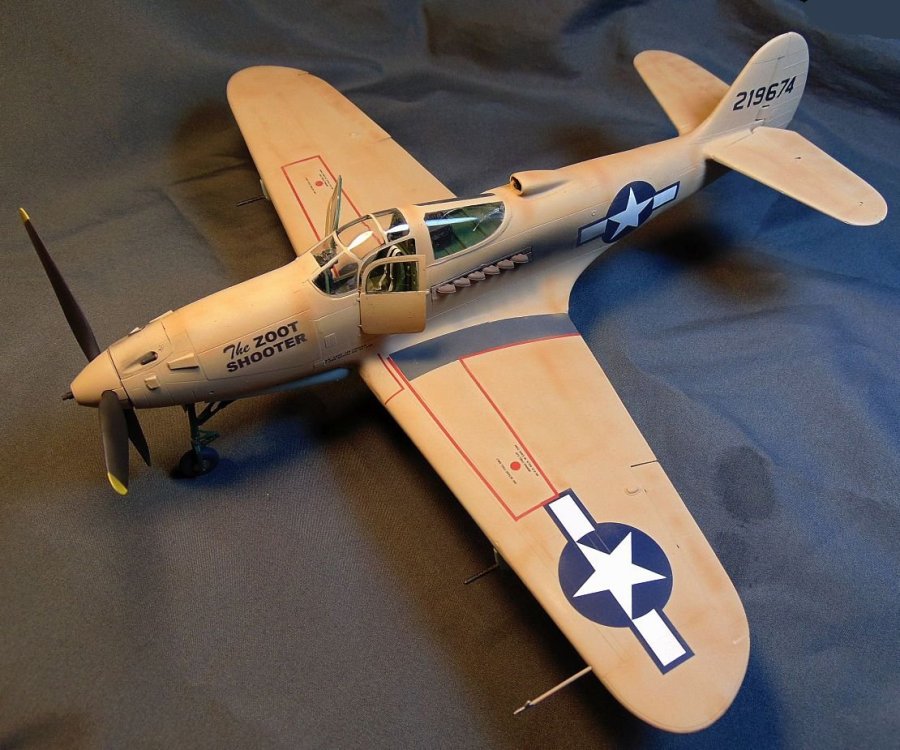
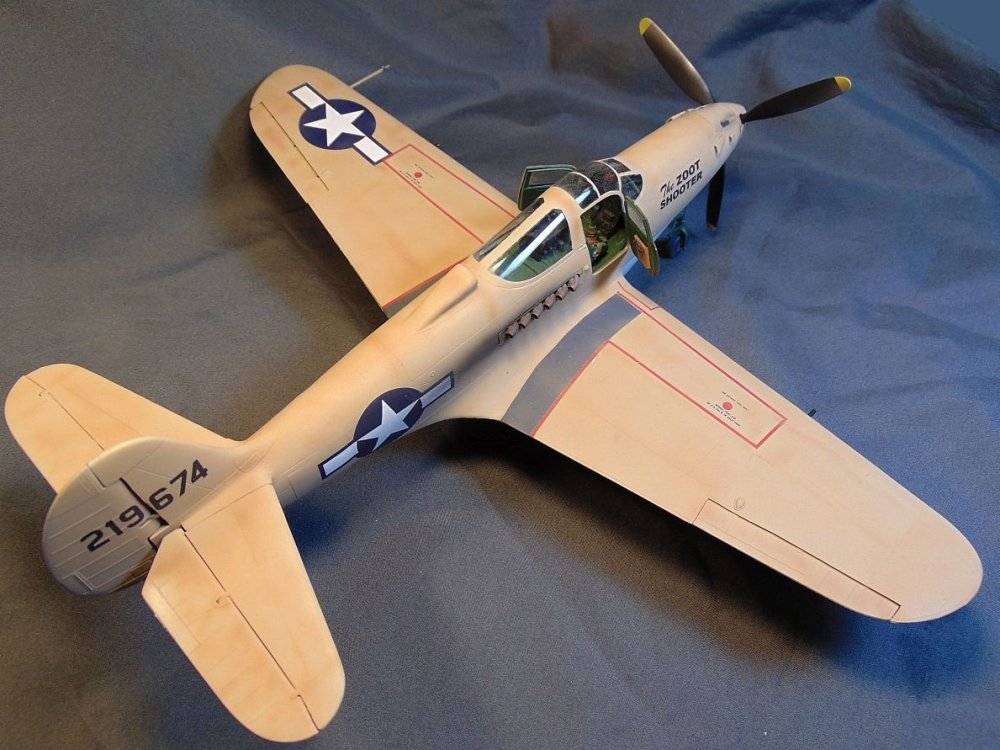
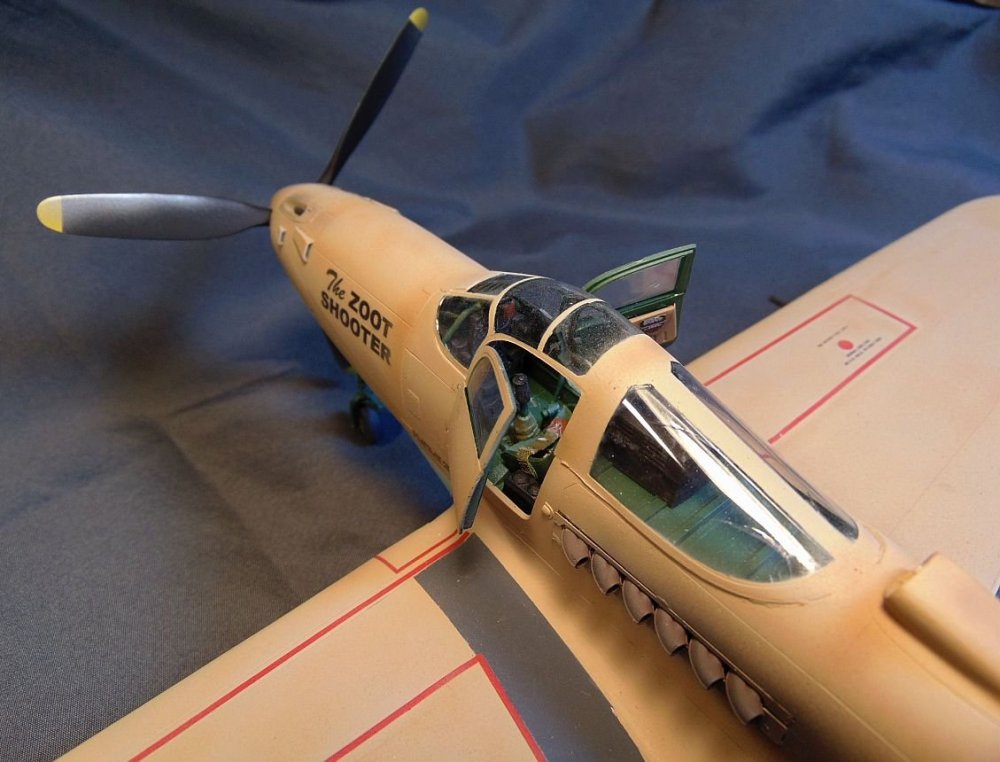
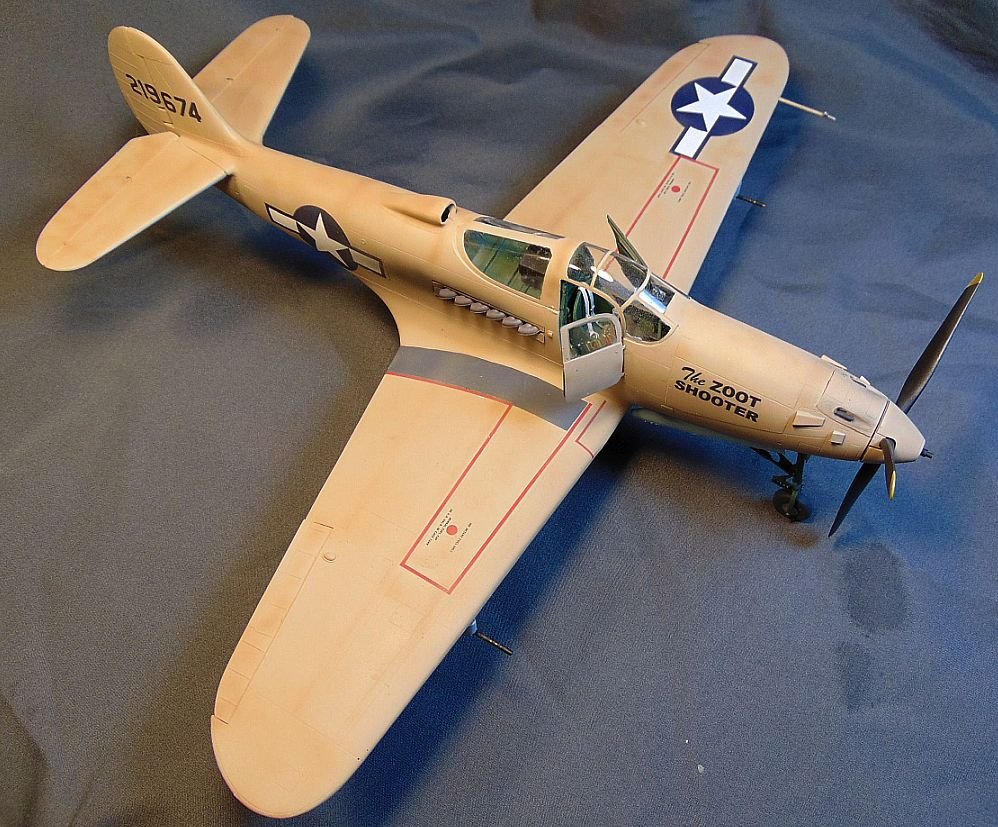
Finished. https://forum.largescalemodeller.com/topic/20121-sh-p-39q-zoot-shooter-rfi/ -
I'm calling this one done. 7th Fighter Command based on Makin Island. Mostly OOB except for FineMolds belts and brass .50 wing guns. As with all my SH P-39 builds I added a 3/16" fuselage "plug" to correct the too short kit. Painted with Xtracolor, Testor's RLM65 lightened with some white, and my mix of "Bell Green" for the interior, gear and other areas. The national insignias came from my decal stash while I used my computer and printer to make the name on the nose. Somehow the left rear canopy developed a crack after assembly. Nothing I could do about that since it was already in place and I don't have a spare. Just one of those things. I hope you like the model.