JohnB
-
Posts
7,296 -
Joined
-
Last visited
Content Type
Profiles
Forums
Events
Gallery
Everything posted by JohnB
-

RNZAF Corsair completed
JohnB replied to JohnB's topic in LSM 1/32 and Larger Aircraft Ready for Inspection
Thank you! I appreciate that. -
LOL "Very nice" doesn't come close Peter. More like OUTSTANDING! Well done.
-
LOL 😂
-
I just have plenty of time to build nearly every day Peter.
-
Nearly ready for some paint. I'm waiting for a canopy mask set first which is supposed to show up tomorrow.
-
LOL 🤪
-
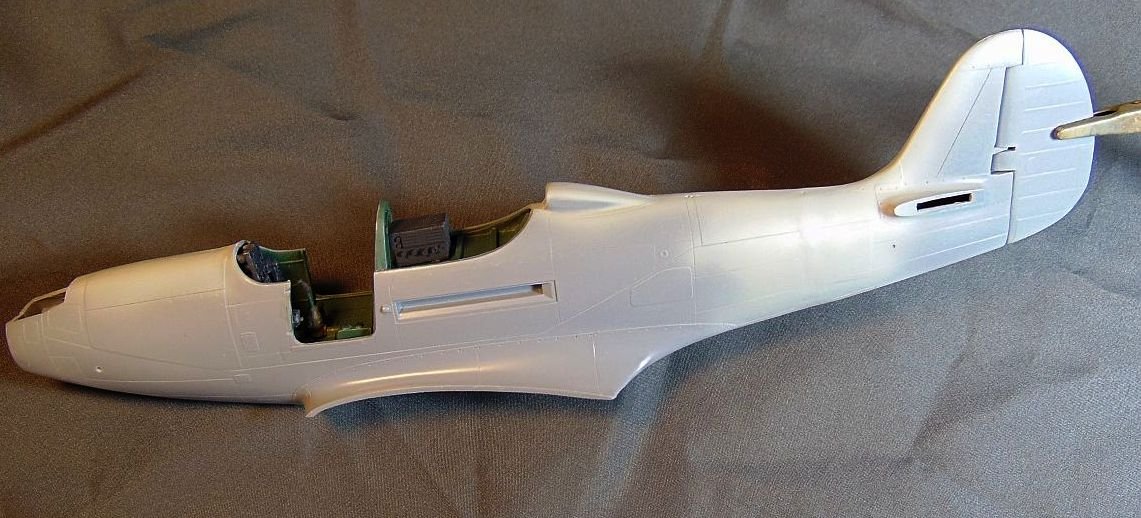
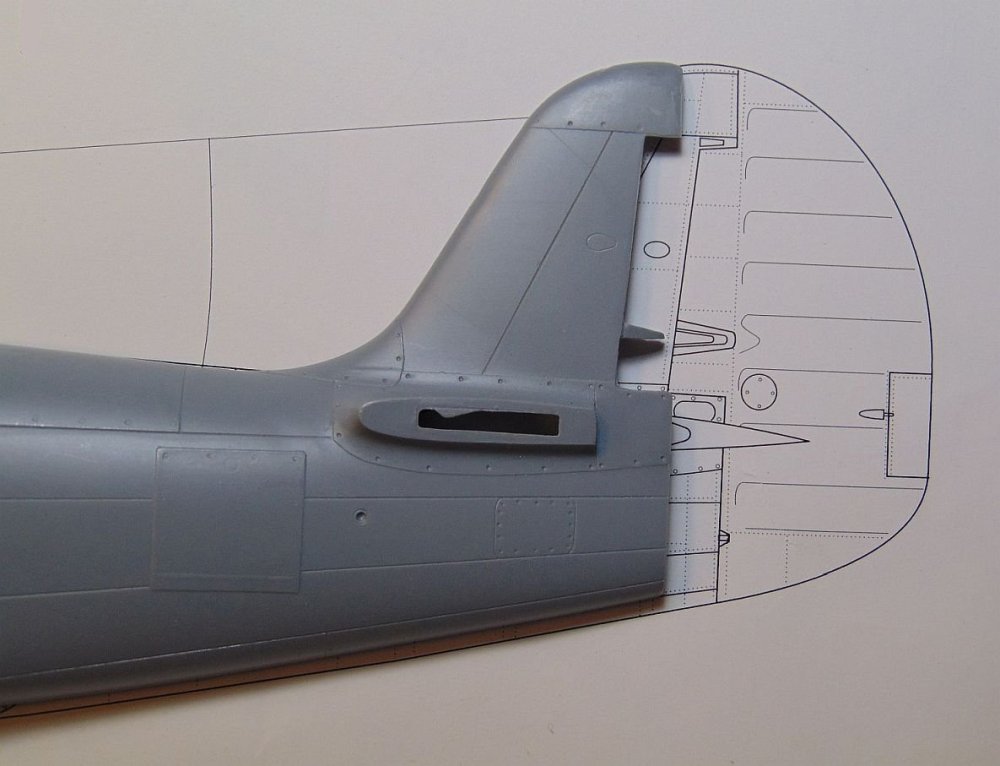
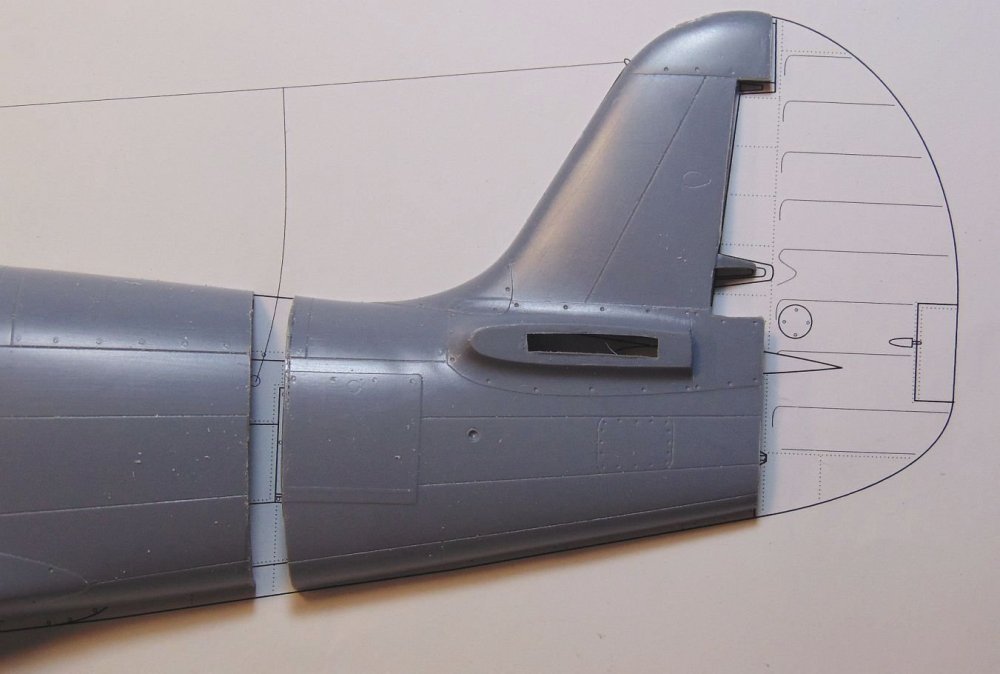
Plug in place. A little scribing of panel lines and it should be good to go.

-
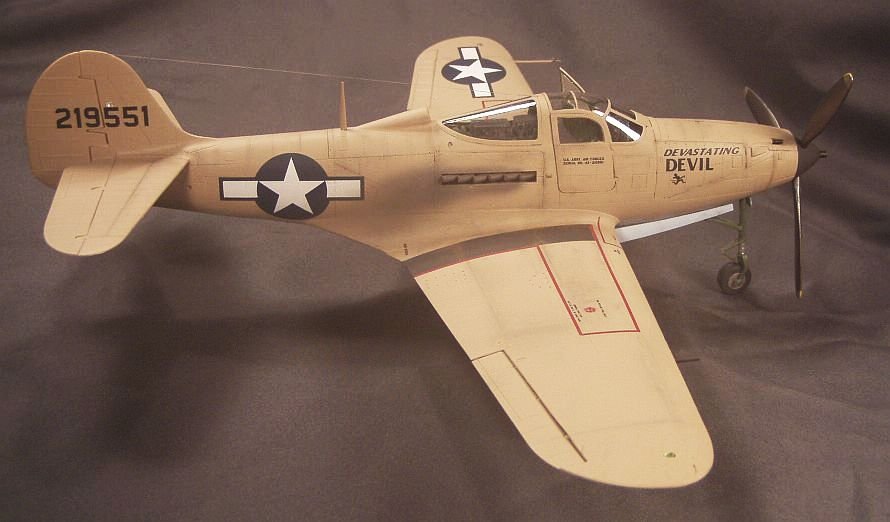
Thanks Peter. It was a bear to build alright (it's the sand colored "Devastating Devil" model).
-
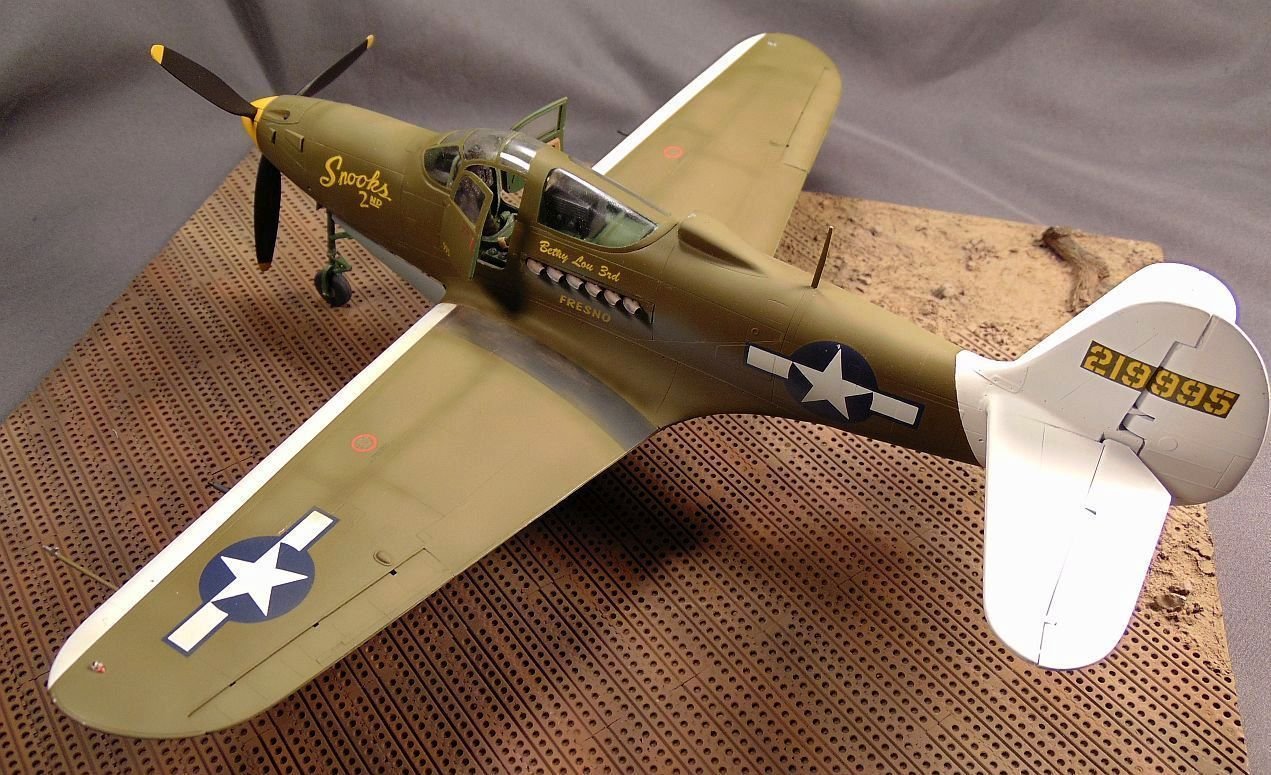
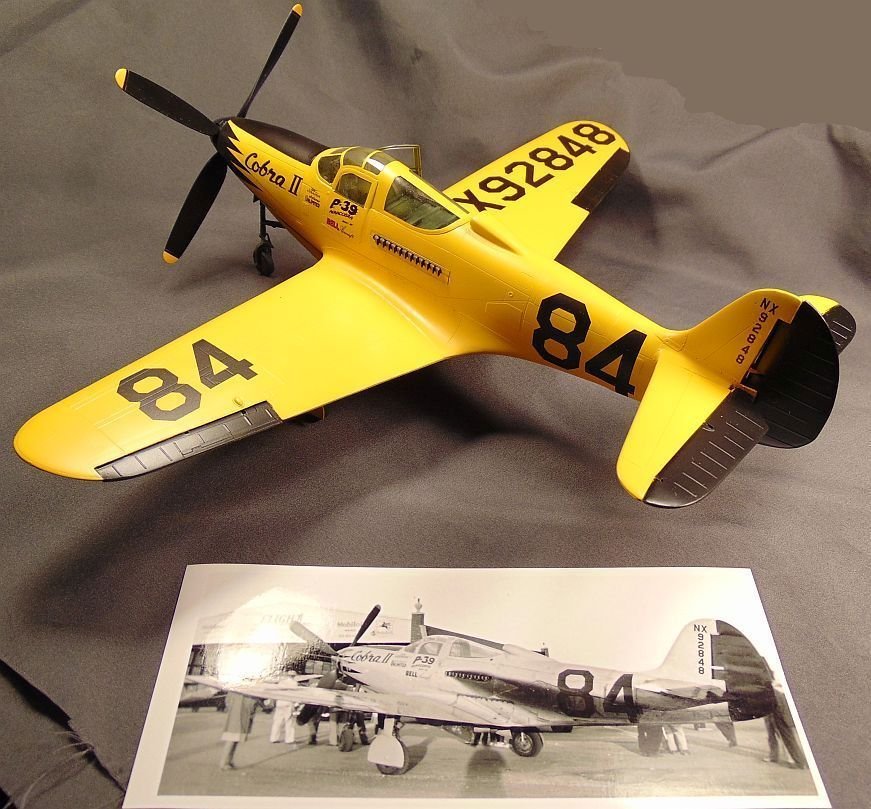
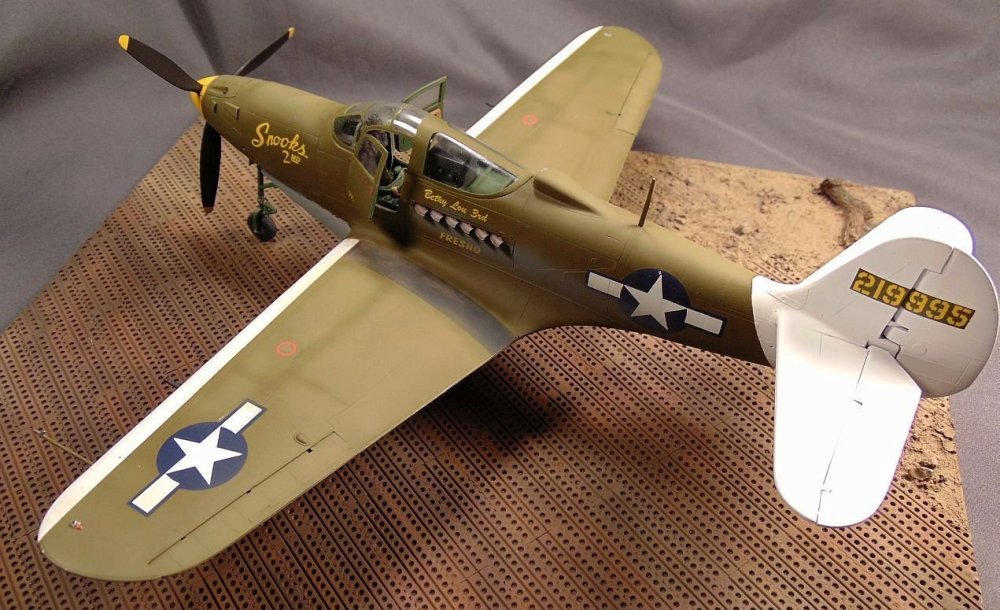
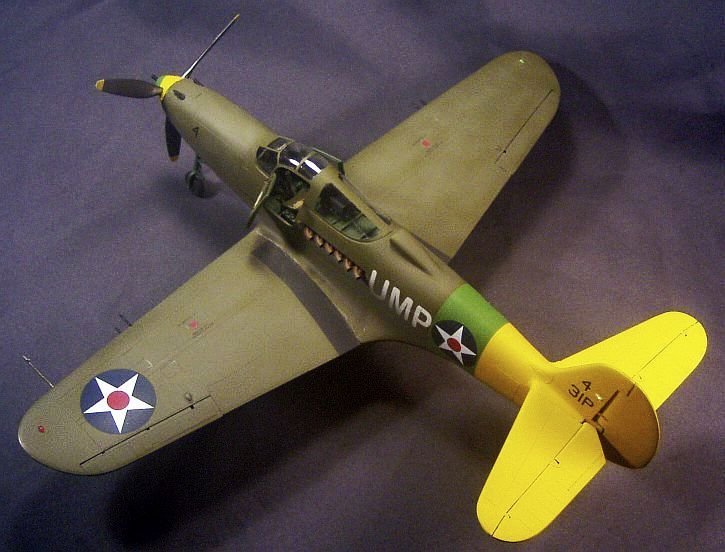
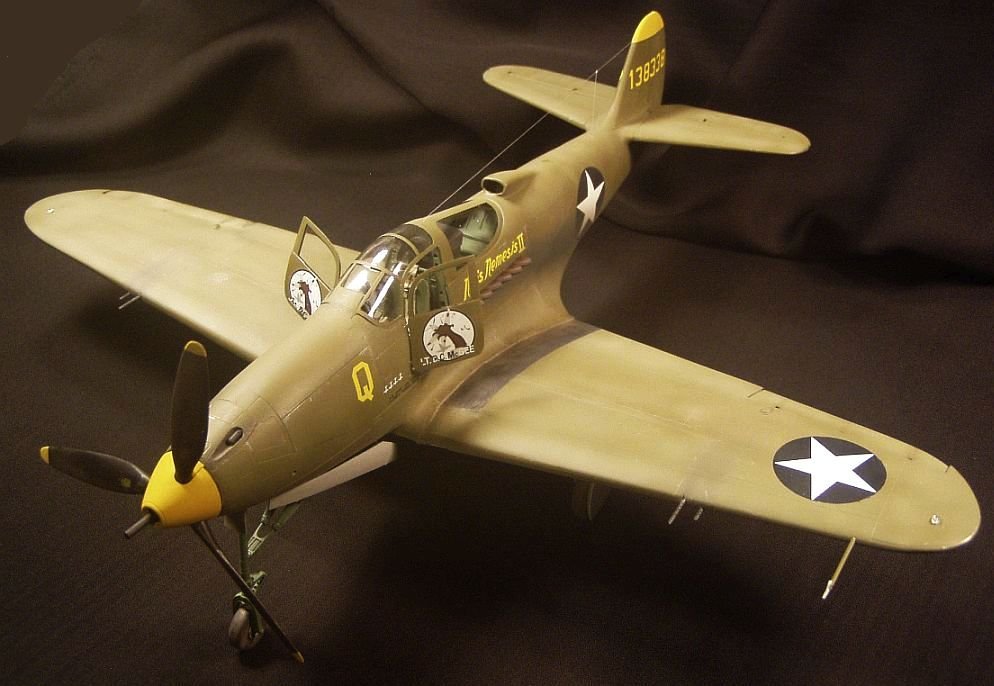
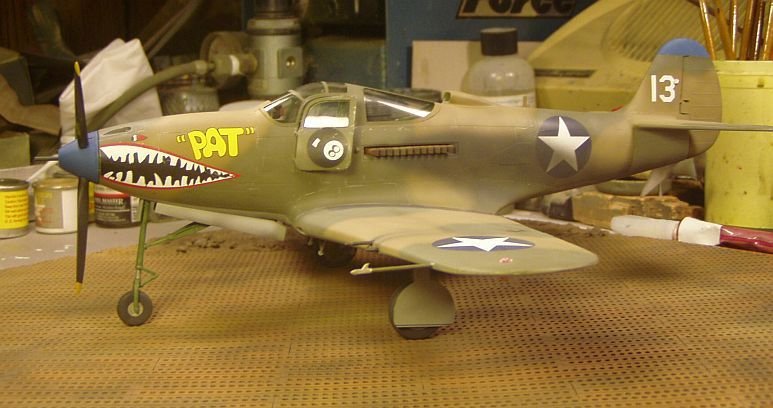
Thanks Peter. Six including one terrible Kitty Hawk kit. Here they are: (I don't think I've left any out!)

-
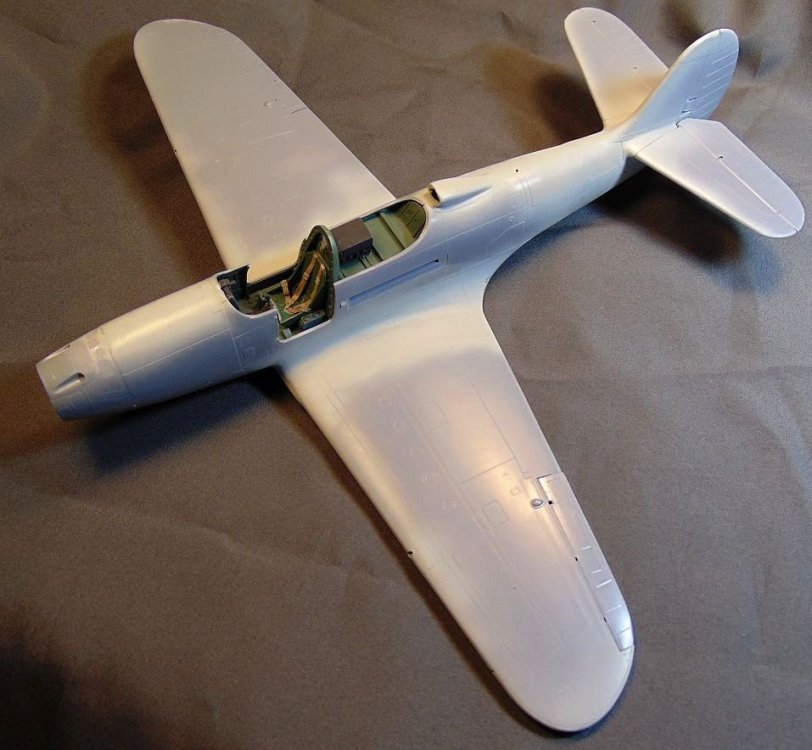
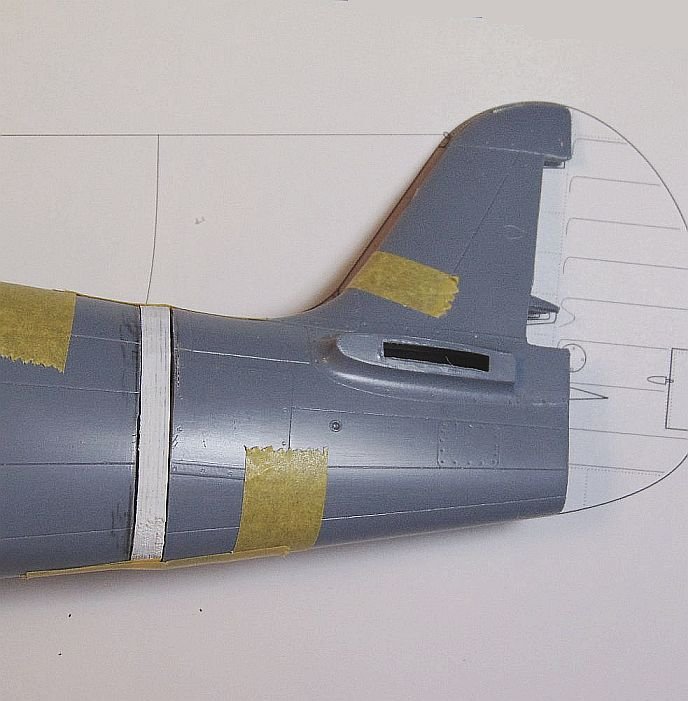
Thanks Mike. I laminated several sheets of plastic card to get the thickness I wanted then measured everything, cut out the plug and now, after some cleanup, it will be ready for insert when the time comes. Then I'll spread some putty over it, sand it smooth and then it's ready for paint, etc.
-
Next is clean the plug up a bit and have it ready for later install.
-
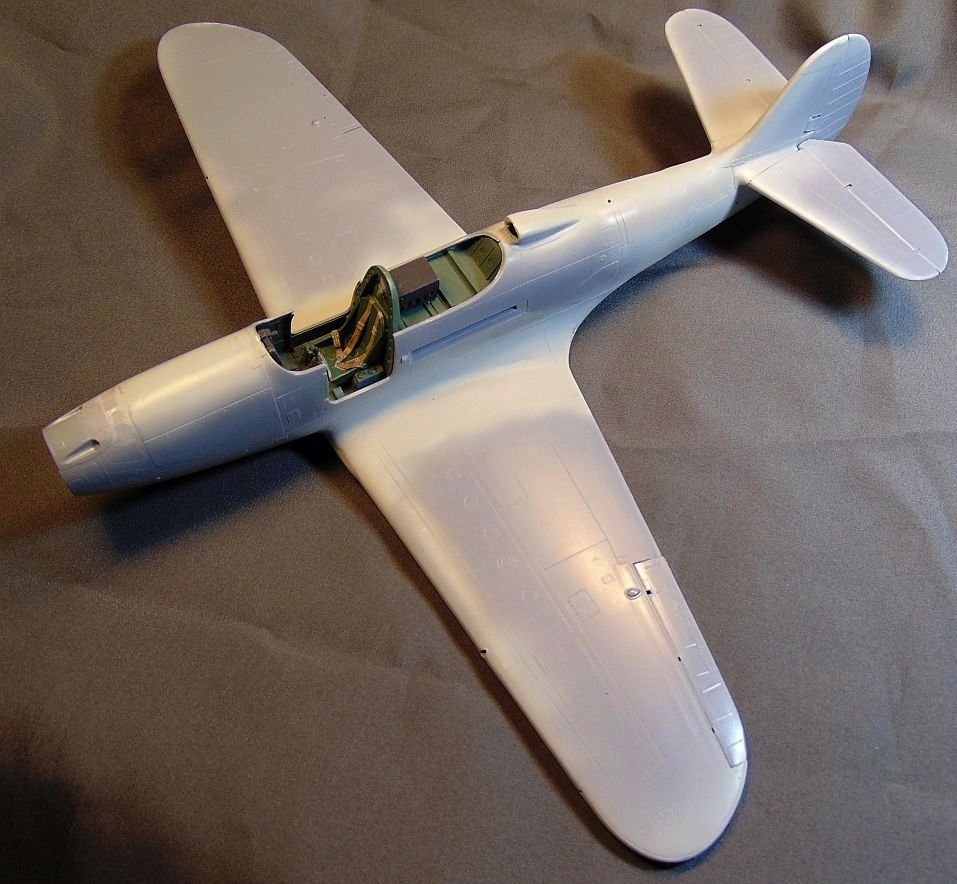
Time to build another SH P-39 kit. The first order of business is to measure and cut the rear fuselage and insert a 5/16" plastic "plug" to get the right fuselage length.
-
-
That's good news! I'm pleased Harold's stuff will again be available. Good luck!!!
-
RNZAF Corsair completed
JohnB replied to JohnB's topic in LSM 1/32 and Larger Aircraft Ready for Inspection
Thank you Kevin. -
RNZAF Corsair completed
JohnB replied to JohnB's topic in LSM 1/32 and Larger Aircraft Ready for Inspection
Thanks. "Light weathering" Peter? I thought it was fairly heavy without going overboard. 🙄 How about a old Hasegawa 1/32 Hellcat next? Right now that's the plan. -
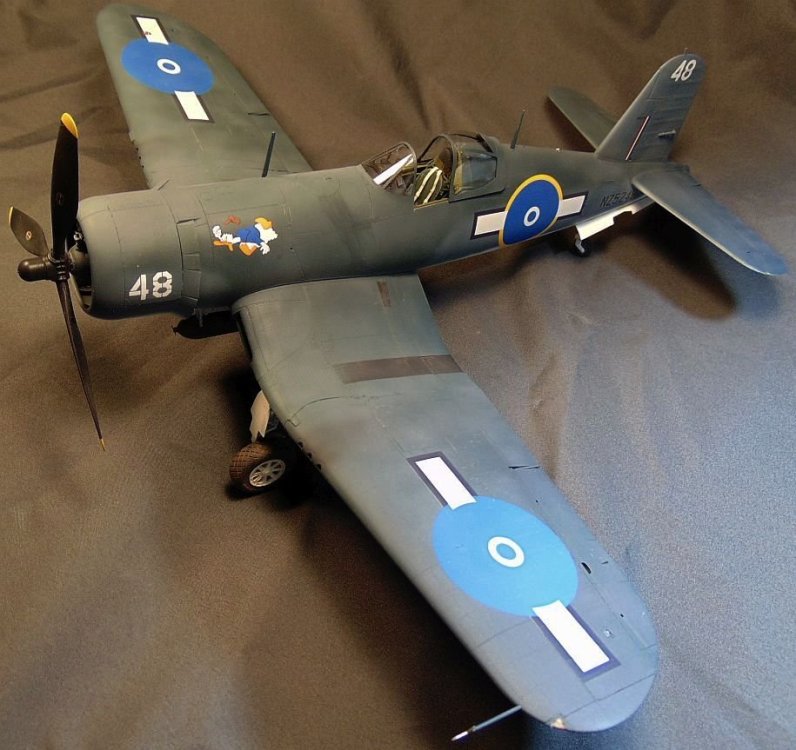
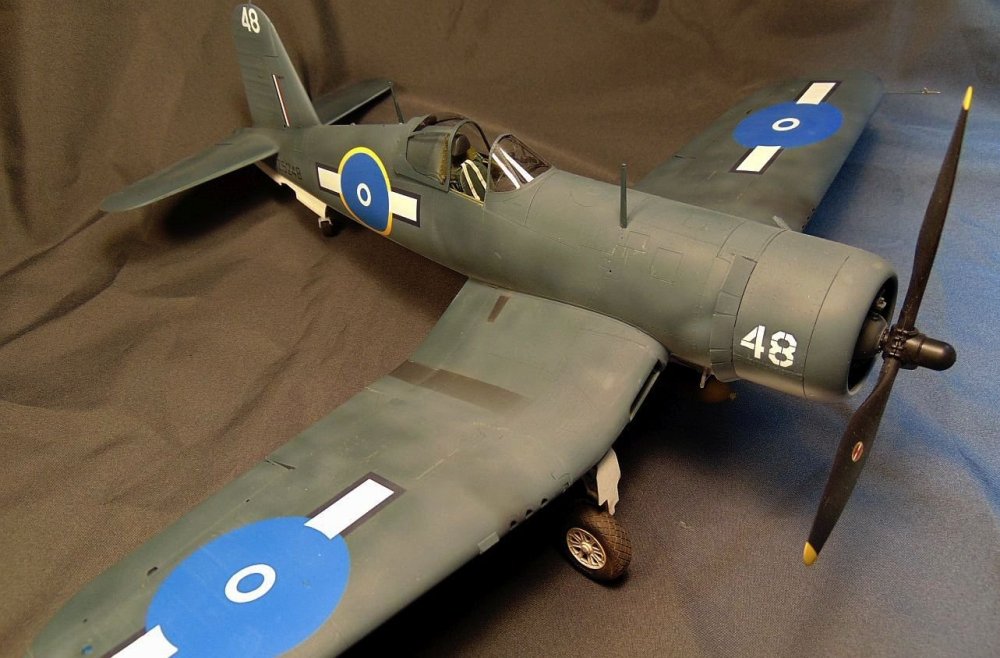
Done. https://forum.largescalemodeller.com/topic/19377-rnzaf-corsair-completed/
-
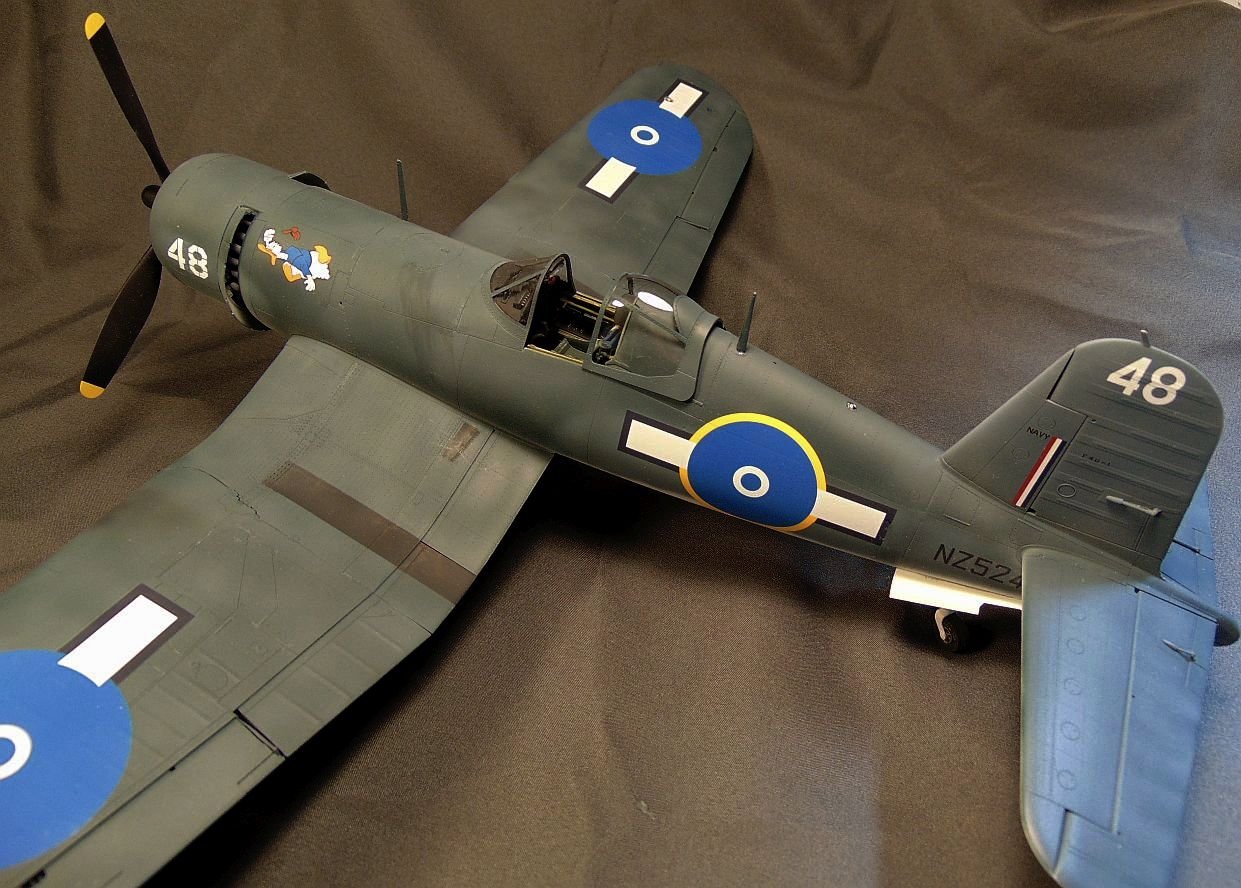
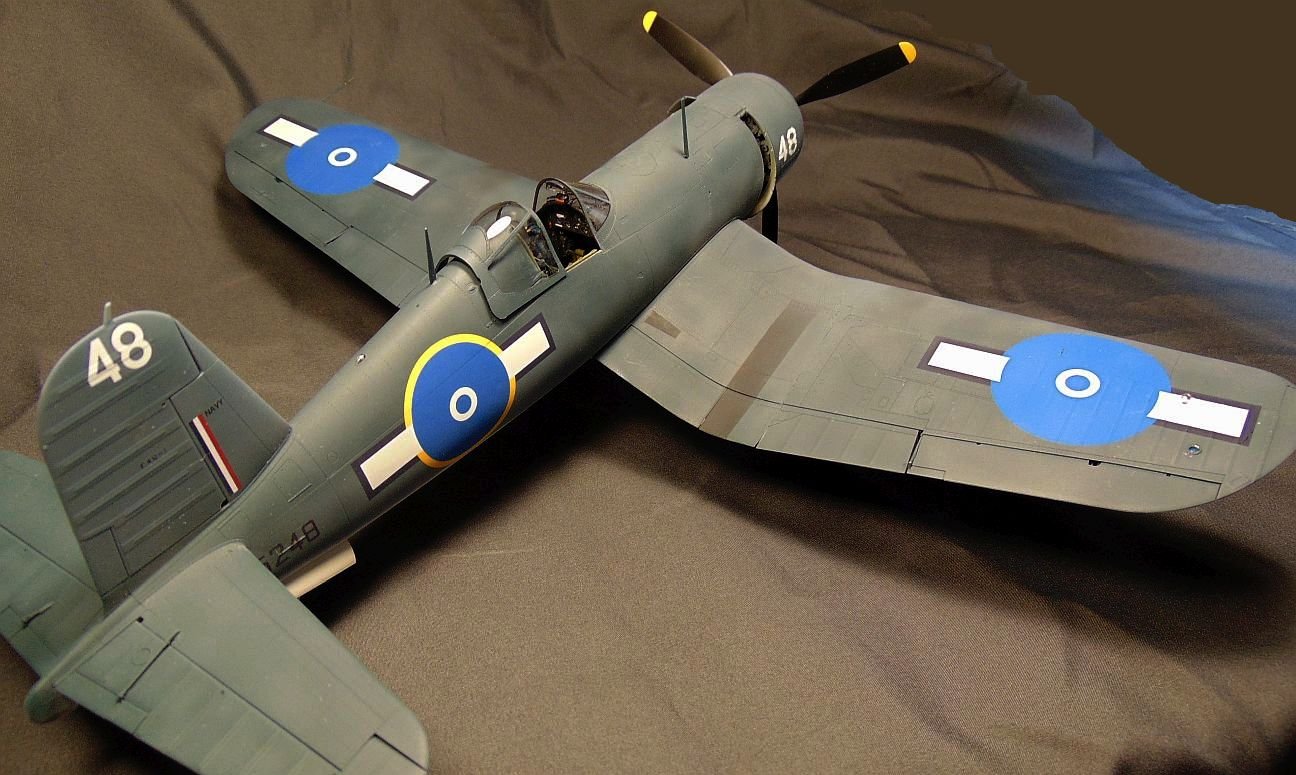
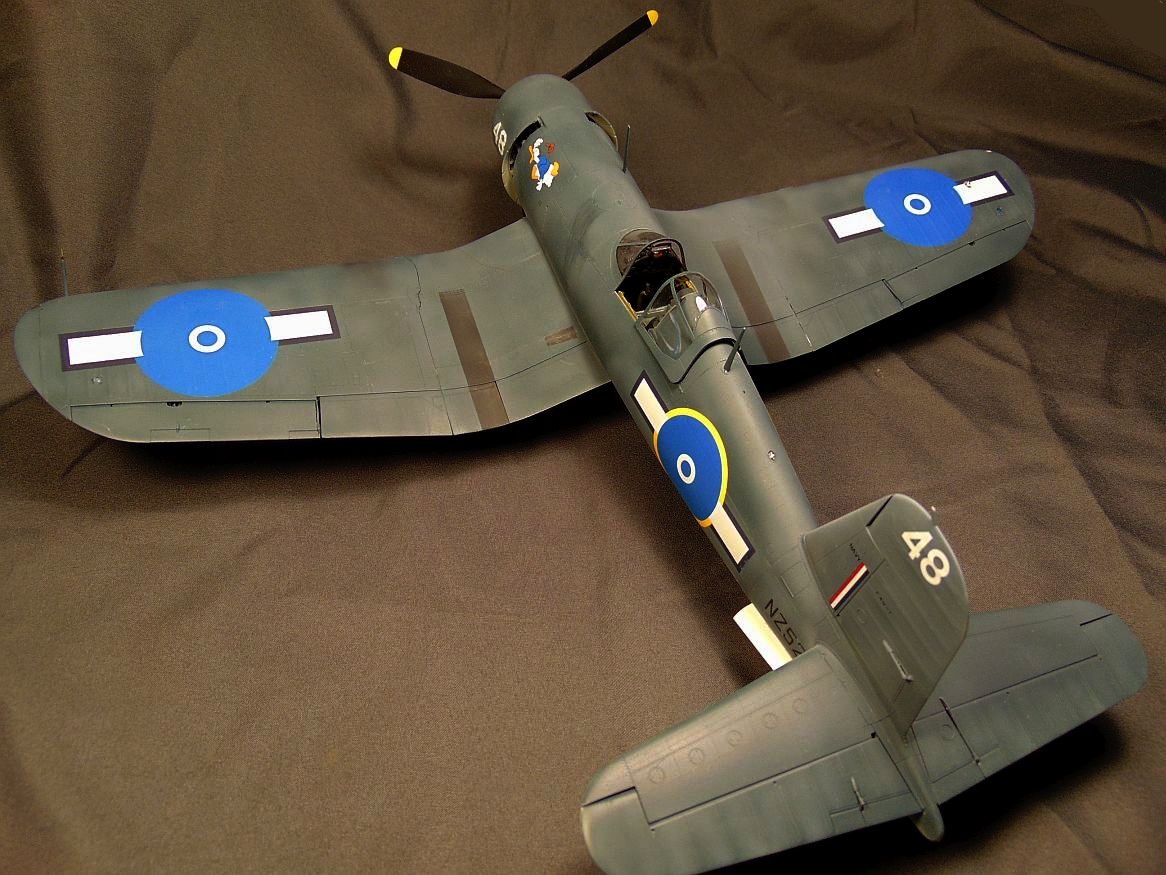
Another Tamiya Corsair in the books! I figured it was high time to do one of the New Zealand birds so here we are. After market was tires, some Barracuda cockpit details, and Eaglecals decals. Painted with several shades of Testor's, Mr. Color, and some of my own "mixes". I hope y'all like it! Remember, click on the images to view them with best resolution and as a slide show.


-
Outstanding Peter. Really nice!!!
-
New to me also. Hopefully the quality is good!
-
Thanks but I'm not through weathering it just yet........
-
LOL Phil!
-
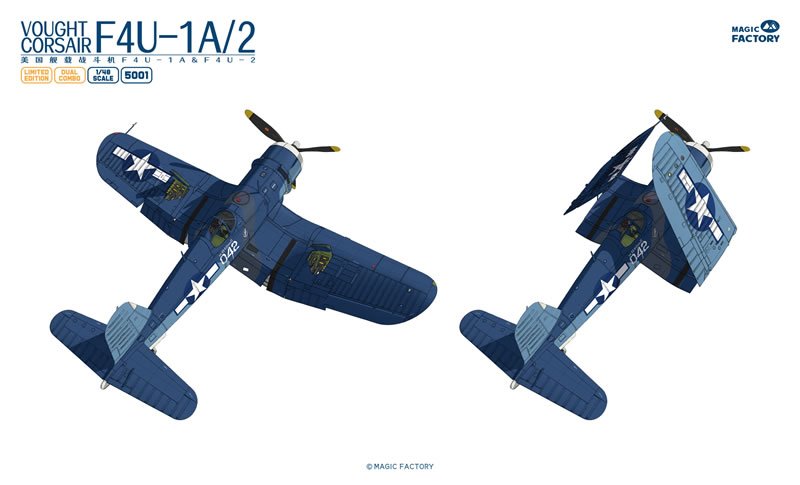
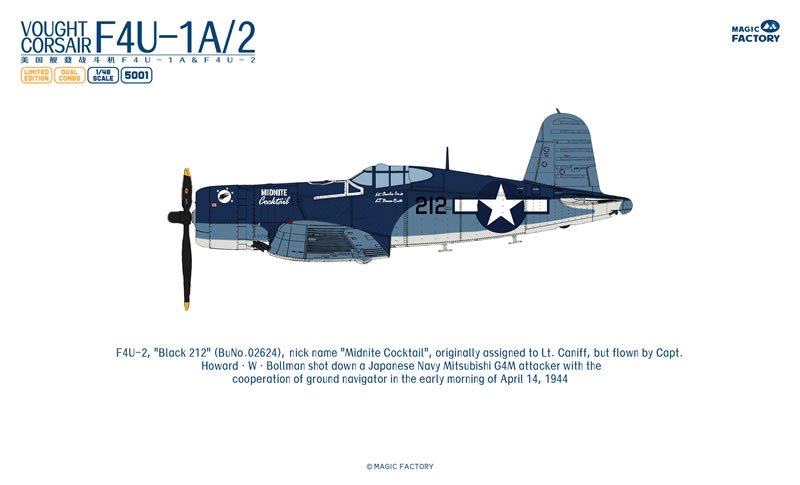
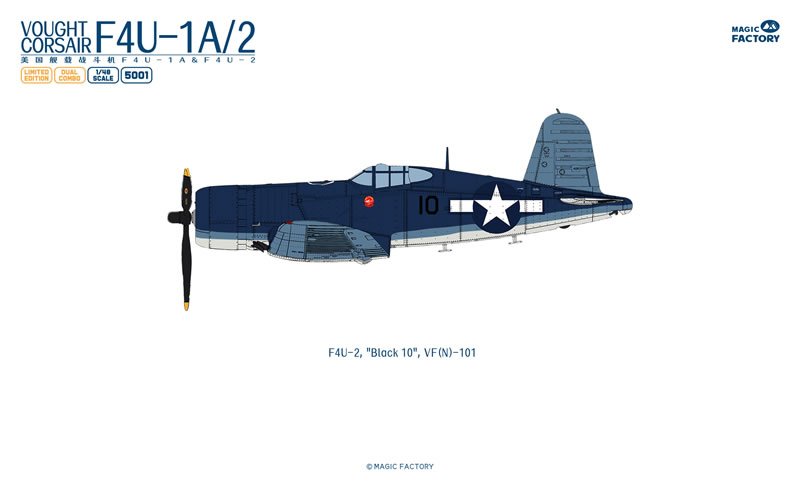
These look to be some nice kits so I guess I'll have to pick one up. I especially like the -2 birdcage night fighter(s). As we've been saying, ya just can't have too many Corsairs even if they are 1/48.
-
The pilot was a lucky fella for sure! I expect he was due for a set of fresh underwear. LOL🙄
-
I wonder if the LSO had given him a wave off. Since he had declared a emergency maybe not.