ScottsGT
-
Posts
2,767 -
Joined
-
Last visited
Content Type
Profiles
Forums
Events
Gallery
Everything posted by ScottsGT
-
Yea, that what I have now. Tamiya and Gunze were both out. My last bottle of Tamiya came from Hobby Lobby, but I haven’t seen it on their shelves in quite a while.
-
Well, same old story just got me again. Decided to stock up and went to the USA Gundam store for leveling thinner and white primer since I’m almost out. NOPE! No you’re not! All white primer is out of stock.
-
Too high of maintenance. Think you’re spending a lot on building supplies like paint and thinner now? Just the war paint alone is unaffordable on that model.
- 61 replies
-
- 10
-

-

-
For some reason I loathe 1/35 aircraft. It’s like the armor manufacturers hung a finger at us by saying “We hate your scale so much, we’re going to kit models you want soooo bad, but in our scale just to piss you off.” Just my personal hang up I guess. Edit: If I win the lottery I’m going to start my own company making armor kits in 1/32. 😁
-
Waiting on the A-20 J/K to be released. I’m ready to pull the trigger on that one. And of course the S-3 Viking announced. Let’s hope we see it in ‘24. I’m sure I’m going to get an itch for something different that will need scratching too before the end of the year.
-
USAGundam is one of my secrete go to’s for hard to find Mr. Color stuff. At least it use to be. Now all you clowns know my hidden hidey hole of paint supplies. 😡 Since we’re sharing, here’s another. But they’re also out of leveling thinner right now. https://gundamplacestore.com/?gclid=Cj0KCQiAnfmsBhDfARIsAM7MKi3uvQEyAatGFnNCICw9bkT_U1xIAoFyvkfu7qhTbYT9SpTwxyFnmG4aAlRlEALw_wcB
-
I know the feeling. Just placed an order with Squadron for some AK paint FS 16473 since MRP or Mr. Color doesn’t make it. Of course I need to get some more Leveling Thinner and they don’t carry Mr. Color products. Then again, I don’t have a local hobby shop and even if there was one in the nearest town I would spend the same on gas to get there.
-
Looking at his feet, maybe he put his boots on the wrong feet?
-
Looking great Carl!
-
What is on your bench right now ? Share a picture :)
ScottsGT replied to Martinnfb's topic in Modelling Discussion
I have the perfect amount of lead in the nose. no, wait…MAGNETS! It’s done with magnets! Yea, that’s the ticket. Magnets! OK, truth is it’s hanging from the shelf bracket above it. 😝 -
What is on your bench right now ? Share a picture :)
ScottsGT replied to Martinnfb's topic in Modelling Discussion
Airbrushed a few more fiddly parts for the Phantom. I’m learning that the Tamiya TS lacquer spray cans decanted and airbrushed reacts differently than my MRP or Mr. Color paints. Then again, I might need to add a little Leveling thinner to it. Hard to describe the difference.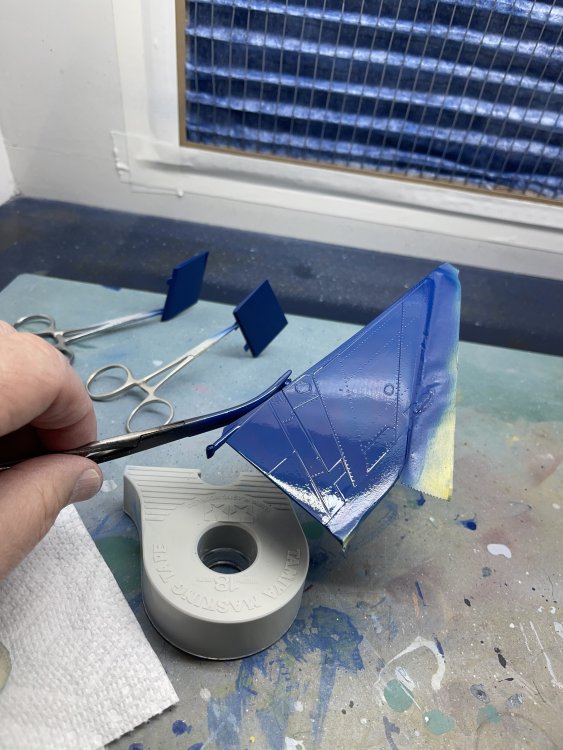
-
LSM Modelling News 2023 merged Fran and Artful69’s threads
ScottsGT replied to Fran's topic in Modelling Discussion
Yea, that one might be for the next generation of model builders. -
What is on your bench right now ? Share a picture :)
ScottsGT replied to Martinnfb's topic in Modelling Discussion
U Boat was a fun build. You can see mine peaking from behind other builds on the top shelf. I’ve got the Gato is the stash as well. But man, that thing is huge! -
Rob, what’s the secrete to the finish on that gorgeous P-38?
-
LSM Modelling News 2023 merged Fran and Artful69’s threads
ScottsGT replied to Fran's topic in Modelling Discussion
Anyone got info on the A-20J/K release date? I’m not seeing any pre-orders or “coming soon” on any of the usual vendors sites. -
F6F-3 Hasegawa 1/32 next up
ScottsGT replied to JohnB's topic in LSM 1/35 and Larger Work In Progress
I swear John must have kidnapped a few of Santa’s elves to build for him while he sleeps. -
M29C Weasel- wow this is tiny
ScottsGT replied to BlrwestSiR's topic in LSM 1/35 and Larger Work In Progress
Nope…nope….nope! I’d lose what’s left of my mind working on that tiny of parts. -
Some of y’all might find this handy. https://www.tamiyausa.com/media/files/lp-color-compatibility-chart-521-1238-177a.pdf
-
- 2
-
-

-
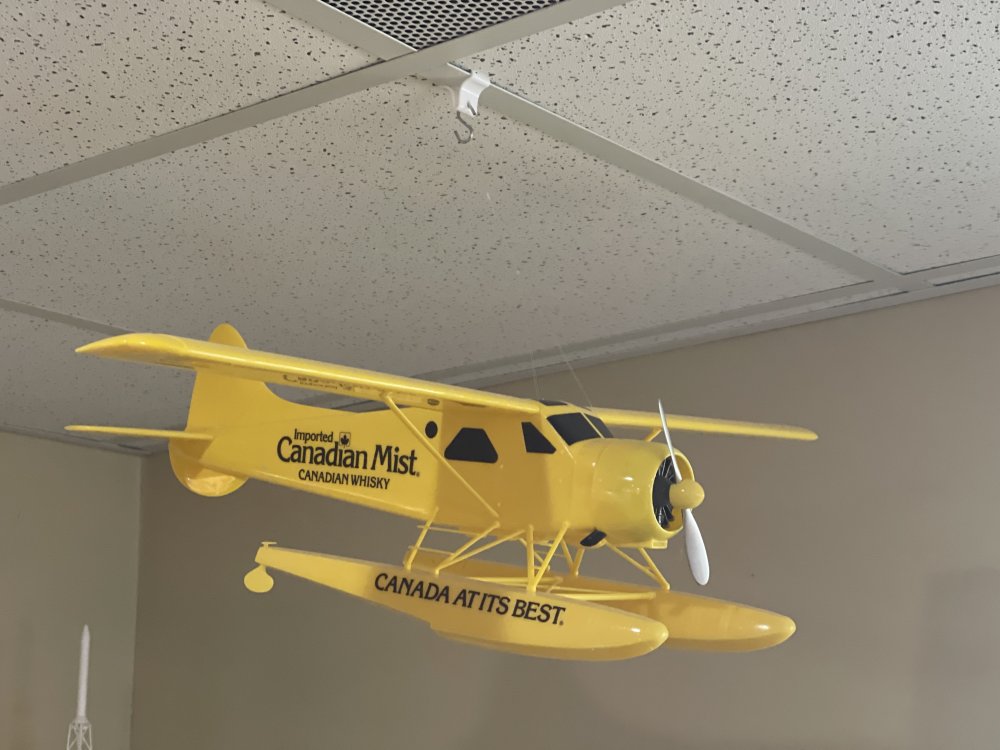
Since you asked for others to post, I’ll do it here instead of starting a new thread. I managed to knock out 8 this year. Thought it was going to be 9 or 10, but the wife had too much time off in December. Seems her time off goals don’t match mine. 😱. Imagine that! We did the Wet build. I had three in that one project. After that I did the Beaver liquor display. F-14 Final Countdown was up next. One I thought was going to be a quick build Boy, was I ever mistaken! Then I needed my SyFi fix and did the Star Trek Shuttle Craft. And then one I had been searching for decals and masks for ever since the USAF went public with them.
-
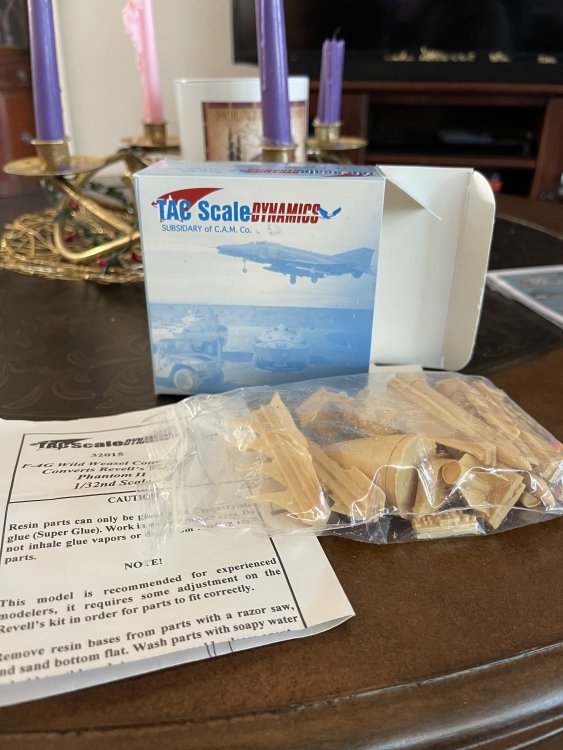
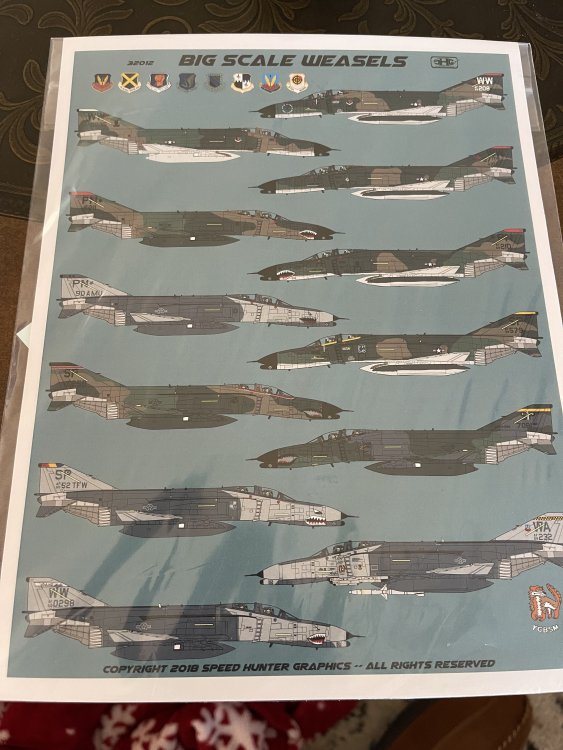
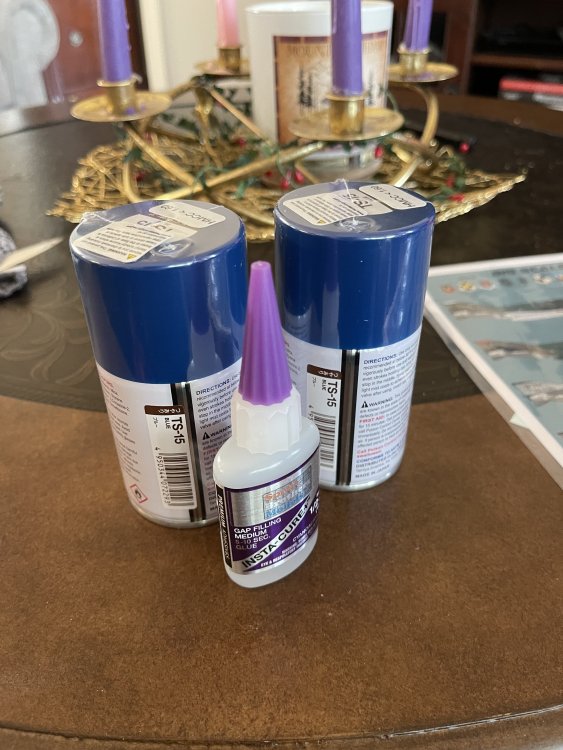
Fresh deliveries last night…. first, I bought this off eBay to justify my need for all those Revell 1/32 Phantoms I’ve hoarded over the years. Converts an F4-F to a G Wild Weasel. Yea, probably paid as much or more than I could have picked the Revell kit up at Hobby Lobby when I saw it there, but I have enough kits! Besides, I have an F I traded away the decals it came with. Of course I needed G decals, so….off to Sprue Bros. And a few other needed supplies since I’m ordering. I use my CA glue so little it goes bad sitting on my bench. Turns to syrup. I figured my last bottle has been around 6 or 8 years. Time for new stuff.
-
What is on your bench right now ? Share a picture :)
ScottsGT replied to Martinnfb's topic in Modelling Discussion
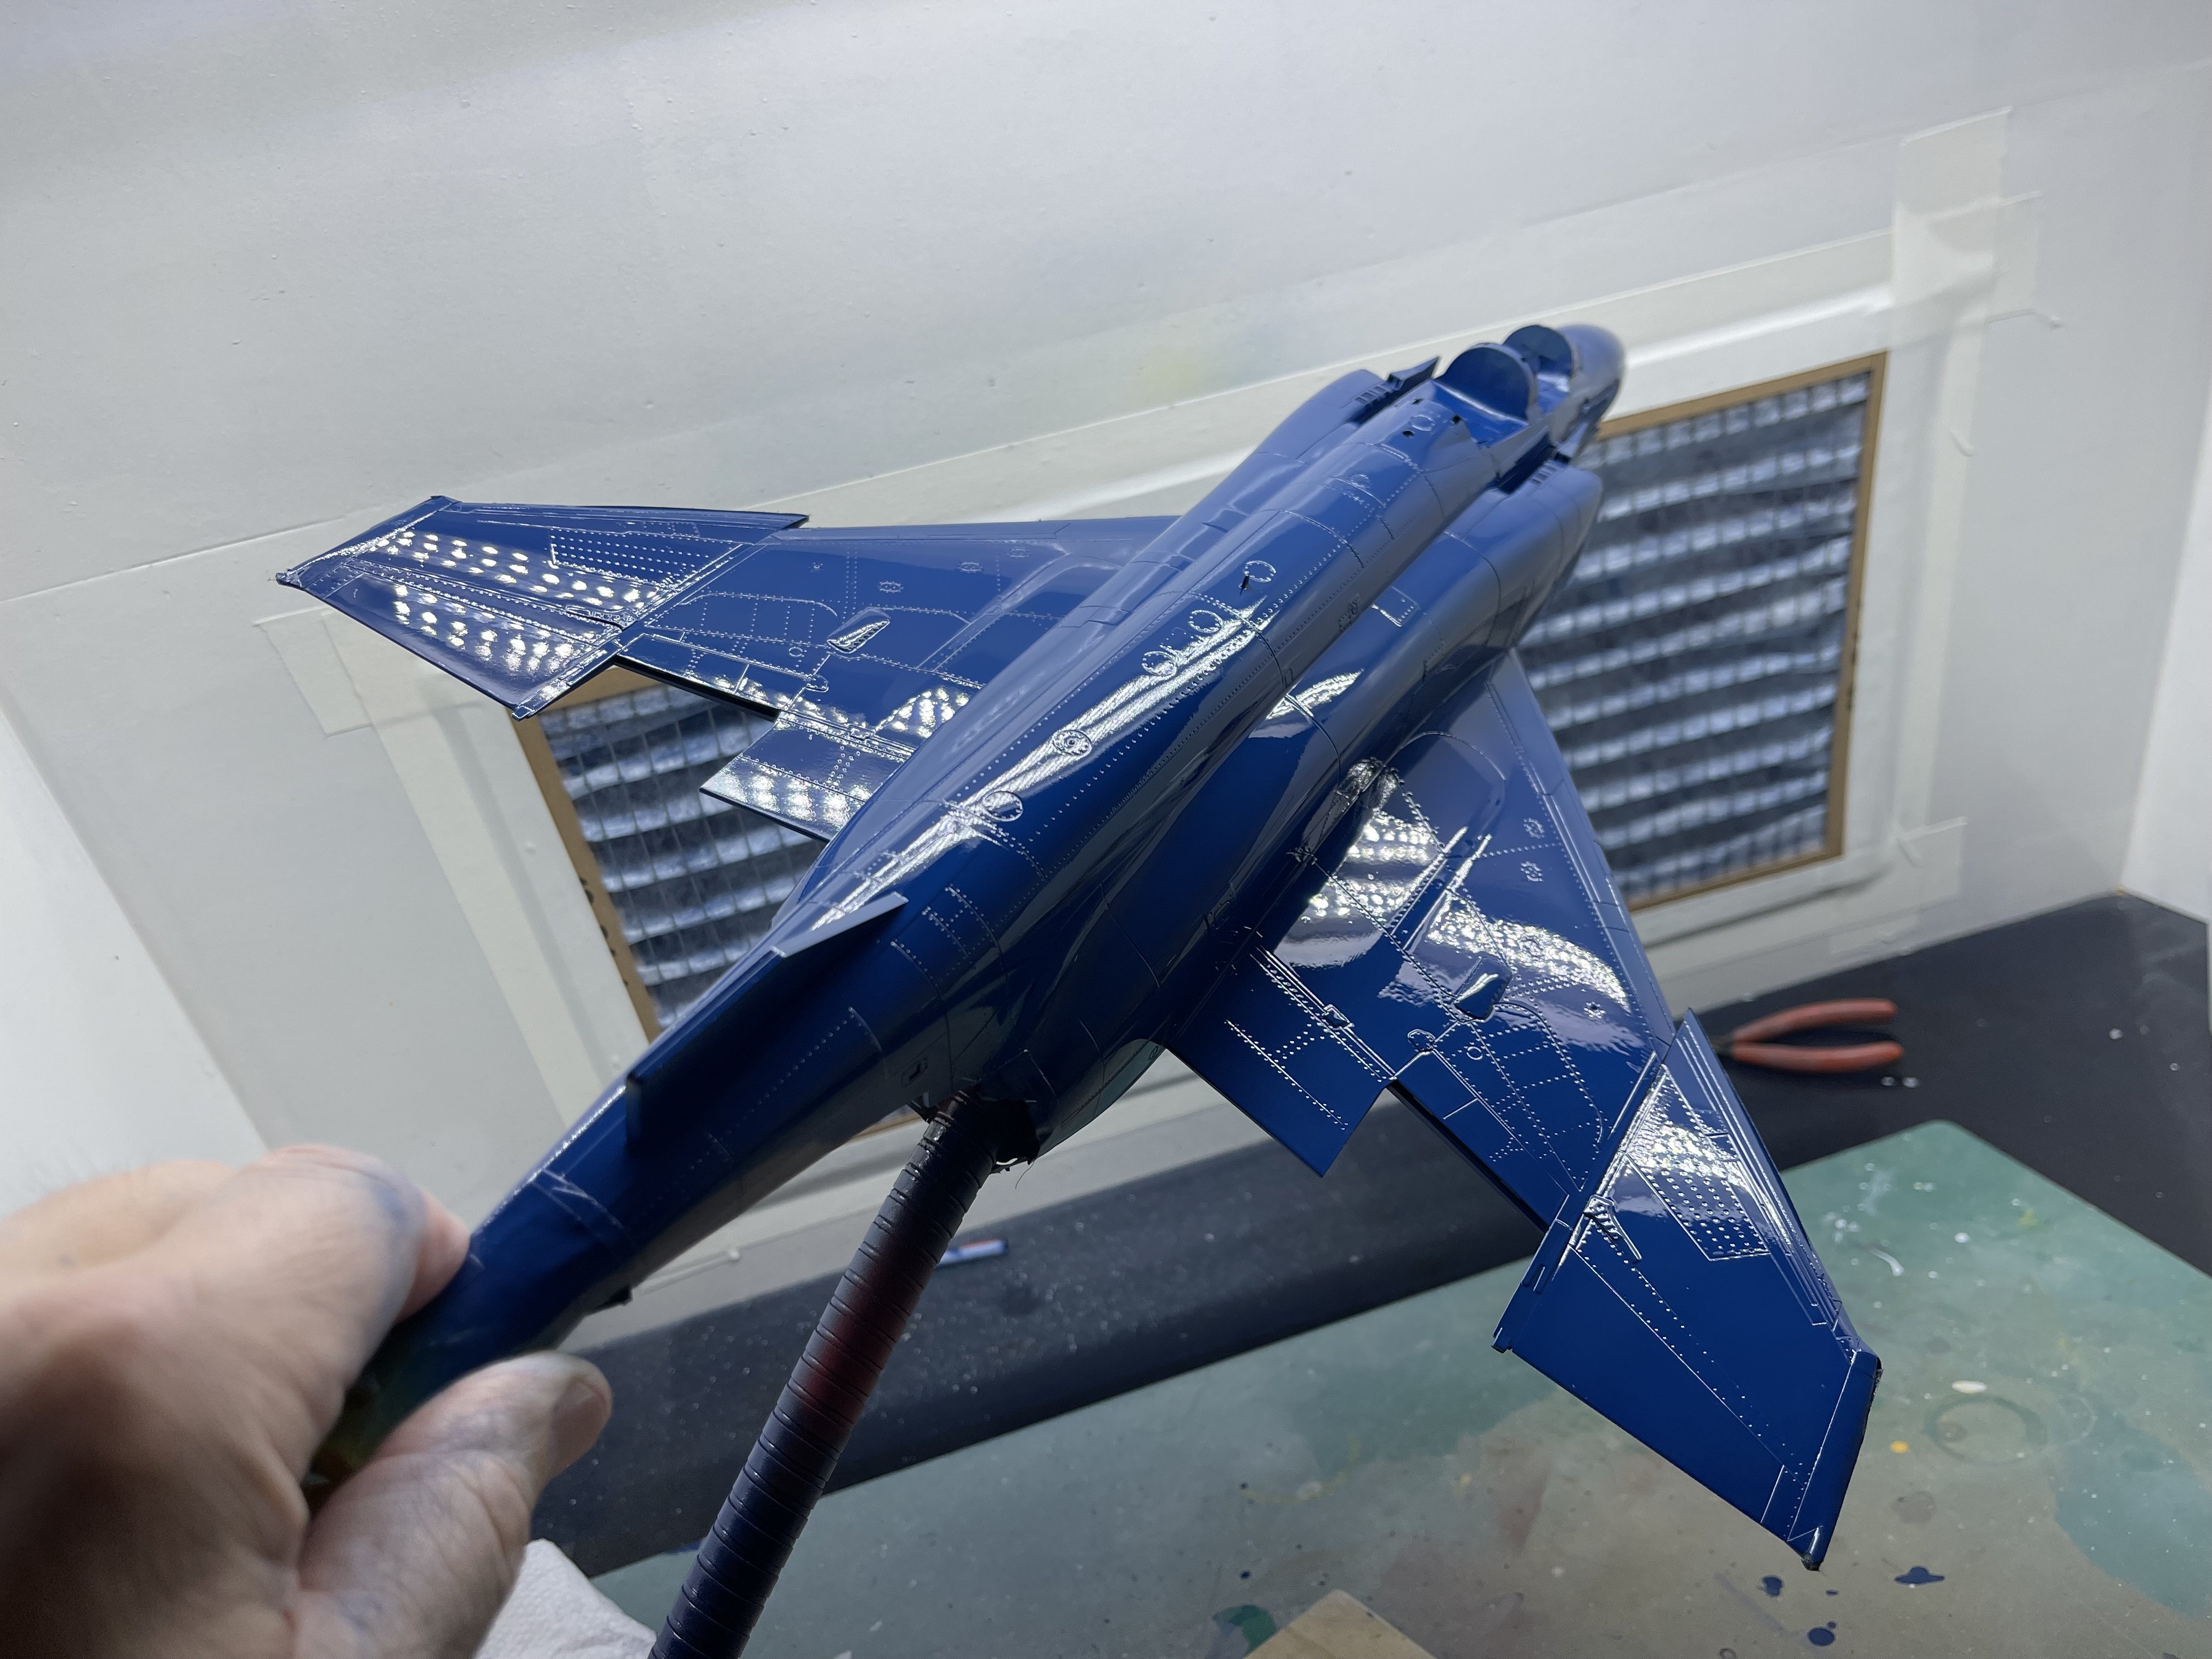
Ok, at Peters suggestion, I kept doing what was doing! After dealing with cold meds hangover all day I came down and scuffed out the dust bunnies and decanted more TS-15 blue. Why the hell Tamiya doesn’t sell bottles that match the spray is one of those mysterious things we will never know. But I laid down 2-3 more coats and then shot the whole thing with leveling thinner mixed with a touch of paint. This is right after spraying. Can’t wait to see how it dries out.
-
KH T-28C from SOD is back on SOD.
ScottsGT replied to JohnB's topic in LSM 1/35 and Larger Work In Progress
Didn’t try “relaxing” the plastic with a heat gun or hair dryer first? I’ve saved a few builds with my old Monokote heat gun from the RC days. -
What is on your bench right now ? Share a picture :)
ScottsGT replied to Martinnfb's topic in Modelling Discussion
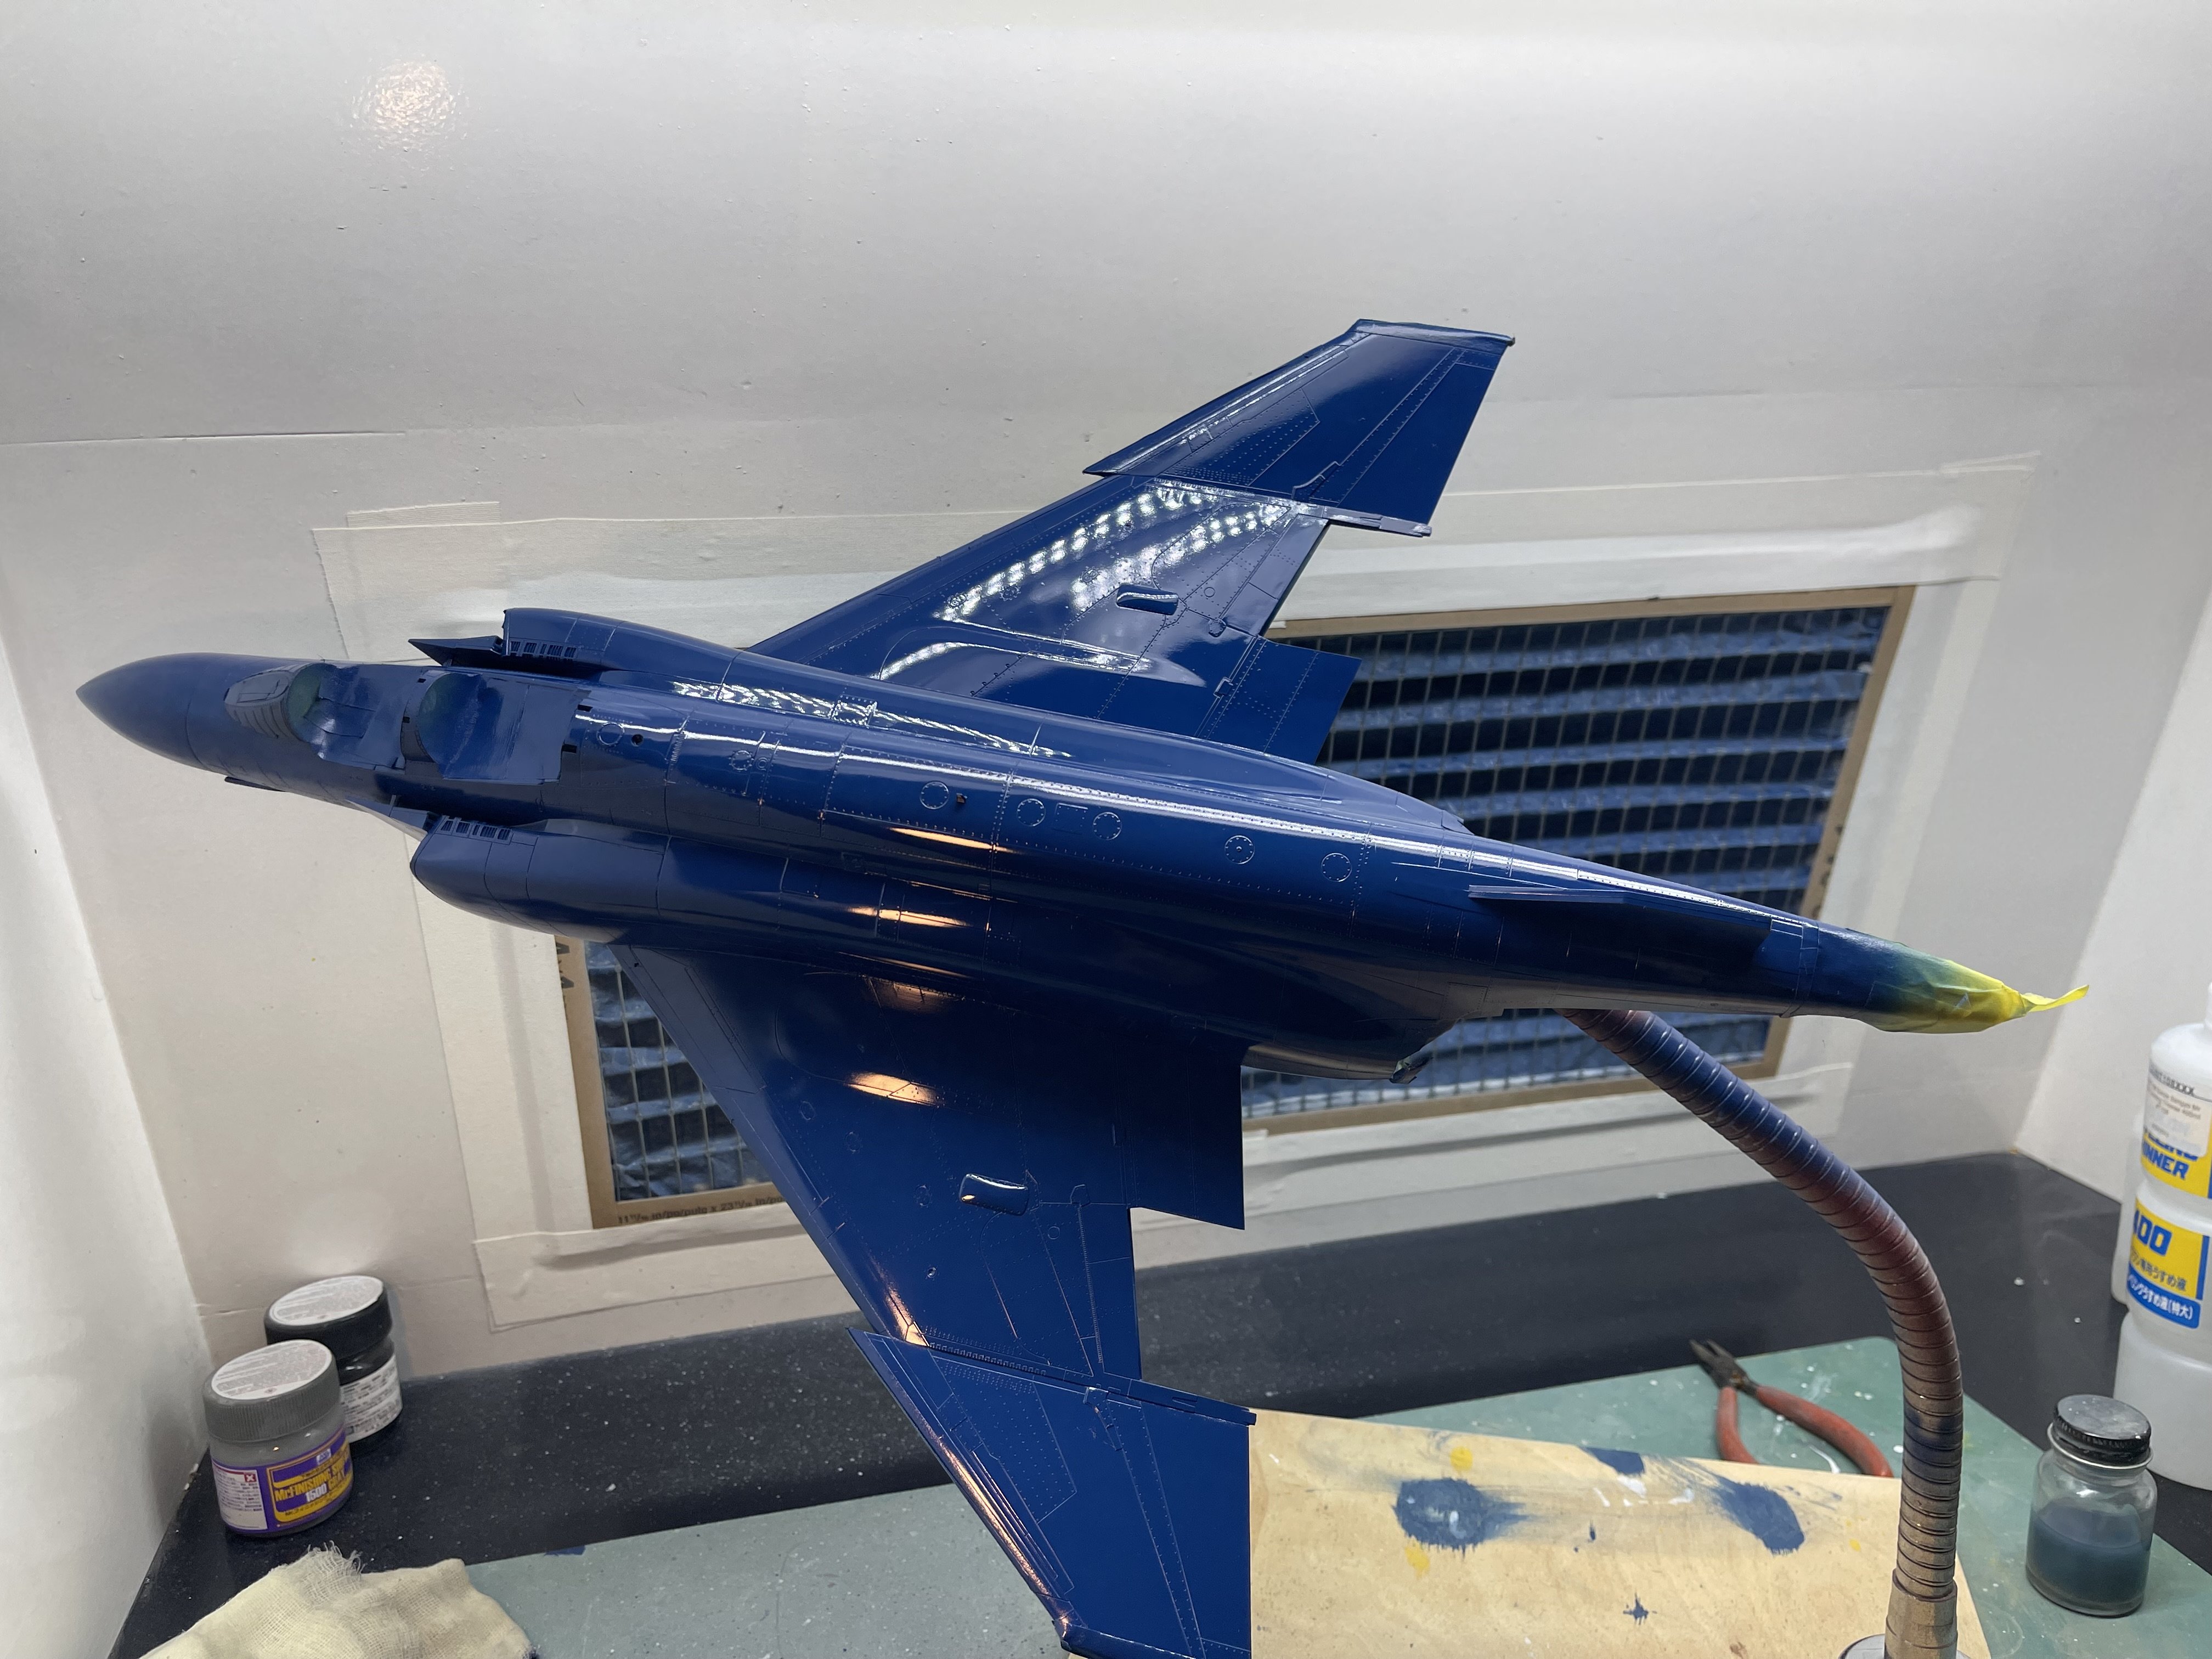
Got the first two coats of blue on the Phantom. Found a few spots that multiple layers of paint cannot hide. Going to let it dry and wet sand with 1200 and shoot 2-3 more coats. Hell, might get brave and lay on one good coat straight out of the can and then use the airbrush to lay down some Leveling thinner to gloss it out.
-
Nice job Pete! I’m trying to rush a couple to add them to this years total. Just sprayed the blue on the phantom and realized it could be better. So I’m going to slow it down a bit and call it 8 for me this year.
-
I have a 1990 F-250 with only 58,000 miles on it. Majority of my repairs have been due to time and age more than wear and tear. But yea, Ford did a good job of hiding that tilt system. Almost feels like you’re about to rip the turn signal lever off in your hand before it moves.