ScottsGT
-
Posts
2,767 -
Joined
-
Last visited
Content Type
Profiles
Forums
Events
Gallery
Everything posted by ScottsGT
-
Did Tamiya send out any shipping notice when shipped? I haven’t heard anything on my order yet.
-
My wife has seen more table saw vs. woodworker patients than I care to think about. They all have one thing in common. The tool won. I’m on edge when using any power tool, and I’ve got some dangerous ones too! Pissed my wife off one time by yelling at her after she hollered at me to get my attention for no reason while running something through the table saw. Impatient and wanted me to stop what I was doing to ask a stupid question. I reminded her of all of her patients and asked if she was trying to run up the score.
-
Interesting how processes work from one region to another. Had a friend that wanted to add a 10X12 storage room off the back of his office building. City and County permits were going to cost him right at $20,000 before he bought the first stick of wood. He told the City forget it, he’ll keep the room he has. (Didn’t have a room, but he had a plan). He went and bought all the lumber and materials, got the help of 4 or 5 friends and threw that sucker up over the weekend. No inspector had ever seen what was there, no questions ever asked. So a $5000 project almost cost him $25,000 because of government involvement. Here in South Carolina the state is running way behind getting septic perc tests done for new home builds. Last I heard, 9 month backlog. Sure, there are private engineering companies that will come do it and let you know if it will pass perc, but the State still has to send out “their guy” to run the test. After working for the state for 29 years, I understand why. It keeps a position and an entire management structure within Department of Health and Environmental Control. DHEC gets funded for this, but they use the funds elsewhere while keeping a skeleton crew to get the work done. Good ol’ boy system at its best. The guy out digging the holes and dumping in a bucket of water and timing the drain out is probably getting just above minimum wage while the slotted position is 5X higher. Our state DHEC has been a mismanaged financial disaster for well over 30 years.
-
FWIW, I made the “announcement” to the wife the other night on how I plan to rearrange a few things in the basement to accommodate this behemoth display when it is done. Cannot believe she actually encouraged me to start the wiring project ASAP so I can move things around to make room. I guess after I did her countertop mod she’s feeling that it’s my turn now.
-
Now your just flexing on me!
-
I’ve used Silly Putty rolled out on my bench into a 3/16 diameter “snake” and laid in place and then taped up to it with Tamiya tape. When I spray/airbrush I make sure I’m spraying straight on or away from the painted side to give an edge that doesn’t looked masked.
-
Very productive day today! I actually wanted to be here this past Friday, but I had forgotten about the family trip the wife planned to take the kids that could make it and the two grand babies to the mountains to go tubing. No, don’t even ask. I did not do it with all my back and knee issues. Oh boy! Spaghetti anyone? Sorting out all the wiring and testing before soldering and heat shrink on everything. A little test lighting before sealing it all up Buttoned up and no turning back on the electronics now! Yes, I did take some time to put away a few tools to reduce the clutter. Even managed to pull the table saw outside after the rain cleared up and got my base started. I still have all 10 fingers Got to go get new tires on the Mustang in the morning. I’ll probably swing into Home Depression or Slowe’s and pick up some trim for the edges.
- 159 replies
-
- 11
-

-
Reminds me of high school when I slipped the Whoopee cushion under the drivers Ed teacher as he was getting in the car. Assistant Principal couldn’t stop laughing and just walked away trying to catch his breath.
-
My SOD is full. Or in other words, SQUIRREL!!!
ScottsGT replied to Clunkmeister's topic in Modelling Discussion
I solved that problem when I moved. Boxed them all up and I don’t have to see them. I pulled one out of the box and put it on my bench riser to work on as a break from my regular build, if I need one. I will only work on one new kit at a time. Let’s just say that’s my plan and I’m doing my best to stick to it. But if I’m being honest to myself, my SOD kits: 1/144 C-17 1/32 F-15A Spirit of 76 2-1/48 Helo’s 1/32 Revell P-51 1/16 Revell funny car getting an aftermarket rebody and decals for Hot Wheels Mongoose or Snake. EDIT: forgot about the 1/32 Blue Angels Skyhawk. Not too bad by Ernie’s standards. -
I bet this is why Tamiya is liquidating. I forgot about the Kotare on the way.
-
Or the Master of your domain. (Sienfield joke for those out of the loop)
-
Yea, I’ve been watching these deal for a couple of days and last night finally told myself I was a big moron if I didn’t do it. Thinking back, I might have an old Revell kit in the stash. Might be a good learning kit for my grandson one day.
-
Dang it! Just got me too. Don’t have a spit in the stash and at this price I’d be a damned fool not to order one. Mk.VIII on the way.
-
Looking forward to that!
-
Persistence paid off! Found ‘em in the top of my tool chest. Last time I used them I reverted back to my old ways of tossing things on a flat spot and not putting them away.

-
I’m at a loss. What I’m thinking of doing is building a rock formation that’s just past mid-way of the length of the sub and have a short jumper over and down to it. Stumbling blocks like this is why some of my kits wind up on the SOD.
-
I tried finding pipe cleaners at my local grocery store last month for my dead frog project I did for my daughter. Nothing around my neck of the woods. I guess they just get a new crack pipe when they get dirty around these parts. Then I remembered I had a pack in my gun cleaning box. So Bill, what ya using them for? Some special painting technique or just cleaning airbrushes and things? Oh, as far as the conversion kit, not a lot in the box. Including any form of instructions. Has the two piece radome, what appears to be some interior parts and fuselage bottom behind the radome and of course the top piece that converts the green house and turret. Doesn’t even have any panel lines scribed into it. It’s a real modelers conversion. Not a bolt on and go. Oh, forgot. Also has the stabilizer fins to add as well.
-
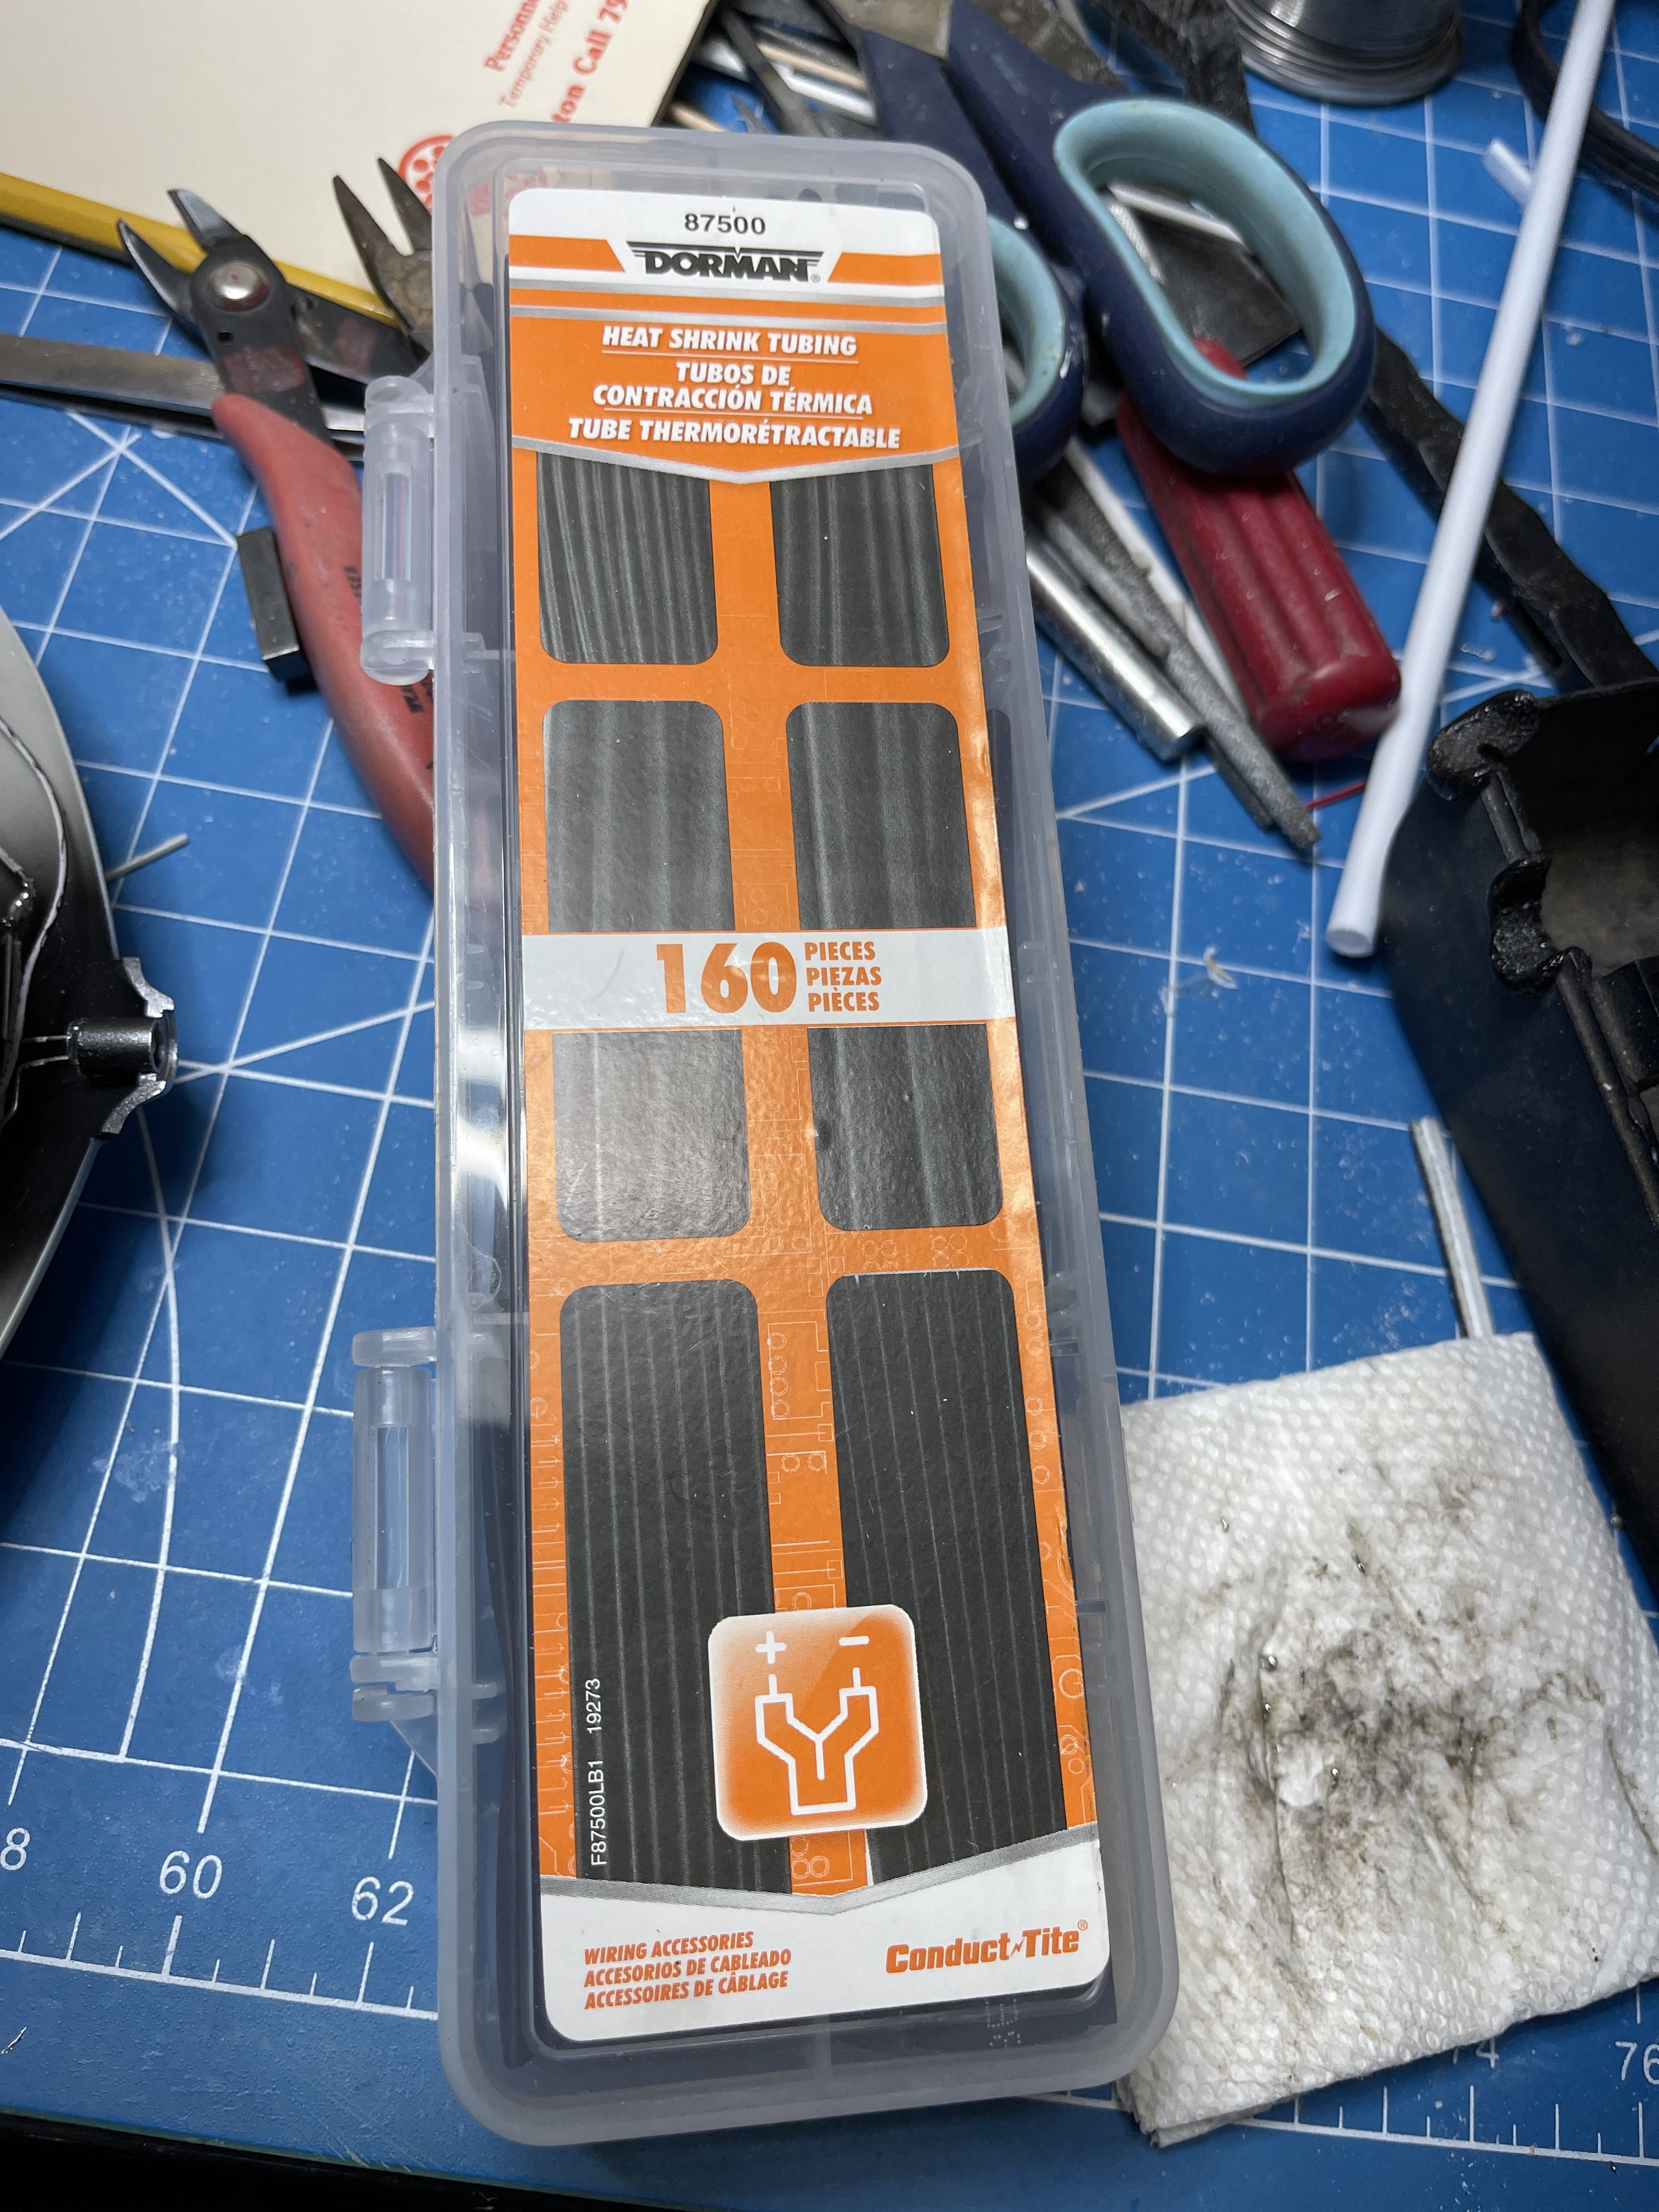
And I’m out of heat shrink. Well, probably mis-placed it. But looked in all the usual suspect stash locations. Found all my bigger stuff. No small stuff. An hour round trip to Harbor Freight and back or screw it and order it off Amazon?
-
Oh man, I’m at the “What comes first? The chicken or the egg” moment. Ready to button it up, but got to get all wiring done and checked first and figure out how to get power up to it and back down to the flying sub without making it look like it’s wired like a marionette puppet.
- 159 replies
-
- 11
-
-

-
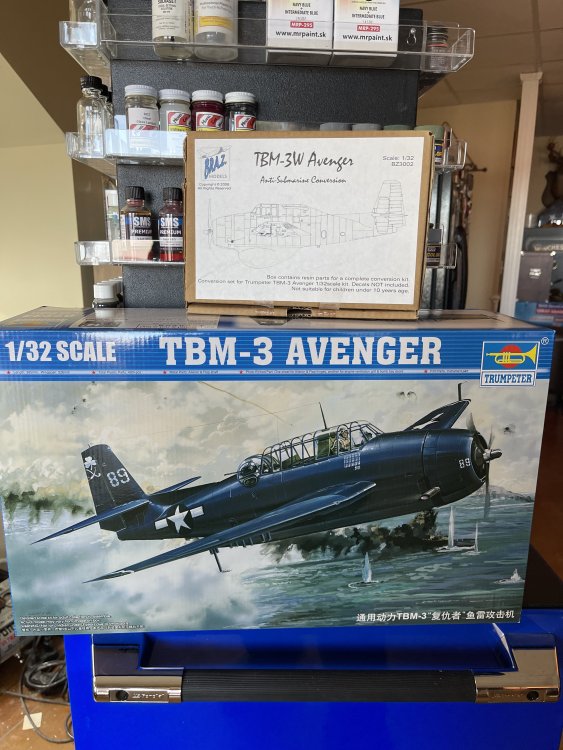
Well these two were delivered today. Thanks to Carl’s generous gift card in the raffle the Avenger was pretty cheap! Thanks Carl!! Will be a perfect match with my Fisher guppy I built a few years back. I found a set of hard to find decals at a hobby shop in Poland that are now on the way as well. Hopefully this will be the end result. oops! Image is on my iPad. I’ll edit it later. Let me see if this works.

-
It’s a family friendly website. So none of mine will be posted. 😁
-
Get both!
-
For some reason I’m hung up on odd looking and ugly airplanes lately. Example, I have a Guppy conversion for a TBM on the way to go with my Fisher Guppy. I really need to add this kit to my stash. Oops, I meant to say to my built airplanes in the display case.
-
Oh man, that sweater. I have an old garnet red sweater that my wife’s grandmother gave me for Christmas sometime around 1990. I use to keep it at work for days when the heat wasn’t working or the AC wouldn’t shut off in the summer. My coworkers called it my Mr. Rogers sweater. I did bring it home when I retired and might break it out on some of these cool evenings just to give my wife a good laugh.
-
Glad to have you here Rob! Takes a special person to be able to live under the sea like you did. Thanks for your service! I went aboard the sub that used to be at Patriots Point in Charleston. First thing that came to mind was “Nope! Not me!” Never realized I had claustrophobia until that day. I saw that tiny hatch to get to the below decks that would require me to be buttered up to get through and all I could think of was how the hell would I get out if I had a medical emergency.