CrankyCrafstman
-
Posts
1,350 -
Joined
-
Last visited
Content Type
Profiles
Forums
Events
Gallery
Everything posted by CrankyCrafstman
-
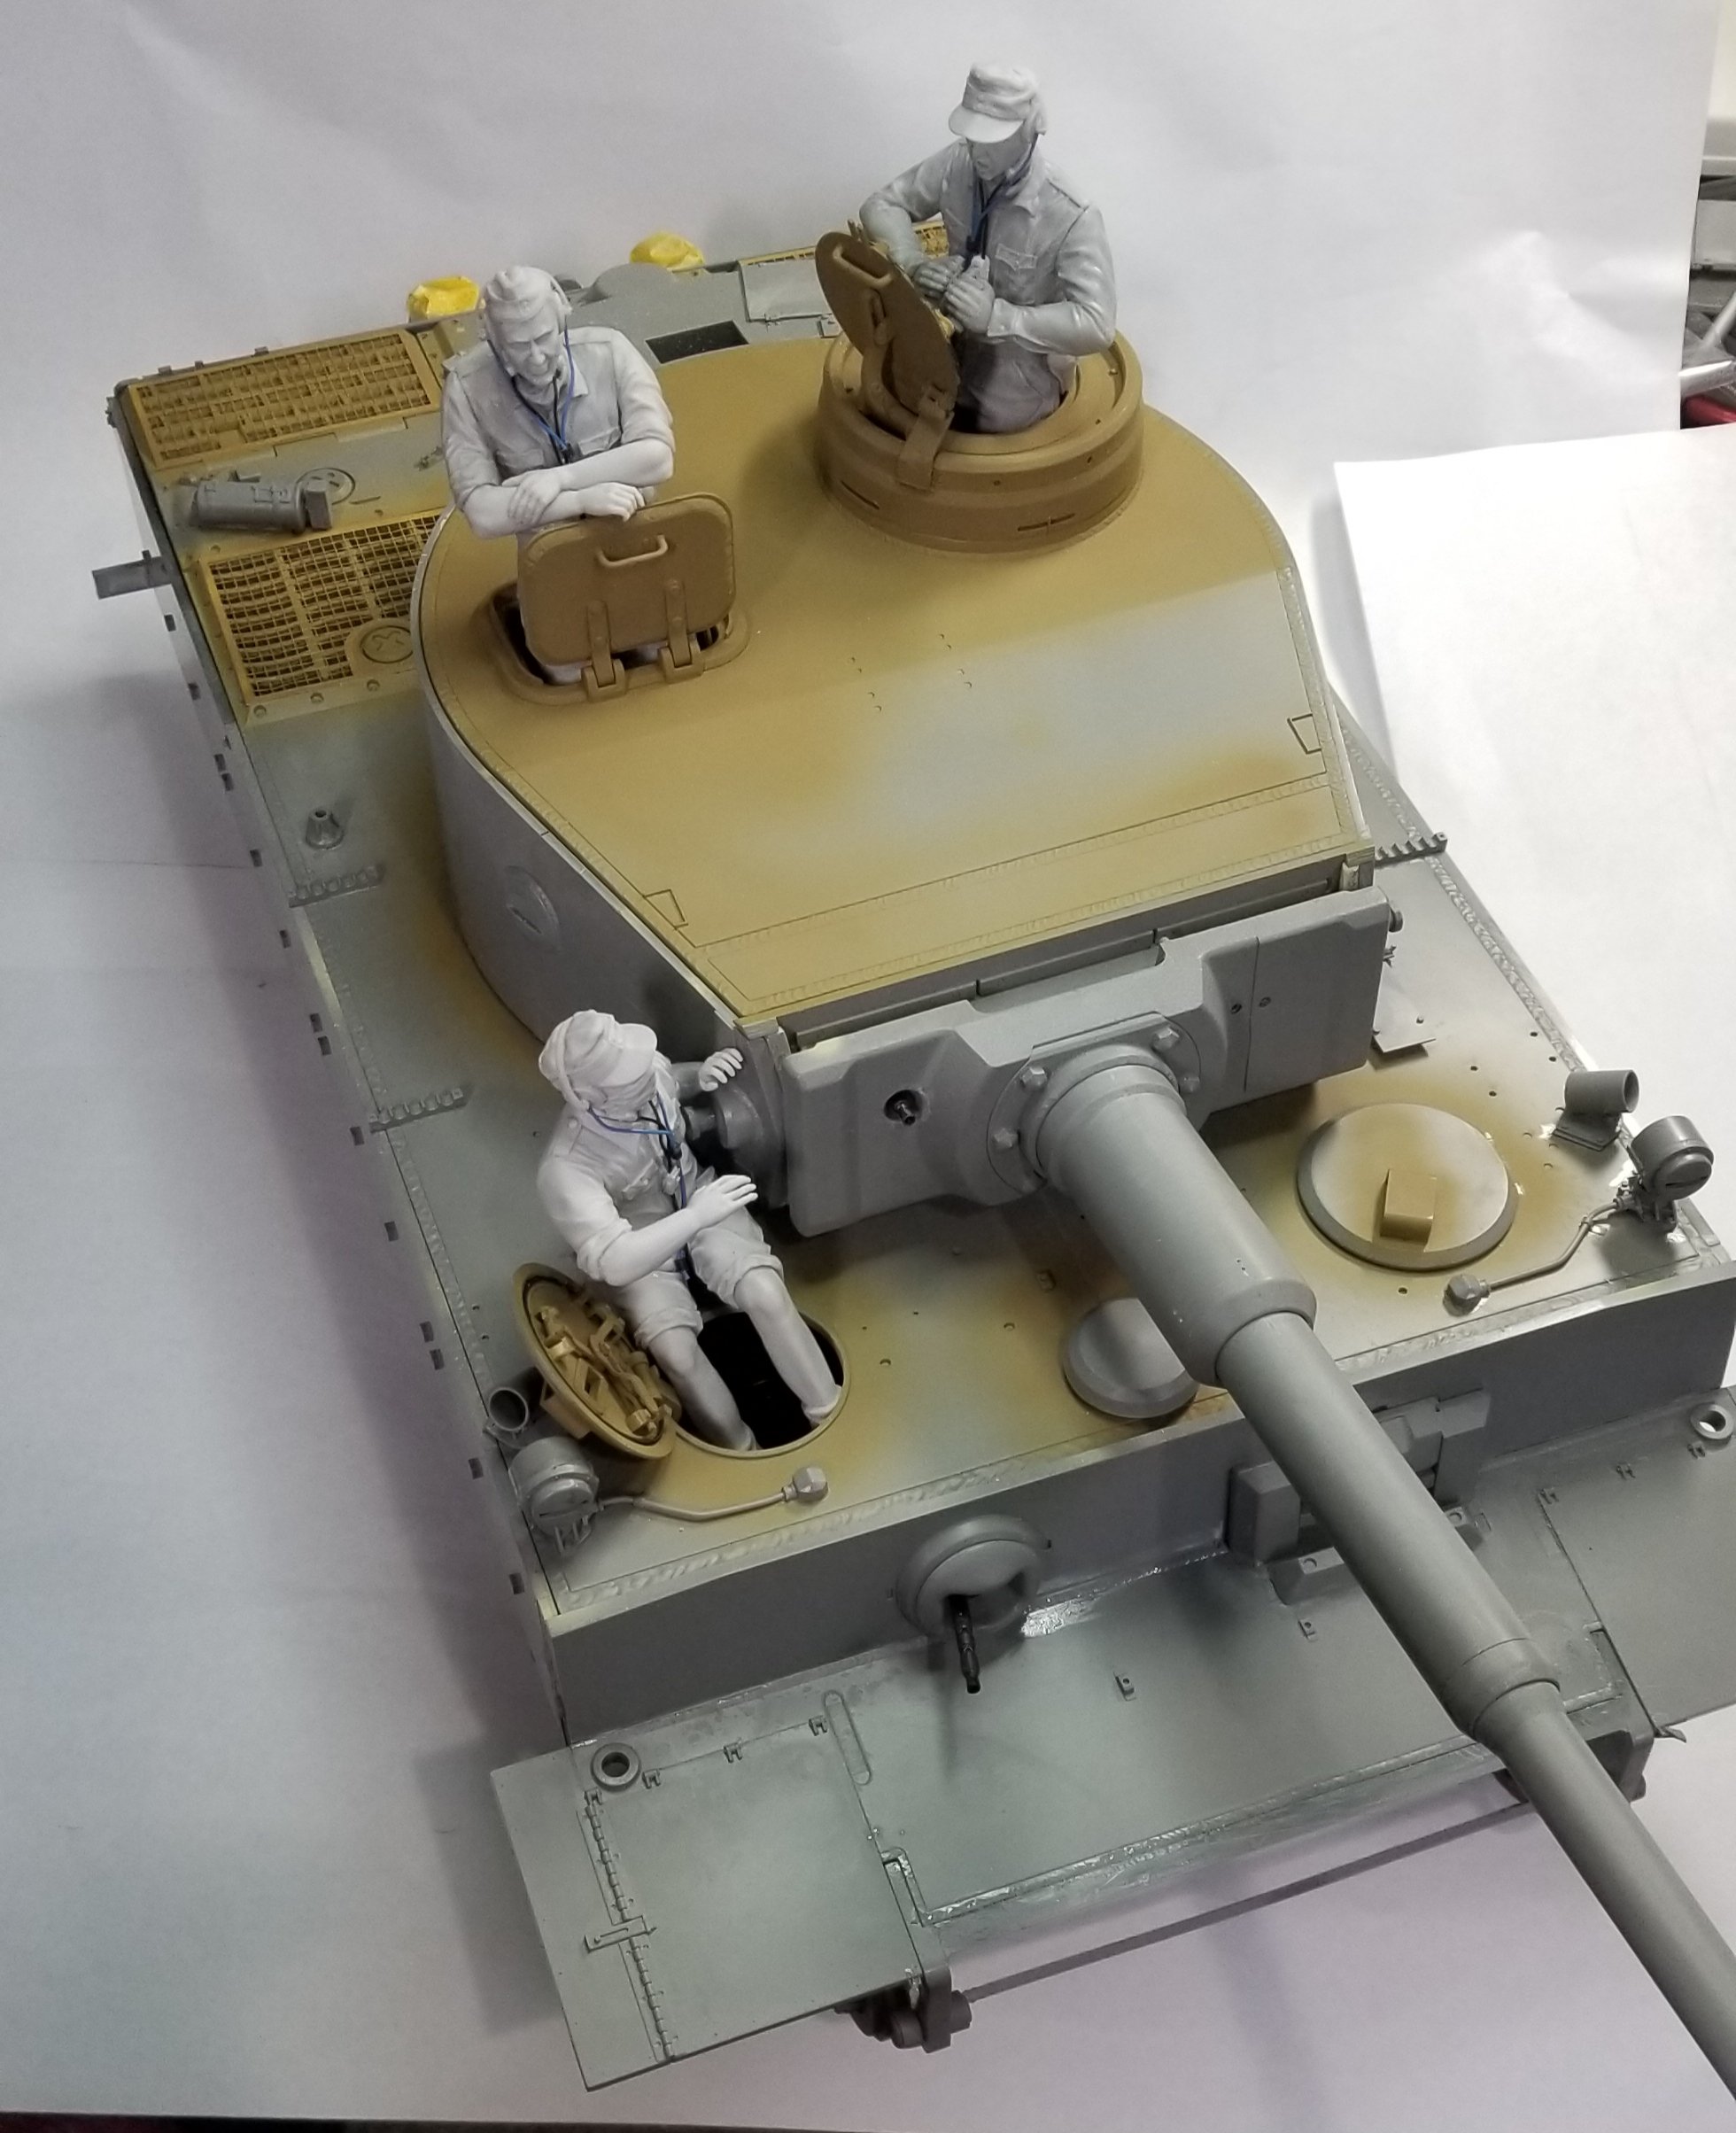
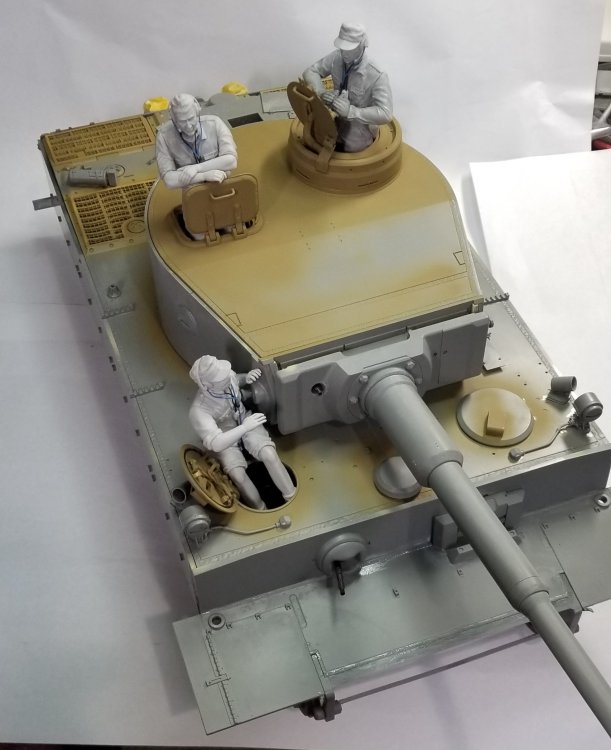
 Hey all Got some more work done on the Tiger. This view shows all of the parts that I added in preperation for paint. Same view with the hatches open. This is a view from the rear looking forward with the hatches open. I did this picture for you guys amusement. These are the SOL figures for my Takom panzer iii ausf n. I put them in the hatches for a little perspective...lol Ron G
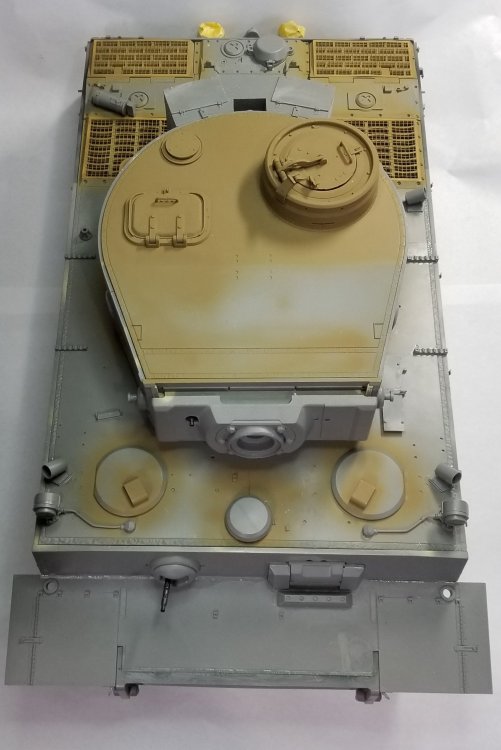

-
Thanks guys
-
Thanks guys
-
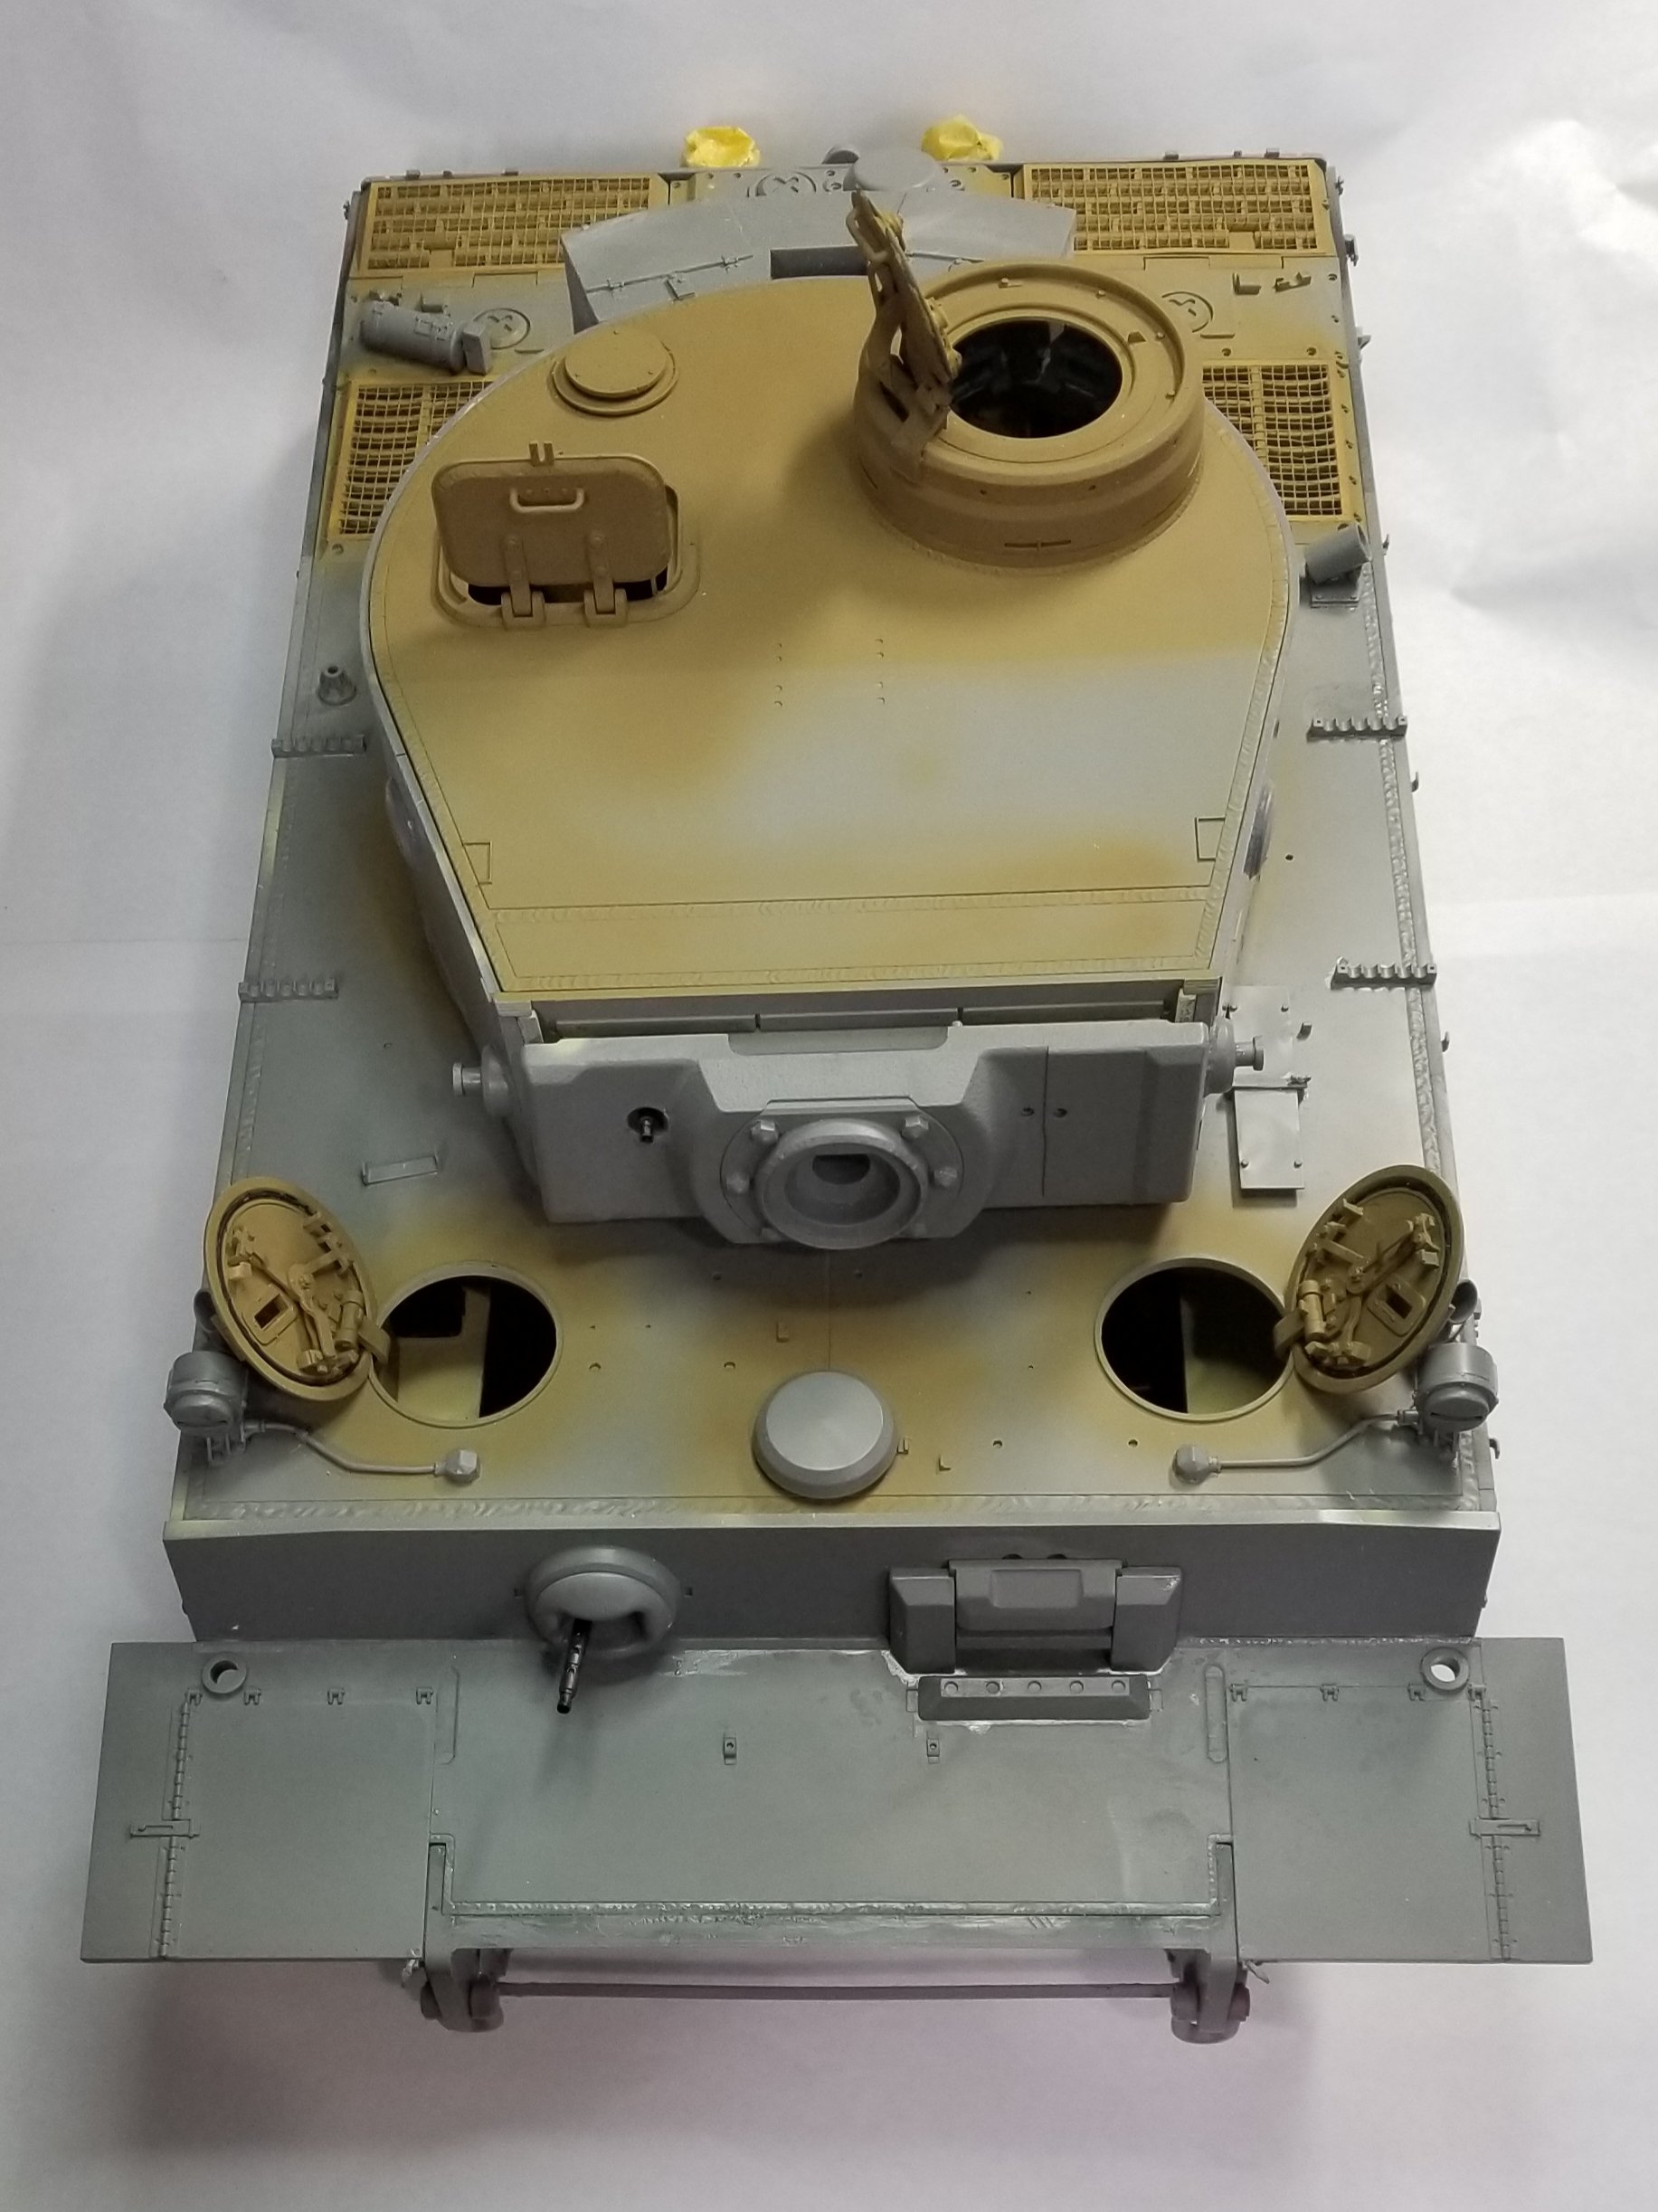
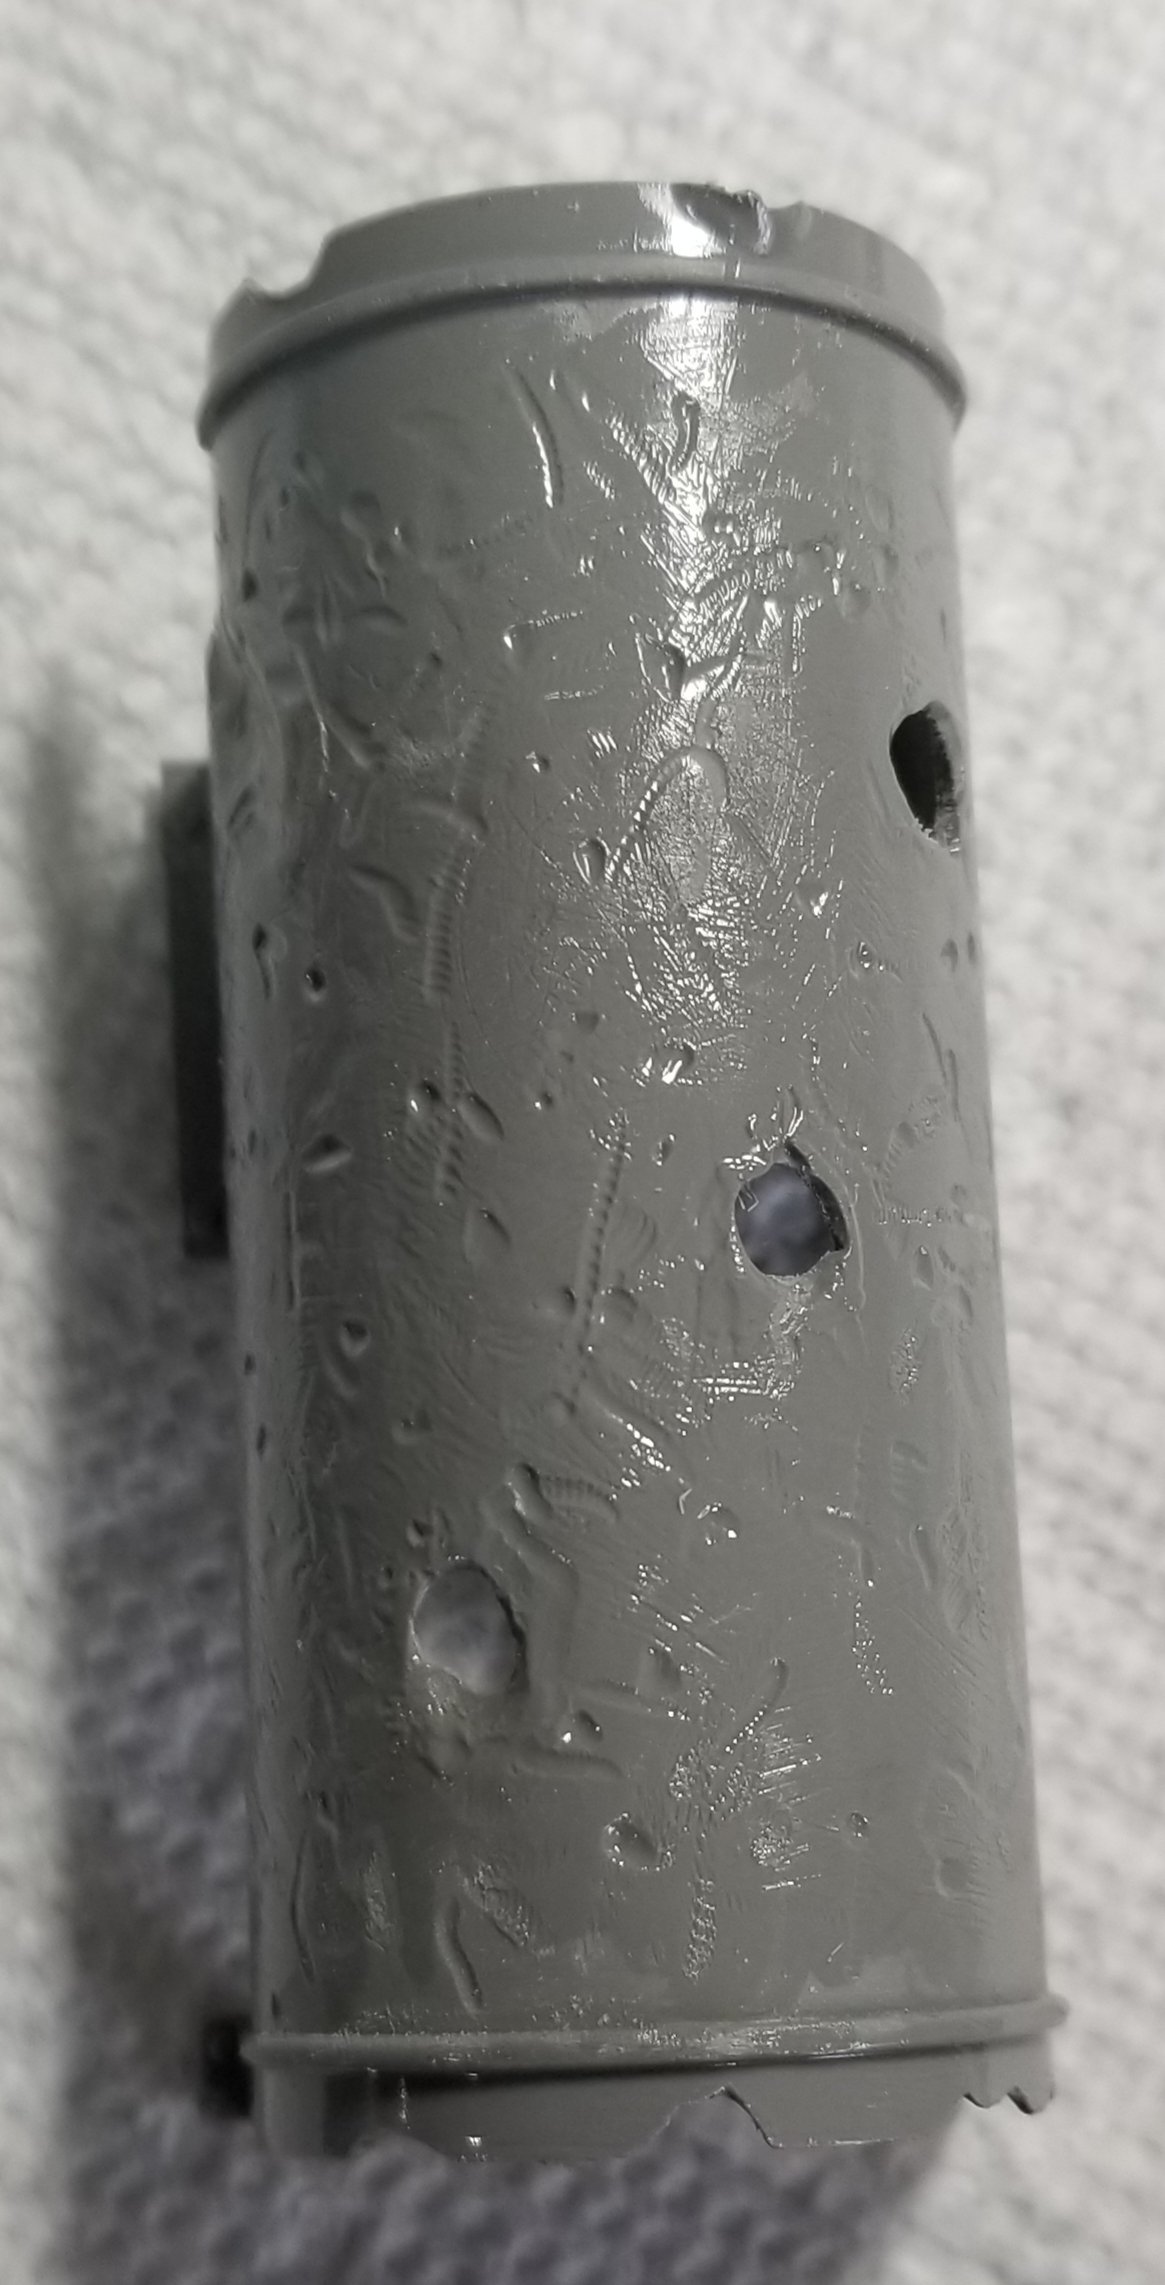
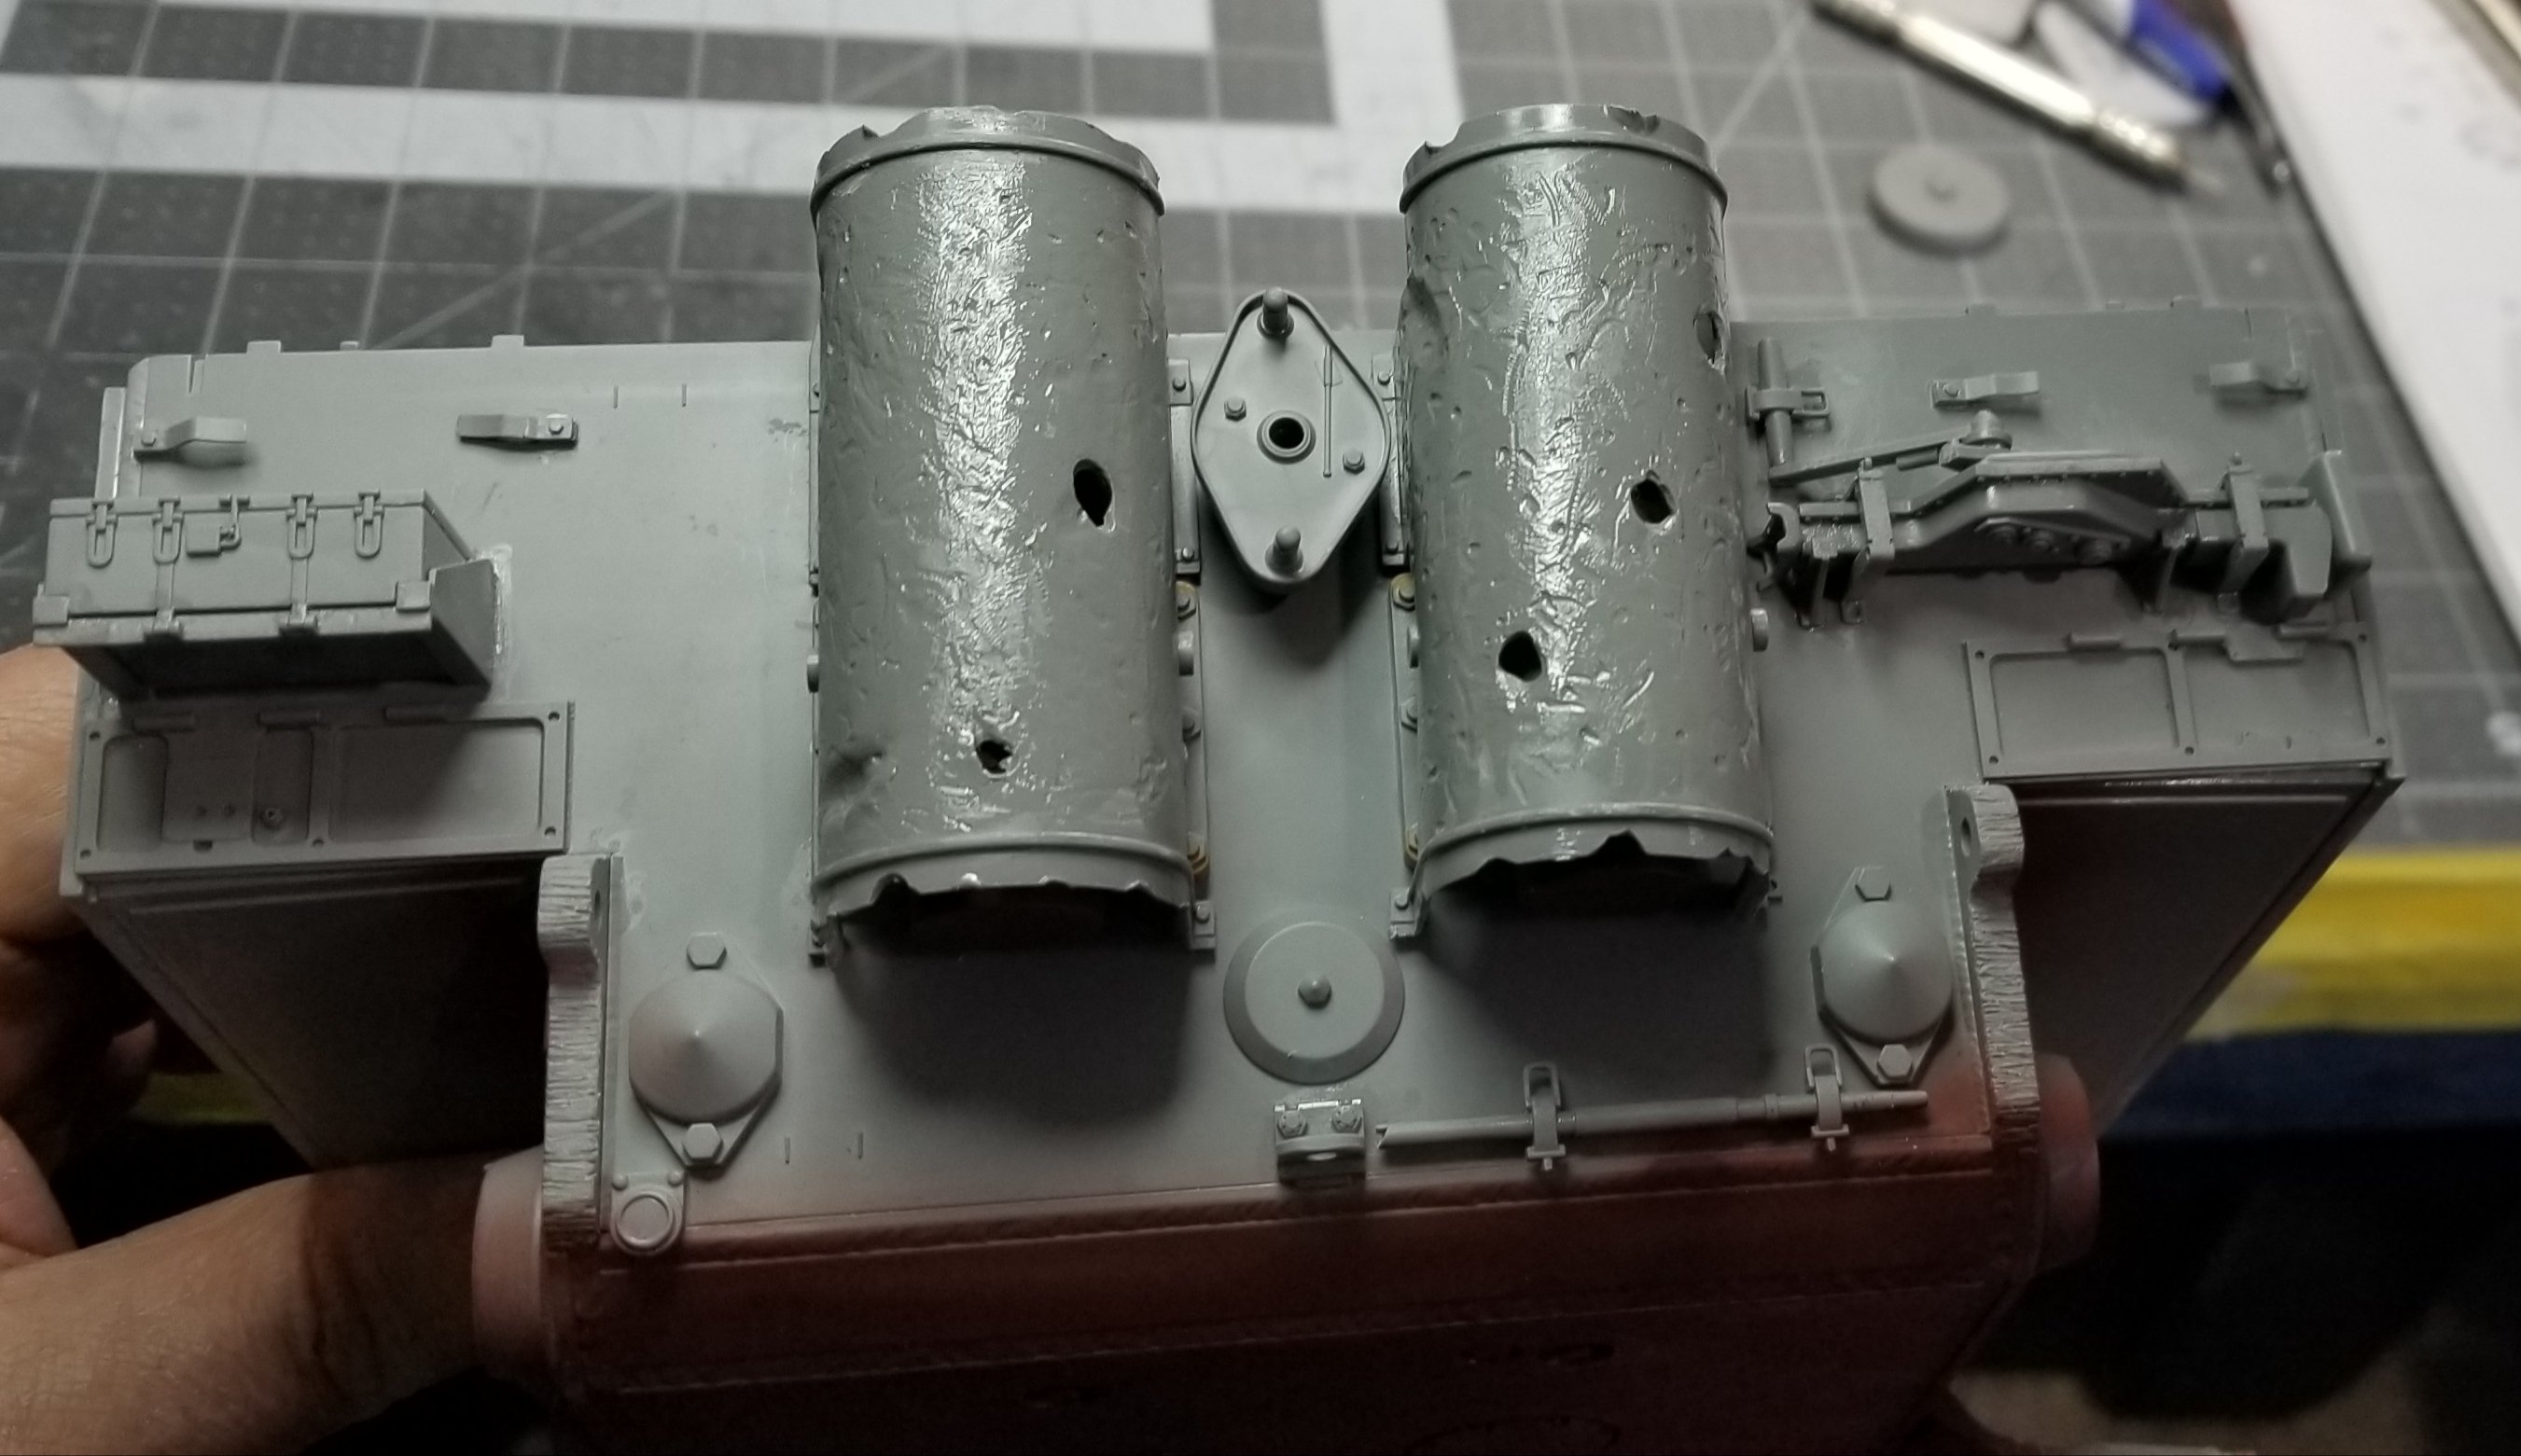
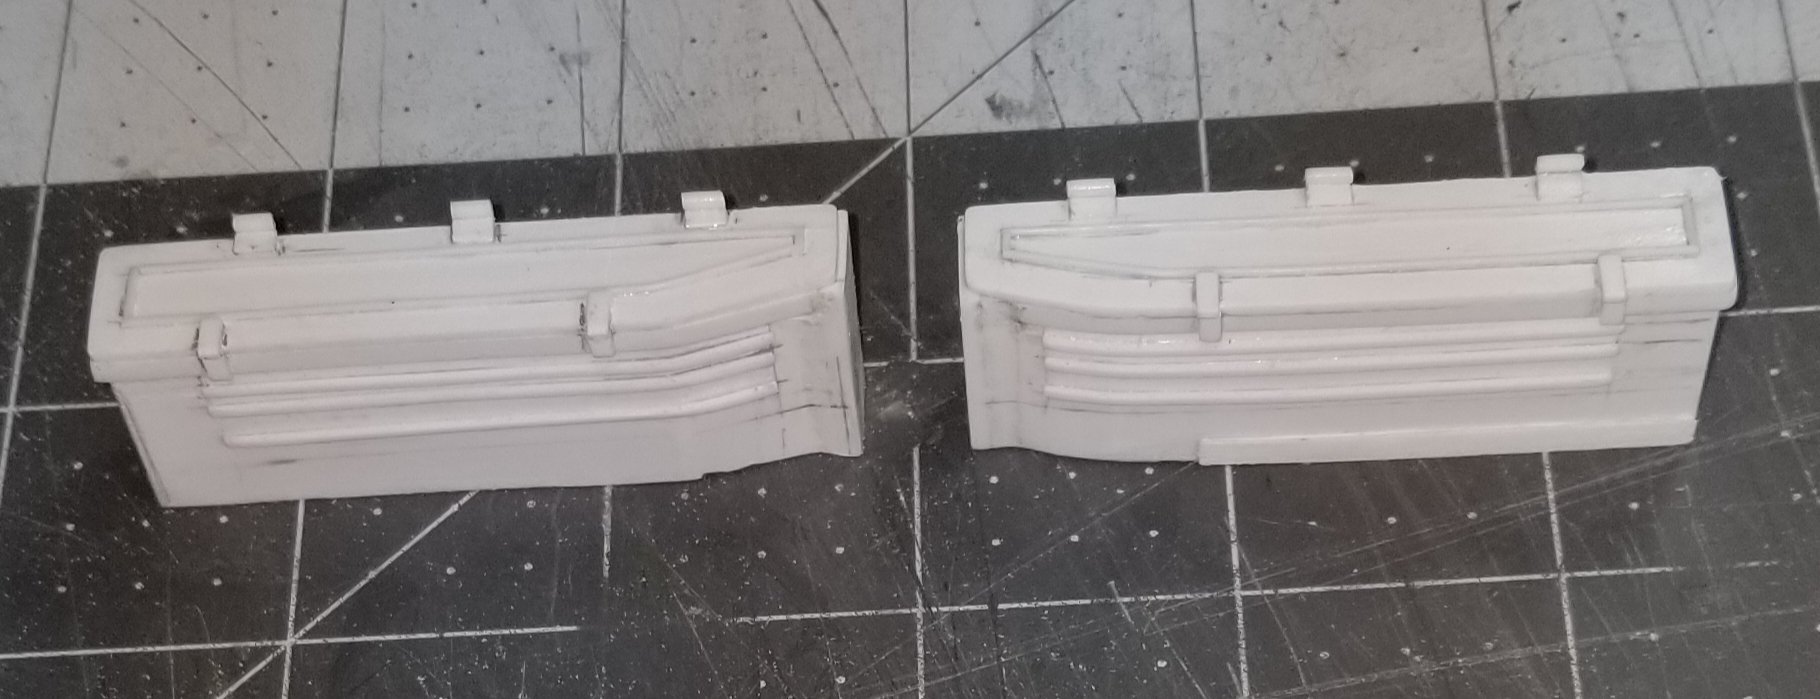
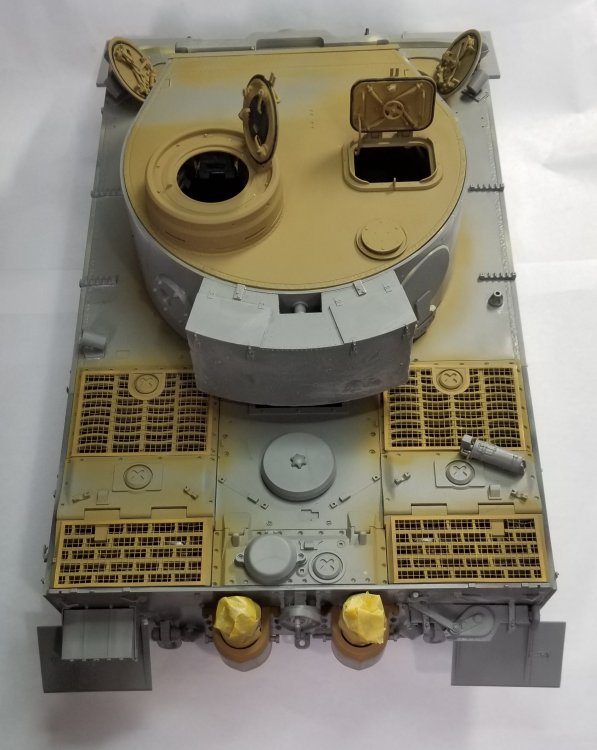
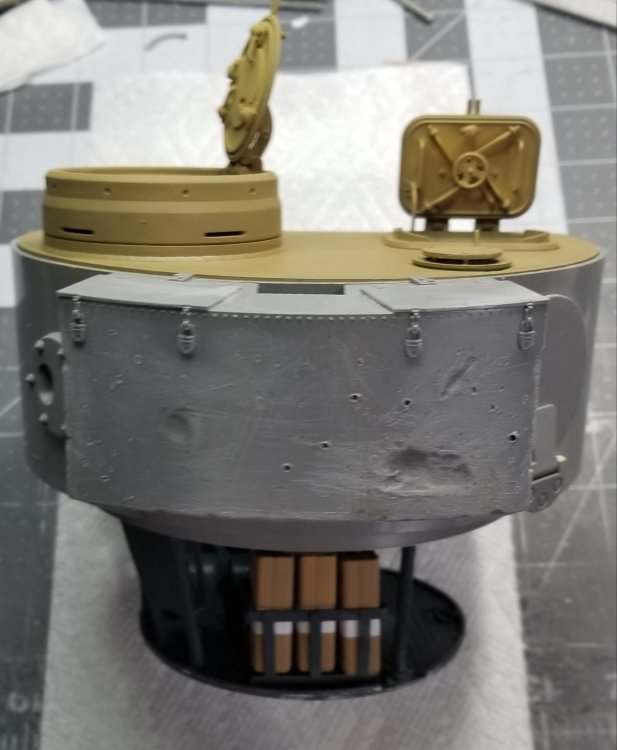
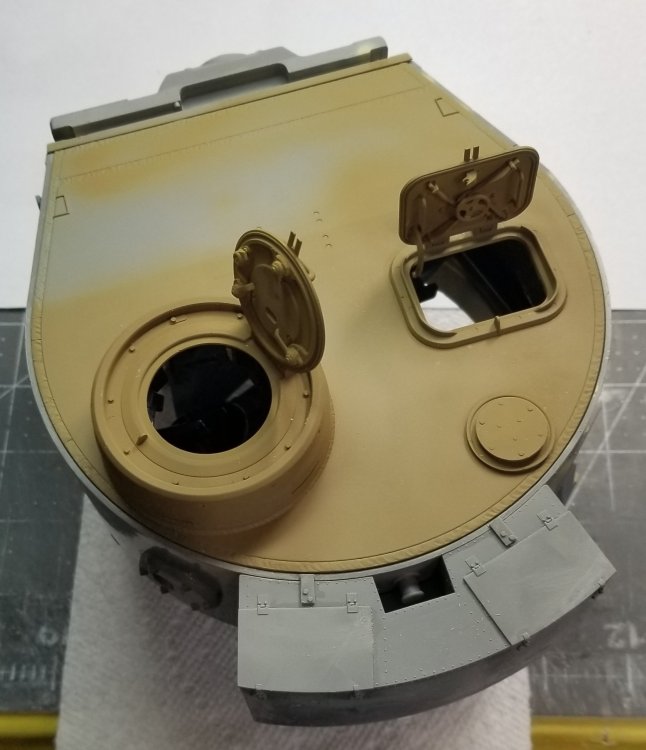
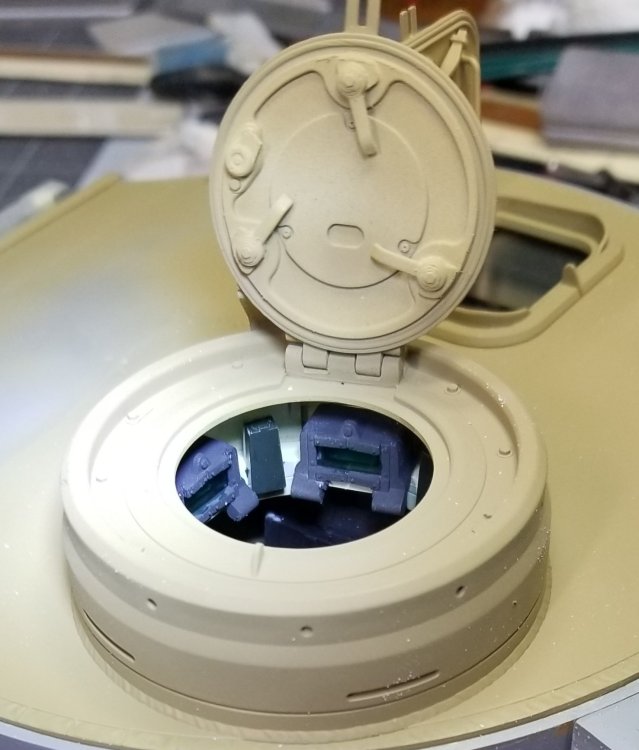
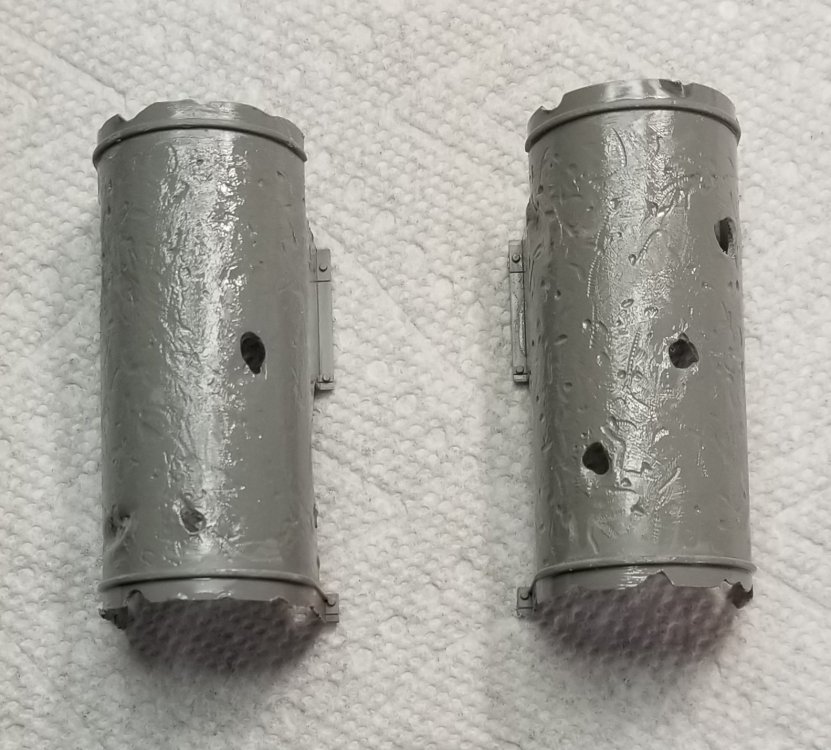
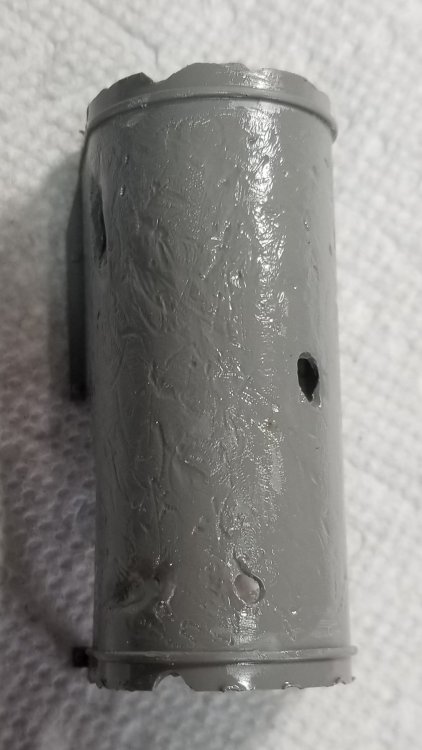
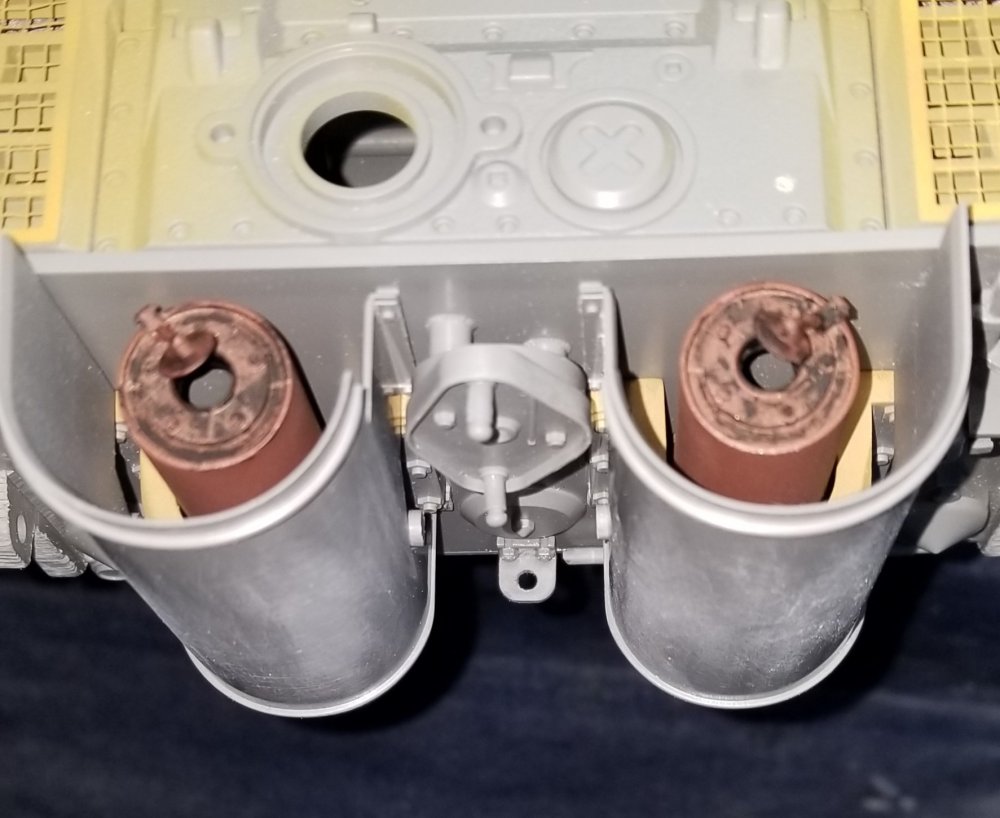
Hey all A little more progress on the Tiger. I have the turret bin mounted and beat up This view shows the top of the turret. I painted around the cupola so that when I add the camo I won't get paint on the optics. This view shows the inside of the cupola. I still need to do some detail painting on the hatches. This view shows the exhaust covers. I added some distress to them. This is the left cover. This is the right cover. This view shows them in place on the rear of the tank.


-
COOL! looking forward to it. Ron G
-
OK, Paul now that you have reached the end of your bucket list, when we going to see some builds?...lol😁 Ron G
-
Thanks guys
-
Hey guys Ok, I have the turret roof painted, all it needs is a coat of clear lacquer to prep for weathering. This view shows the details that I added to the turret roof. This view shows it painted, I need to psint the exhaust fan blue/grey. Another view of the same thing. Ron G

-
I hust saw this! So sorry to here about your situation Harv. I hope you get better soon. All my best old friend. Ron G
-
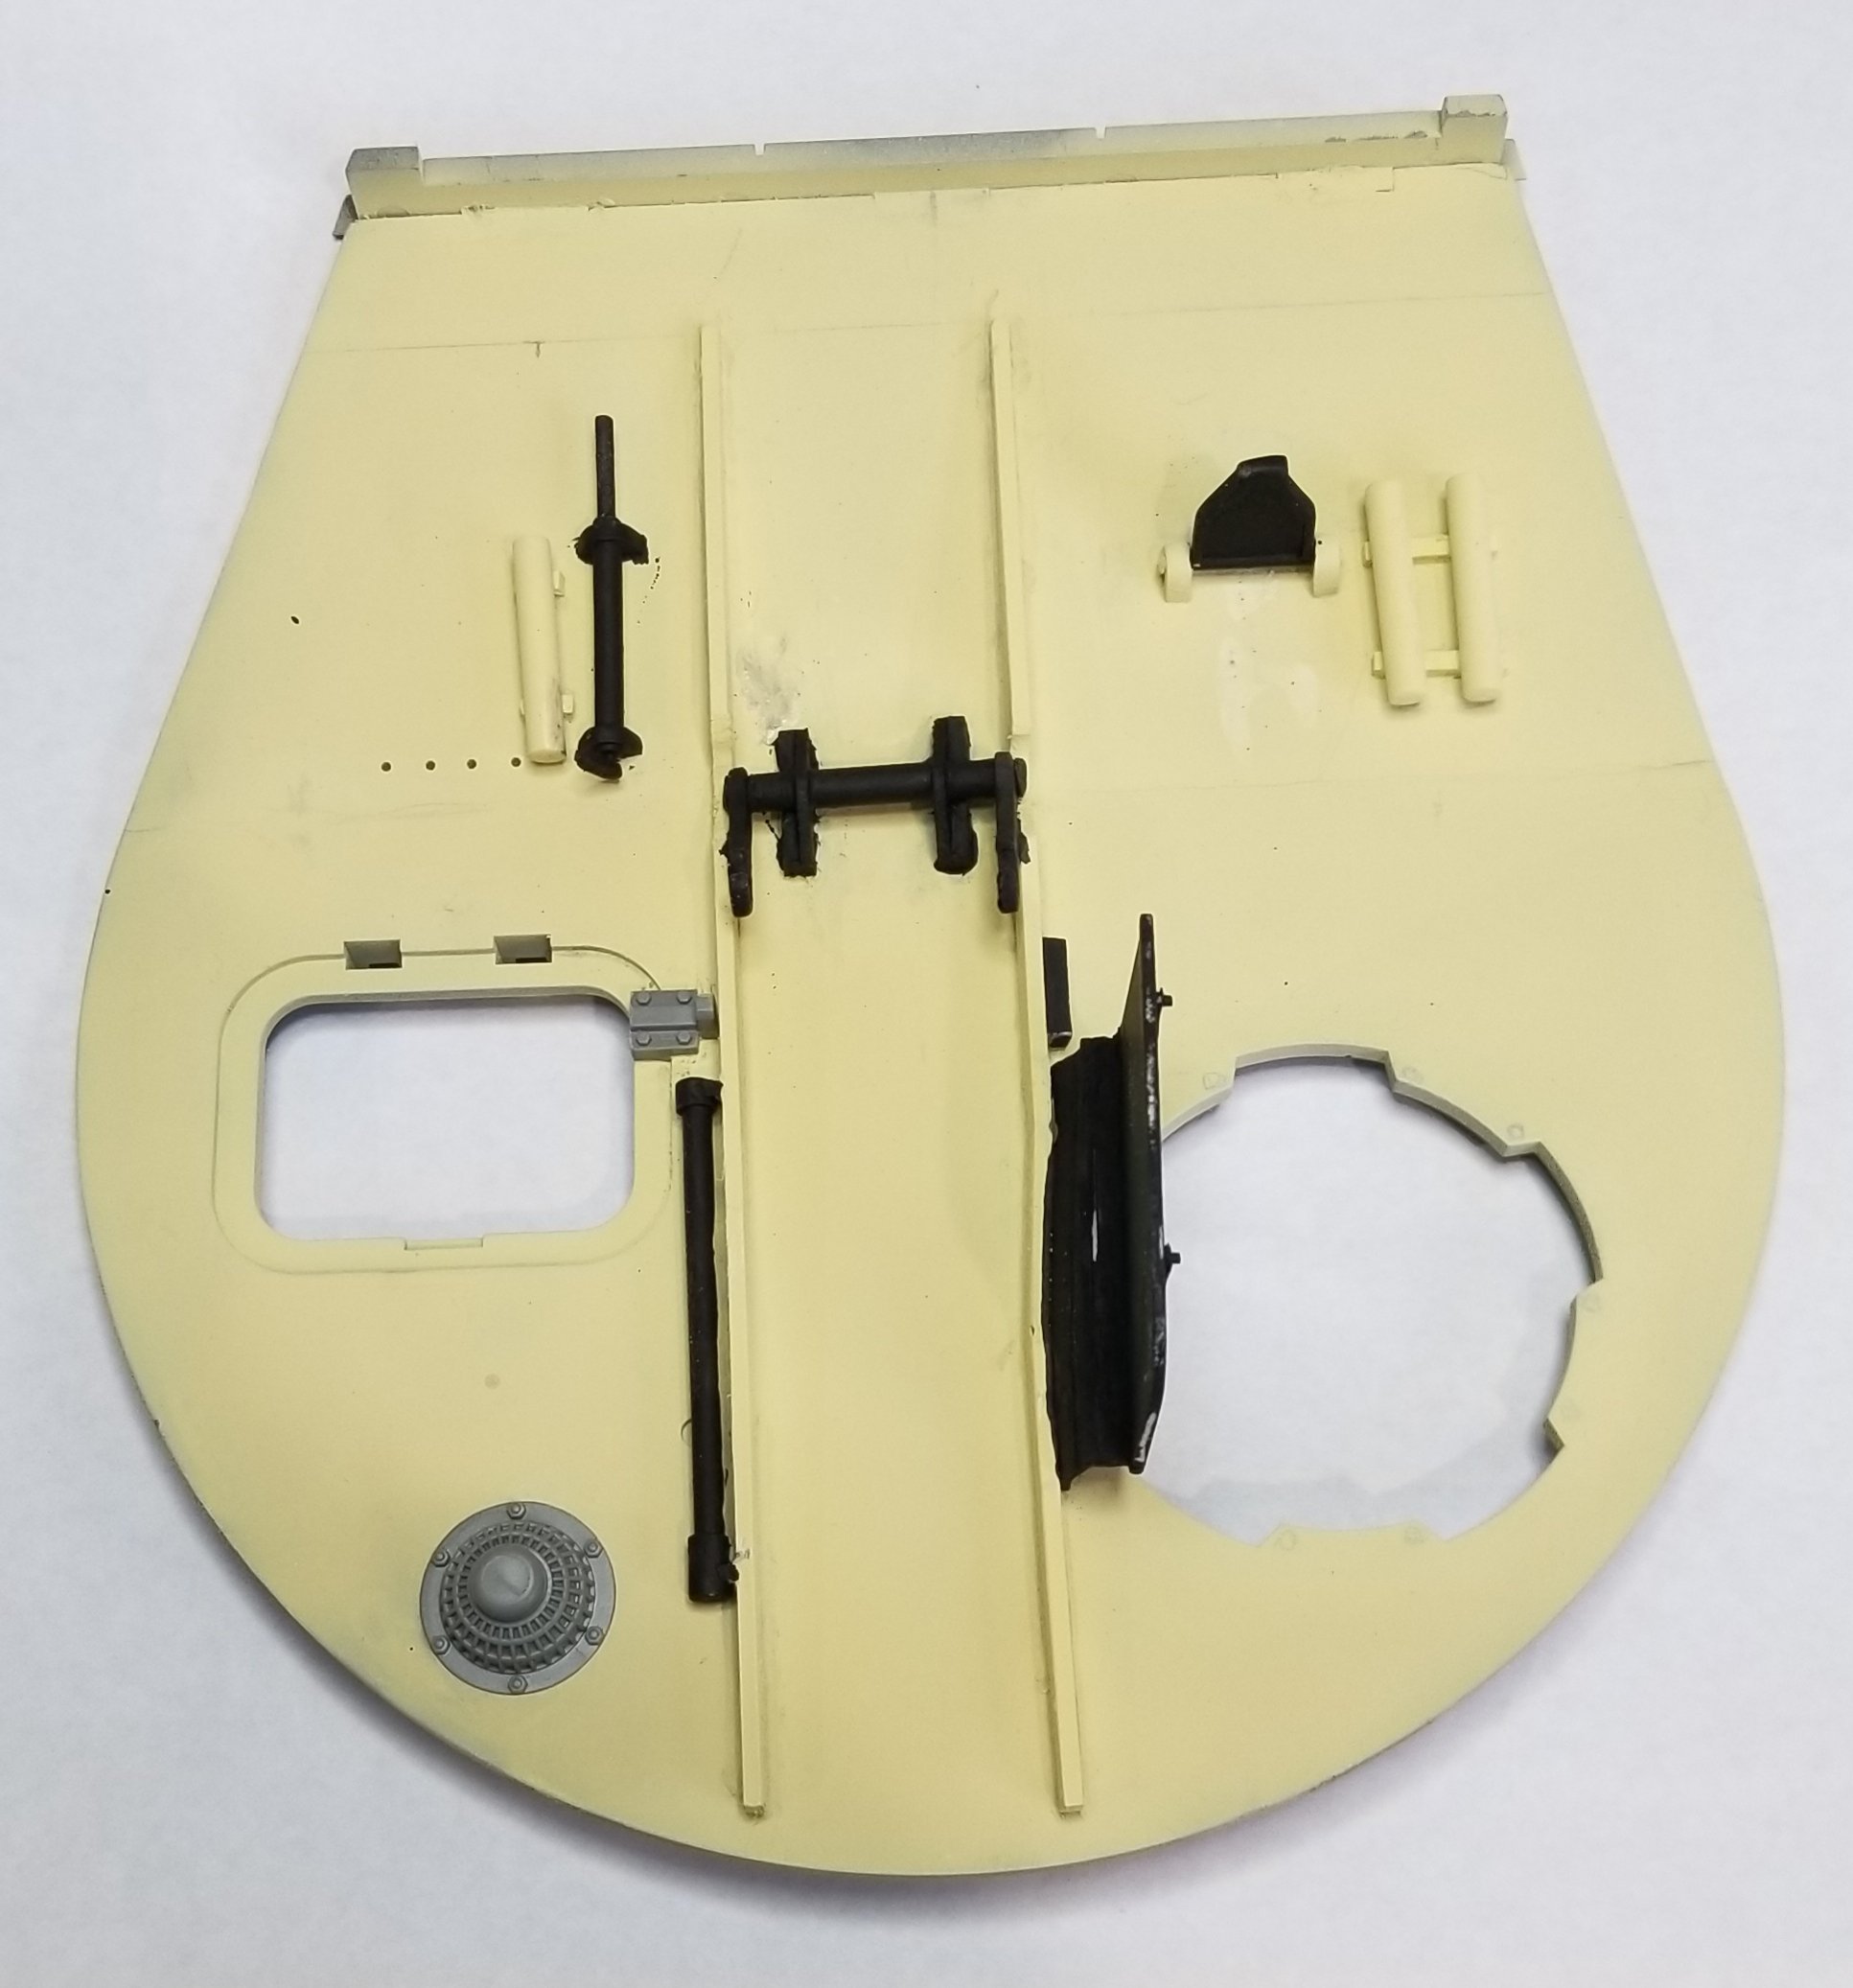
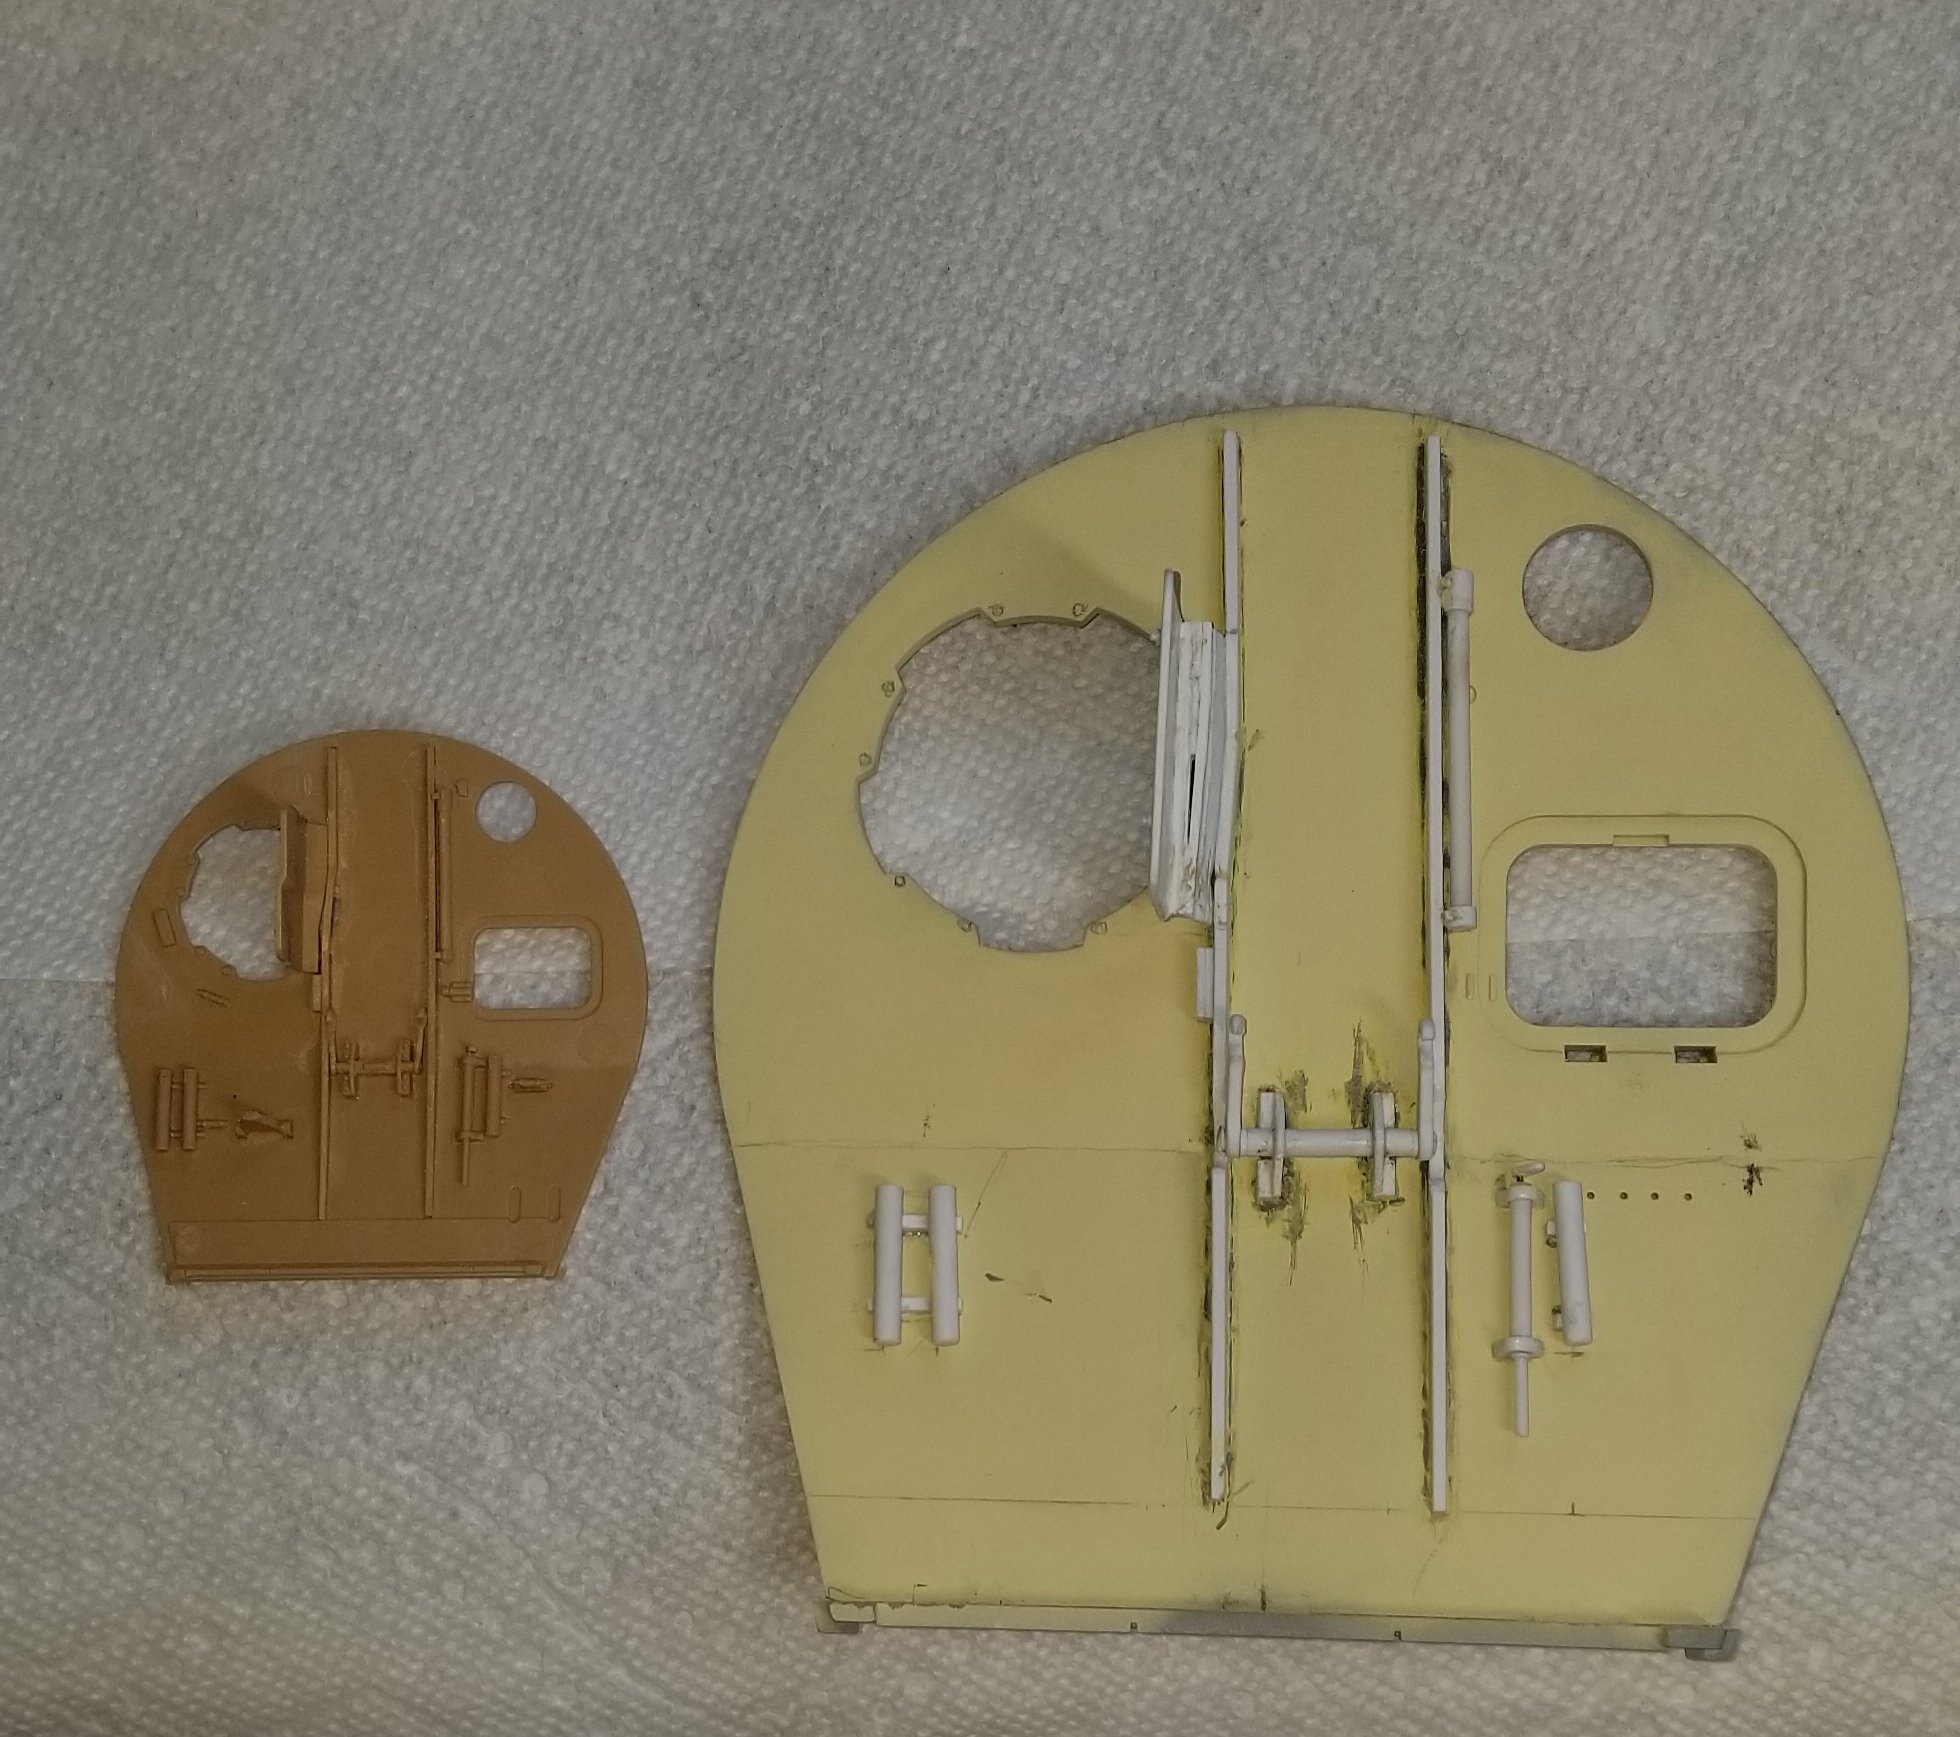
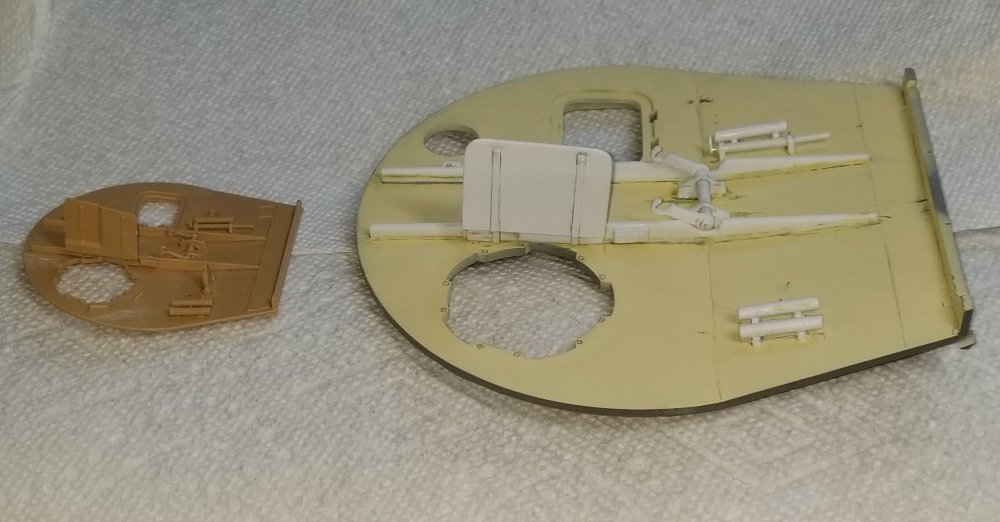
Hey guys Small update for you to look at. Since you all wanted me to make the turret roof removable, I did just that. This view shows the 1/35 scale turret roof on the left and the 1/16 scale version on the right. I have one more item to make and this will be ready for paint and weathering. This view shows the commanders protection shield. The 1/35 scale one on the left and the 1/16 scale one on the right. Ron G

-
Hey Carl I'm not 100% sure that this is the case, but it makes sense to me. These were painted at the factory but if you tried to paint one of these, even at the factory those areas would be very difficult if not impossible to cover. You would just have to relay on the red oxide primer to do its job. Now if your in the field it would be even harder to paint those areas. Painting model tanks after everything is glued together may be fine on 1/35 scale models, but it's not possible in 1/16 scale, the model is just to big and heavy and difficult to manipulate around to paint. That's why I'm painting separate parts and then assembling it. I'll still do some painting after assembly, but mostly just touch up stuff. Ron G
-
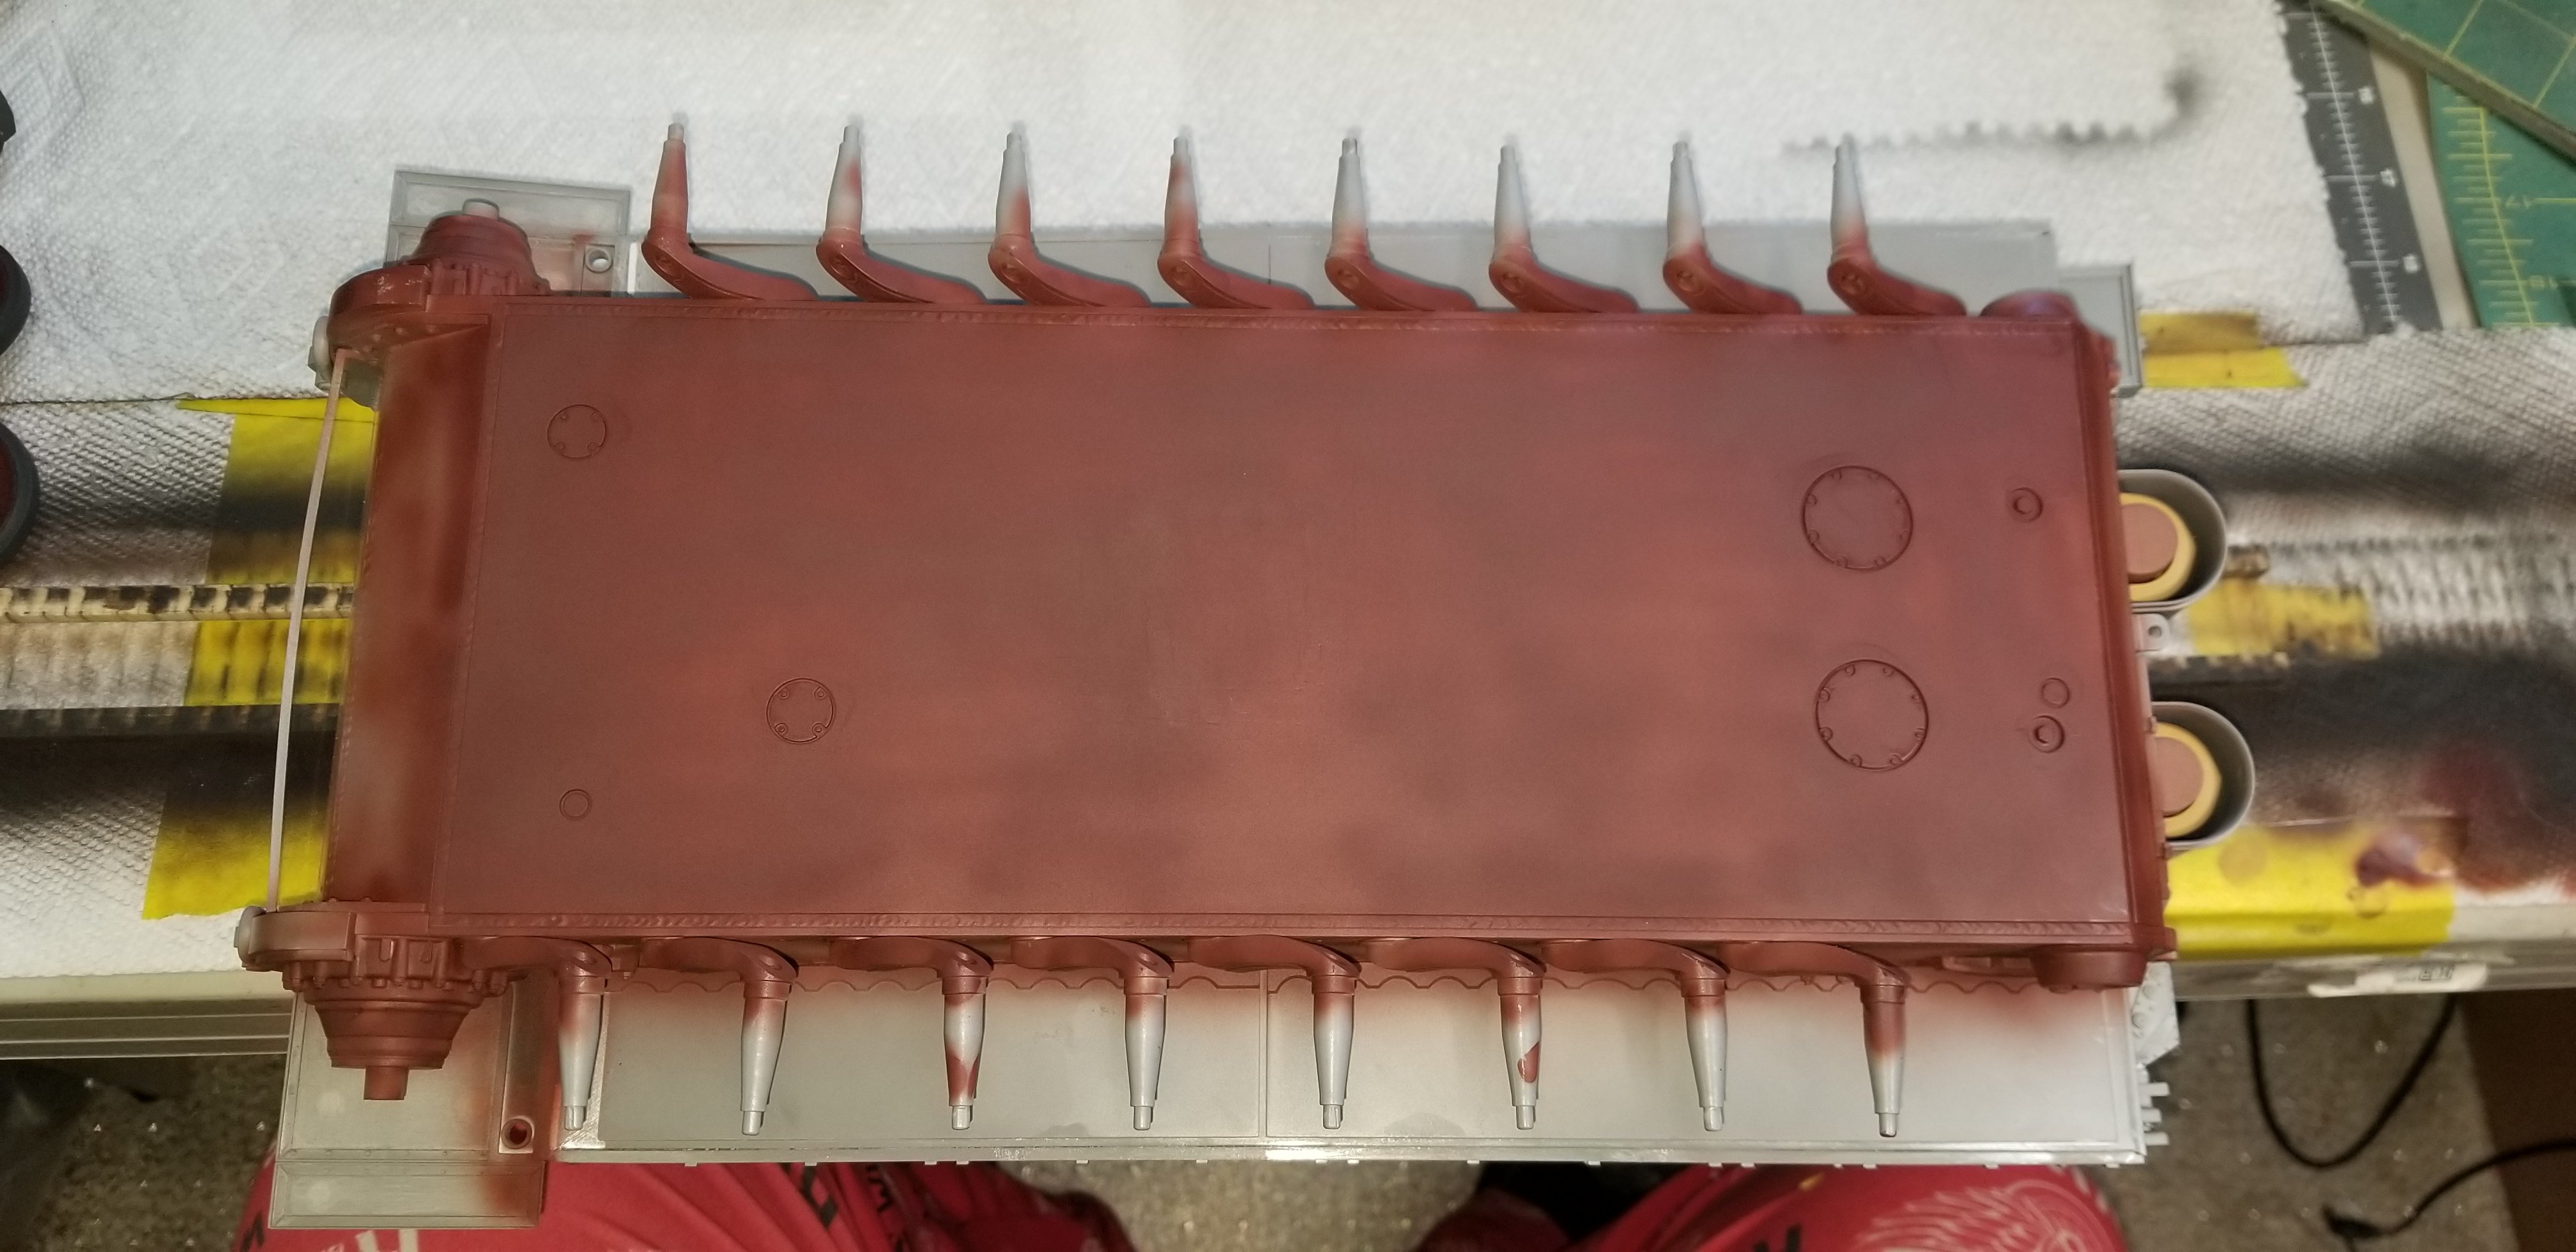
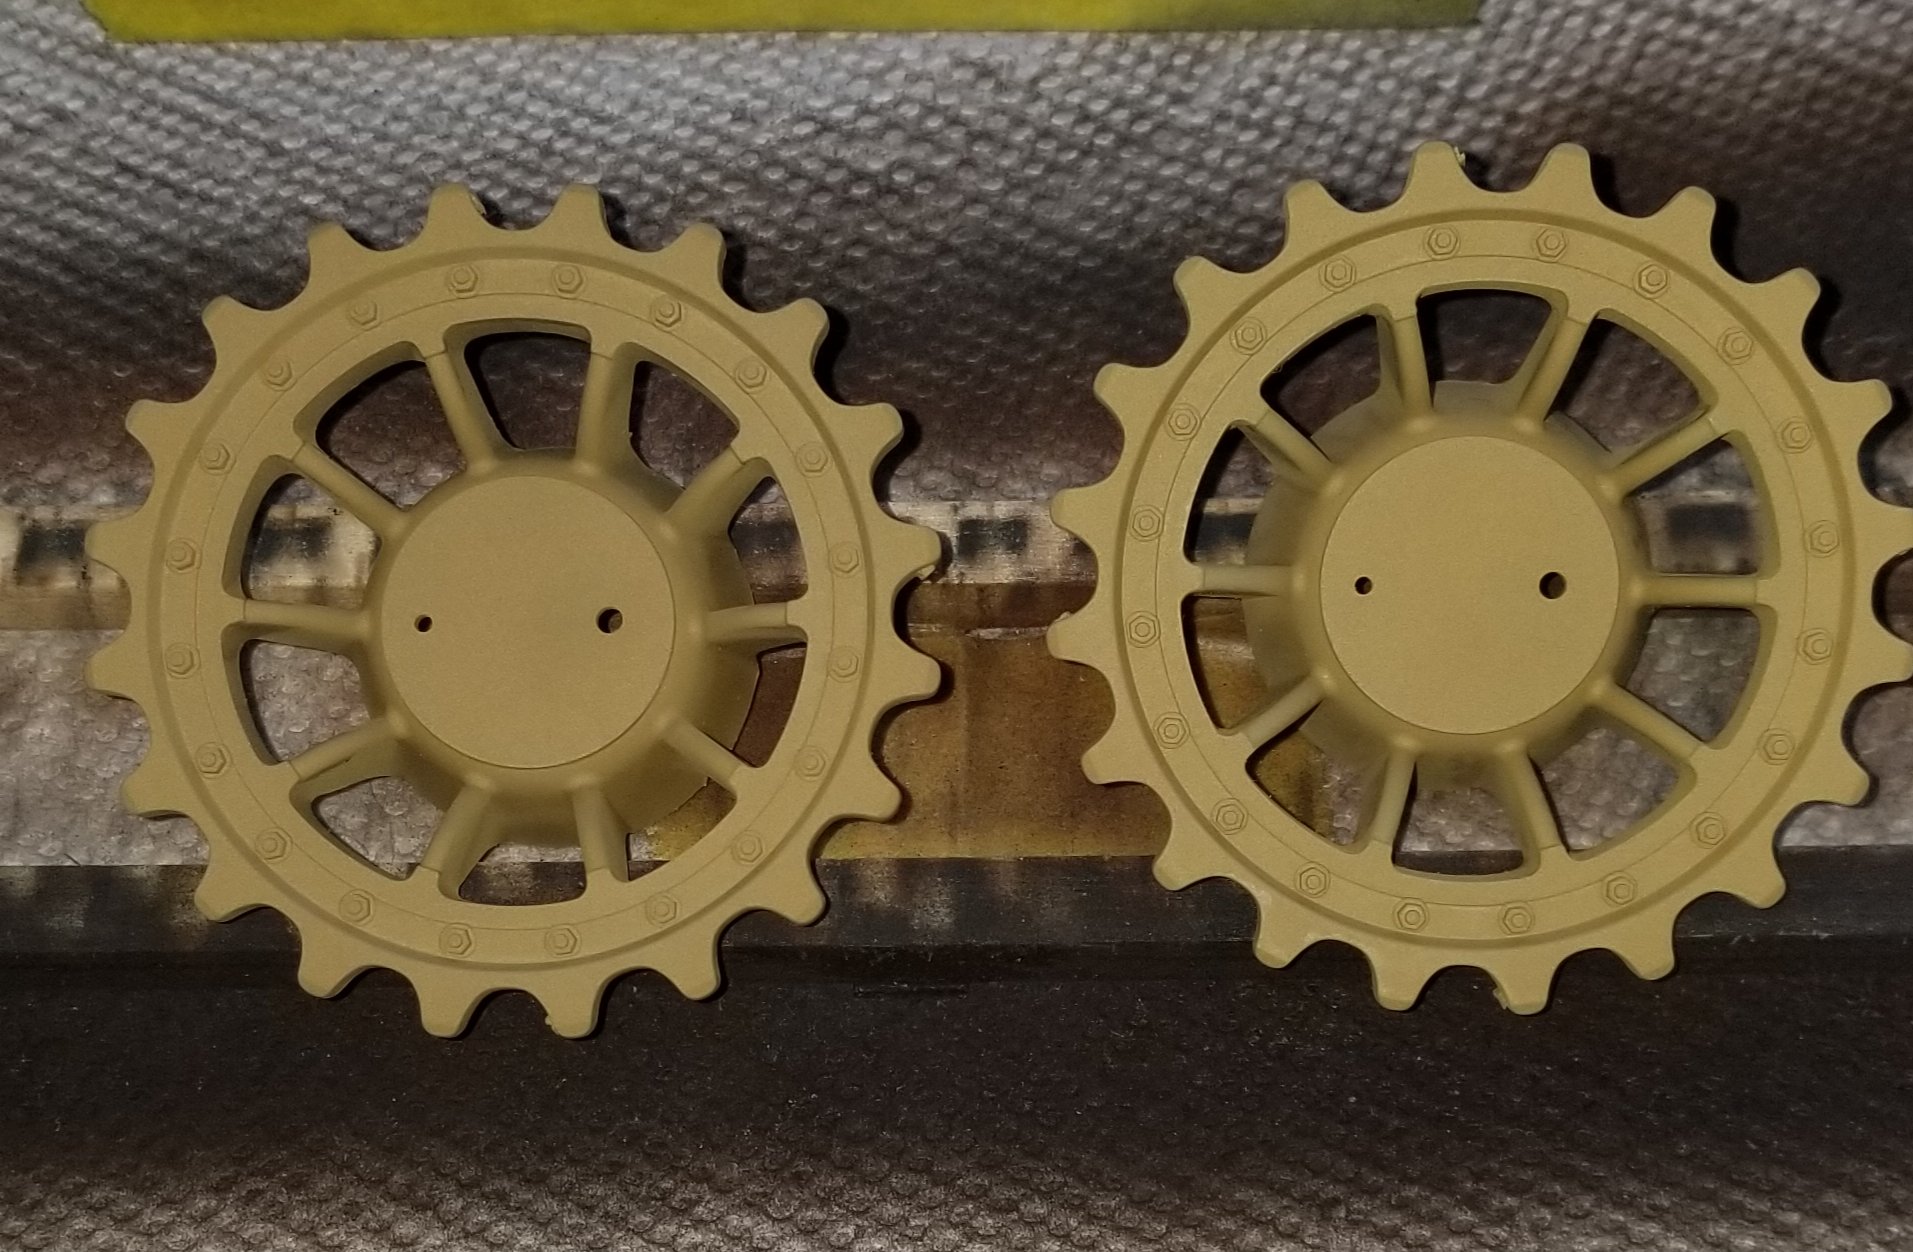
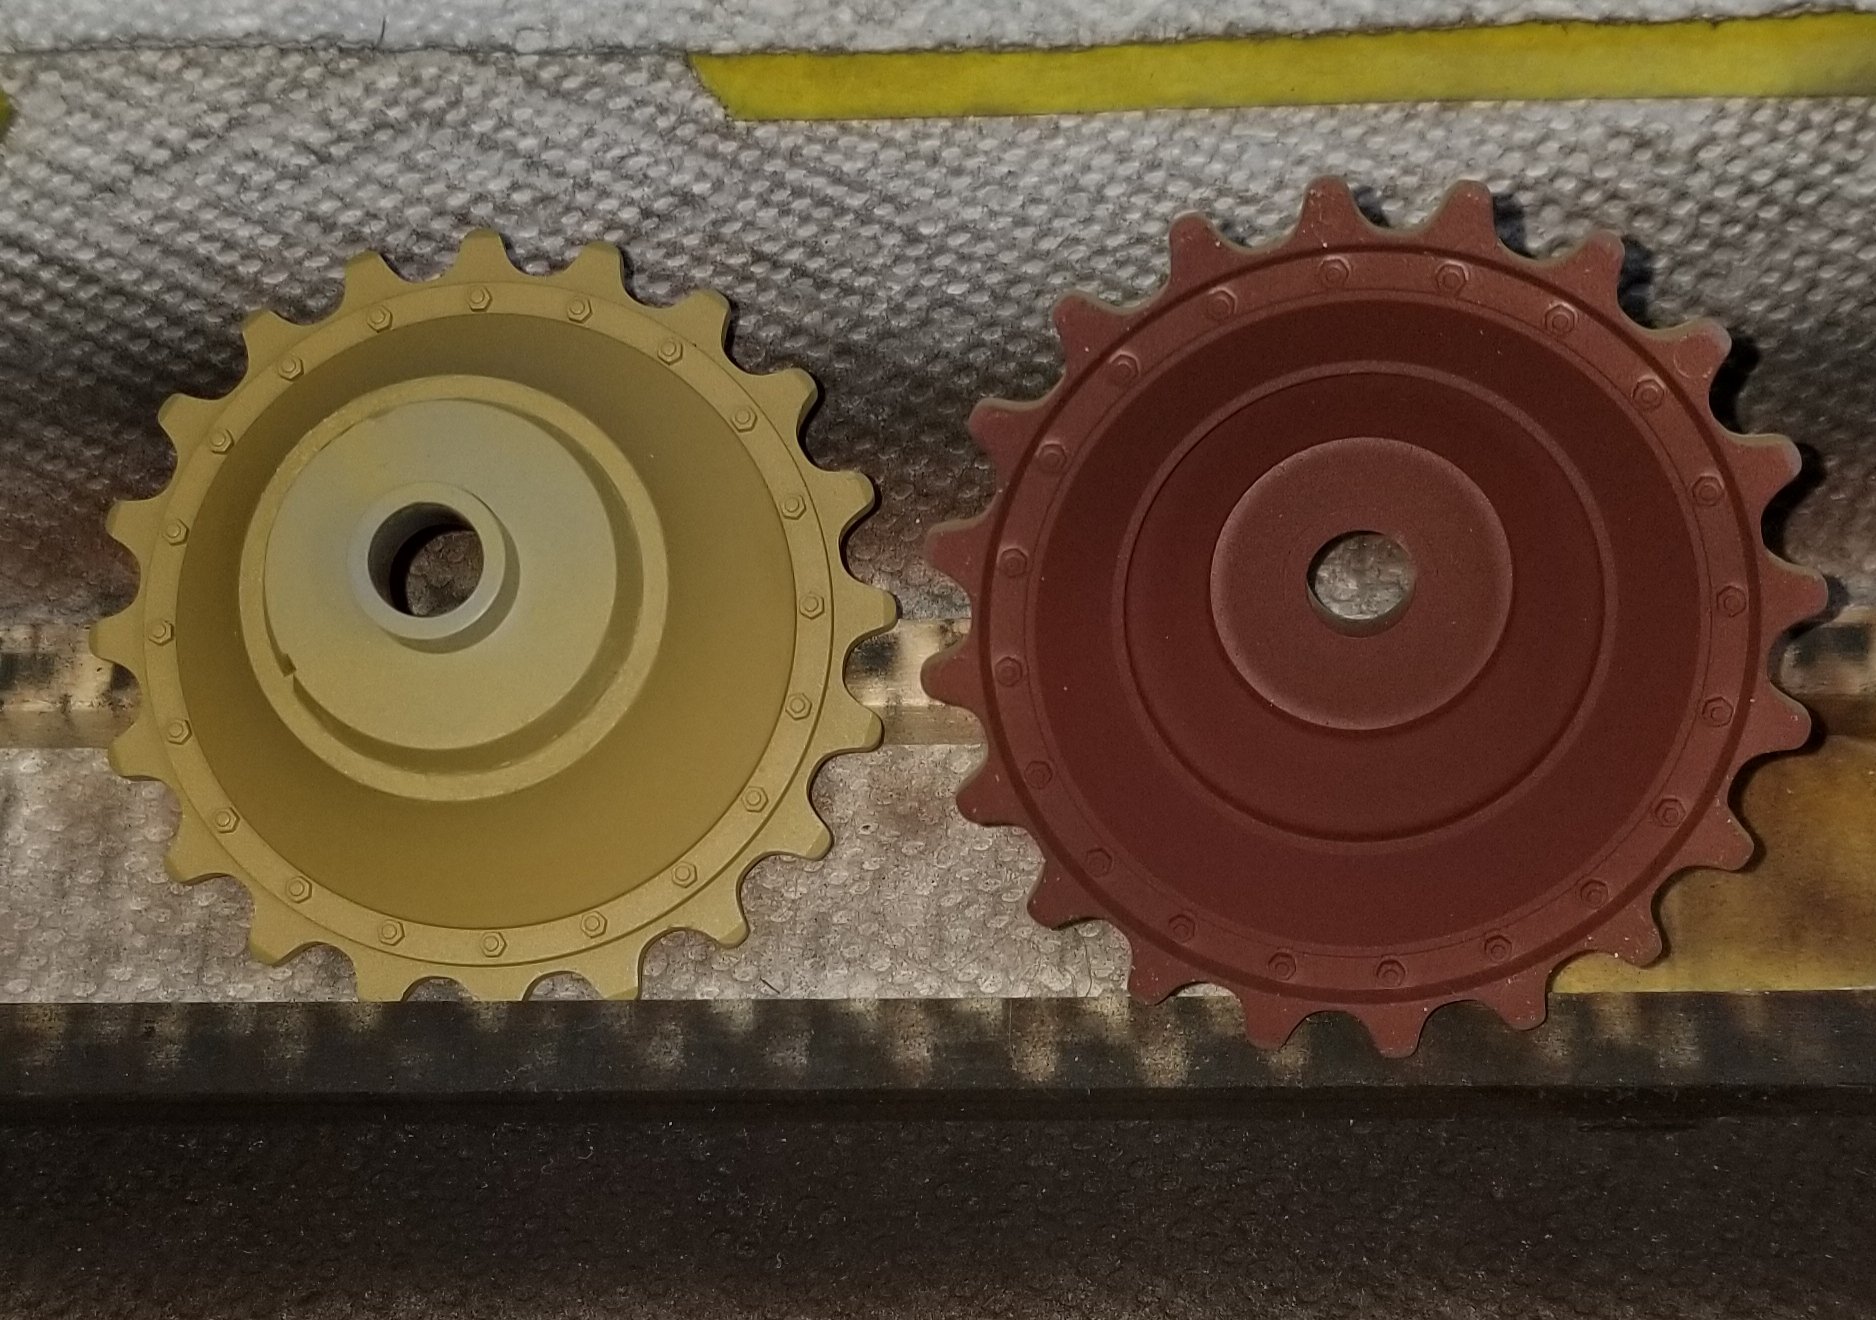
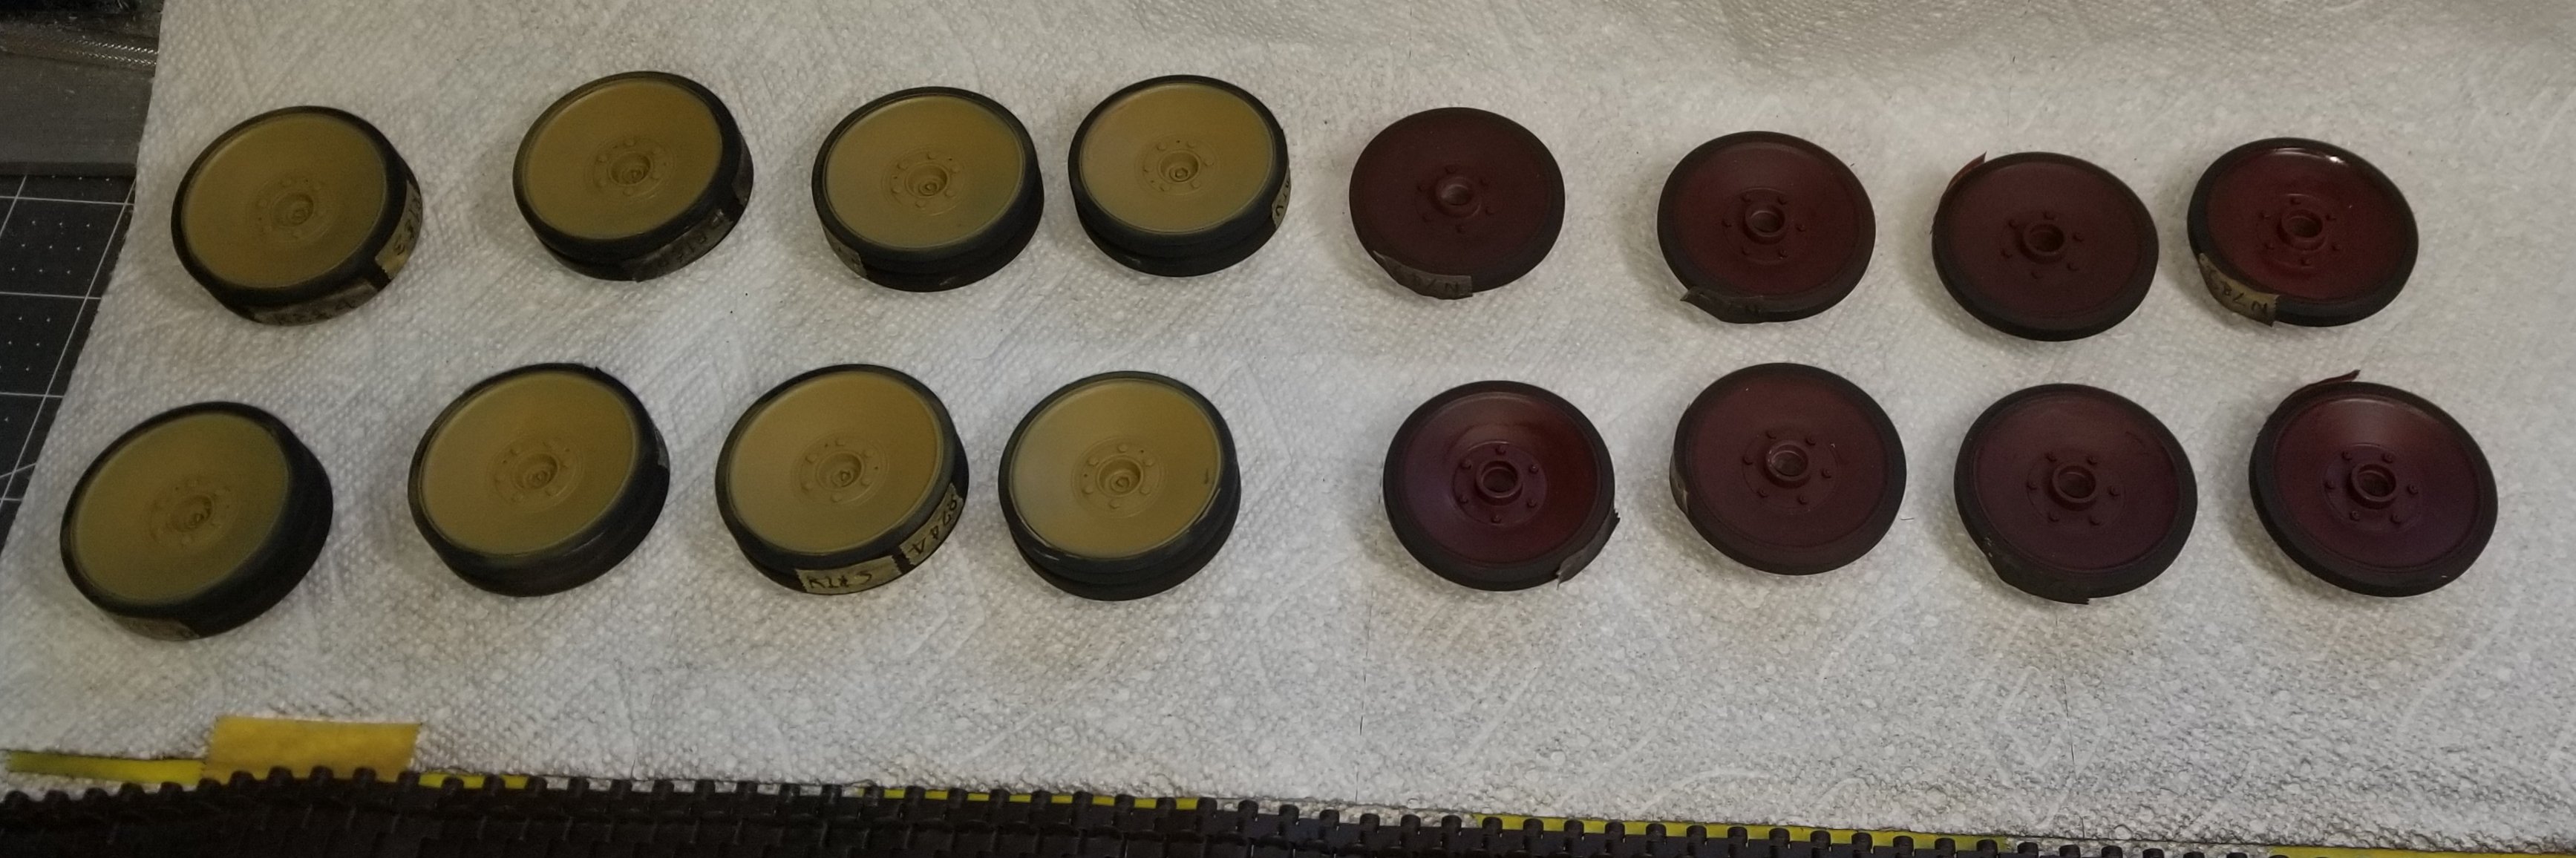
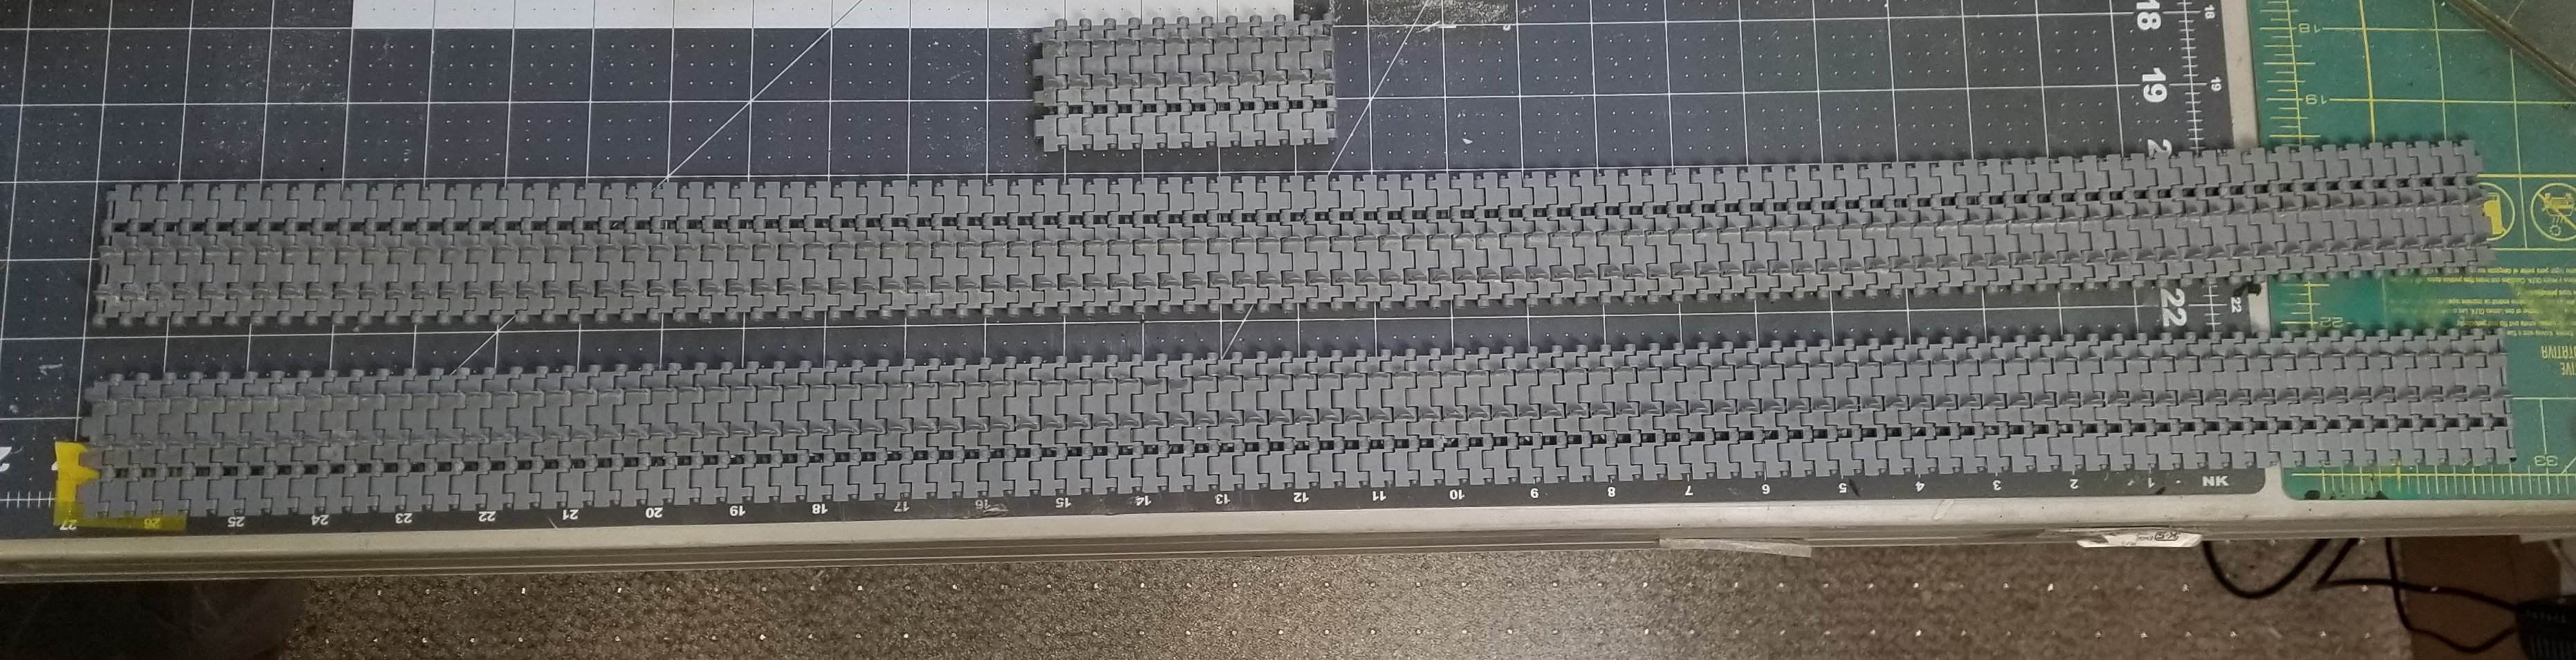
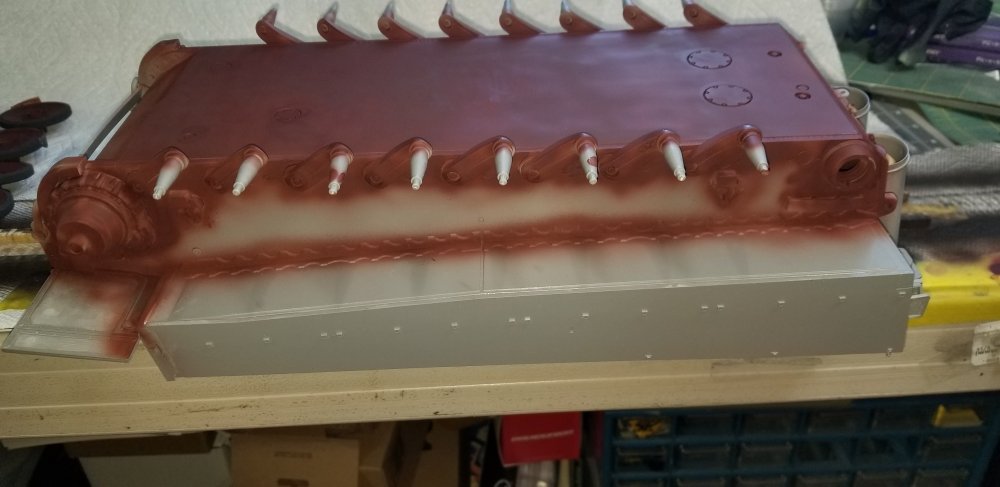
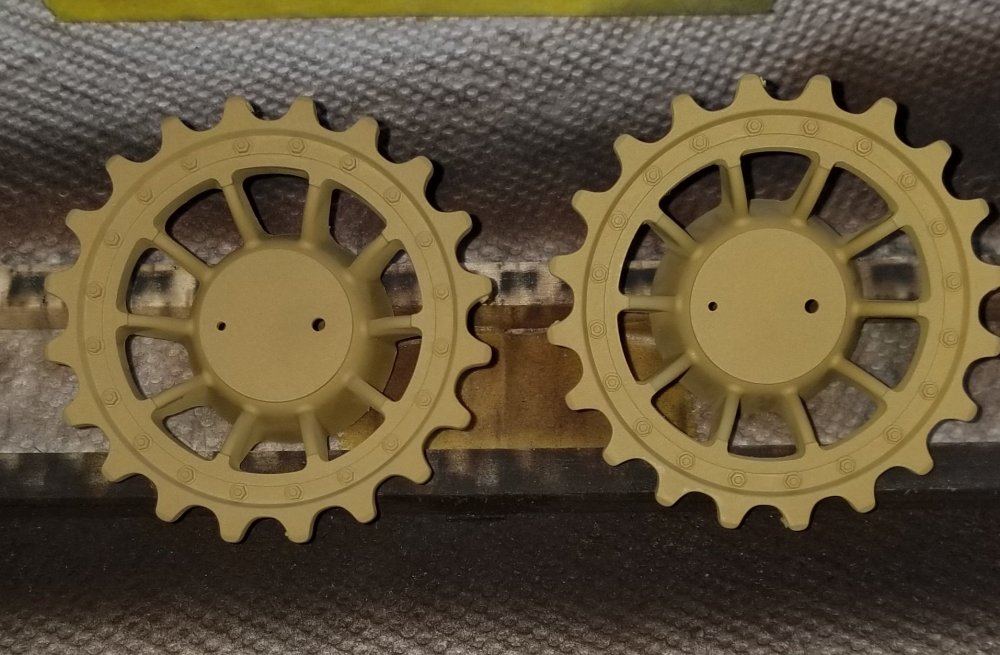
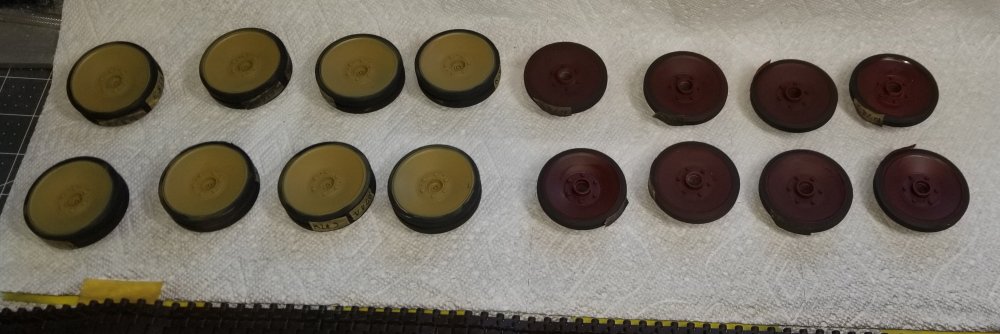
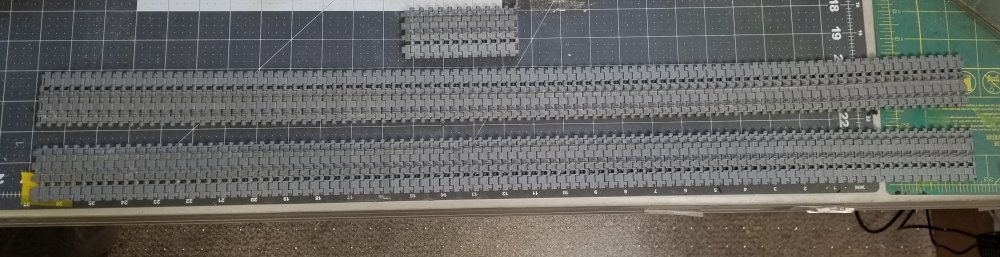
Hey all I made some major progress today on the Tiger. I now have the lower part of the hull painted in red oxide primer, just on the edges where they wouldn't have been able to paint with the camo paint. I have the tracks painted in a light coat of track color (my own mix of Tamiya paint) and coated in clear lacquer in preperation for weathering. And I have all of the wheels, sprockets and idlers all painted inner side and outer side. This view shows the bottom of the hull covered in red oxide primer. This view shows where I painted the areas with red oxide primer thet would not have been able to be painted with the camo paint. These are the parts for holding on the outer wheels. The two on the right that are different are from AFV Modeller if I decide to leave the very front outer wheels on both sides off. Outer part of the sprockets. Inner part of the sprockets. Left is facing out right is showing the rear side. This view shows the idlers back and front. These are four of the most inner wheels back and front. This view shows the pair of wheels that go between the guide horns on the left and the outer side of the outer wheels. This view shows the other wheels both front and back. Same thing just the other sides. This view shows the tracks painted track color, this is just the base coat for applying the weathering. My index finger is worn out from airbrushing all day. well that's it for now be back with more updates soon. Ron G


-
Hey Carl Make sure you make some kinda jig, like I did, to set the tracks on with the guide horns down or you will rip them off when painting and weathering them. I lost 5 of them even with my jig, so BE CAREFUL! Ron G
-
1/32 Trumpeter P-47D Razorback "Bonnie"
CrankyCrafstman replied to Mo_GSP's topic in LSM 1/35 and Larger Work In Progress
Welcome to the site. Great start. That paint job looks like it's going to be tricky, getting those natural aluminum surfaces on the cowl. Ron G -
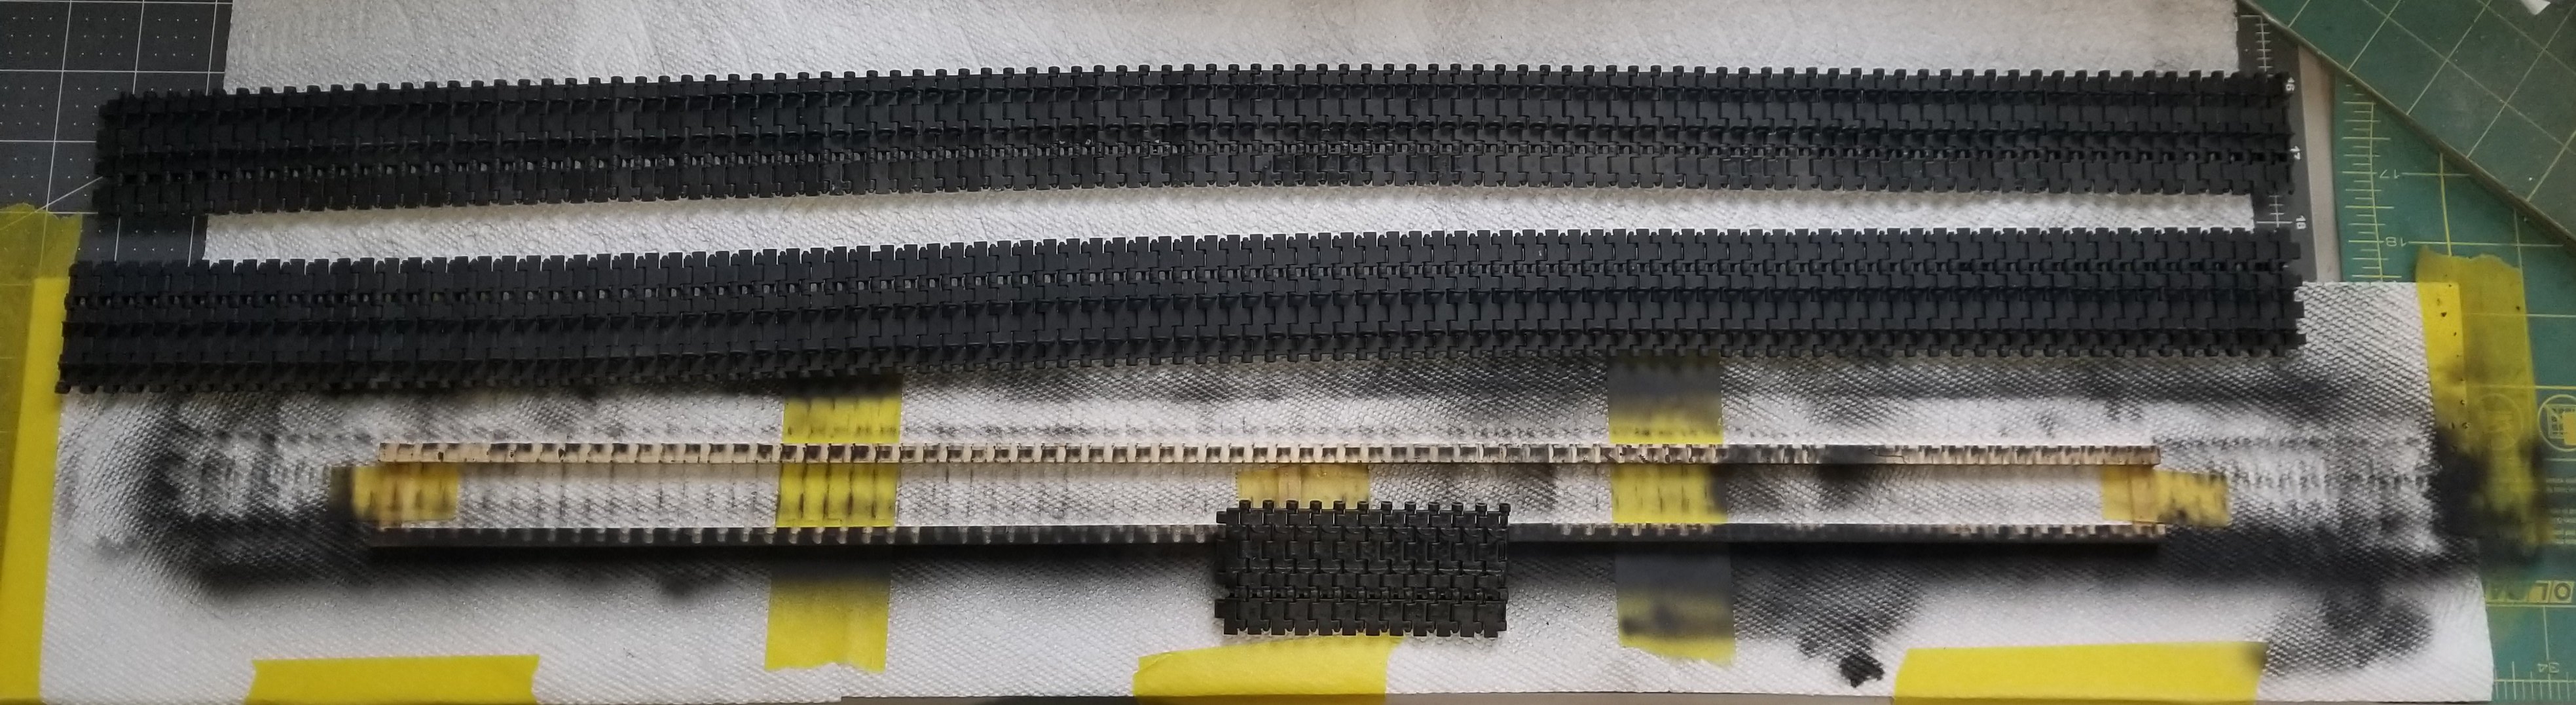
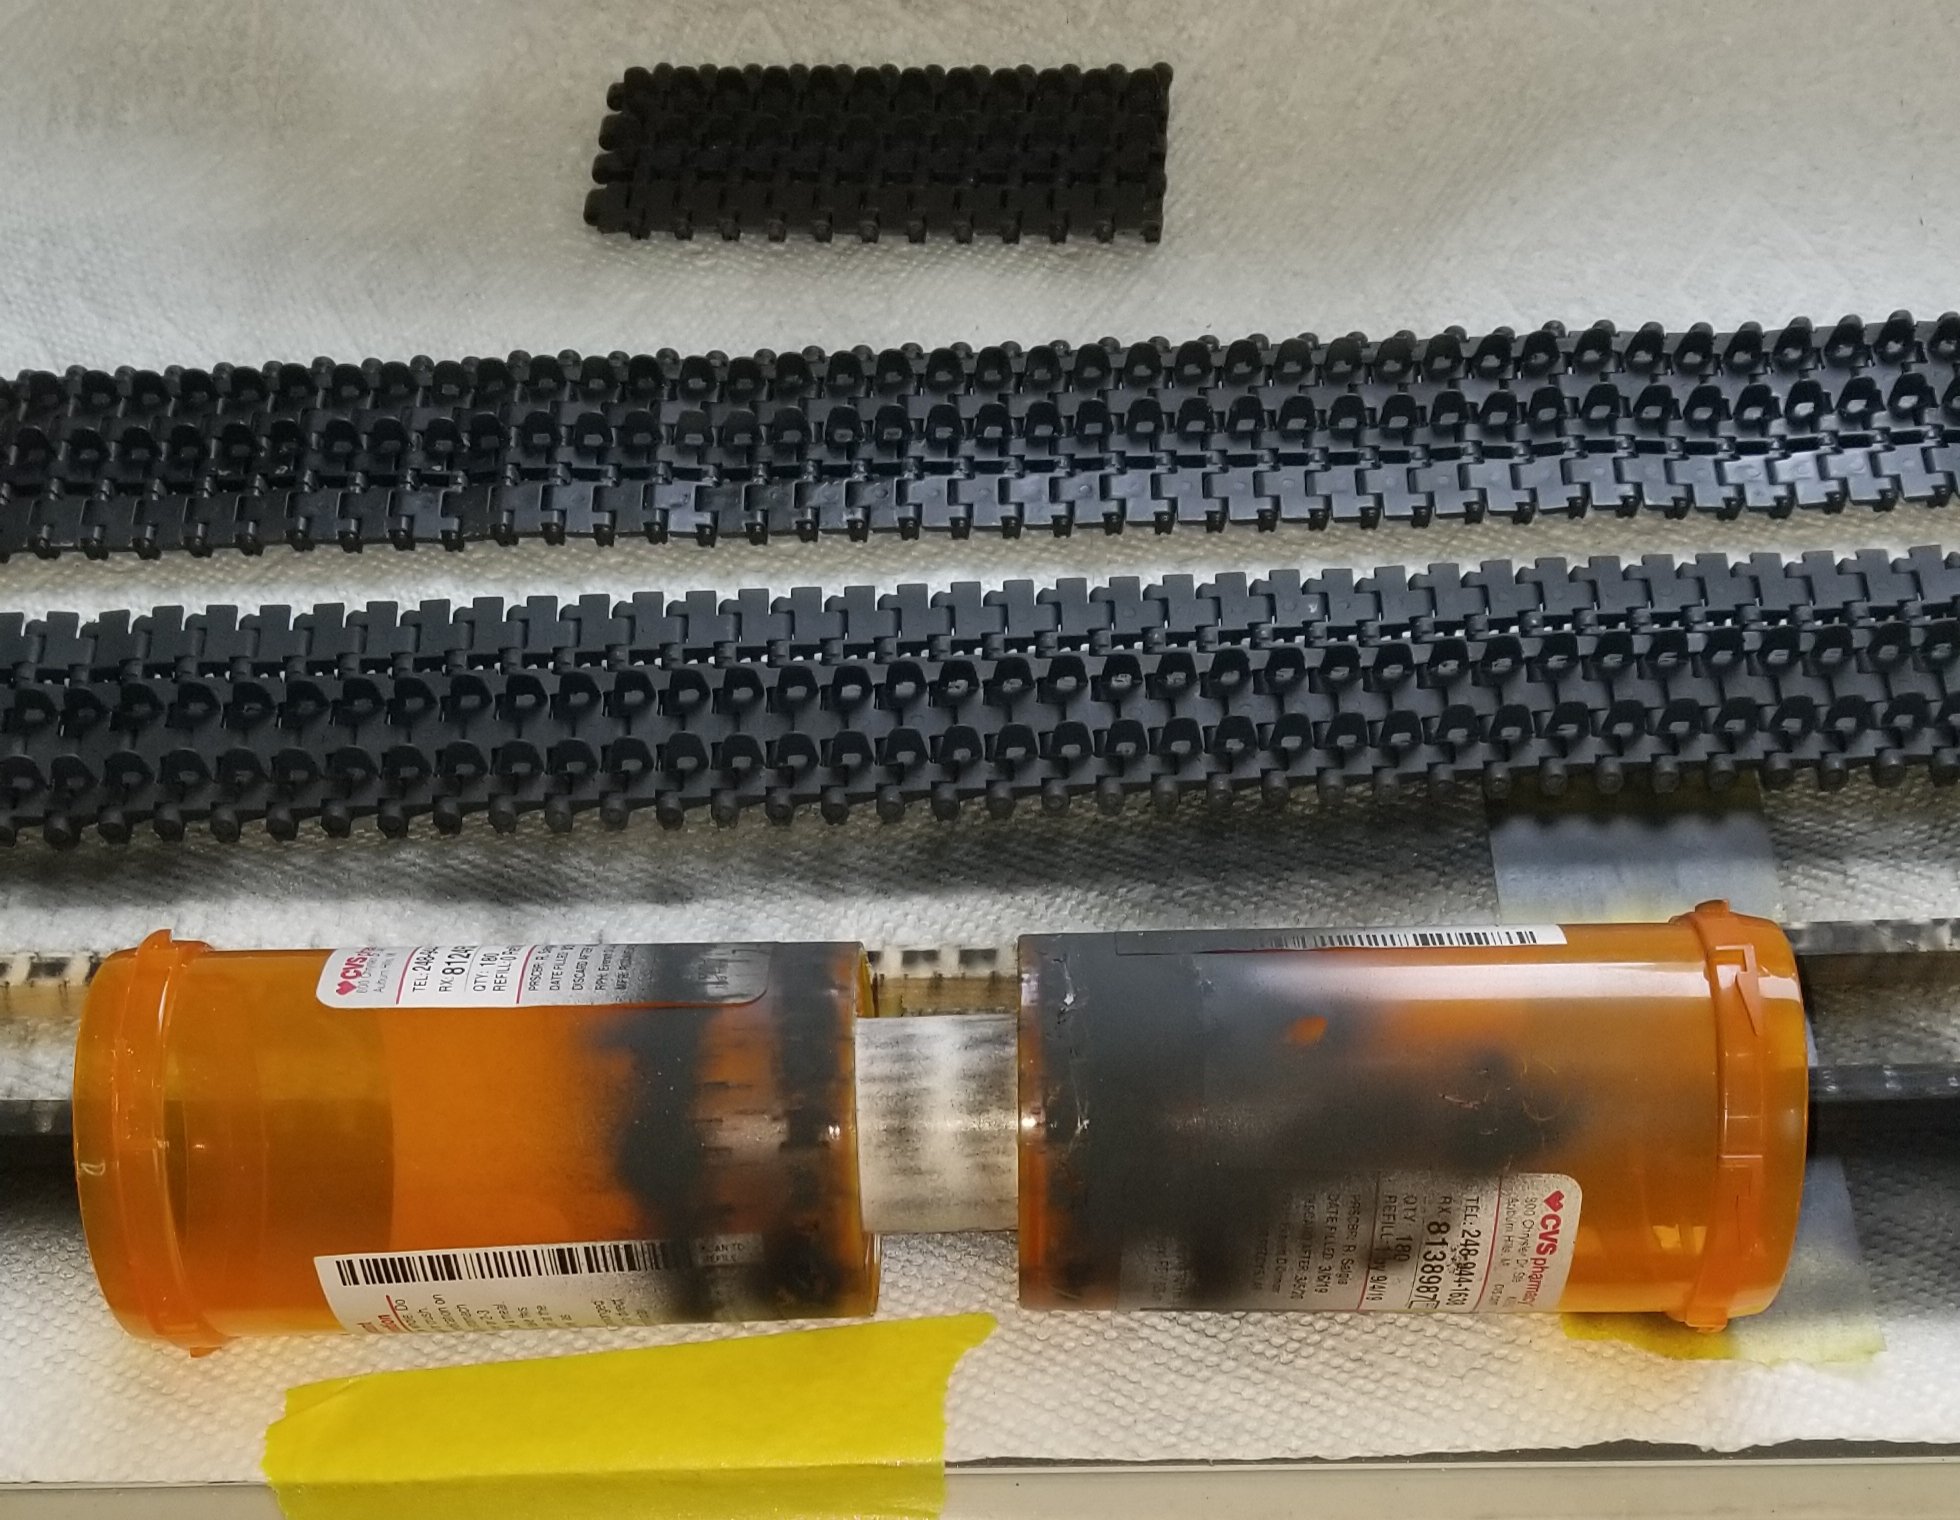
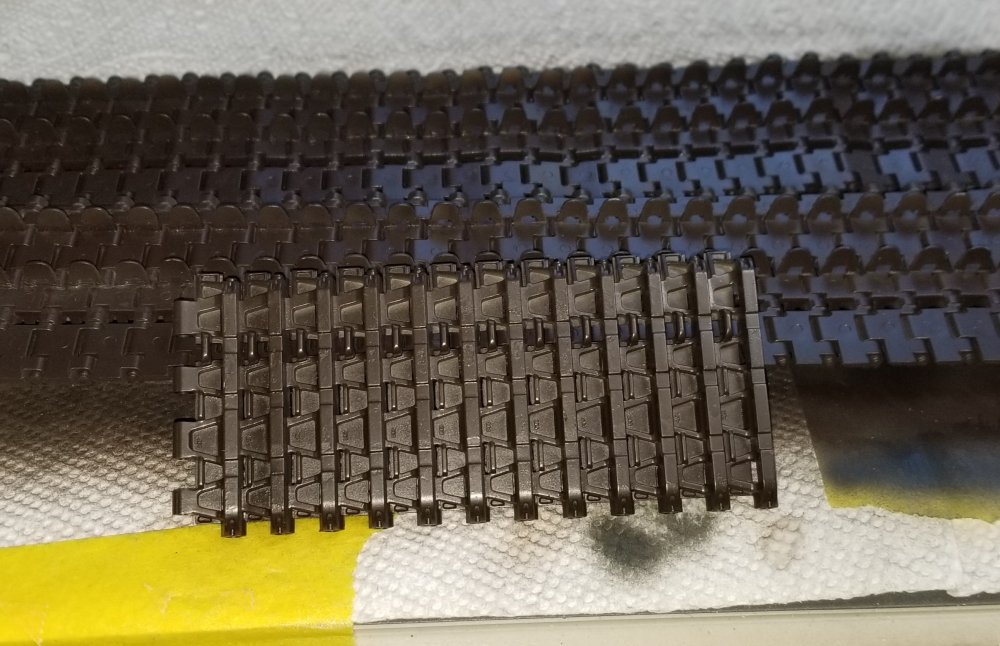
Hey guys Small update for you to look at. I got the tracks primed with Tamiya nato black. This view shows both tracks painted with Tamiya nato black, also I made a jig out of wood to keep from ripping off the delicate guide horns when painting and weathering. This view shows the jig I made out of some pill bottles so that I could bend the tracks around them to paint into the cracks, so to speak. I need to dust them with my track color made from Tamiya paint. Then I need to coat them with some clear lacquer to protect them from the Ammo by Mig enamel washes. Ron G


-
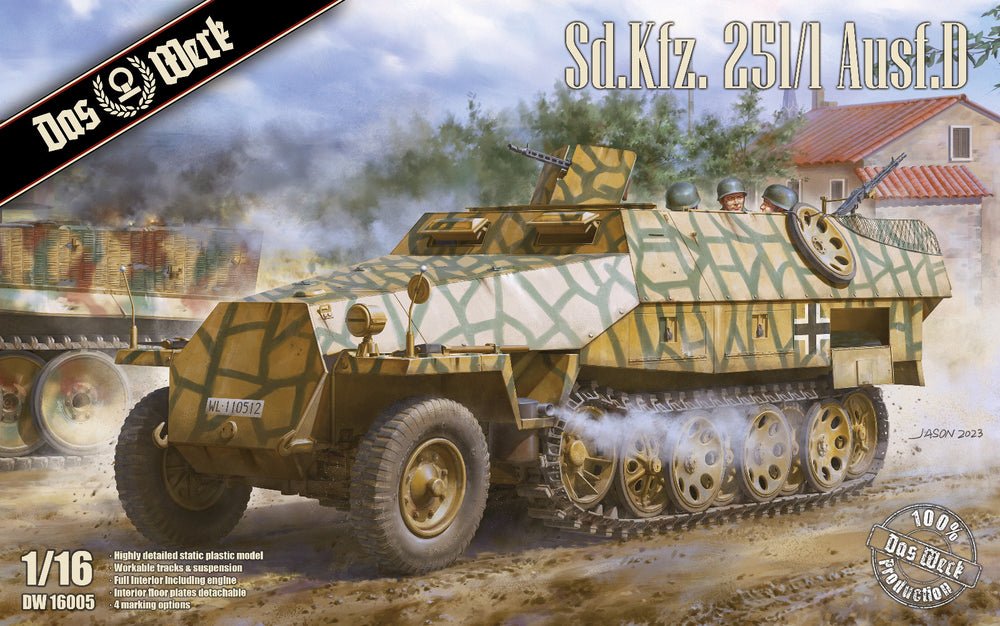
Hey Paul Andy's Hobby Headquarters just released his build video of the sdkfz 251. He is doing it in a few different parts, because there is a lot to this kit. It kinda ends a little abruptly so don't be alarmed, he'll finish it in his next video. Also did you know that Trumpeter makes a 1/16 sdkfz 251 ausf d kit #00942. Ron G
-
Hey Carl I plan on using the kit parts, but I'm going to cut them at the joints into the individual four fenders. I then plan on battle damaging them, along with other parts, similar to Tiger 131's damage. Ron G
-
Thanks guys
-
Hey Paul From what I saw when I looked through the sprues this is going to be a real challenging build. I'm still accumulating reference material for this kit. Ron G
-
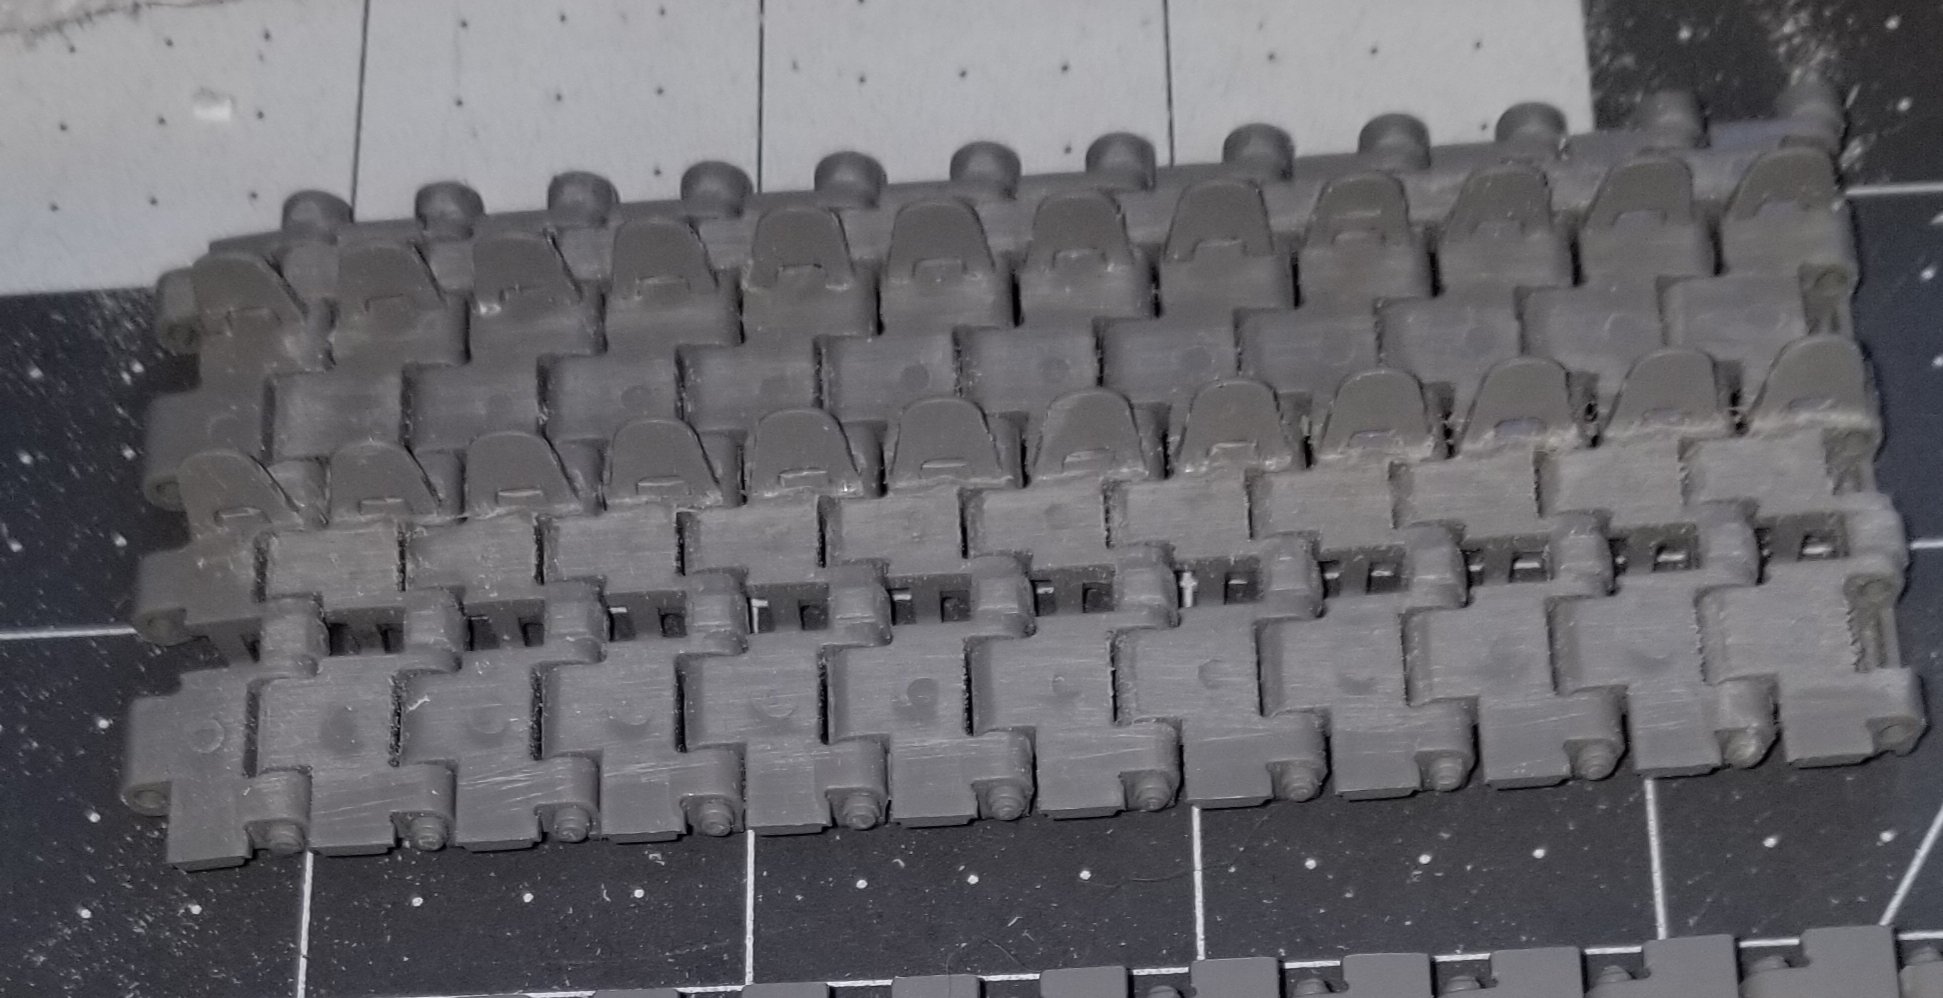
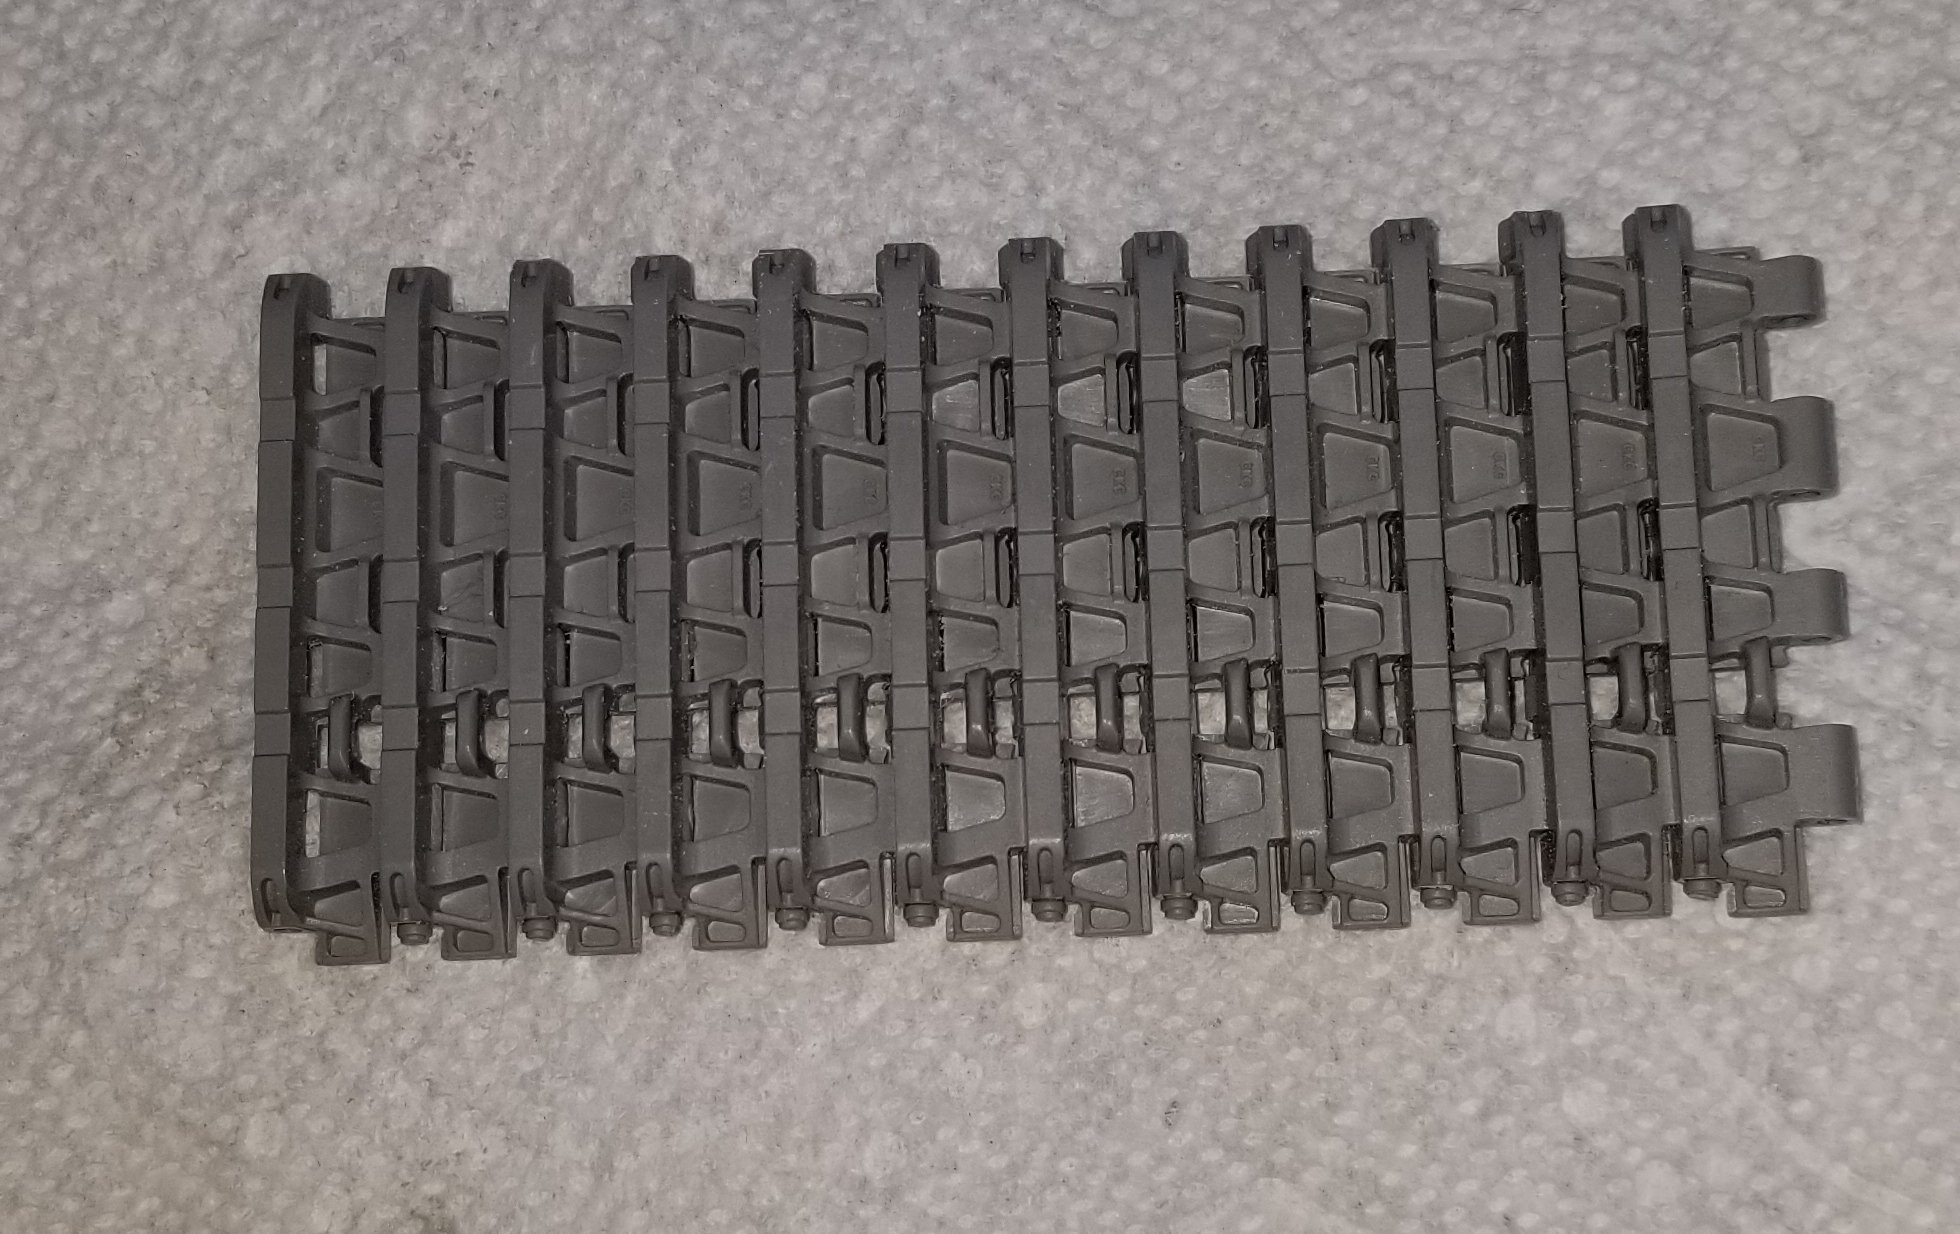
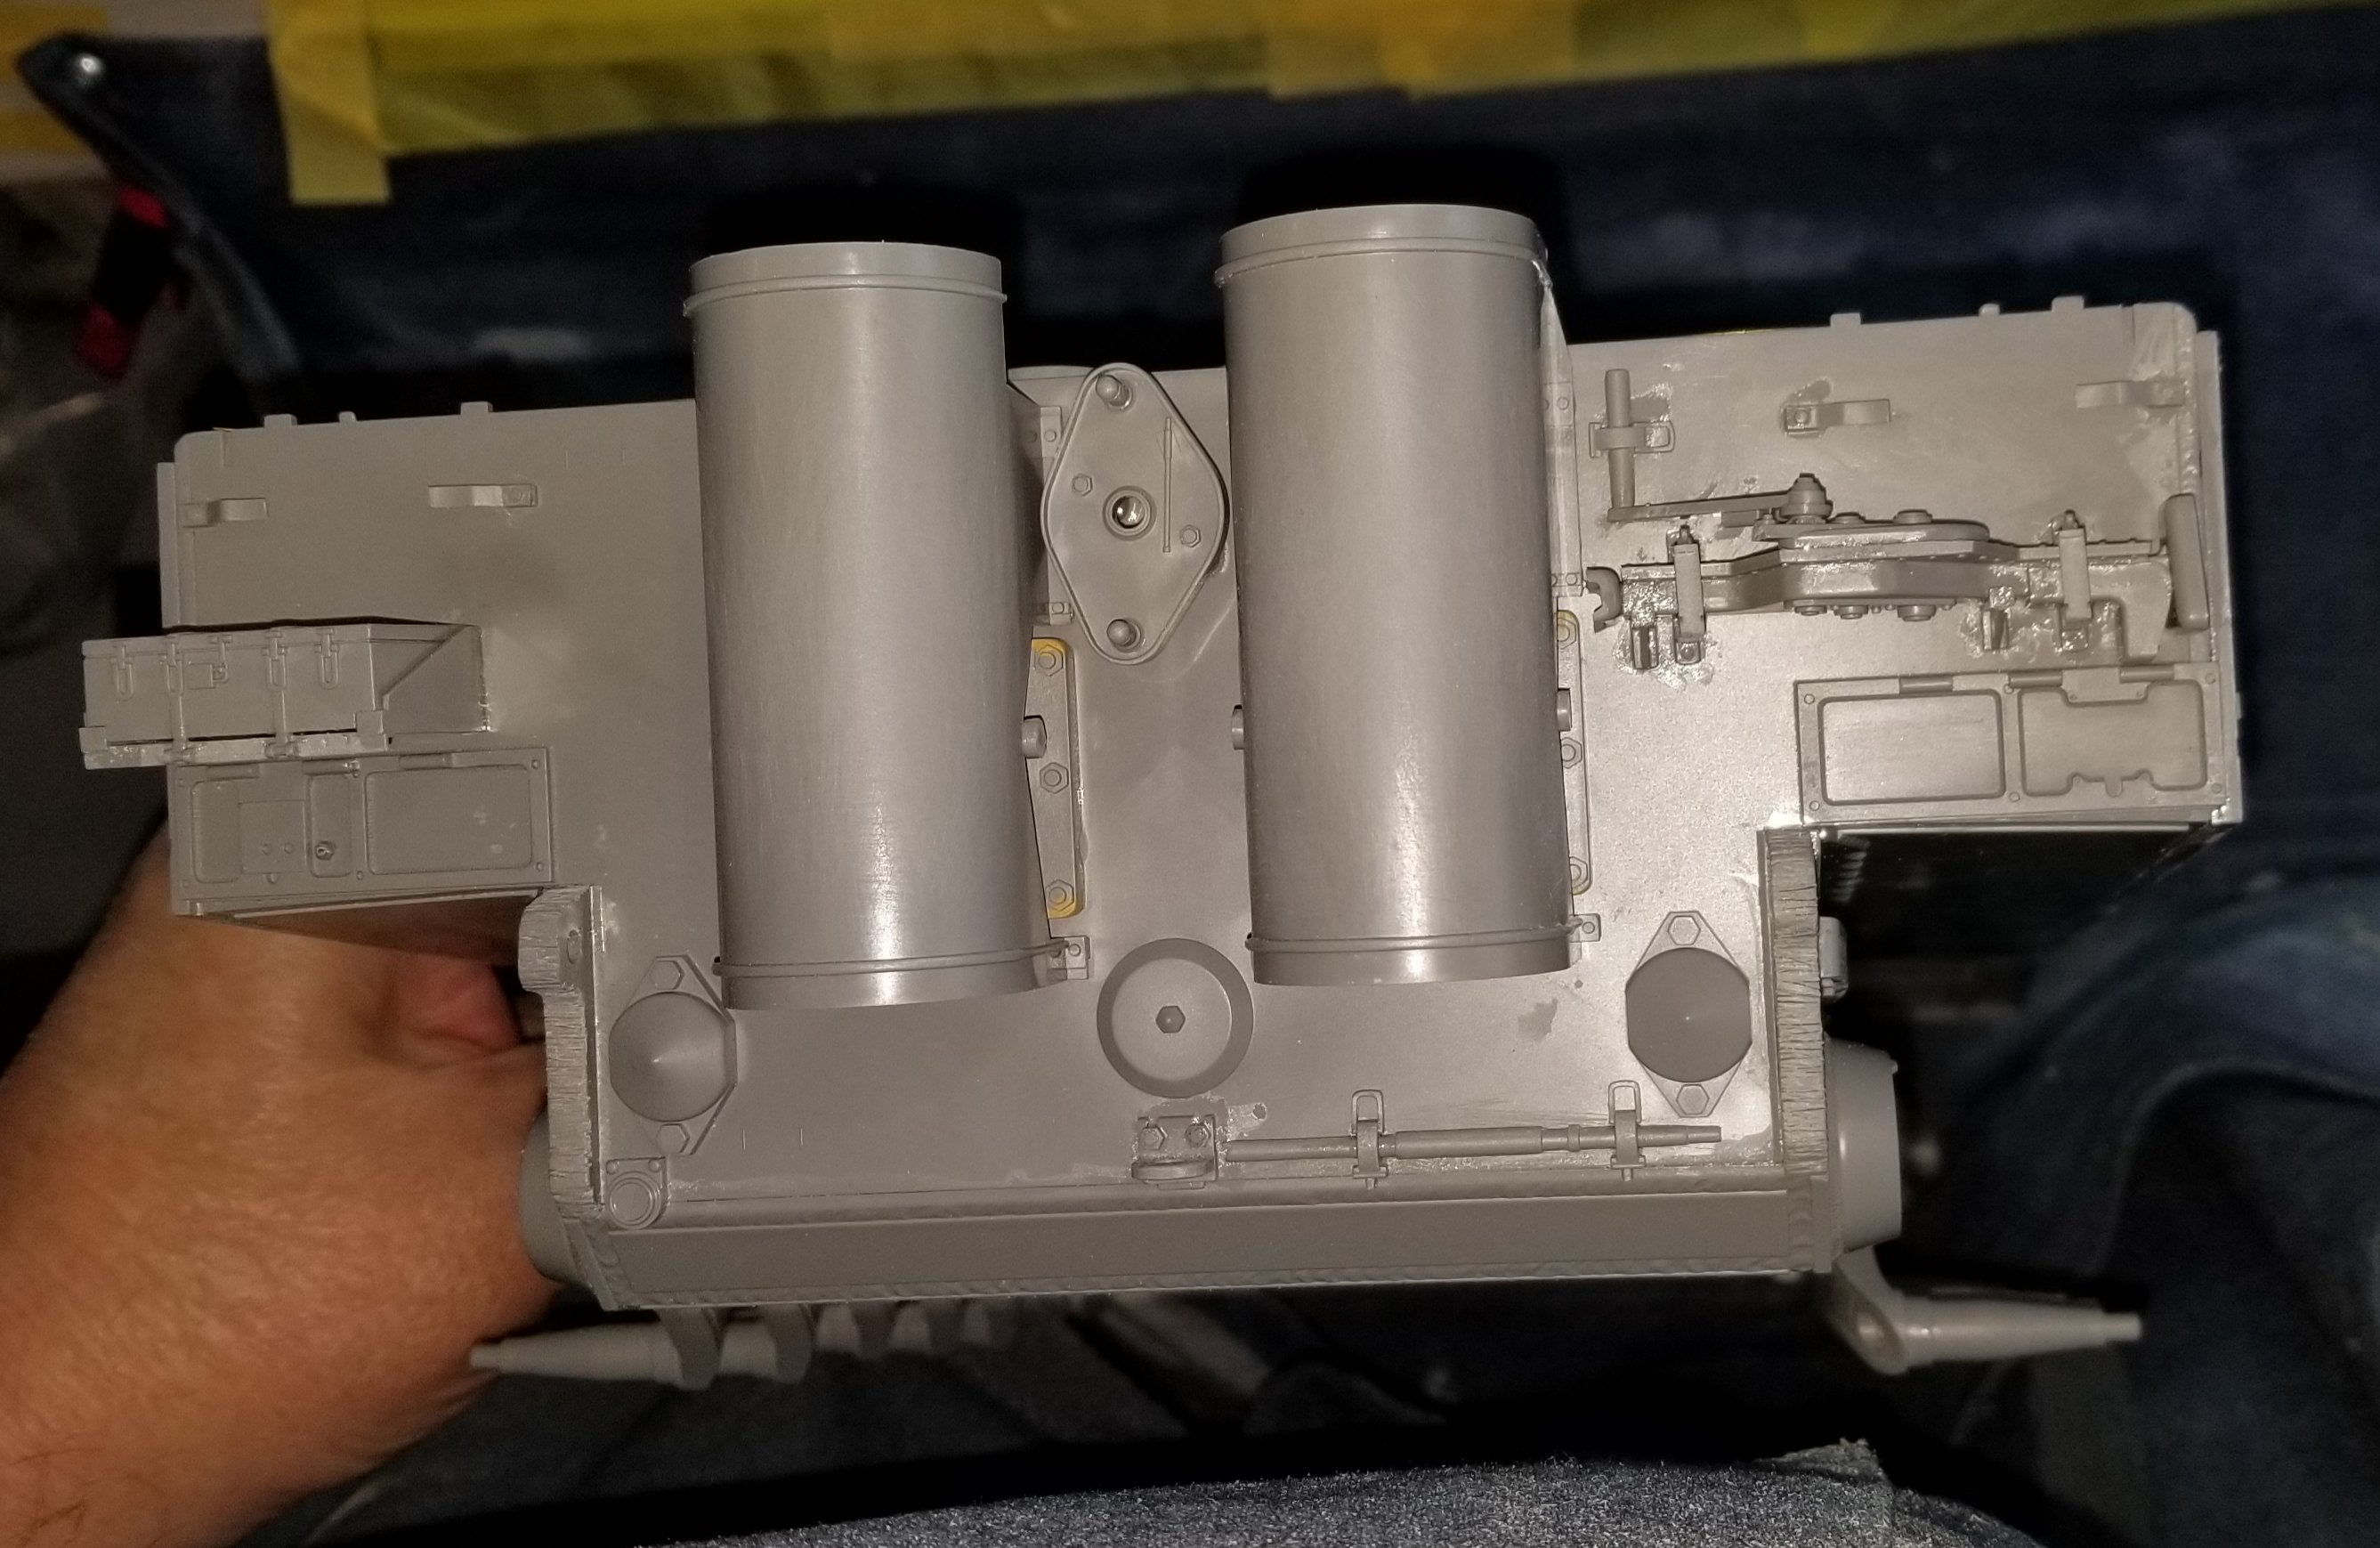
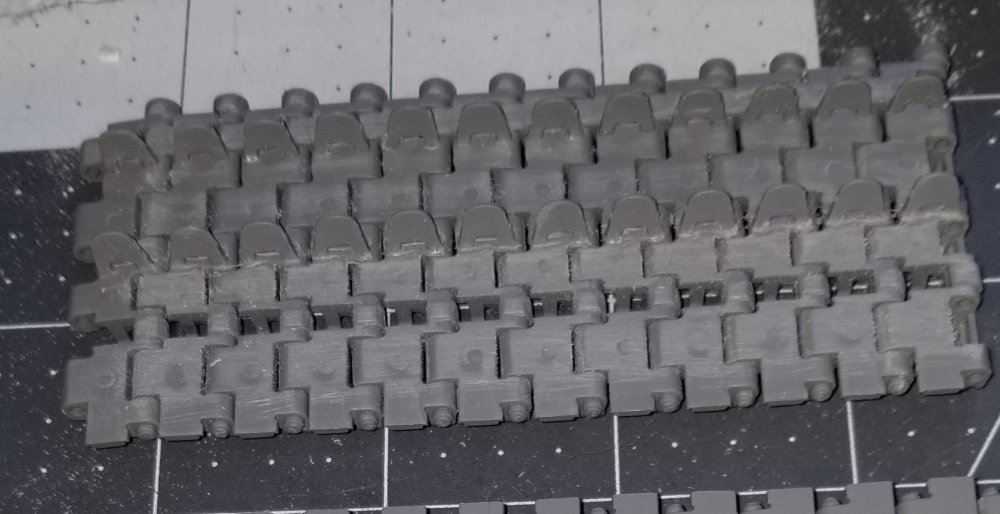
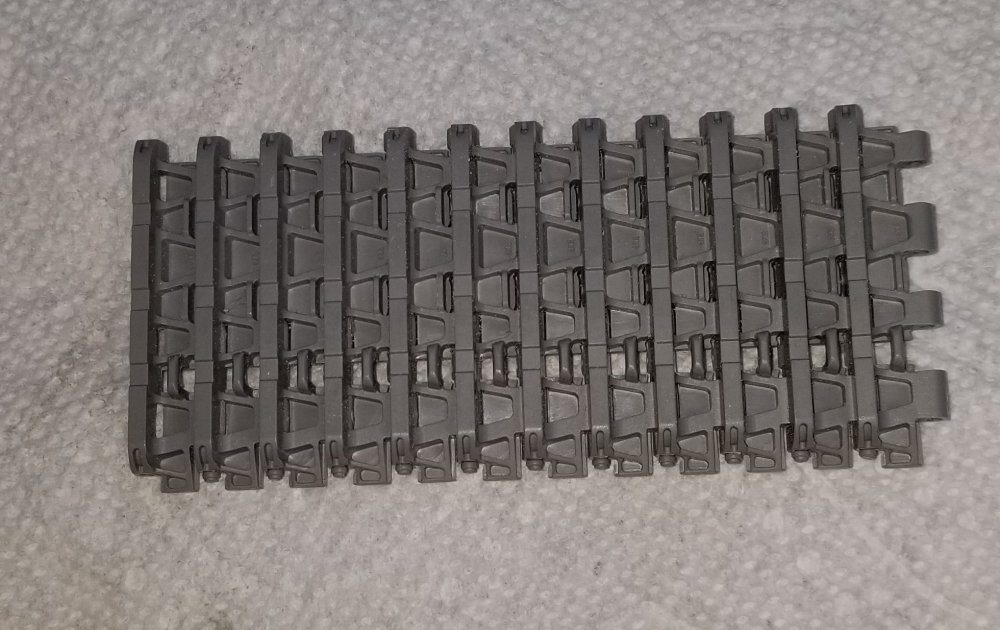
Hey all Small update for the Tiger. These are finally done! And they were a pain in the neather regions. This view shows the difficultie track guide horns. This view shows the other side of the spare tracks, the ones that go on the front of the tank. This view shows the rear of the tank. I'm finally to the point of gluing on kit parts, imagine that...lol. the exhaust shields are only on temporarily, they will come off when I start painting and weathering. This view shows the AFV MODELLER exhaust caps. These are the open running ones. There is still a lot of work to be done, some more painting, weathering, chipping, etc., etc. Ron G

-
Oohhh! Big tanks, cool Ron G
-
OUCH!
-
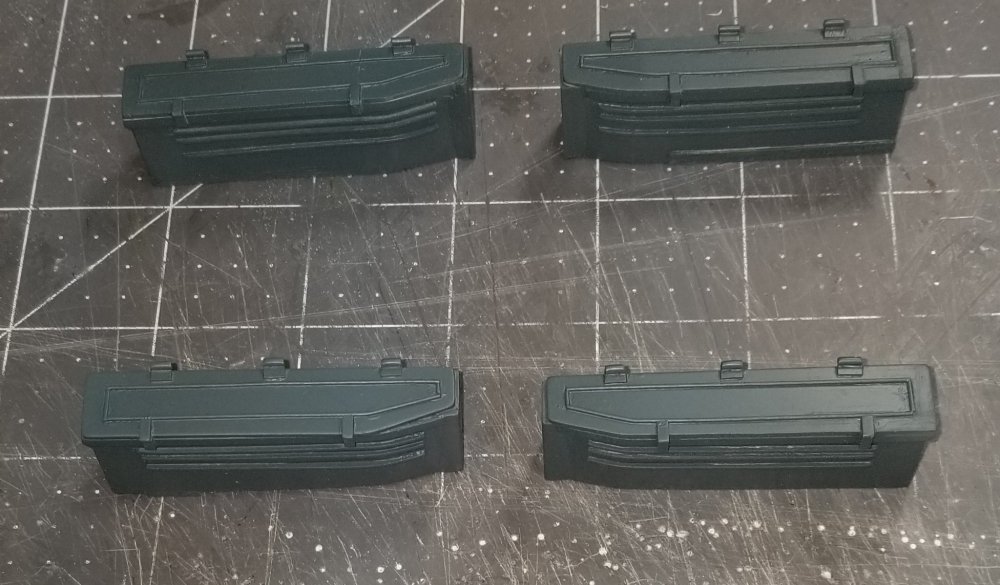
Hey all Small update, I got the ammo bins painted. I have them installed, but didn't get any pictures. I FINALLY! got the tracks done, both sides. I don't want to go through that again! I also have all of the wheels done, all 48 of em. Now I just need to paint them and weather them. It's getting closer to the end, I think...lol Ron G
-
Just got this in the mail from AHHQ'S. I'll do a little review of it once I have a chance to go through the kit. From what I can see this is quite an amazing kit.
-
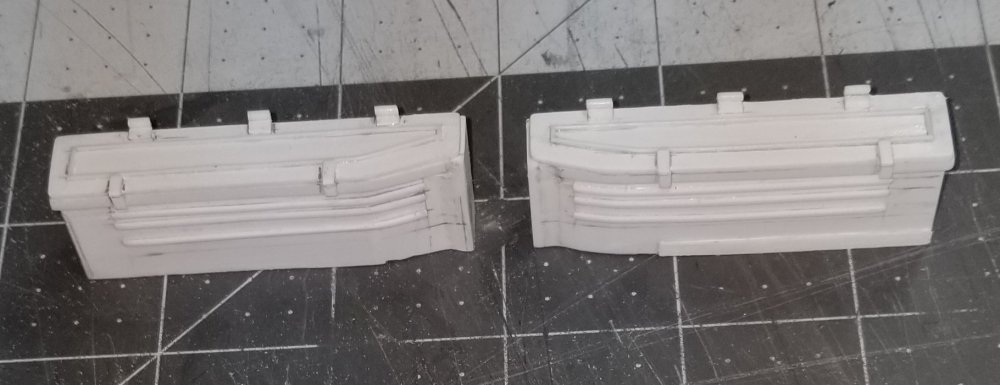
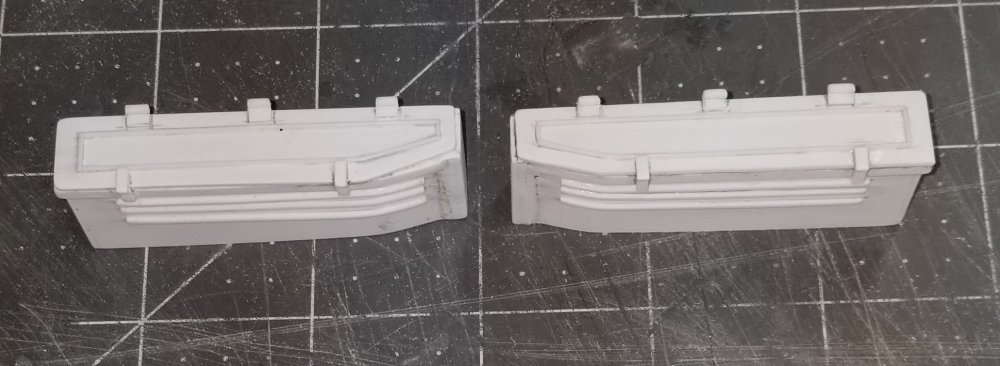
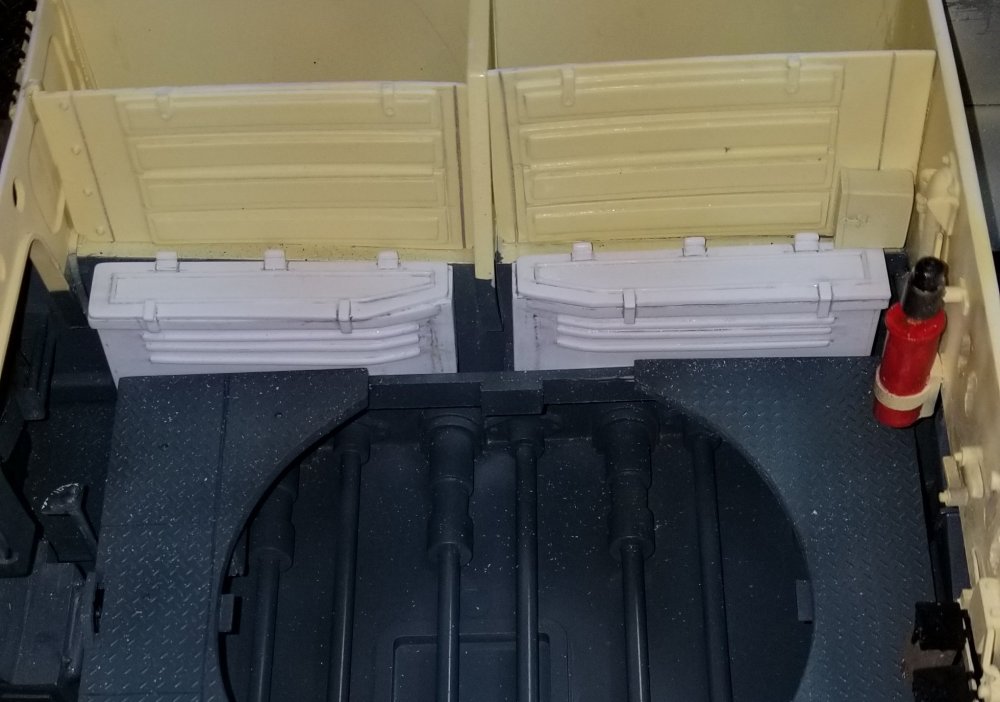
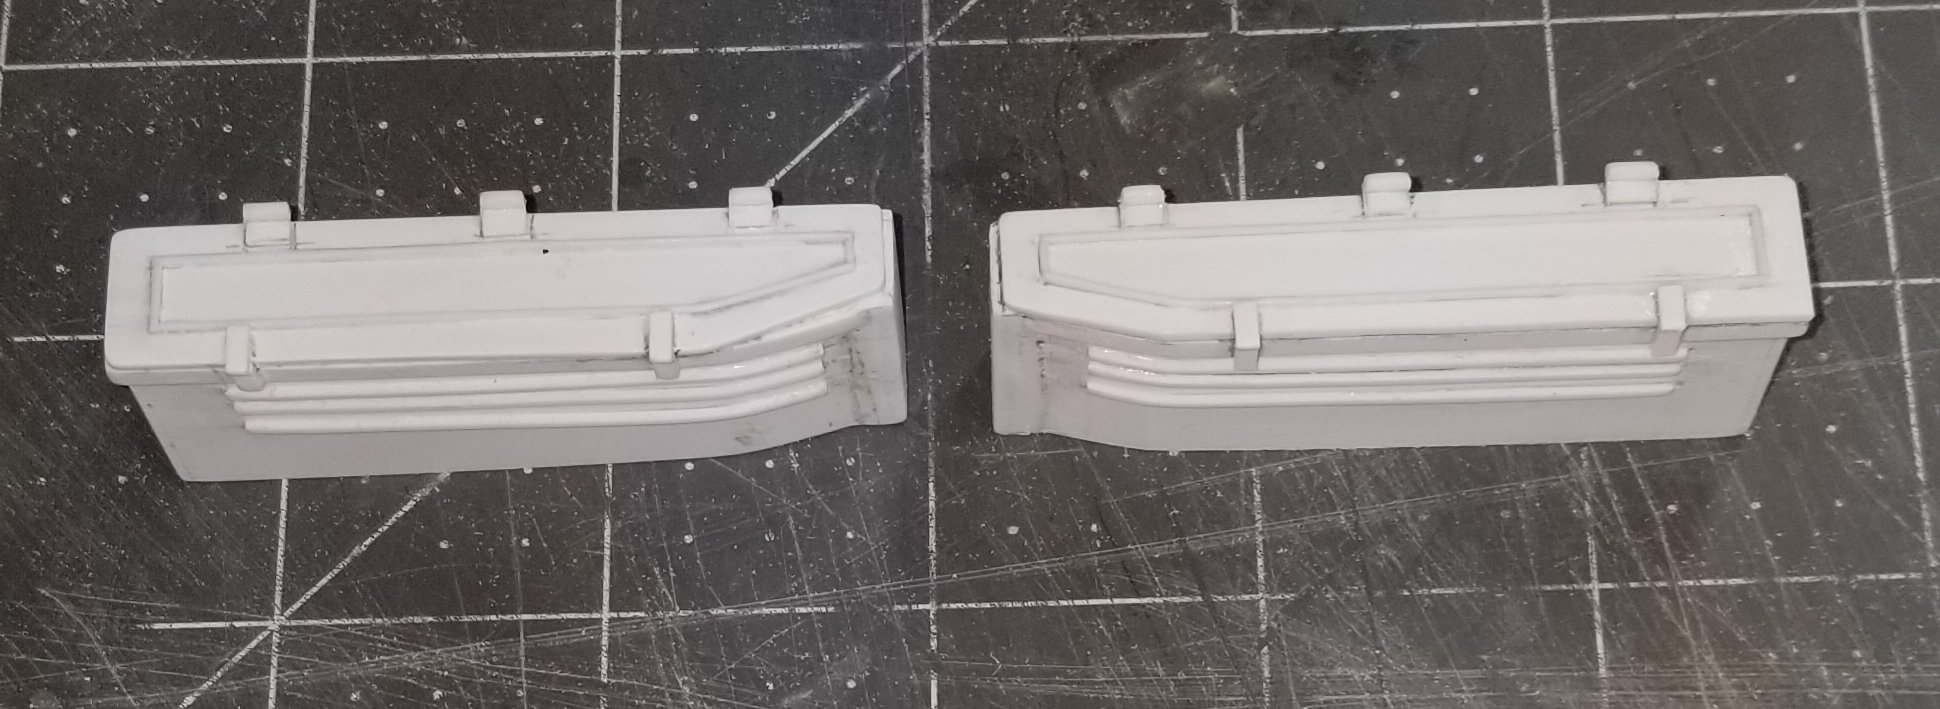
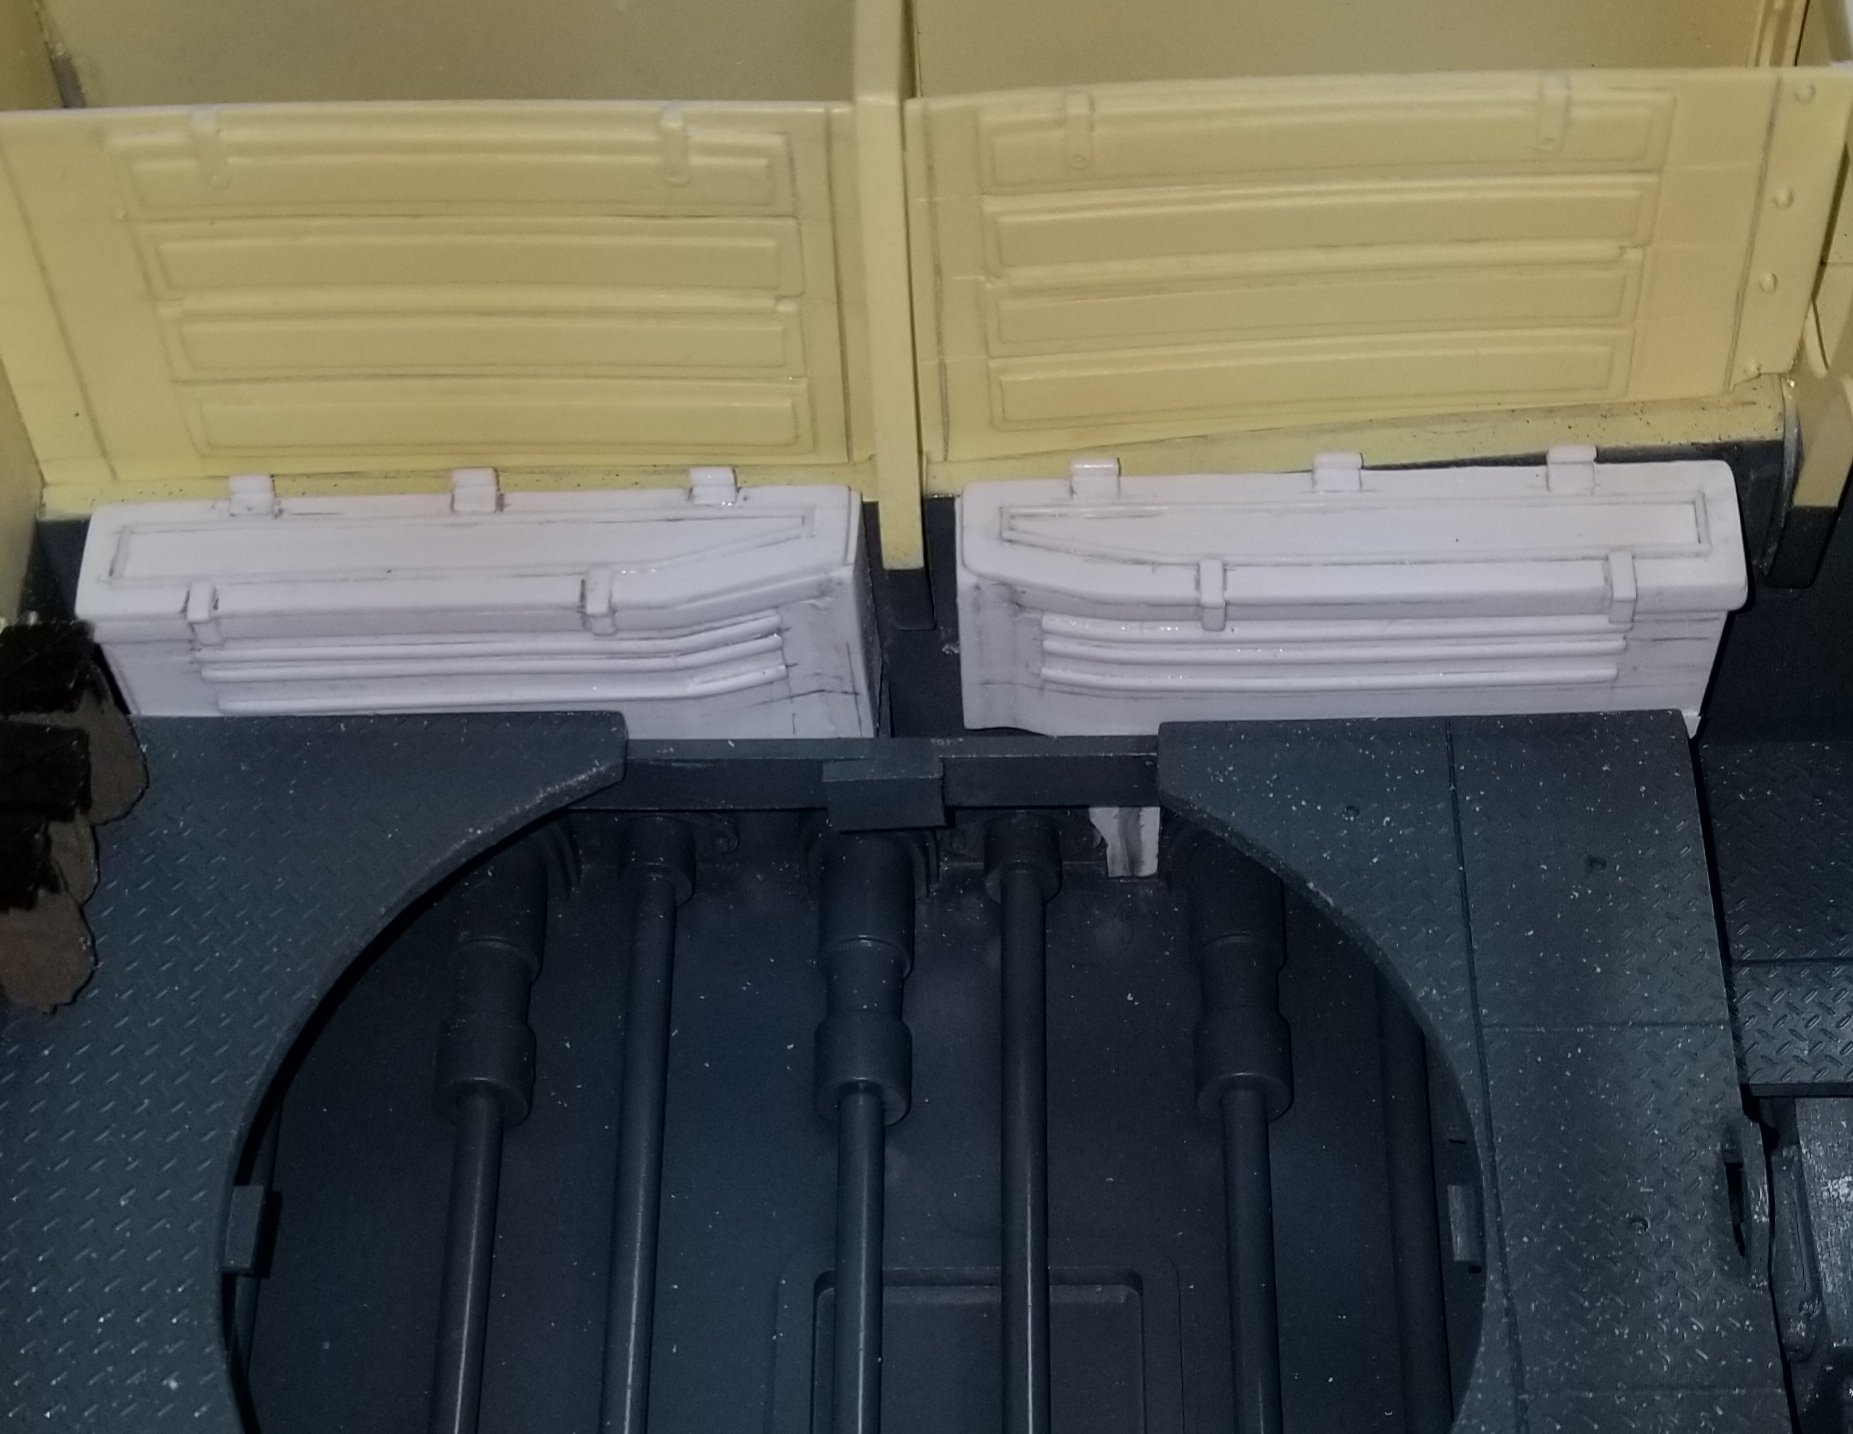
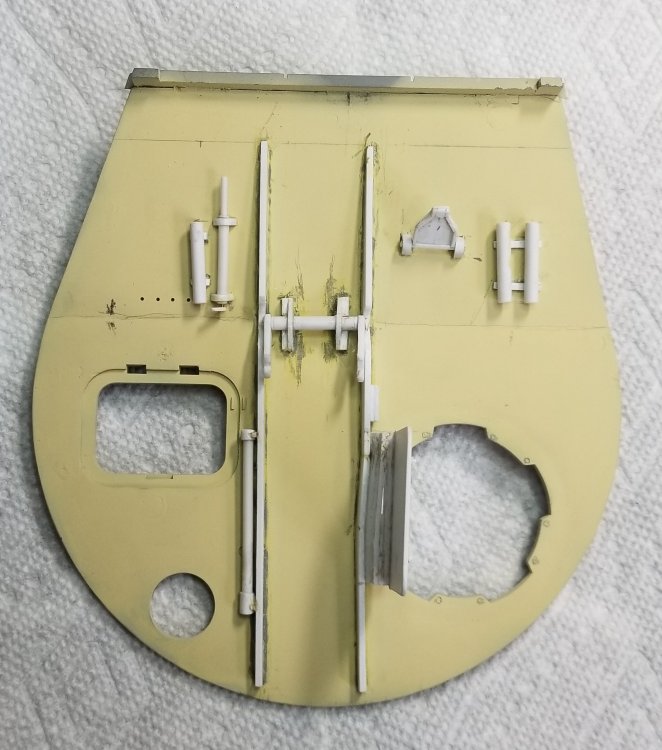
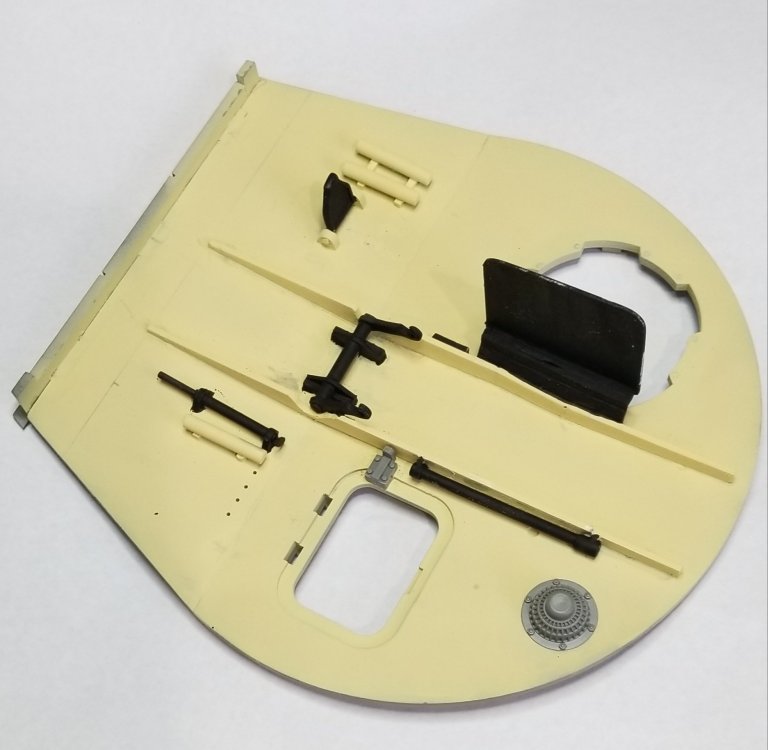
Hey all I think I have all of the interior details finally done. I just need to paint them and install them. This view shows all four of the lower ammunition bins that go in the floor on either side of the turret. This picture is of the two on the drivers side. This picture is of the two on the radio operators side. This view shows the two bins on drivers side in place in the hull. This view shows the two bins on the radio operators side in place in the hull. A little paint and the interior is complete...Ta Da! Except for some weathering. I'm waiting on some Ammo by Mig washes. Ron G