BlrwestSiR
-
Posts
9,218 -
Joined
-
Last visited
Content Type
Profiles
Forums
Events
Gallery
Everything posted by BlrwestSiR
-

What is on your bench right now ? Share a picture :)
BlrwestSiR replied to Martinnfb's topic in Modelling Discussion
Rob, I'm thinking more postwar which would have been a grey interior. Although interior green could have been an interesting choice. -
What is on your bench right now ? Share a picture :)
BlrwestSiR replied to Martinnfb's topic in Modelling Discussion
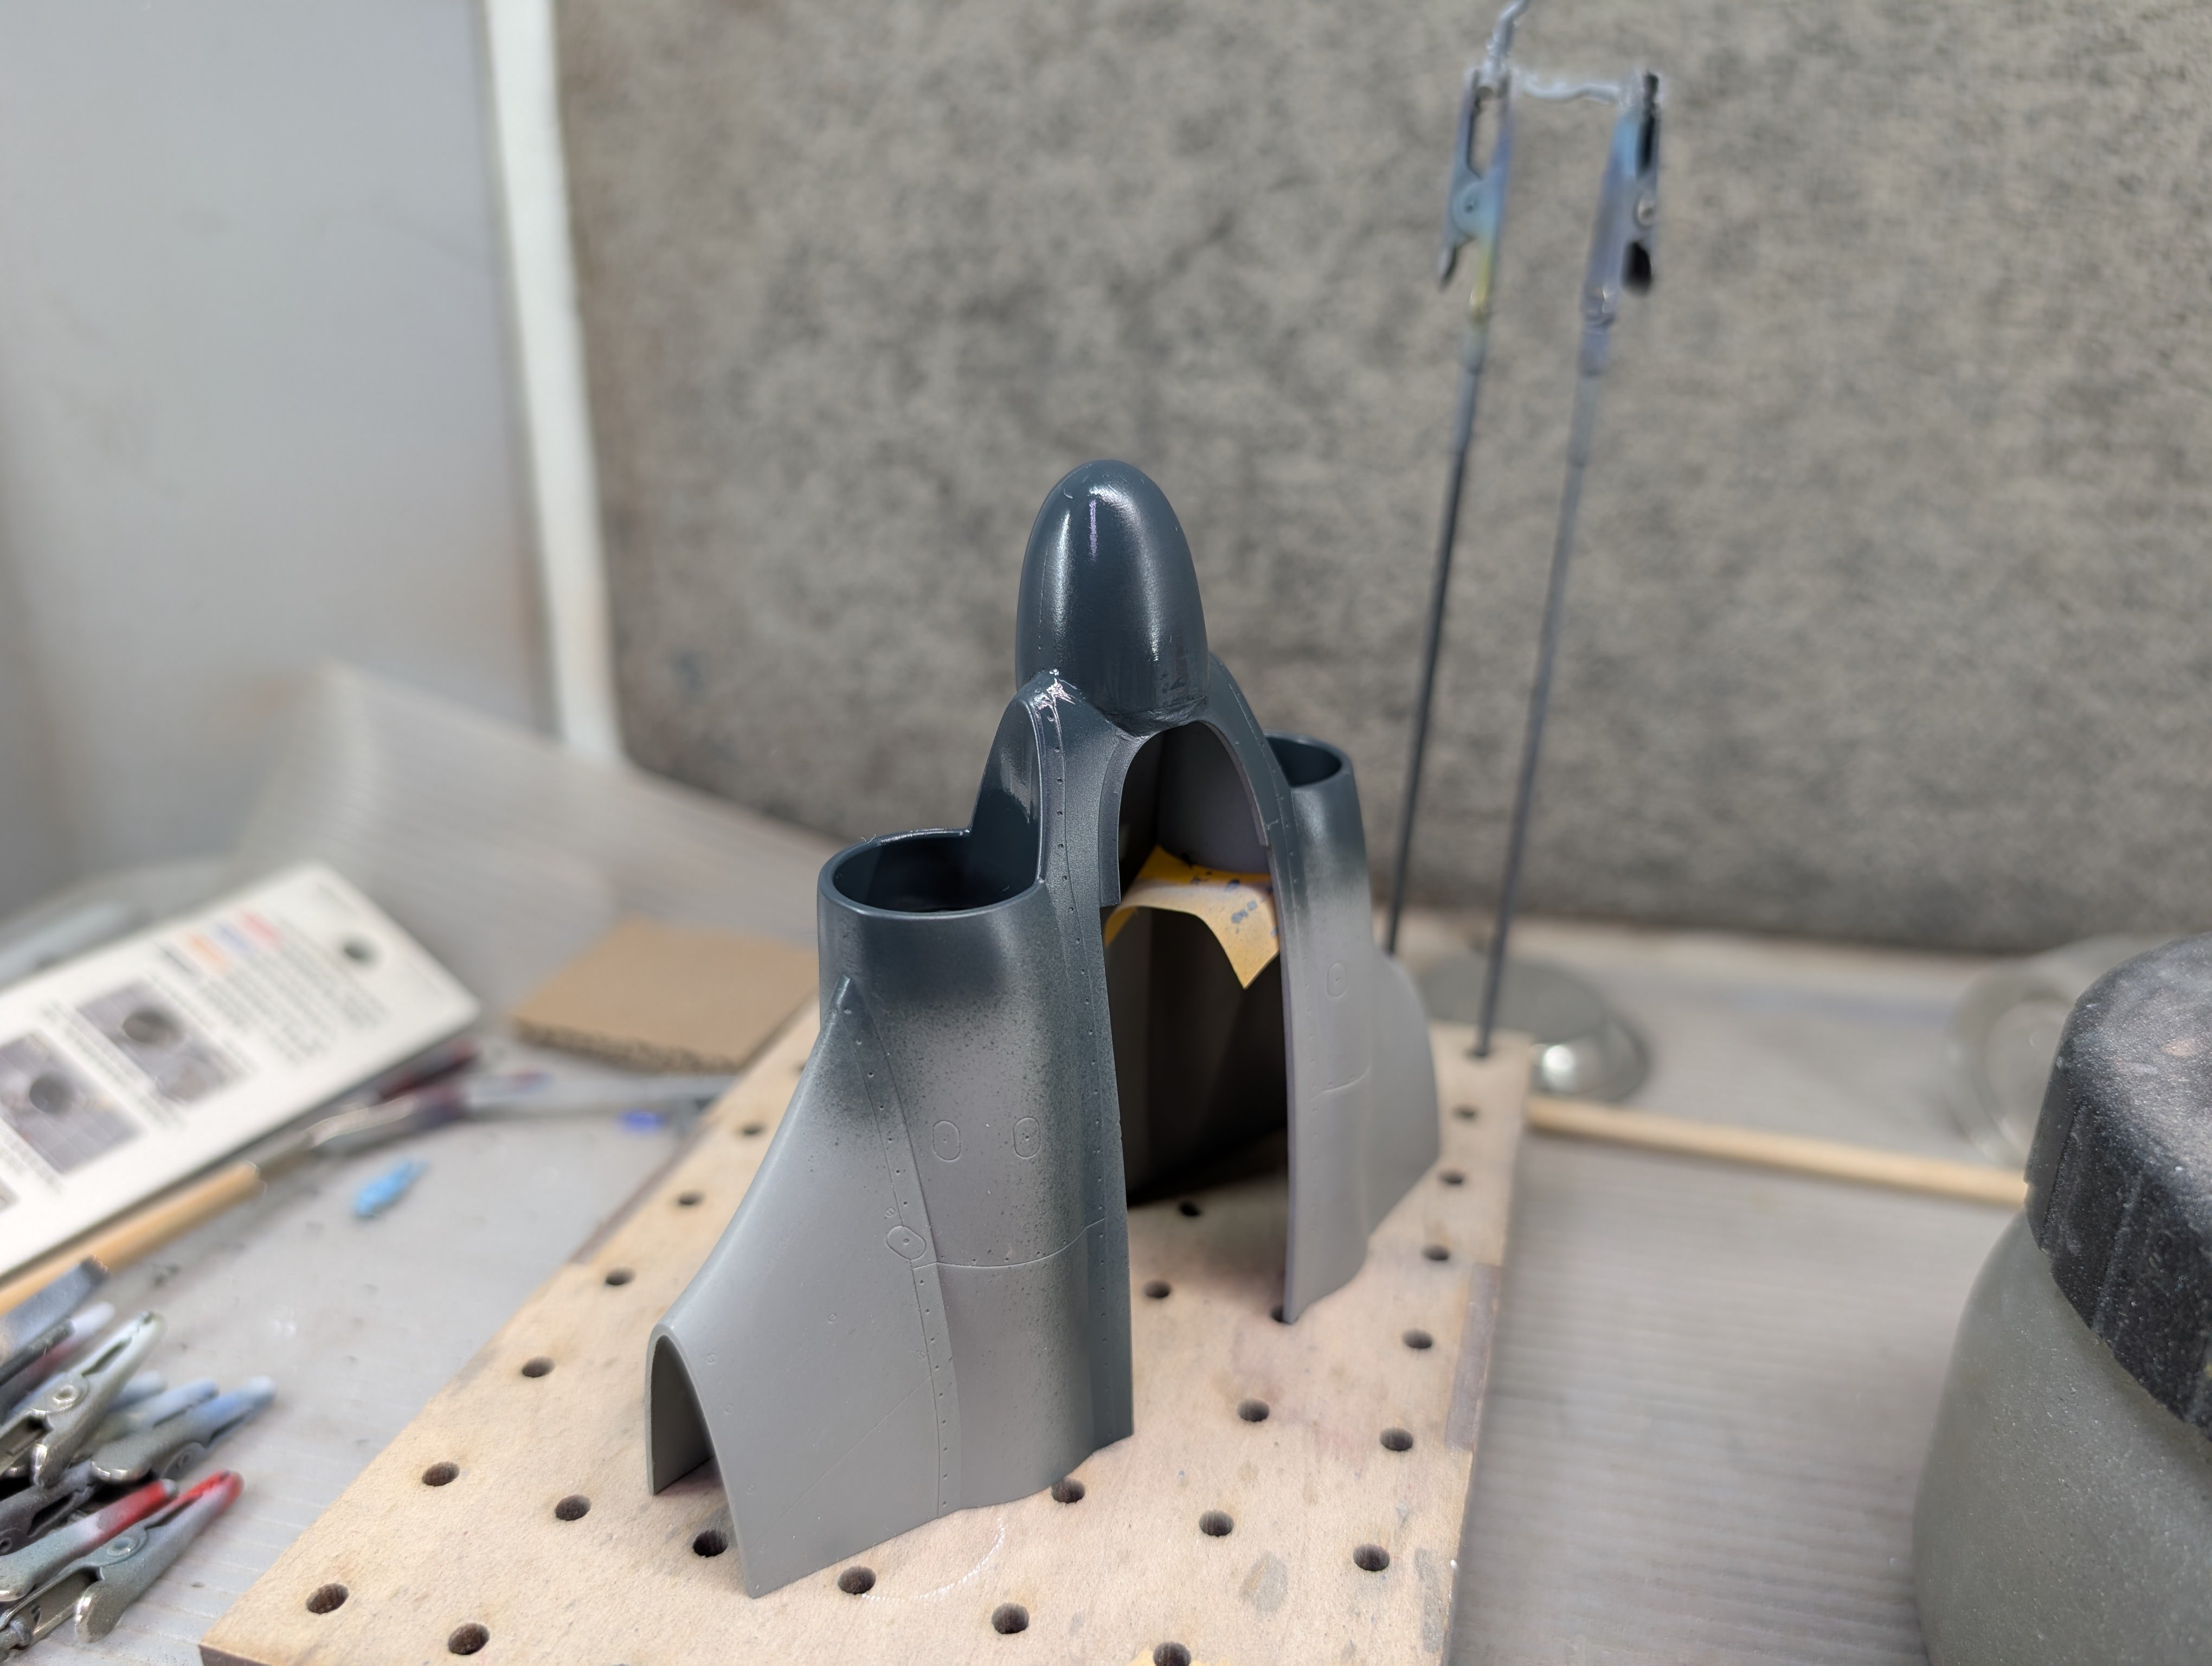
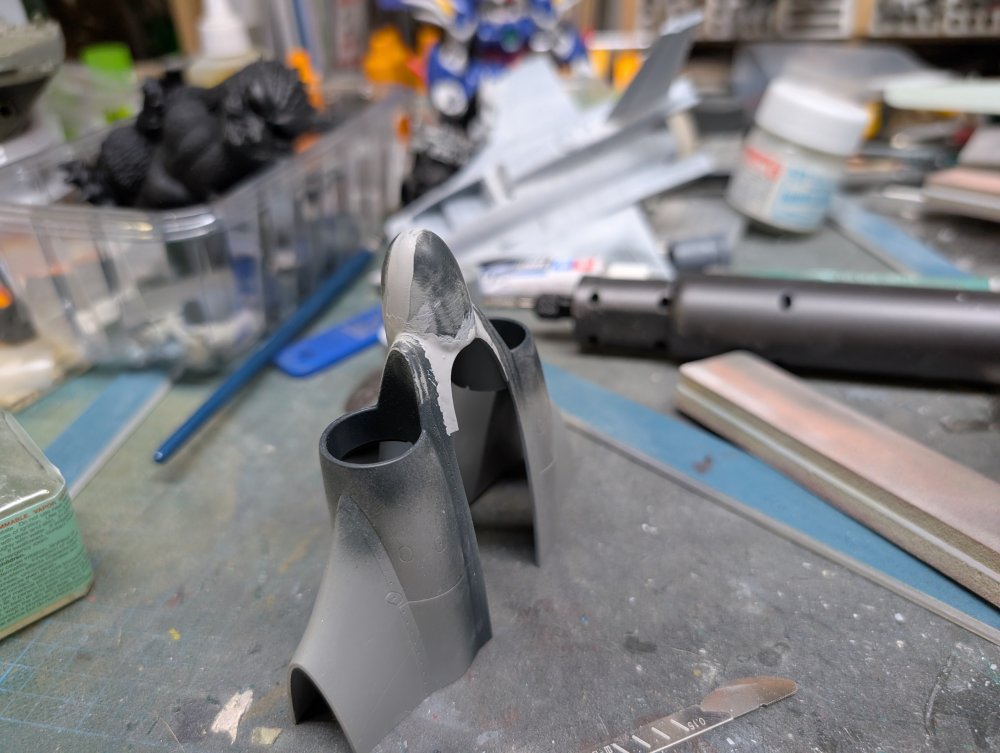
Cockpit is finally on and more putty work on the nose.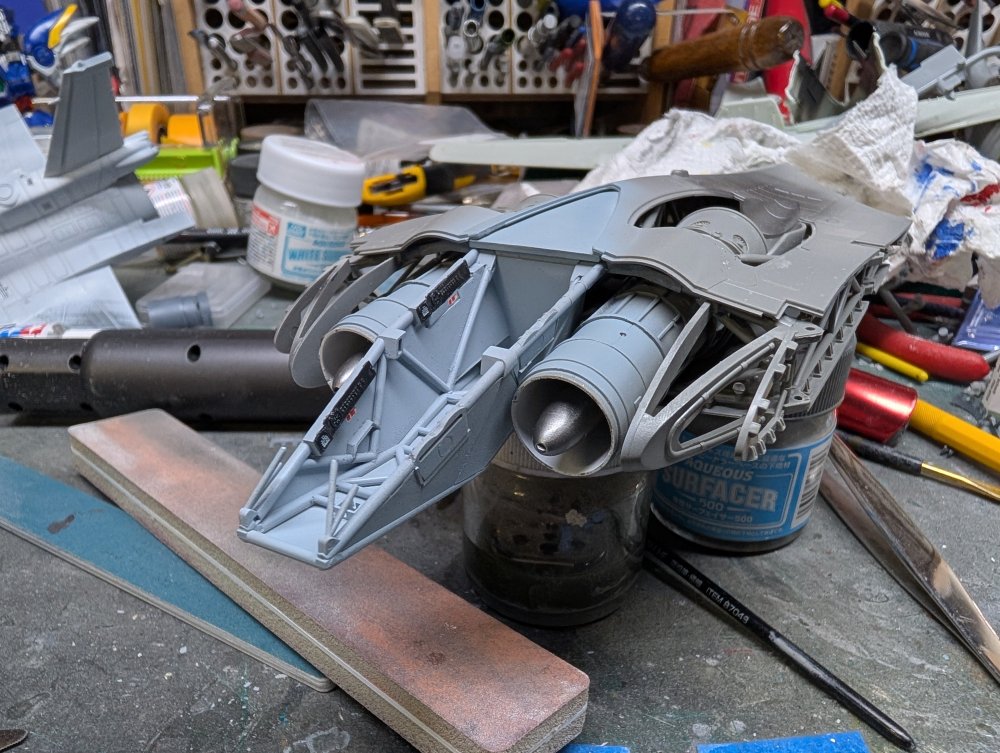
-
What is on your bench right now ? Share a picture :)
BlrwestSiR replied to Martinnfb's topic in Modelling Discussion
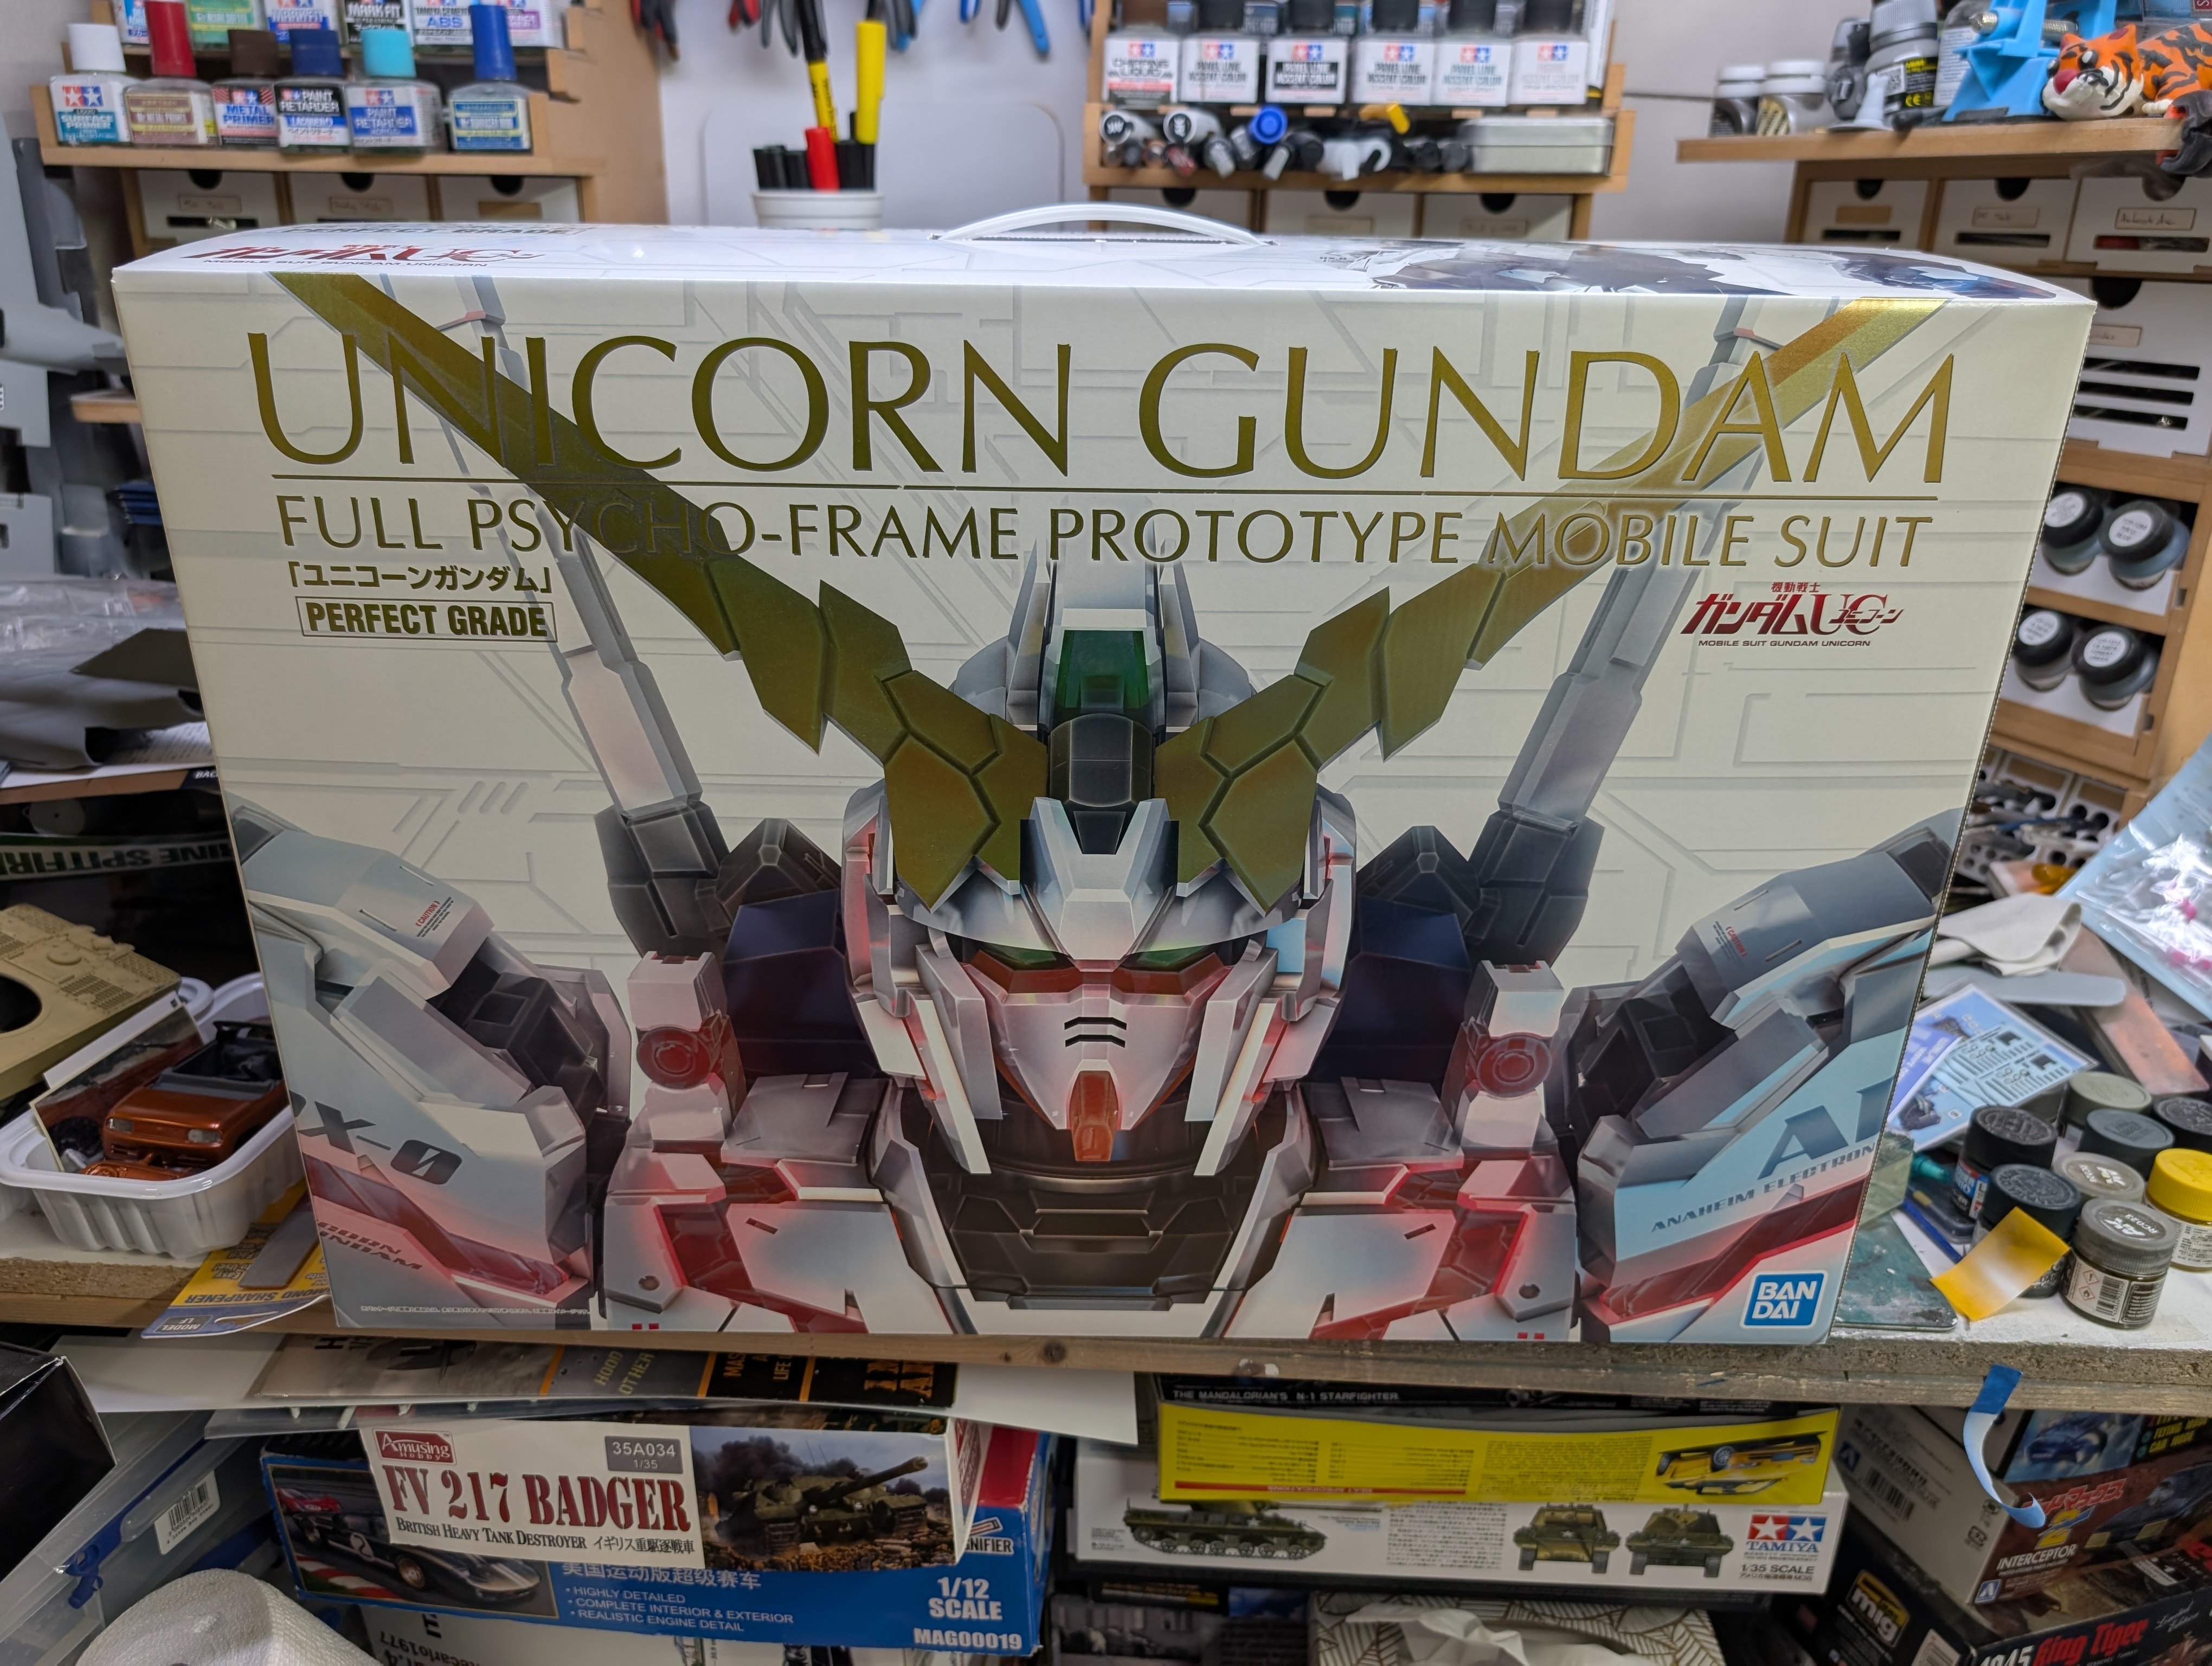
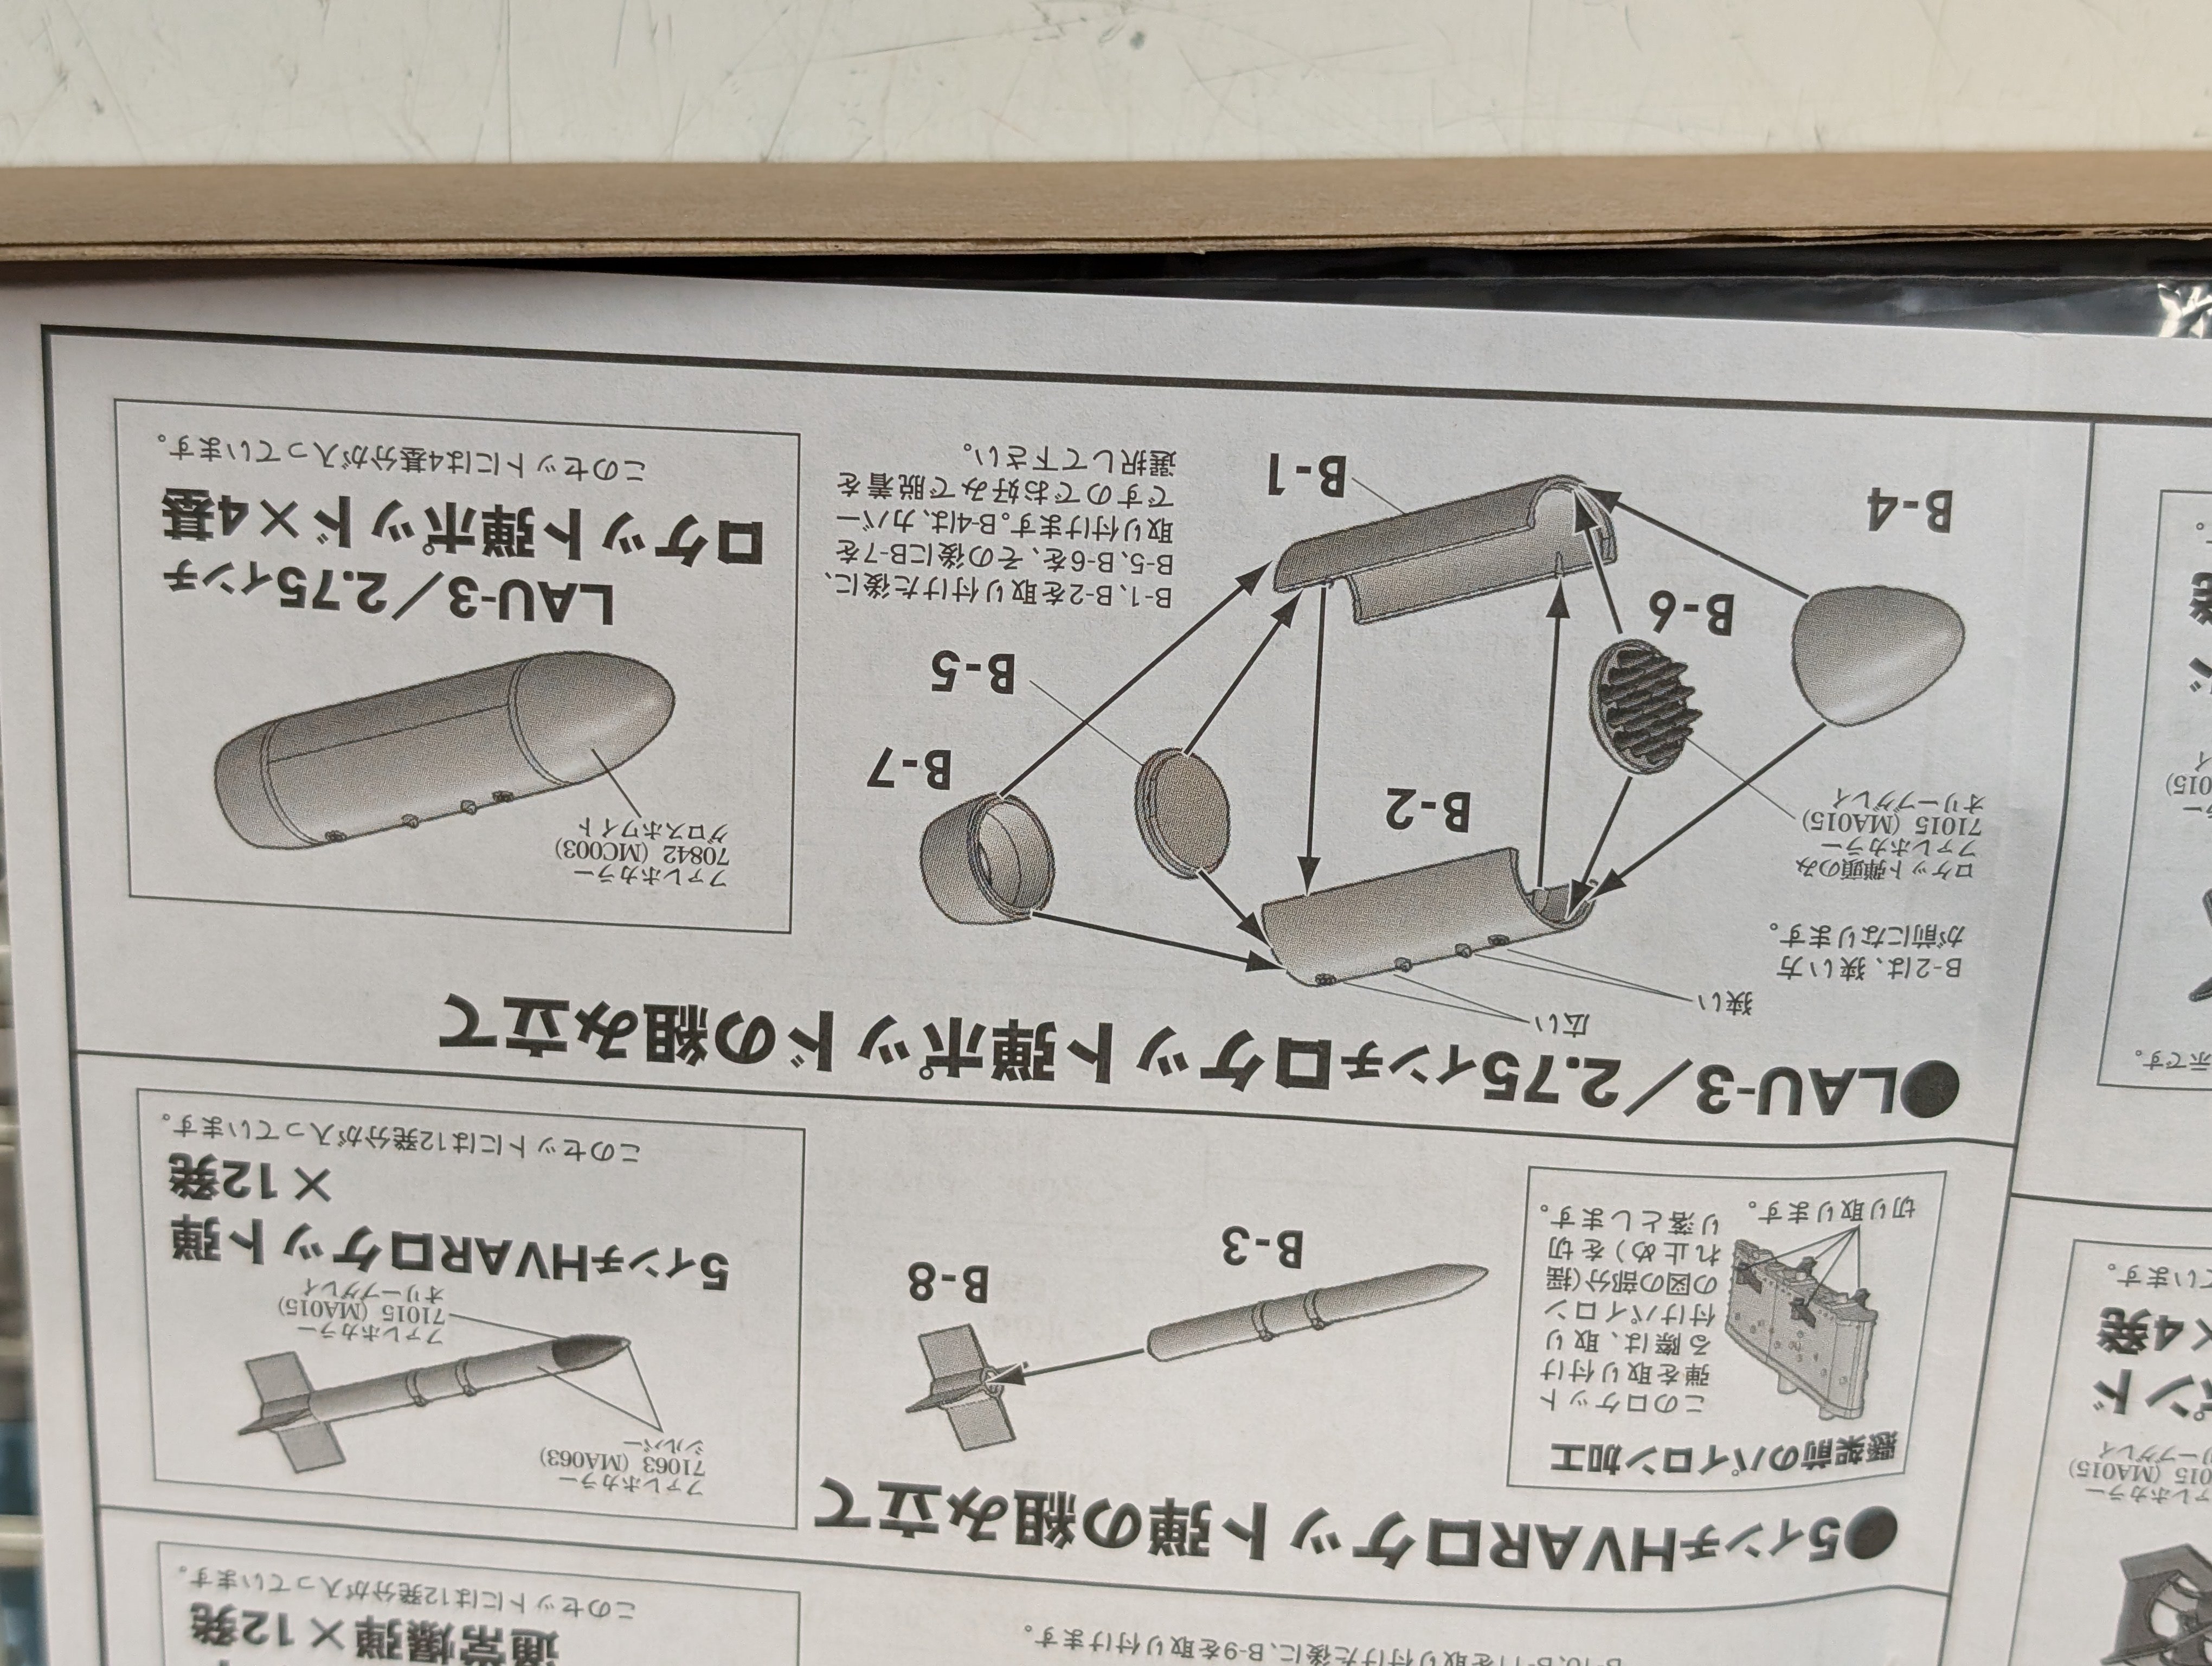
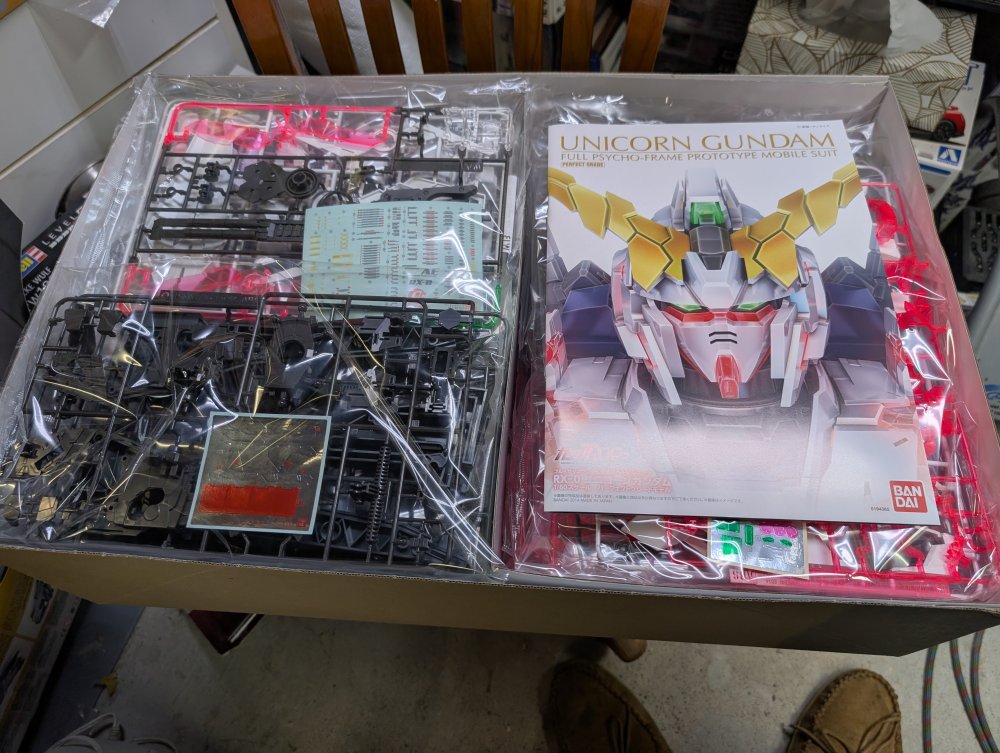
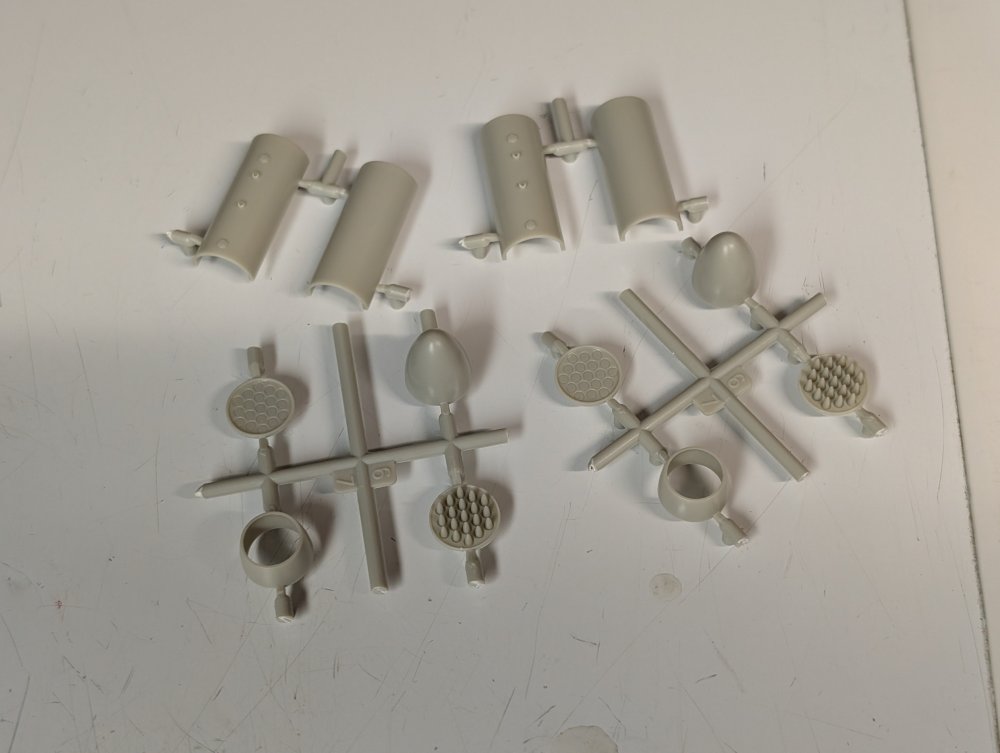
Bandai's newest kit just came out and after having watched a couple unboxing and build videos of it, I pulled out the closest thing I had to it in the stash. This one is from 2014 and nowhere near the new kit in detail/parts count/fit/articulation. Upon opening the box, I came to a couple conclusions: 1) it's still a lot of parts. 2) the box won't even fit on my bench 3) my pile of started kits on the bench is getting a bit out of hand already. So back in the box it went. As soon as this pile shrinks a bit, I'll take another look see. To that effect, I did some quick paint and putty work on the USN Horten .

-
One day I will actually start on a MFH kit from the stash (I have 4) but until I get the nerve up to do so, I'll keep watching you build yours.
-
Found them! Ron send me a PM and get them out this week to you. Carl

-
Ron, I definitely have one set but I need to find where it is in the stash. As soon as I do, Ill let you know.
-
HurricaneMkIIc-Fly Models-1/32-Finnished
BlrwestSiR replied to KevinM's topic in LSM 1/35 and Larger Work In Progress
The cockpit is definitely the " do I push on or throw in the towel?" point in the build. Glad you stuck it out. -
Tamiya 1/35 Jagdpanther (Late Version)
BlrwestSiR replied to RalphSarc's topic in LSM 1/35 and Larger Work In Progress
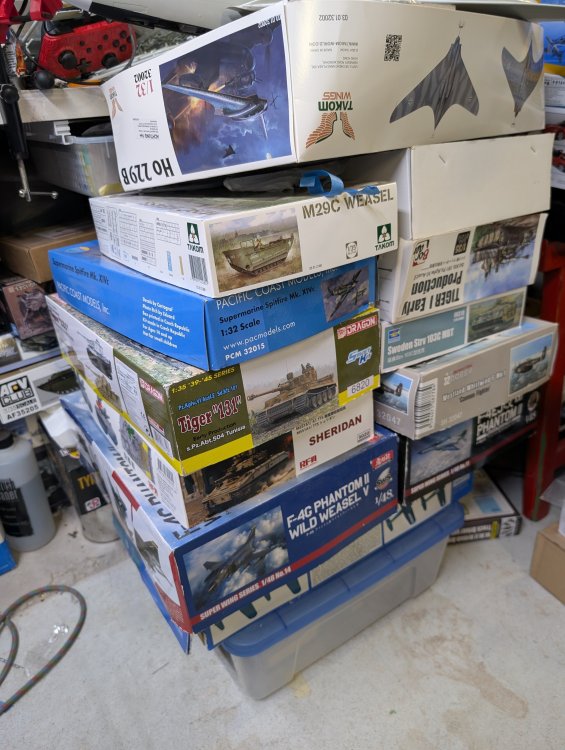
I was switching schools from university to art college. Realized attending the first one was a complete mistake and I should've been an artsy. Unfortunately I didn't get to finish. The Jagdpanther is coming along nicely. It's made me want to go through the stash to see what I have. Found a Meng Panther A, a Takom Flak Panther and a RFM Jagdpanther. I was so tempted to start one but I don't have the space on my bench. -
Ron, they're available in the Zoukei Mura weapons set. I may have a pair left over. Let me take a looka and I'll let you know. Carl
-
HurricaneMkIIc-Fly Models-1/32-Finnished
BlrwestSiR replied to KevinM's topic in LSM 1/35 and Larger Work In Progress
That looks great Kevin. -
1/32 Italeri F-104 C
BlrwestSiR replied to CrankyCrafstman's topic in LSM 1/35 and Larger Work In Progress
Can't wait to see what you do with the F-104. I enjoyed the 2 I built and still have a 3rd one in the stash. Carl -
1/24 Airfix Bf-109K (conversion)
BlrwestSiR replied to Martinnfb's topic in LSM 1/35 and Larger Work In Progress
Looking good there. -
What is on your bench right now ? Share a picture :)
BlrwestSiR replied to Martinnfb's topic in Modelling Discussion
My first try at building it was around the same time. Made a right mess of it and I don't think I actually finished it. -
What is on your bench right now ? Share a picture :)
BlrwestSiR replied to Martinnfb's topic in Modelling Discussion
That I do! But my wife says I already have half the basement so I'm not sure I can get more space. -
Kotare Bf 109K-4 with AIMS decals -- Finished
BlrwestSiR replied to denders's topic in LSM 1/35 and Larger Work In Progress
I'm with Martin, some very nice progress on the paint. -
What is on your bench right now ? Share a picture :)
BlrwestSiR replied to Martinnfb's topic in Modelling Discussion
Gus, this one is an original boxing of the kit so it's from the '80s. It's actually the very first 1/32 aircraft kit done by Tamiya. They've come a long way since then that's for sure. -
1/24 Airfix Bf-109K (conversion)
BlrwestSiR replied to Martinnfb's topic in LSM 1/35 and Larger Work In Progress
Glad you're back at the bench, even if it's for short spurts. Looking good there Martin. The upper wings mods have come out really well. -
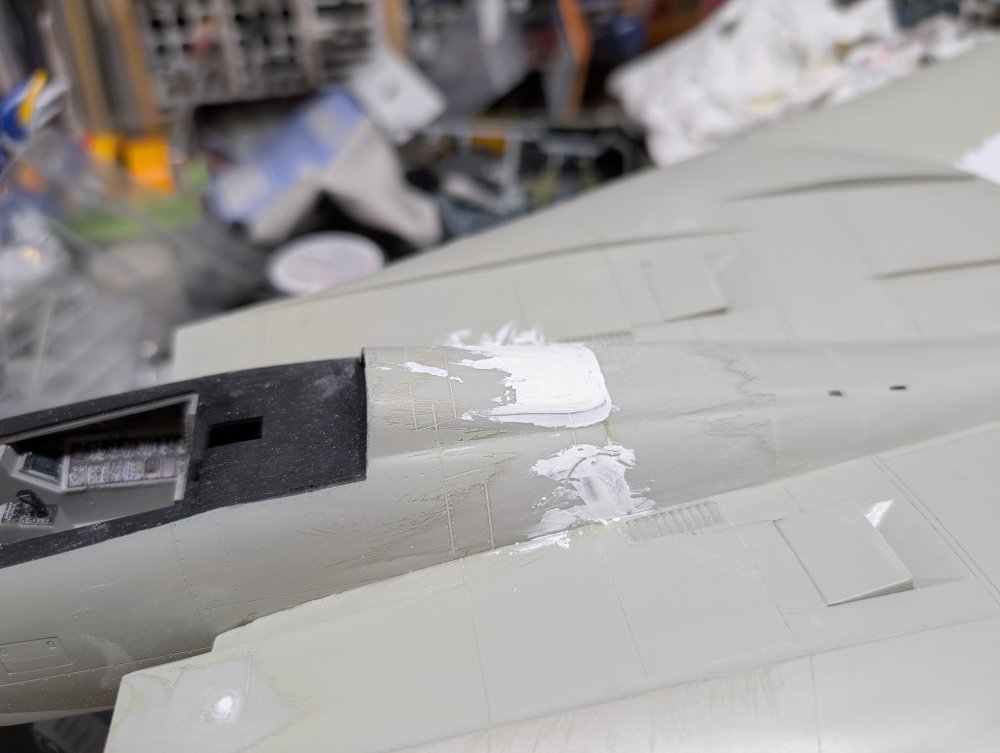
What is on your bench right now ? Share a picture :)
BlrwestSiR replied to Martinnfb's topic in Modelling Discussion
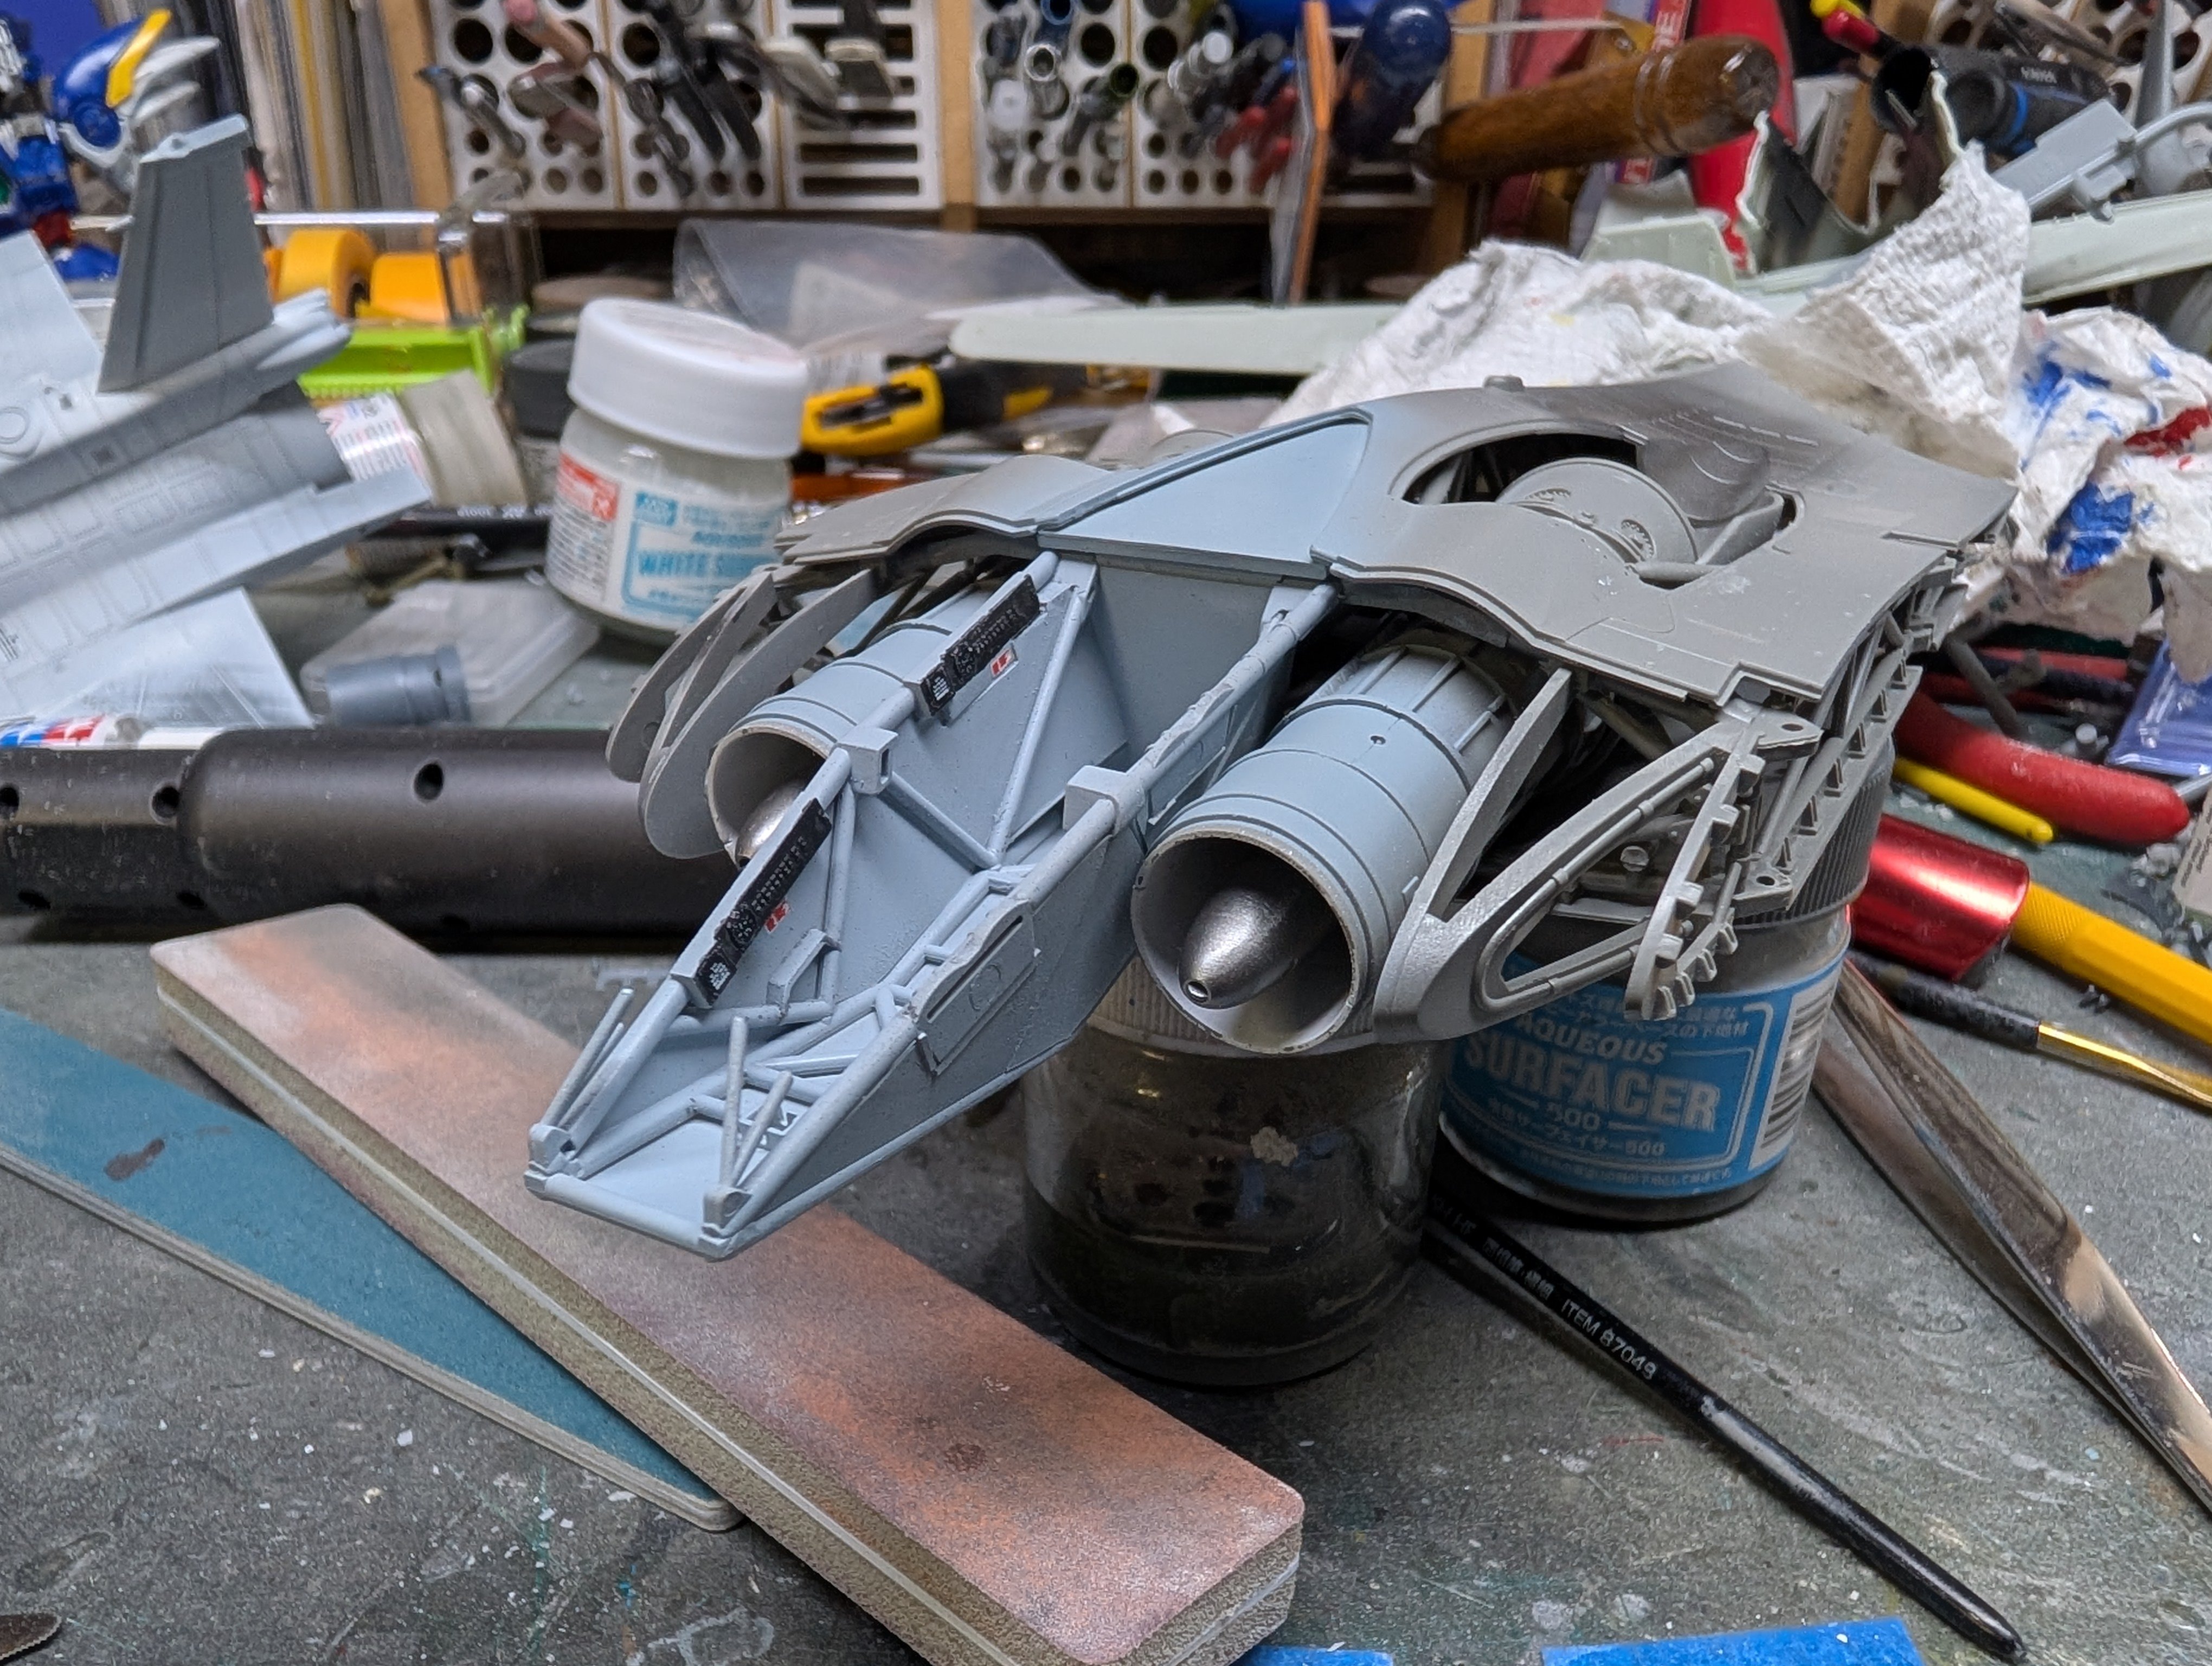
She's back on the bench instead of under it. I decided to take the Tamiya F-14 I had previously started and try to make some progress on it. This one was a bit warped compared to the one I did earlier and the two fuselage halves weren't mating nicely. I finally got it sorted and together. The join seam still isn't pretty but is much better than it was.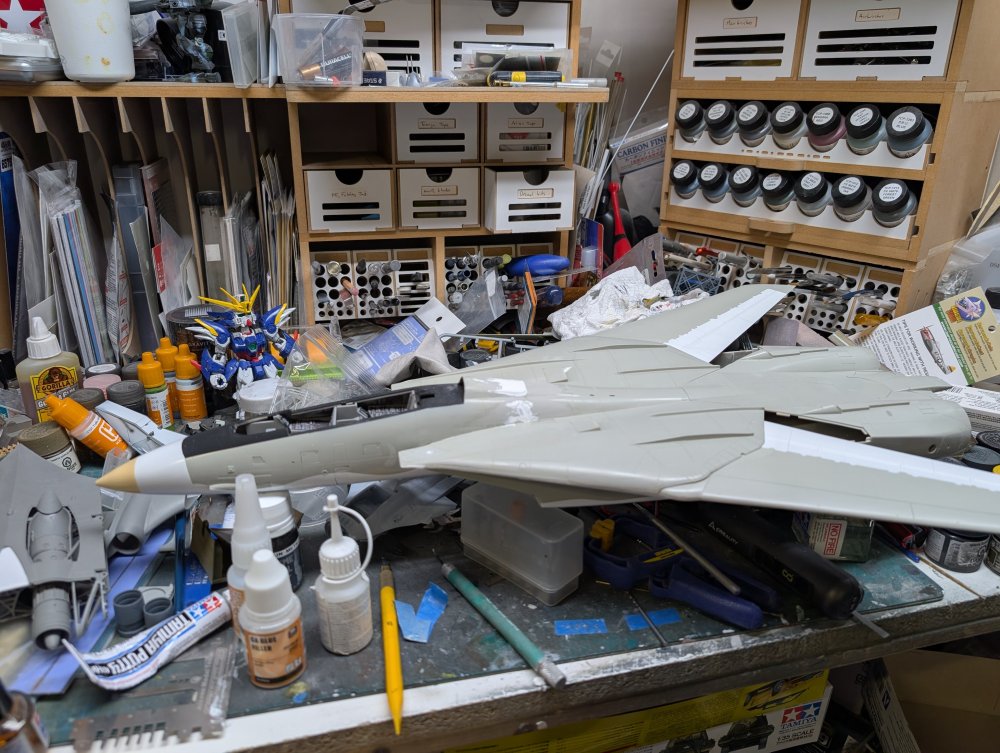
-
That's an interesting looking engine Paul. You my UST have a nice collection of them now. Carl
-
P.1101 at Oberammergau
BlrwestSiR replied to JeroenPeters's topic in LSM 1/32 and Larger Aircraft Ready for Inspection
Fantastic work and a great display of I'm the finished model. -
What is on your bench right now ? Share a picture :)
BlrwestSiR replied to Martinnfb's topic in Modelling Discussion
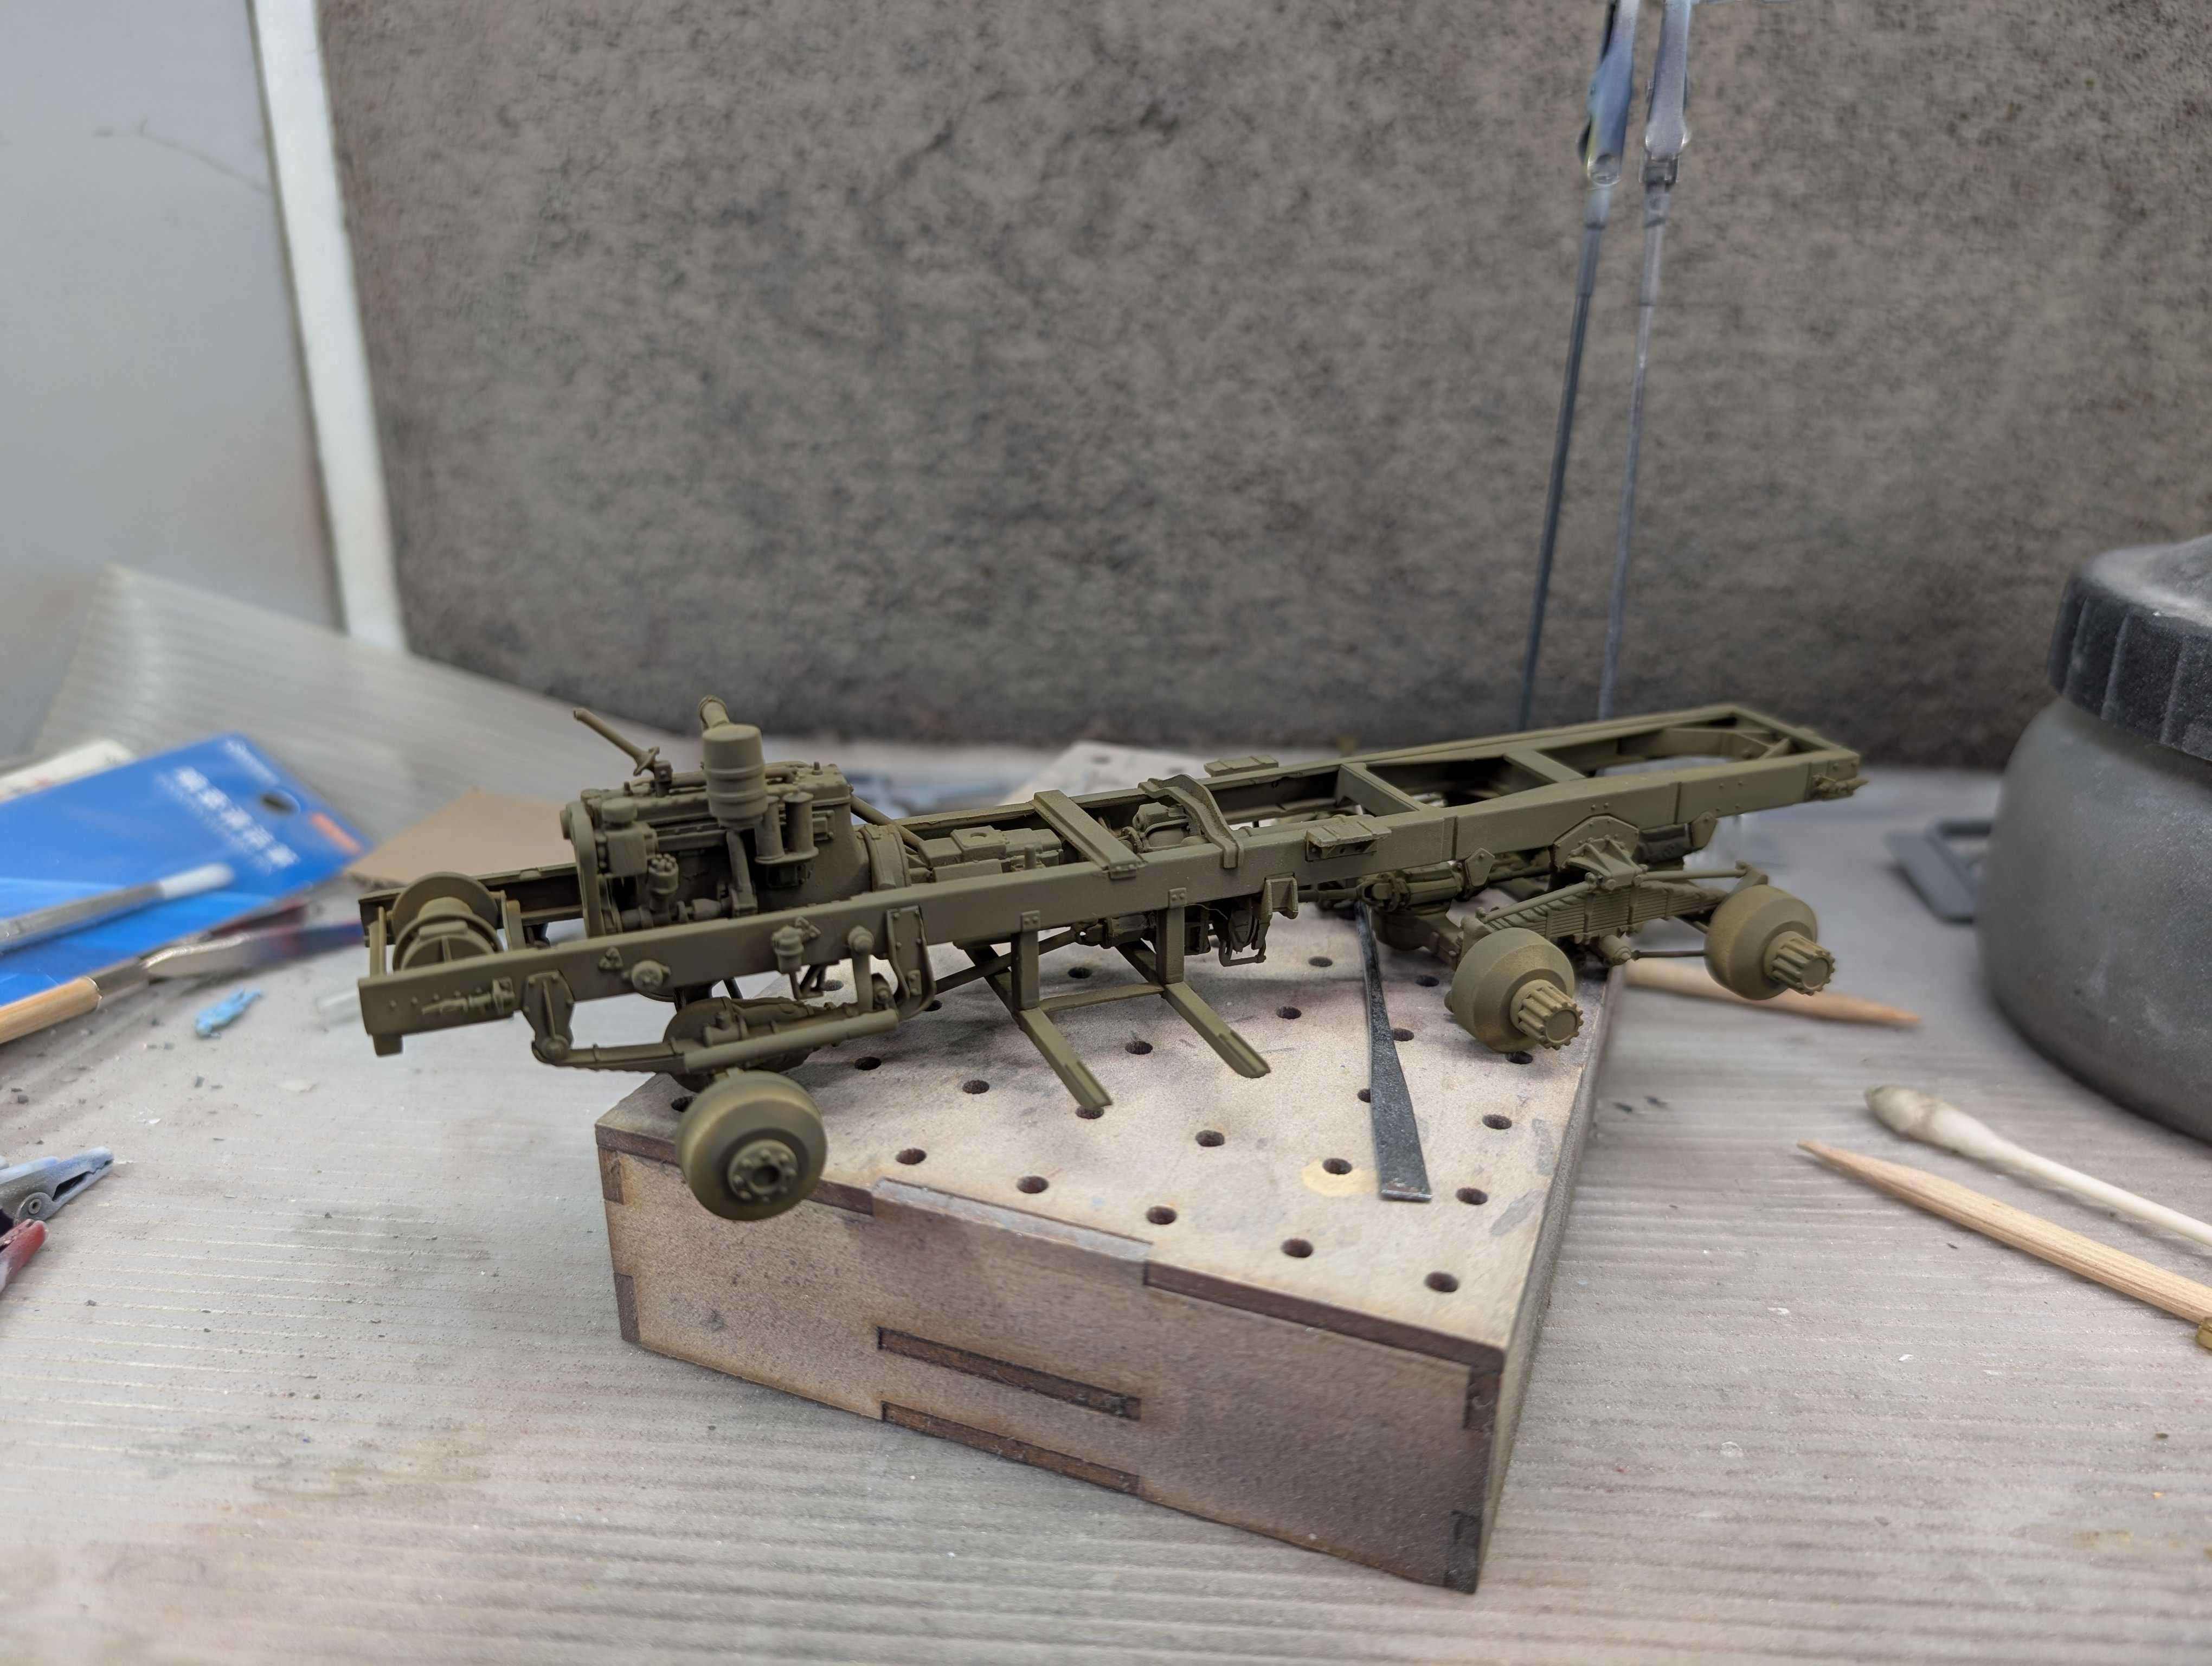
Finally got back the bench. I tires to airbrush the Diamond T chassis but for some reason I had a hard time holding the airbrush. I had to switch hands to get it done. Thankfully it's all one colour and will get some weathering to it so that'll cover any bad spots Carl
-
1/24 Airfix Bf-109K (conversion)
BlrwestSiR replied to Martinnfb's topic in LSM 1/35 and Larger Work In Progress
You're welcome Martin! Glad it cheered you up. -
1/24 Airfix Bf-109K (conversion)
BlrwestSiR replied to Martinnfb's topic in LSM 1/35 and Larger Work In Progress
That's great to hear Martin and glad to see you back at the bench. Carl -
Looks great!
-
Tamiya 1/35 Jagdpanther (Late Version)
BlrwestSiR replied to RalphSarc's topic in LSM 1/35 and Larger Work In Progress
The build is just moving along nicely. Looks to be a nice straightforward build like most Tamiya kits. Carl