BlrwestSiR
-
Posts
9,209 -
Joined
-
Last visited
Content Type
Profiles
Forums
Events
Gallery
Everything posted by BlrwestSiR
-

LSM Modelling News 2023 merged Fran and Artful69’s threads
BlrwestSiR replied to Fran's topic in Modelling Discussion
If you're like my son Edward, they're more a "what's inside the box?" mystery solved with a screwdriver. Scale looks to be 1.2/1 or thereabouts. -
Trumpeter Abrams 1/16
BlrwestSiR replied to FullArmor's topic in LSM 1/35 and Larger Work In Progress
It definitely looks the part. -
LSM Modelling News 2023 merged Fran and Artful69’s threads
BlrwestSiR replied to Fran's topic in Modelling Discussion
After numerous leaks, Nintendo has officially announced the Switch 2 will be coming out this year. -
What is on your bench right now ? Share a picture :)
BlrwestSiR replied to Martinnfb's topic in Modelling Discussion
Looks great there Scott. -
Cobra Coupe - Le Mans - Model Factory Hiro 1/12
BlrwestSiR replied to DocRob's topic in LSM 1/35 and Larger Work In Progress
That internal frame around the windows looks daunting. Nice work on getting it to fit. -
Wow, some crazy typos there. I'll need to fix those to make it readable.
-
I took a closer look at the instructions and you're right Paul, it's posable but not working. I was on Scalemates and they have a 234/1 conversion listed now. It's by FC Model Trend but isn't cheap. More than the kit itself. But at least the option is there now.
-
What is on your bench right now ? Share a picture :)
BlrwestSiR replied to Martinnfb's topic in Modelling Discussion
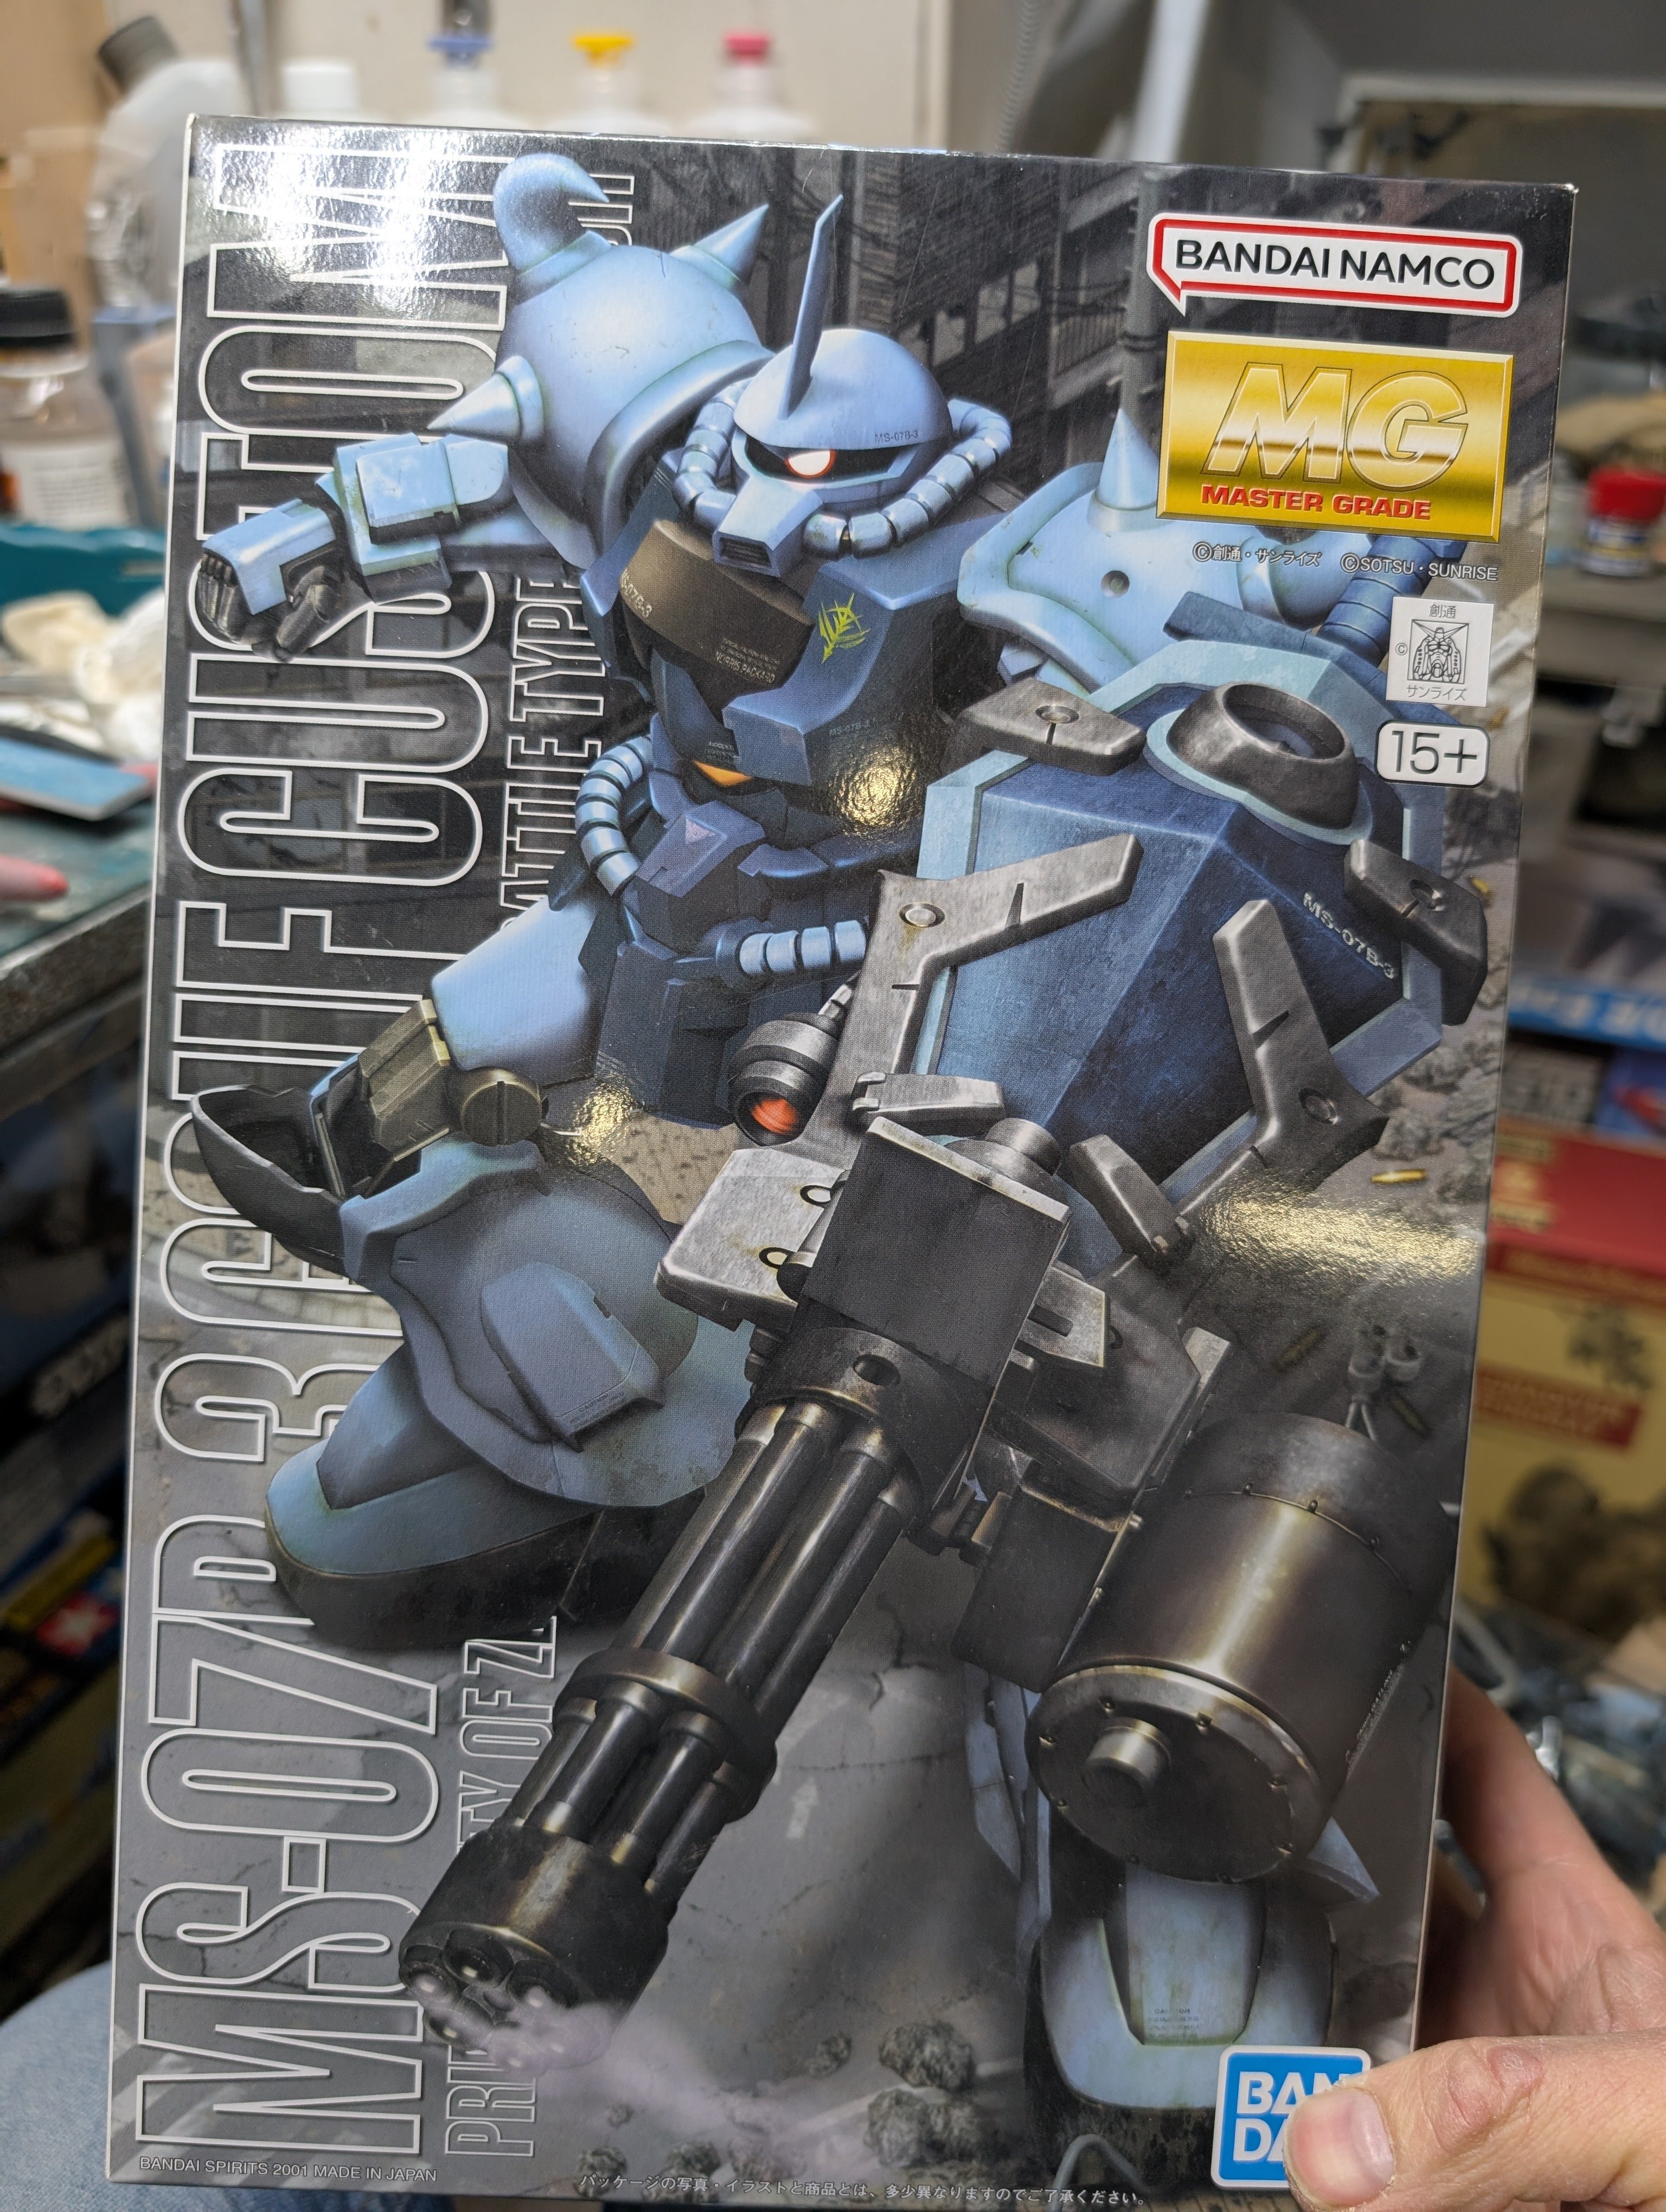
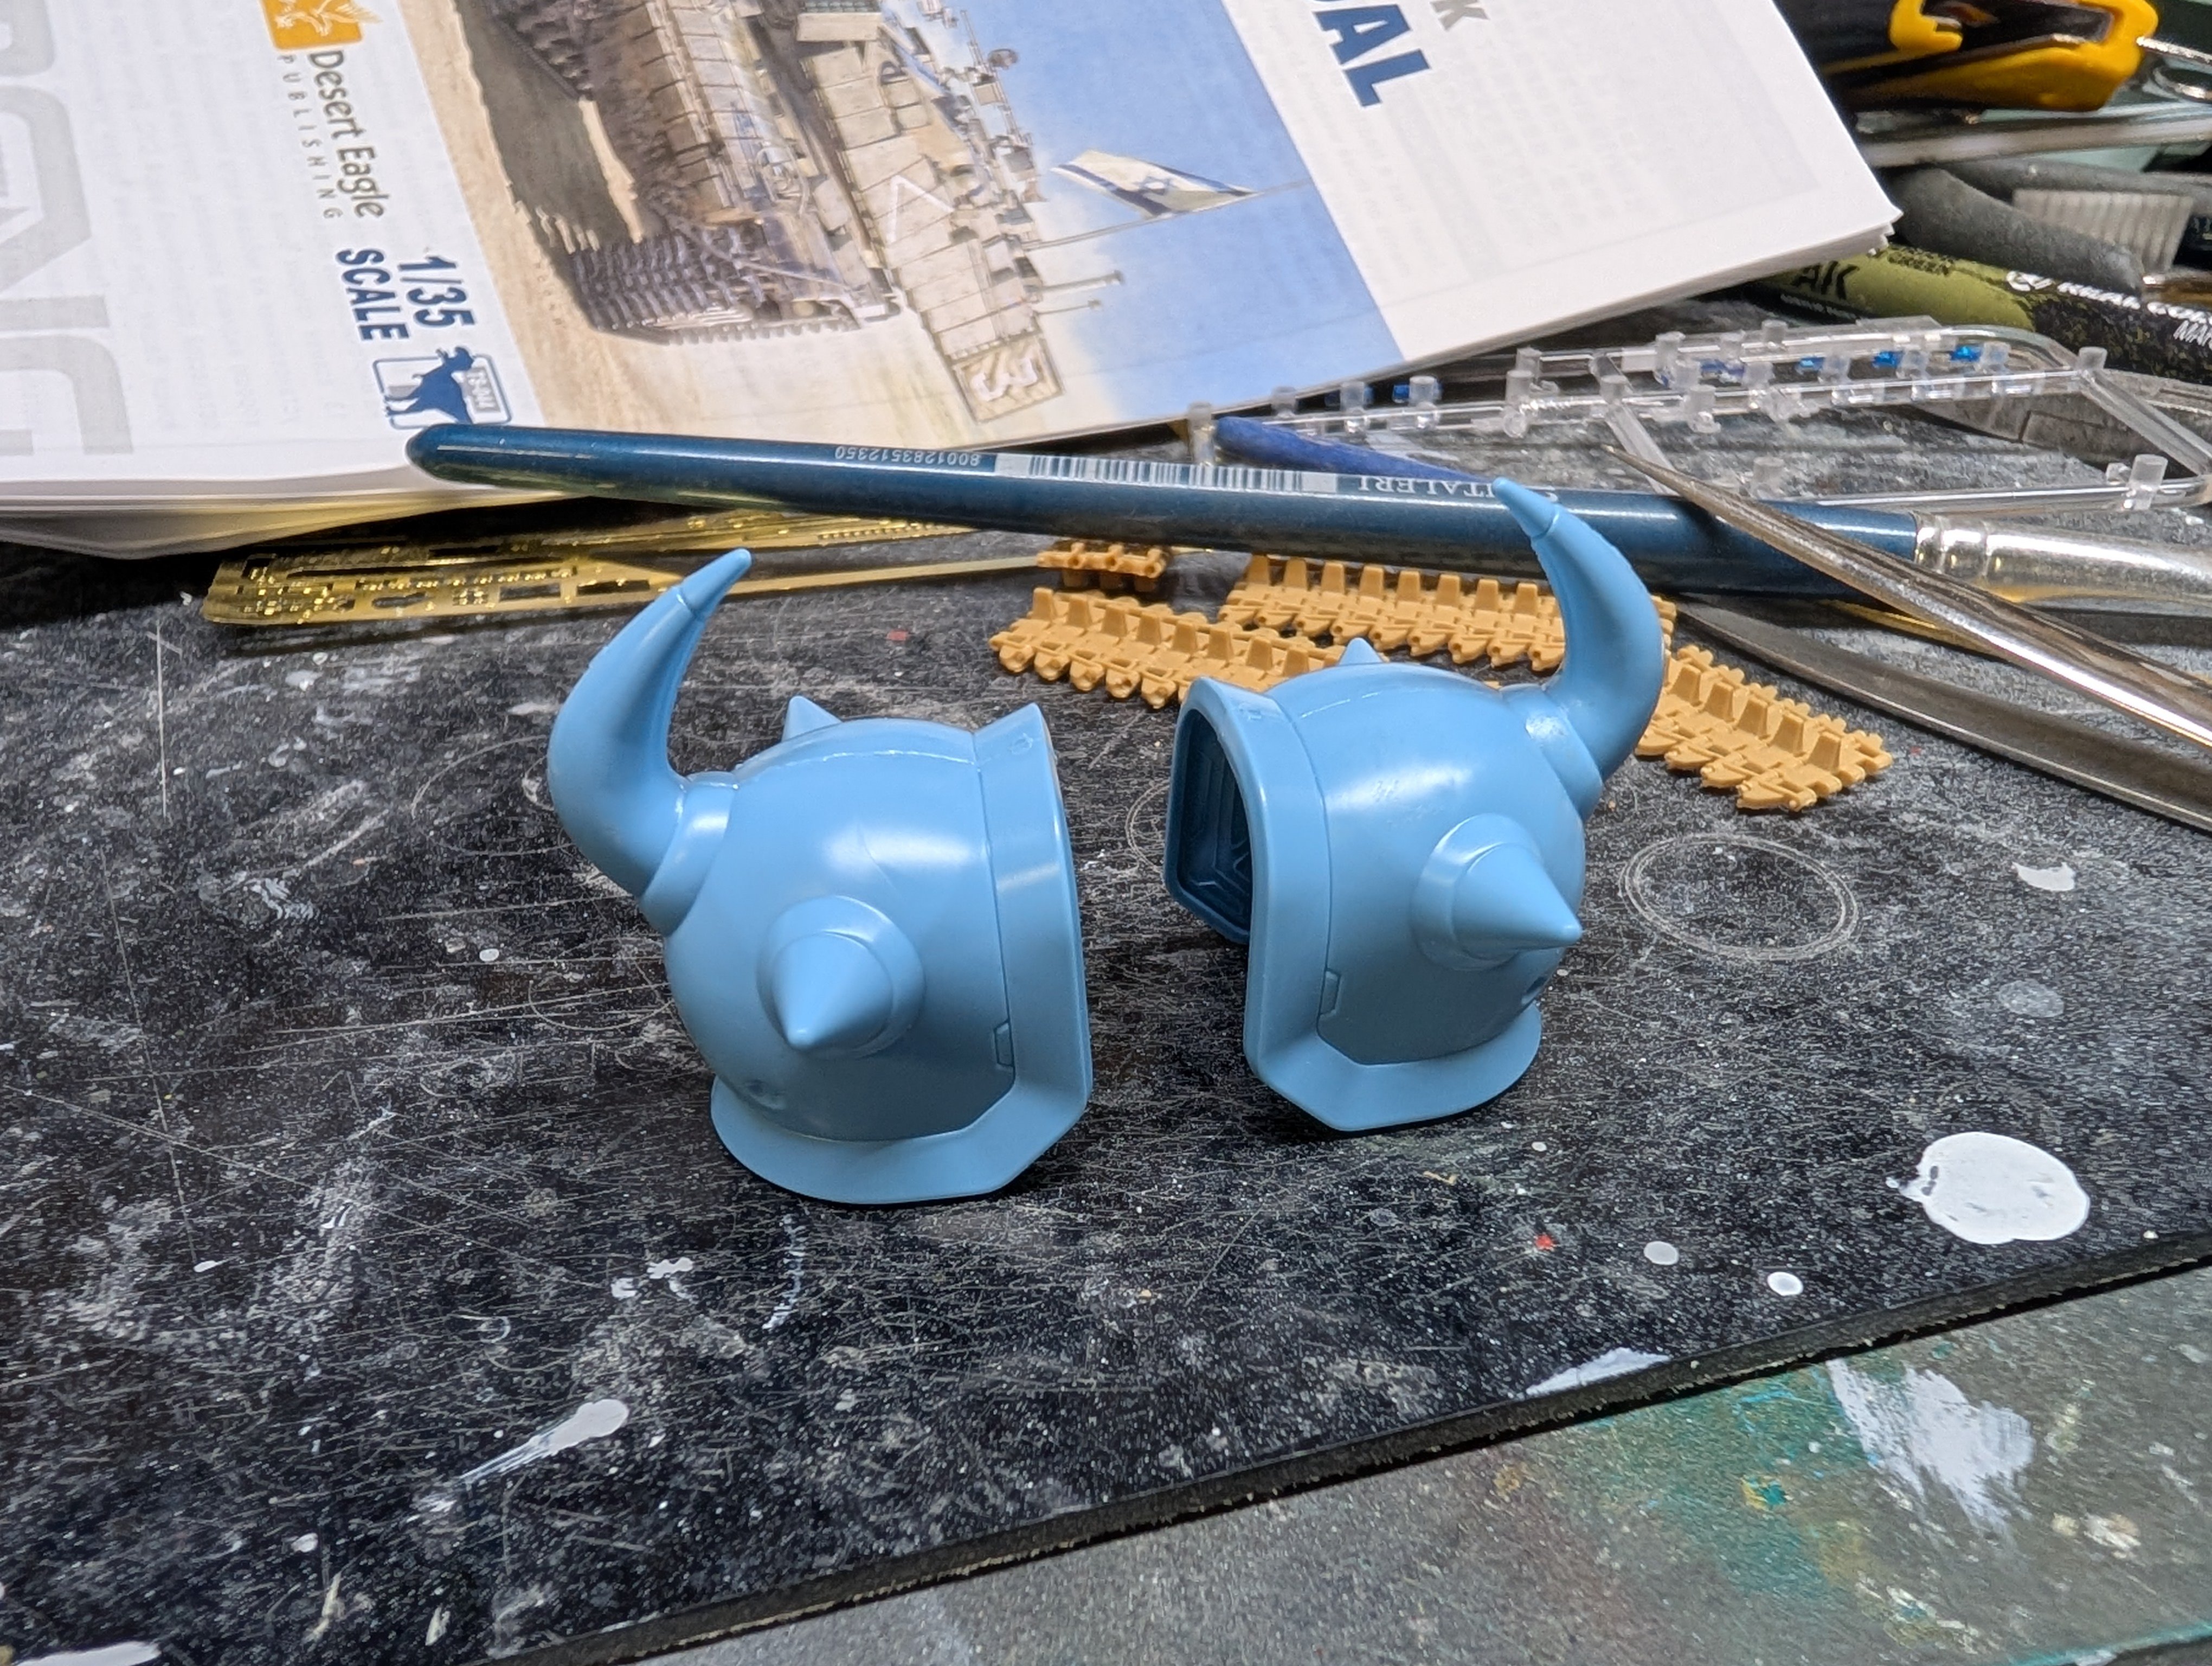
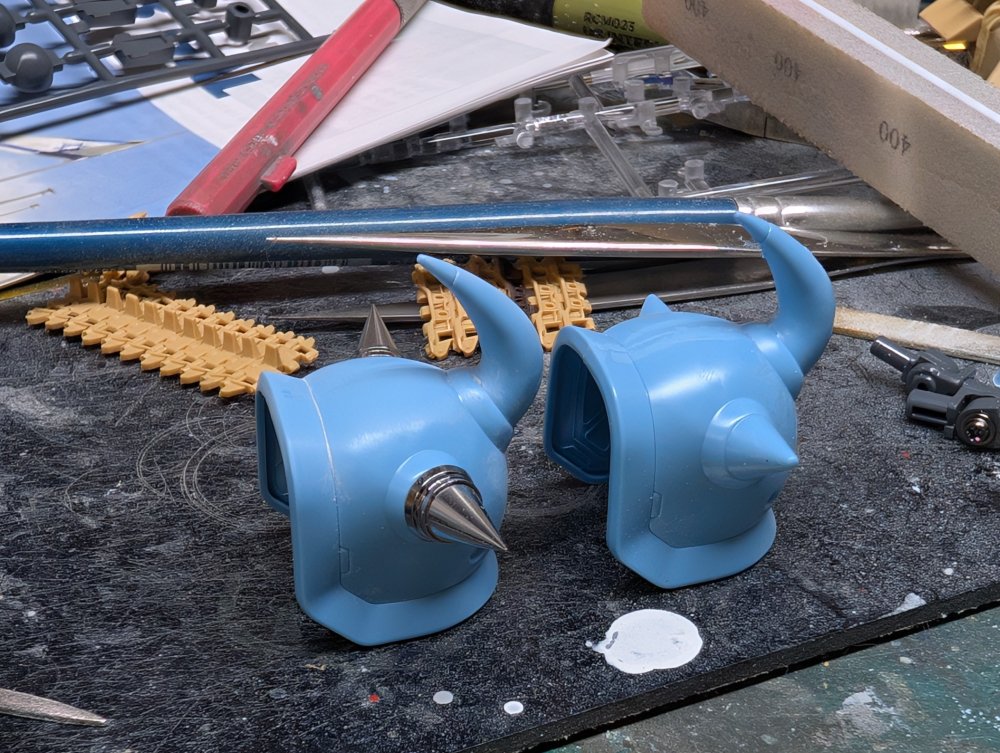
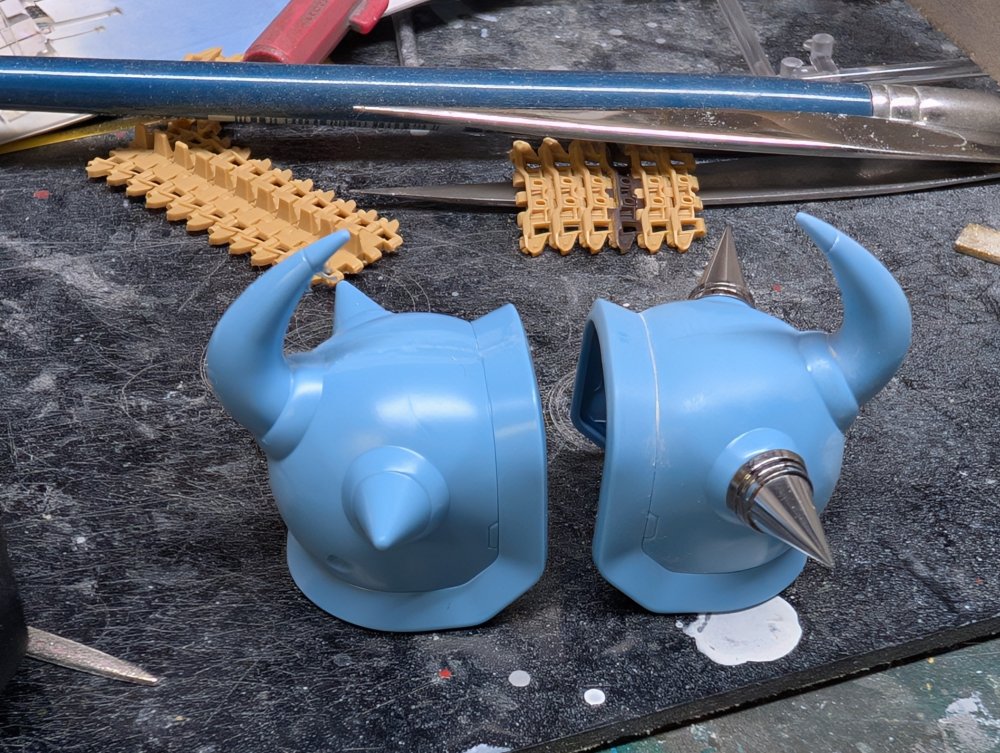
Started on a Gundam kit. This time it's a MS-07B Gouf Custom. The Gatling shield sold it for me. The shoulders have the ubiquitous spikes that most Zaku types have. I picked up a detail set that replaces a couple of them with metal ones. First shoulder done. A worthwhile upgrade and easy enough.

-
Eduard Spitfire Mk. XVI Bubbletop 1/48
BlrwestSiR replied to CANicoll's topic in LSM 1/48 Work in Progress
Chris, these are the instructions for the belts from Wako. Not sure if they'll help you with the Quinta ones but they actually show you which way to thread the belts through the buckles. Belt and buckle layout. Shoulder belts. Lap belts. -
Paul, the Puma looks to be a very nice kit. Watching one of Andy's YouTube videos on the kit, the suspension option allowed you to build one that works, or a fixed one if you're not as fussy. Certainly nice to have the option. I'm on the fence with the Pumas as well. I'd much rather have the 234/1 with the semi-open turret or the one with the PaK40 on it. There's lots of AM showing up for the kit too including resin tires with different trad patterns. Easy to go to town on it. Hope you start a WiP whenever you get to it. Carl
-
Eduard Spitfire Mk. XVI Bubbletop 1/48
BlrwestSiR replied to CANicoll's topic in LSM 1/48 Work in Progress
Get better Chris. The flu's not fun. I have the same Spitfire XVI kit in the stash too as part of a Spitfire/FW190D double boxing. It'll be good to see one go together. Carl -
What is on your bench right now ? Share a picture :)
BlrwestSiR replied to Martinnfb's topic in Modelling Discussion
Lots of caffeine it seems. I have the same trouble with yellow and sometimes red. -
What is on your bench right now ? Share a picture :)
BlrwestSiR replied to Martinnfb's topic in Modelling Discussion
Thankfully all the caffeine didn't give you the jitters while you sprayed the P-40. The yellow looks good by the way, nice and solid. -
1/32 Westland Whirlwind
BlrwestSiR replied to JeroenPeters's topic in LSM 1/35 and Larger Work In Progress
Is that in a "why make an easy solution when we can come up with one that will give future modelers fits" -
Paul, they're a nice kit that's for sure. Some things to watch out for when you get around to building one. - The wing ailerons mount with PE and metal rods. They can be floppy and not hold their position without a dab of glue. - The wing leading edge inserts for the cannon barrels isn't the best fit. I usually make the upper side flush and then fix the imperfections on the lower side which is less visible. - The engine bearers are ABS plastic so use Tamiya Extra Thin to glue them on. Even if you don't plan to have the cowlings off, they're needed for the exhausts. Speaking of the cowl panels, they can be tricky to align neatly but it can be done. I think I'm up to 9 built with another 6 in the stash so I guess that means I like them. As for the Egg Plane girls, I don't have any issue with them. I think they're fun and if they sell well enough to help keep Hasegawa in business so much the better.
-
Nice assortment there Paul. Is the flamethrower part of the Little Armoury series? I remember when the Tamiya Spitfires were around the $100 CAD mark. I picked up most of mine for under that but now, they're generally $40-50 more.
-
What is on your bench right now ? Share a picture :)
BlrwestSiR replied to Martinnfb's topic in Modelling Discussion
And worth every Loonie. Sorry, pennies aren't legal tender in Canada any more. -
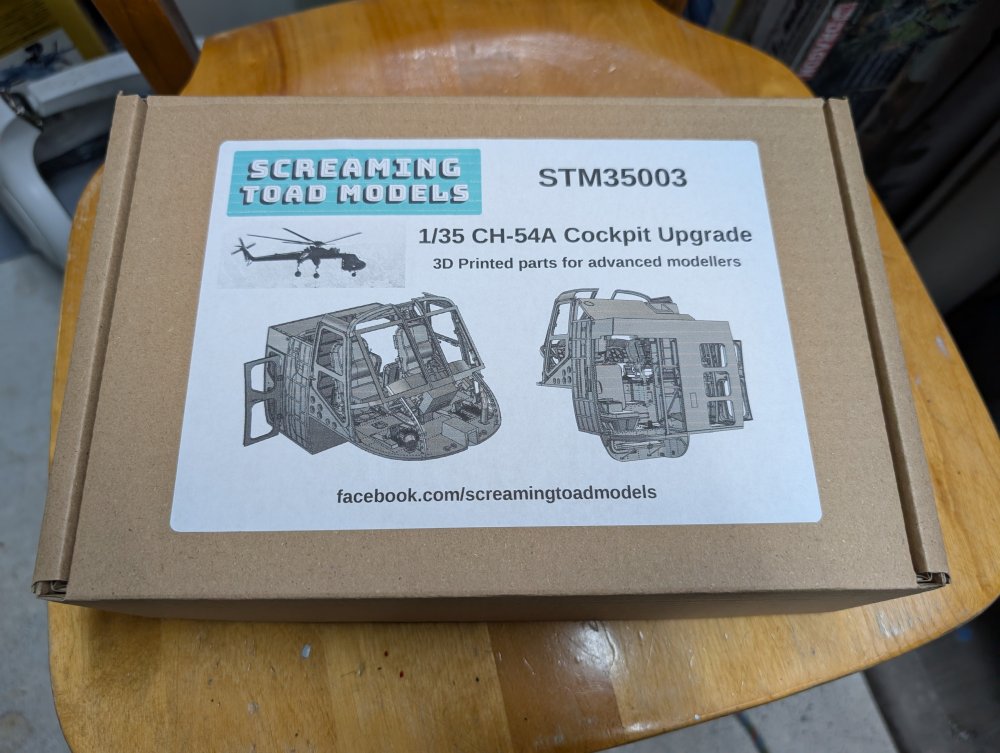
Saw this cockpit upgrade set for the ICM CH-54 and decided to get one. It's absolutely stunning. It basically replaces the entirety of the kit cockpit.
-
That sounds like Vancouver. Being in a rowhouse, we have 16' of sidewalk and the path up to our house to shovel, so maybe another 10' there. The city finally added sidewalk plowing to our neighbourhood after doing other ones in the city so that technically leaves even less for us. Plus we can get the boys to do it. It's definitely real. One of Sue's friend's husband had one shoveling. Thankfully he knew something wasn't right and got treated in time. Which has made Sue paranoid to let me do any shovelling after my triple bypass 5 years ago. Stay safe everyone!
-
Great to see you're still working on this Mike. No snow here in the Great White North but the temps have dropped.
-
What is on your bench right now ? Share a picture :)
BlrwestSiR replied to Martinnfb's topic in Modelling Discussion
Chris, that should make a great project. The Italeri 104 gets a bad rap but It's not as bad as some folks say. I've done two so far, one in NMF. It looks like you've got the weak spots covered too. Carl -
What is on your bench right now ? Share a picture :)
BlrwestSiR replied to Martinnfb's topic in Modelling Discussion
That's a bit annoying there Scott. More so with the paint reaction too. I've never of clear lacquer reacting to decal solutions and I've even used Tamiya X-20A as one without paint issues. Let us know if you figure out more. -
Me too!
-
You got yours already?
-
Cobra Coupe - Le Mans - Model Factory Hiro 1/12
BlrwestSiR replied to DocRob's topic in LSM 1/35 and Larger Work In Progress
Seeing your progress on the Cobra is like watching car restorers working on a real one. Testing the fit of the body panels, making adjustments and repeat until perfect.