BlrwestSiR
-
Posts
9,225 -
Joined
-
Last visited
Content Type
Profiles
Forums
Events
Gallery
Everything posted by BlrwestSiR
-

What is on your bench right now ? Share a picture :)
BlrwestSiR replied to Martinnfb's topic in Modelling Discussion
Hubert, I think half my stash could technically qualify as my SoD. So many of the the kits are started in some random way and then put back. It took a real change in my approach to stop doing that. -
McLaren MP4/6 Ayrton Senna Fujimi 1/20
BlrwestSiR replied to DocRob's topic in LSM 1/35 and Larger Work In Progress
Thanks for sharing. I didn't know about that kit. -
1/32 Curtiss SC-1 Seahawk
BlrwestSiR replied to BlrwestSiR's topic in LSM 1/35 and Larger Work In Progress
One of the engine..thumb.jpg.51be0ed56b8880a13a052766199bc4a9.jpg)
.thumb.jpg.8b9e7952c046e0bdadb340050f2b9db9.jpg)
.thumb.jpg.d67a09b2c5e268c9654ddf3be75d8256.jpg)
.thumb.jpg.b0583d6b55c4fff297b6b86a1a88d730.jpg)
- 92 replies
-
- 10
-

-
1/32 Curtiss SC-1 Seahawk
BlrwestSiR replied to BlrwestSiR's topic in LSM 1/35 and Larger Work In Progress
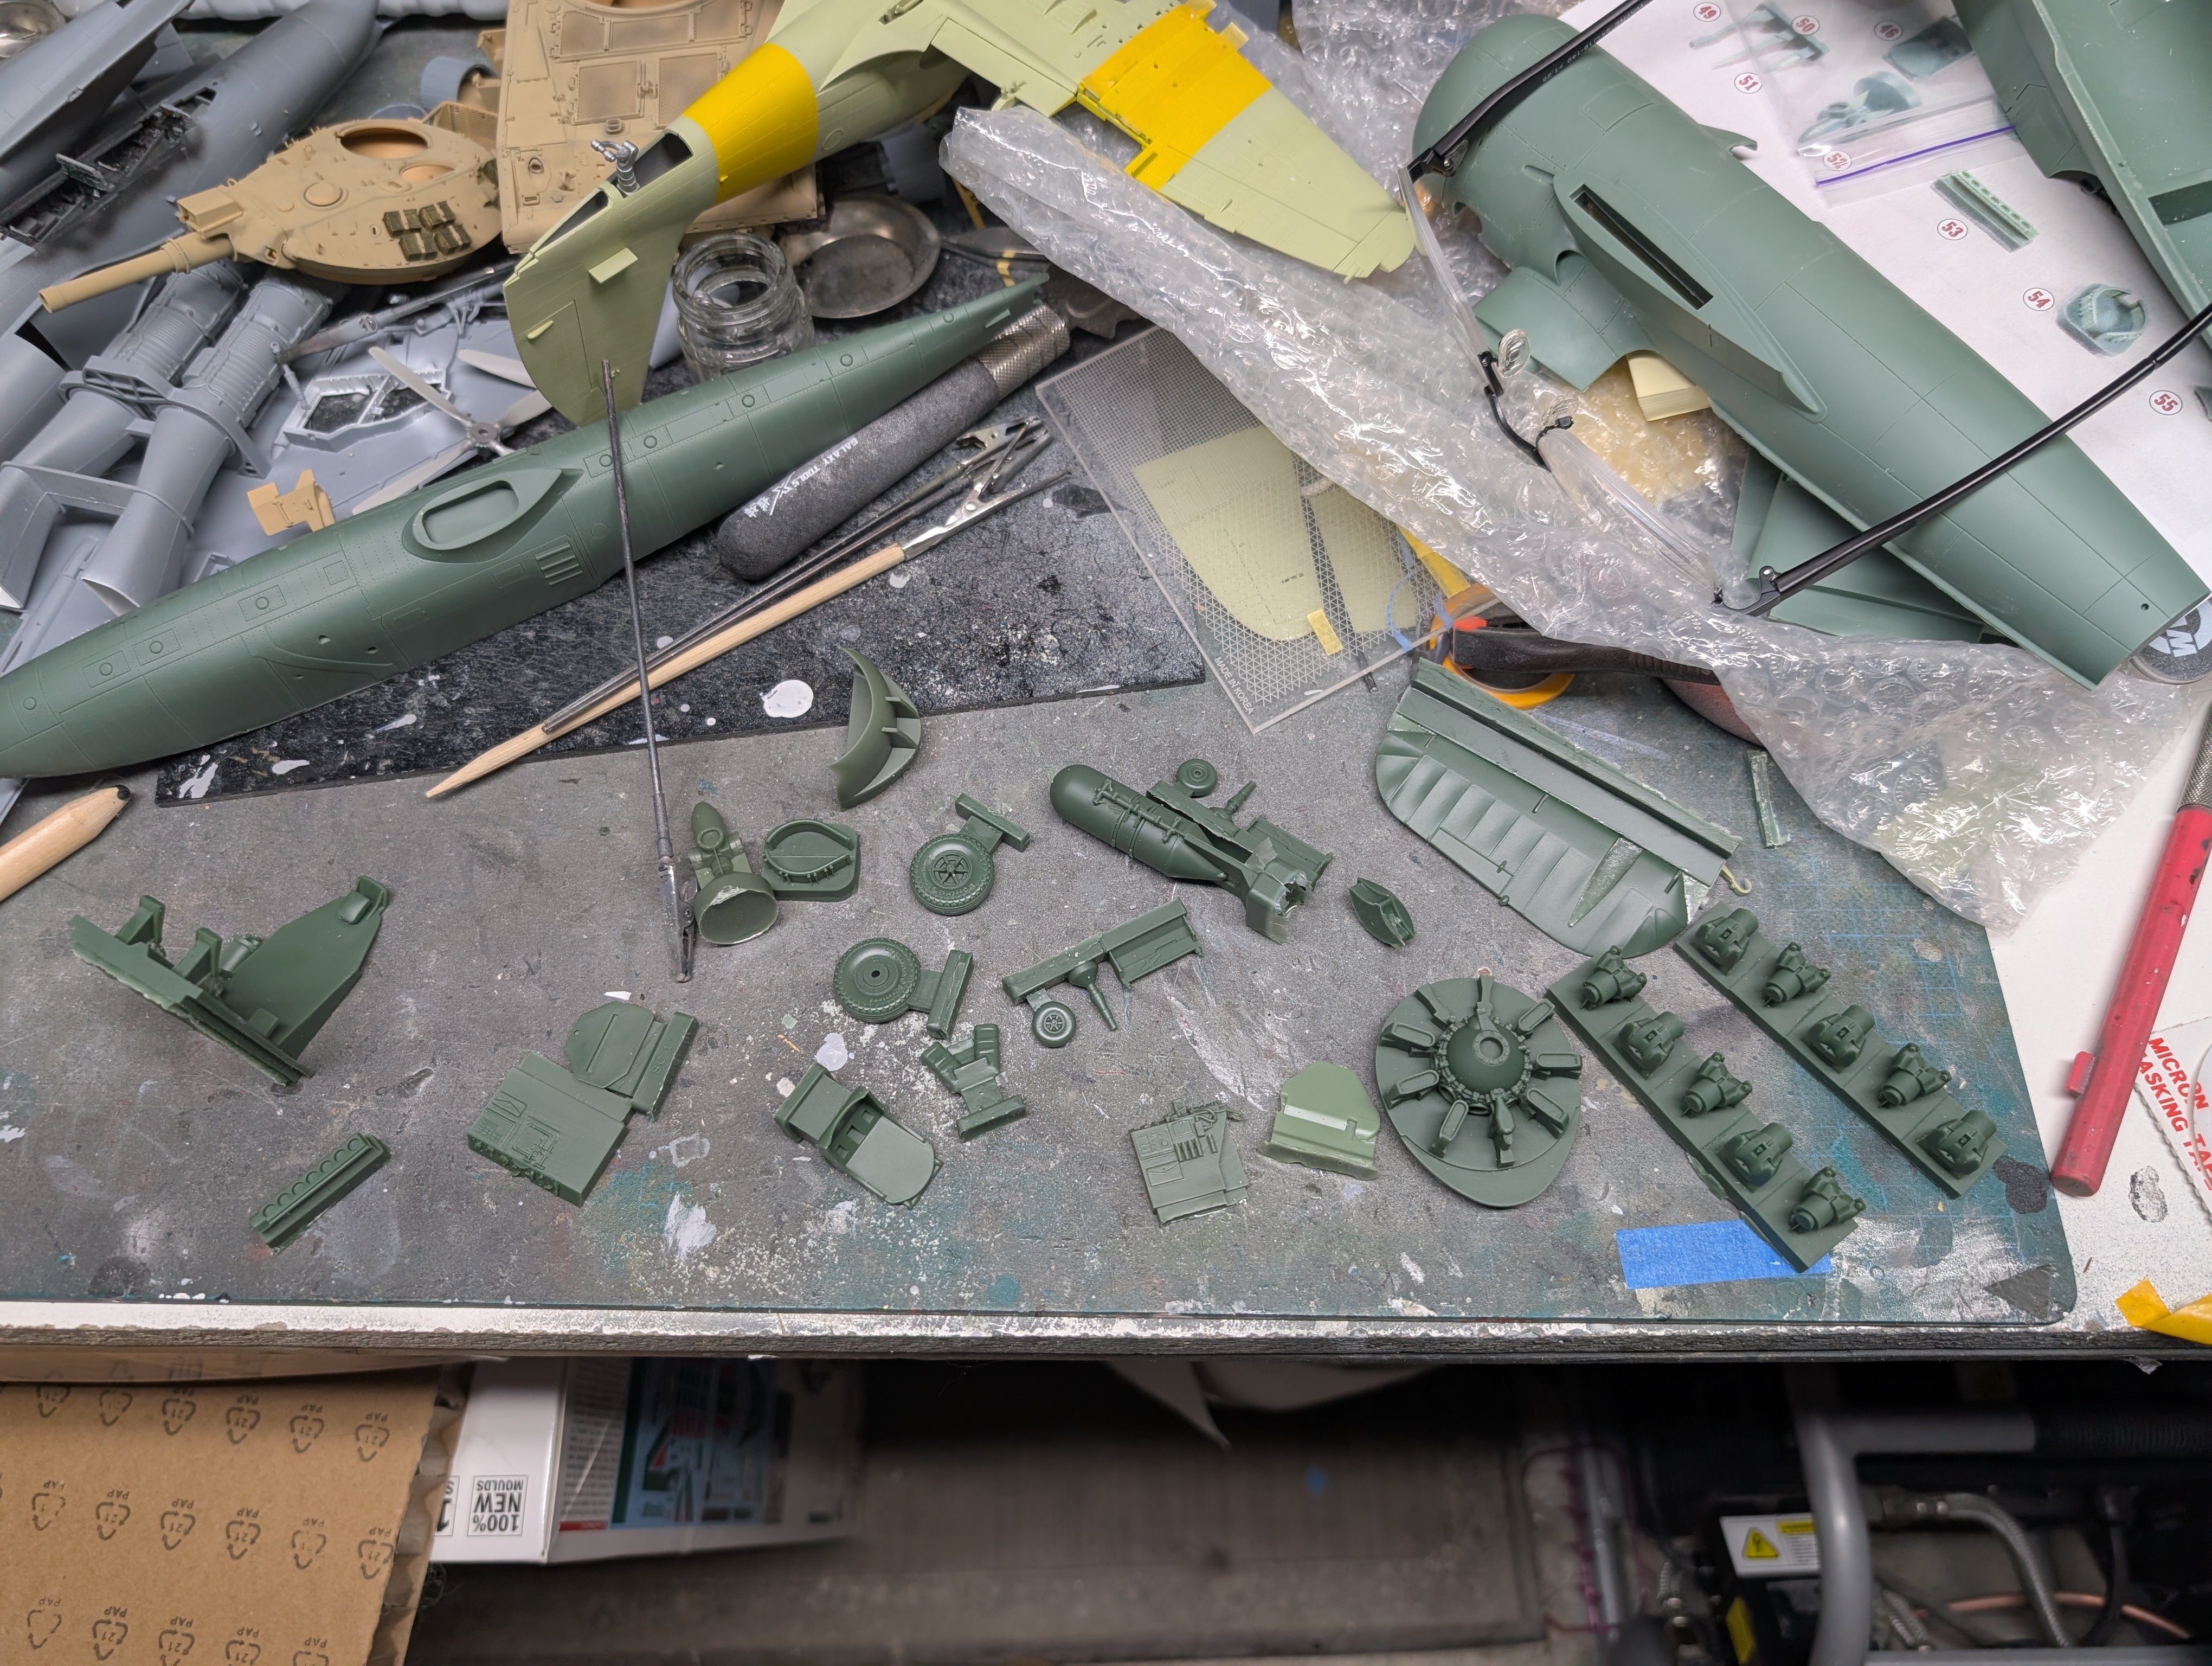
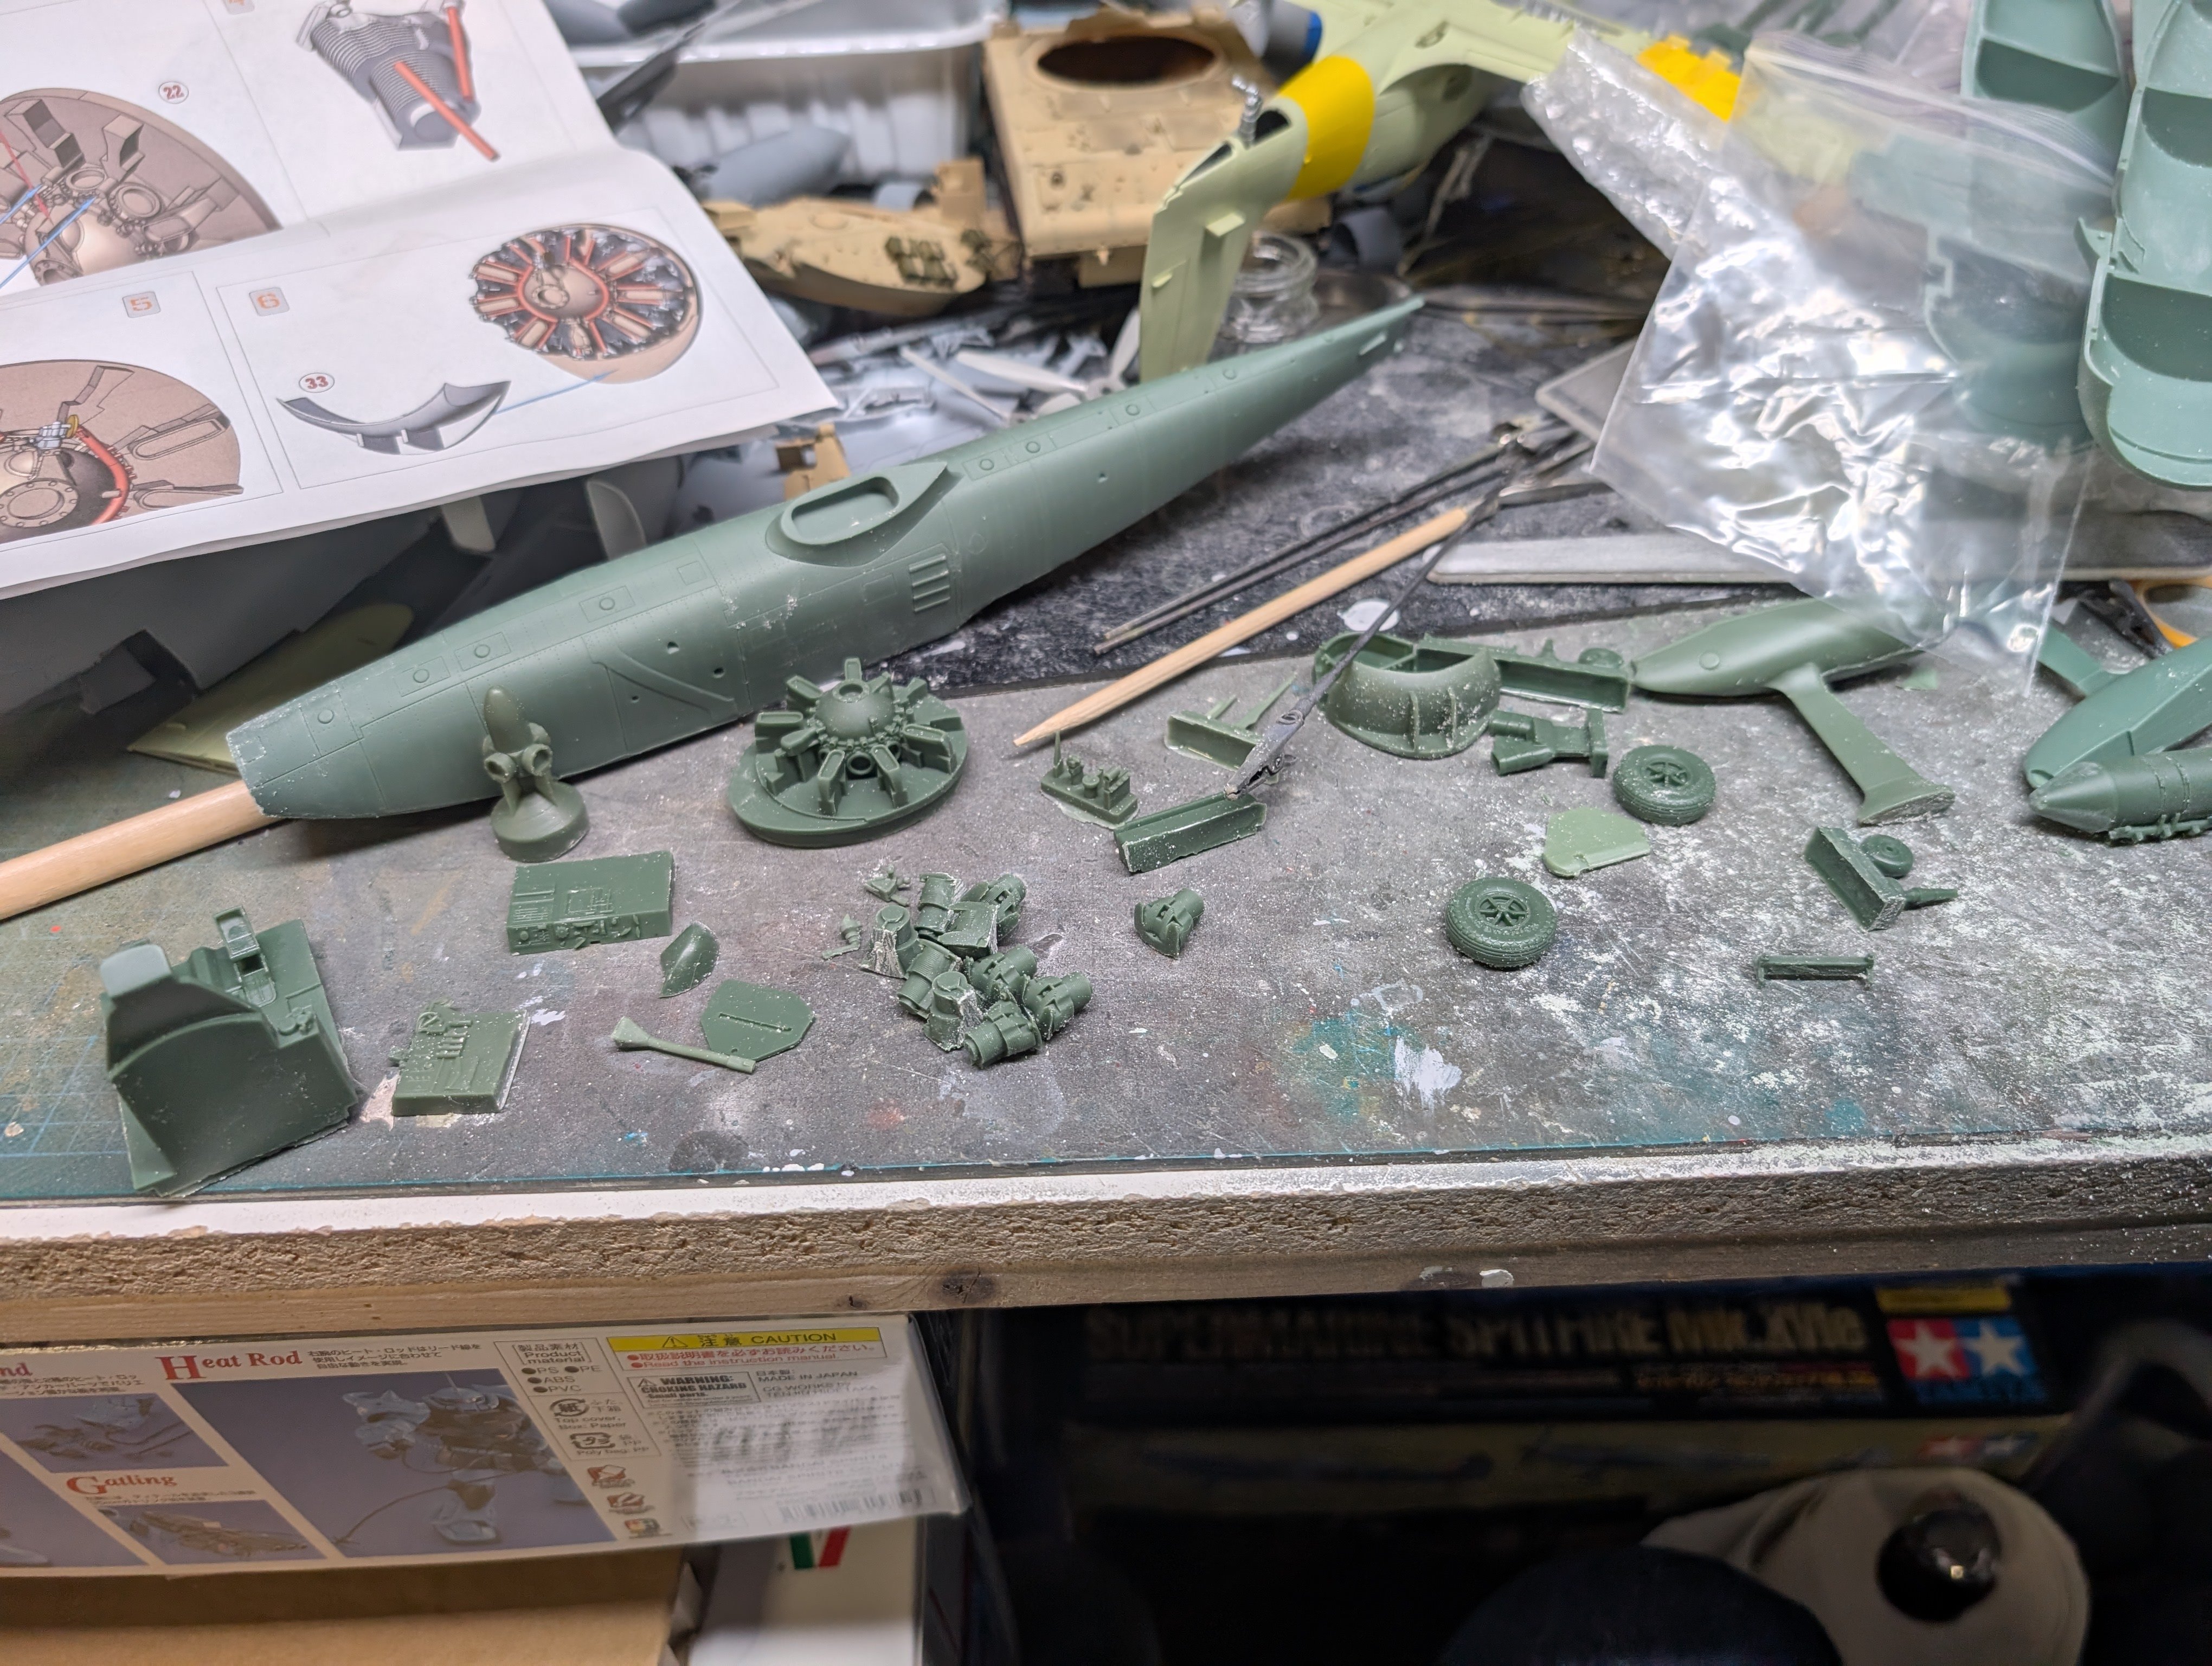
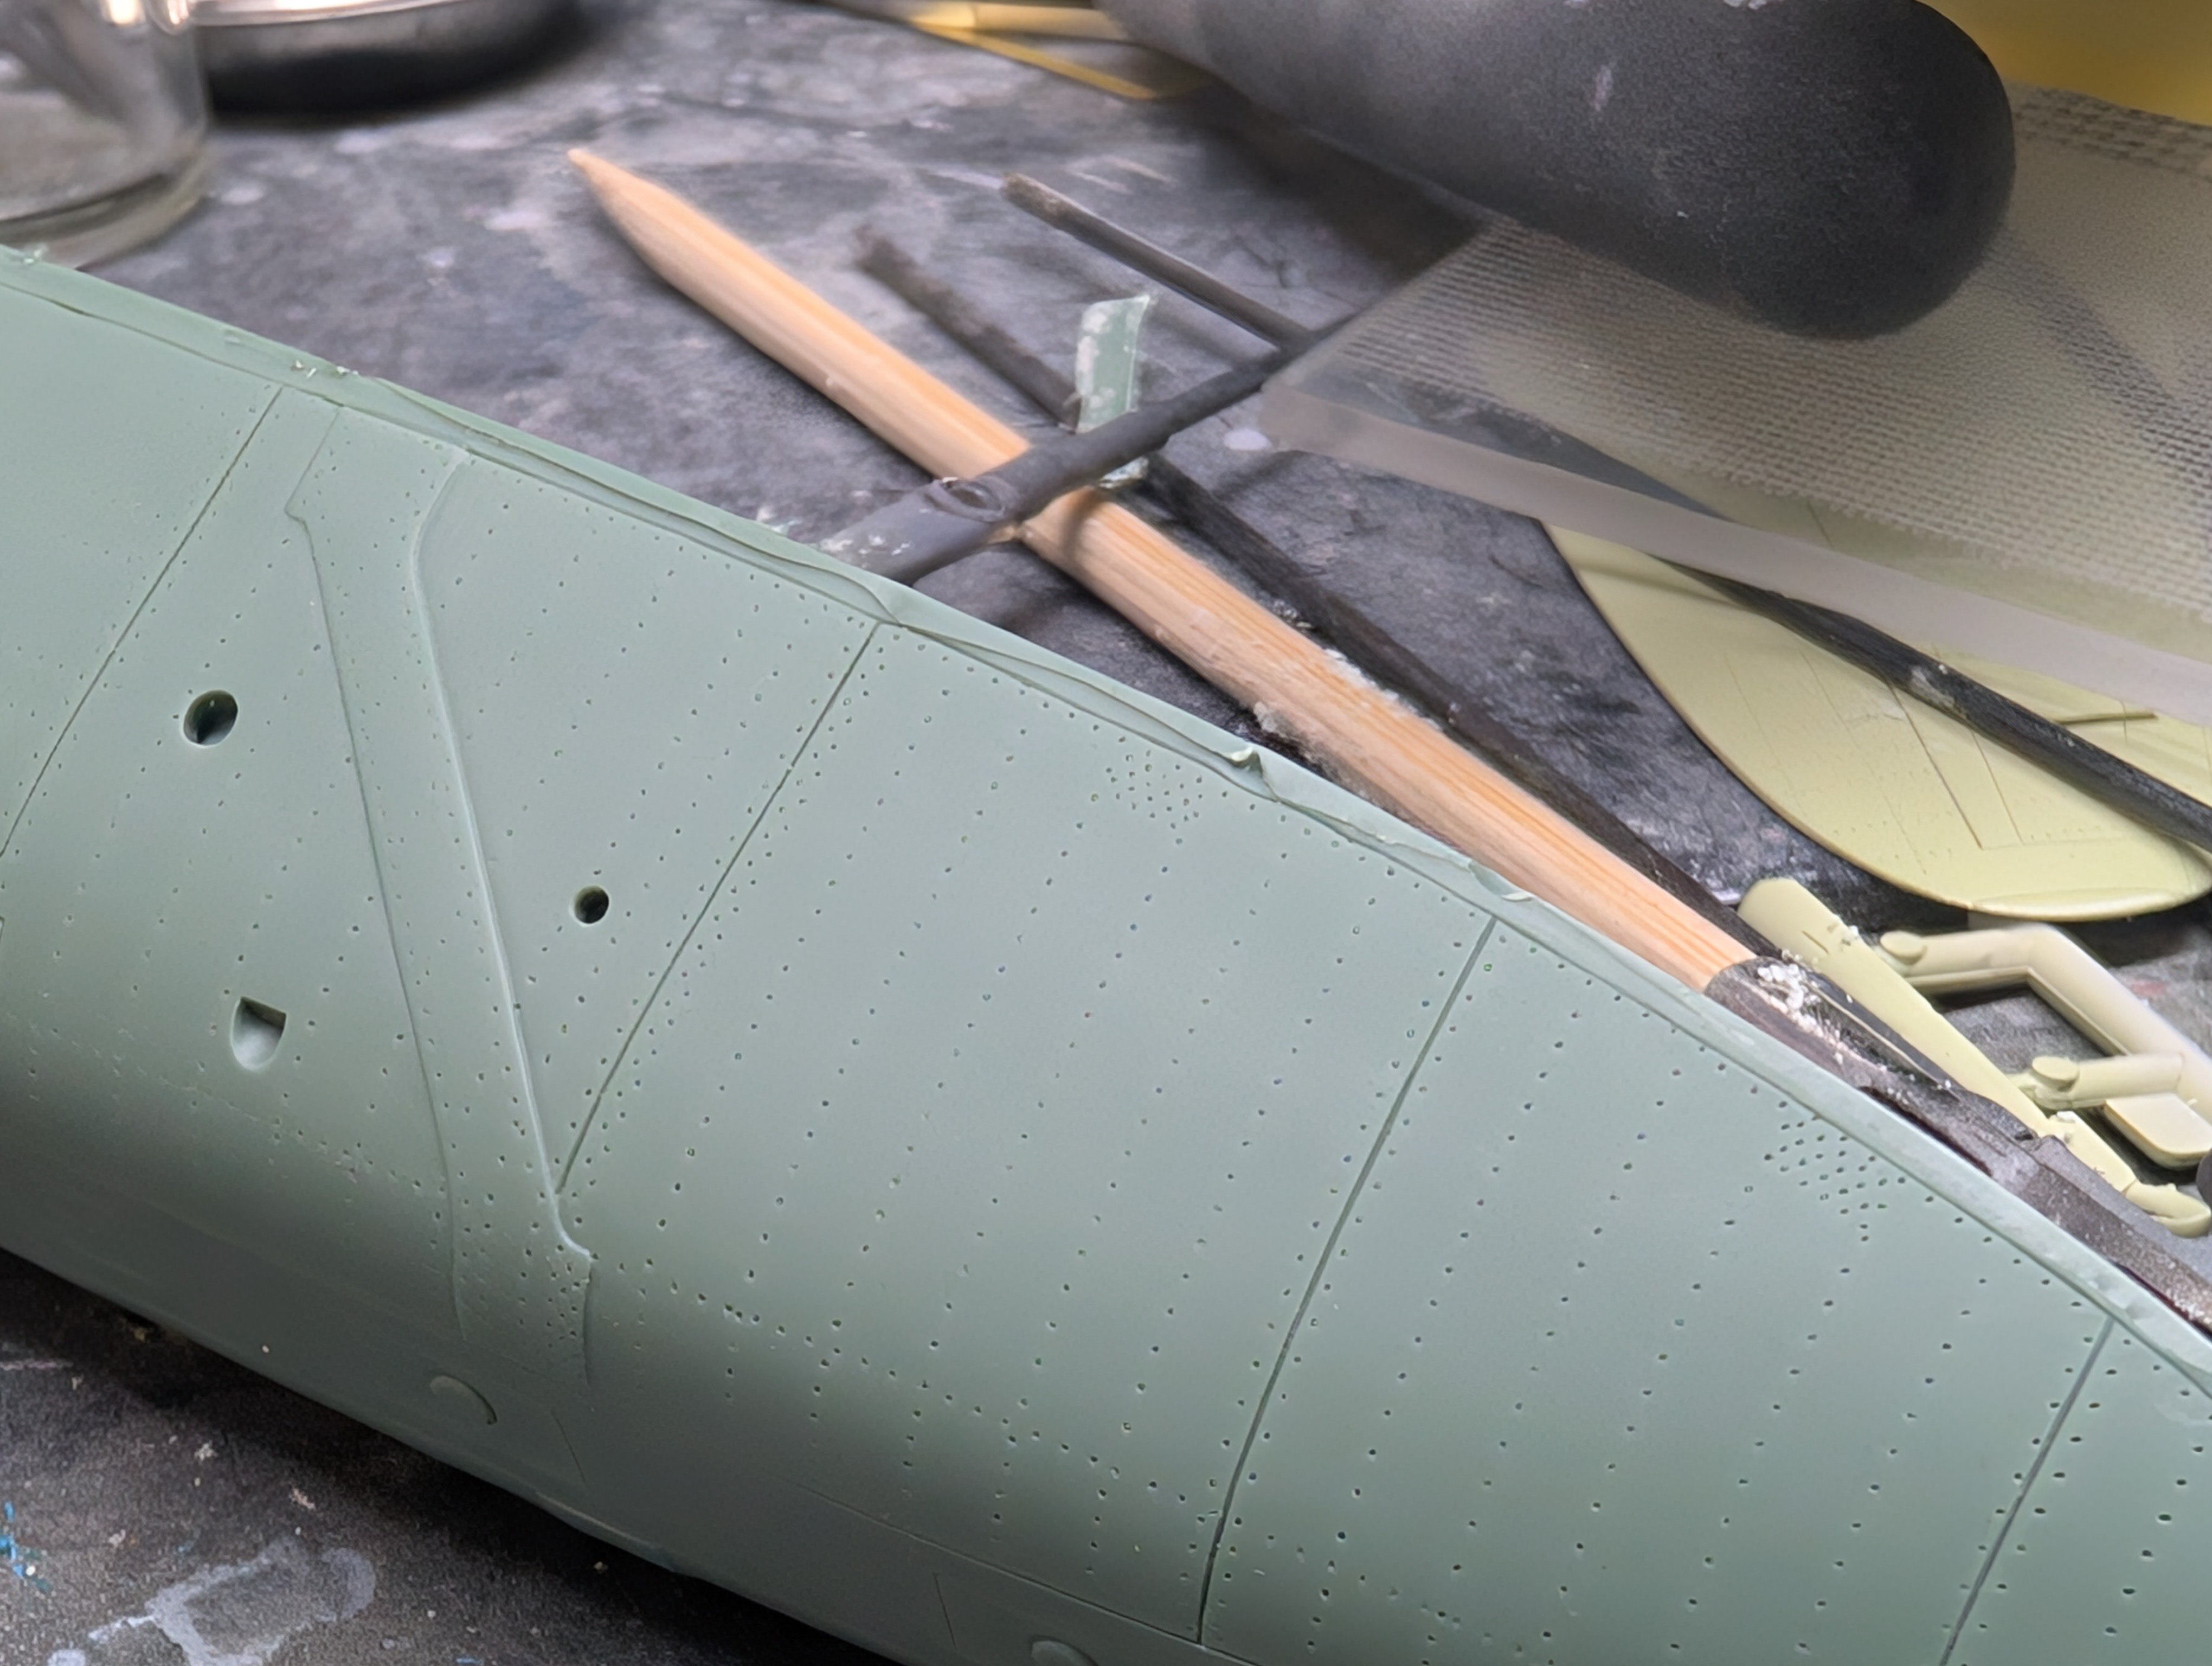
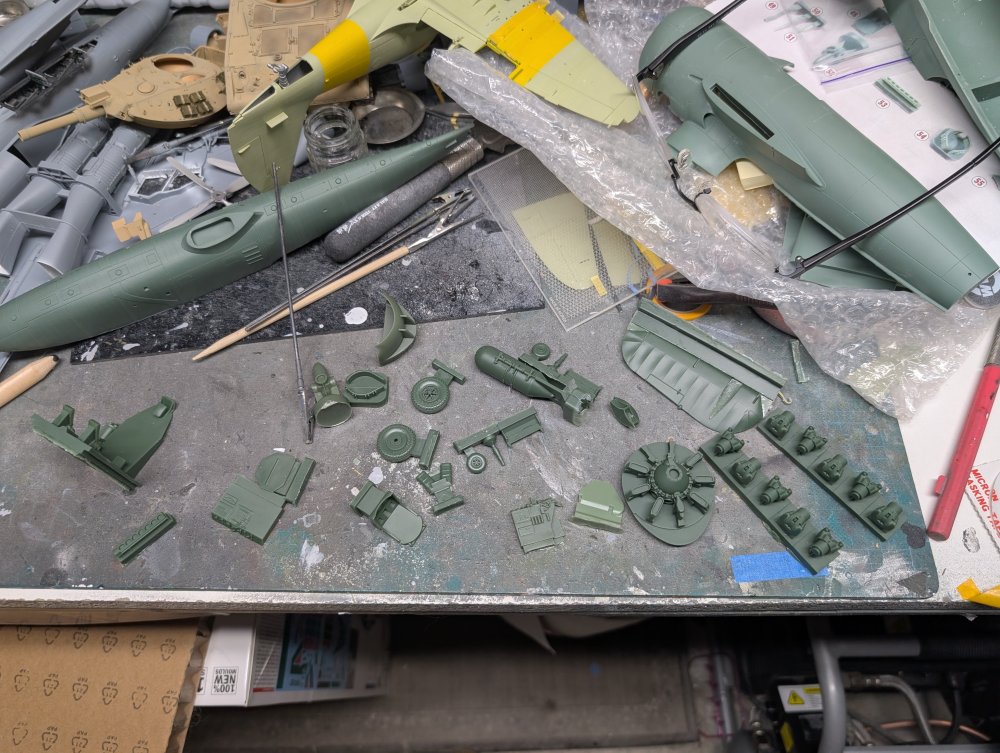
First up was removing some of the parts from their casting blocks. This was fairly easy as the cuts were straightforward and well marked. Then a coat of paint. This brought out the only shortcoming in the kit. There are no detail colour callouts for the cockpit. There's a pic of the engine provided in the instructions but that's it. Fortunately I found a couple cockpit photos online.

-
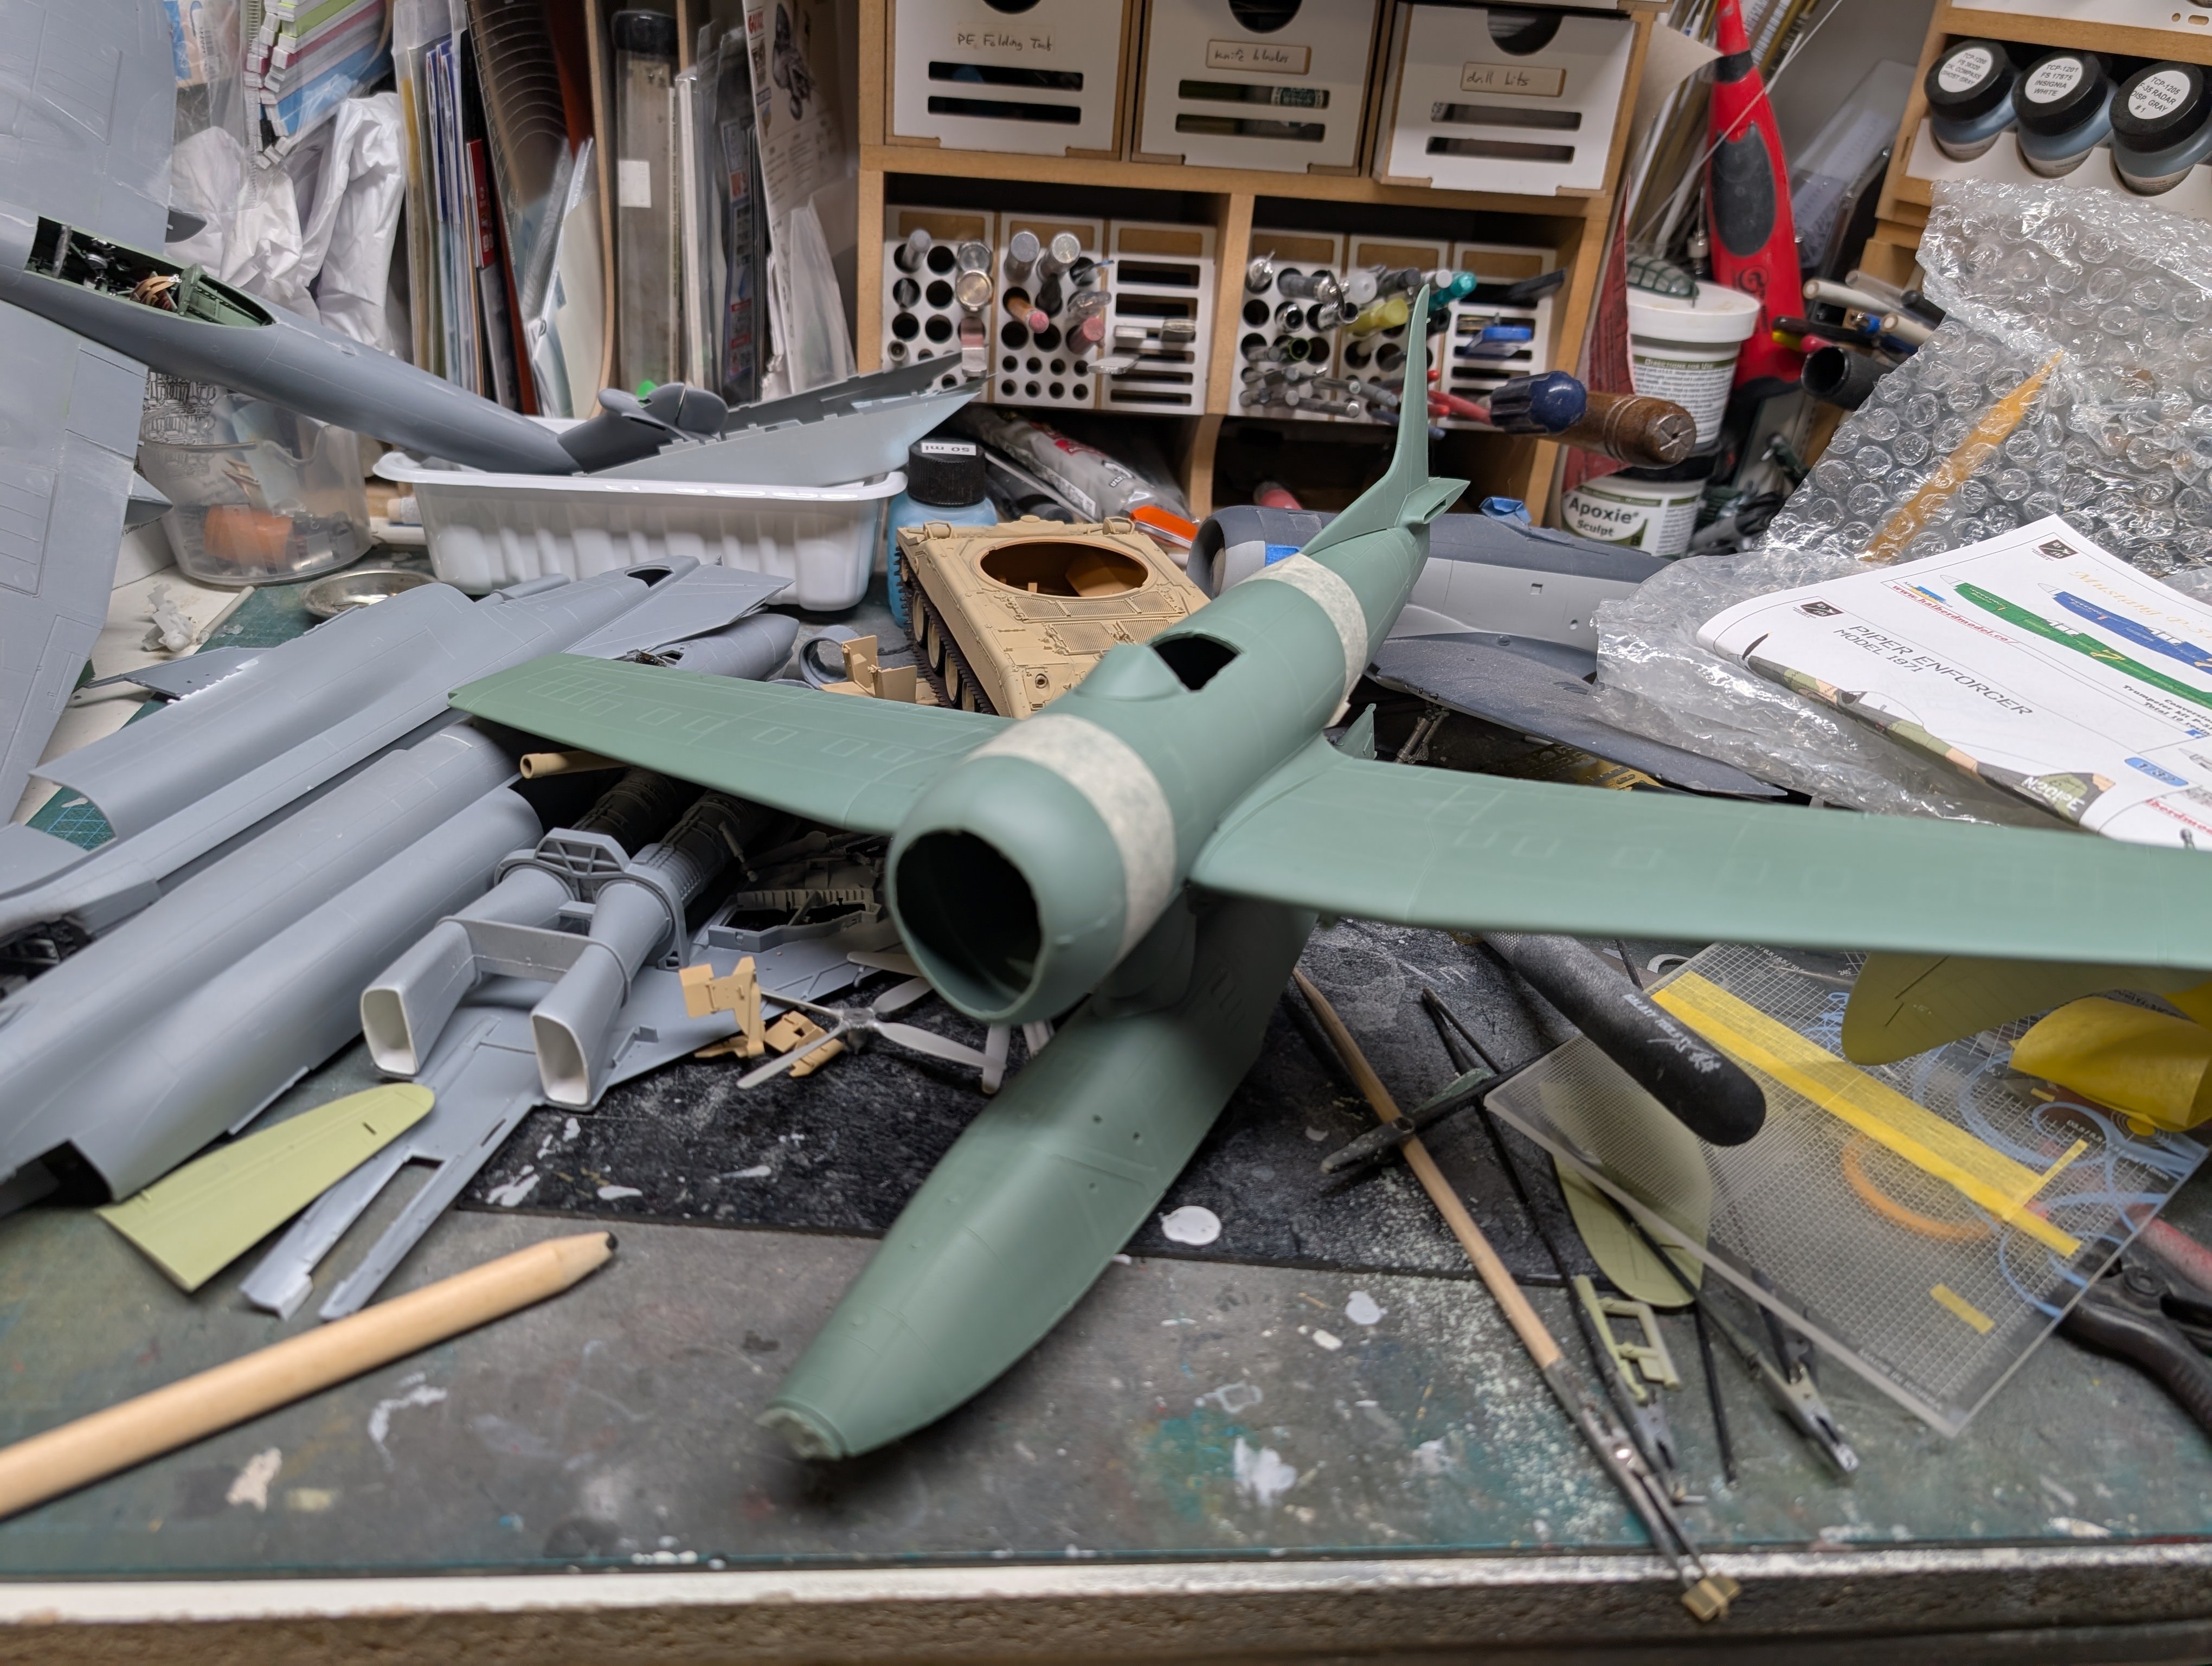
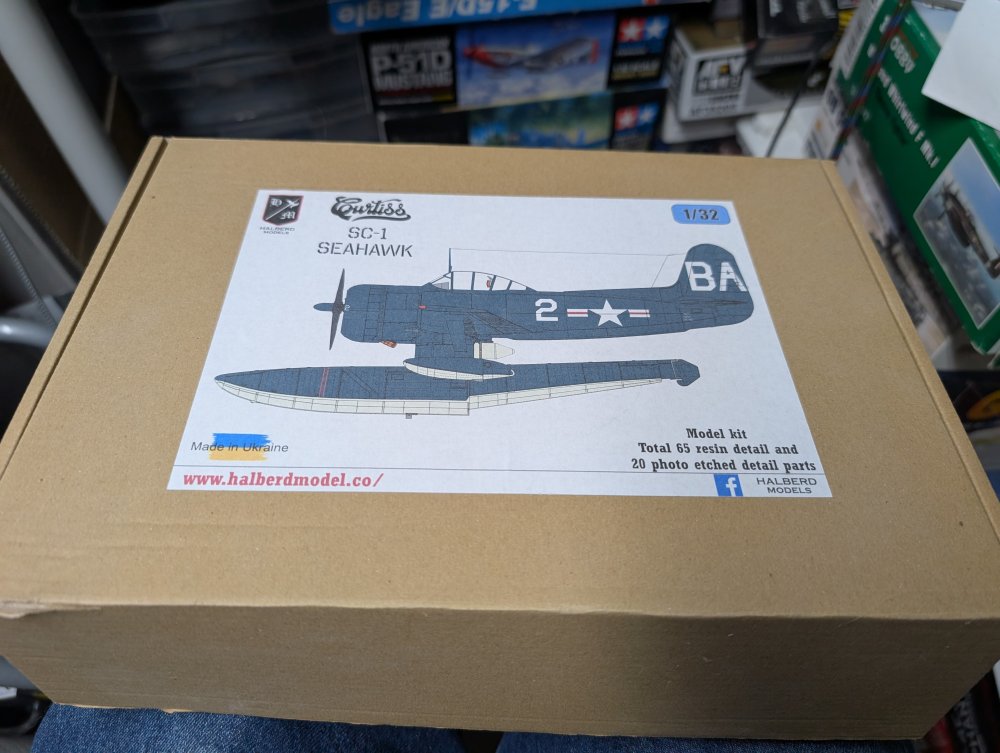
Not planned but couldn't help myself. For some reason I wanted to work with a resin kit and this was in the stash. It's an impressive kit for the level of detail and precision that it's been made with. Not to mention the current circumstances surrounding the country. Then again I shouldn't have expected anything less after having picked up their Cavalier Mustang conversion. Upon opening the box, the fuselage halves were already taped together so I couldn't resist doing a dry run of the major parts. The fit is exemplary, on par with many injected moulded kits. Here's the only significant flaw that I could find. It's on the one piece main float.


-
McLaren MP4/6 Ayrton Senna Fujimi 1/20
BlrwestSiR replied to DocRob's topic in LSM 1/35 and Larger Work In Progress
The finish looks great to me Rob. I'm quite envious of it in fact. I would absolutely love to find an RB19 model. Talk about a dominant design. -
What is on your bench right now ? Share a picture :)
BlrwestSiR replied to Martinnfb's topic in Modelling Discussion
It's a lovely kit Hubert. In the pic above there's no glue holding it together, just a dry fit. -
What is on your bench right now ? Share a picture :)
BlrwestSiR replied to Martinnfb's topic in Modelling Discussion
Martin and I were discussing resin kits as I had sent him an Iconicair Seafang wrapped in a Lancaster for safe shipping. I then remembered I had the Halberd Seahawk and before I knew it... Anyways, I'll probably start a WIP as you don't see too many of these built.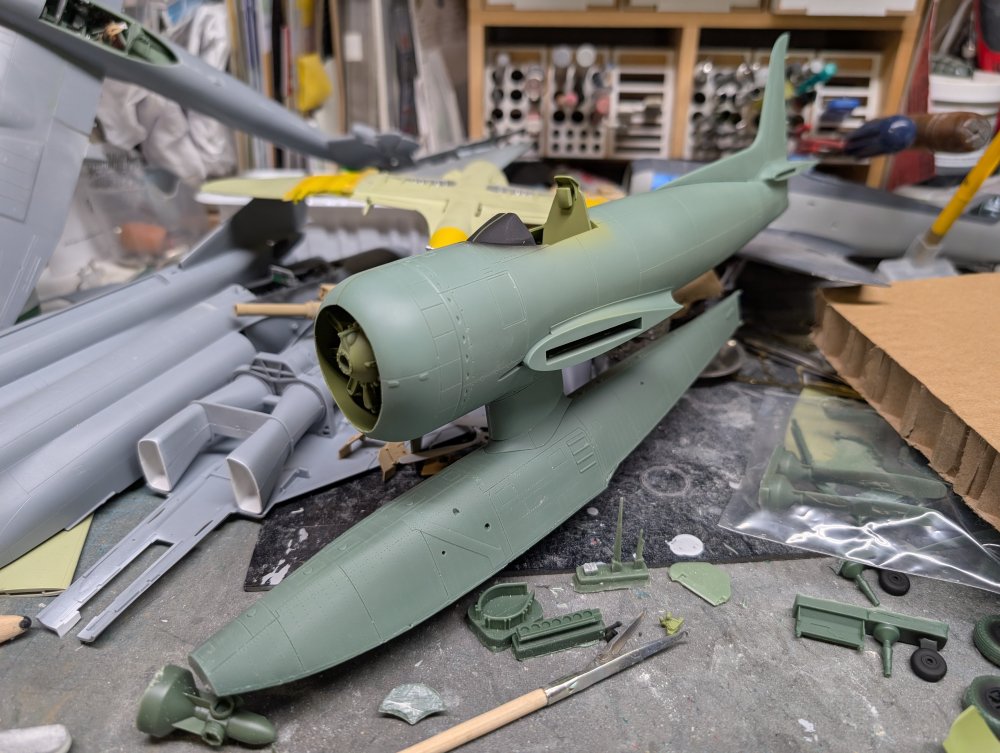
-
Hope your hints work. I took a look inside and the kit looks good to me.
-
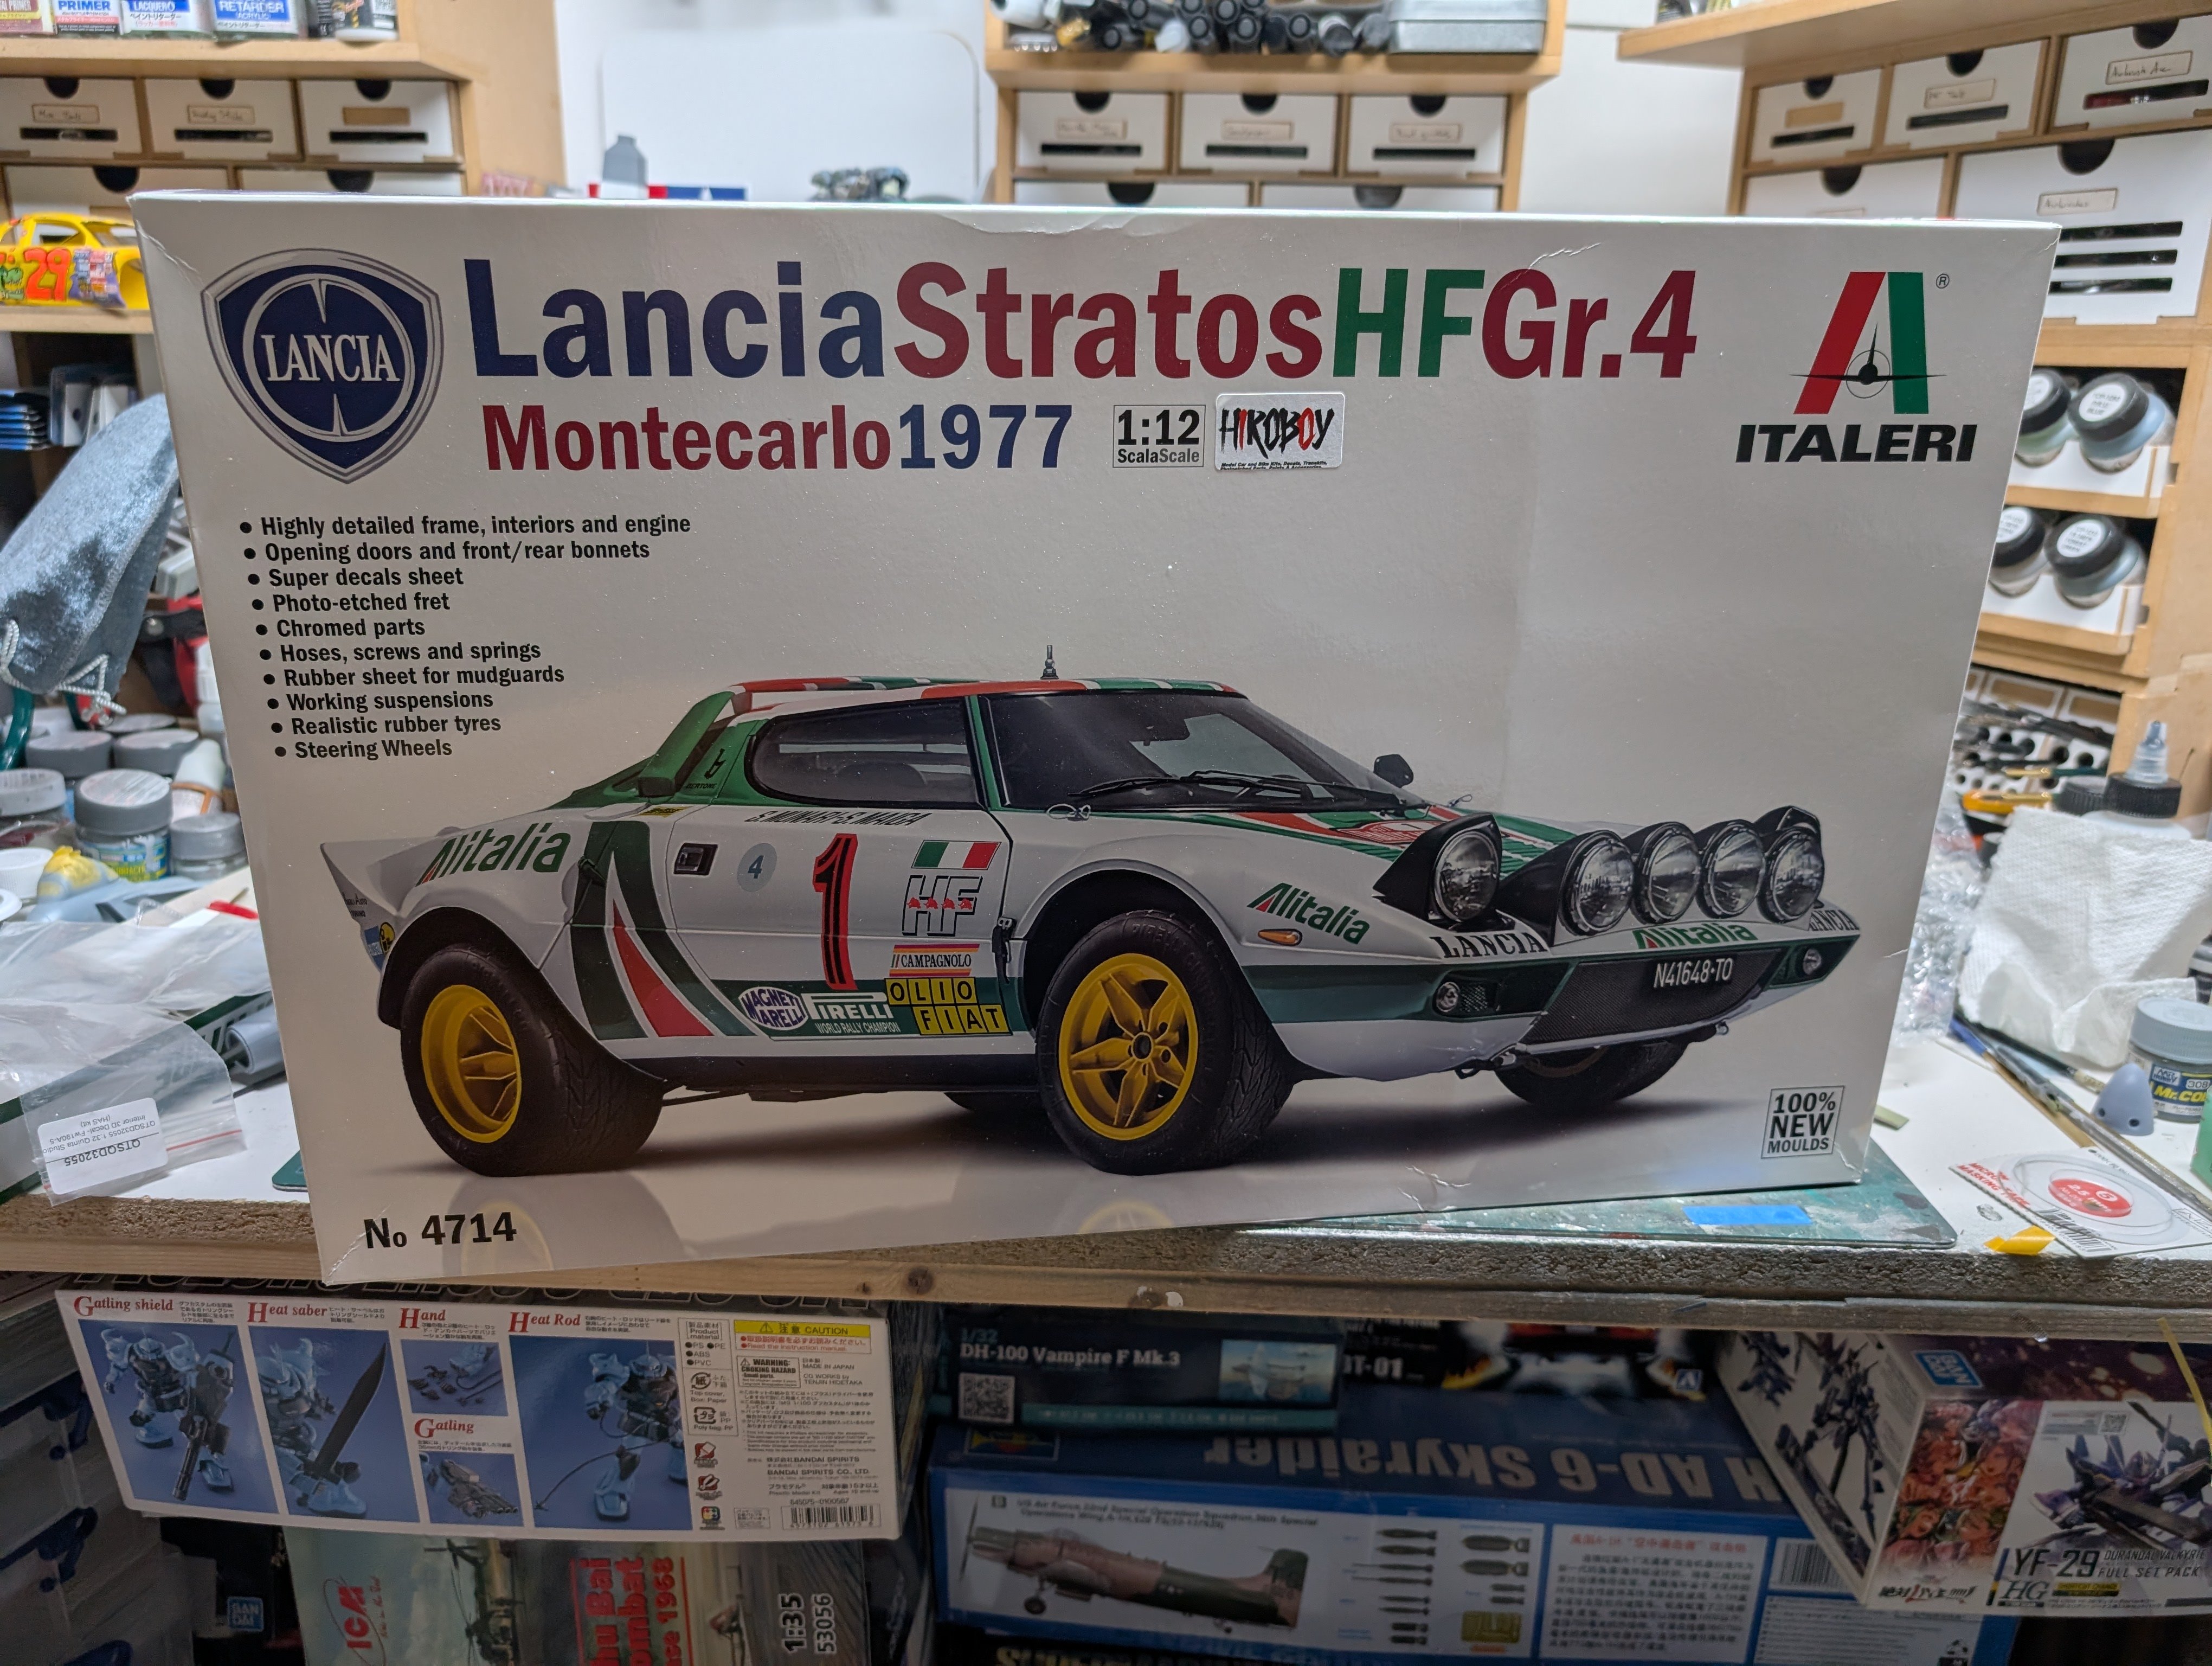
It came out last week. I ordered it from Hiroboy and was quite surprised how quickly it arrived. I'll definitely have a WIP once I start it.
-
This kit kicked my butt when it came out. Looks like it going much better for you.
-
Probably the car that comes to mind for most folks if you ask them to name a rally car.

-
McLaren MP4/6 Ayrton Senna Fujimi 1/20
BlrwestSiR replied to DocRob's topic in LSM 1/35 and Larger Work In Progress
Great gloss finish there Rob. Not to mention the decal work. -
Absolutely fantastic there Hubert. Love the build, the setting and the story behind it.
-
Trumpeter Abrams 1/16
BlrwestSiR replied to FullArmor's topic in LSM 1/35 and Larger Work In Progress
Some great progress there. The hull is huge, that's for sure. Unless l that's a 1/2 side cement bottle. -
What is on your bench right now ? Share a picture :)
BlrwestSiR replied to Martinnfb's topic in Modelling Discussion
They certainly can be. -
What is on your bench right now ? Share a picture :)
BlrwestSiR replied to Martinnfb's topic in Modelling Discussion
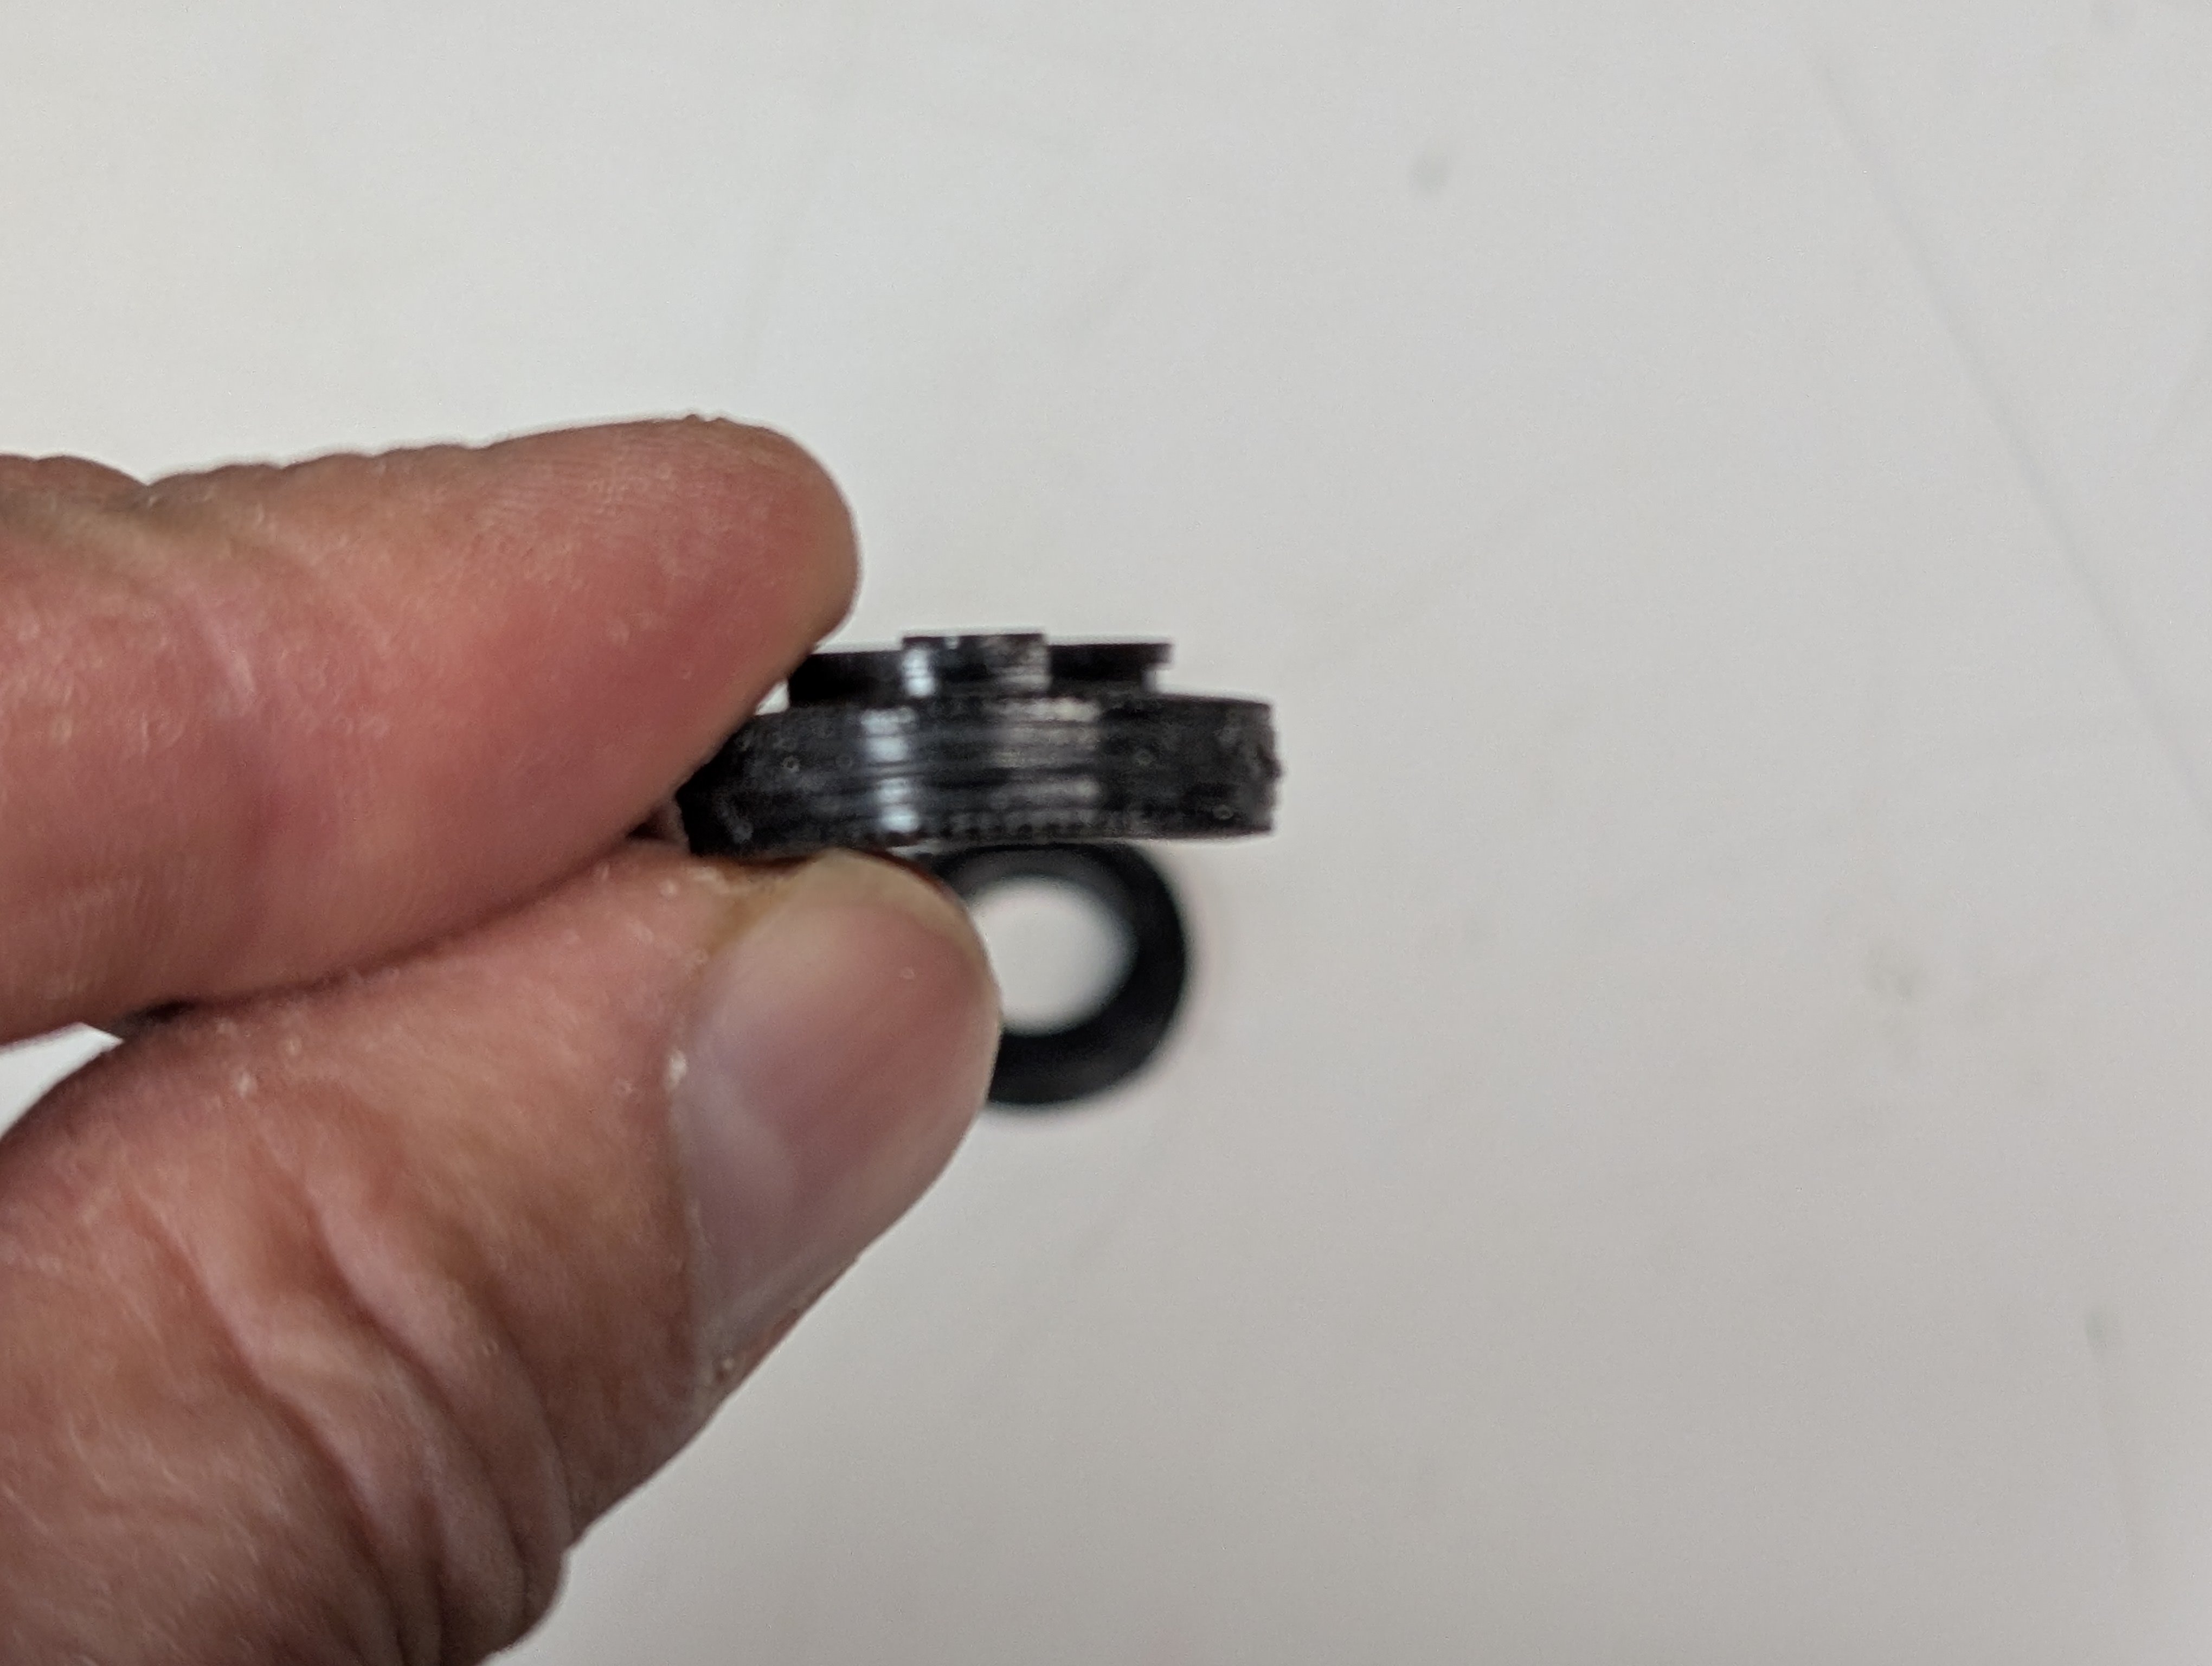
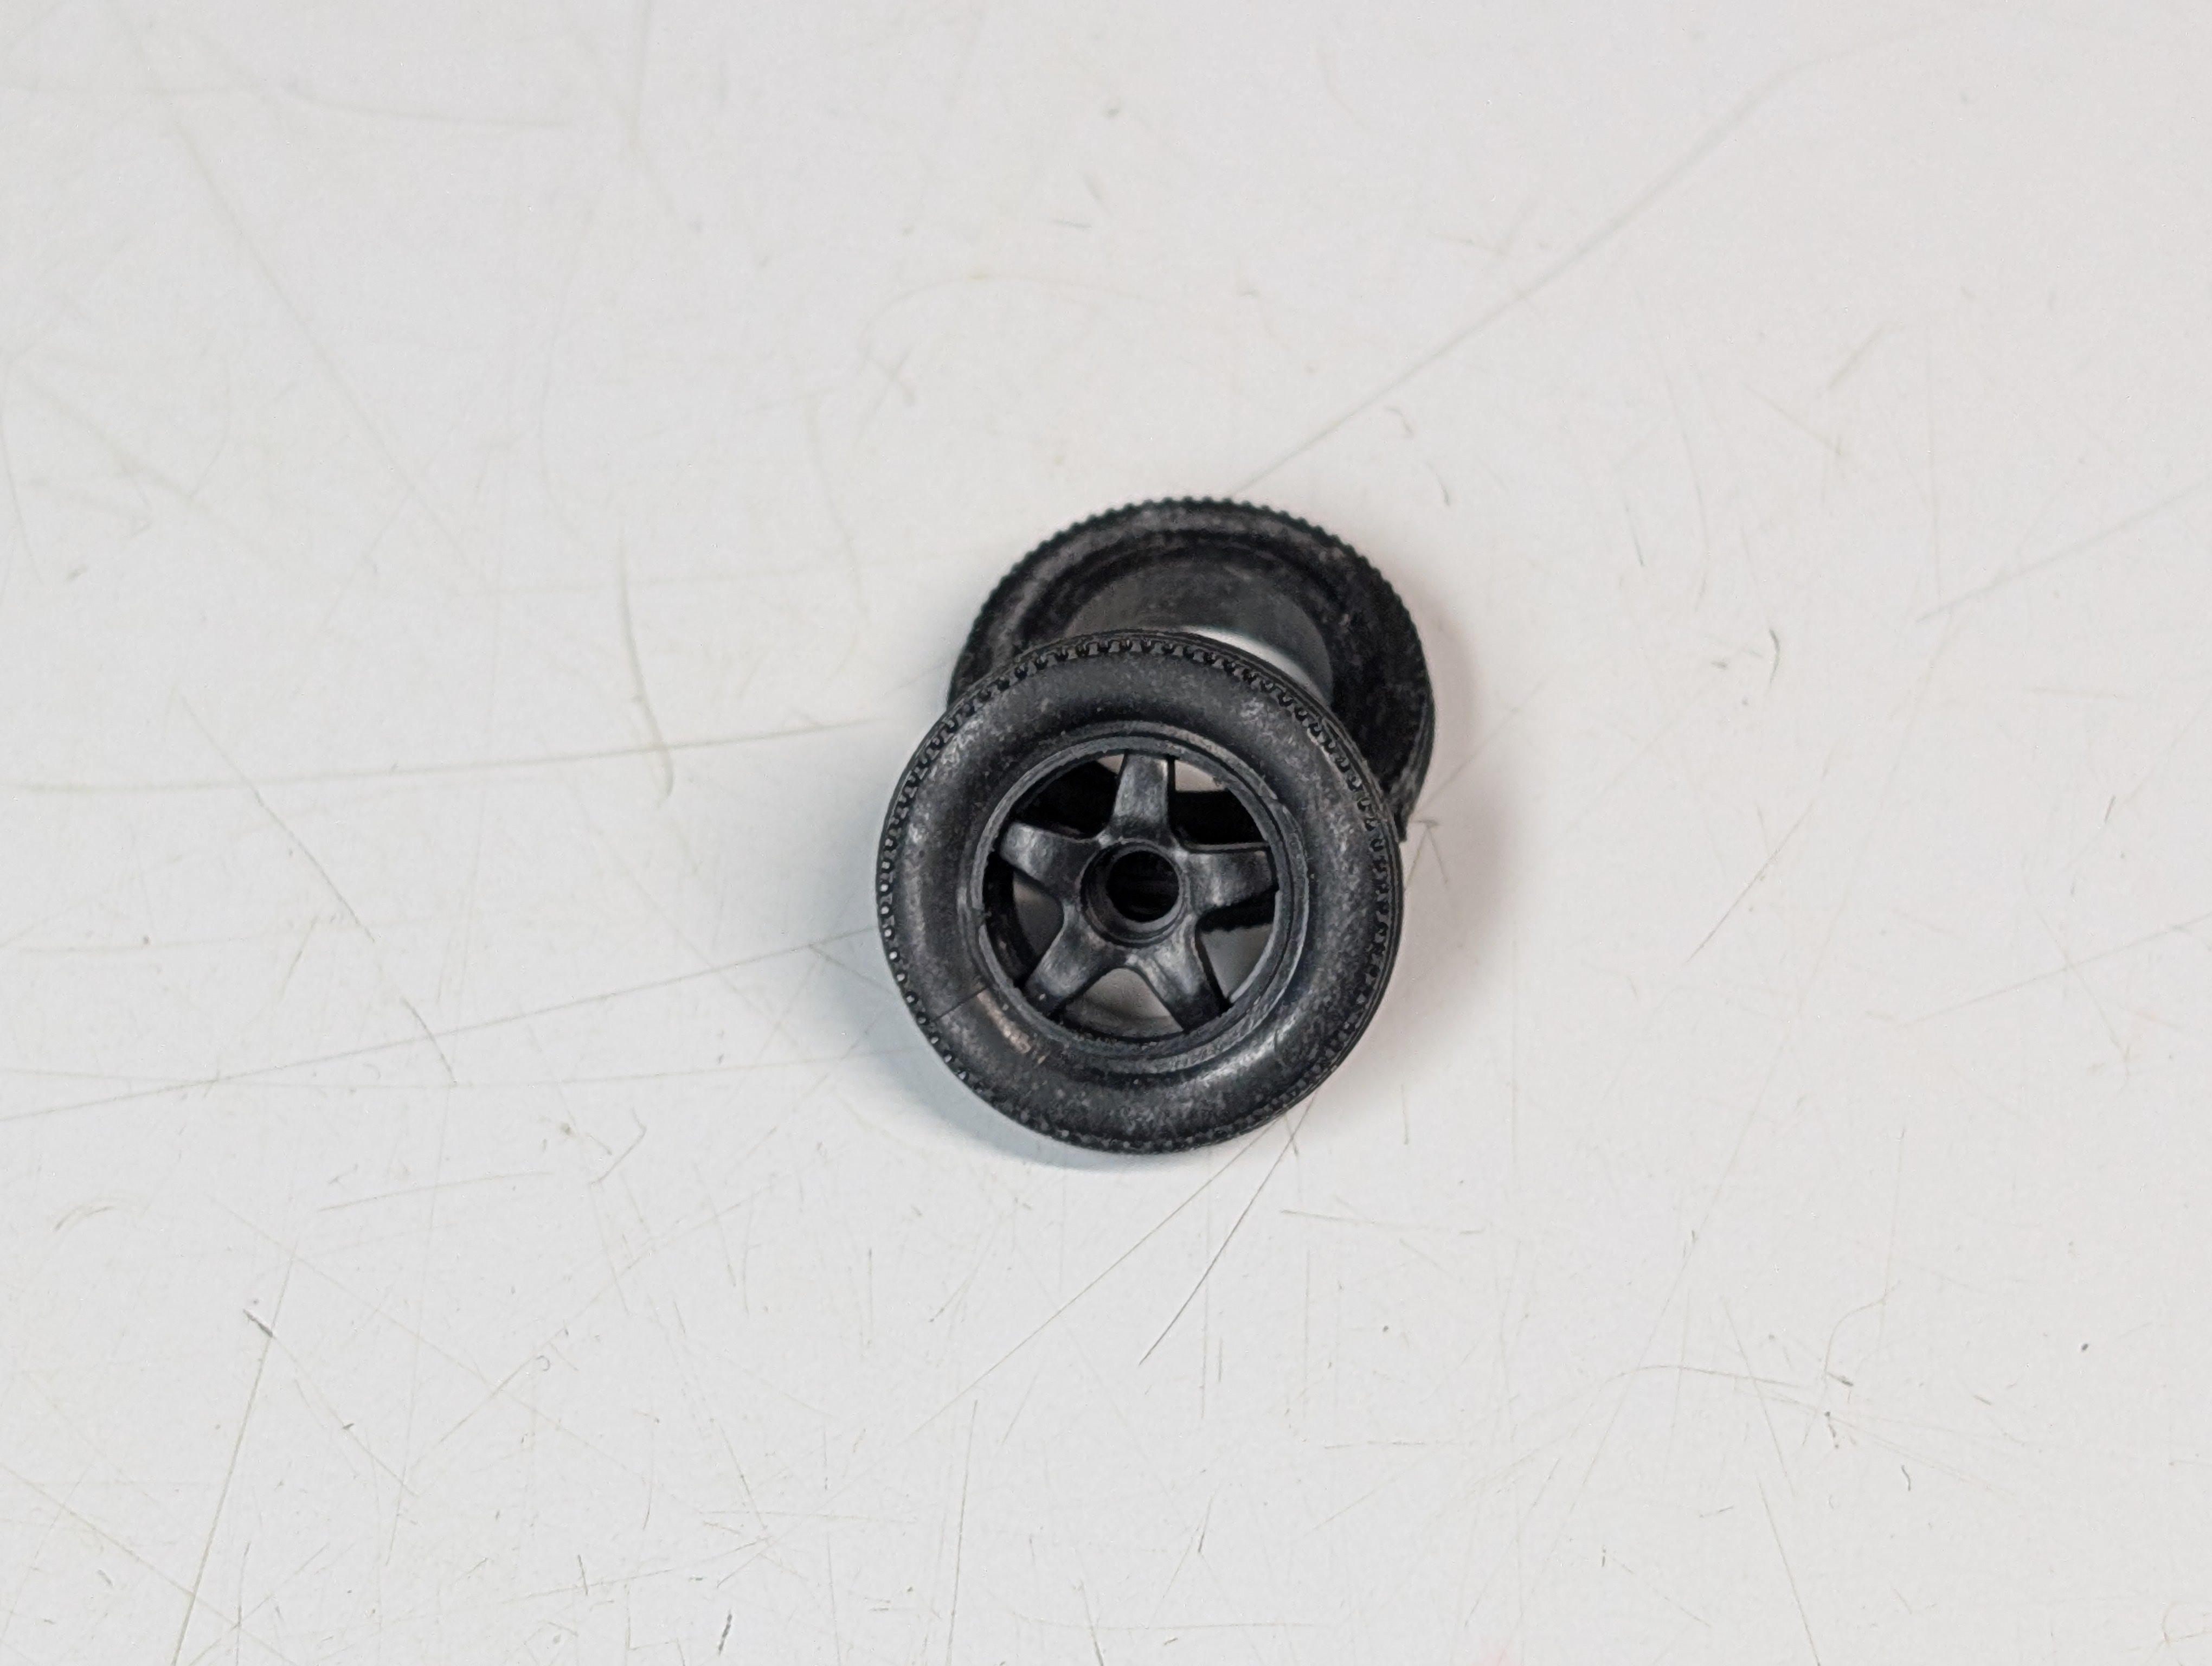
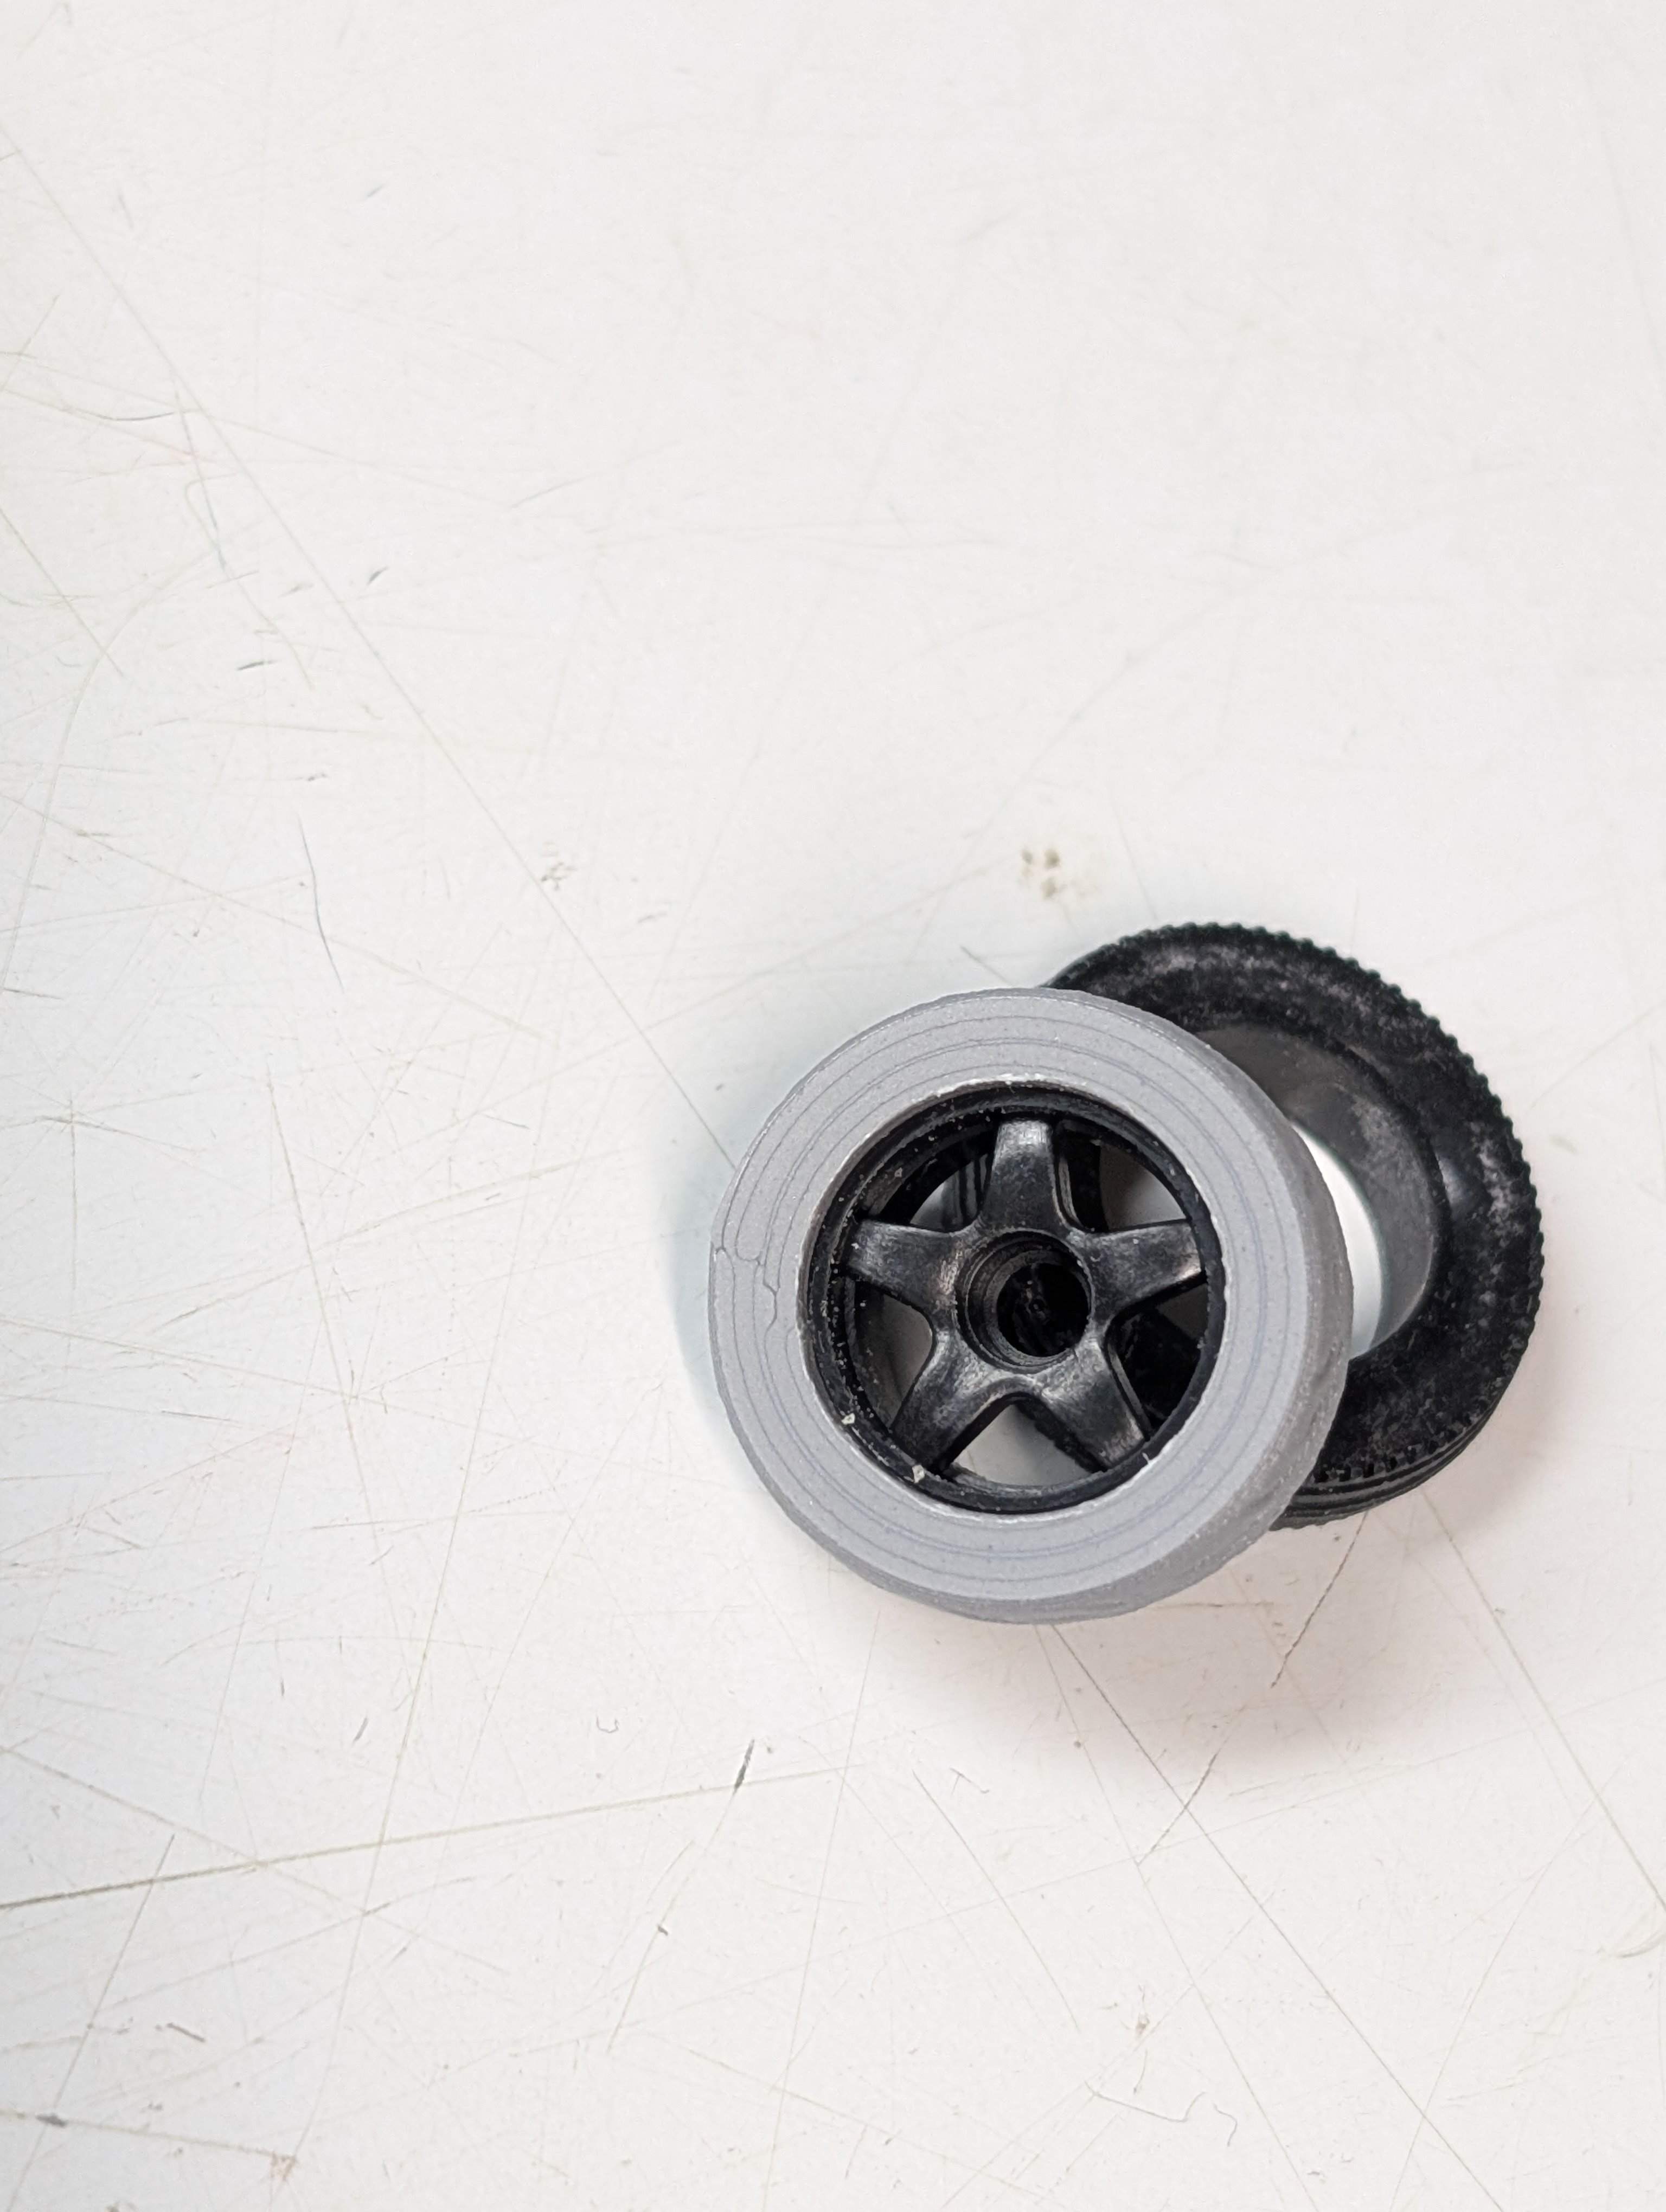
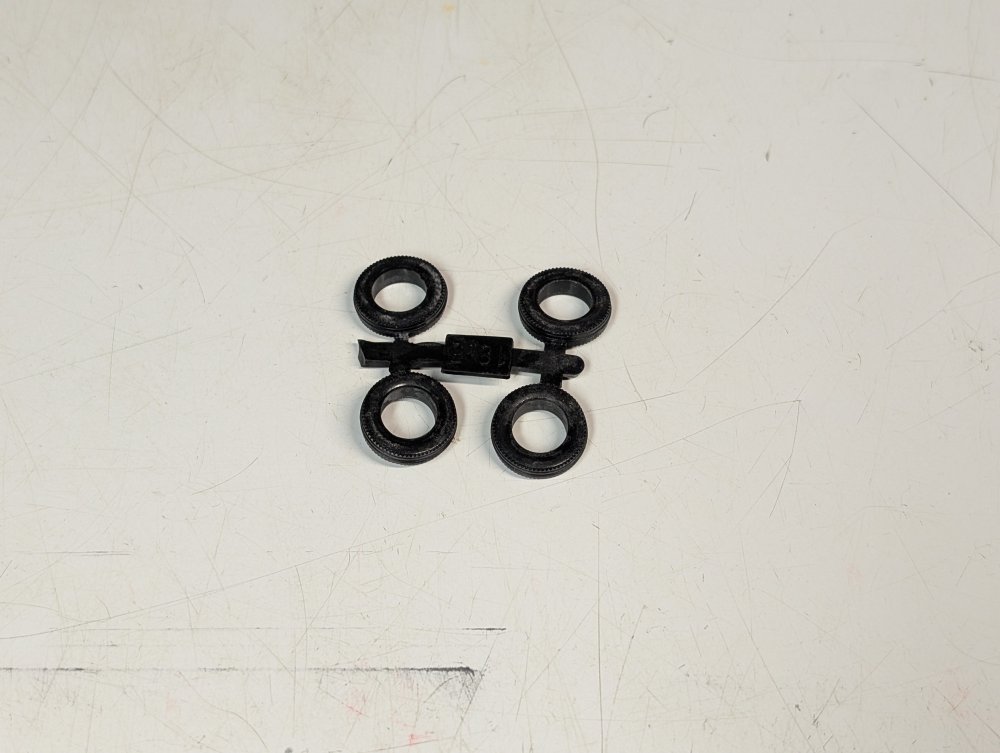
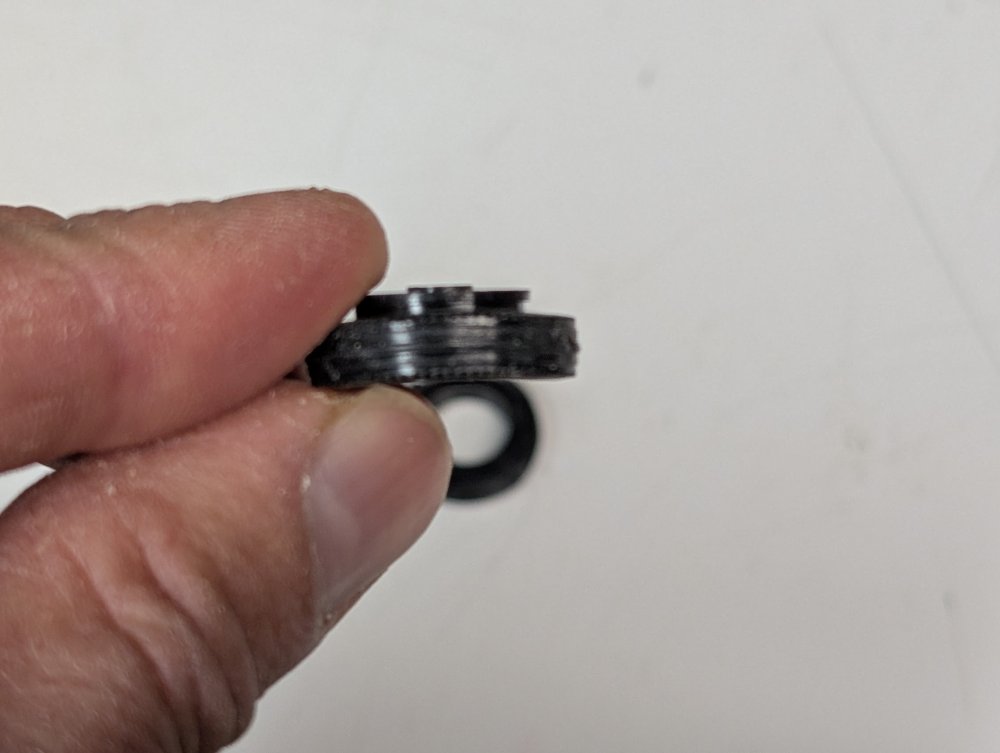
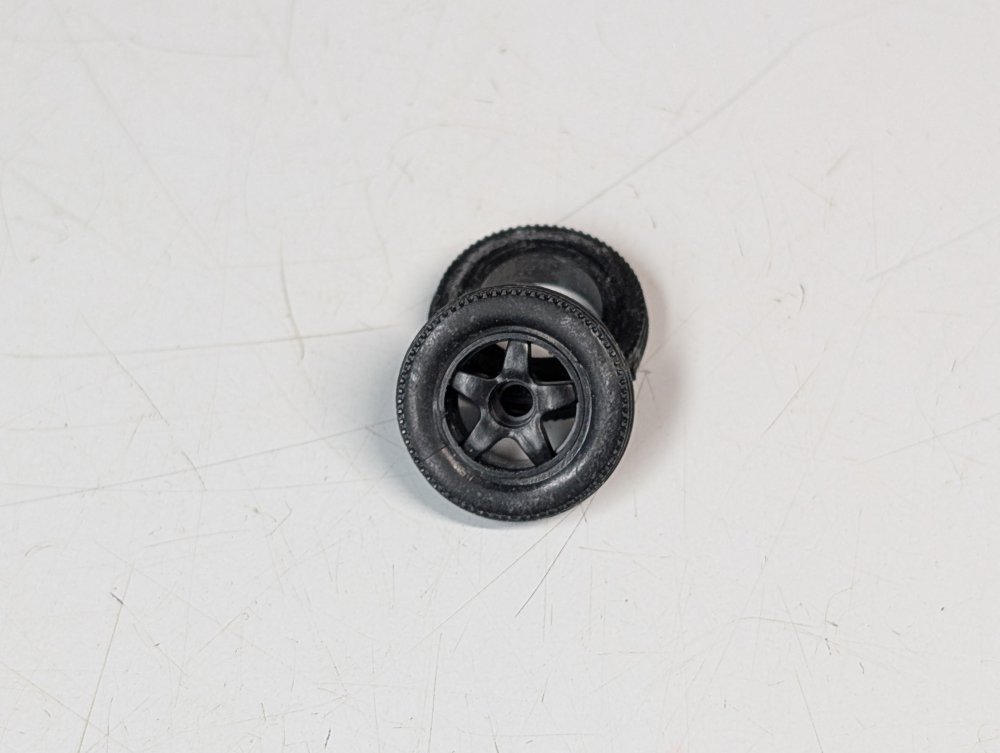
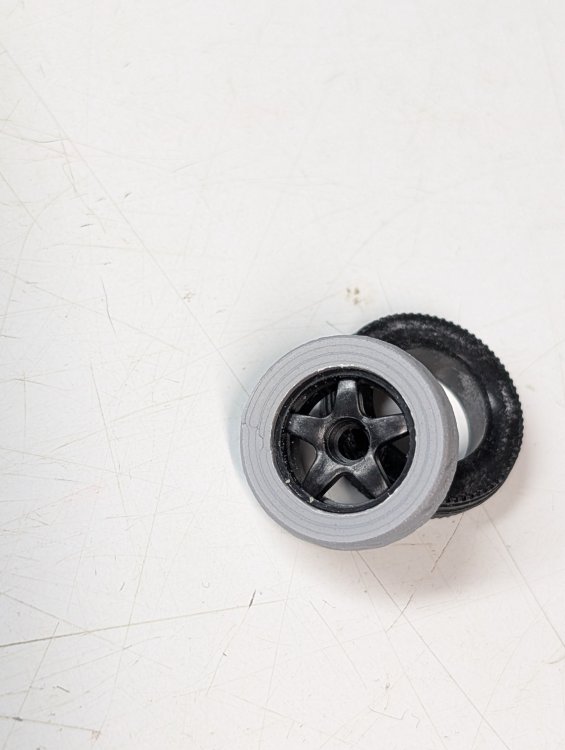
Arii makes a number of 1/32 car kits. They're fairly inexpensive (around $5 each) so I grabbed a couple to check out. They're simple but detailed enough. One big problem is they all include the same type of rubber tyre. Definitely not a modern size much less the right width. There way too narrow for the kit rims. So I found a more appropriate shape and our son Edward resized it and printed one out. This is much better. I'll probably knock one of these kits together just for fun.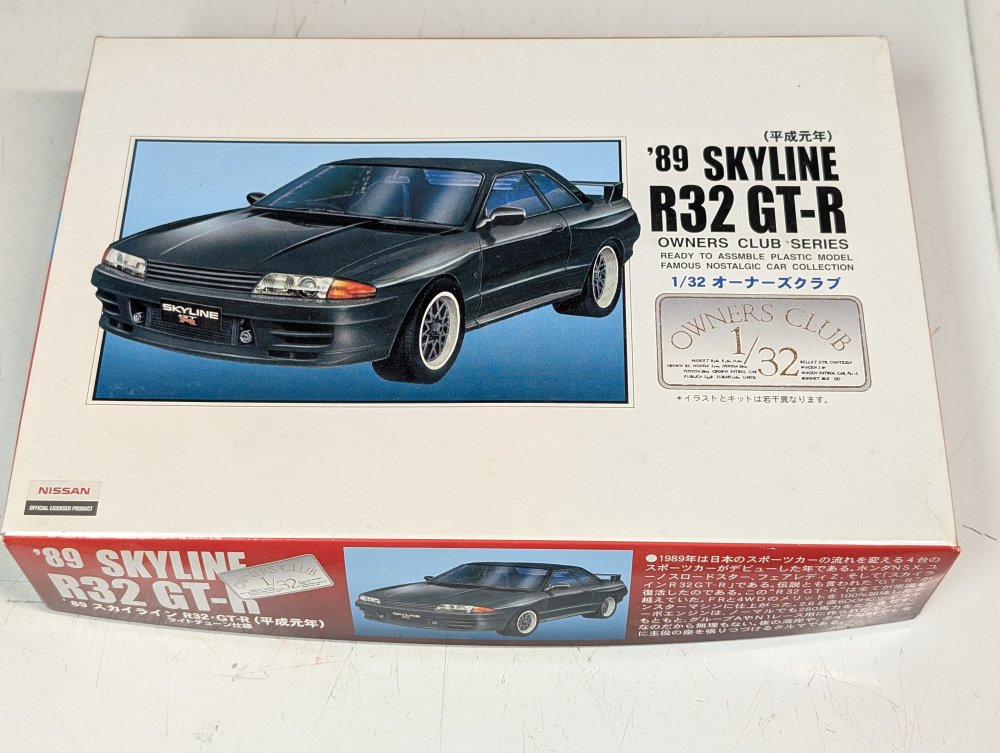
-
Please put me down for the raffle. For a prize, I'll let the winner choose either the just announced Takom Horten Ho-229 from the nearest retailer to them or a $75USD (or equivalent) to the shop of their choosing. Carl
-
That gear is going to look great under a coat of paint and a wash.
-
McLaren MP4/6 Ayrton Senna Fujimi 1/20
BlrwestSiR replied to DocRob's topic in LSM 1/35 and Larger Work In Progress
Some great paintwork there Rob. The red is really bright in the pics so I can only imagine what it's like in-person. -
Westland Wyvern S.4 late- 1/48 Trumpeter
BlrwestSiR replied to BlrwestSiR's topic in The Sandbox Group Build.
I've started on the Suez stripes. I also painted the gear bays in silver.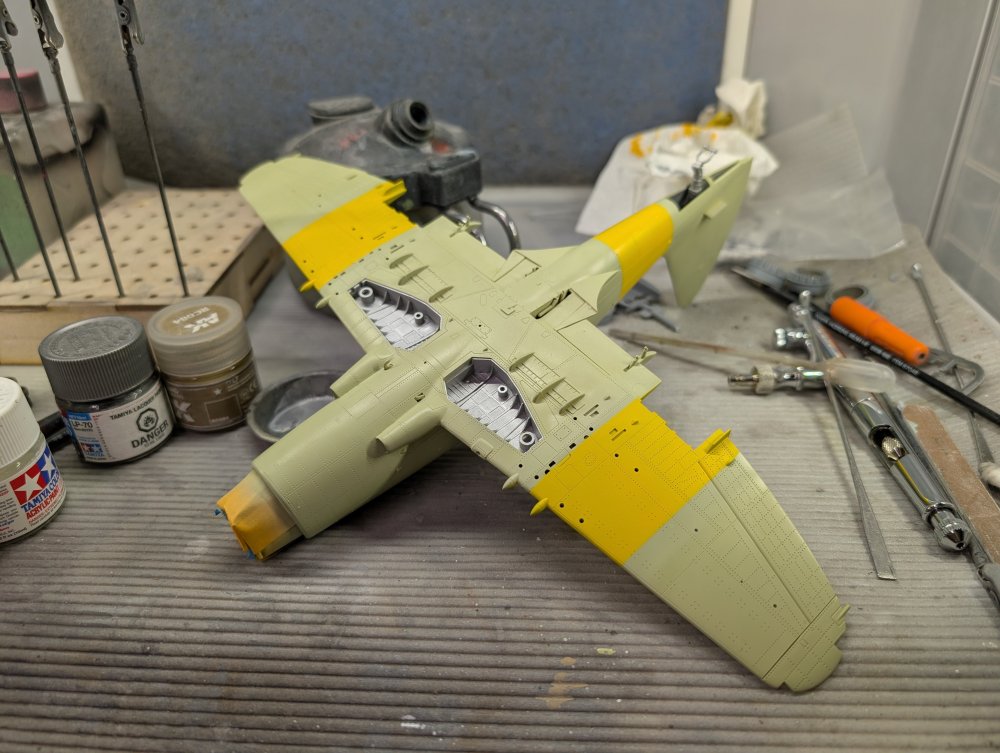
-
That M113 is going to be a fun build Paul. The great thing about it is there's so much scope for AM conversions and accessories. I wouldn't mind an M163 variant myself.
-
Westland Wyvern S.4 late- 1/48 Trumpeter
BlrwestSiR replied to BlrwestSiR's topic in The Sandbox Group Build.
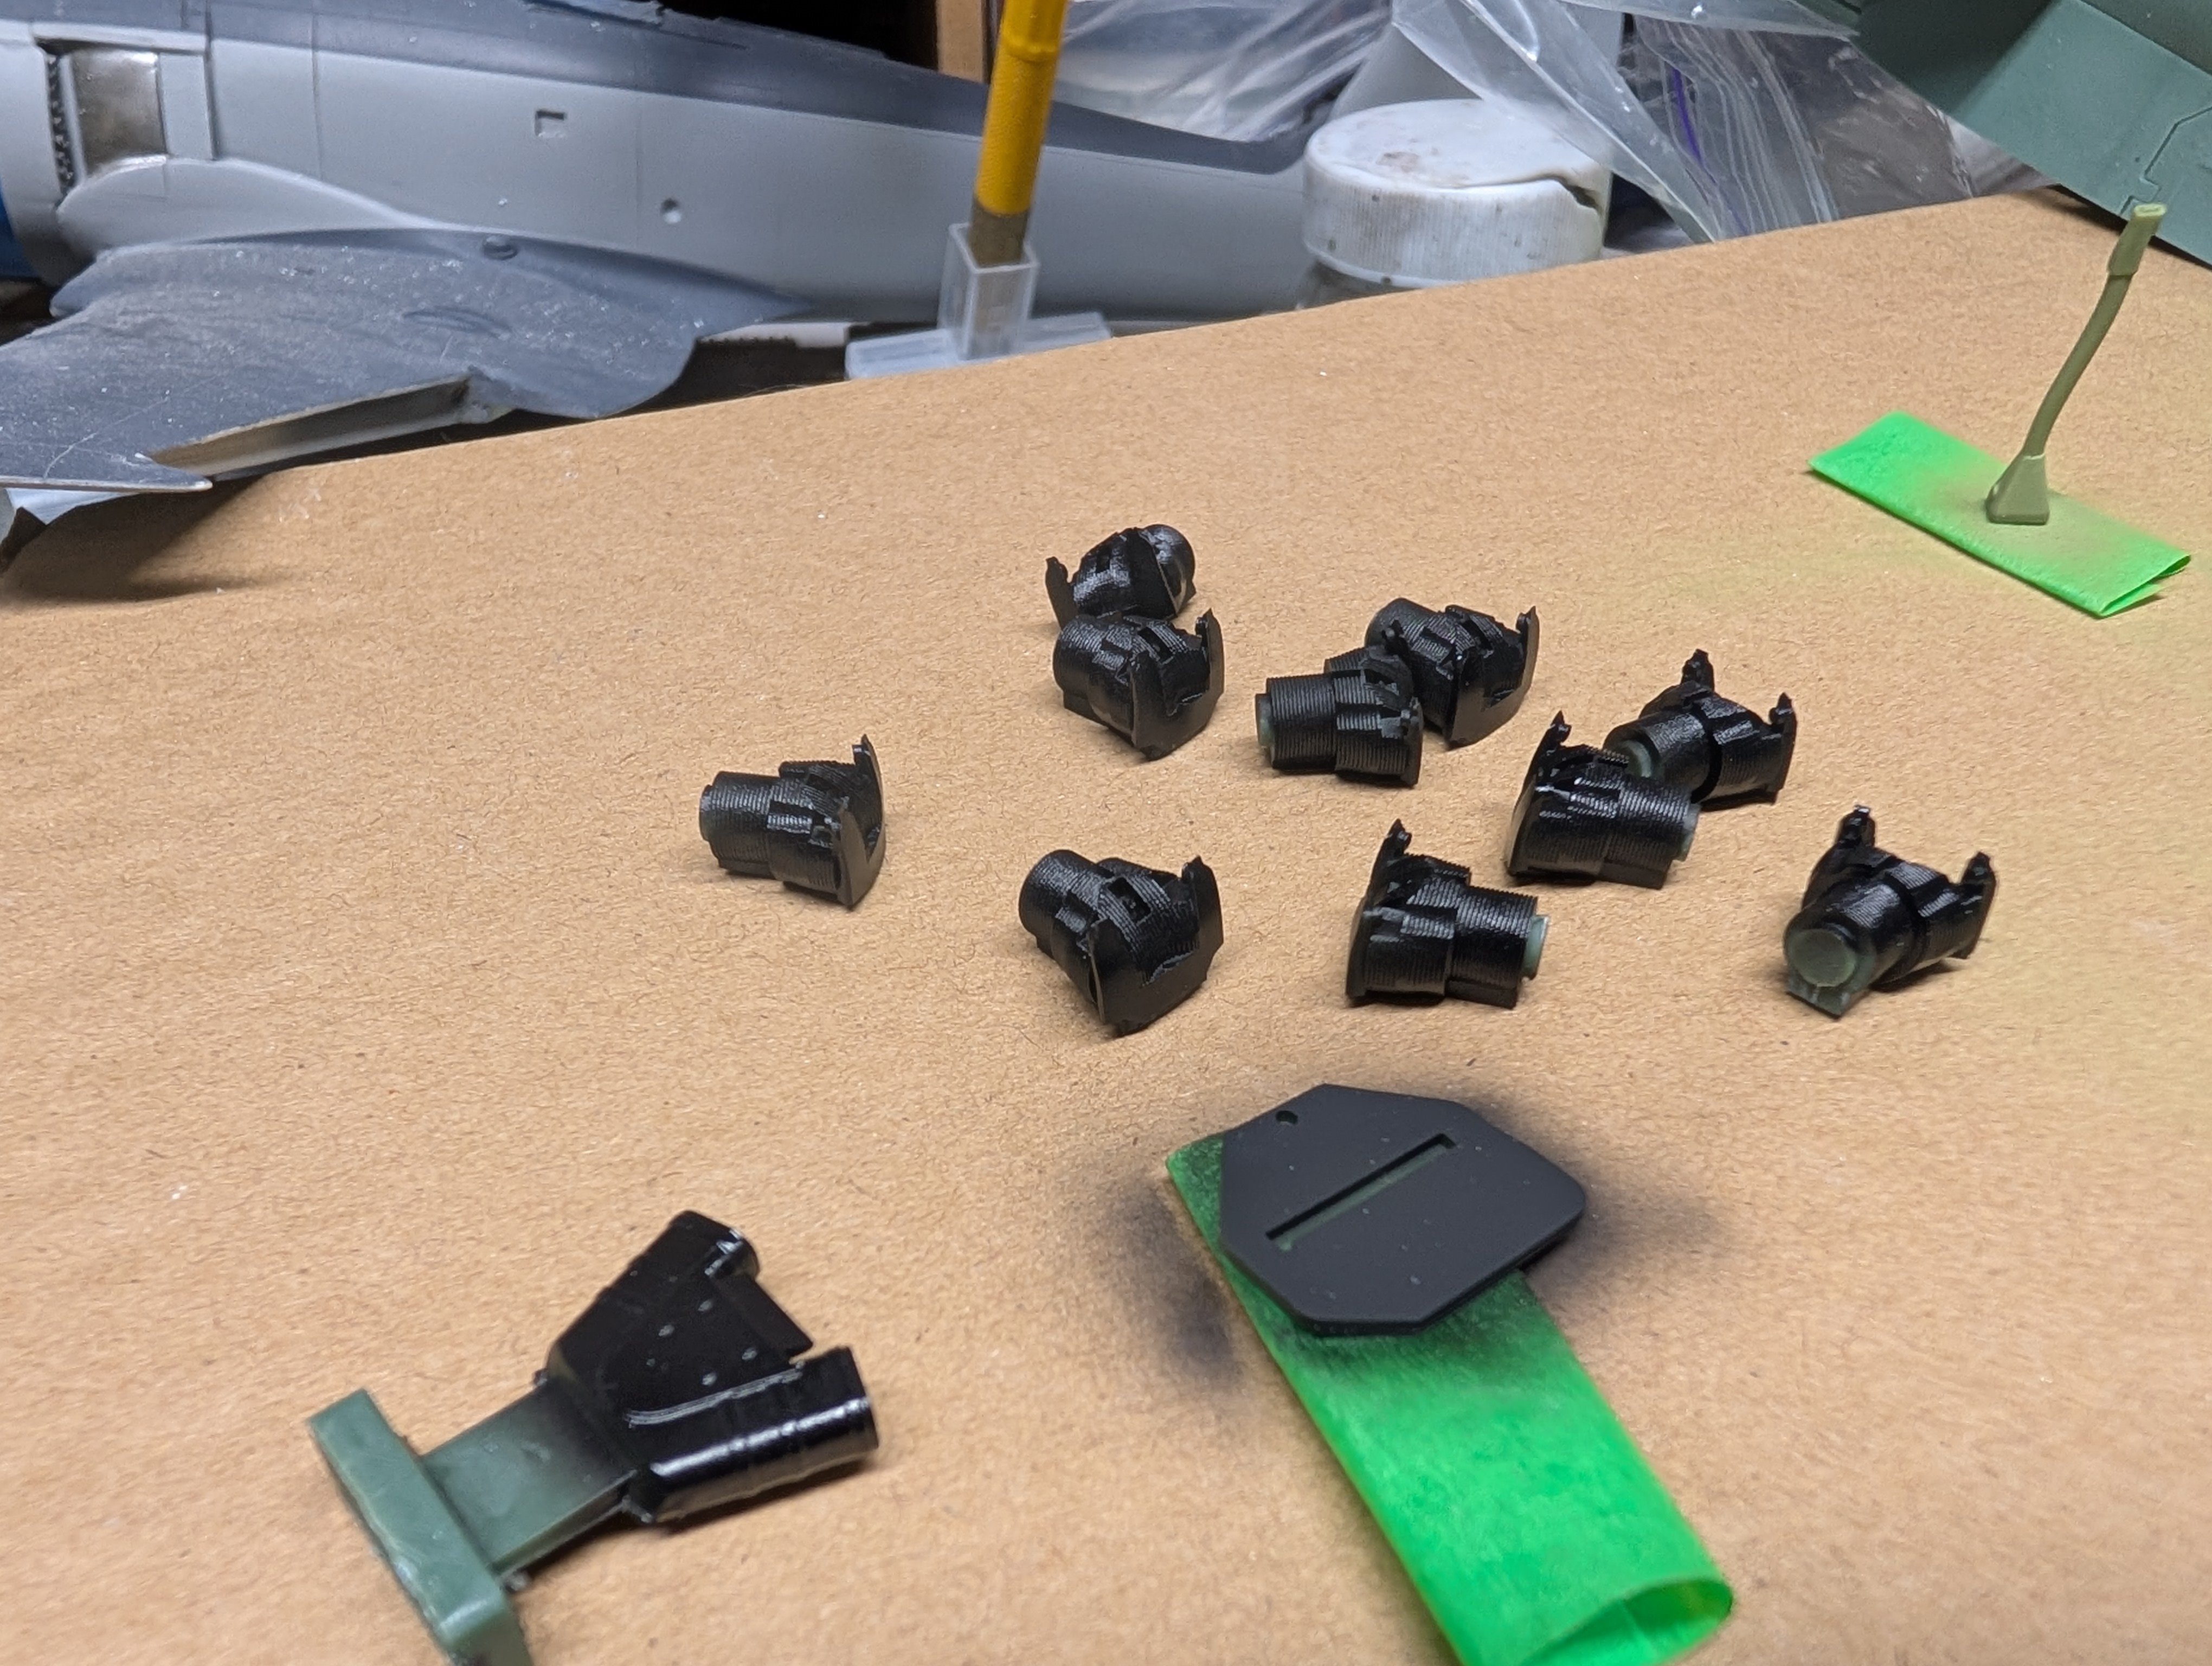
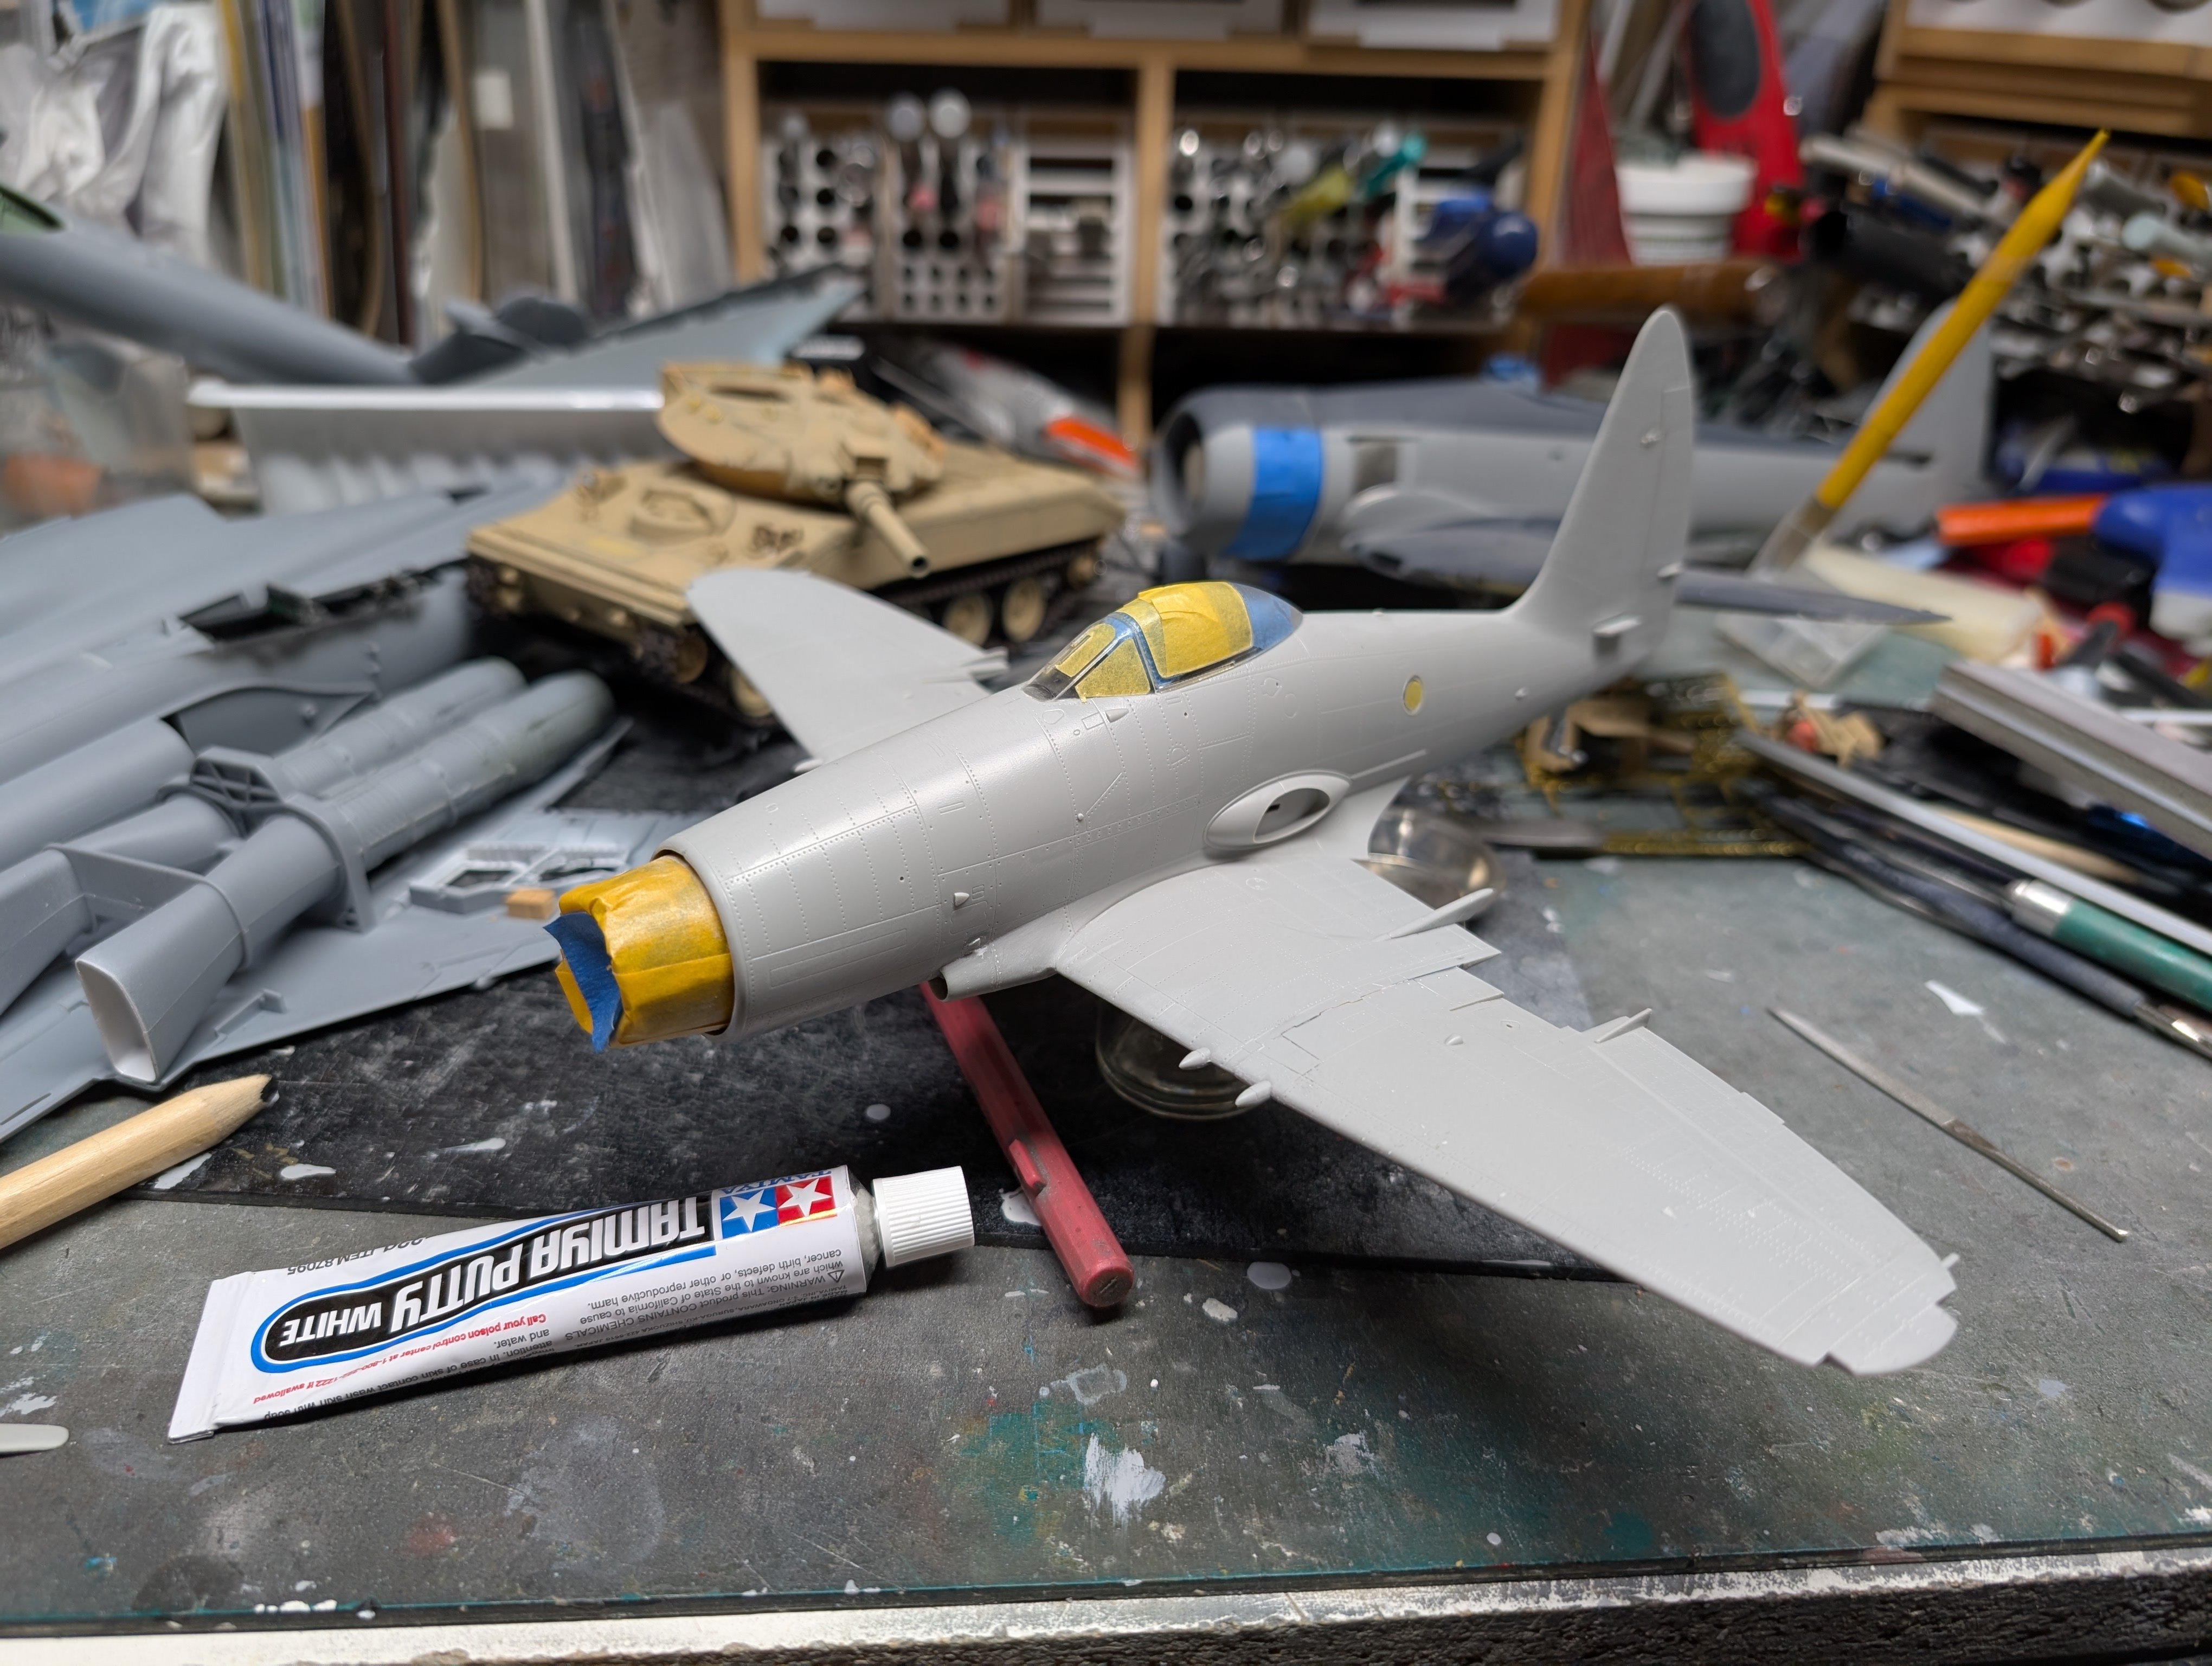
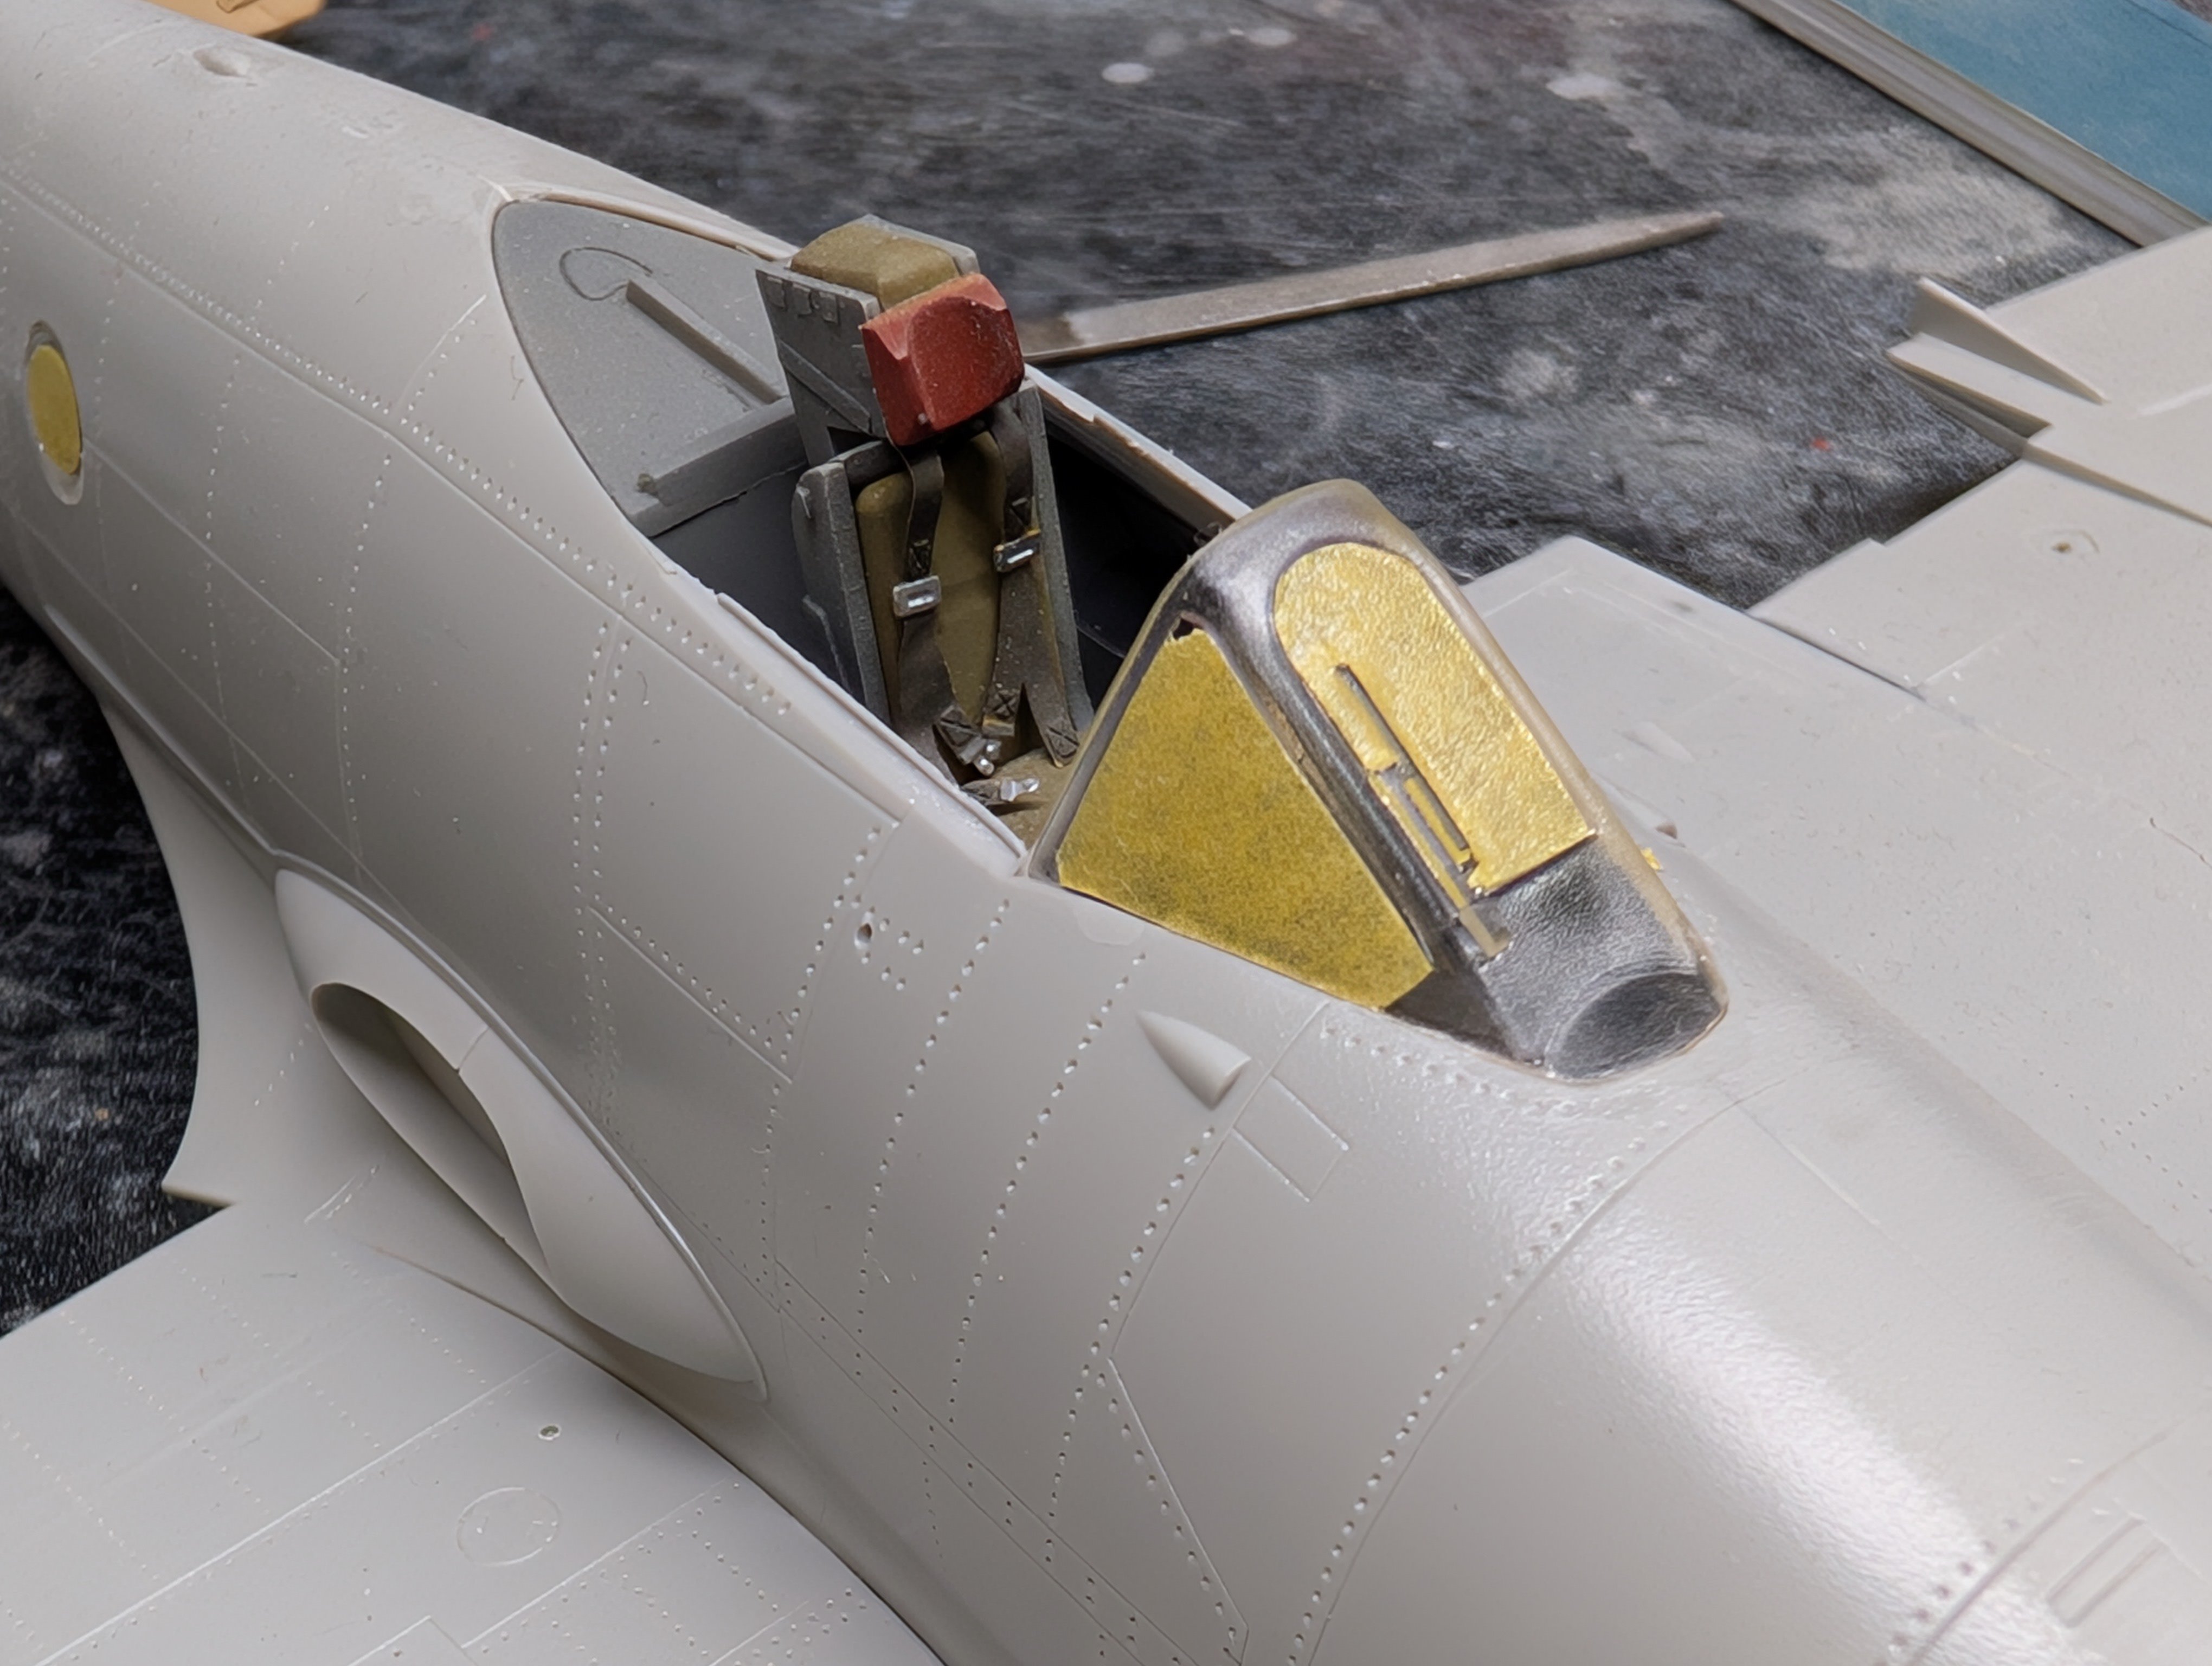
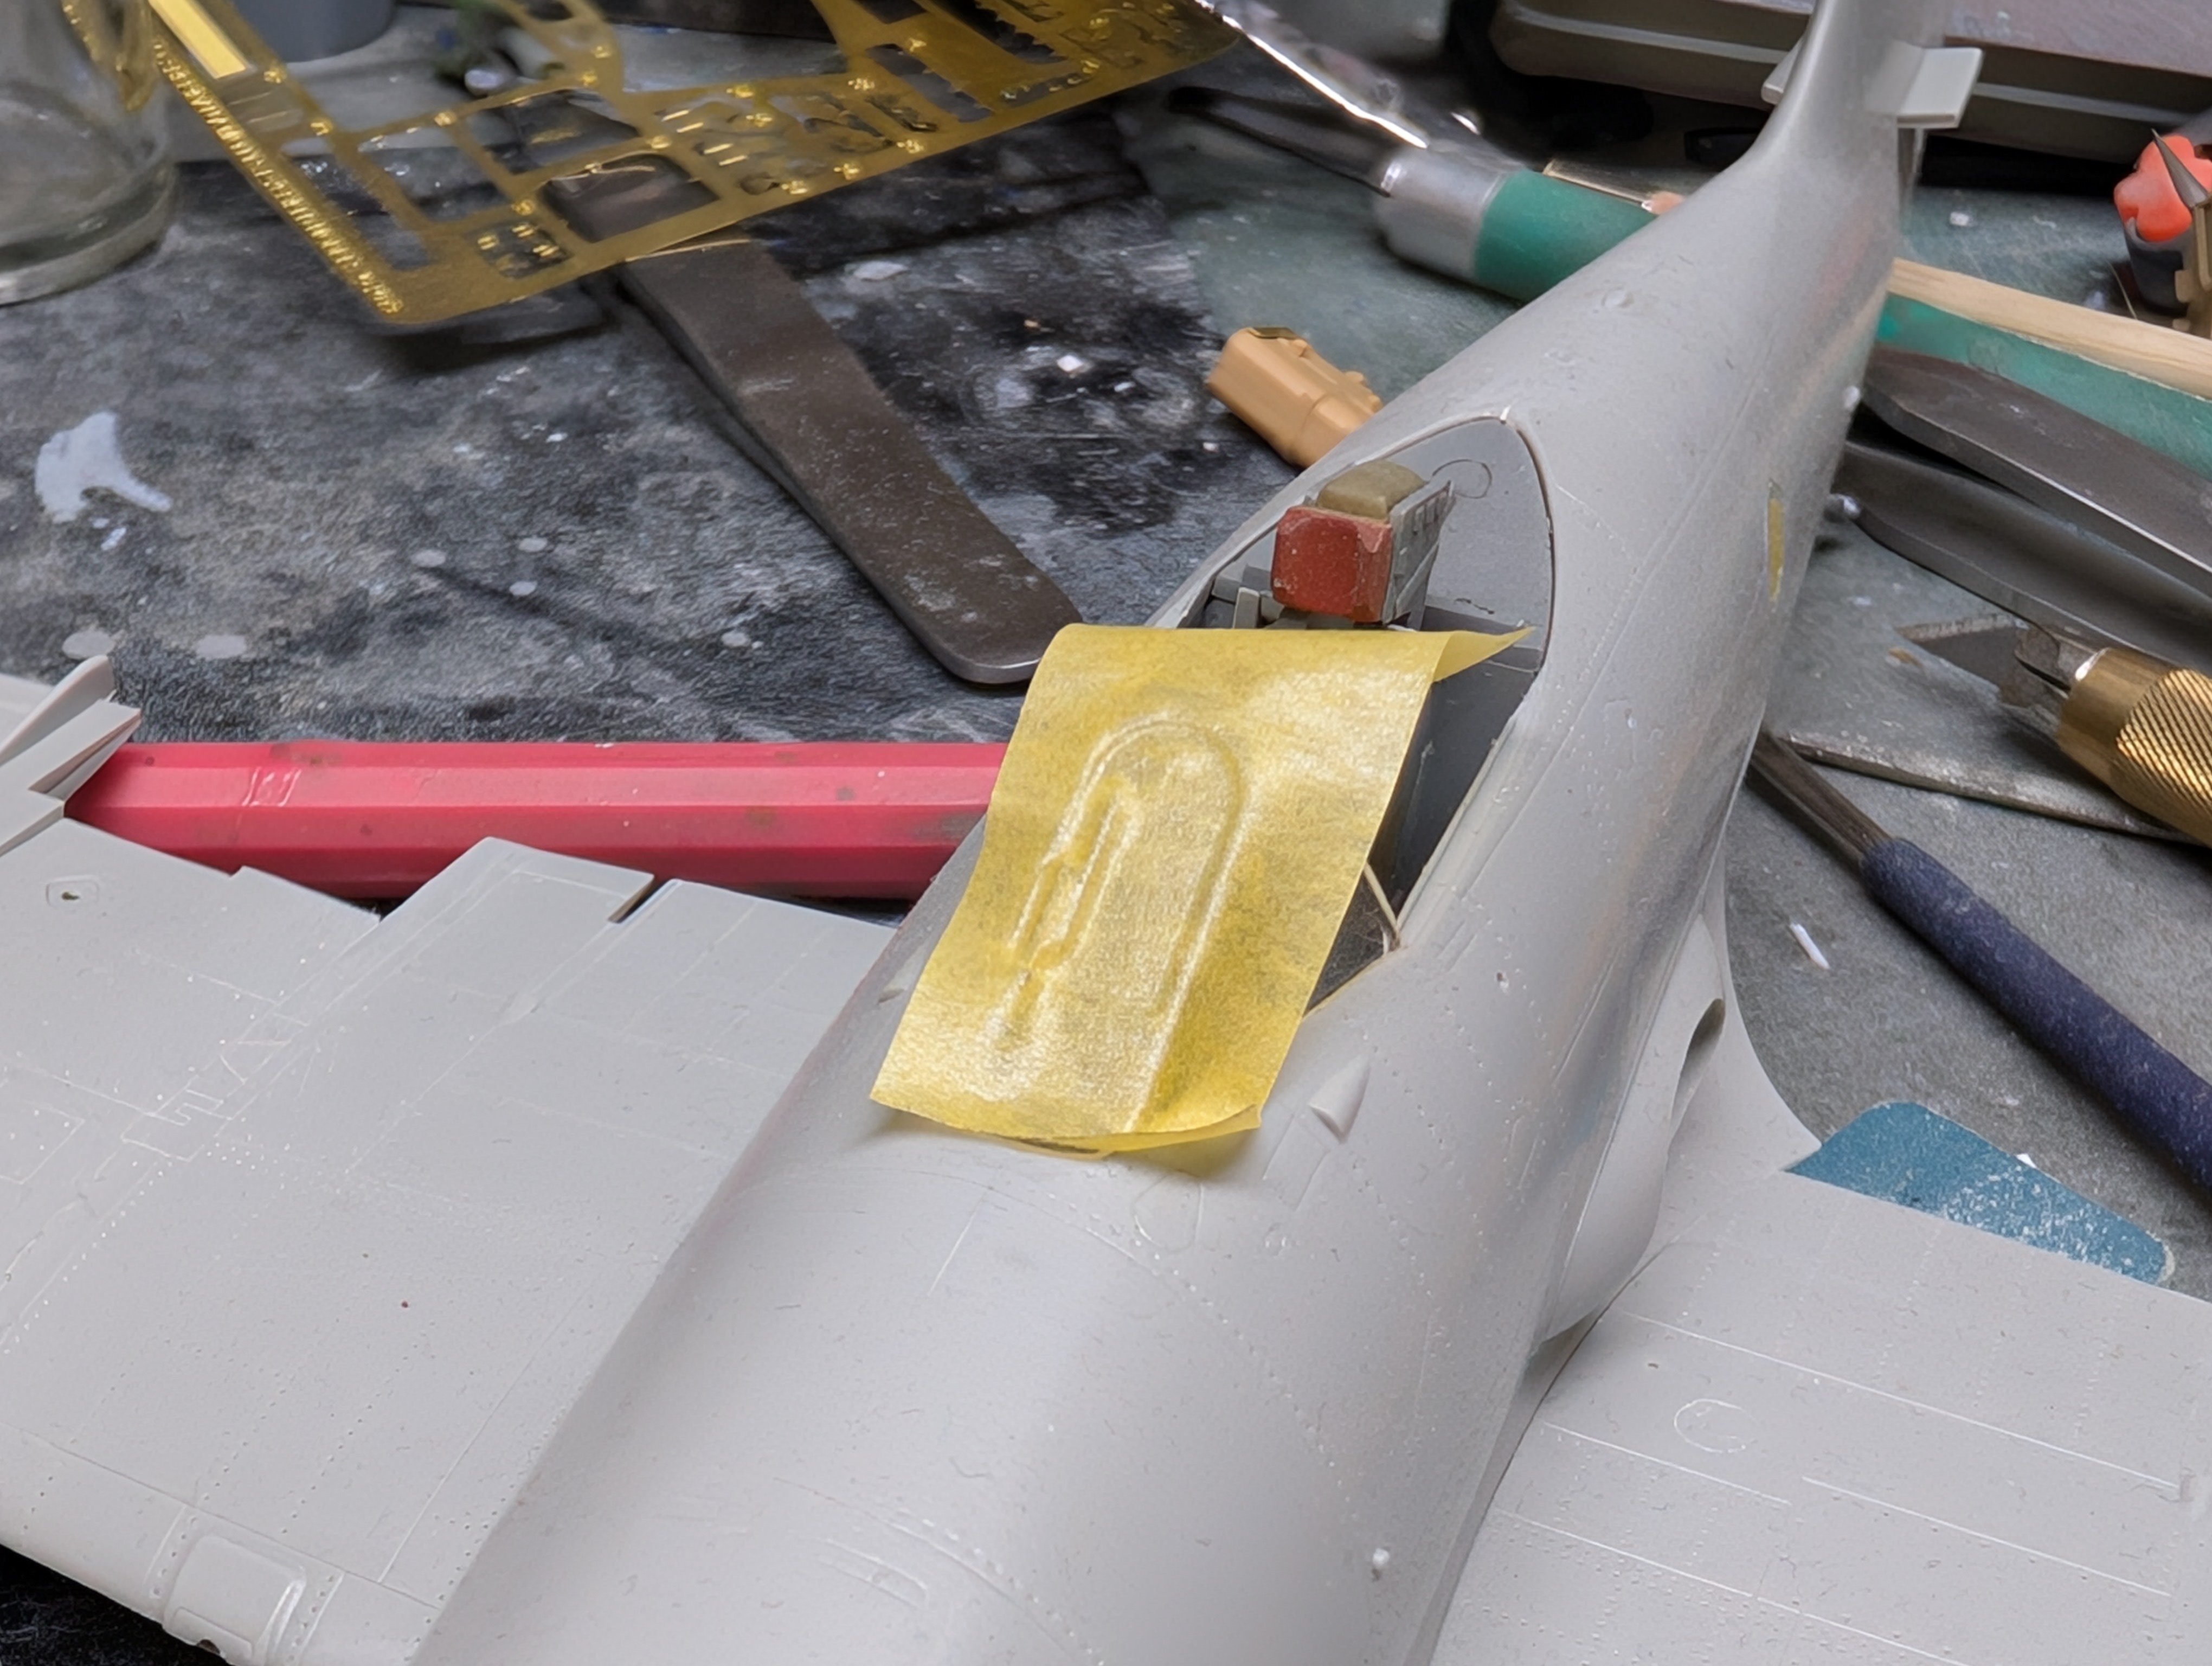
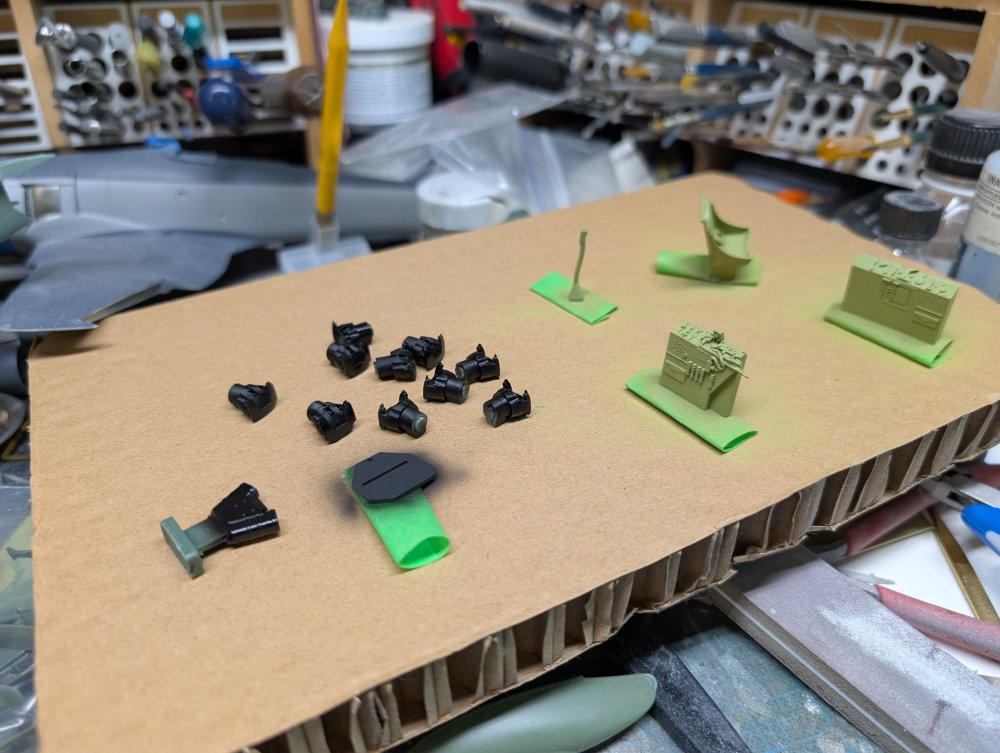
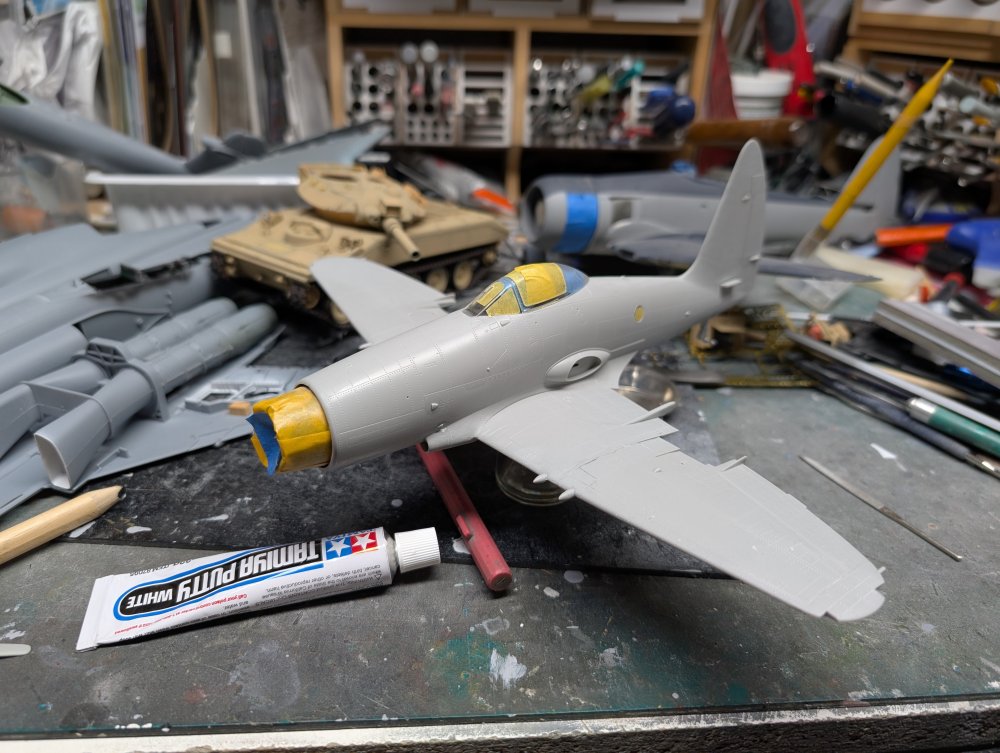
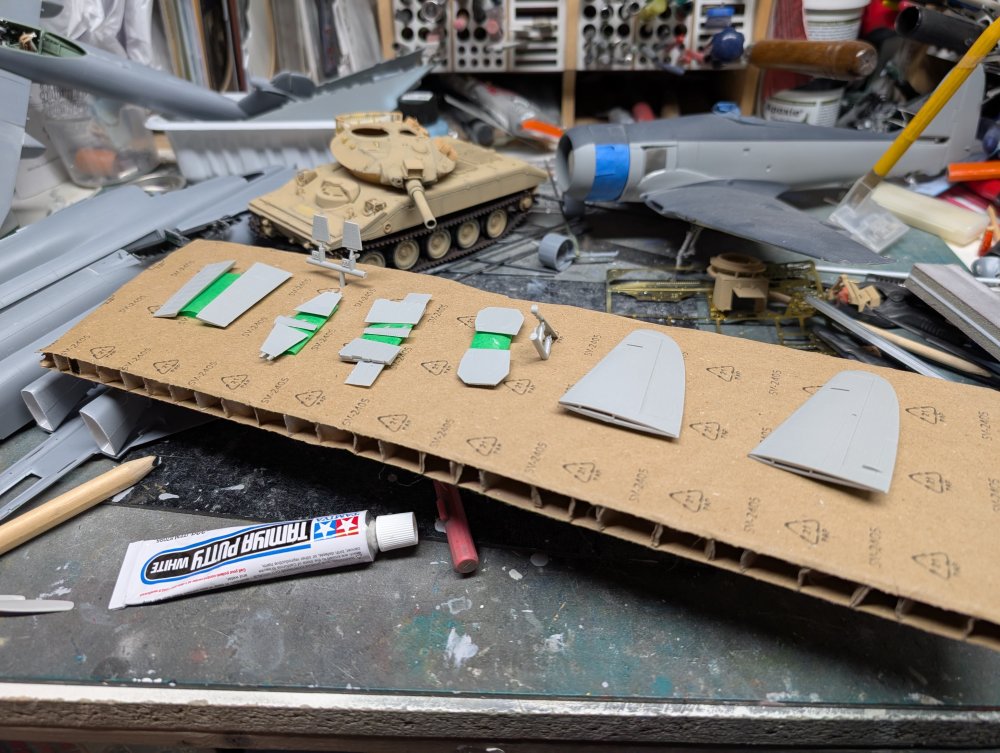
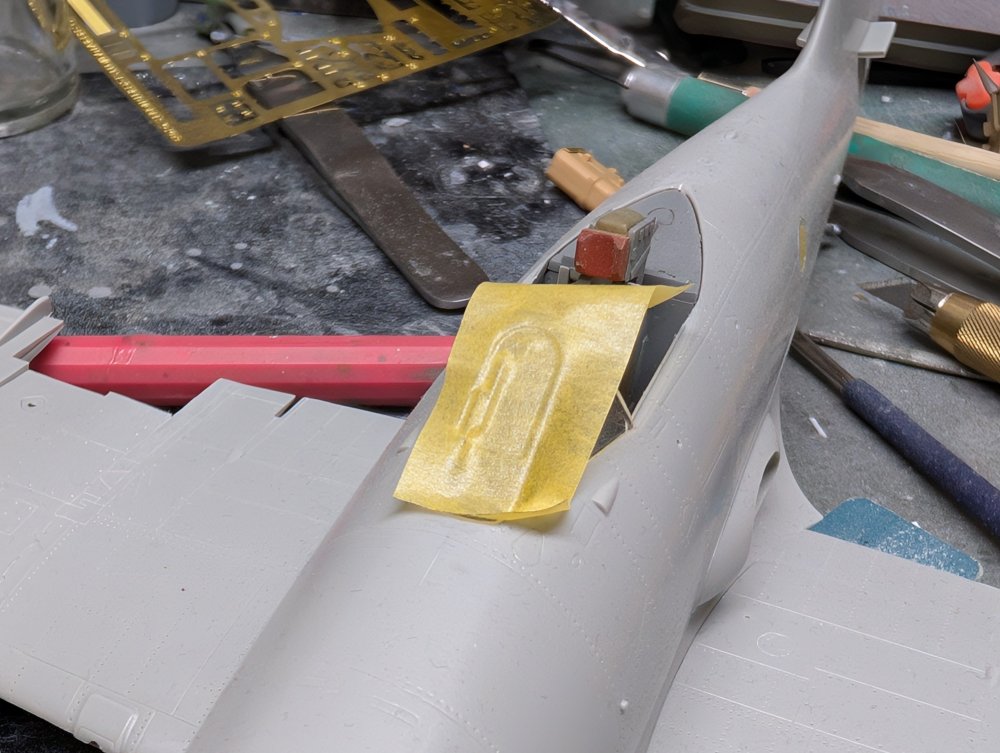
So, finally back to work on the Wyvern. I stalled on it as I didn't want to deal with masking the canopy. There's a moulded on wiper and masking around it wasn't going to be fun. Well, I bit the bullet and did it. Then I tacked the rear part in place. No going back now. Time for some paint. But first, I stuck some parts that would need to be done in Sky as well onto a piece of card. I used AK Real Colors Sky because that's what I had. Now to let things dry a bit and then onto the Suez stripes.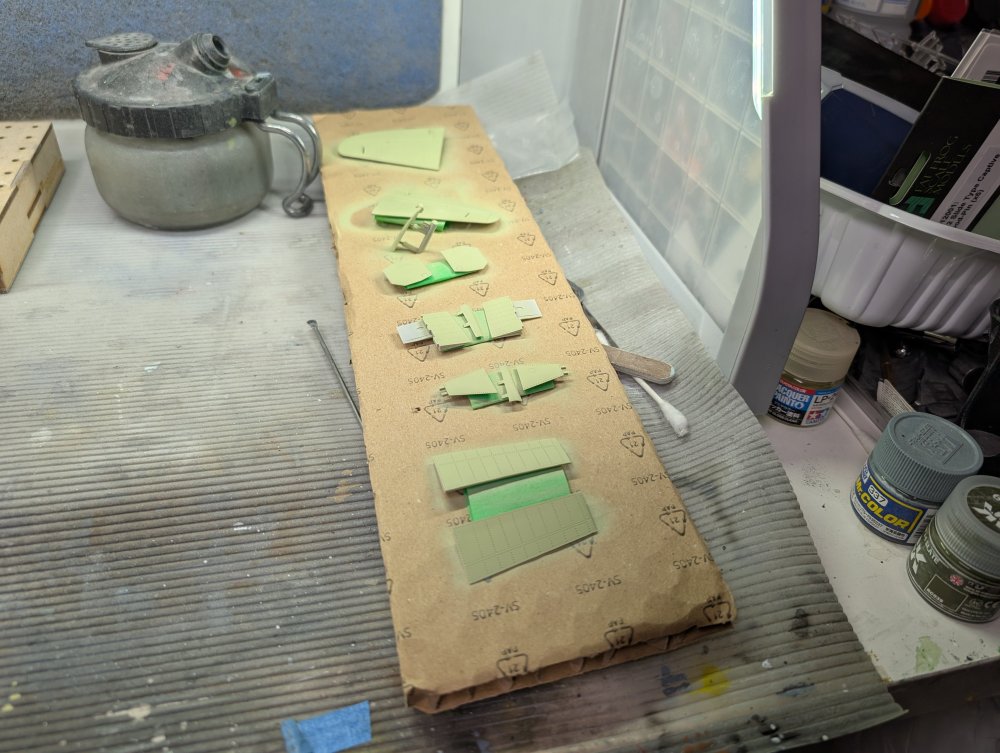


.jpg.b535290d9a0e8a7d0c1ba63929621dcb.jpg)
.jpg.fd5c2be061a4eeb1c521b3e6e6de1dbc.jpg)
.jpg.dda2002b5e3c55e87222607d417be75a.jpg)
.jpg.bd54b82ce1c5a97c0b8ecf32c964dfed.jpg)