BlrwestSiR
-
Posts
9,096 -
Joined
-
Last visited
Content Type
Profiles
Forums
Events
Gallery
Everything posted by BlrwestSiR
-
Second set of tracks is done. This one went much easier than the first one.

- 68 replies
-
- 10
-

-
Peter, I'm using a pick up pencil for the really small PE bits. It's like a regular pencil but instead of lead, it has a slightly tacky centre. Just touch the PE but and it'll pick it up. Then position it and the surface tension from the CA is usually enough to unstick the part from the pencil. It helps keep parts from doing the 100cm tweezer long jump.
-

Sprue Brothers Announcment: 1/32 F4 Phantoms
BlrwestSiR replied to Peterpools's topic in Modelling Discussion
There's been a couple posts over on LSP. A company called Red Pill (possibly in reference to the Matrix film) is slowly making progress on an F-4B kit. They've shown pics of the nose section and have recently posted one of the fuselage. I'm not sure if Red Pill and Phantom Phreaks are related or not but there is something to look forward to. -
What is on your bench right now ? Share a picture :)
BlrwestSiR replied to Martinnfb's topic in Modelling Discussion
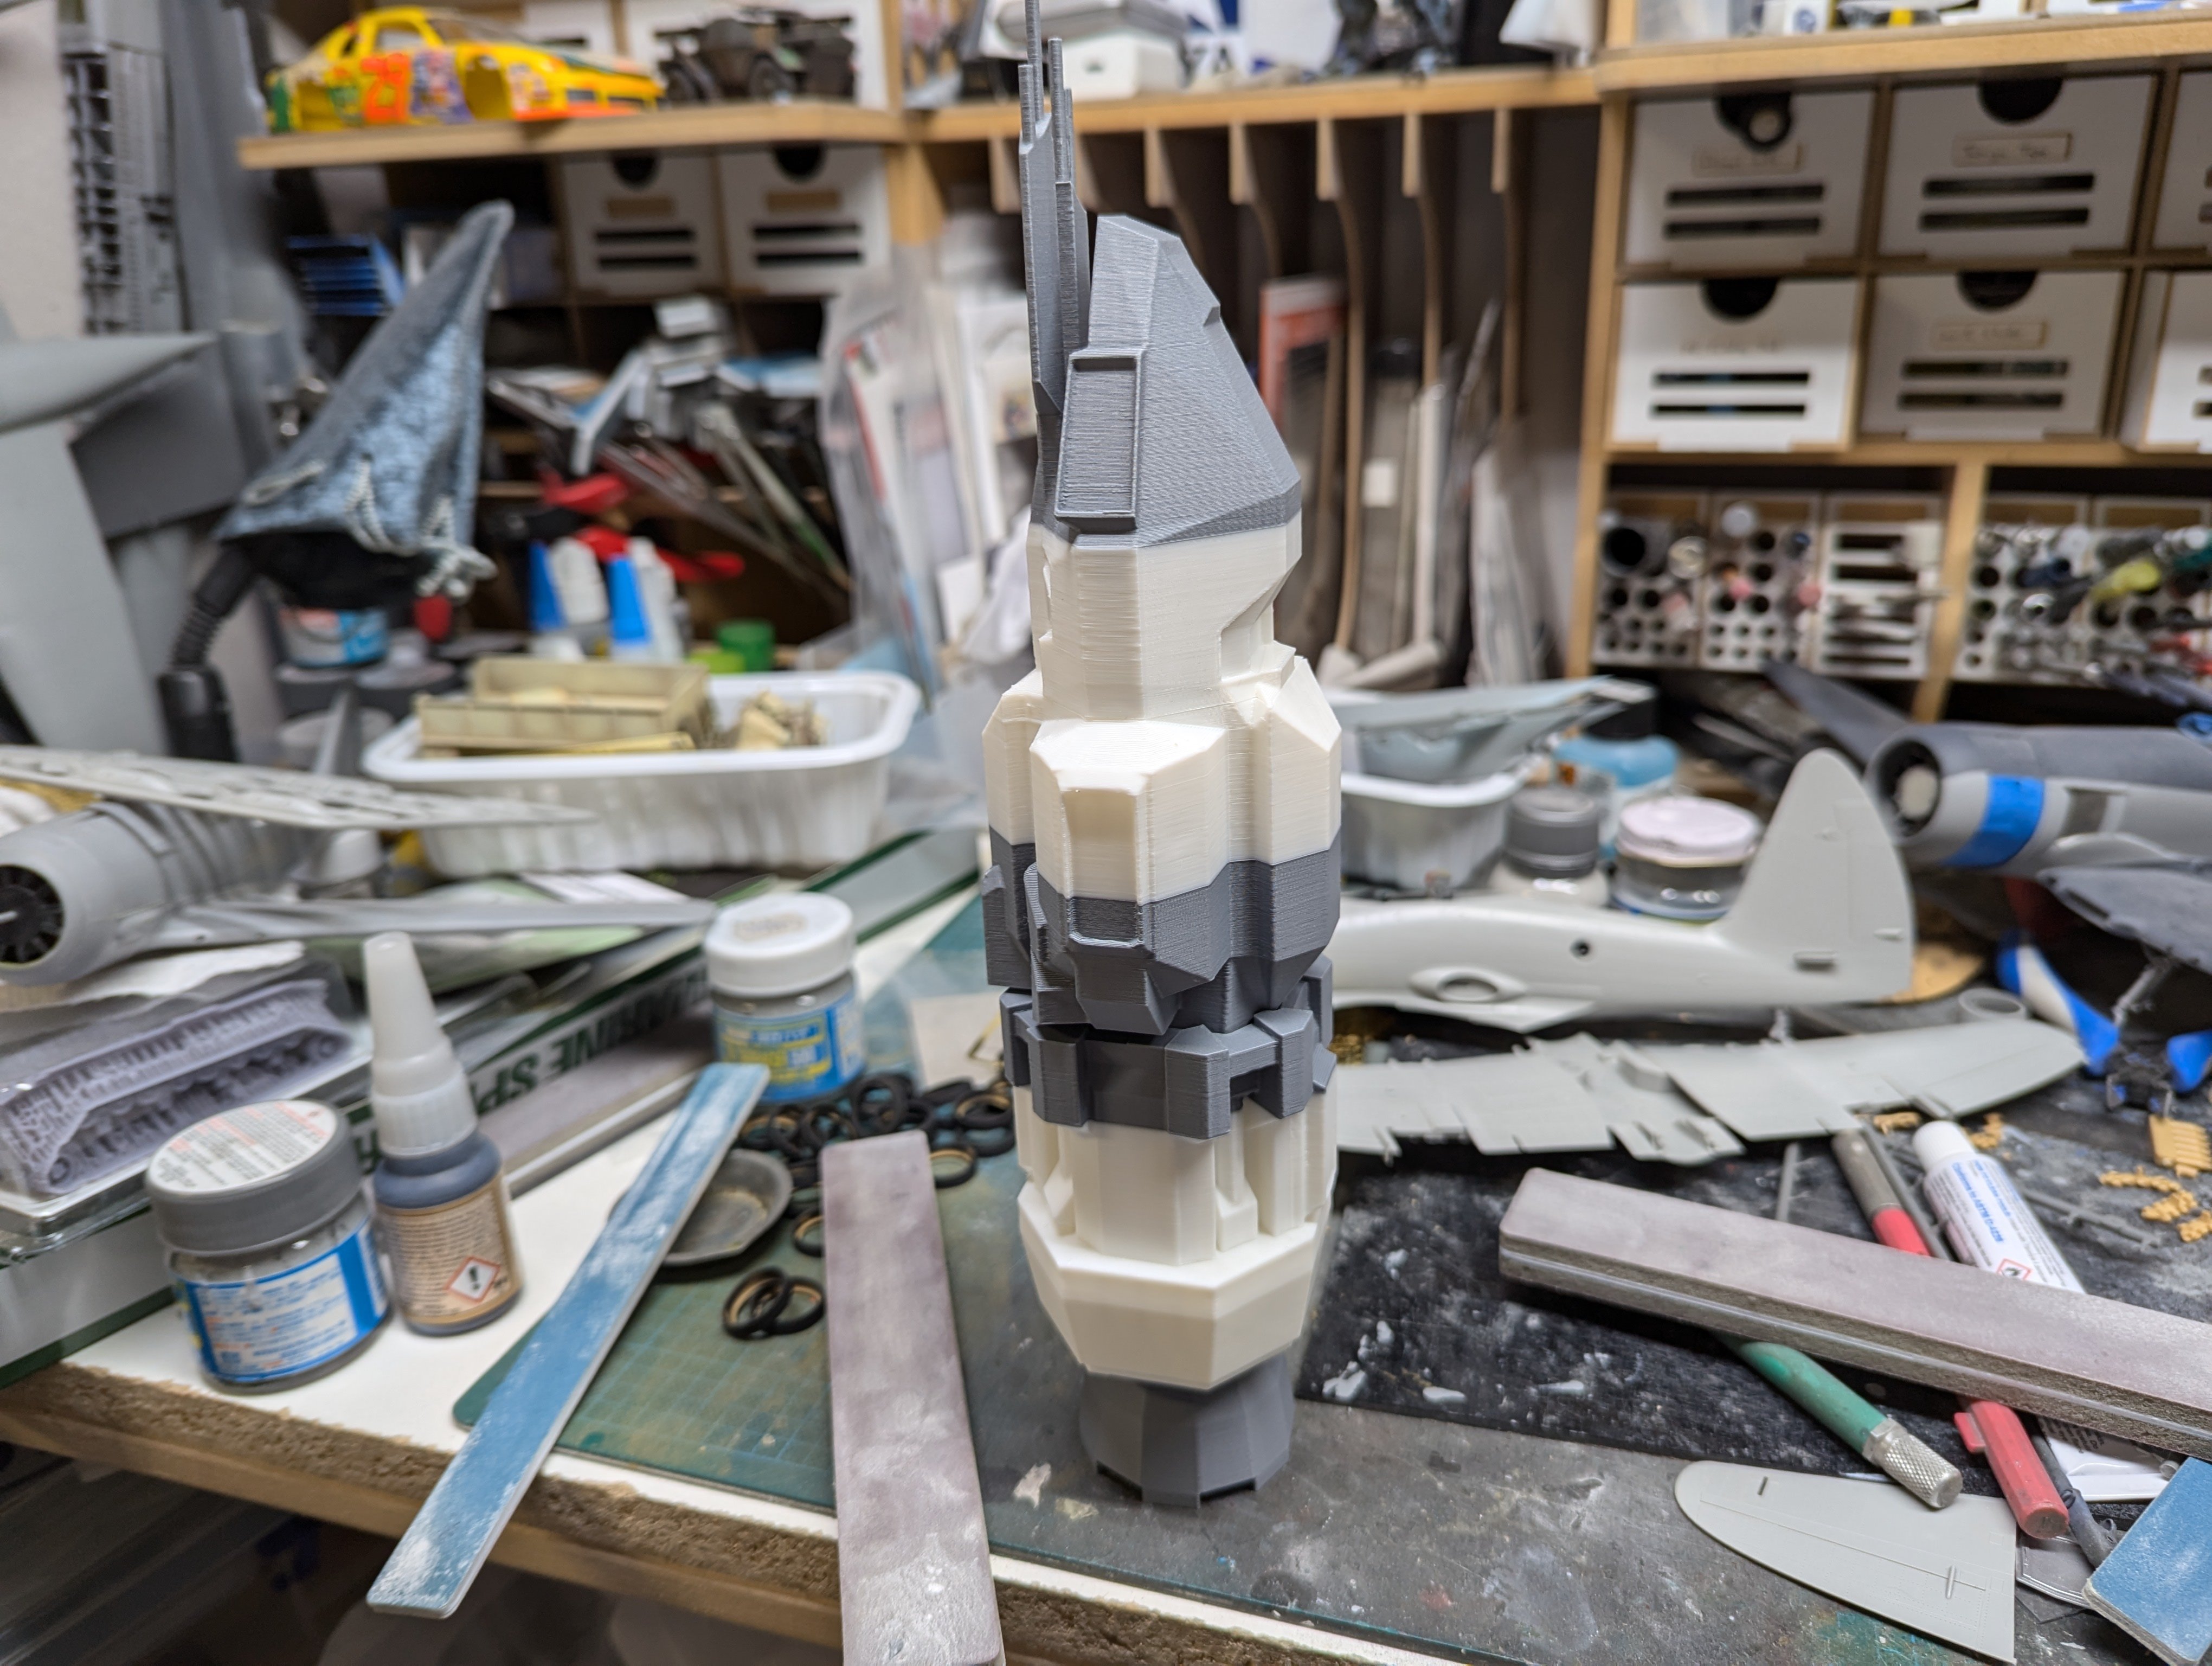
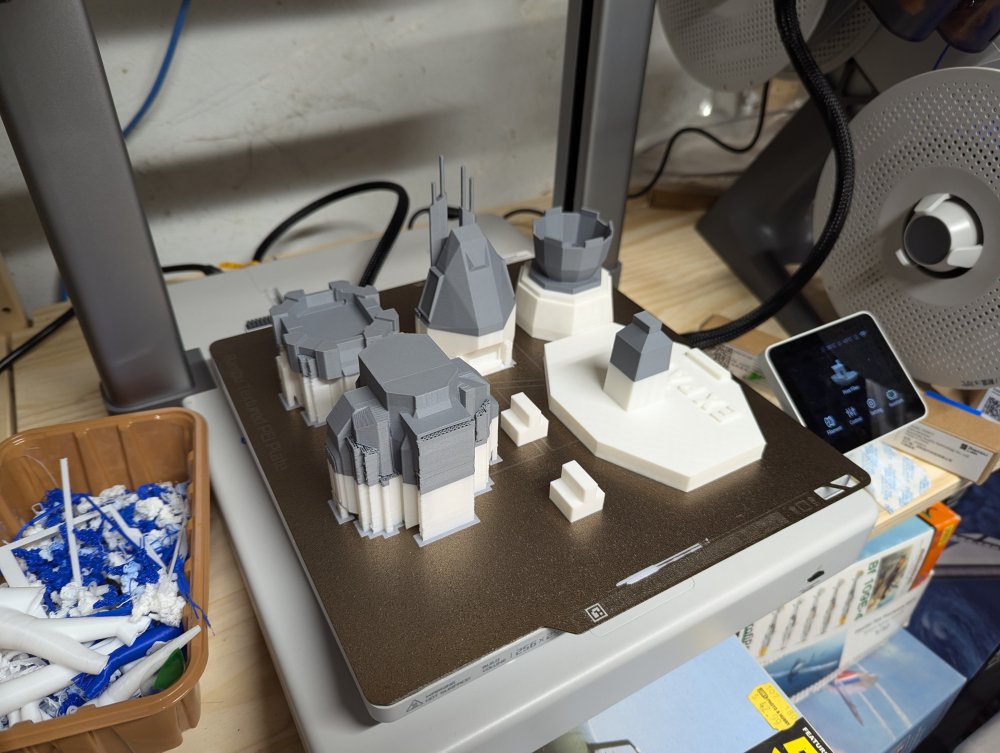
MCRN Tachi, renamed the Rocinante by her crew. Partway through the print, I ran out of filament so the printer paused. I installed a new roll a d it finished the print, starting right where it had left off. Hence the stripey finish to it. This is a simple file with not too much detail. I'm still learning to use the software so this was a test to see how to import files and make them work on our printer.
-
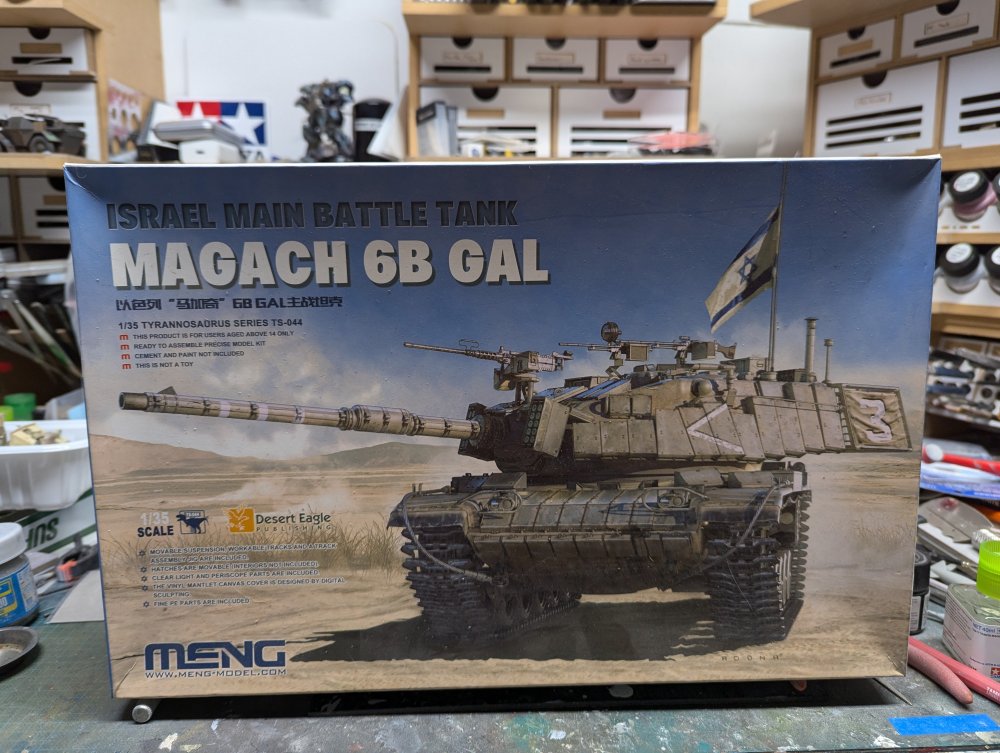
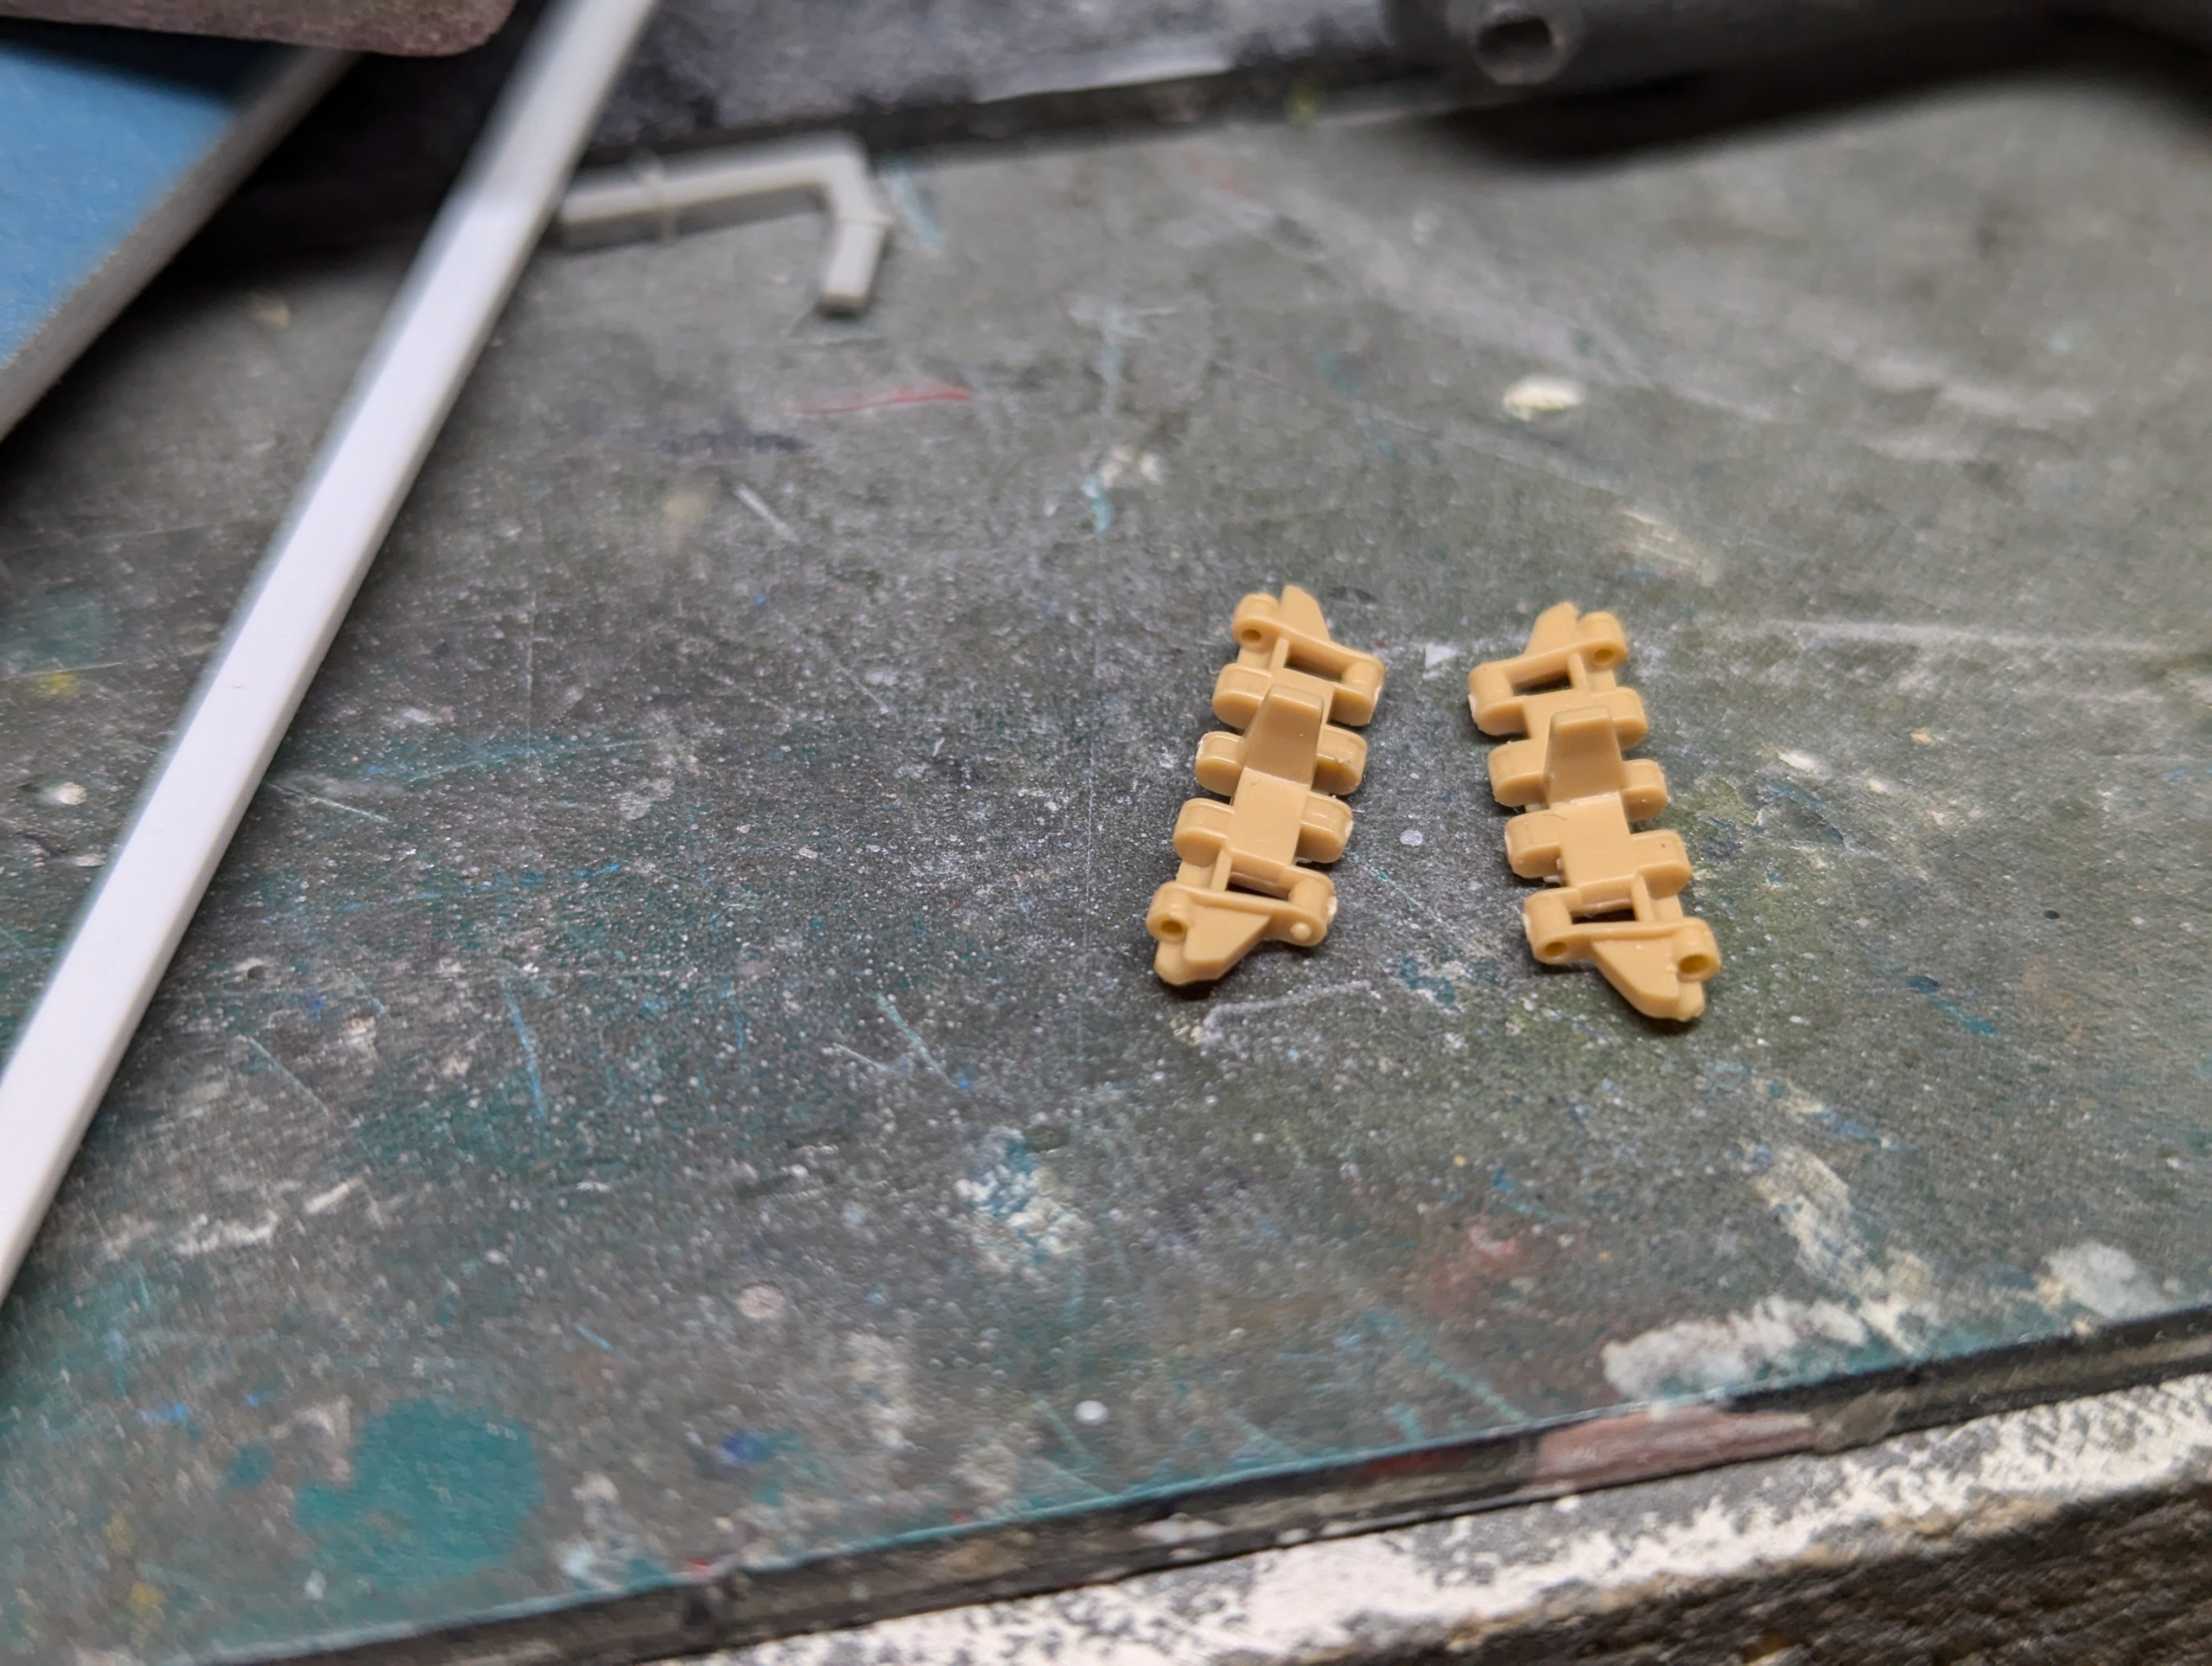
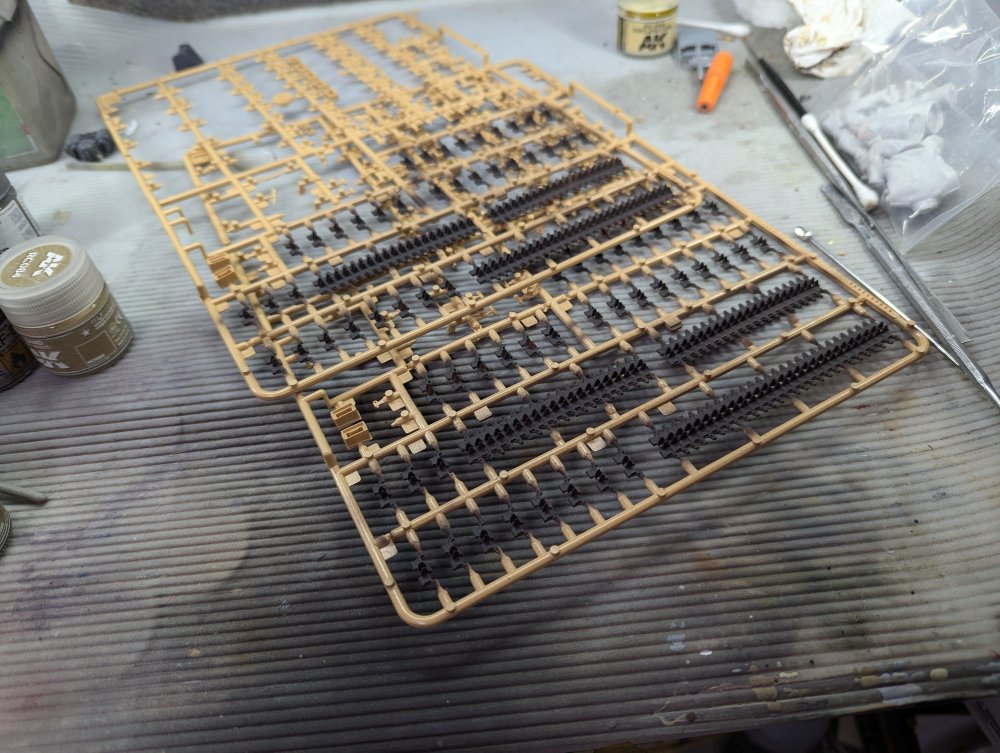
The Meng Magach I'm currently working on has individual track links. They're designed with a single plastic pin to mount to one side. The other side has a tiny moulded on nub instead of a pin so the tracks clip together and then you insert a single pin. I guess the idea is it's half the work. Nub on left, pin on right. Unfortunately Meng made the pin you insert just slightly too short so they sometimes still fall apart. I'm going to just glue them together for the most part and use them that way.

-
I think most of Dragon's 1/6 kits are just upscaled from 1/35 so no additional detail that one would expect given the size. Their 1/6 Sherman line is pretty much this way.
-
Westland Wyvern S.4 late- 1/48 Trumpeter
BlrwestSiR replied to BlrwestSiR's topic in The Sandbox Group Build.
Peter, not using the kit supplied posts, the wings actually lined up fairly well. It's an intricate fold seam and fit together nicely once I tossed the kit bits. -
Or a cat that insists on being in your lap when you're at the bench.
-
Definitely has a bit of a psychedelic look to it. Which will make it stand out next to the usual camo schemes.
-
Westland Wyvern S.4 late- 1/48 Trumpeter
BlrwestSiR replied to BlrwestSiR's topic in The Sandbox Group Build.
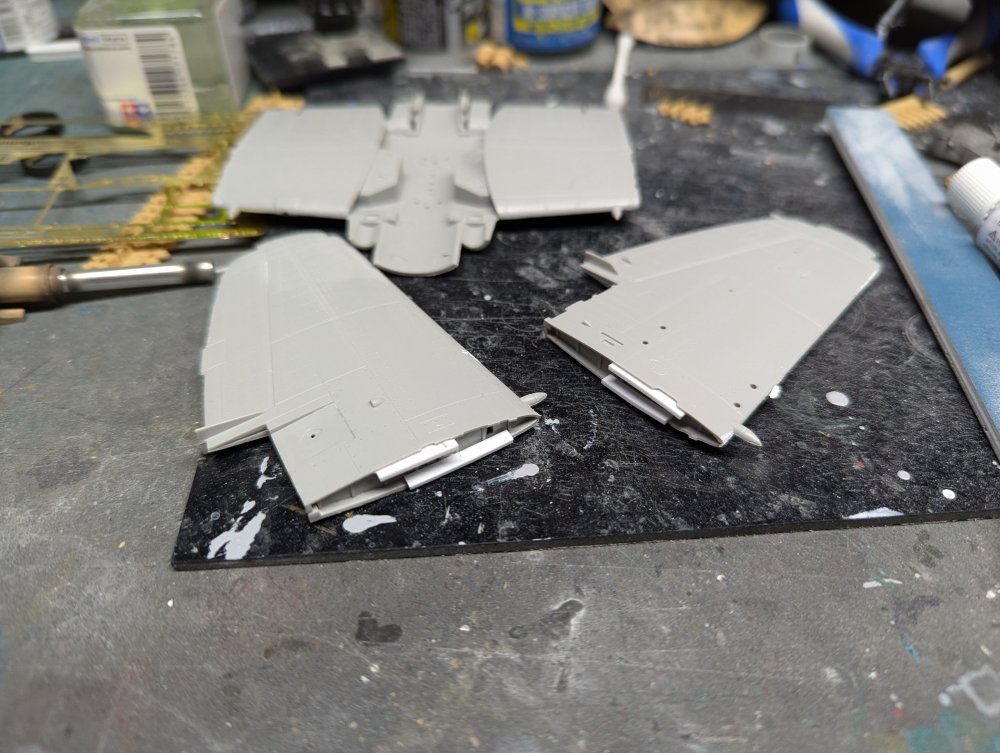
Time for an update. I got to work on the wings. The centre section went together easily. It's a good fit to the fuselage. I then assembled the folding wing sections. On later builds of the Wyvern, the wingtip folds were eliminated so I glued them on straight. I had to clip the moulded on tab to get a better fit. Likewise for the outer section, I didn't use the included tabs as they caused a fit issue. Instead, I've glued on some strip styrene.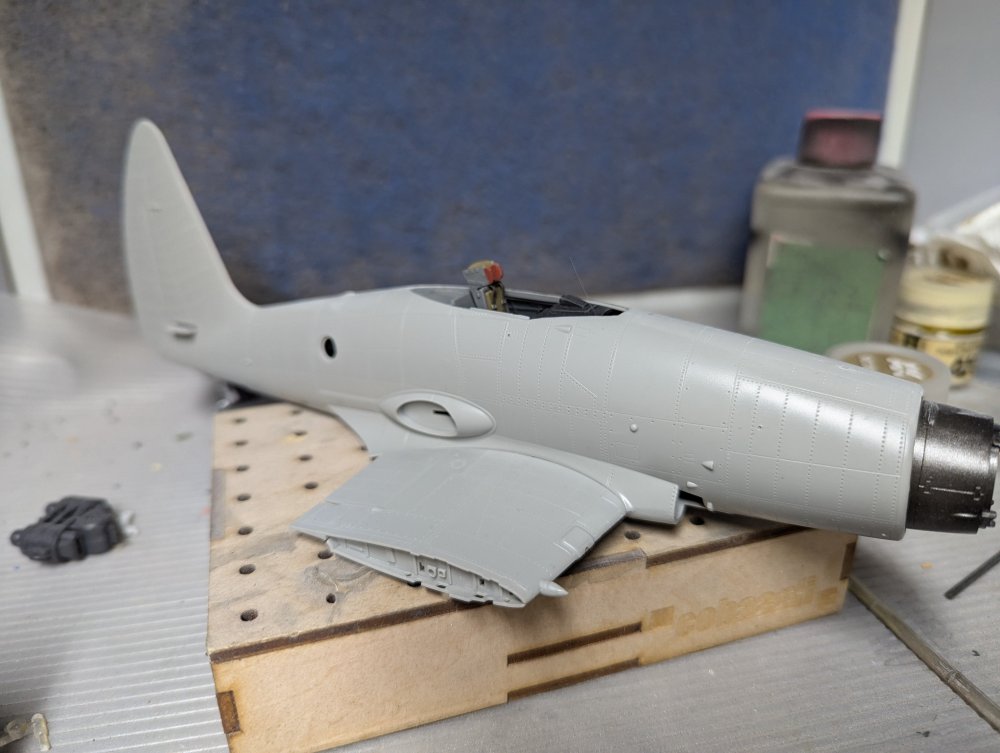
-
What is on your bench right now ? Share a picture :)
BlrwestSiR replied to Martinnfb's topic in Modelling Discussion
Oh nice one there Phil. I'm thinking of something similar for my Takom 1/16 jeep. I'd love to do the one used in NW Europe with the gun shields but Sol only does it as a complete kit and not a conversion. -
What is on your bench right now ? Share a picture :)
BlrwestSiR replied to Martinnfb's topic in Modelling Discussion
Wow, that's going to be a challenging build. Can't wait to see you pull it off Mark. -
Definitely a different camo scheme. You're doing a great job pulling it off Chris.
-
Looks very nice there Kevin. How do you get the antenna connection mid- way down the long one? I've never figured that bit out.
-
A great milestone there Peter. The wings are absolutely covered in bumps and lumps. Almost hard to call them wings.
-
PW, it is indeed an M60. Definitely makes it look different.
-
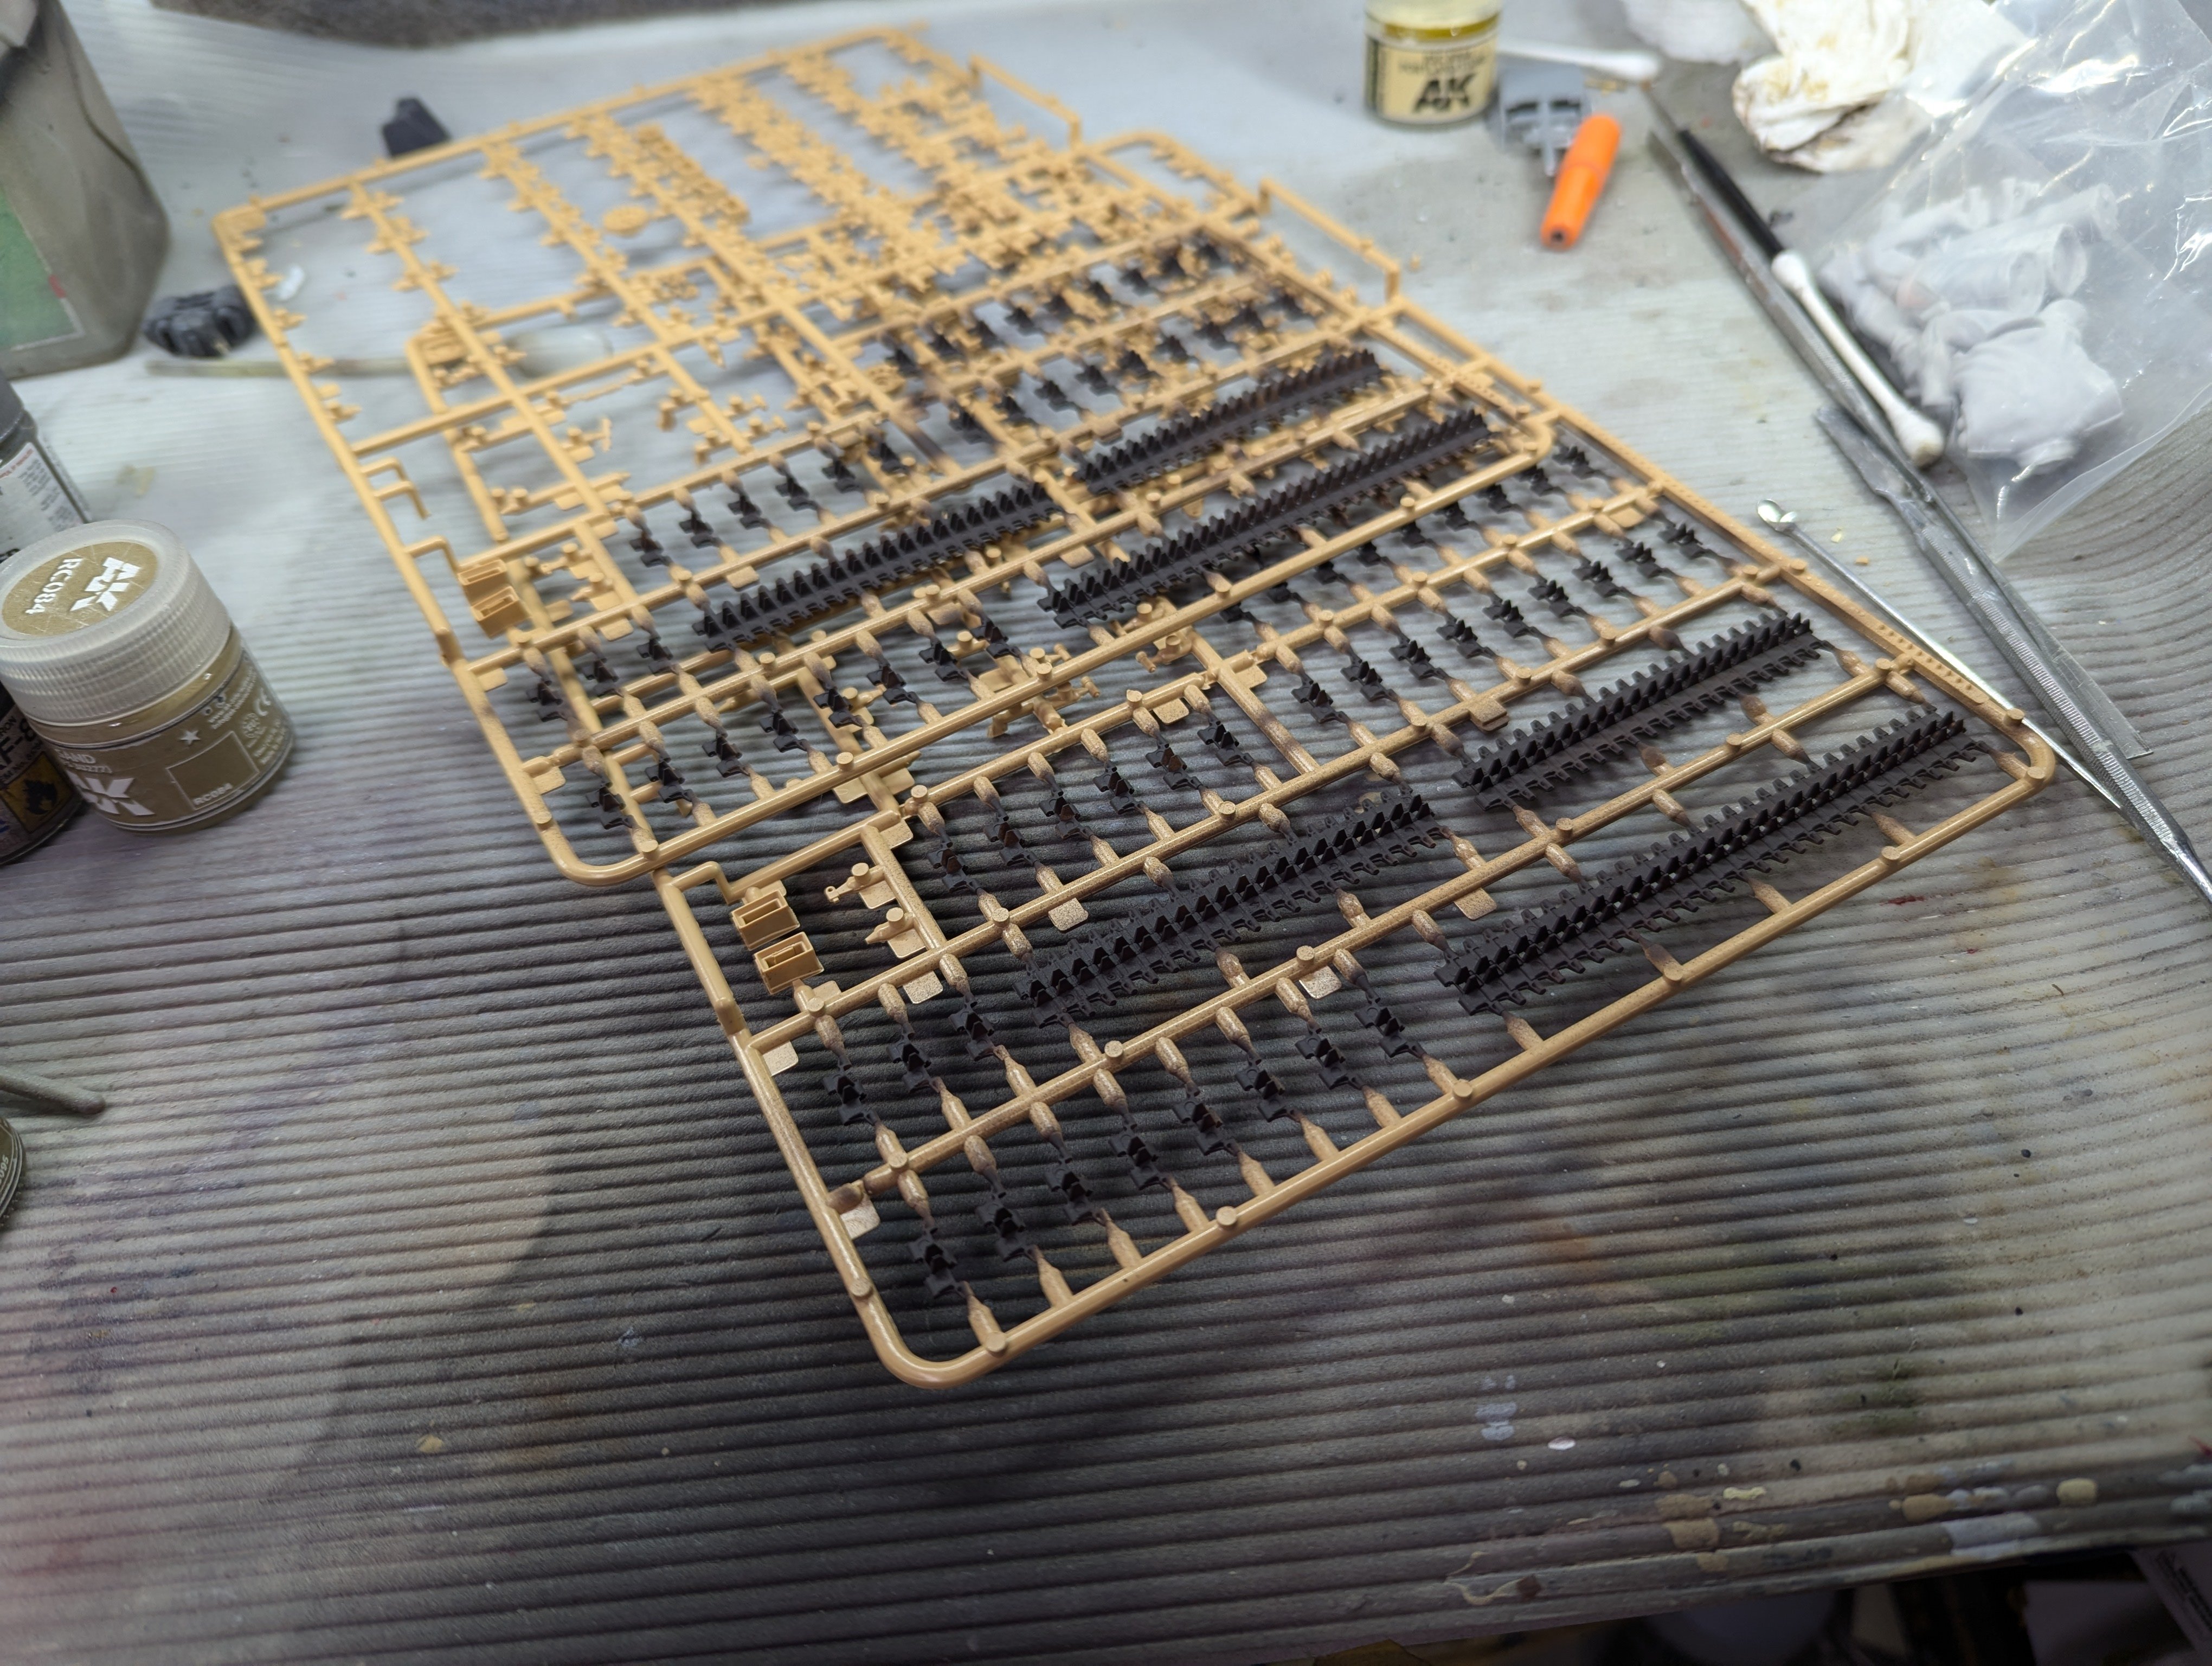
Link and length tracks. I painted them in Dark Iron. First side is done. A bit fiddly. But I think the second side will go easier knowing how these went together.

- 68 replies
-
- 10
-
-
I did debate it. My plan was to do one row and if I didn't lose any, the second. That worked out but then I knocked a couple off attaching some other parts. I found one but not the order.
-
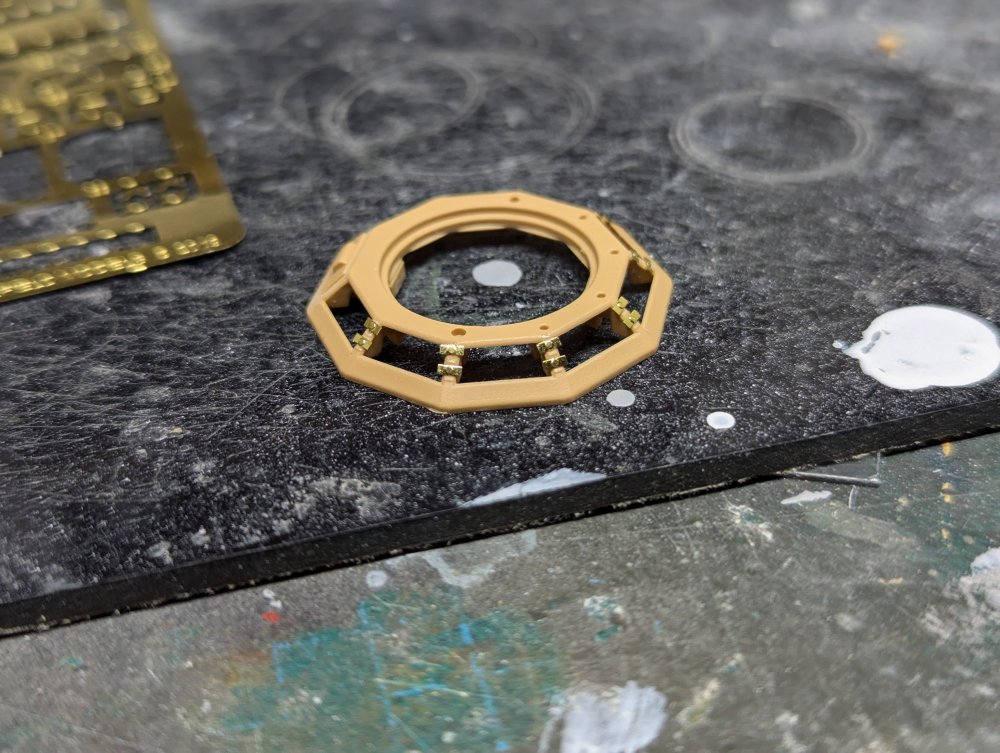
Talk about tiny parts. The surfboard has PE wing nuts to hold it in place The commander's cupola has 16 brackets that go around the vision blocks. Unfortunately I've already knocked off and lost one of them.
-
Forget Luxury Bristol Brabazon. Japanese stuff !!
BlrwestSiR replied to MARU 5137's topic in General Discussion
I think that's an F-104 Starfighter. -
Forget Luxury Bristol Brabazon. Japanese stuff !!
BlrwestSiR replied to MARU 5137's topic in General Discussion
Wow, what a fantastic trip Maru. I was going to ask if you made it to Akihabara. I went back in 2007. It really is an incredible store. Happy birthday too! -
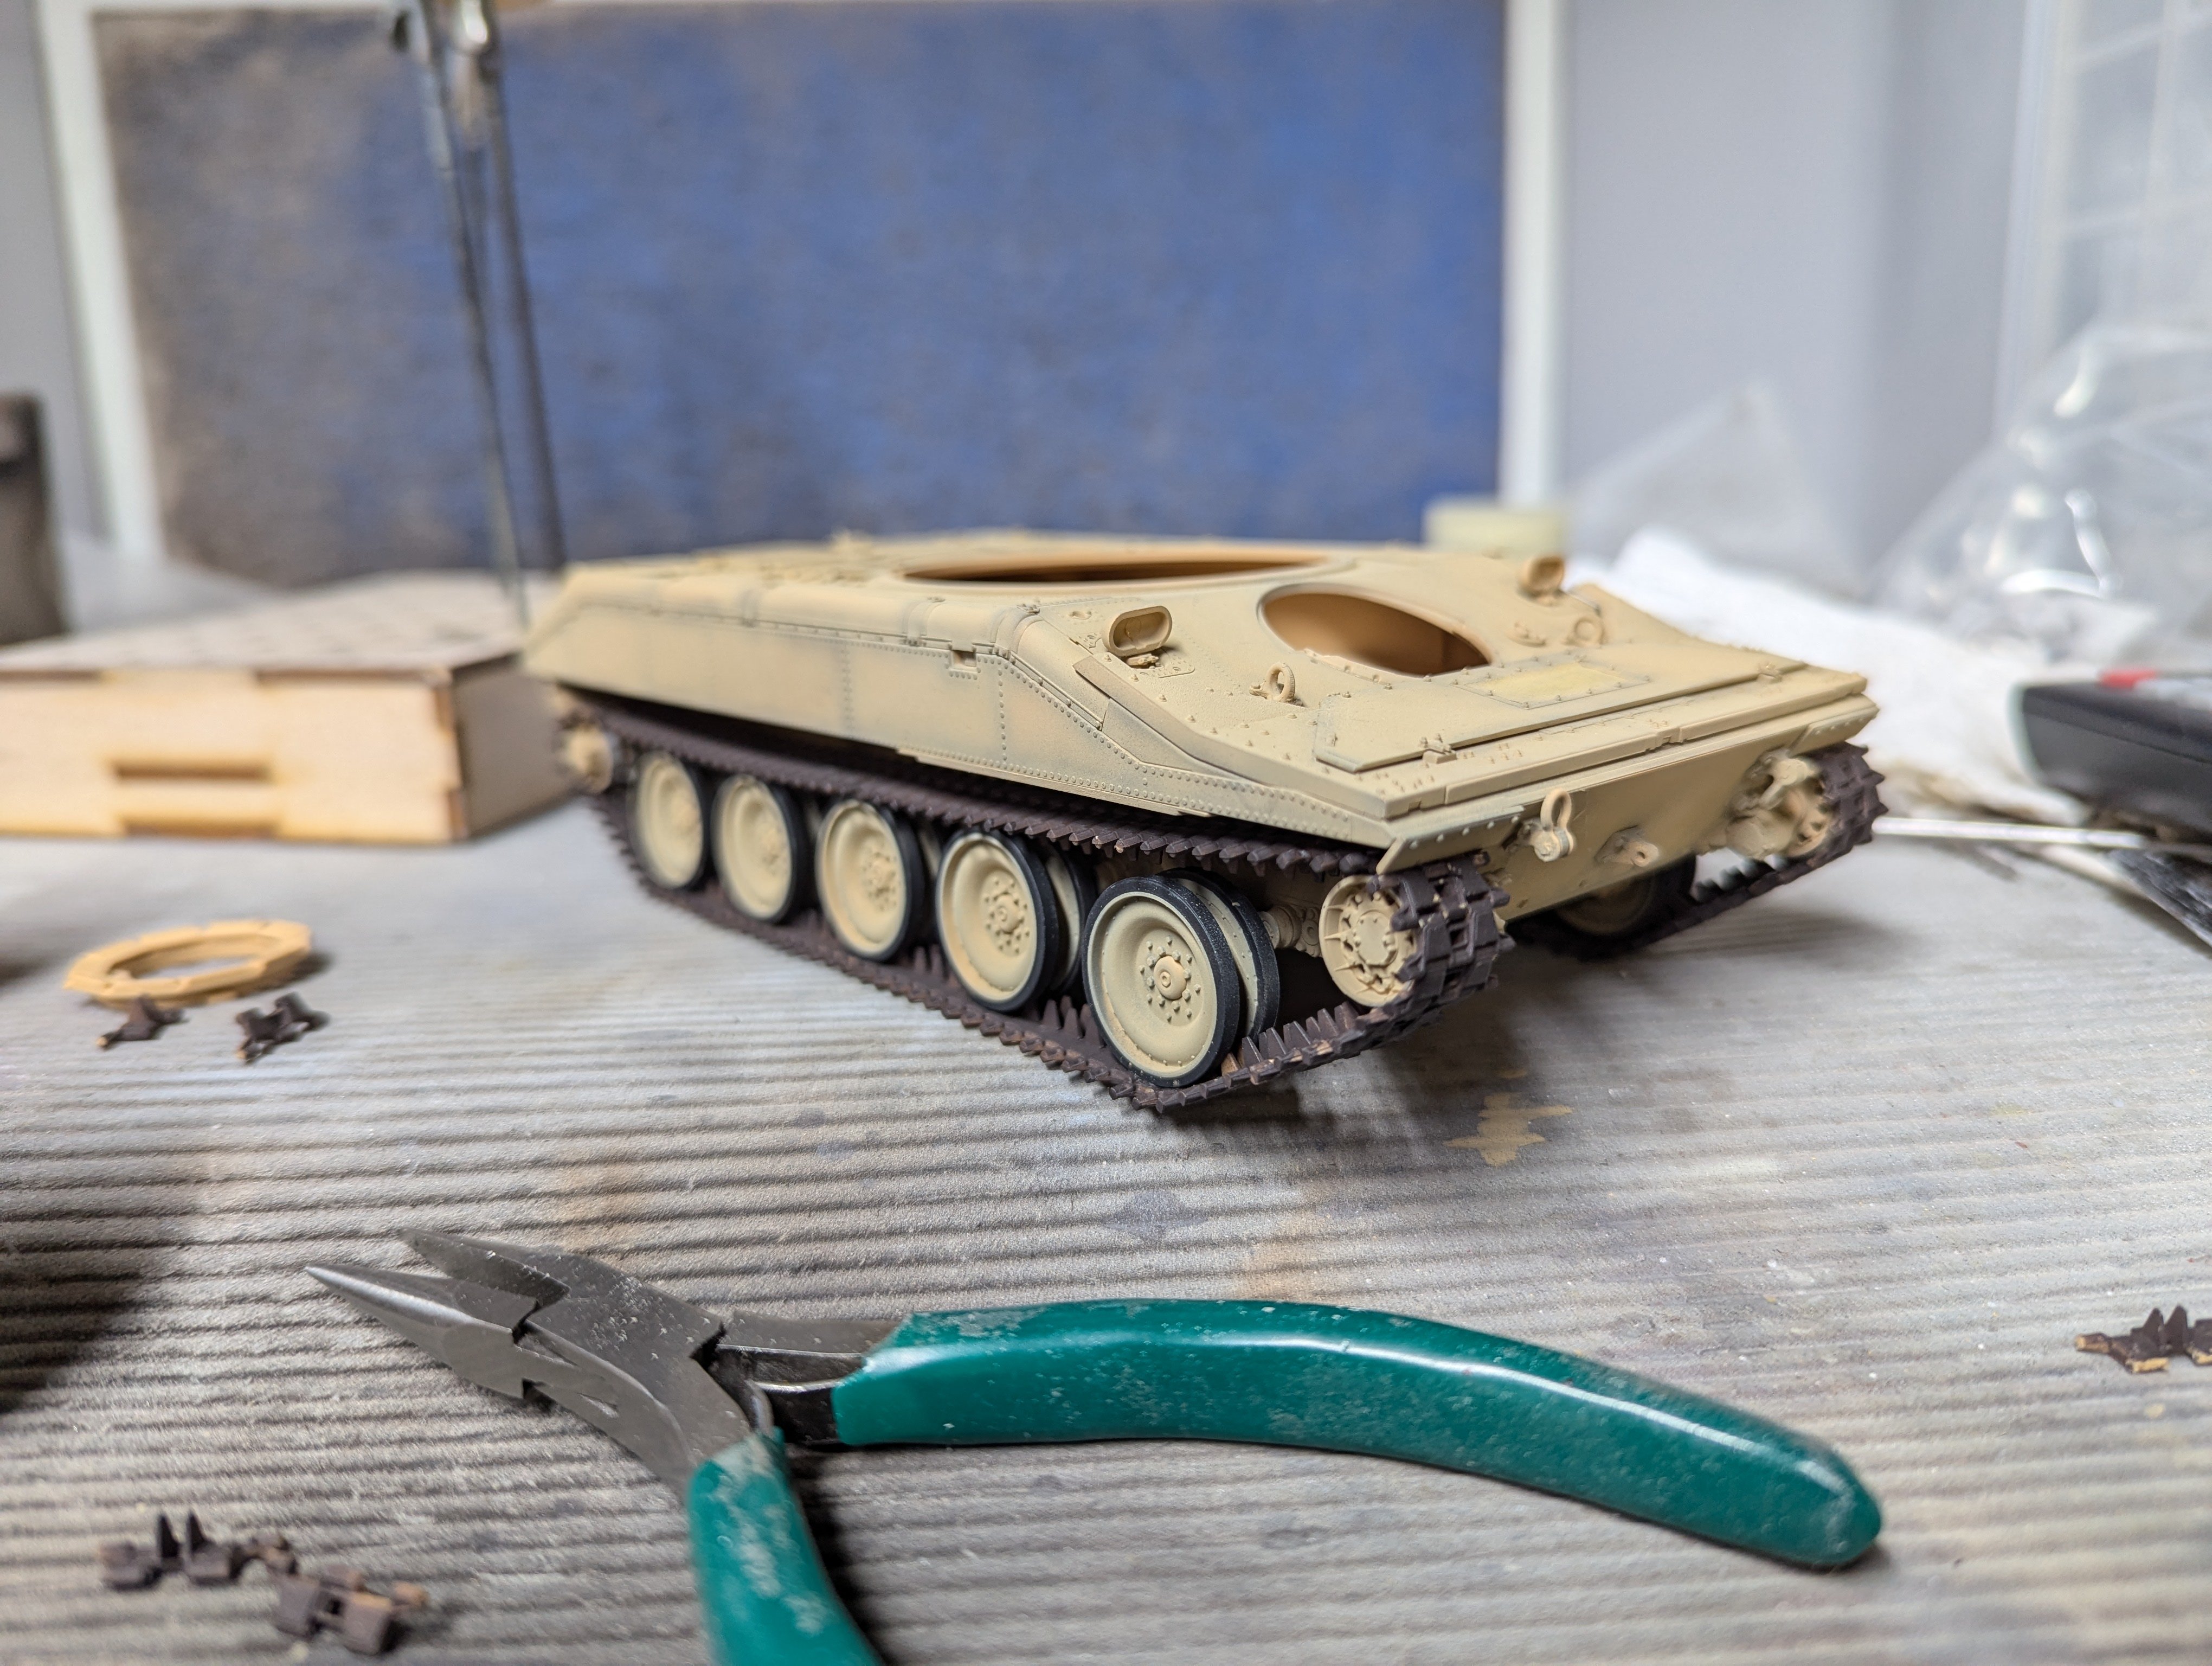
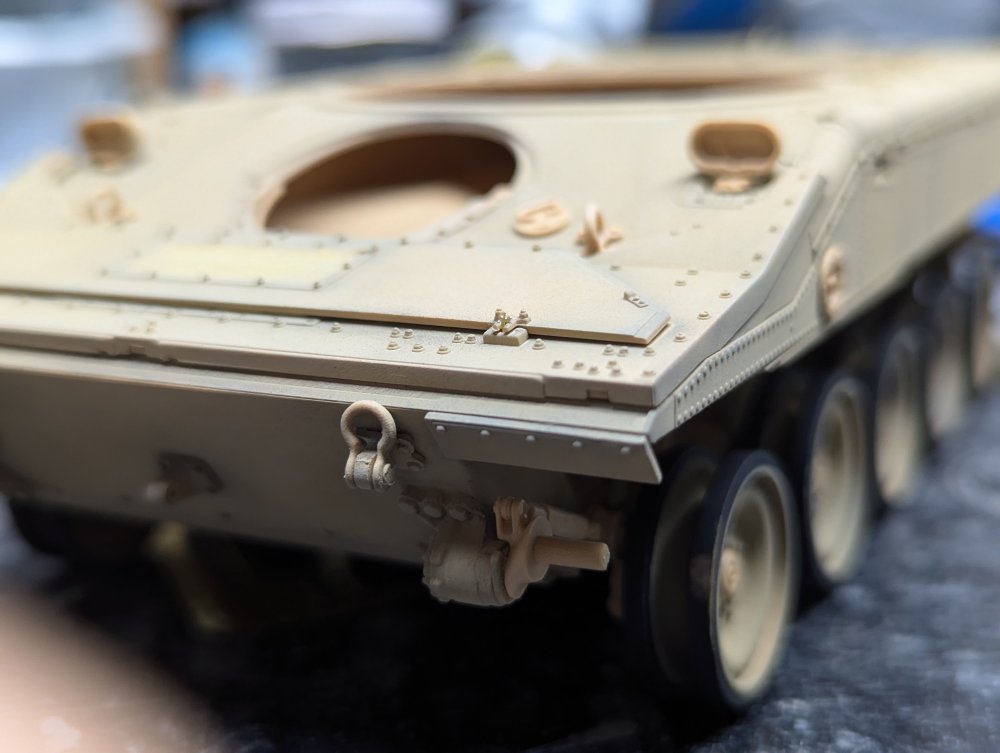
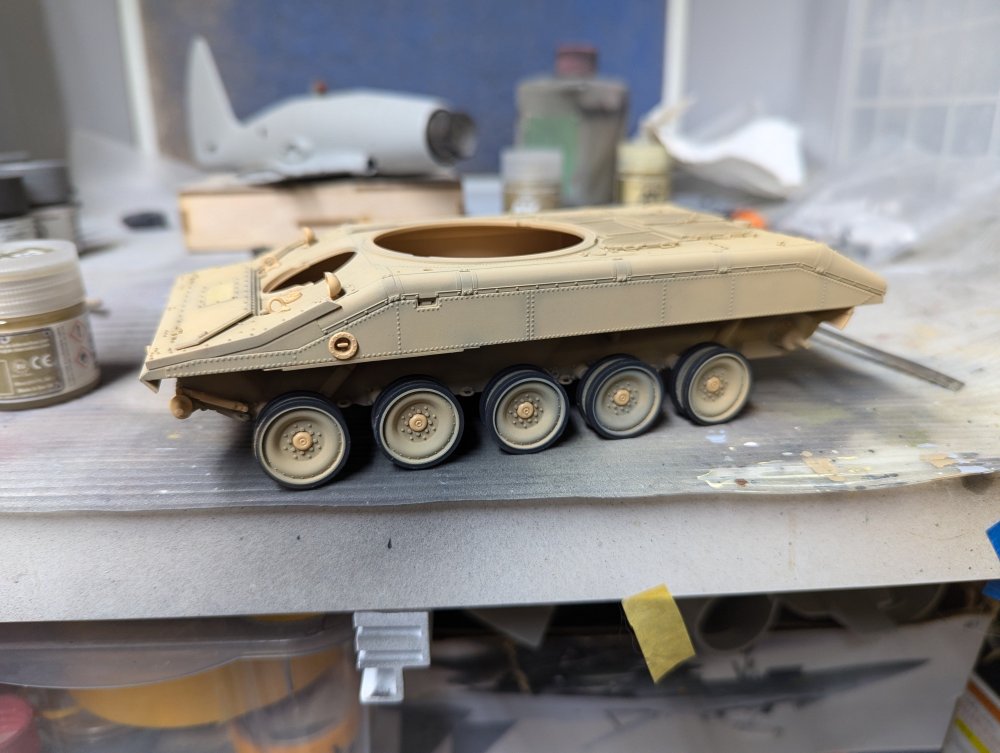
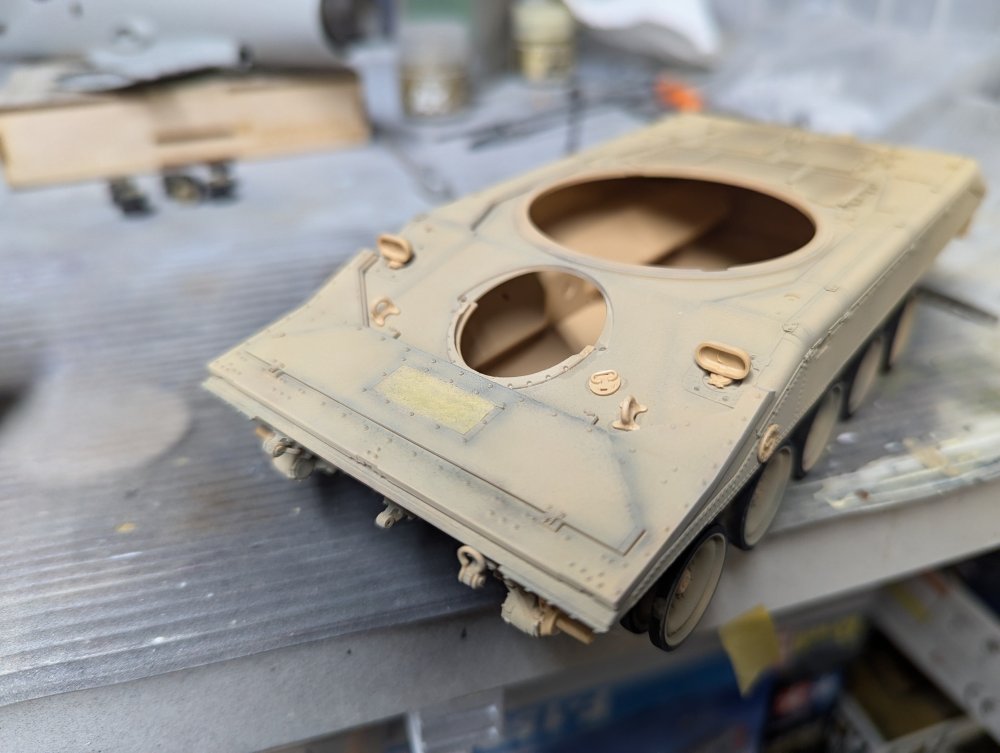
Wheels are on. As are more hull details.
-
That certainly would be.
-
Could be. I think mostly it's kits that I have in the stash that needed a slight push to build.
-
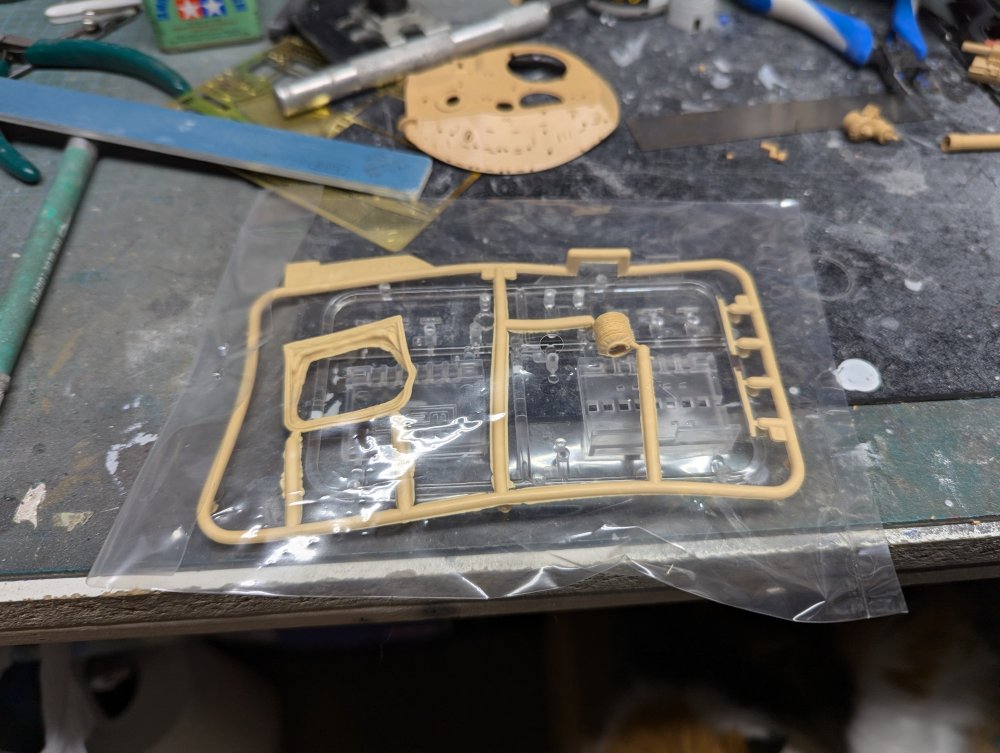
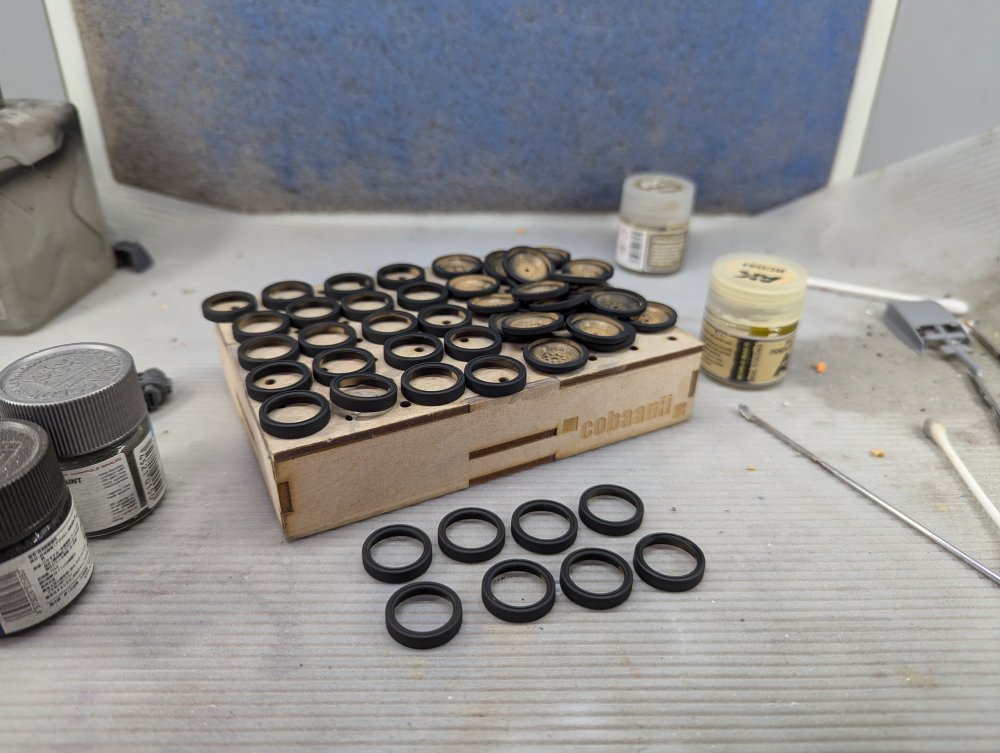
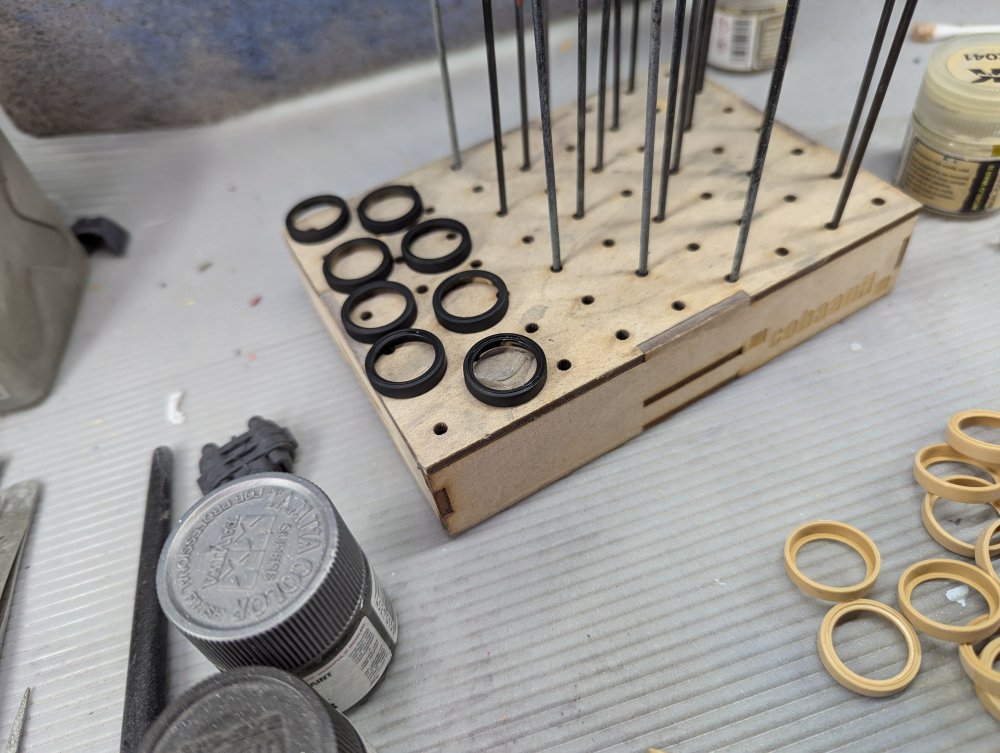
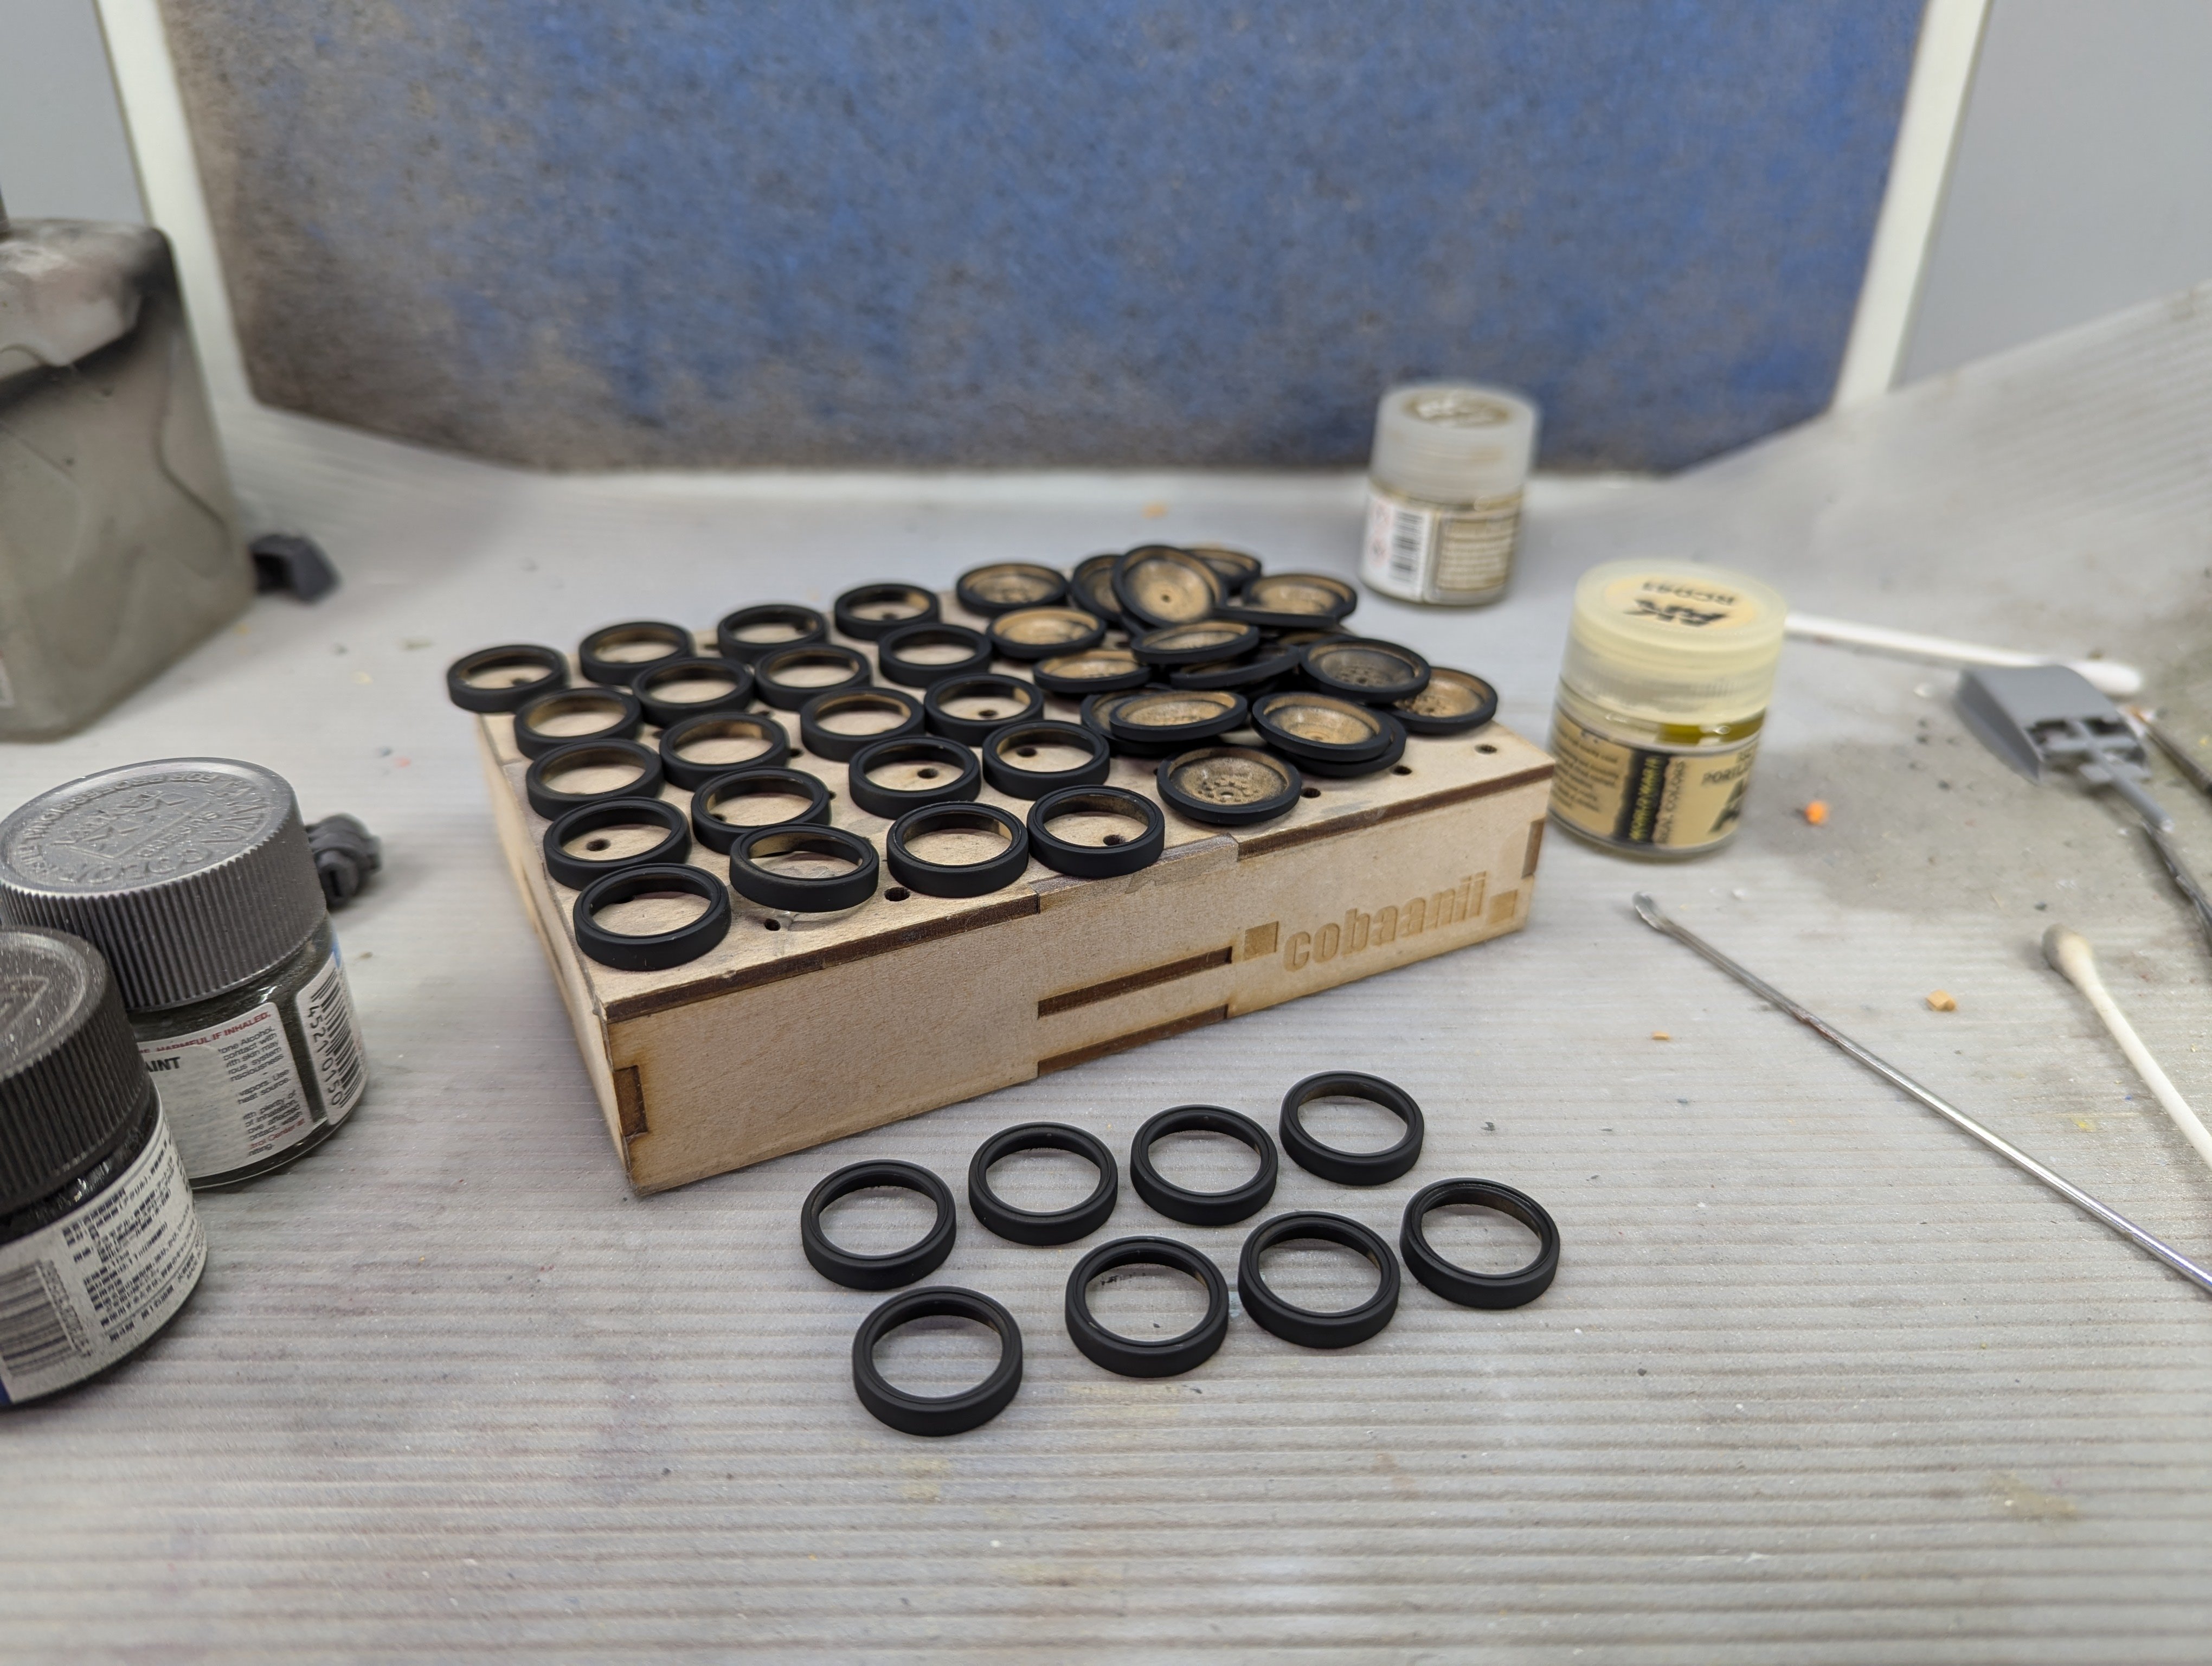
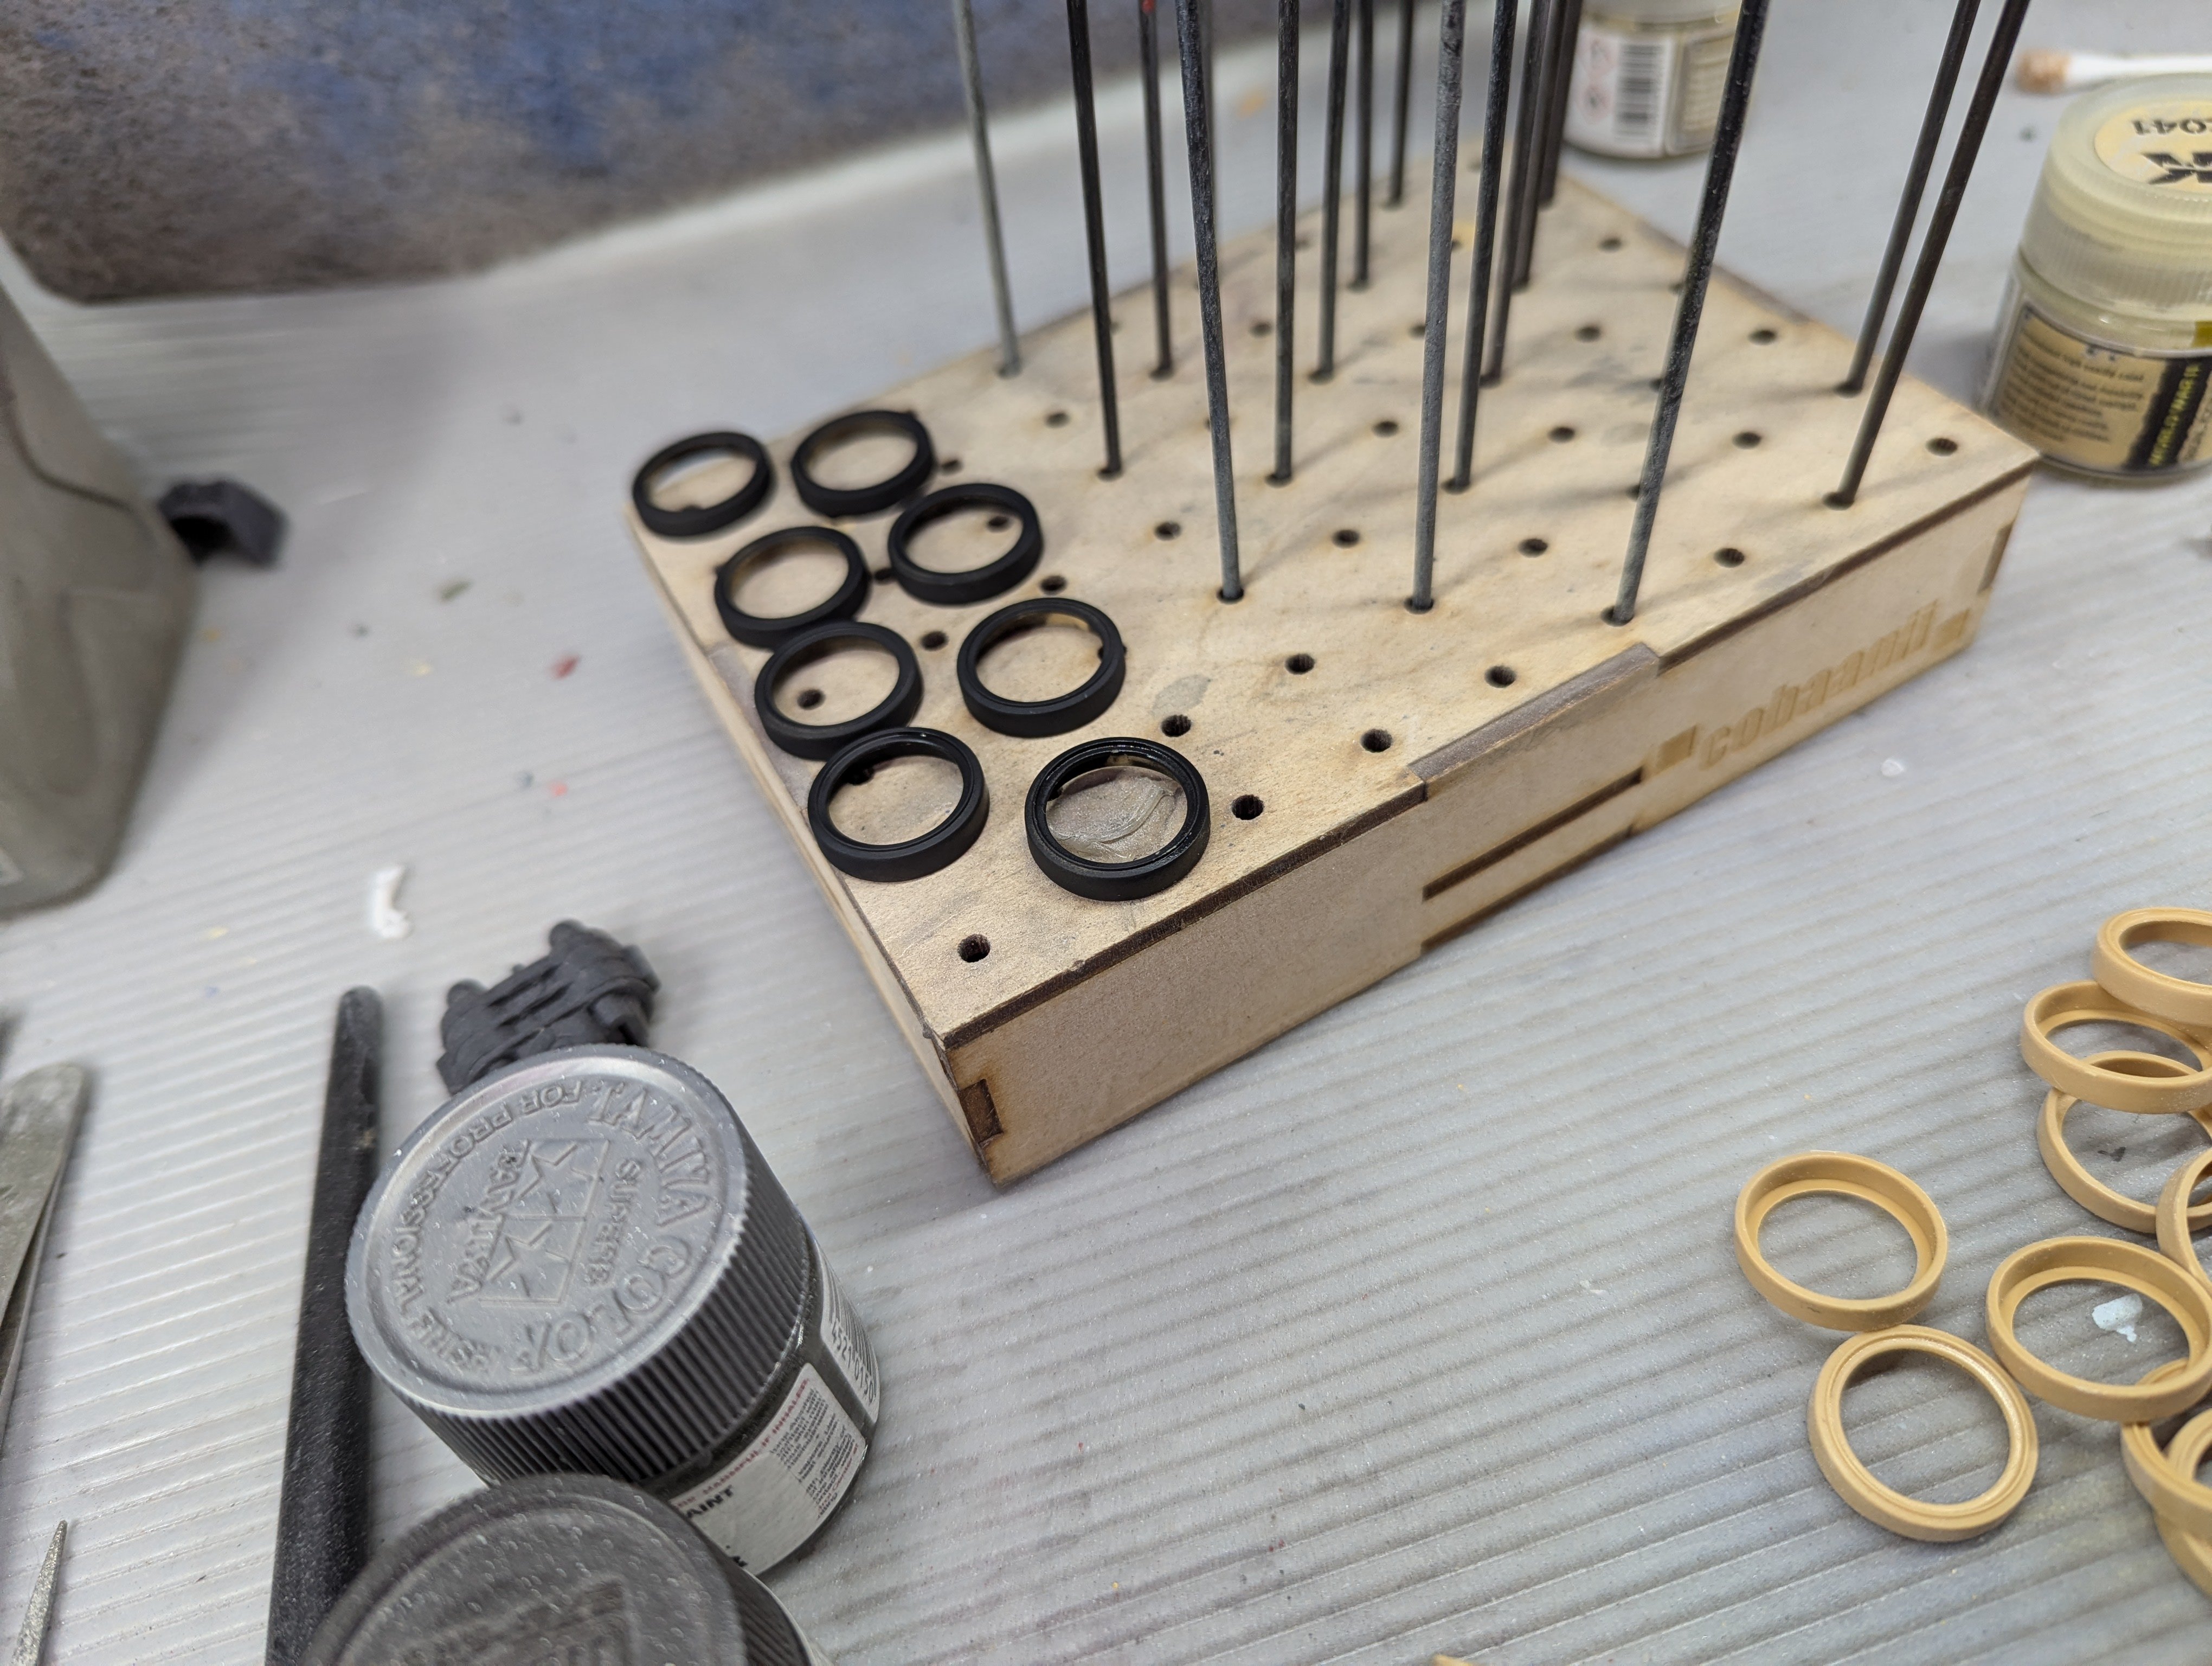
This is a side build while I wait for assemblies to dry on the Sheridan. It'll be OOb to make things easier. I hope. Looks like I know where the Dragon DS styrene has been hiding... One nice thing is the rubber tires are separate from the rims. Makes painting much easier. Like so: