BlrwestSiR
-
Posts
9,183 -
Joined
-
Last visited
Content Type
Profiles
Forums
Events
Gallery
Everything posted by BlrwestSiR
-
Nice and clean. Just needs a supercharger
- 2,036 replies
-
- 1
-

-
- car related stuff
- anything about cars
- (and 6 more)
-
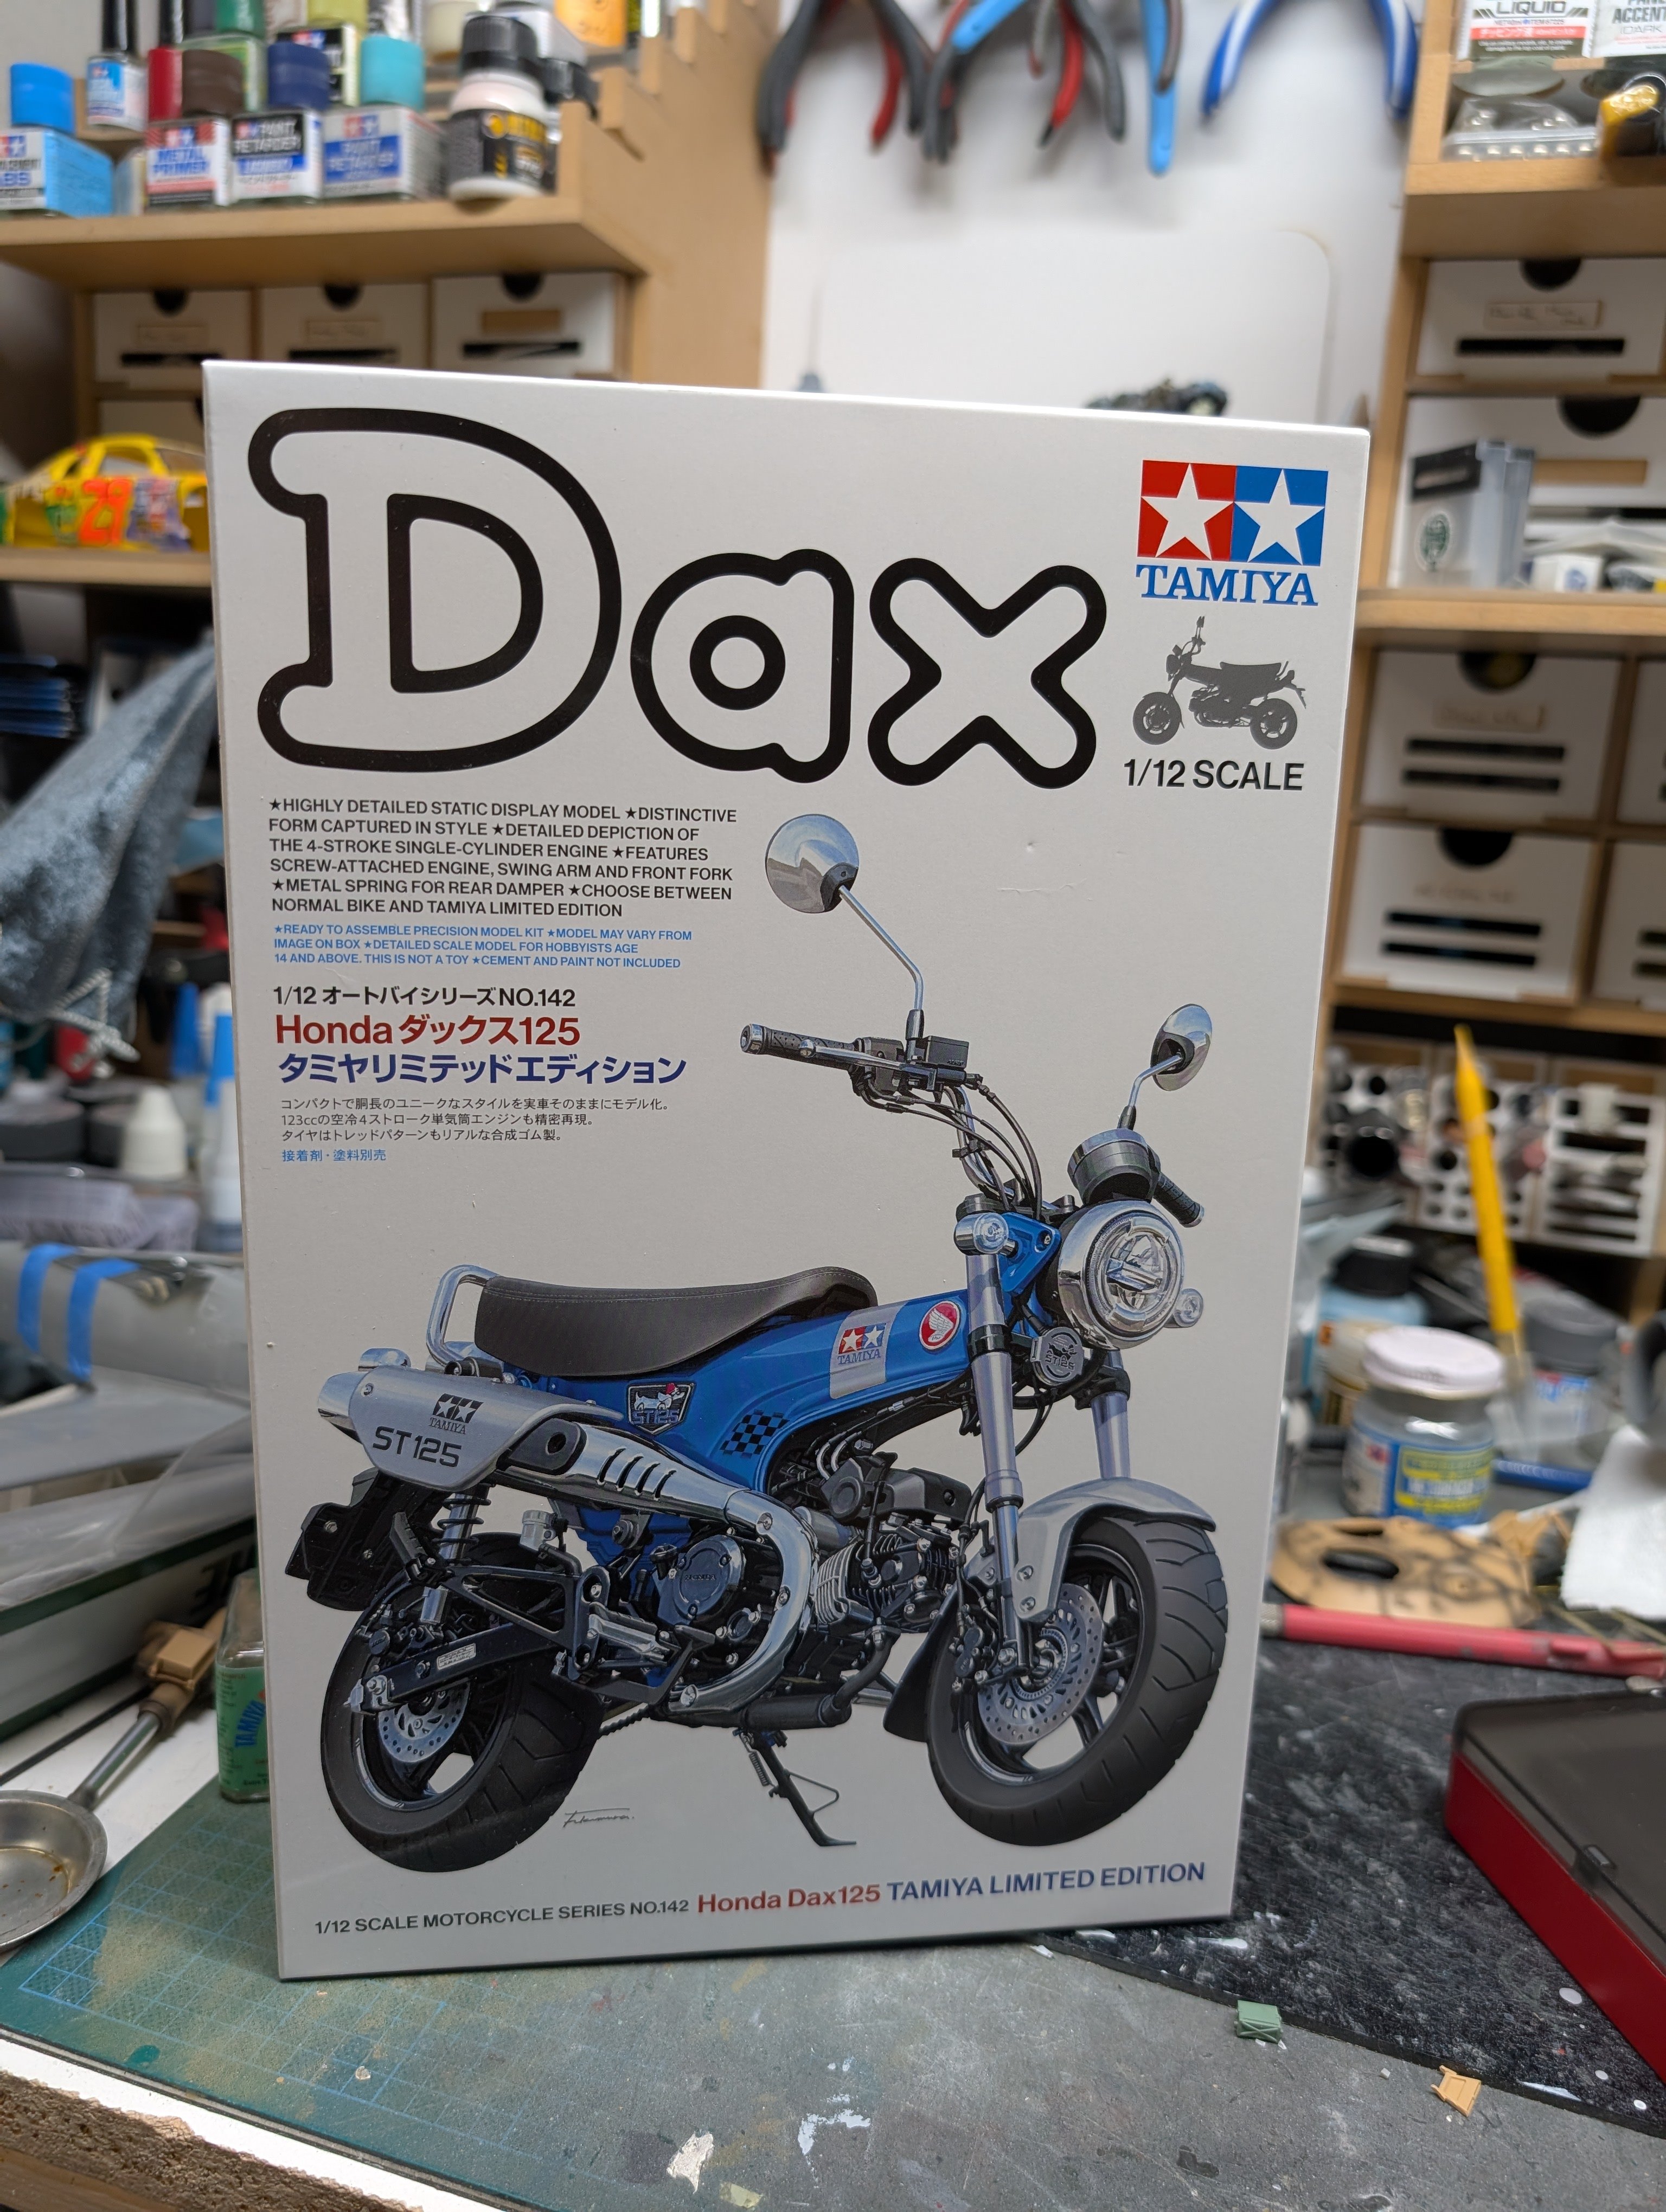
Forgot that this came last week with my BNA order. A Tamiya model of a Tamiya scooter. Well, it's really a Honda but in special Tamiya livery as sold in Thailand.

-
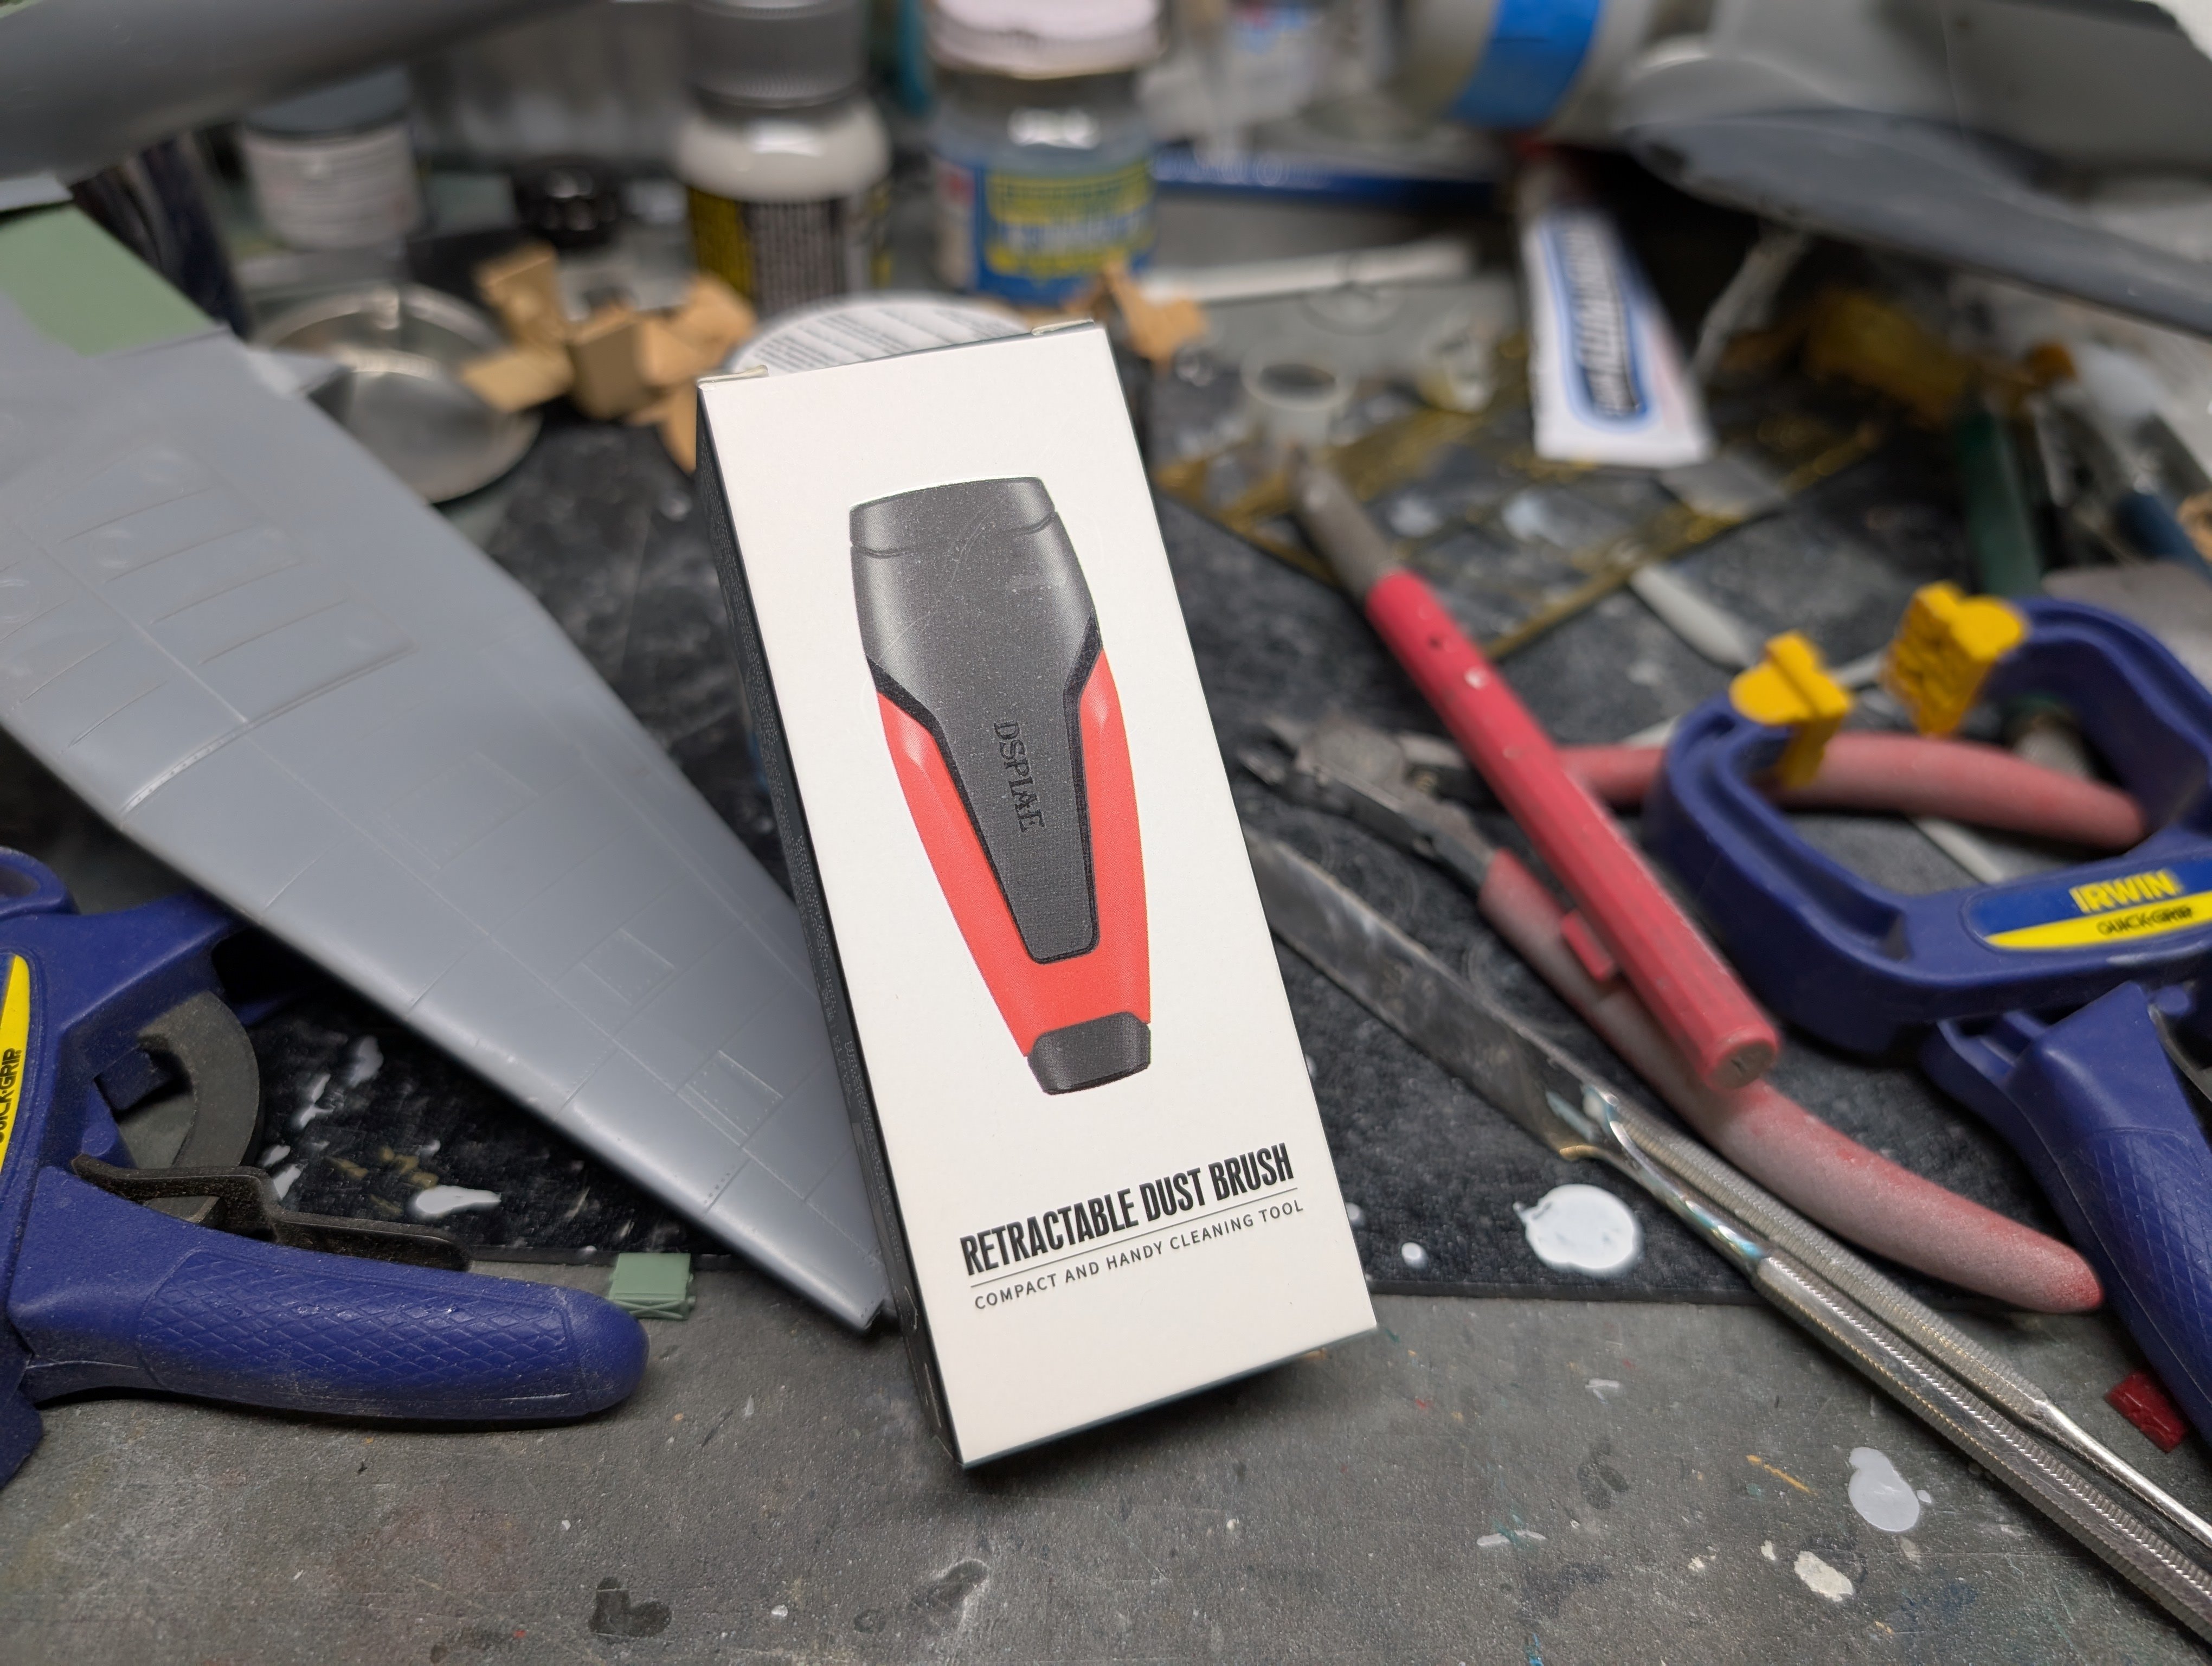
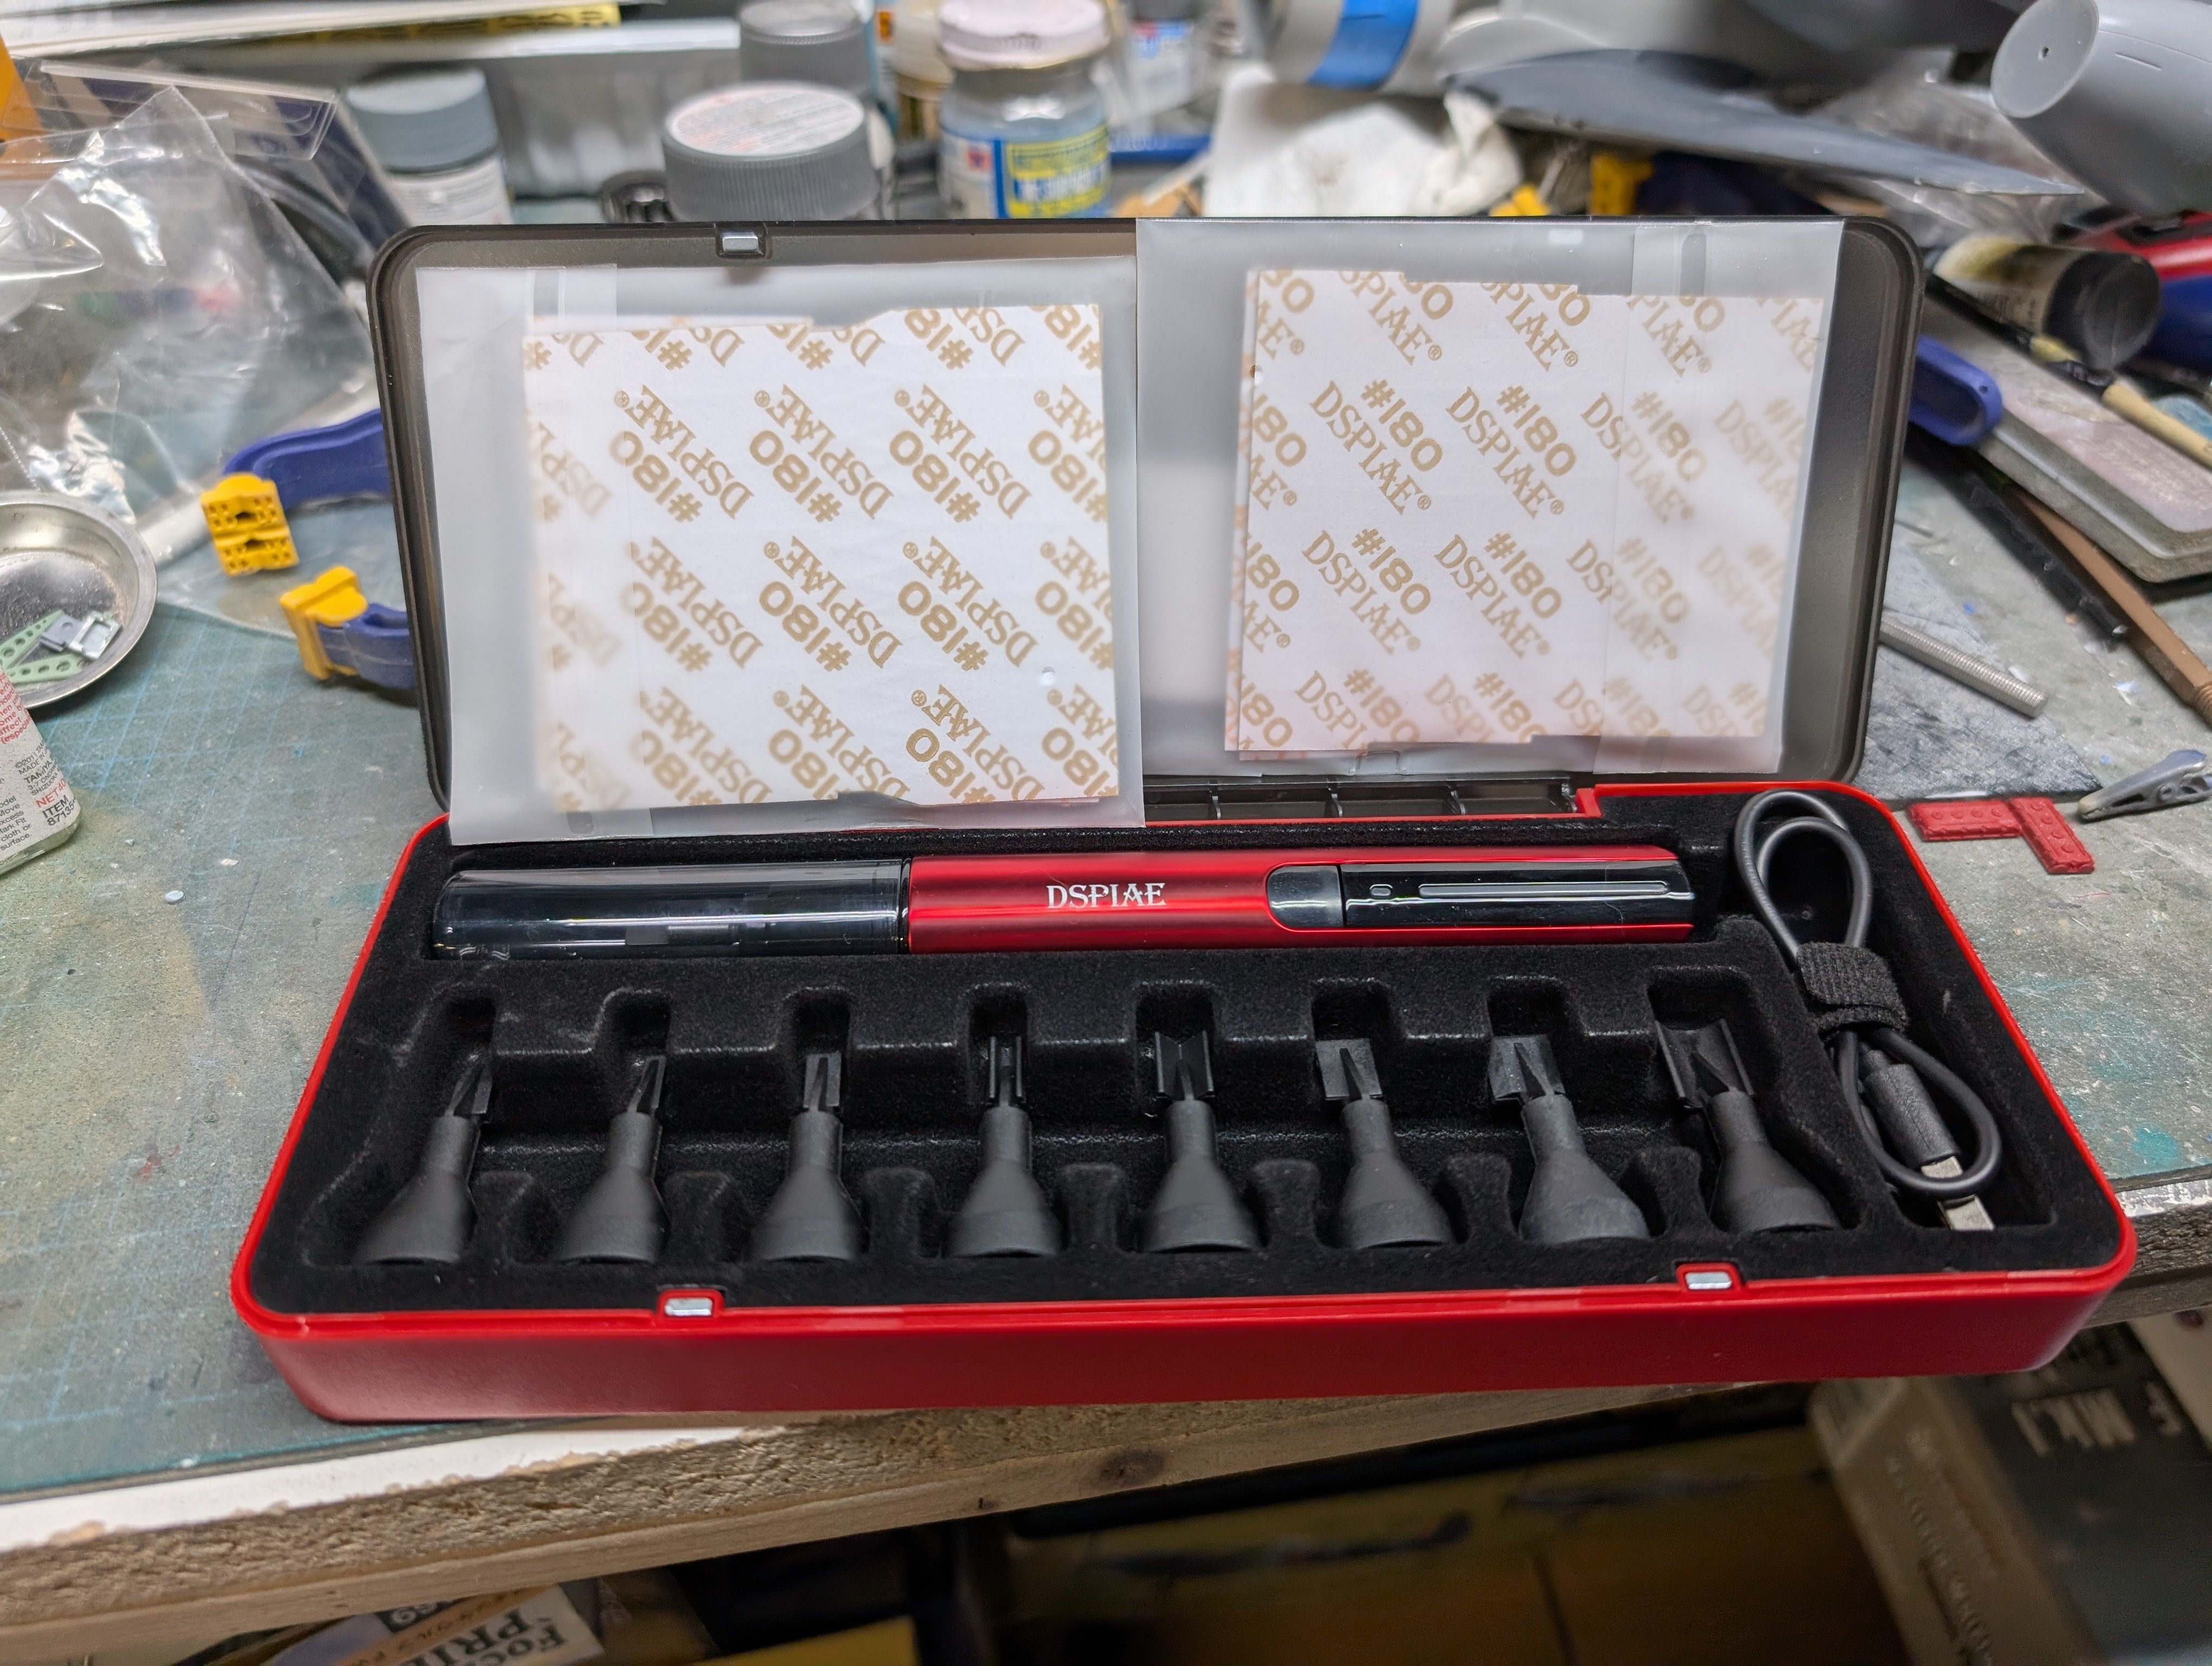
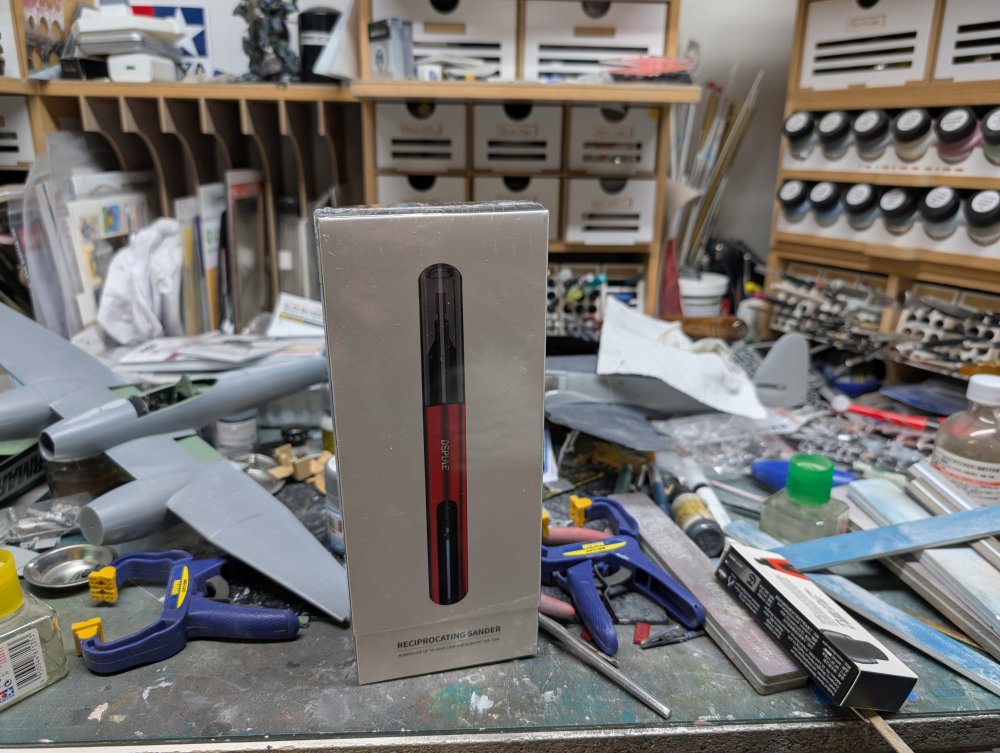
Just a couple things today from Great Hobbies. They had their Thanksgiving sale on this past weekend ( Canada celebrates t in October, probably because we're colder) so I picked up the Despiae sander. Nicely packed as is typical of Despiae, I also picked up their dusting brush. On the kit side, I saw @DocRob's MaK build and decided to finally jump in and grab one. Great Hobbies has a number of models on sale and one could stack the Thanksgiving discount on top of it so this worked out to a great deal.


-

Special Hobby 1/32 -Tempest Mk.VI -Egypt 1949-Finnished
BlrwestSiR replied to KevinM's topic in The Sandbox Group Build.
Same here. I placed an order with them less than 2 weeks ago and it arrived Friday. Still don't know how they do it. Plus with their special of the day, I keep checking to see what's new there. -
Special Hobby 1/32 -Tempest Mk.VI -Egypt 1949-Finnished
BlrwestSiR replied to KevinM's topic in The Sandbox Group Build.
Lovely work on the Tempest Kevin. Quite the conundrum on the finish but yours looks excellent. Shipping out of most parts of Asia just isn't as inexpensive as it was previously. Hong Kong no longer has any cheaper options unless you ship via surface mail and Japan is possibly worse. China is hit or miss. Oddly, Australia still seems to be reasonable for shipping and they're fast too. Carl -
Some decent progress there Peter. Looks like you were able to solve the canopy fit issue that some folks have run into.
-
What is on your bench right now ? Share a picture :)
BlrwestSiR replied to Martinnfb's topic in Modelling Discussion
Nice checkerboard. Not an easy thing to pull off cleanly. -
What is on your bench right now ? Share a picture :)
BlrwestSiR replied to Martinnfb's topic in Modelling Discussion
To be honest, I think it's sometimes pure luck. I keep a bunch of plastic tubs that they package produce in and they're handy for keeping parts together. The different coloured plastic also helps. Probably about 1/3 of my stash is started in some way. Makes for terrible re-sale potential, but that's not what I buy kits. I still have the Vosper to get back to. That sums up a large part of my stash as well. -
ICM is going to release a Flak Bait boxing of the kit shortly. Might be worth waiting a bit for it to come out.
-
What is on your bench right now ? Share a picture :)
BlrwestSiR replied to Martinnfb's topic in Modelling Discussion
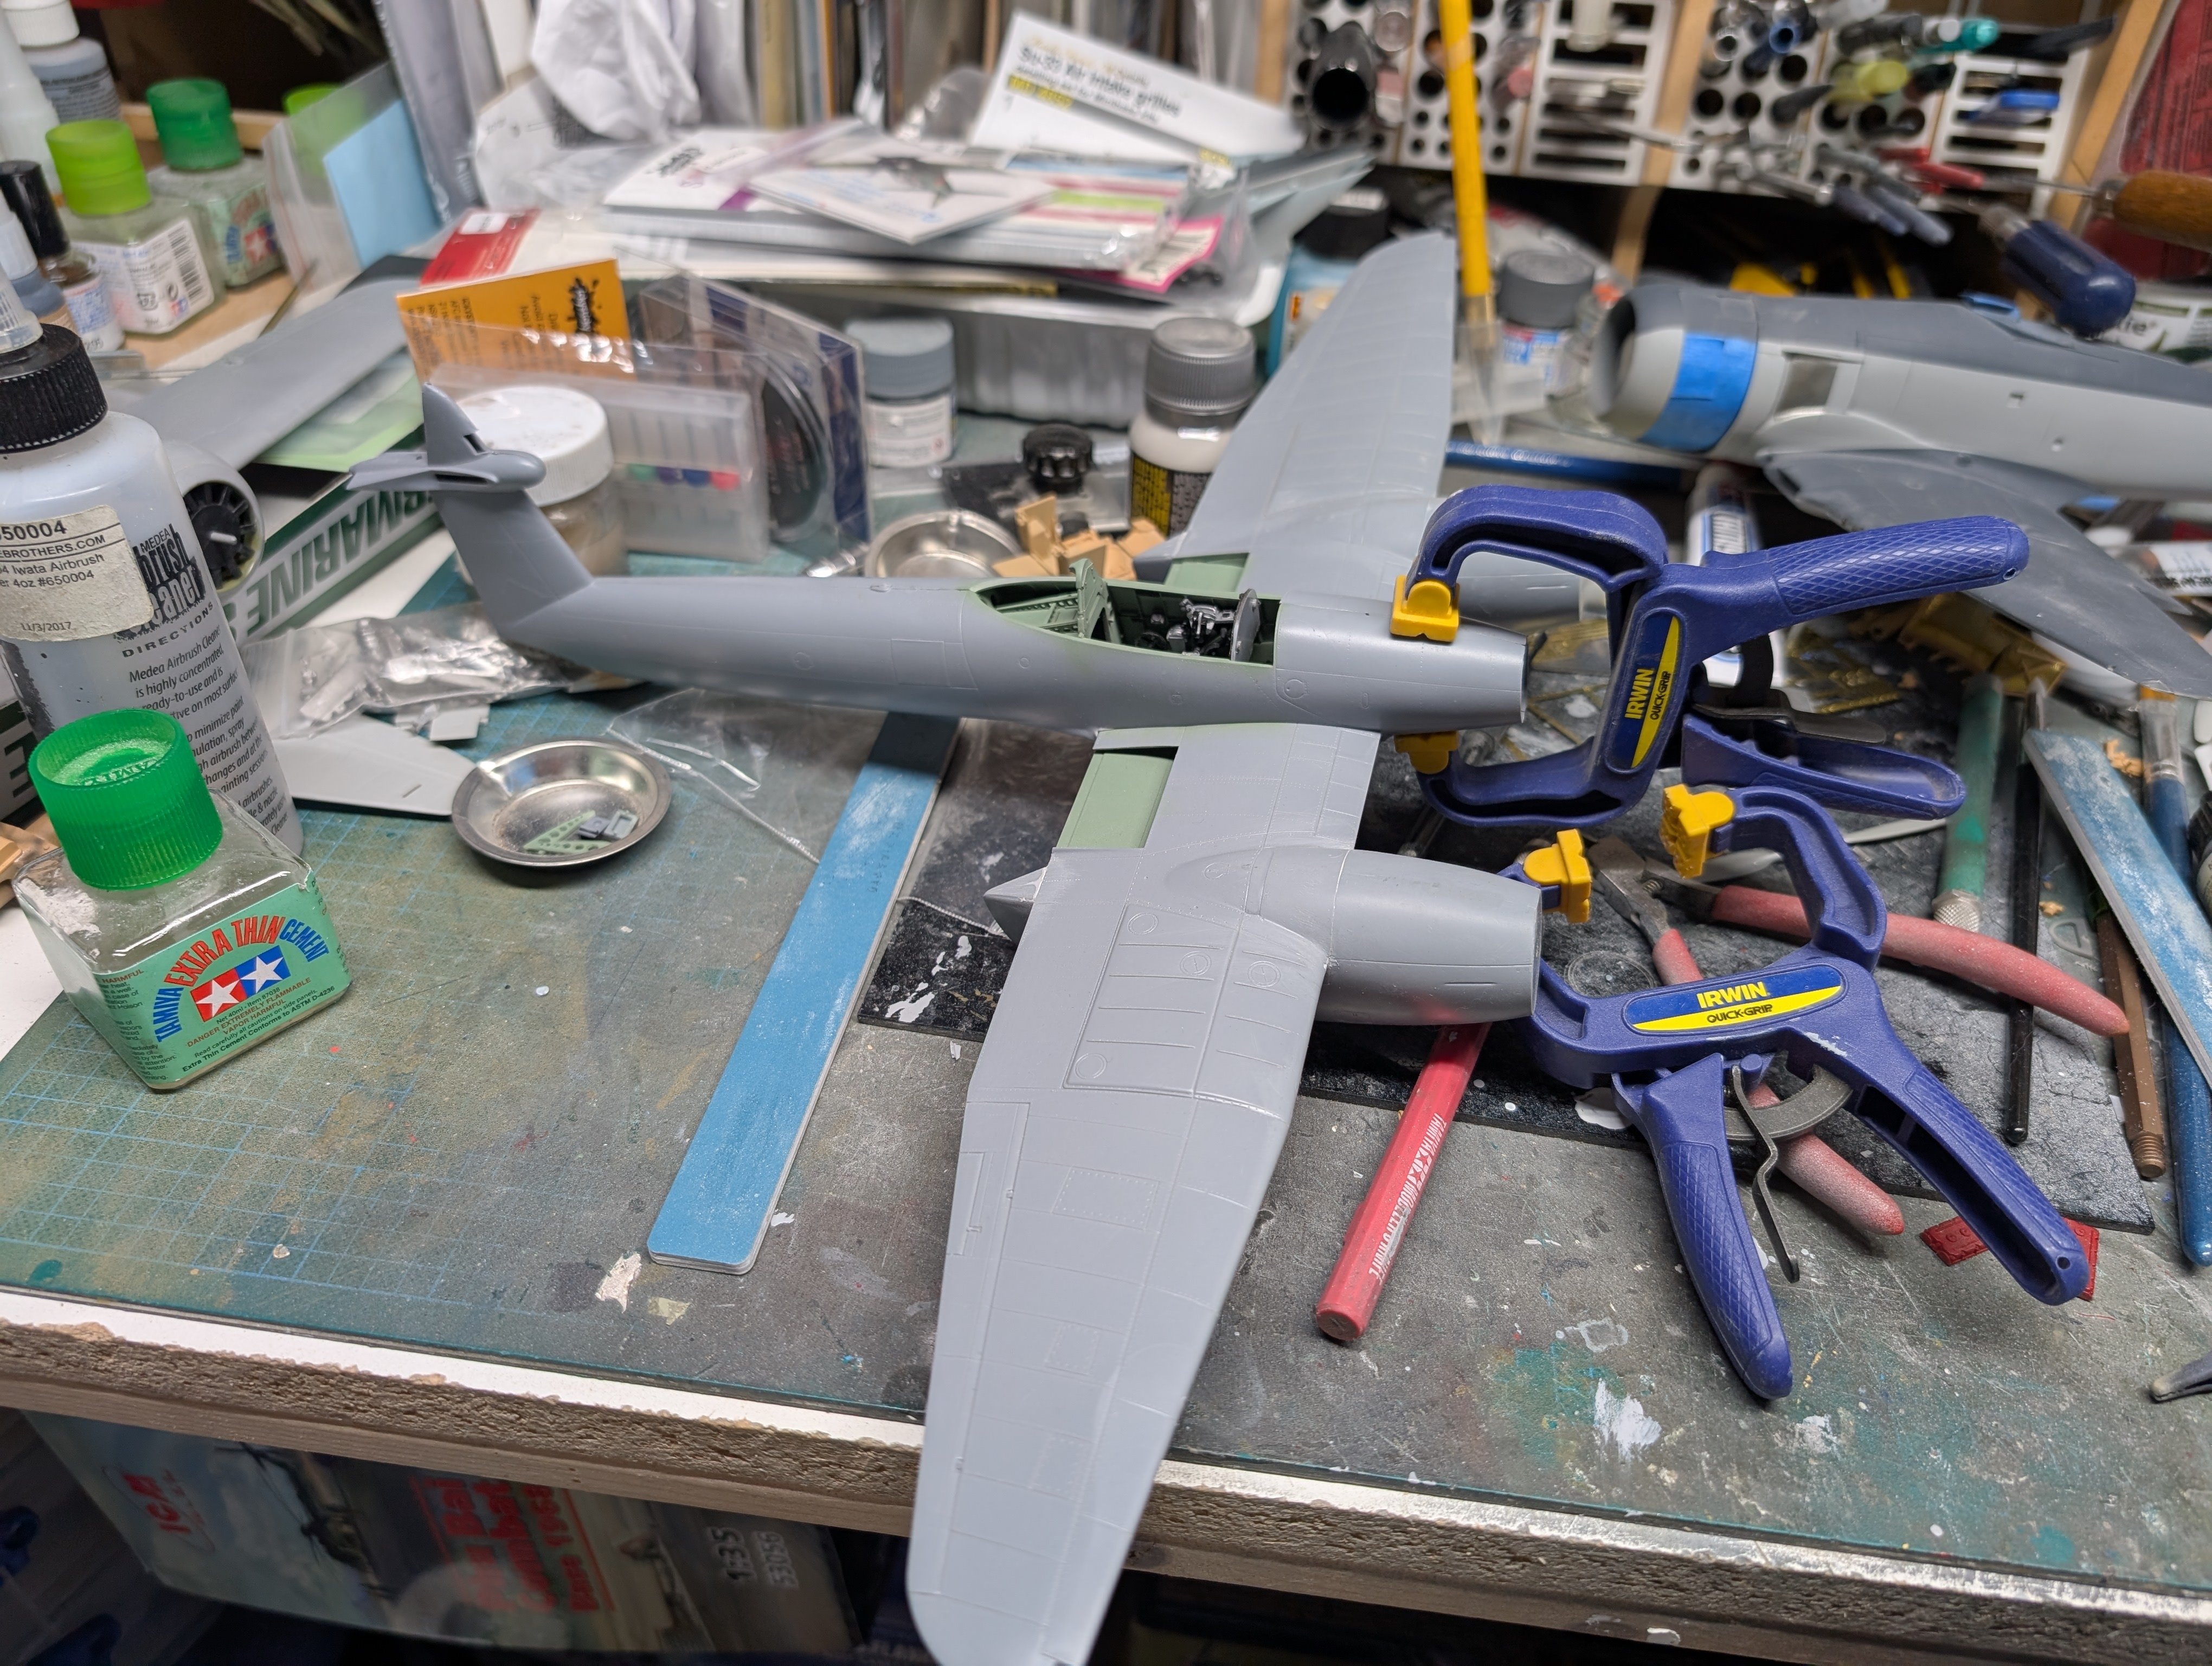
Time for something else to clutter the bench. I started this a while back, I think when @Peterpools was working on his. I decided to see how far along I was and maybe try to make some progress. on it. It won't be anywhere near the masterpiece that Jeroen is building but I'm liking it so far.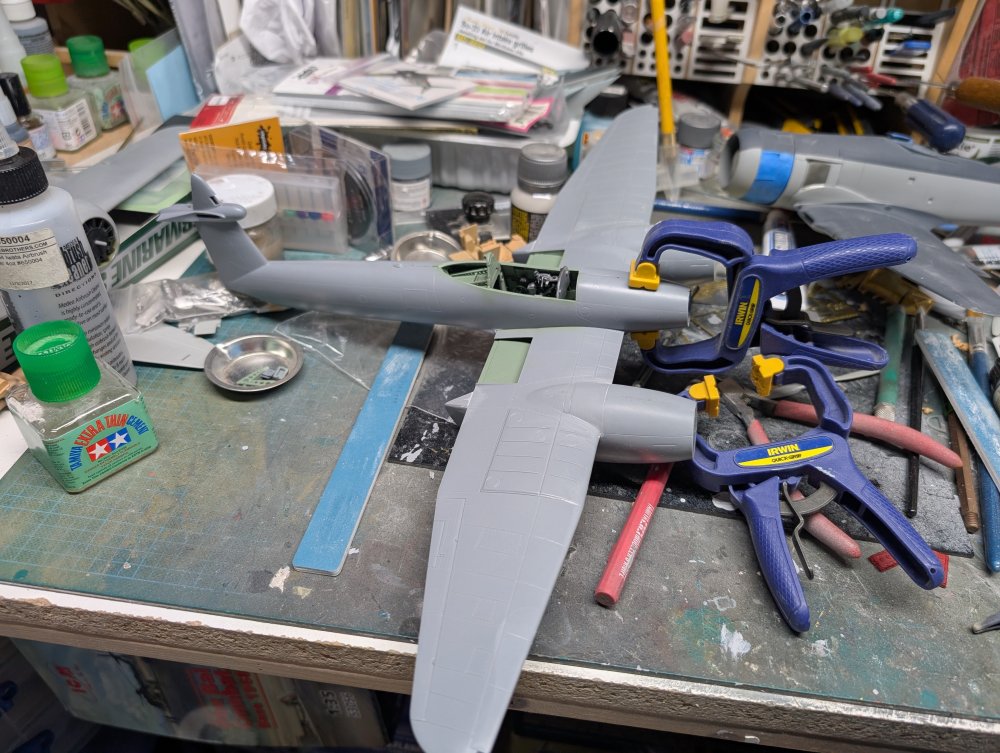
-
Paul, it's only their spray cans. None of the bottled paints and primers are affected. There's a chemical in the propellant that exceeds what's allowed so for the moment, all imports are banned. Shops and the distributor can still sell what's in stock but that's it. There was a similar issue many years ago with Mr Color. In that case, it was the bottled paints so they were discontinued for a long time. Some small shops were bringing it in under the radar but it was hard to find for a while.
-
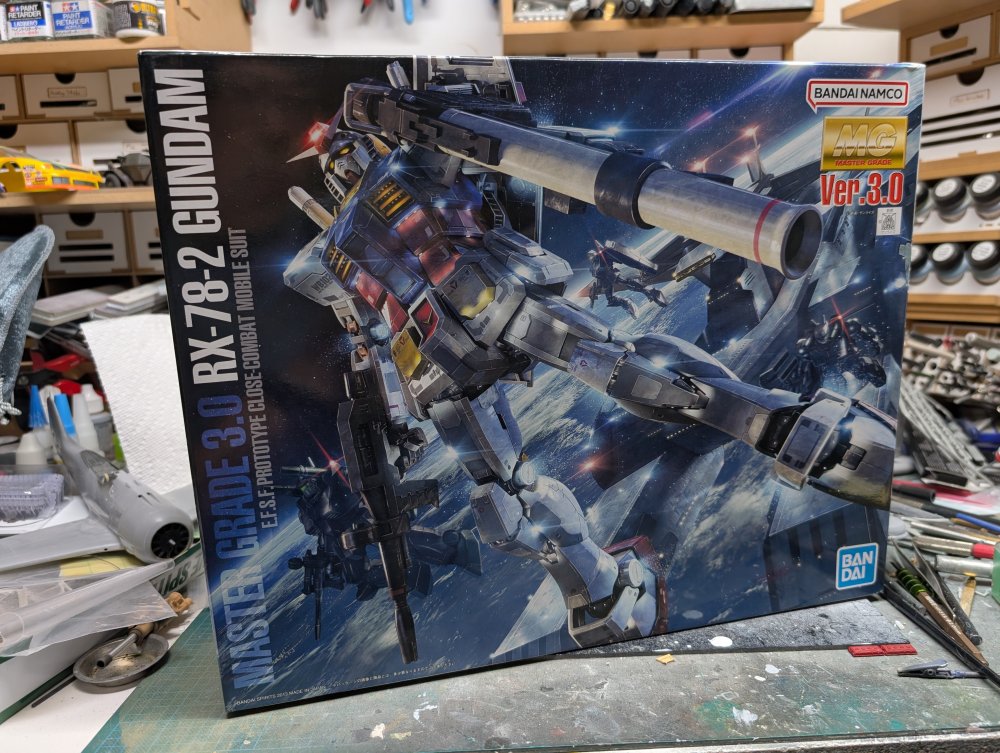
With the current bam on Tamiya spray cans here in Canada, I thought it best to grab a couple cans of some needed colours for my Bruiser at the LHS. While there I picked up the latest version of Bandai's MG RX-78-2 Gundam. Bandai has redesigned/updated this kit several times now. The original was released back in 1995 and they keep updating it since then. They keep improving the details and articulation of the model.
-
What is on your bench right now ? Share a picture :)
BlrwestSiR replied to Martinnfb's topic in Modelling Discussion
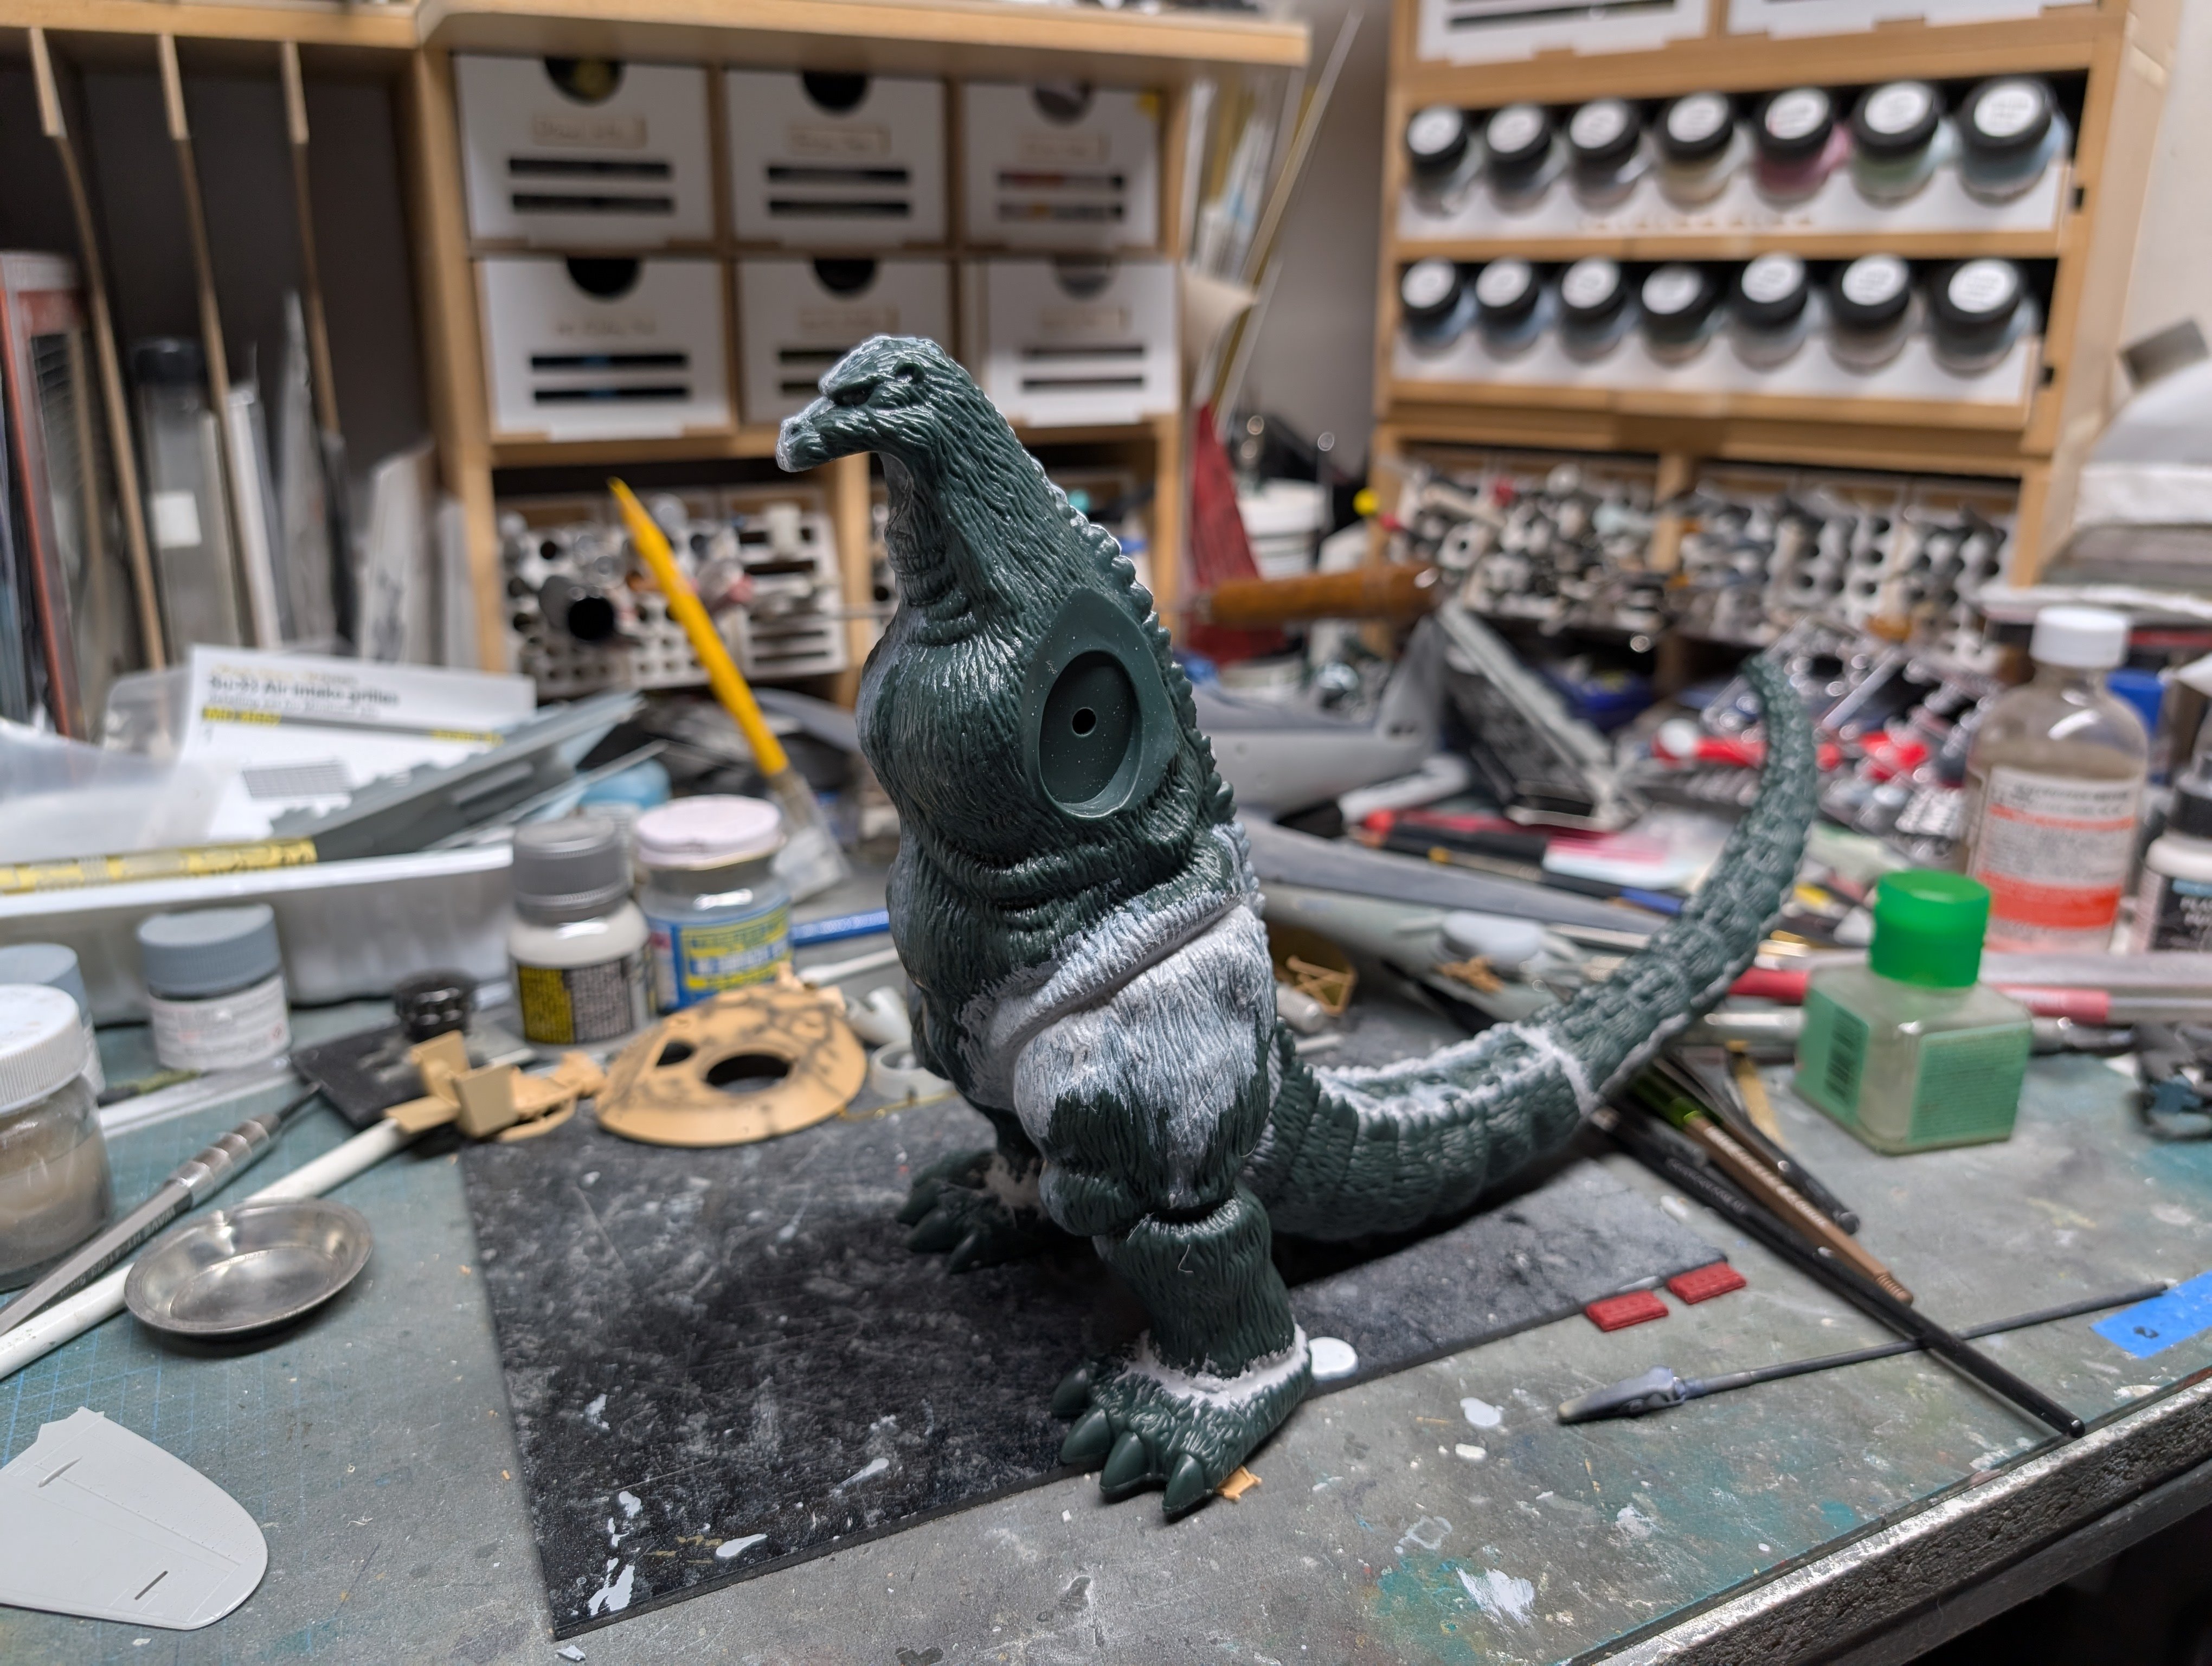
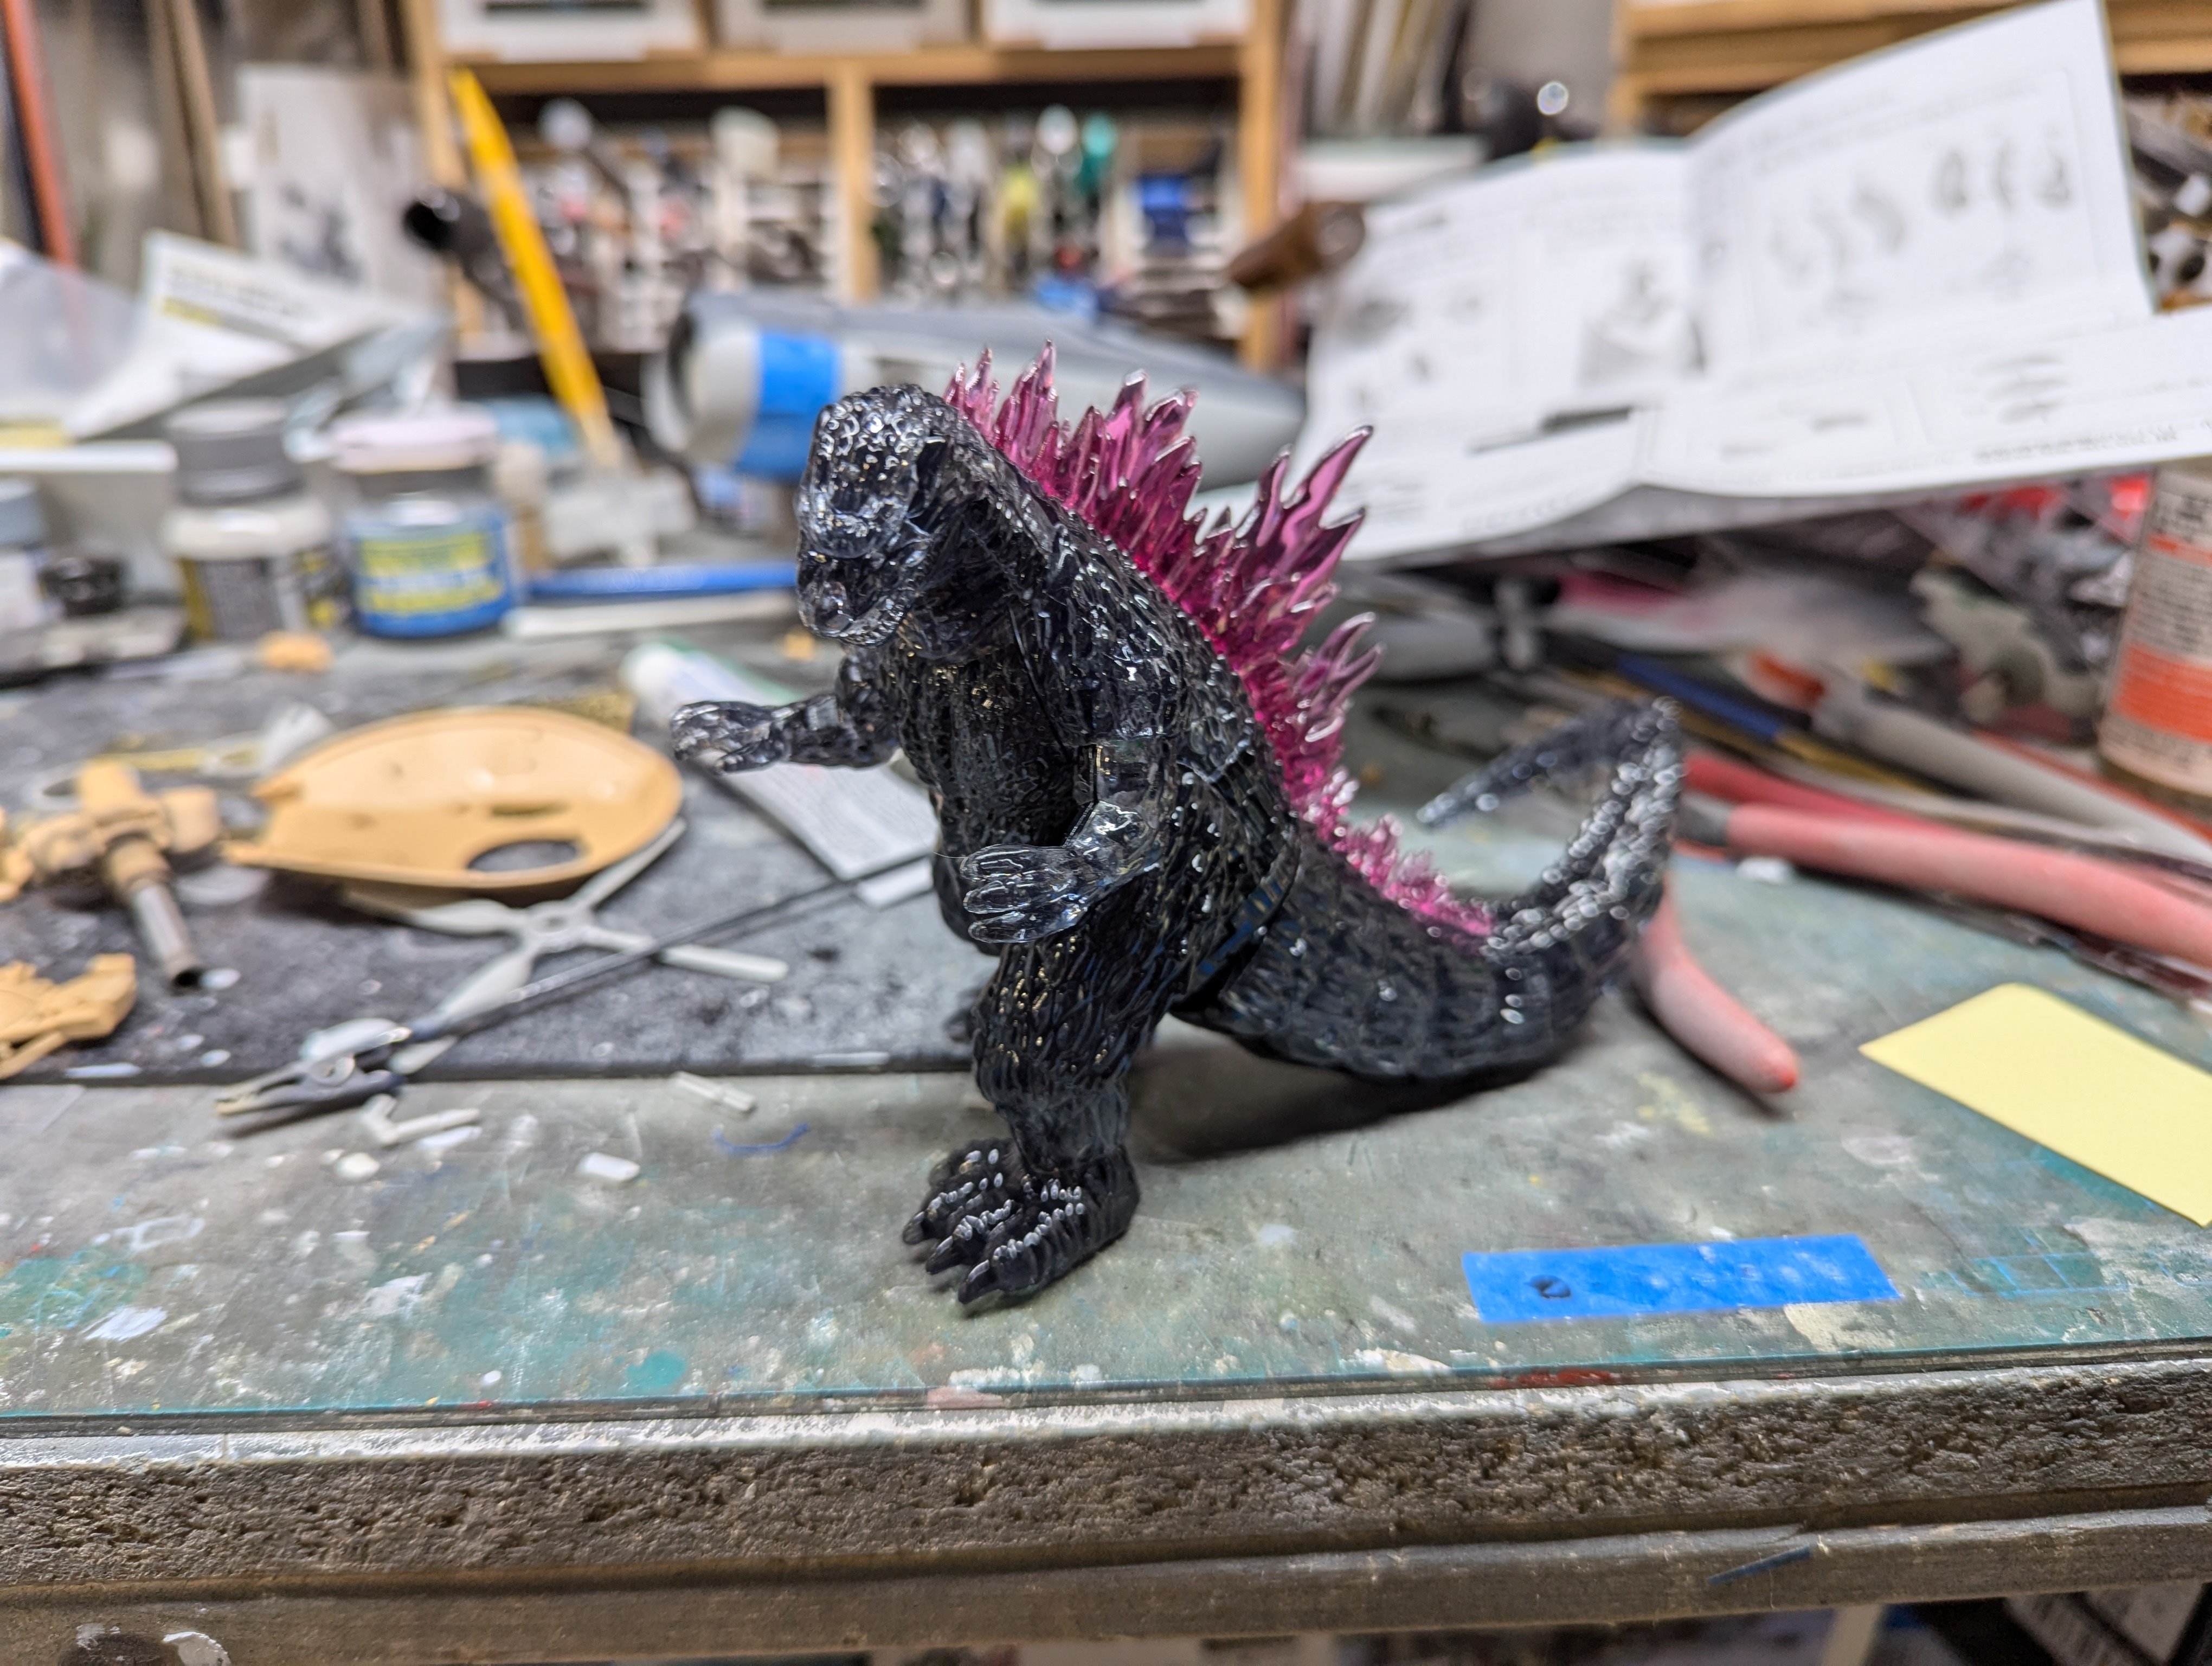
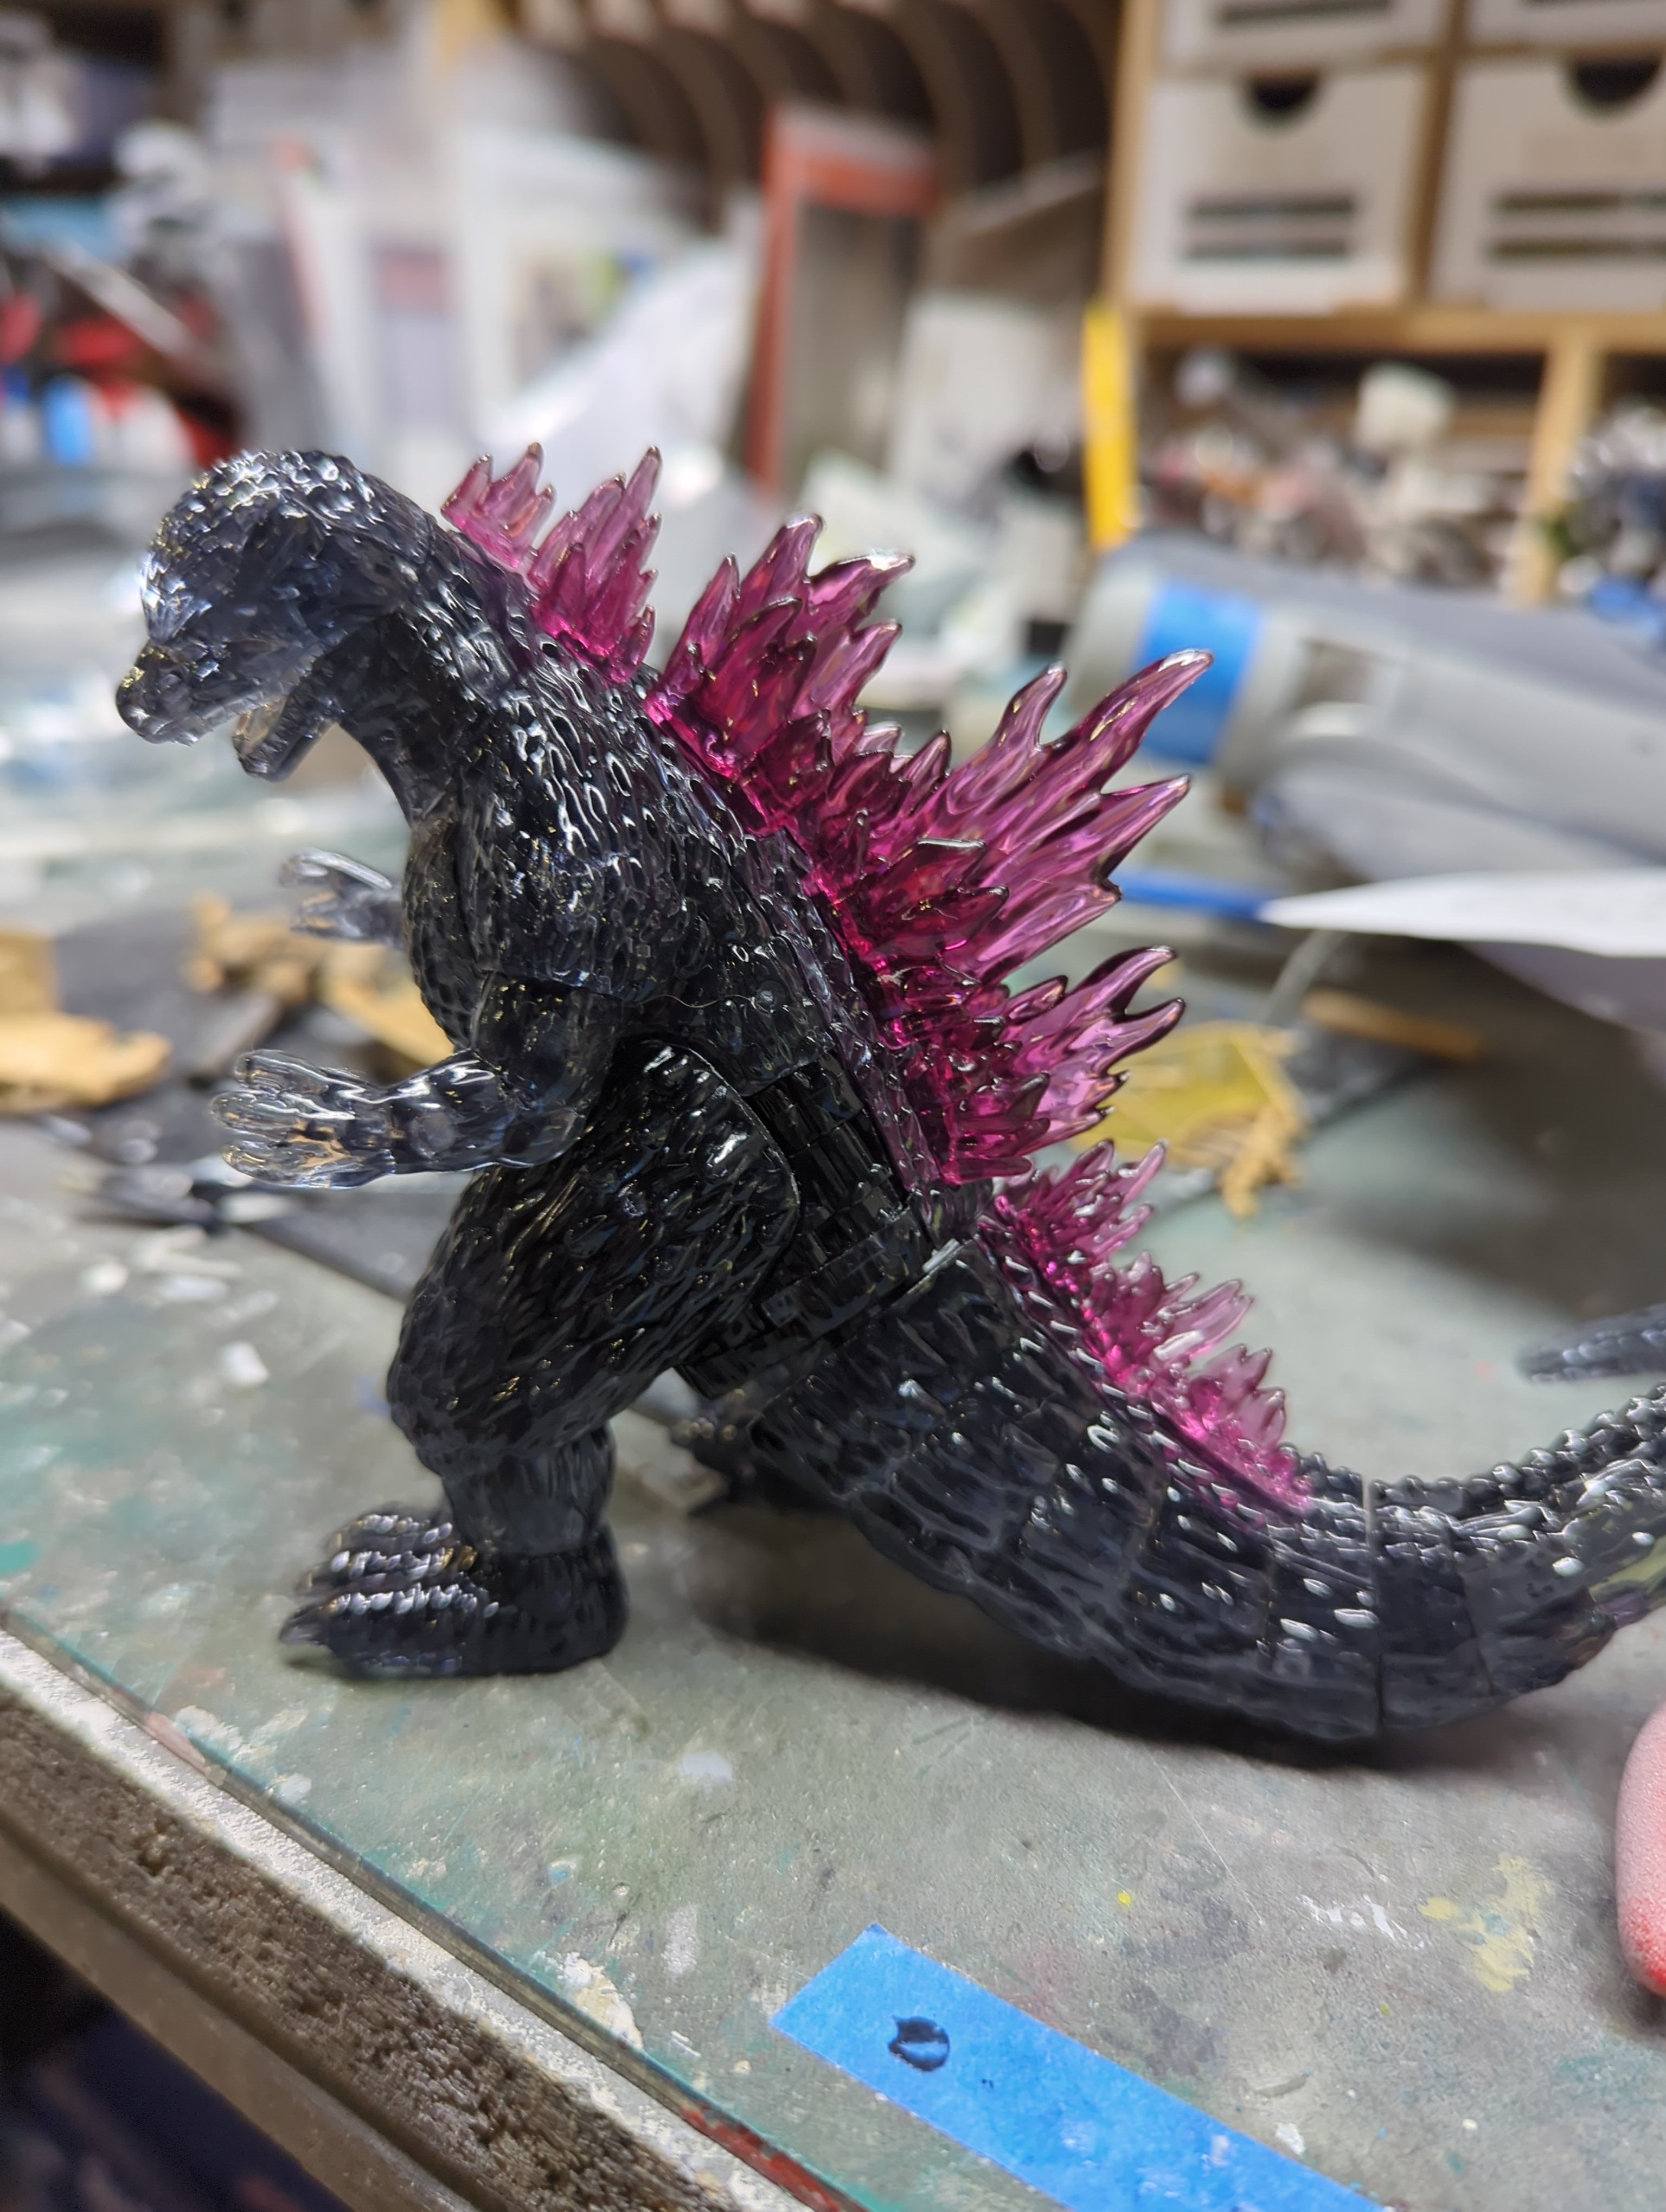
"He's got legs, and knows how to use them!"... Apologies to any ZZ Top fans. Legs are now on Godzilla.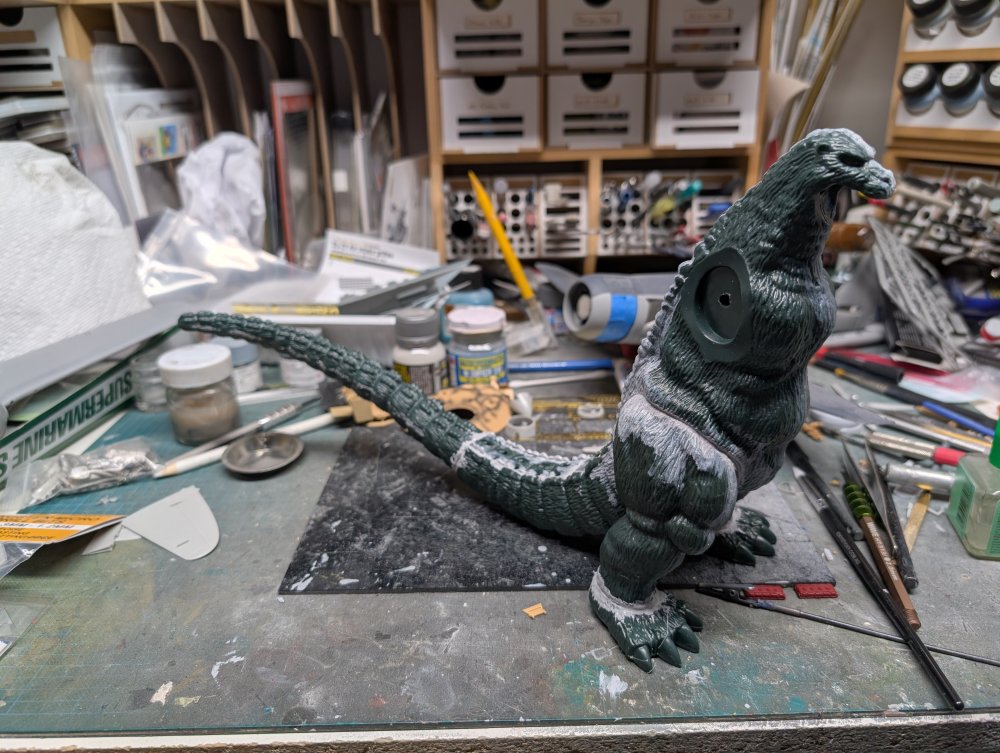

-
AK REAL COLORS MARKERS ....are they cheating or smart ?
BlrwestSiR replied to PanzerWomble's topic in Hints & Tips
I have some but hadn't thought of using them for tires. That's a great idea. Although I have red and white for dials and buttons mostly so those would make oddly coloured tires. -
What is on your bench right now ? Share a picture :)
BlrwestSiR replied to Martinnfb's topic in Modelling Discussion
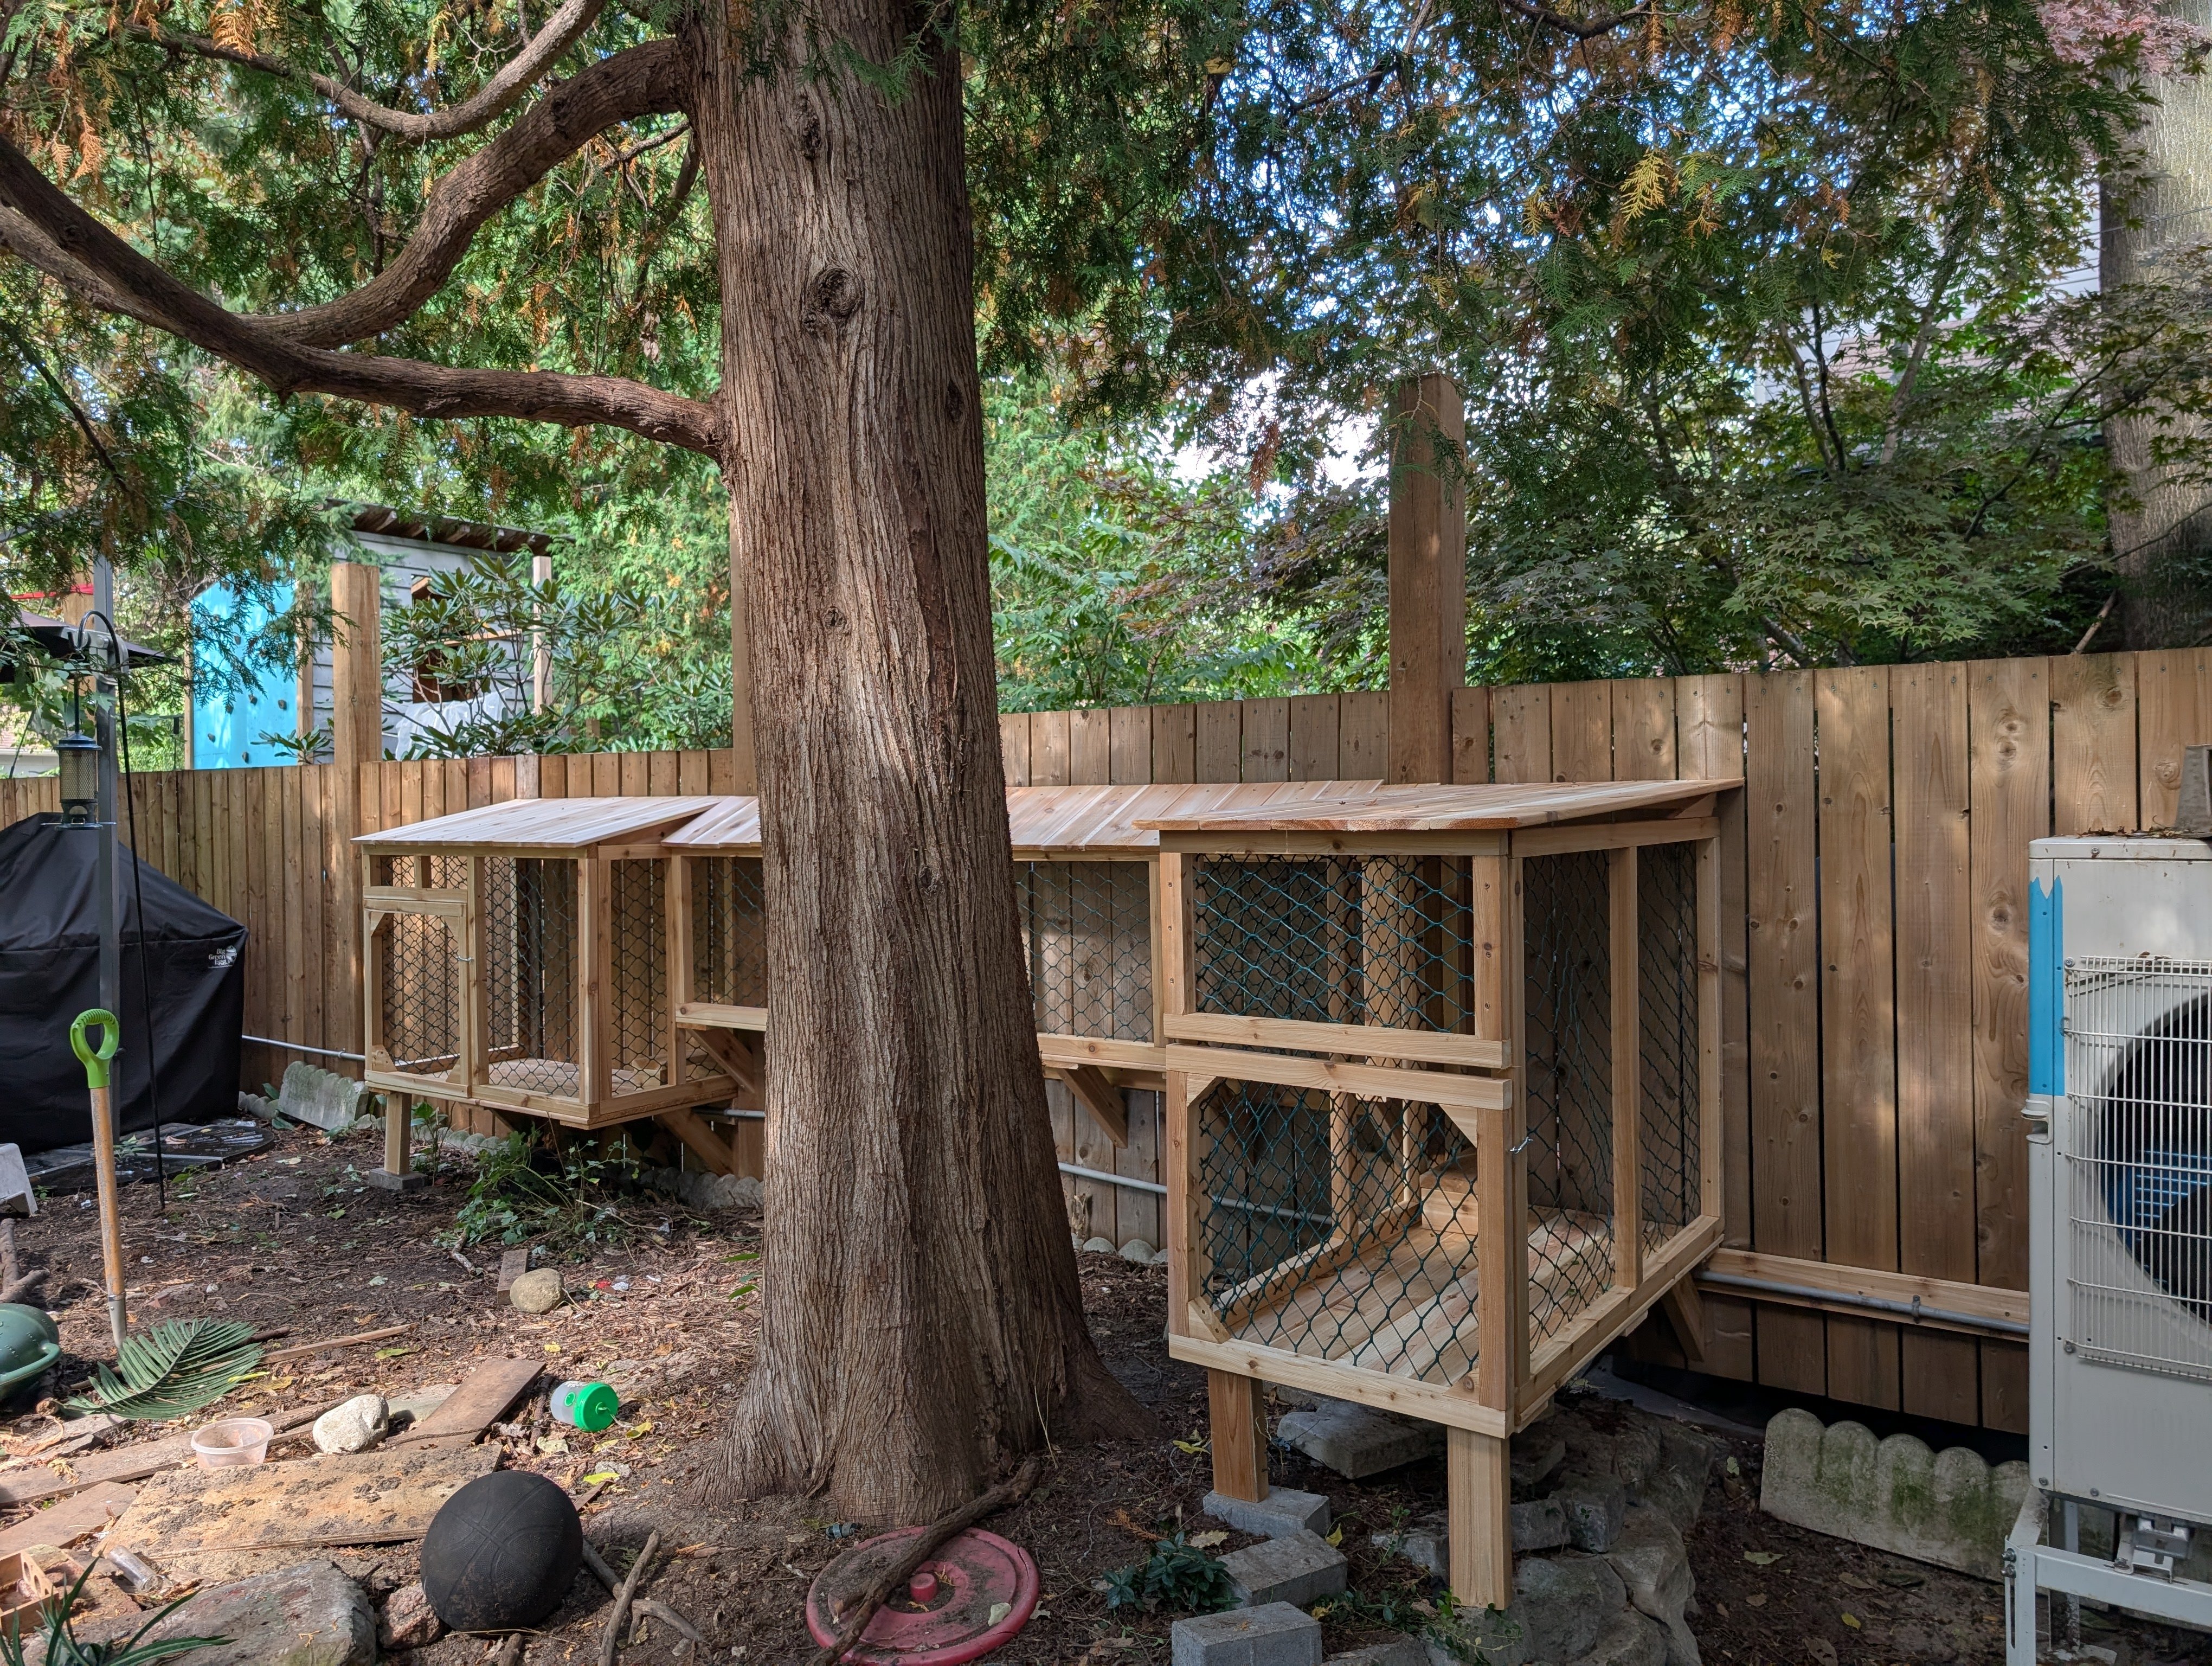
Thanks Peter! I always had an interest in woodworking since grade school so it was a fun project. Electrical wiring on the other hand, can get intimidating fast for me. Especially once it's beyond a simple light fixture change. -
What is on your bench right now ? Share a picture :)
BlrwestSiR replied to Martinnfb's topic in Modelling Discussion
Thanks Rob! The neighbour's cat looks like our Sunny. He's an outdoor cat as well and has made friends with our neighbours as well. -
My wife Sue can't go without her coffee. Such that I got her a tee shirt which says "Coffee makes me less murdery" and she loved it. Paul, sorry to hear about your leg and Mom, hopefully things get better for both of you.
-
It's about the shelf space! Or lack thereof.
-
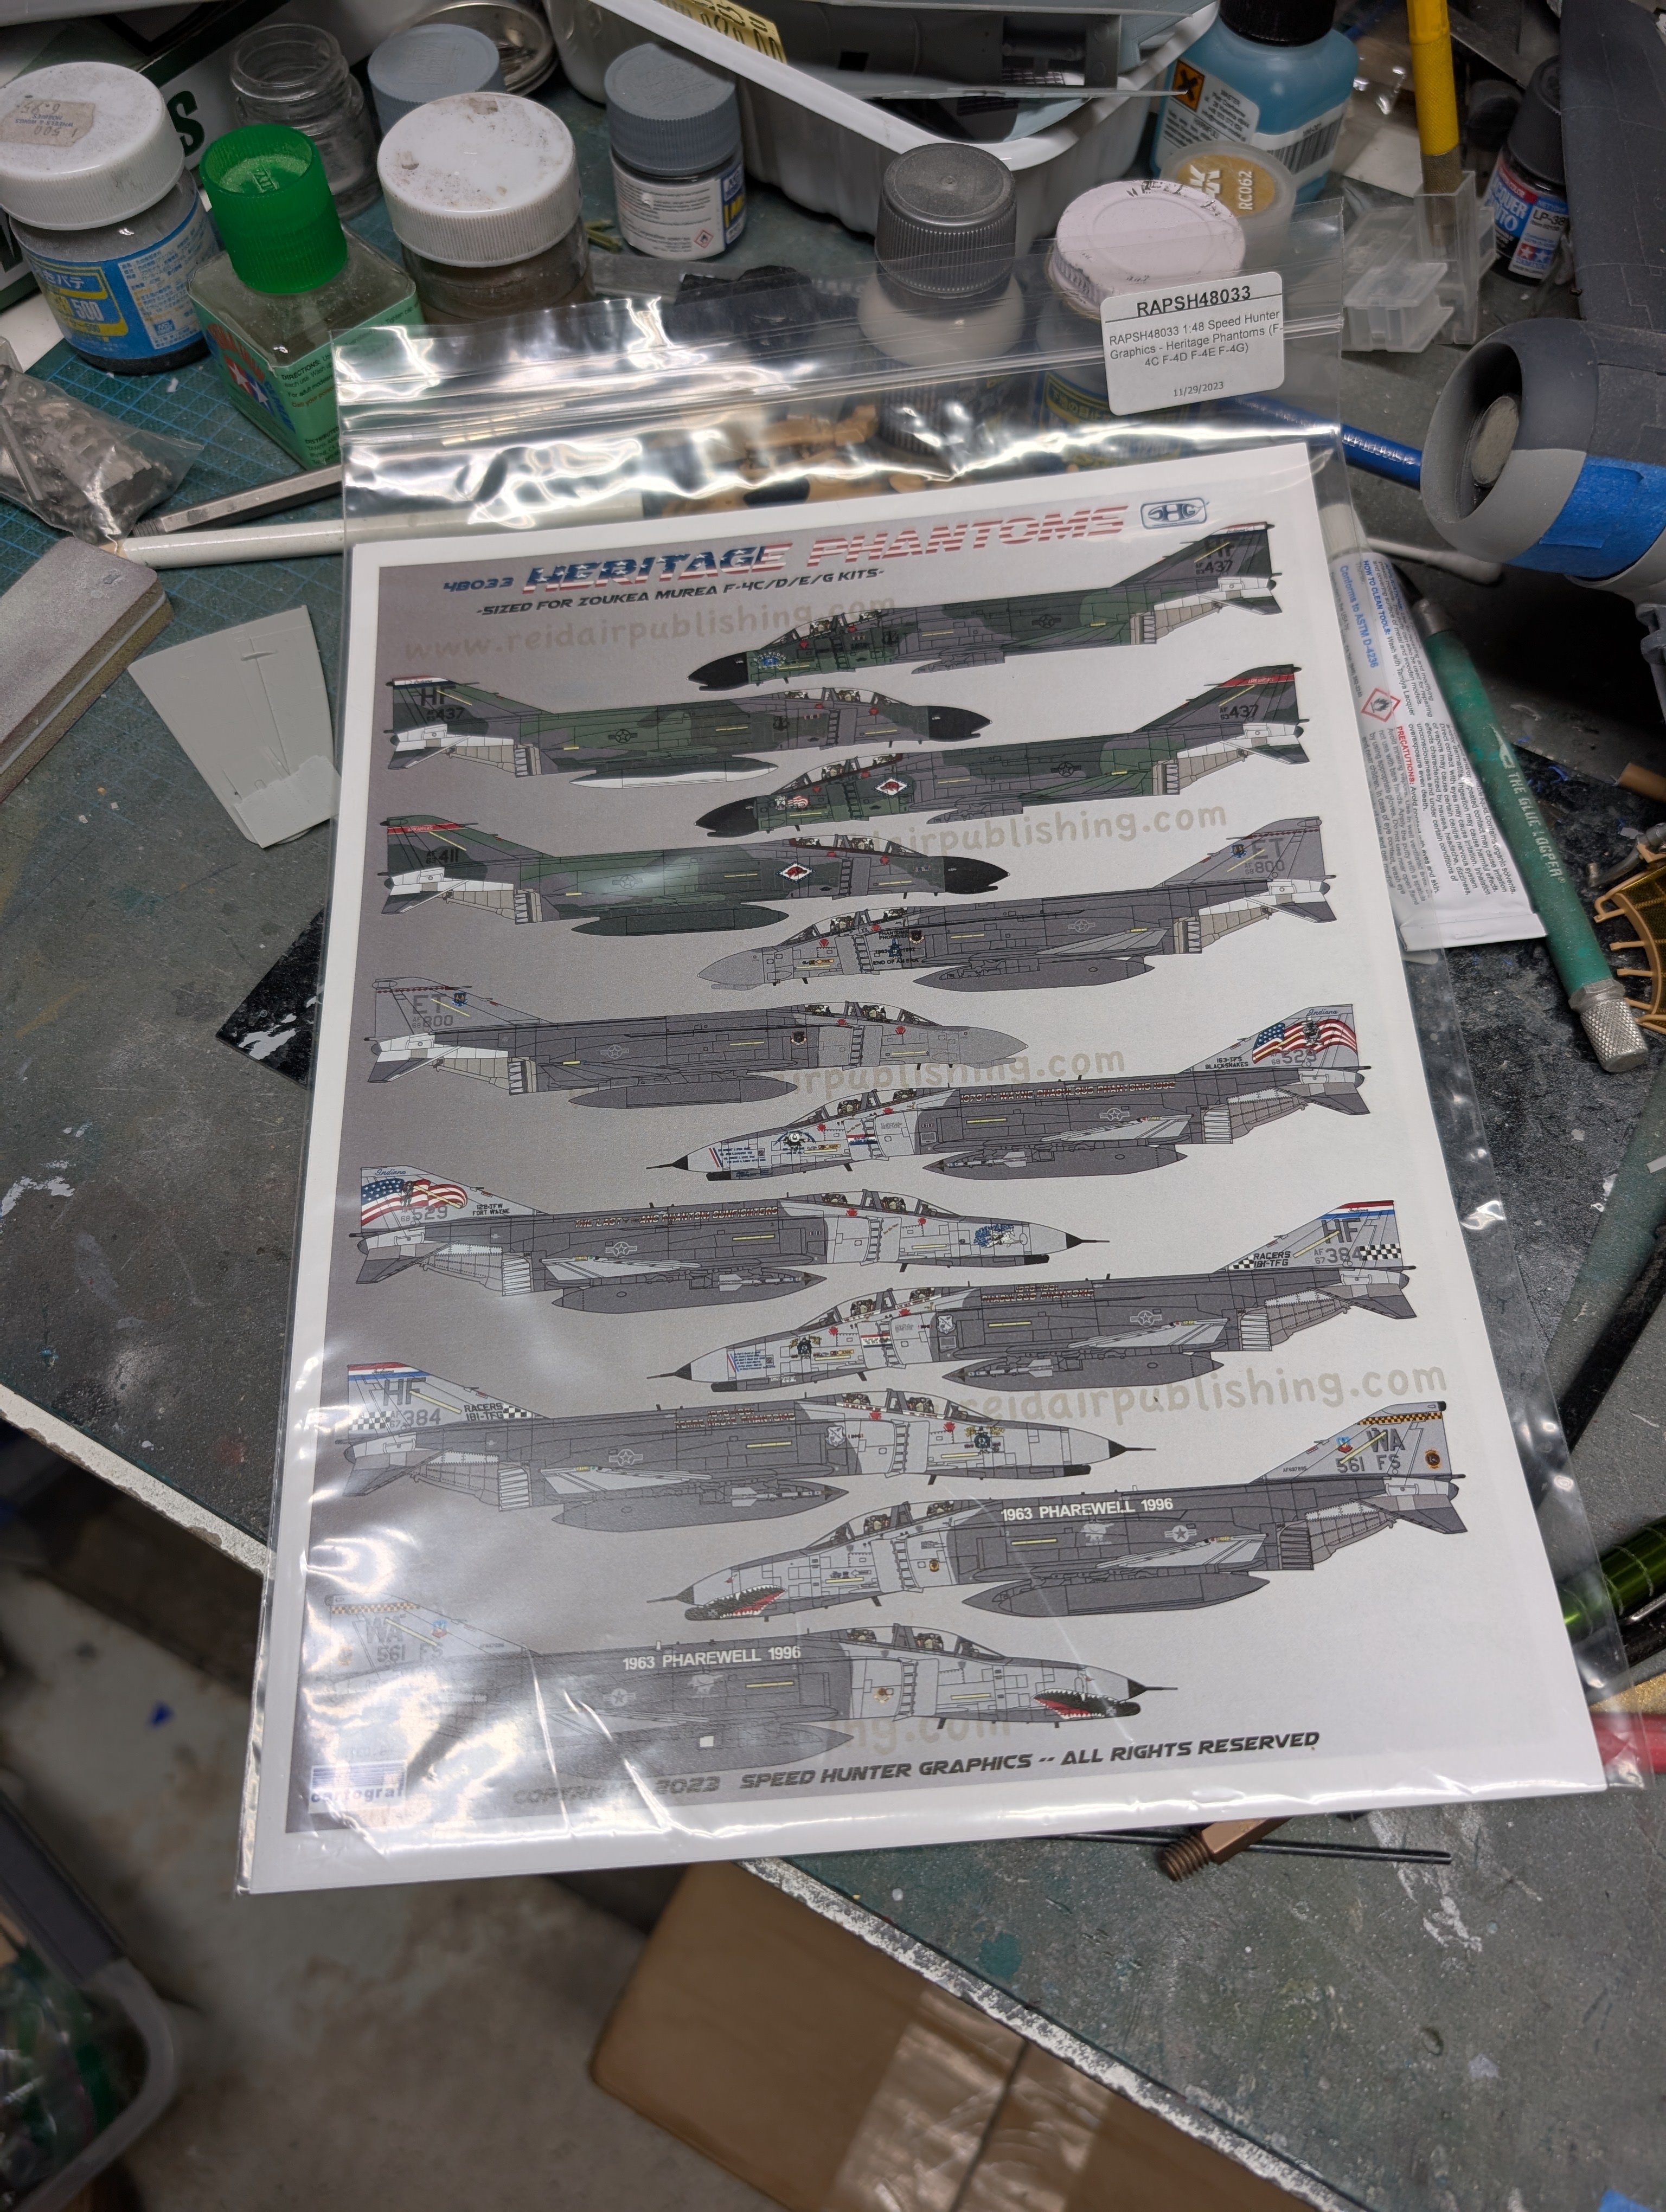
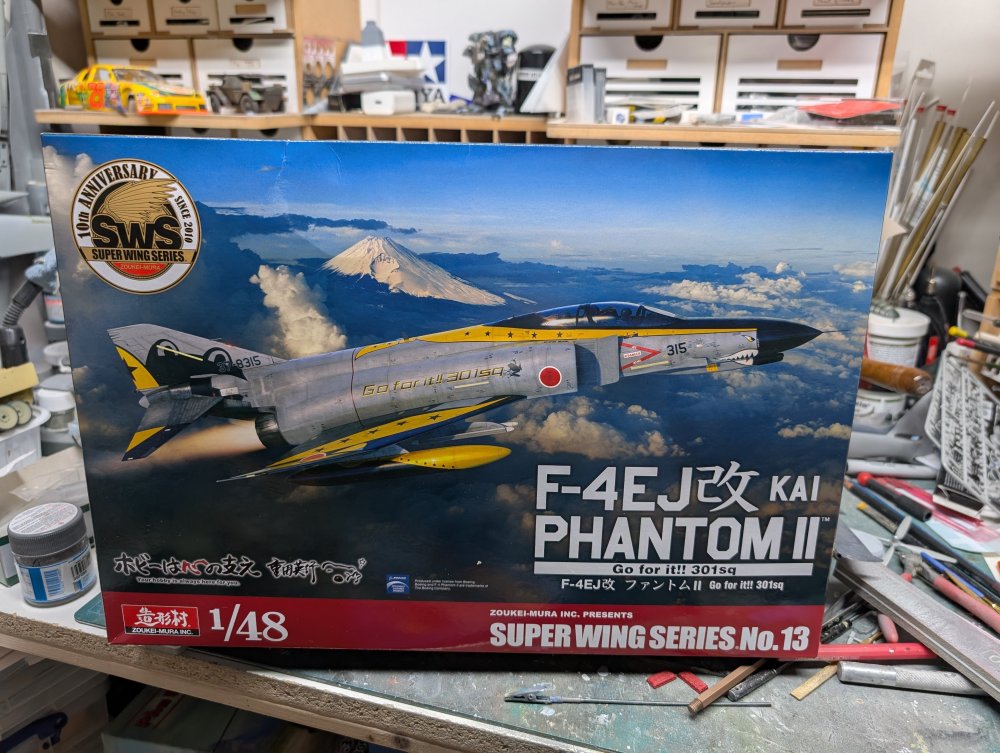
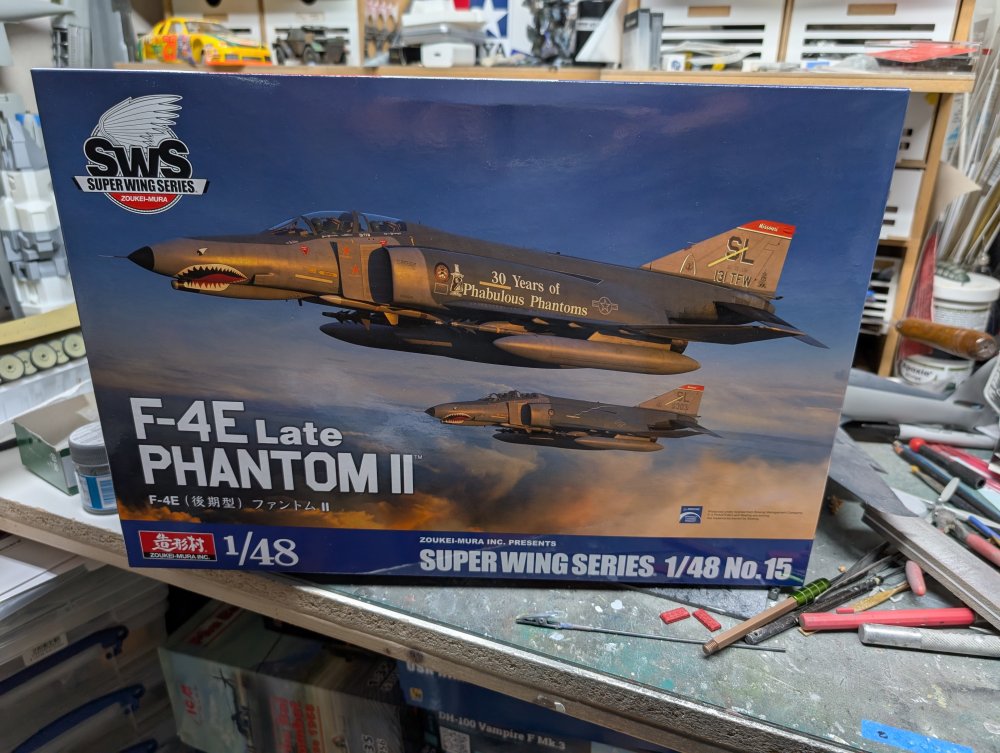
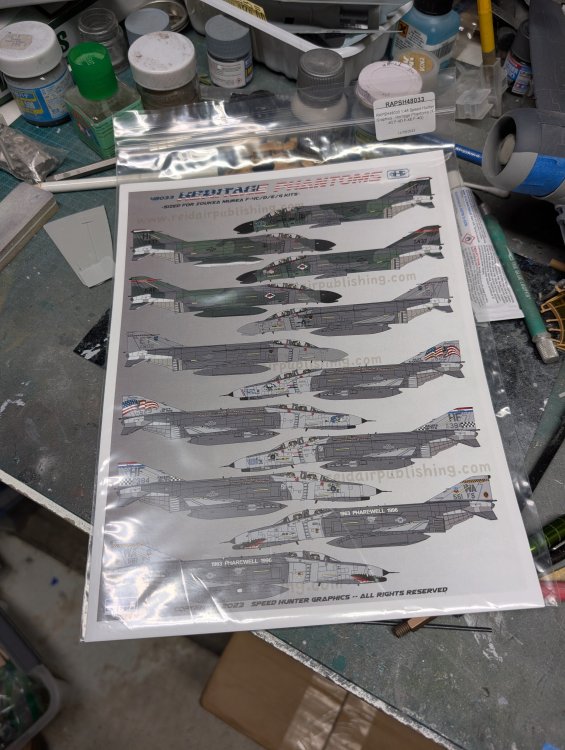
Not the postie but the Fed Ex driver also dropped off a Sprue Bros package at my door. F-4 goodness.
-
What is on your bench right now ? Share a picture :)
BlrwestSiR replied to Martinnfb's topic in Modelling Discussion
The catio is all done now. Just in time for the temperature to drop to -1° C. Might have to get a heating pad for her.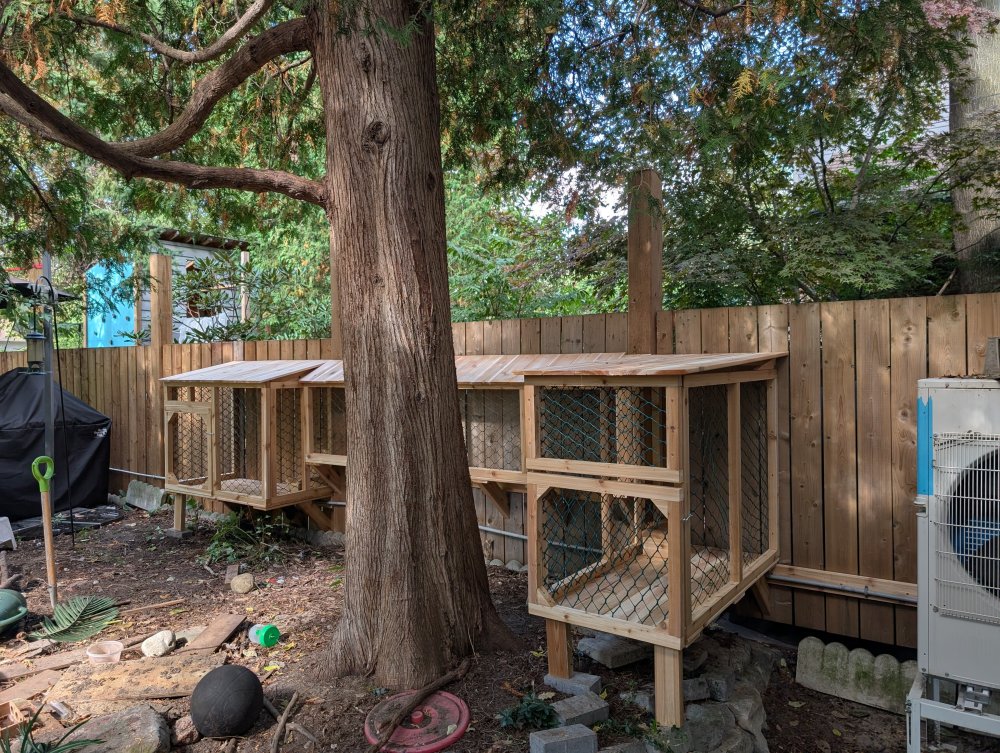
-
I probably have some spares somewhere. The big problem is the box where I keep all my spare/leftover armour kit pieces is completely buried by other stuff and not accessible. The basement is partway through yet another reorganization so until that's done, I can't get to it.
-
It was your recommendation that made me buy them so thanks for the advice.
-
What is on your bench right now ? Share a picture :)
BlrwestSiR replied to Martinnfb's topic in Modelling Discussion
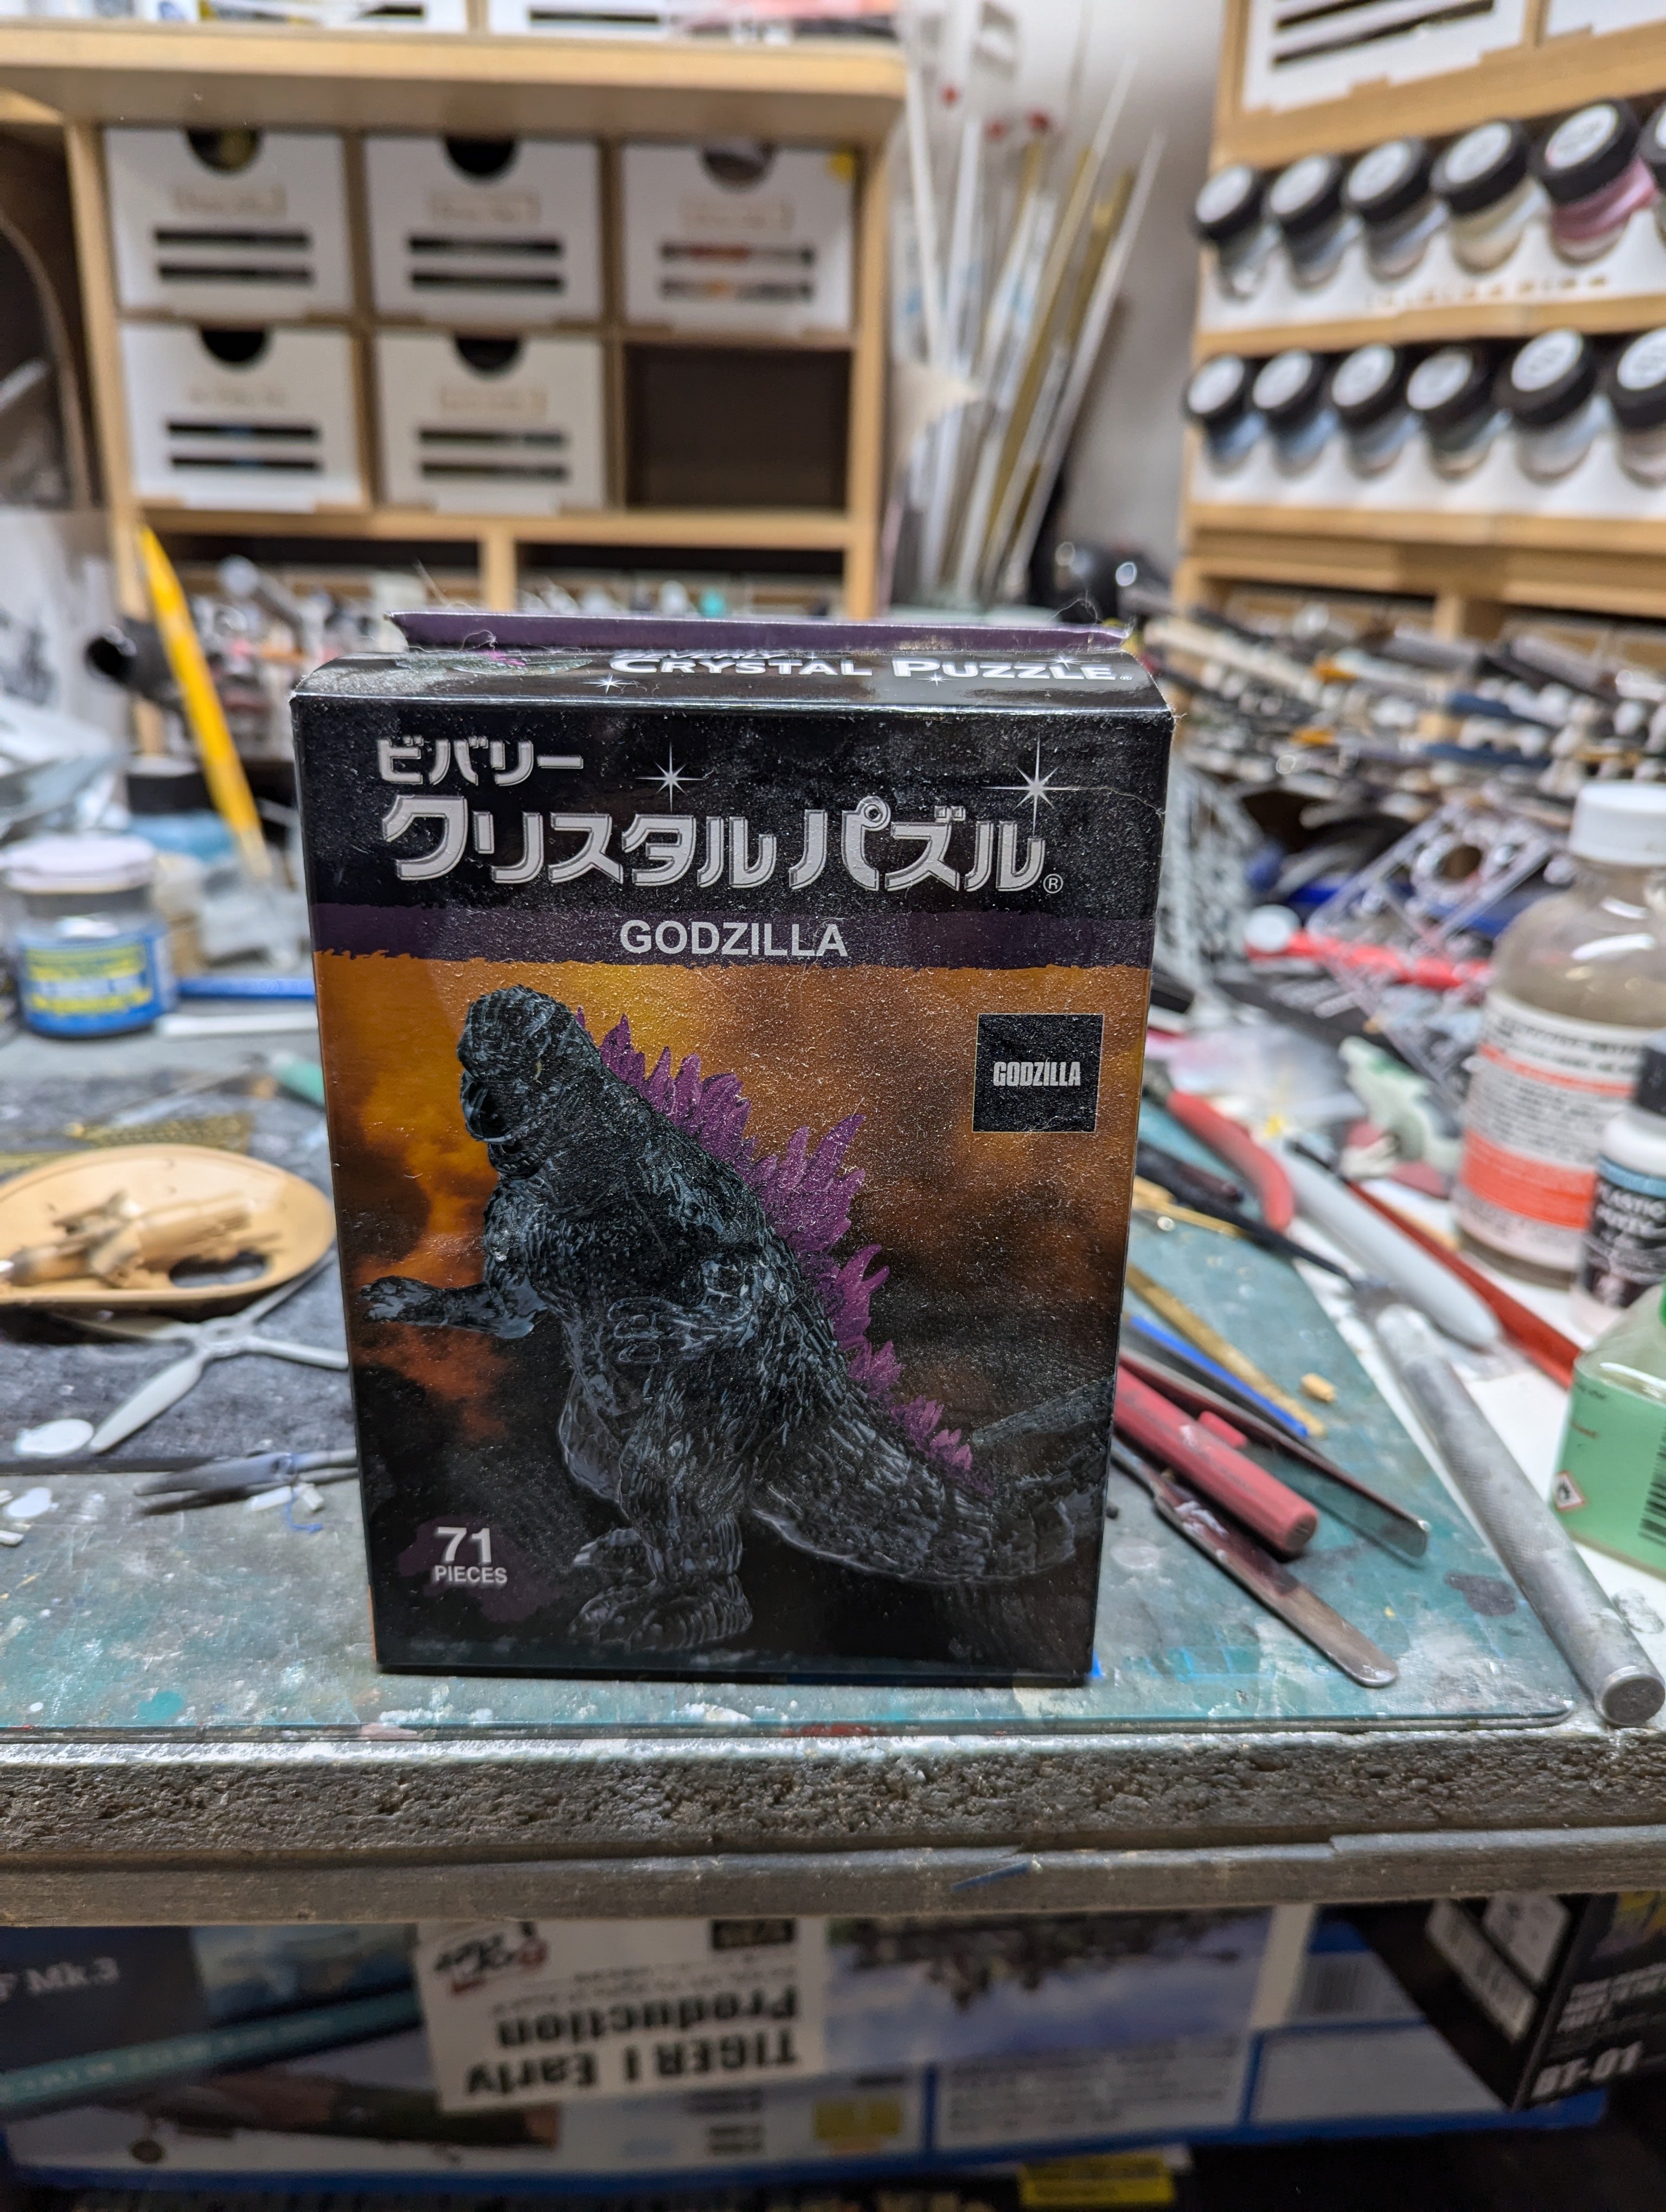
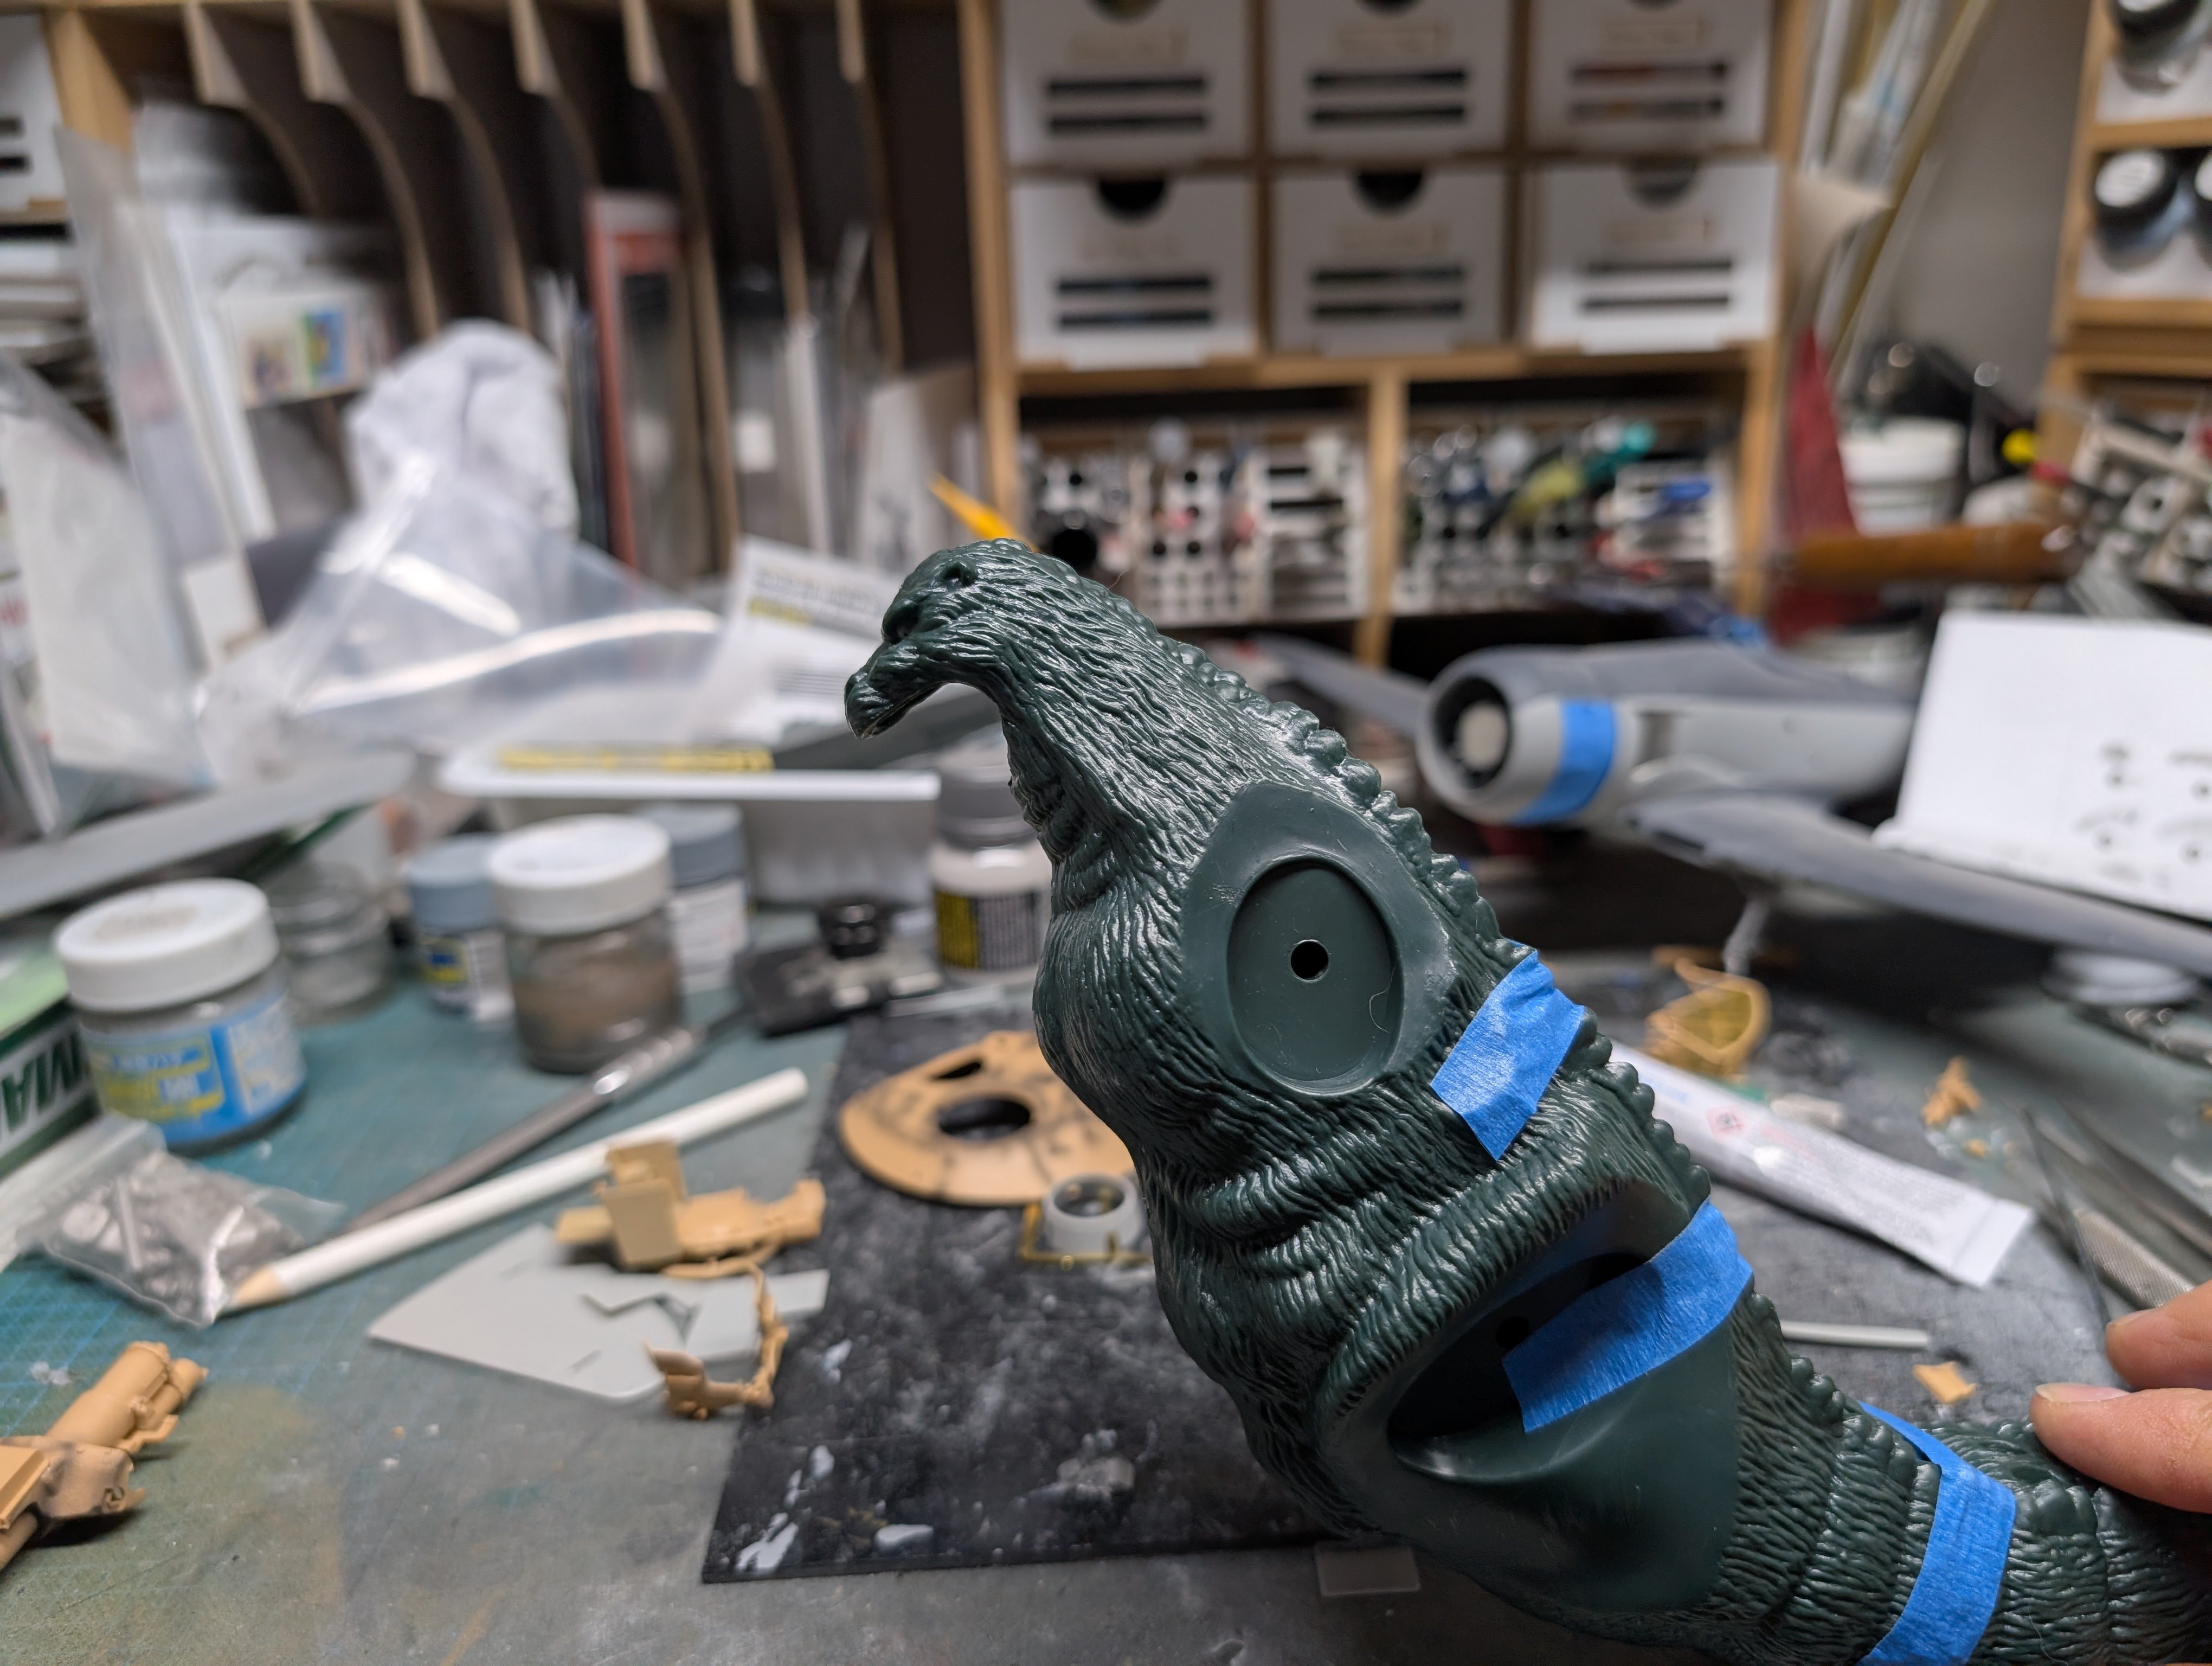
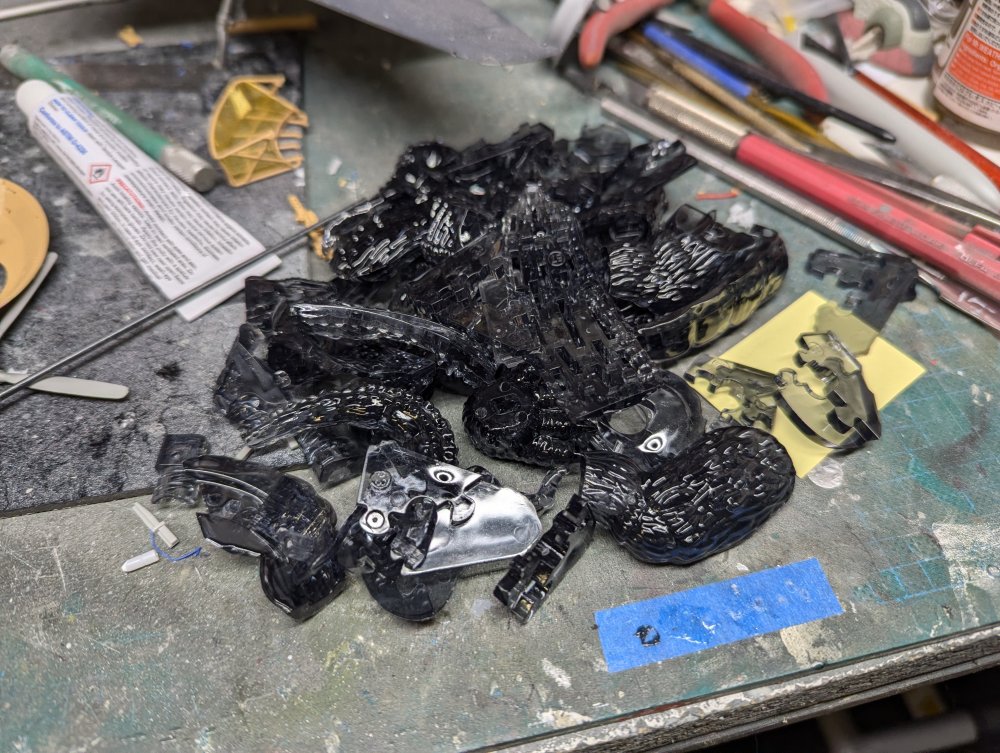
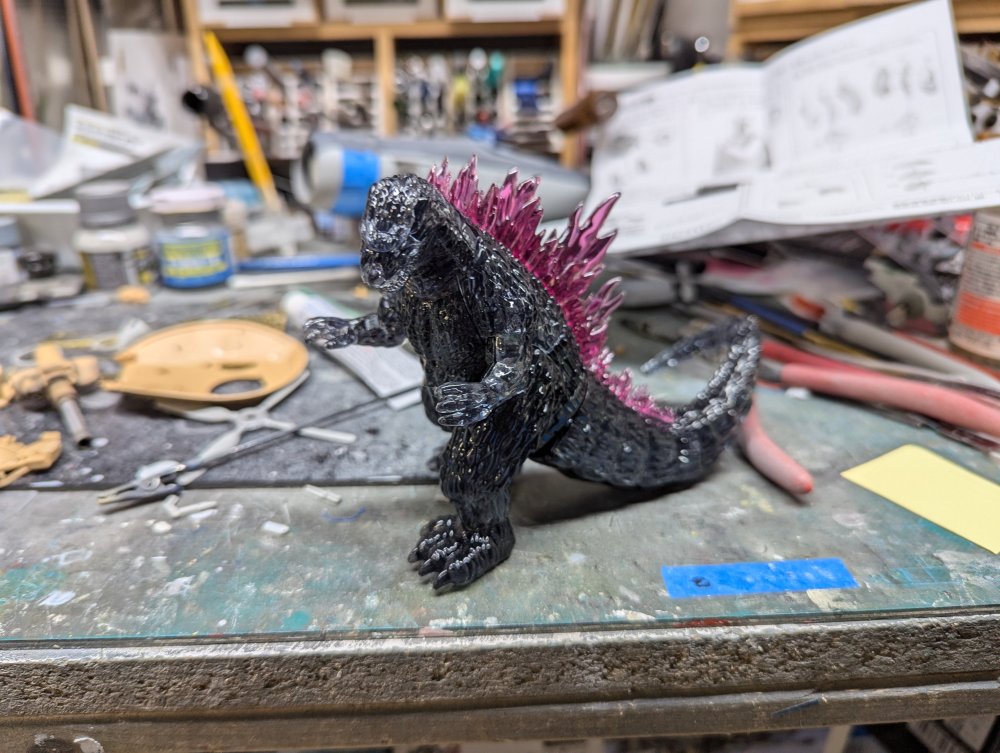
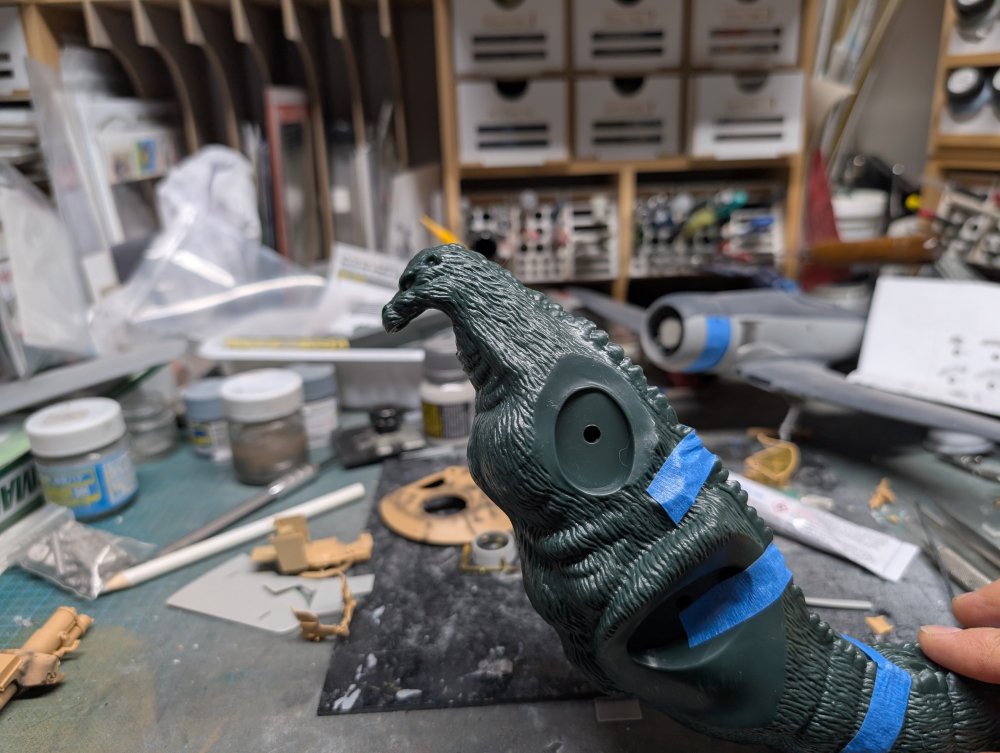
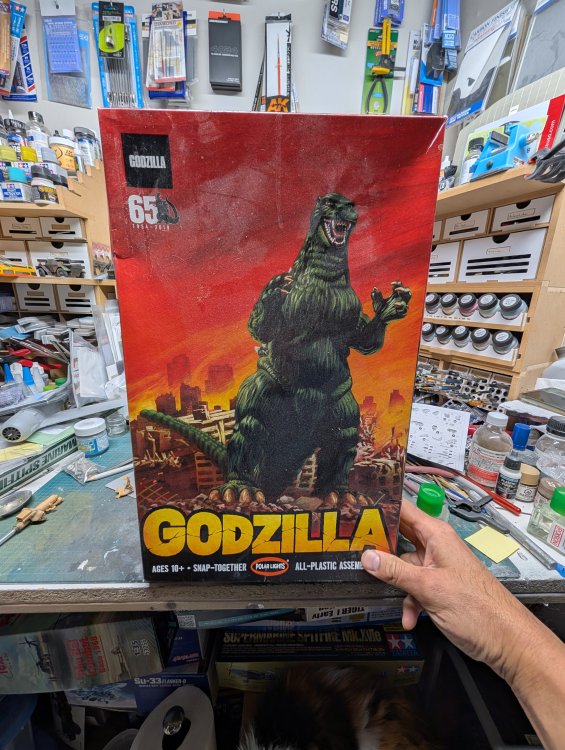
@Jeff and I were chatting a couple nights ago and while we were, I started working on a simple Godzilla model. I managed to get it finished by the end of the conversation. Like I said, it was a simple kit. Bag of parts, most didn't come on a sprue even. And done. Well, that led to me digging out another Godzilla model from the stash. This one will need a bit more work.

-
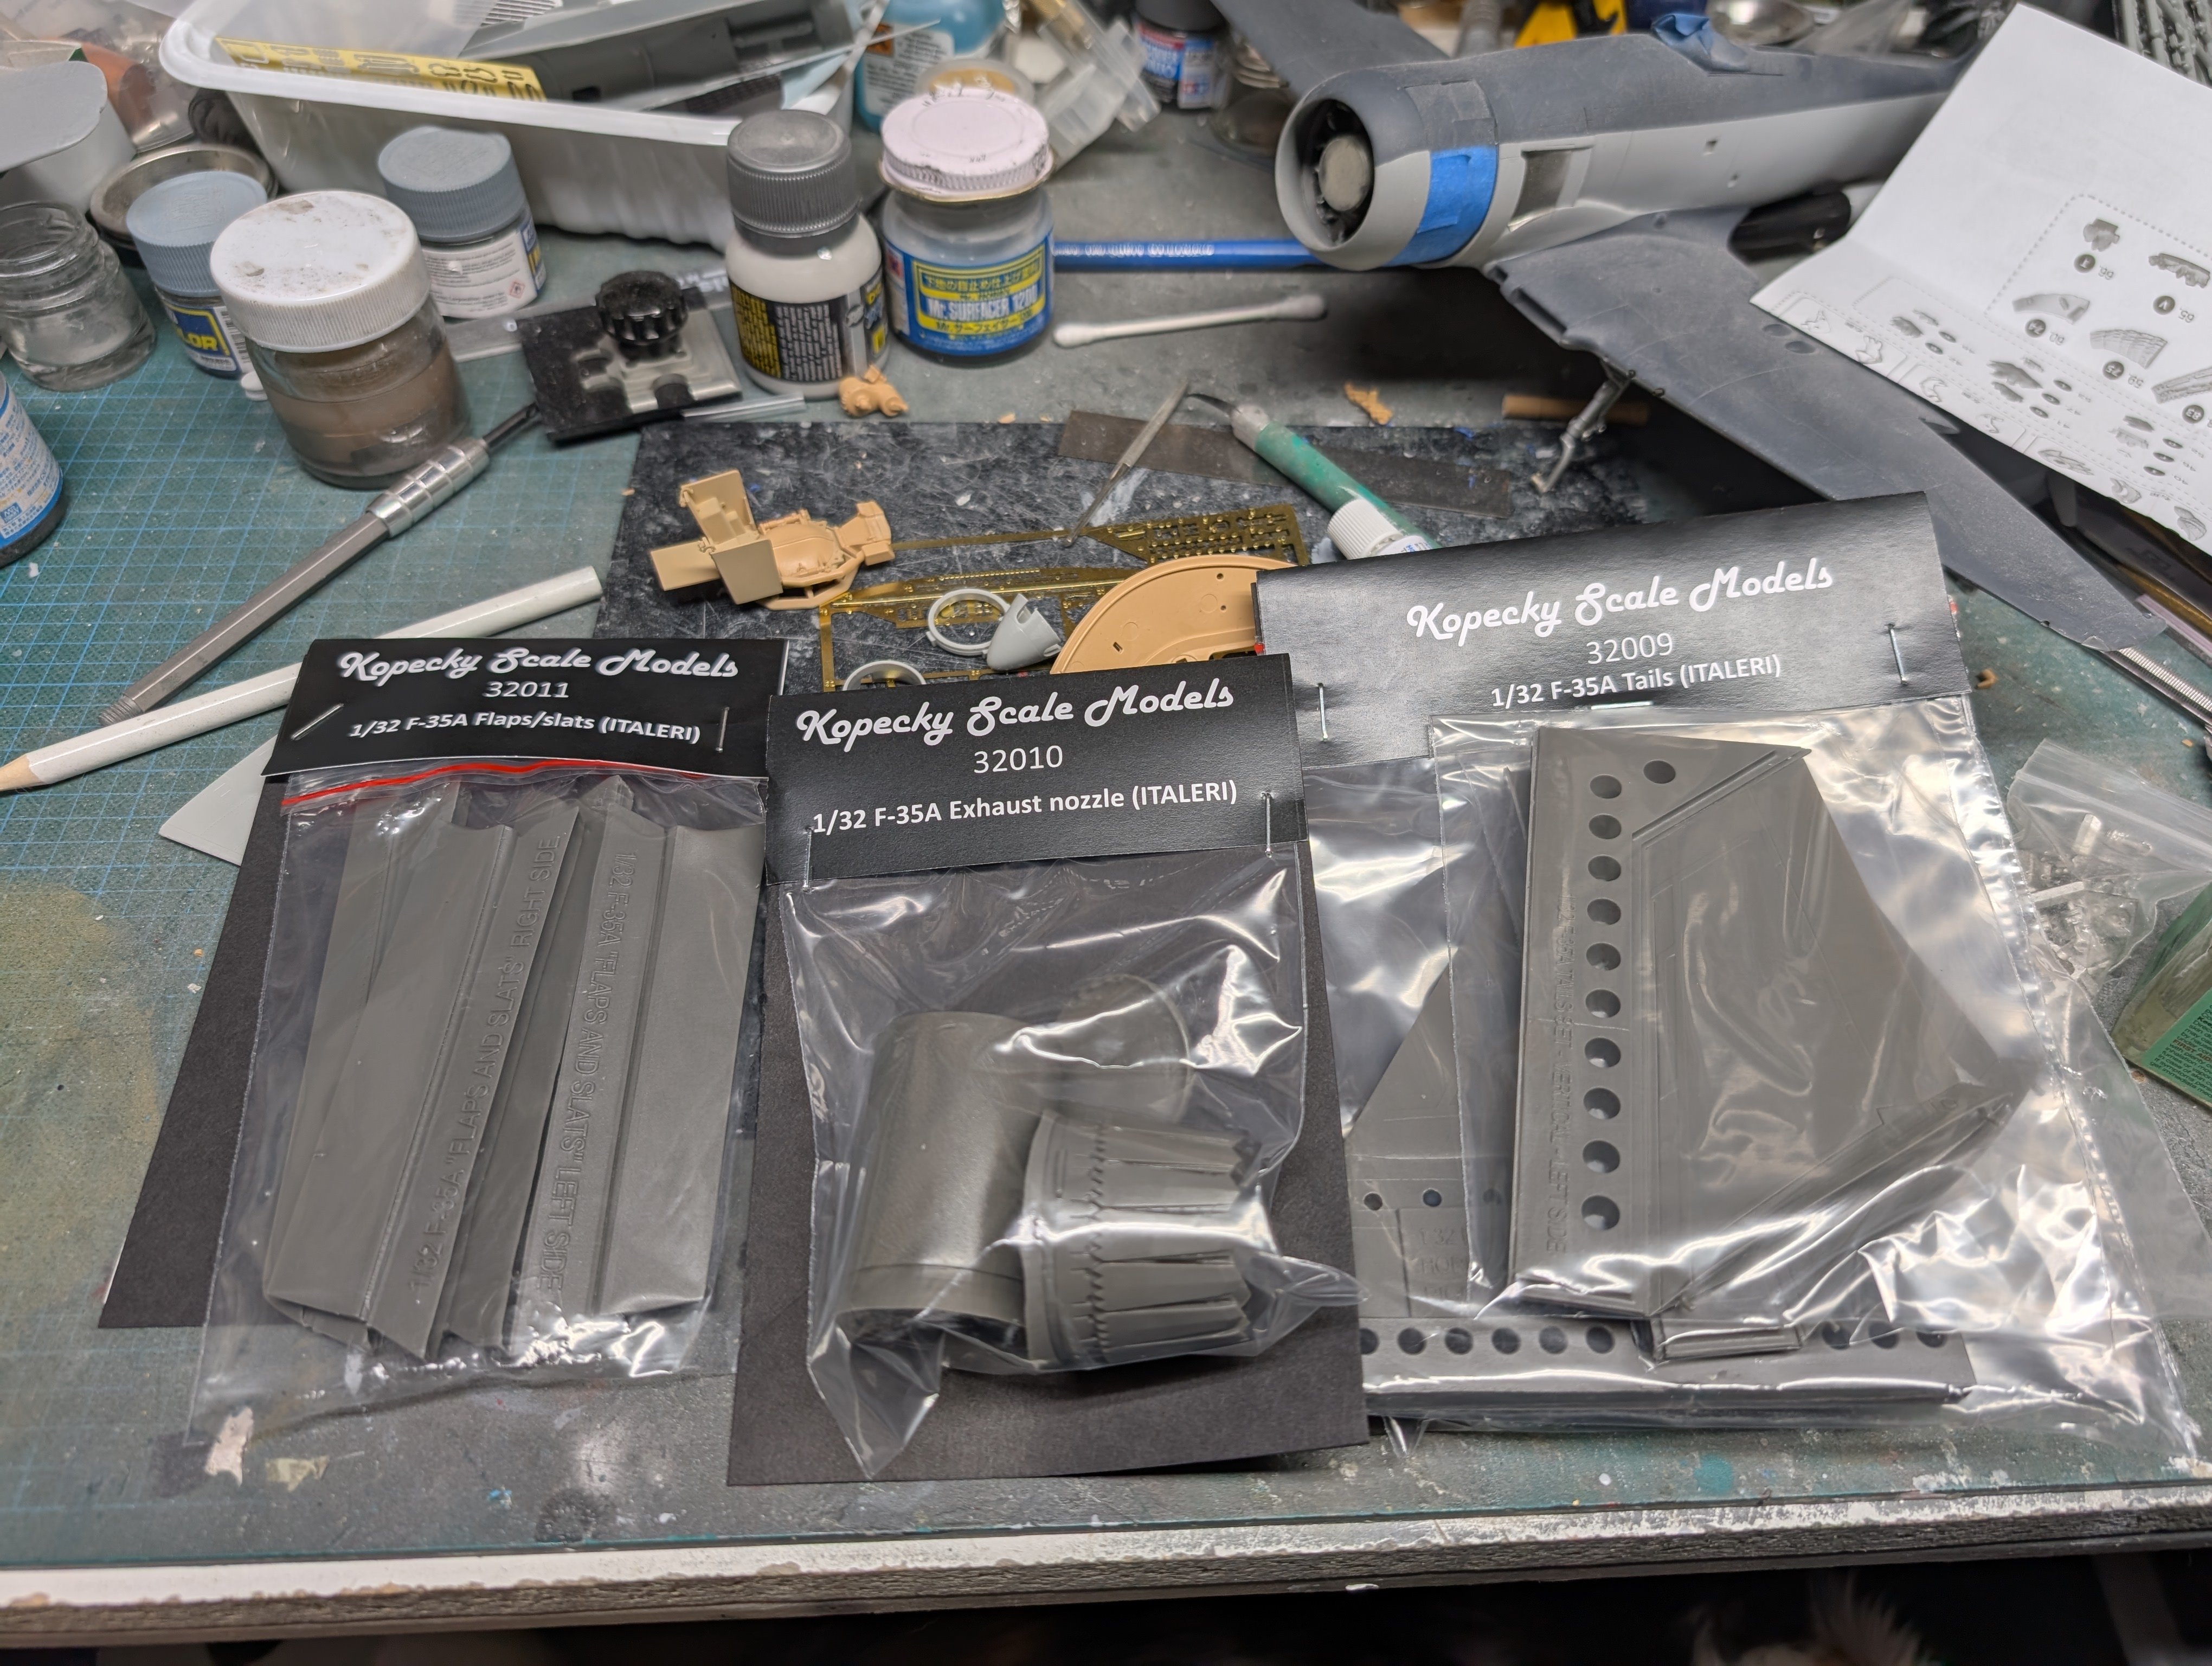
I got a small package today from Kopecky Scale Models. They had a sale recently that offered free shipping. @ScottsGTmentioned that their parts for the F-35 were nice so I thought I should pick some up.
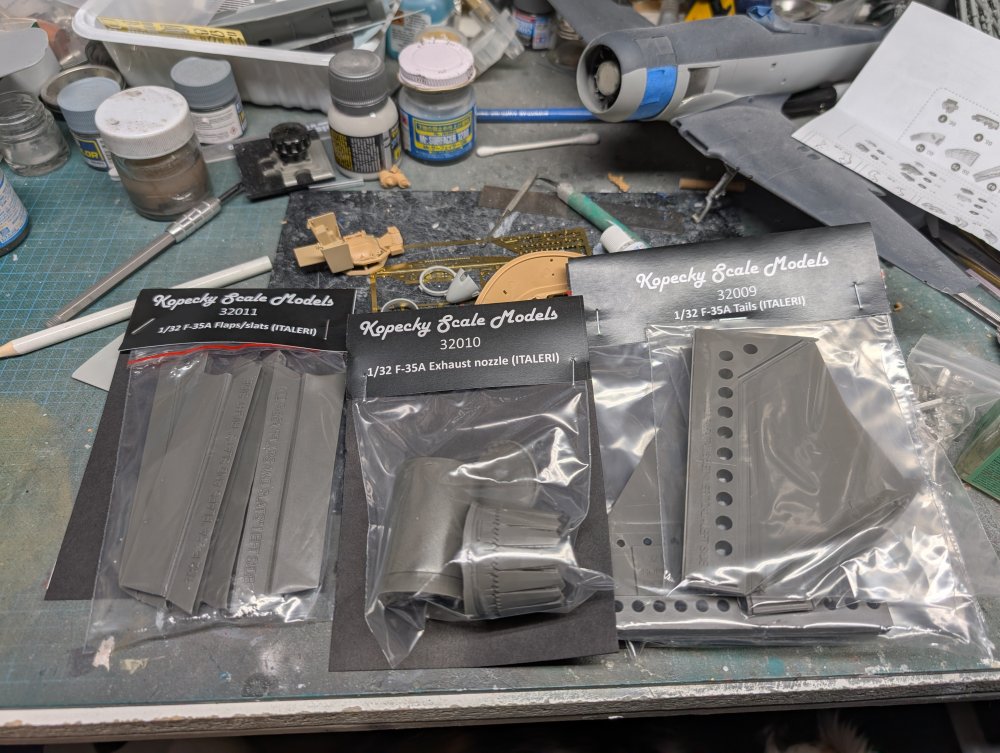
-
To be honest Peter, I would need to find the kit itself. I think the box may still be at my folks' place somewhere but it's not in the stash. If I do find it, then I can certainly look at getting it done.