BlrwestSiR
-
Posts
9,173 -
Joined
-
Last visited
Content Type
Profiles
Forums
Events
Gallery
Everything posted by BlrwestSiR
-

Westland Wyvern S.4 late- 1/48 Trumpeter
BlrwestSiR replied to BlrwestSiR's topic in The Sandbox Group Build.
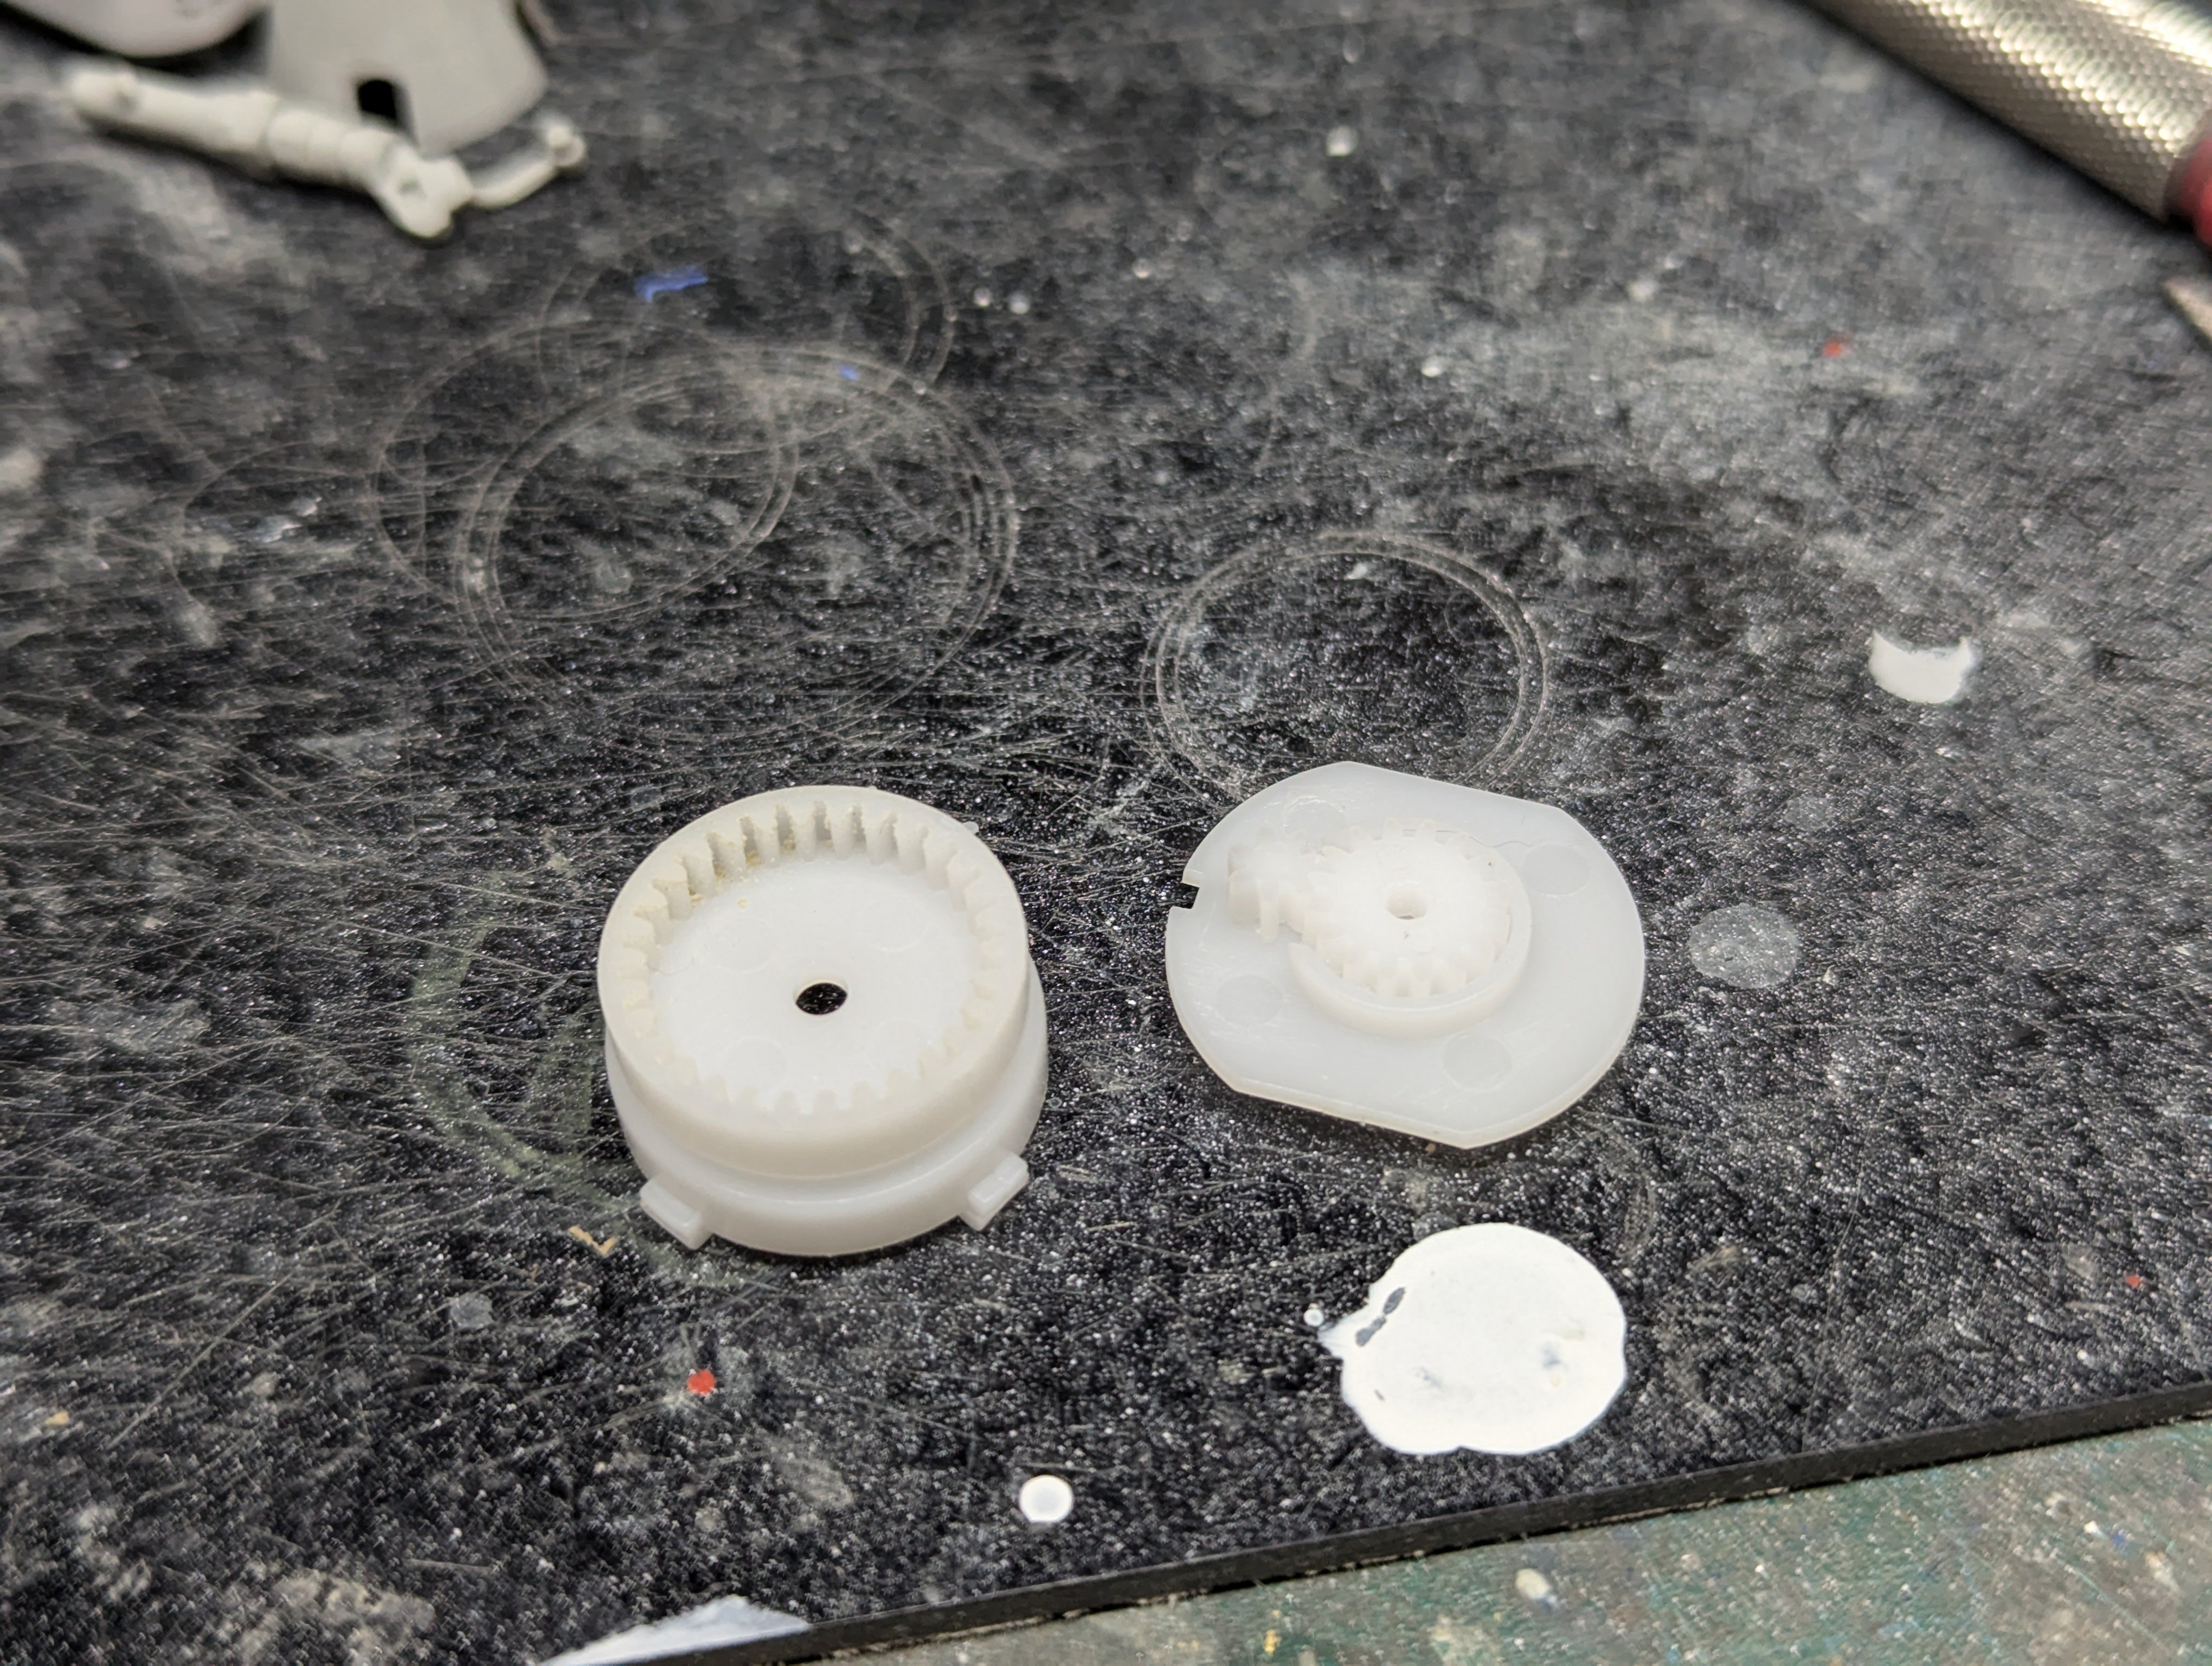
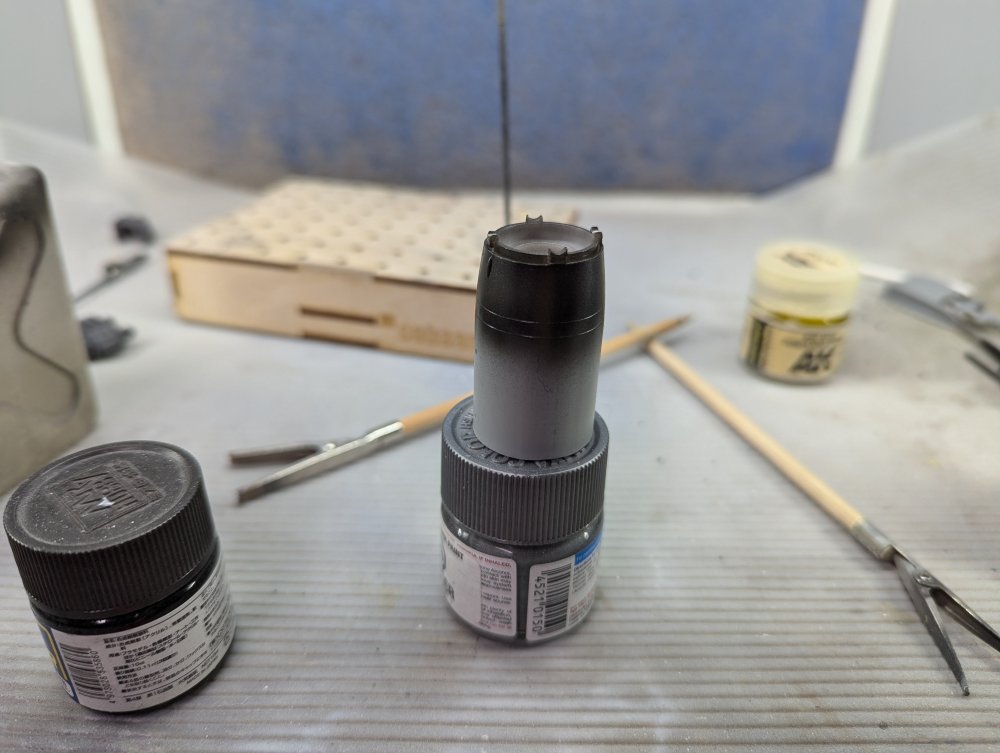
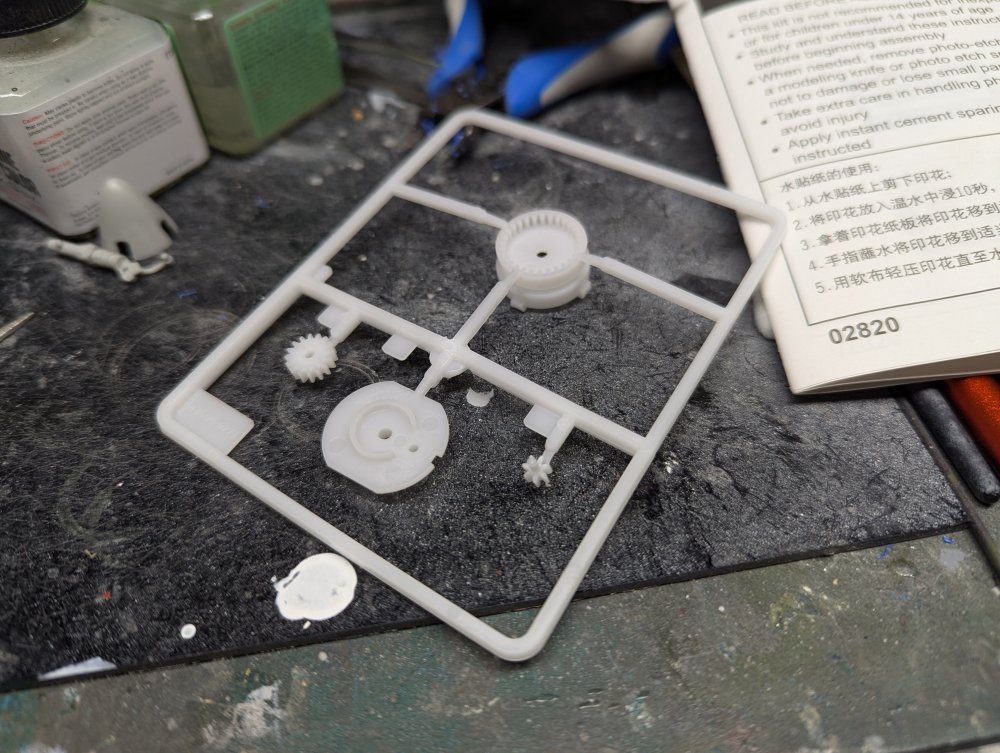
An interesting feature on the model is working contra props. They're geared so that they spin in opposite directions. Assembled into the power egg. The cockpit, camera and tail wheel (not in the pic) were installed into the fuselage. I added the power egg and closed things up. Fit so far has been very good.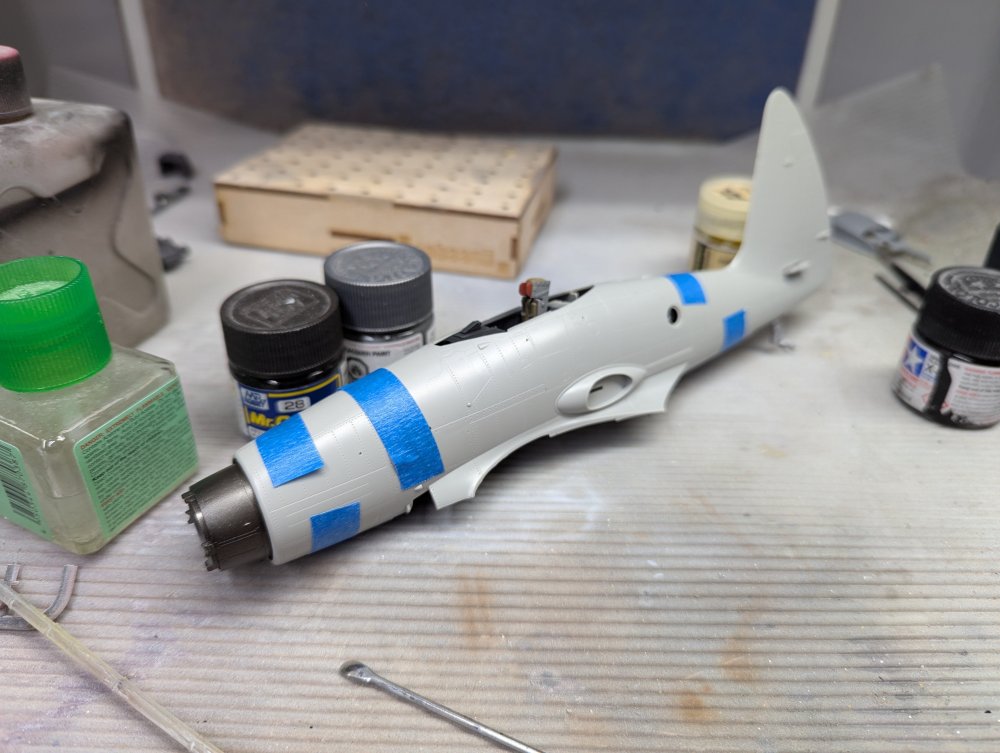


-
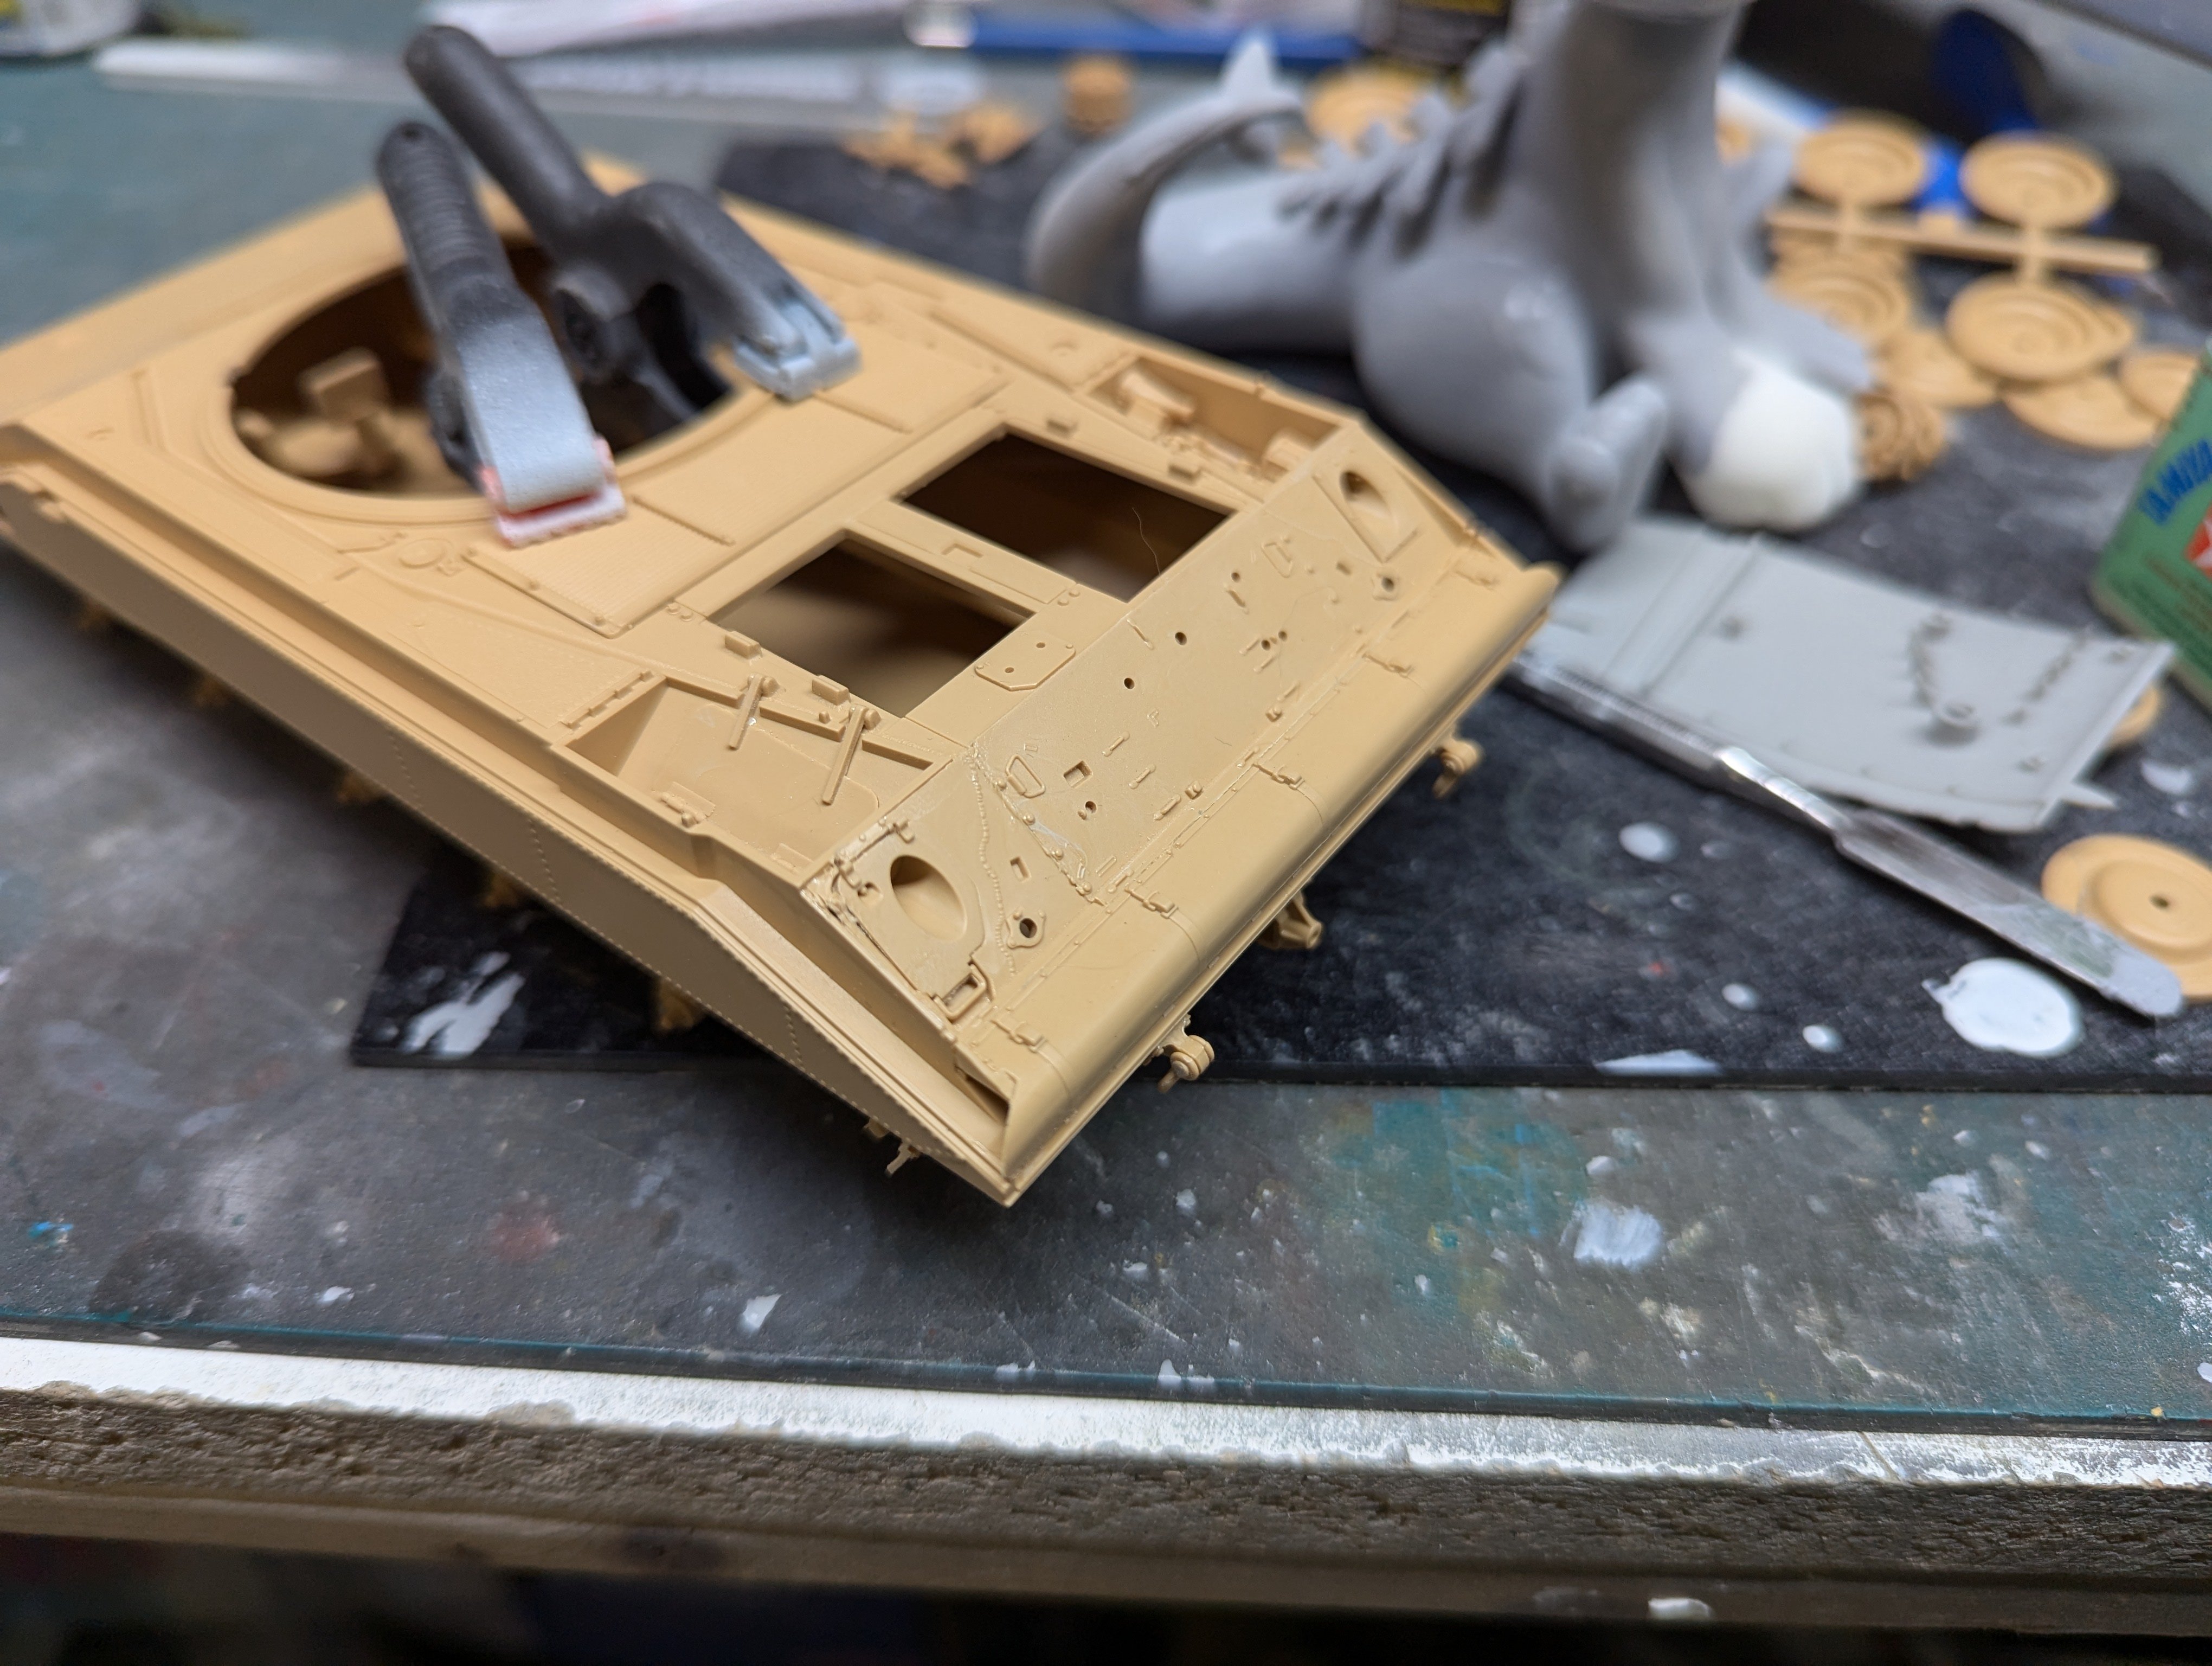
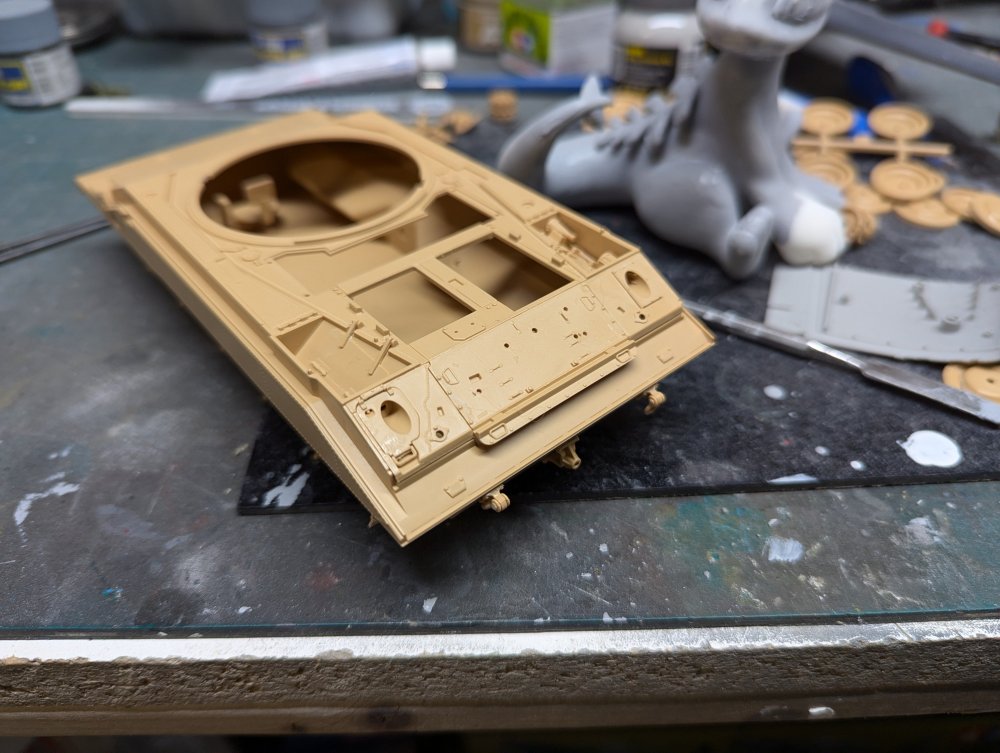
Okay, finally a post with some build progress. The upper hull is in place and il working through adding the various panels to it. Everything looks like it can posed open if desired. This includes engine hatches, storage compartments and it looks like the inflatable wading curtain too. At least with the way it's been designed and moulded. One big thing though. All the hatches fit in the closed position. In the upper photo, it turns out I had the three rear hatches in the wrong spot. They weren't properly aligned with the hull. You can see the gap under the centre panel. It had me scratching my head for a bit l until I realized the panels on either side were angled wrong. Once I fixed those, everything fit like it was supposed to. Here it is with everything corrected and the rear floatation skirt cover in place.

- 68 replies
-
- 10
-

-
Chris, so far the engineering on the kit has been amazing. Everything fits perfectly. We'll see what happens when I get to the wing fold assemblies. Peter, I really should get back to this build. Hopefully soon.
-
Wow, looks fast standing still.
-
Thanks for sharing Maru. They visited the Canadian Warplane Heritage Museum the previous Wed and had a ground display. They supposedly then did a flypast with the CWHM Lancaster. Wish I could have gone.
-
Thanks! I'll have to give it a try.
-
Great work there. One question, how do you paint the road wheels after everything is assembled? Any easier than painting them before assembly?
-
Looking forward to this Peter. I have the Takom kit in the stash that I got from you. It'll be nice to see the comparison between the two. Watch the fit of the canopy. Some have said it's a bit short but that may be operator error.
-
There's a Sheridan here? To be honest, I've been too tired after work to spend any time at the bench. Hopefully this weekend I'll get a chance to make some headway.
-
Sorry to hear about the ongoing health woes Scott. At least you're getting them looked after.
-
The orange guy is Sunny D and the Calico is Fursnake. My wife named them both. If Garfield is anything like Sunny, I bet he's a real sweetheart.
-
Nope, just two cats. The ginger is Sunny D, he's a rescue that was abandoned as a kitten at a dairy farm we were visiting. We were visiting with some friends and Sue saw him and immediately decided that we were taking him home. Which made the kids of the other parents there all want a kitten too. That didn't go over so well.
-
As most of you know, I have a carpet monster in my lap most of the time. She does a decent enough job catching wayward parts. Then I just have to retrieve them from her fur coat before she takes off. In case anyone is wondering what I'm taking about. Her standby isn't working out as well though. He wants to do some modelling as opposed to just being an observer.
-
Nice varied set of hobbies there Paul. I love woodworking as well but don't have room for a workshop. When we built out garage, Sue made it clear that it was strictly for our cars and bikes and not to be turned into a workshop. A fiat tradeoff in my opinion. As for our security squad, he might get off the couch for you if you came in but is more likely to just ignore you and keep sleeping.
- 460 replies
-
- 10
-

-
-

-
Wow, that's a whole different level in aircraft building. The variation in appearance from a few simple (relatively) changes is cool too.
-
Sorry to hear about this Peter. However, I'm glad to hear you're responding well to the meds.
-
What is on your bench right now ? Share a picture :)
BlrwestSiR replied to Martinnfb's topic in Modelling Discussion
Heathen!! Next thing you're going to say is you follow them!! If you said destructions i would have let it slide. On a more serious note, I haven't had a chance to make it to the post office with the K tail. Hopefully tomorrow. -
Nice work there John.
-
Westland Wyvern S.4 late- 1/48 Trumpeter
BlrwestSiR replied to BlrwestSiR's topic in The Sandbox Group Build.
The contra prop is just so cool on this plane. Infinity had announced one in 1/32 but it died when they threw in the towel. Too bad as that would have cool. -
Westland Wyvern S.4 late- 1/48 Trumpeter
BlrwestSiR replied to BlrwestSiR's topic in The Sandbox Group Build.
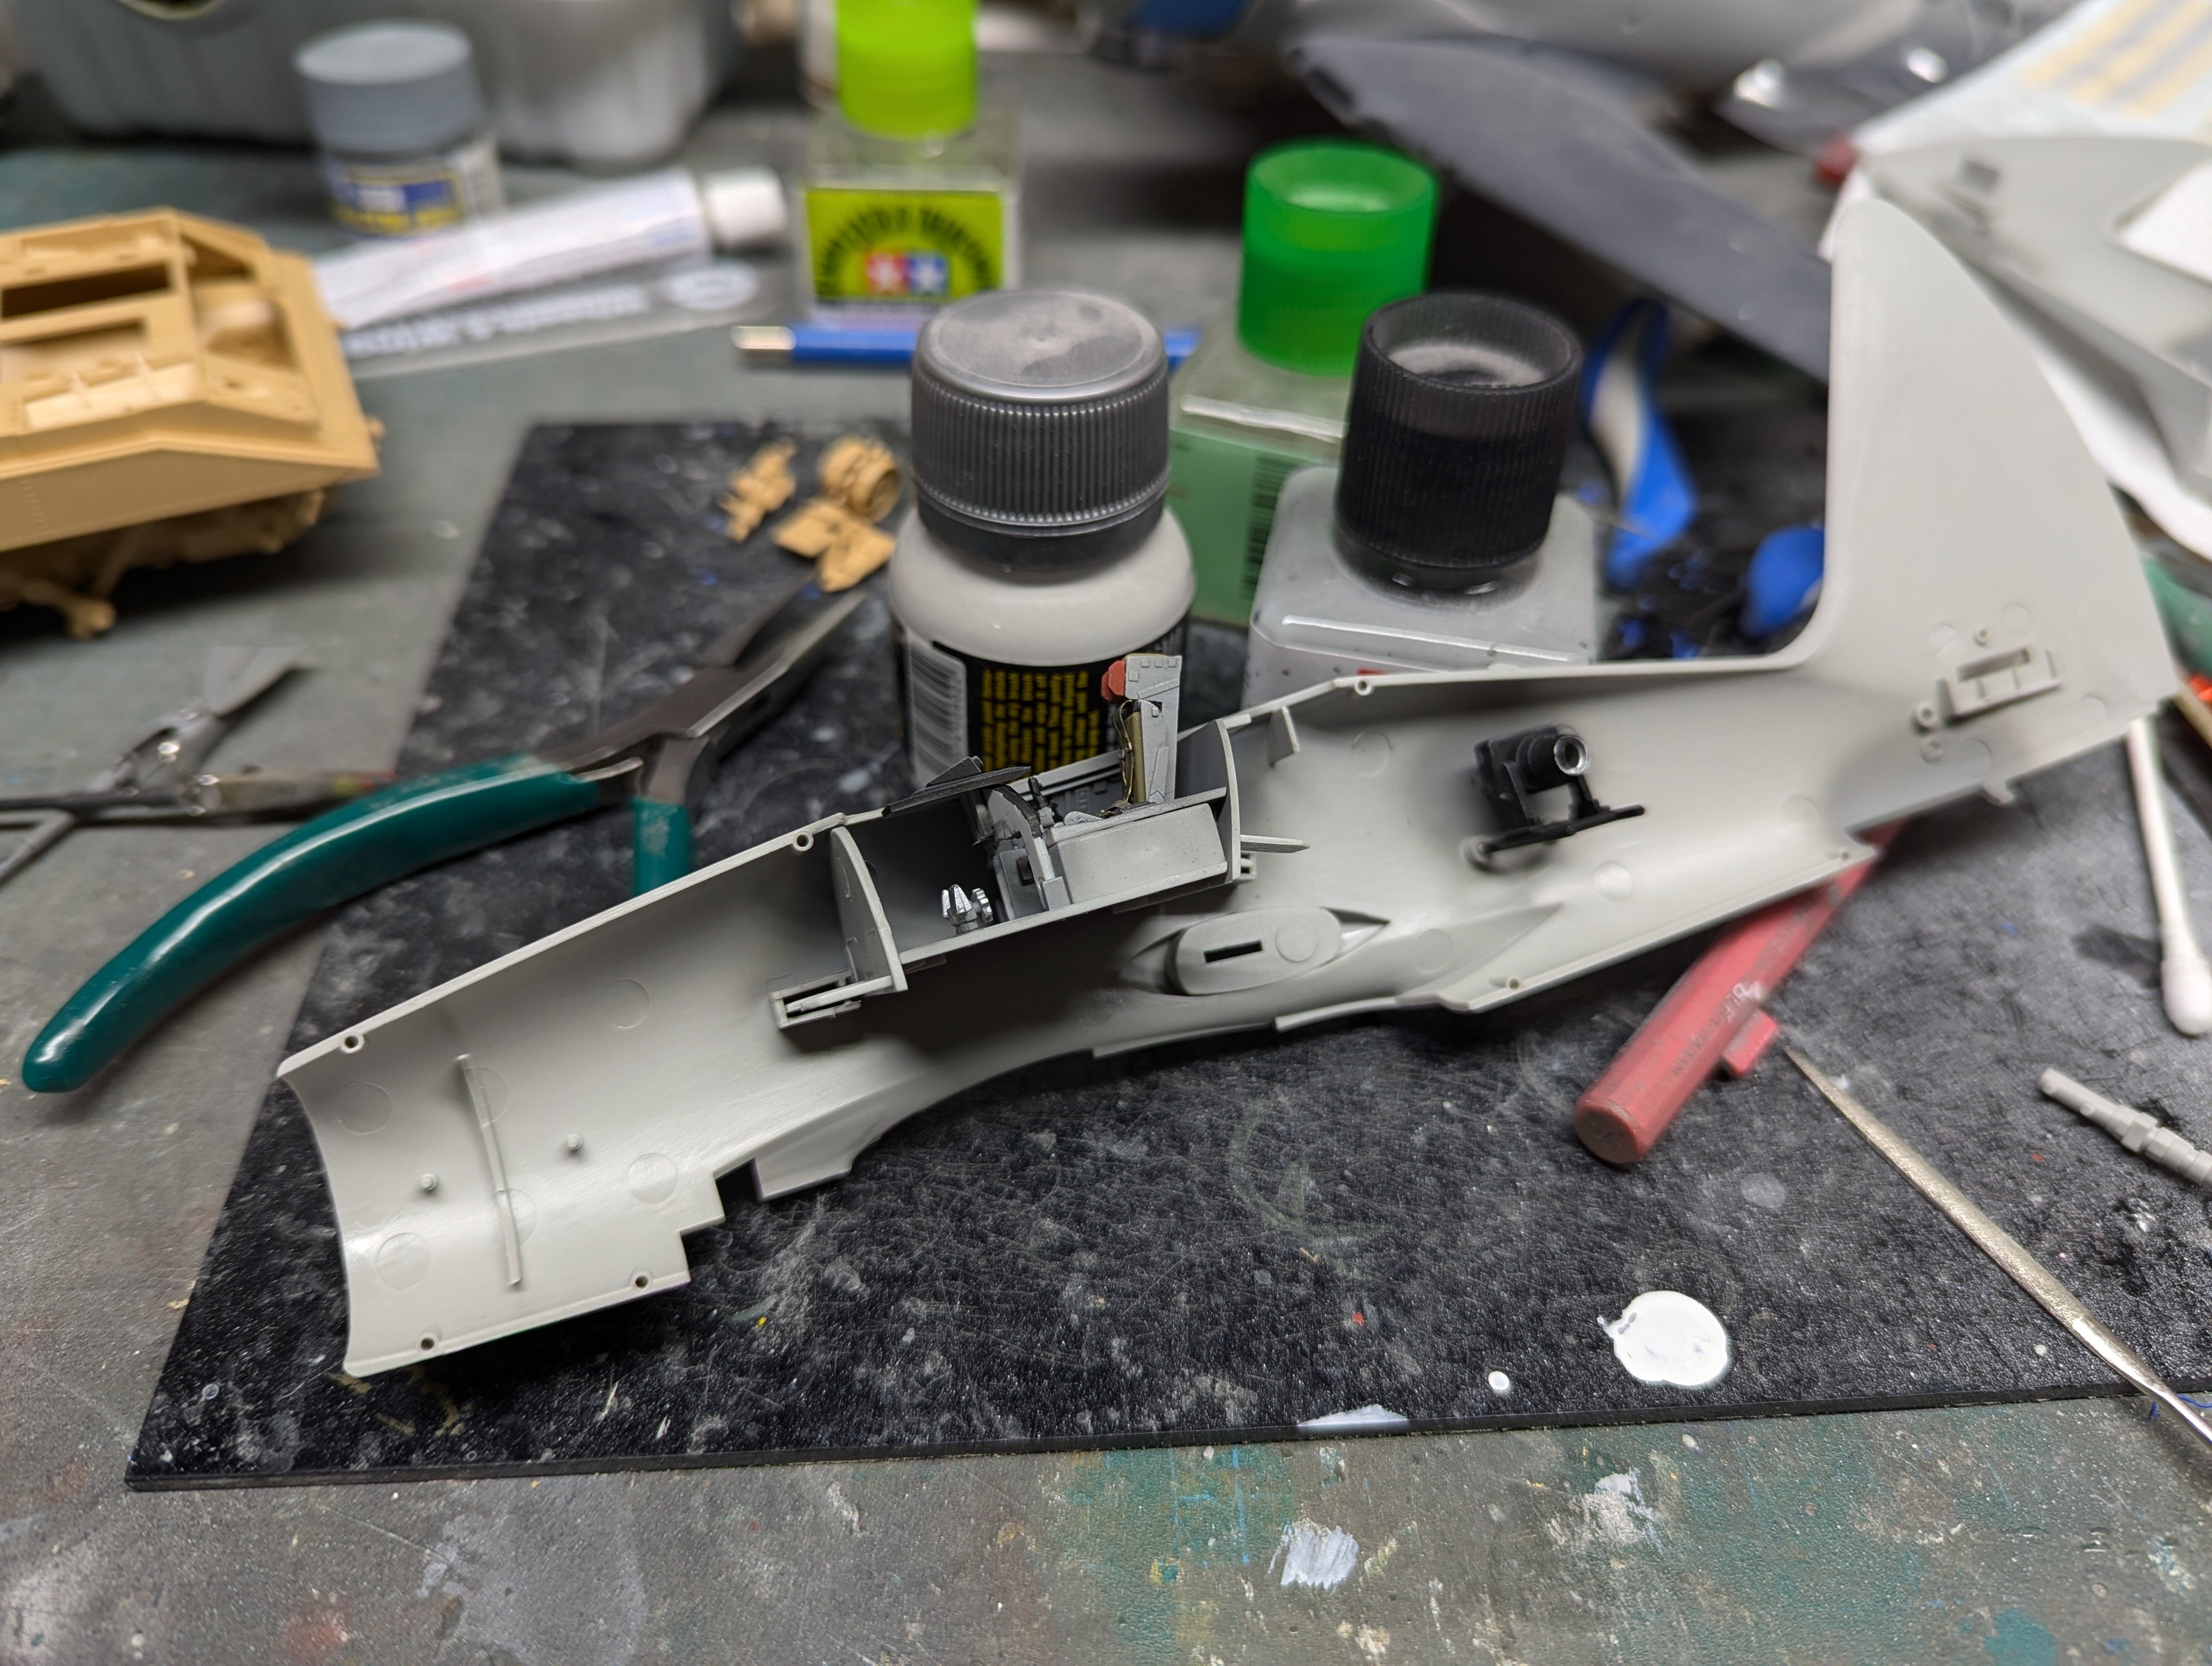
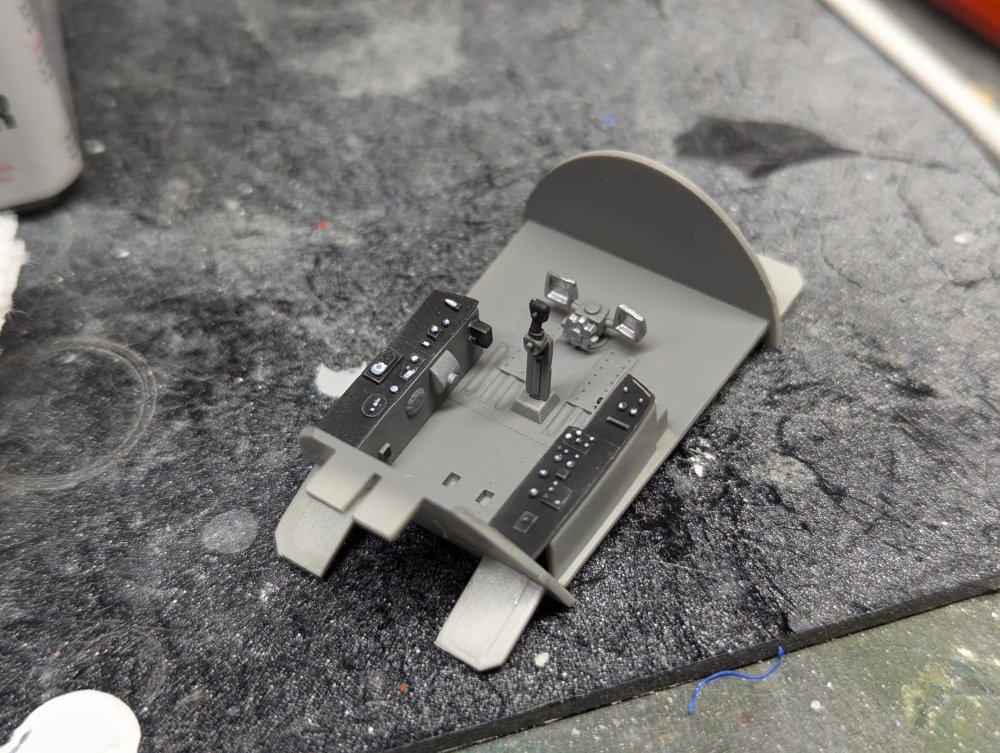
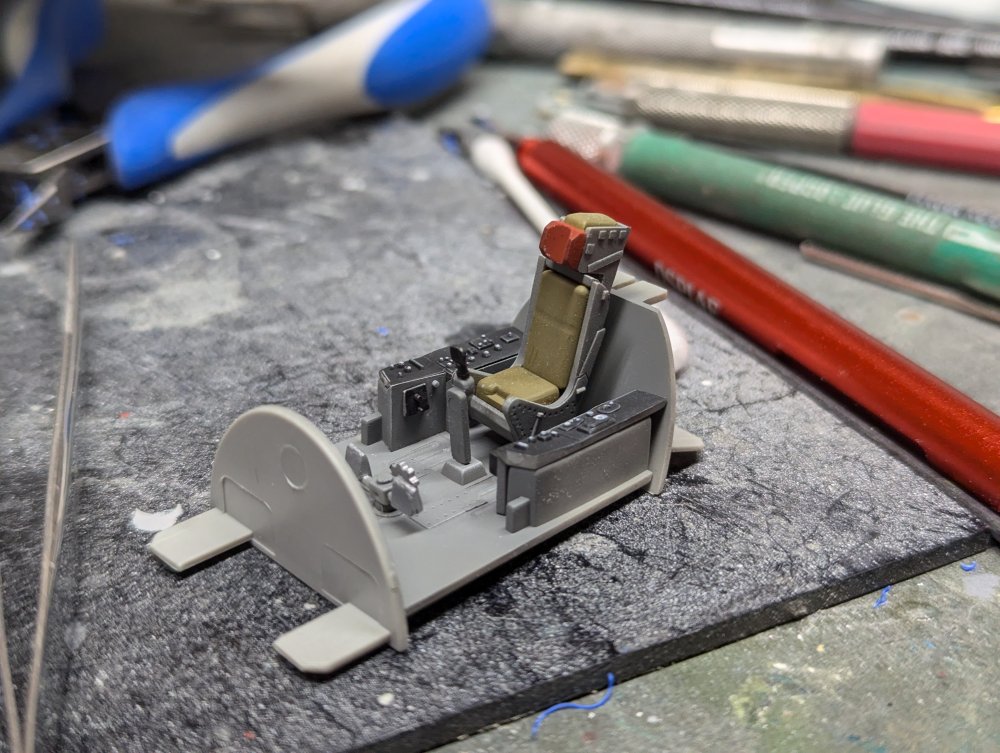
First up is the cockpit. The plane carried an ejection seat and has the distinction of being the first plane that a pilot successfully ejected from while underwater. A quick paint job, nothing fancy. The ejection seat in place. 10 pieces for this alone. I realized I should add the included PE belts so those are next.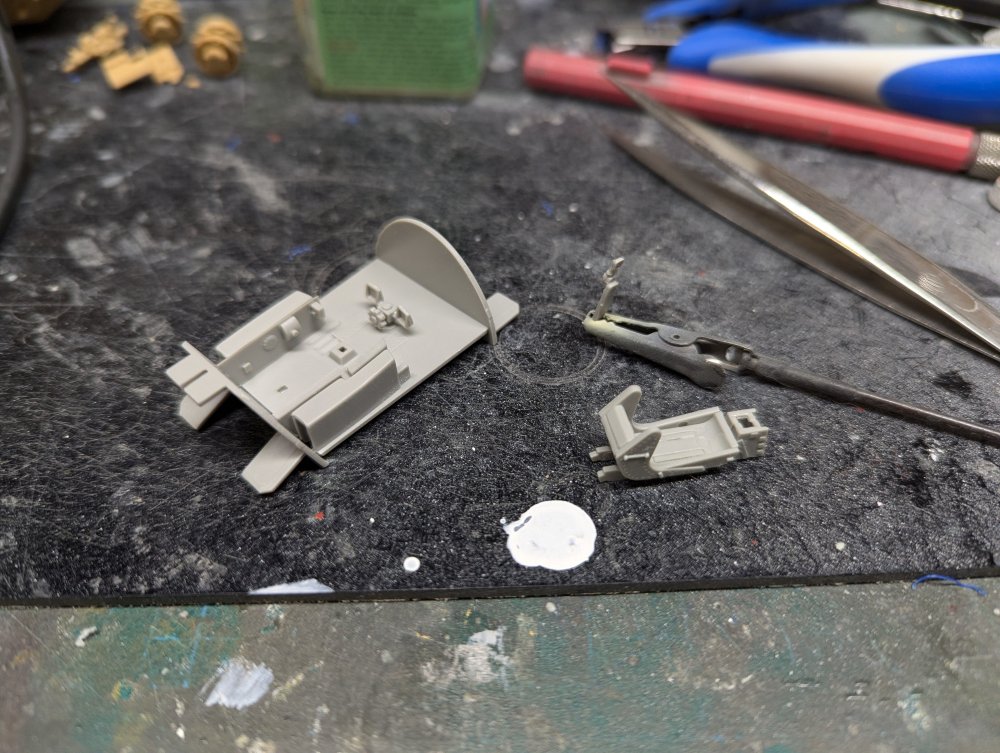
- 50 replies
-
- 11
-
-
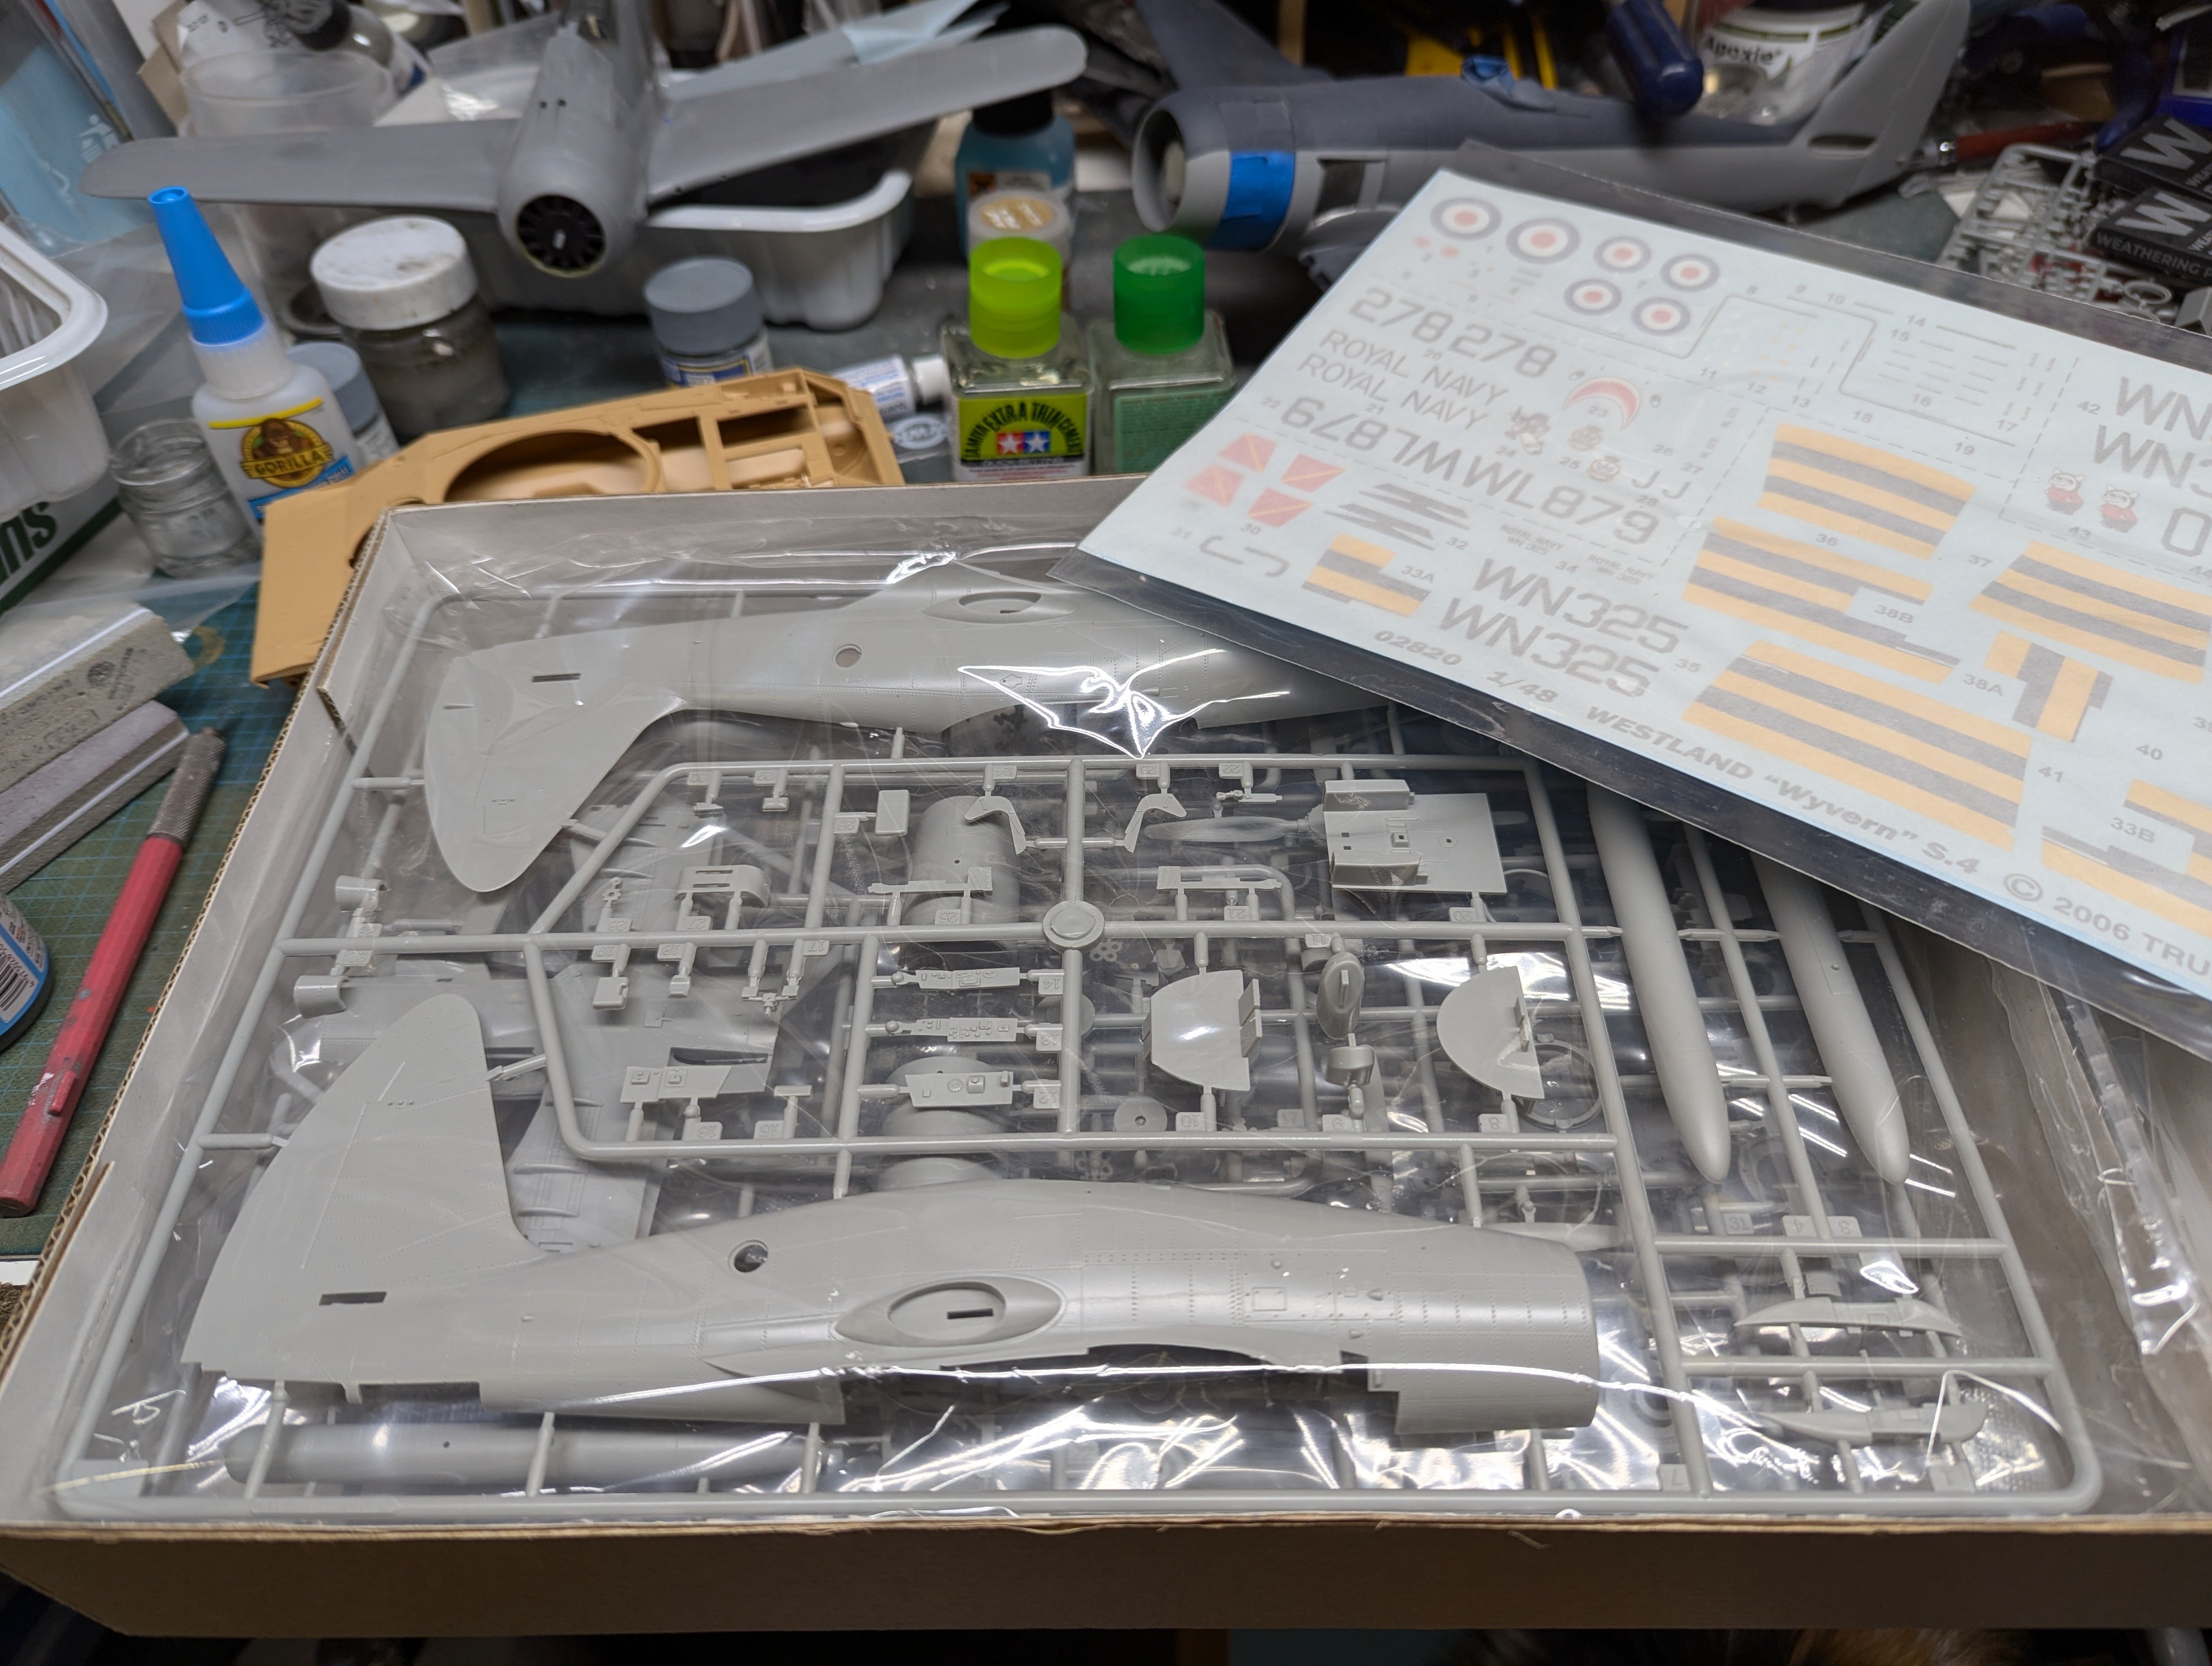
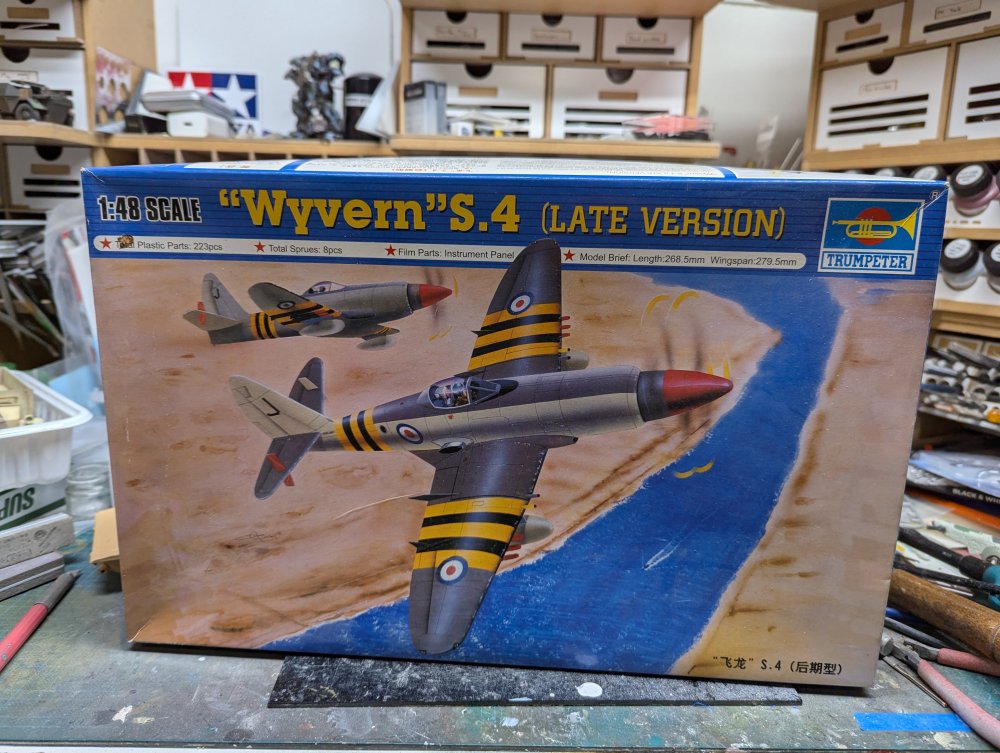
I was looking at the stash and saw this kit sitting in it. I've had it long enough that the ship I bought it from closed over 10 years ago. Anyways, it has marking for the 1956 Suez crisis so it fits the GB nicely. Plus it gave me a reason to finally build it. It'll be 100% OOB.

- 50 replies
-
- 11
-
-
A real life egg plane!
-
That's the one. Halberd is doing 1/32 and next year a 1/24 version. The latter is probably as big as most 1/48 planes. Definitely an odd looking plane. Perfect next to the Flying Pancake.
-
What an interesting subject Hubert. Something I wouldn't not have known about but for reading the backstory behind your build.
-
That's evil. Just saying. Anyways, it's sold out so my wallet is safe. For now. Mind you the Halberd XF-85 is so very tempting....