BlrwestSiR
-
Posts
9,173 -
Joined
-
Last visited
Content Type
Profiles
Forums
Events
Gallery
Everything posted by BlrwestSiR
-
Nice progress on the Viggen Gus. Glad to hear the decal problem didn't end up permanent. Sounds like you were in Edinburgh the same time my wife Sue was. Alas she was there for a funeral so didn't get to do much sightseeing and I certainly didn't risk asking her to pop into Wonderland Toys for me.
-
 Chris, the exhaust tubes can sit free. The fit is just snug enough that you don't need to glue them in place if you put them in last. Don't worry about the mounting tab between the burner cans. The only AM company that used the same setup was Aires and theirs were undersized so would fall out if you didn't. Your post reminded me that you might need to check the clearance on the inside of the wing at the back where the burner cans go in. Putting the burner cans in afterwards means you'll have an easier time getting the wing/fuselage seams dealt with.
 -
Scott, it hink it's because of Fur's age that her nails have become an issue. She didn't have problems before but she doesn't climb any more so her nails don't wear down like they would if she was more active. There's no way I could have trimmed her nails when she was younger. Hopefully knowing to check on them I should be able to. Jimmy's nails are always trim from his walks and size while Sunny uses his all the time climbing and hunting.
-
Thanks everyone. Fur is pretty much back to her old self. She's the last of the pets that Sue and I had when we met. She had two cats, Fur and Tasha while I had Zoe. Tasha and Zoe are both passed on. Sunny and Jimmy came along later but the day Fur passes, it'll be a changing of the guard. I think we'll be sticking with just these two for the time being.
-
F-15DJ Kai or Eagle Plus- Finished!
BlrwestSiR replied to BlrwestSiR's topic in The Great Twins Broup Bluild
Ok, I just realized we're coming up to the end of May which means I have a little over a month until the end of the GB. Time to get back to this build. The good news is I finally found my Tamiya scriber so I can fix some of the panel lines and get on with the build. So hopefully I'll have an update this week. -
So true. On my 2002 Civic, Honda had to lift the car to get the bumpers/headlights (I can't remember which one) to the minimum height required by US law. It looked like an SUV compared to the Euro version. I picked up a set of coilovers and dropped it 1.75" which made a works of difference in both looks and handling. Wish I had some pics of it.
- 2,036 replies
-
- 2
-

-
- car related stuff
- anything about cars
- (and 6 more)
-
Oh, one more thing, the front cockpit coaming doesn't completely full the opening. It's a bit short at the front. It's an easy fix, just add some styrene to the front of the coaming. This only on the E versions. The short nose ones are fine.
-
Great progress there Chris. I'd say you've done a good job on the intakes. I've used several different intake sets on my various F-4 builds and none have fit 100%. They've all needed tweaking and the odd lick of putty. Like yours sometimes one side is a drop in fit and the other needed massaging. I would recommend closing up the fuselage/wing assembly first and then add the burner cans after. The fuselage opening needs a slight thinning around the shoulders but then you should be able to just slide the burner cans in afterwards. When you put the upper wing on, check for flexing around the fuselage/wing join. Sometimes the fuselage will flex and that can make for an annoying seam fix. The cockpit looks great. The Quinta stuff really pops. I've got a couple resin cockpit seats so I'm a bit torn over whether to go that route.
-
I got my my Carpet Monster back. Fur has been sick the last week. On Monday, I noticed that she clicked while walking. Which cats shouldn't do as their nails retract. Sure enough, she had 4 that were badly ingrown. They curled all the way around and were actually puncturing her paws. Don't know how she put up with the pain. Anyways, I brought her to the vet and they duly took care of them. Unfortunately they noticed that she was dehydrated and potassium deficient. Both are signs of kidney dysfunction which we knew she had but it wasn't as bad. Sue was really worried that we would have to put her to sleep. But after an IV and some potassium supplements, she's closer to being her old self again. We might not much more time with her, (she's 20 years old best guess) but we'll be happy to enjoy what we have.

-
Thanks for explaining what the broaches are. I keep seeing them abd had no idea what they were or how to use them. Makes much more sense now.
-
The engine looks great. Does this one have working internals (pistons and crankshaft) like some of their engines do?
-
Proof, or it didn't happen!
-
Things look great there Chris. The blue might be a bit on the darker side but that would be nit picking.
-
The cylinder head looks amazing. The individual fins are an interesting approach but I guess it makes it easier than trying to clean up a mould seam from between each one if it was cast as a single part.
-
Revell Me-262B up. Now down! Now up!!! LOL
BlrwestSiR replied to JohnB's topic in LSM 1/35 and Larger Work In Progress
Nice work so far John. I had fit troubles with the cockpit on mine as well. -
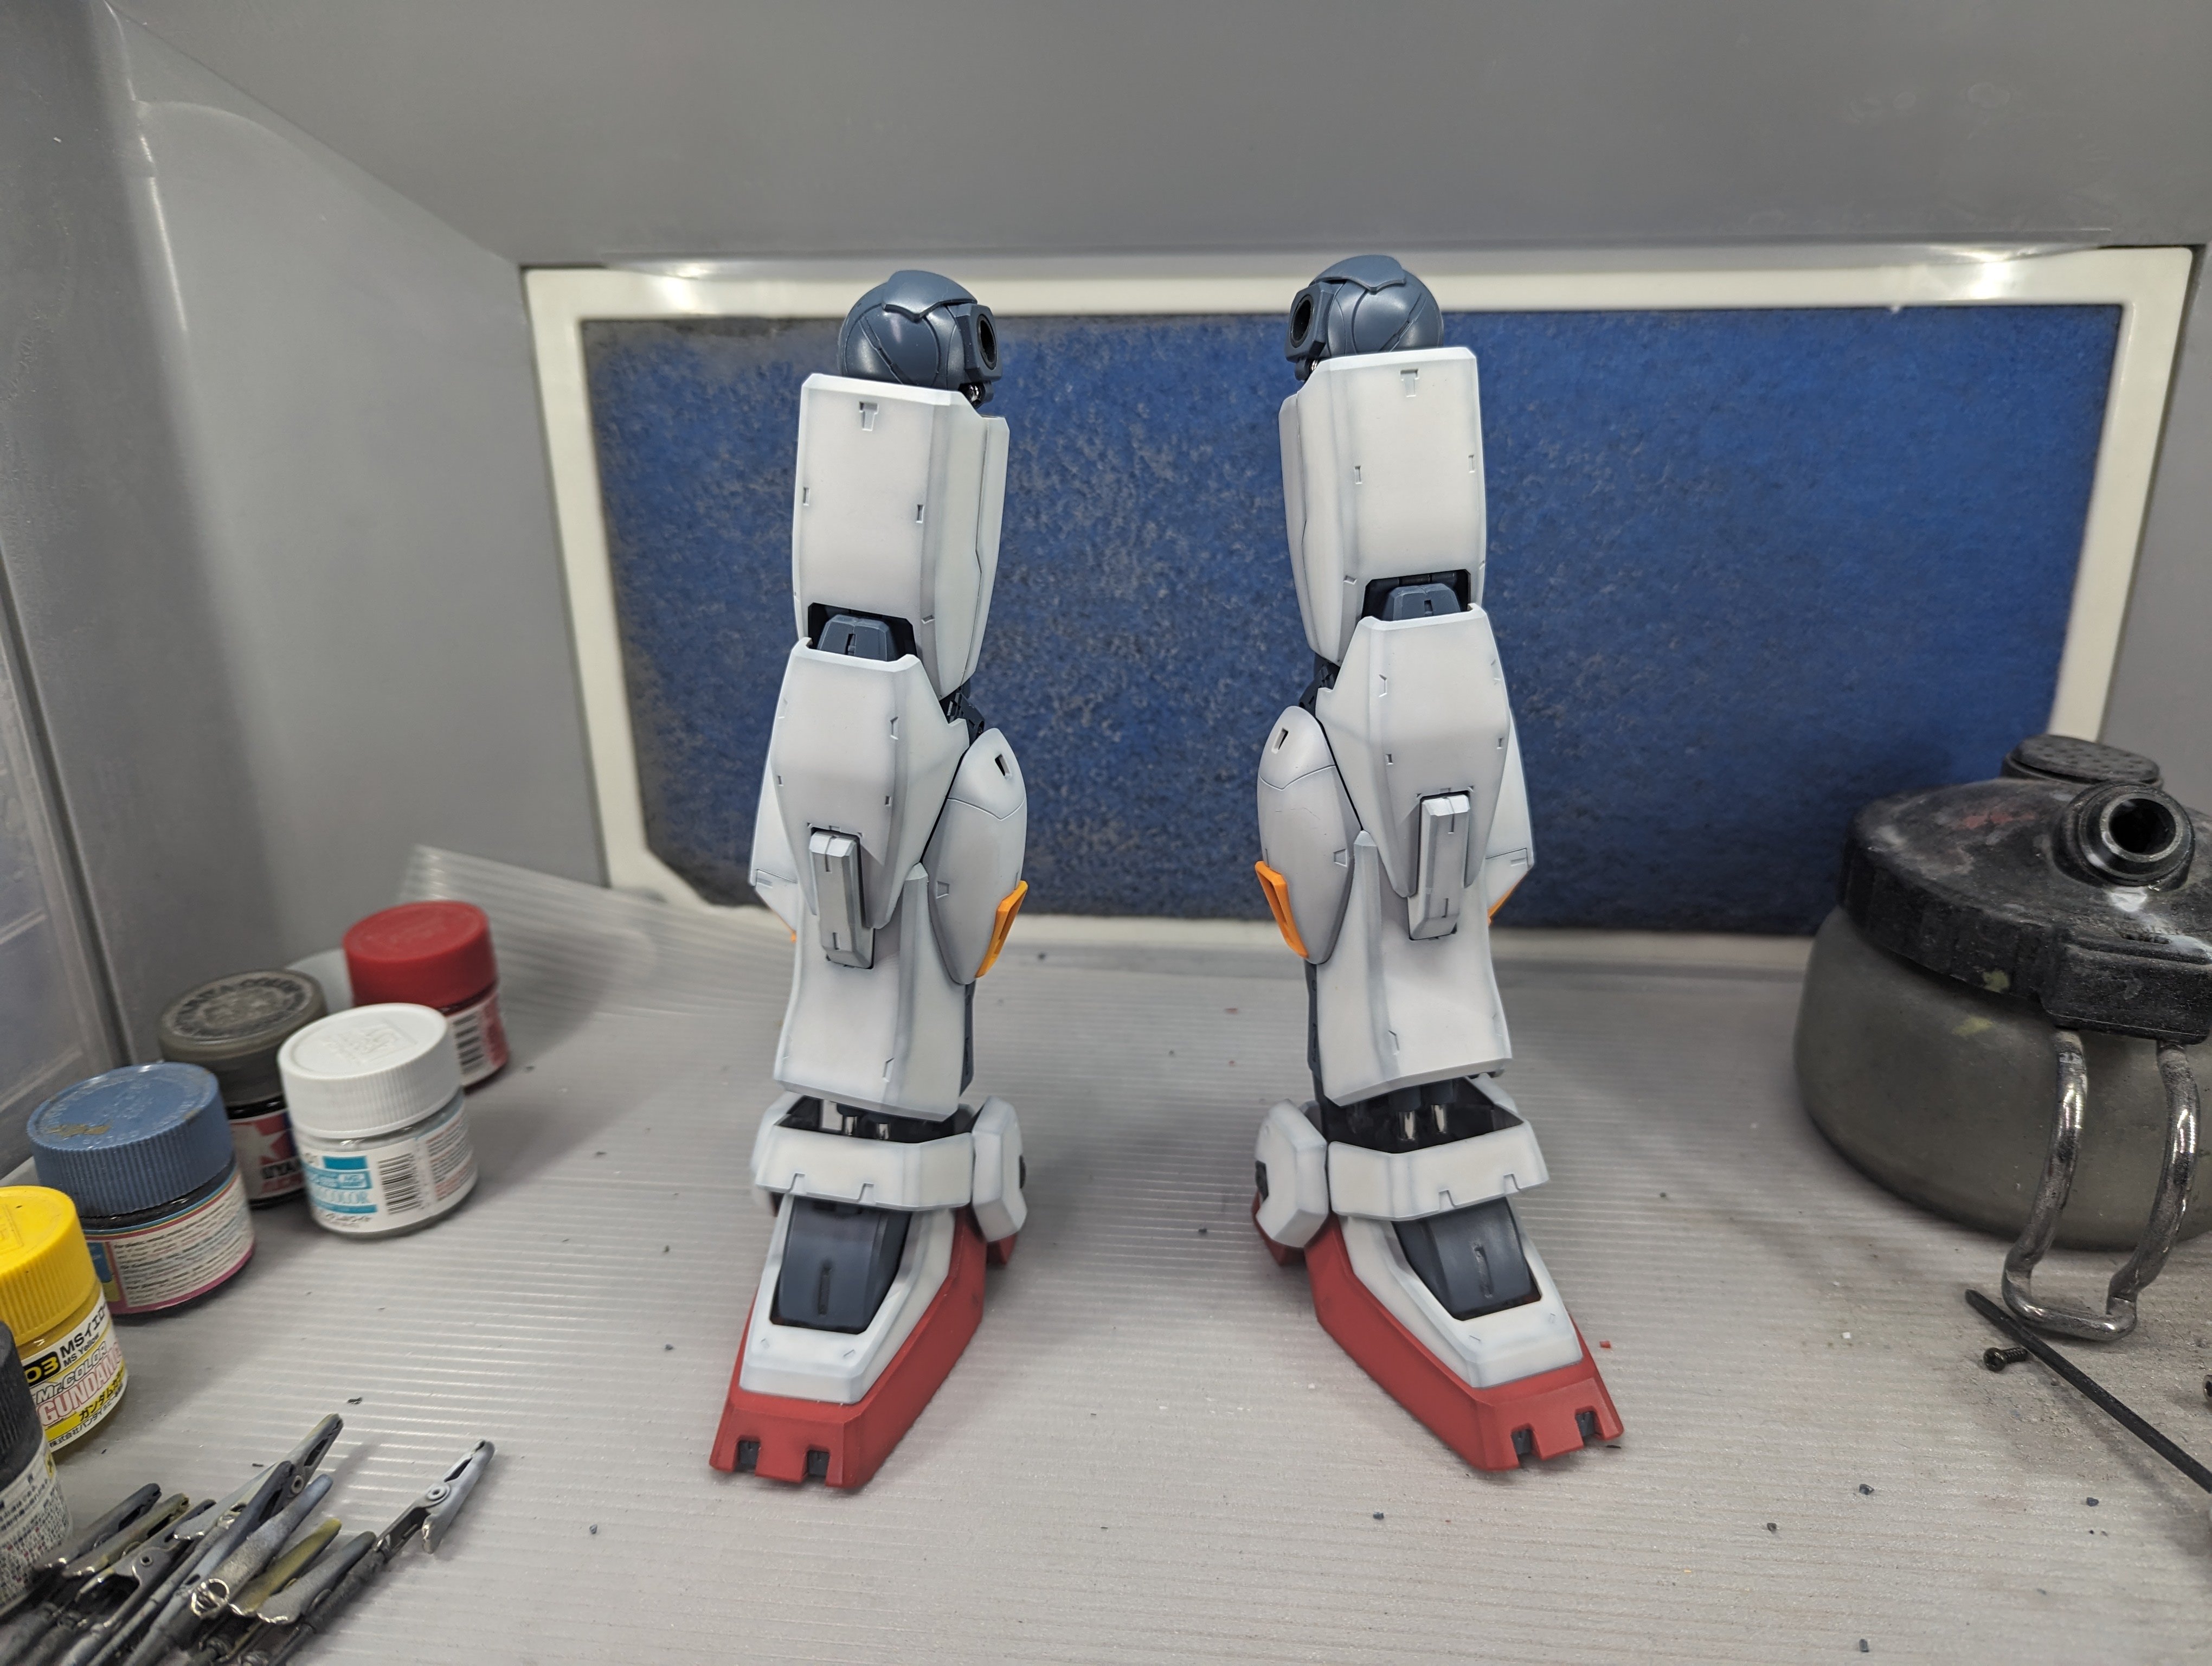
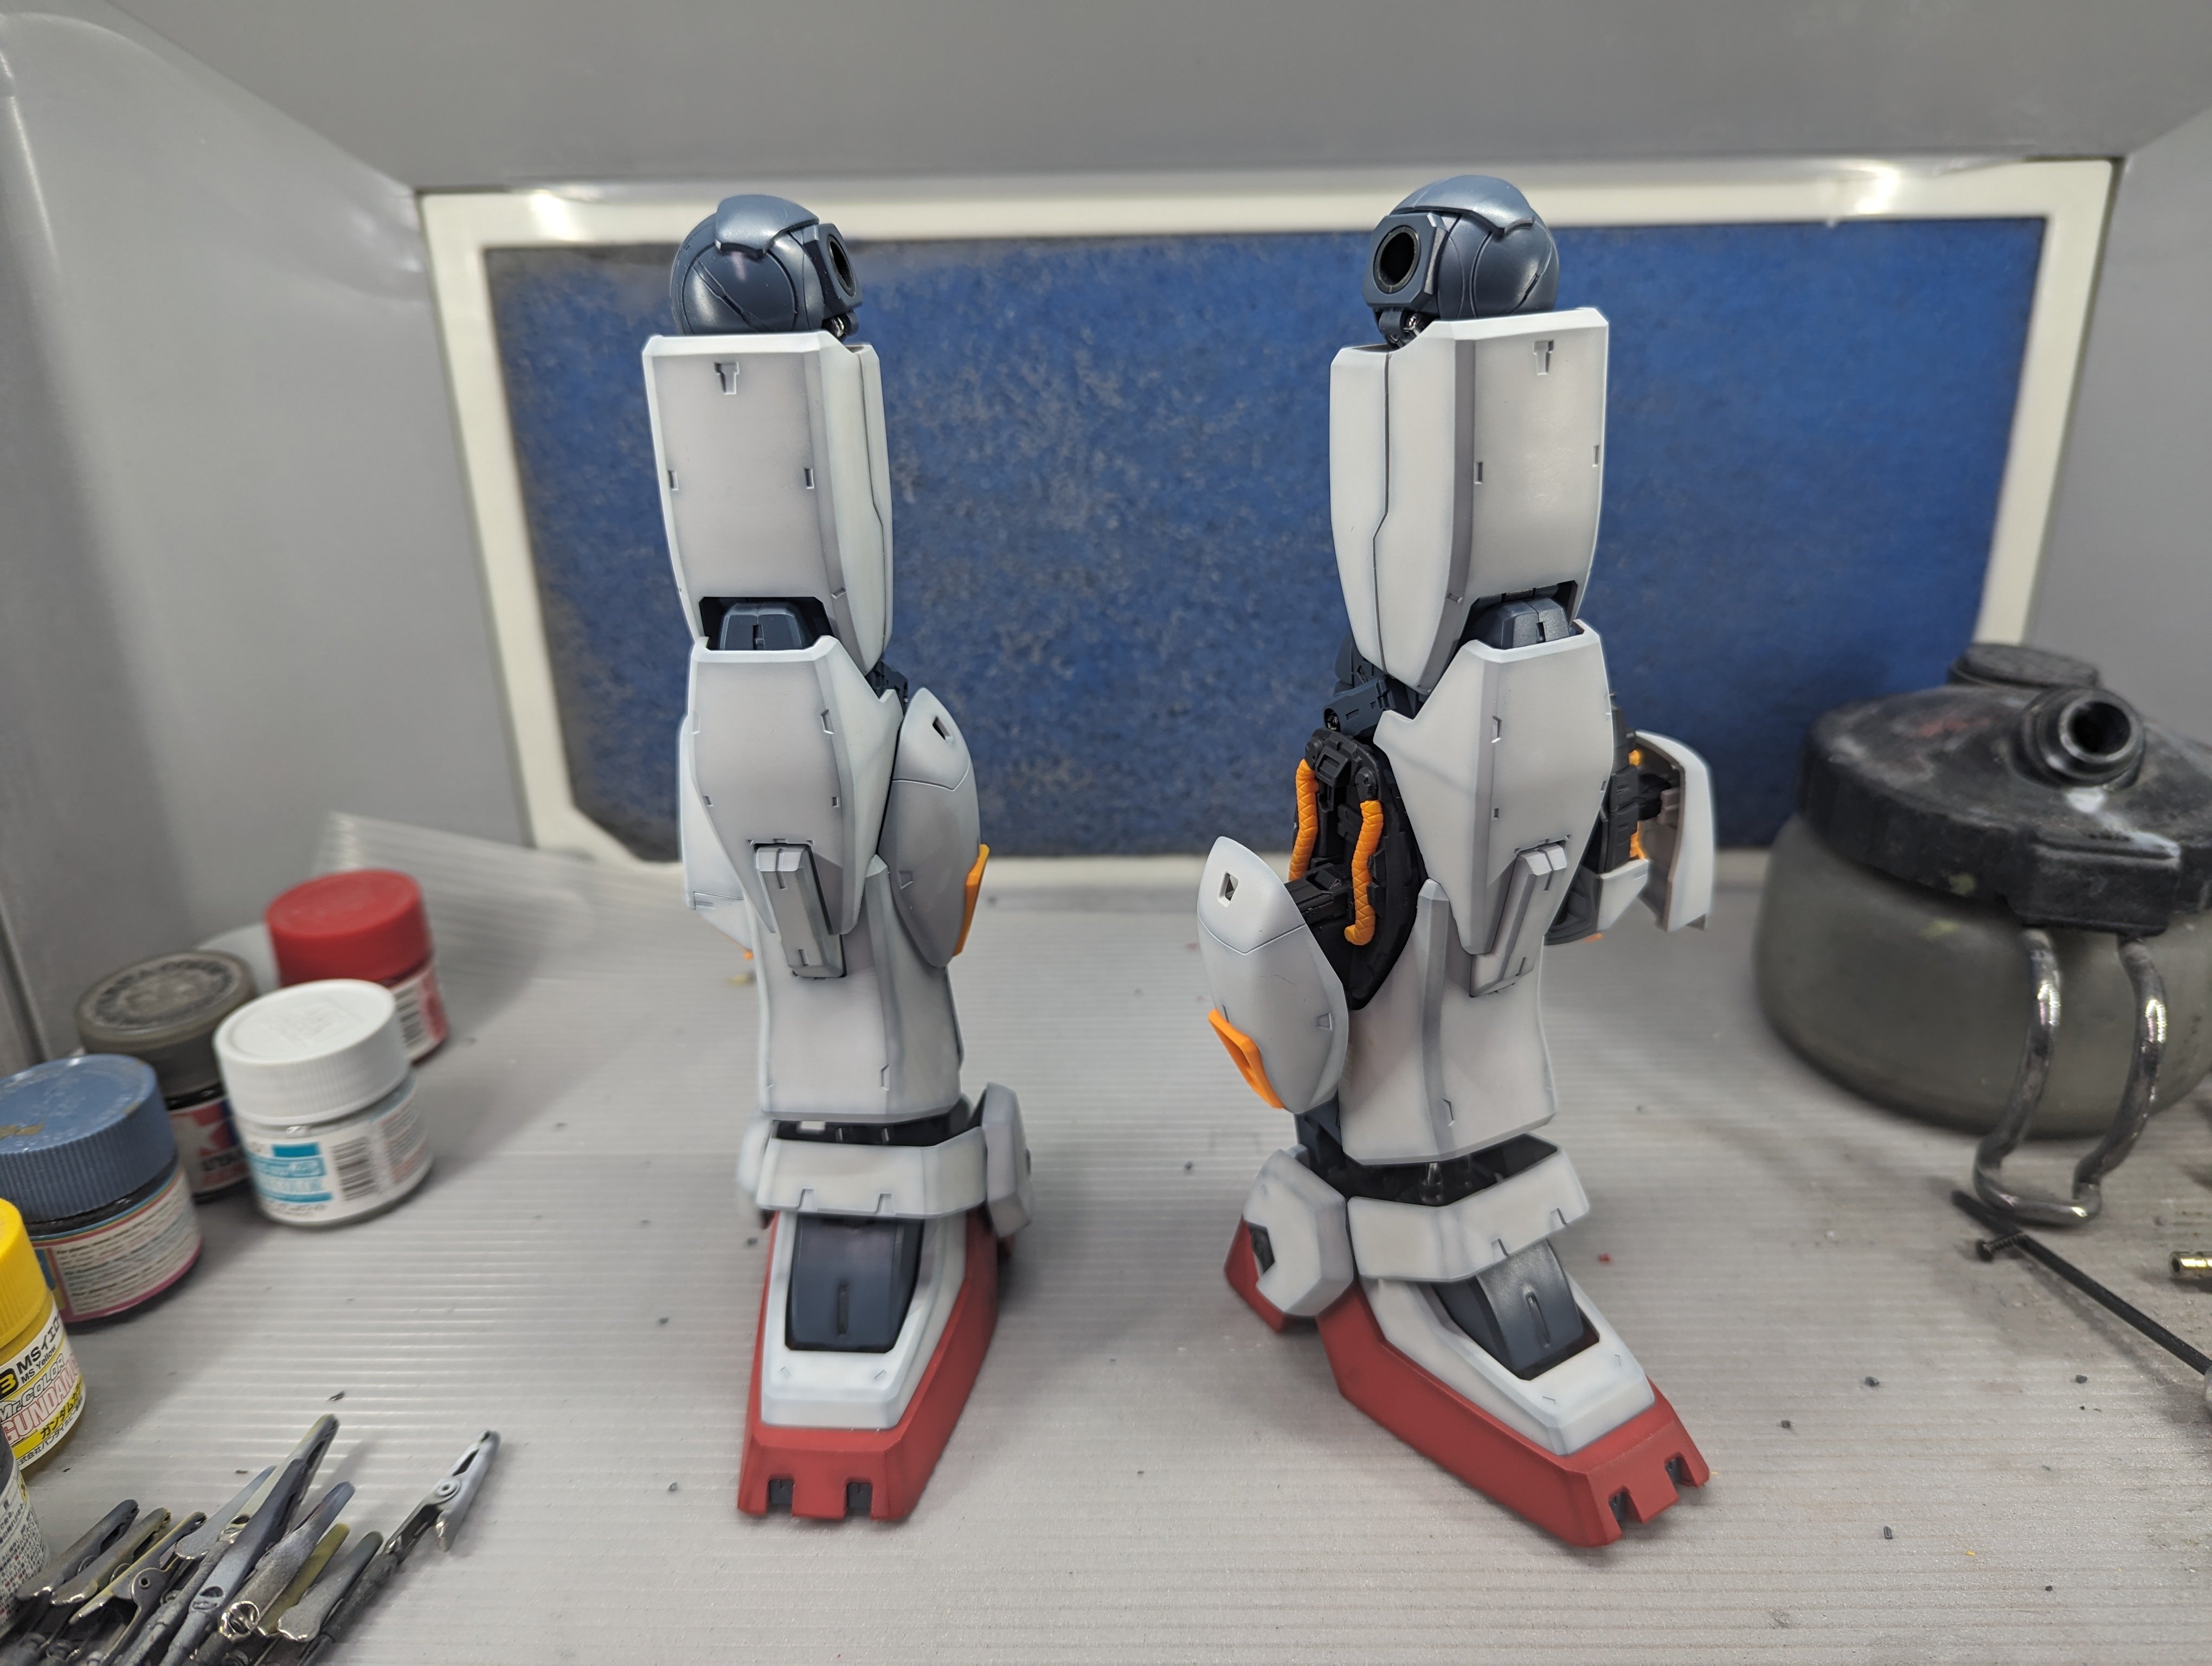
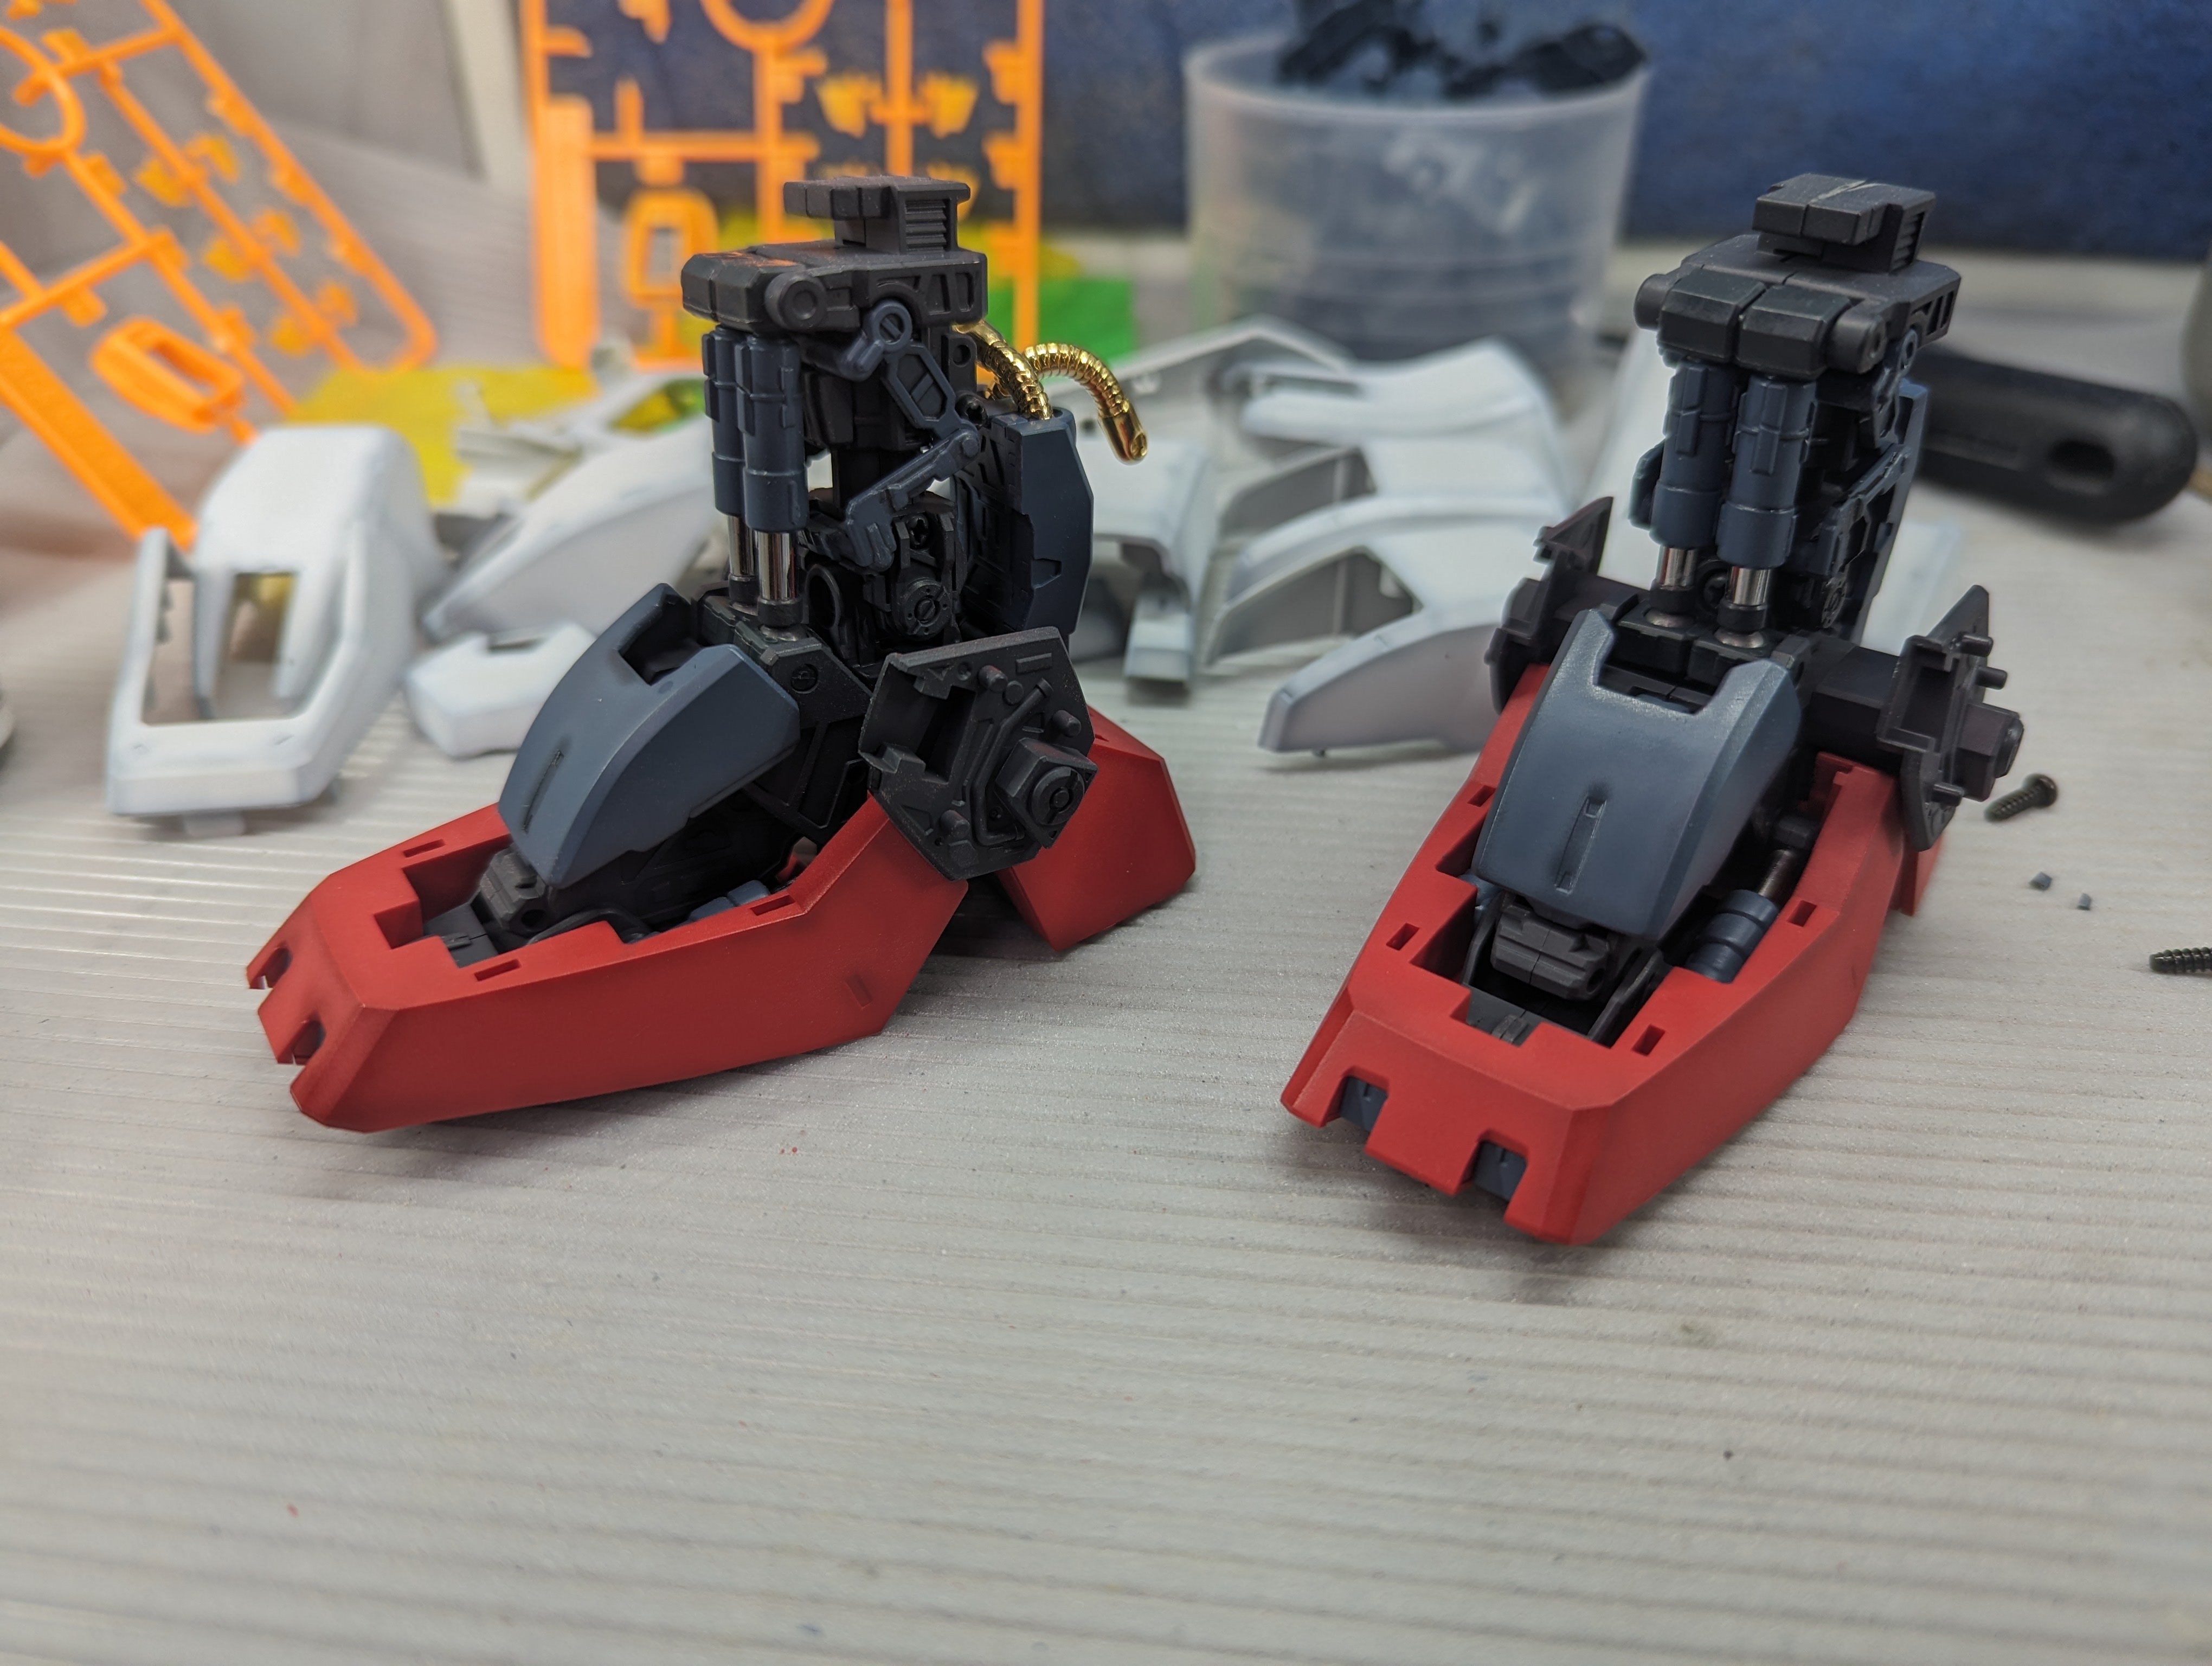
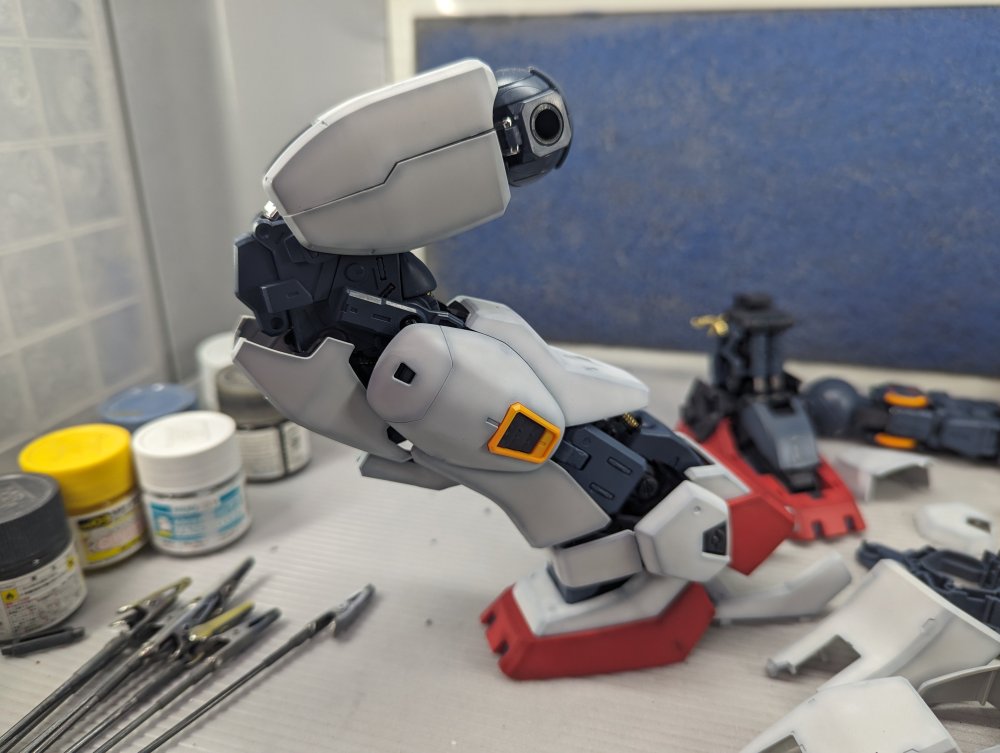
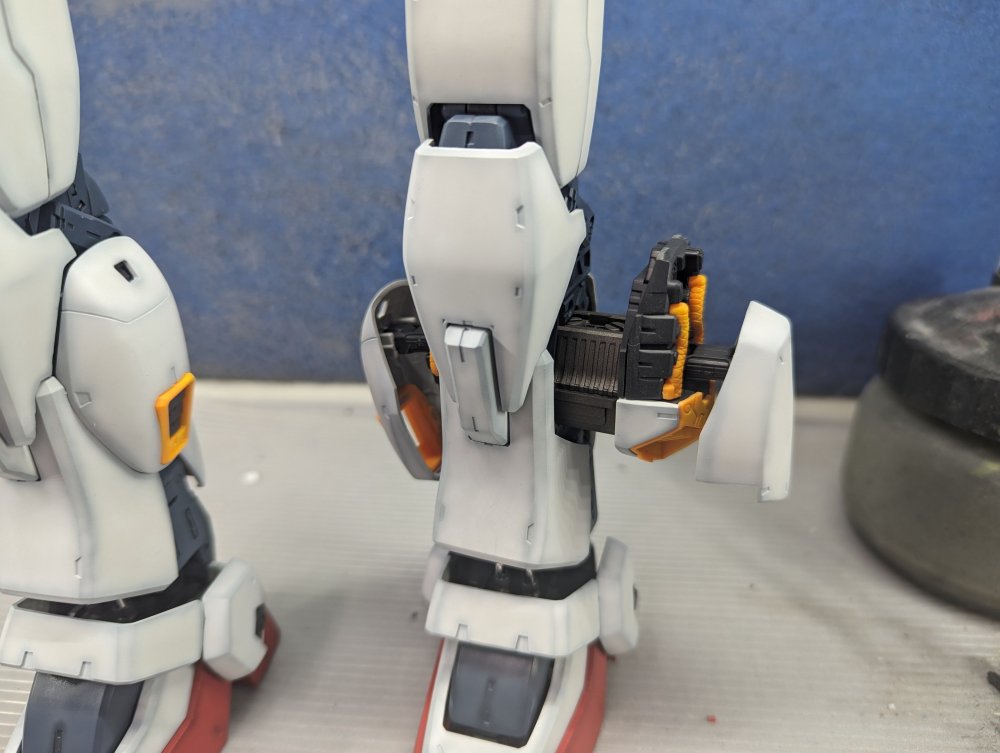
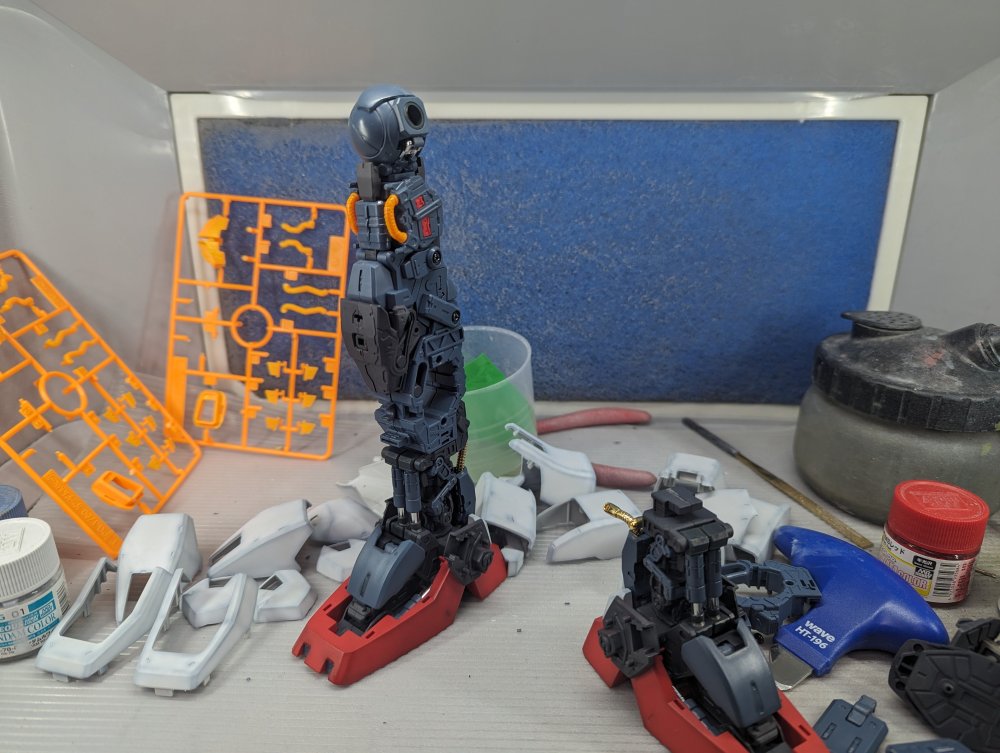
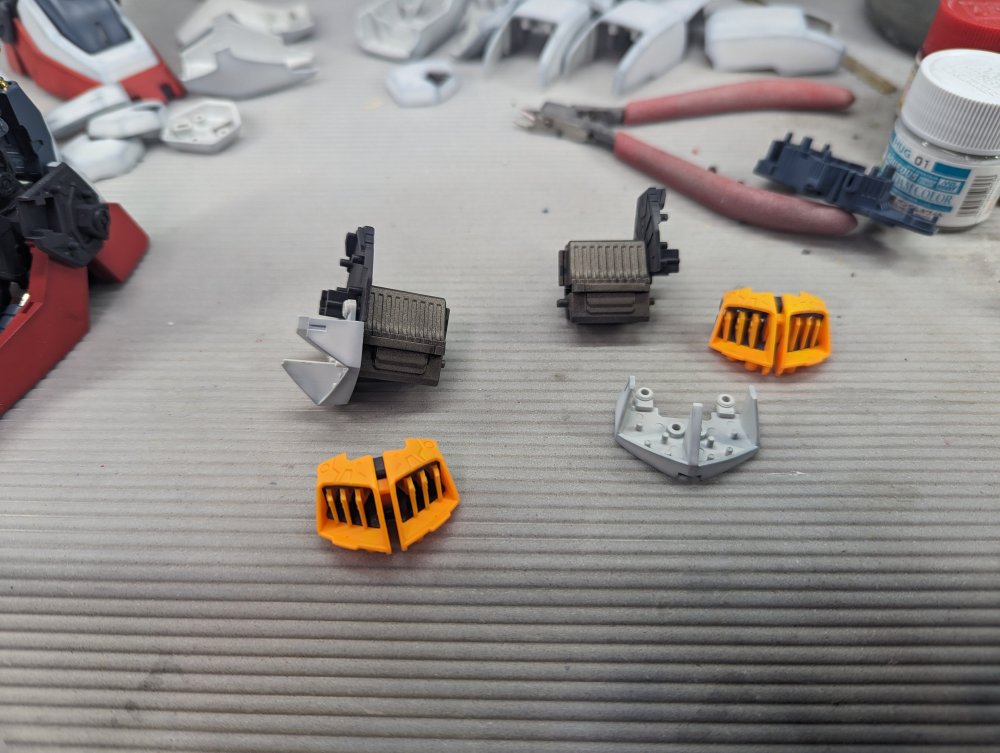
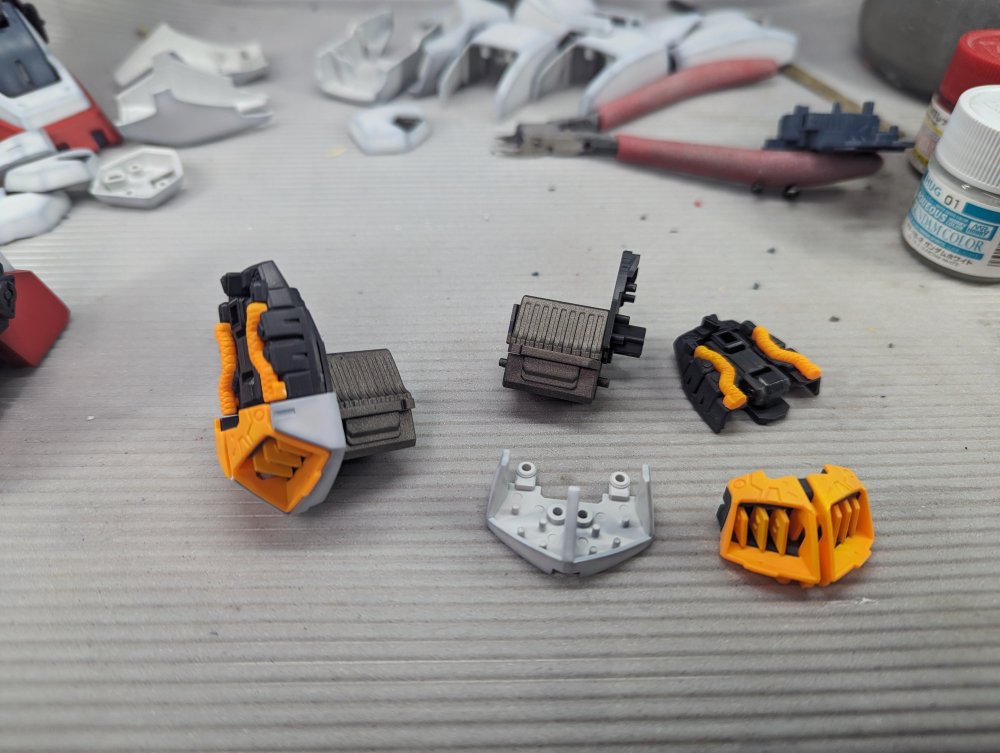
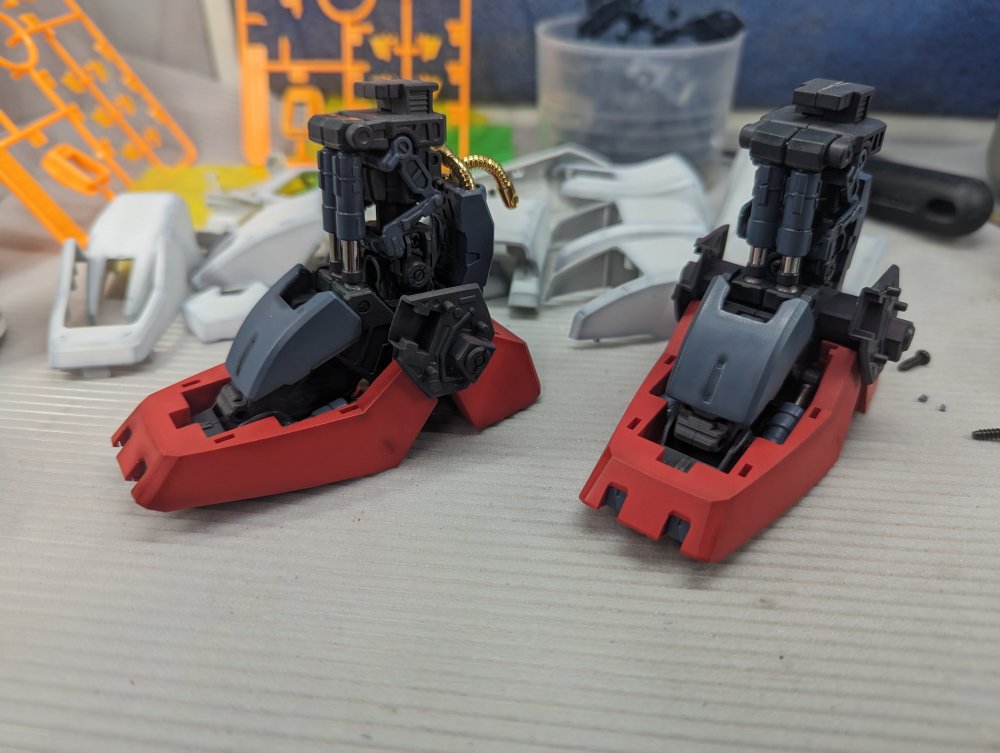
The rest of the exterior panels/armour go on next. Here's the first leg down next to the parts for the second. A mobility test. The second leg done. The open panels on the calves. Closeup showing the radiator assembly. So far I've only used cement on 2 pieces. It's all press fit or screws.


-
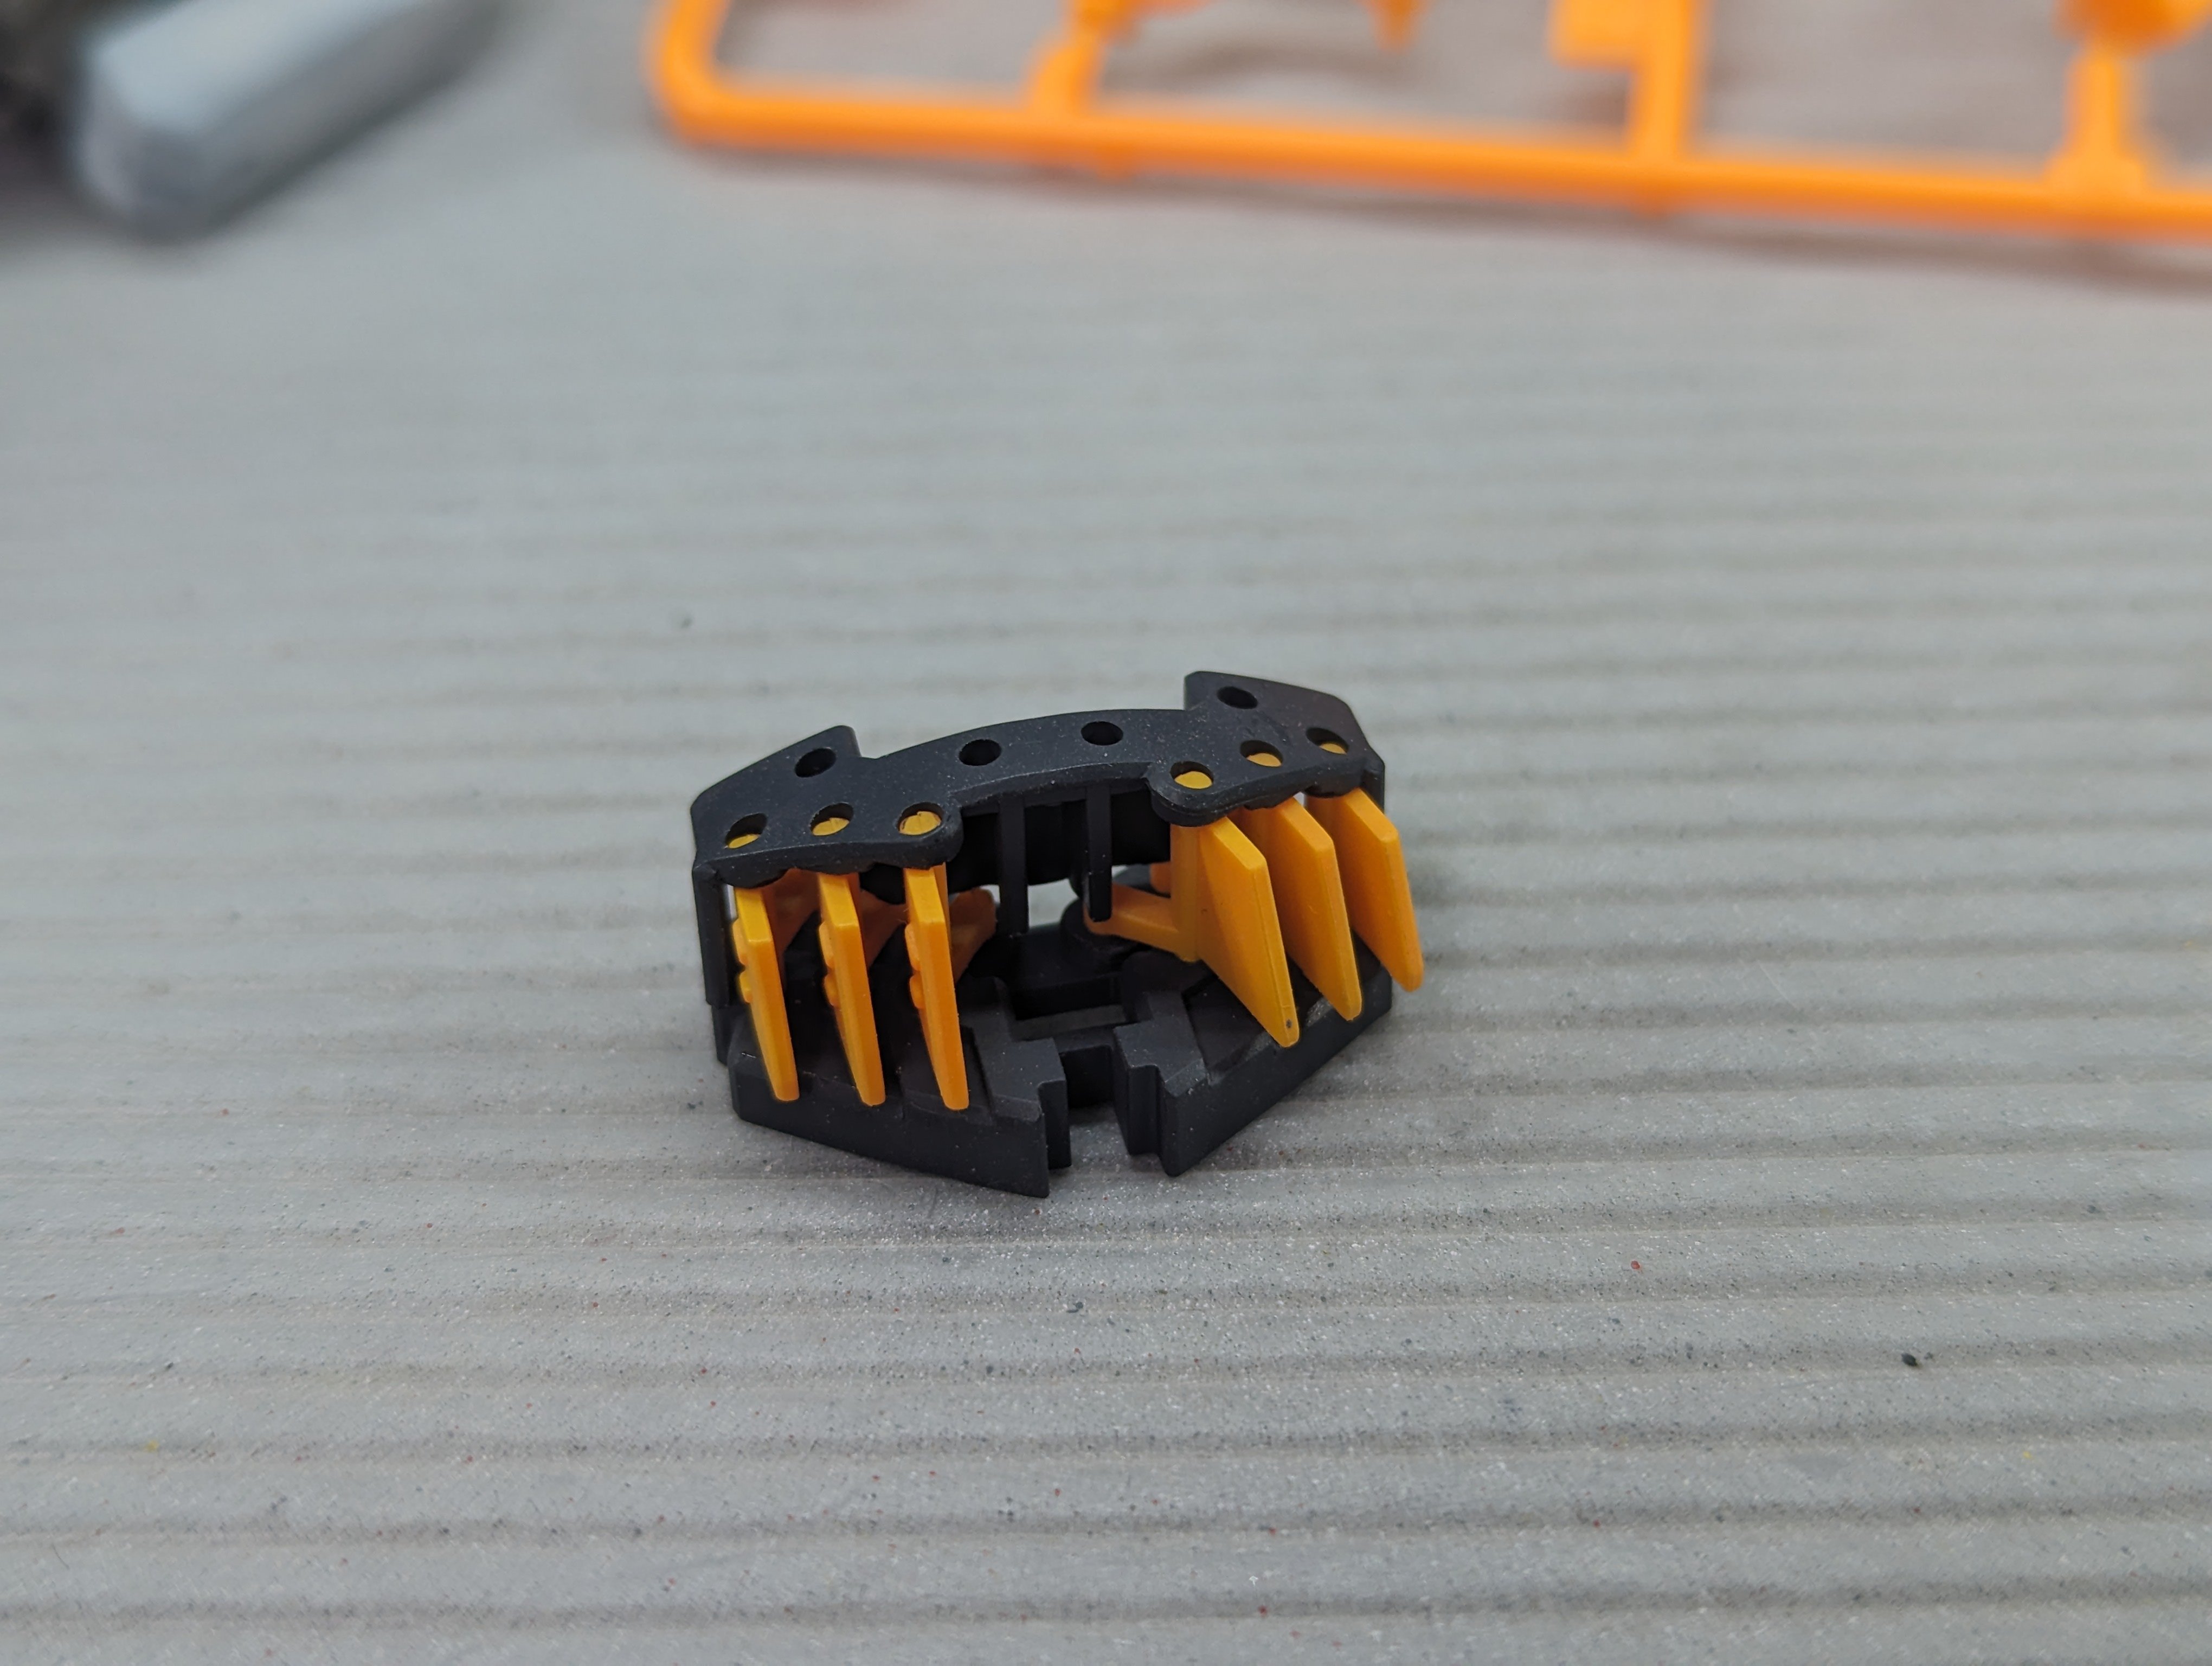
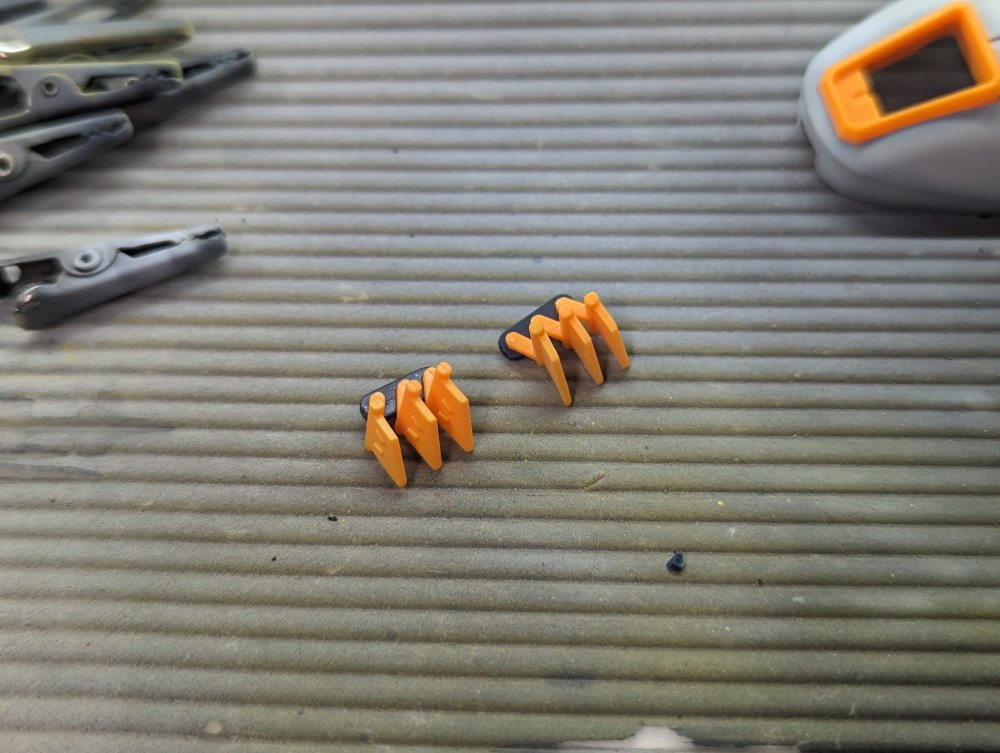
I got the legs finished off. First up was the second foot. I also added the ankles to them. Then the legs inner frame was completed. As g this point I started on the detail bits to the armour panels. There are a set of movable vanes that go on the calves. These are attached to a retractable radiator section.

-
Yikes! That's a serious ack-ack hit! What about epoxy putty or Apoxie Sculpt? Those should be able to tackle that plus you can shape it with wet tools before it hardens and save on the sanding time.
-
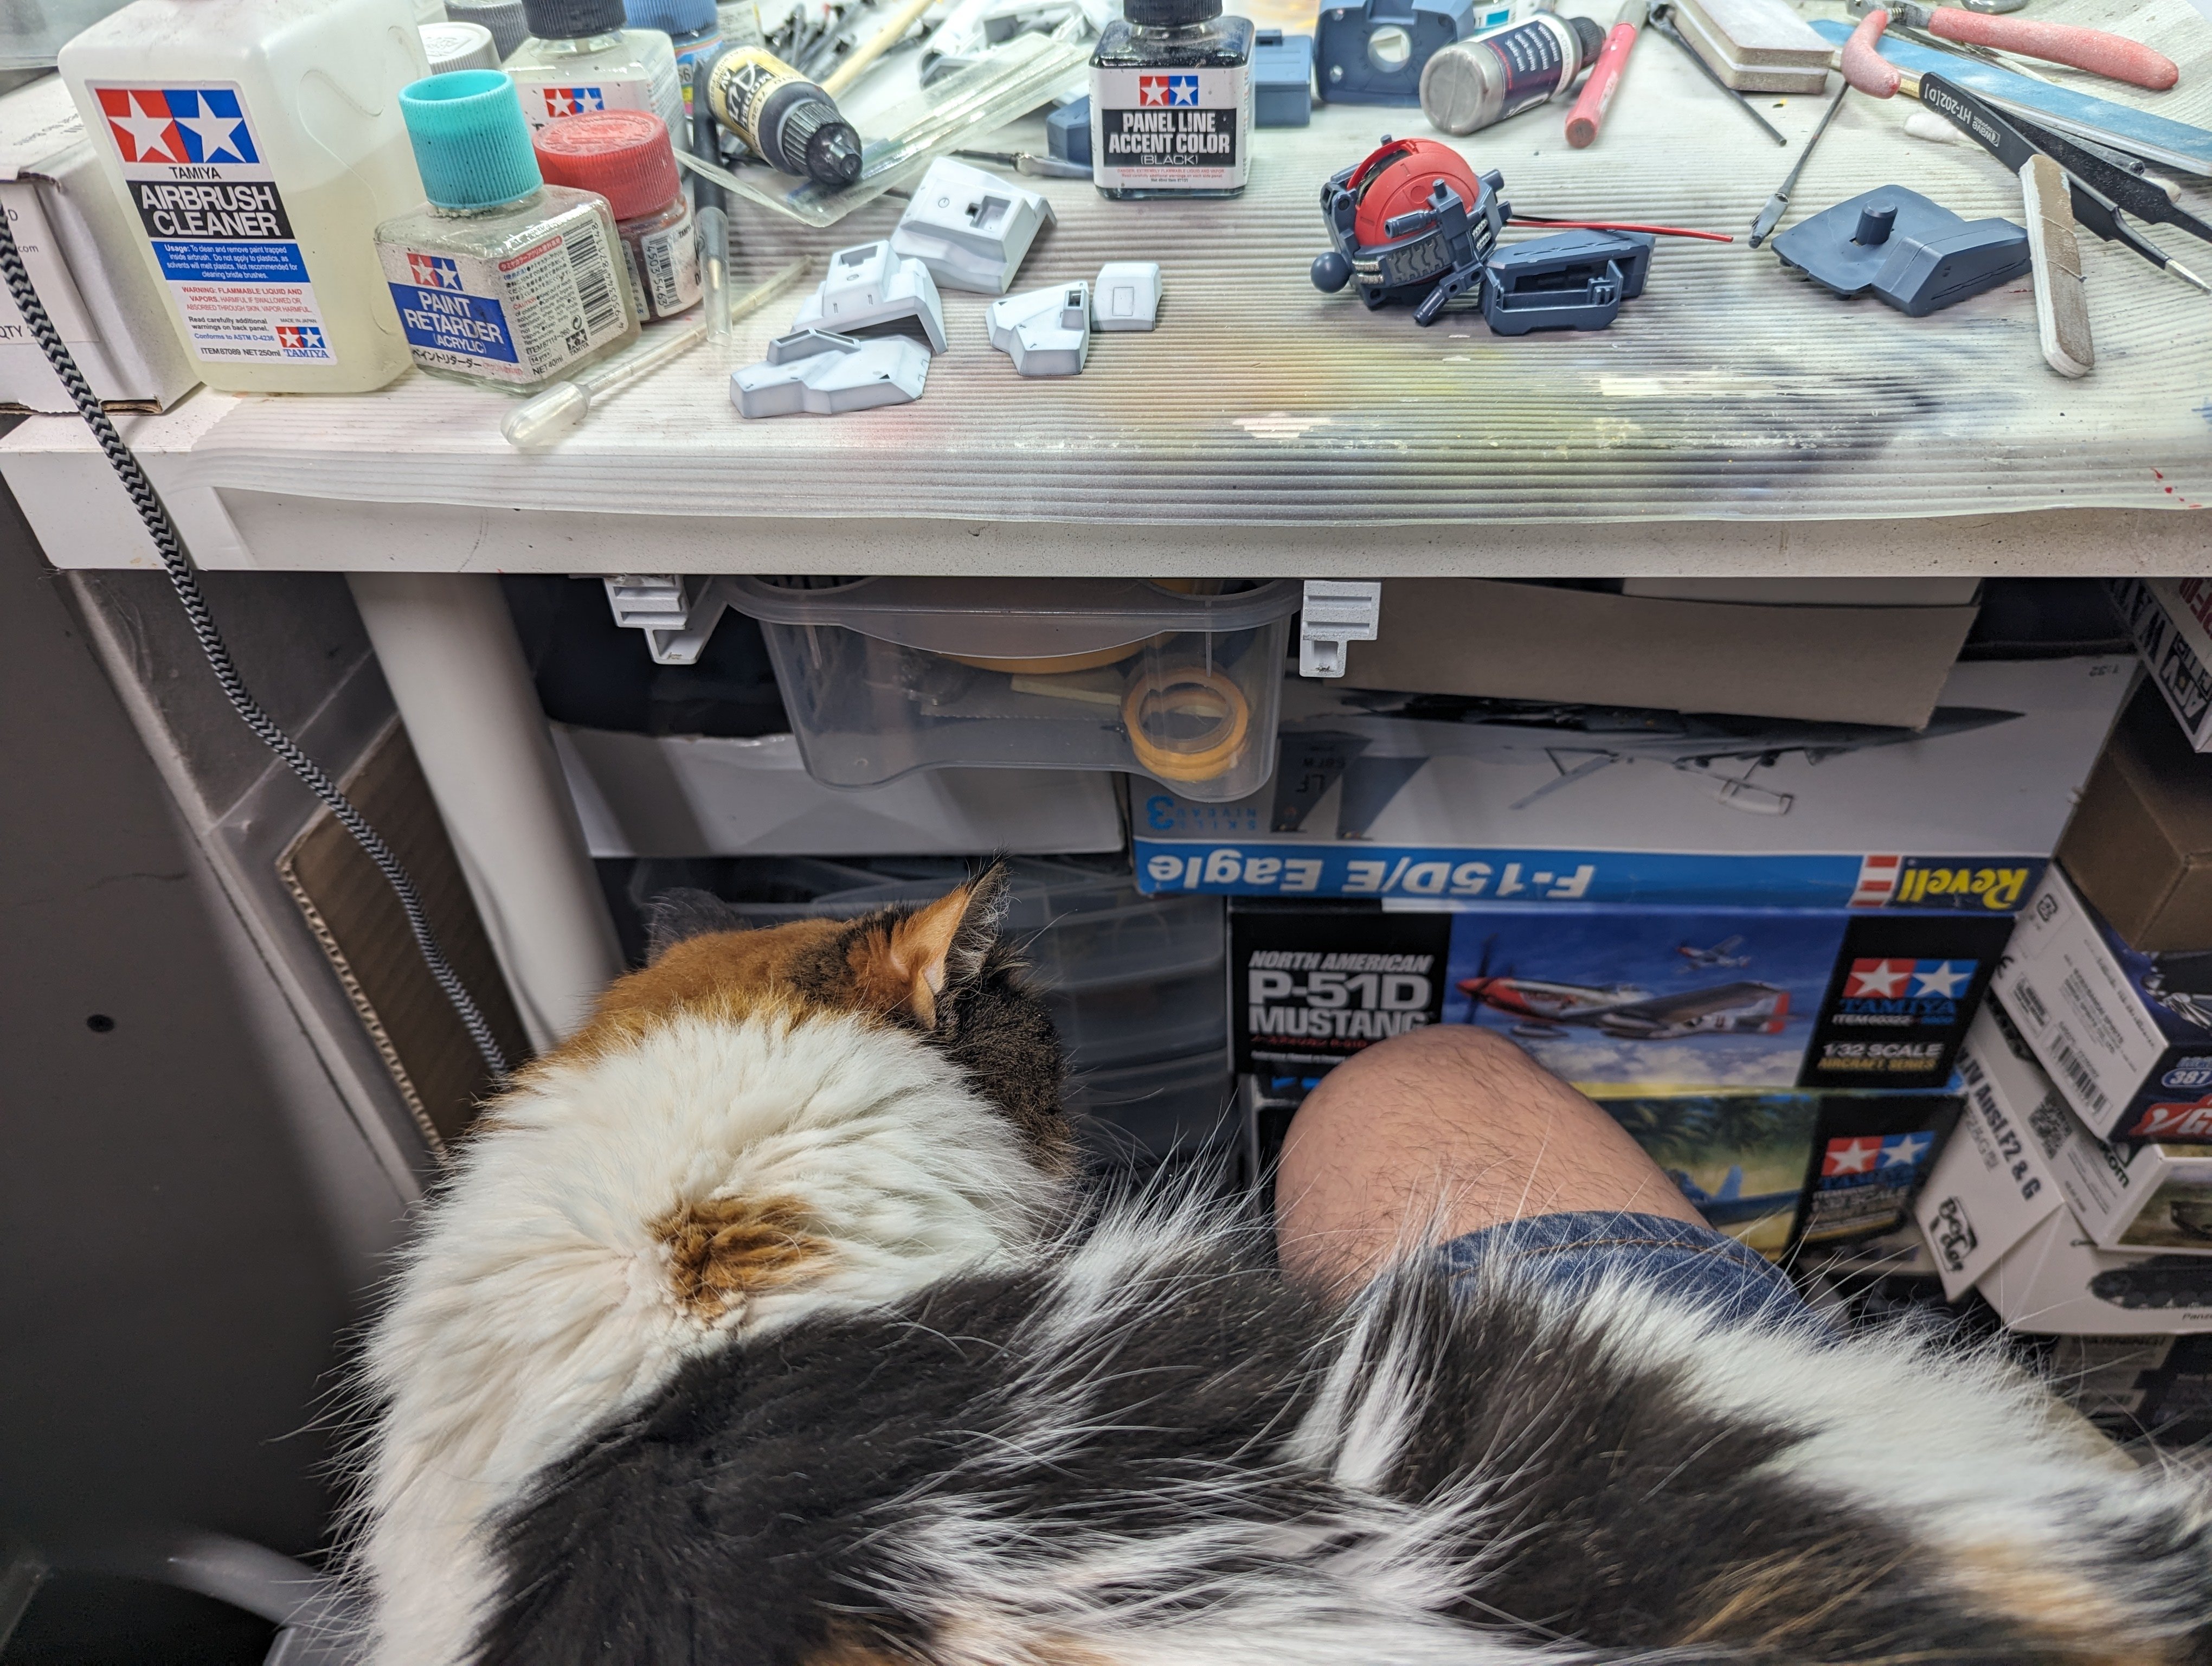
I can totally relate to this. Although my Carpet Monster is sick at the moment so not with me at the bench.
-
Great to see the results of using the magnetic tumbler. It really makes quite the difference and probably a lot less work than doing it by hand. HLJ did a tour of the MFH factory and it's impressive to see how they cast the parts and craft the kits. It's from a few years ago but still great to see.
-
Revell Me-262B up. Now down! Now up!!! LOL
BlrwestSiR replied to JohnB's topic in LSM 1/35 and Larger Work In Progress
Helps if I read. -
Revell Me-262B up. Now down! Now up!!! LOL
BlrwestSiR replied to JohnB's topic in LSM 1/35 and Larger Work In Progress
Nice subject John. Are you using the Trumpeter kit or the newer Revell one? -
That's impressive! Wouldn't have thought of that detail.
-
I think I maybe wash the Beat once every other year. The roof doesn't seal that well against the windows so getting it wet means water leaks into the cabin. It sits under a cover most of the time so doesn't get dirty thankfully.
- 2,036 replies
-
- 2
-
-
- car related stuff
- anything about cars
- (and 6 more)