BlrwestSiR
-
Posts
9,160 -
Joined
-
Last visited
Content Type
Profiles
Forums
Events
Gallery
Everything posted by BlrwestSiR
-

What is on your bench right now ? Share a picture :)
BlrwestSiR replied to Martinnfb's topic in Modelling Discussion
I guess I'm fortunate that at the moment I can get away with a set of readers. But I'm sure there will be a time when I'll need something stronger. Nice to hear about what folks are using for when that day comes. -
That's sorry to hear. Not really being a ship builder, I only bought the F-4 jig and the belly strap that they did.
-
Glad the suggestion worked out there Chris. The fit definitely looks much better.
-
That gear looks a lot more solid than what I've got on the Kai Eagle.
-
LSM Modelling News 2023 merged Fran and Artful69’s threads
BlrwestSiR replied to Fran's topic in Modelling Discussion
The Carrier looks great. I think I'm with Paul and will need to get one. -
Some nice progress there Chris. To get the pylon to fit better, you could try taping a piece of sandpaper to the wing and then use it to sand the pylon to the right contour. I would definitely pin it as well with a bit of metal rod.
-
F-15DJ Kai or Eagle Plus- Finished!
BlrwestSiR replied to BlrwestSiR's topic in The Great Twins Broup Bluild
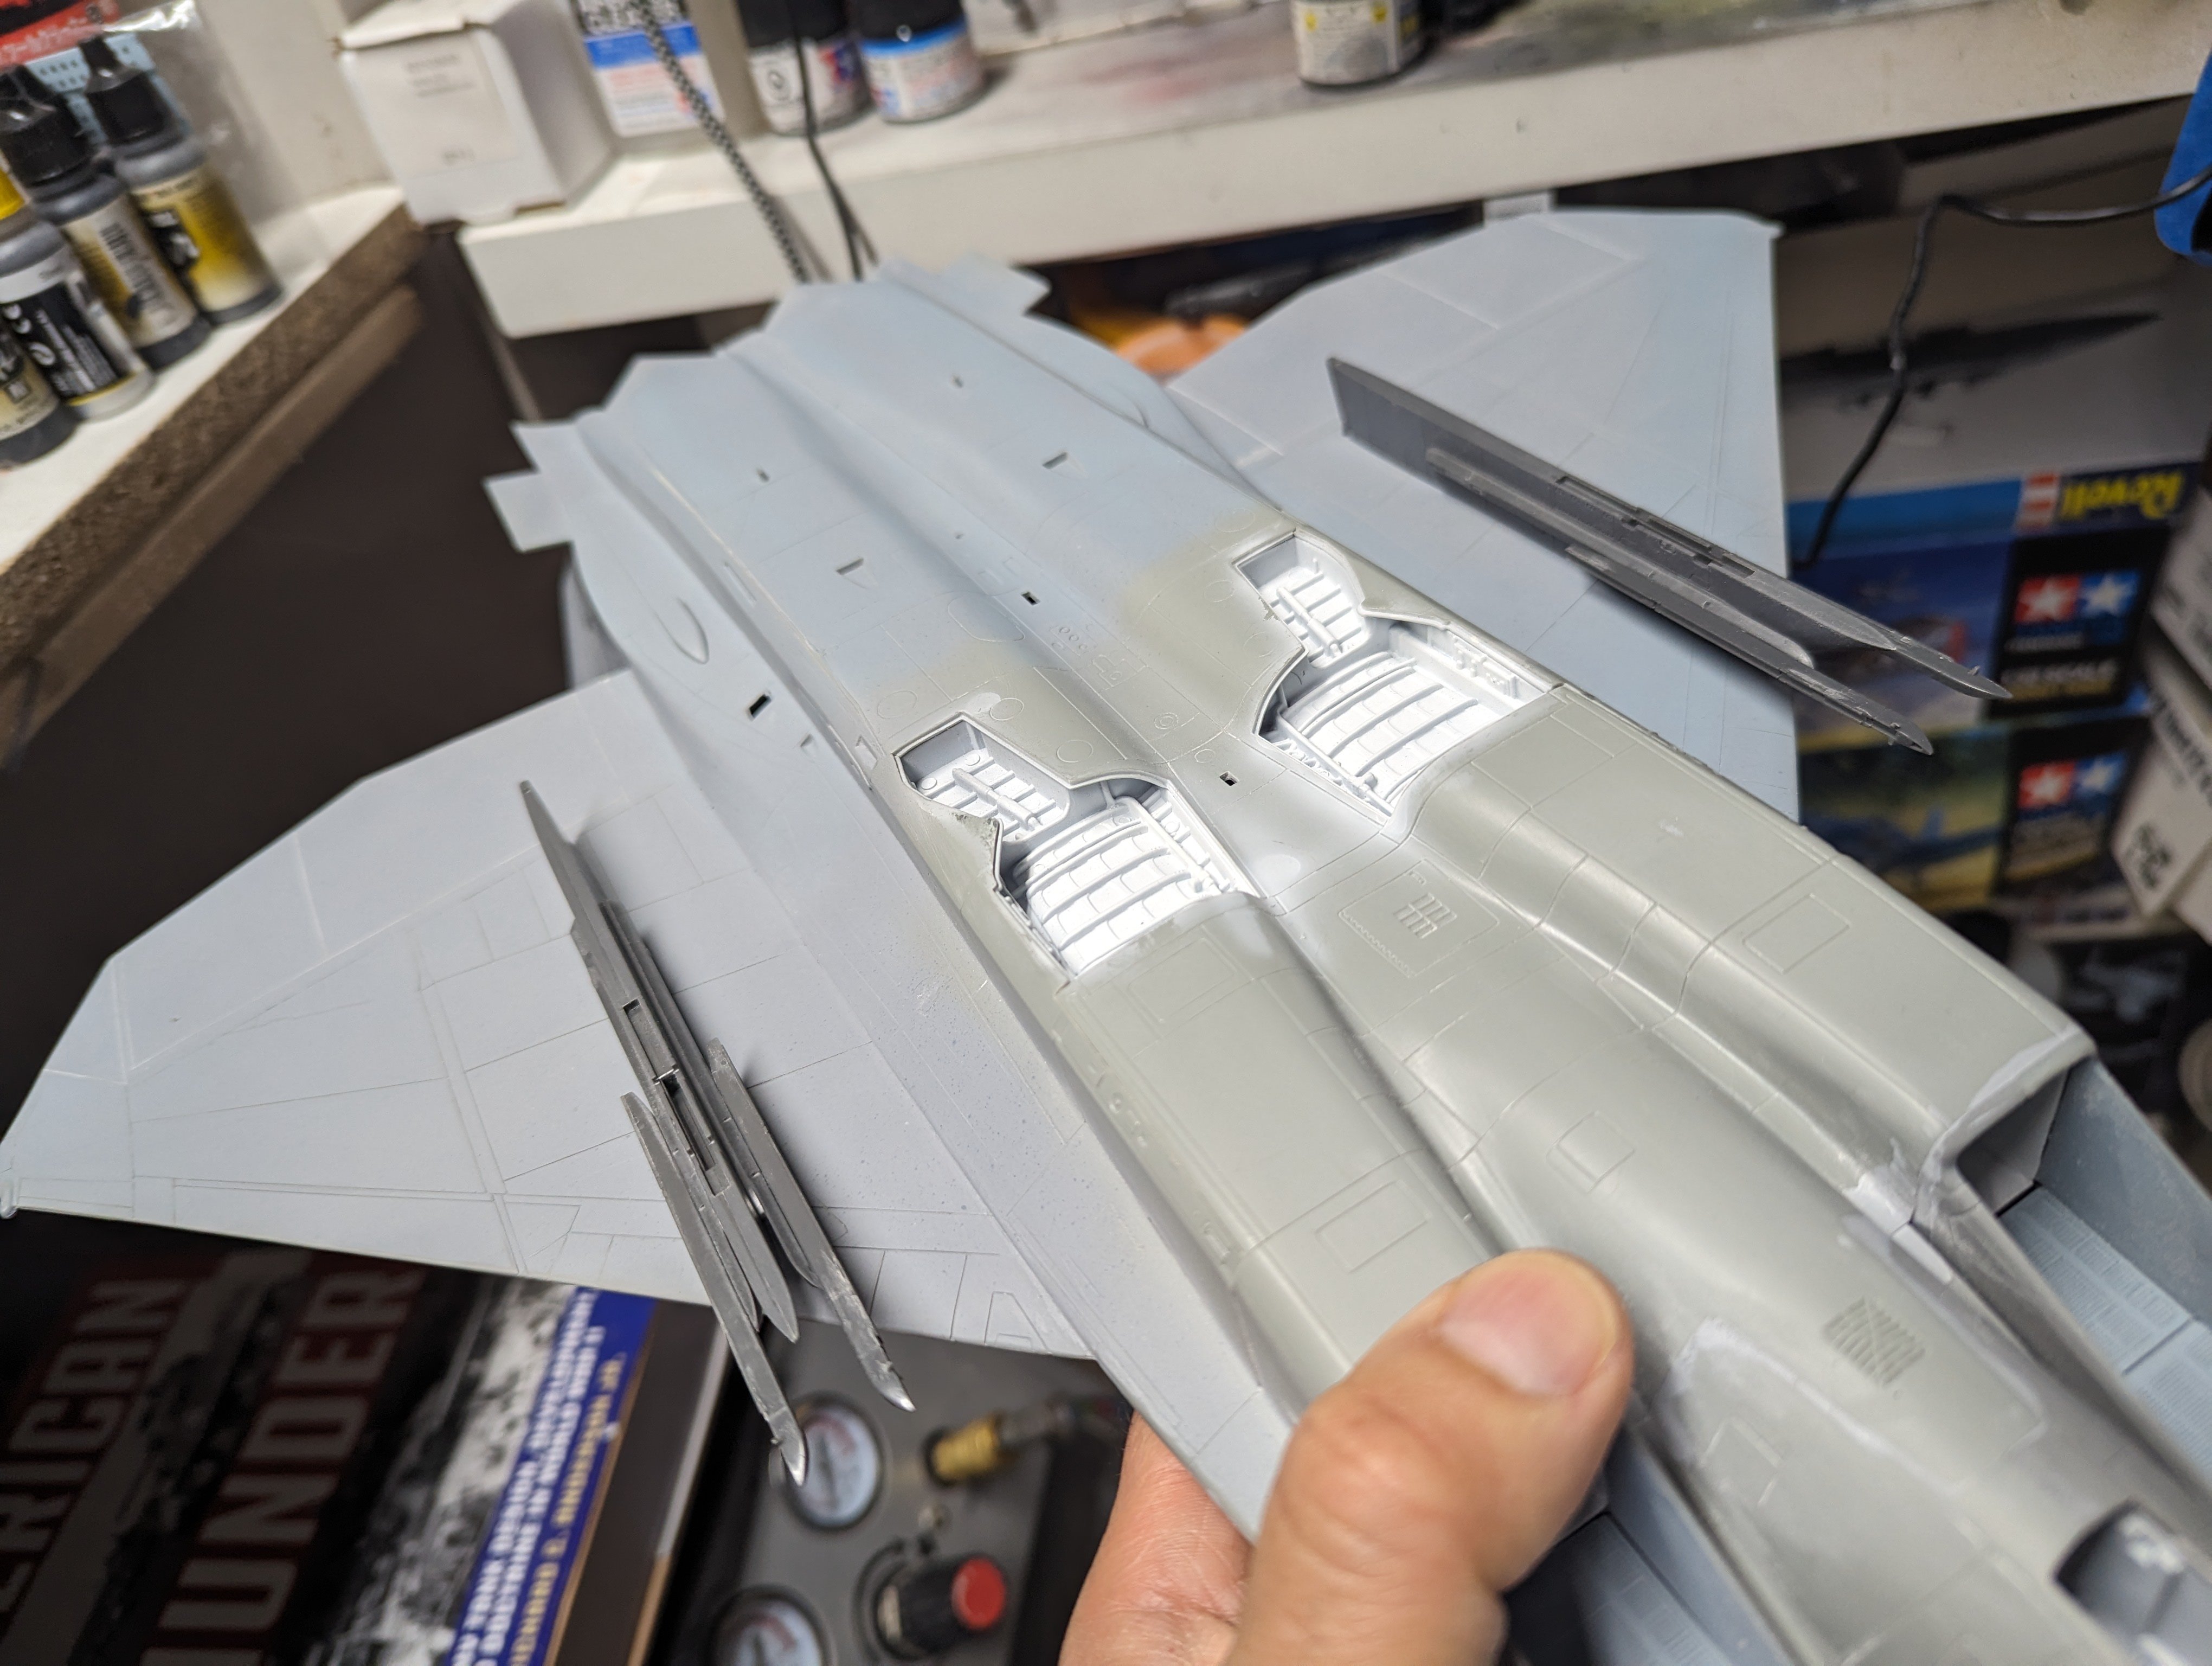
Started work on the landing gear. Lots of flash and ejector pin marks to clean up. Then I noticed that half of the nose leg was short shot. Thankfully I just grabbed the one out of the second kit and started over on the cleanup. The main assembly has been getting the seams filled and sanded so it's getting close to a coat of primer.
-
Maybe it made it easier to cast? Either way, you're making it look easy. I know, there's probably a bunch of test fit, sand, repeat but still.
-
Chris, I haven't heard of any issues with the kit Sidewinder rails. You actually need G11. Those are the LAU-7A that would have been in use at the time. If you do want to go AM Flying Leathernecks does some. Here's the Hannants listing but others should have them too. https://www.hannants.co.uk/product/FL32-2039?result-token=MMJRr If you haven't already, download the instructions for the F-4E kit here. They will help clear up some of the differences between the E and EJ. https://www.scalemates.com/kits/tamiya-60310-mcdonnell-douglas-f-4e-phantom-ii--131015
-
Ah, a Girls und Panzers fan. Nice work! Carl
-
F-15DJ Kai or Eagle Plus- Finished!
BlrwestSiR replied to BlrwestSiR's topic in The Great Twins Broup Bluild
With the extra work done to the back half of the fuselage, the Eagle is now a tail sitter. So time for some nose weight. 17¢ was put in the nose cone and glued in place. Once dry, I can then attach the nose cone.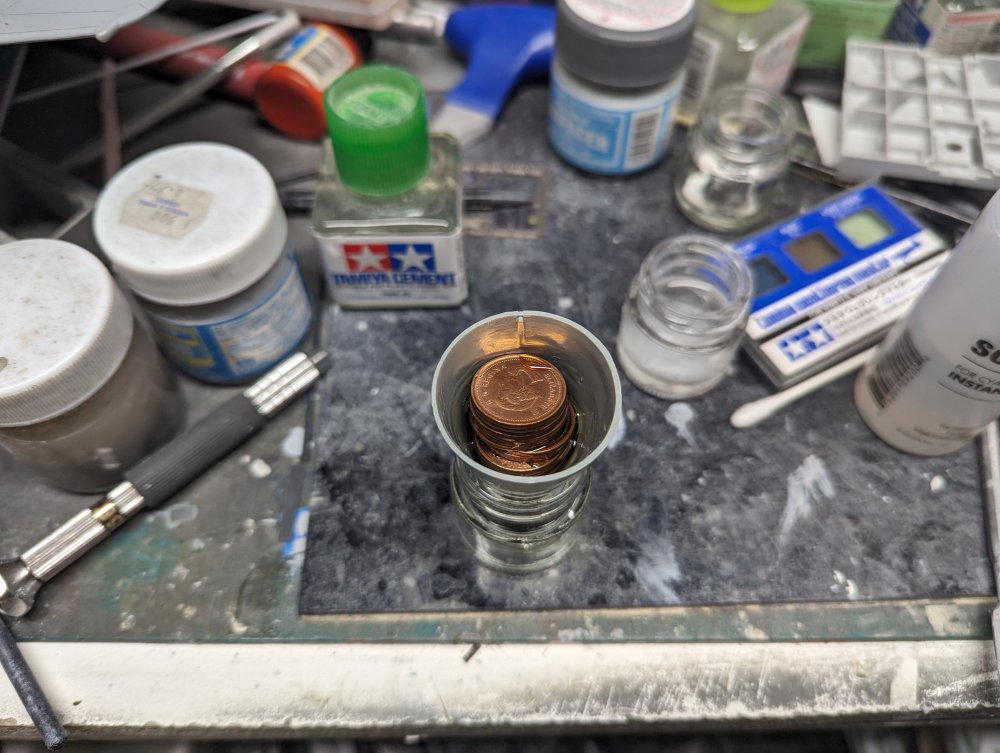
-
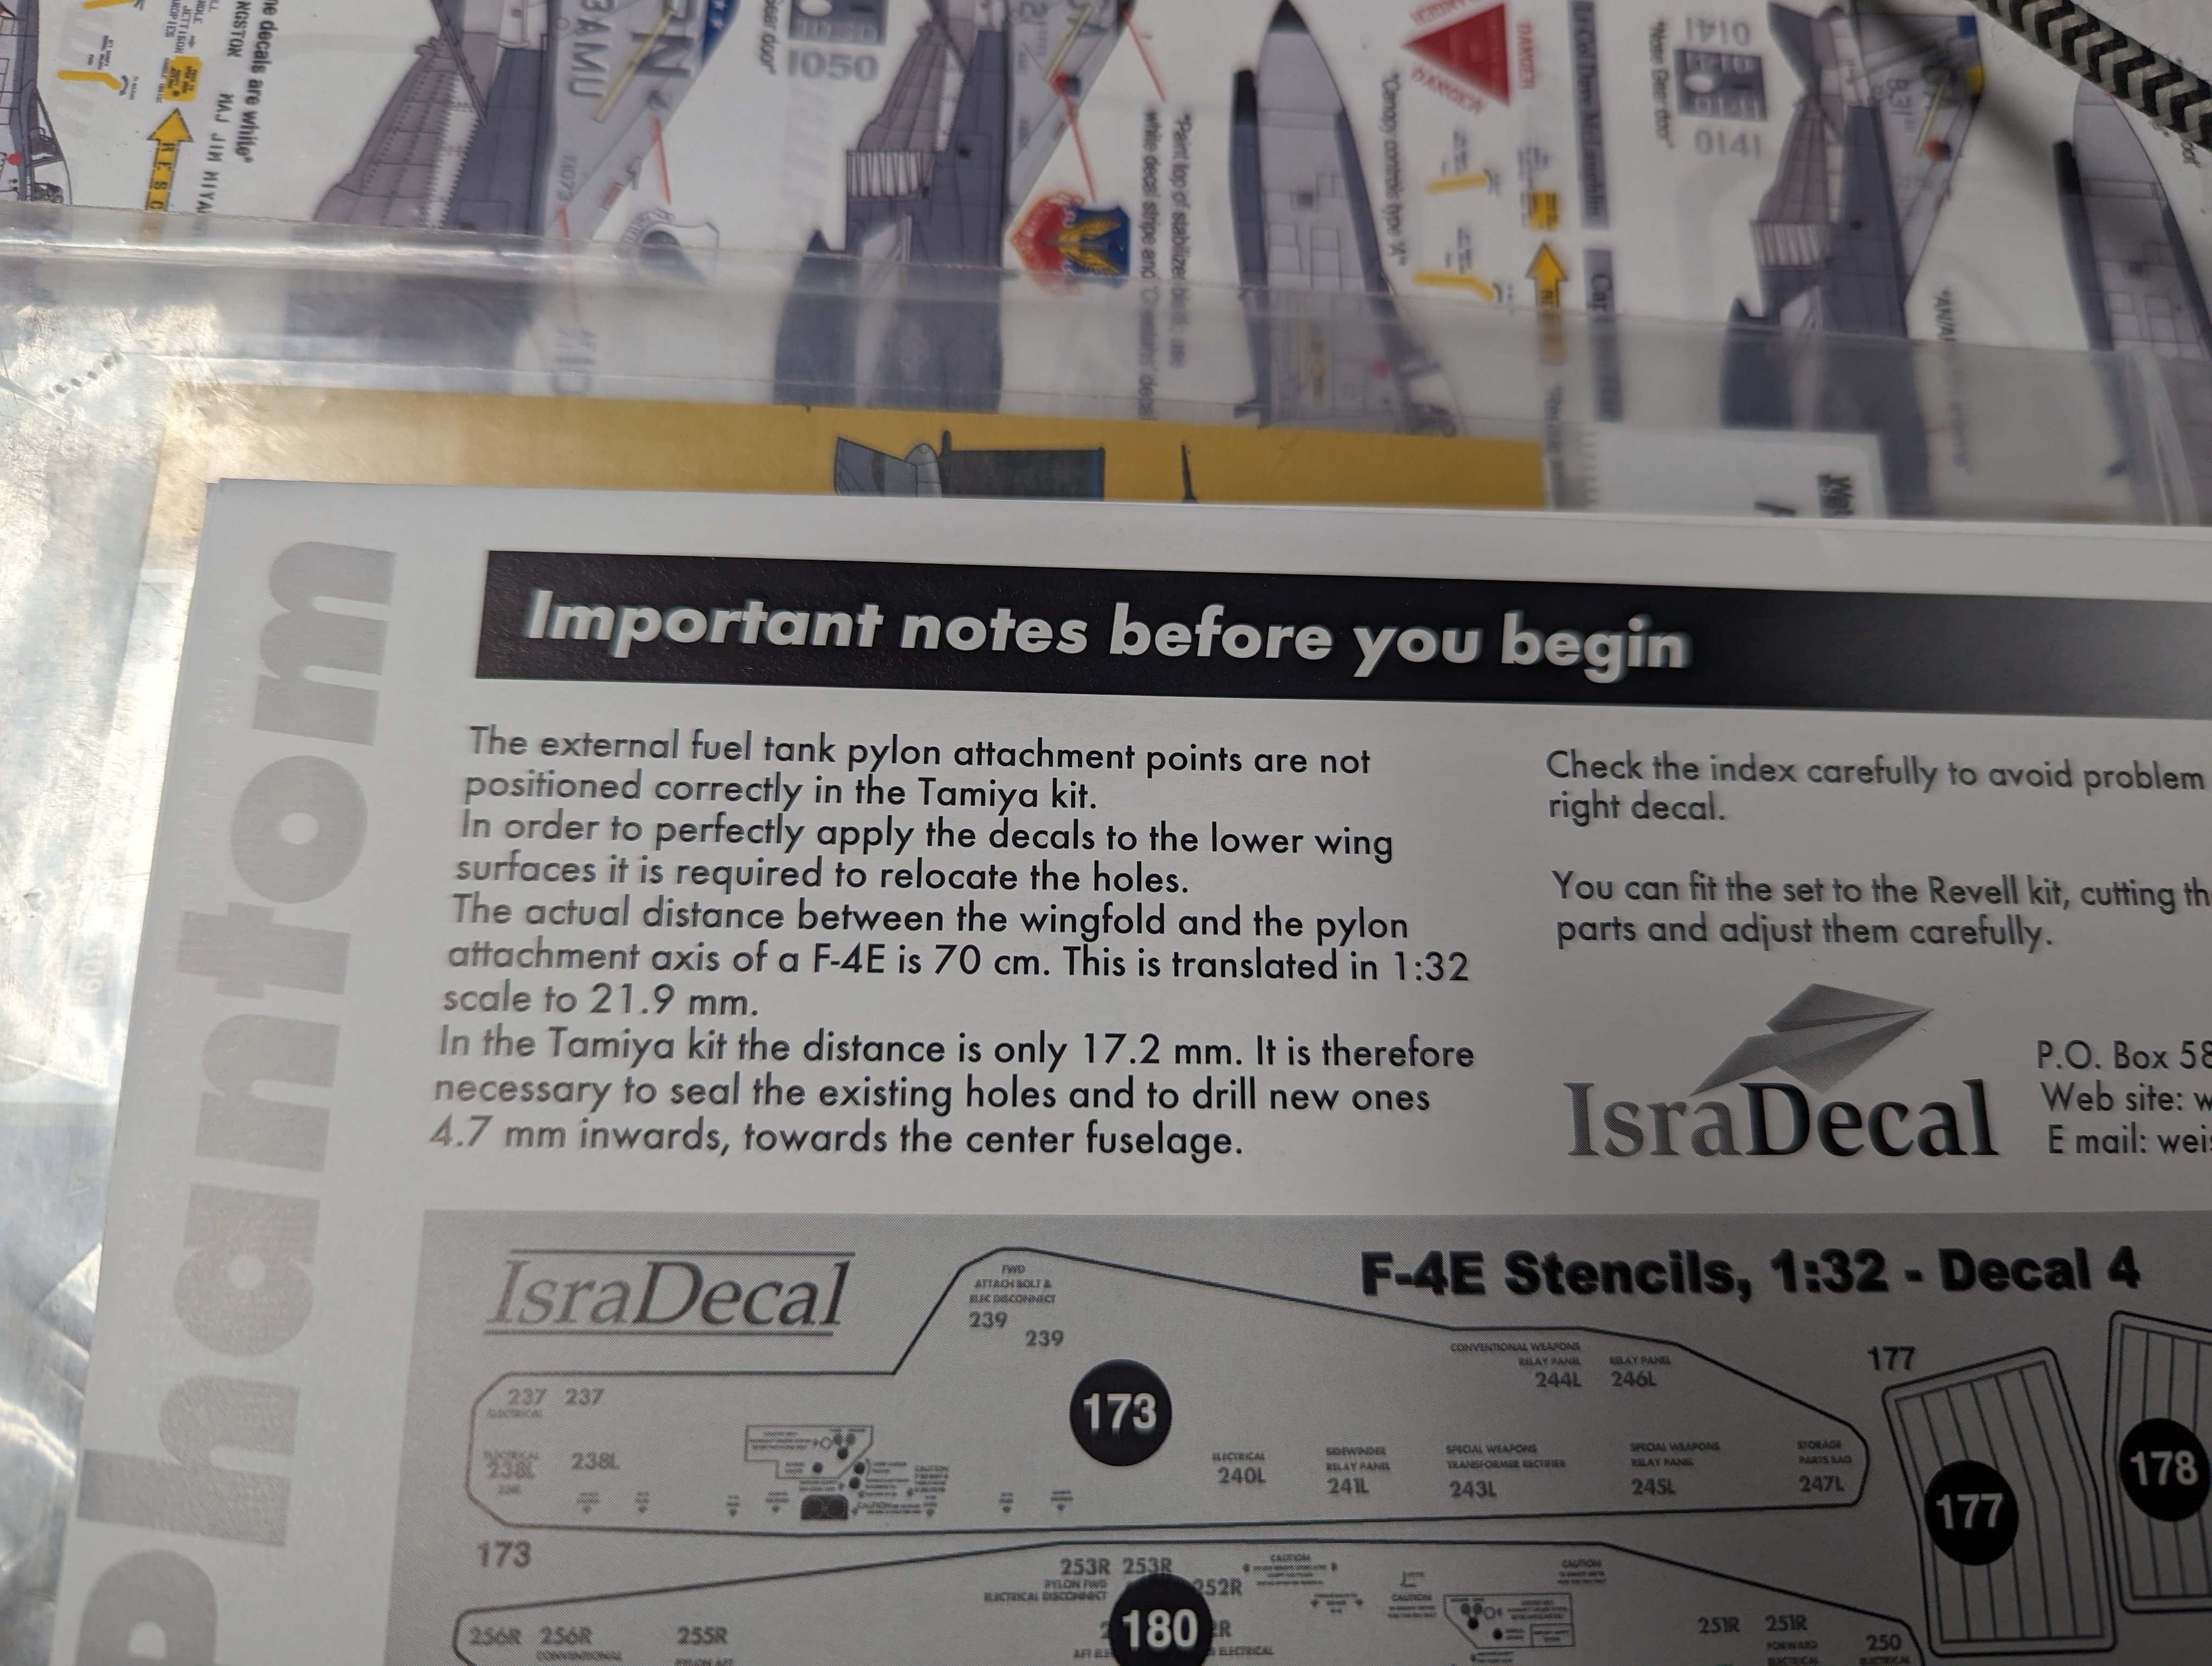
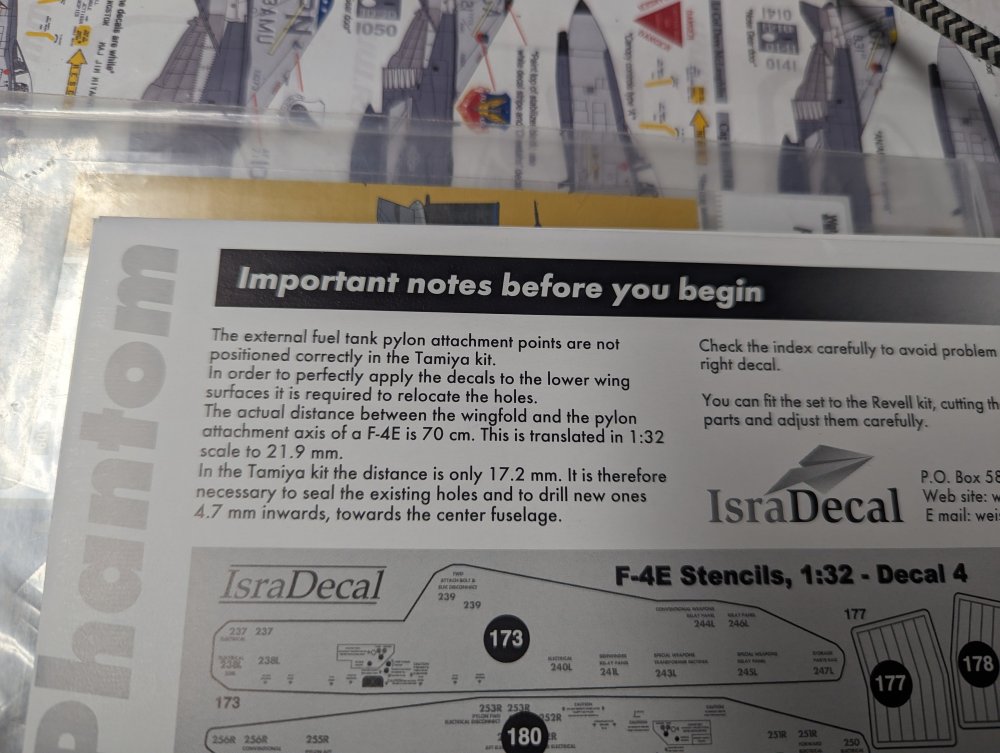
Chris, here's the jig for setting the outer wing angle that I have. http://nautilusmodels.com/32-802.htm The angle is 12.5° otherwise. As for the wing pylons, they need to move inboard 4.7mm
-
I guess that's better than one about navel lint.
-
F-15DJ Kai or Eagle Plus- Finished!
BlrwestSiR replied to BlrwestSiR's topic in The Great Twins Broup Bluild
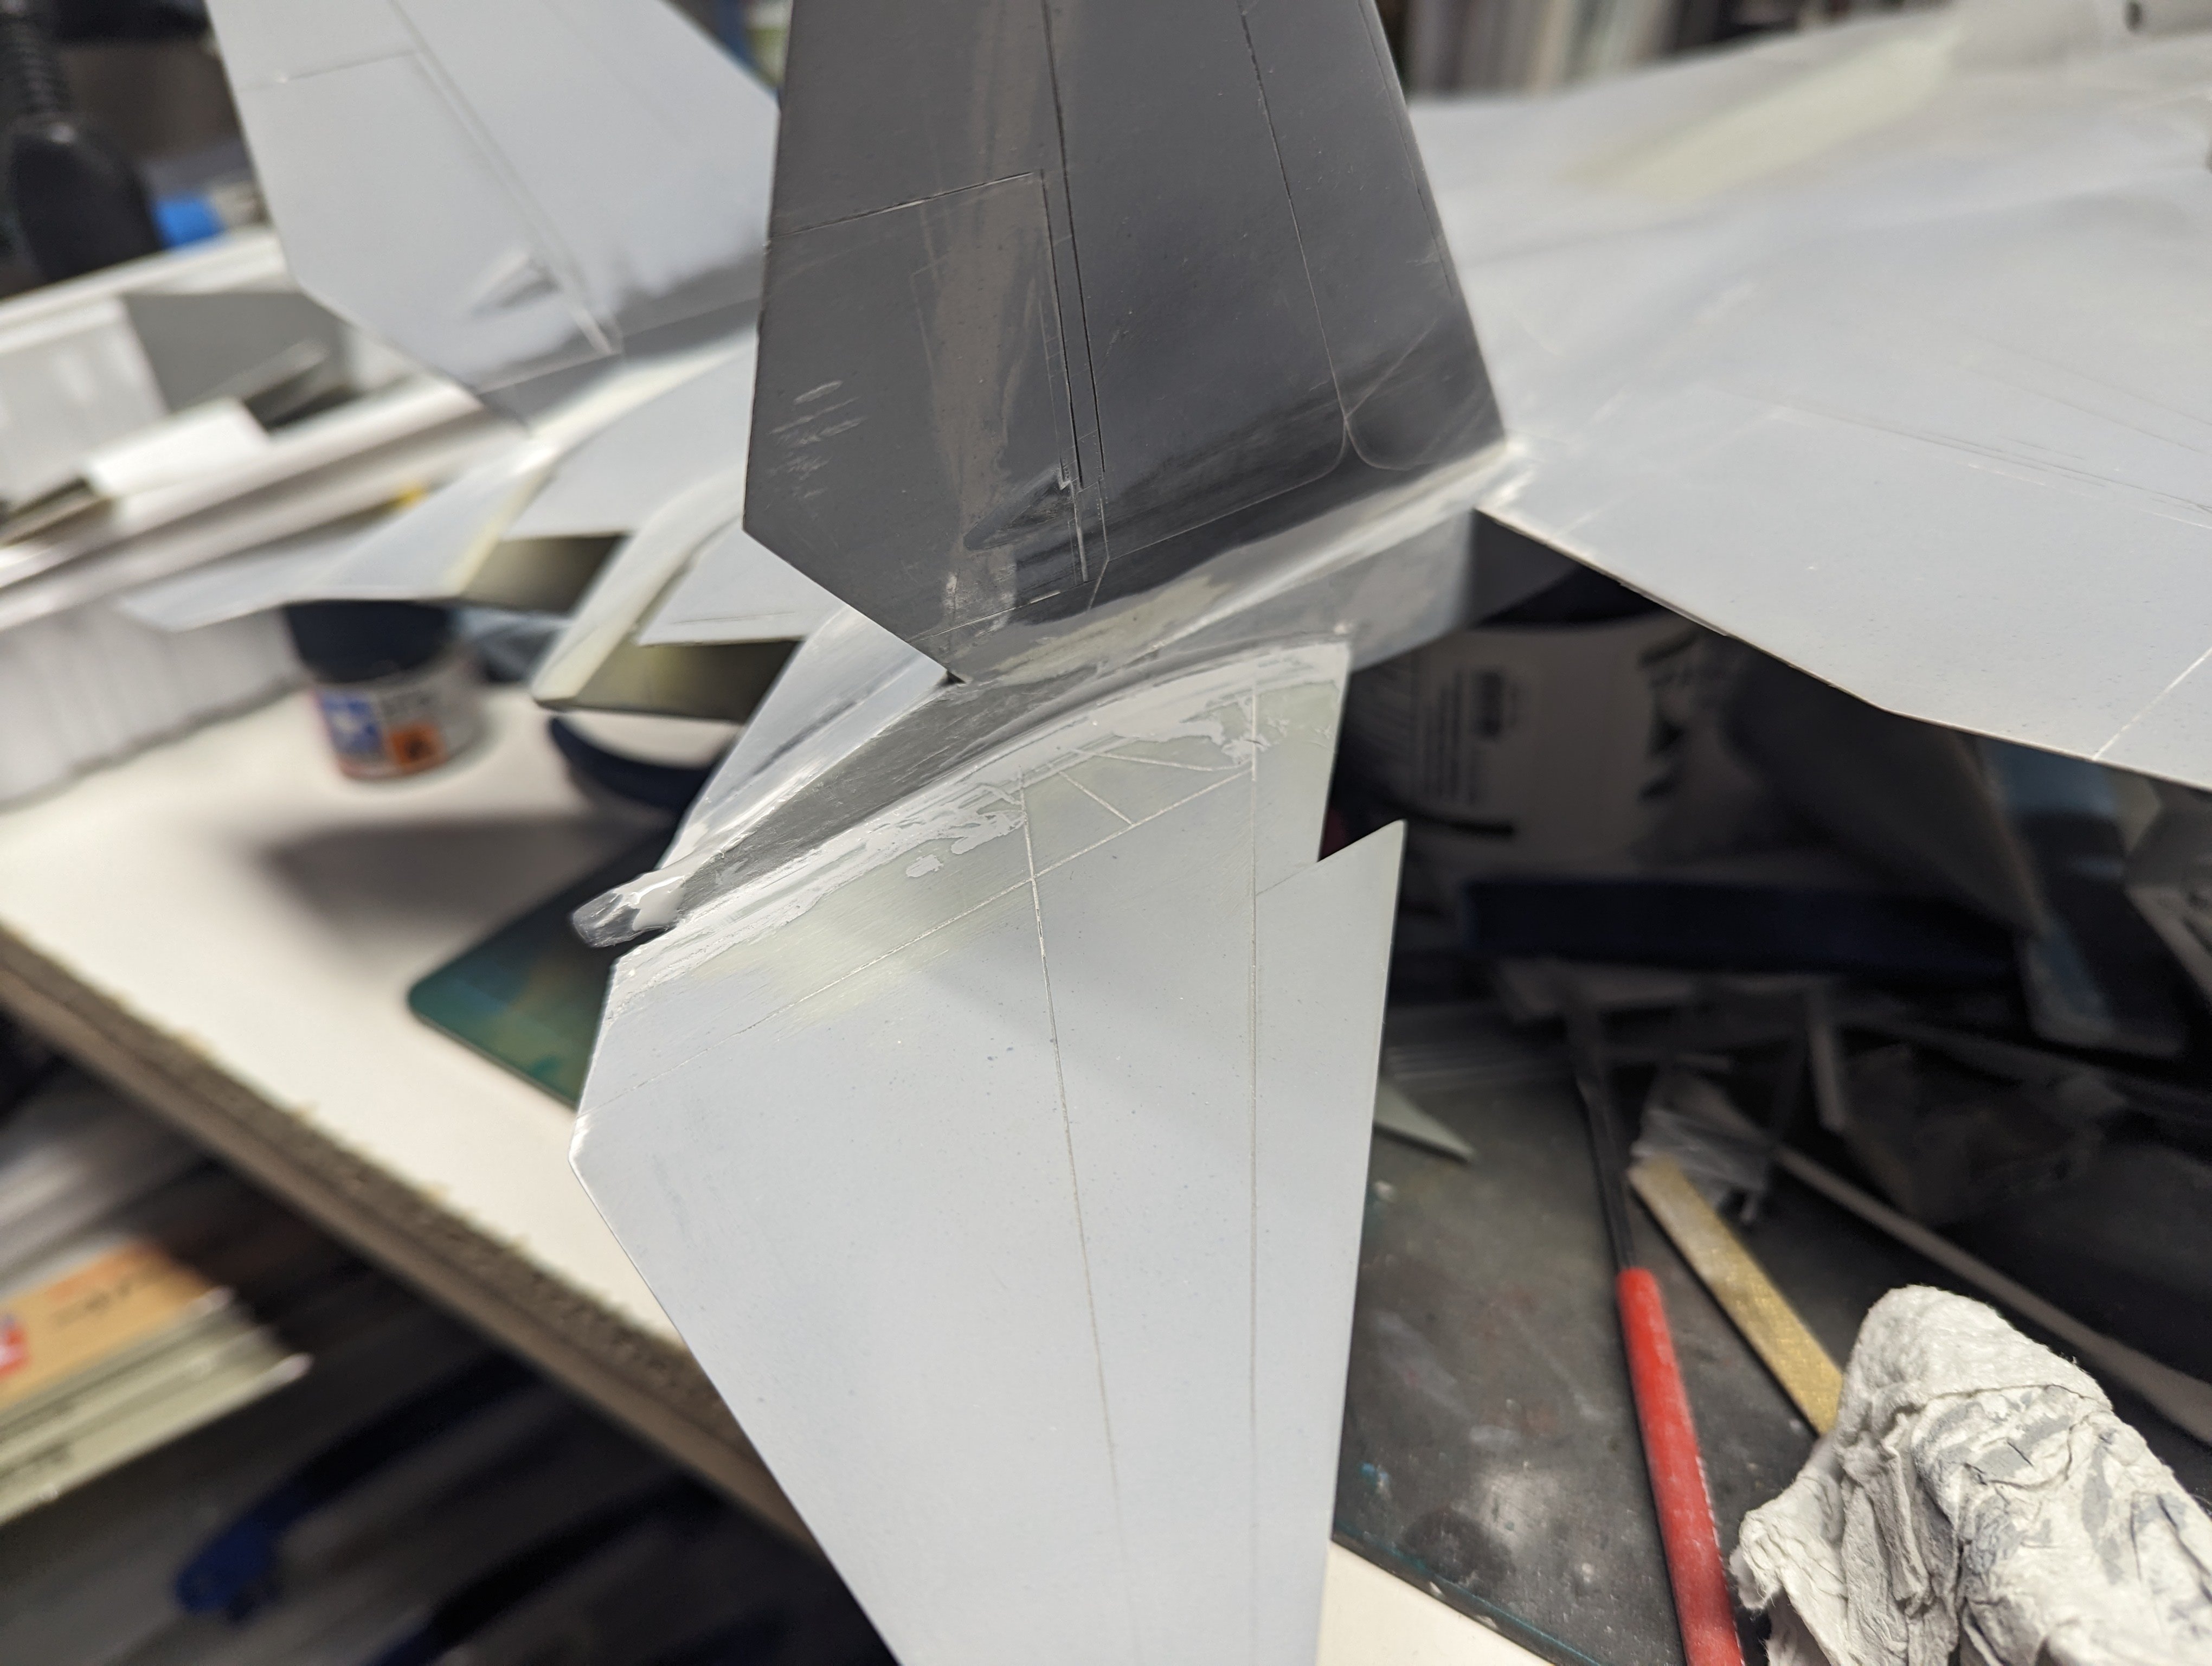
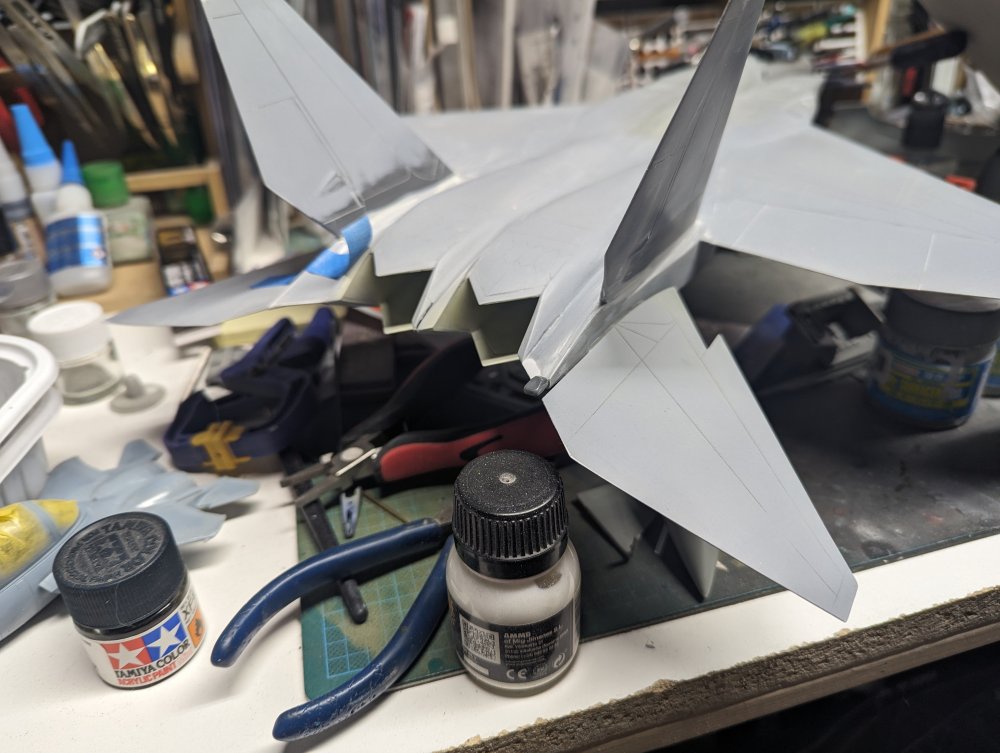
Vertical tailplanes are filled and sanded. I'll see what touchups, hopefully minor if any , are needed after a coat of primer. I've now glued the horizontal tailplanes on. Again, some decent sized gaps along the top edge so duly filled and puttied. This just leaves the canards to mount.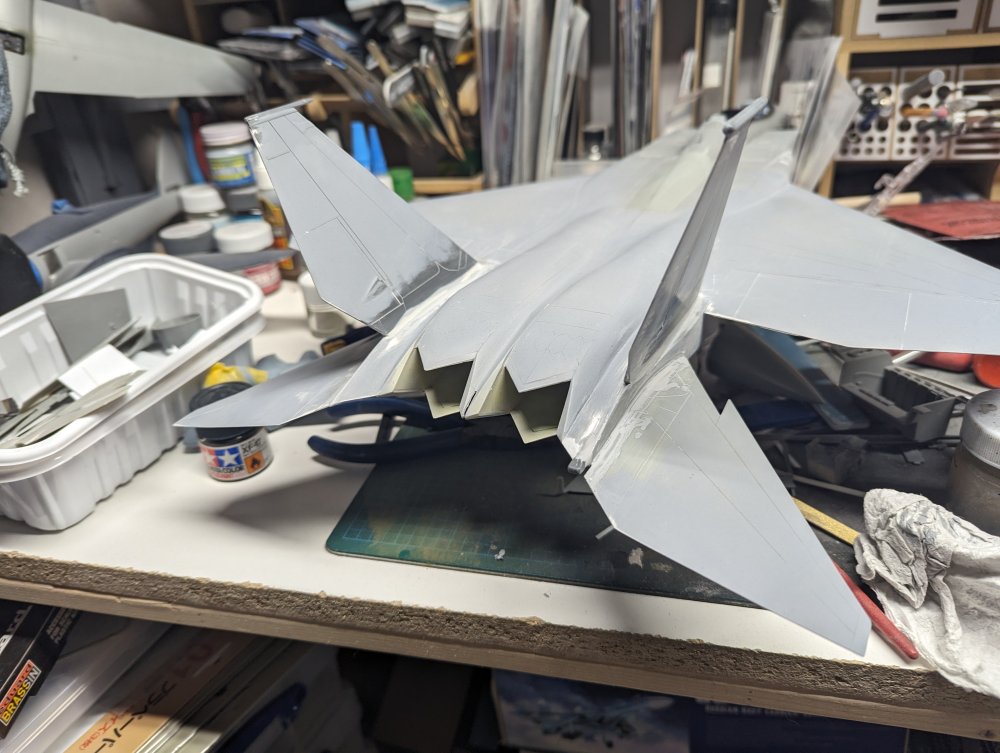
-
F-15DJ Kai or Eagle Plus- Finished!
BlrwestSiR replied to BlrwestSiR's topic in The Great Twins Broup Bluild
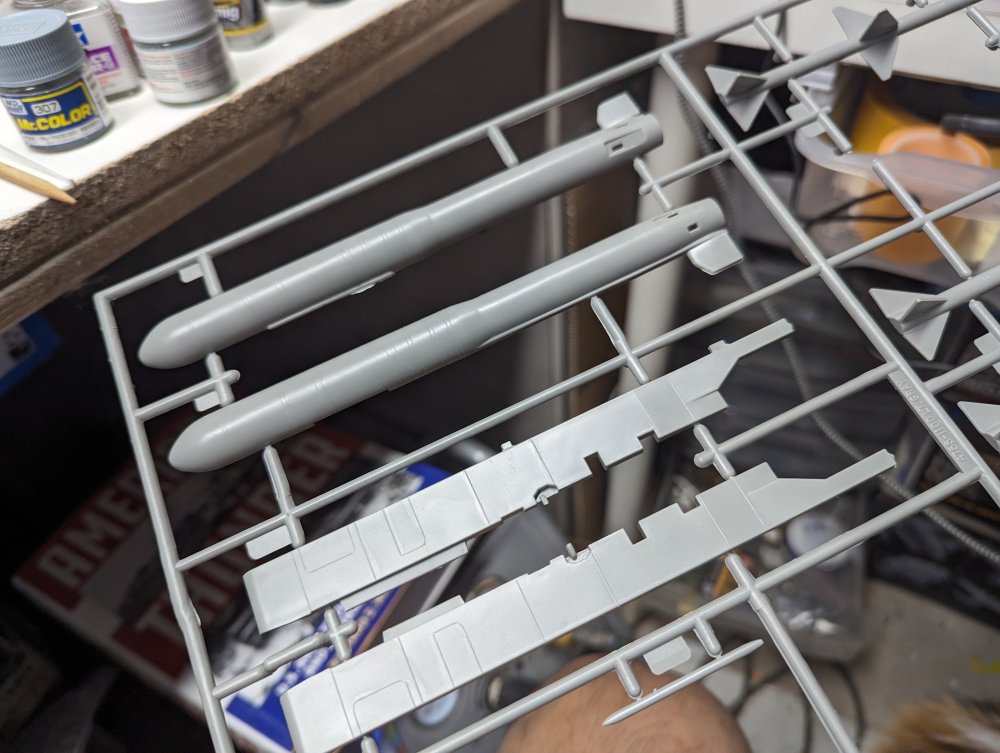
I think I'm going to stick with the drop tank. It'll be closer to what's seen in the anime. Although I will definitely be keeping the ASAT for a future project. -
So in other words, you need to have the shops send one sprue at a time.
-
F-15DJ Kai or Eagle Plus- Finished!
BlrwestSiR replied to BlrwestSiR's topic in The Great Twins Broup Bluild
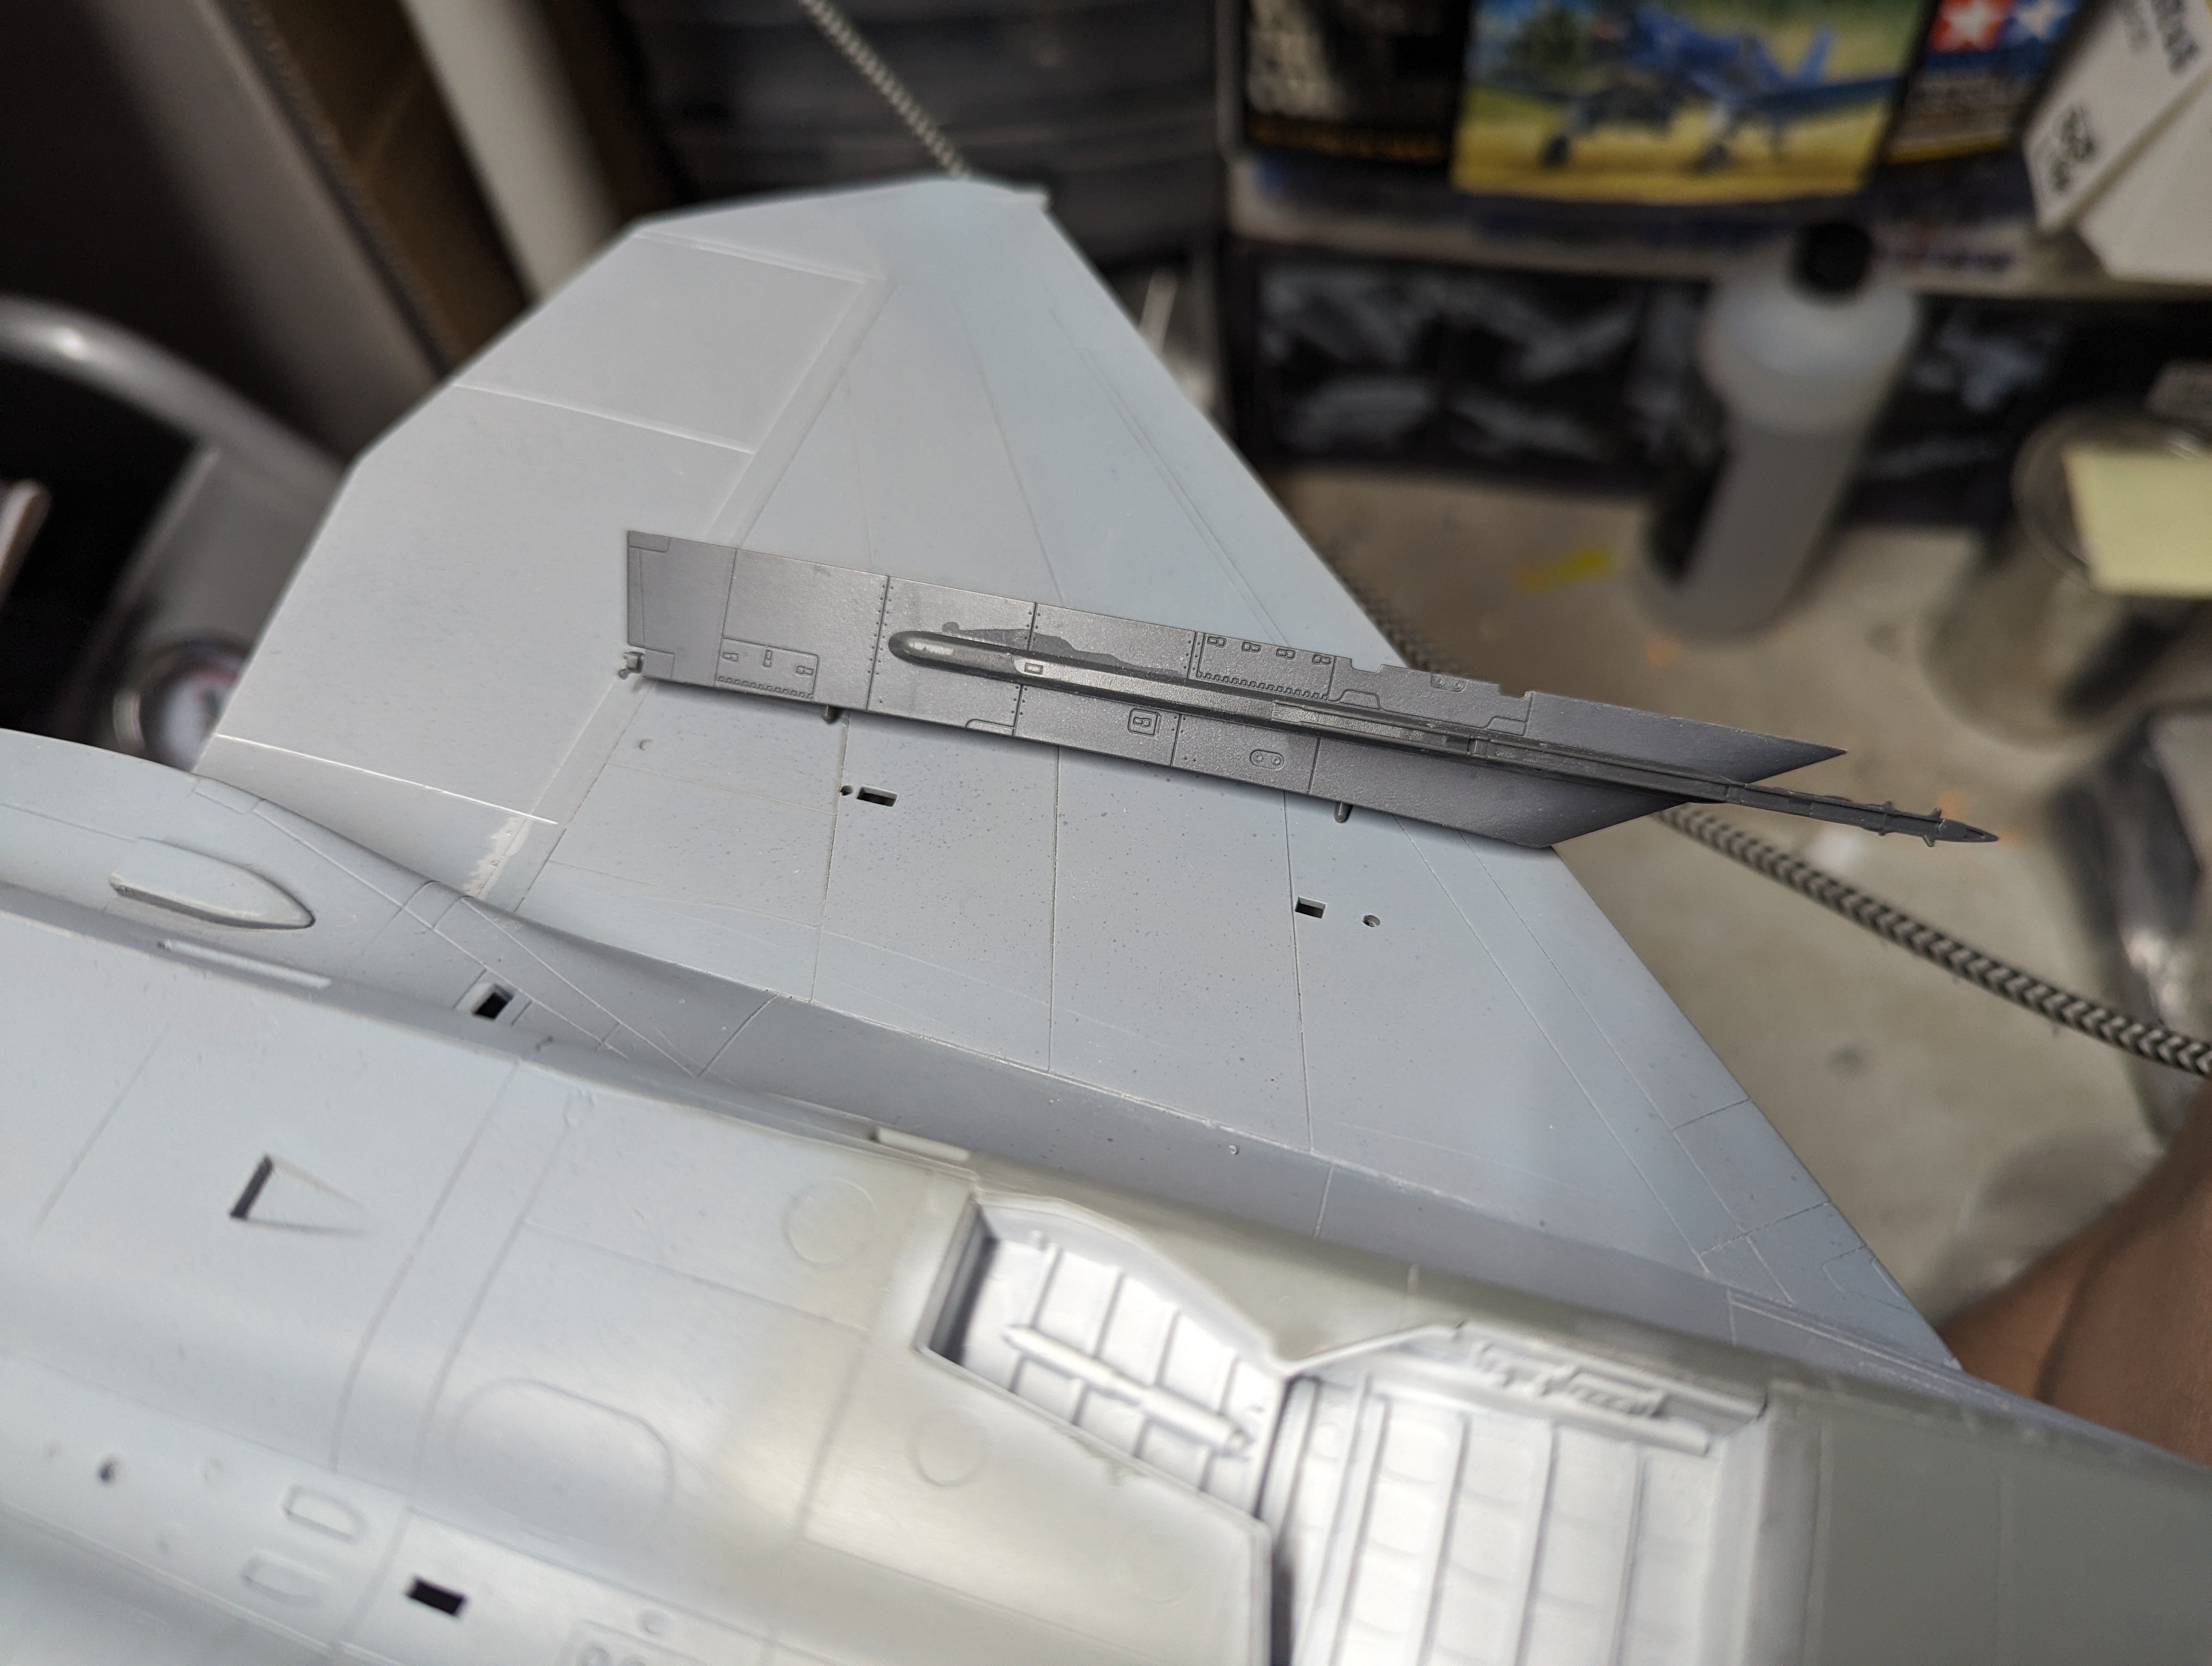
Next up are the wing pylons. I'm using the Tamiya ones as the detail is a bit more refined. They're a simple fit, just need to drill holes instead of the slots the kit pylons use. Both fitted but not yet glued. For the centreline, I can use the centreline tank. Another option I have is mounting an ASAT. One of the Revell kits still has the original sprue with an ASAT in it. Could be an interesting load out. Tom Clancy's Red Storm Rising anyone?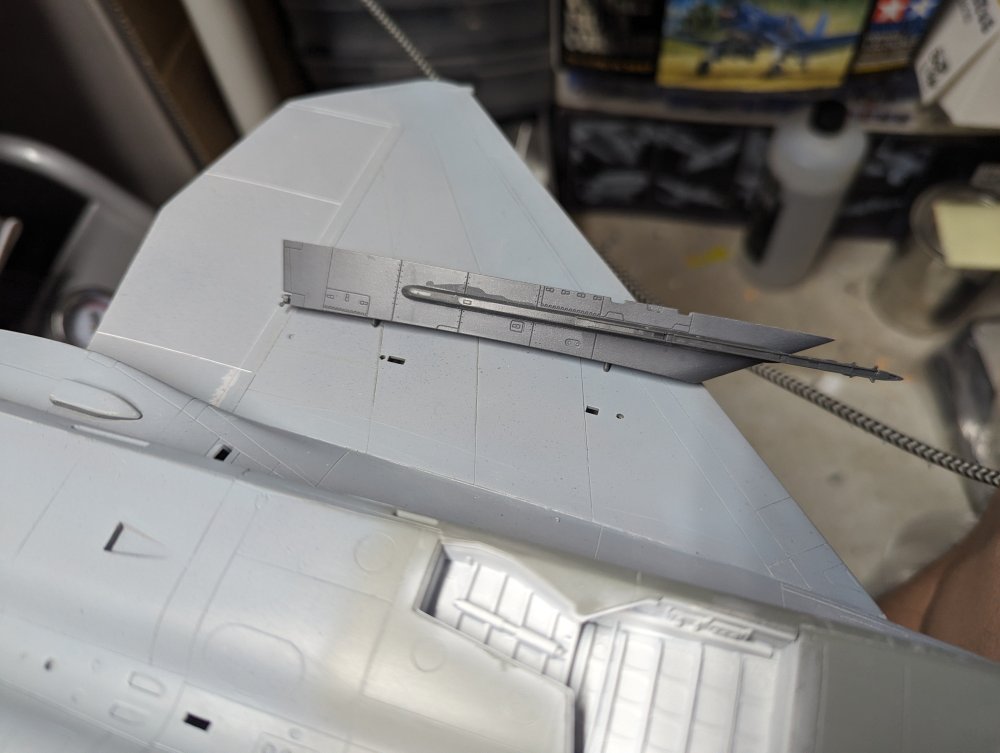

-
F-15DJ Kai or Eagle Plus- Finished!
BlrwestSiR replied to BlrwestSiR's topic in The Great Twins Broup Bluild
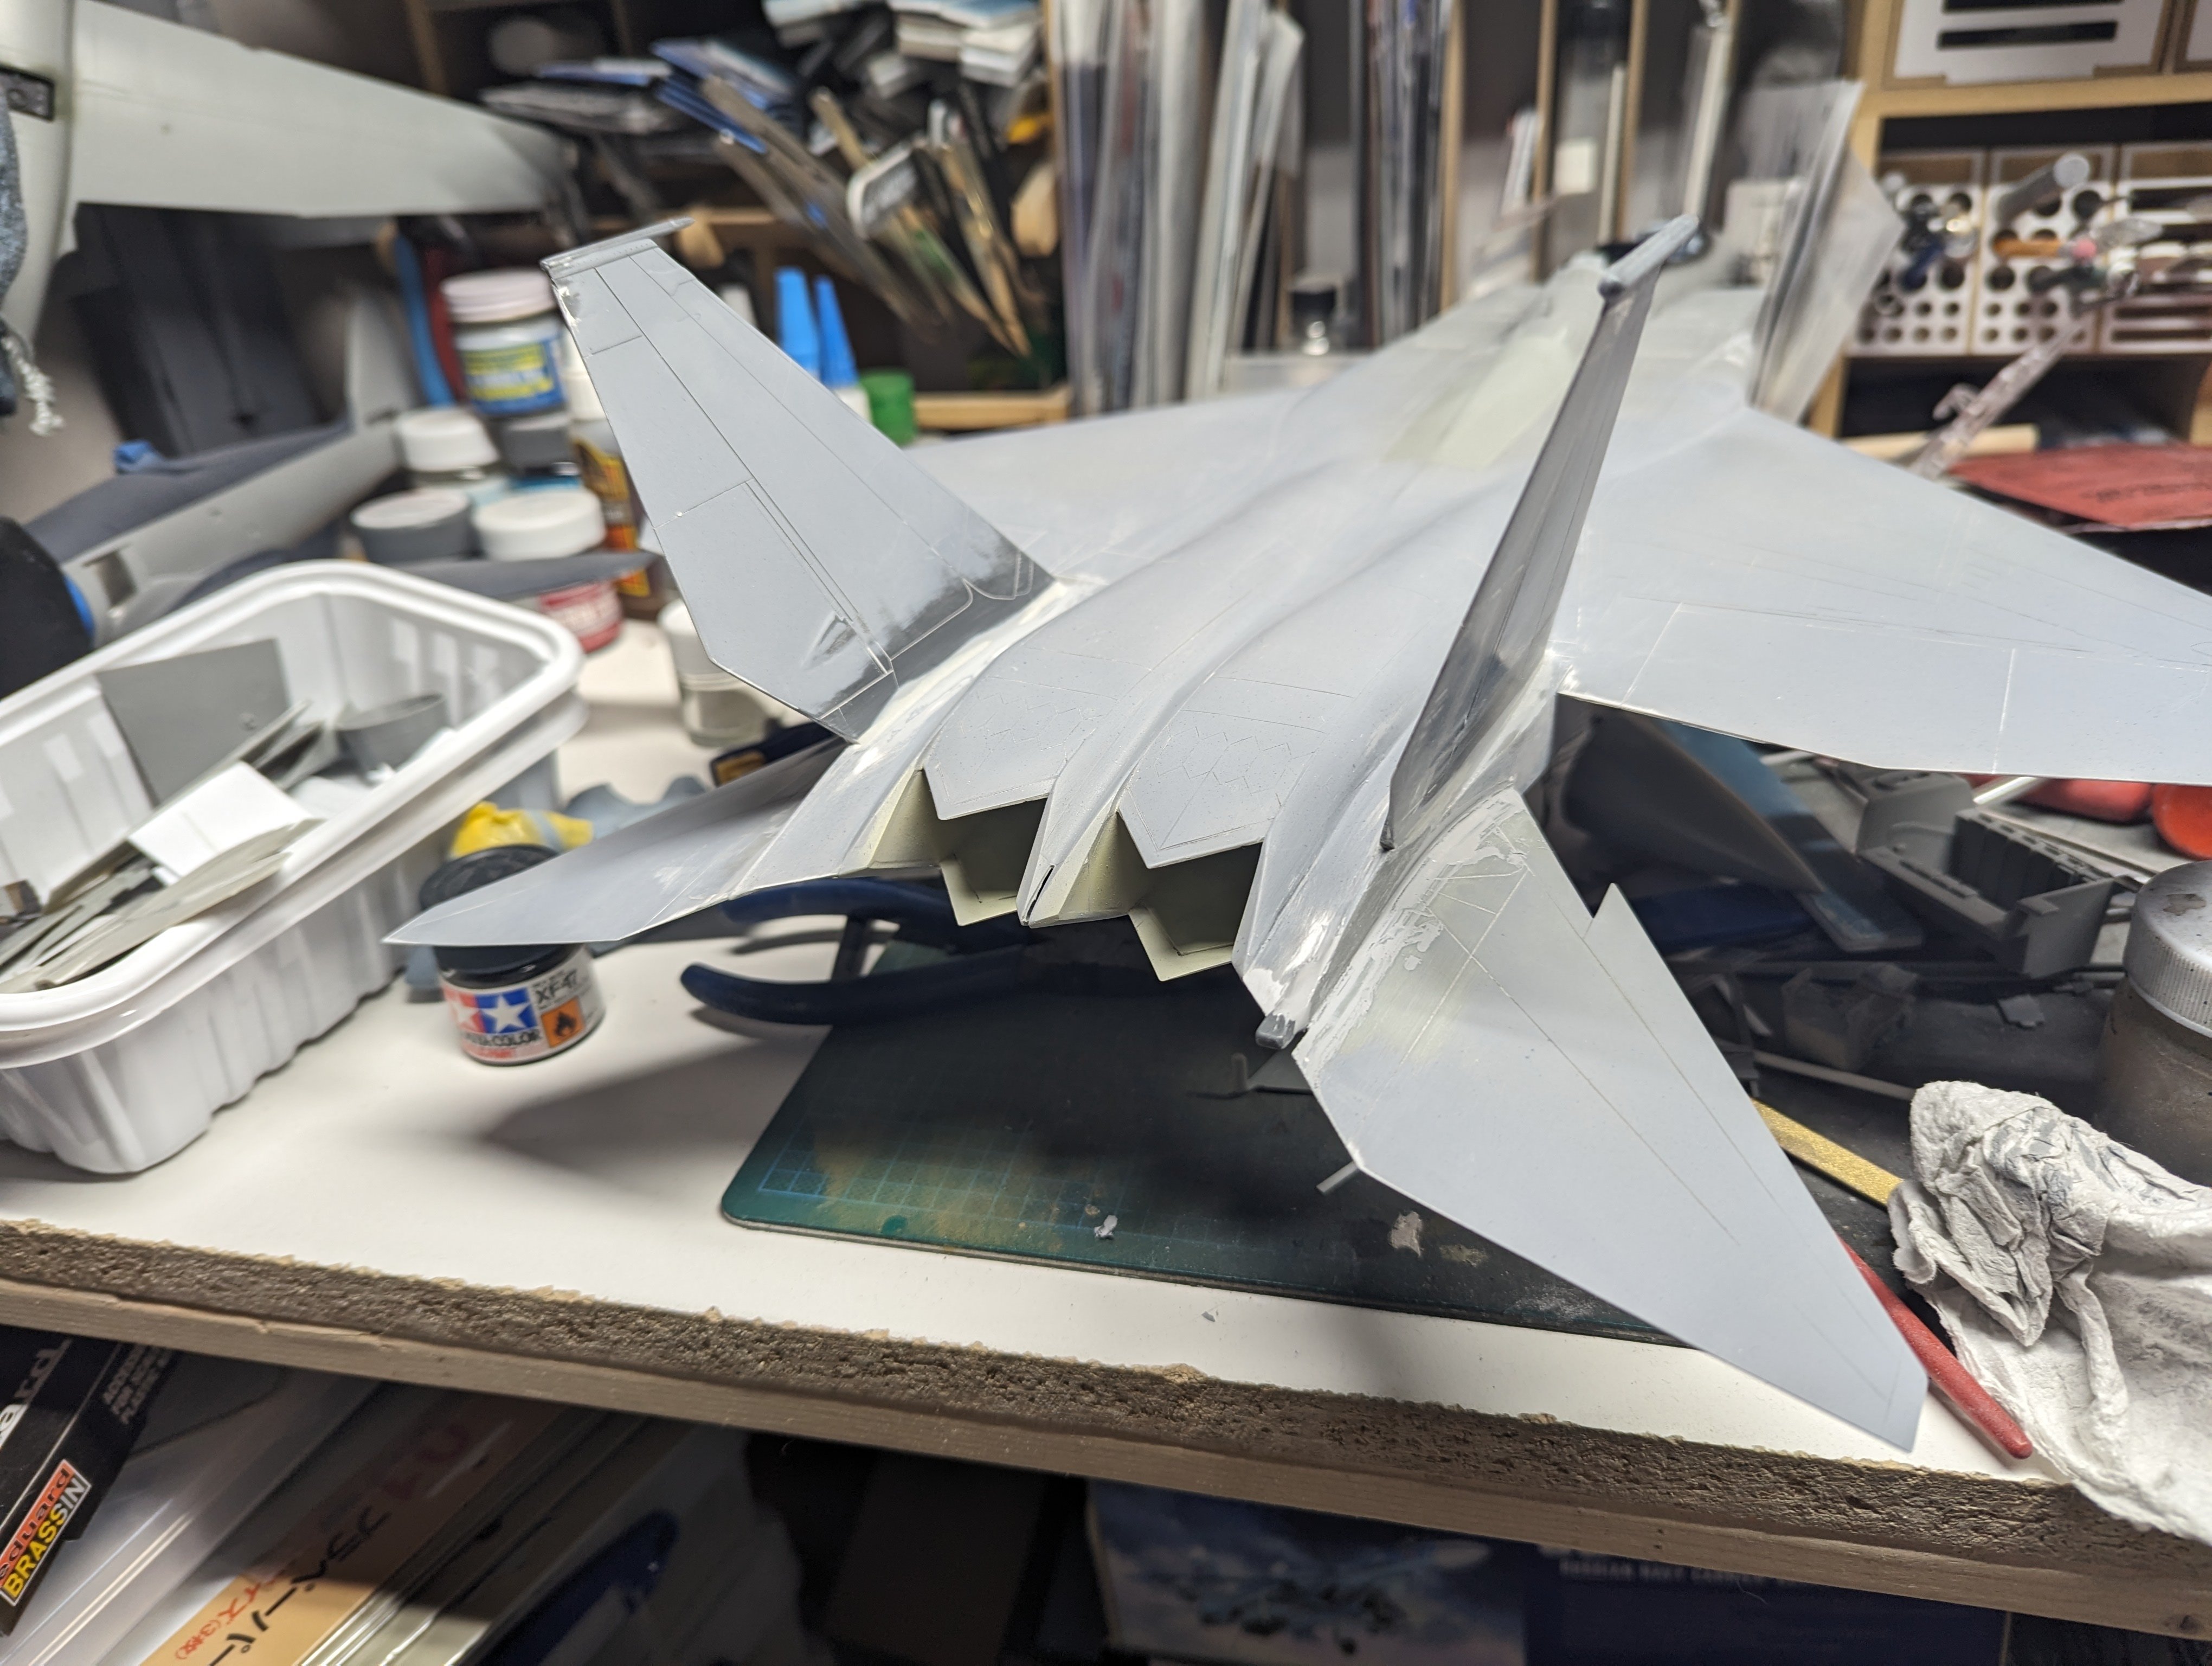
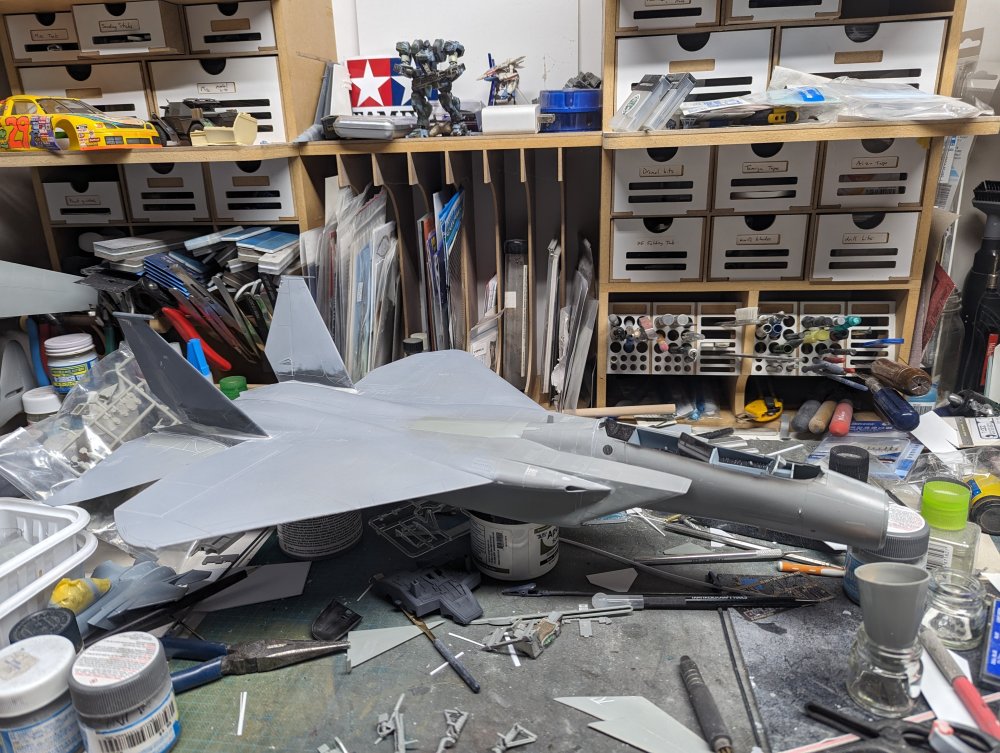
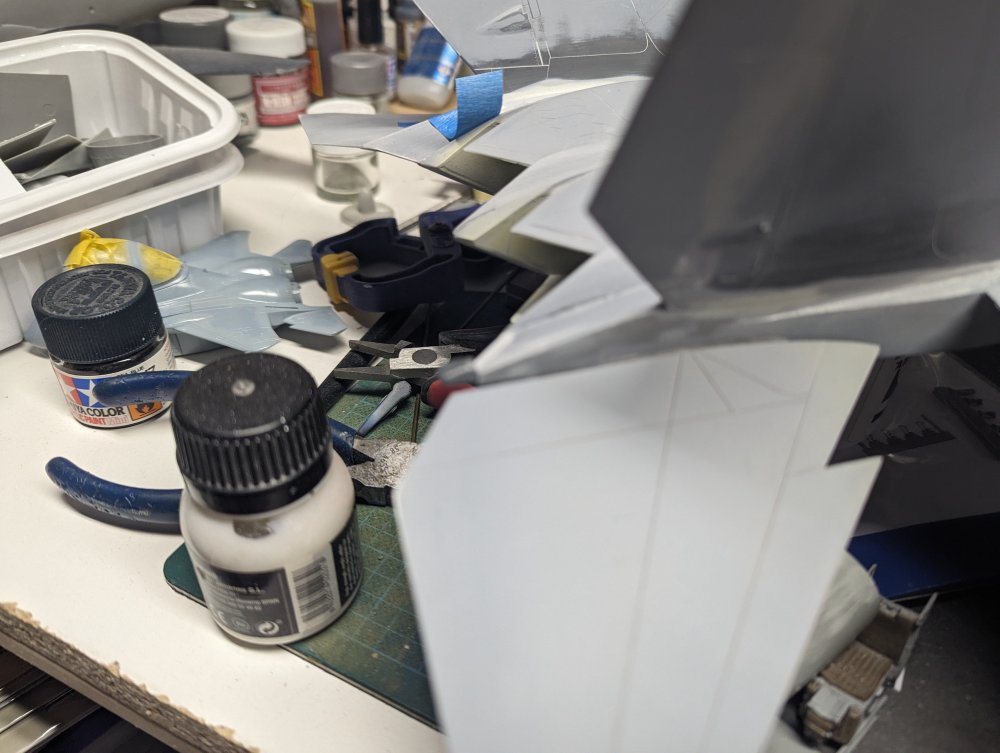
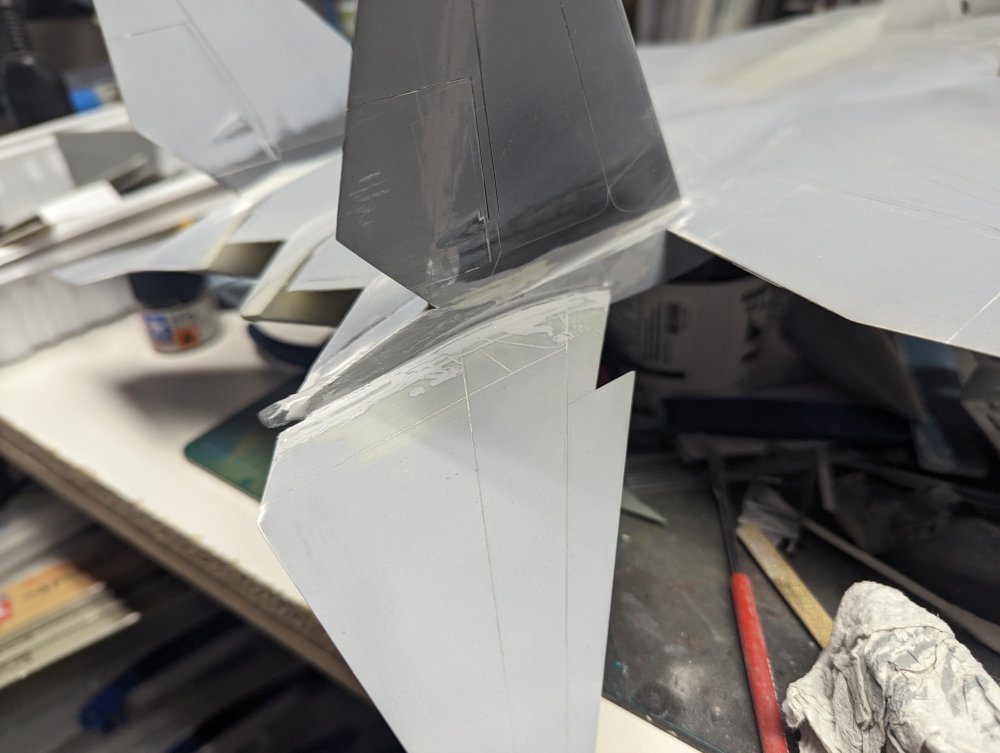
With the intakes dry and the gaps mostly dealt with, I finally added the vertical stabs. Because they're canted outwards instead of straight up and down like they were originally, I've had to fill in the gaps along the base. Once that's dry, I'm sure there will be more sanding and filling until smooth.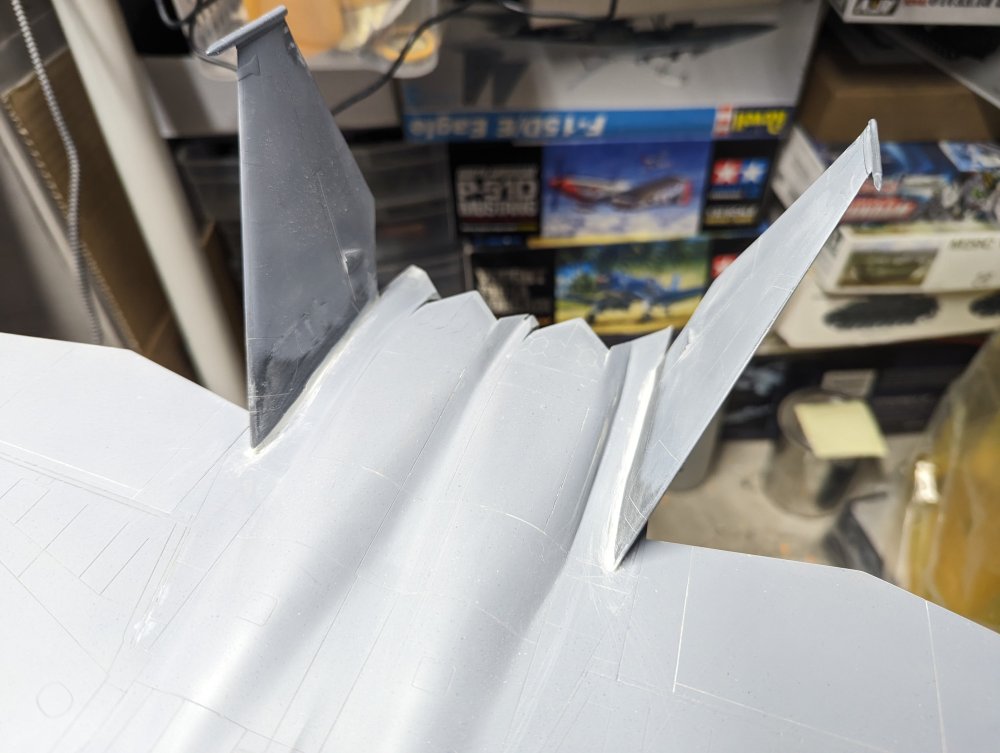
-
Revell Me-262B finished
BlrwestSiR replied to JohnB's topic in LSM 1/32 and Larger Aircraft Ready for Inspection
Great job on a not so easy kit. Nice choice of markings too -
That will be different. The RCAF had at least one P-40N during the war that was NMF.
-
F-15DJ Kai or Eagle Plus- Finished!
BlrwestSiR replied to BlrwestSiR's topic in The Great Twins Broup Bluild
Thanks Martin. Yeah, it was really annoying. The intakes warped one way while the upper bit warped in a different direction. Plus the lower lip was a butt join and only a couple mm wide. -
Tamiya 1/350 USS FLETCHER: Update - 6-11-24: On Hold
BlrwestSiR replied to Peterpools's topic in Non LSM 'WIP
Peter, nice to see you working on something different. Really shaking things up can make it all interesting again. My oldest son likes ship models and has already amassed a bit of a stash of them. For myself, I've only got the Type XXIII sub I did a couple years ago and the started but yet to finish Vosper MTB. -
Looking at the before and after pics, you wouldn't know they were the same kit. You're definitely taking this kit.
-
F-15DJ Kai or Eagle Plus- Finished!
BlrwestSiR replied to BlrwestSiR's topic in The Great Twins Broup Bluild
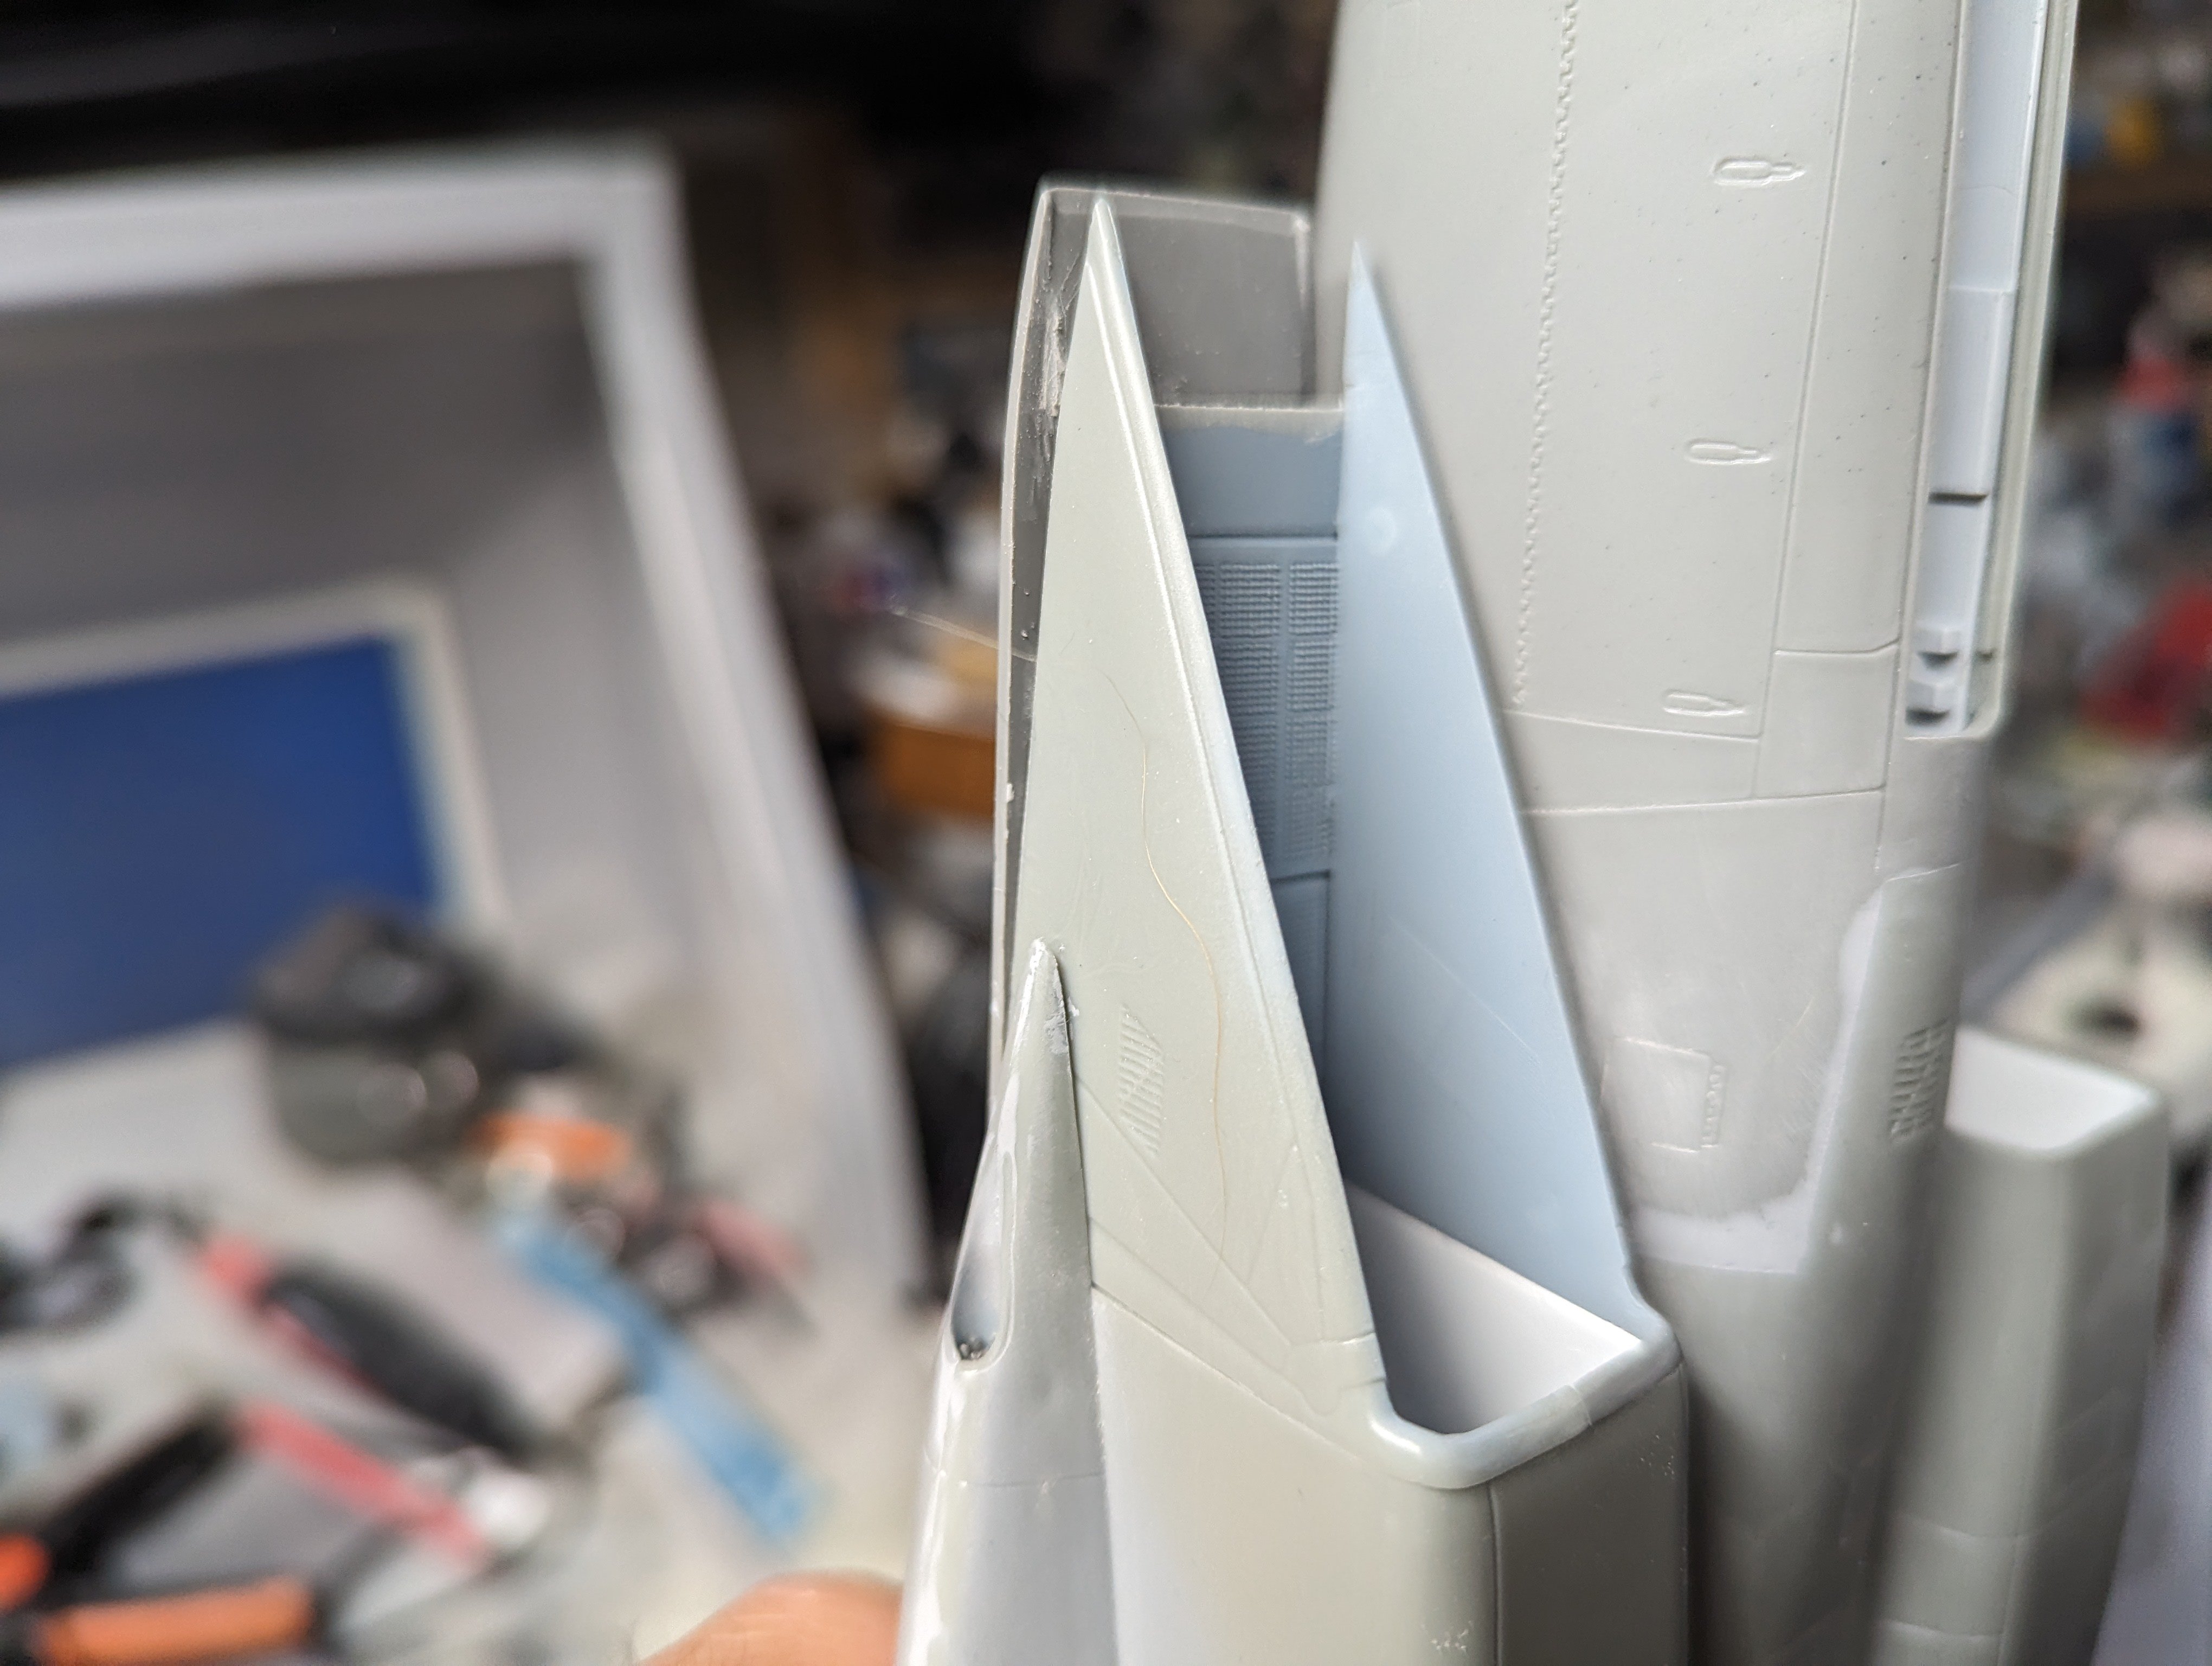
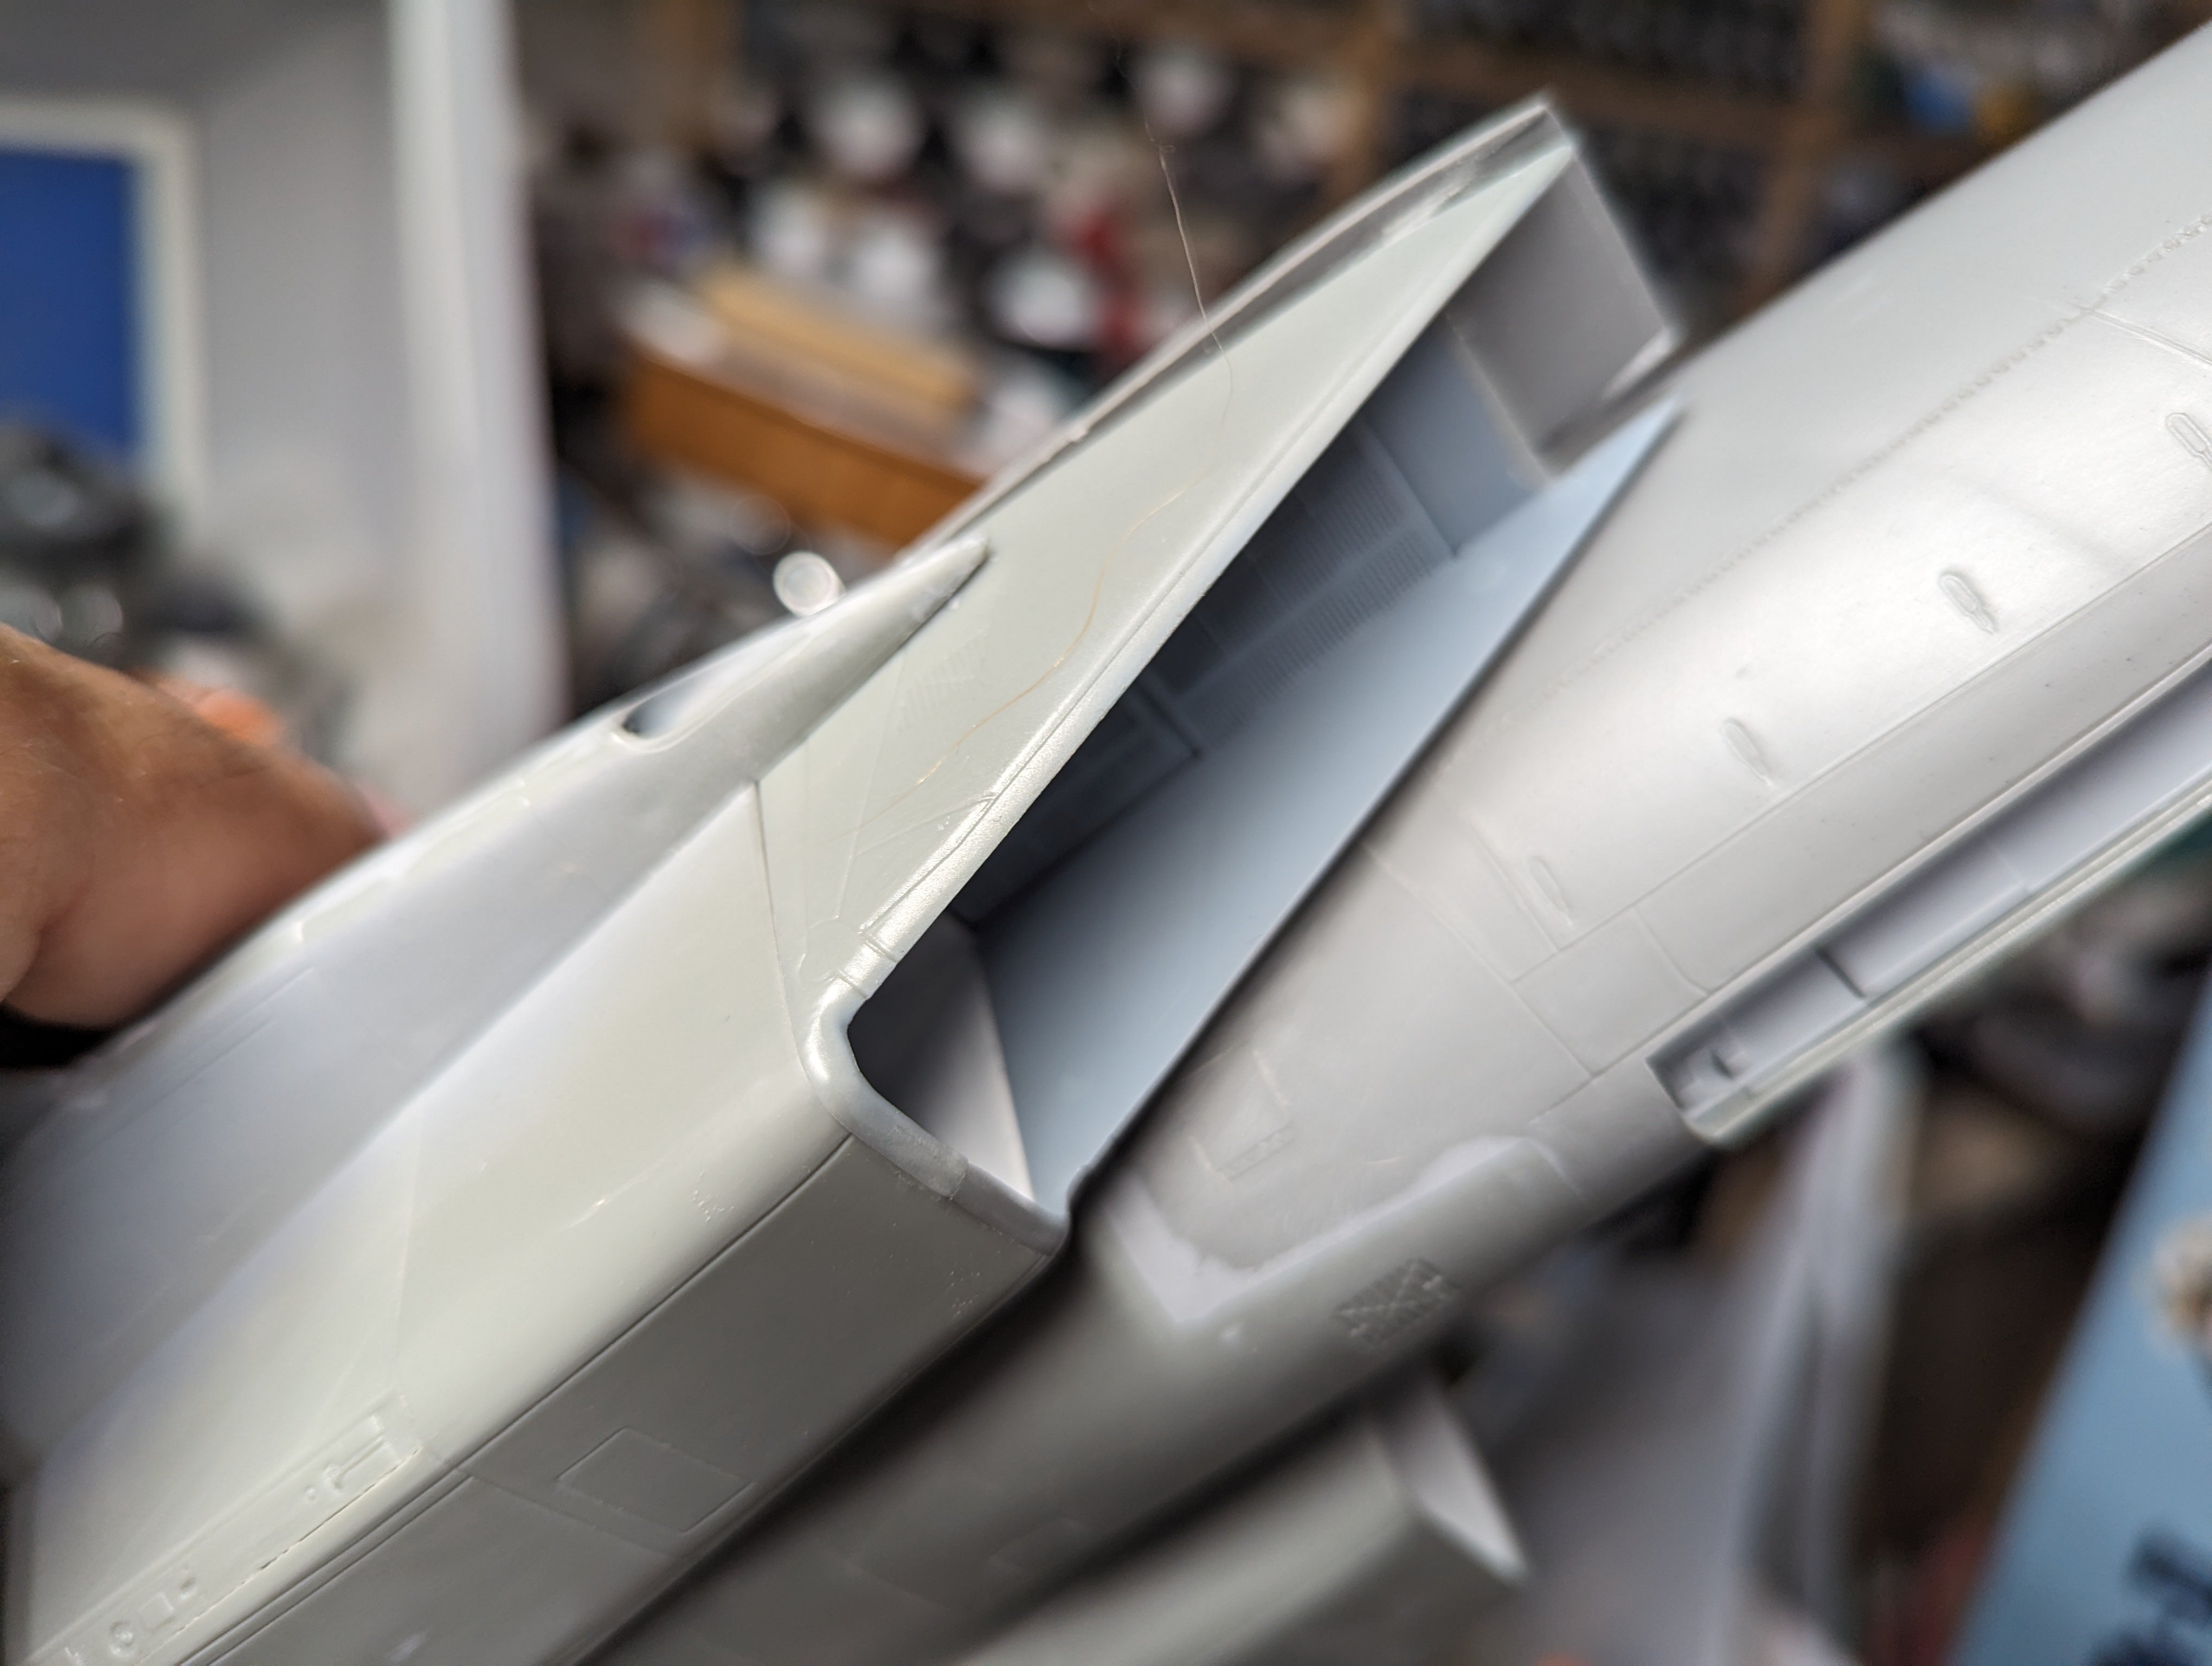
The fit of the intakes needs a bit of work. Thankfully I was able to get the lower lip lined up. That's probably the weakest bit of the intakes. With a few clamps in place... ...much better. Now to let it dry.


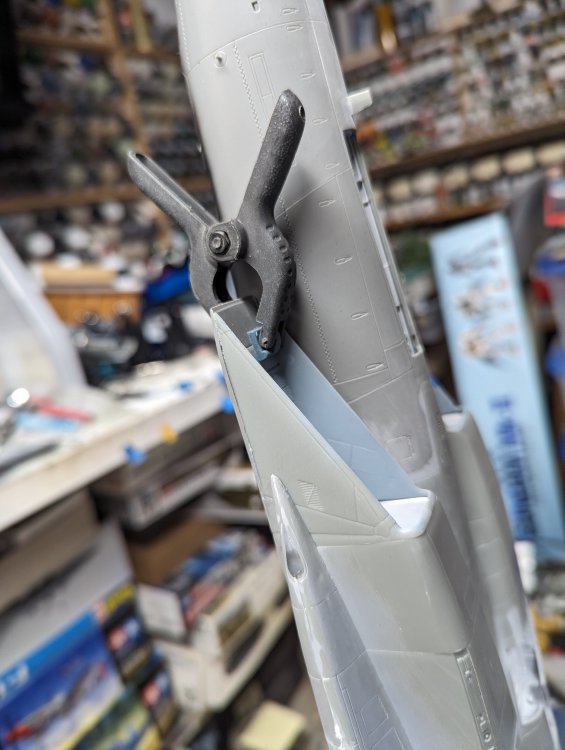
-
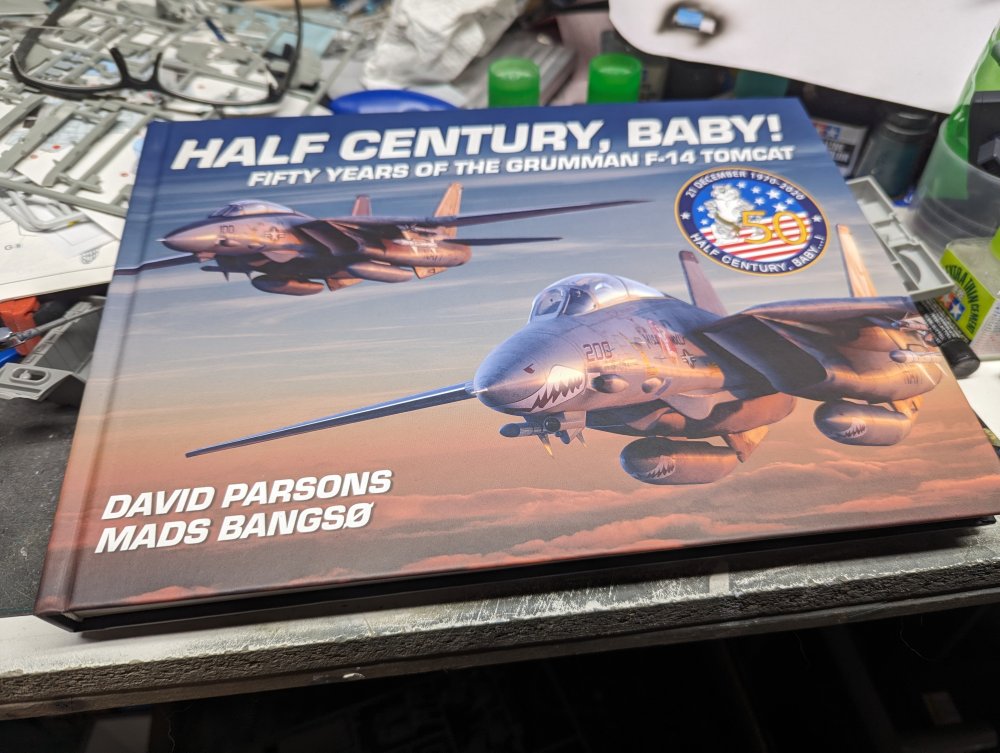
Another book on my favourite jet fighter.