BlrwestSiR
-
Posts
9,092 -
Joined
-
Last visited
Content Type
Profiles
Forums
Events
Gallery
Everything posted by BlrwestSiR
-

F-15DJ Kai or Eagle Plus- Finished!
BlrwestSiR replied to BlrwestSiR's topic in The Great Twins Broup Bluild
They do, which threw me for a curve initially. -
It is and they made it simple to assemble. Well, fairly simple to assemble.
-
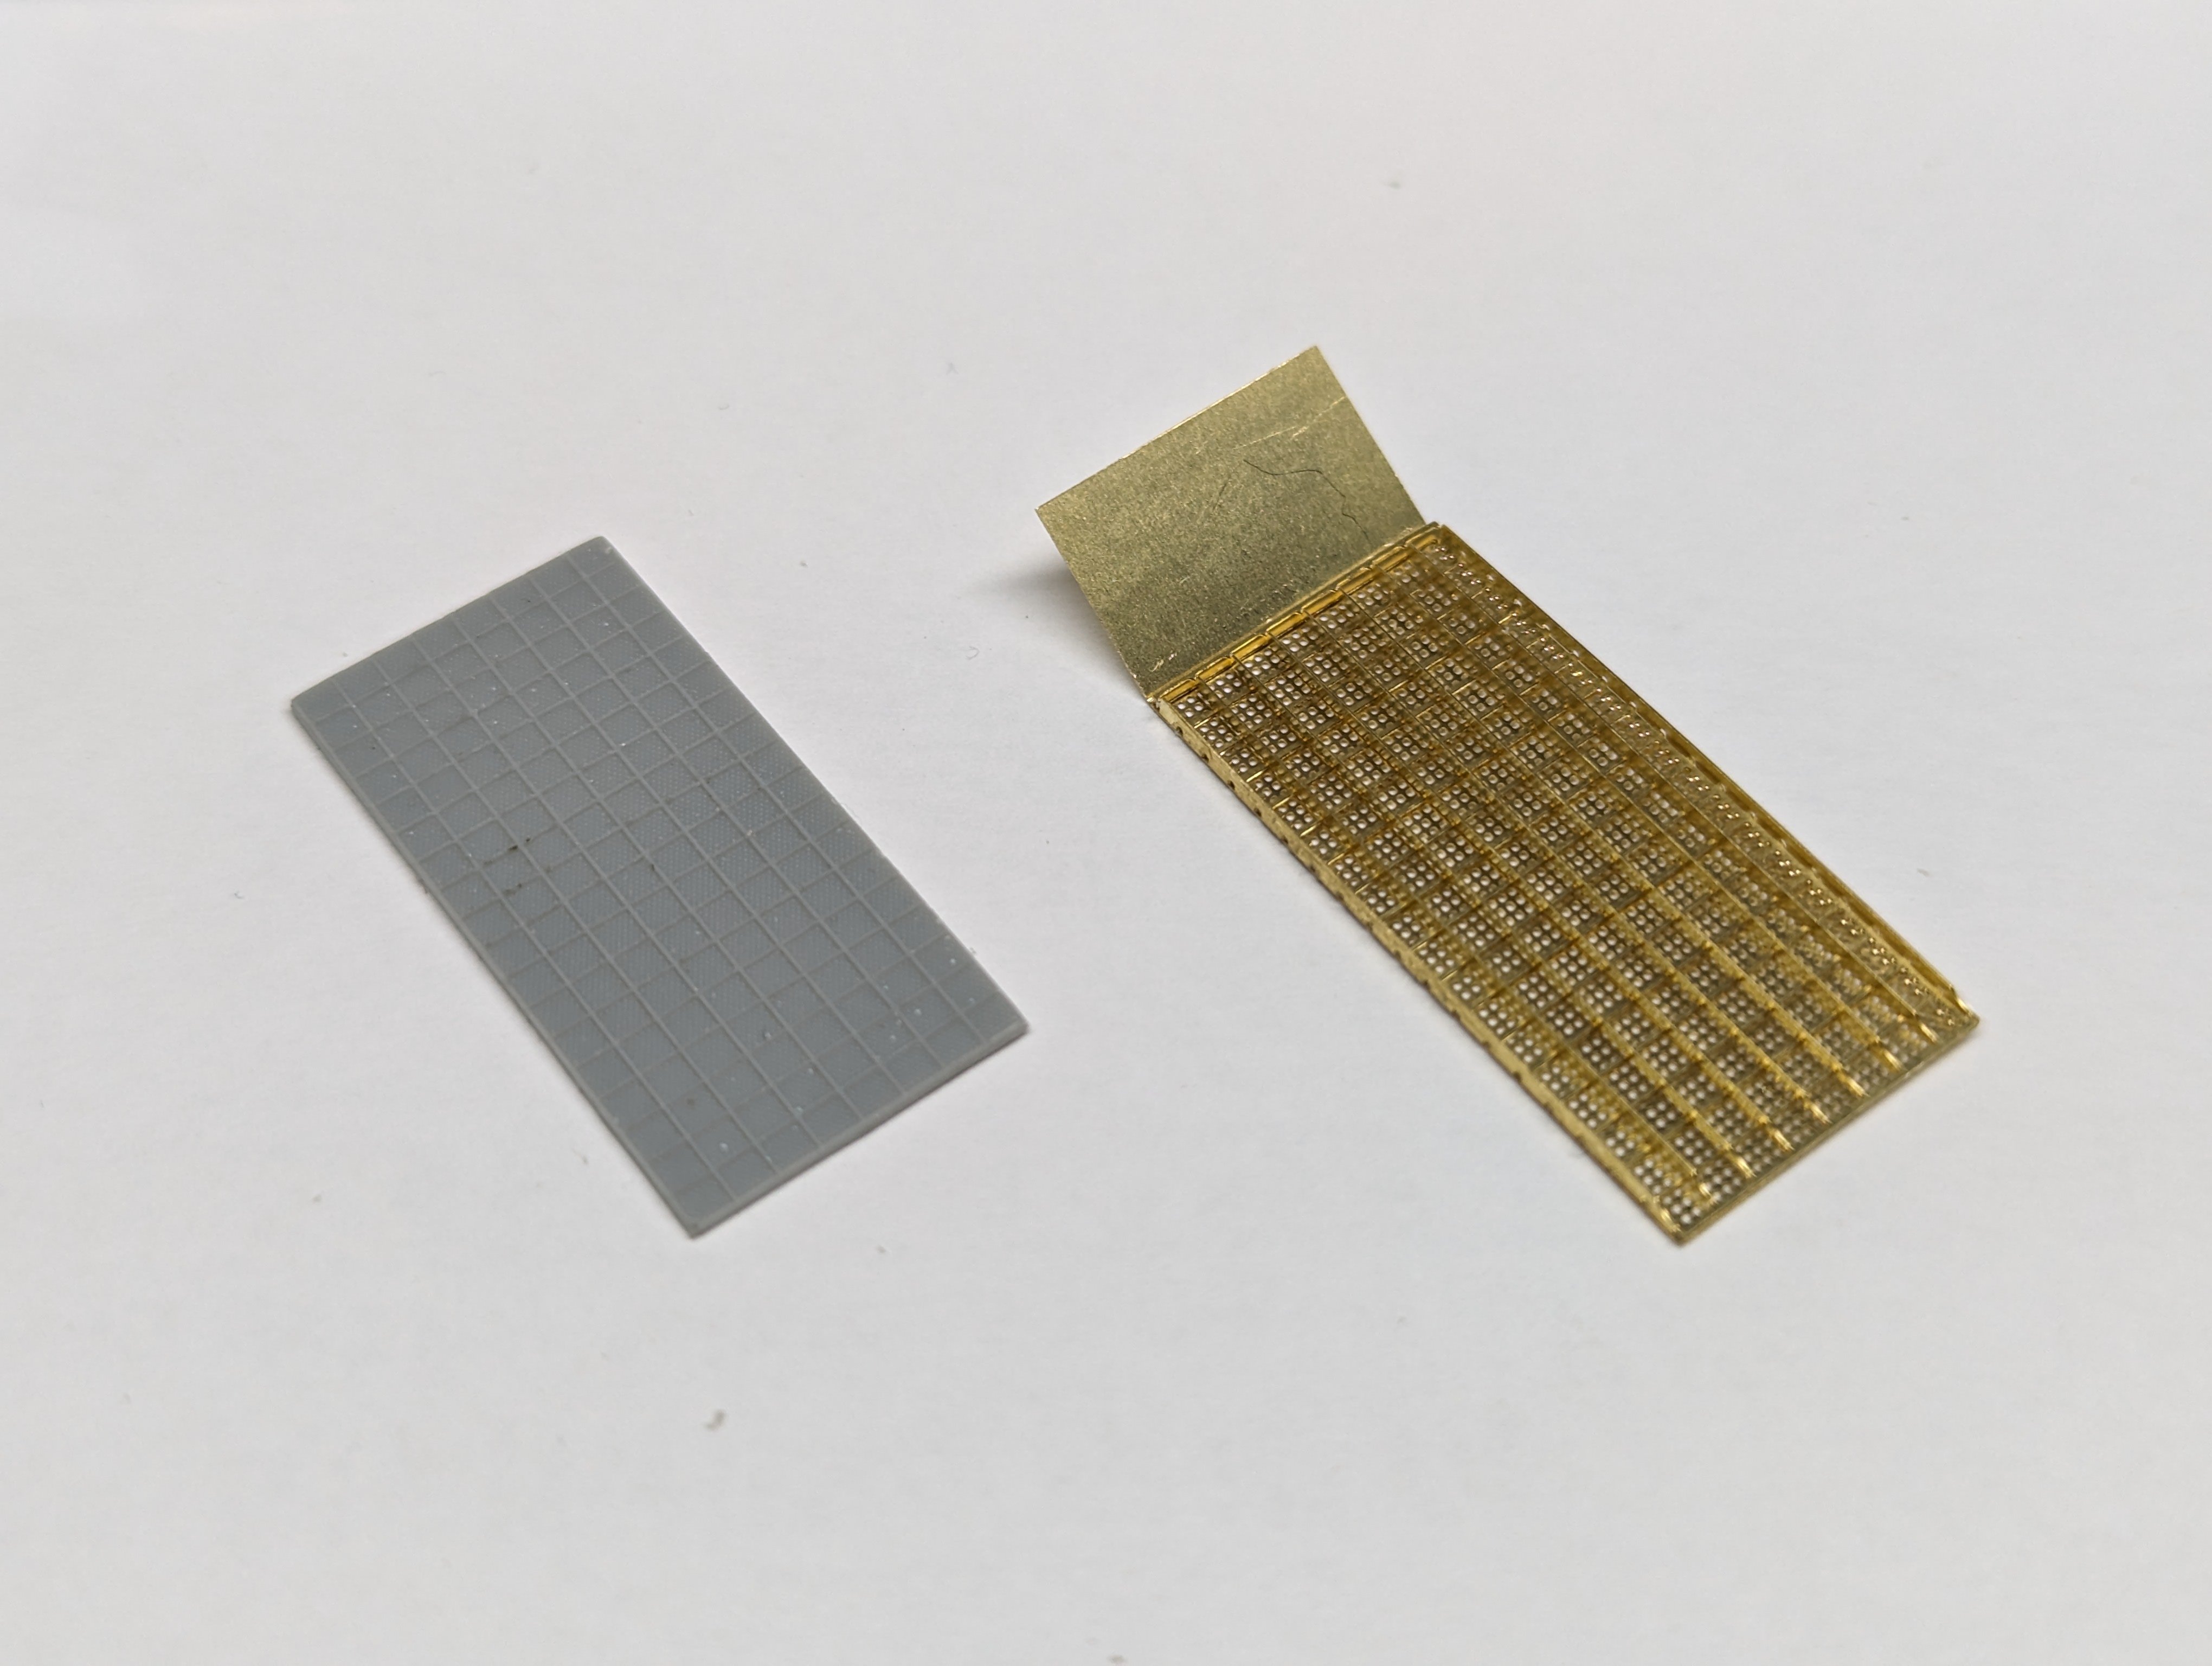
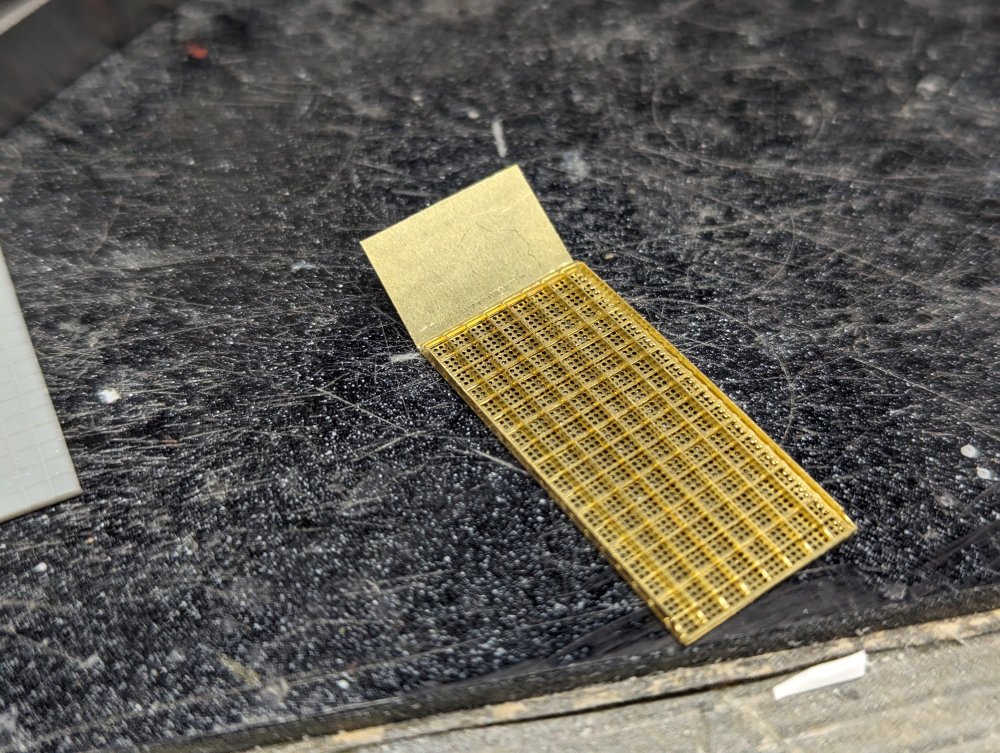
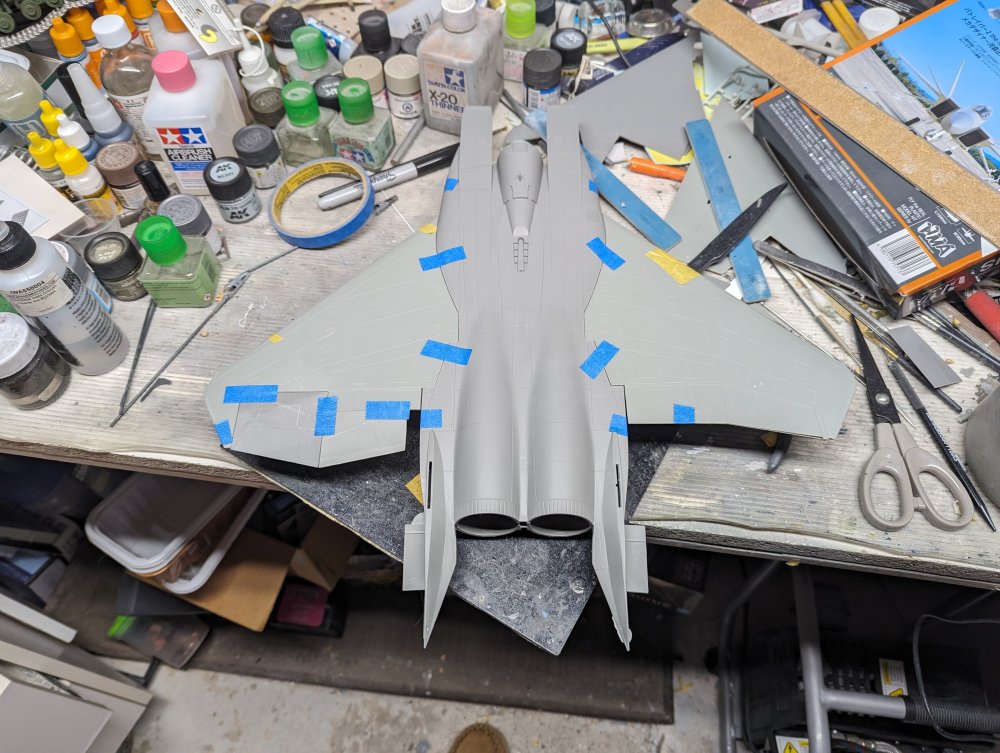
While letting things on the Kai Eagle dry, I took a stab at the intake grilles. These are by Metallic Details and are a huge step up from the kit pieces. First step is to fold each length 90° so it's vertical. Then the get attached to the cross members which are in one piece too. Last part is the grille. The assembled FOD screen compared to the kit part.


-
F-15DJ Kai or Eagle Plus- Finished!
BlrwestSiR replied to BlrwestSiR's topic in The Great Twins Broup Bluild
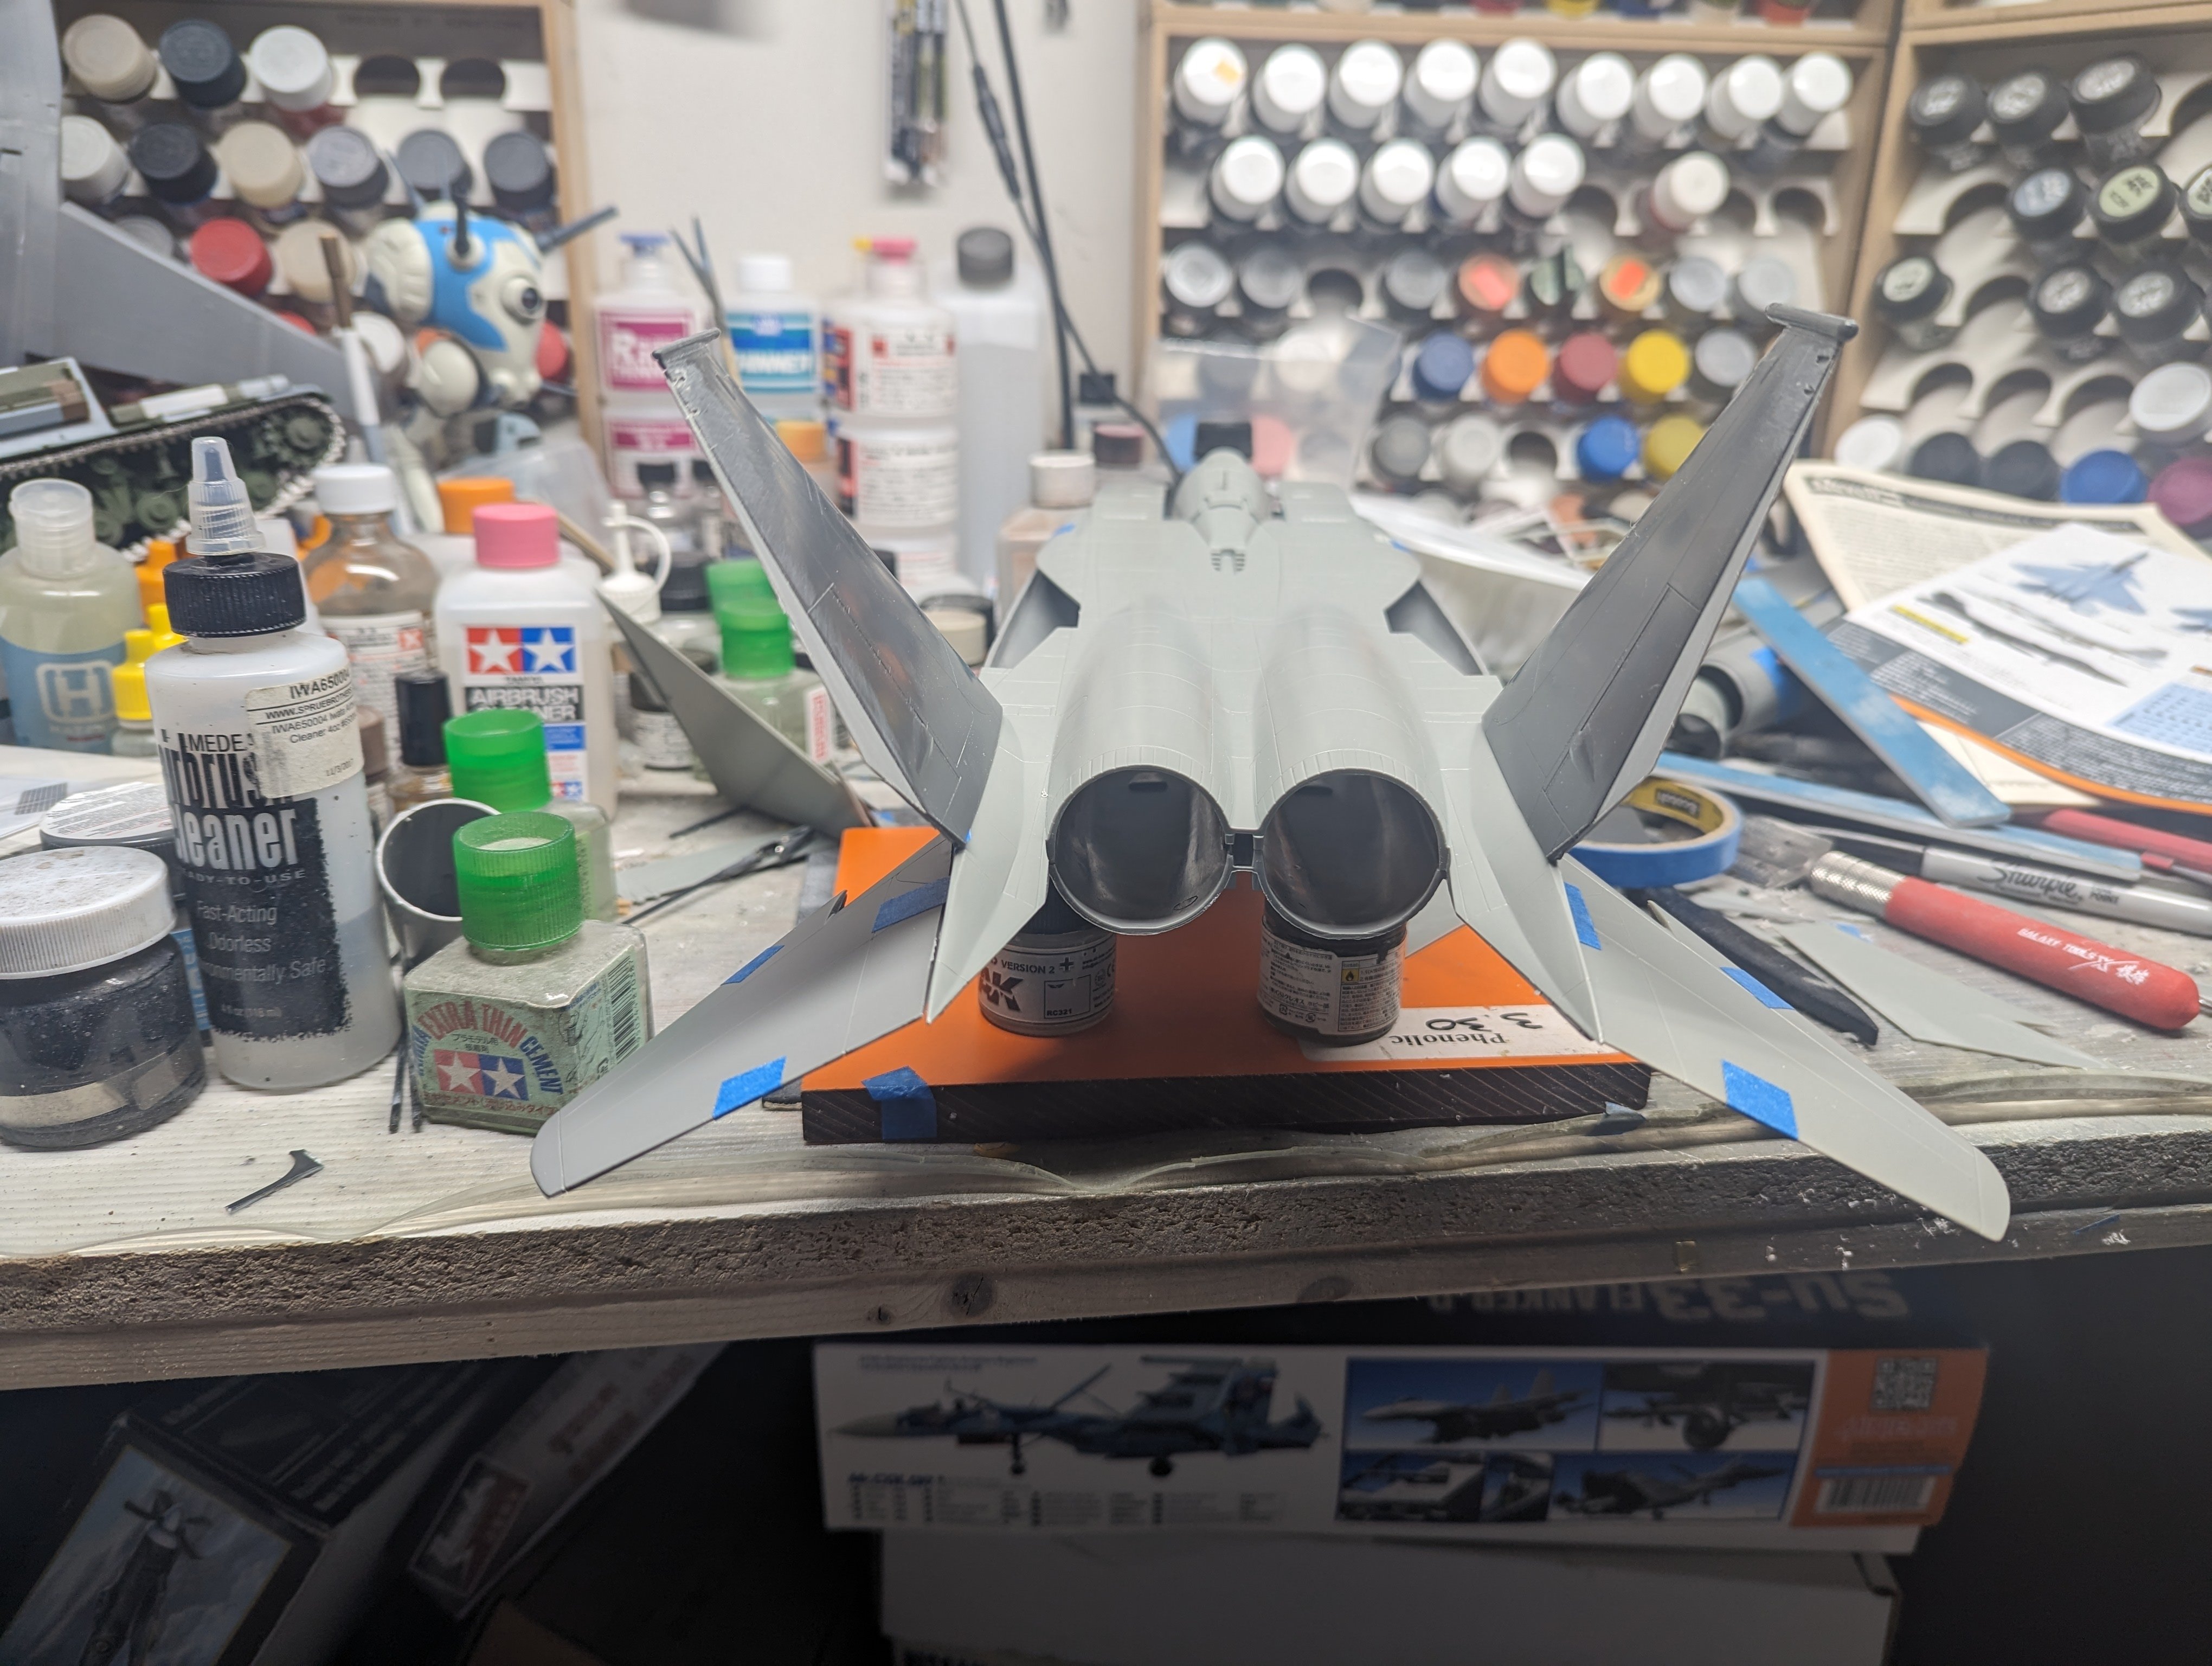
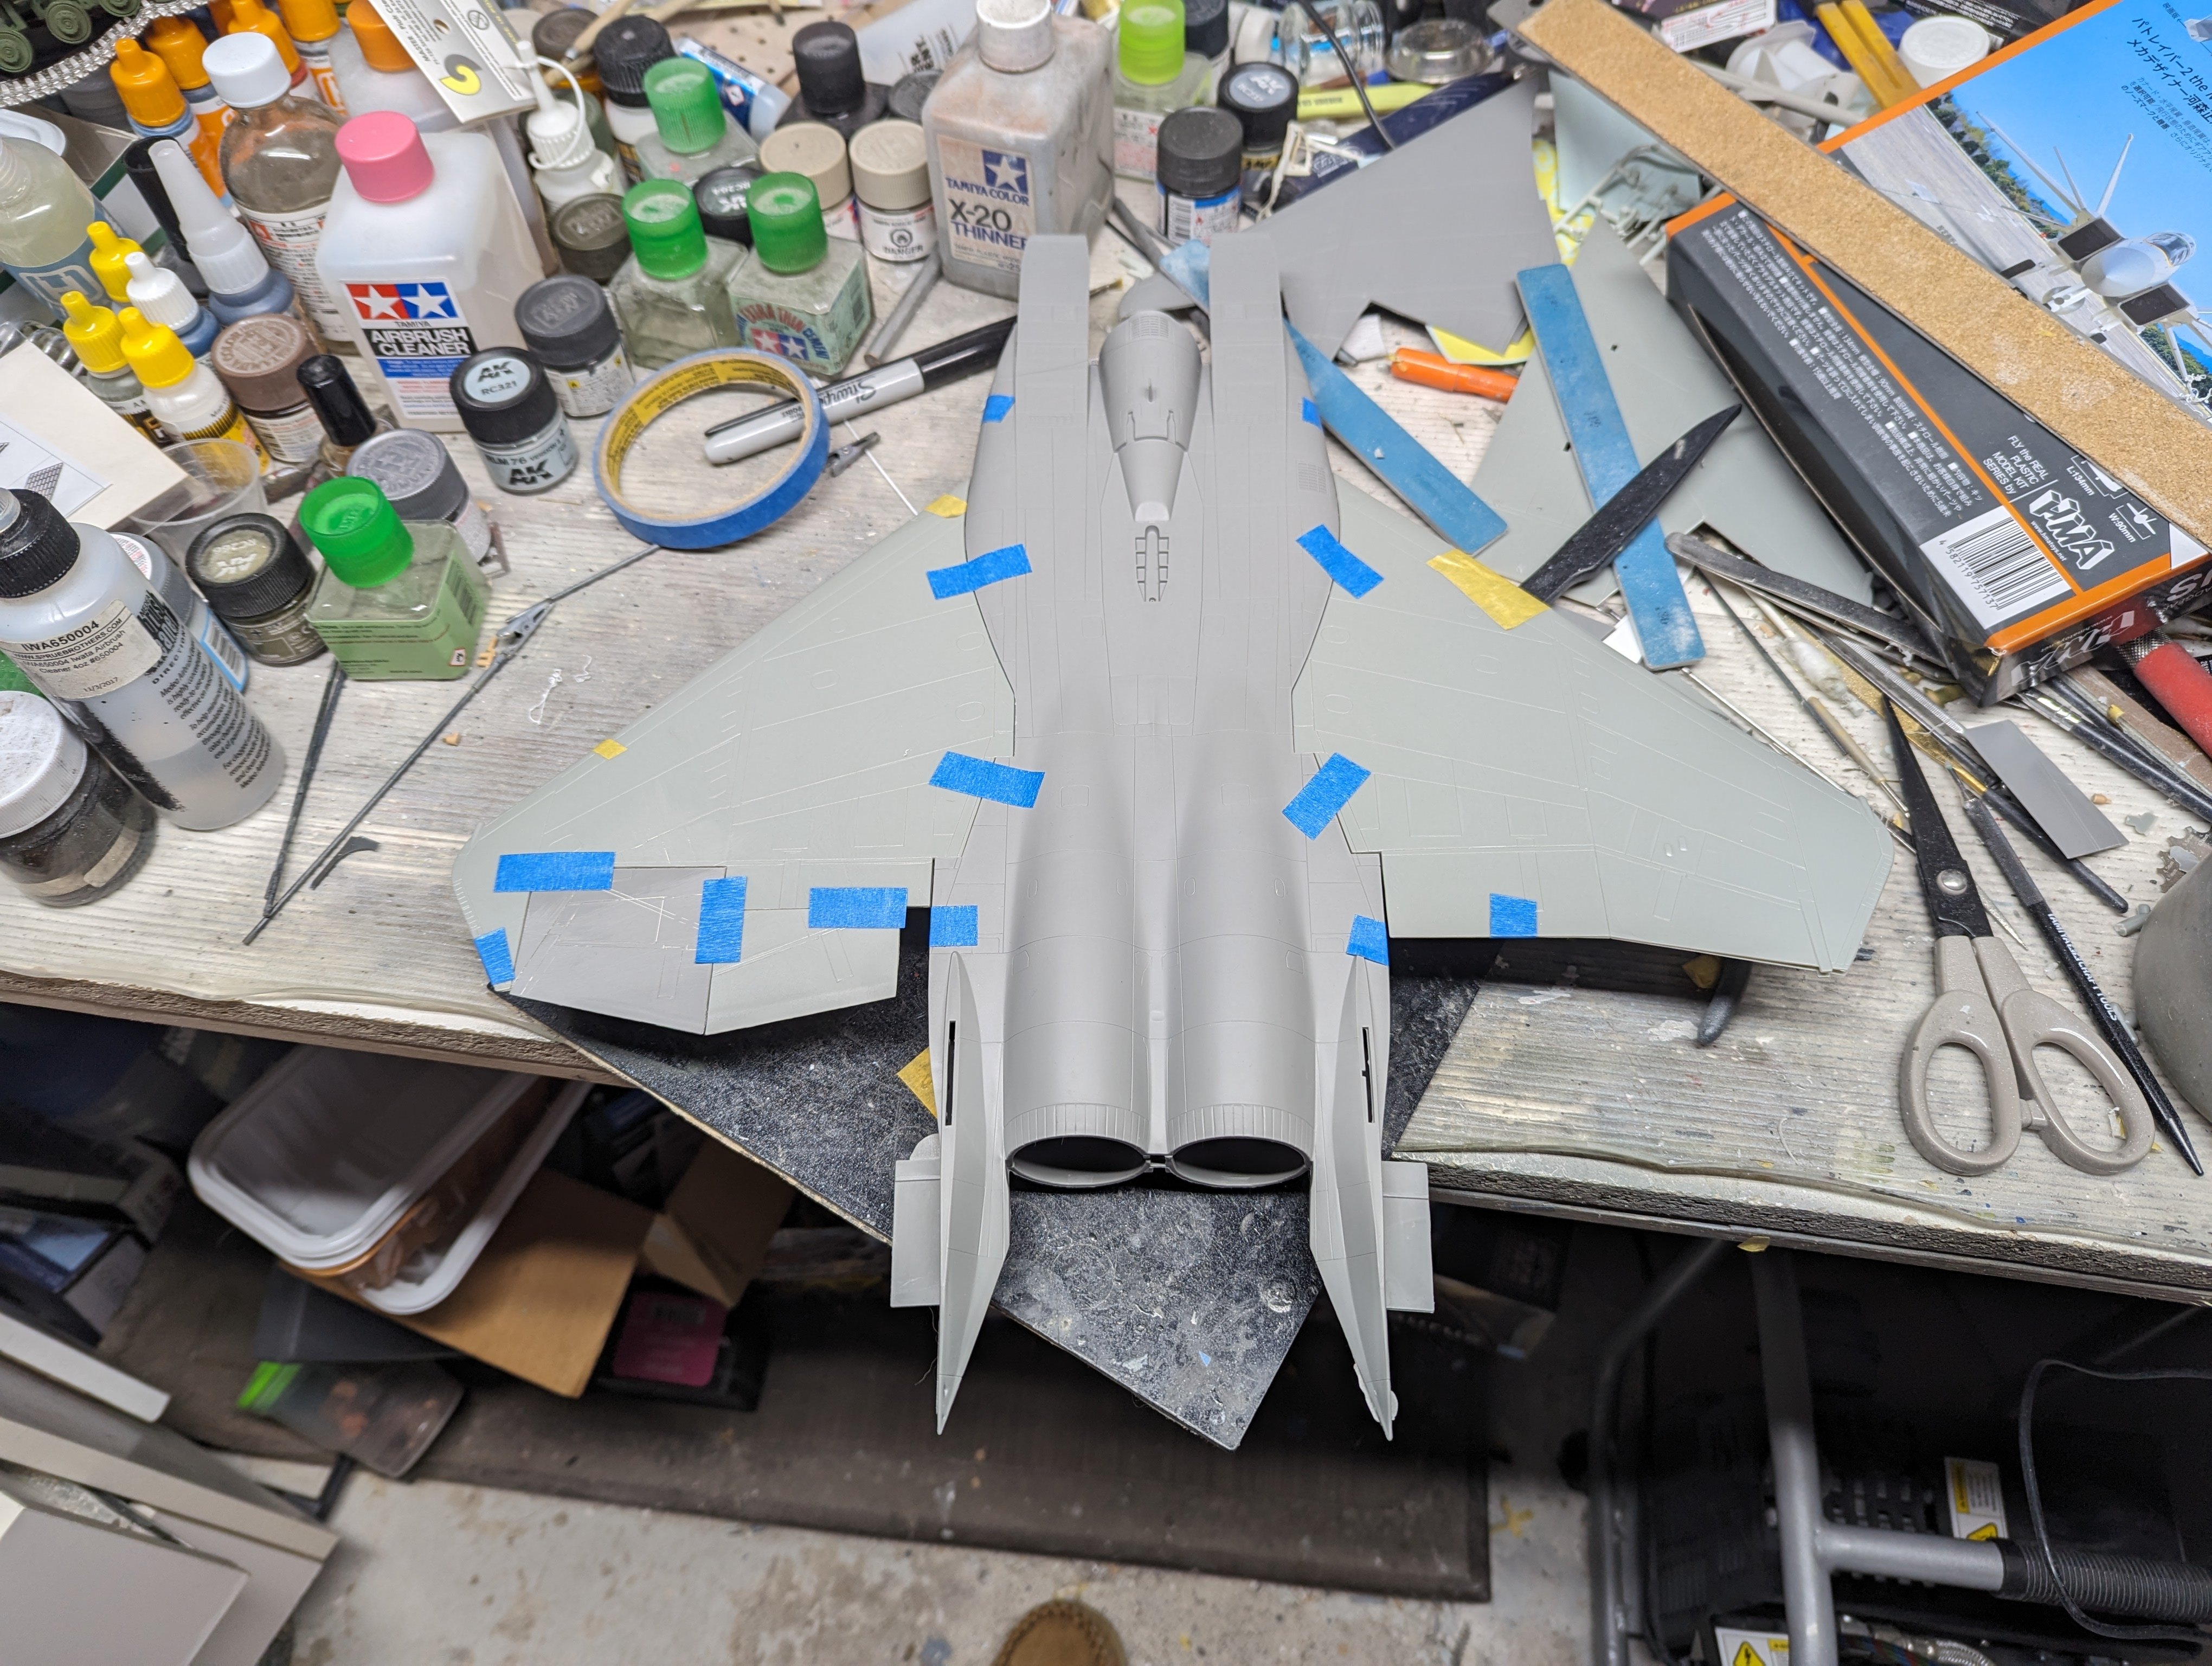
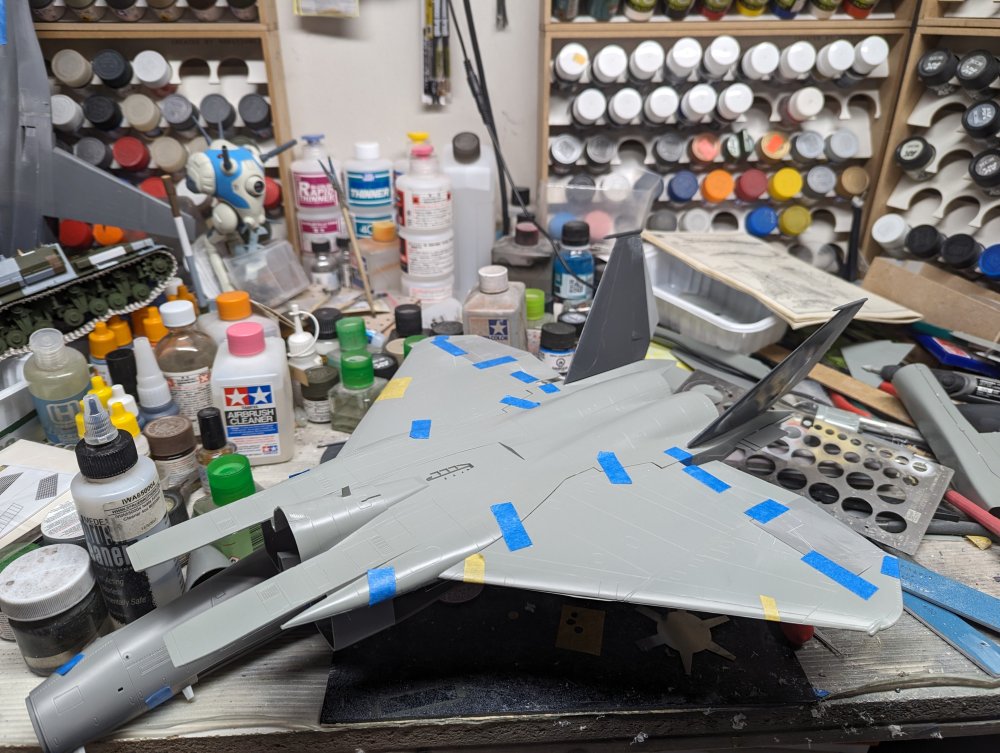
Time to work on the vectored thrust nozzles. I made a template and cut out four nozzle petals. These are the upper and lower ones. Then I started on making the round nacelles rectangular. In the meantime, I think I know where most of my tools have gone to: There are scribers, sanding pens, chisels, brushes, clips, and more in the pile. Oh boy, guess I can't say the carpet monster took them...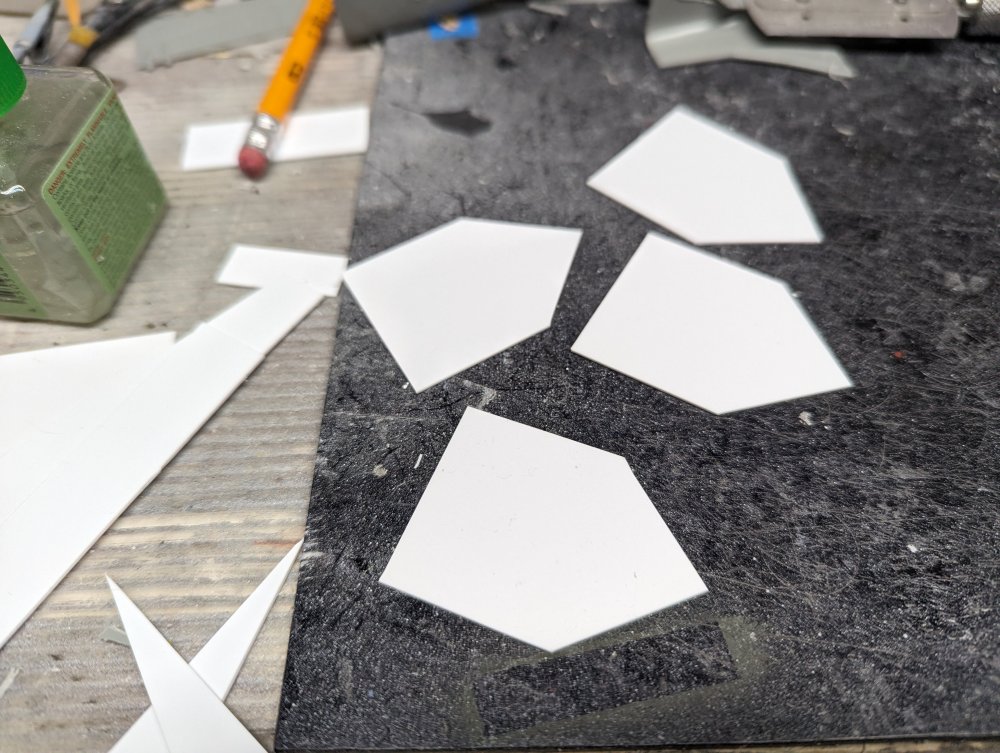

-
Ernie, I just took a look at my old pics and it looks like I needed a smear of filler around one of the nacelles and that was about it. But I do recall tweaking the fit beforehand gluing them on. I think I shaved the mating surfaces a bit.
-
Some.serious progress there Ernie. Nice job on the astrodome fit.
-
Nice detail painting. Is this the kit that has the loo moulded in it? I wonder if that will be one of the details that will be hard to see, if at all.
-
Nice couple of vintage kits Paul. Hopefully they're a nice trip down memory road for you.
-
The cockpit looks great. Glad the seat fit, if just.
-
F-15DJ Kai or Eagle Plus- Finished!
BlrwestSiR replied to BlrwestSiR's topic in The Great Twins Broup Bluild
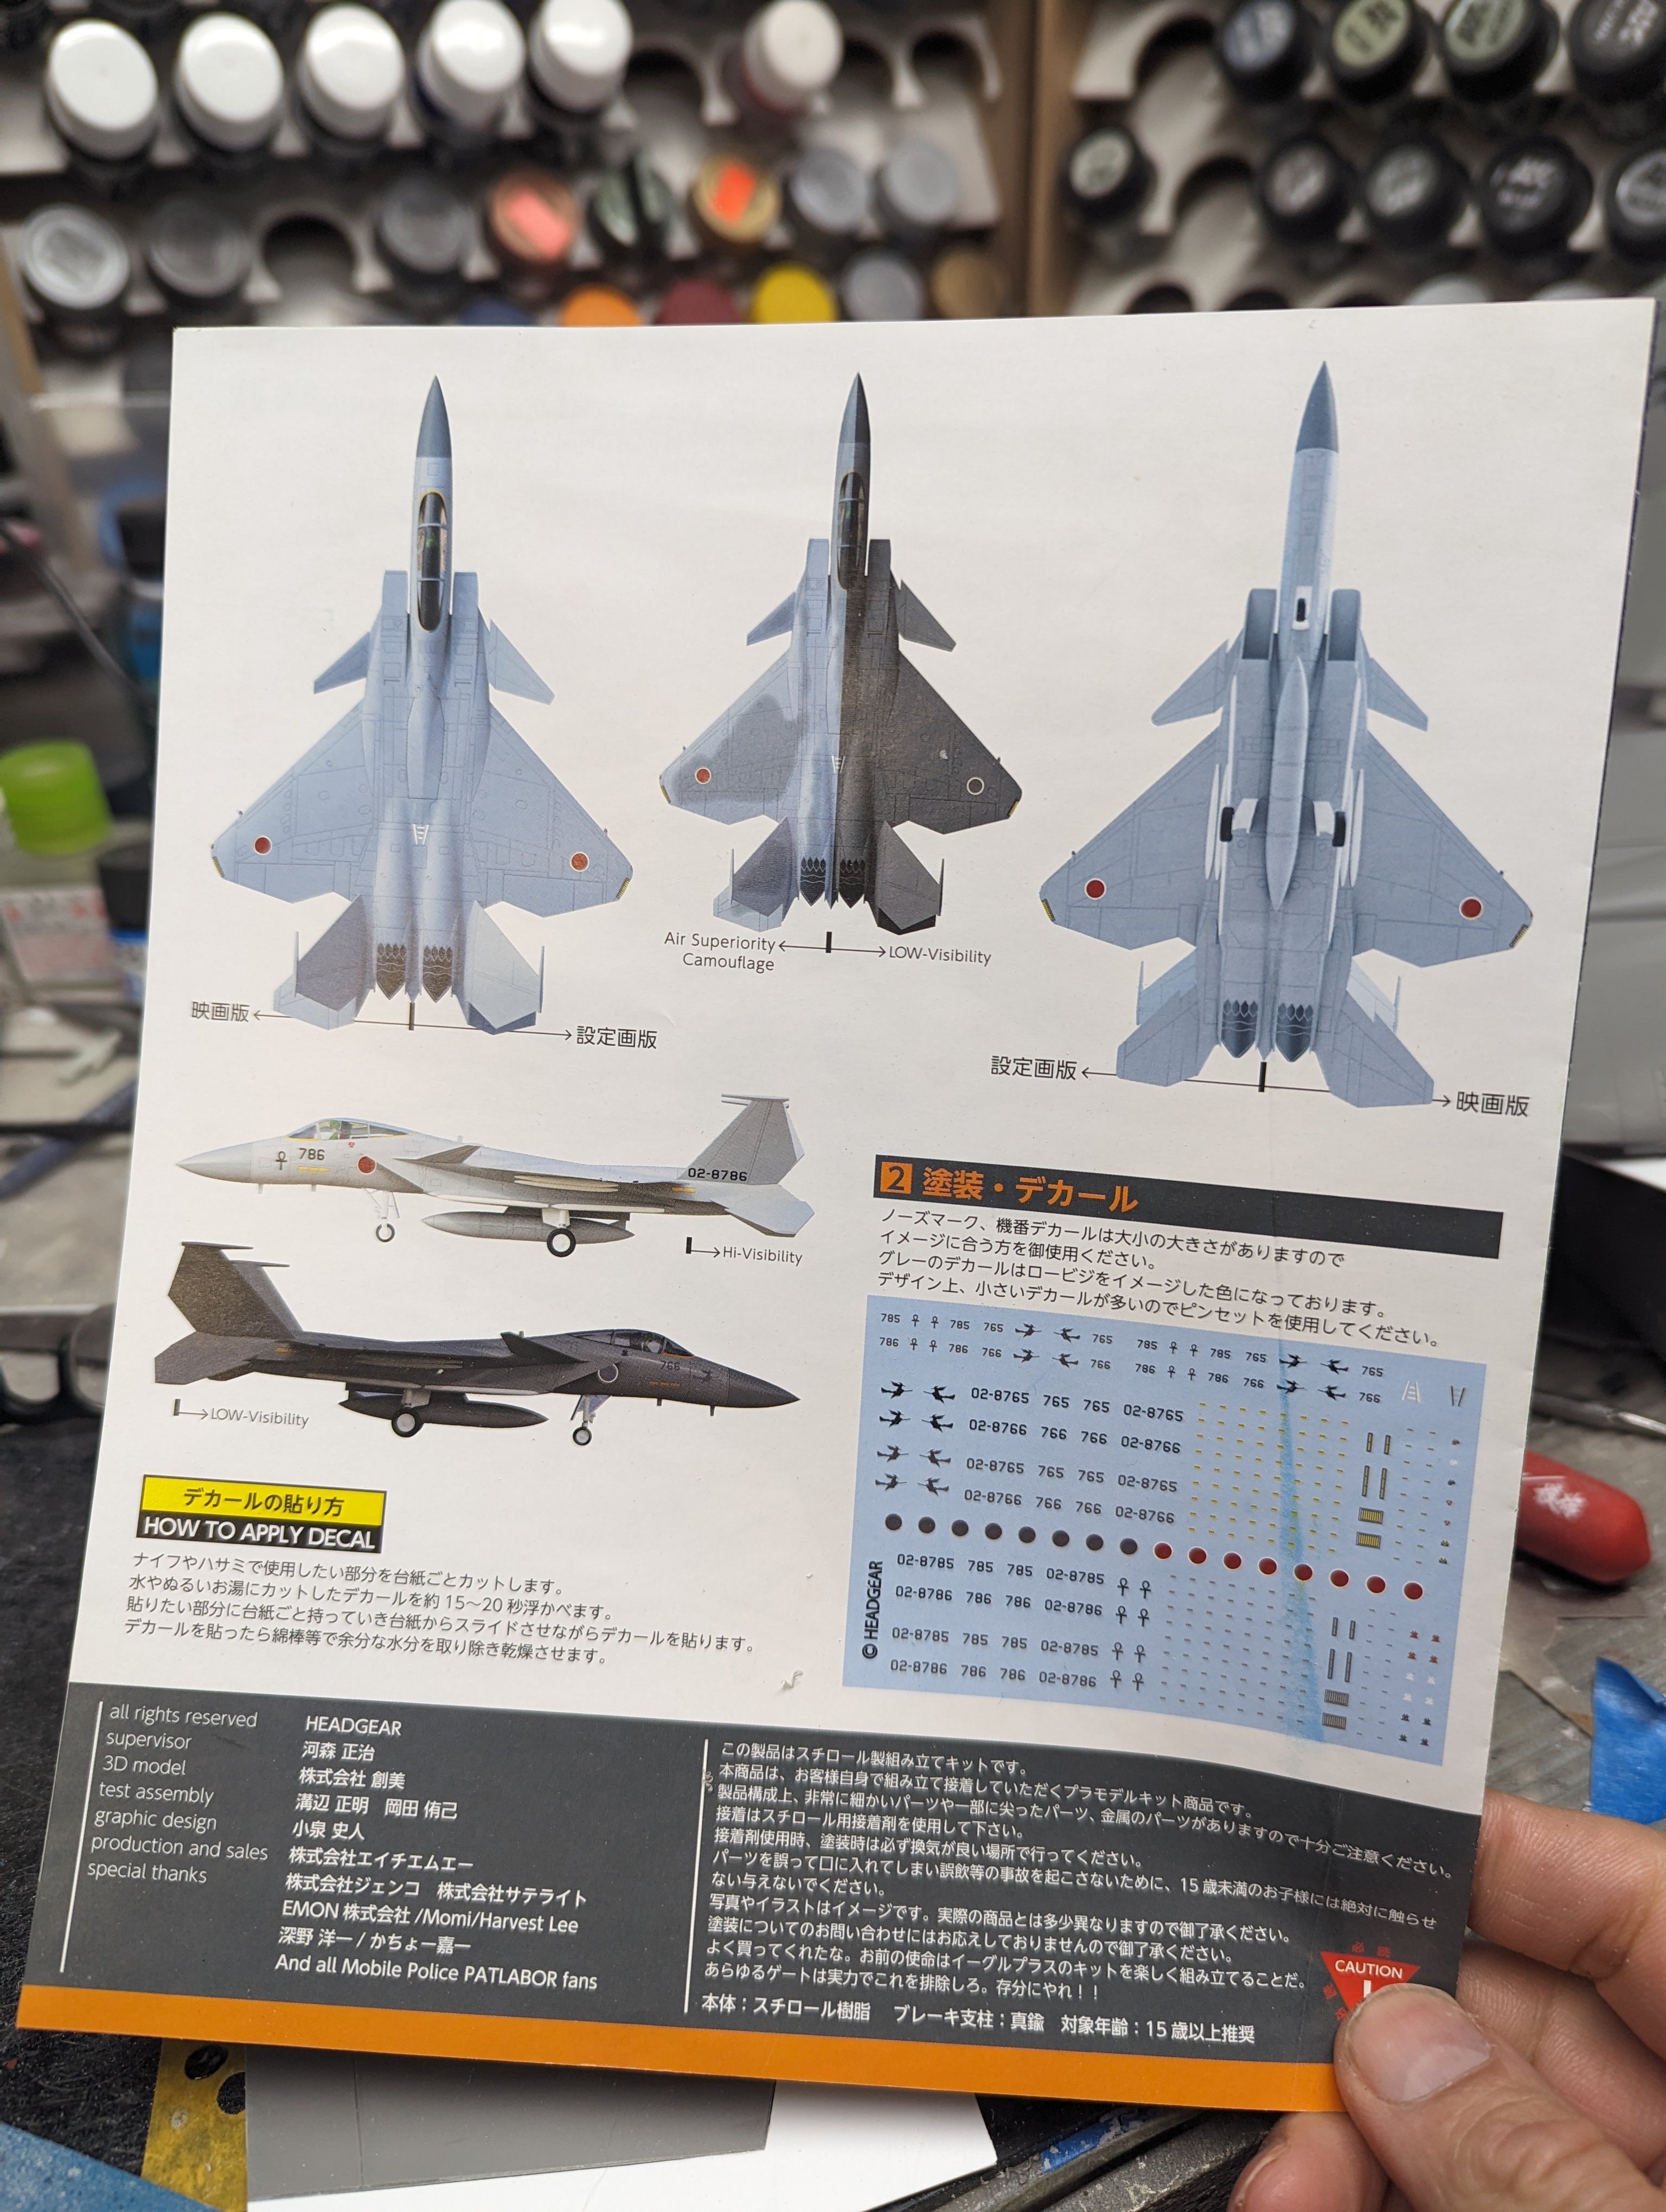
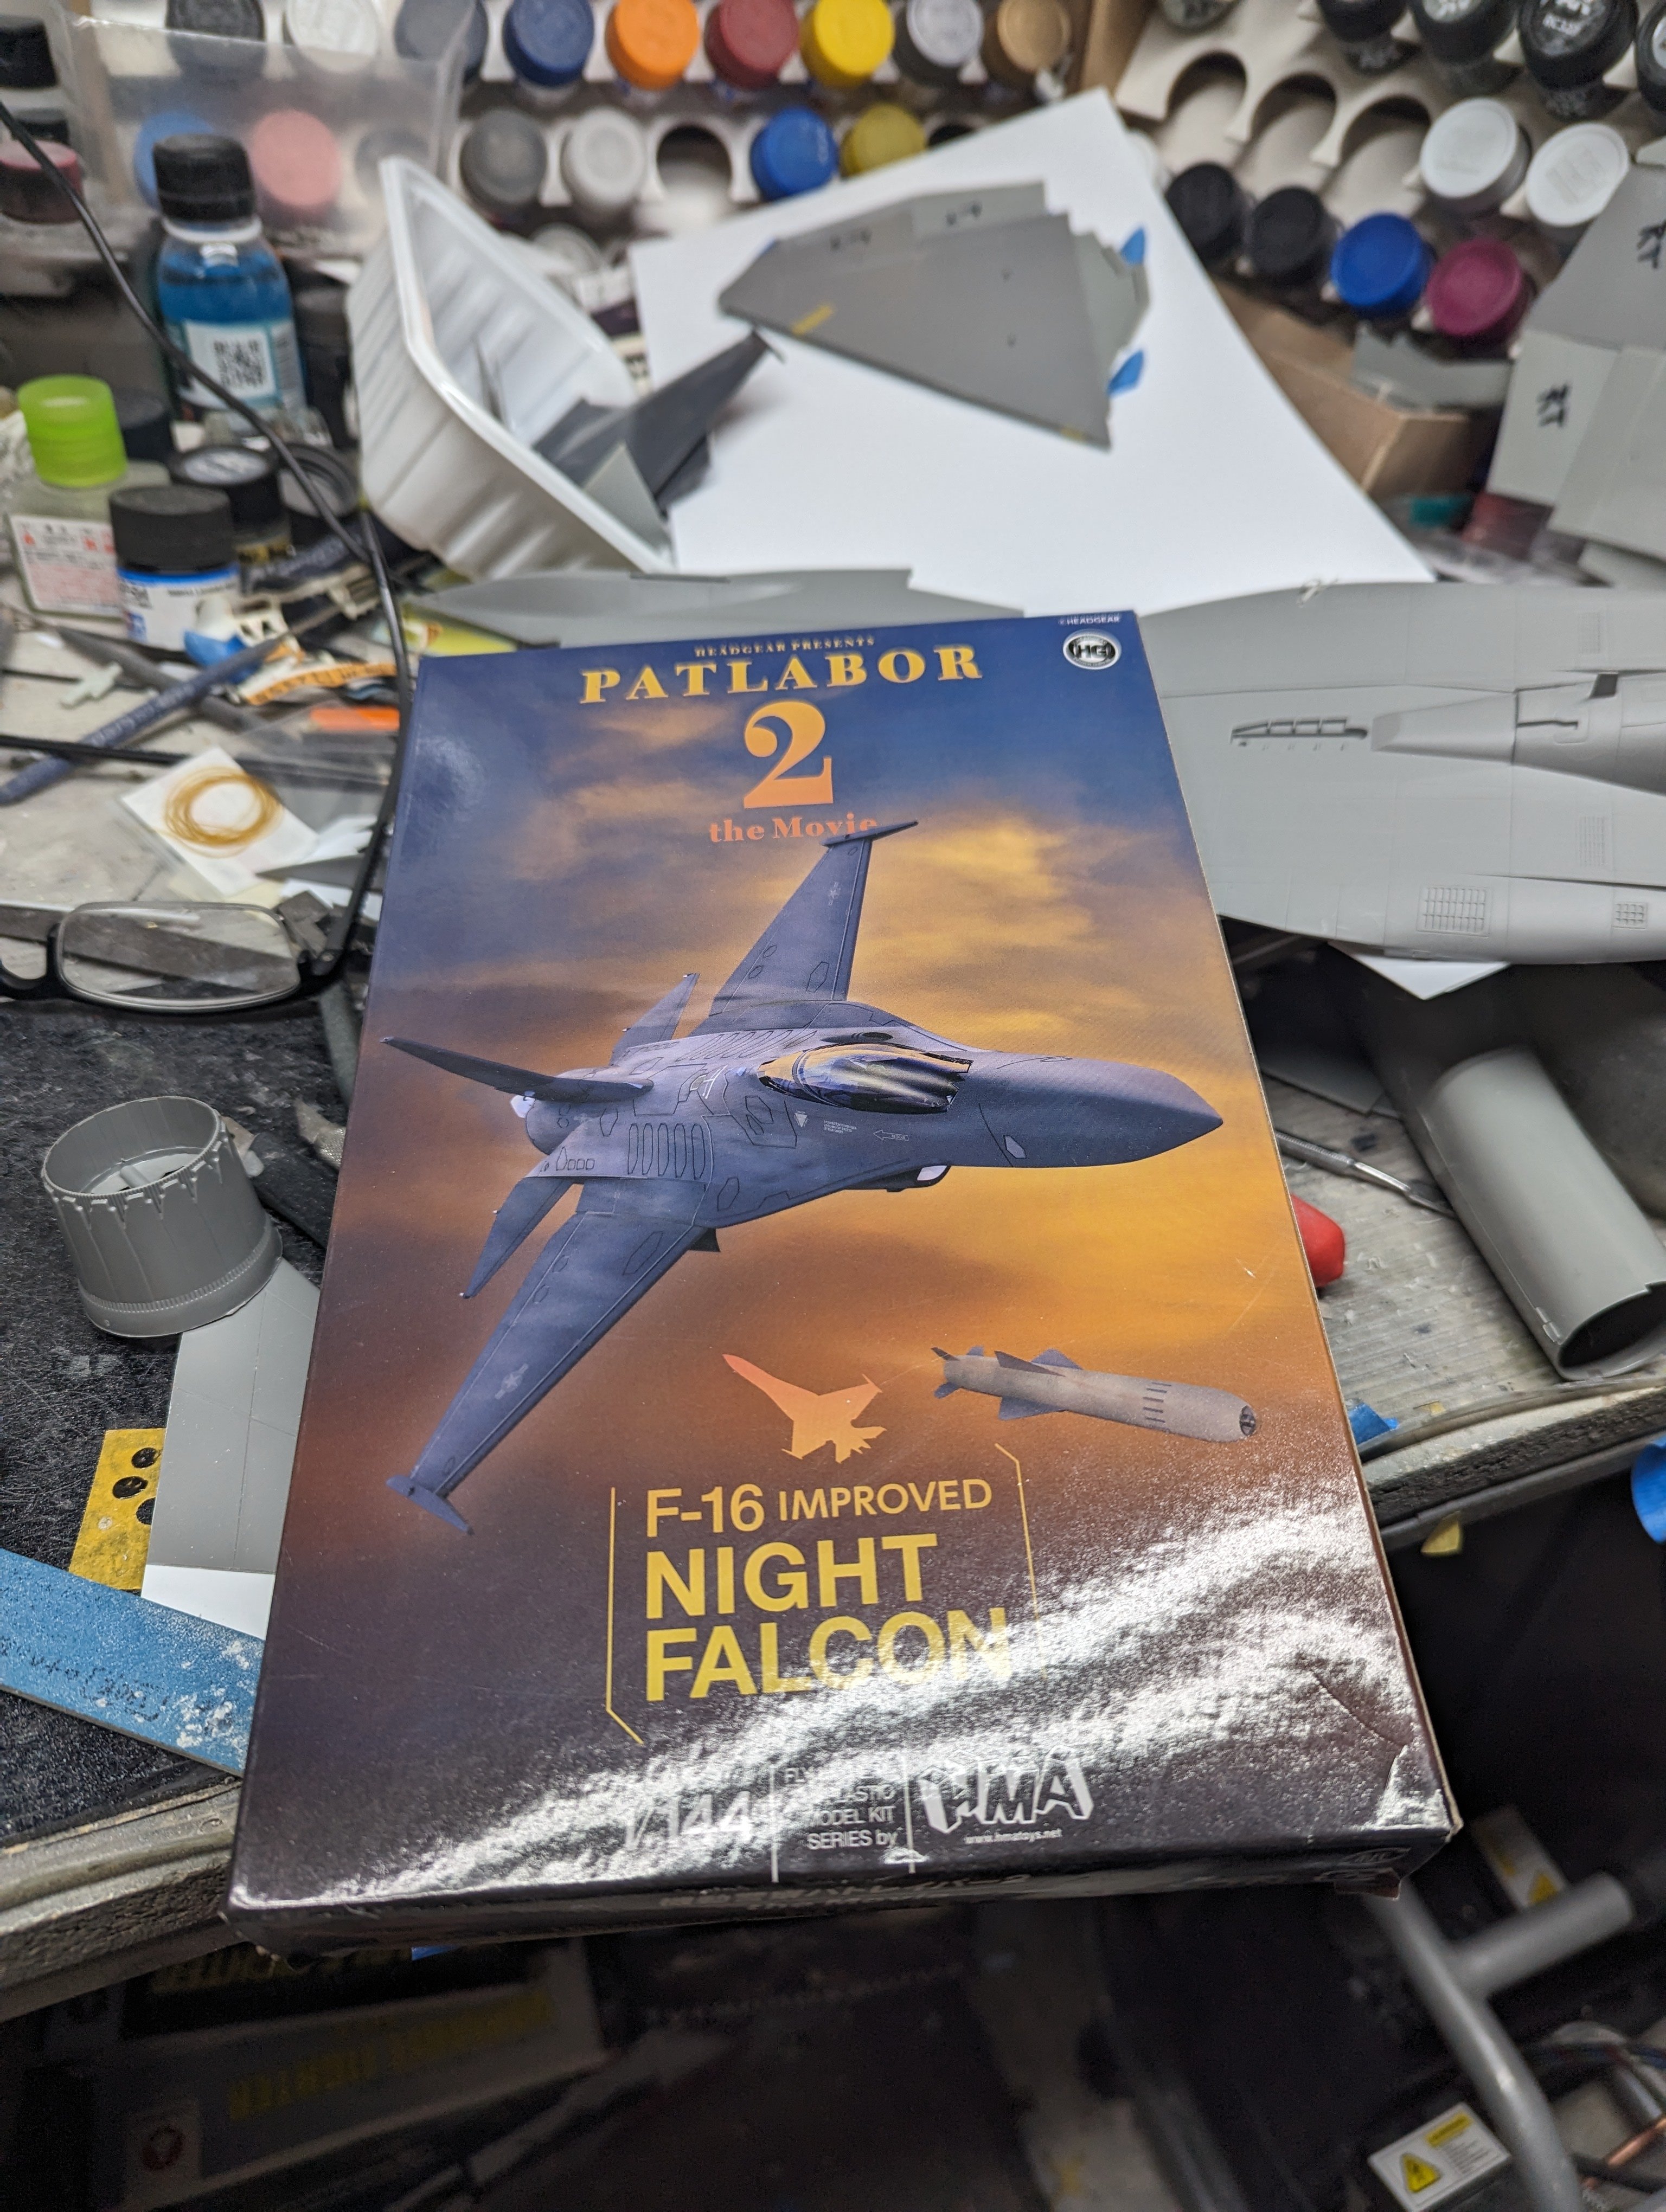
Almost, a model company called HMA did a 1/144 kit of the plane and I've got that on my bench for reference. Back of the instructions. HMA even did a model of the F-16 that's in the film but all you see of that one is a shadow in the film.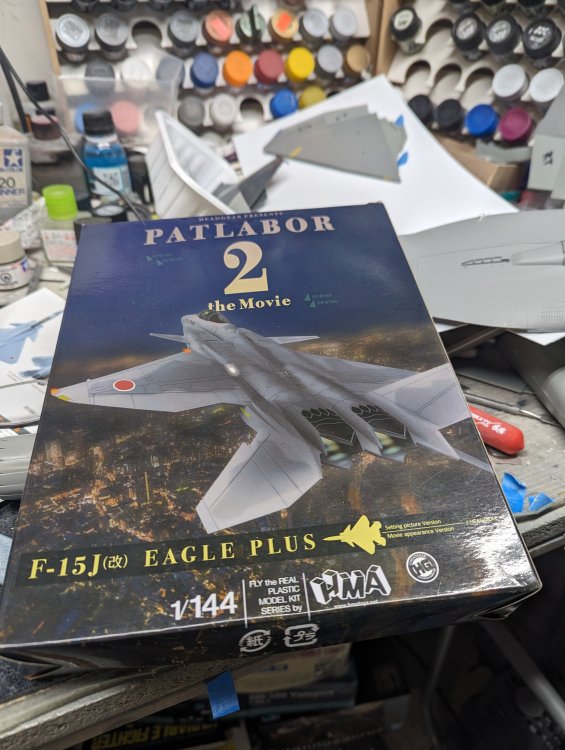


-
F-15DJ Kai or Eagle Plus- Finished!
BlrwestSiR replied to BlrwestSiR's topic in The Great Twins Broup Bluild
I actually forgot. There's another fictional version of the Eagle which might closer to what I've got. Dale Brown wrote a novel called Day of the Cheetah which is about a deep cover Russian agent stealing an advanced prototype USAF fighter called Dreamstar that uses thought control for flight. The plane sent up against it is a heavily modified F-15 Strike Eagle called Cheetah which is very similar to my build. A fun book and sequel to Flight of the Old Dog. -
F-15DJ Kai or Eagle Plus- Finished!
BlrwestSiR replied to BlrwestSiR's topic in The Great Twins Broup Bluild
Thanks, actually they've been fairly straightforward. To be honest, a lot of it I'm just winging it. Lots of TLAR* in this build. The vectored thrust nozzles are going to be the big challenge. I'm leaving that for last and if I bodge it, then I'll use the kit exhausts and call it done. -
F-15DJ Kai or Eagle Plus- Finished!
BlrwestSiR replied to BlrwestSiR's topic in The Great Twins Broup Bluild
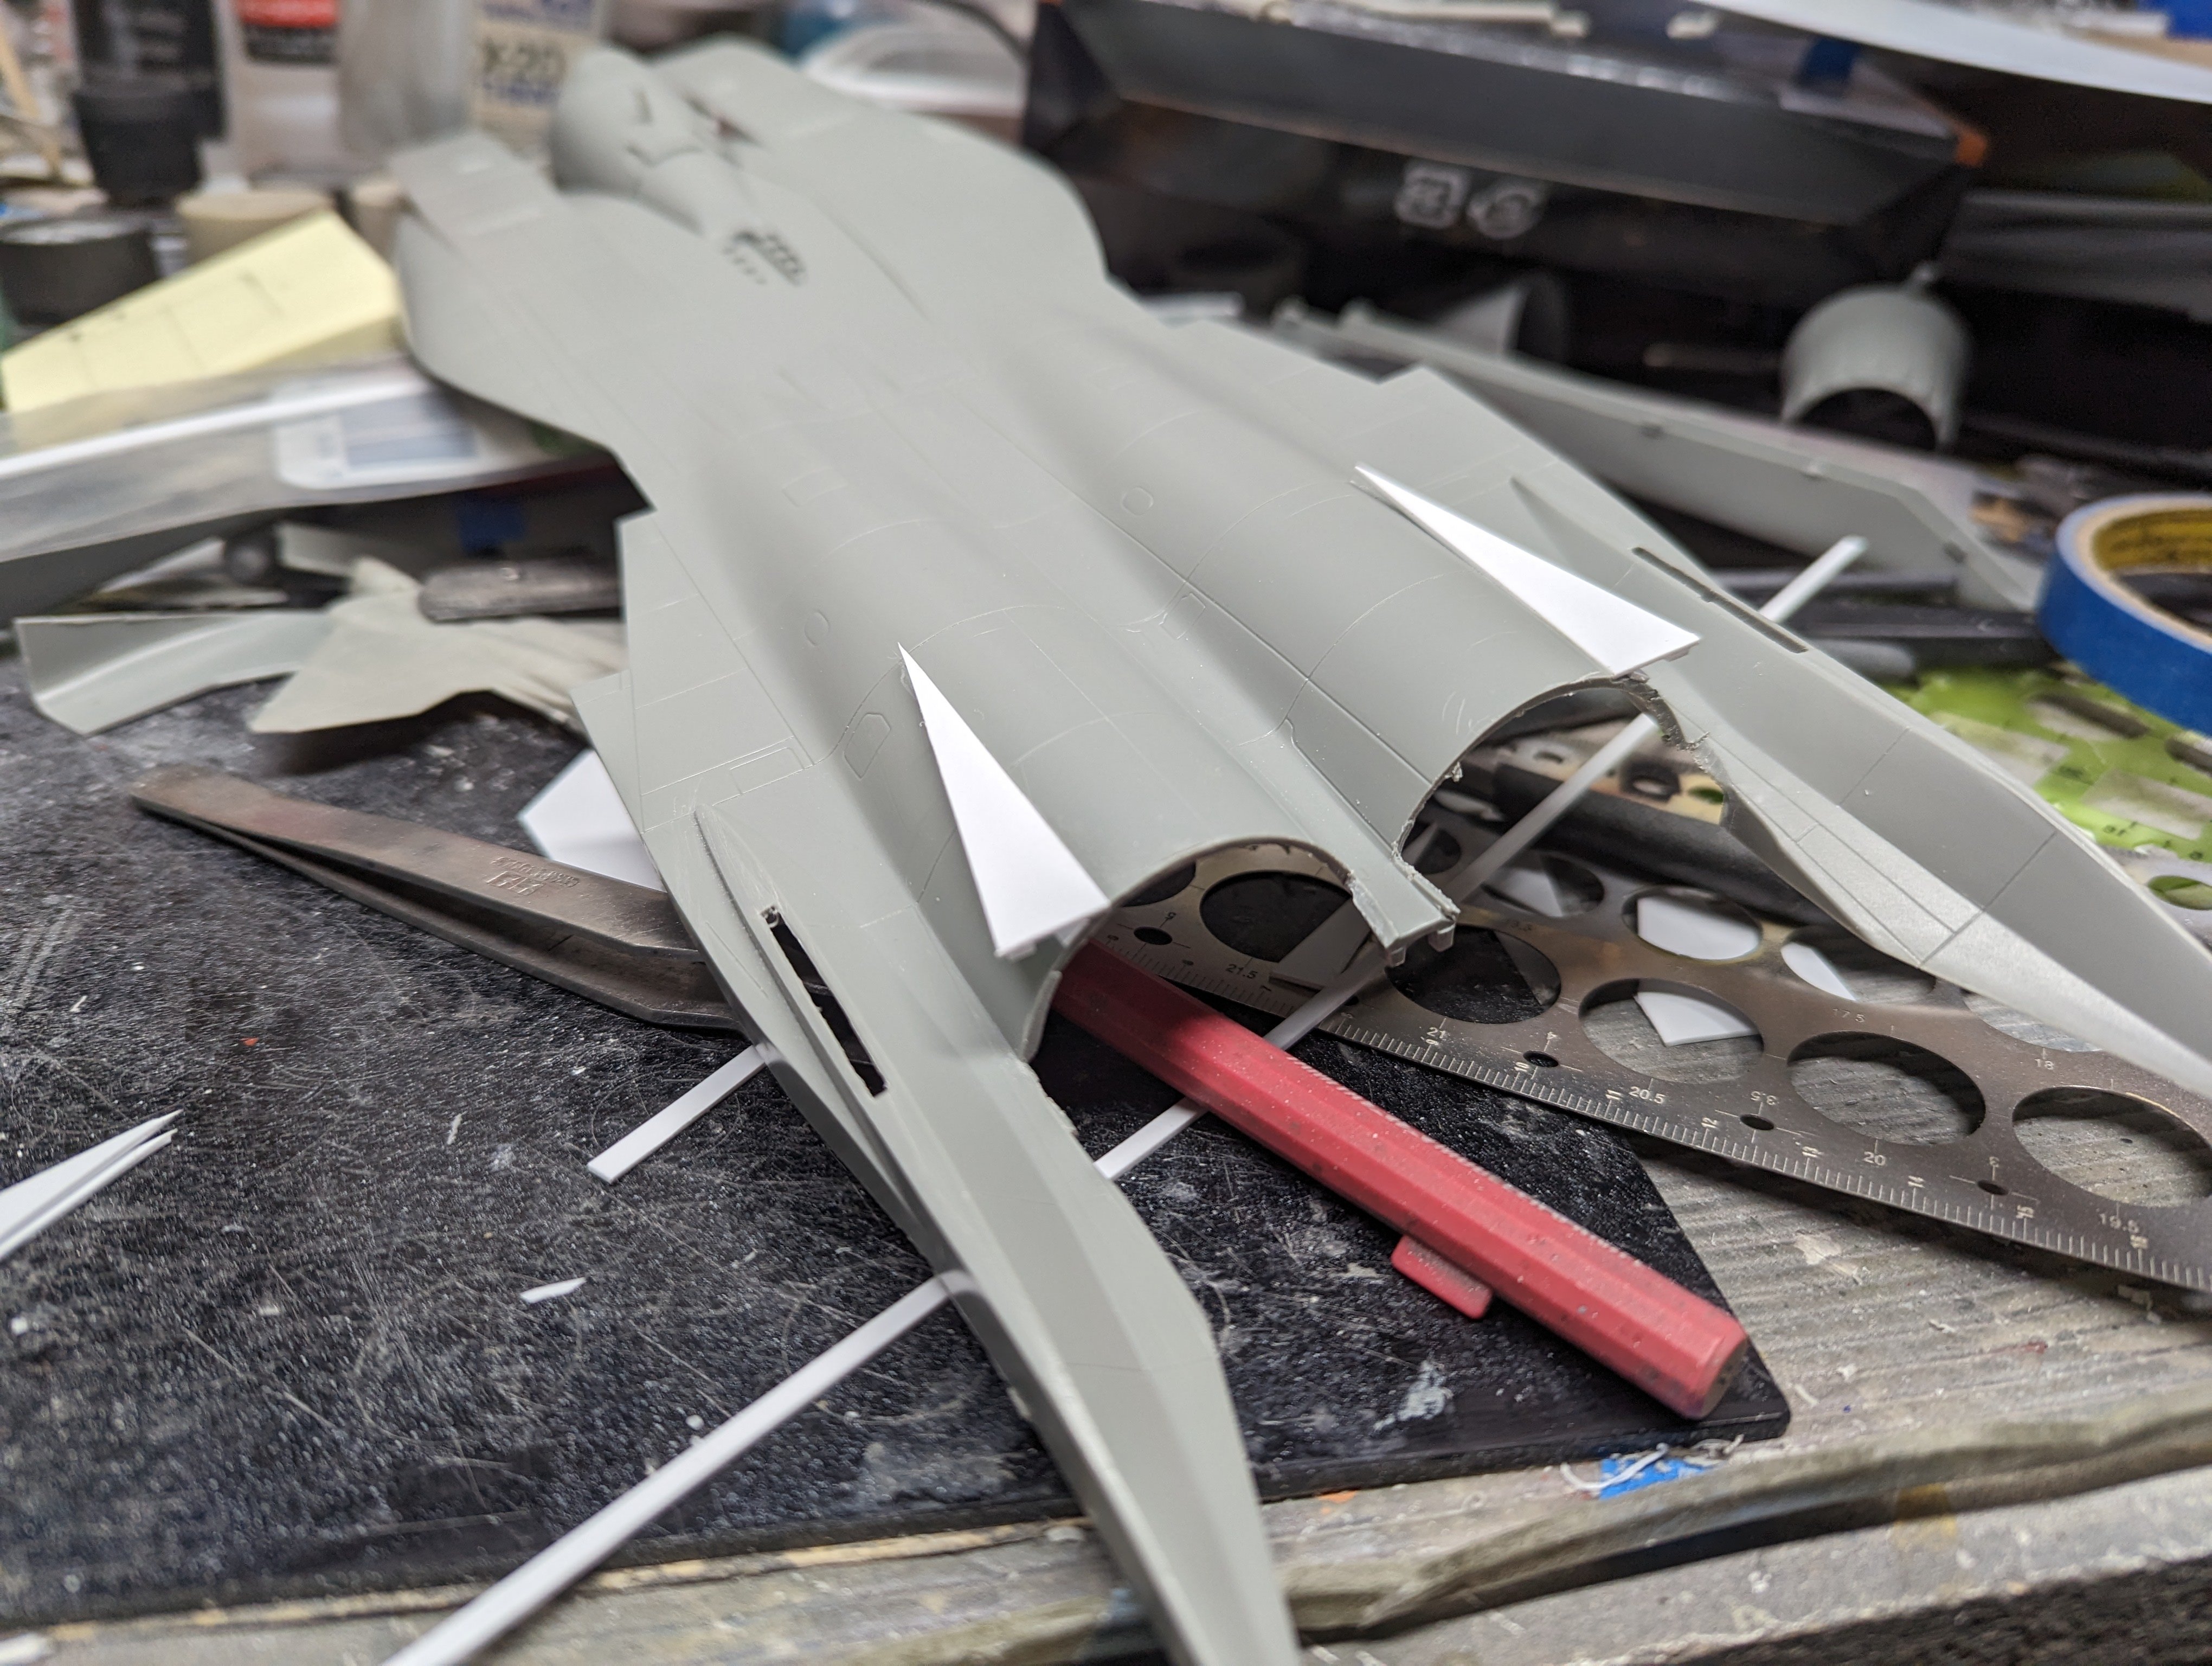
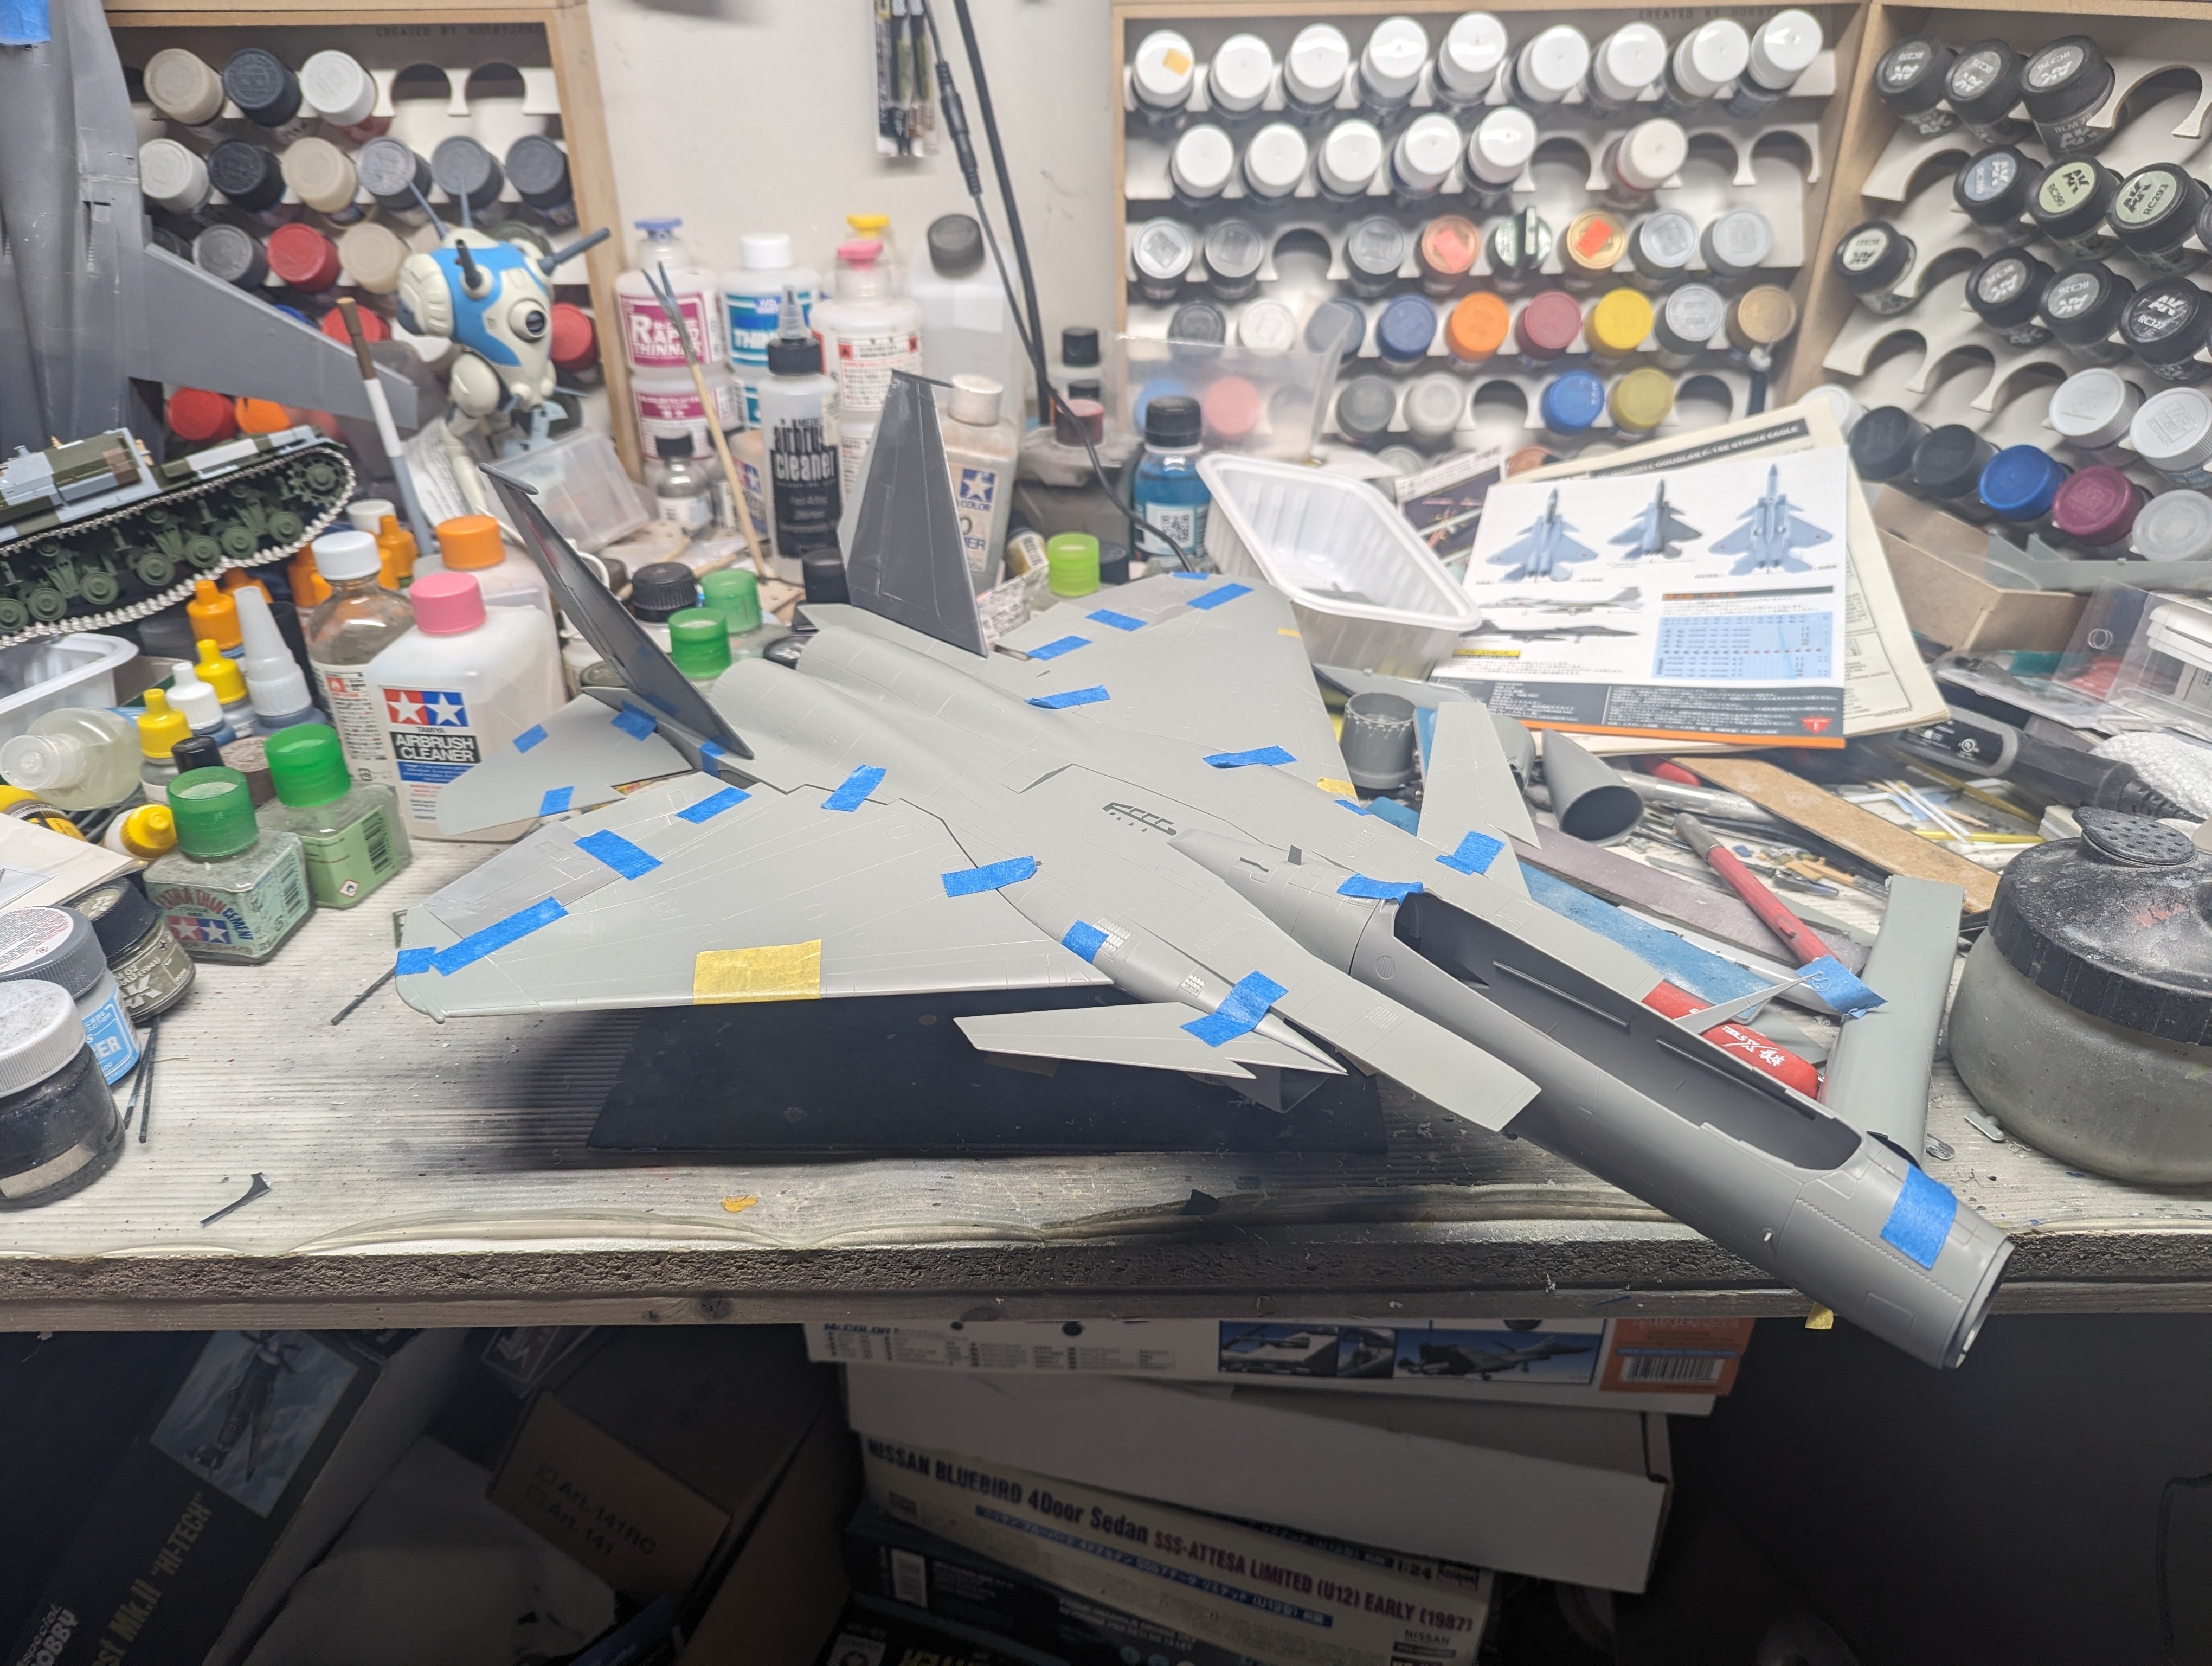
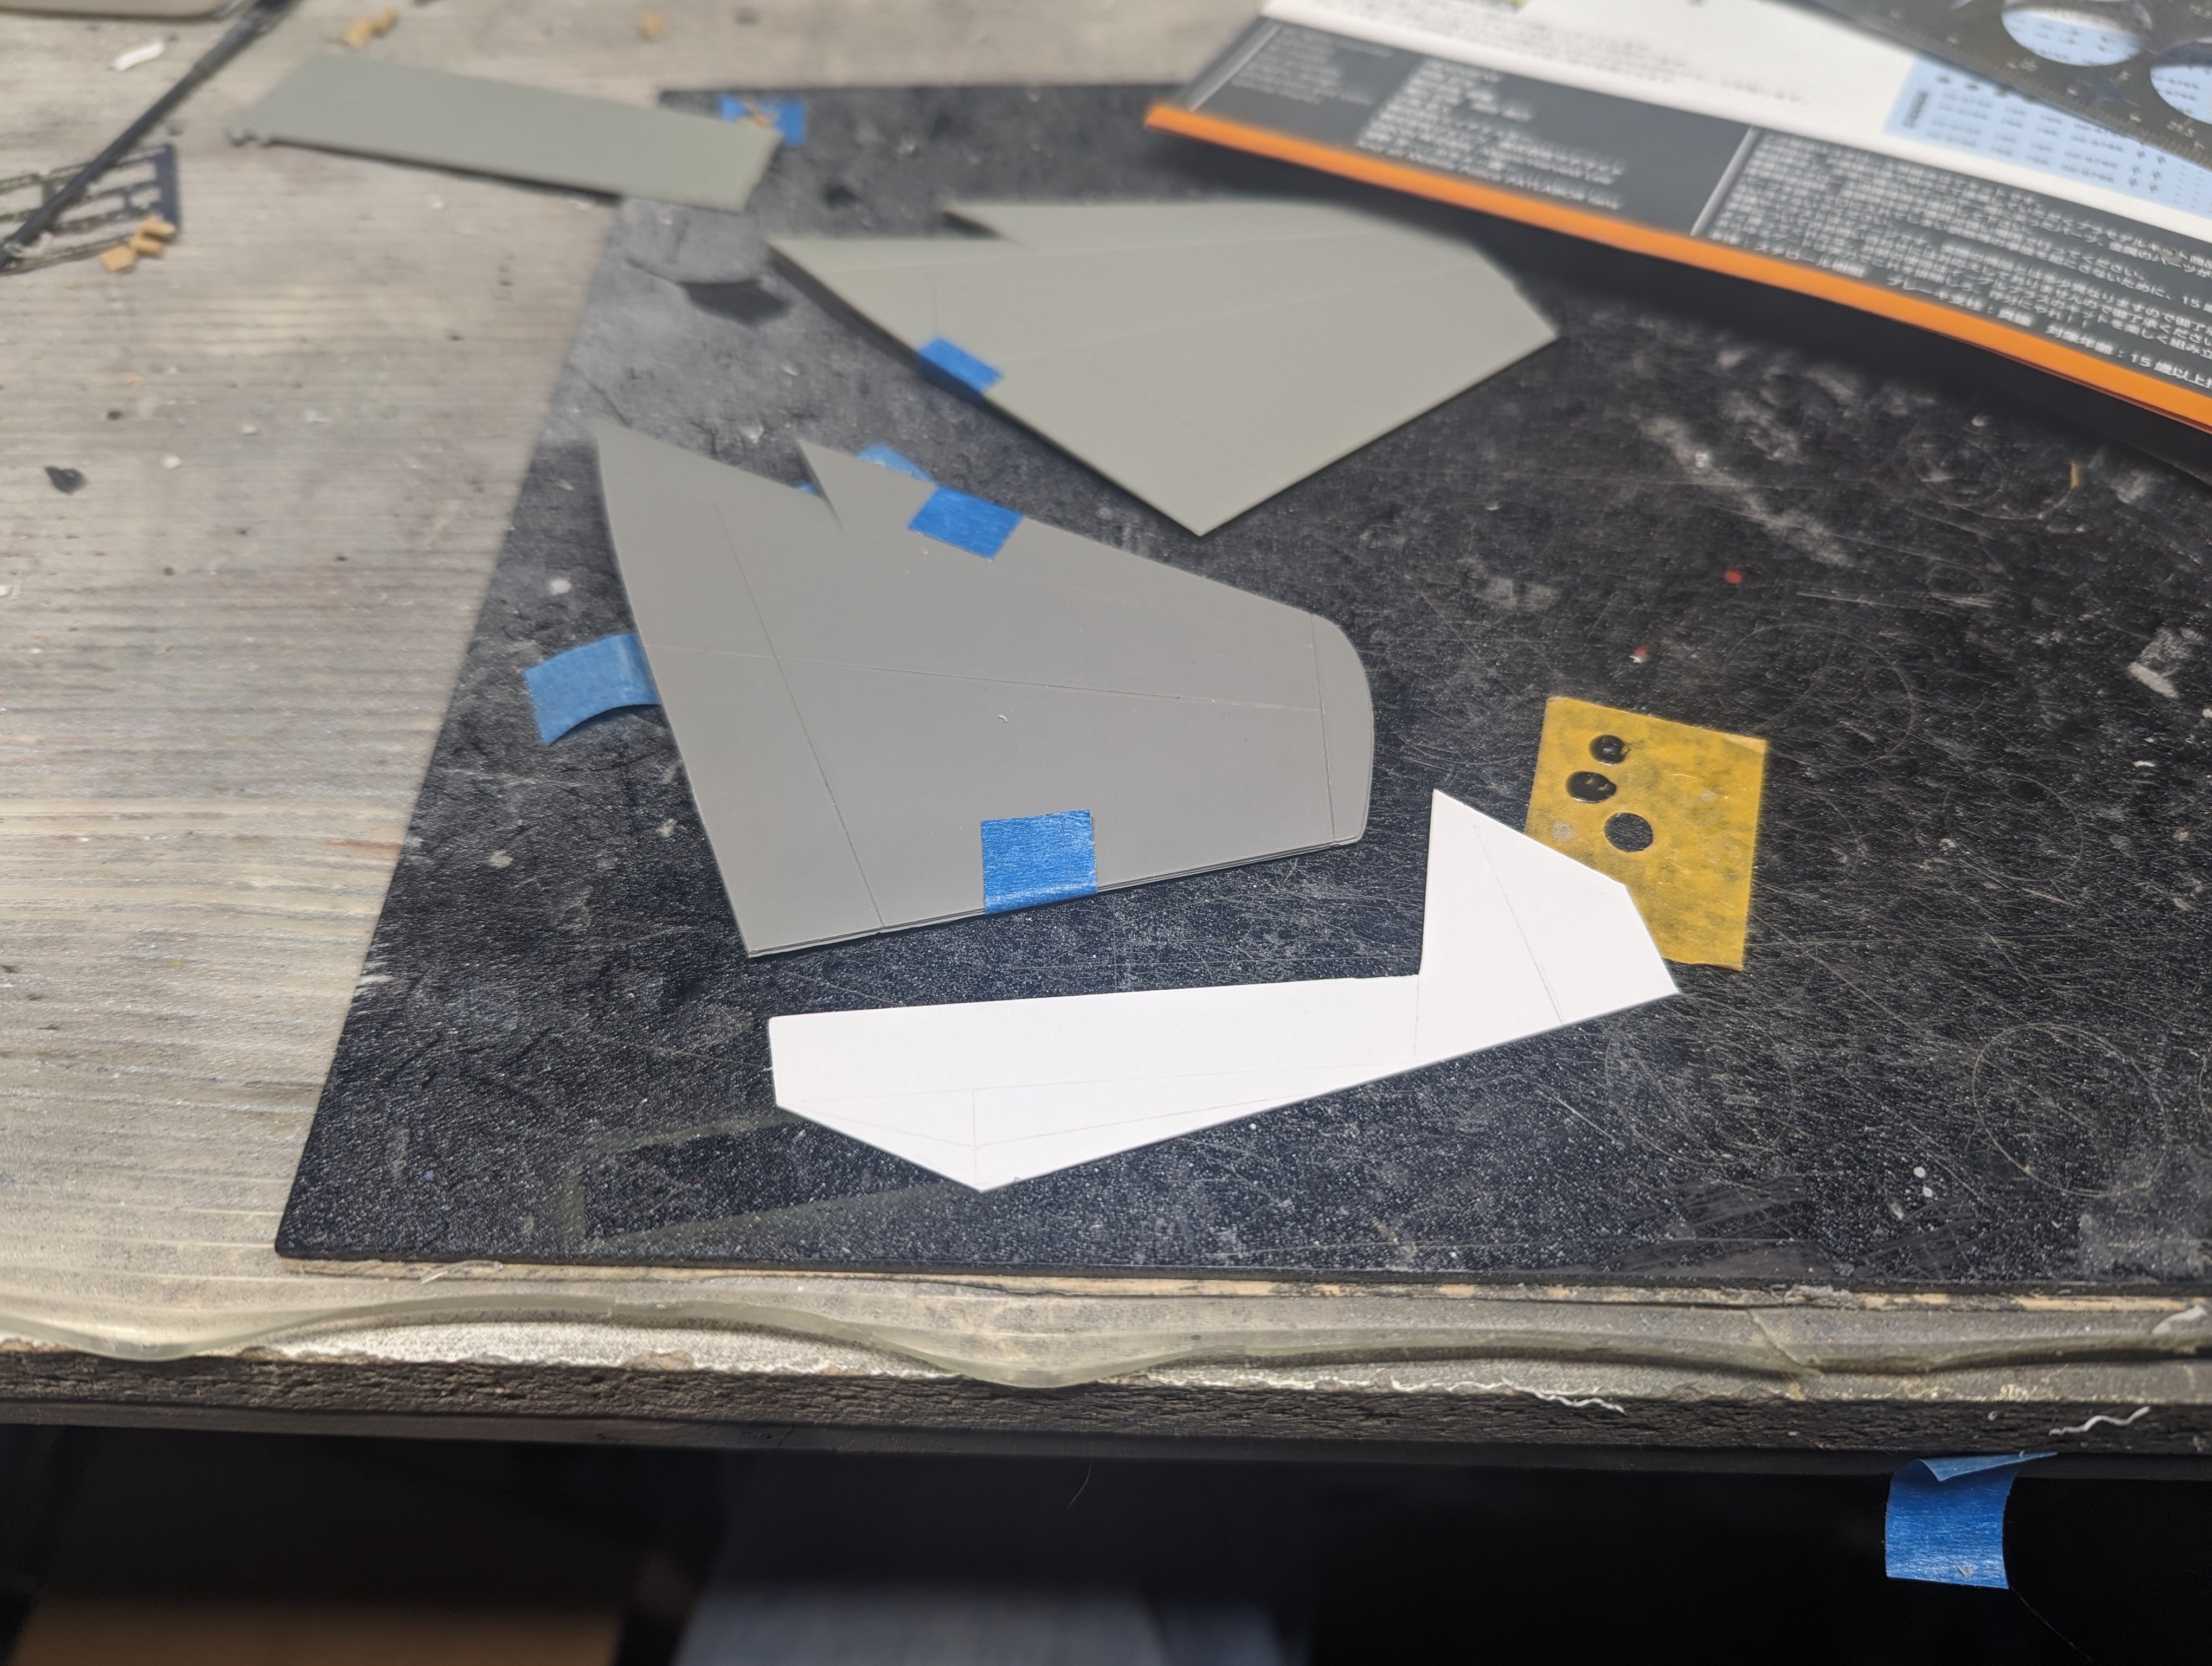
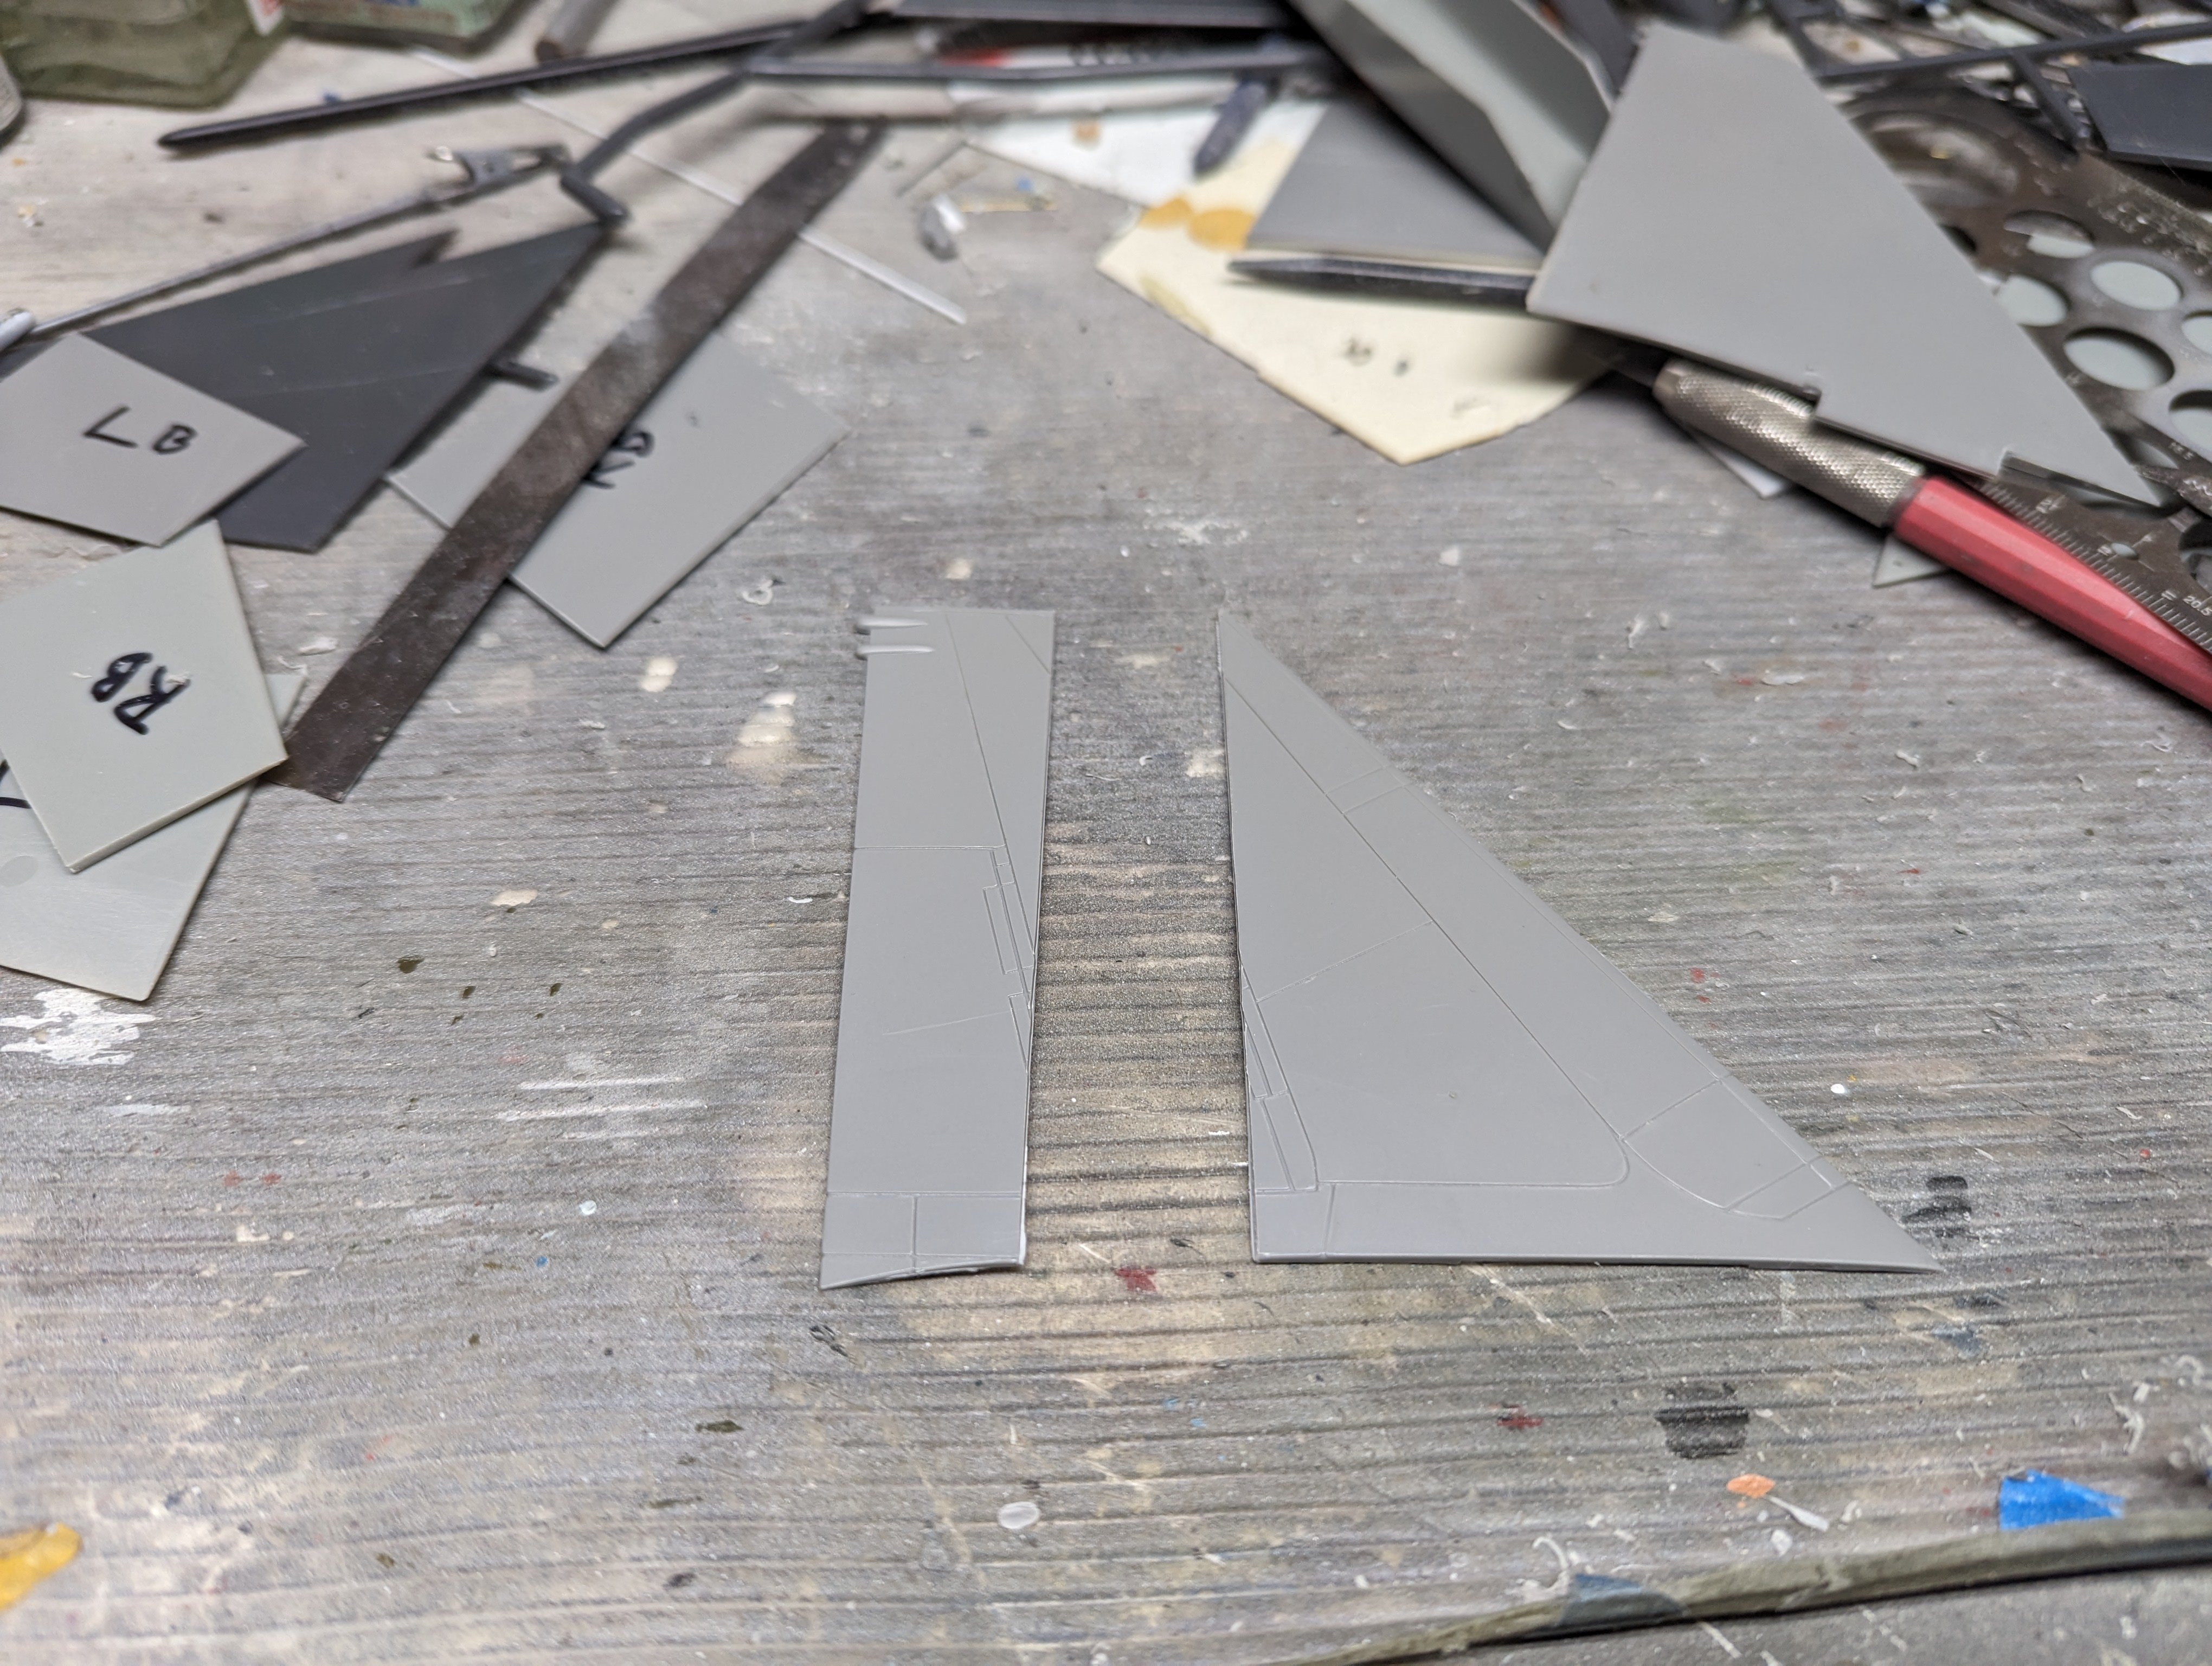
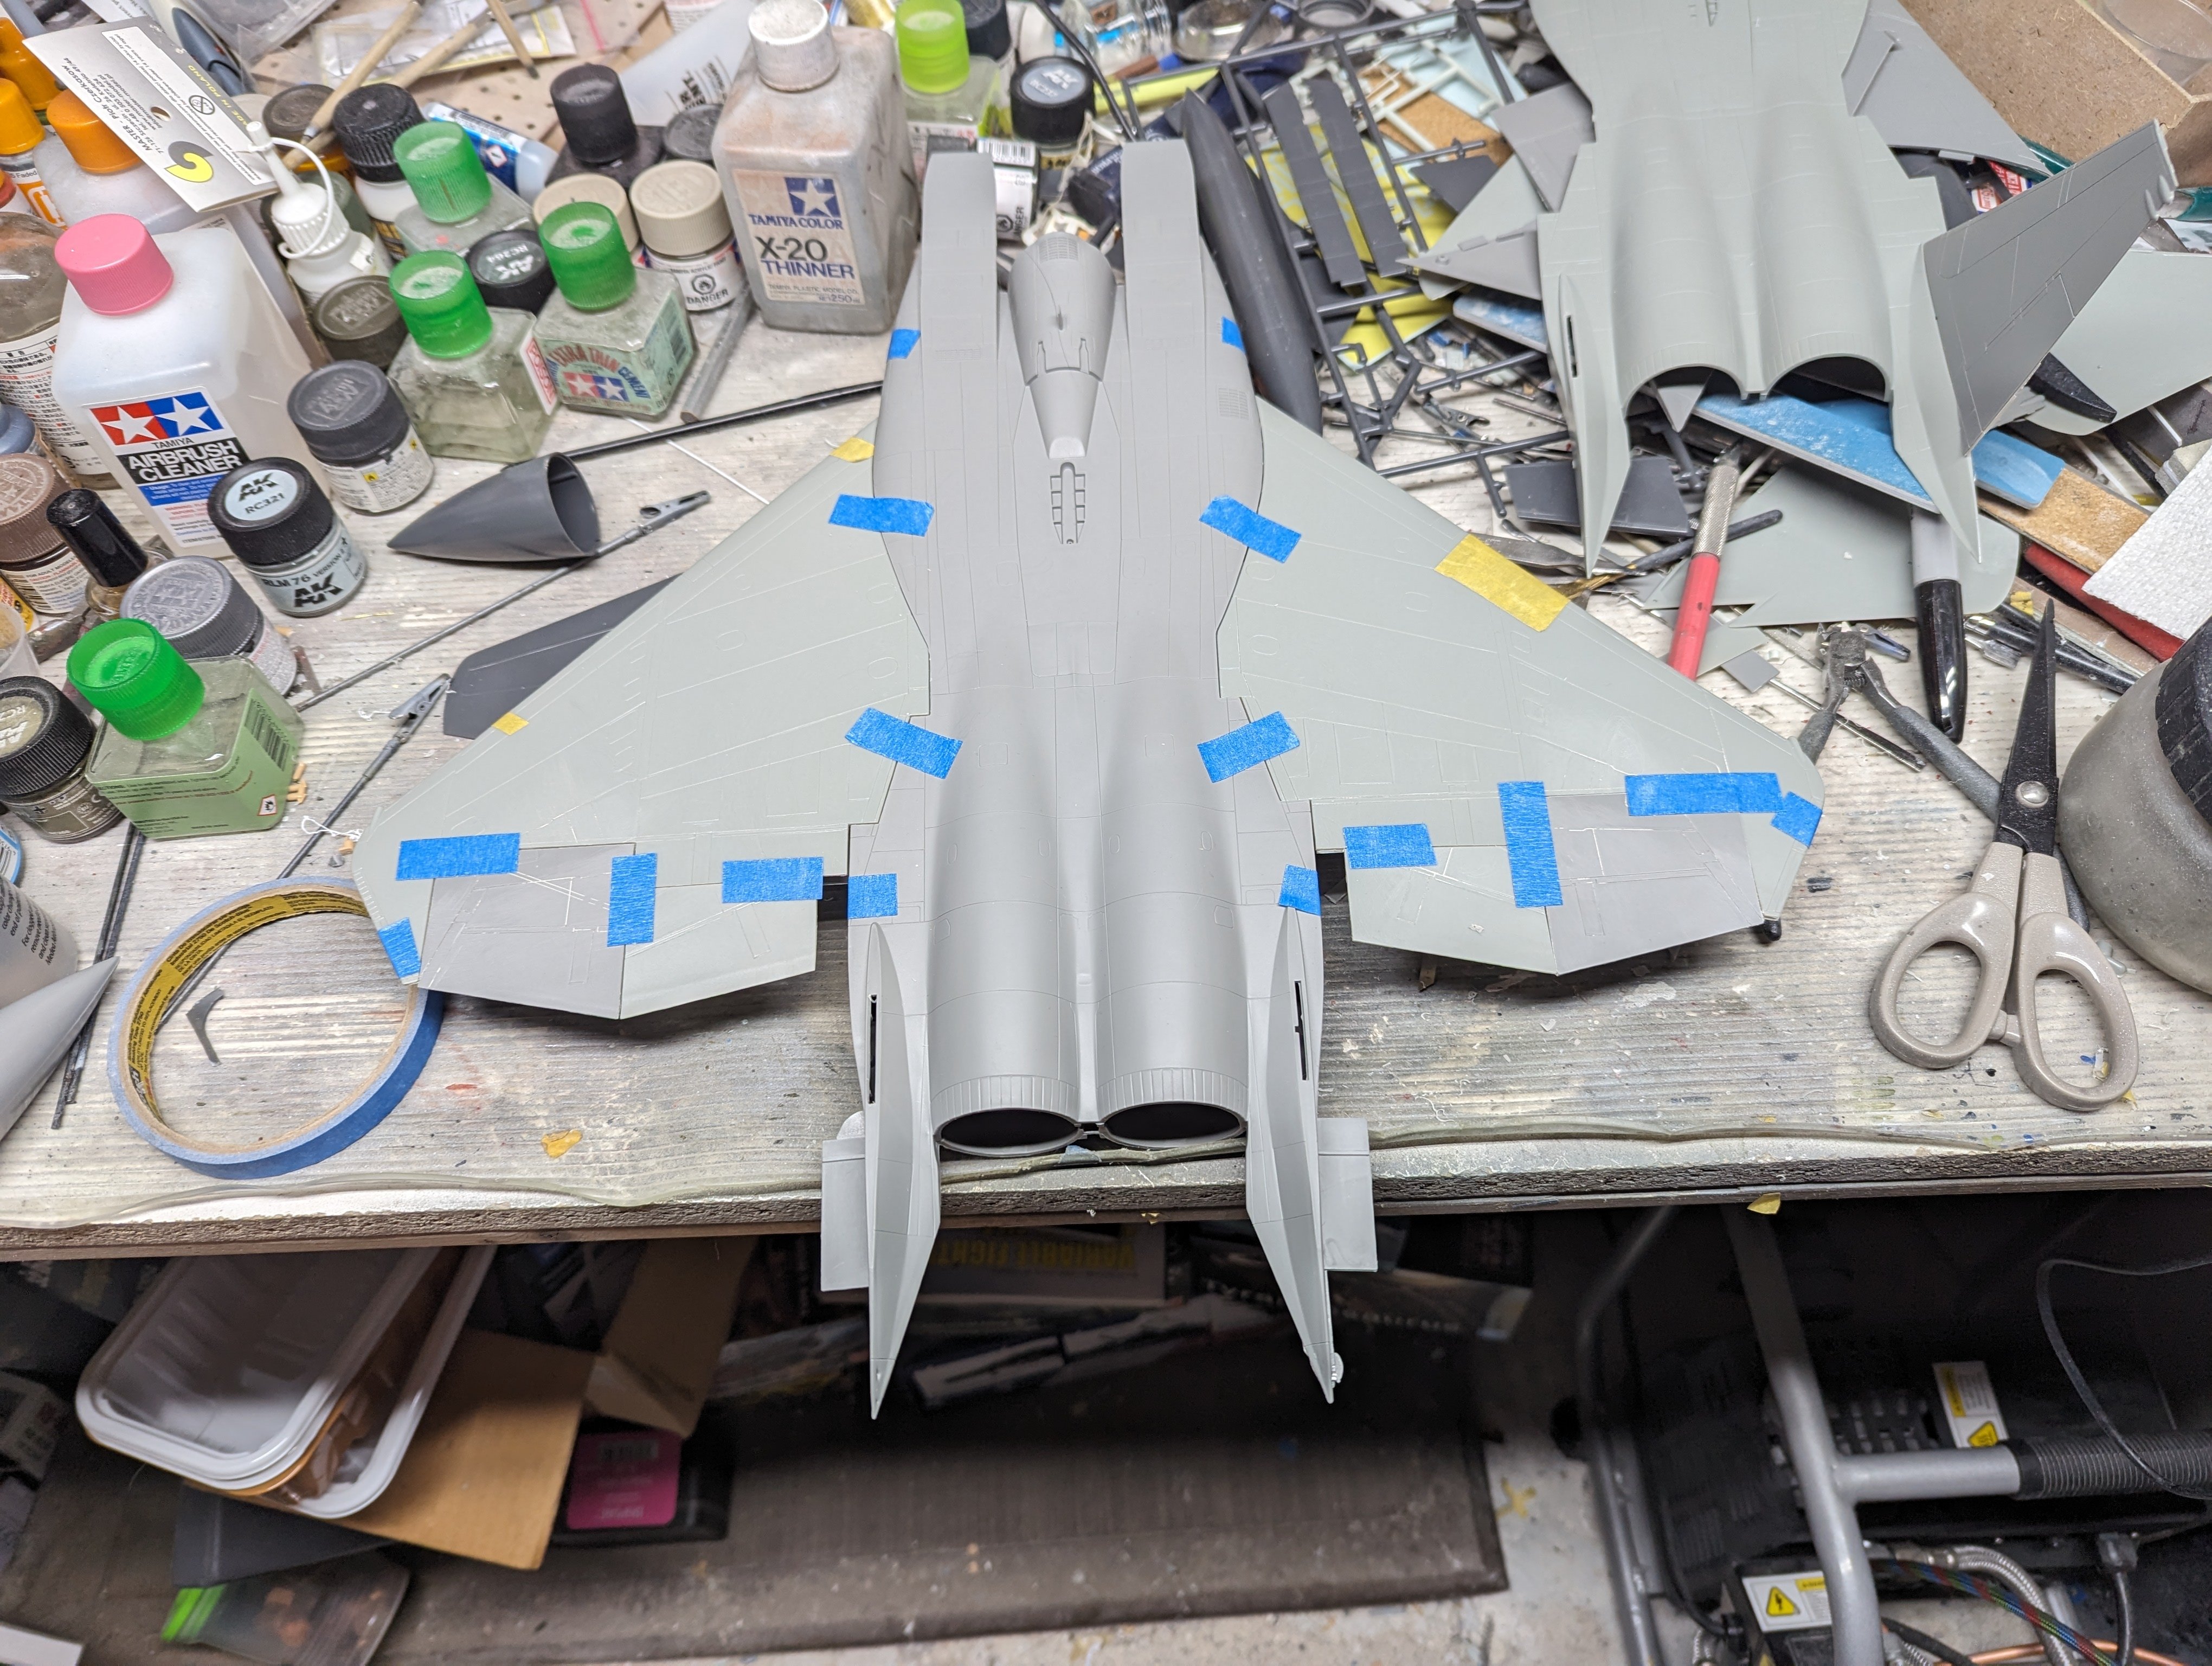
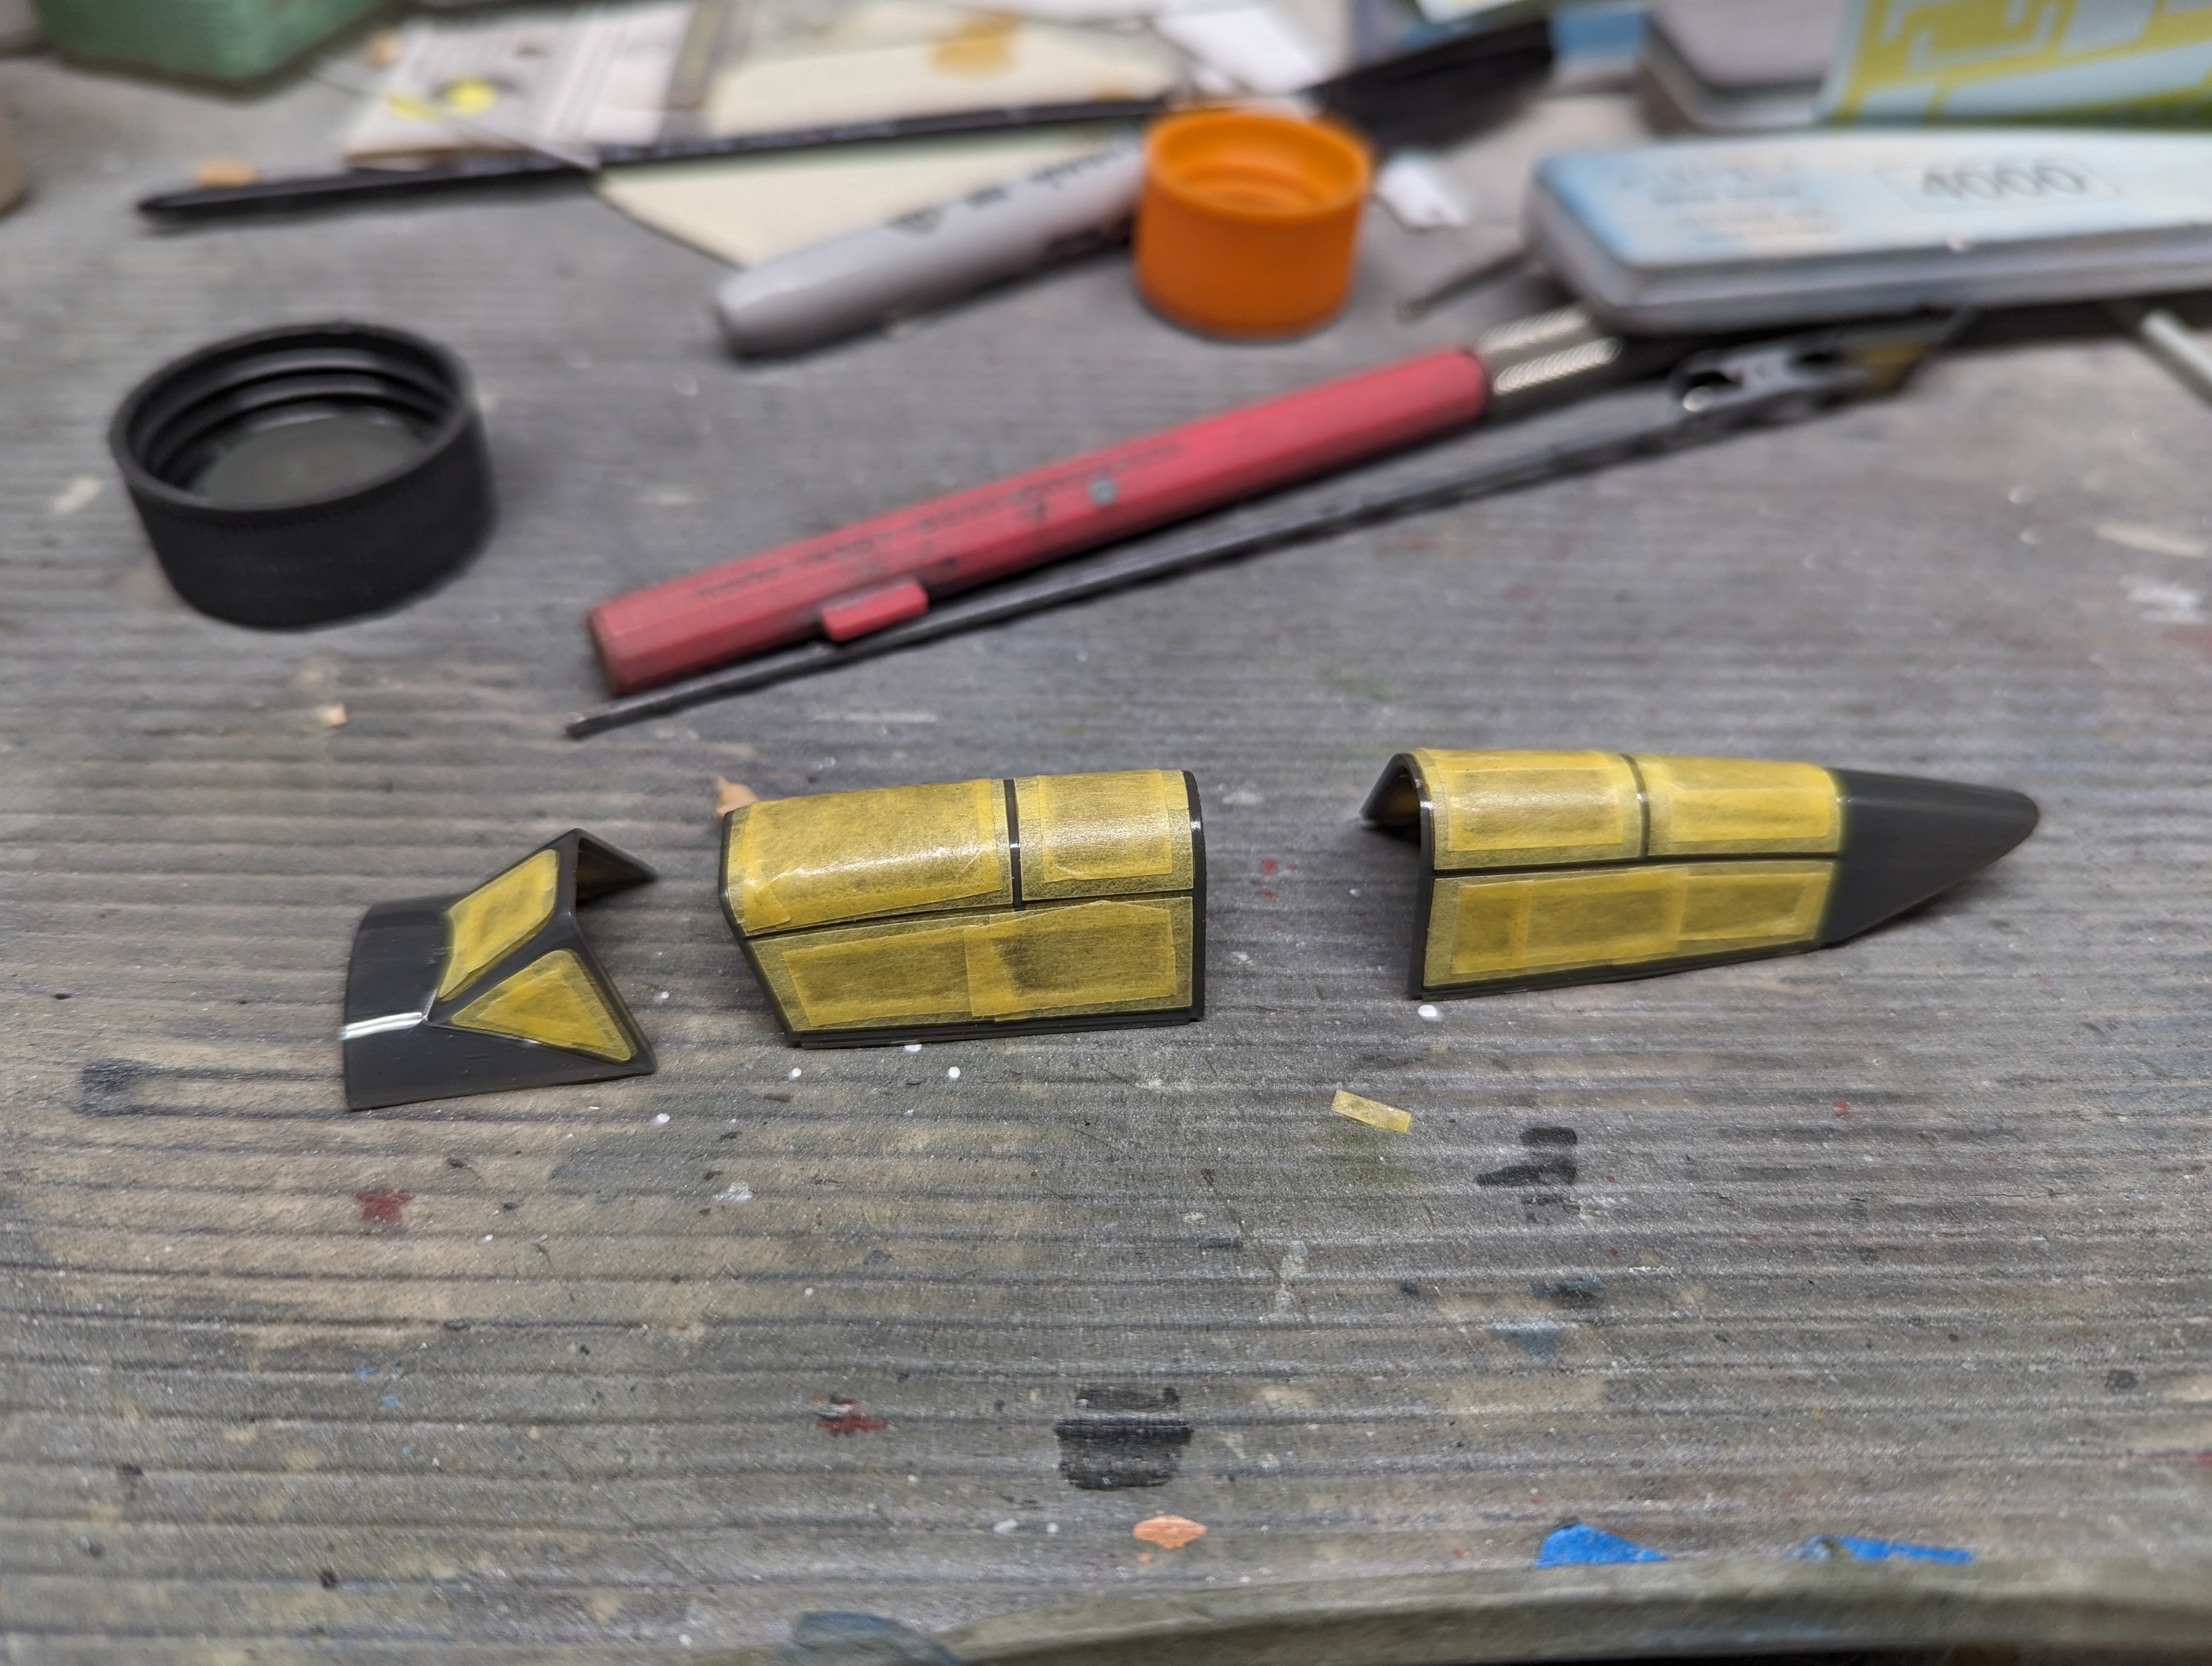
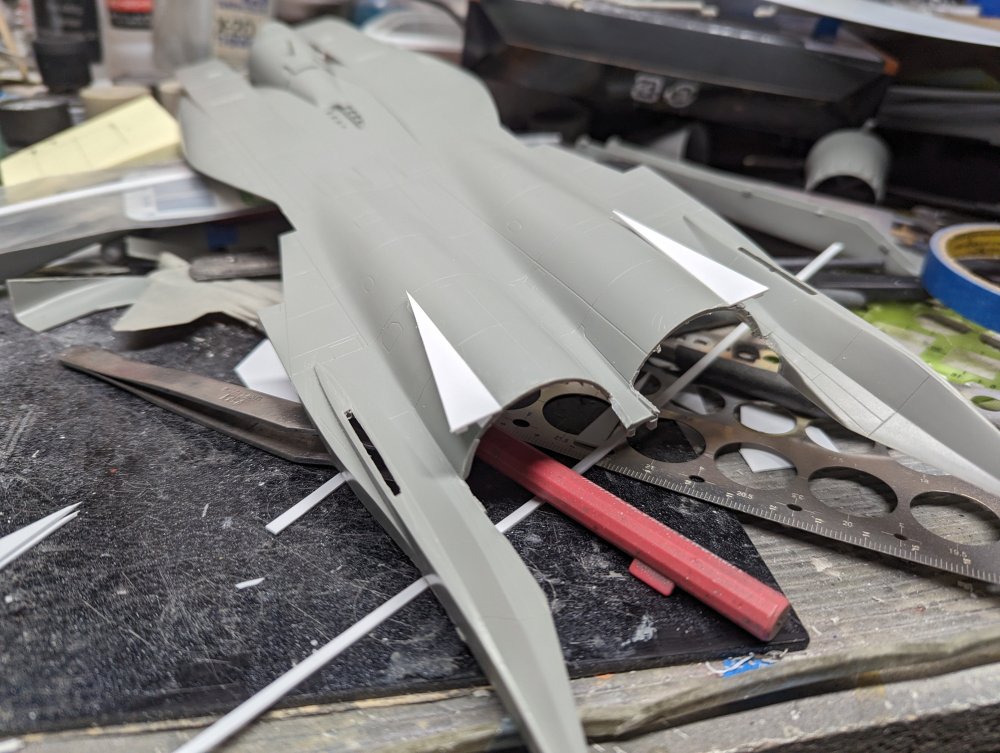
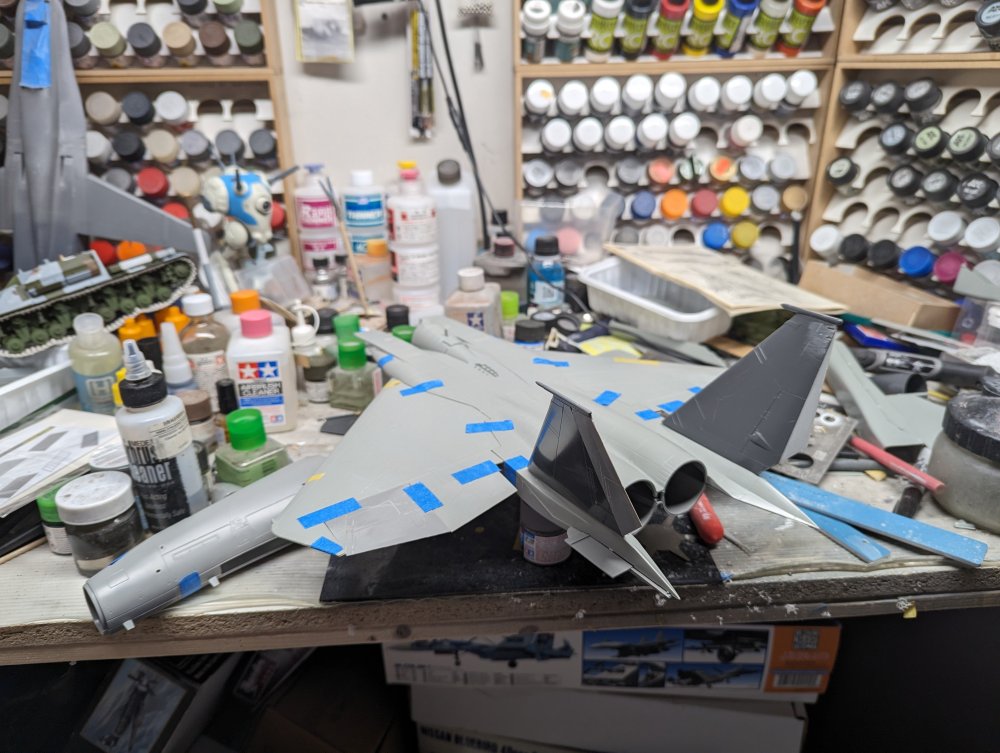
Working on the tailplanes, the kit ones mount to the fuselage vi a pair of very large tabs moulded to the fuselage halves. I scored them lightly and gave them a bend downward then slid the tailplanes on to see if it would work. They're angled down more than they will be when things are glued but it seems to work. So next step was to re-shape the tailplanes themselves. I also cut the canards out from an extra set of tailplanes. Again, just mocked up for fit. I got some close inspection of the work courtesy of our carpet monster.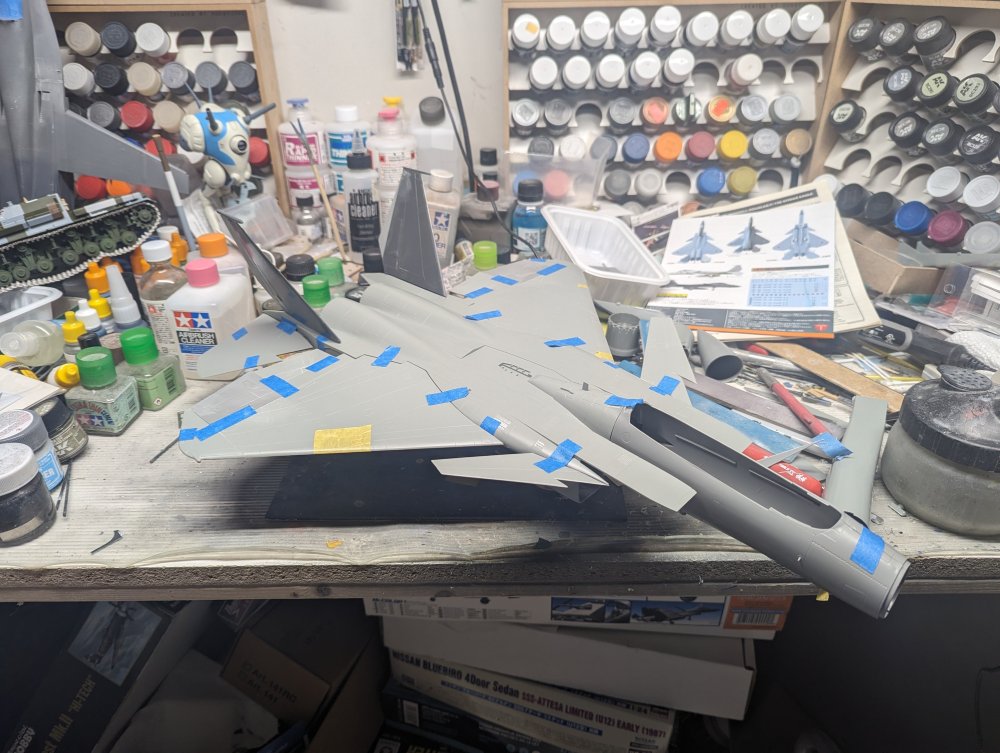


- 187 replies
-
- 10
-

-

-
F-15DJ Kai or Eagle Plus- Finished!
BlrwestSiR replied to BlrwestSiR's topic in The Great Twins Broup Bluild
It really is. I'm having lots of fun. The best part is I don't have to worry about 100% accuracy. -
AEG G.IV - Creature of the Night - WNW 1/32
BlrwestSiR replied to DocRob's topic in The Great Twins Broup Bluild
Really nice paintwork on the interior Rob. Same goes for the instrument panel. -
F-15DJ Kai or Eagle Plus- Finished!
BlrwestSiR replied to BlrwestSiR's topic in The Great Twins Broup Bluild
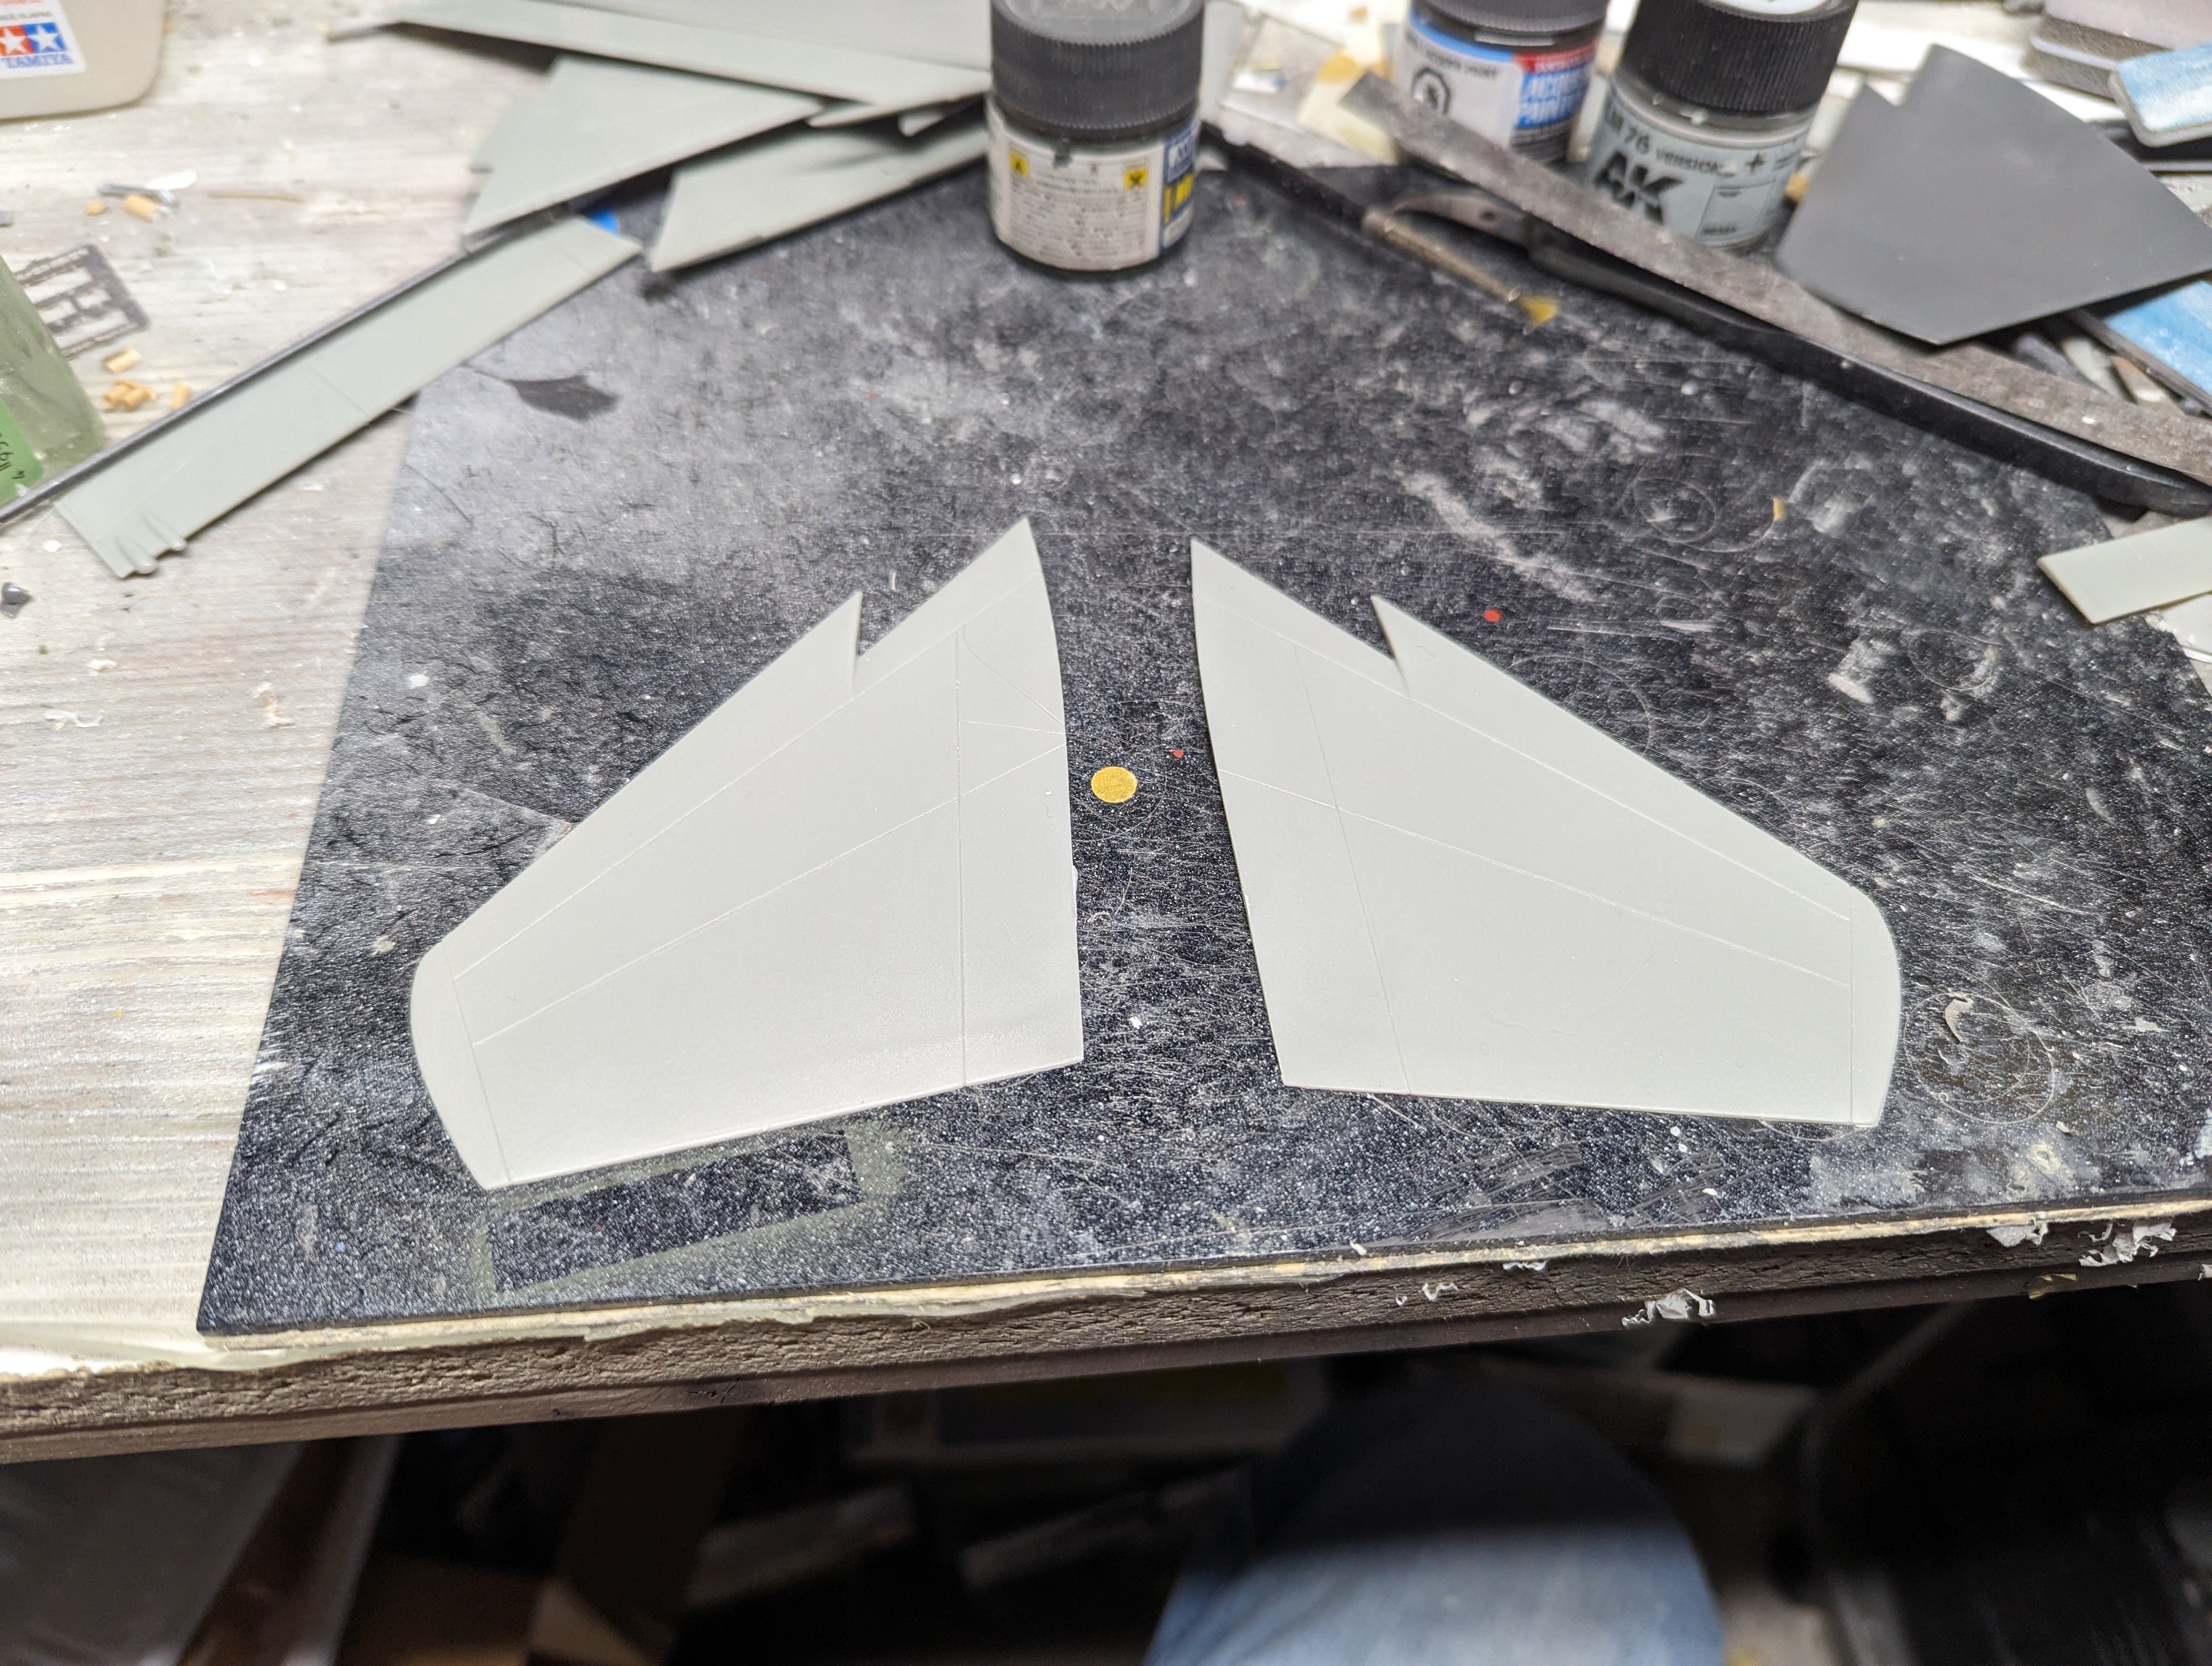
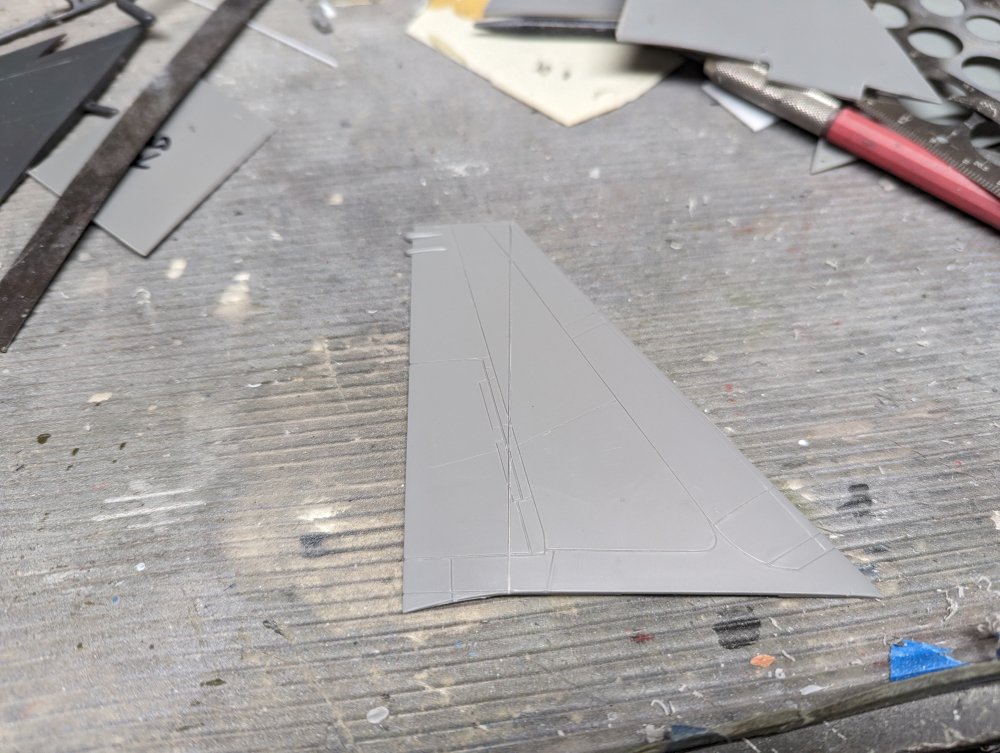
Next up was the tailplanes. I took the kit ones and cut them apart to make a longer rear section I could attach to a second set. This ended up being vertical tails from a Tamiya Strike Eagle. It was easier to bend them in. I modified the base of the tailplanes slightly by levelling them so that the tailplanes could be angled outwards instead of straight up. The horizontal tailplanes are next.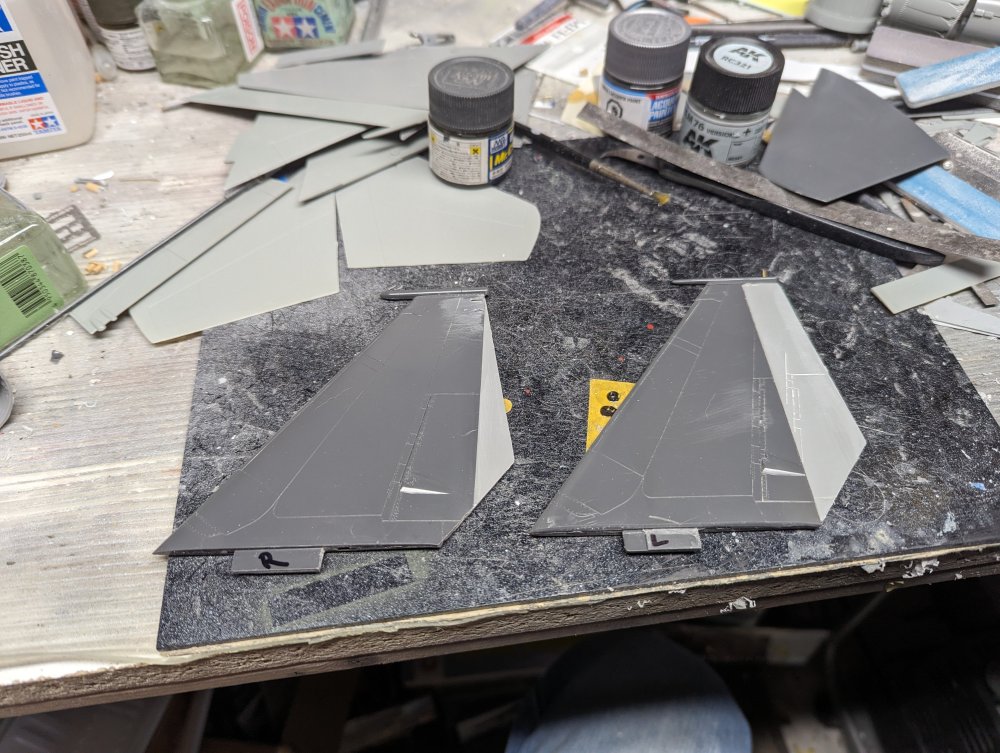

- 187 replies
-
- 10
-
-

-
F-15DJ Kai or Eagle Plus- Finished!
BlrwestSiR replied to BlrwestSiR's topic in The Great Twins Broup Bluild
Just enough of a factual base to make it so much more plausible. -
Nice IP panel. I finally found a Red Fox set for my copy. Glad it looks to be worth it as the upgrade is very impressive. The seat looks great too. Carl
-
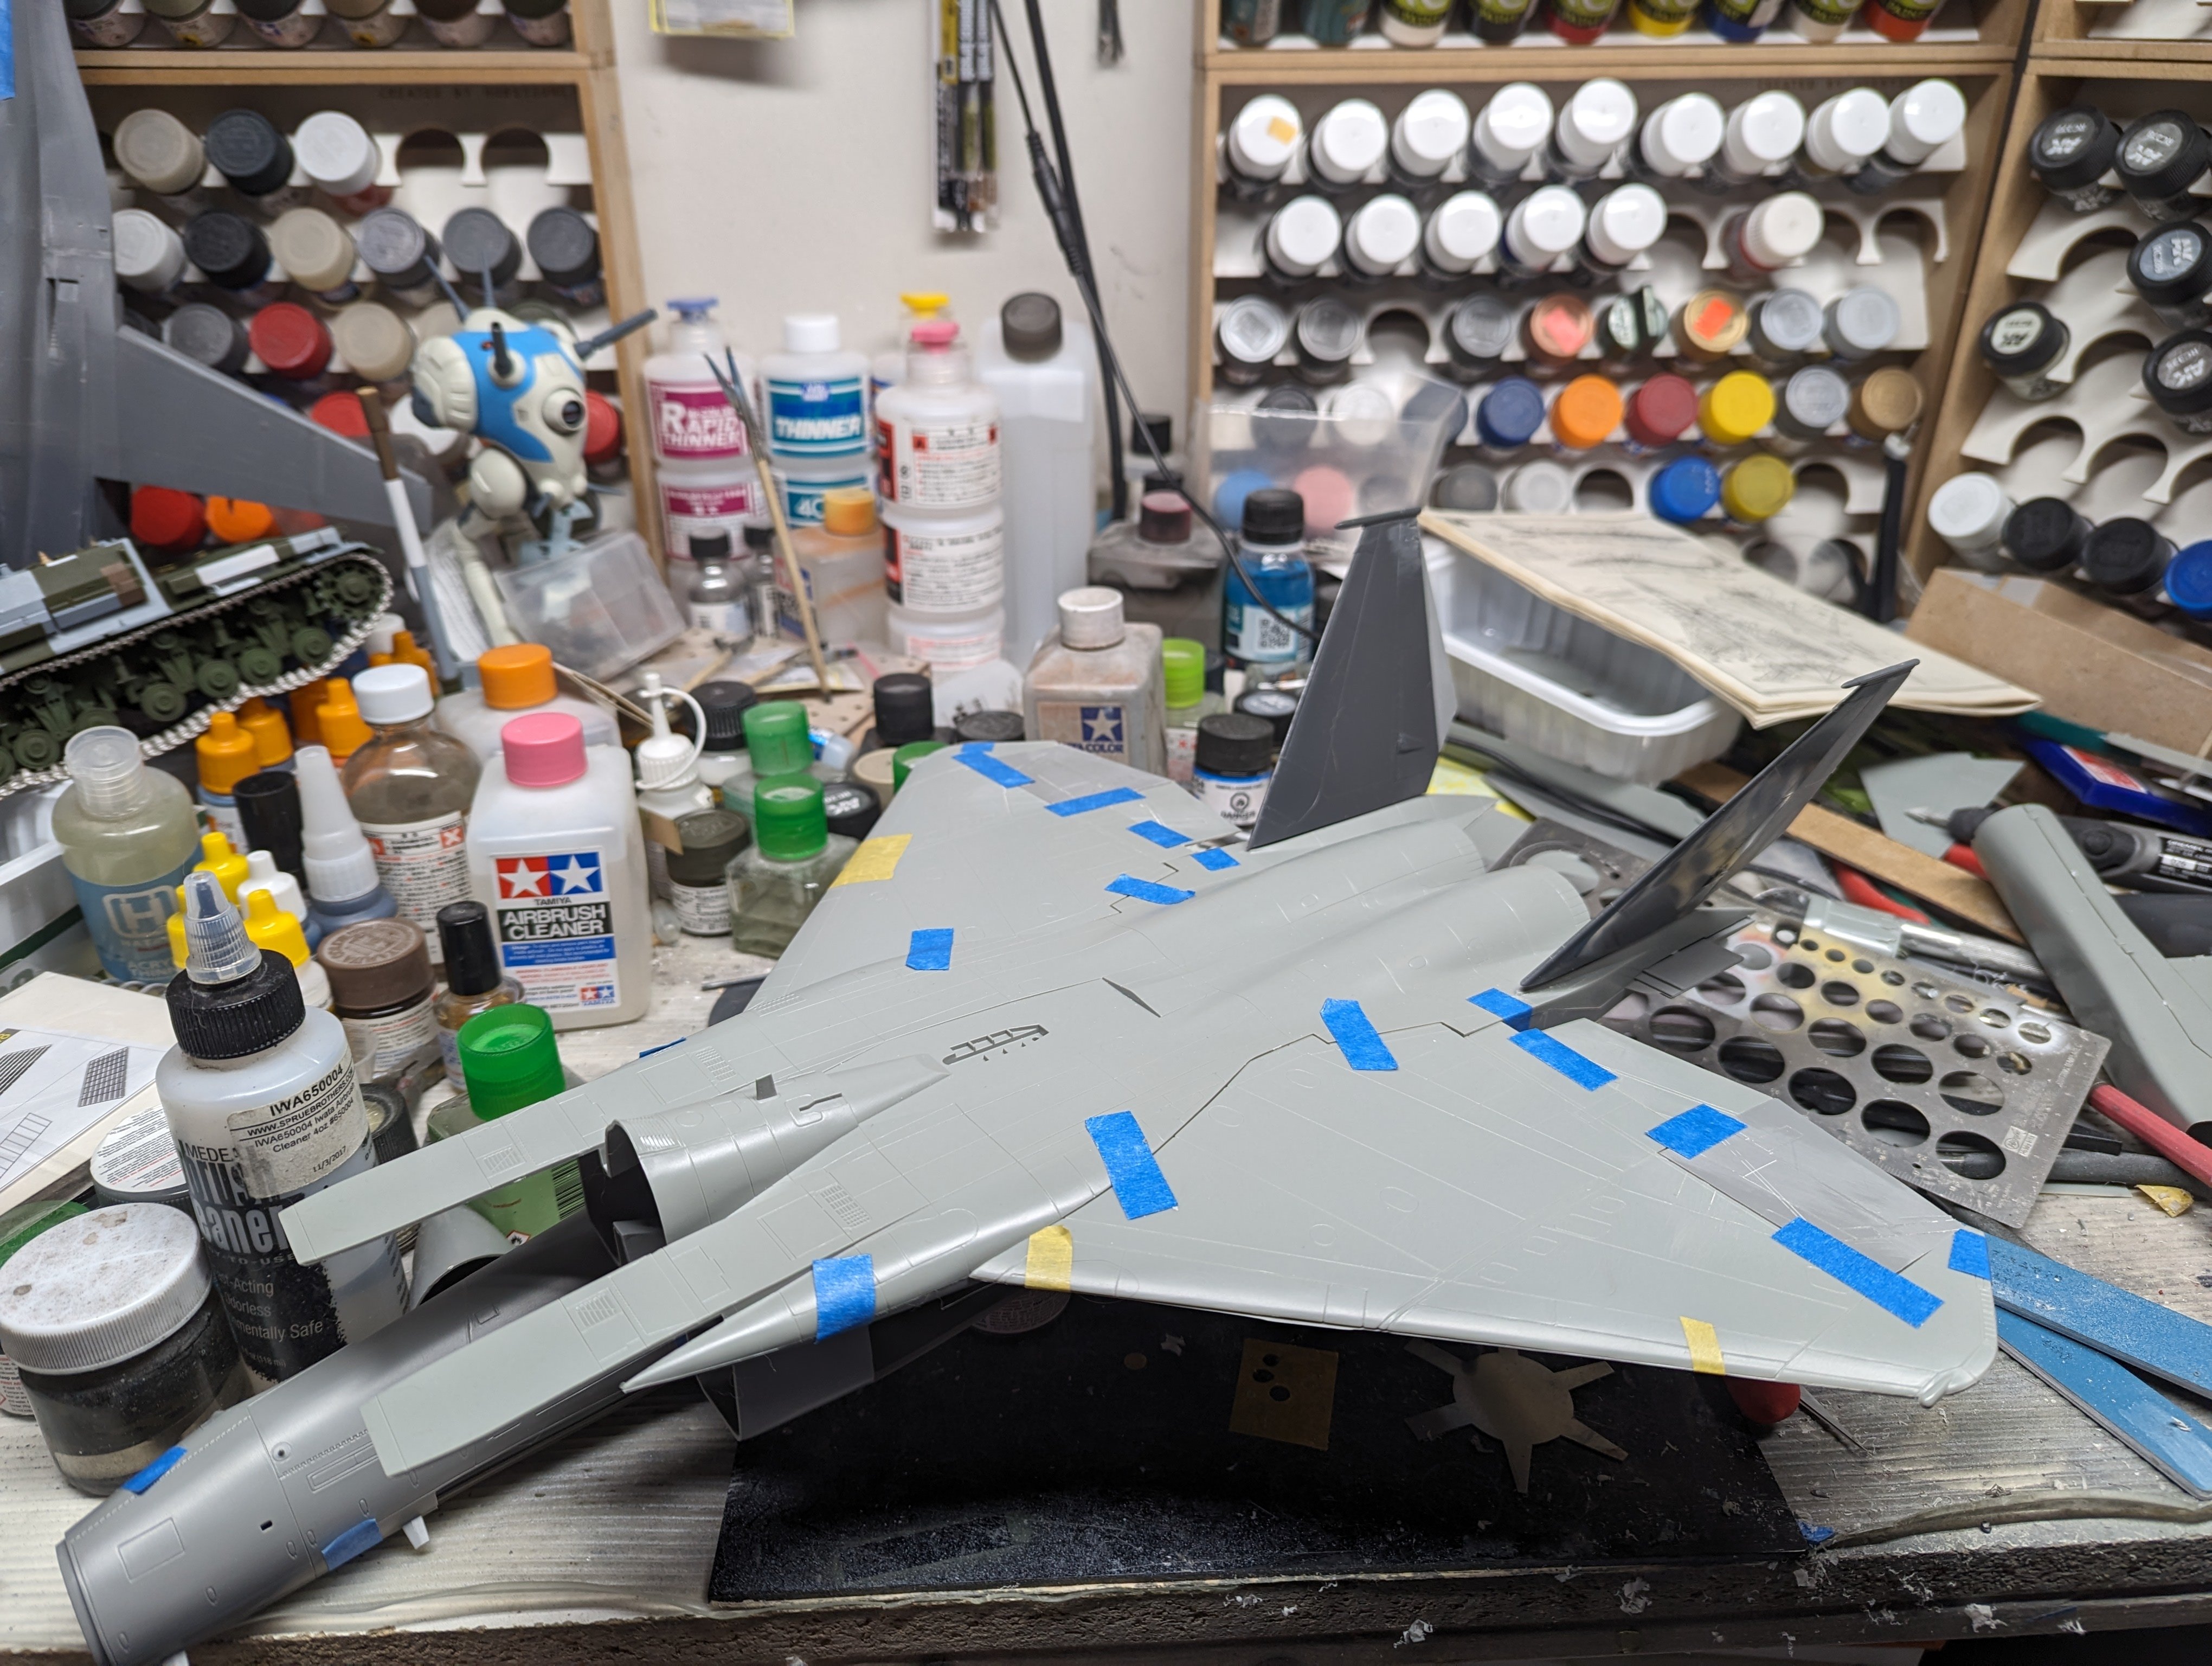
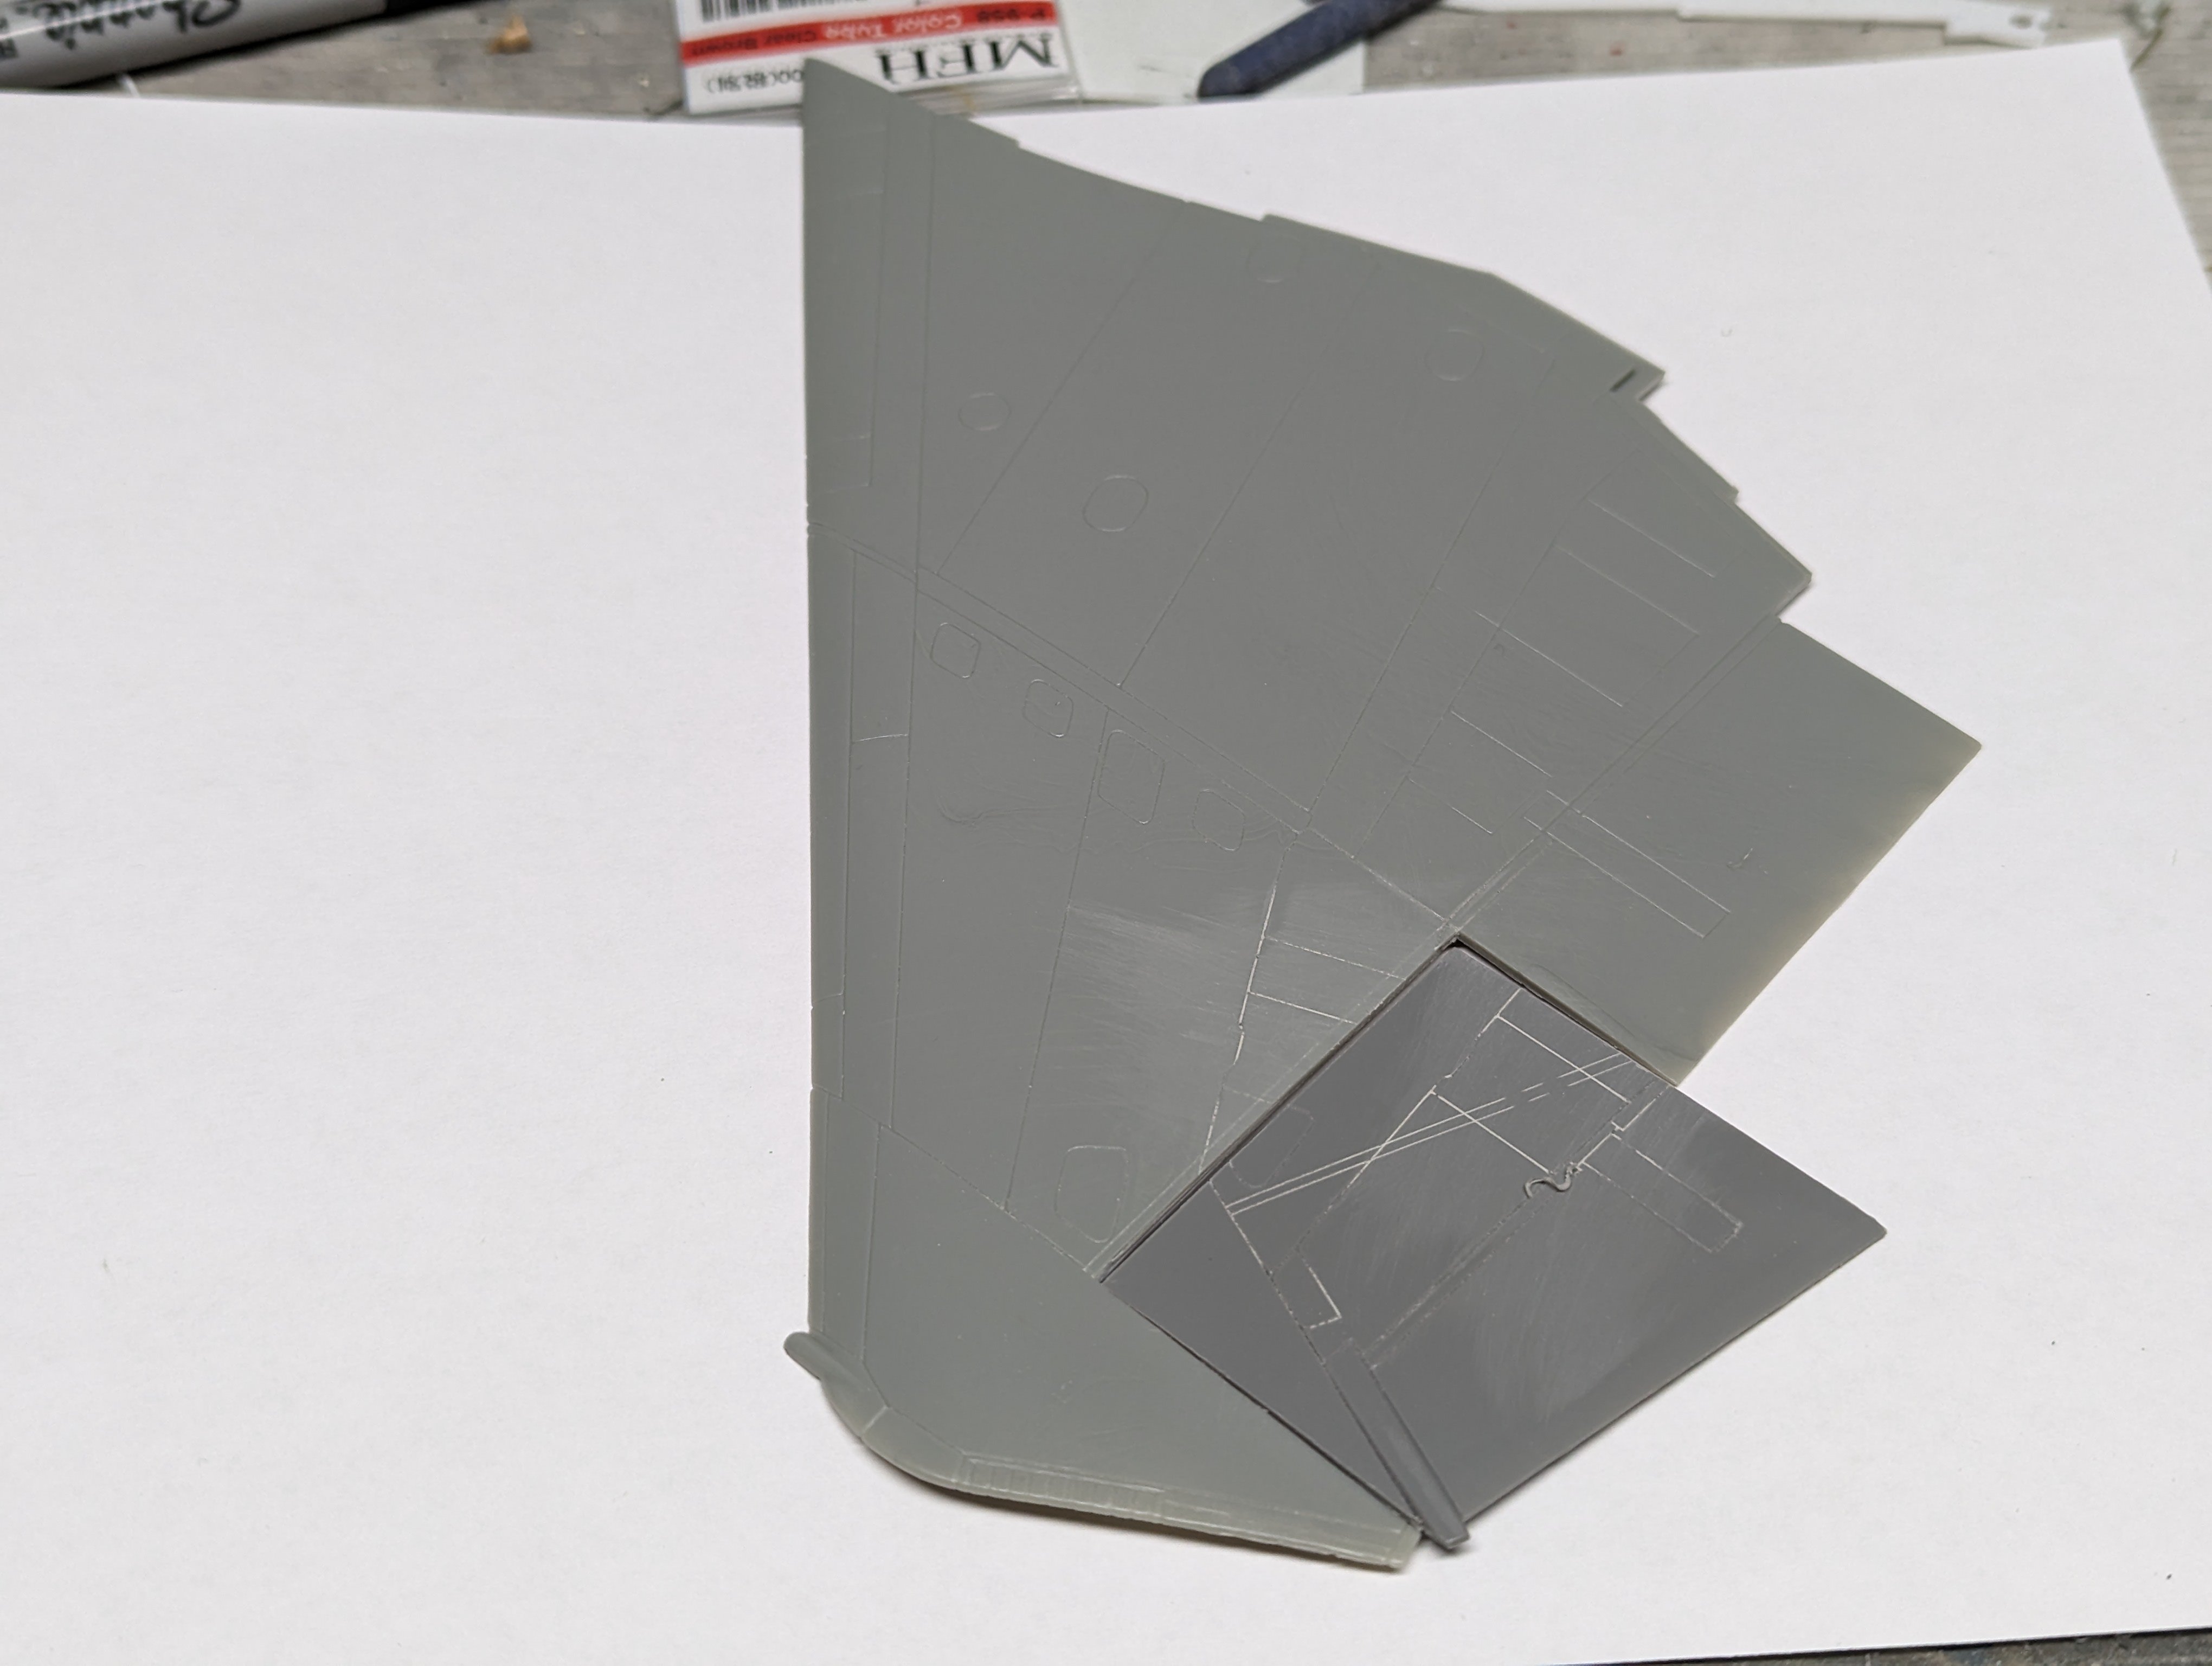
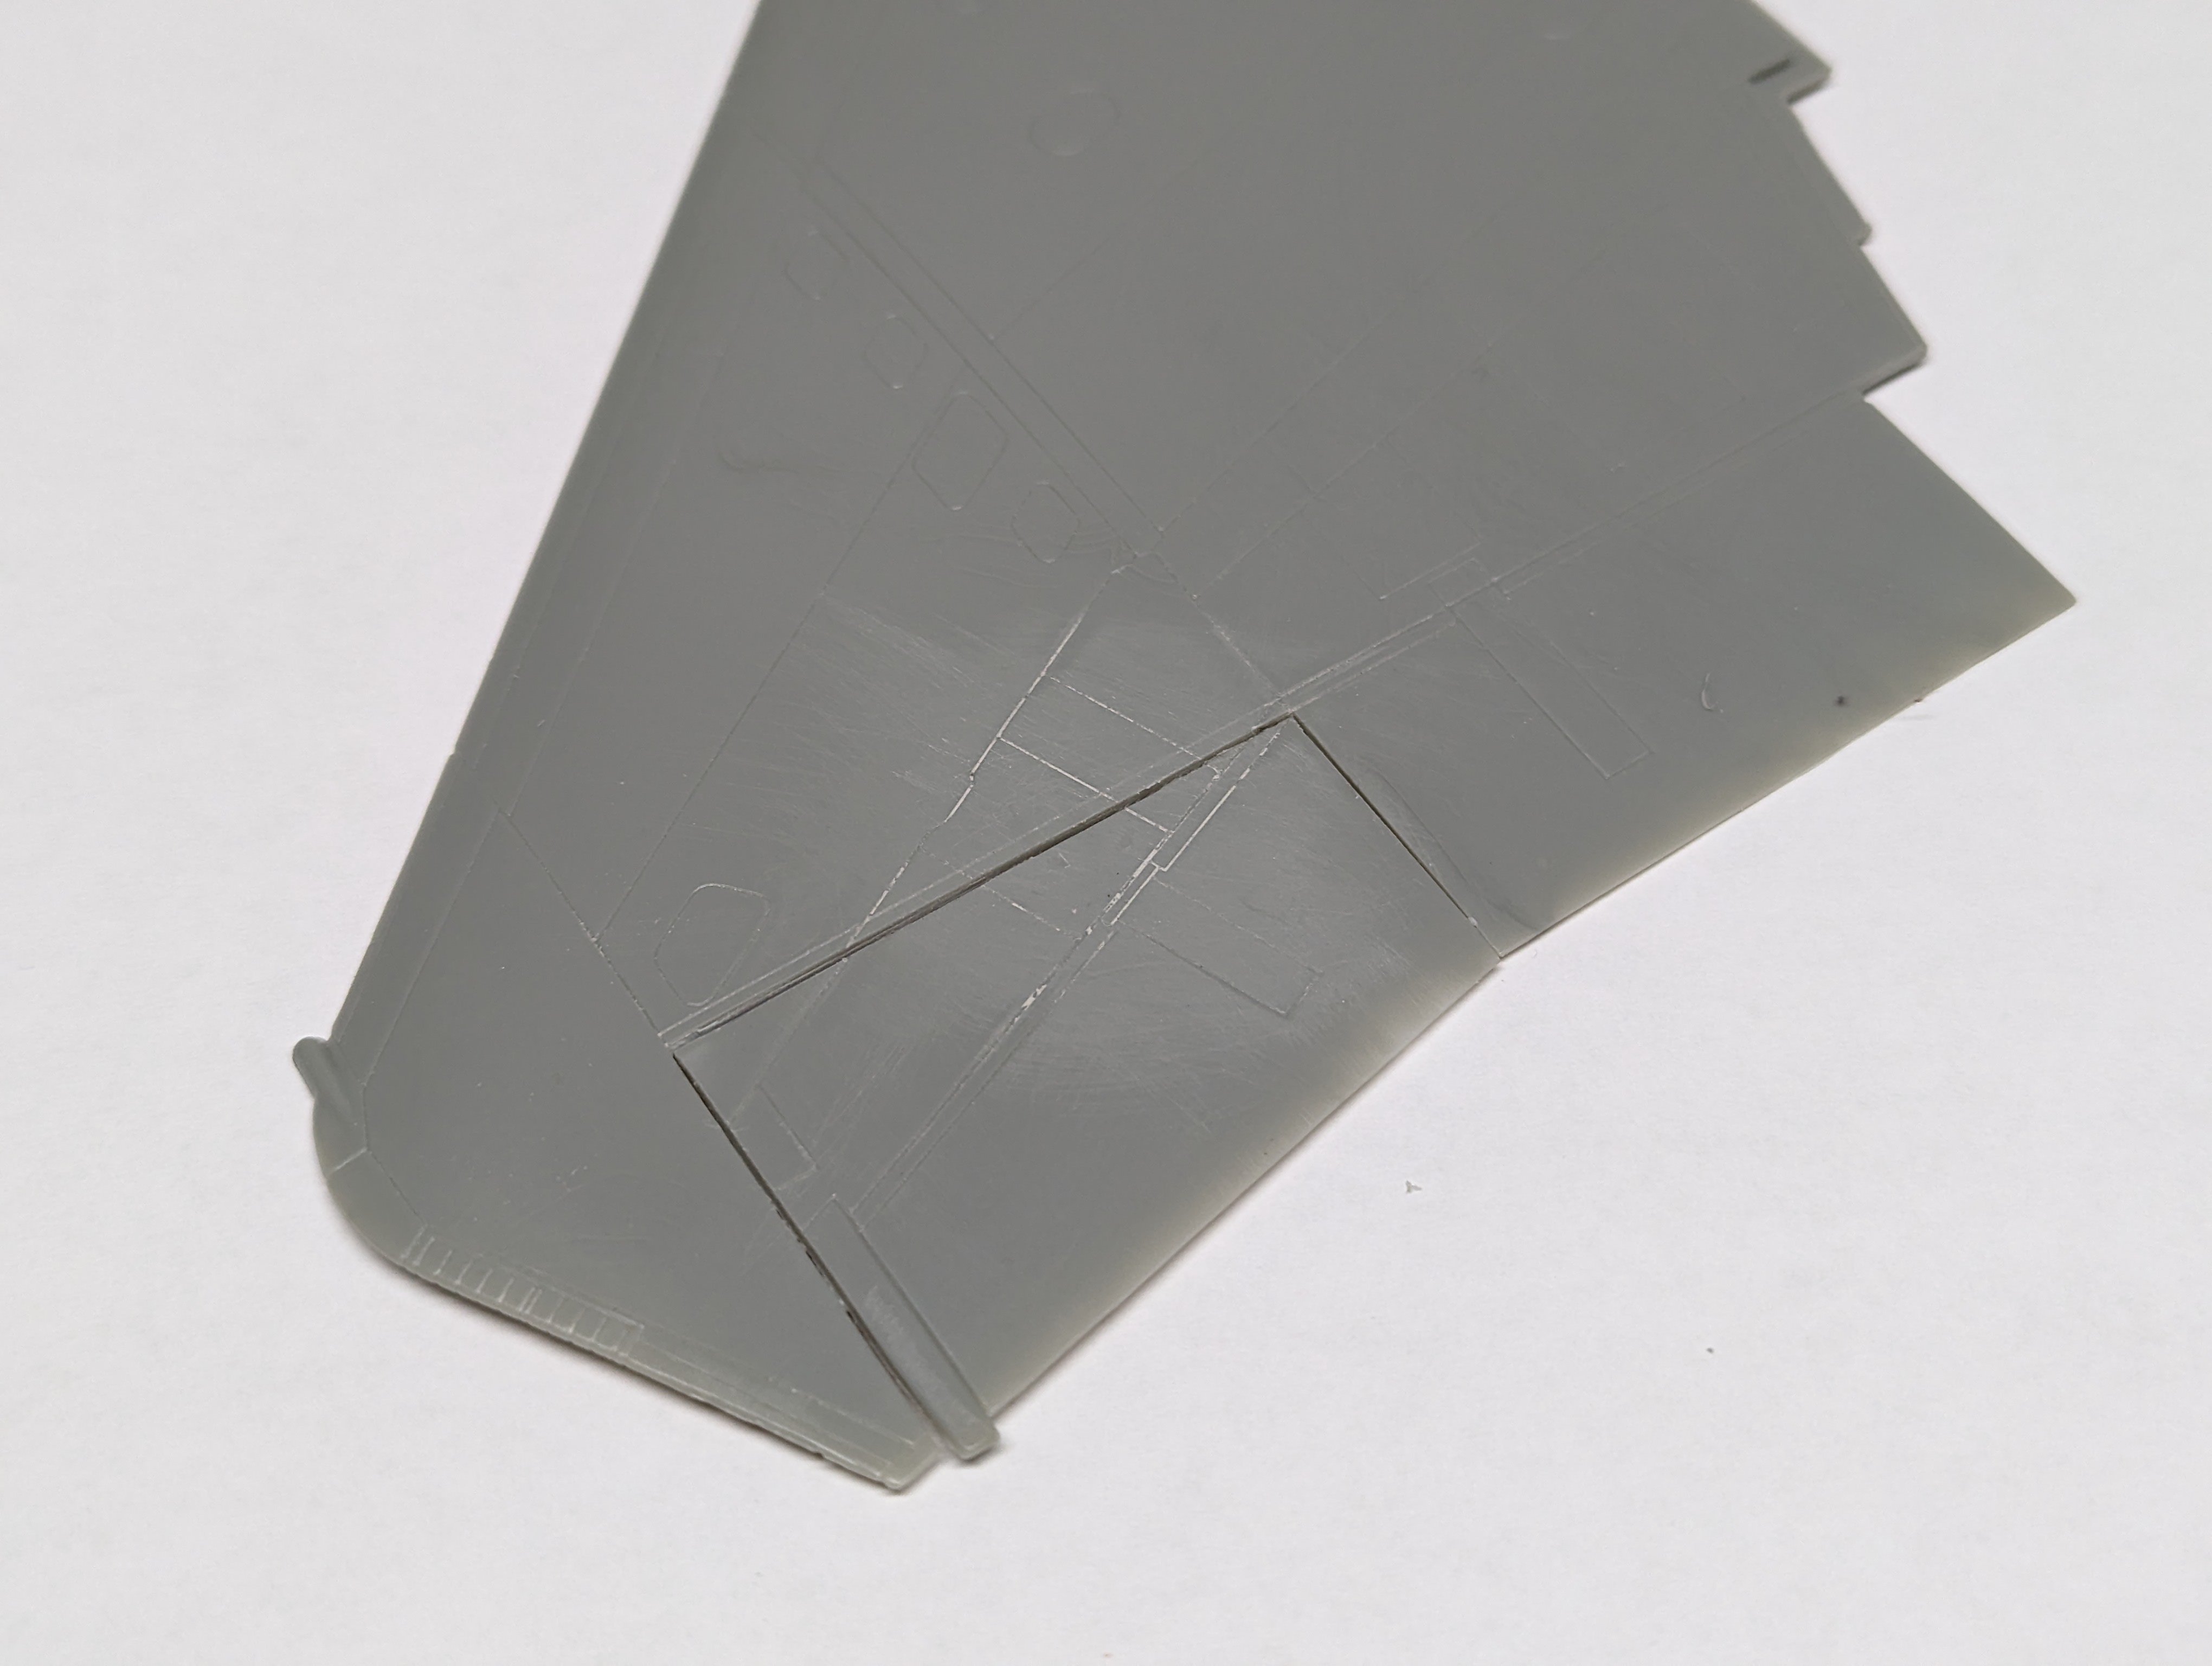
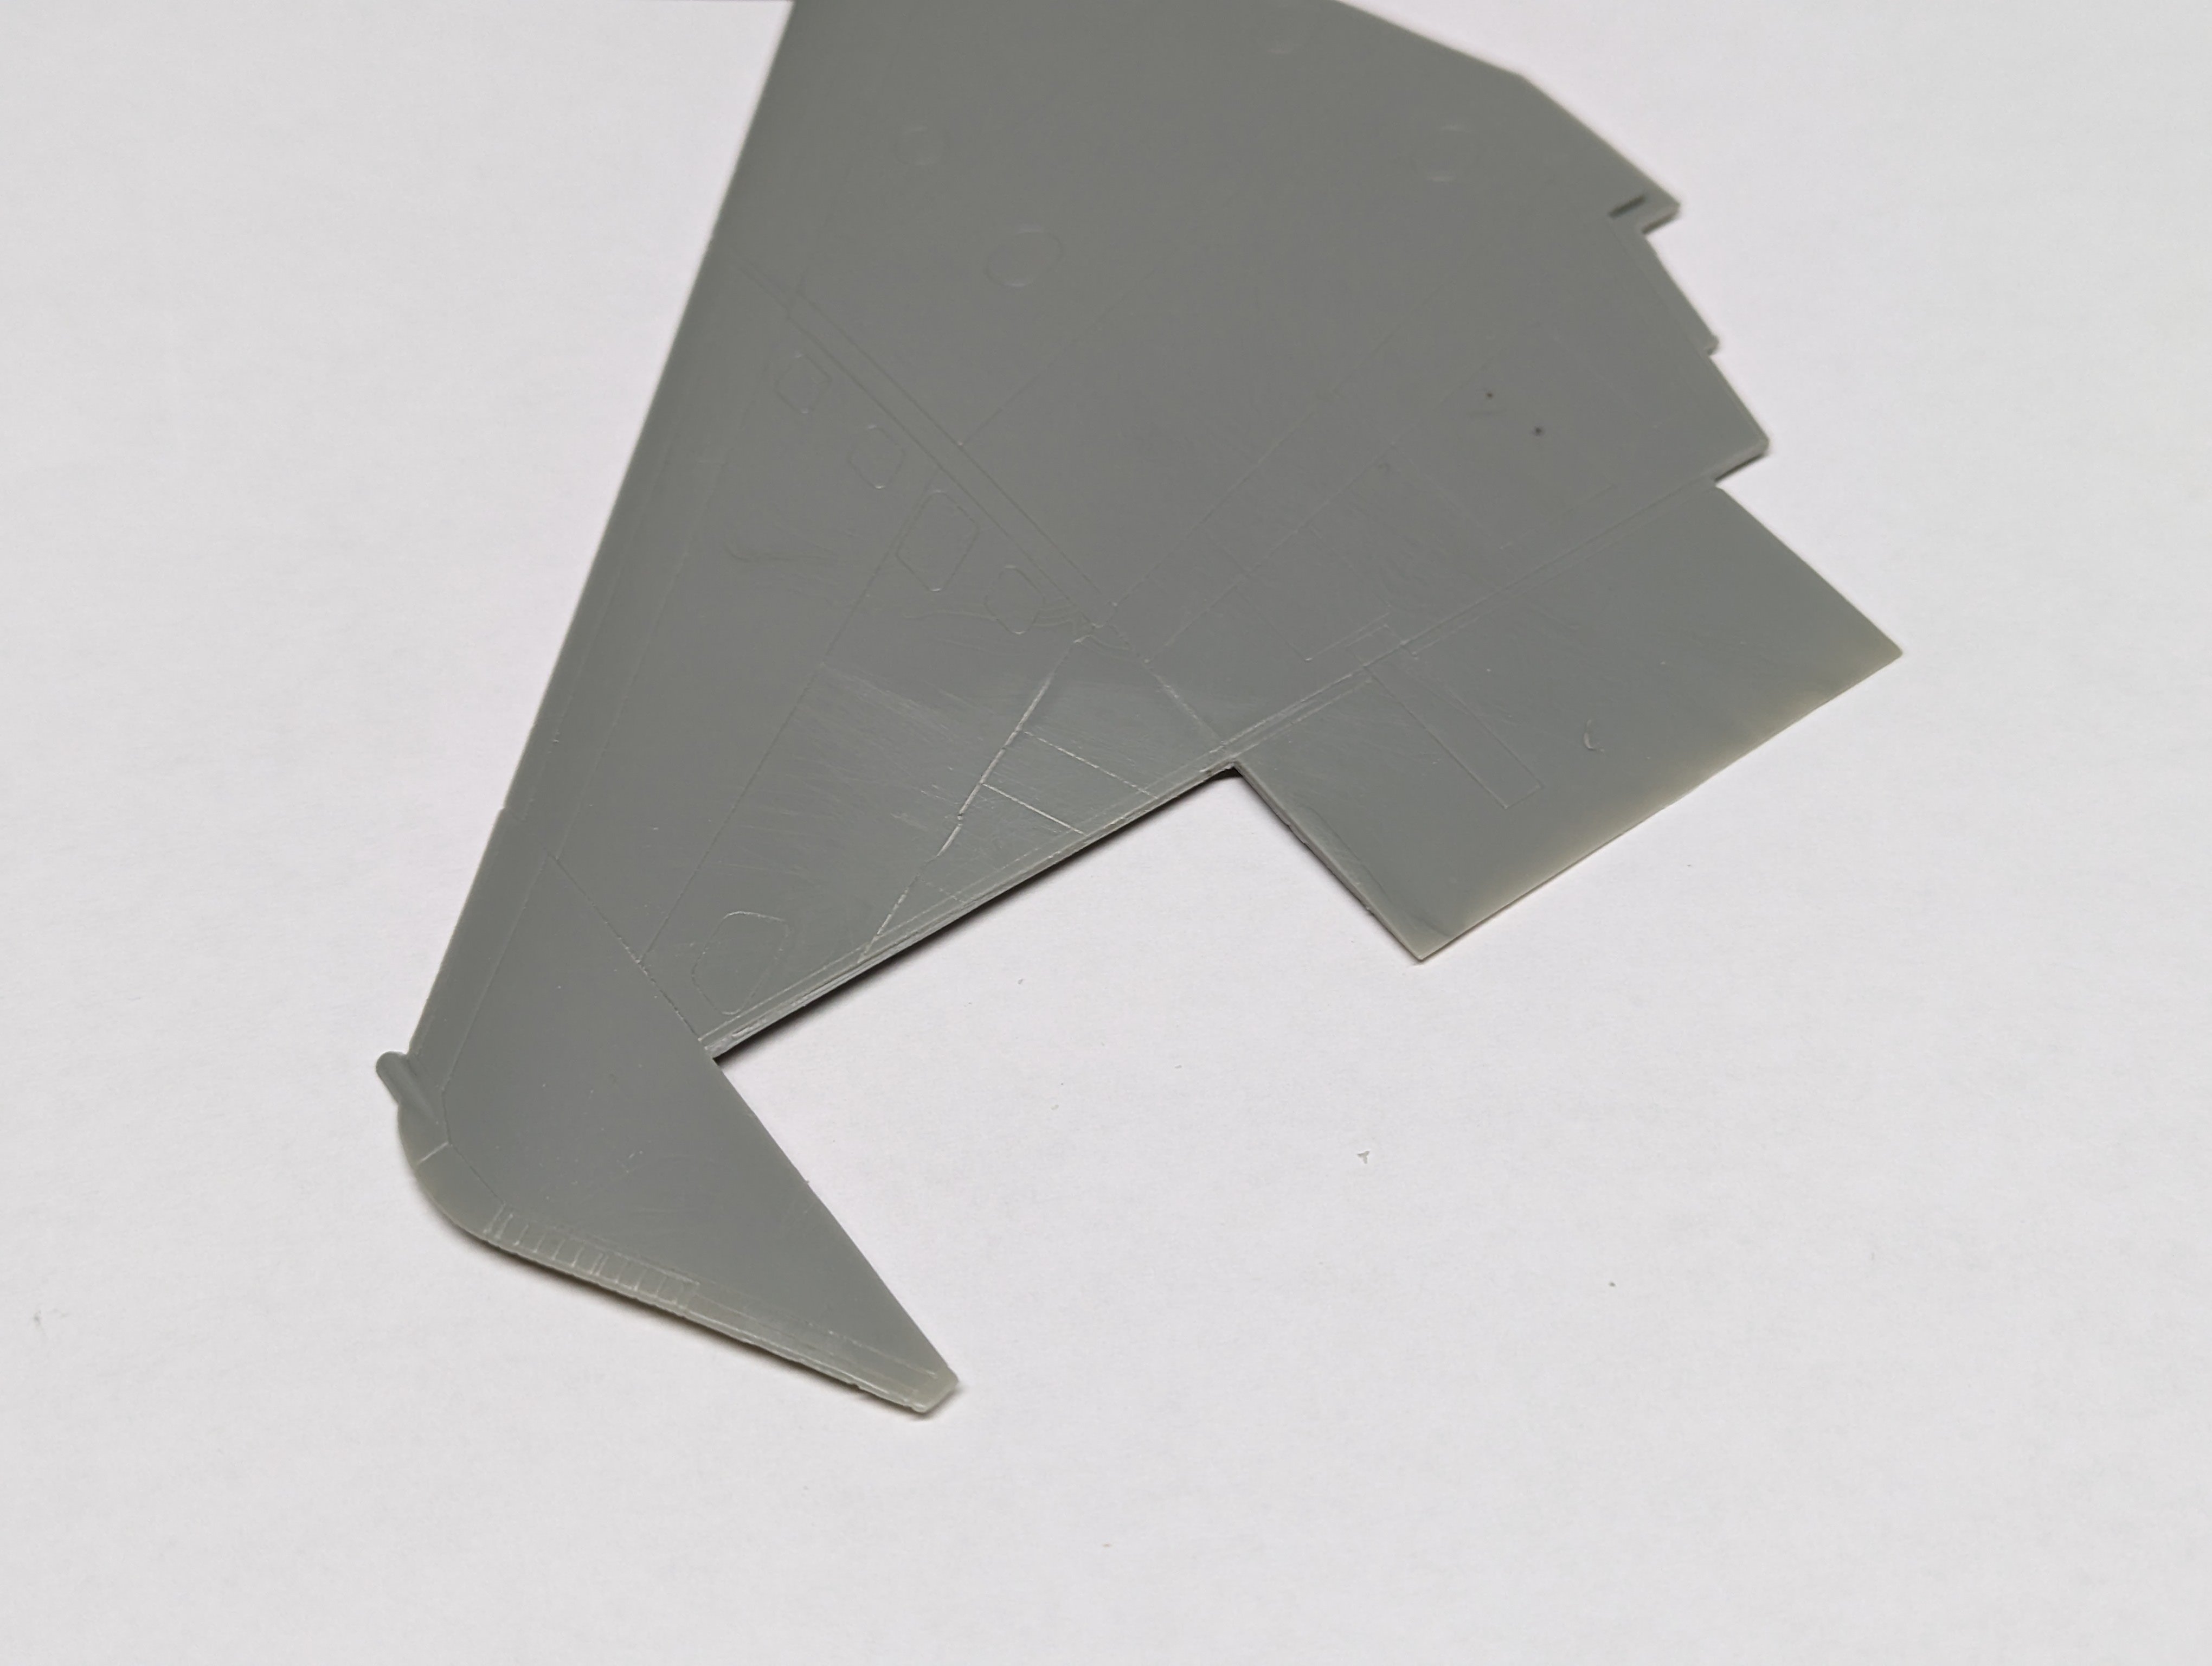
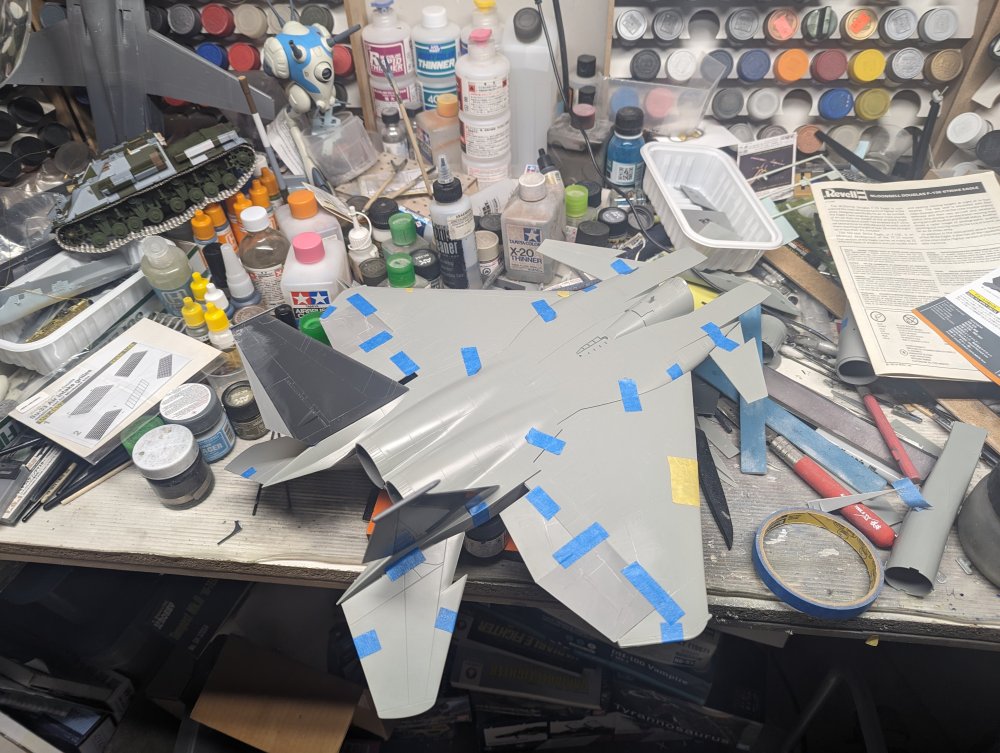
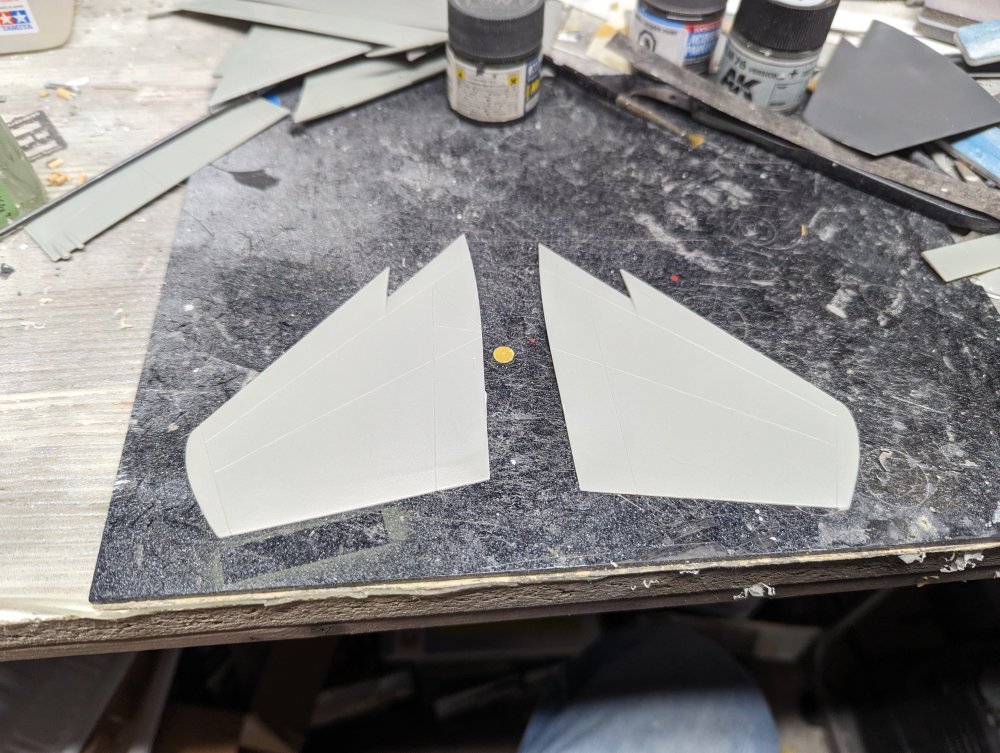
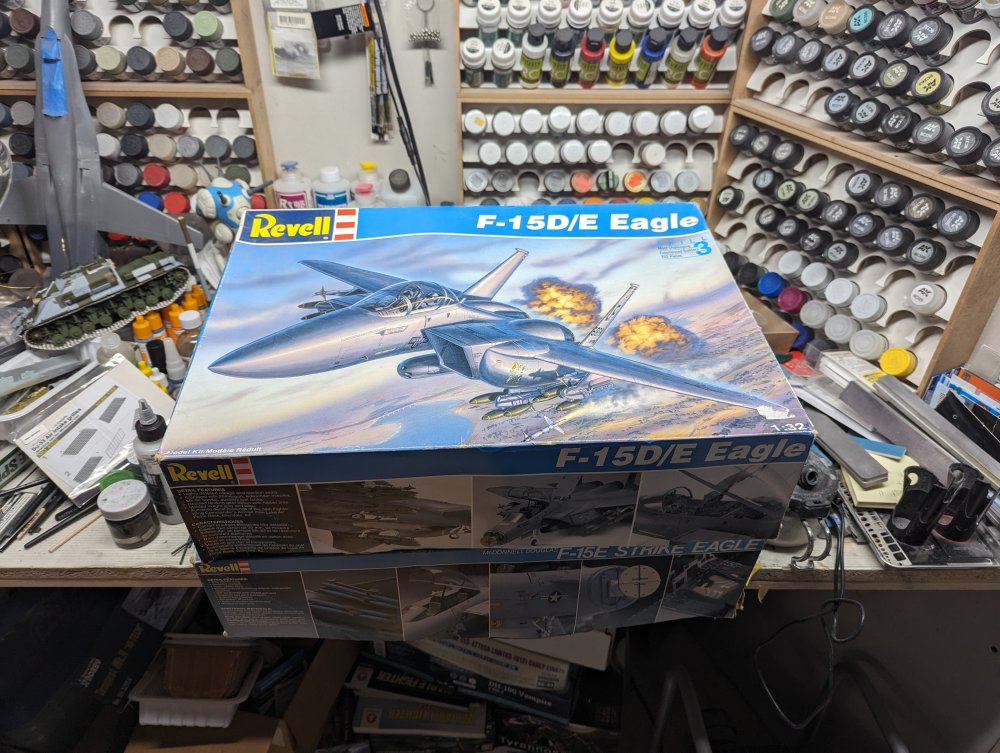
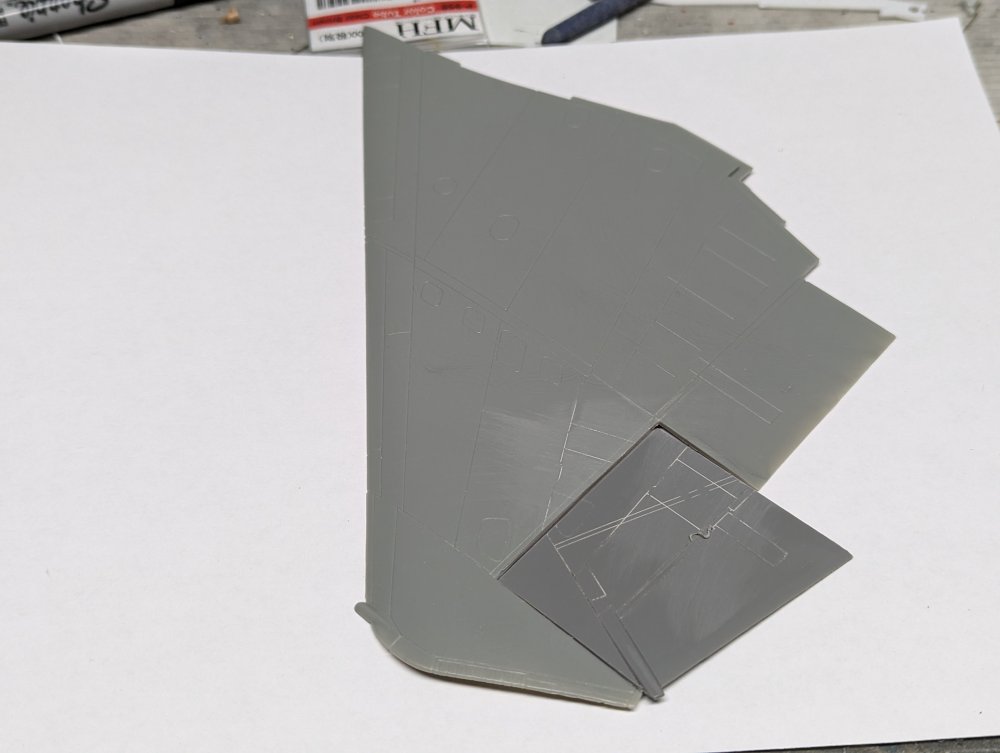
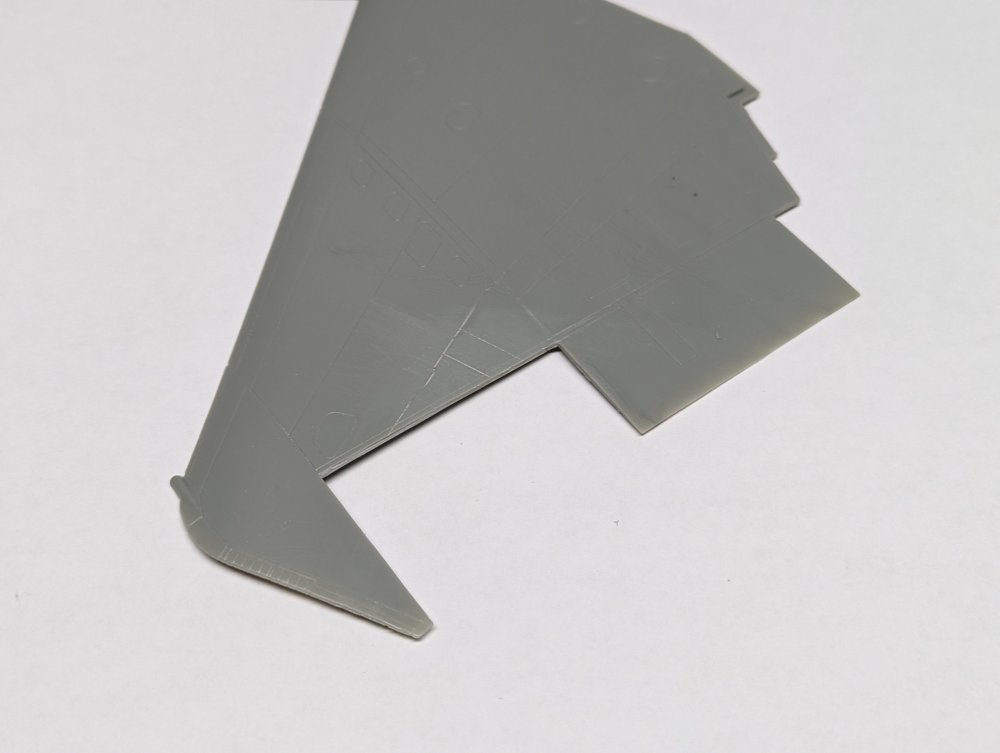
Back in 1993, a Japanese anime film called Patlabor 2 came out. It's based in the near future and has a fair bit of mecha action and some great military stuff but it was mostly about political intrigue. One scene really stuck with me and that's when the antagonist hacks into the JSDF and convinces them they're under attack. A pair of F-15 Kai fighter are sent to intercept. The Kai is based on several advanced prototypes of the F-15 that were actually built and flown, just not with all of these features at the same time. Anyways, I've wanted to build one of these for a long time. I need a break from the 262 so I figured why not. I'm starting with a pair of Revell F-15 Strike Eagles. I got them cheap and I figured that the JASDF would have updated some of their two seaters. I started with the main wings. They should be an easy mod to the F-22 shape. I scribed in the section I wanted to remove. Popped it out. Using a second upper wing , I cut out the new panel. This way I keep the correct airfoil profile. Compared to the stock wing. I then repeated this three more times for the other wing halves. This took about 90 minutes so that was good.


- 187 replies
-
- 11
-
-
The engine nacelles were definitely not an easy part of the build so I know what you went through.
-
On a plane like the He111 I would definitely consider masks if they're available. So many tiny windows....
-
Thanks Martin ! I have an AM radar set from Master but the details are different so I'm trying to decide what to do. I may just replace the vertical poles with wire and leave it at that.
-
Sky King's Songbird: Update: 3/2/24 - SOD .. BINNED
BlrwestSiR replied to Peterpools's topic in The Great Twins Broup Bluild
Wow Peter, sounds like quite the challenge ahead of you. Sometimes we just don't have the choice if it's the only game in town. Knowing what you're getting into ahead of the build should help at least with the frame of mind. -
Sometimes with the amount of her fur on my bench, it wouldn't surprise me if she did.
-
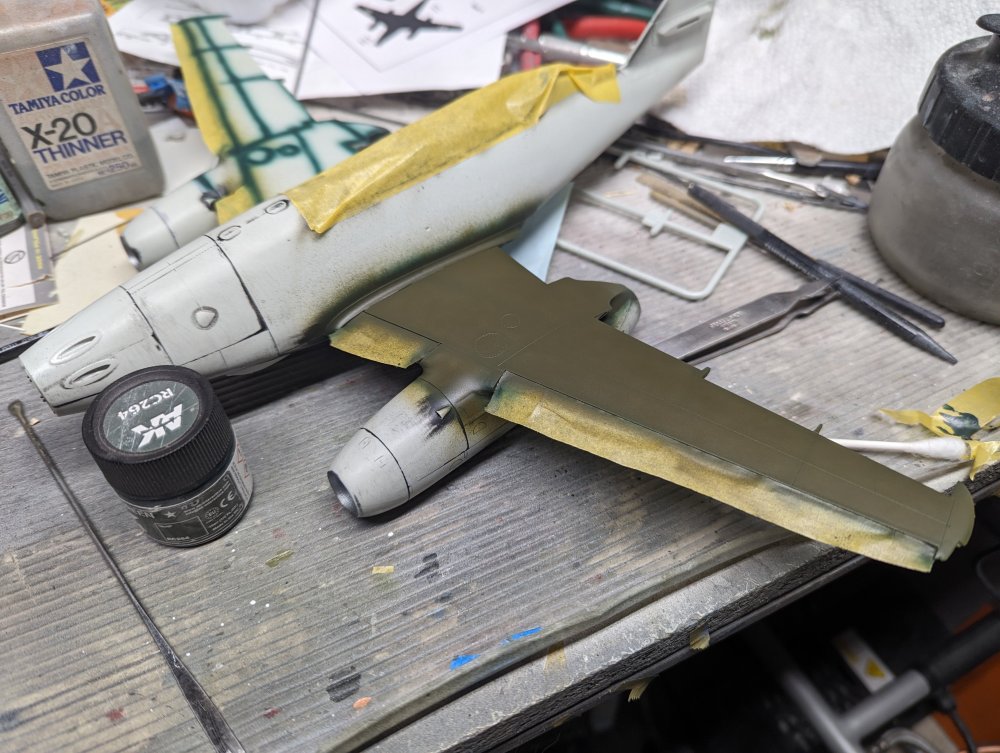
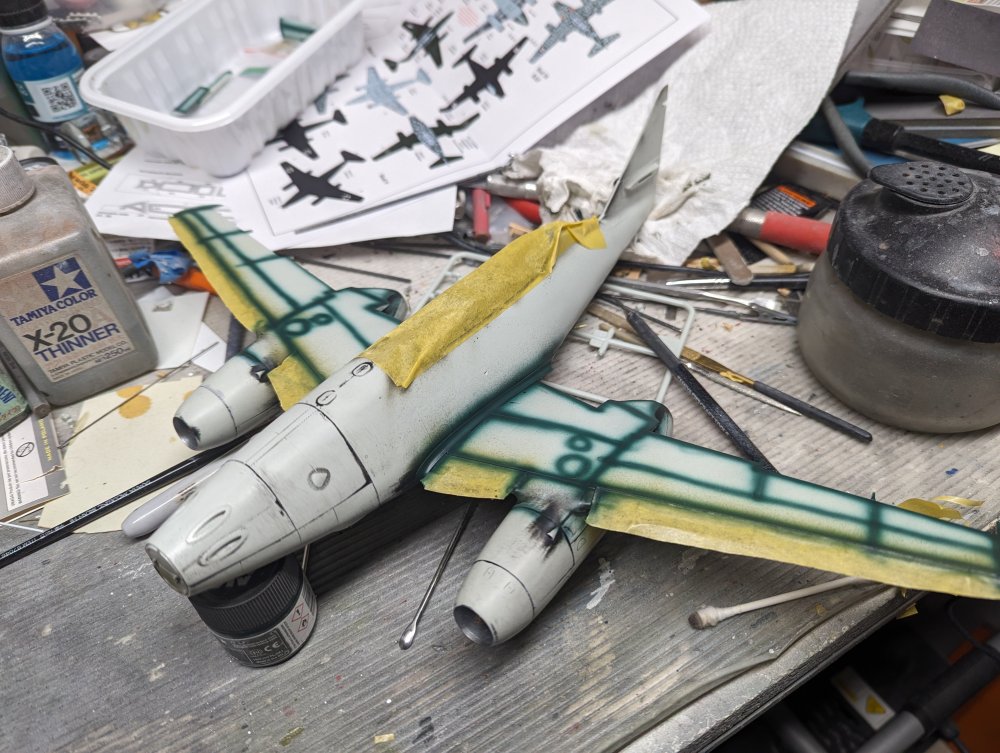
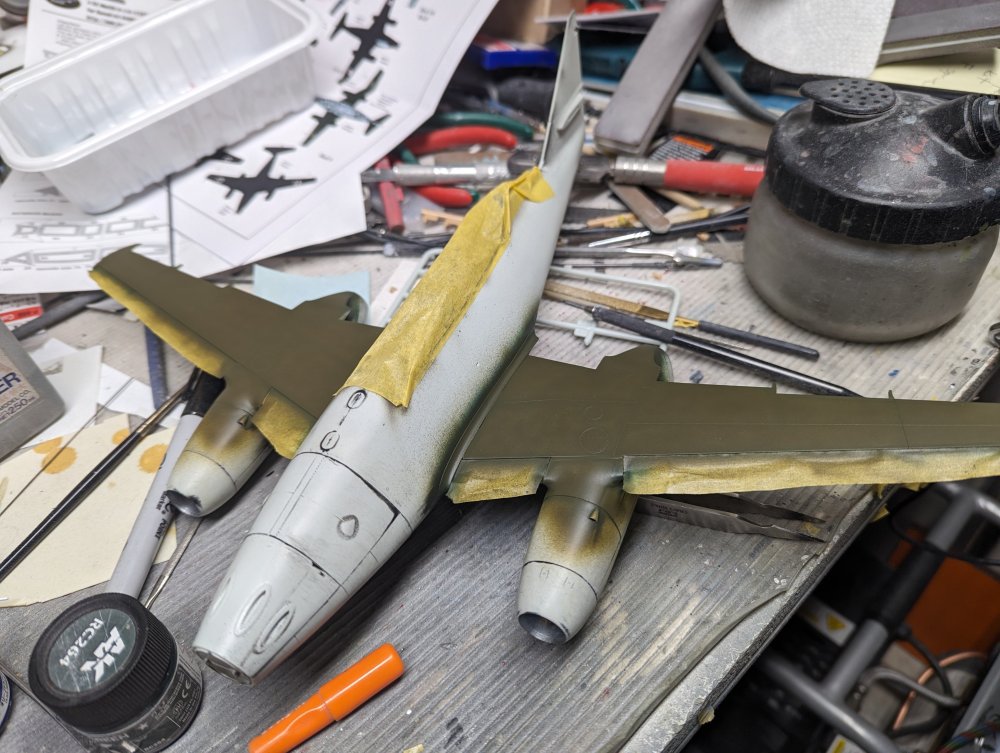
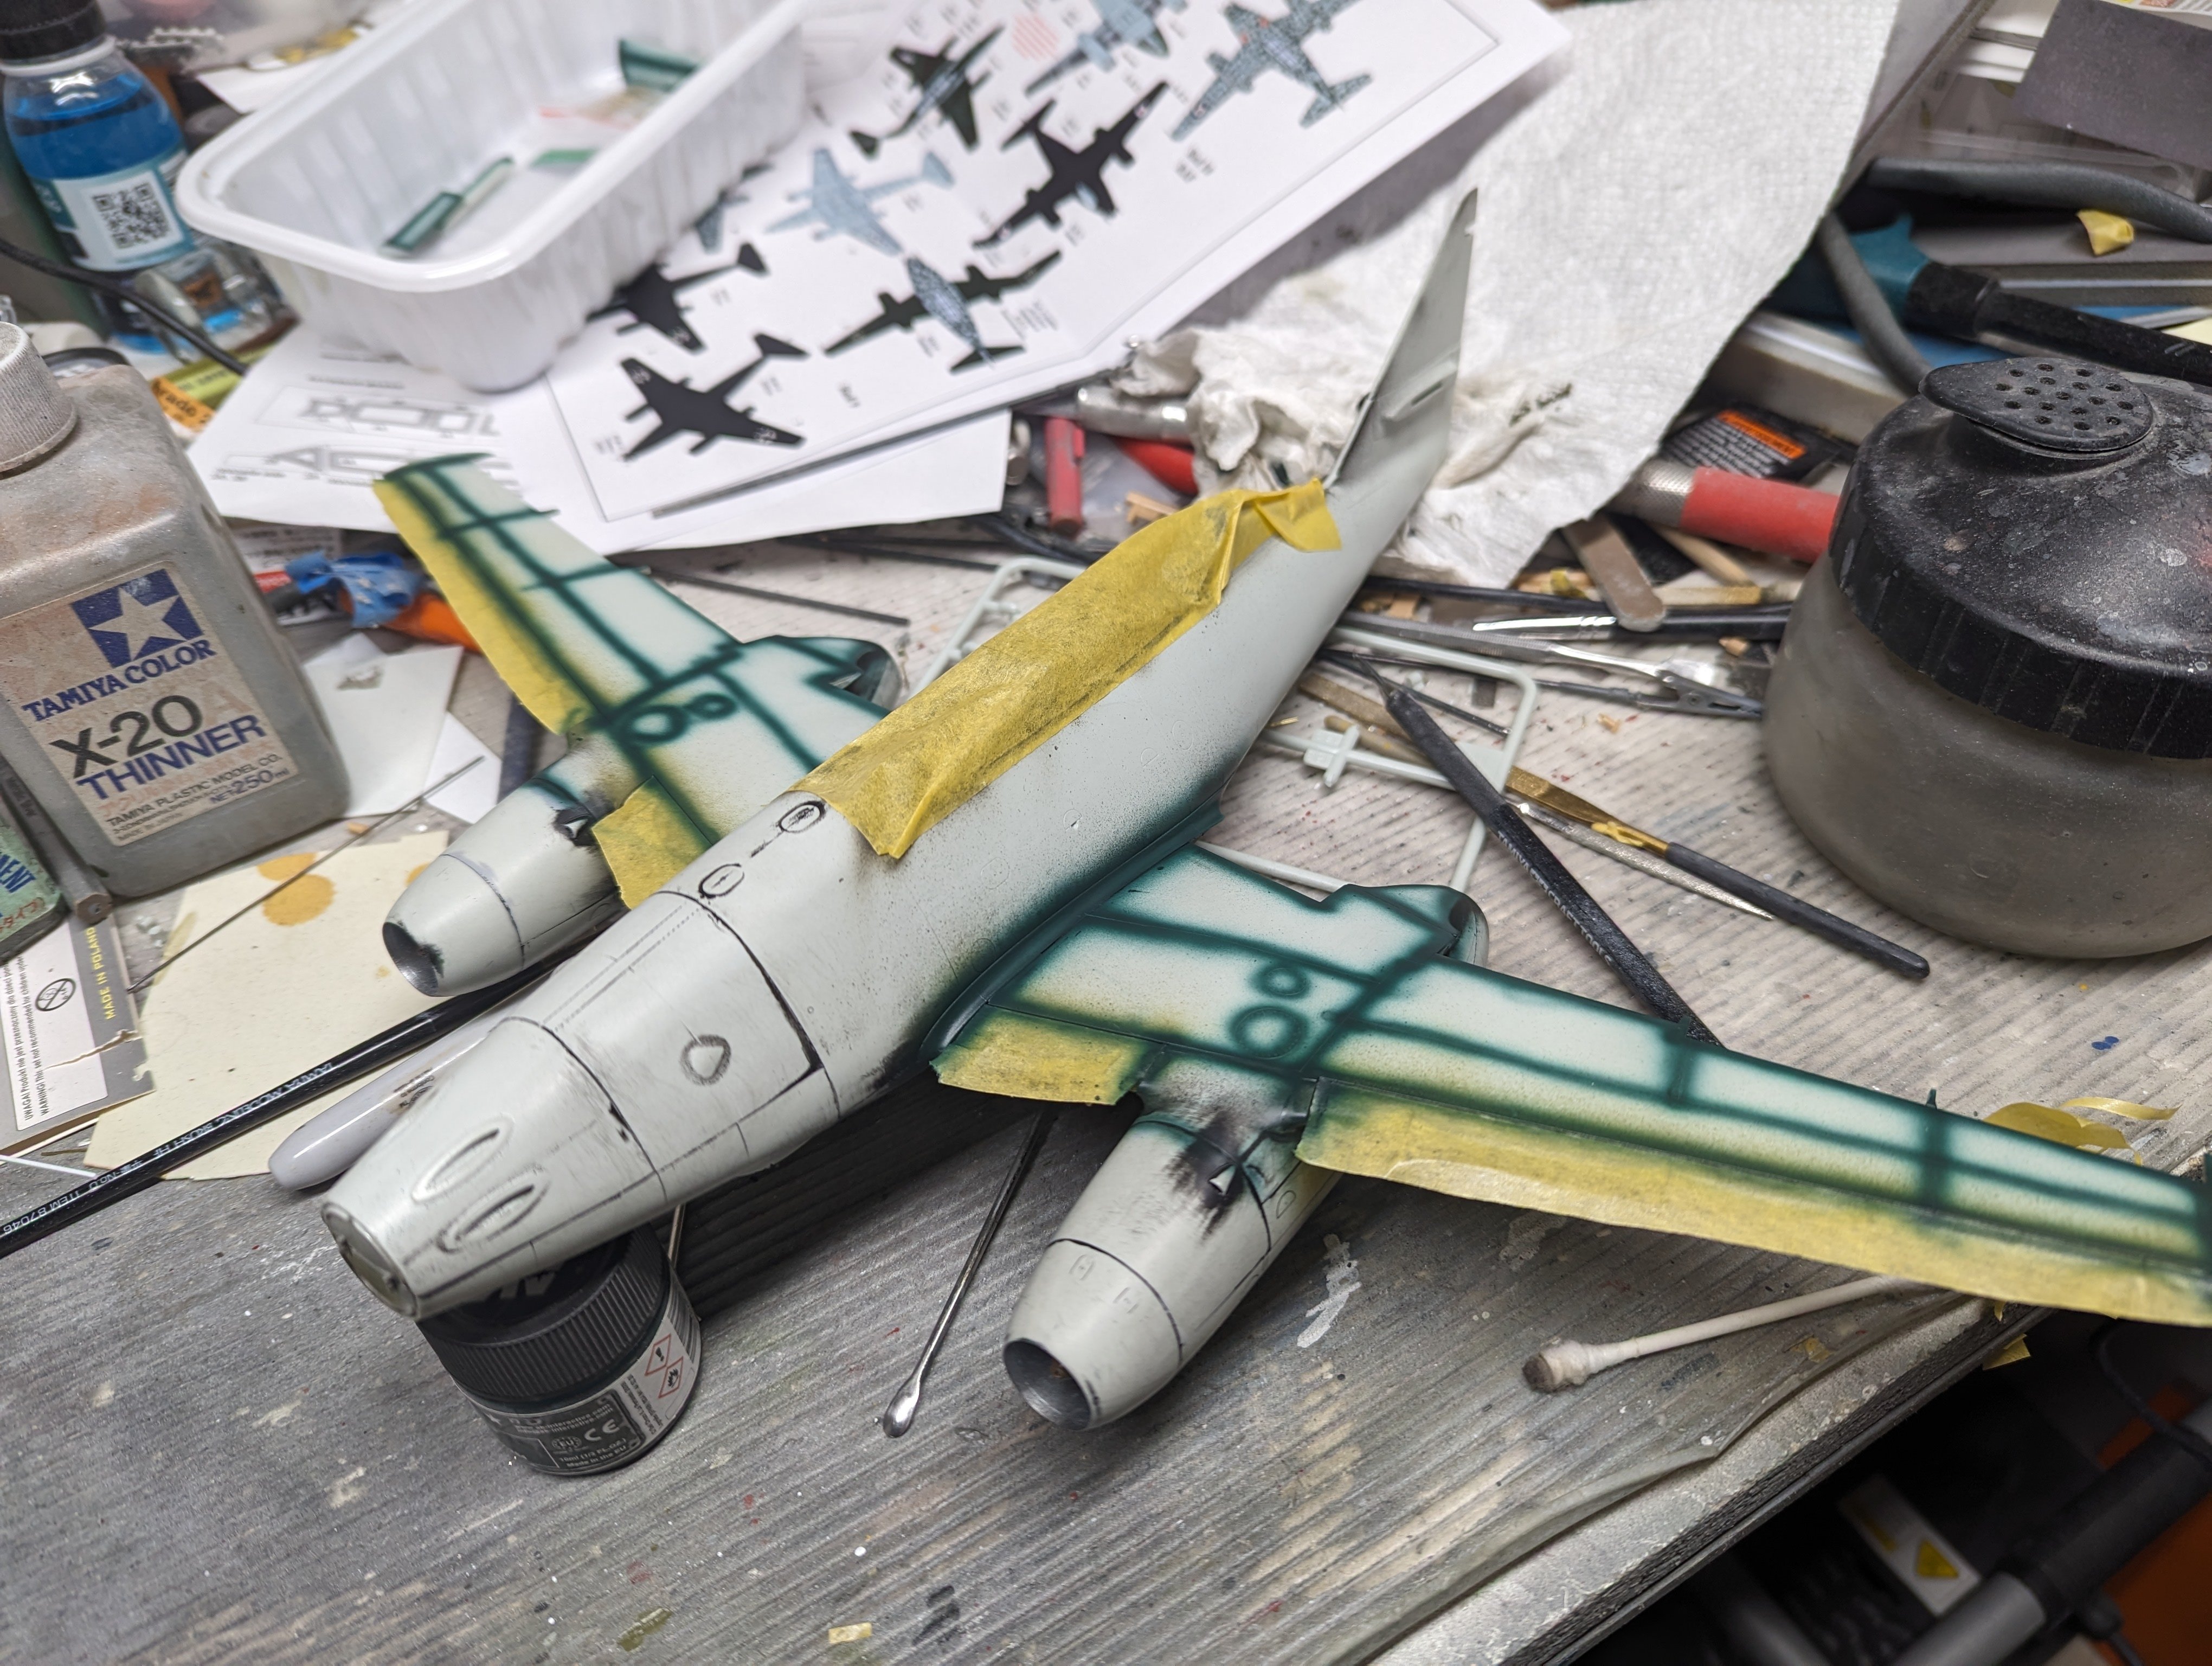
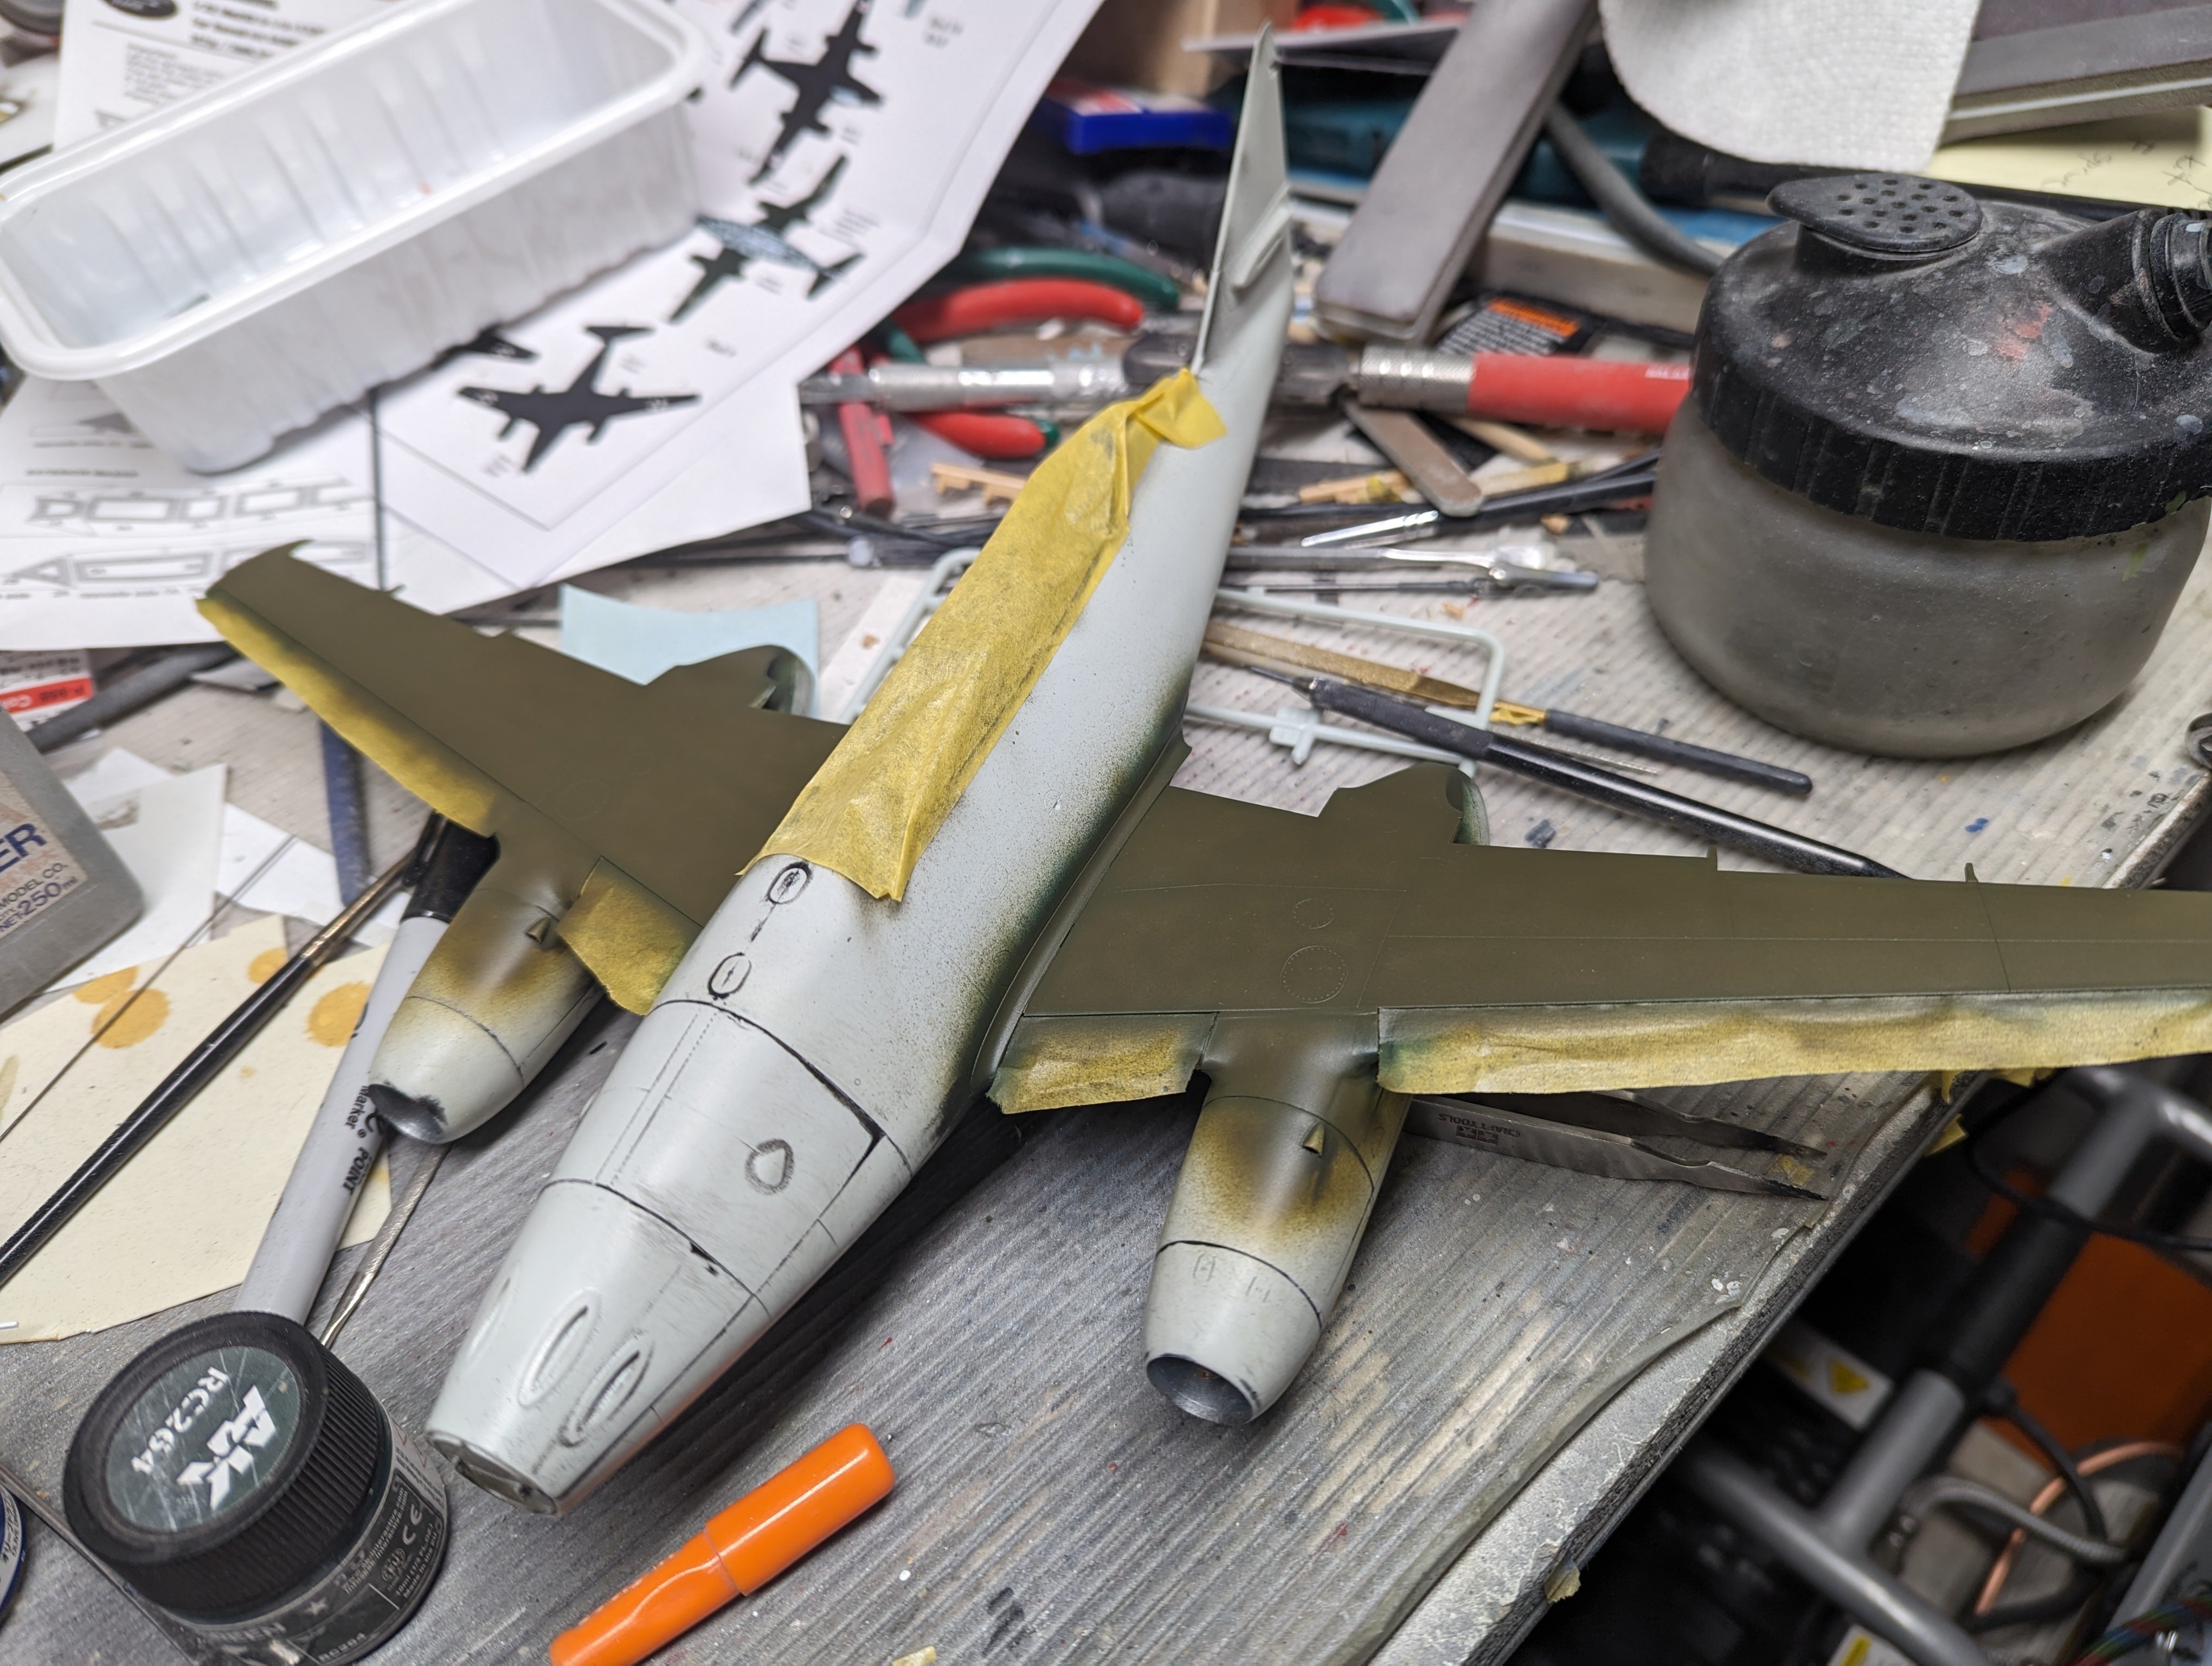
With the canopy masked inside and out, I painted the inside in RLM66. While I had the airbrush out, I decided to start on the 262. I preshaded the wings. Then it was time for some RLM83. The pre-shading is still there, just a bit subtle which is what I wanted.