BlrwestSiR
-
Posts
9,225 -
Joined
-
Last visited
Content Type
Profiles
Forums
Events
Gallery
Everything posted by BlrwestSiR
-
A nice assortment of items there Rob. Always nice to catch up with friends and family.
-
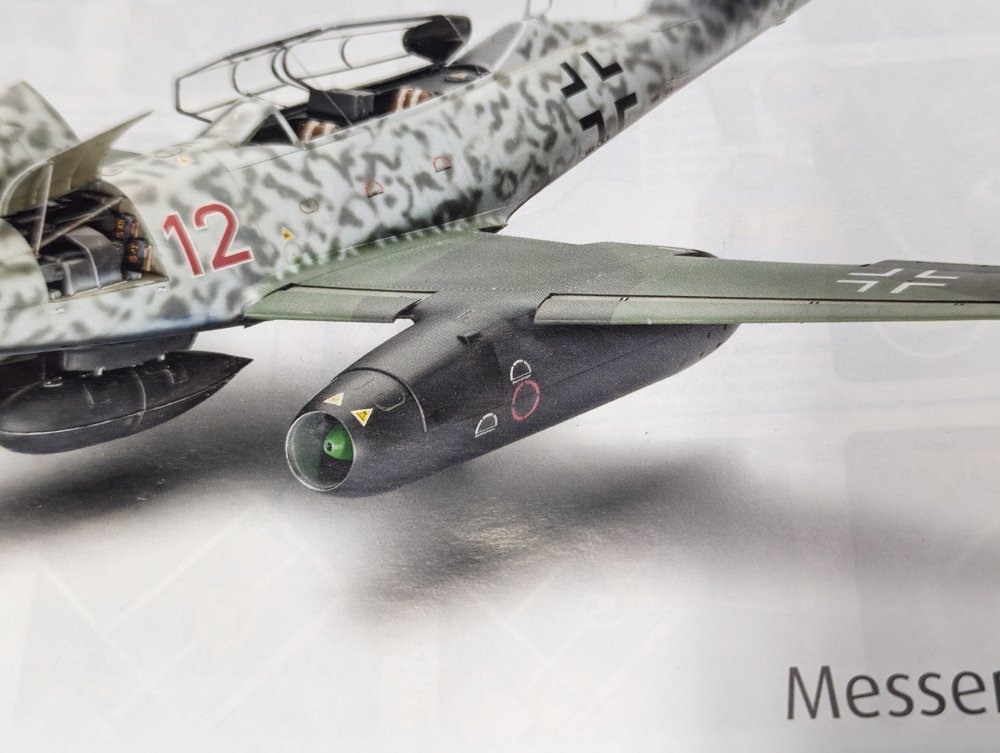
My vote would be the Do-335. I considered that one as well before settling on the 262.
-
 Looking good.
 -
I get the other Lancaster flying over our house on a regular basis. CWHM is a little over an hour from us so they fly regularly around the Golden Horseshoe.
-
Not enough windows broke and a Mi-24 didn't fall out of the sky when it passed.
-
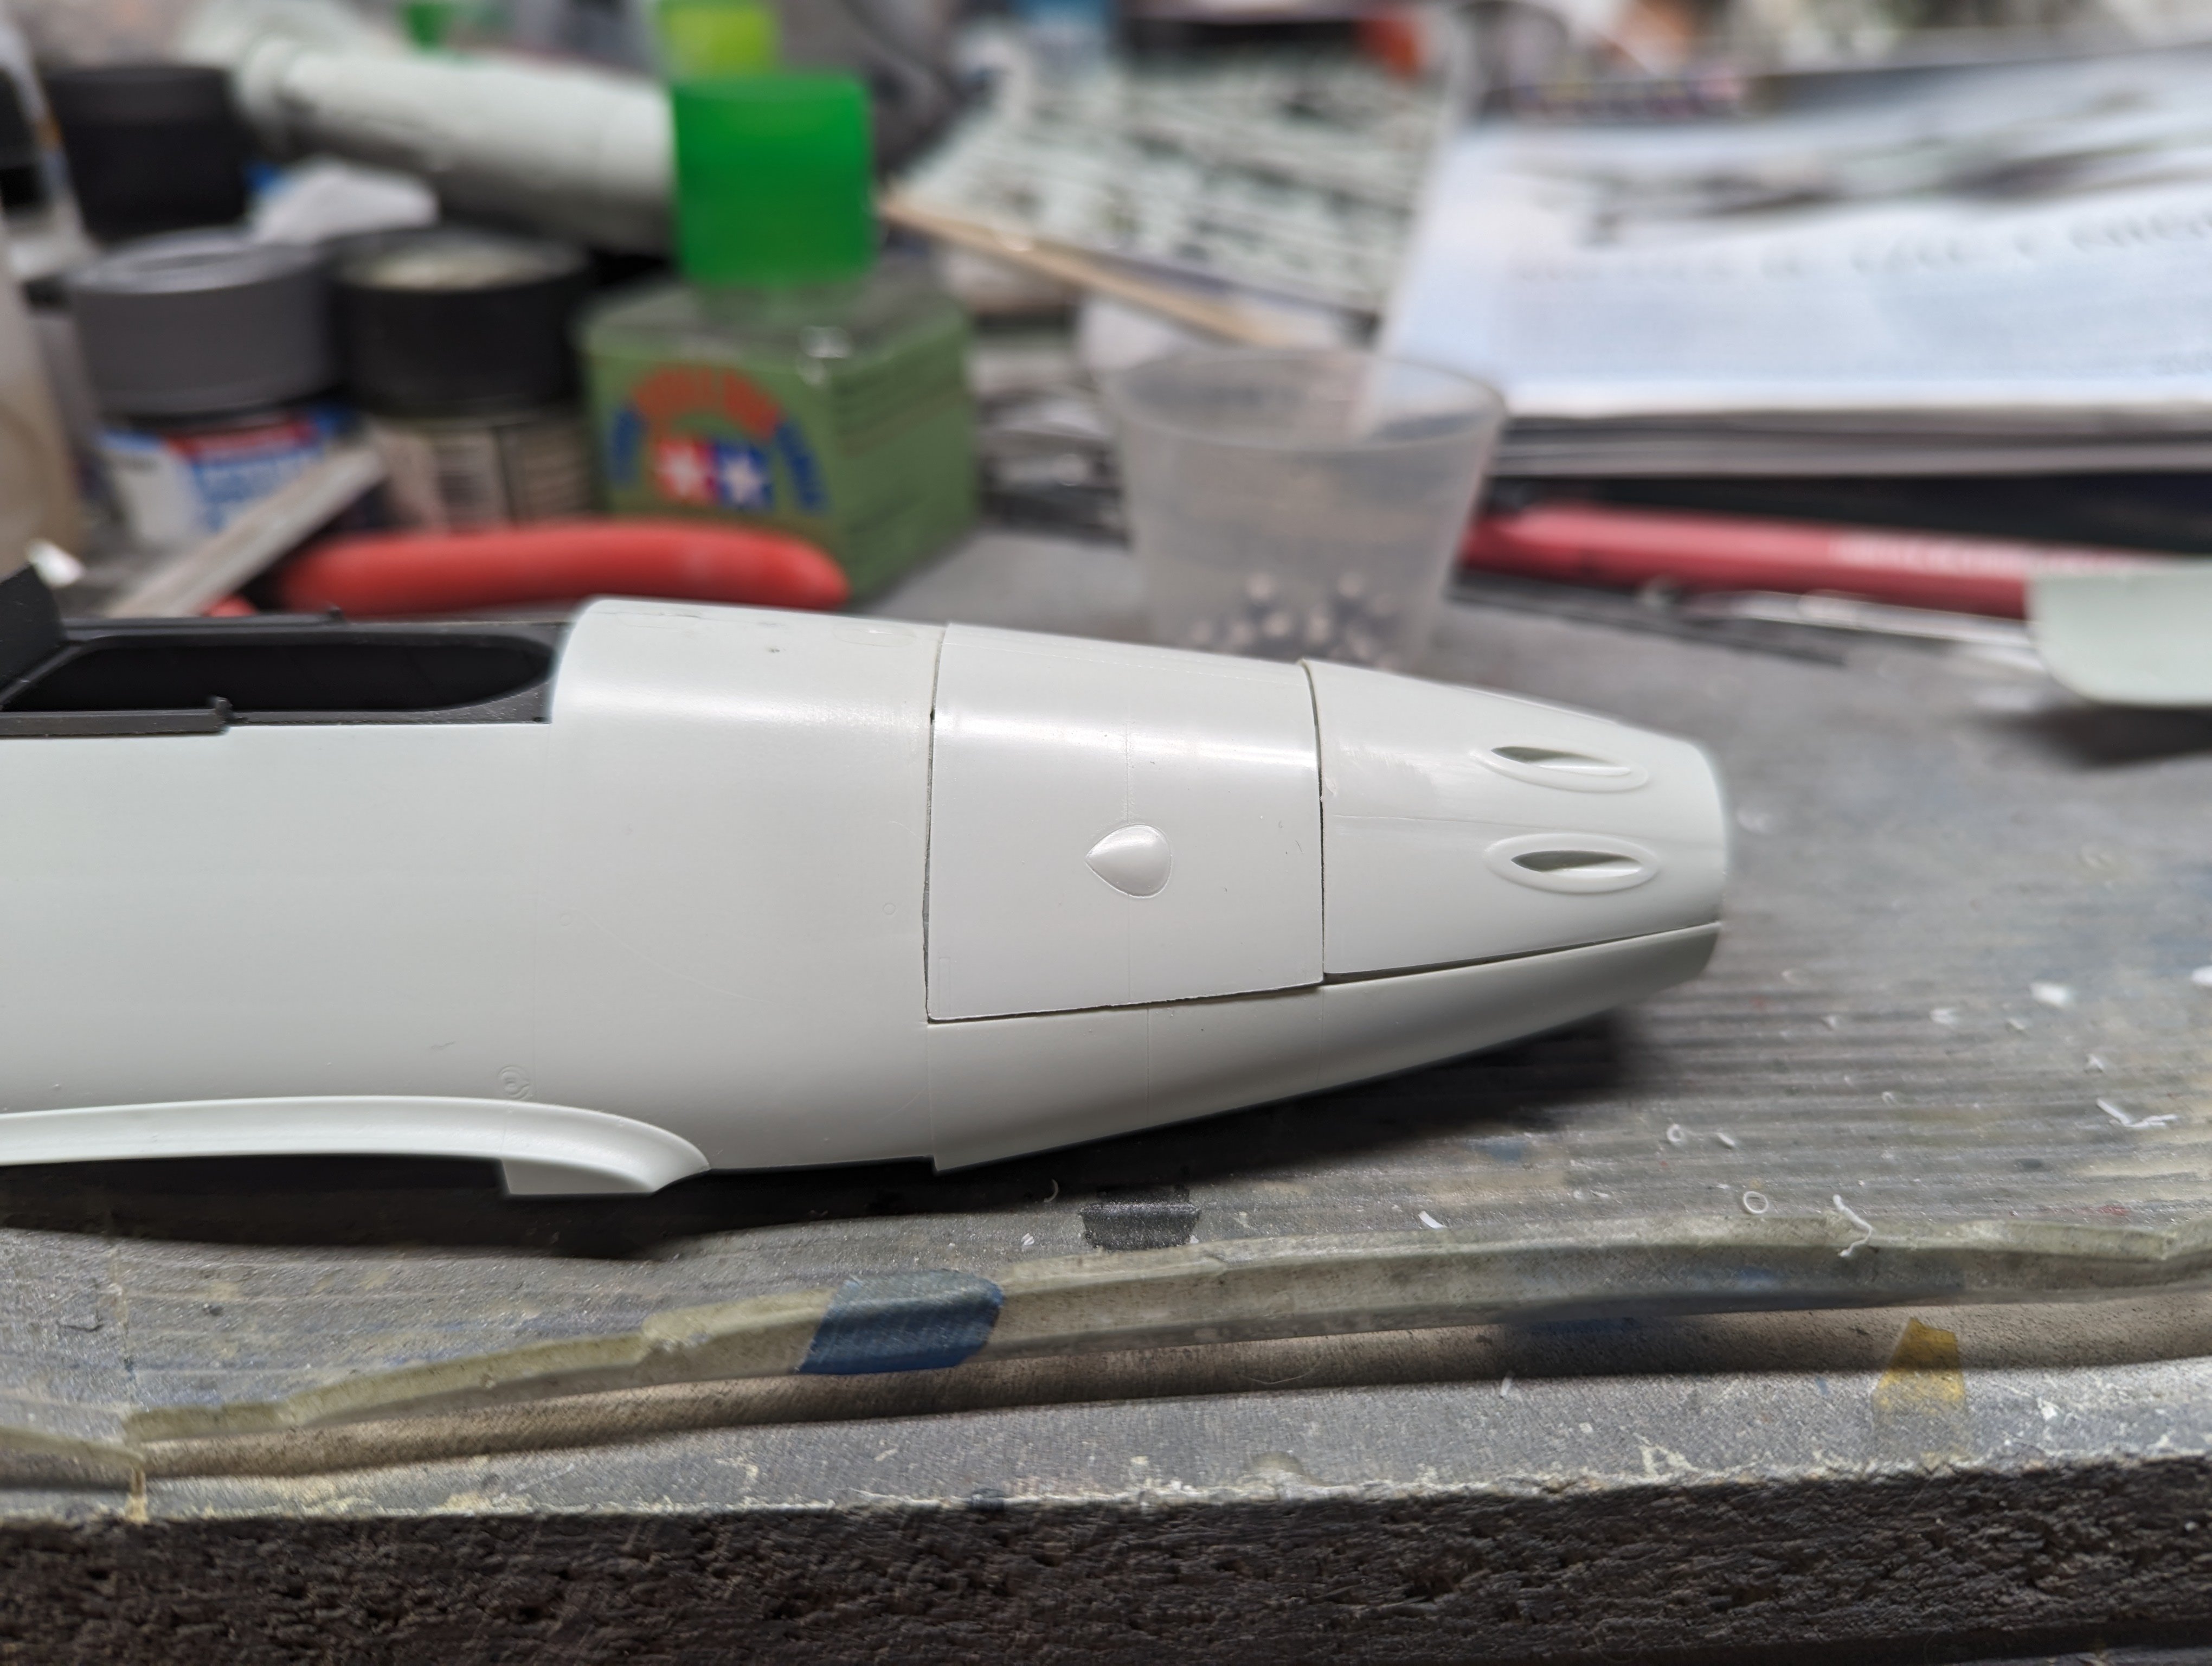
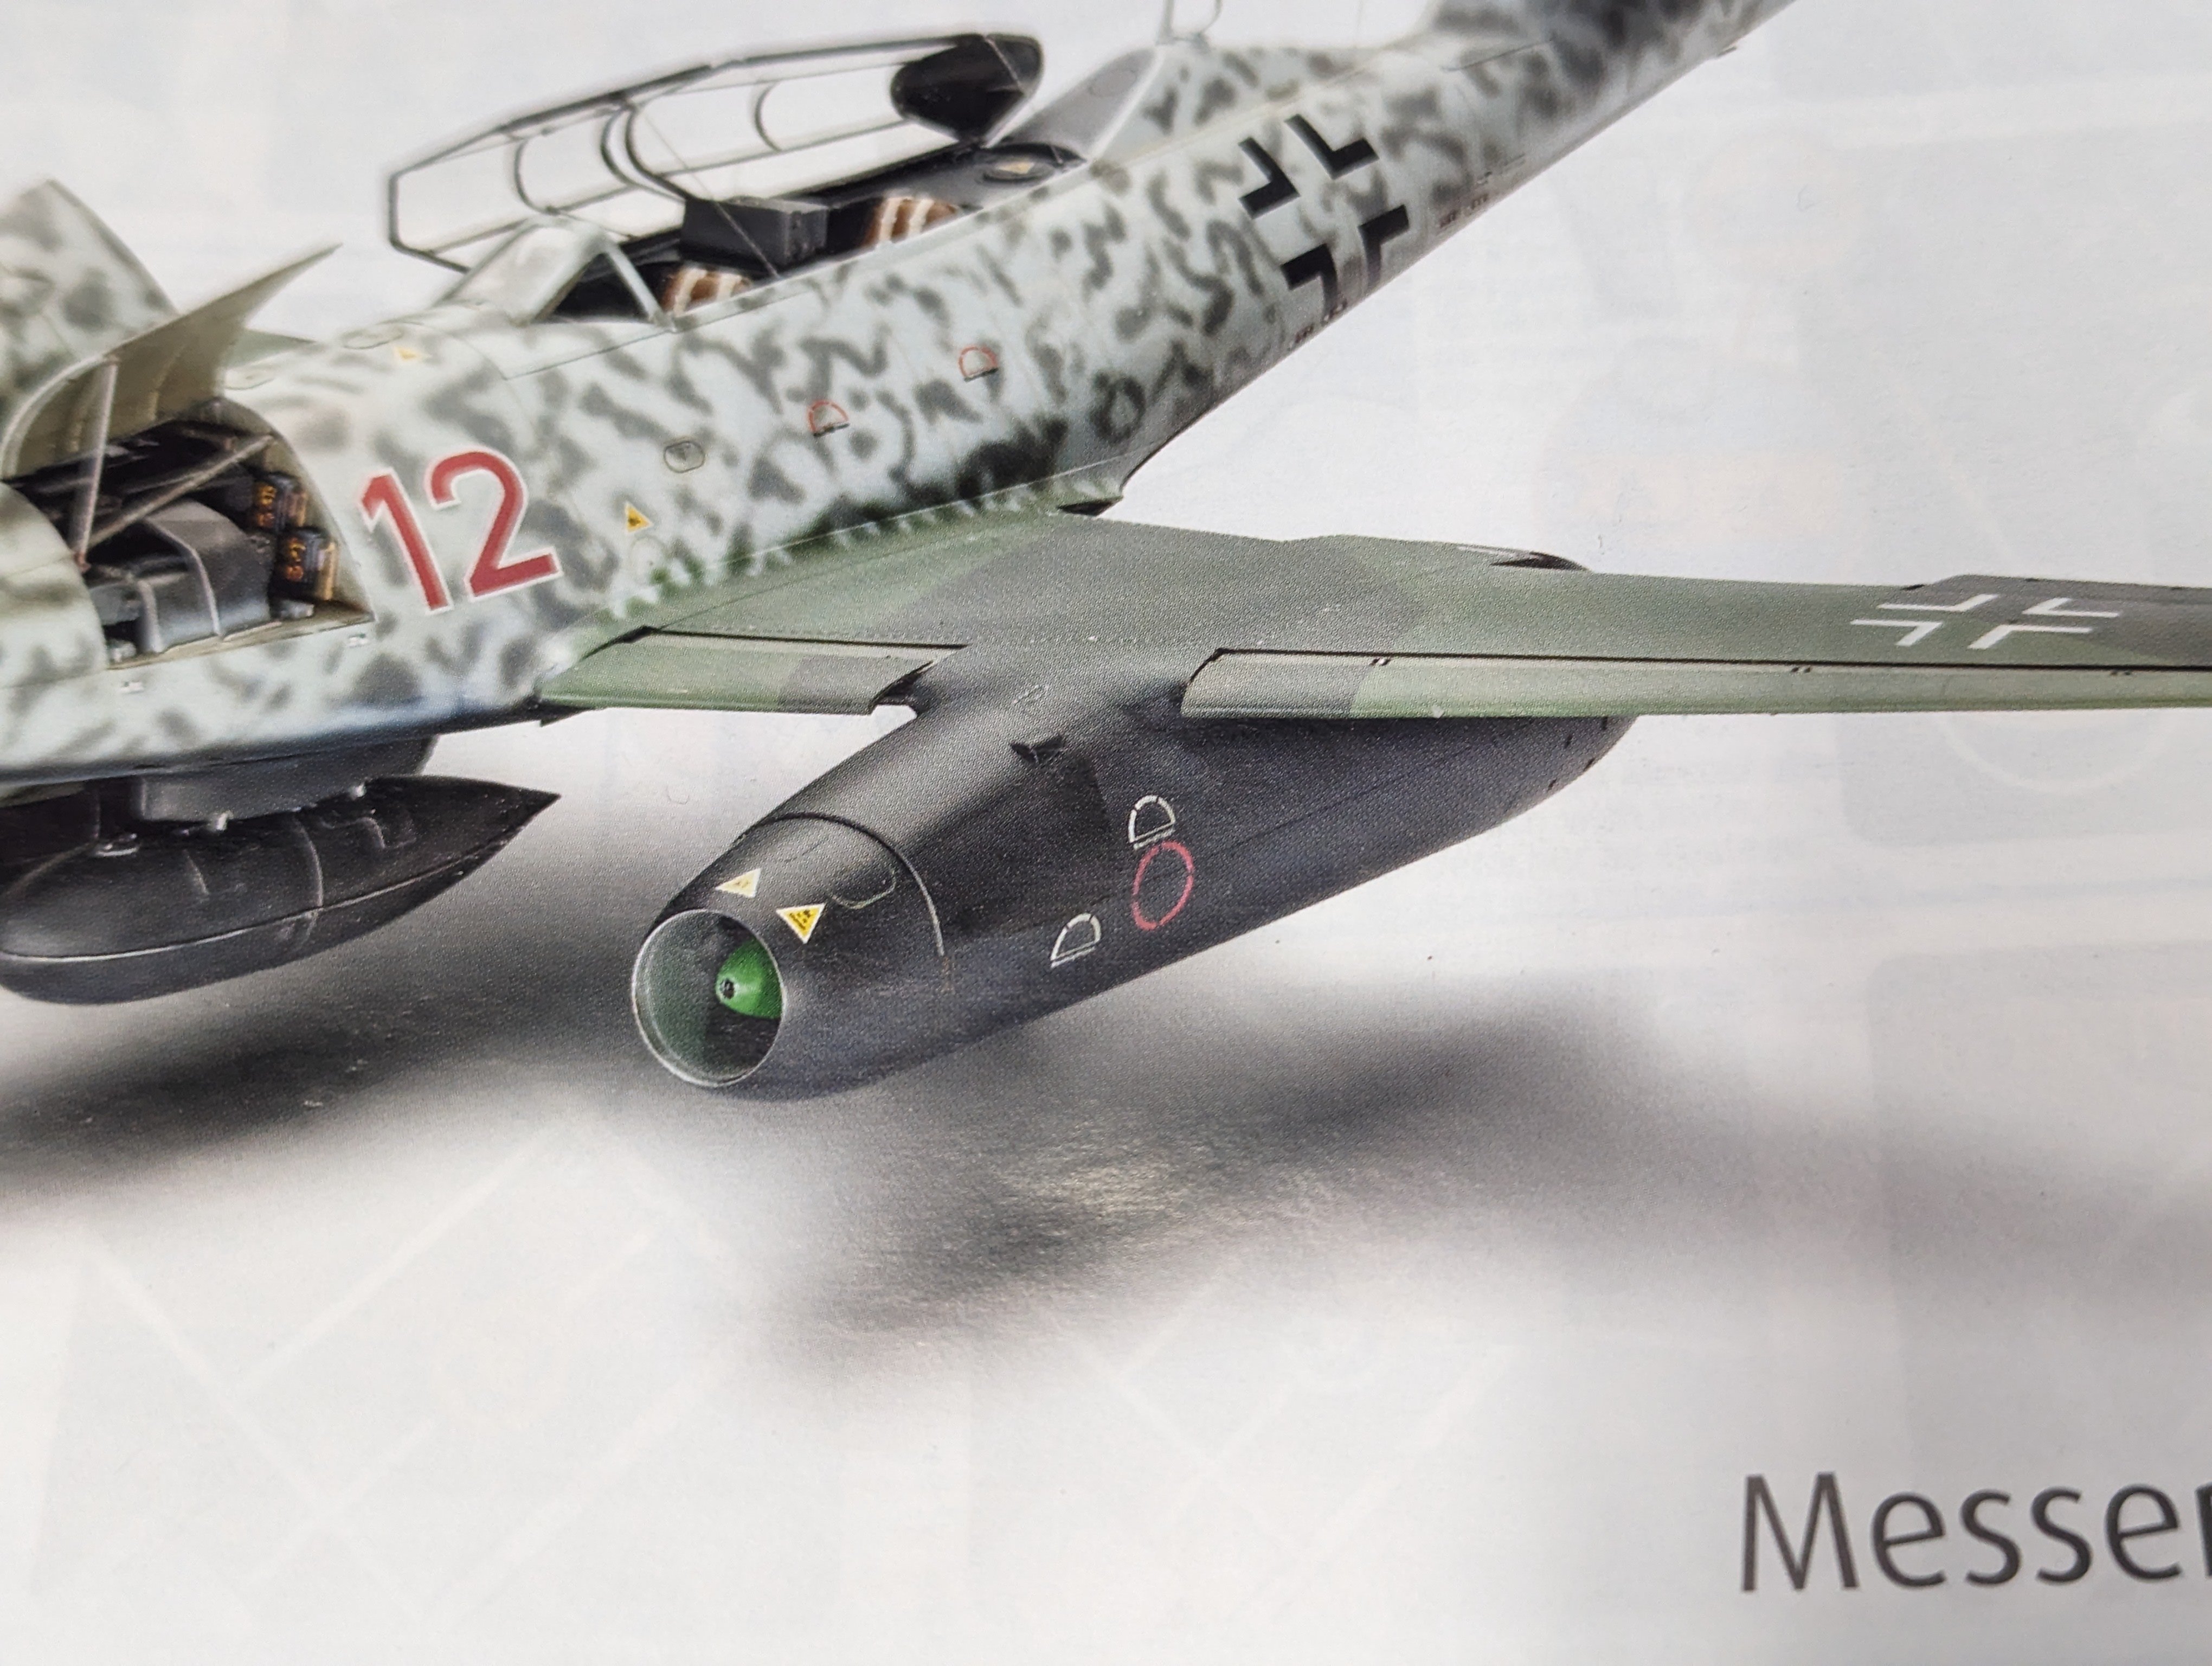
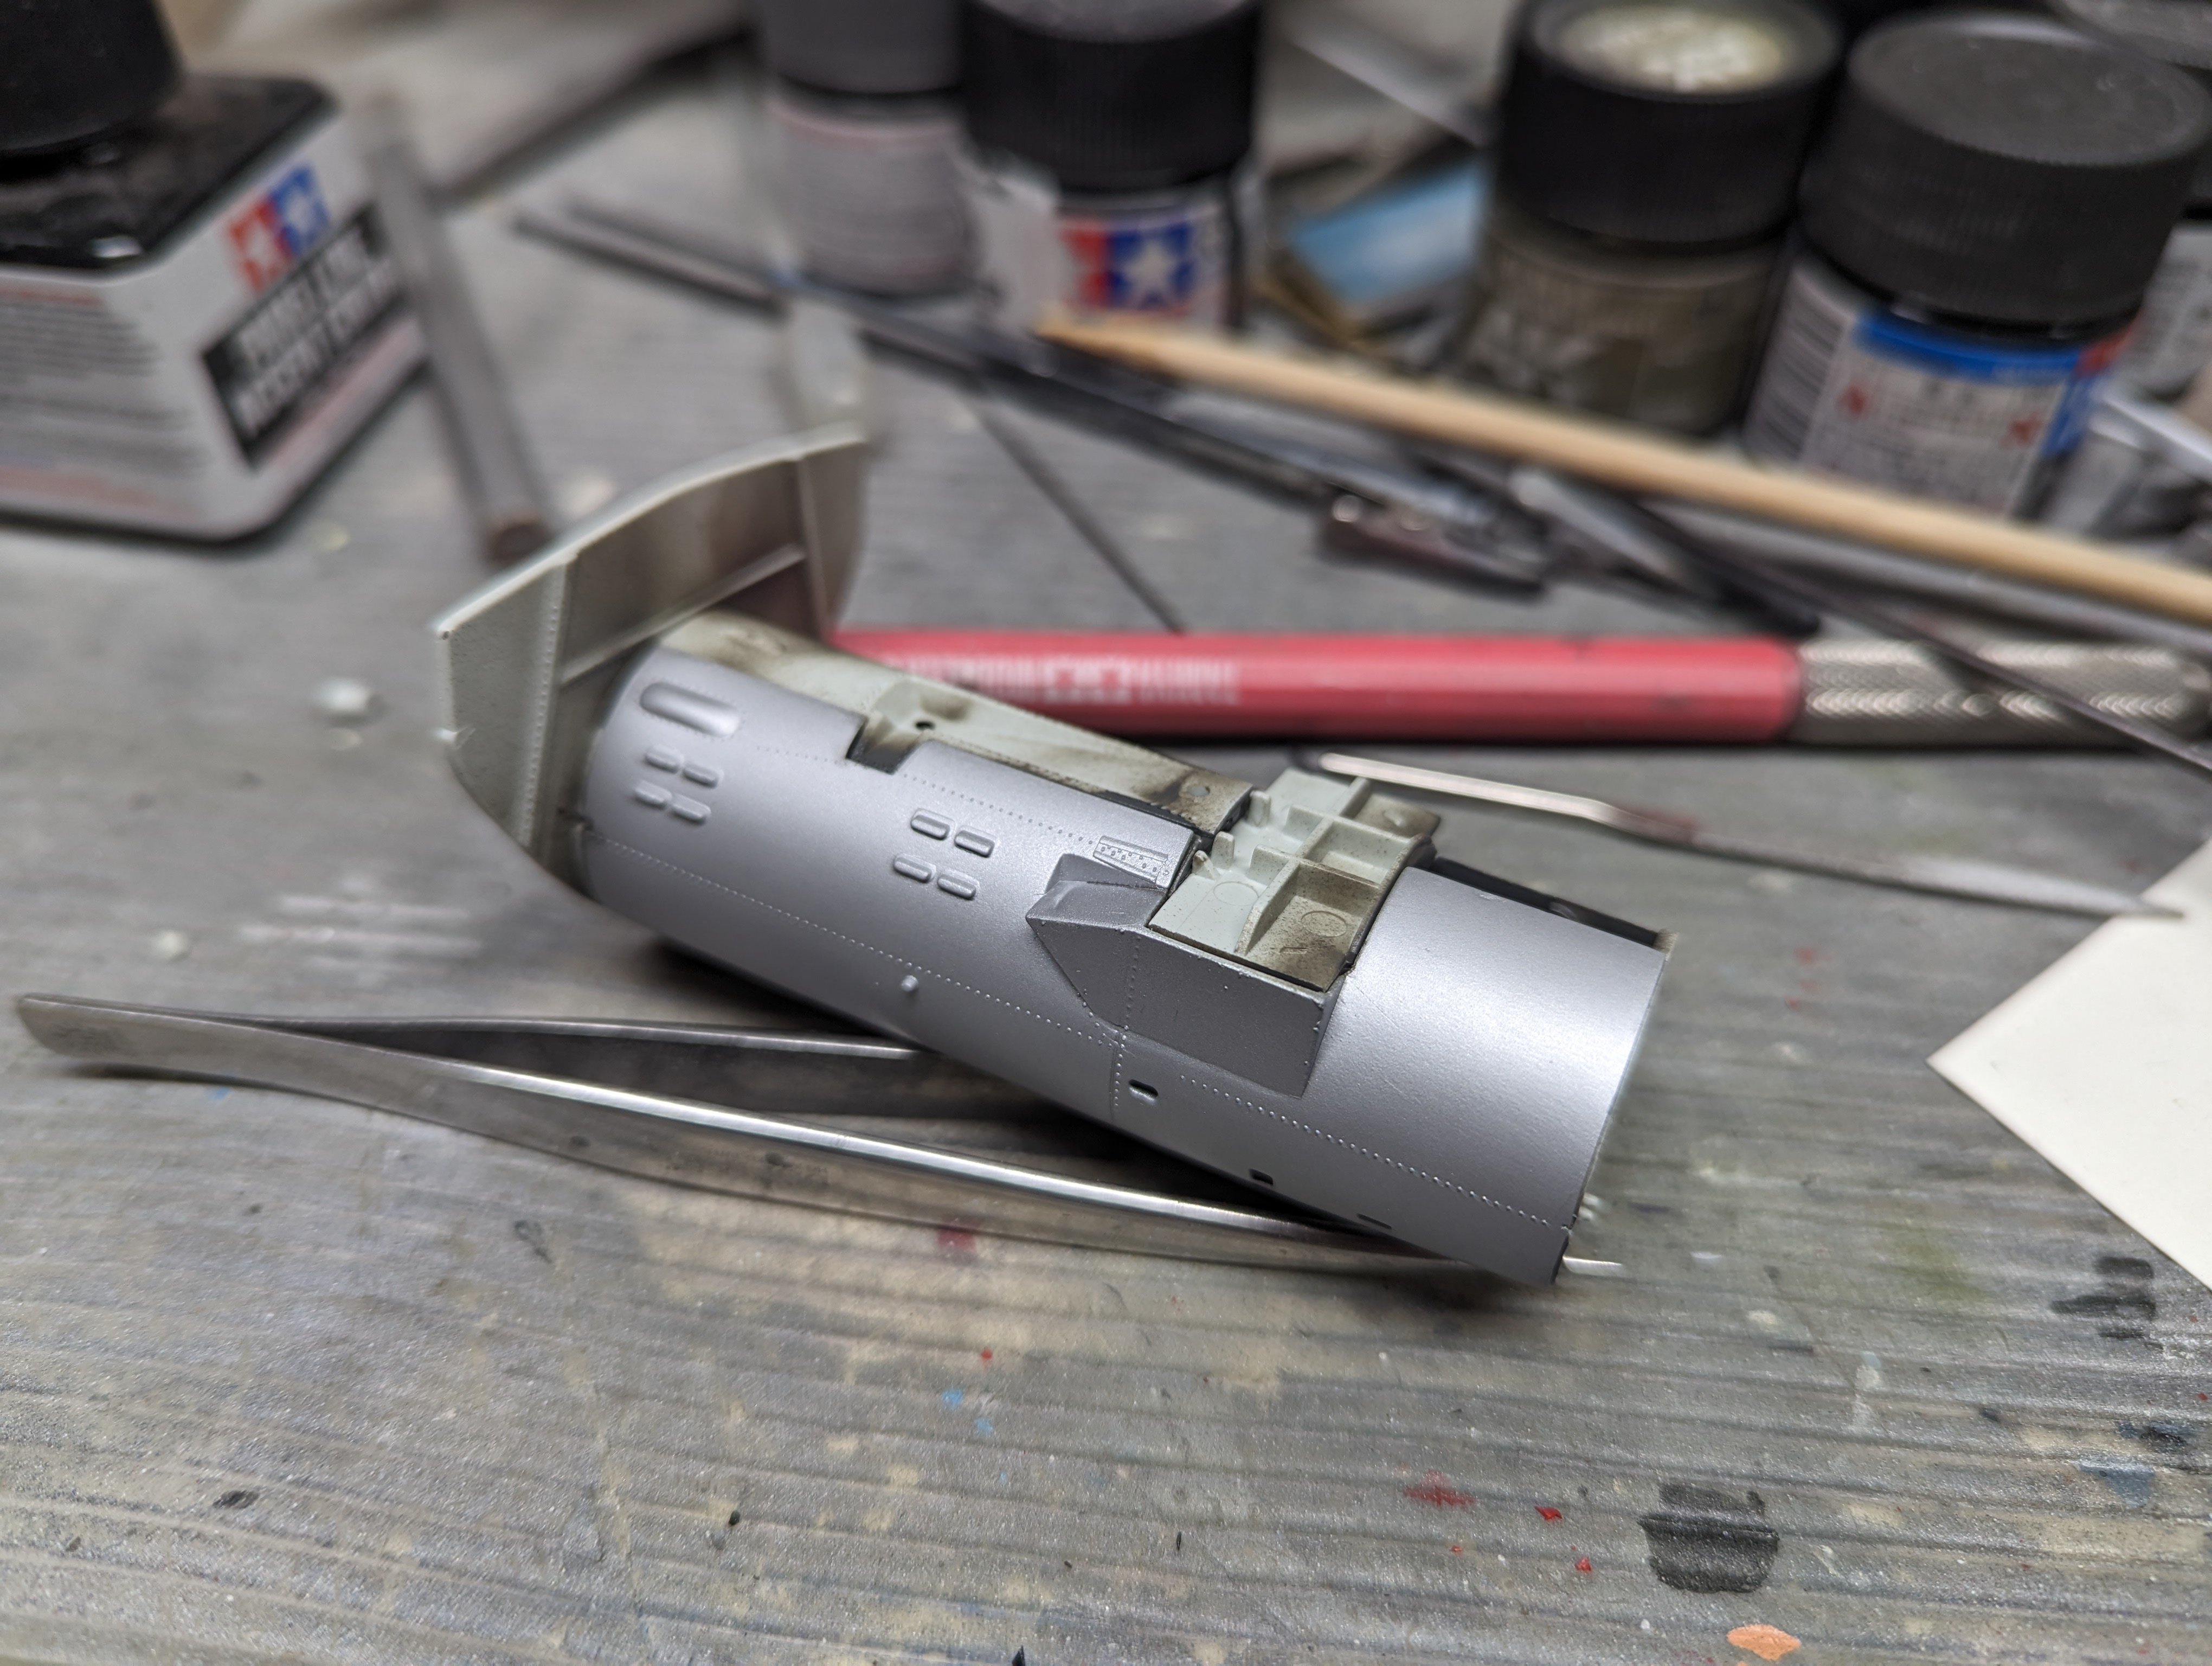
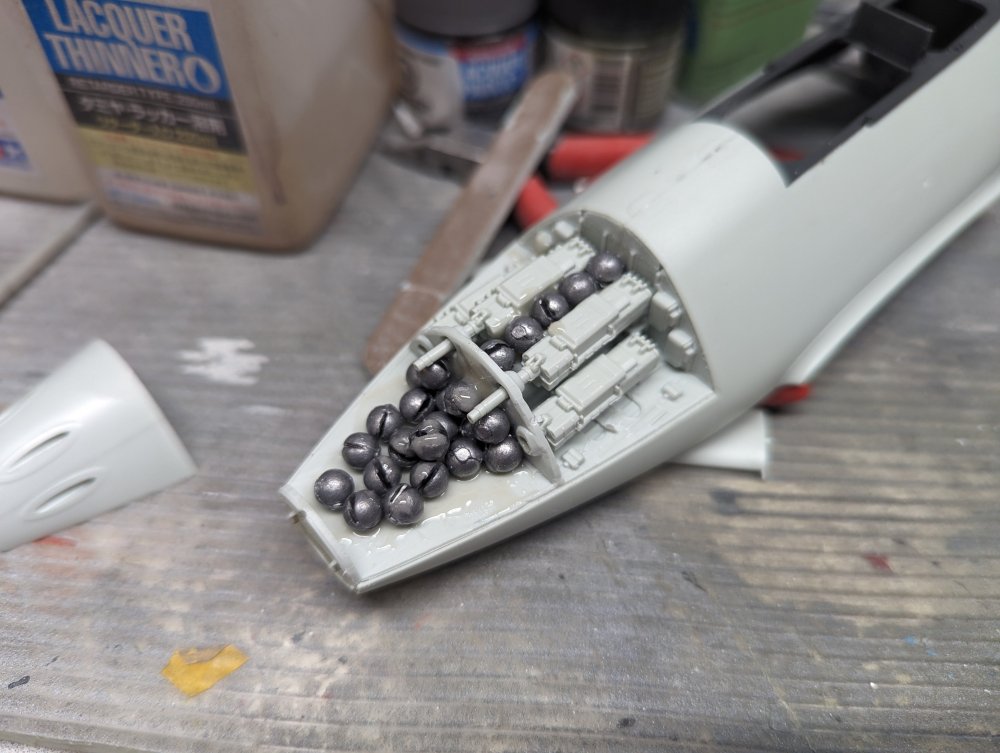
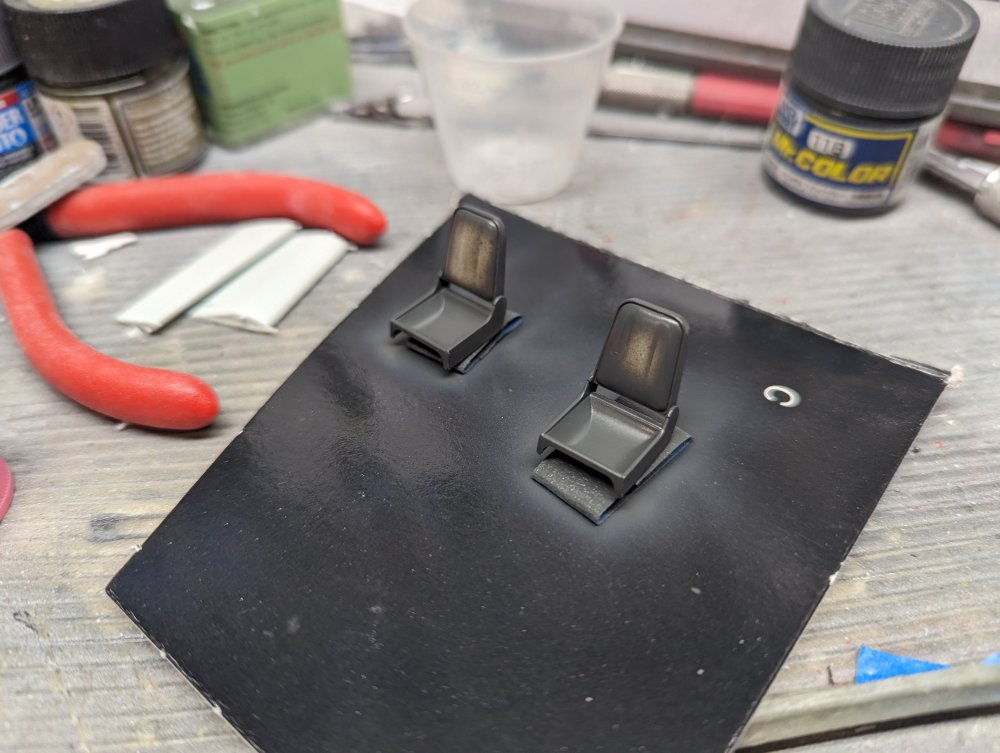
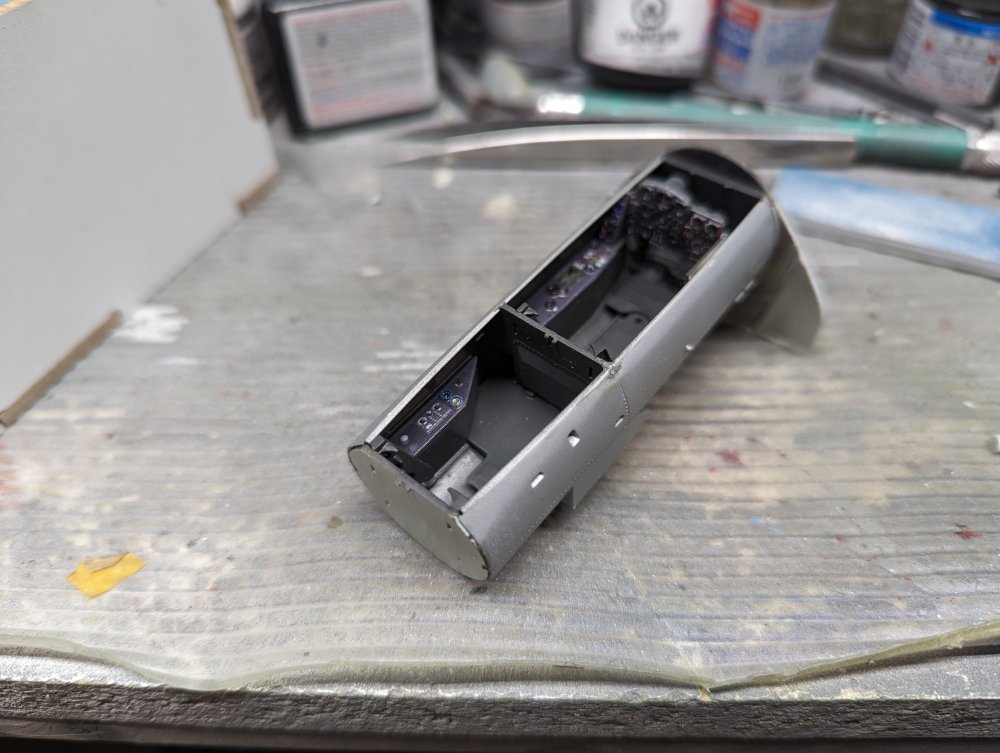
So the Me262 suffers from open panel syndrome. The gun bay cover and engine cowlings are meant to be displayed open. If you look closely at the built model on the box the engine cowls are proud of the engine pods. Either that or they're the little seen up armoured version with 2" armour plate for cowlings. That being said, with some tweaking and lots of test fitting, they can be made to fit reasonably well. The fit will improved further once they're glued in place. While I worked on the fit, i decided it was best to add the nose weight to make sure I didn't create any interference issues. I also finally started painting the seats. I'll need to get those in before I install the cockpit.

-
Lots of work in places. Not something I'd expected from a recent kit release.
-
They look like old fashioned milk crates...
-
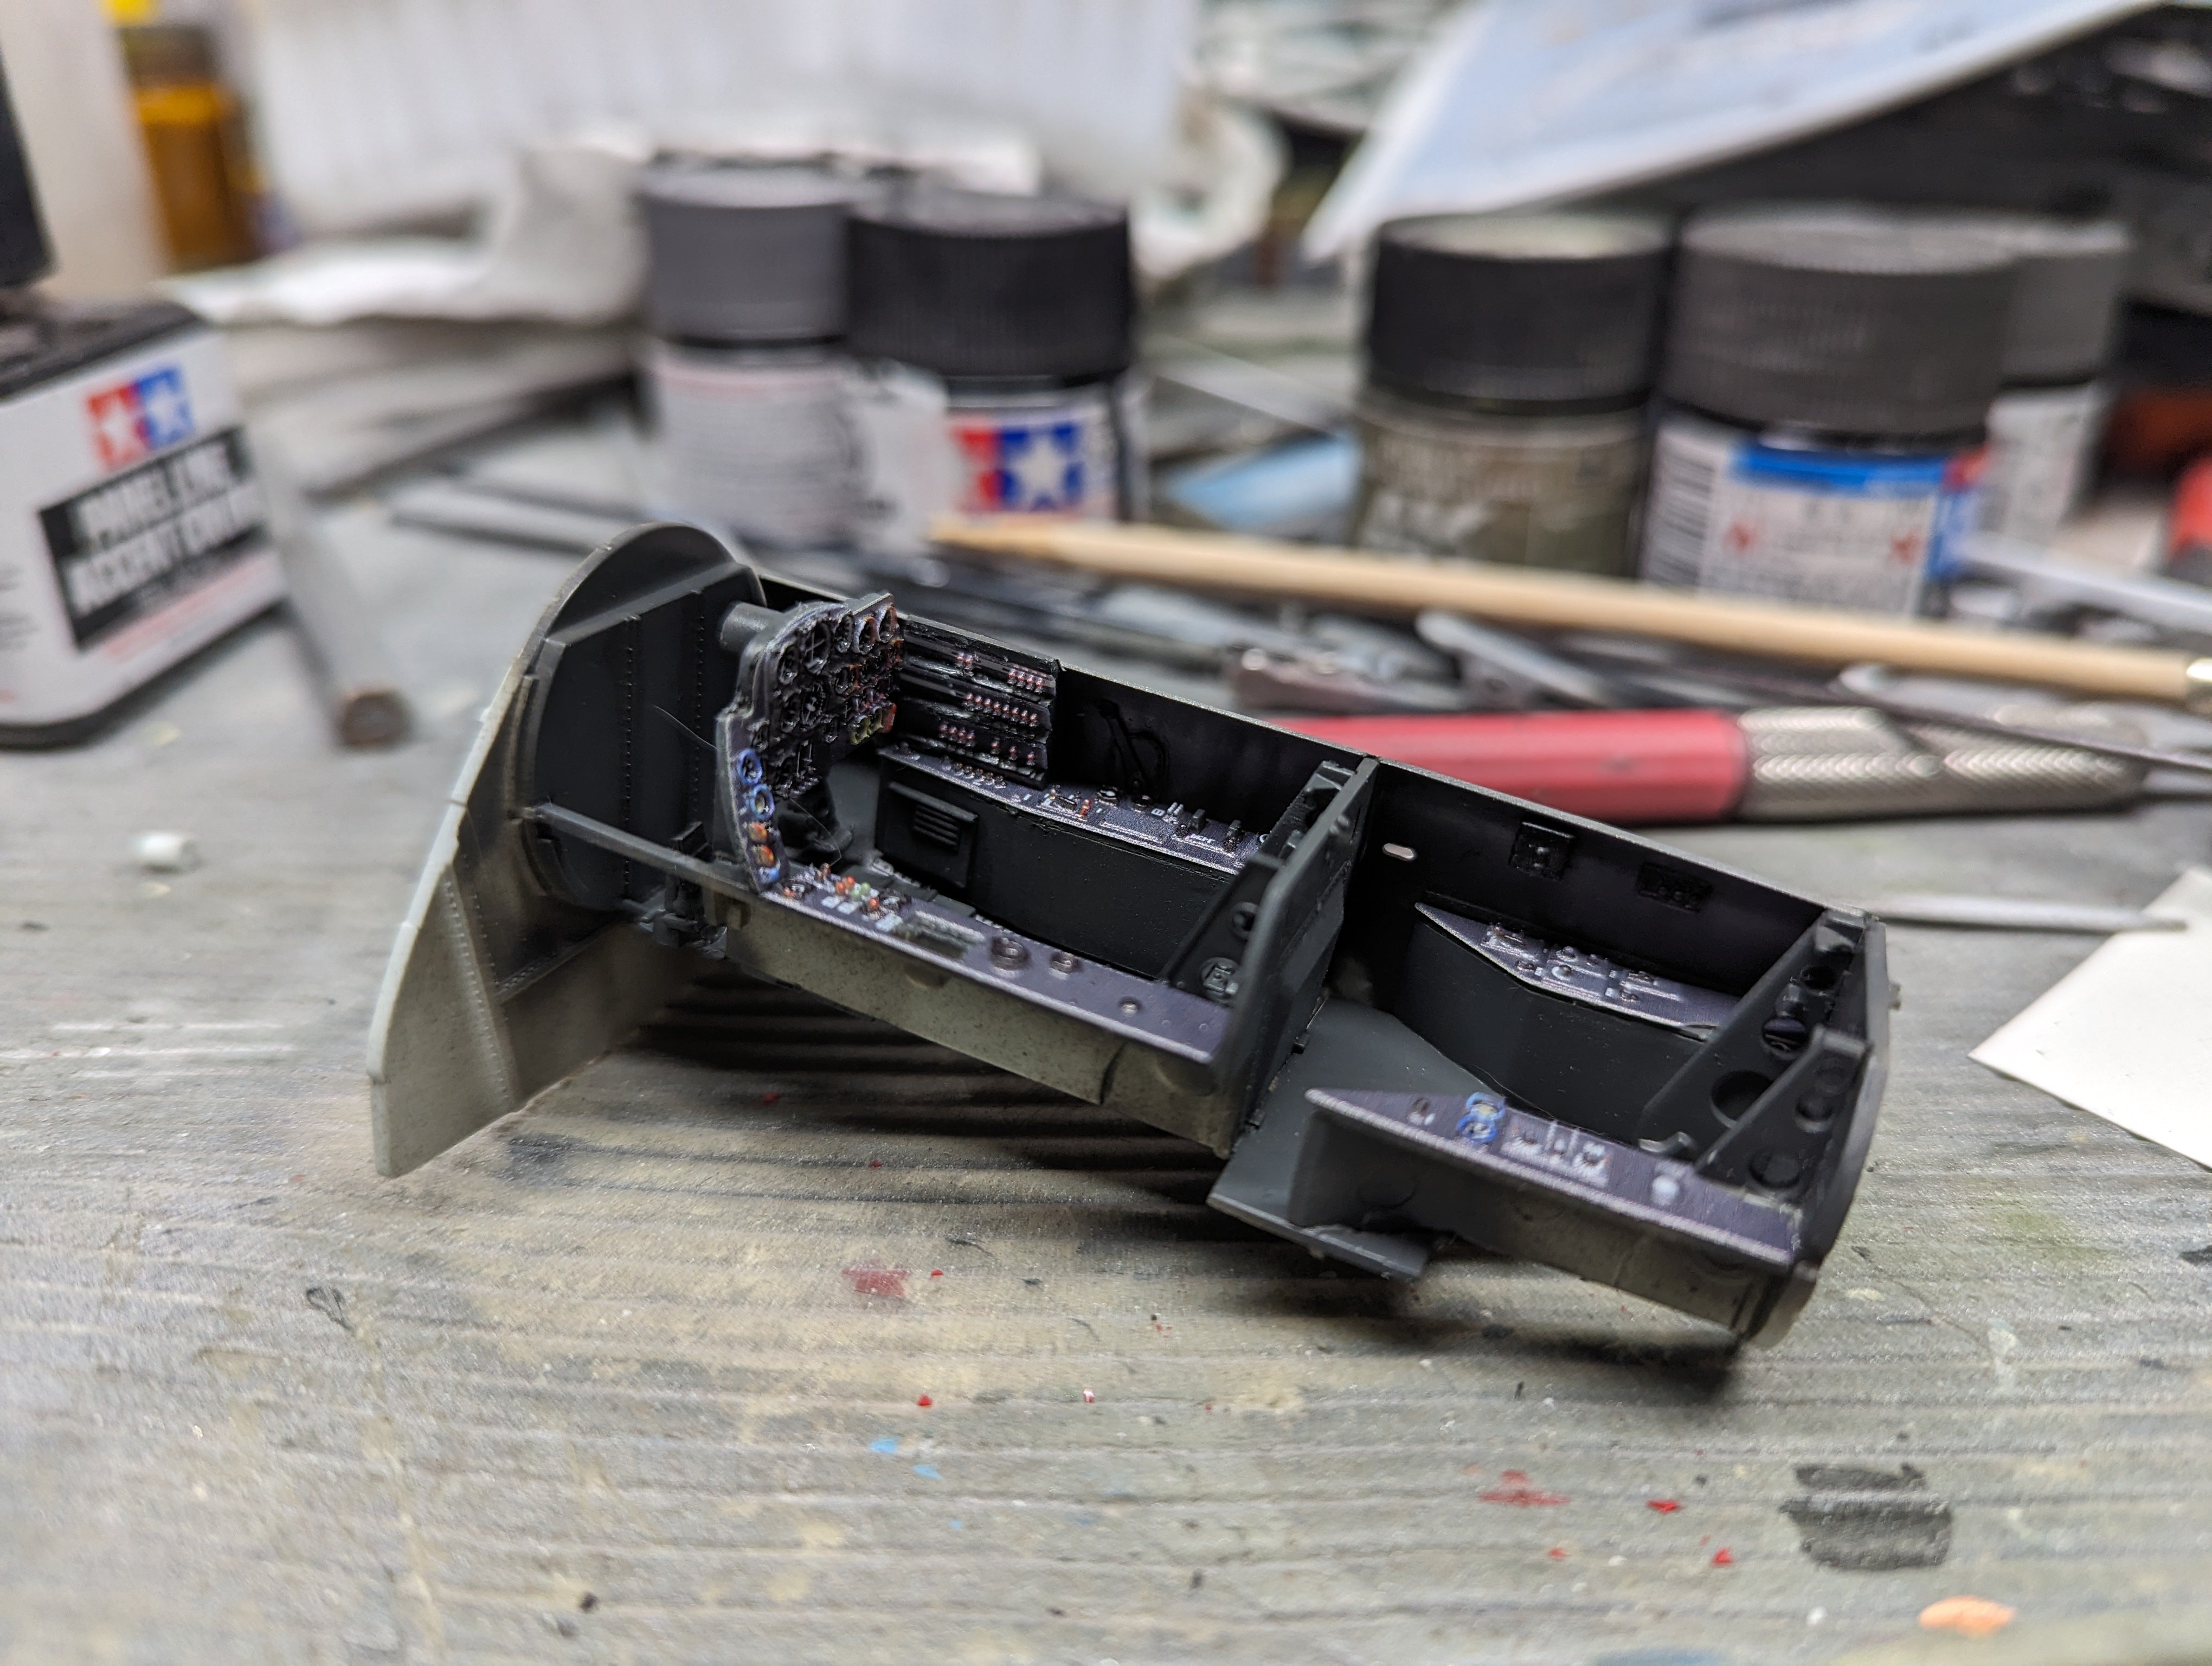
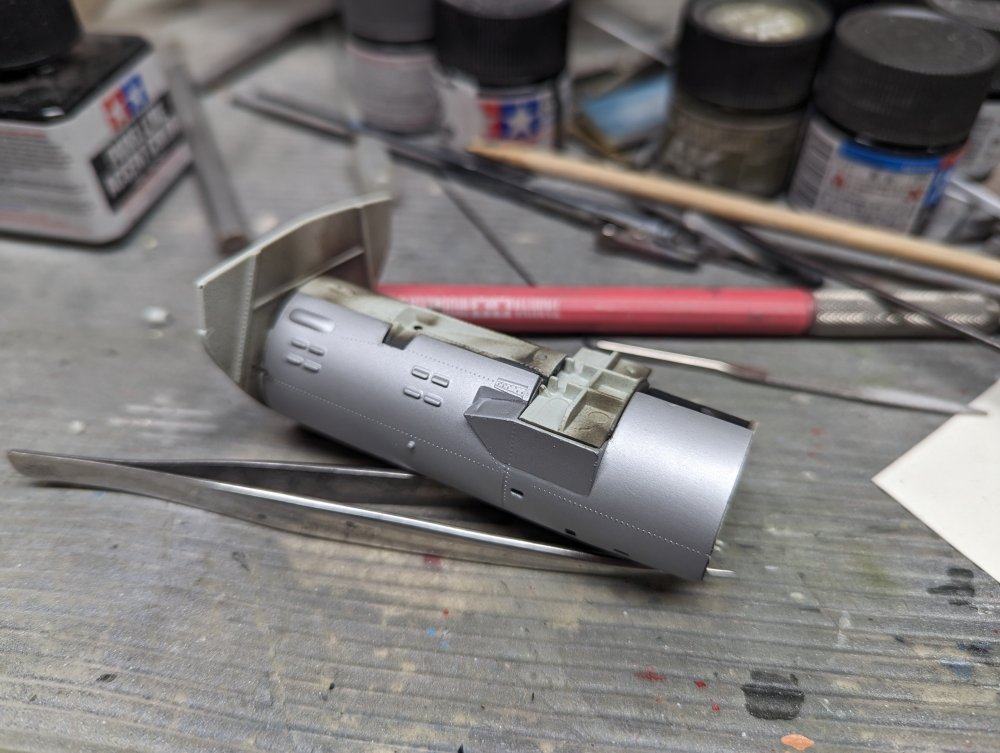
After unwrapping the patient, the cockpit looks ok. Next up, I fitted the ammo chutes to the fuselage halves. Then I added the Mk108 cannon to the topside of the nose gear bay. I removed the barrels for the outer pair as these will get replaced with much longer MG151 barrels. Since I'm not having the gun bay open, the breech is irrelevant and more just to hold the barrels in place. The inner pair of Mk108 barrels were drilled out in case anything is visible. Doing a test fit of the fuselage halves and nose bay, I noticed that the gear bay sides needed to be chamfered in order to fit. You can see the bare plastic where I sanded the sides. With that done, I glued the fuselage halves together.


-
I hope so John!
-
Just a slight size variance.
-
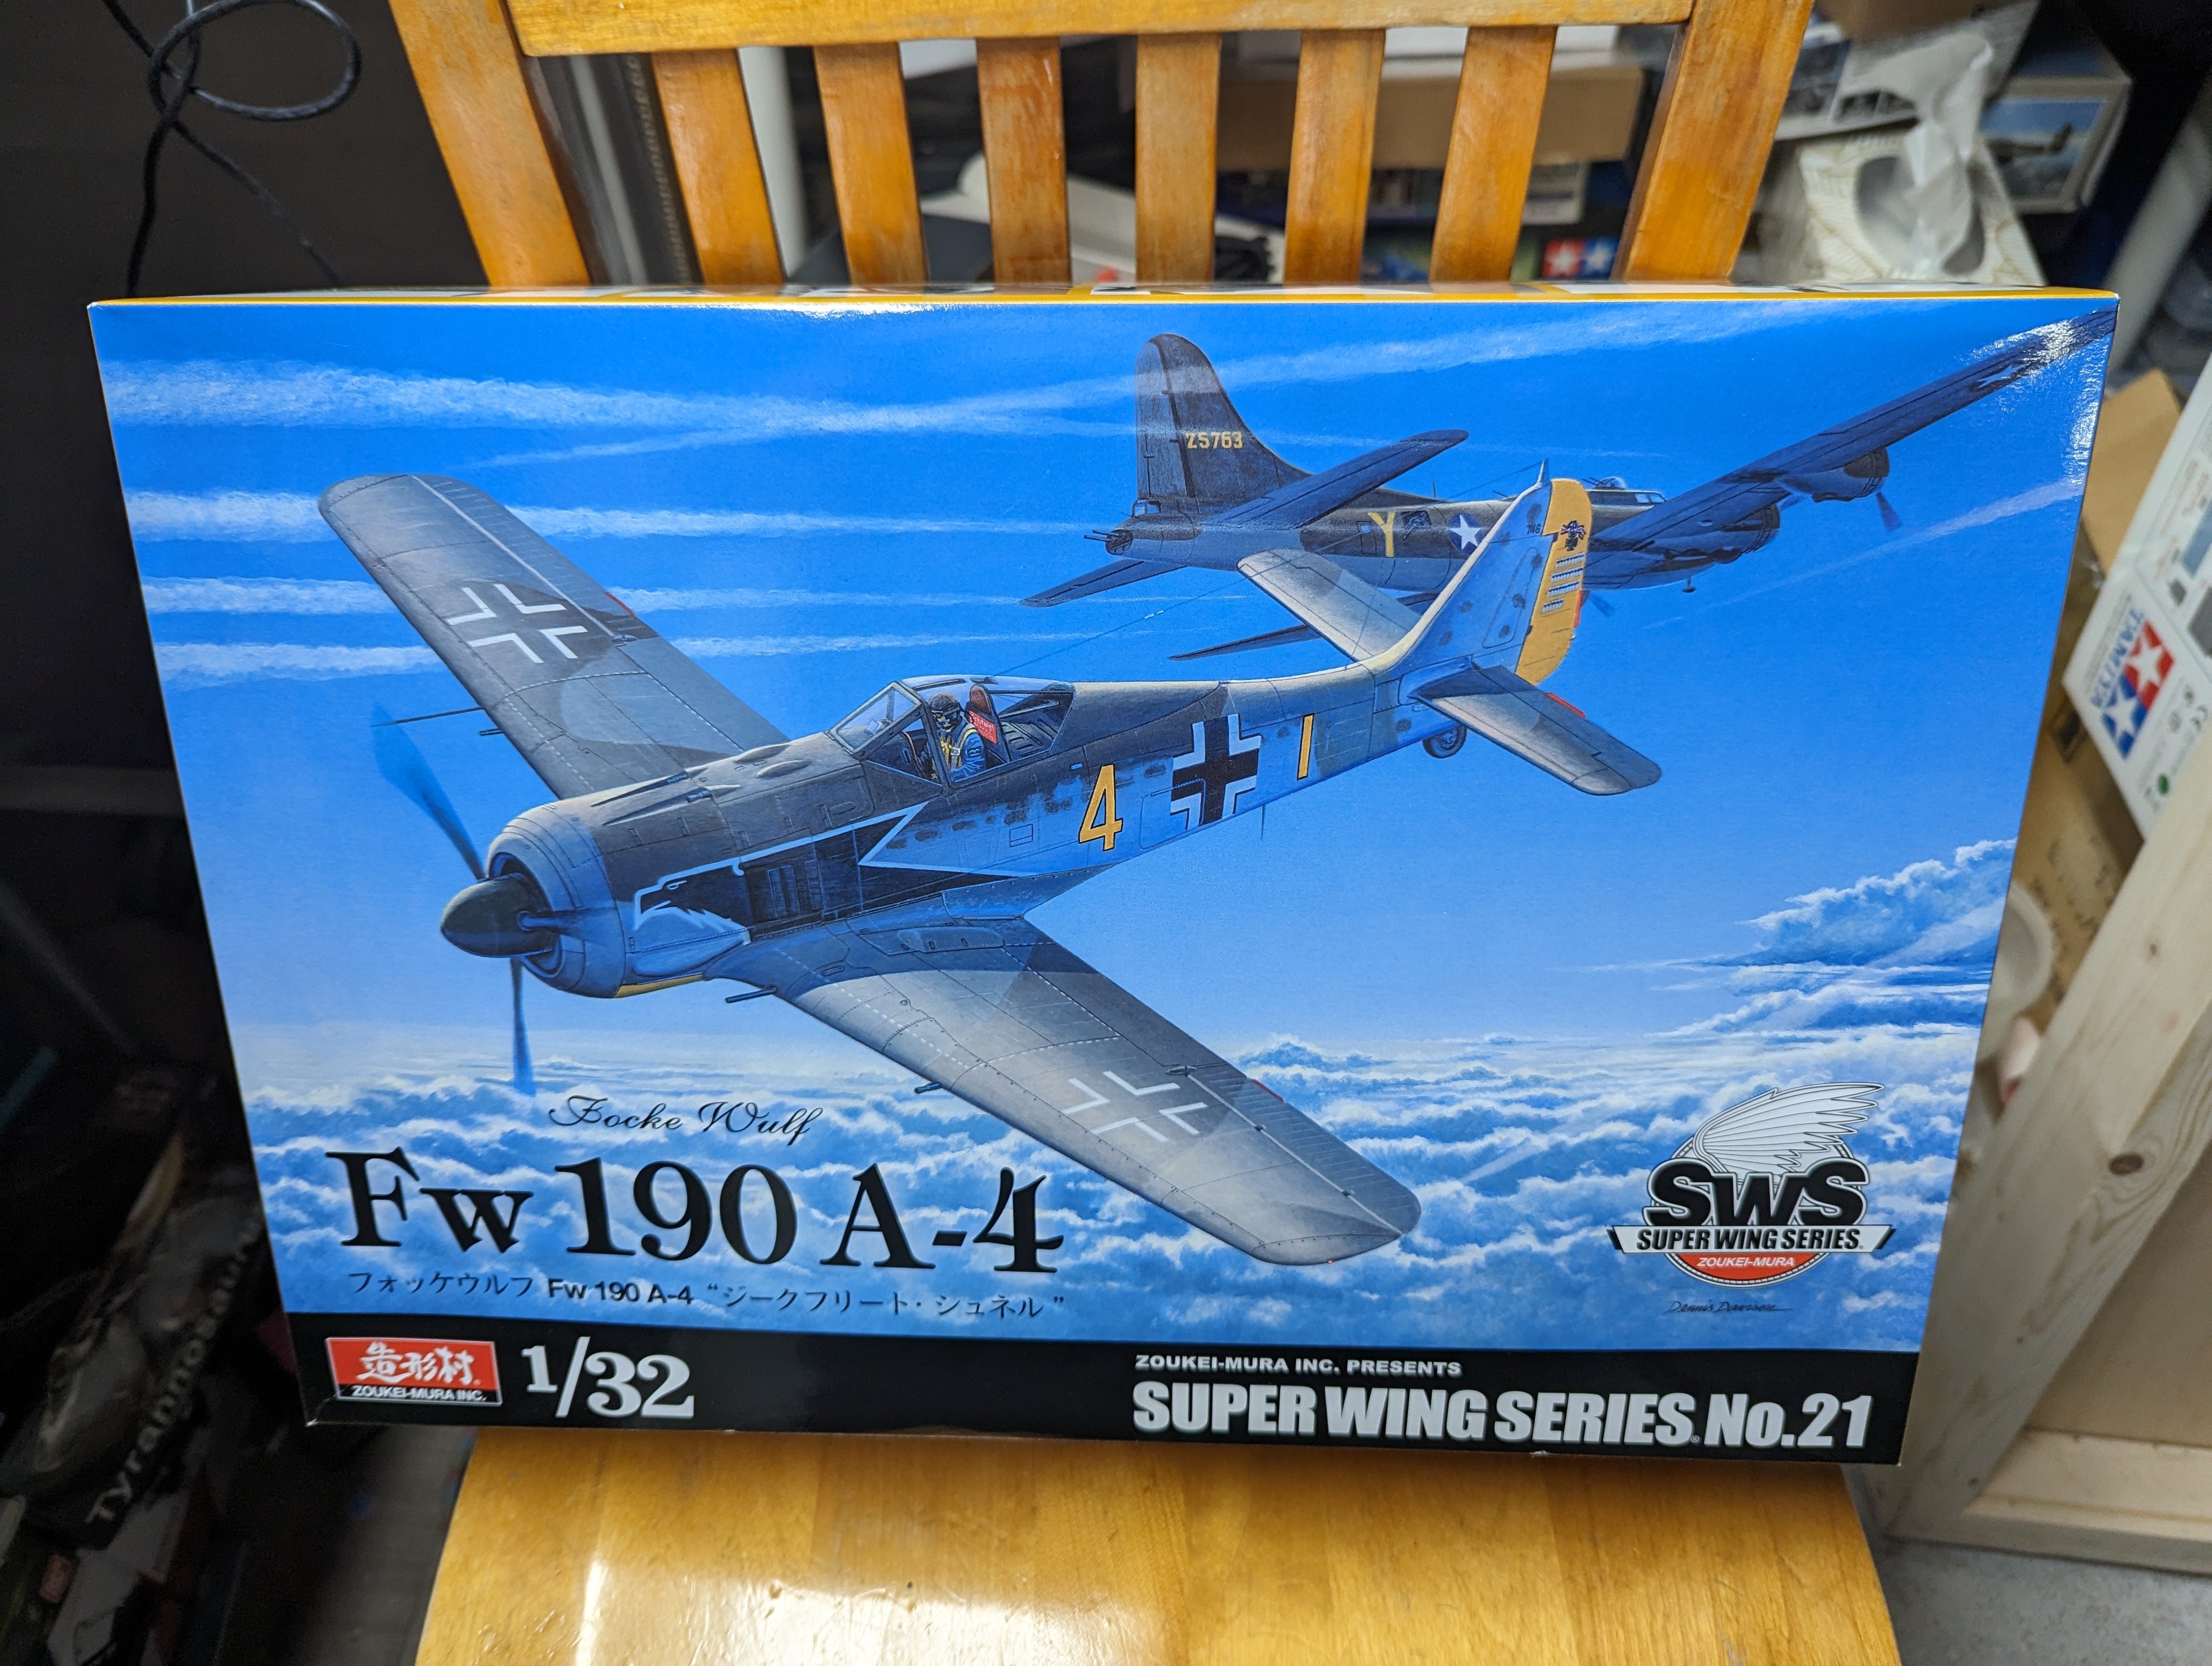
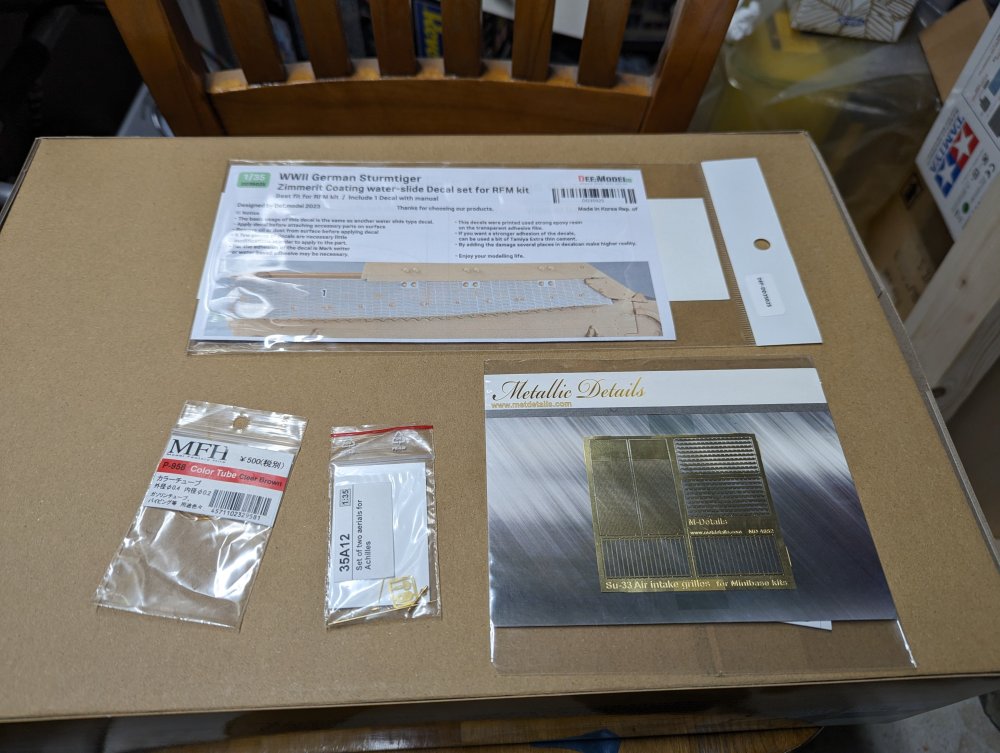
A couple packages arrived today. First one was from BNA. Intake screens for my Su-33, zimmeritt for a RFM Sturmtiger, and antennae for an Achilles. The second one was from Sprue Bros courtesy of Ernie. I took a quick peek in the box and it's stunning which is to be expected from ZM. Thanks again Ernie and the rest of the LSM staff!

-
Destructions I read. Instructions, not so much.
-
Oh nice. I never built the Tamiya one. I'll be following along. I have the Dragon one in the stash with a Griffon update set for it. You basically throw away 1/2 the kit it seems. Dragon take an interesting approach to the tracks. They're moulded plastic and are split lengthwise.
-
You're just cracking on with this. The interior is much more detailed than the B-25 kit.
-
It helps if I have the part right side up....
-
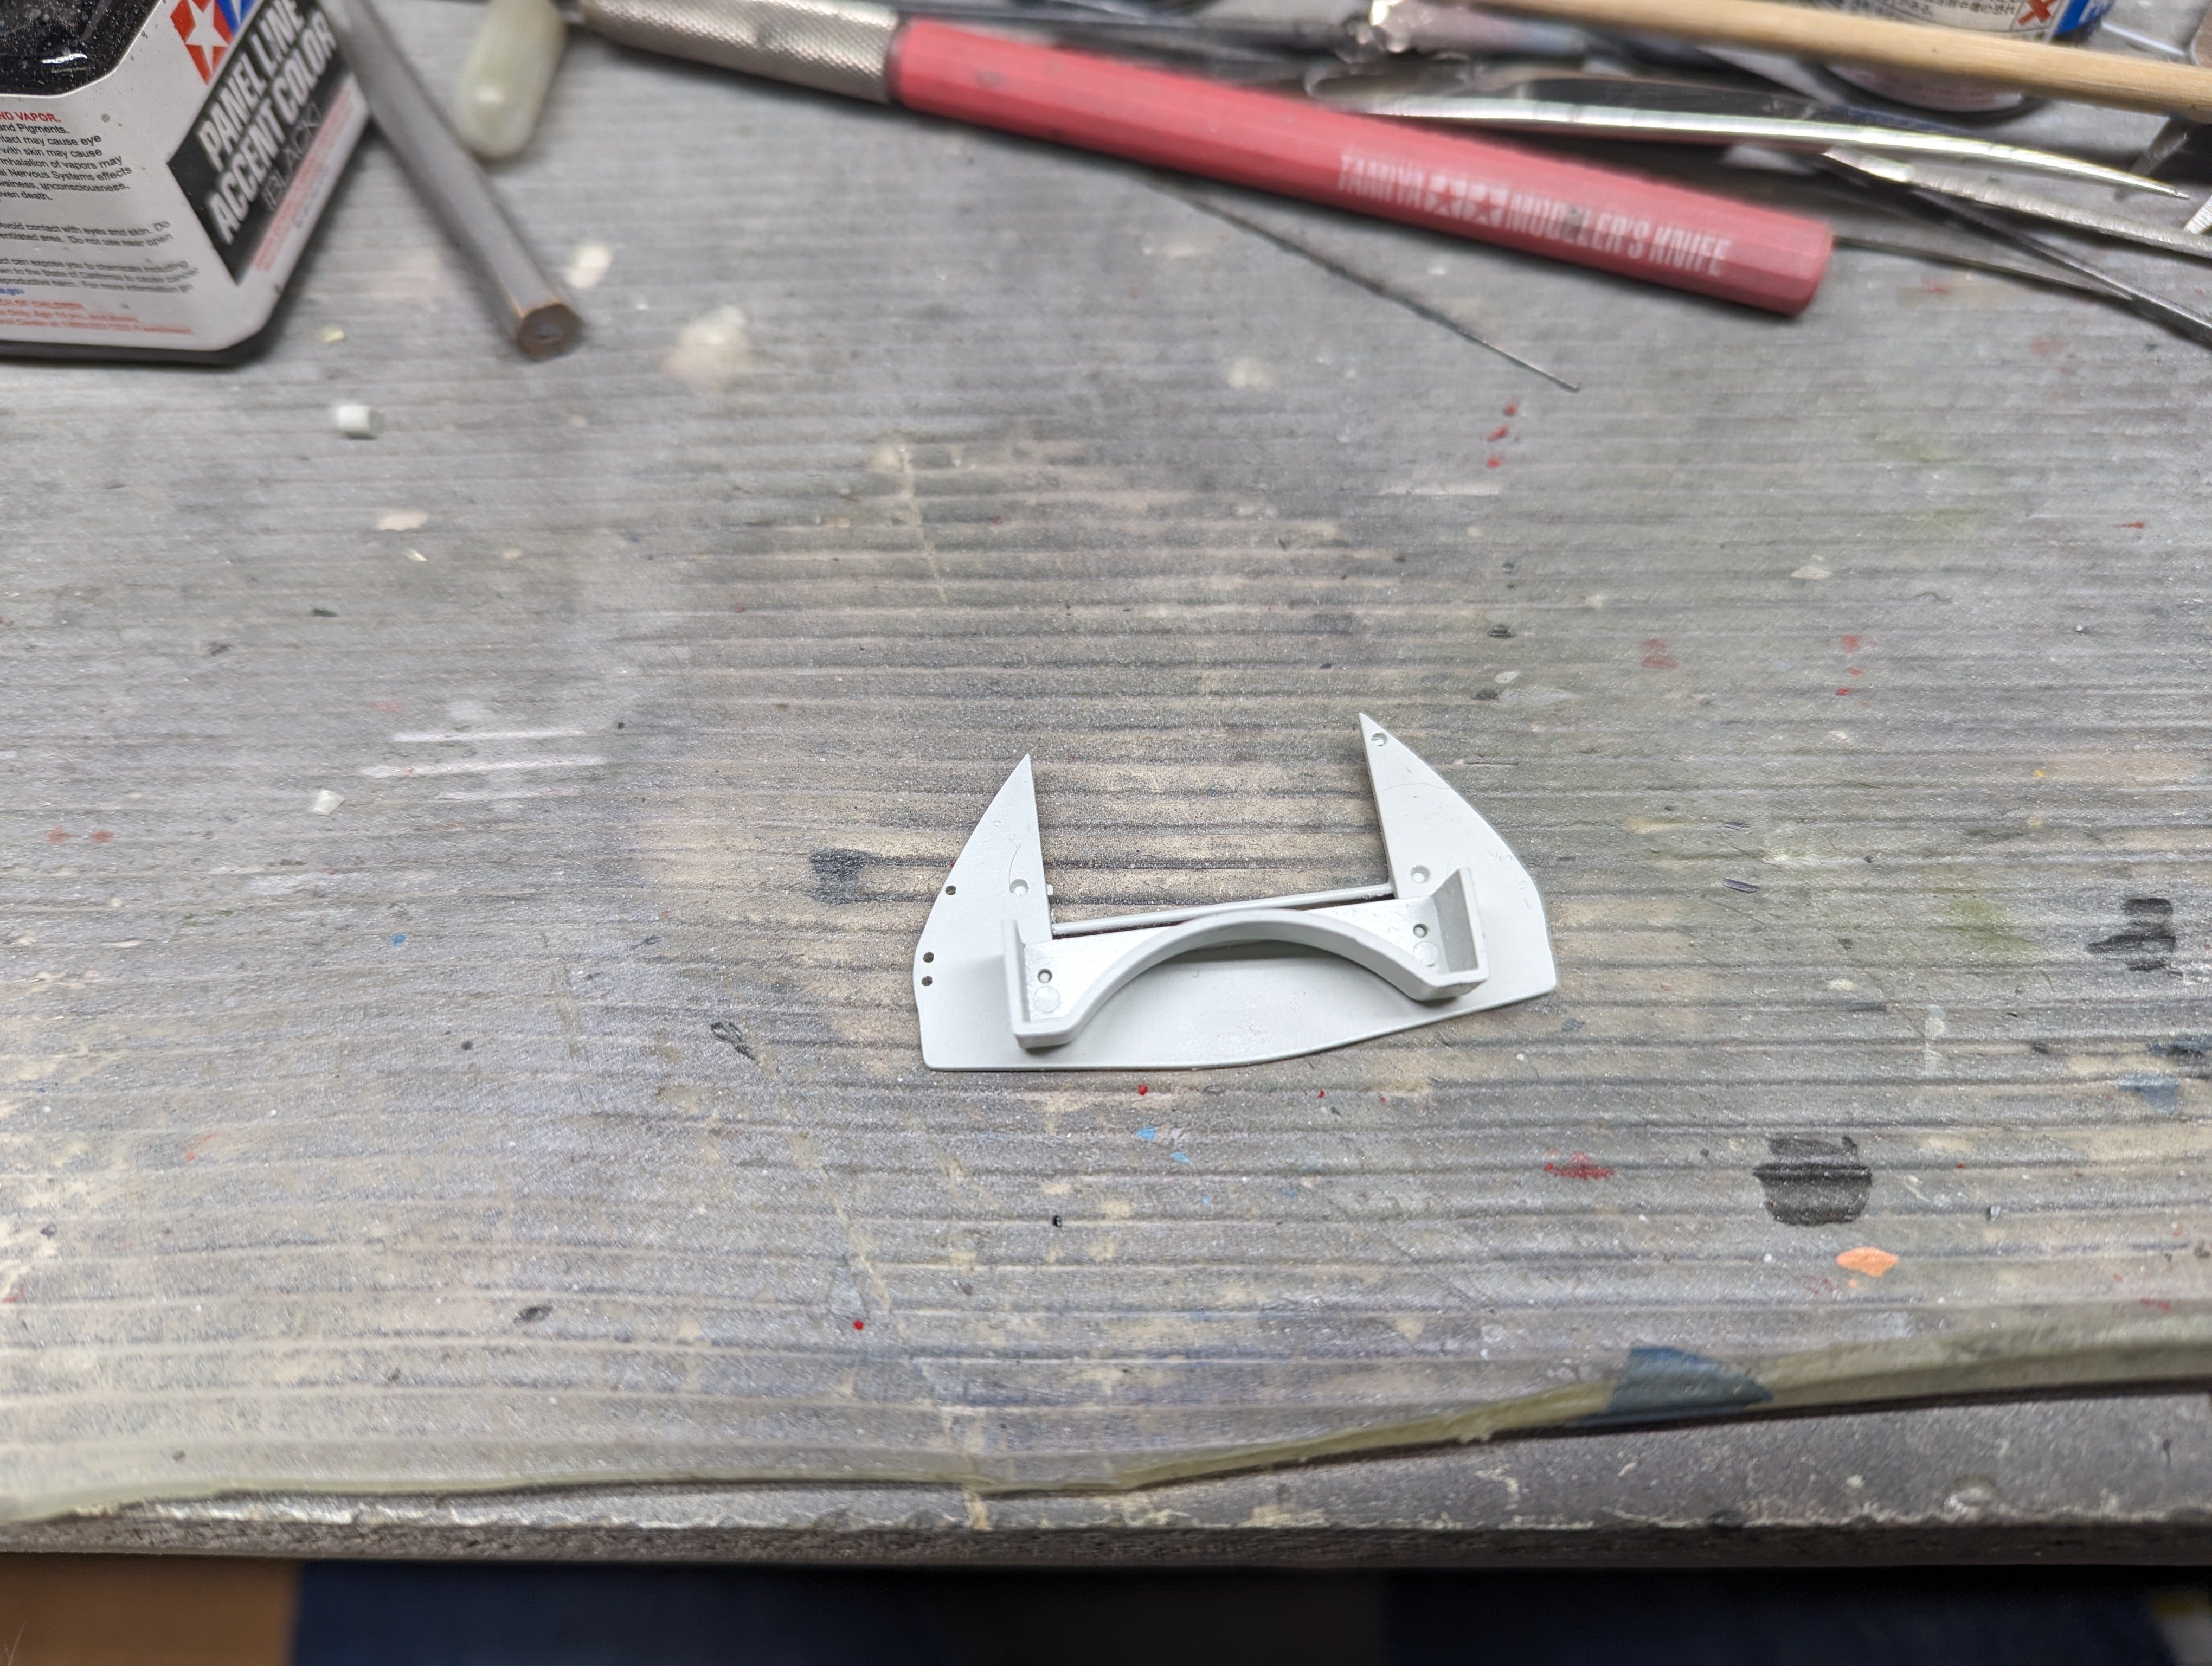
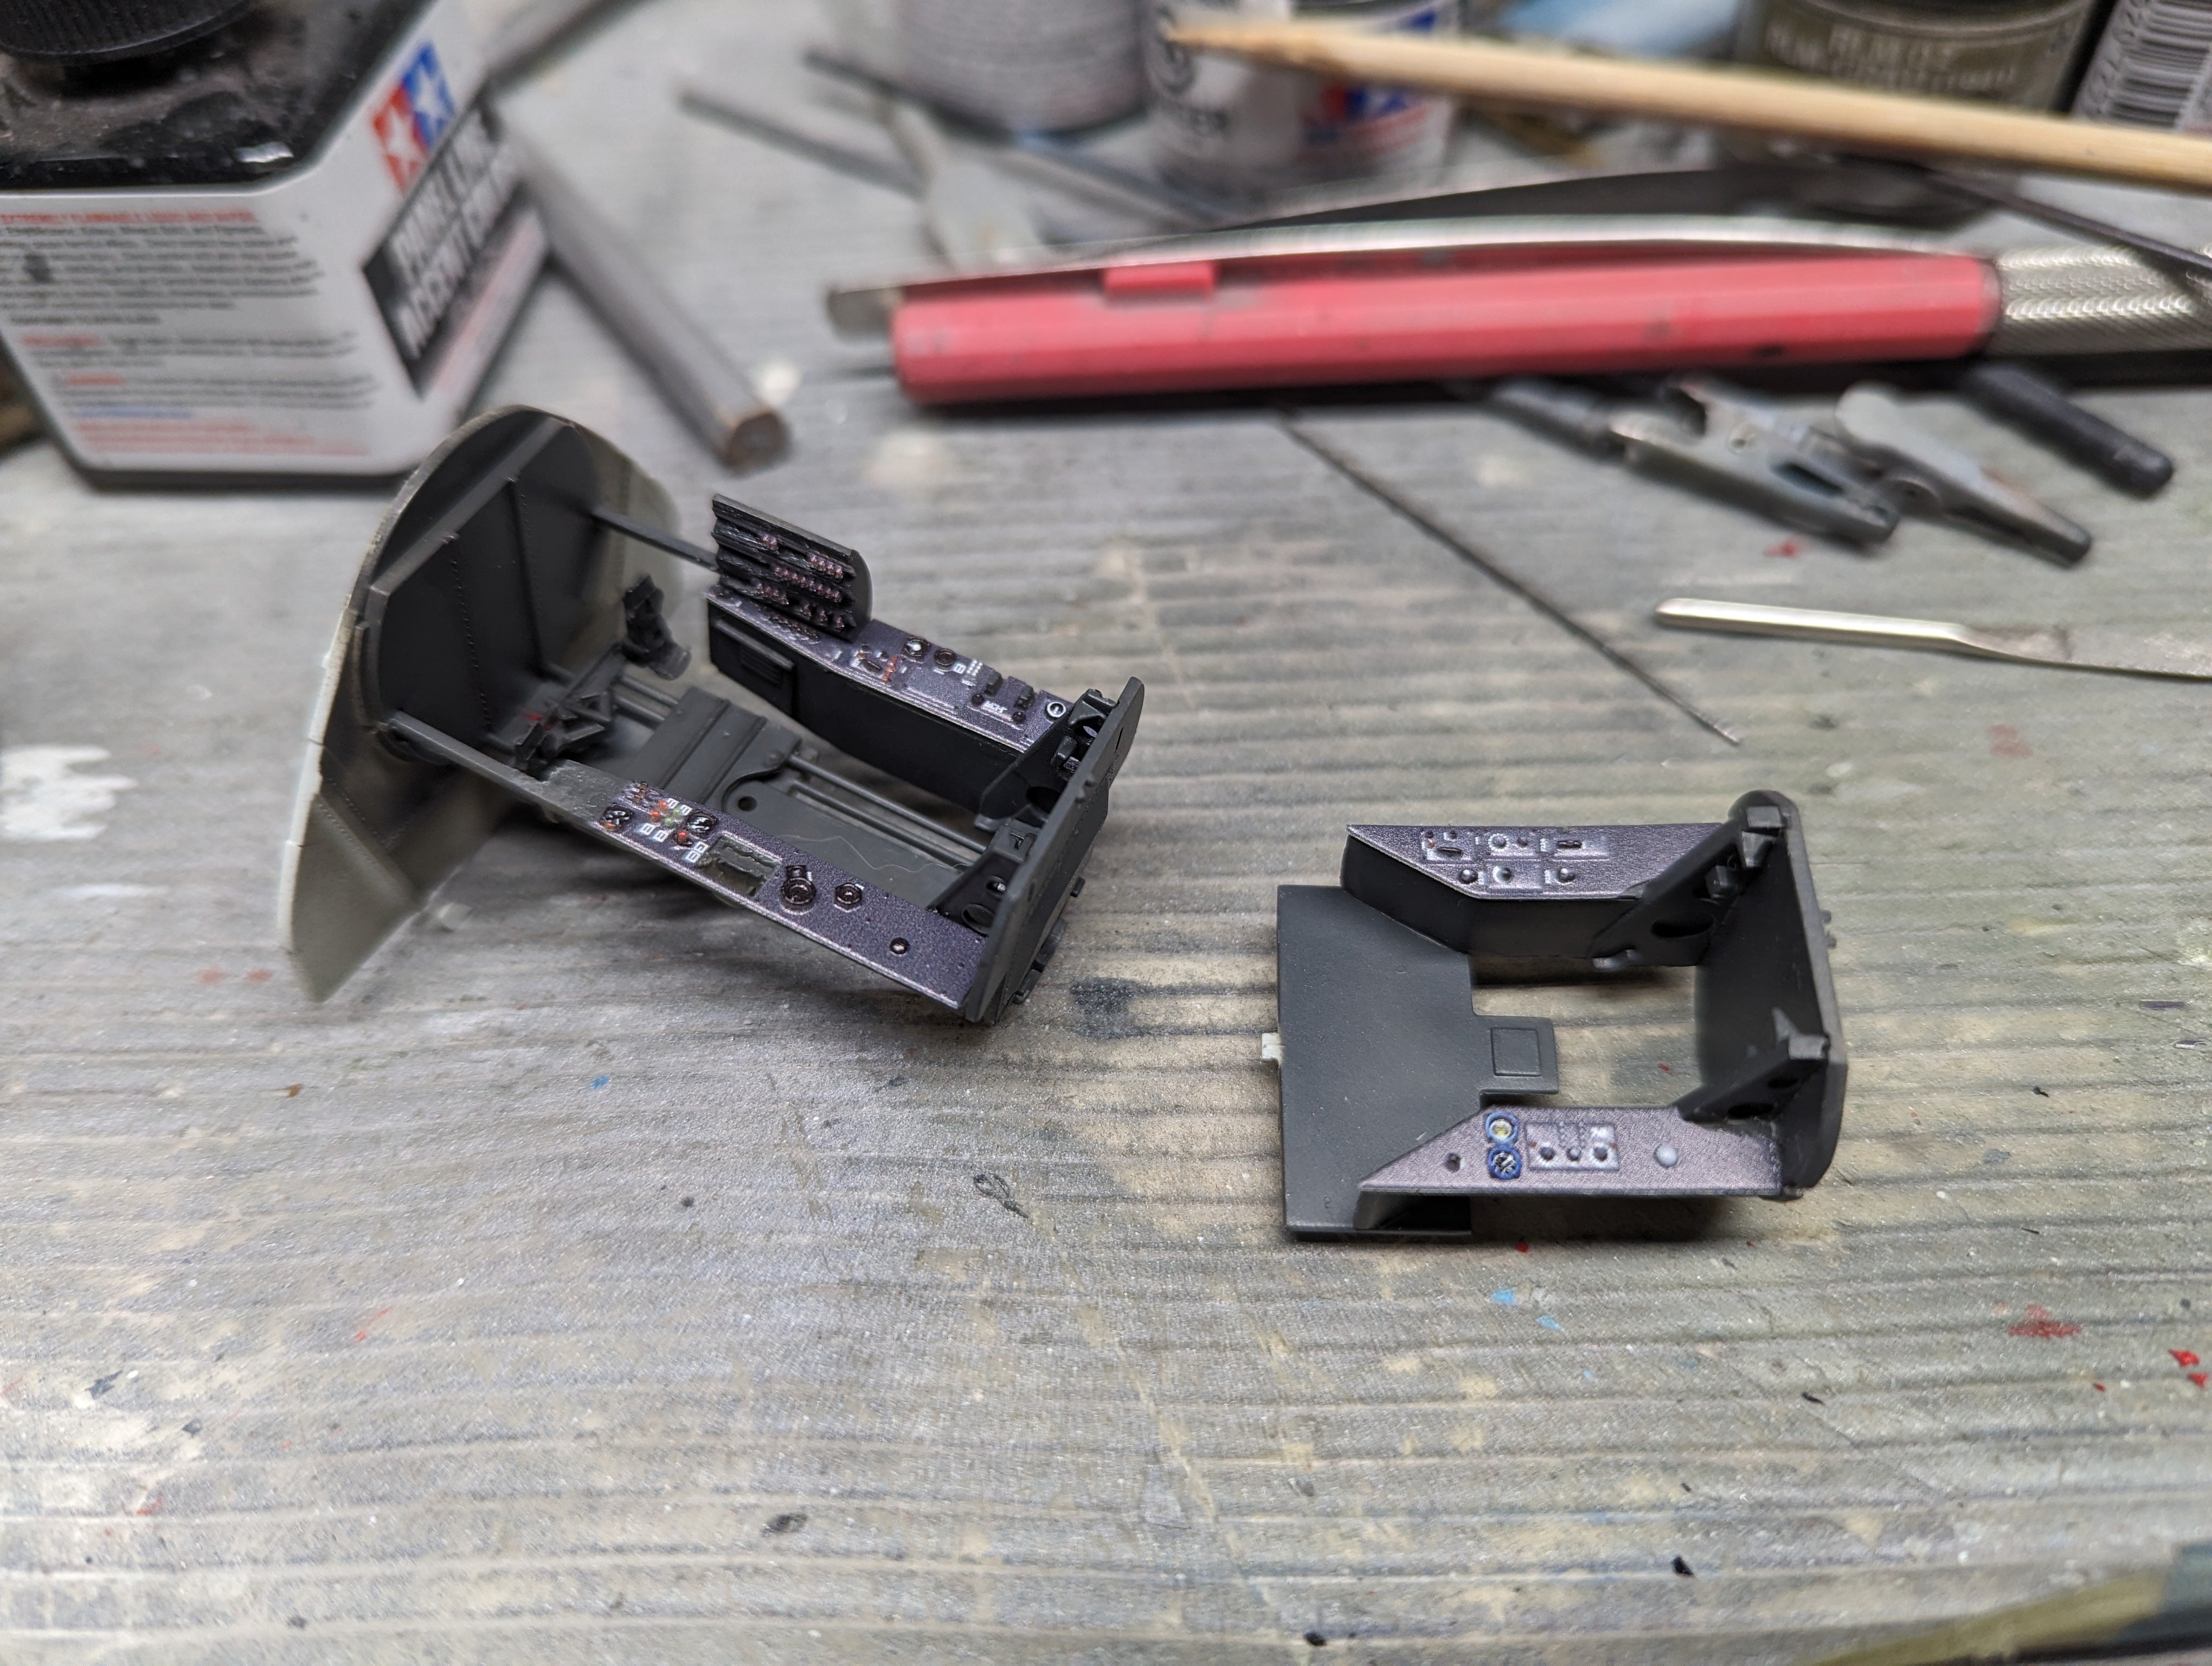
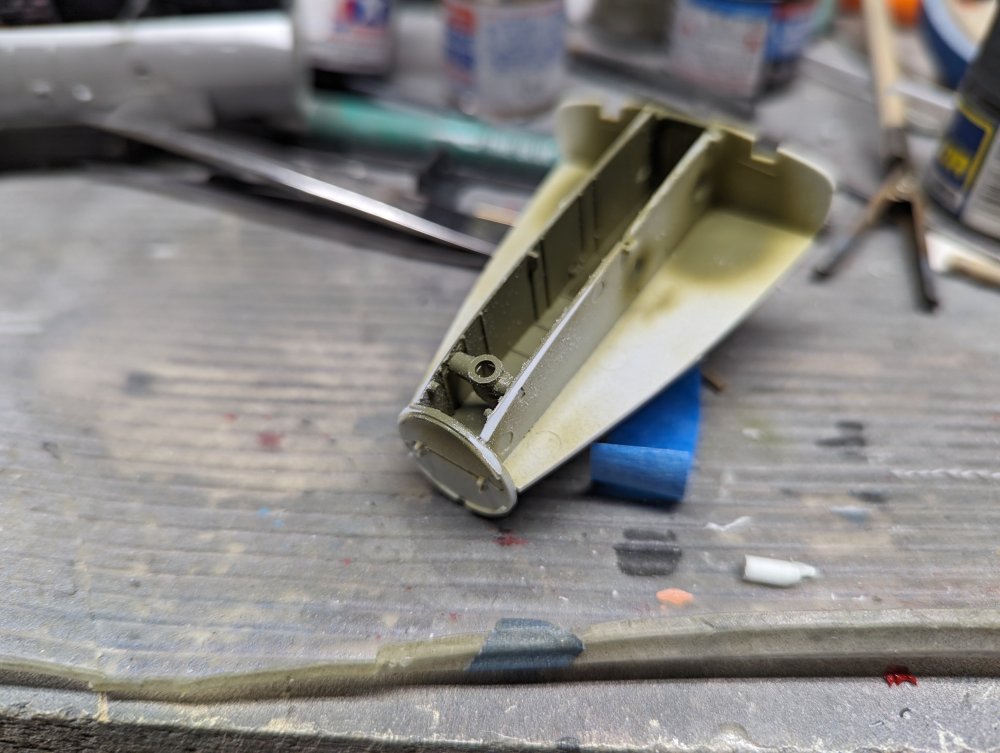
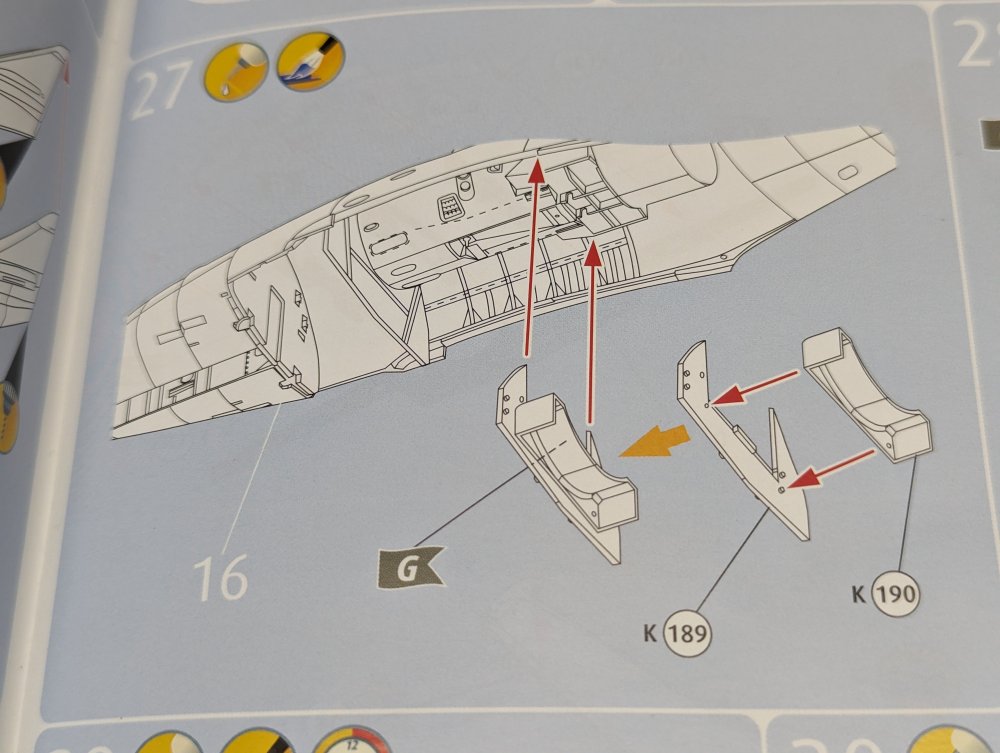
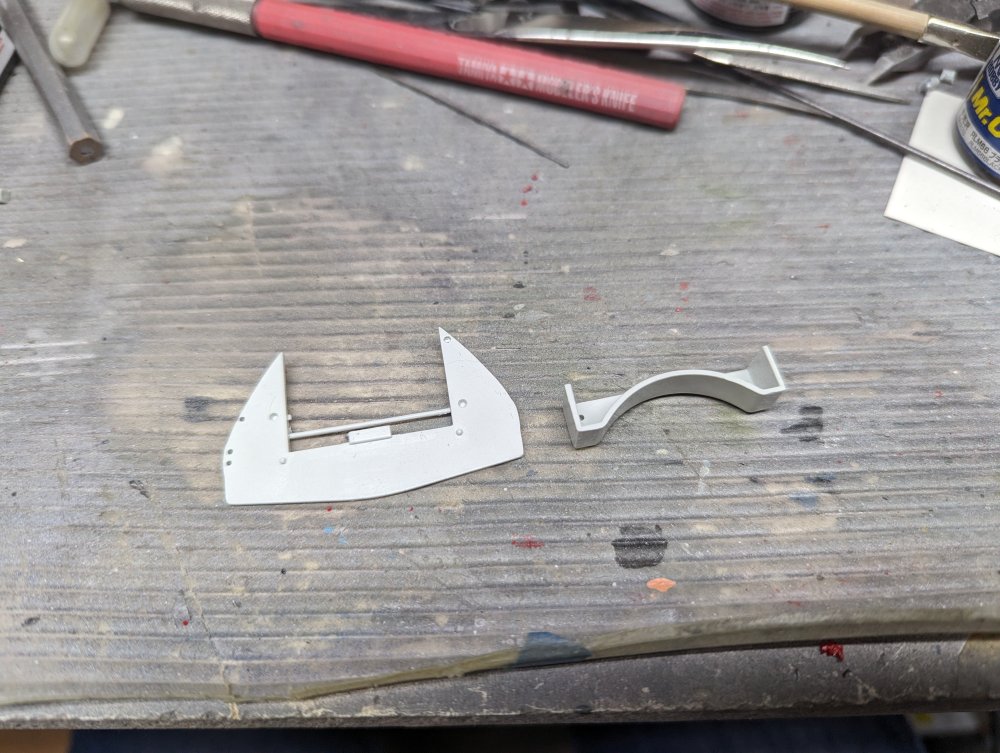
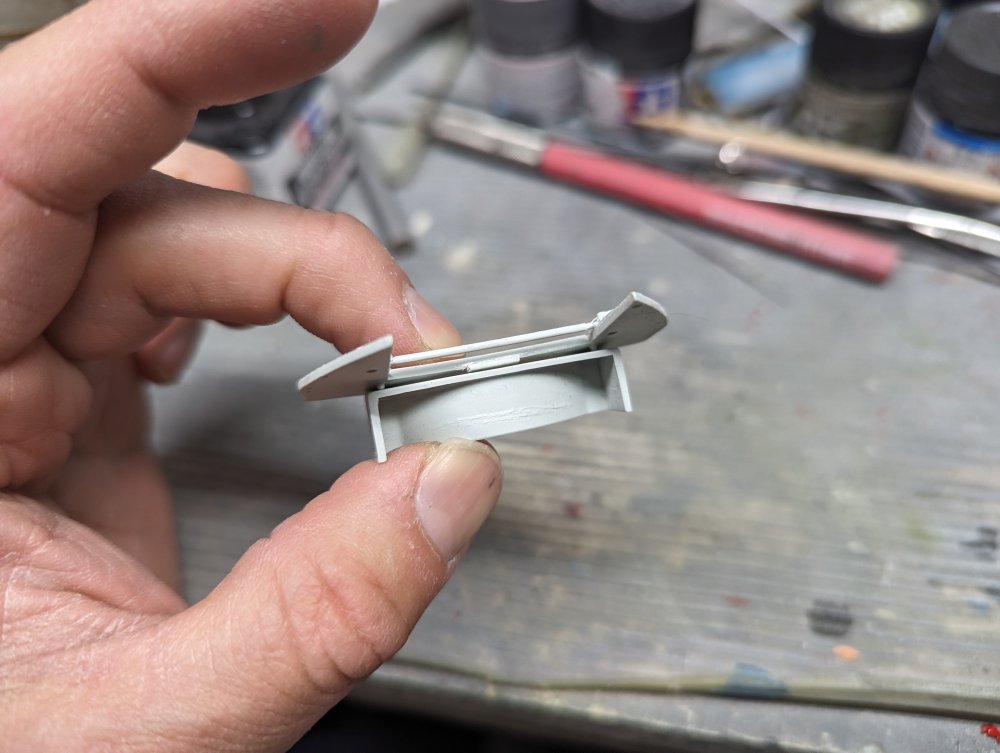
Similar to @ScottsGT's He111, I've got a bulkhead issue. K189 attaches to K190: Here are the parts. Note the tab in the centre of K189. Fit looks okay... ...except they're not flush because of that tab I'll probably notch K190 and hope that works.

-
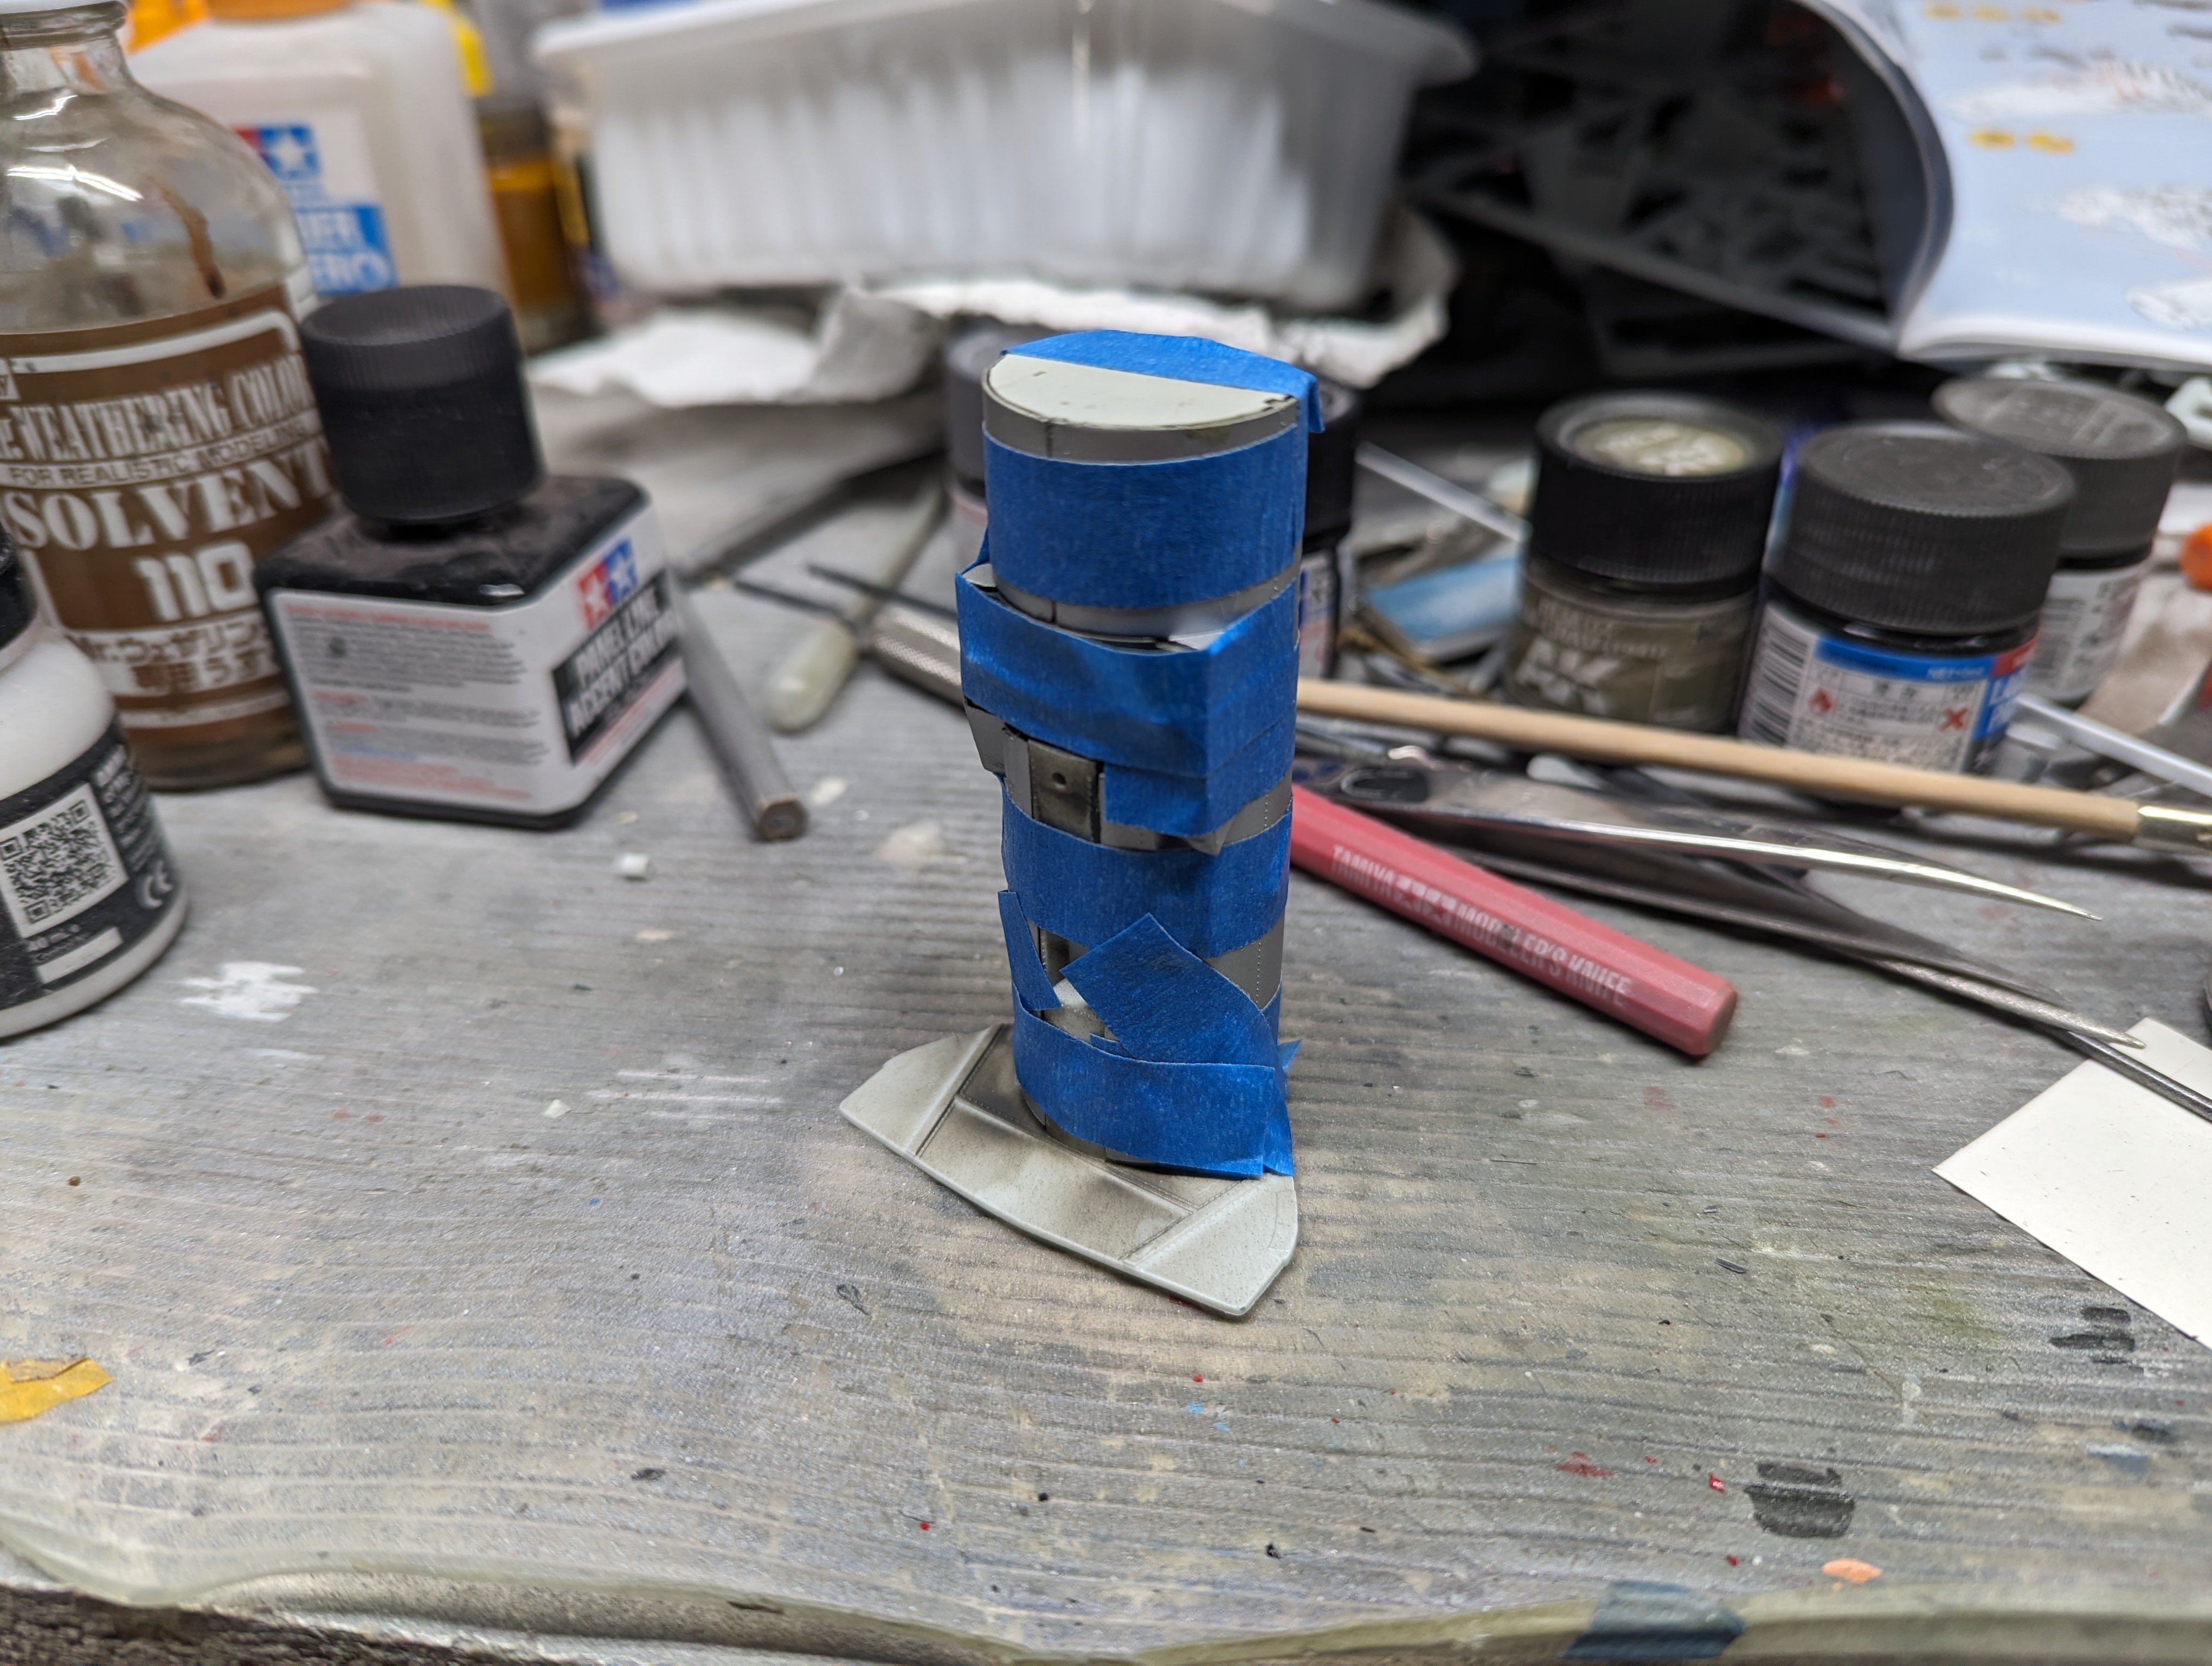
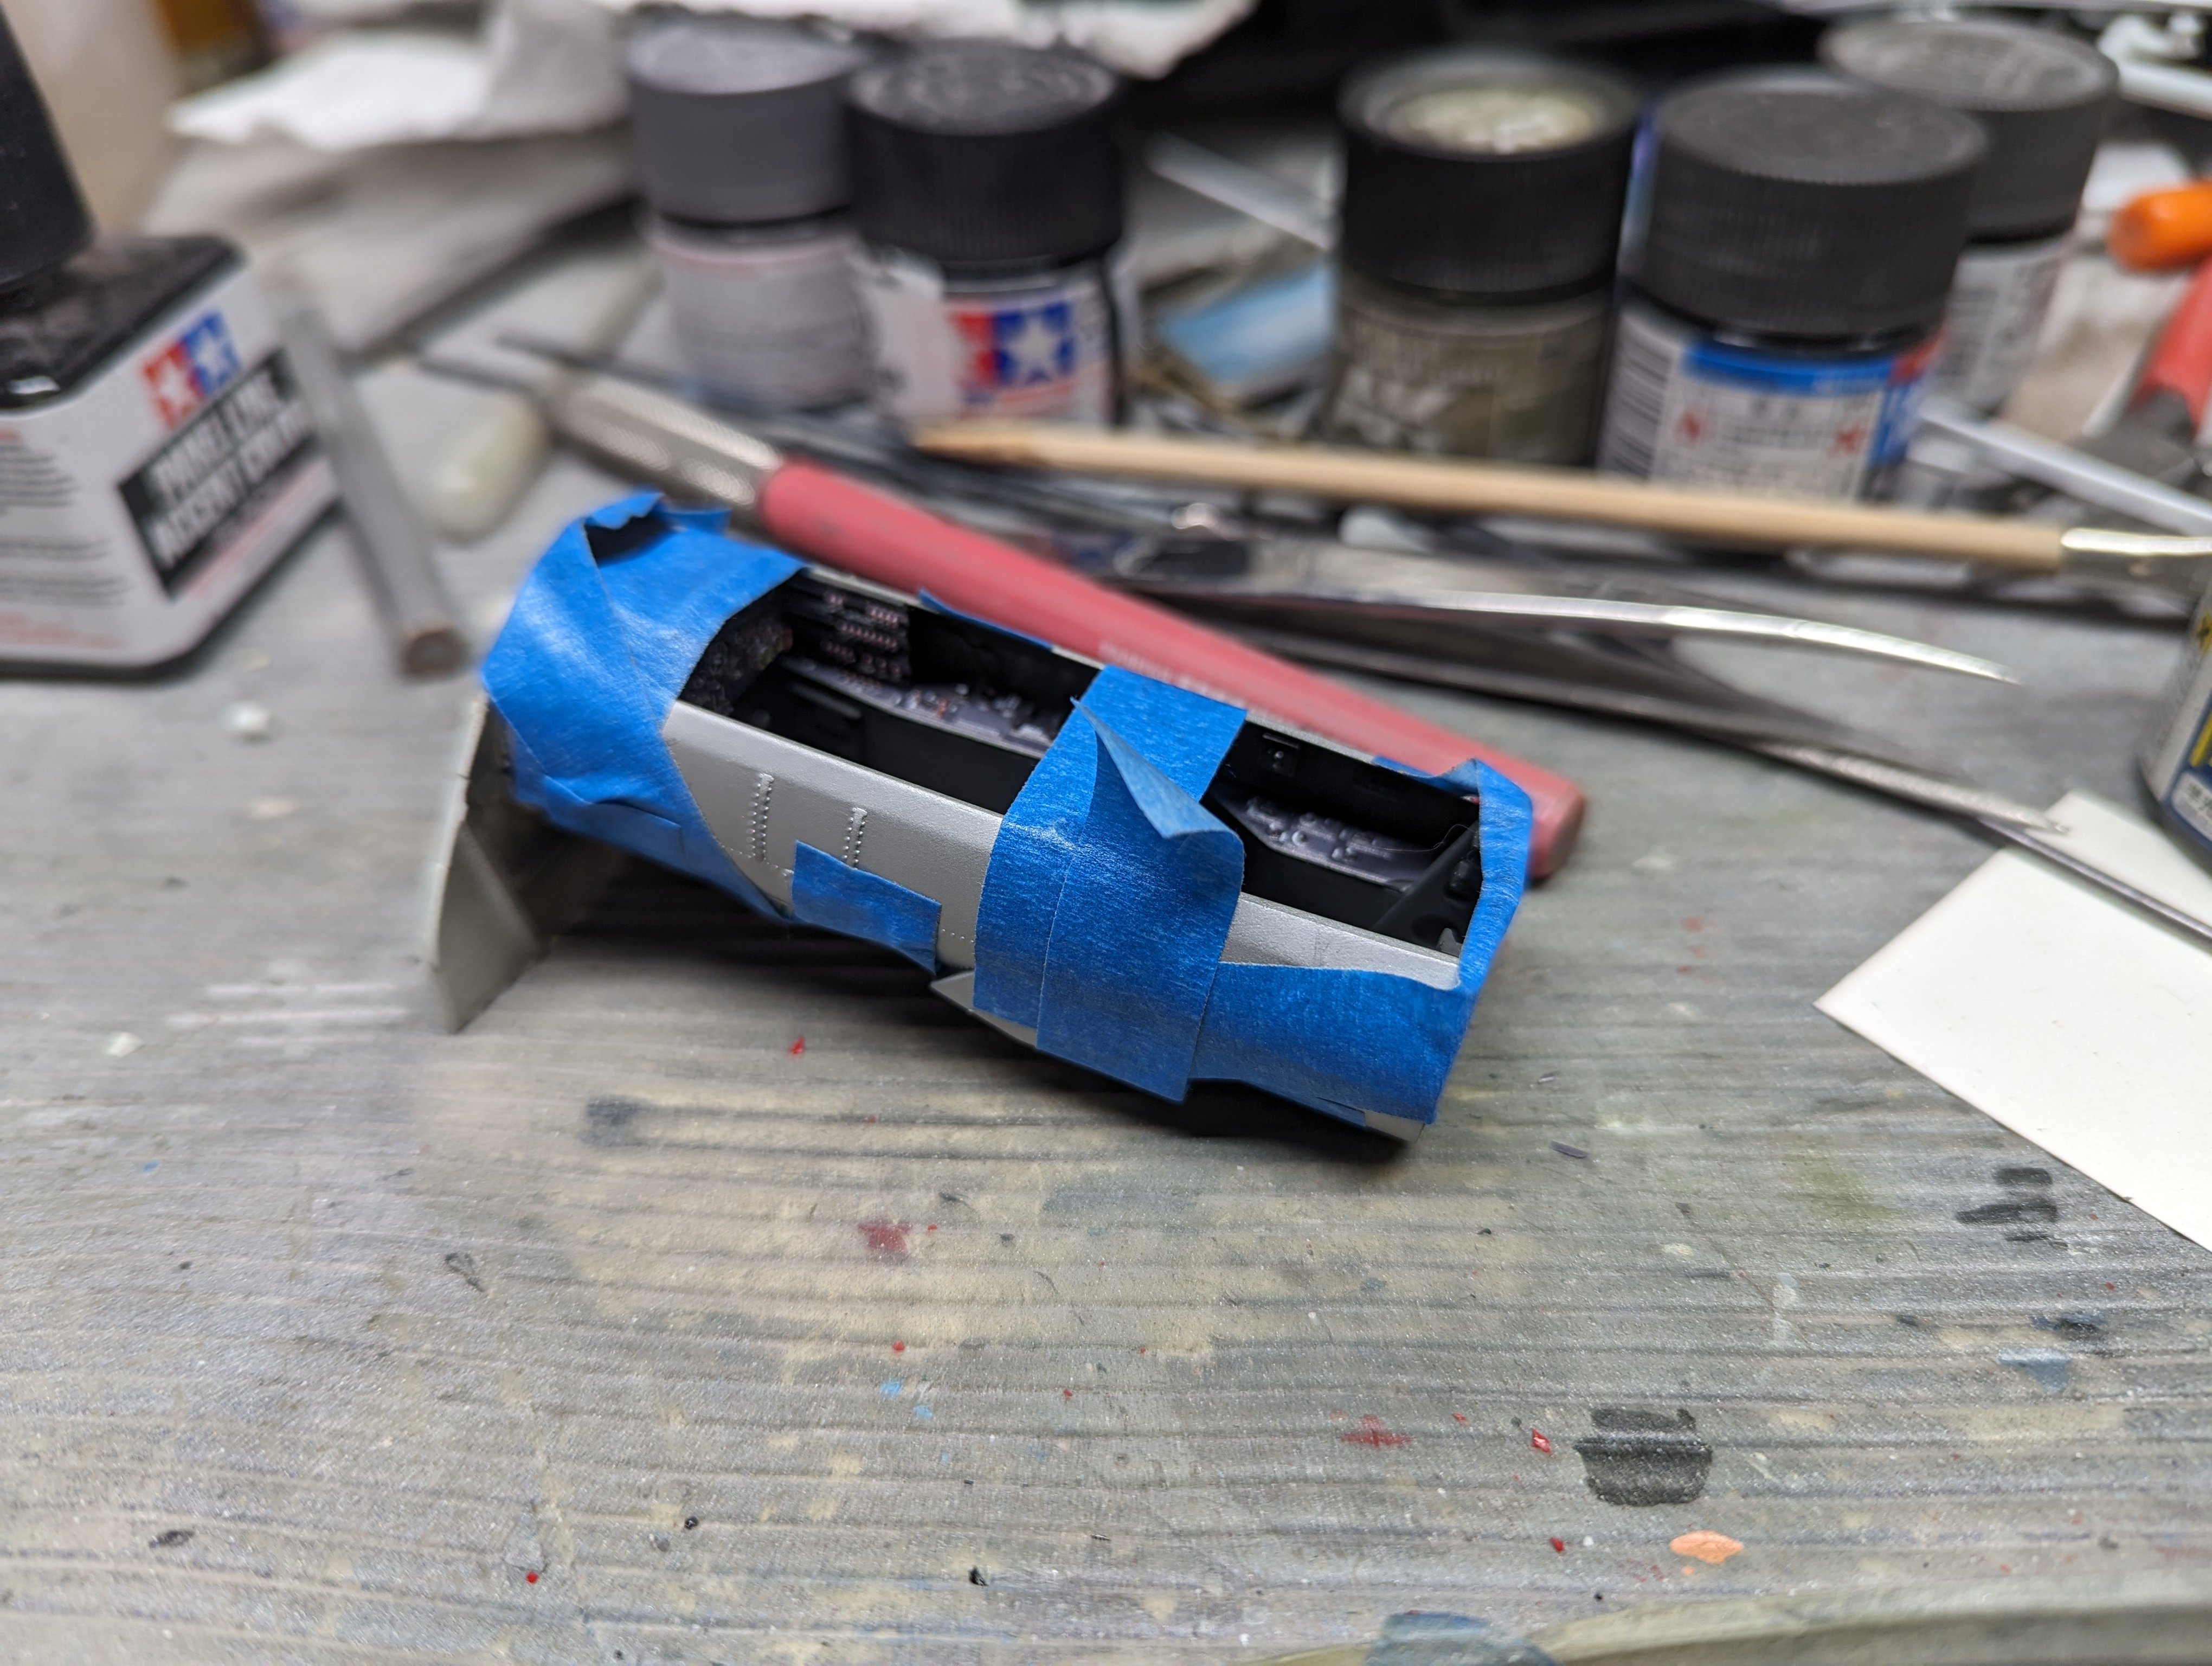
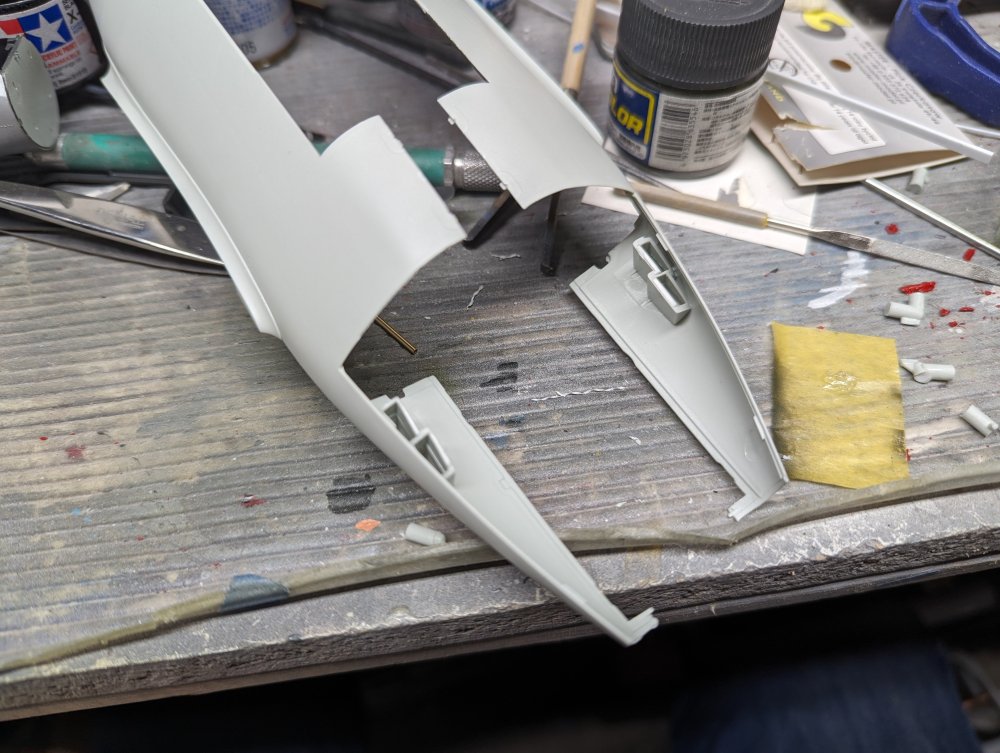
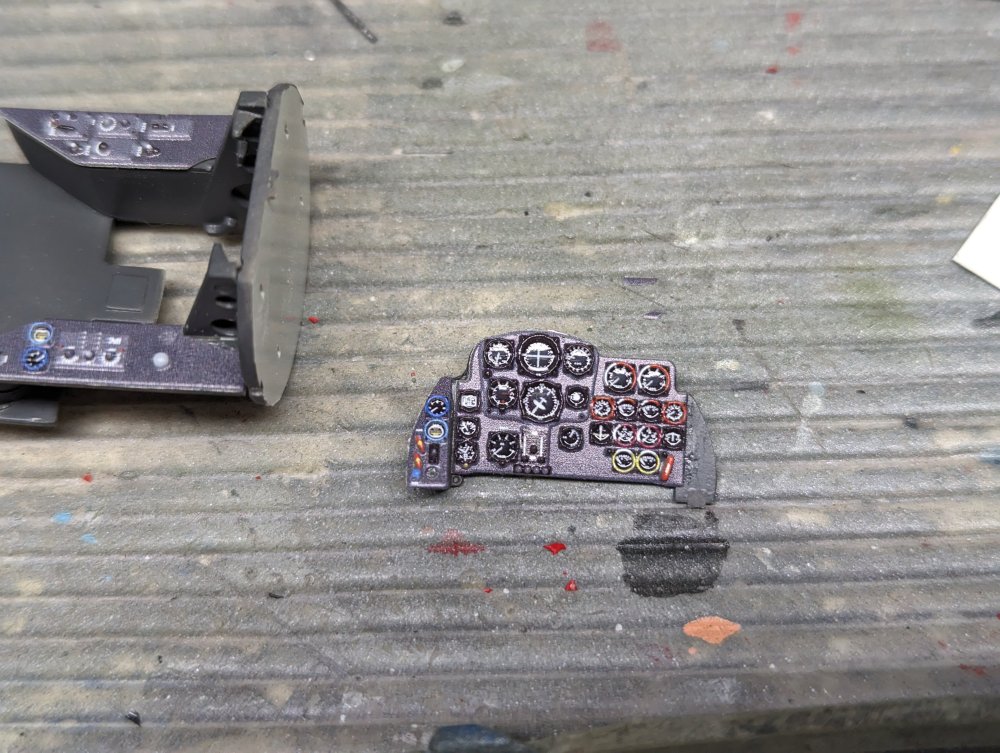
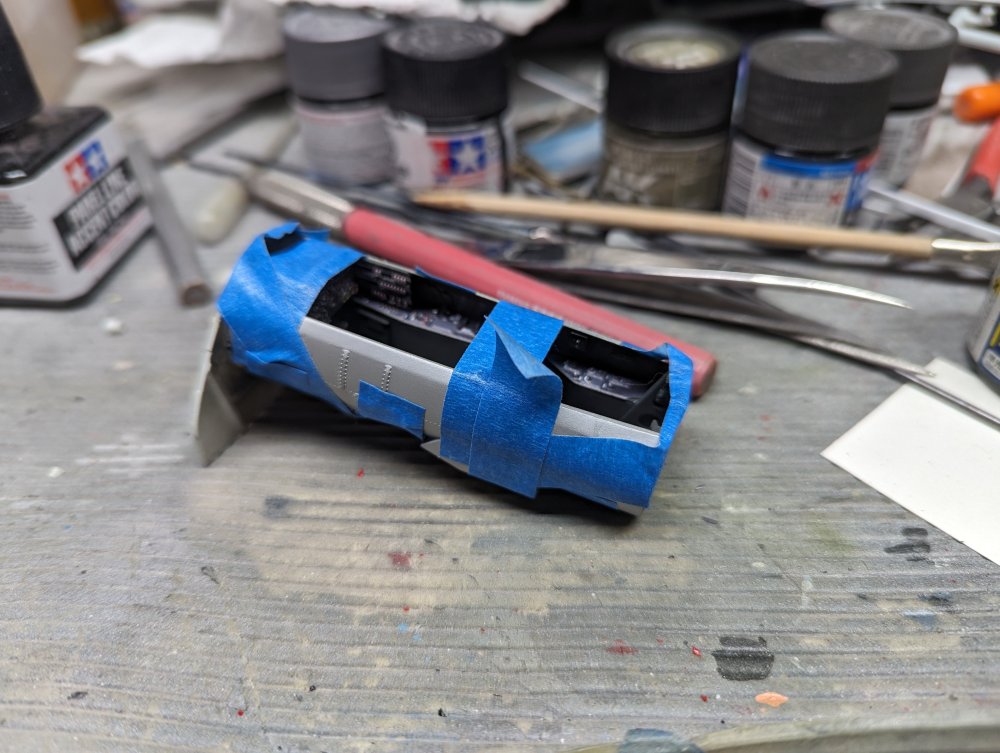
Progress on the cockpit. First up was the Red Fox 3D decals. The IP dials have a nice gloss finish to them. Very much like they're under glass. Then it was time to add the sides. Having done some dry fitting, I knew there would be some issues due to warping. The problem is the assembly is too flimsy to clamp it. So I used masking tape instead. Turns out I needed different strips going in different directions to get the warp out. It looks like a mummy or something.


-
Nice problem solving on the gear legs. Being G-Factor, I don't you would have been able to bend them apart. If you like using Mr Color, you could try AK Real Colors. It's an acrylic lacquer like Mr Color and is even compatible with it. A bit thicker so it tends to need more thinning.
-
Sue's dad one time had a bottle of Lagavulin where the cork broke. So he found an empty sherry bottle and poured it in there instead. Except he didn't tell Sue's mom. So when she made a trifle and went to add some sherry to it, she ended up pouring in the Lagavulin. It was quite the surprise for everyone that had it. It certainly wasn't the flavour we were expecting.
-
Someone wanted a skylight. When I first saw the holes being drilled in the rear fuselage I thought you might be doing a backdate and deleting the turret.
-
No one's doing an F-4 yest so that's a good choice.
-
For years in Canada the only way to find Mr Color was at the local anime shops which also sold Gundam kits. Then a couple hobby shops started getting it in and it's been much easier to find since. Same goes for Tamiya, looks like we get their entire line of paints, including their enamels but I think that's partly due to the long relationship between Tamiya and the Canadian distributor. MRP on the other hand, is forbidden fruit. Same as Zero paints.
-
MiniArt P-47D Thunderbolt: COMPLETED 2/13/24
BlrwestSiR replied to Peterpools's topic in LSM 1/48 Work in Progress
Nice job on the paint. The invasion stripes are nice and tidy too. Not always the easiest thing to do. I'm looking forward to the decal job, especially how the nose checkers come out. -
Definitely a different paint scheme. Nicely done too which is to be expected.