KevinM
-
Posts
2,874 -
Joined
-
Last visited
Content Type
Profiles
Forums
Events
Gallery
Everything posted by KevinM
-
With proper maintenance those things fly forever?We have the Hurricane Hunters at KAFB no more than 10/15 minutes from the driveway and they fly into some serious storms.What's the replacement?
-
You are getting there Gary and moving like that Bugs Bunny in that race against that turtle ......can you still hear that turtle in your head the way he talked?
-
1/16 scale Tiger VI Ausf E early build
KevinM replied to CrankyCrafstman's topic in LSM 1/35 and Larger Work In Progress
Ron you have some Nice scratch building going Sir!I have that particular RFM about 50/60% done ATTM I should get back to it but that ole Tamy 88MM Flak gun seems to be nagging me. I am sure you have seen these being an armor guy but I have been enjoying the hell out of them the last couple of weeks. -
Arado 234 Nachtigall on Speed
KevinM replied to DocRob's topic in LSM 1/35 and Larger Work In Progress
I am the same Rob while still soft will not crack or break the color just laid.I think the camo looks just fine and will look even better once the decals are have been applied. -
Arado 234 Nachtigall on Speed
KevinM replied to DocRob's topic in LSM 1/35 and Larger Work In Progress
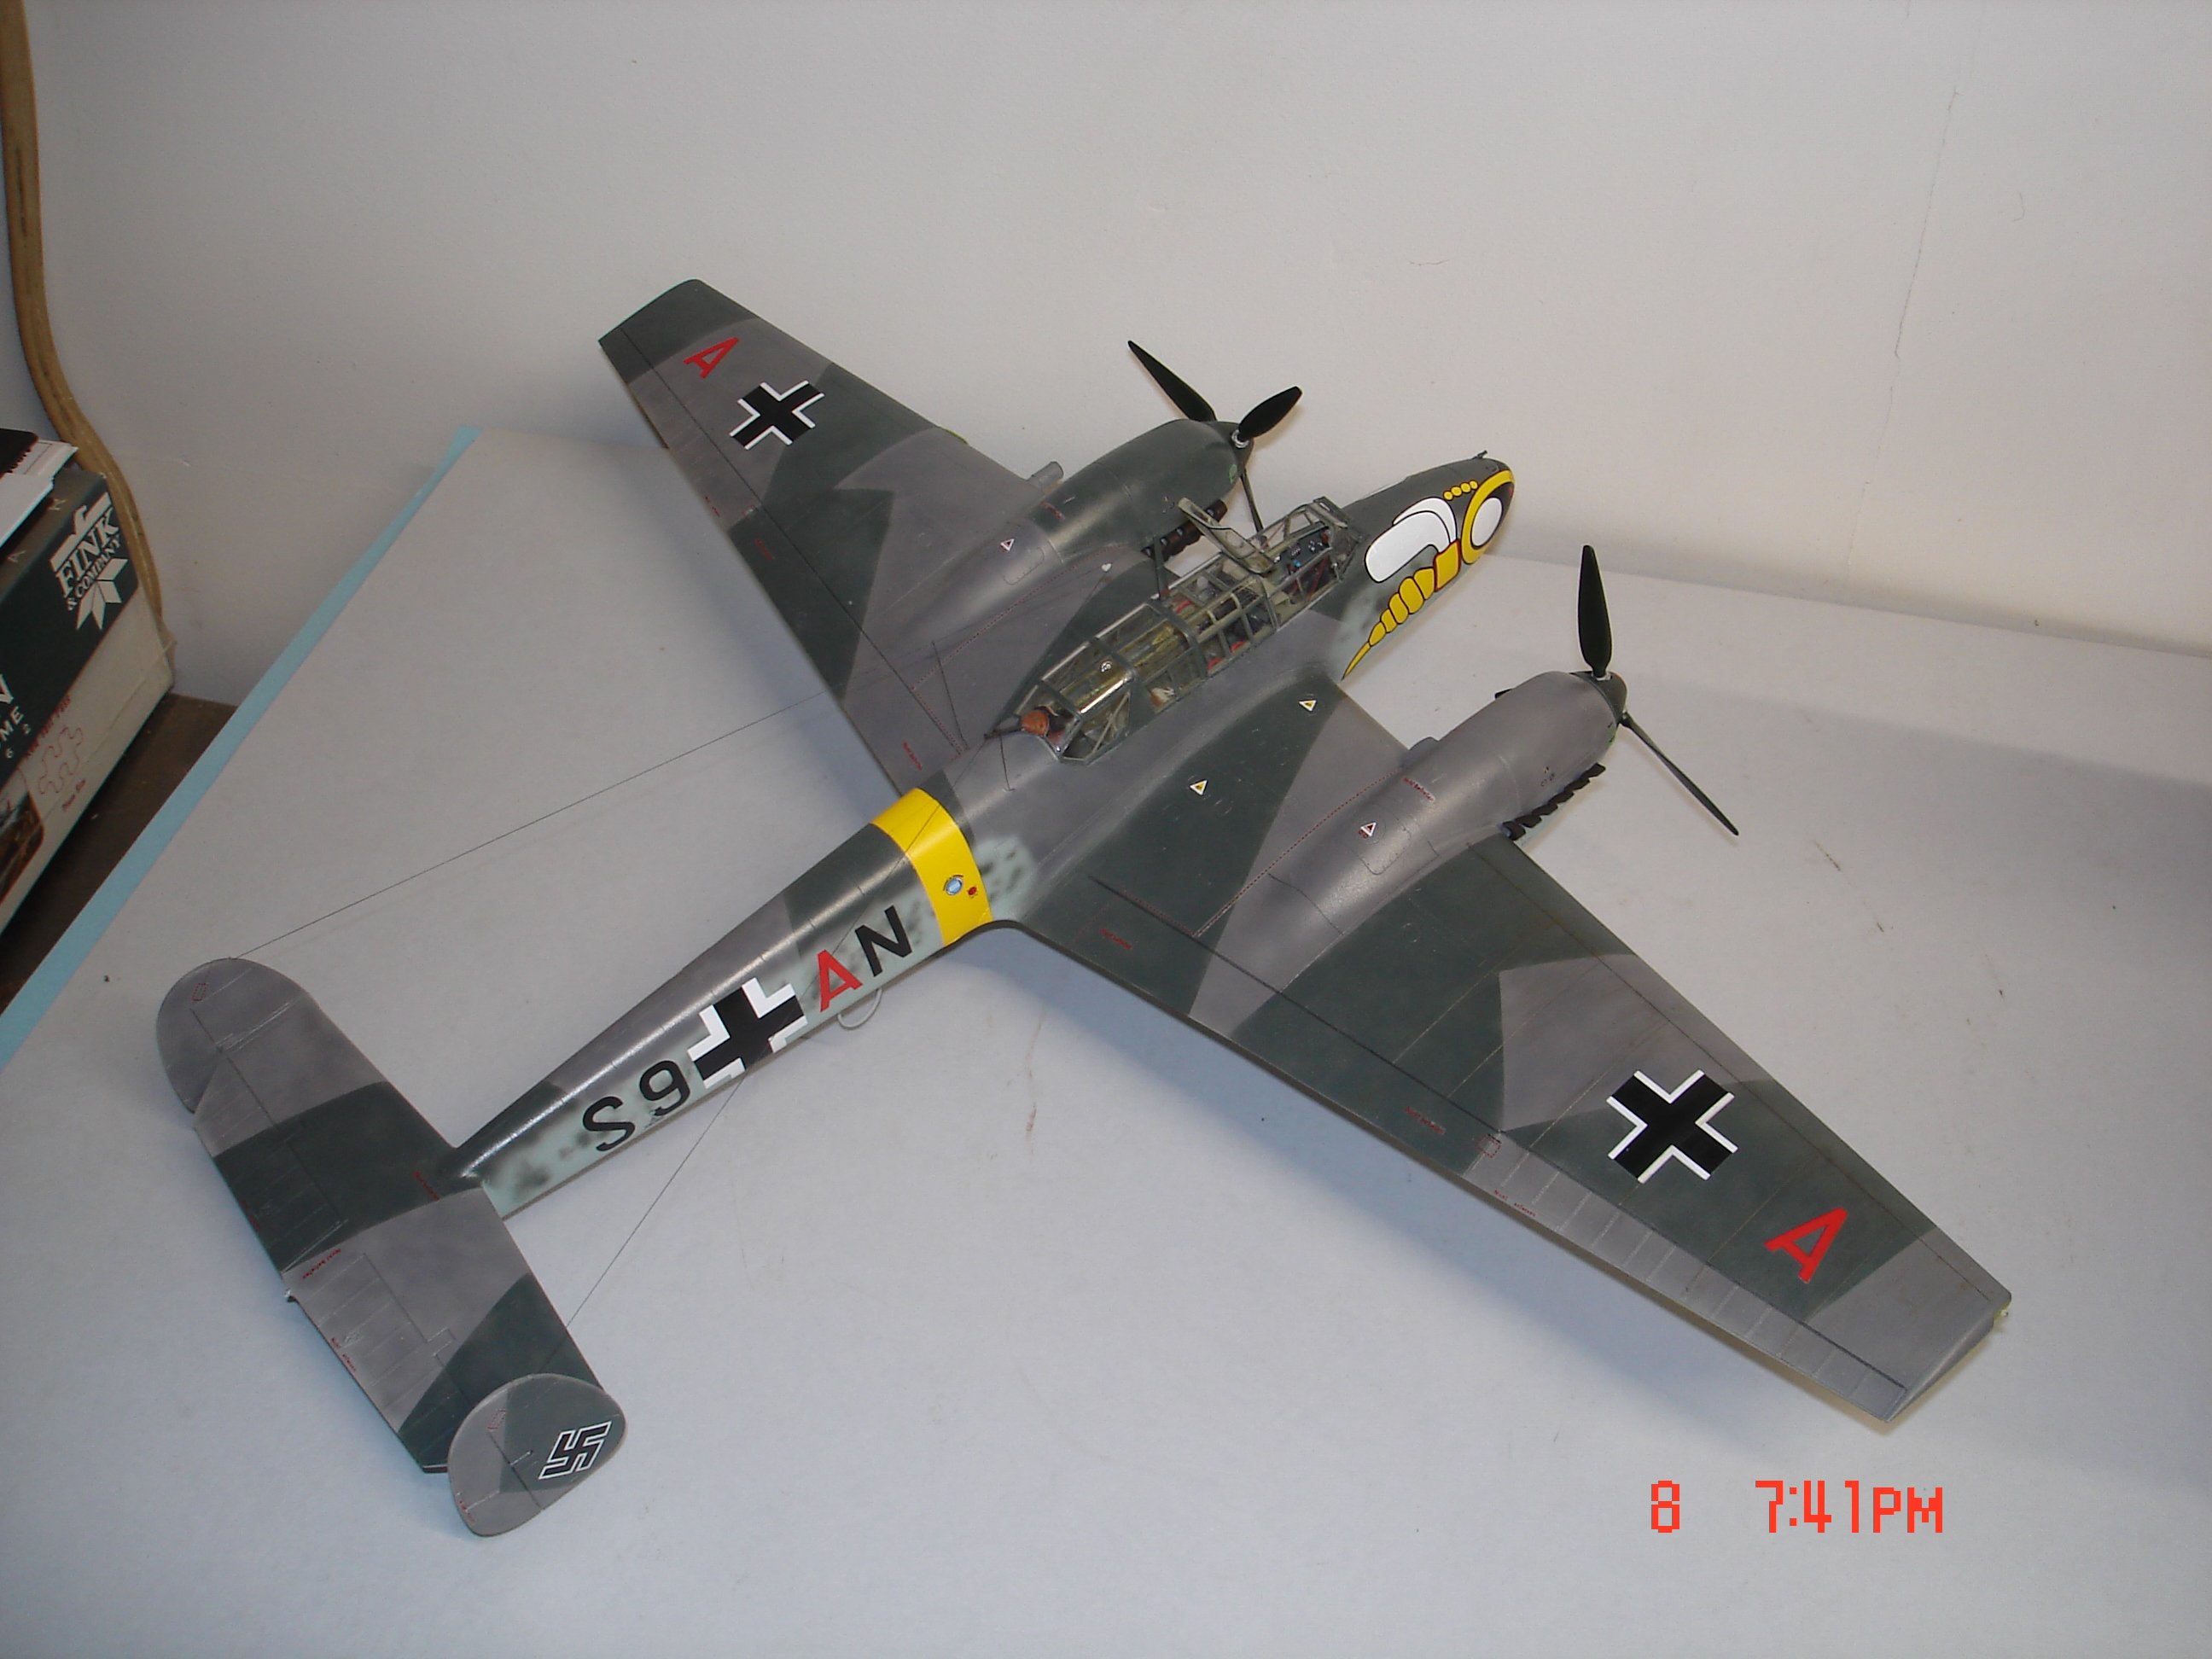
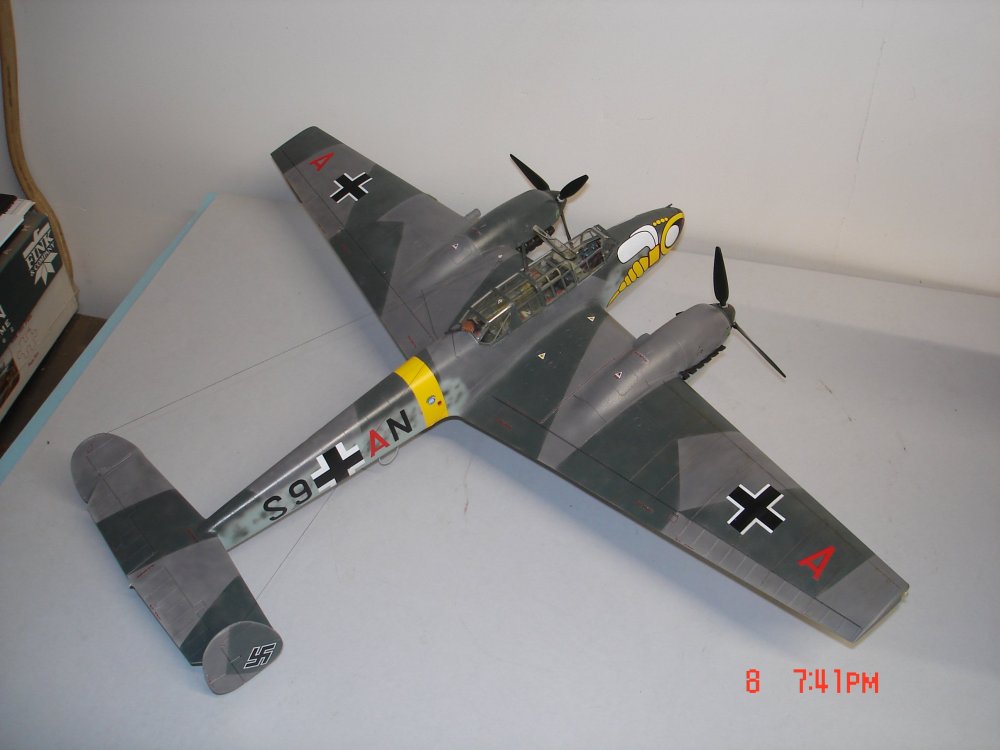
Hey Rob I know that feeling all to wee/often hence the Me-110 did not in the end as it stands now get weathered. -
Bolivian AF Cavalier F-51D done
KevinM replied to JohnB's topic in LSM 1/32 and Larger Aircraft Ready for Inspection
That's one you do not see everyday John and looking good in her new outfit. fixed it "new" -
Looking great Mike!!
-
Interesting lines on this A/C 1/32 comes out about a 17" WS
-
Will be interesting Kriss and by the way you have some Nice Air Brush control!
-
Yamamoto?But fail to see the connection to Tamiya?Aahhh he was shot down by P-38's!!!
-
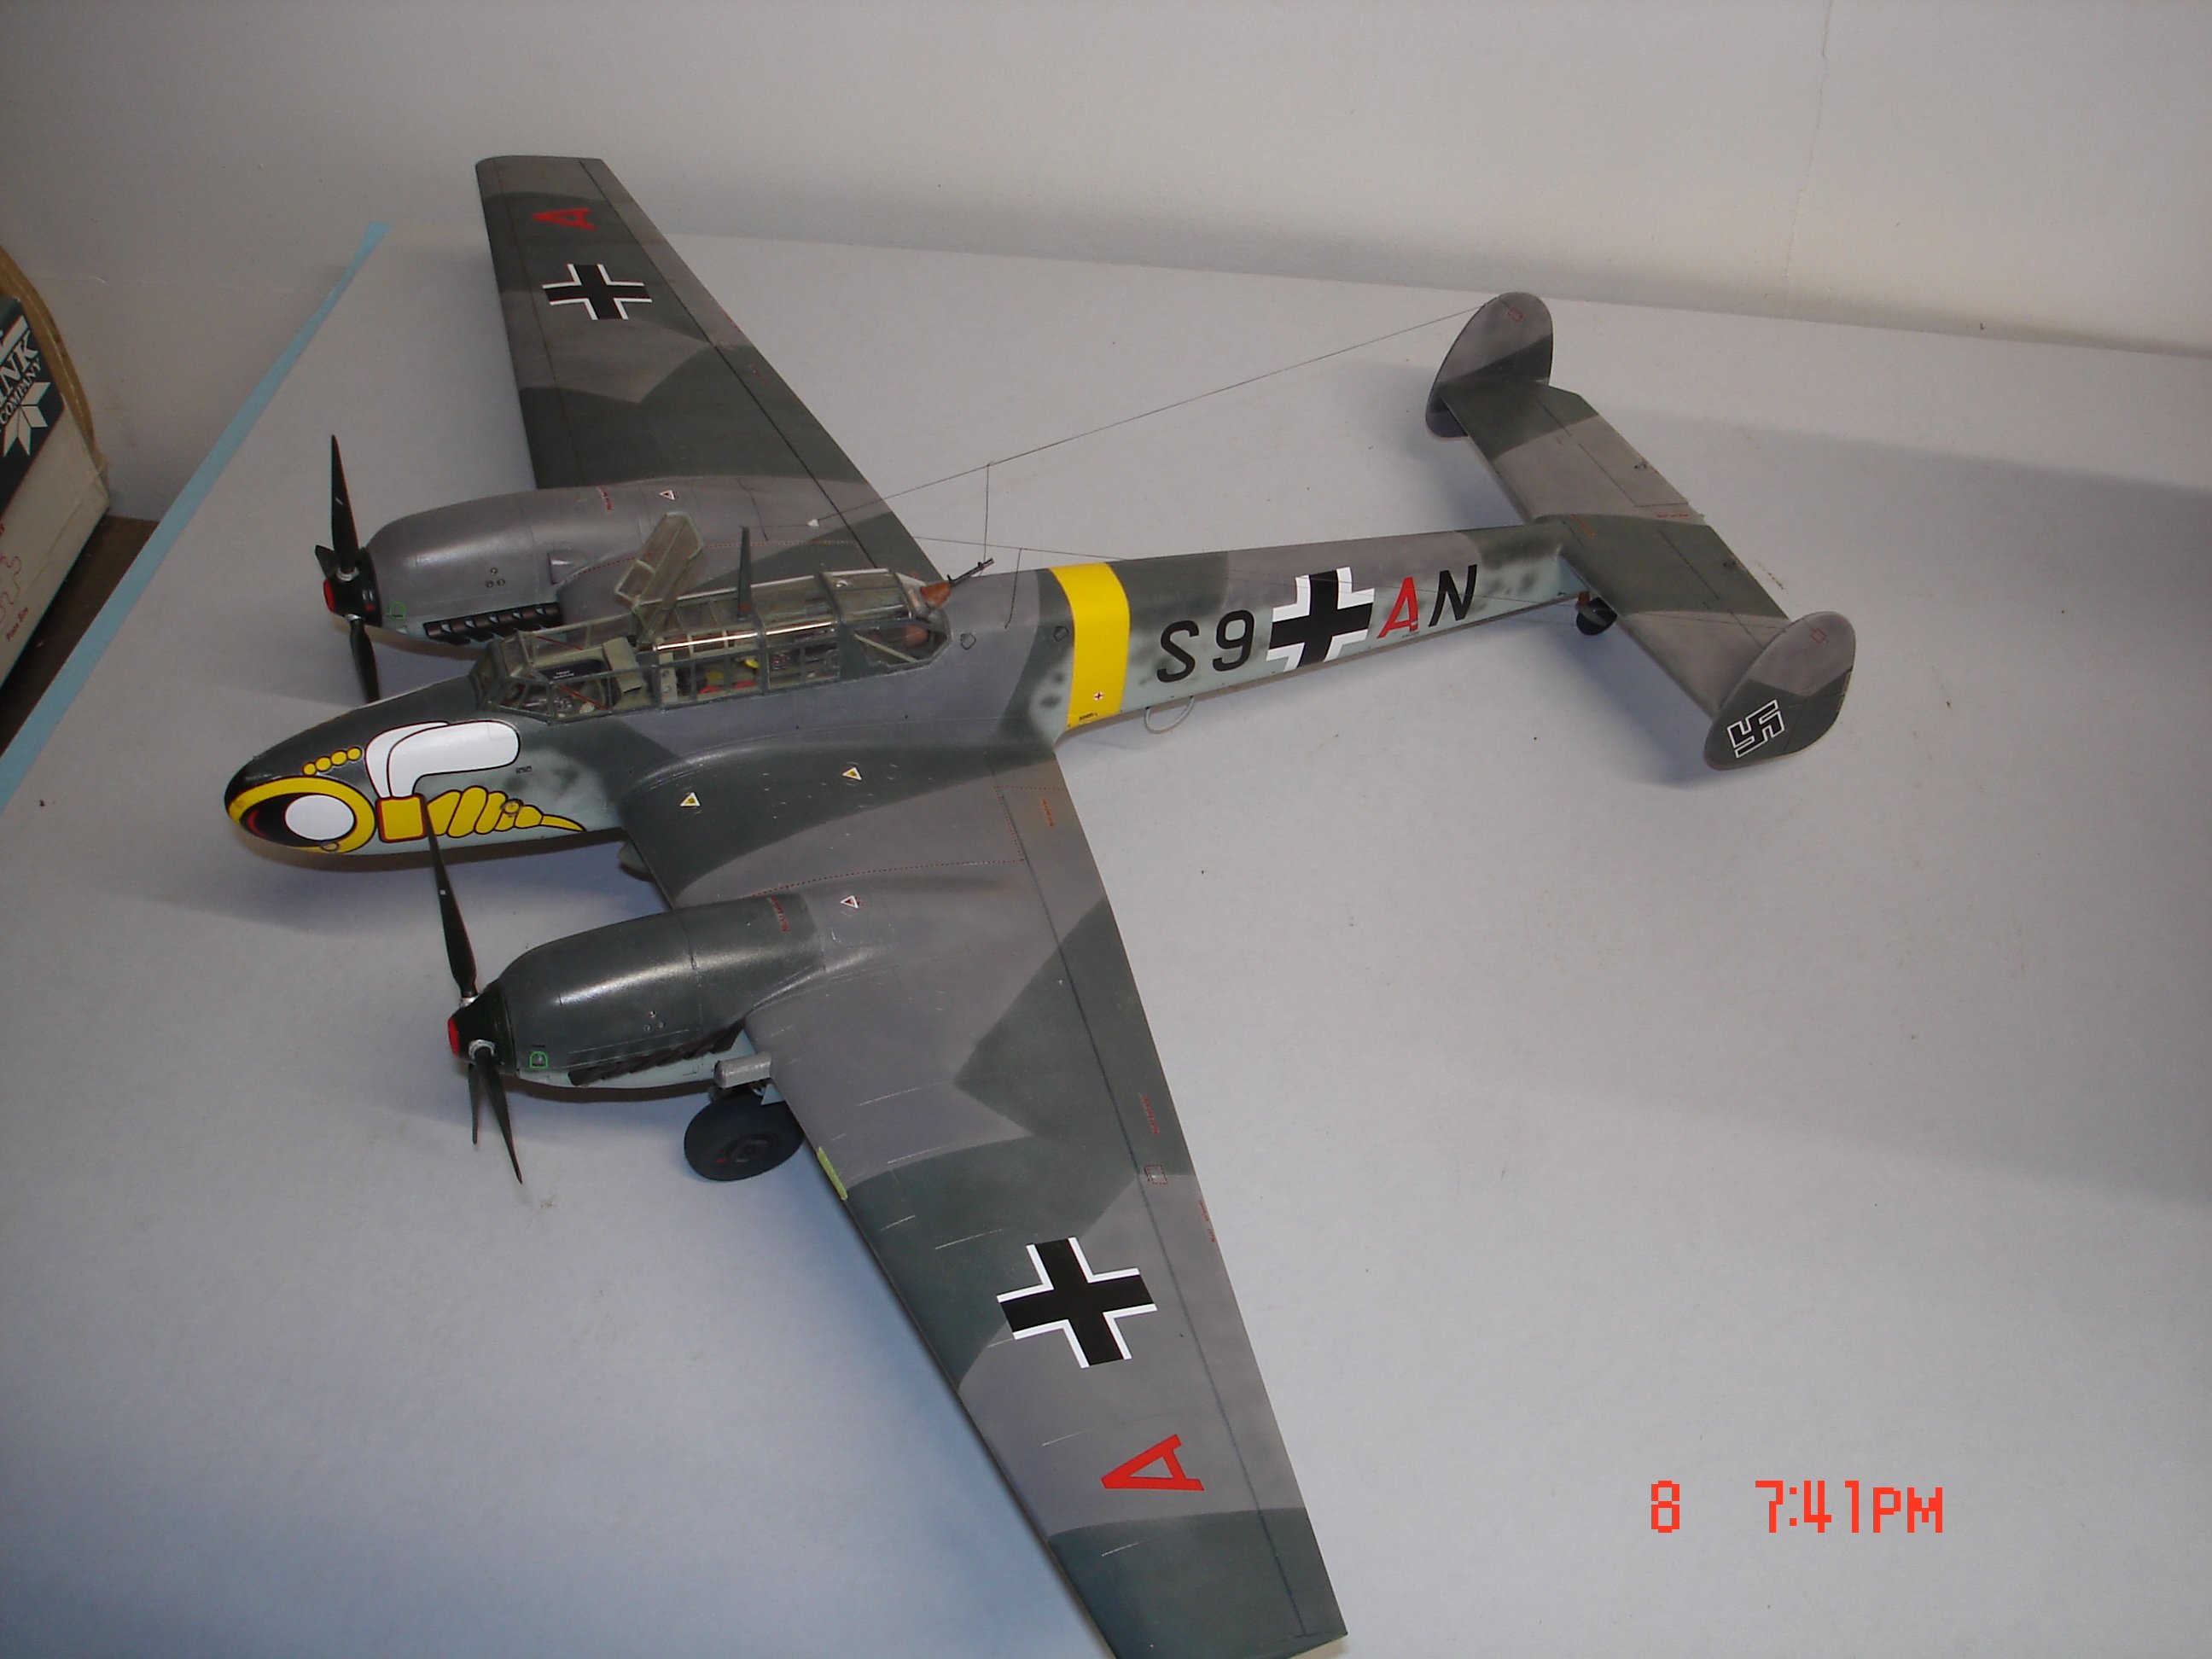
The ASK mask are excellent the decals are temperamental.
-
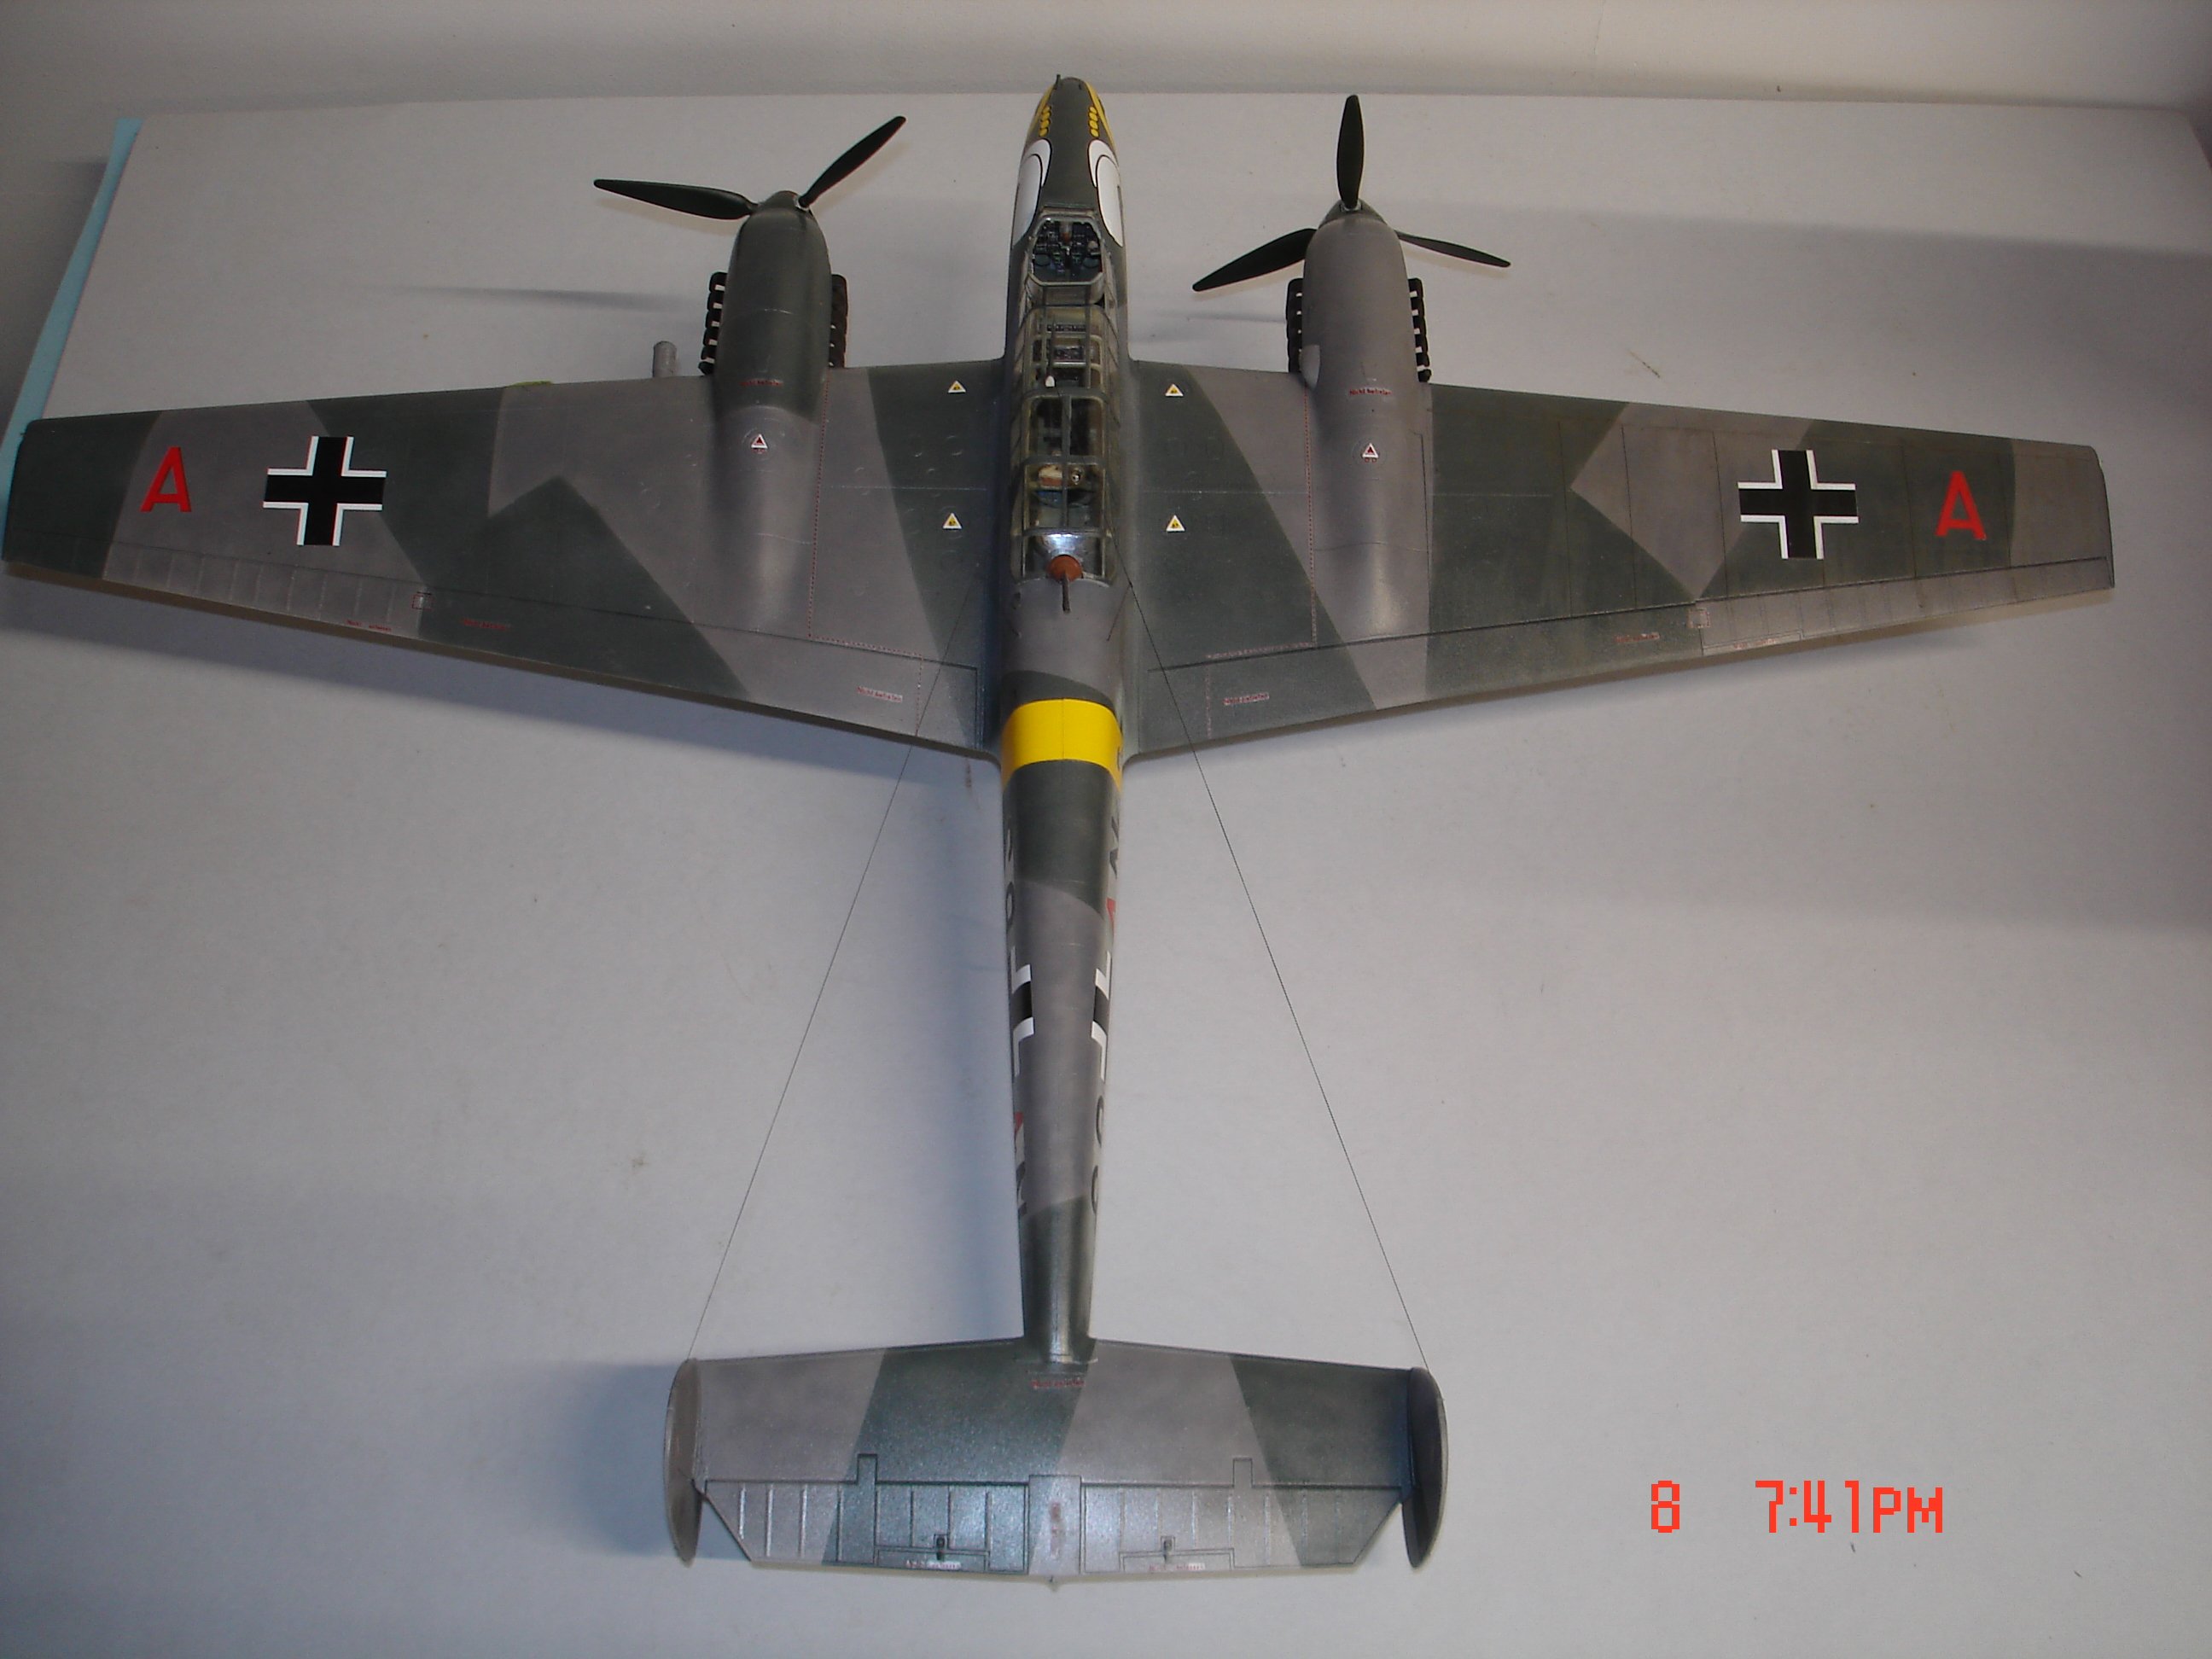
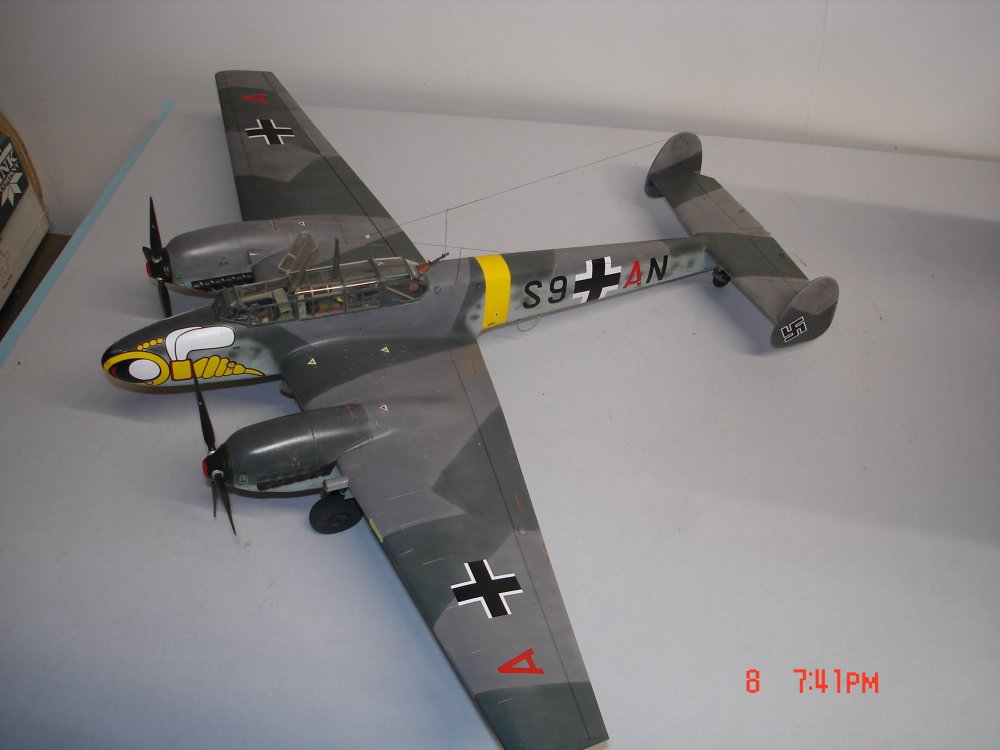
Getting close to finish on this one might notice a little panel line work on the outer R/wing don't know if I proceed The antenna is done and those ASK decals for the swastikas are thin and brittle 4 to get 2.

-
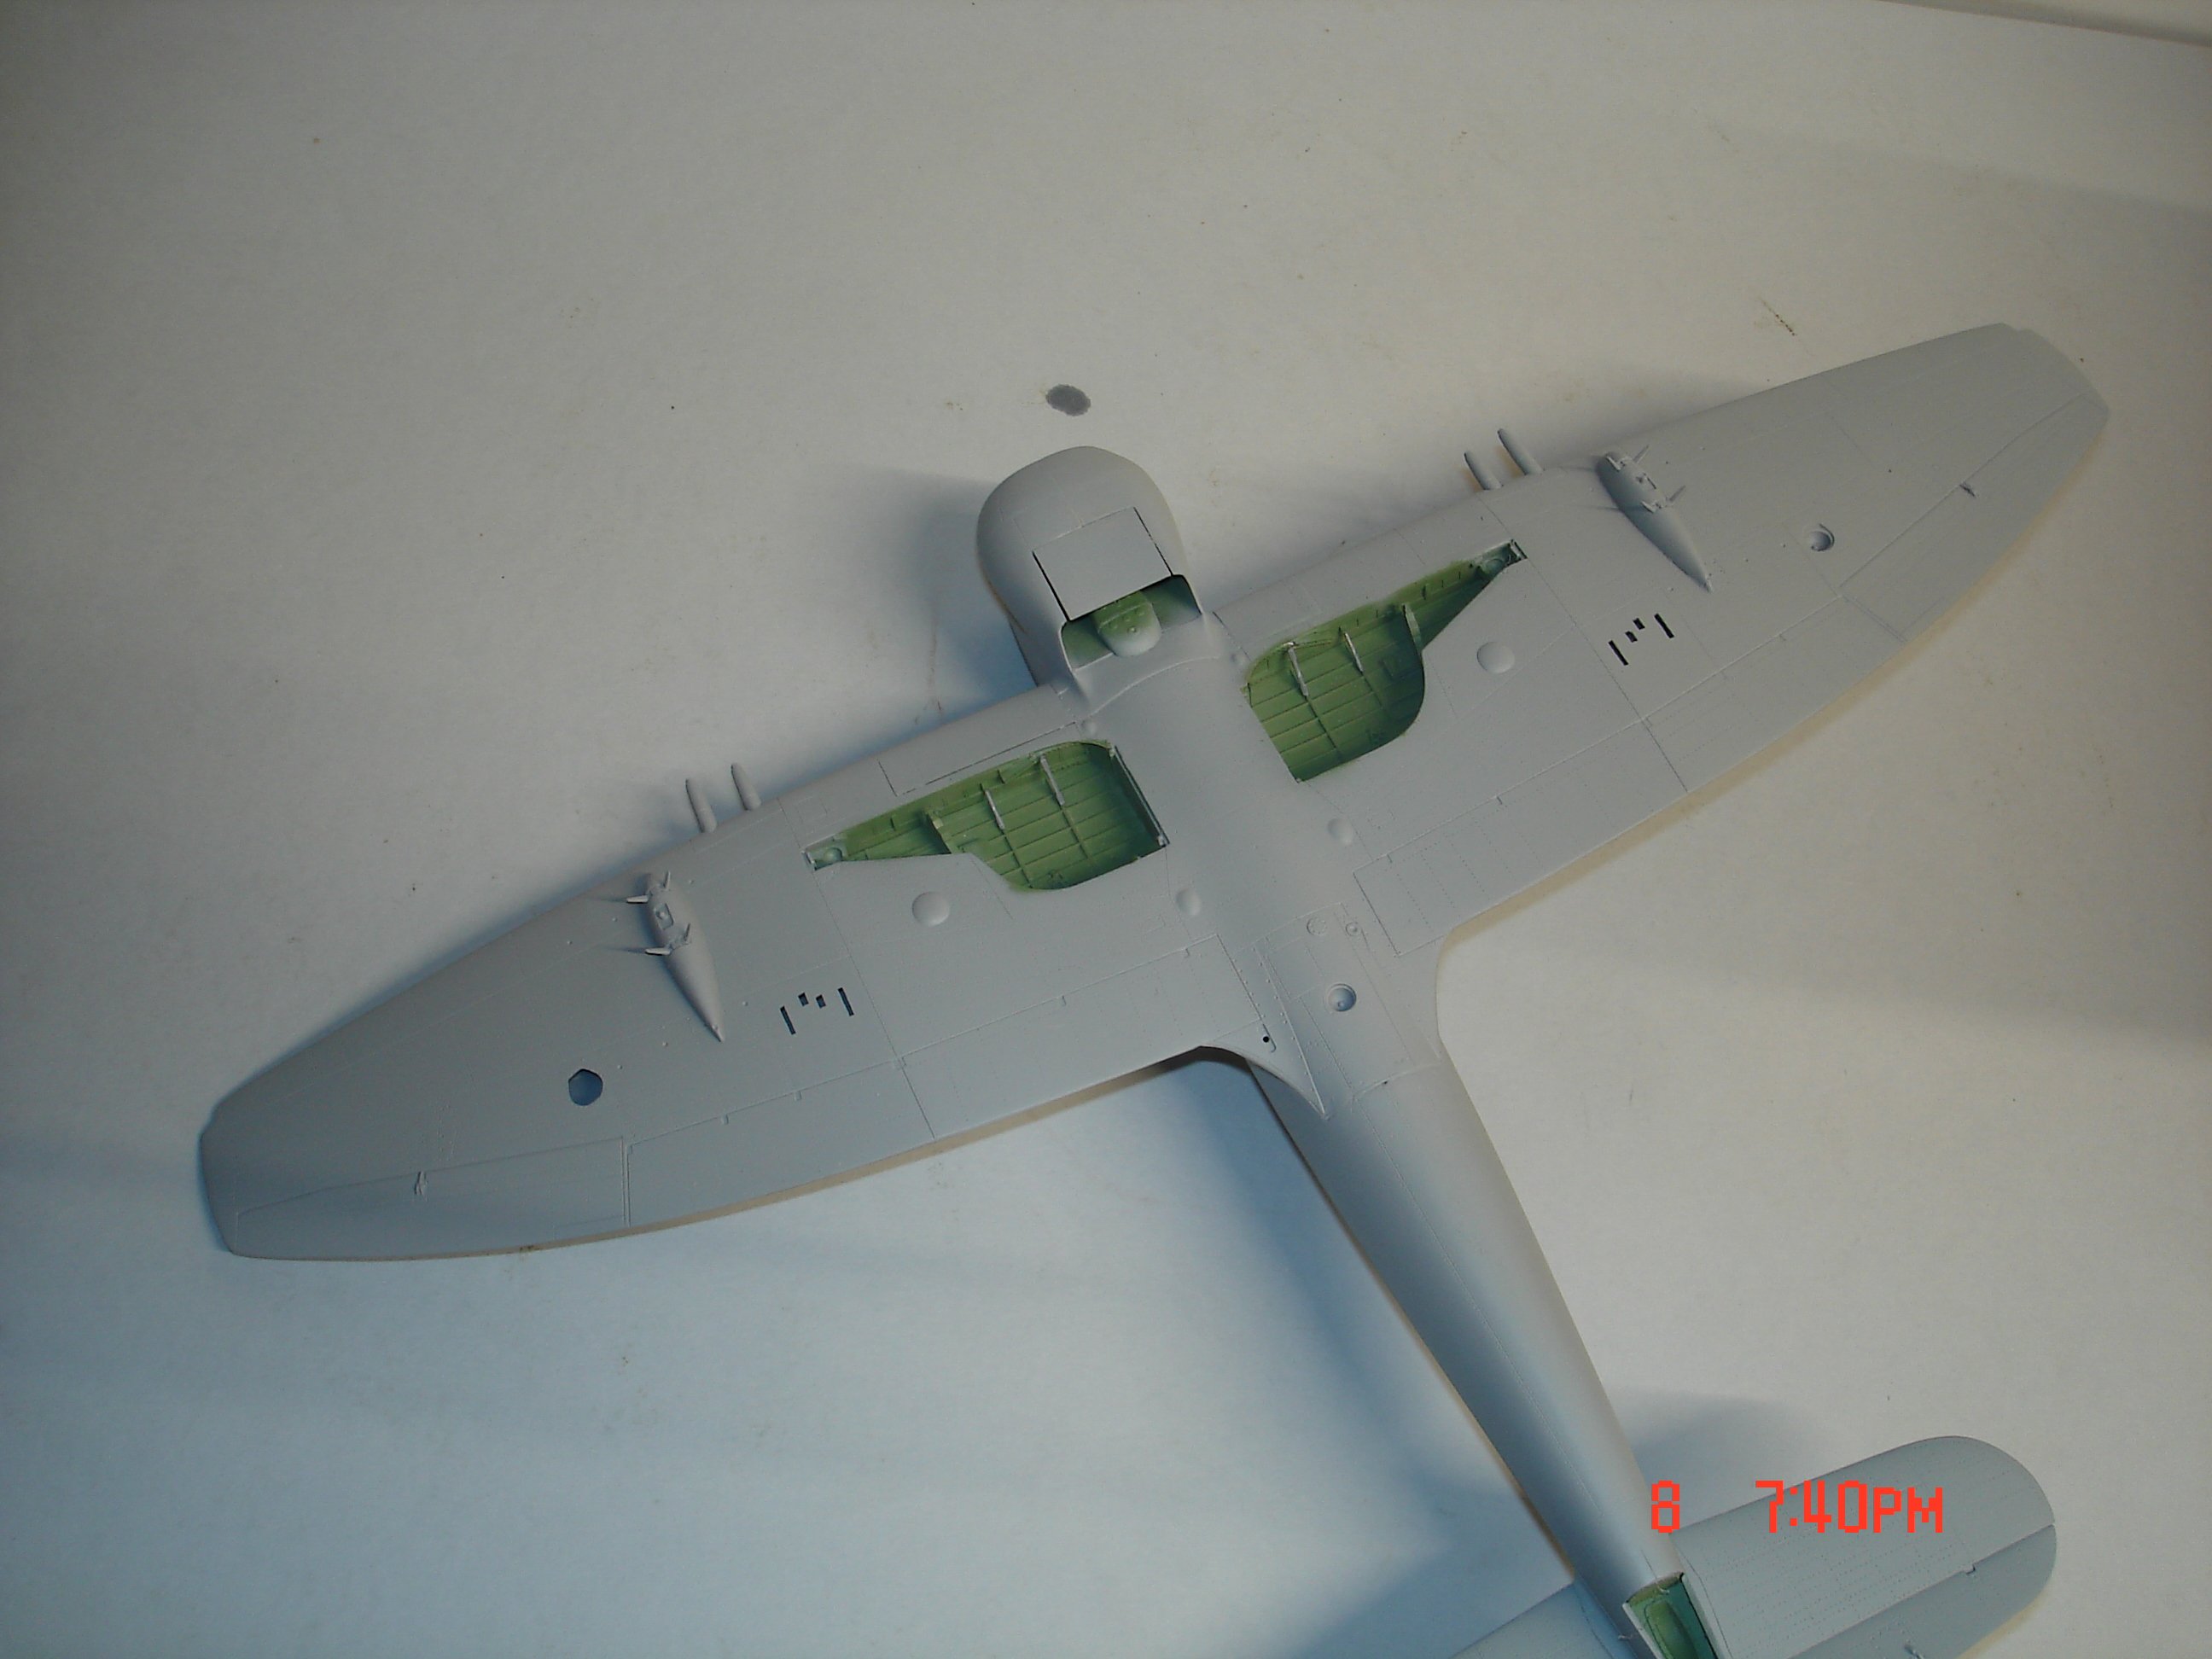
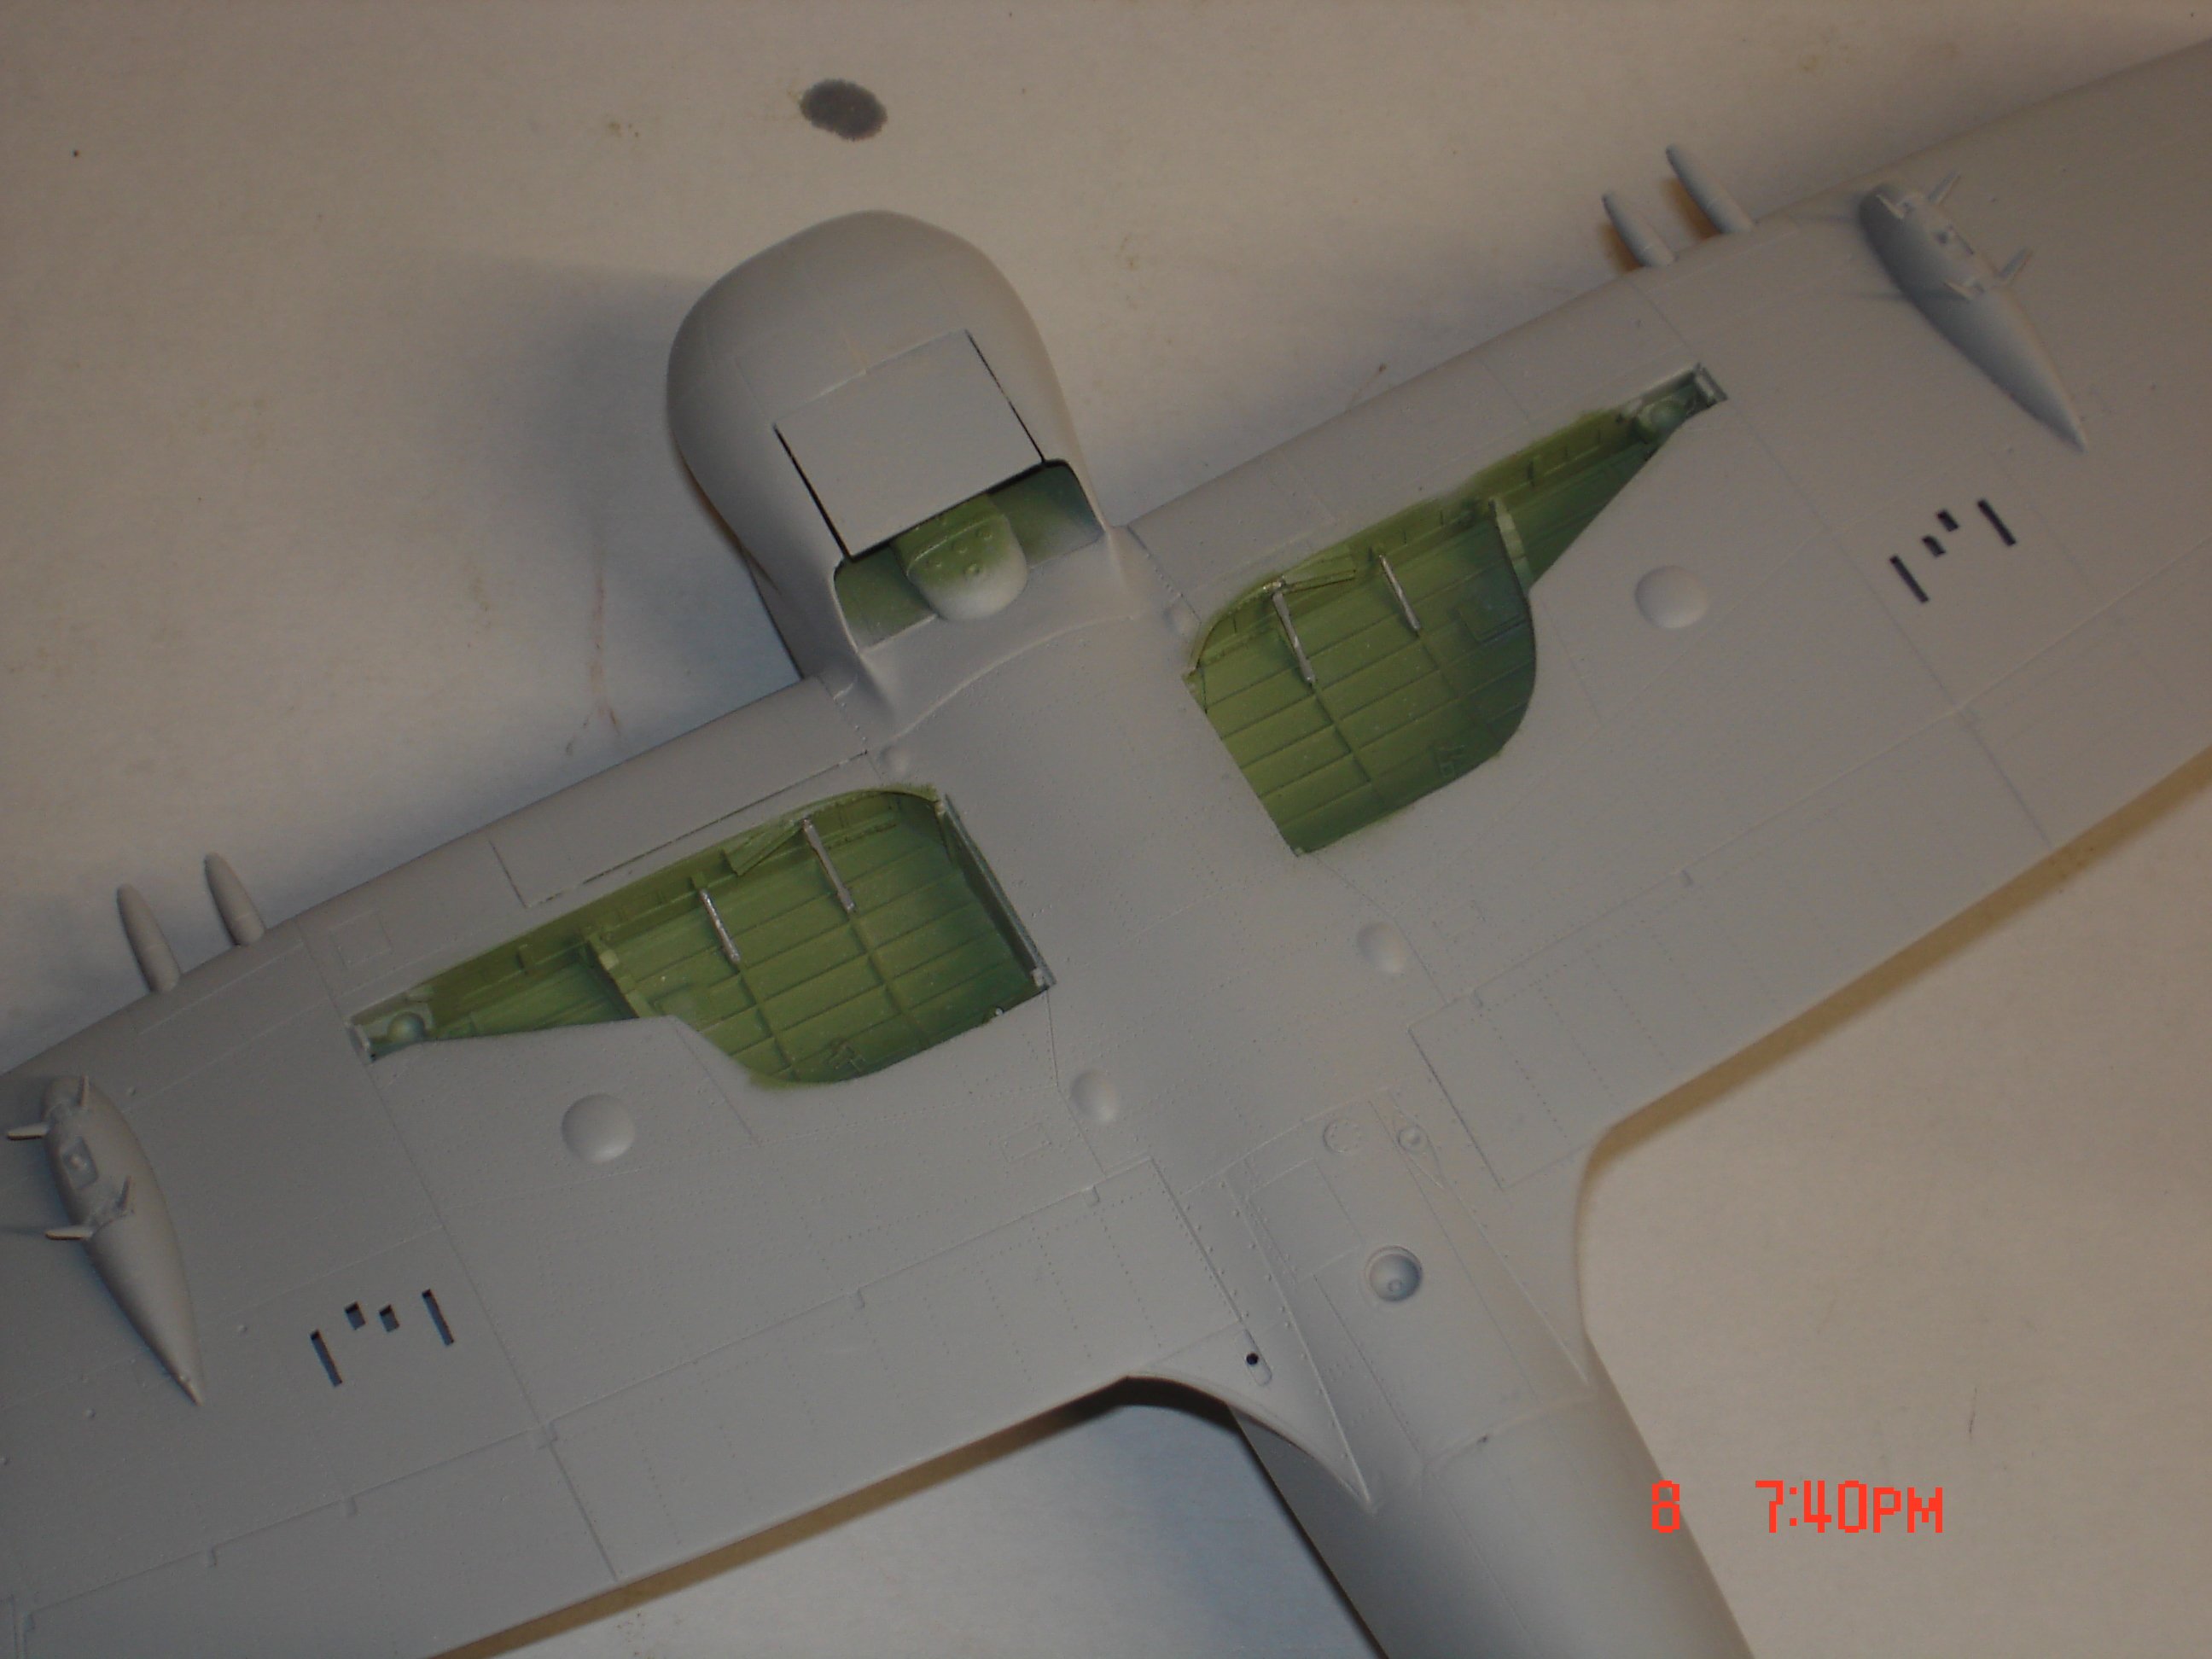
Revell/SH Hawker Tempest in 1/32-Finished
KevinM replied to KevinM's topic in LSM 1/35 and Larger Work In Progress
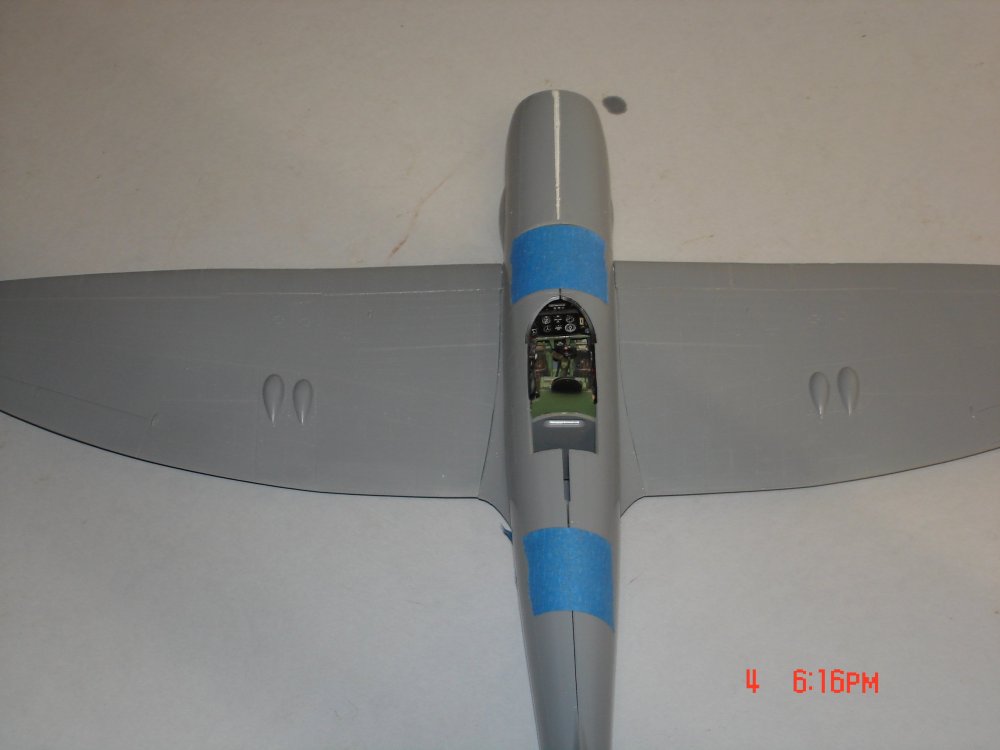
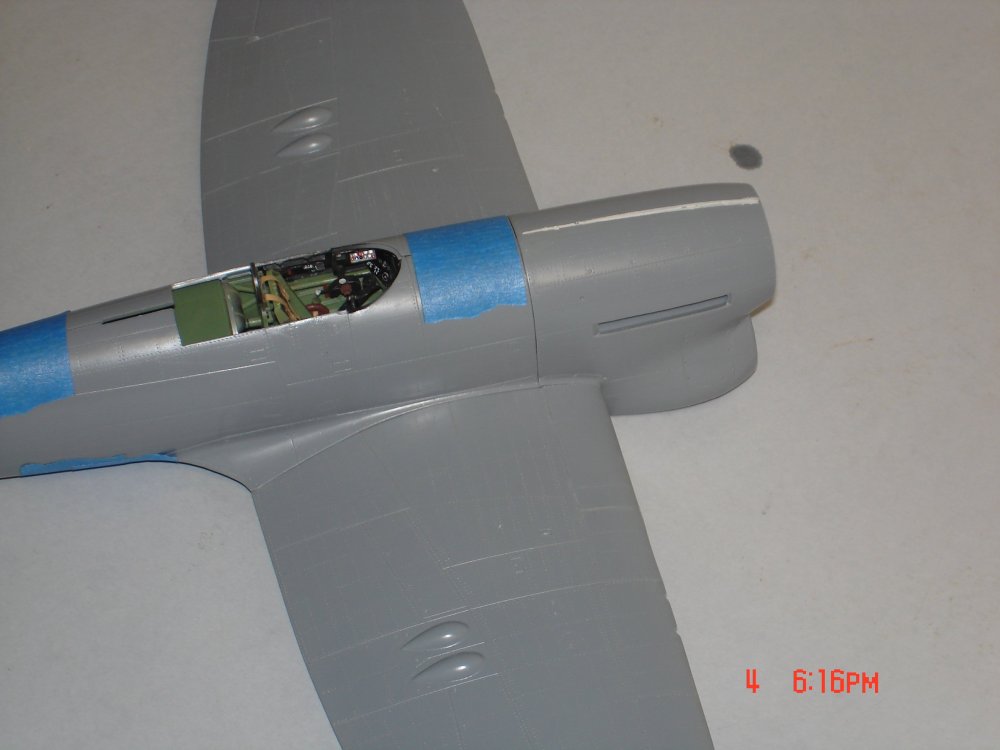
The primer has been applied was very little filler was needed the biggest area was were the lower wing met the fuse underneath a piece of .020" card stock was inserted and sanded.I had a little step between at the wing root R/side figured do more than good going after it.

-
Italeri M.T.M. "Barchino" 1:35 - Completed
KevinM replied to telepatu's topic in Let’s Get Wet Group Build.
I still find it quite interesting and a worthy subject matter and the weathering might actually be overdone seeing these probably were put to use rather quickly? -
Looking good Peter!
-
Gary I think that looks cool and quite interesting if anything it will have many attracted to it.
-
I hear ya Ernie I am enjoying the SH Tempest myself seems to be a few SOD for that kit but all goes well thus far.Keep plugging away you may convince me to get an Infinity kit after all.I am really temped to go after the SH Whirlwind though?
-
I am liking it Ernie and the tail stabilizers look really Nice in fit and presentation.
-
Revell/SH Hawker Tempest in 1/32-Finished
KevinM replied to KevinM's topic in LSM 1/35 and Larger Work In Progress
As to the seat being off I saw the culprit most likely SH had you install the window crank at the back and it's pushing the seat some so tomorrow pull the tub and remove the crank to it's correct position.I have the Eduard kit and looked there instructions already realizing the what the answer would be just for confirmation it goes all the way to the front of the rail.Peter I plan on using the Eduard instructions as a backup to SH on the LG setup. -
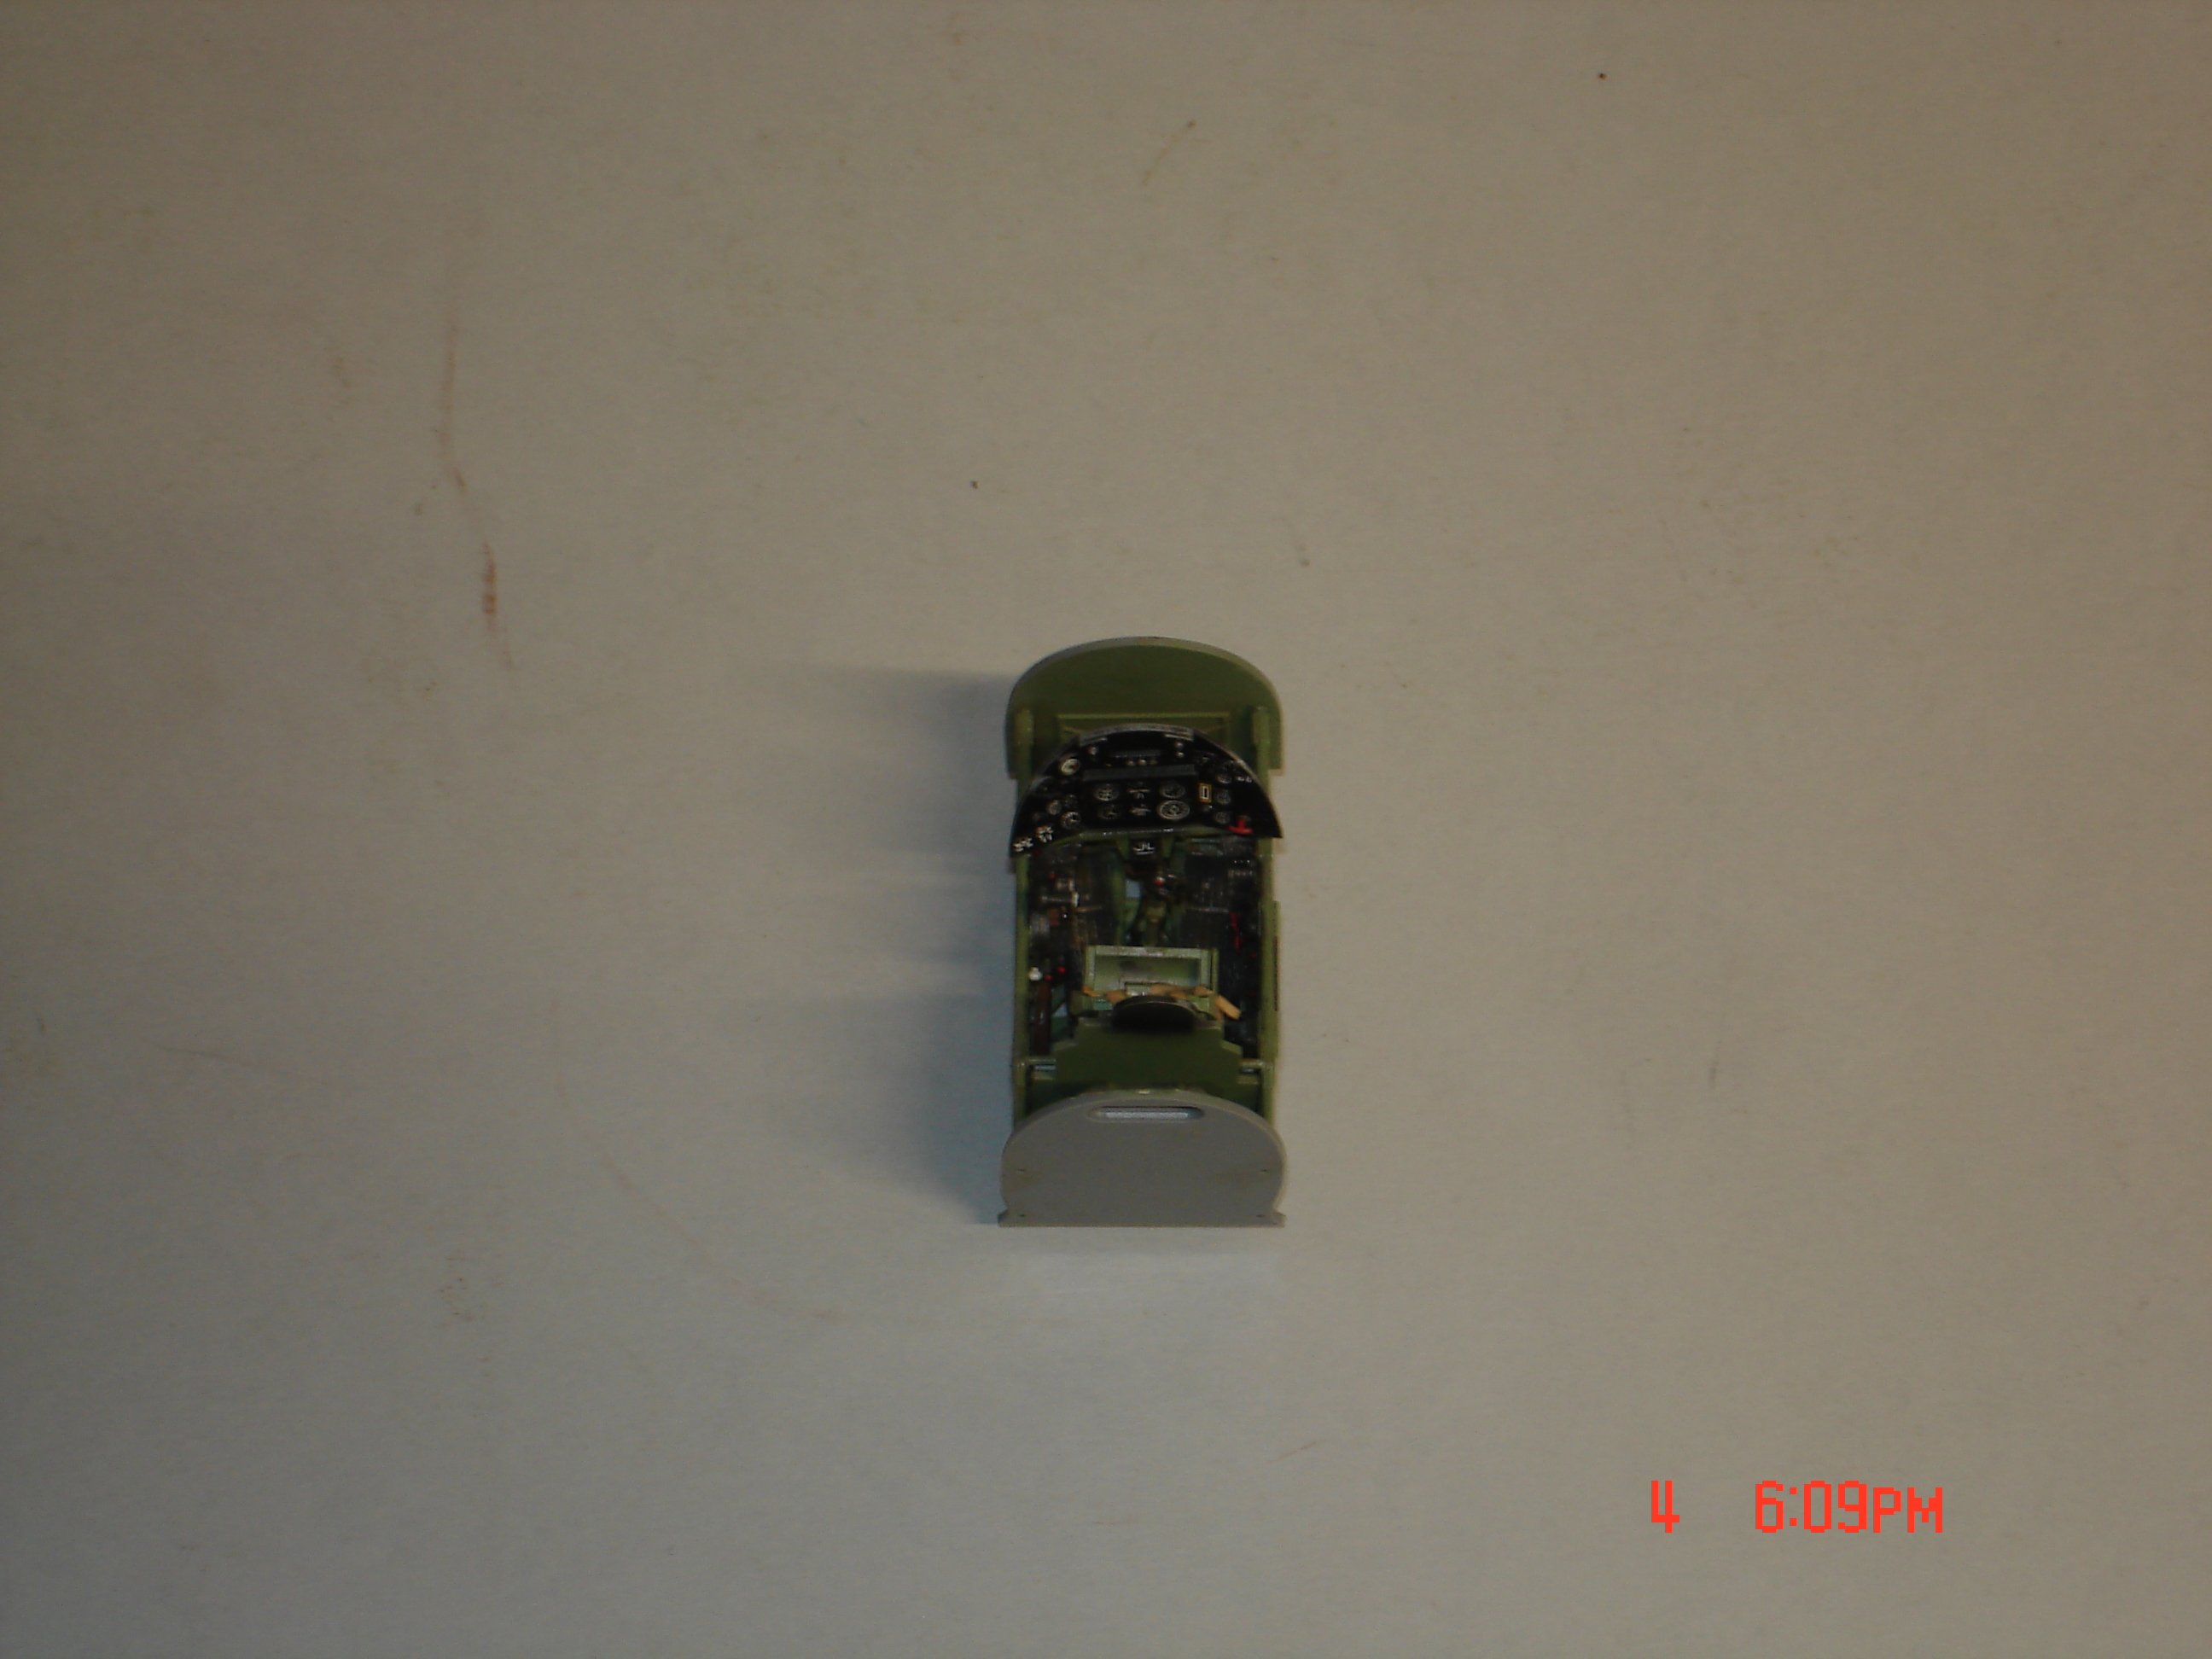
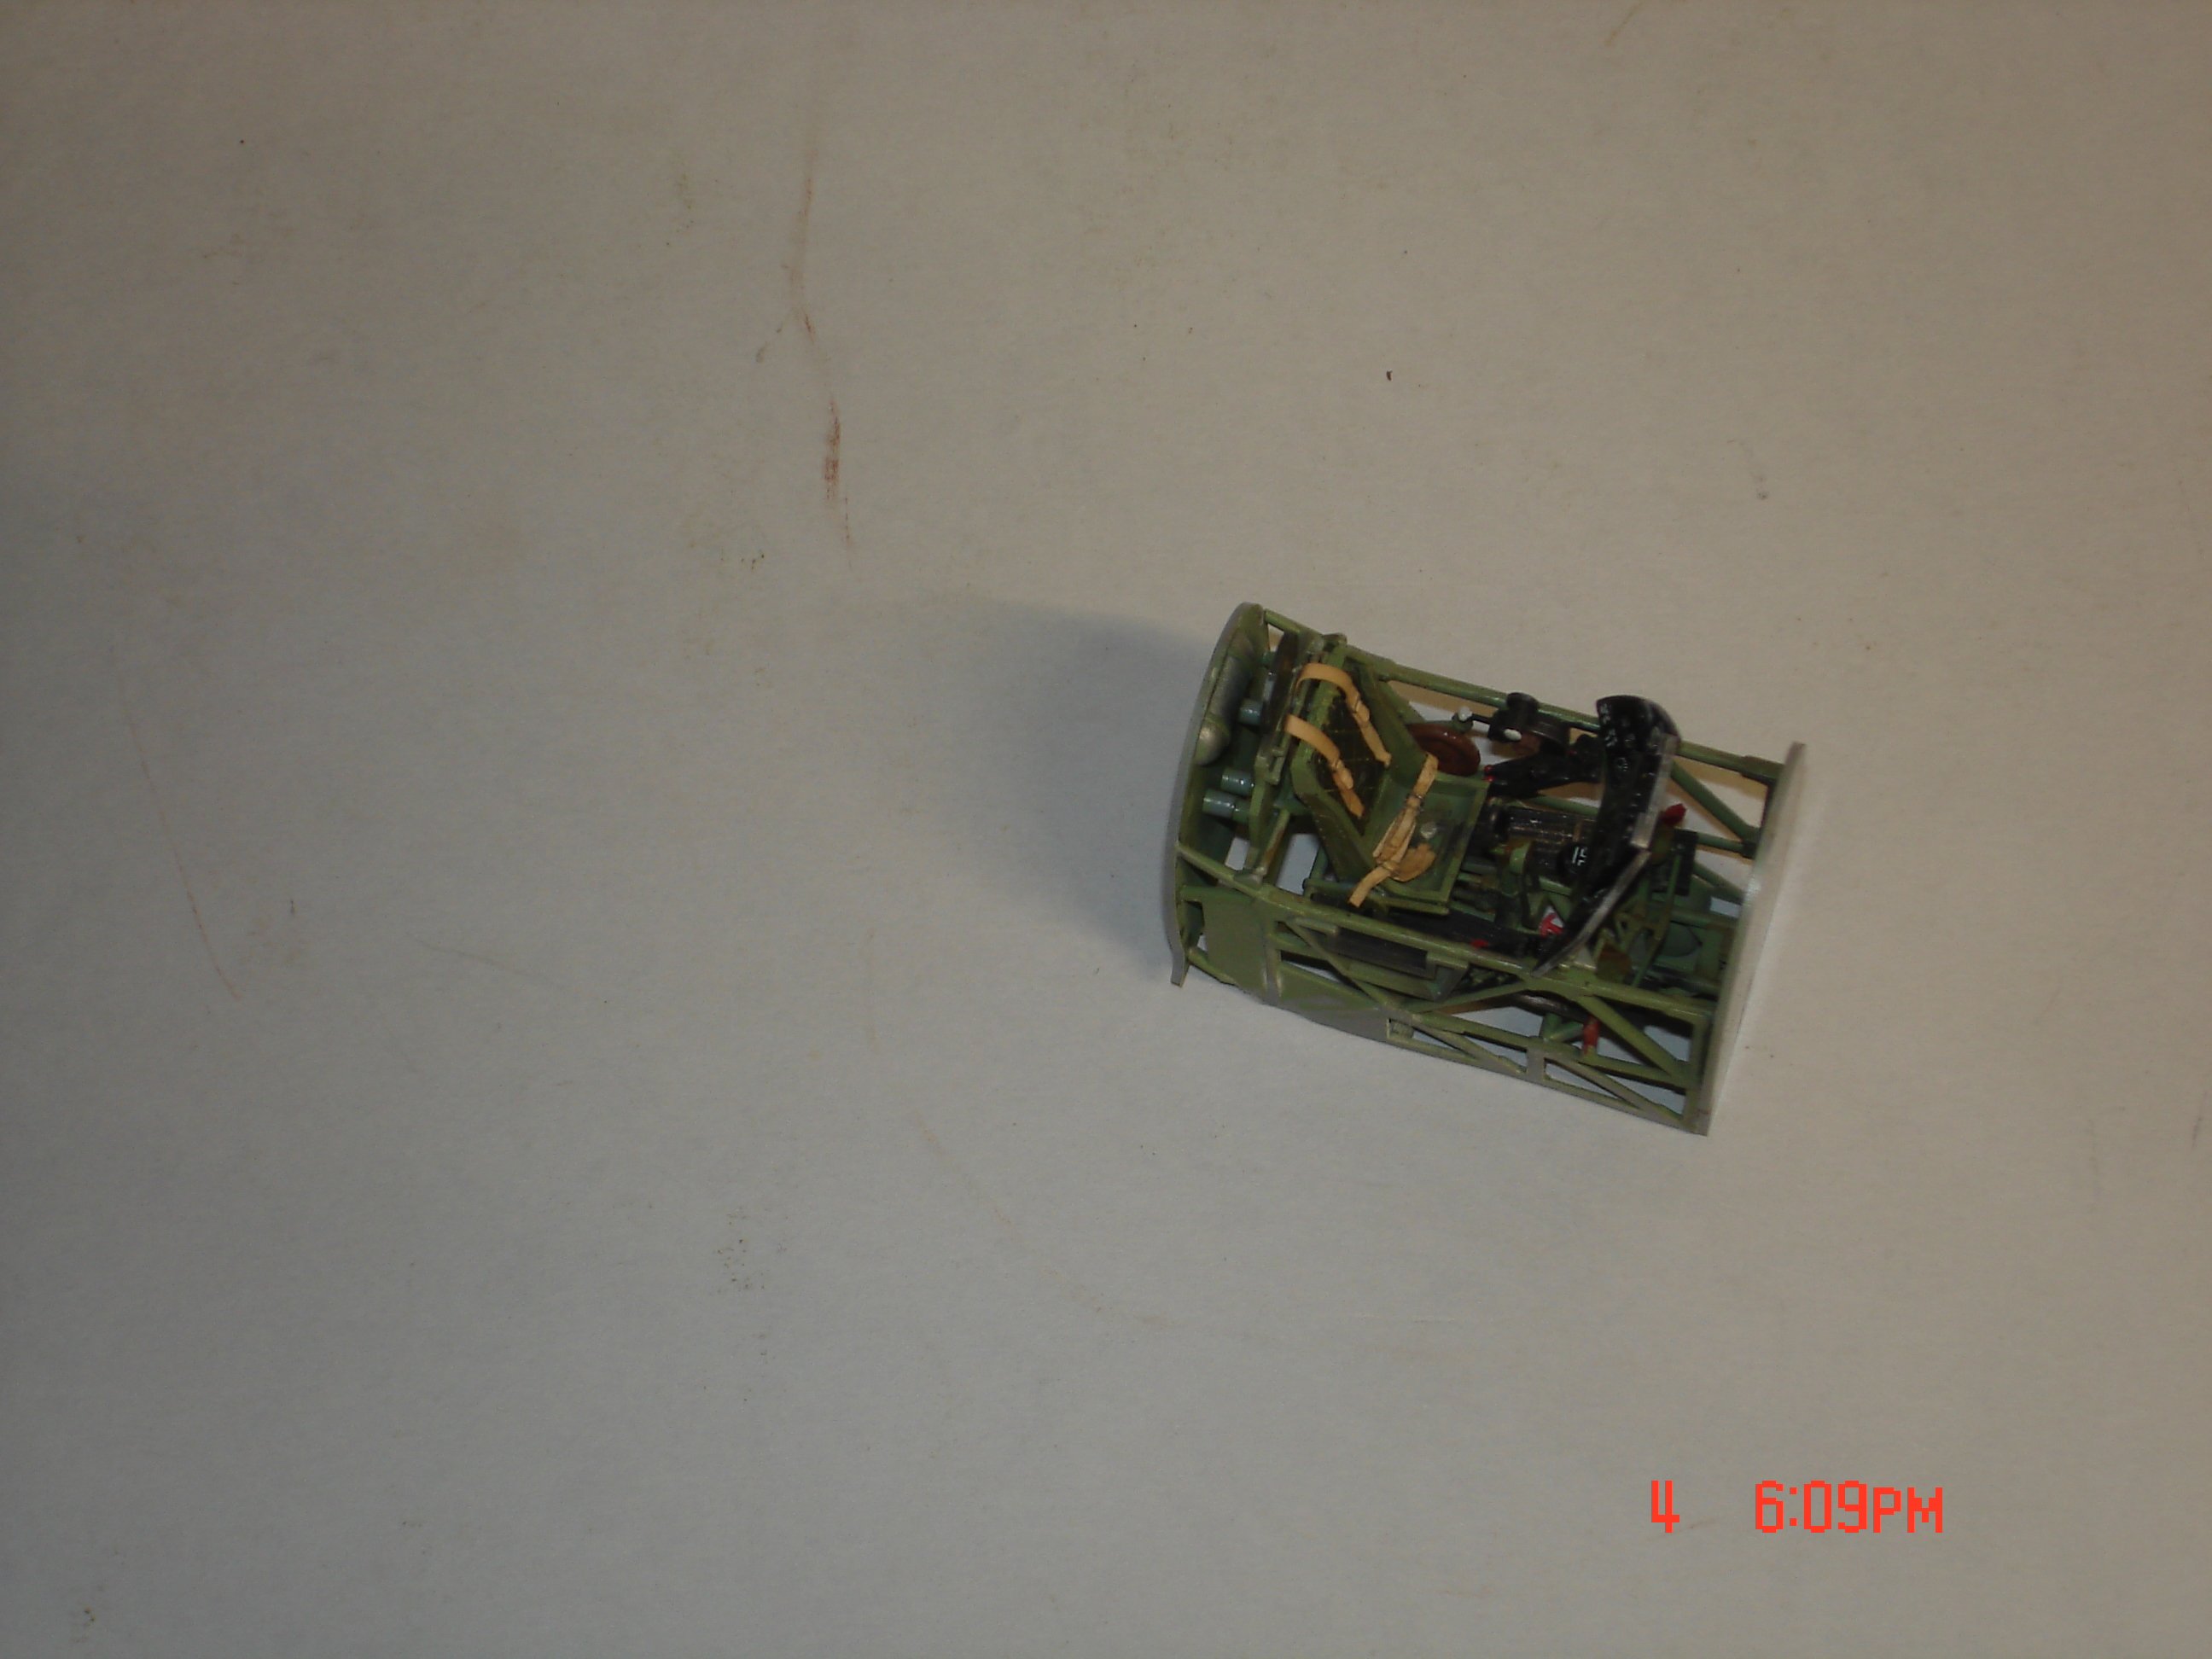
Revell/SH Hawker Tempest in 1/32-Finished
KevinM replied to KevinM's topic in LSM 1/35 and Larger Work In Progress
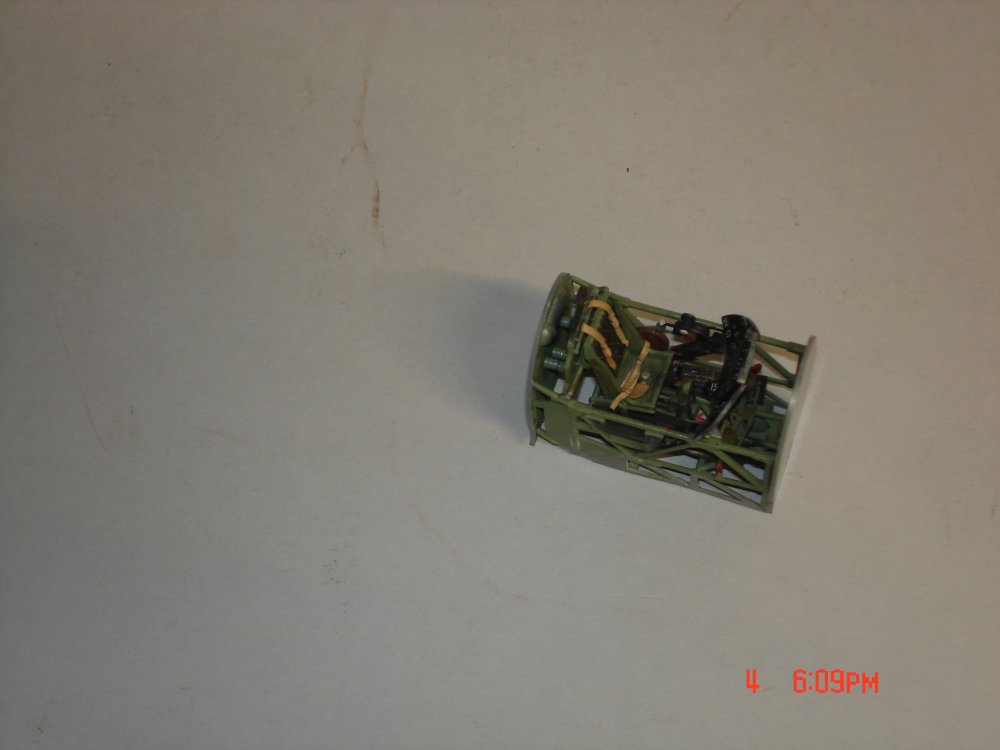
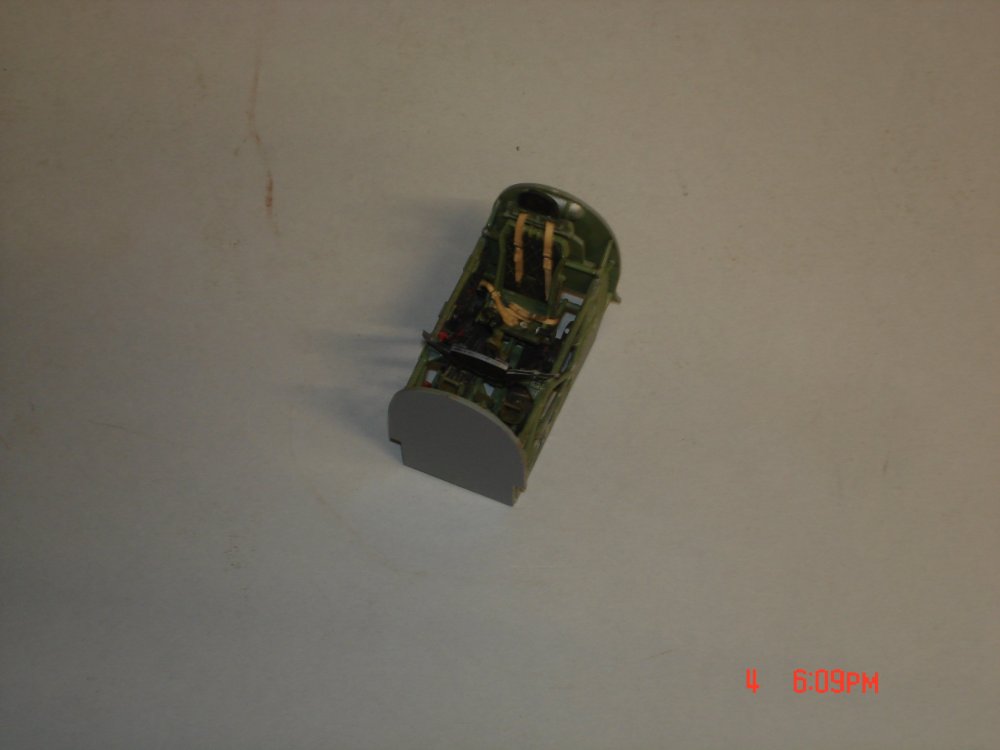
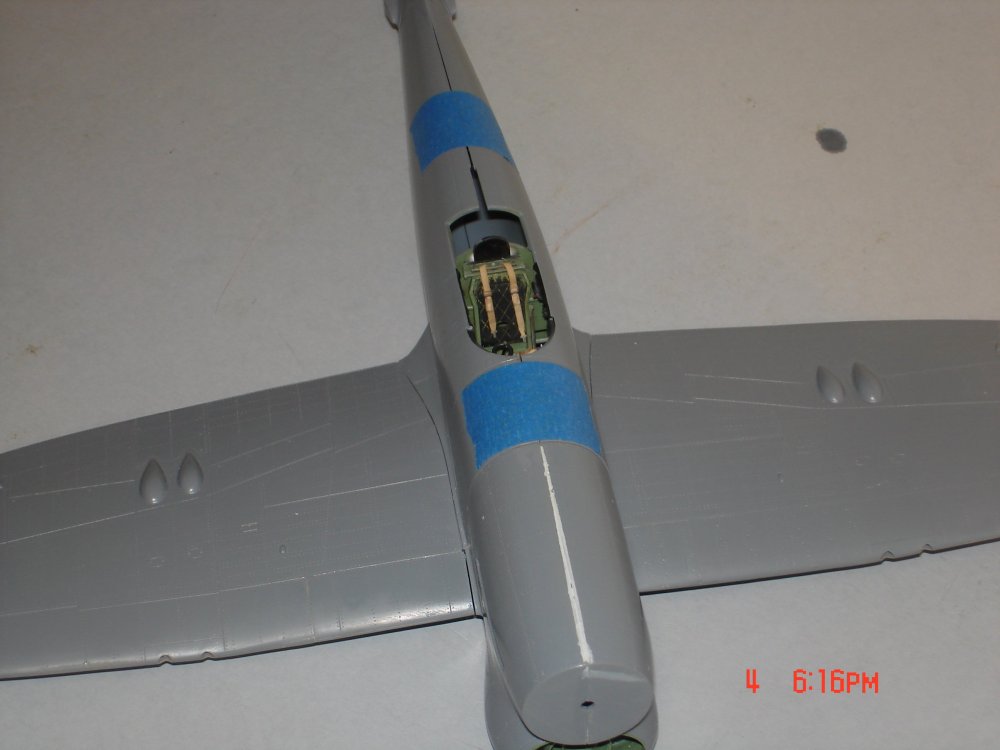
The copit is complete and let me tell ya building the seatbelts well let's be Nice a chore with Quinta on the scene that skillset was weak.The belts are RB Productions with a little of Tamiya dust applied.The very rear bulkhead while tight it opened the fuse outwards tightened up the fuse/wing seam even more so me likey.I am trying to loosen the bulkhead right behind the seat with the plate it's off to the right maybe 1/32' if that WD40 and Acetone were mixed and lightly applied no luck may just live with it. The nose to fuse is just about as good as it gets she has had her challenges "Yes" but I have kinda enjoyed them abit(I think I am getting like Ernie ).That's all for now guys got to put in a little more work tonight on her.
-
Revell/SH Hawker Tempest in 1/32-Finished
KevinM replied to KevinM's topic in LSM 1/35 and Larger Work In Progress
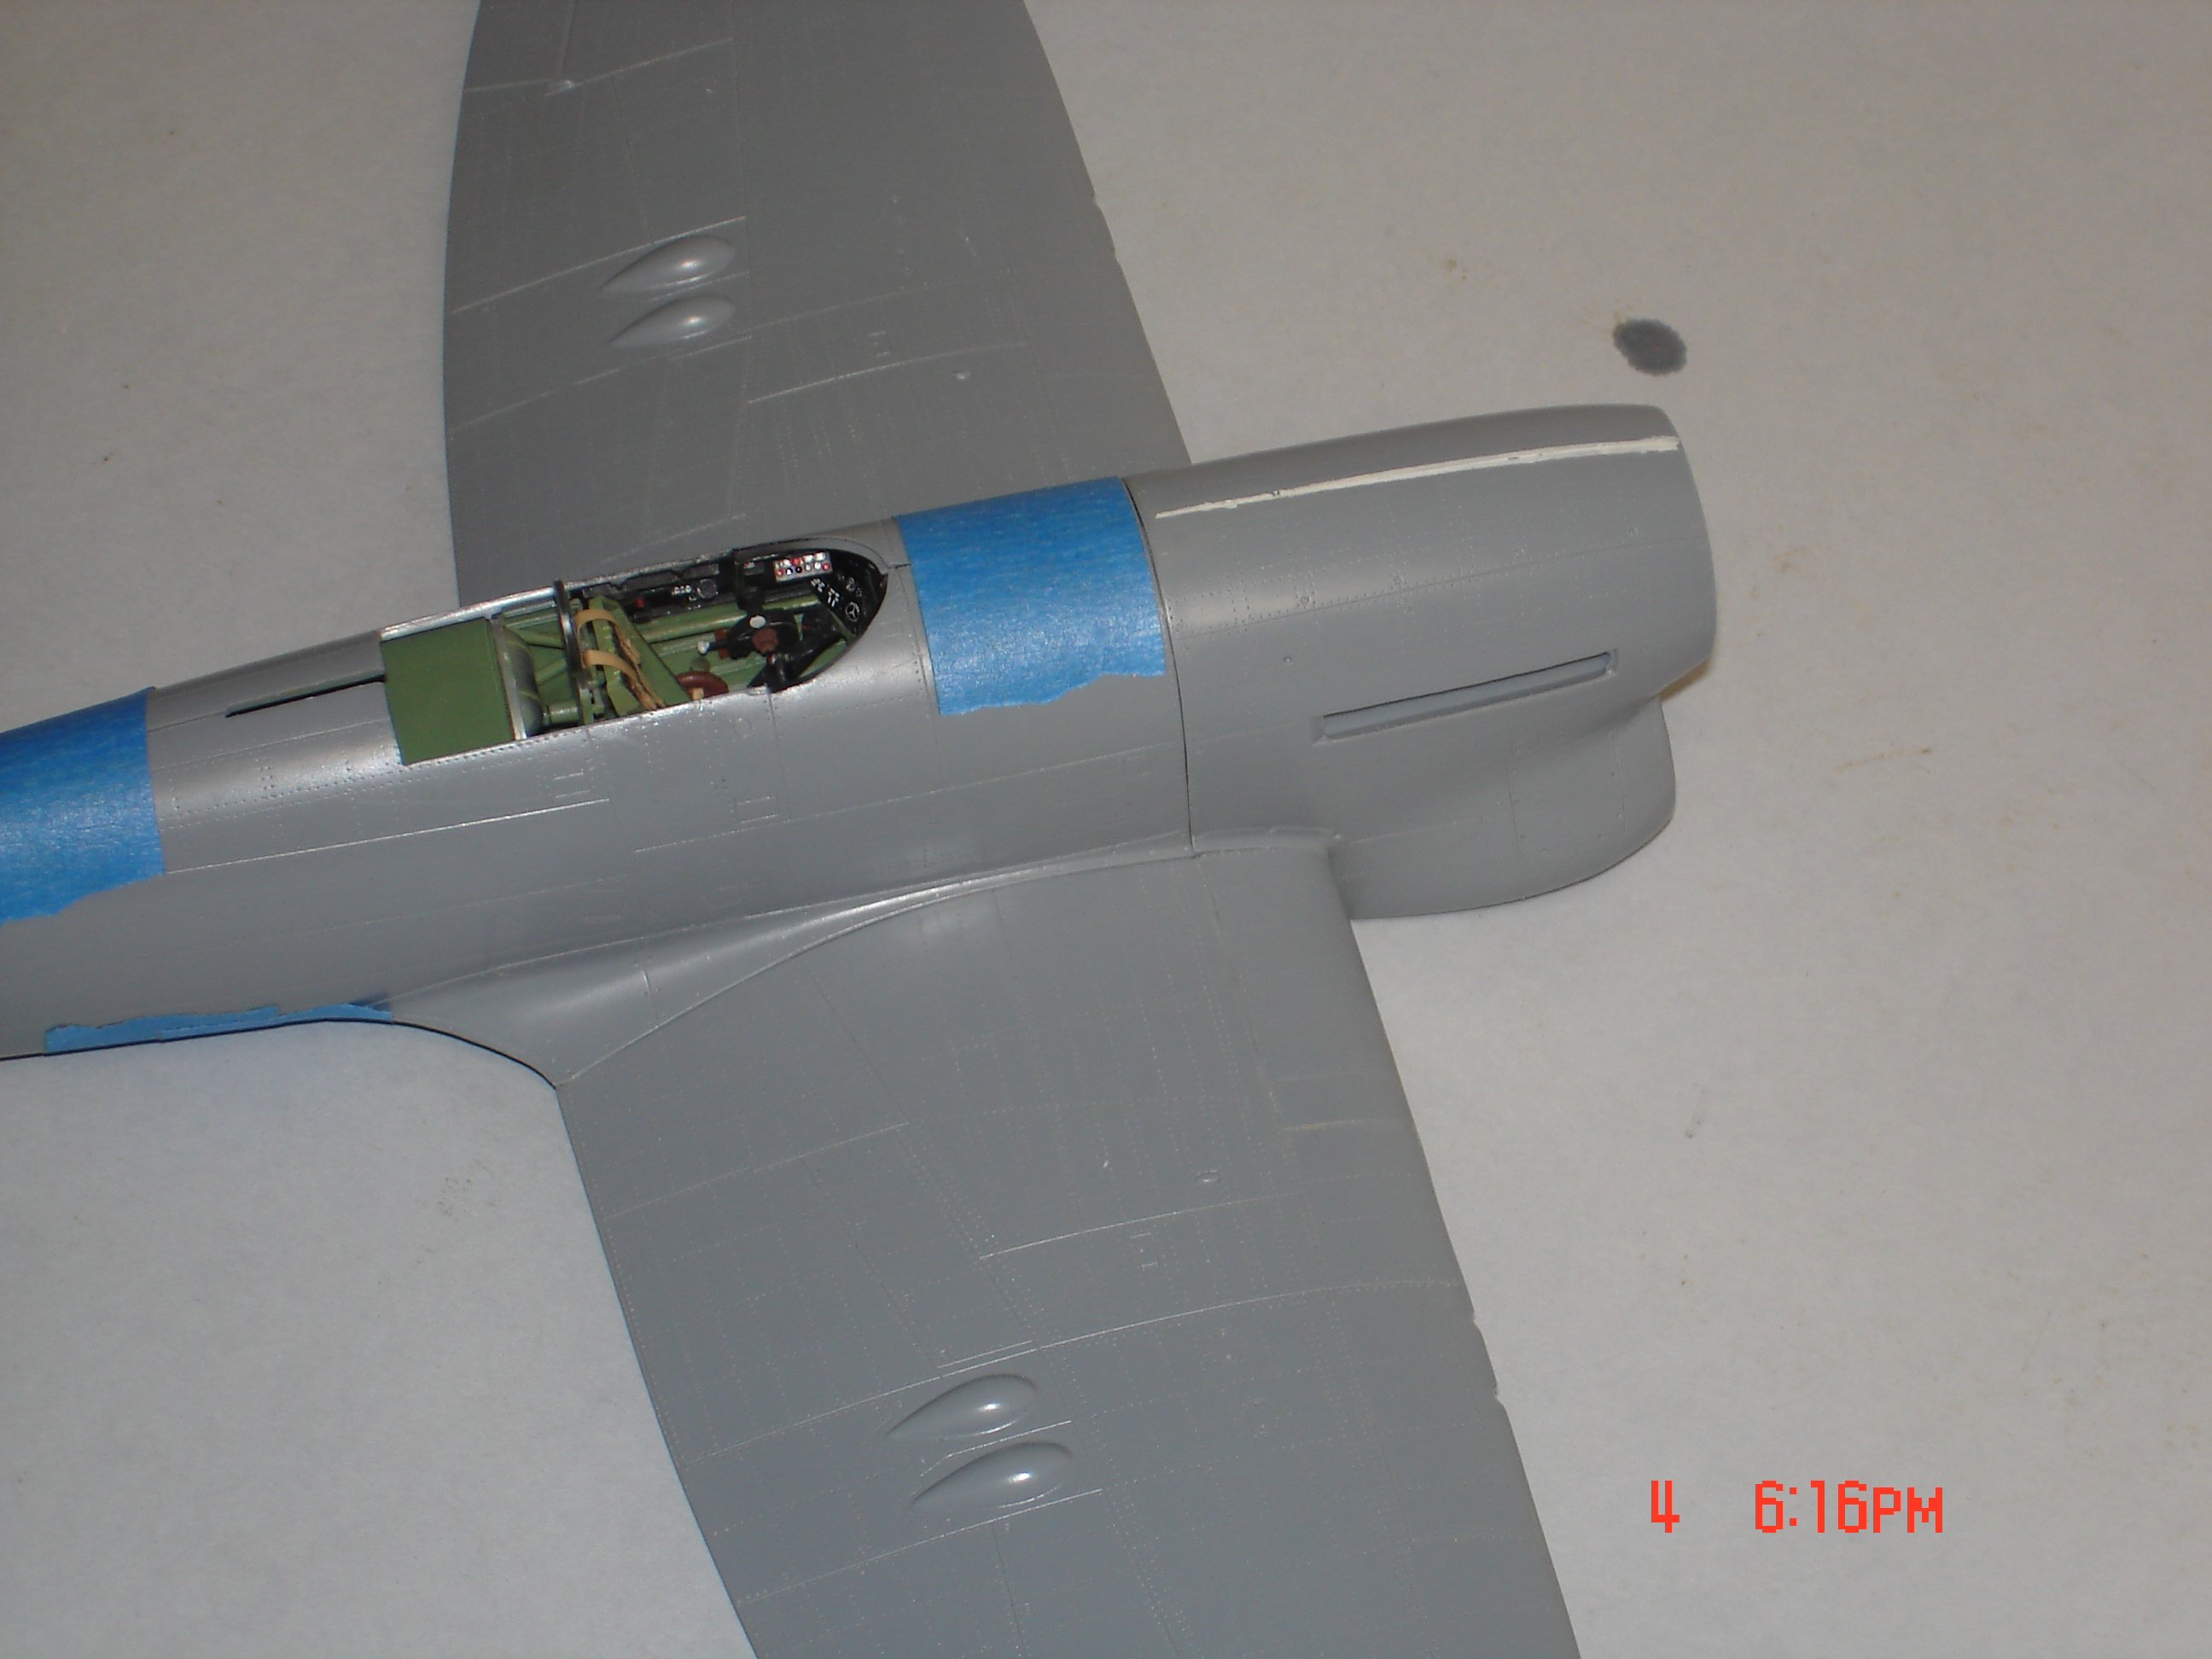
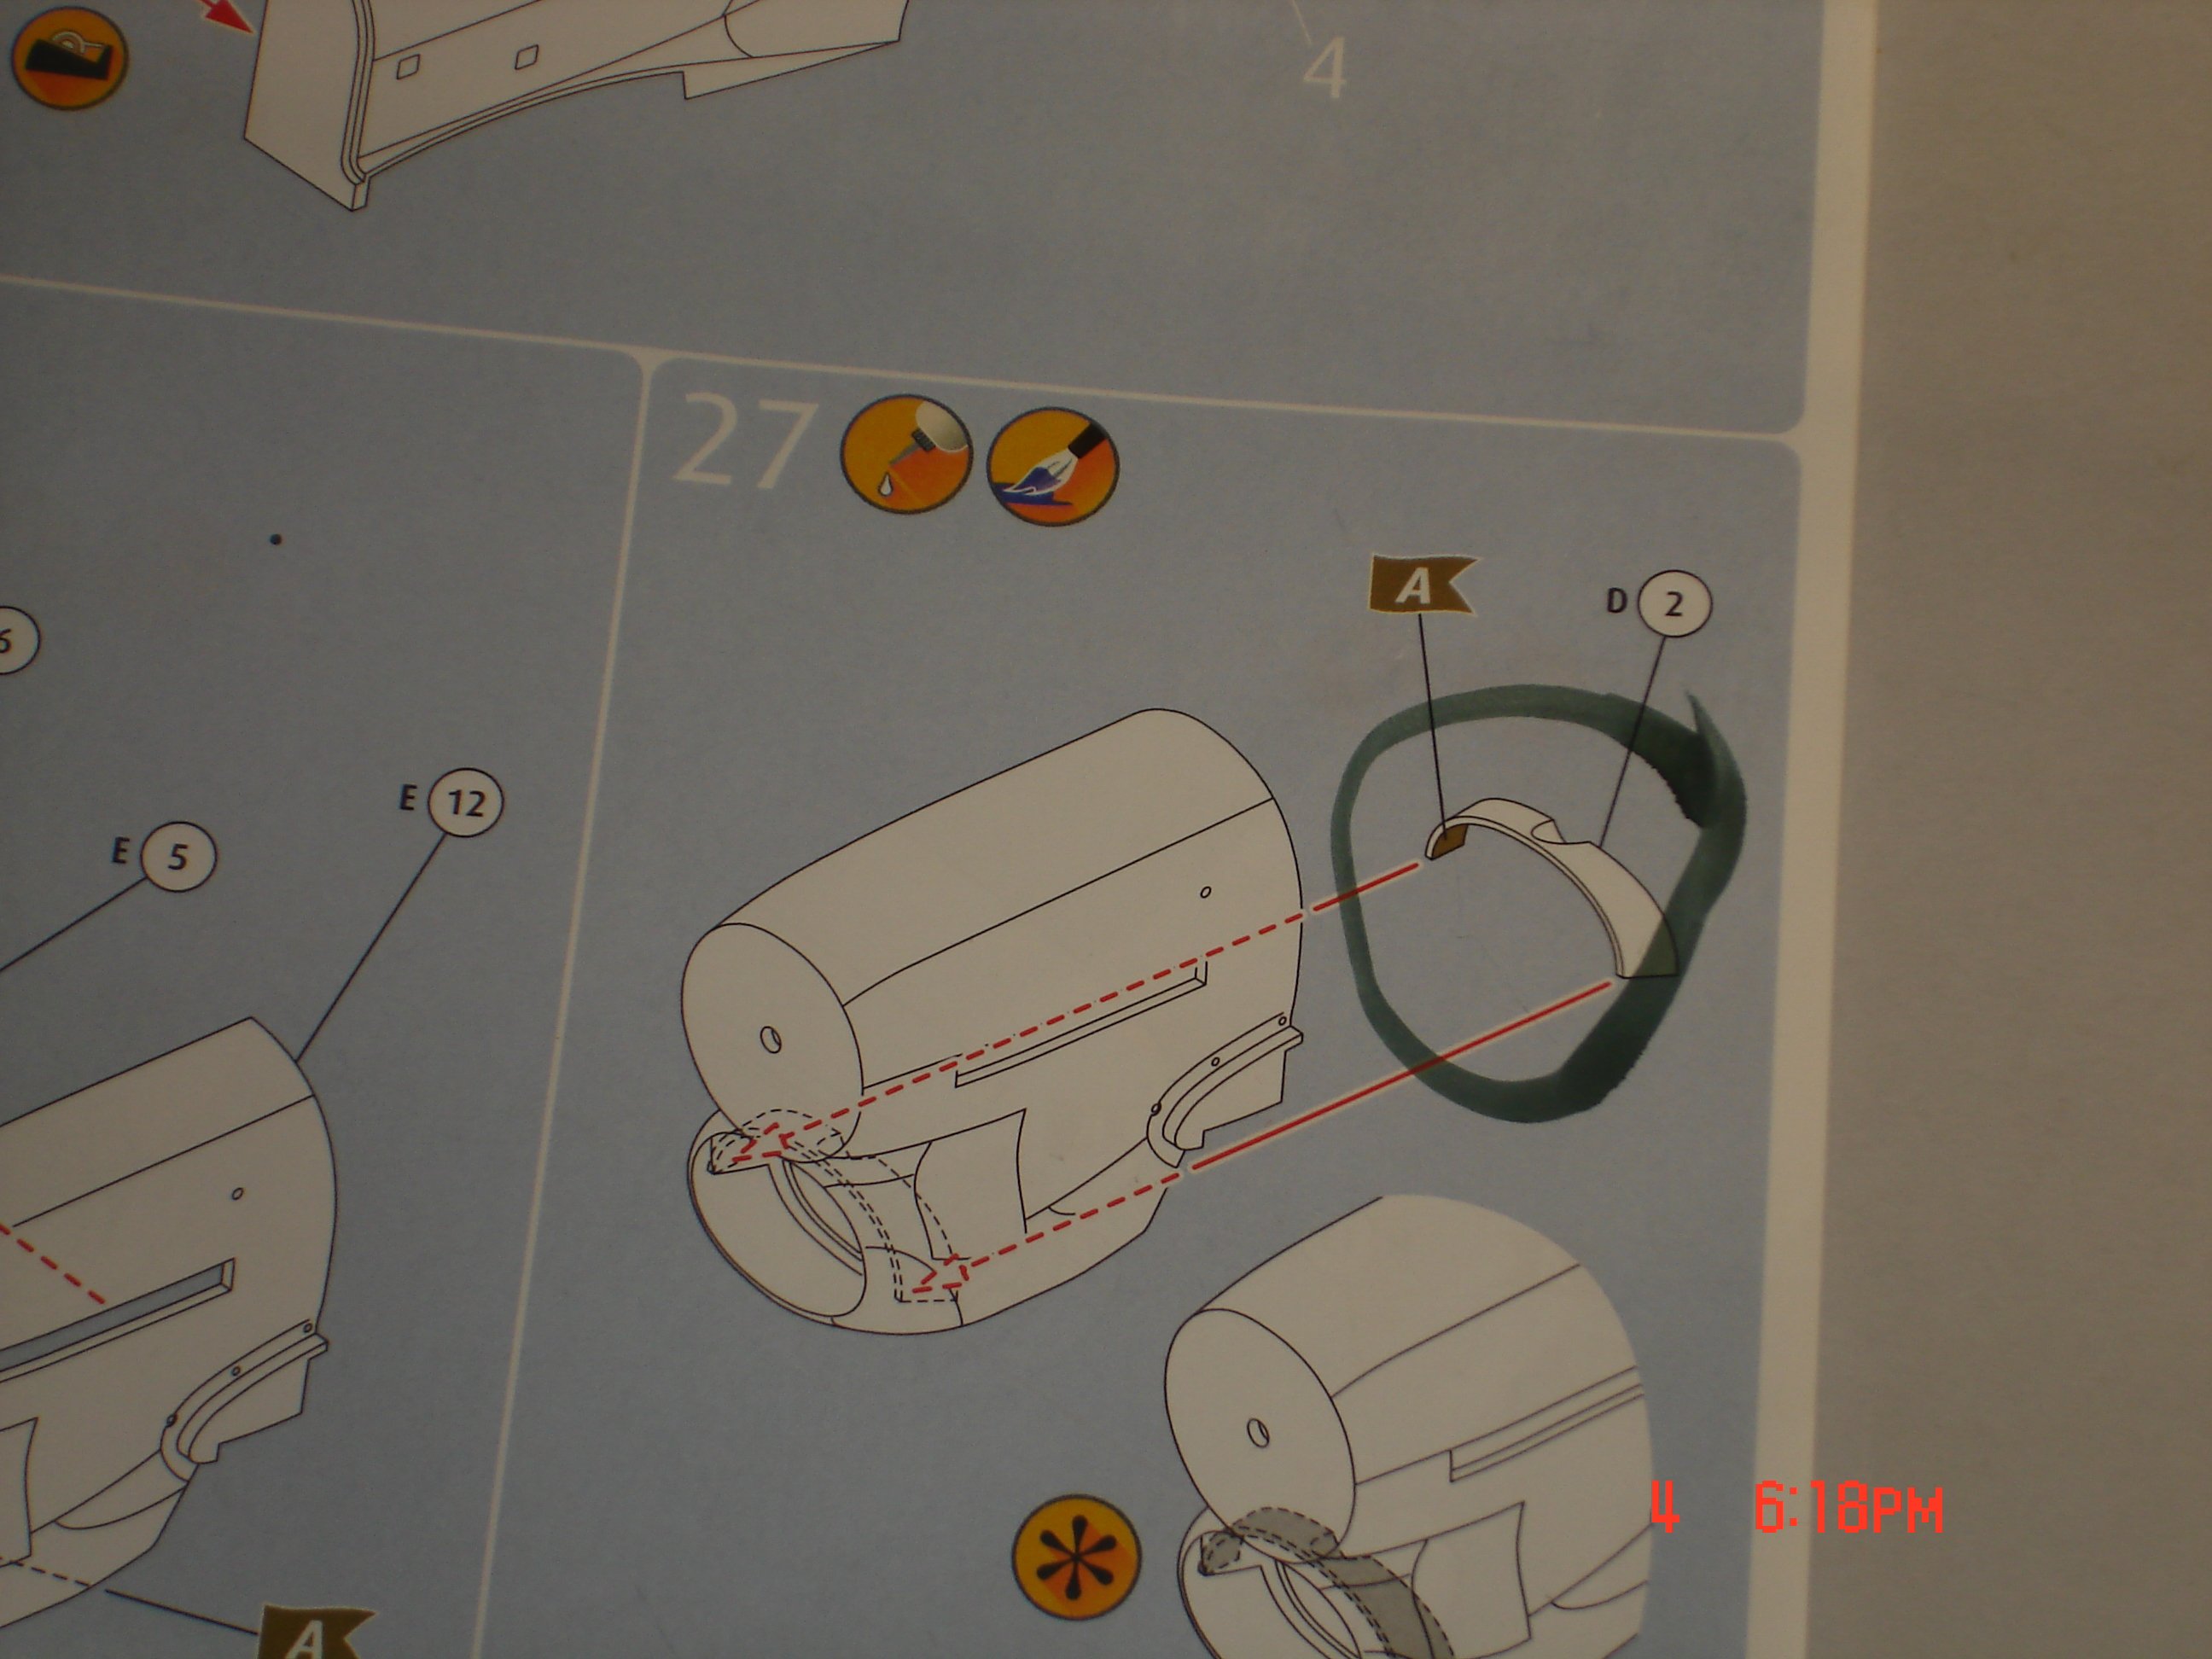
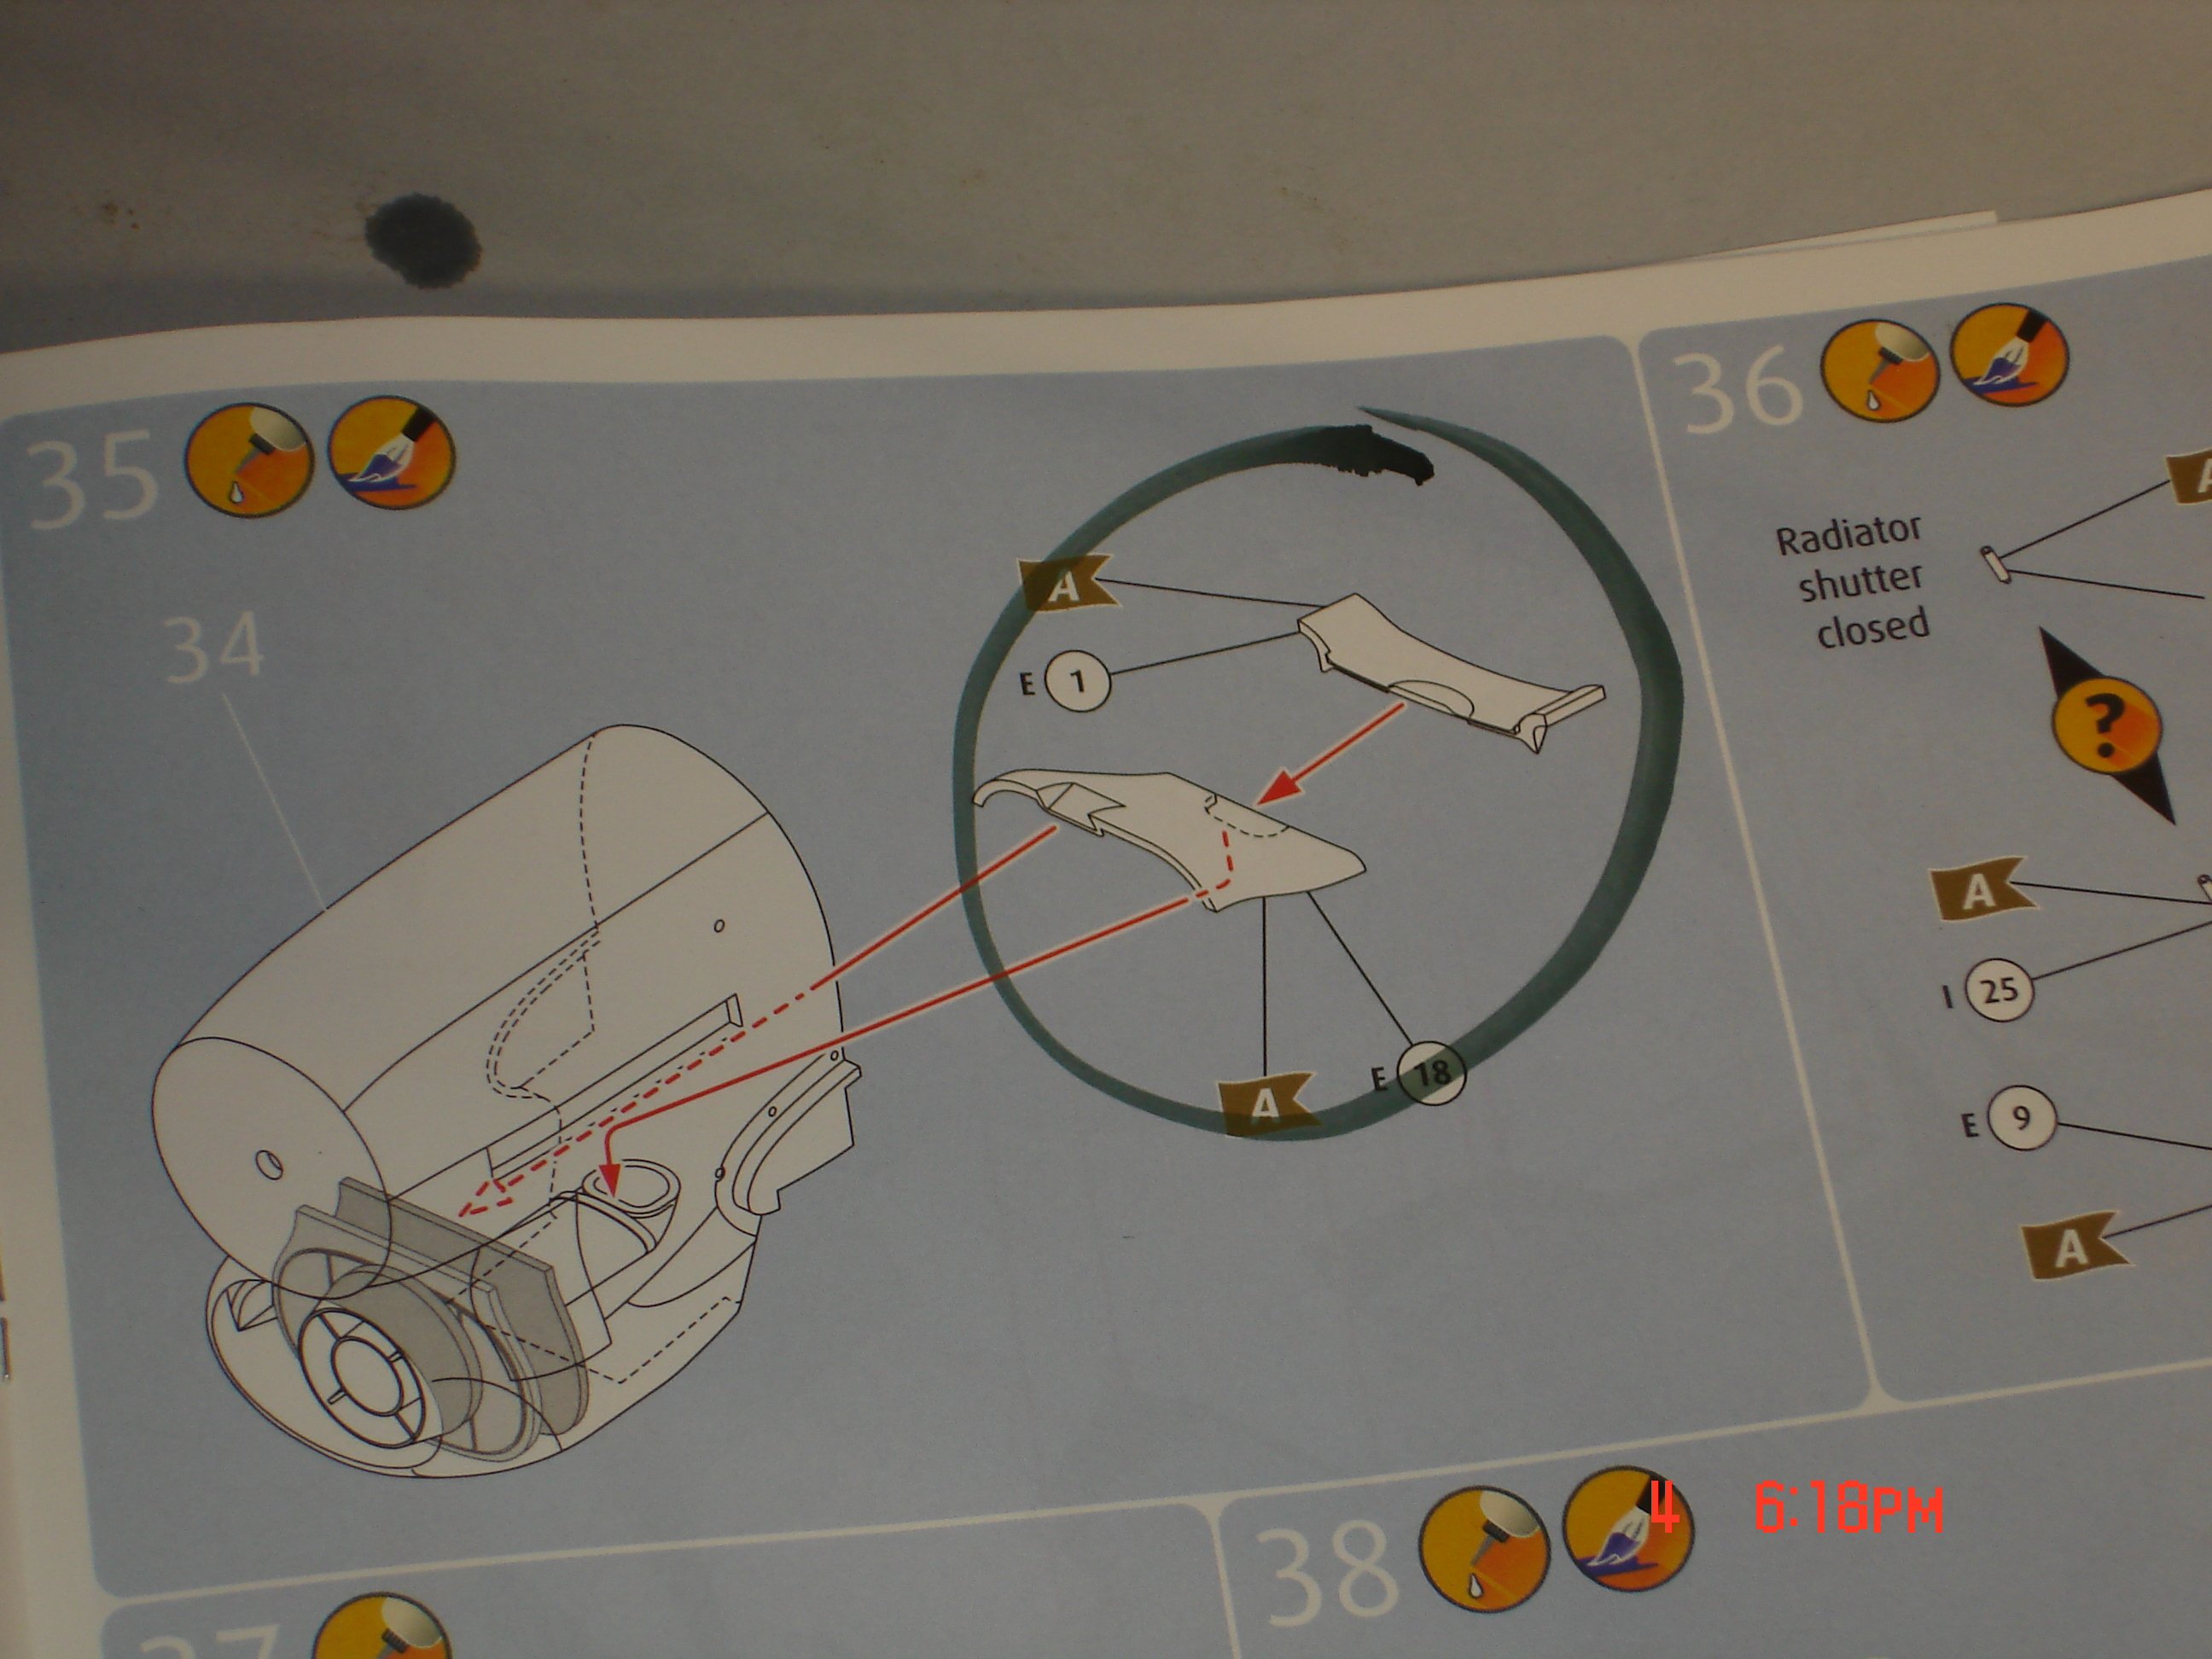
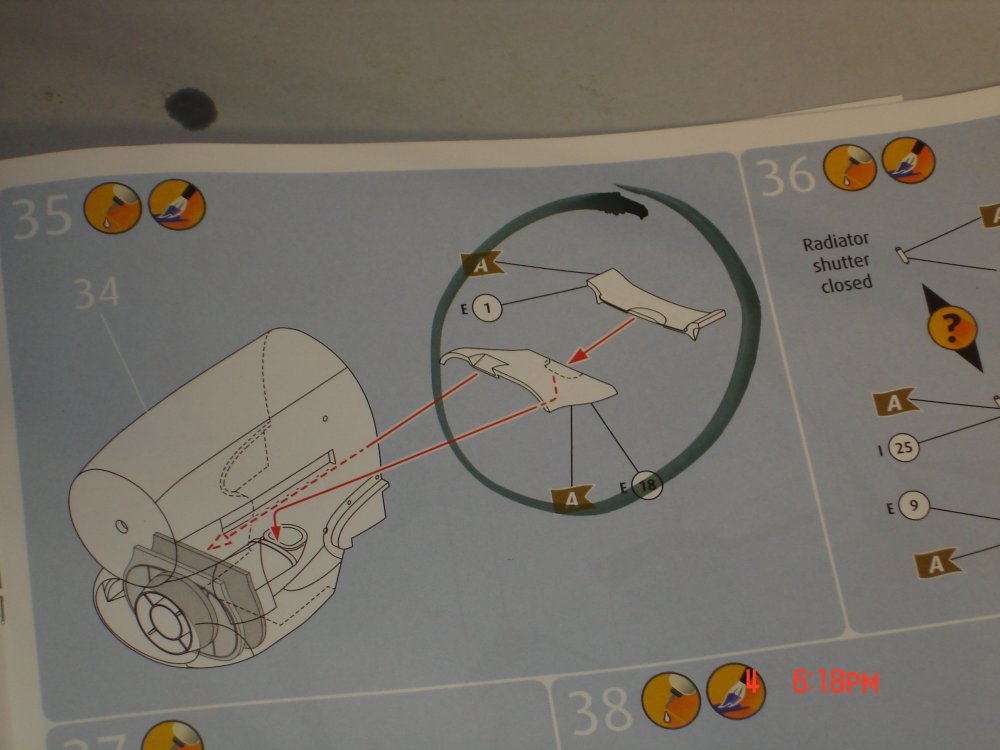
My first post tonight is going to be about procedure and Don't Forget the Part!.I was building the nose and having some issues wondering why is was such a PITA getting part H9/H43 and H10/44 to get a good alignment within the nose cavity?I continued to build I built up E2/E3 but did not glue in yet I went an grabbed E1/E18 part of the lower fuse and front wingroot while providing a roof inside the nose...it was about 1/32" off coming out the back of the nose.I had to file E1 and sub-assembly #34 accordingly all because I forgot to install D2 in the nose which would of aided on a positive blocking plate for H9 and H10.Just a heads up it works this is one part of the build you follow the instructions to the T.I got it all worked out just extra work for me.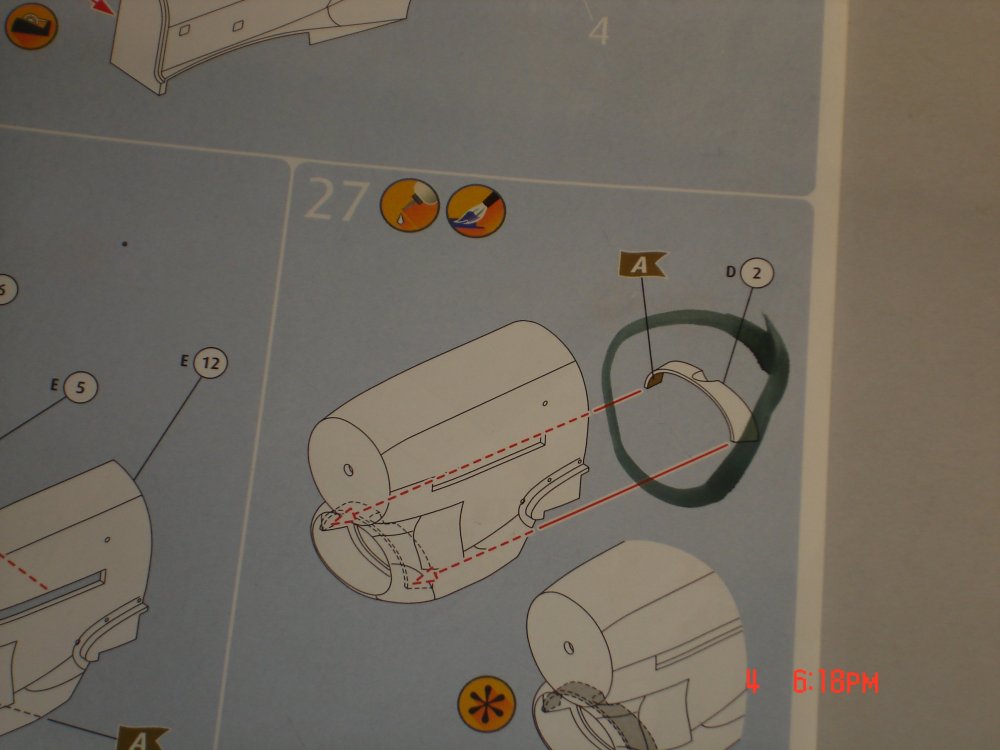

-
So Ernie how did you do the wing? Bottom on first or build and fit?The fuse and pit came out really Nice.
-
This is coming along very Nice Bill I just had one of those SNAFU's on the Tempest it to was sorted also.The paint which scheme?
-
2nd that!!
-
Nice looking gear Jeroen!!