


Landlubber Mike
-
Posts
1,277 -
Joined
-
Last visited
Content Type
Profiles
Forums
Events
Gallery
Everything posted by Landlubber Mike
-
I have the Vallejo clears but haven’t really used them yet. I have only used them for interior items or to hand brush where I want a flat coat for a particular part surrounded by parts of a different finish. I’ve also used them to touch up things like CA spots where I break something off and need to glue it back. A little matte and the shiny CA spot is gone. I’ve used Testor’s Dullcote in similar situations, but I’m looking to minimize the product lines as much as possible. Difficult though as products from different brands tend to have different strengths and weaknesses, so some seem better in certain applications than others. On the multiple builds, I tend to get burned out and need a mental break from a build, or I get stuck and can’t figure out what to do (like the rigging on my Walrus or the cowl ring on my Brewster Buffalo) so I put my energies and excitement into something new. Or, I’ll have similar enough kits so will bucket them together for efficiency- I have a few 1/700 ship models that are 95% done, but I’m going to finish them together by building their sea diorama bases st the same time. That being said, I’m pretty much spending all my energies doing the sandbox builds given that I’m trying to complete two before the deadline. I did take a couple of evenings to work on some 1/700 aircraft for a Japanese army escort carrier that I started a while back. With how easily the Hasegawa Hs 129 kits are falling together, I figured I’d torture myself with some 1/700 PE to keep me on my toes. There are certainly times I wish I went full bore on a subject like you do! I try to keep physical and mental notes on where I am on builds, but sometimes I lose track of what I’m supposed to do or even where I put the parts.
-
Looks so good Chris! The Eduard instructions are one thing, but seeing the camo in 3D on the model itself is quite another. Really striking scheme for sure. On the subject of glosses, I forgot to mention that I've also used the Mr. Super Clear in a rattle can. It works pretty well, and is very easy to spray compared to Tamiya rattle cans where I've found it's better to decant as the nozzles on the Tamiya cans tend in my experience to spit, etc. Do people still use Future to gloss coat before weathering/decaling? I think I tried it once or twice when I first got back into plastic models, but haven't since as I've had the [irrational?] fear that it just won't do the job as well as products specifically designed for modeling. Would hate spoiling a nicely built and painted model with a bad gloss coat.
-
Agree with Kevin - that panel liner looks really good. I might have to switch to X-22. I've been using Mr. Color's gloss but the stuff is like a sticky tar in the jar and needs a lot of leveling thinner to spray right.
-
Just caught up with your log Peter. Looking great! Your cockpit work is always so good. I should probably stop looking at this log as I've always thought it would be fun to build a helicopter - your work is making the urge more and more irresistible!
-
Westland Wyvern S.4 late- 1/48 Trumpeter
Landlubber Mike replied to BlrwestSiR's topic in The Sandbox Group Build.
Moving along quickly - looking great! -
Special Hobby 1/32 -Tempest Mk.VI -Egypt 1949-Finnished
Landlubber Mike replied to KevinM's topic in The Sandbox Group Build.
Great choice Kevin! -
Looks great Chris! Nice job on the camo, wow!
-
Hasegawa 1/32 Bf-109 F-4-Finished
Landlubber Mike replied to KevinM's topic in The Sandbox Ready for Inspection.
Well done Kevin! Really nice job! -
I bought glues, etc. directly from VMS: https://www.vms-supplies.com Very fast shipping, good products from my initial use of them. Their canopy glues are very good.
-
Man, you work fast PW! And with such amazing results! Great work! Is that VMS product a blackening solution for metal products? On the wooden ship model side, there are various blackening agents for things like cannons which are typically turned brass. I believe some of the blackening products are off the market so good to know that others have stepped in. I recently bought some VMS products - different adhesives, etc. - and like them.
-
1/35 Tamiya M51 1967 Six Day war
Landlubber Mike replied to PanzerWomble's topic in The Sandbox Ready for Inspection.
Wow, nice job PW! -
Hasegawa 1/32 Bf-109 F-4-Finished
Landlubber Mike replied to KevinM's topic in The Sandbox Group Build.
Great painting and decal work! Looks like you're just about done! -
Thanks Peter! It took quite a bit of time to work on the kit and aftermarket pieces to get them to work together, but the remainder of the build should be fairly painless. There are only nine instruction steps for assembly, and the fit on the kit is very nice - I'll need minimal filler it looks like. Probably the trickiest part will be the painting. Definitely a different type of build than the JRS-1 I just completed. Maybe I need to add more Hasegawa kits to the stash. 🤔
-
Looking good with some paint on it. Nice!
-
I don't mean to be too critical of the kits. The Hobby 2000 is 25 years older than the second kit from Hasegawa that I bought, and both otherwise have excellent fit. At least on these kits, the issue is very minor and should be easily remedied. Any estimates on how many print runs can come off these releases? It always amazes me how many old kits from the 50s, 60s, 70s, etc. are still floating around.
-
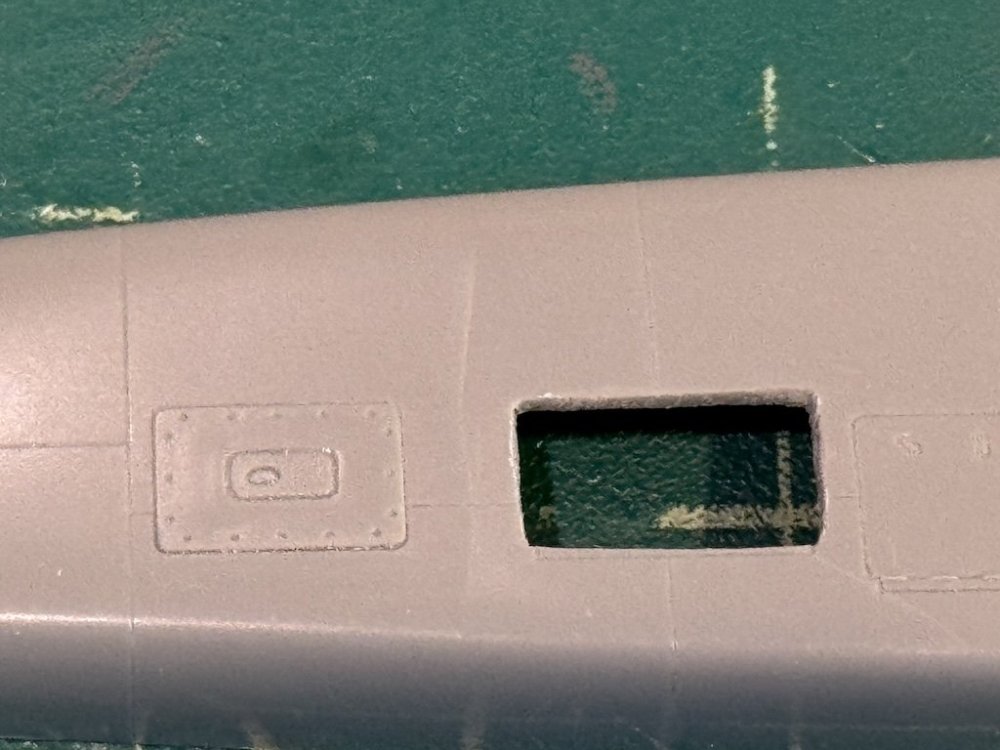
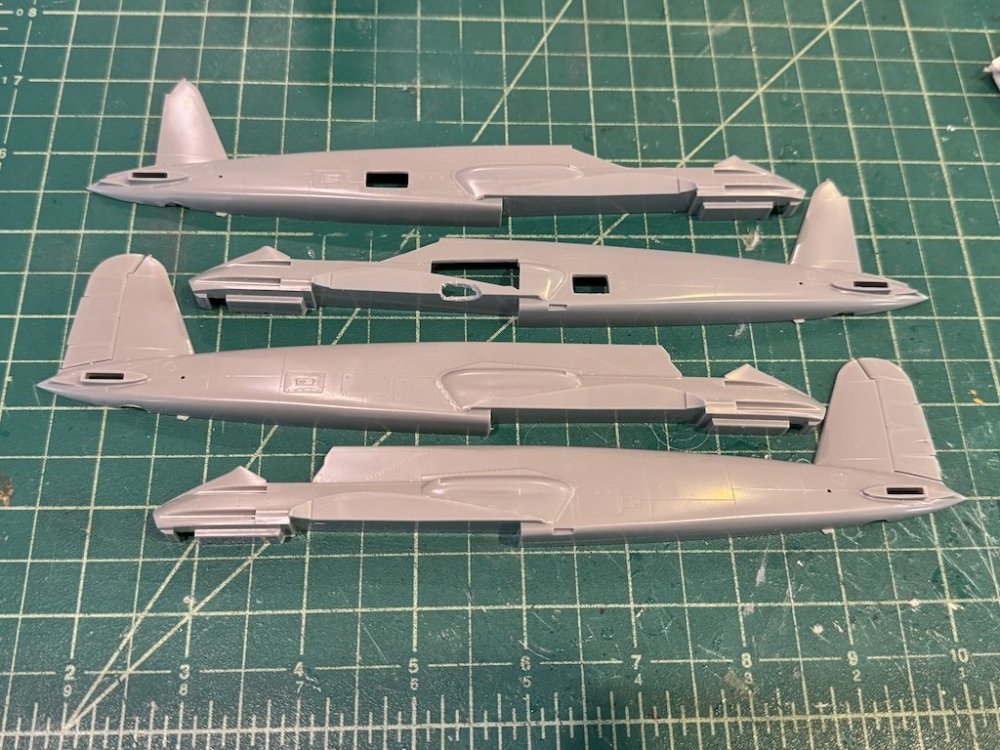
Hey Kevin - the one that Chris pointed out might be a panel line given how straight it is, though it's not shown on the panel/rivet line diagrams that Martin forwarded. The one to the left of the cut out definitely seems to be a flaw from the mold though given its shape. There's a similar one on the other fuselage half, but it's not symmetrical to the first one.
-
Great subject and great start Peter. Those parts look very sharp, should be a beauty when you work your magic on it. Hope you and Diane are doing better!
-
That came out really great PW - very nice job!
-
1/35 M923 Gun Truck, Italeri
Landlubber Mike replied to Martinnfb's topic in The Sandbox Group Build.
Looking really good Martin. Can't wait to see it painted up! -
Thanks Chris - and good eye, I didn't see that second line! I think it might only be visible on high magnification but I'll keep an eye out now that I know about it. I'll try a coat of primer to see if the lines are visible and then go from there. Maybe a light dabbing of Mr. Putty will do the trick. Thanks!
-
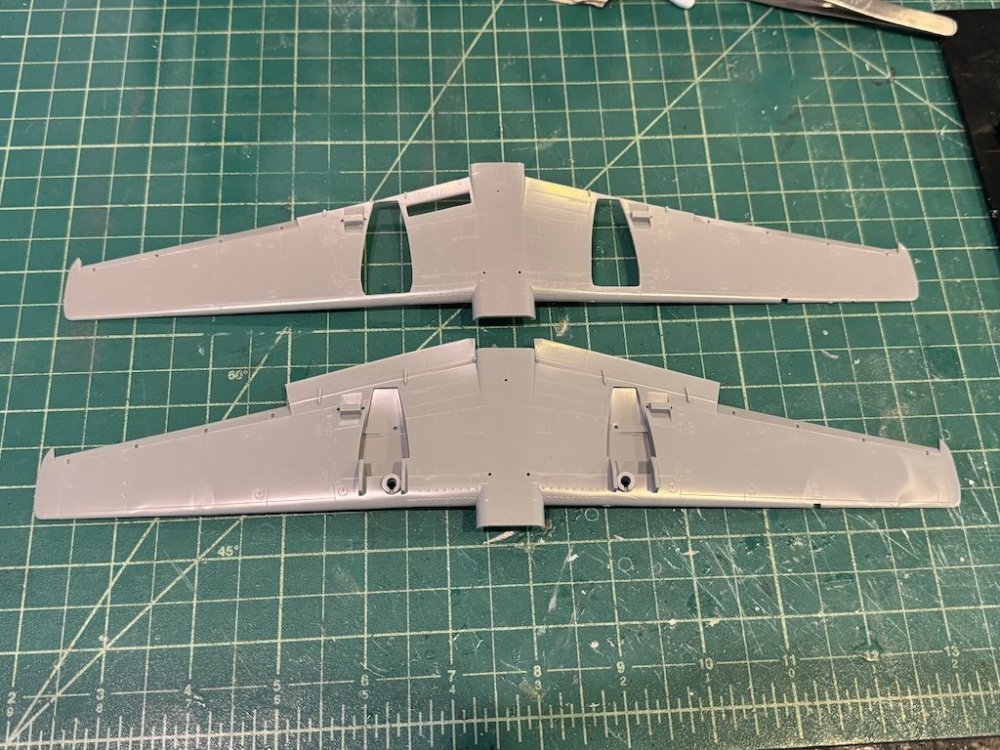
So the fuselage and the wings have a very faint line, kinda like a crease or an indentation as you can see in the picture below (between the open panel and the unopened one): Is this something that will be covered up/filled with primer, or do I need to try and fill it? Any suggestions? Since the wings on my second diorama are removed from the plane, I actually ended up using the wings from the older kit as the lines were much fainter than those on the newer Hobby 2000 kit -- proof that the same molds are being used.
-
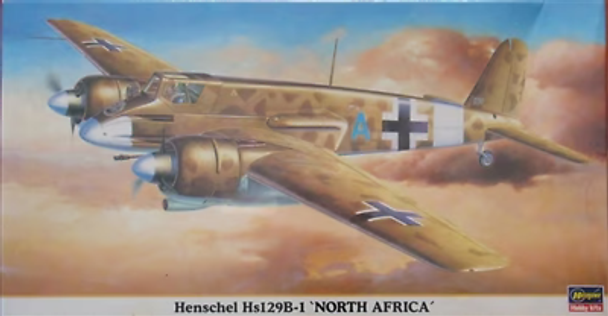
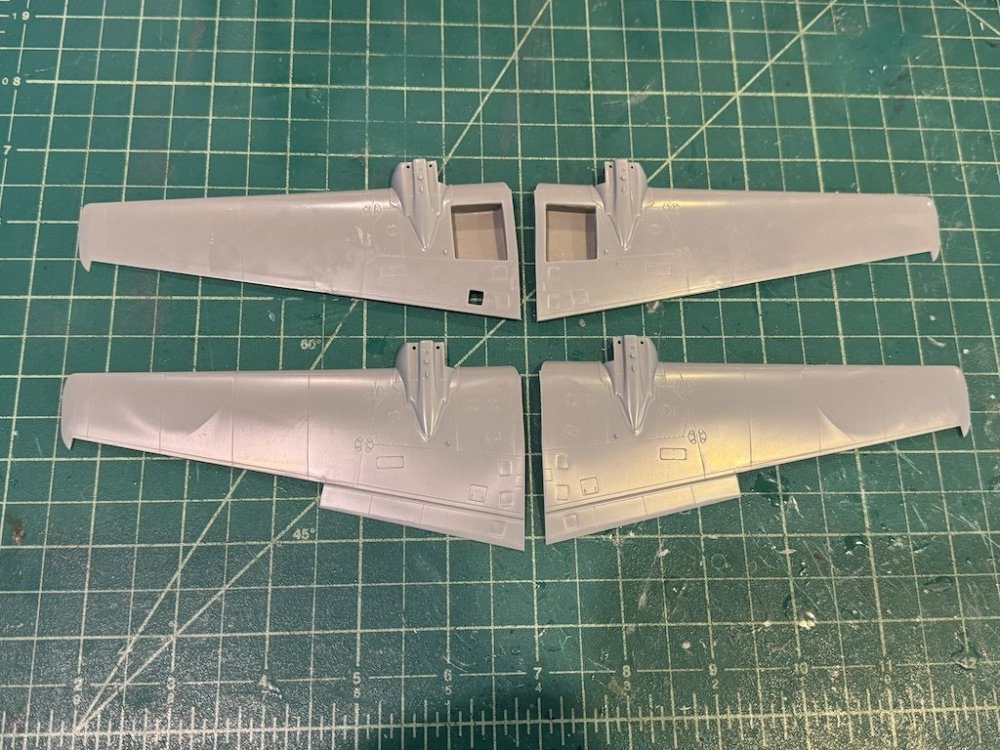
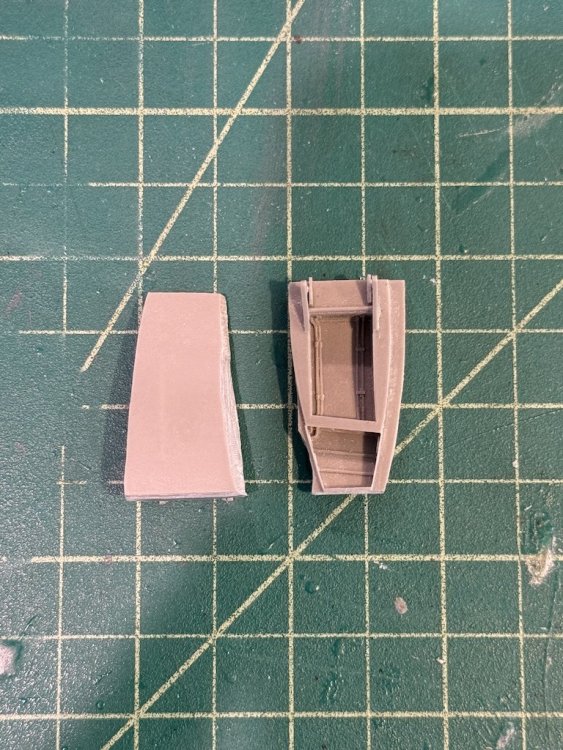
I managed to find a 2000 boxing on eBay for a really good deal, so I will do two dioramas (especially since I already have an Opel Blitz kit I can use for the tow vehicle). It's for a B-1, but really the only difference is the intakes on the nacelles so I can easily convert it. Another good thing is that this kit has an "O" decal, which I can use as a template to create a mask the Blue "C" for the subject I'm doing. I've spent the last few days working on the various CMK sets, cutting them from their plugs, cutting open the fuselage and wings, etc. Here you can see what was cut from the first kit versus what the original parts look like from the second kit. Given that the second diorama will be covered in tarps and partially disassembled, I probably won't use much aftermarket at all on it. If you're building this with the various CMK sets, the wing/undercarriage details need to be modified to fit everything in the wings. You have to really shave back the undercarriage tubs to be able to fit the wing fuel tanks from the CMK exterior set. I also had to cut an opening into the fuselage to fit the ammo magazine from the armament set. Thanks for looking in!
-
Take care of yourselves Peter - hope you and your wife are feeling better.
-
Wow, looks great PW! Really impressive.


