CANicoll
-
Posts
1,928 -
Joined
-
Last visited
Content Type
Profiles
Forums
Events
Gallery
Everything posted by CANicoll
-

Westland Wyvern S.4 late- 1/48 Trumpeter
CANicoll replied to BlrwestSiR's topic in The Sandbox Group Build.
Strange looking bird, Carl, but you've done a super nice job on that paint scheme and the underwing pieces. Wow, that is a LOT of work. Three pieces per rocket?? Nice work on the elevator tabs. Agreed that painting is better than decals. The fit of the kit looks really tight from here. Beautiful. -
Hasegawa P-40E Robert L. Scott
CANicoll replied to JohnB's topic in LSM 1/35 and Larger Work In Progress
Nice John! I have not tried the Has P-40 kits but your cockpit looks terrific OOB. Wow -
Tamiya F4U-1D finished
CANicoll replied to JohnB's topic in LSM 1/32 and Larger Aircraft Ready for Inspection
Sweet John! -
Rog. DAMN. Amazed at what you are having to deal with but also at your great attitude and clear vision for your future, inclusive of Jane. That positive attitude is fantastic. Certainly you have down days, but I hope things keep coming together for you. Good luck on the jobs front, of course!
-
1977 Revell P-40E Build video log
CANicoll replied to PeteF's topic in LSM 1/35 and Larger Work In Progress
No worries. Hope you feel better soon!! -
Mike: I just searched for VMS and found their stuff on the Hobbyworld website. Is this the stuff you are referring to on the tarps? VMS - WFU Modeling Paper I'm sure you found this video on using their Modeling Paper. VMS has a ton of how-to videos. Never found them before... I seem to always learn something new from you!
-
Oh, I do have a *lot* of wine bottle tin foil!
-
1977 Revell P-40E Build video log
CANicoll replied to PeteF's topic in LSM 1/35 and Larger Work In Progress
Pete, If you haven't ordered this yet I can send you my bottle. I keep forgetting I even have it, but I can see where it would be useful over old decals to keep them from fracturing. LMK. -
Mike, incredible work on, well, ALL of this! The detail is amazing and I'm amazed at the pushrod work. The fuel bowser to me looks like a baby buggy, every time I see one. Can't help it! Nice work on the cowlings - I'm looking forward to seeing how you do the tarps. Could come in handy sometime! Have a good Christmas? Sounds like it was a quiet one. Happy New Year, neighbor!
-
1977 Revell P-40E Build video log
CANicoll replied to PeteF's topic in LSM 1/35 and Larger Work In Progress
One of my favorite planes! -
What is on your bench right now ? Share a picture :)
CANicoll replied to Martinnfb's topic in Modelling Discussion
Hope you are feeling better. Is that Steel wool in the background? What do you use that for? -
What is on your bench right now ? Share a picture :)
CANicoll replied to Martinnfb's topic in Modelling Discussion
Better! It is amazing how much detail a wash brings out. I bet it looks even better to your eye. I hear you on the markers. I used a Gundam marker on the Earnhardt #3 and had mixed results. I can see some places where they work great, others are a bit of a stretch. BUT, nice to have in the tool kit! -
Cobra Coupe - Le Mans - Model Factory Hiro 1/12
CANicoll replied to DocRob's topic in LSM 1/35 and Larger Work In Progress
Looking very smooth Rob. Can't wait to see some paint on it. Going to be a beauty. -
Ernie, Thank you again for another fun raffle. Your work is greatly appreciated!
-
Good morning and I hope everyone has a safe and happy Holiday season. Merry Christmas, Happy Hanukkah, Merry/Happy everything.


-
1977 Revell P-40E Build video log
CANicoll replied to PeteF's topic in LSM 1/35 and Larger Work In Progress
That does put stress on the decal, but then the age just finishes them off. But if you can keep the paper flat, it helps. But I've still had decals shatter even after that. That's why when using old decals I start with the under-wing ones in case they don't work. Kind of hidden then. BTW, I could not tell from the video - did you put down a gloss coat before decaling? Happy Holidays!! Video build log. Very cool. -
1977 Revell P-40E Build video log
CANicoll replied to PeteF's topic in LSM 1/35 and Larger Work In Progress
Don't you just LOVE old Revell/Monogram decals? -
Long delay, sorry, but have been doing some minor work. The decals continue to be an issue. (and I keep getting error codes when I'm trying to upload pictures, even those under 2 MB. arggh) The decals have that tan color and I'm having a very difficult time removing it from the tire decals. It is gone from about 65% of the tire decals, but does not want to seem to come off as easily from the rest.
-
Which I will never in a million years get around to building, Vodka not withstanding!
-
Very cool!!! Great story and great detail/weathering. #1!
-
In addition to my previous contribution, I'd like to make a second one: The ZVEZDA TBMP T-15 "ARMATA" in 1/35 scale. It actually came from a model club friend, who brought it from Russia. Sadly, the bottle of Kalashnikov vodka that was included has mysteriously disappeared. A search party has been launched, but no one has heard from the search party either. Strange. And with the boycott of Russian vodkas, another cannot be procured. The sadness just keeps coming... For some reason, all of a sudden, I can't post pictures, but the ARMATA has some extra PE and resin extra bits included. To save on postage, I'd like to restrict sending this kit to the US/Canada. Just one entry for me please - I don't need a second entry. Thanks!
-
Love this model (kit and plane).
-
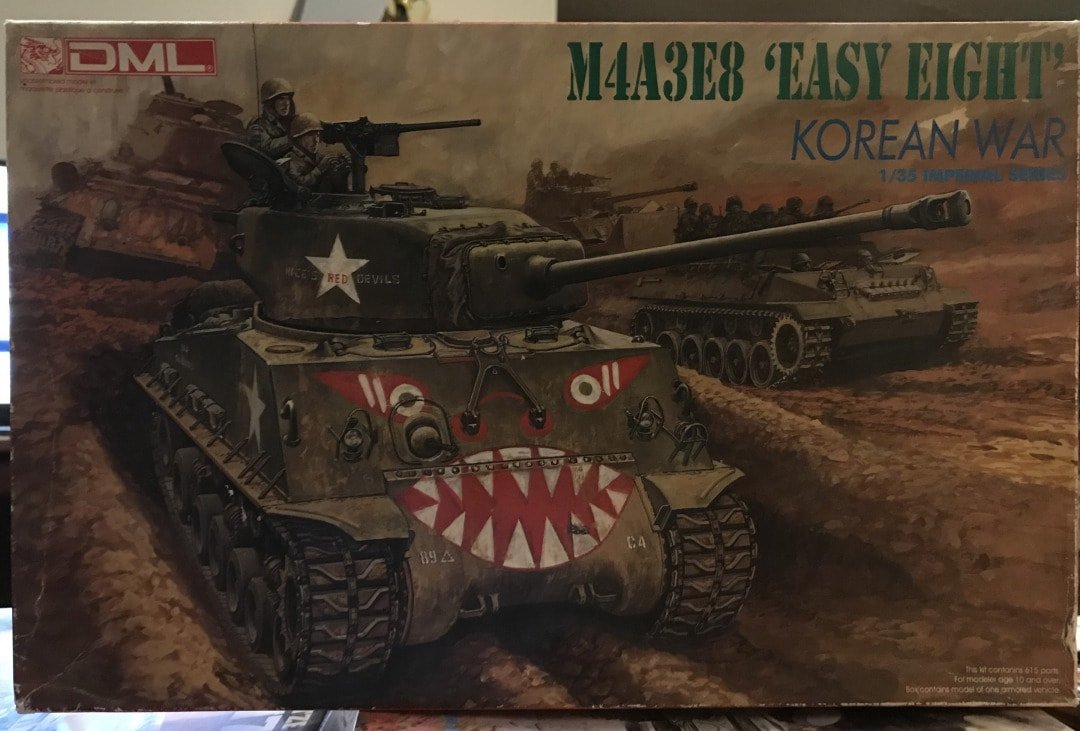
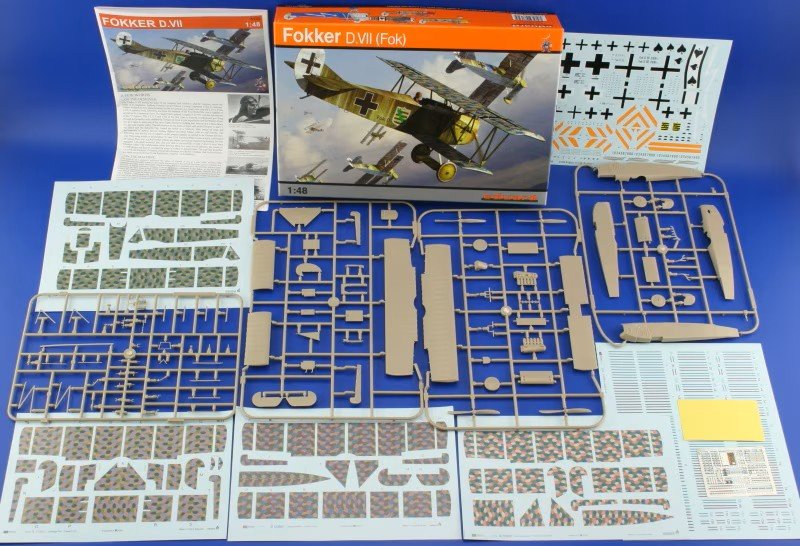
Update/Clarification: I meant for this to be ONE entry - both models together. I'm in! Sorry to be late. Things are challenging these days... My entries are the DML M4A3E8 "Easy Eight" from the Korean war, 1/35 Imperial Series and an Eduard D.VII kit in 1/48. The Eduard kit has lots of goodies in there, including masks and PE IP, machine gun jackets and for the strut plates (have fun with that!!) and both four and five color Lozenge. This kit makes some incredibly colourful planes. The DML kit has a resin mantlet included. For my friends outside North America, I'm offering a $75 gift card.

-
Nice work! Love that seat, in particular. The fuselage is beautiful.
-
Carl, I'm adding my sympathy to the thread here - so sorry to hear of your loss. Good to hear you had 20 good years, though. If that is the case, I may still have five more years with my little furball. Thanks for sharing.