CANicoll
-
Posts
1,928 -
Joined
-
Last visited
Content Type
Profiles
Forums
Events
Gallery
Everything posted by CANicoll
-

McLaren MP4/6 Ayrton Senna Fujimi 1/20
CANicoll replied to DocRob's topic in LSM 1/35 and Larger Work In Progress
I used to hate F1 cars because they are so fragile (compared to NASCAR), but have grown to appreciate the technology involved. Between the engineering, aerodynamics and electronics they are a marvel. You captured the look perfectly. Those exhaust headers are really well done. -
McLaren MP4/6 Ayrton Senna Fujimi 1/20
CANicoll replied to DocRob's topic in LSM 1/35 and Larger Work In Progress
Super nice work, Rob. The engine is too good to hide under the body work and the overall detail makes your build so interesting. Thanks for sharing! -
McLaren MP4/6 Ayrton Senna Fujimi 1/20
CANicoll replied to DocRob's topic in LSM 1/35 and Larger Work In Progress
Going to look it up, too! Love the looks of that car. Mike, be careful with the Solvaset. It has been known to destroy delicate decals (ask me how I know...). If you want to try some out, I'll lend you mine. It is MUCH stronger than MicroSol. I generally use it if nothing else works. -
McLaren MP4/6 Ayrton Senna Fujimi 1/20
CANicoll replied to DocRob's topic in LSM 1/35 and Larger Work In Progress
Rob, The thing I forgot to comment on is the wet sanding. I do that to polish the wood pens I make, which actually are coated in CA (and talk about a tough, durable finish!) but for some reason I never thought about wet sanding a model. Thanks for the suggestion/reminder! Your results are terrific. -
(WIP) F5-E Freedom Tiger 1:48 EDUARD Vietnam
CANicoll replied to Kriss's topic in LSM 1/48 Work in Progress
Gotta love an SEA camo plane. Nice start so far! -
I just happen to have a ZM F-4C kit in the stash. Mmmmm... Thanks for posting!!!
-
McLaren MP4/6 Ayrton Senna Fujimi 1/20
CANicoll replied to DocRob's topic in LSM 1/35 and Larger Work In Progress
Agree with Kevin, the damn camera sees things the eye never will. Your finish is spectacular. I have been trying to find a kit of the latest Red Bull F1 cars but no can find. In time! -
Beautiful work! Thanks for the journey, great following along. Looking forward to the RFI pics.
-
By the way, I actually think that is a pretty cool effect the accidental spilling of the MRP paint on the cowling. Hmmm.. Have to remember that!
-
Are we doing a Christmas 🎅 raffle this year ?
CANicoll replied to HubertB's topic in General Discussion
This is my strategy as well. The GC is for the price of what I would send but the funds can be used for anything. I'm in! -
Beautiful stuff and the 3D printed parts are amazing. Used some from Reskit on my F-4 and the level of detail is incredible. Your ejector seat is another work of art. Looking forward to your build!
-
Mike, terrific work and that Osmark kit really fits the bill. Great find. You said the hinges actually work? Wow. that is next level. Great work getting the new set into your already closed up fuselage.
-
Congrats on the full retirement and the successful handoff of your company into good hands. That's quite an accomplishment! Beautiful work on the shading, modulation and chalk work. I've seen the same - especially with chalk - it seems to disappear under a coat of anything.
-
They have some amazing stuff...
-
Beautiful bed on that truck! Great orange finish, too.
-
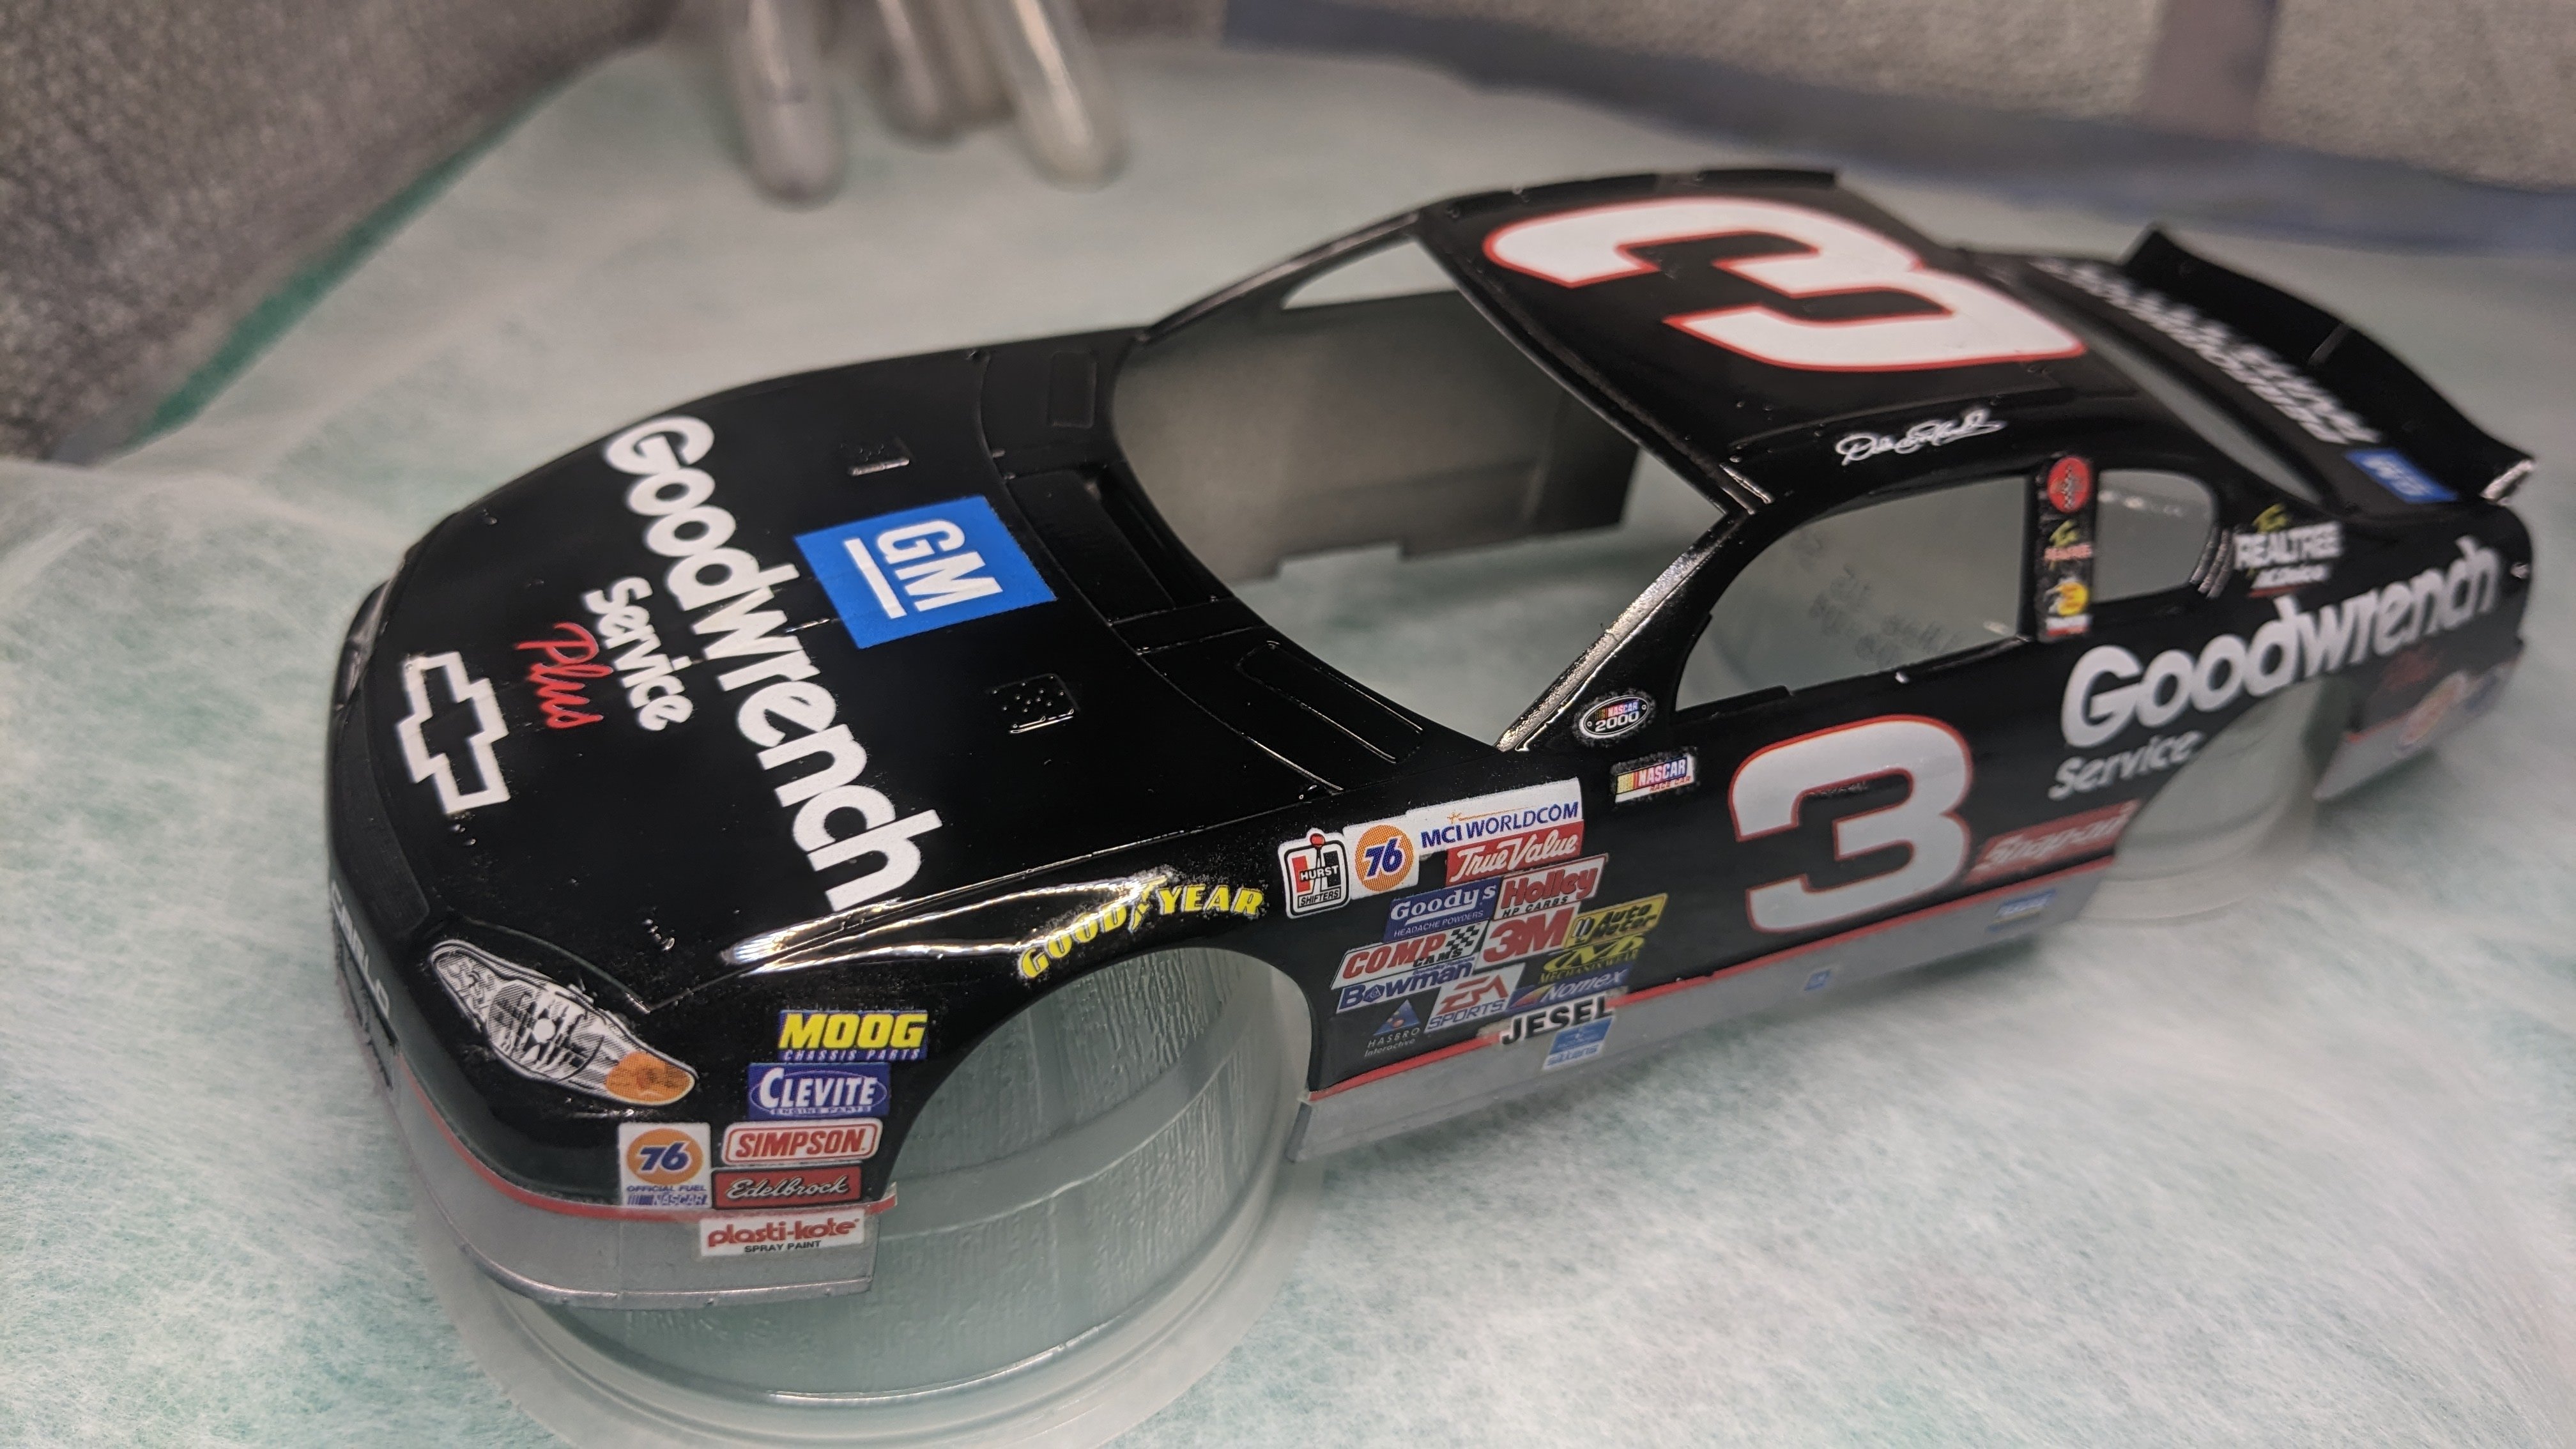
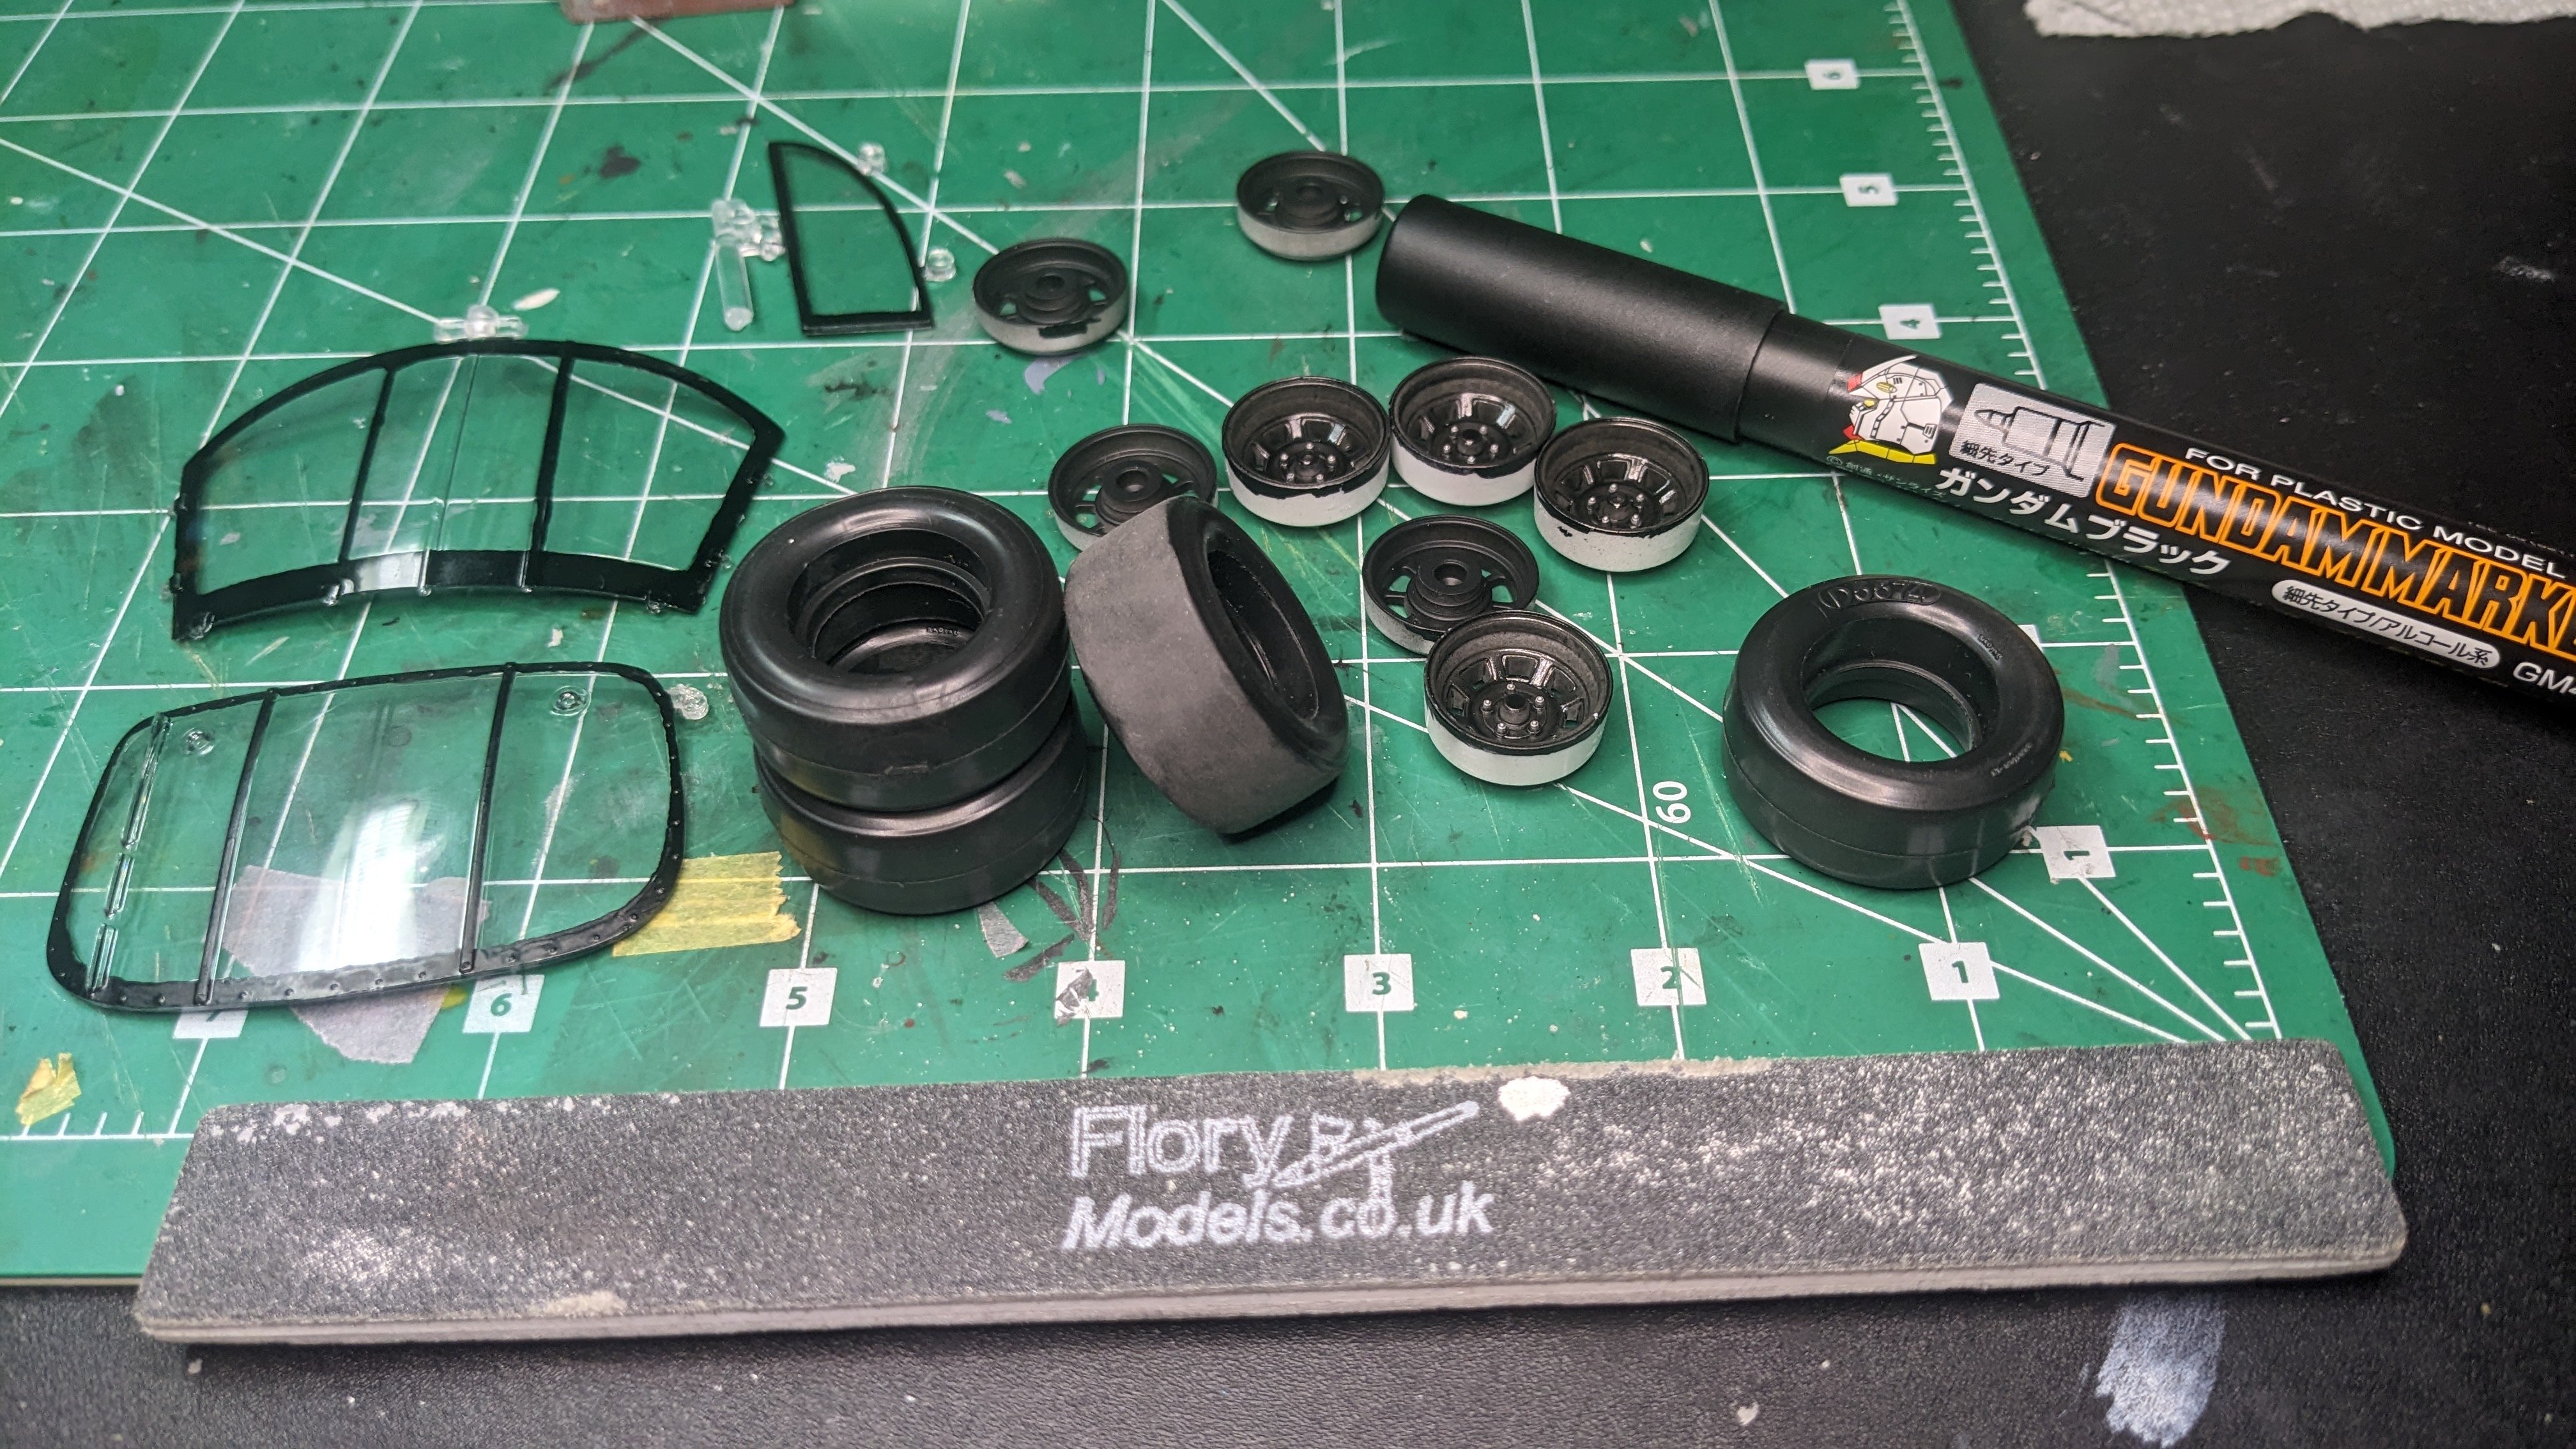
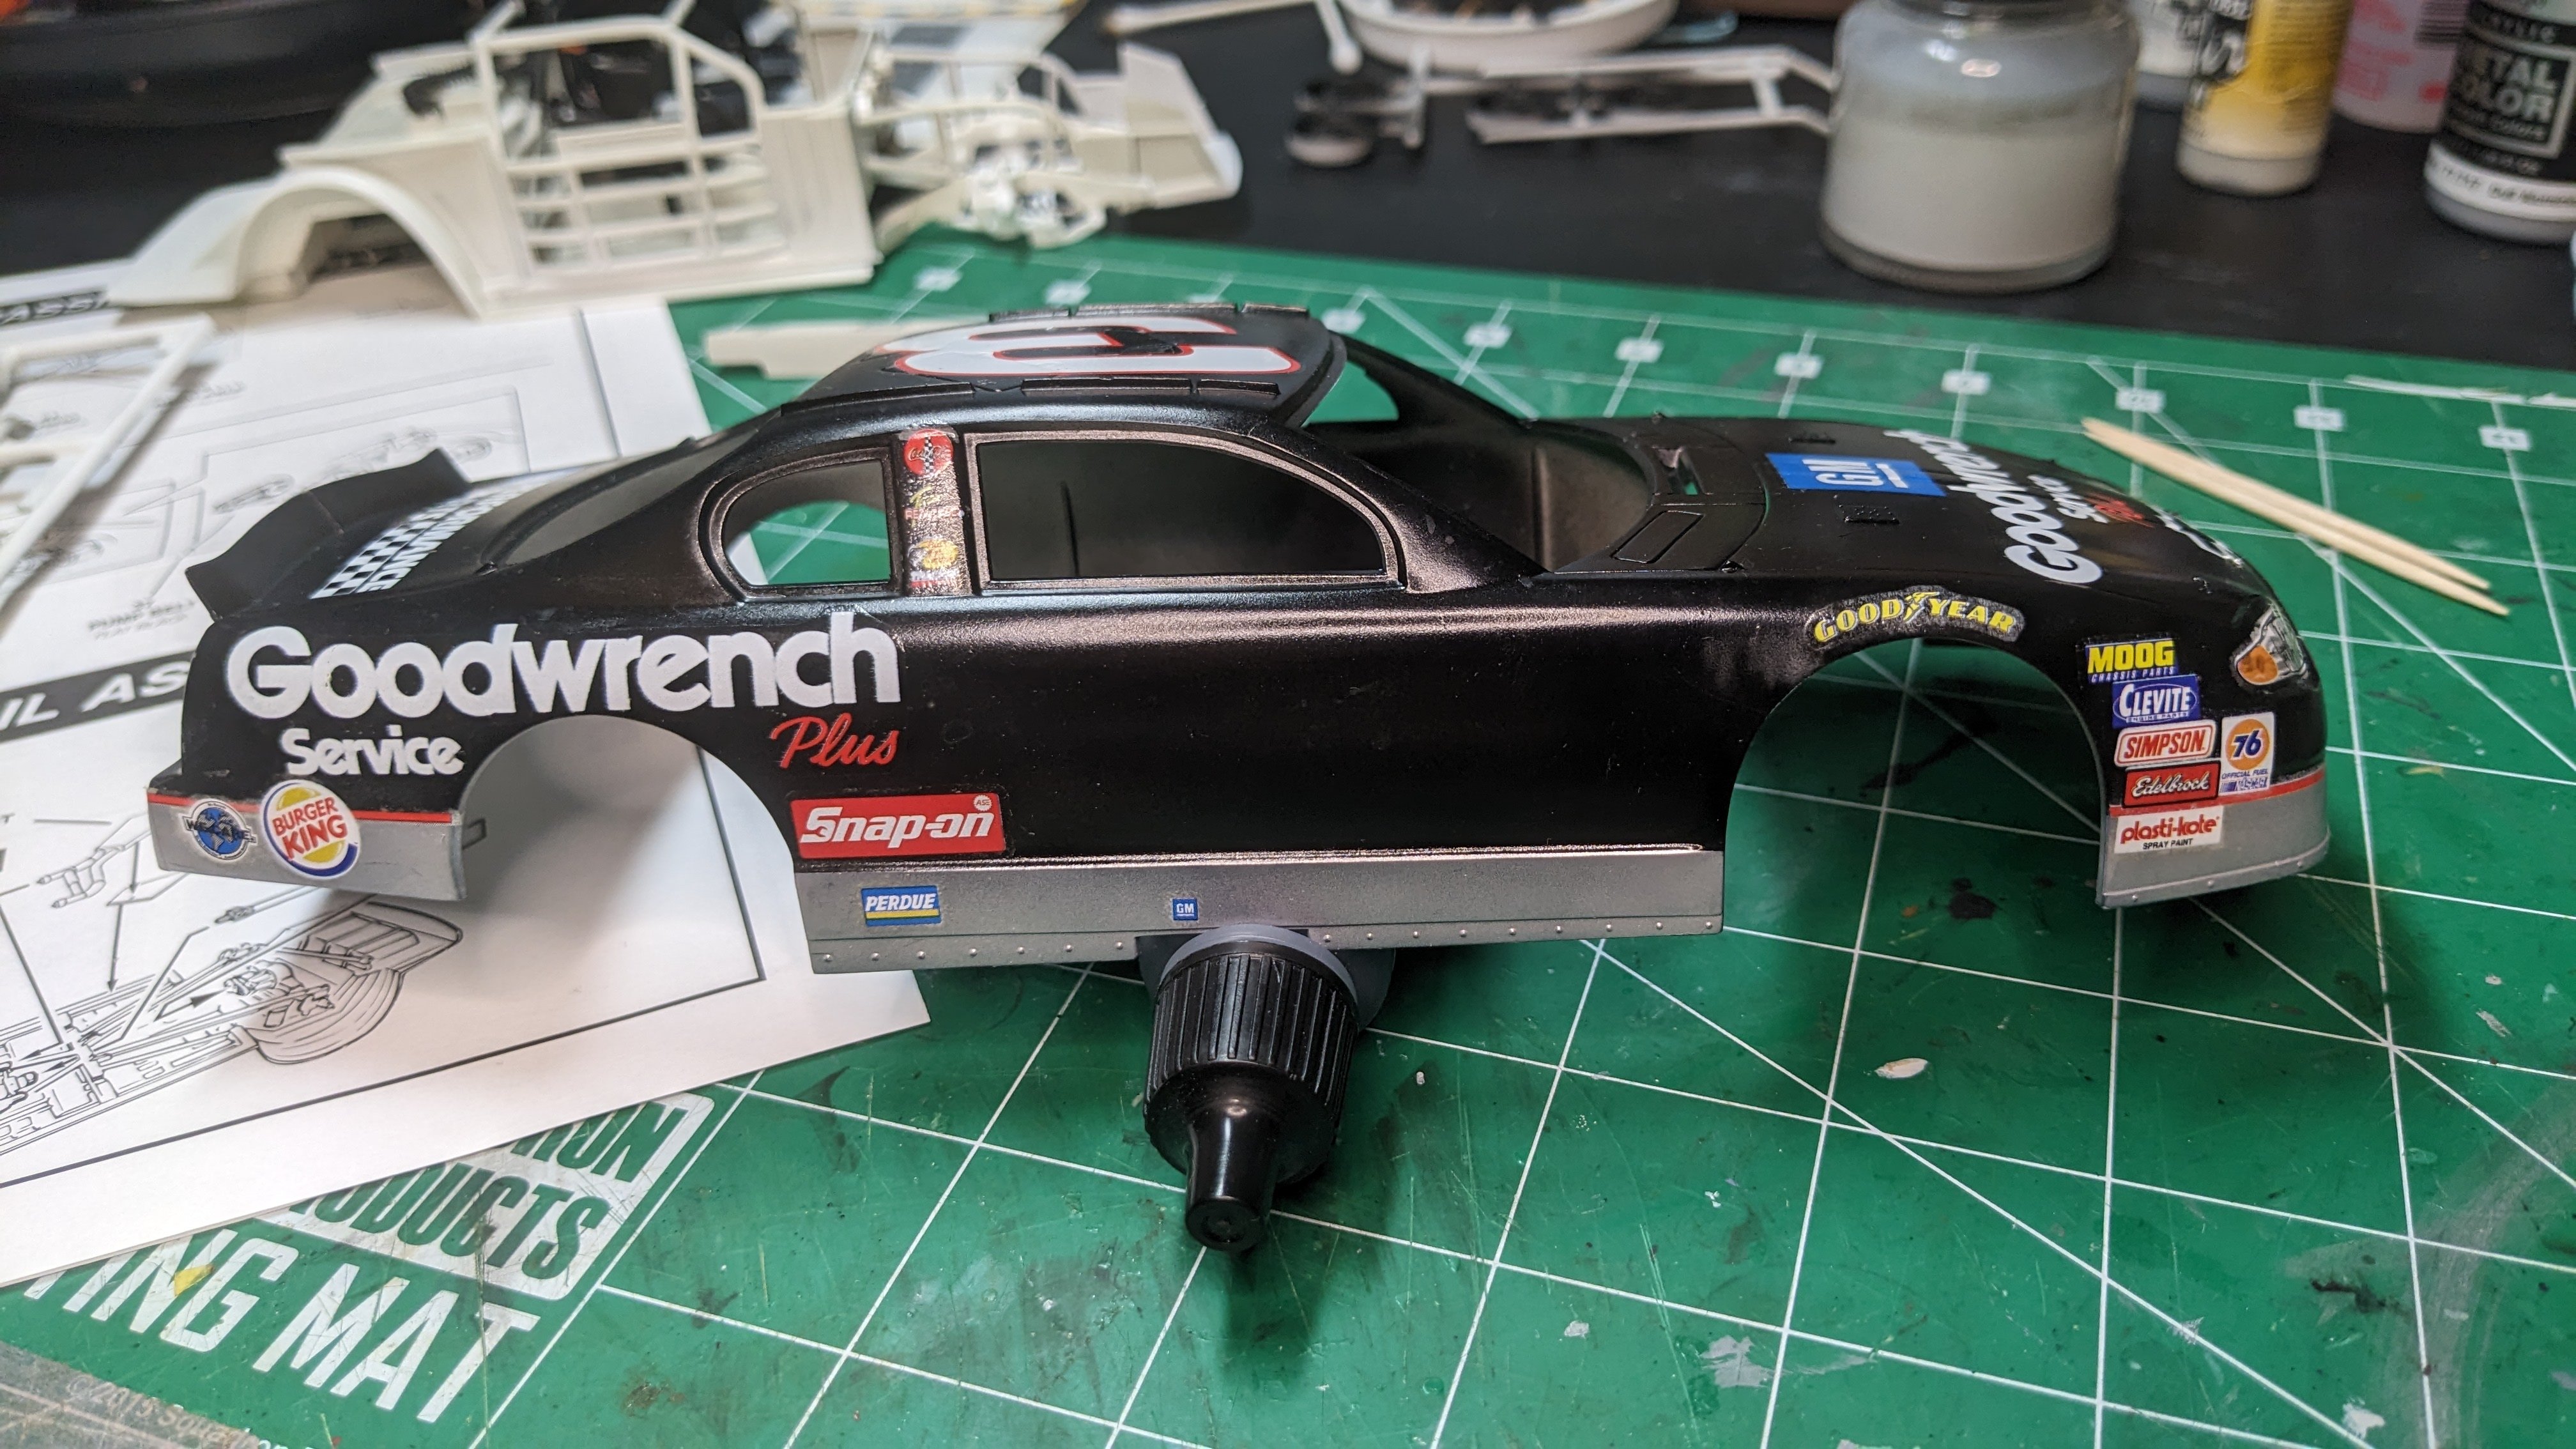
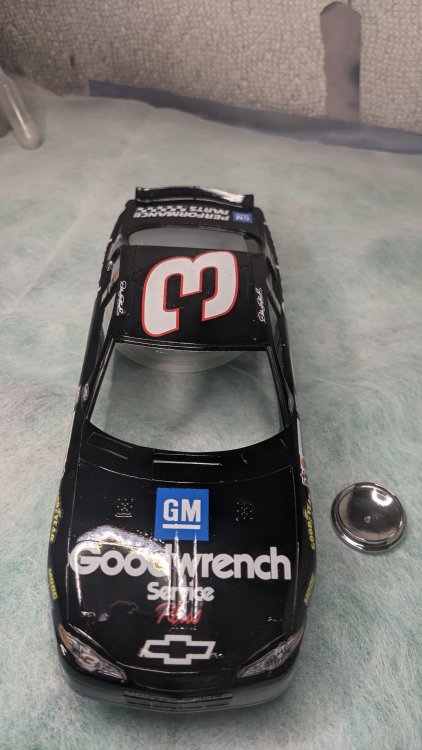
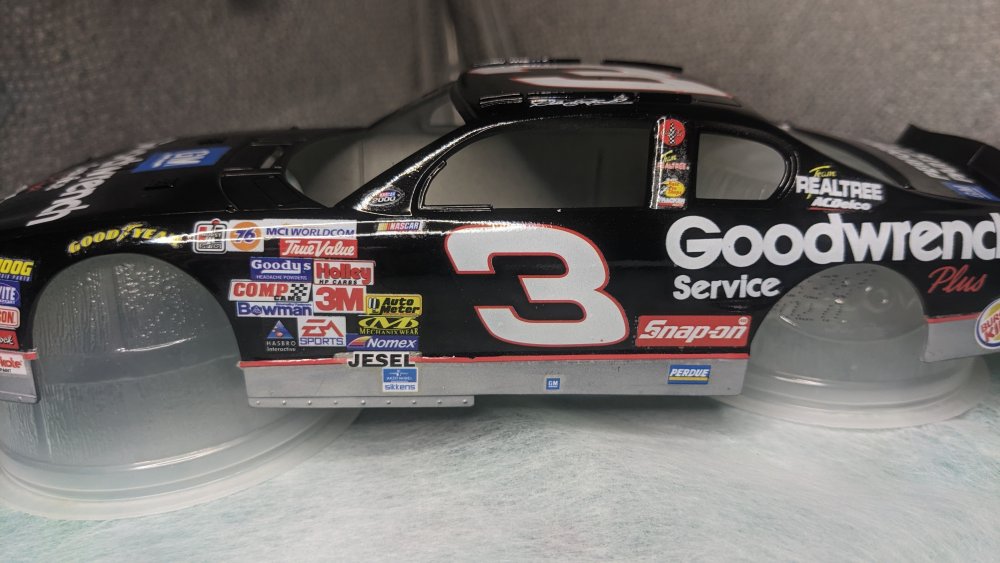
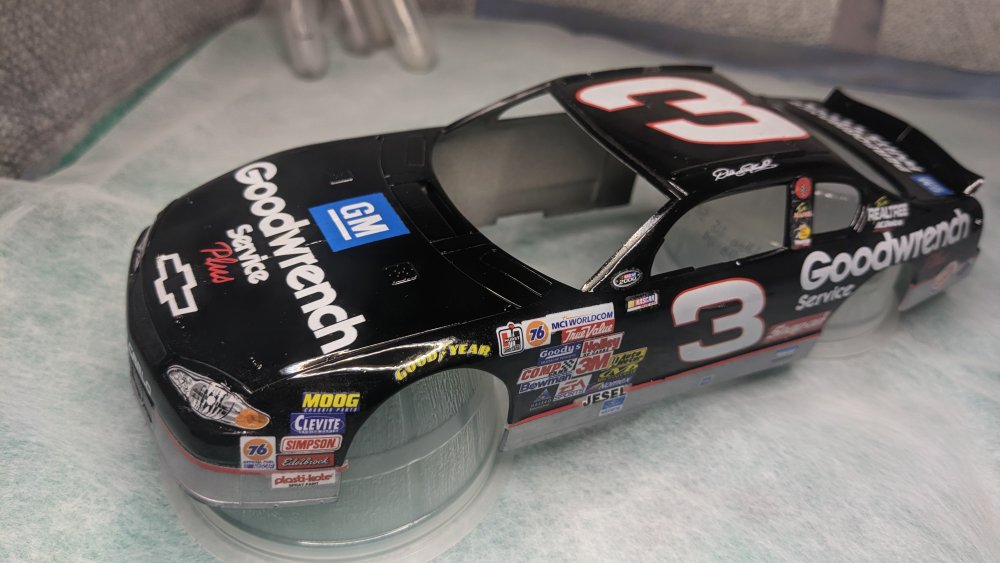
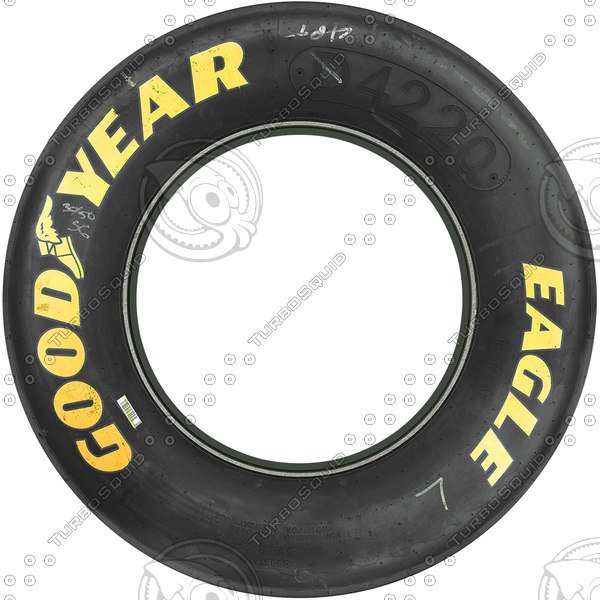
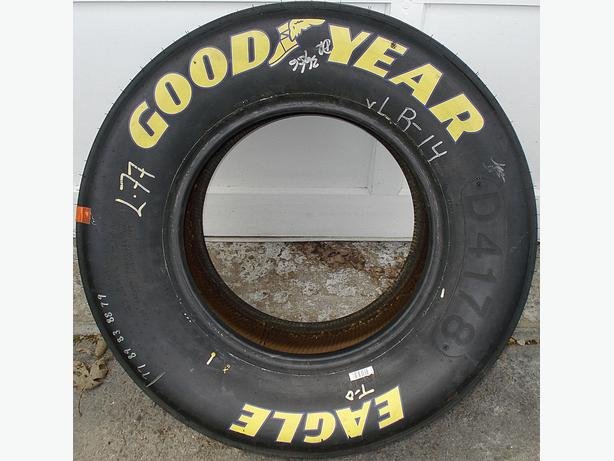
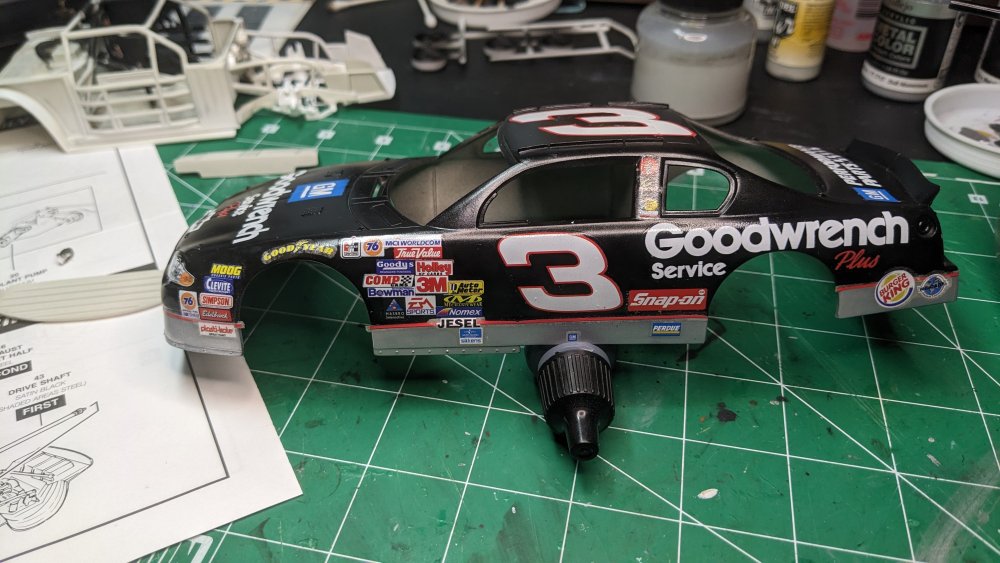
Making progress, especially on the glossy body. There is still some visible carrier film, especially on the hood (bonnet), roof (roof) and trunk lid (boot, for our English friends ). This is the same gloss used under the decals : Tamiya X-22. I used different thinning ratios, under the decals was about 55% Mr Color Leveling Thinner to 45% X-22 and sprayed light to medium coats. Over the decals swapped the ratio's and layed down wet coats looking for a bit of a thicker coat to cover the carrier film. I think with a few more coats I could get a perfectly smooth finish - right now you can still pick out the carrier film on some of the decals. I have to trim some of the red line decals at the wheelwells. Yes, I took the easy way out on those! I cut the silver part of the decal off and just used the red band. Some of the brown stuff just would not come off from under some of the decals. The examples that are easier to see here are the three decals on the door pillar and also around the world JESEL. Do you like my applesauce cup paint stands? Also got working on the rest of the car (oh yeah, those bits!). I think it was Carl who introduced me to the Gundam markers, which I used liberally to outline the glass parts, as well as touch up the roll-cage padding and other black bits in the interior. It goes on glossy, then dries to a matte/flat finish. It has a felt tip which comes to a nice point for detail lines, but the sides can be used for wider applications. Started on one of the tires. That center seam is a PITA but NASCAR slicks are not bright and shiny very long (like new F1 tires at the start) so will see how this looks in the end. The tires (shown on the tire, bottom right) have three molded in marks. One is a large "D5574", in very small letters is the word "radial", and the opposite from the D5574 is what I think is the size of the tire, but the marking is pretty indistinct, even when I photograph it and blow it up. The molded in D5574 is probably a batch indicator for the tire, but the molding is way too raised compared to the actual Goodyear Eagles: Still to be done, after I sort out the tires and wheels, is adding the Goodyear Eagle decals to each tire. Here are some of the other bits.

-
LSM Modelling News 2023 merged Fran and Artful69’s threads
CANicoll replied to Fran's topic in Modelling Discussion
When I saw Martin's post, only the top picture was on screen, and immediately thought "Buzz!". Perfect! -
Happy Thanksgiving to you and I echo Scott's comments. This is a nice place to hang out with you all.
-
Rog, Beautiful build and what a nice place. I understand your last update about DIY vs builder vs hiring a trade on the side. Basically the same here - you always pay a premium when you get the builder to add it. Thanks for posting the pictures! Fun to follow along...
-
Thanks FA. Can't wait to see how the final gloss coats come out... Looking forward to your Abrams.. Looking good and the new 3D pieces really make a difference.
-
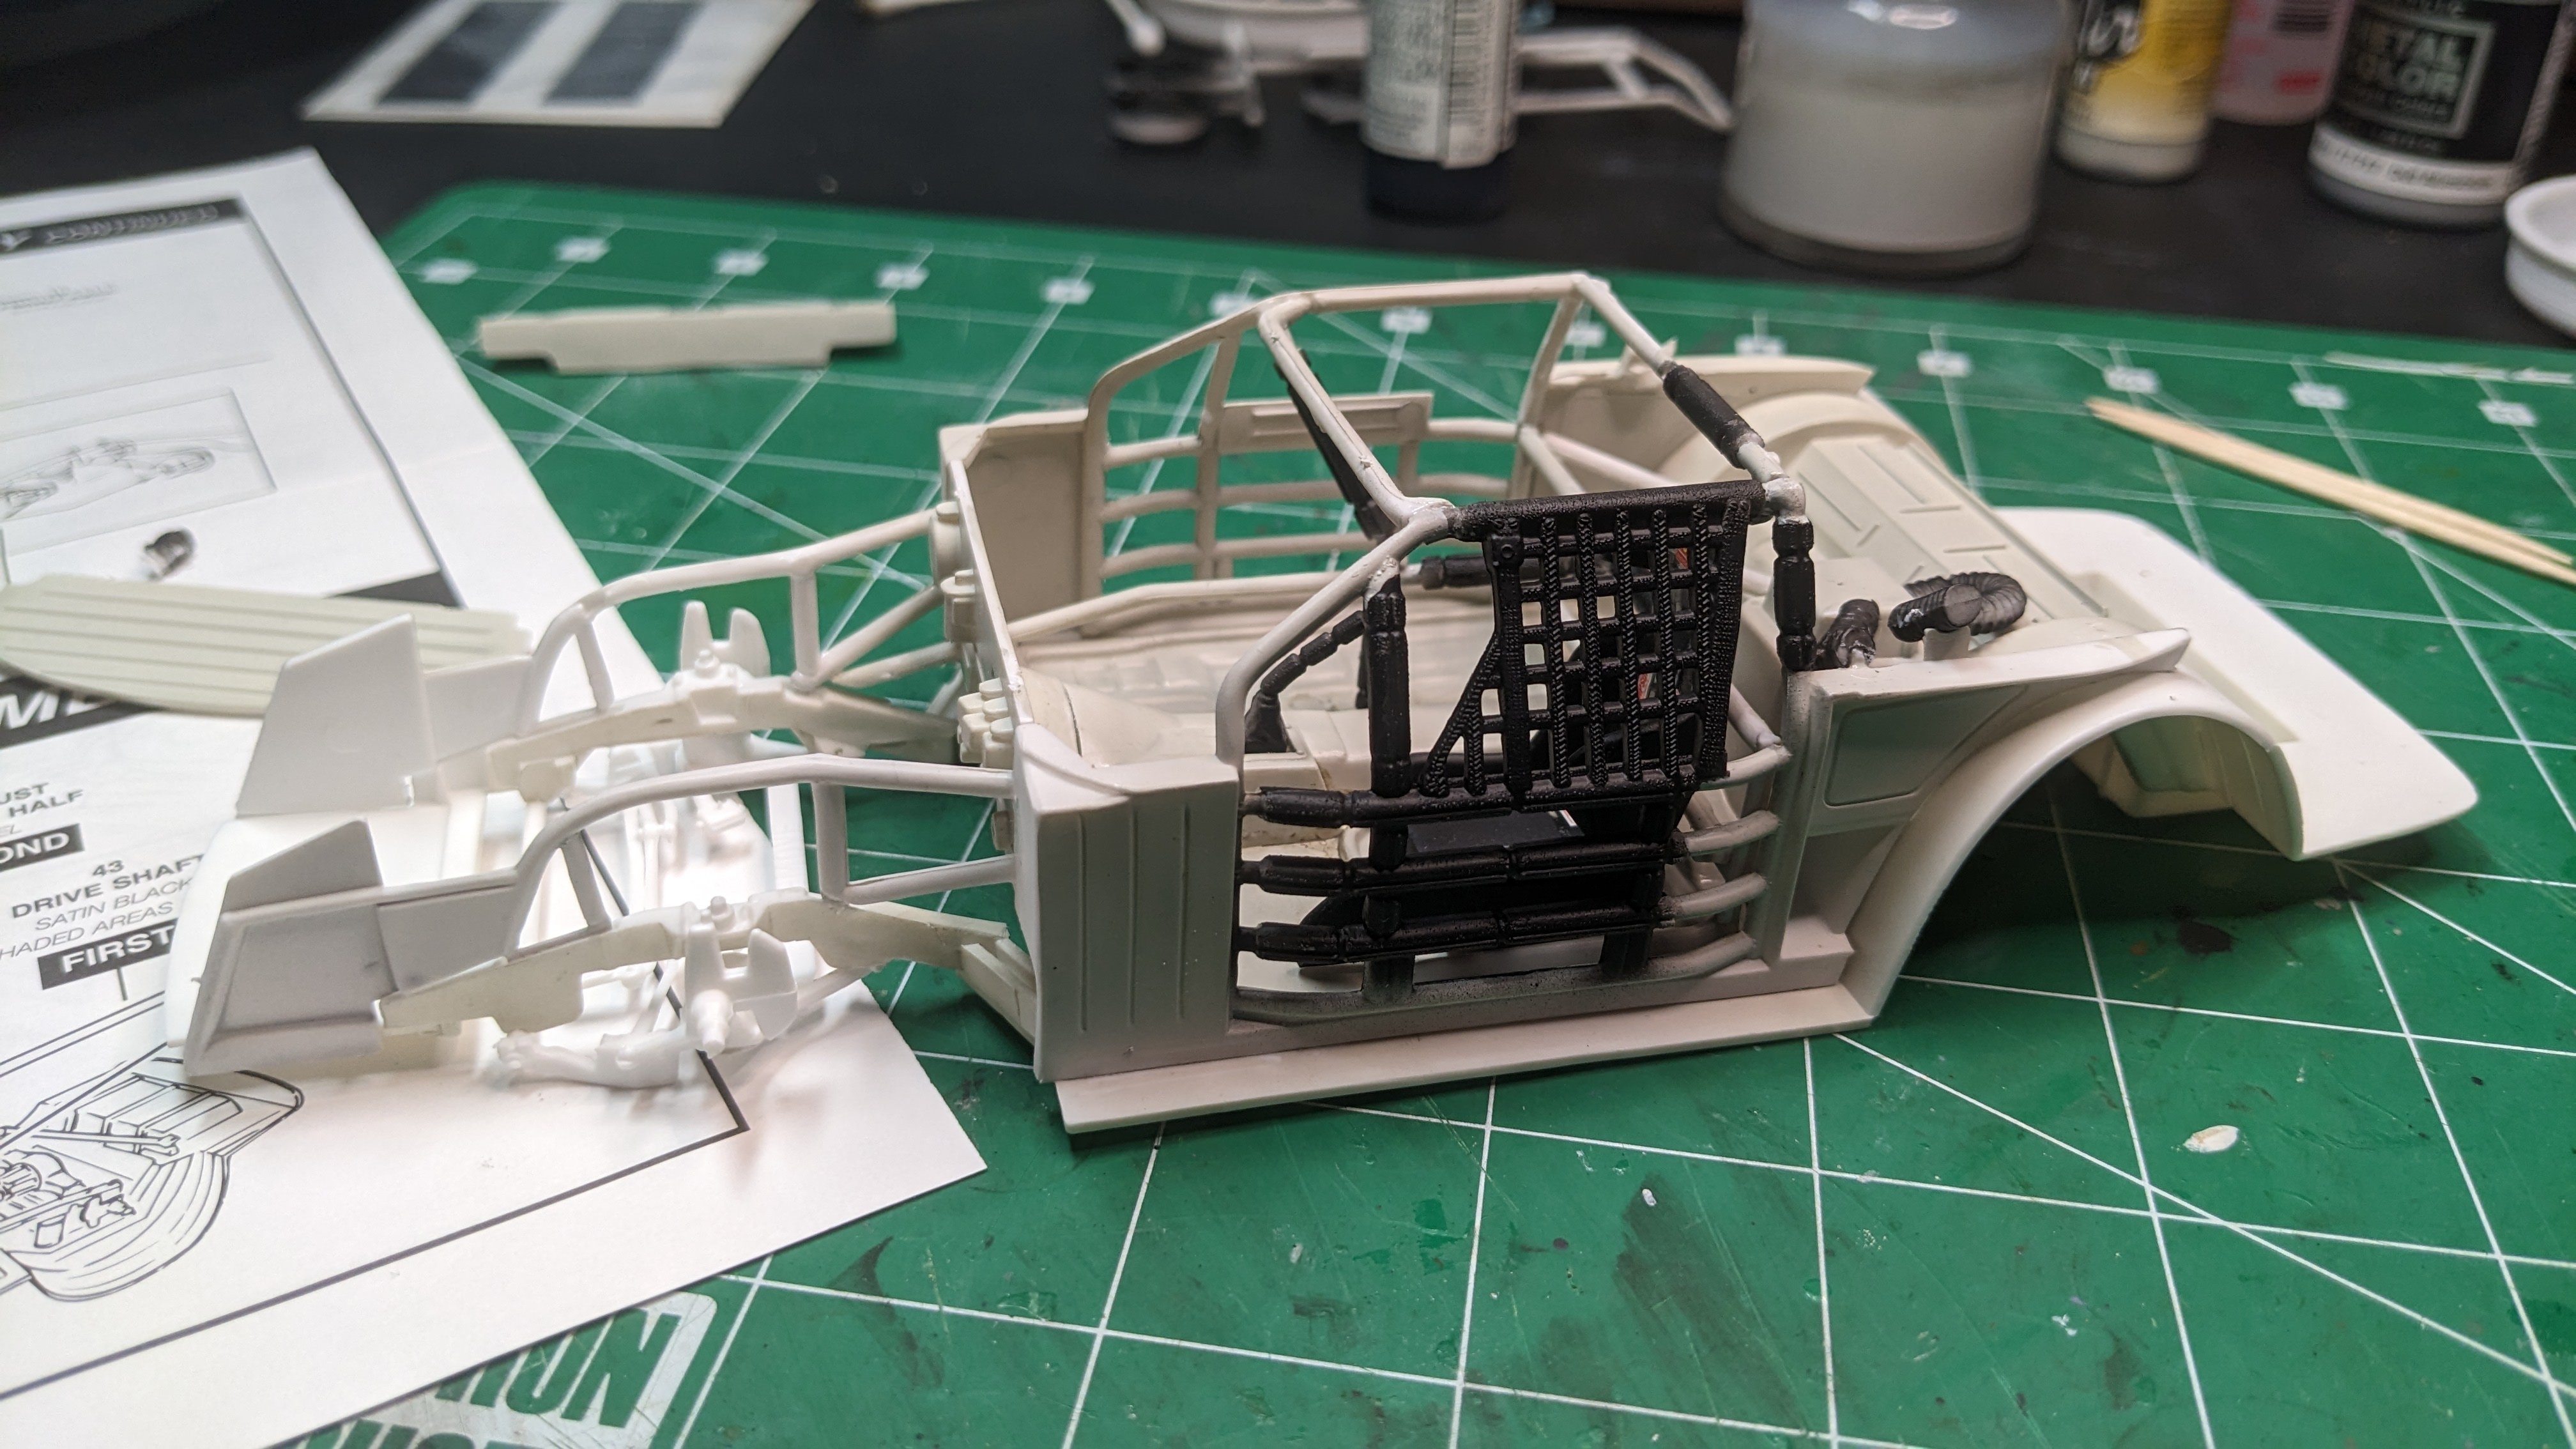
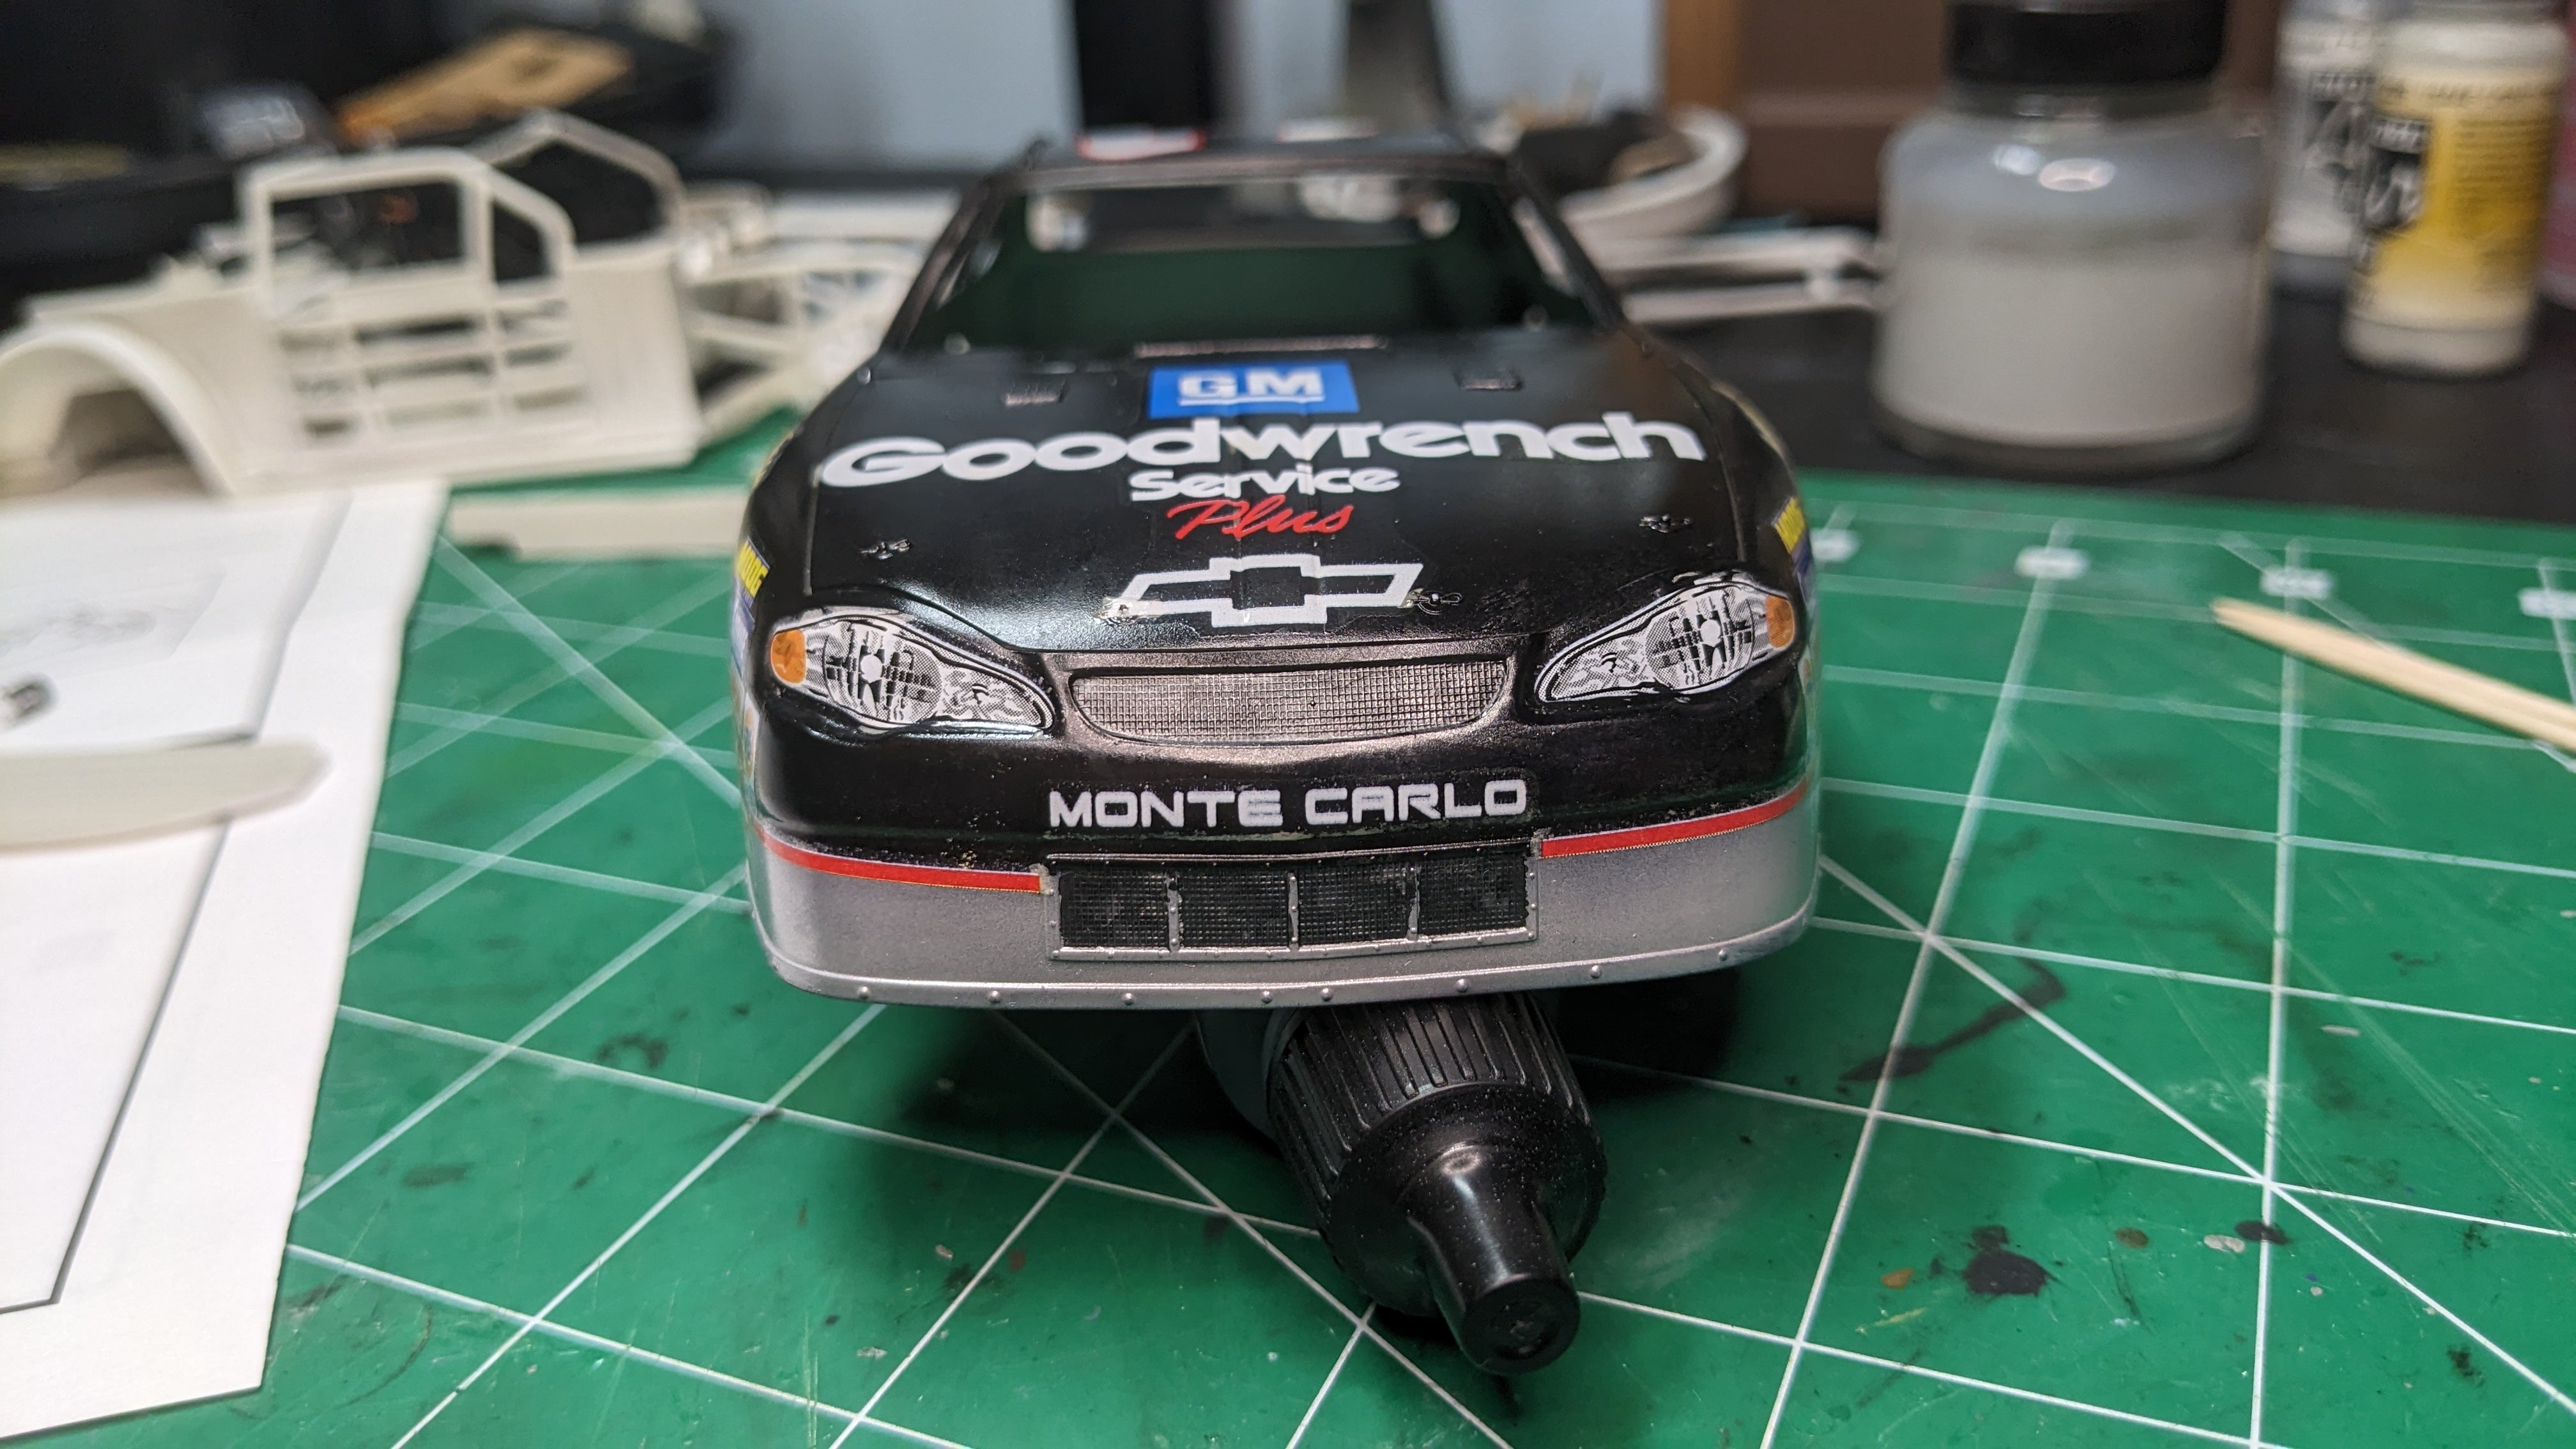
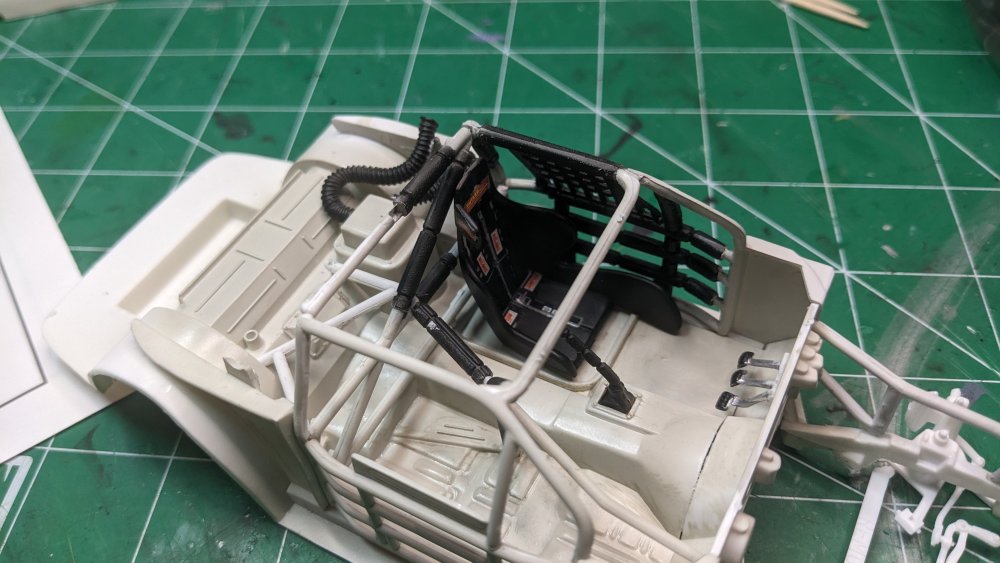
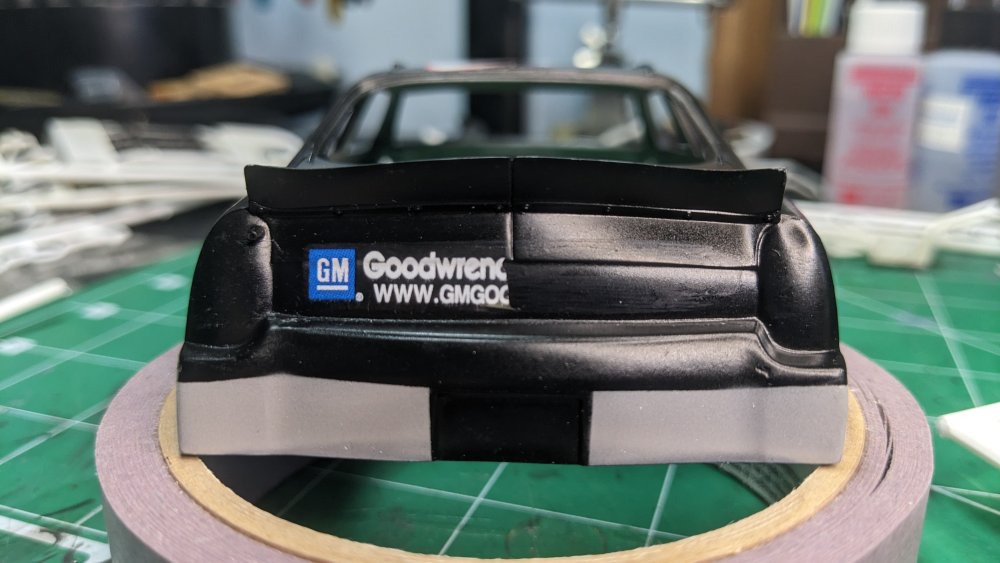
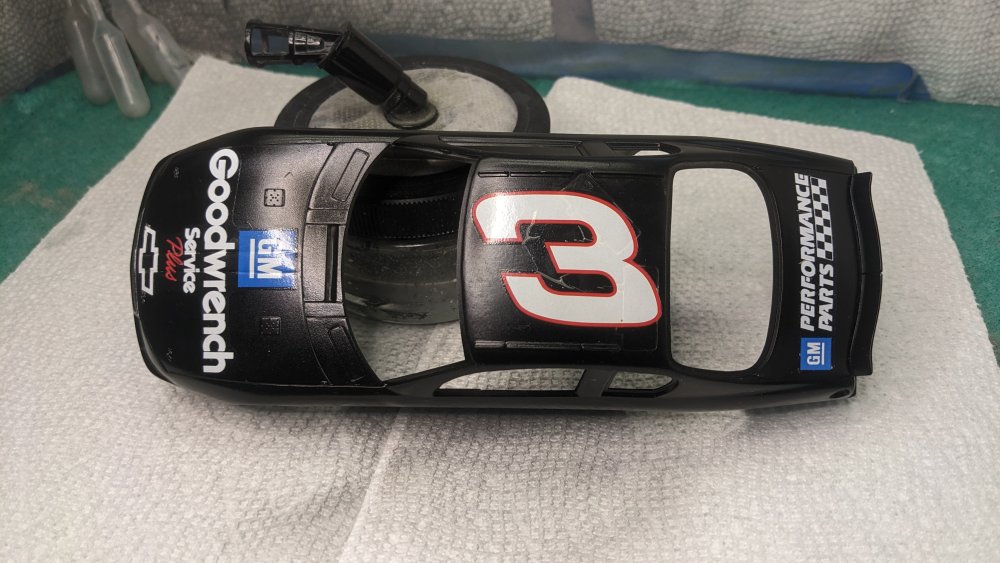
Thanks Mike!! Rob, I ended up cutting out the folds (and a lot of carrier film) which seems to have done the job. The camera may not show the glossy coat well (probably my lighting so as to not show too many reflections) however no silvering so far. The bigger problem is the yellow film which is attached to the back of the decals. I have tried that, and not been successful on getting that to do anything but heat up the decal sheet. The yellowing comes from the decal in the water and is under the decals so I guess part of the paper? The challenge is the for most of the decals I've been able to actually wipe off the yellowing (literally flipping the decal over and brushing it with a wide, wet brush) but the yellowing isn't coming off of all of the decals. The larger ones do pretty well - not intuitively. Having more problem with the smaller decals such as the "Goodyear" decal over the front wheel well. Making progress on the body decals. The front grills are painted the same color: Vallejo Metal Color Gunmetal. Funny how the light makes the same paint look completely different. While the decals dry worked on the chassis. The instructions are not very clear as to where all of the roll cage pieces go, but with patience it does work out in the end. Lots of touch-up to be done and some additional detail painting. The hoses in the back are another matter. Need to get the clear windows into the body before I permanently attach them to figure out where they go.


-
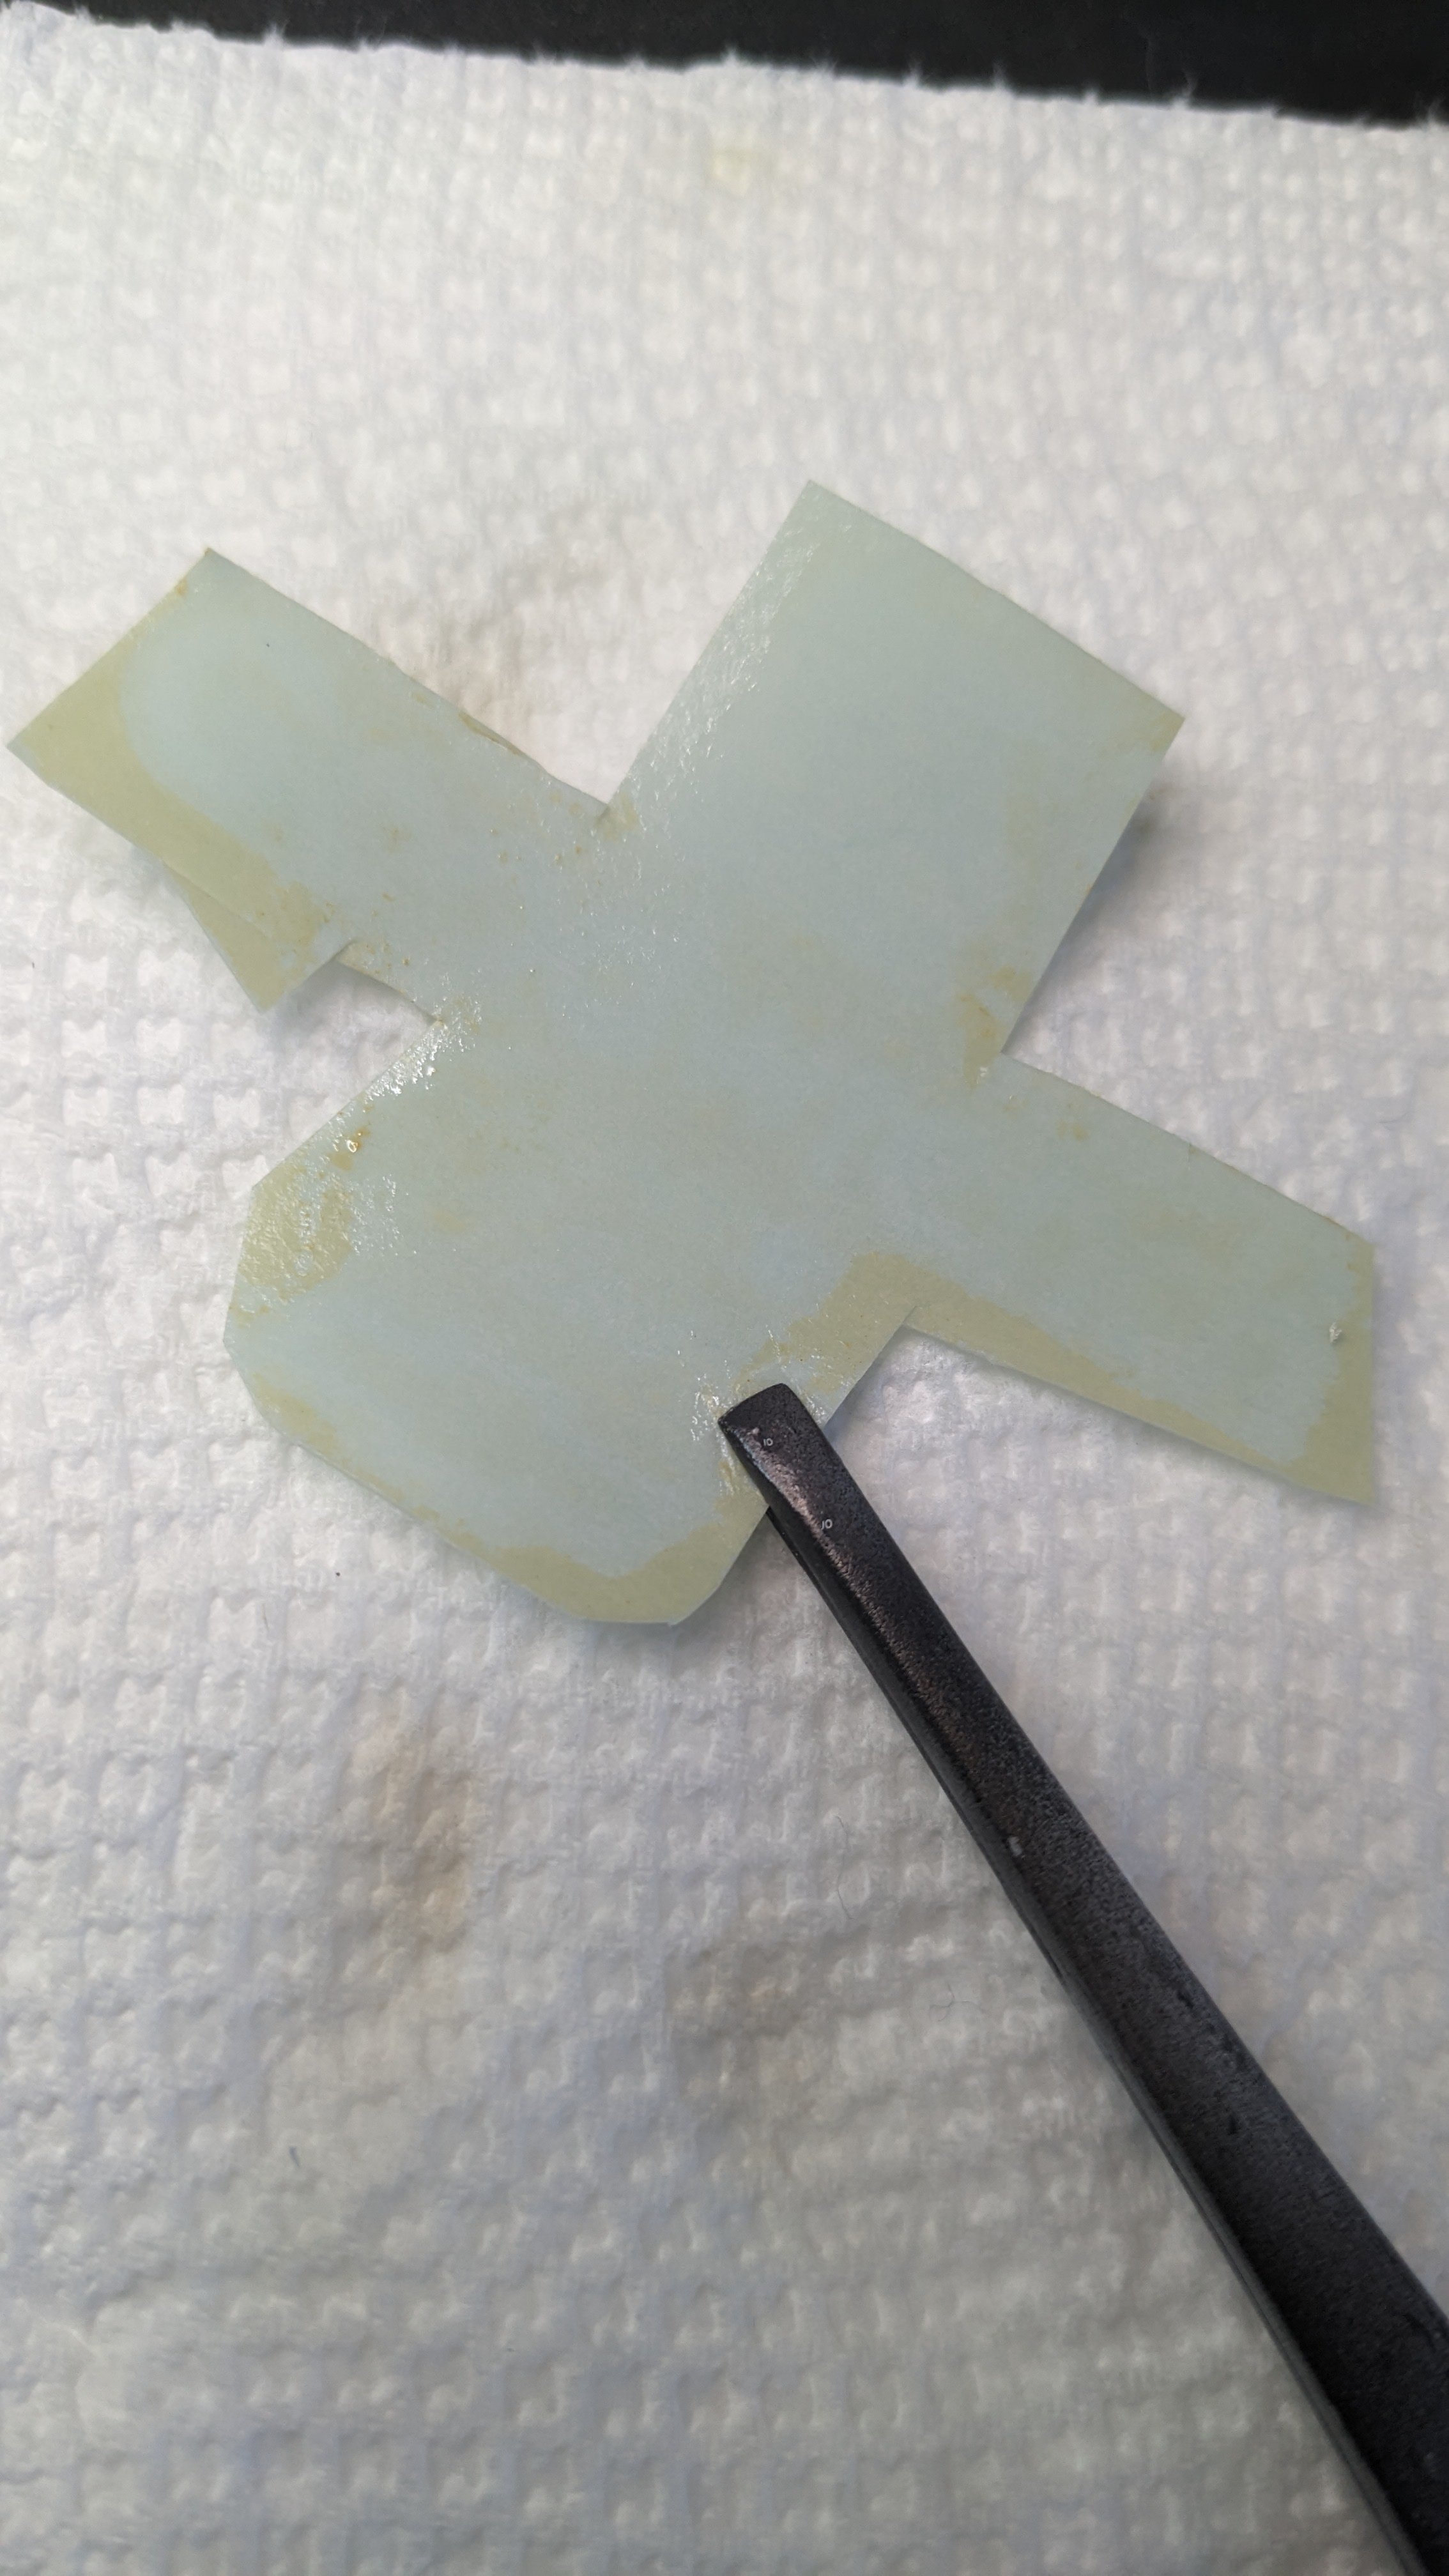
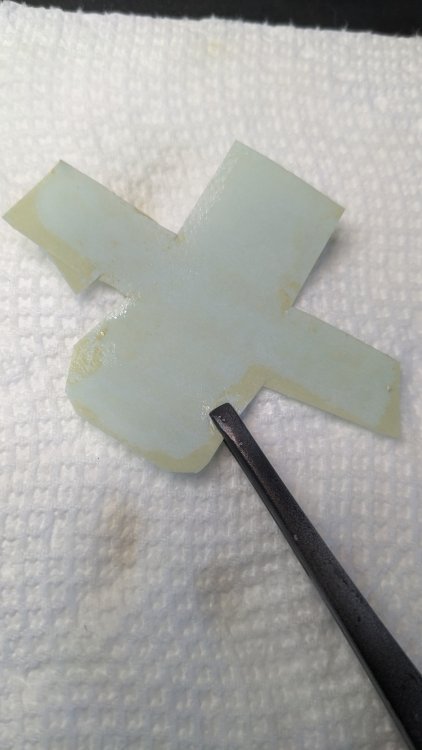
Amazingly enough, it worked pretty well! Here is the decal on the piece of tape that pulled it off the car. I soaked it in water for a few hours then gently worked a toothpick and then a number 11 blade under the decal to fully loosen it from the piece of tape - applying lots of water as I went. The end result is not perfect, but considering what I had before, better than nothing!


-
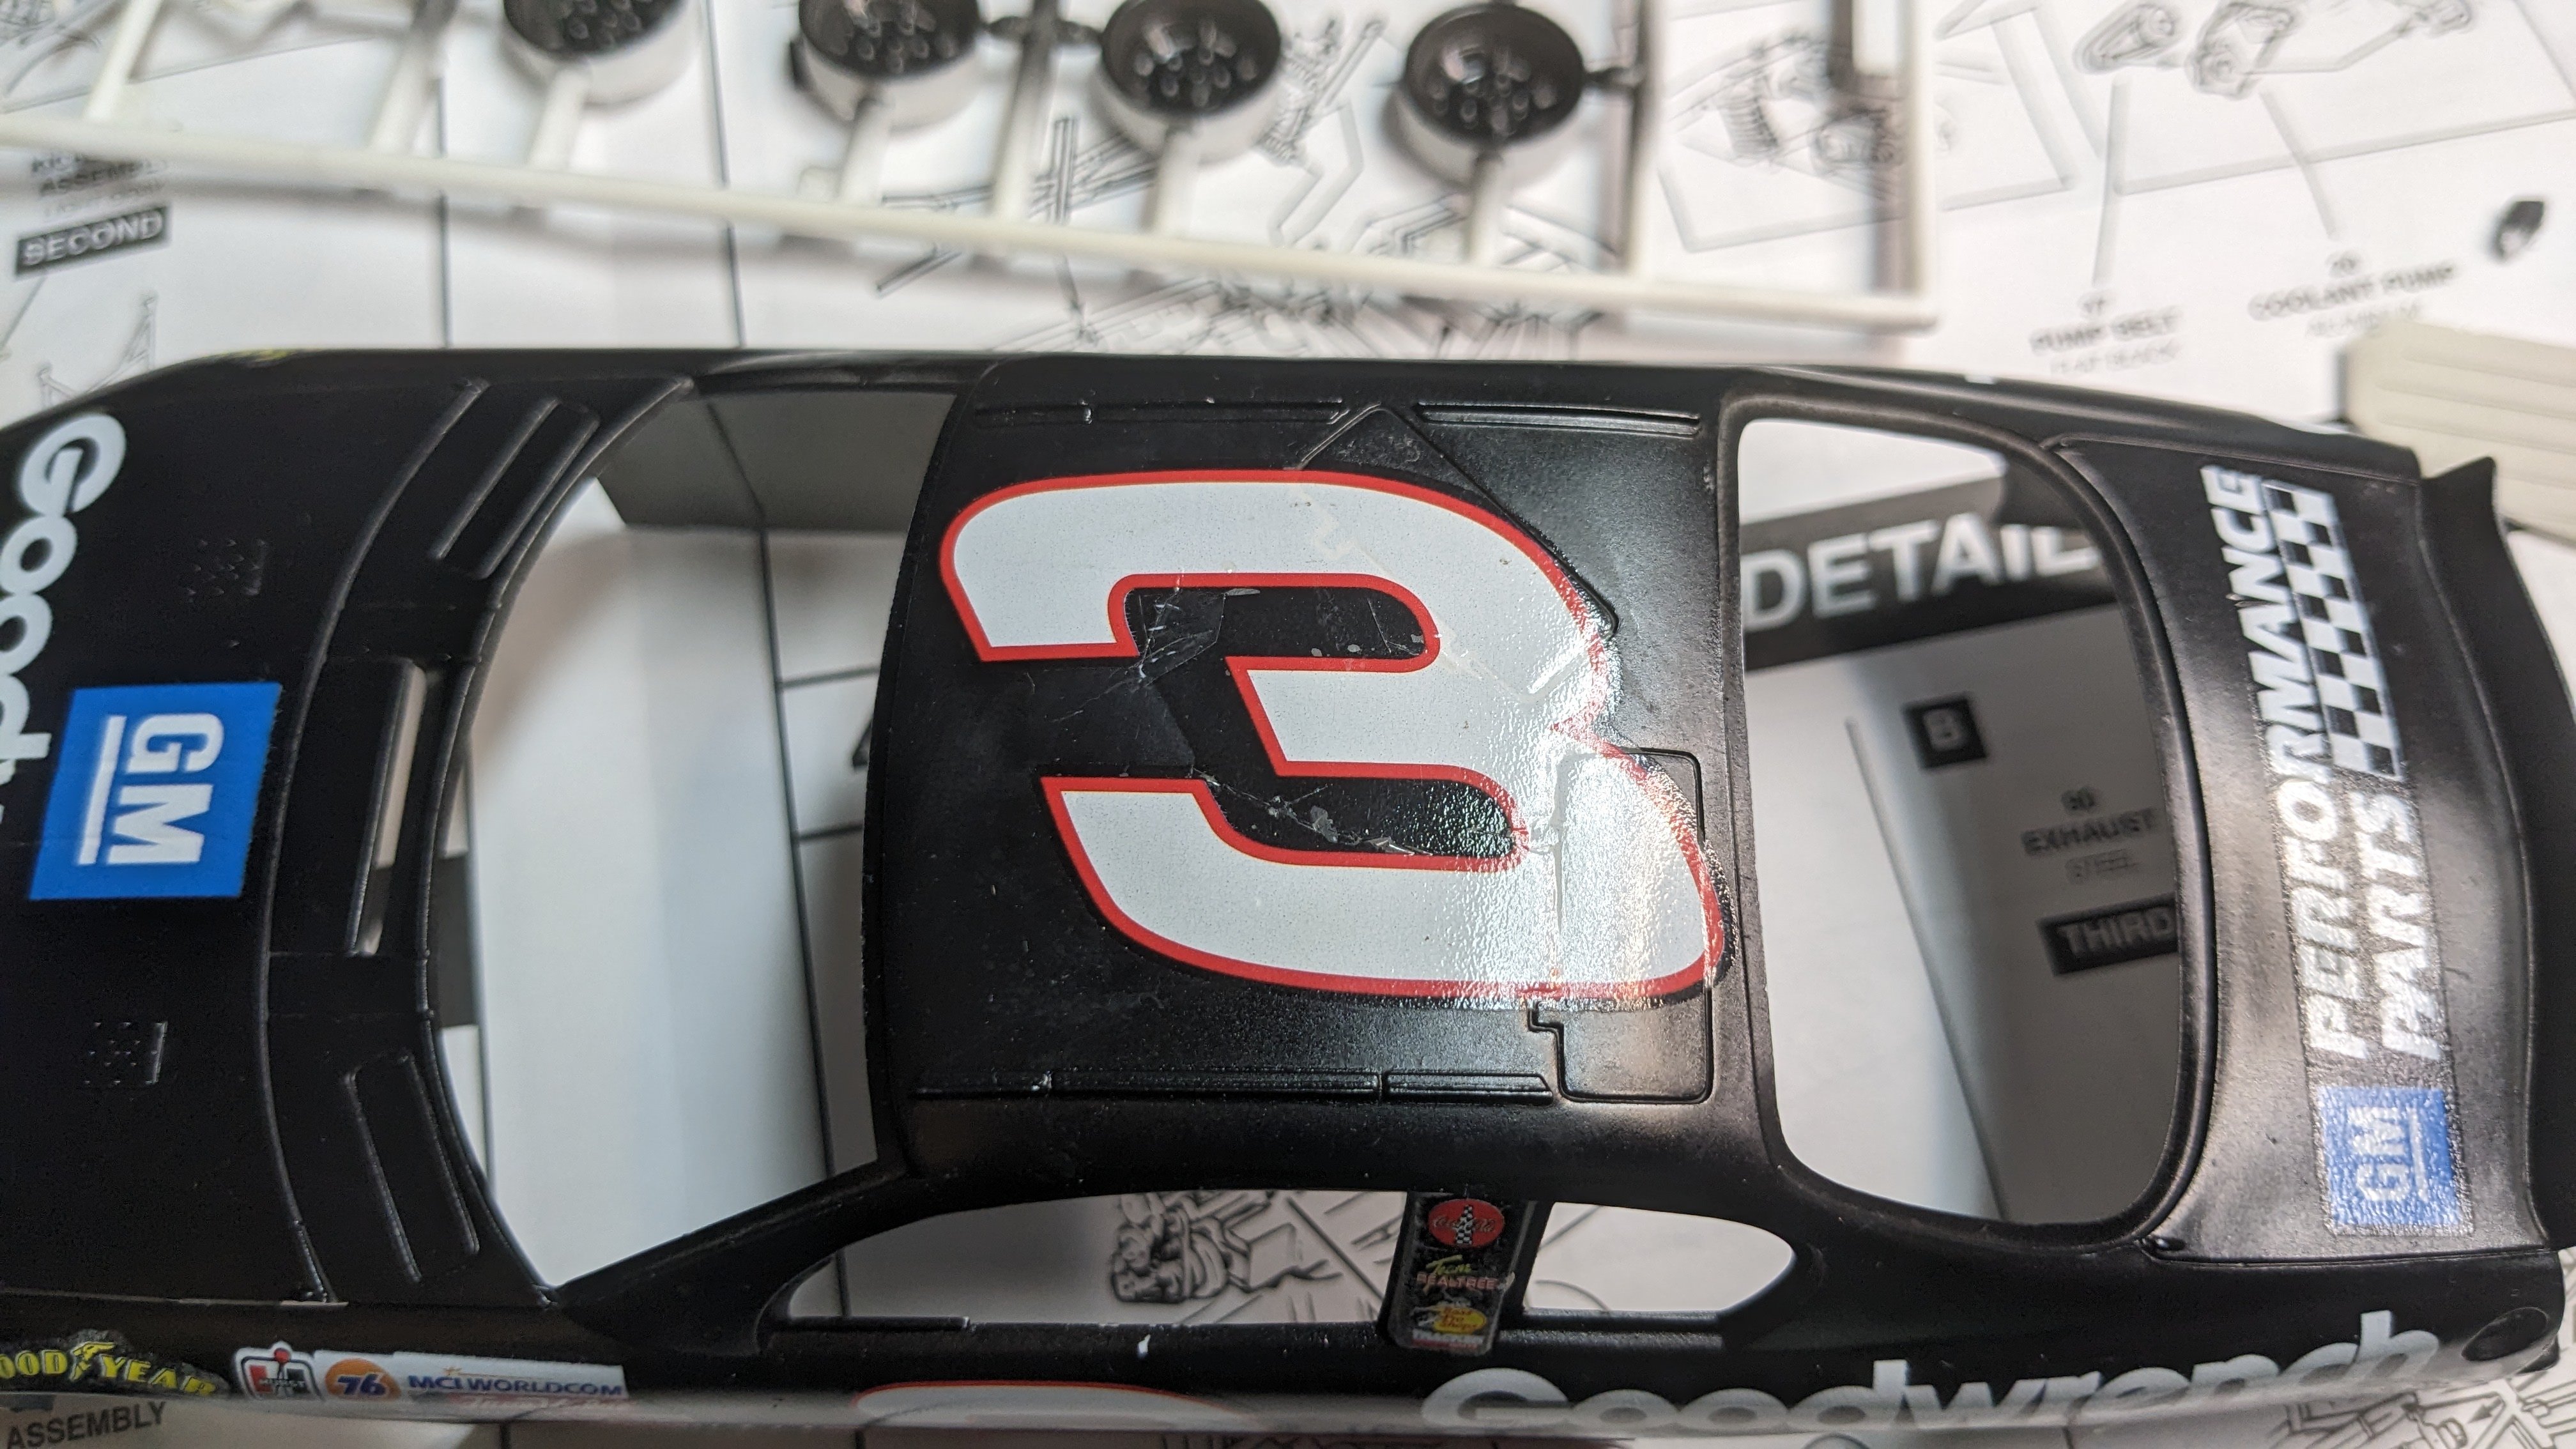
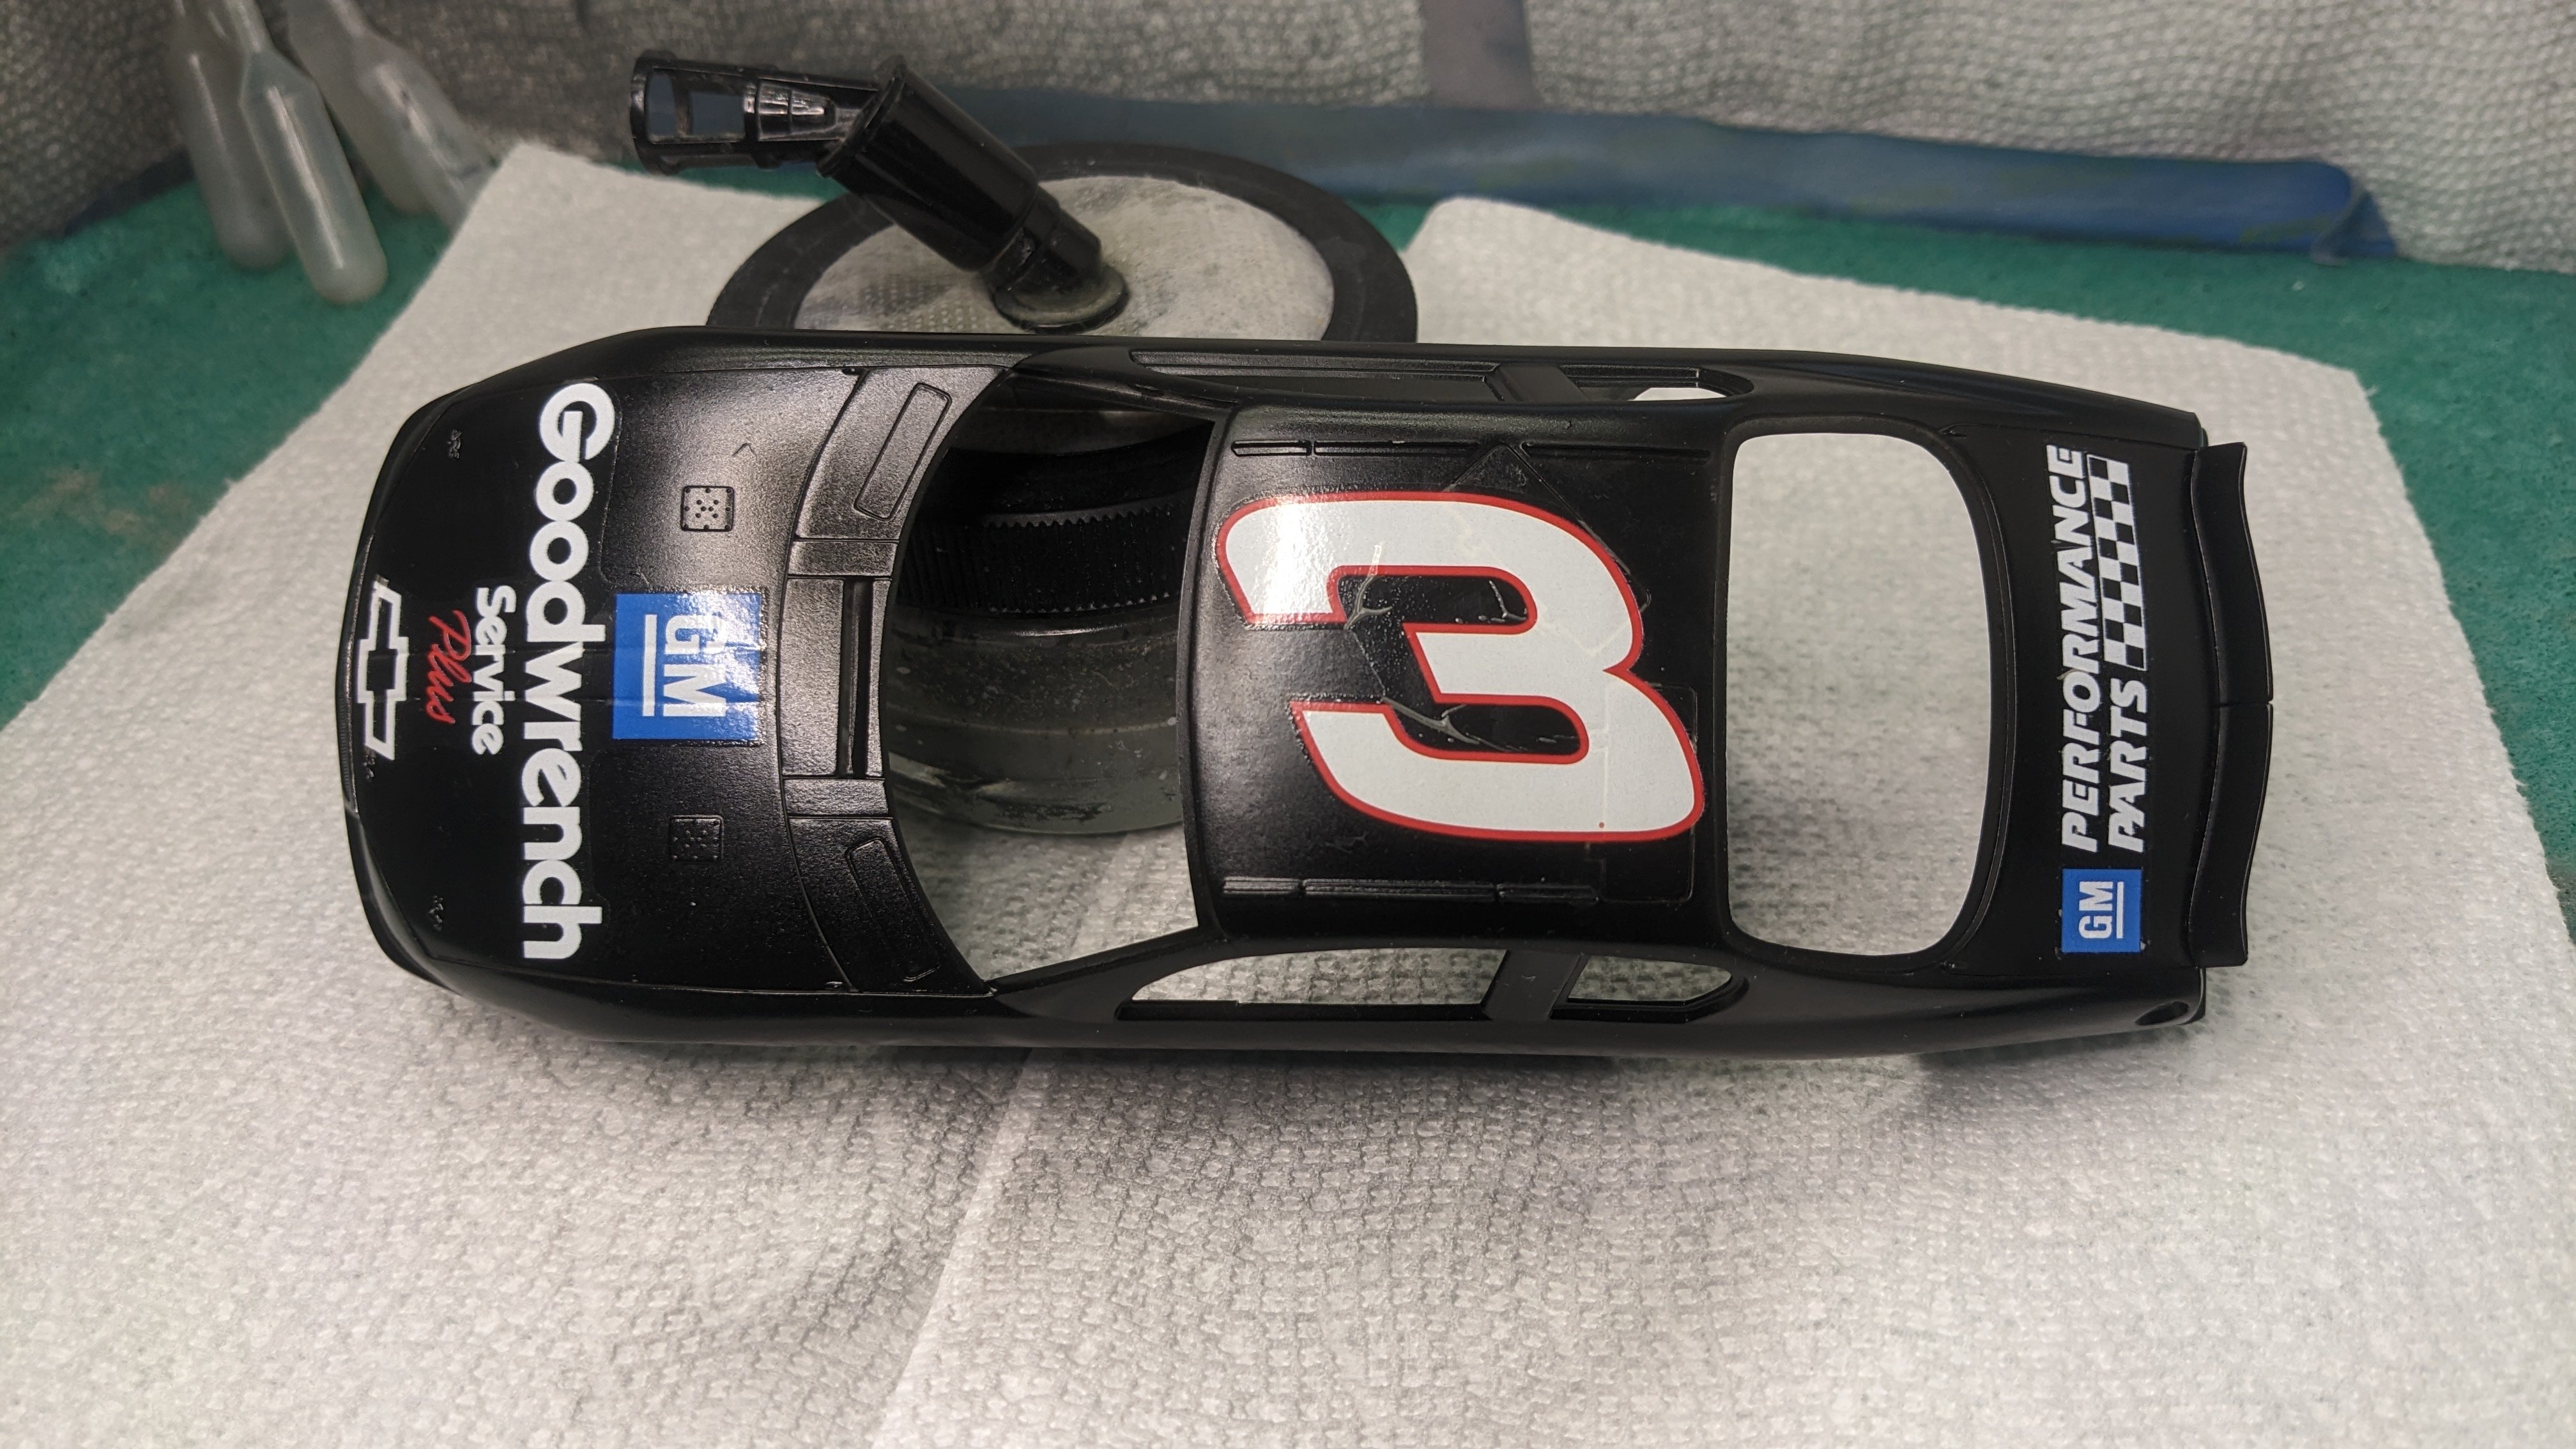
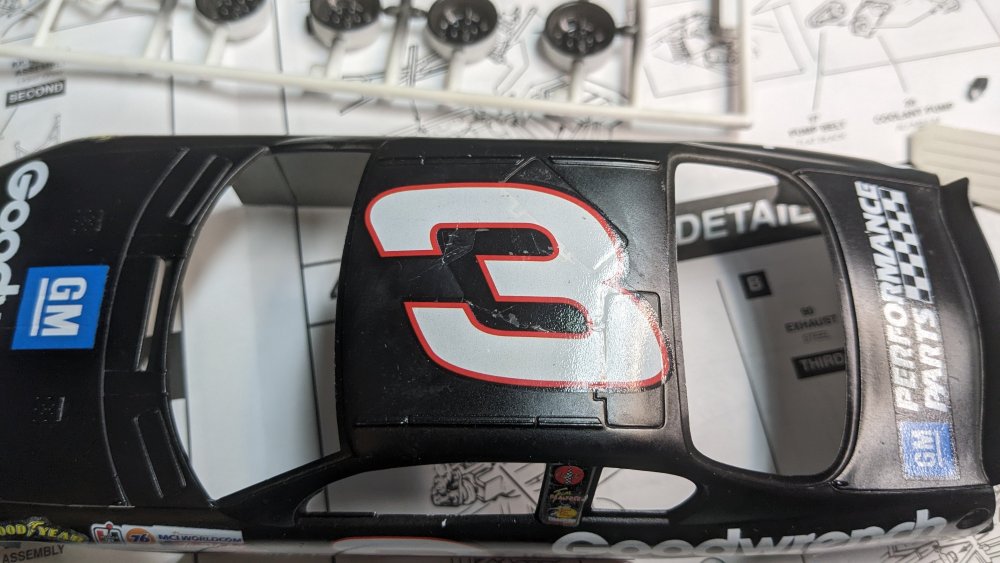
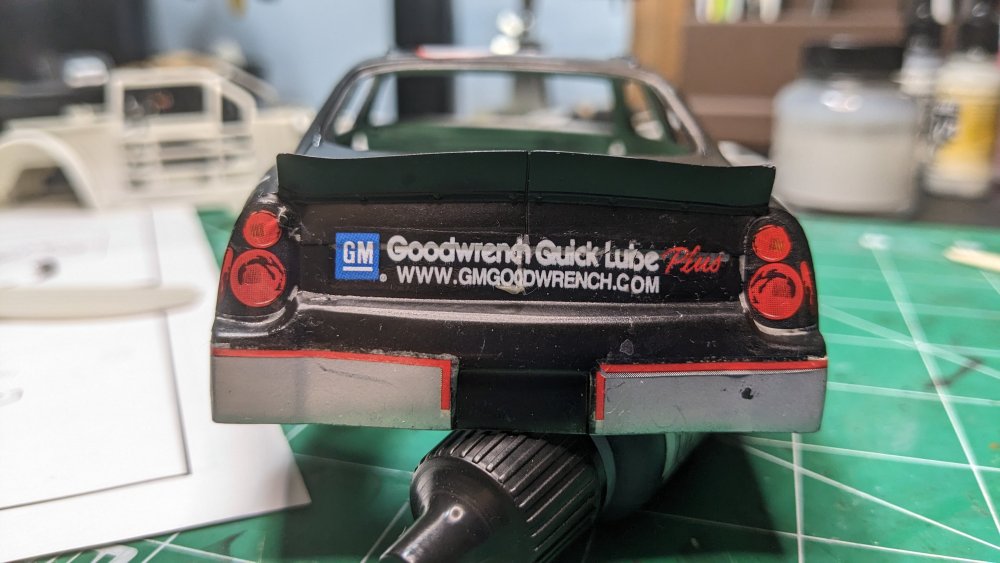
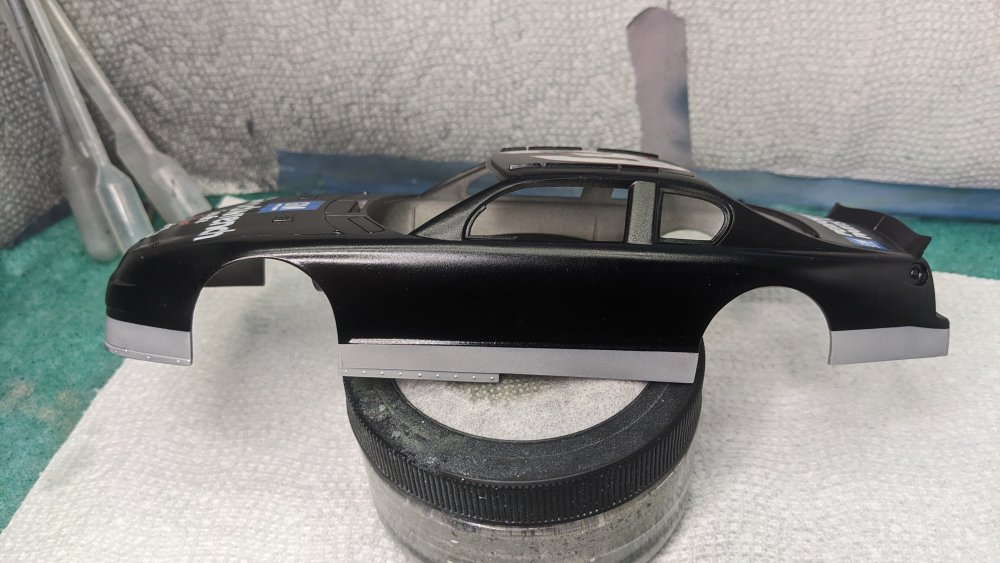
Well, as expected the decals are proving to be something of a challenge. The rooftop #3 has two major wrinkles I need to remove but when I hit it with a decal solution, the wrinkles shift. The decals are rather thick so not reacting well to decal solvent very well anyway, but I'm reluctant to using Solvaset. Some work to be done there. Also, the decals all have a brownish tint that has to be washed off. Here is the residue on the backing paper. Painted the lower panel Dull Aluminum (Vallejo Metal Color after having to use the end of a brush to break up the pigment in the bottom of the bottle and give it a really good stir for several minutes) in preparation for the red pinstripe. Just could not bring myself to use the kit decals. Also created my own problem when one of my masks slipped and it took off half of the rear decal. Not sure what I'm going to do about that. I'm soaking the offending piece of tape in the hope it will eventually release the decal. My bad! The plan is once the decals are on to get a nice clear coat on and polish that. I have a 70 Challenger in the stash so may try that sometime - polishing the paint before laying down the clear coat. Will see how the #3 turns out...
-
Eduard Bf 109F-4 Yellow 7 Ellen RFI
CANicoll replied to CANicoll's topic in The Sandbox Ready for Inspection.
Thank you! I used to do mostly 1/48 as they are fairly quick builds but still have decent detail. I also like the Eduard kits as they seem to go together pretty nicely.