GusMac
-
Posts
2,938 -
Joined
-
Last visited
Content Type
Profiles
Forums
Events
Gallery
Everything posted by GusMac
-
 Looking good Ralph. Nice to see you back.
 -
Jadlam UK Spitfire GB competition - anyone fancy it ?
GusMac replied to PanzerWomble's topic in Modelling Discussion
Hadn't seen that Guy. Interesting idea but I don't build anywhere near fast enough to have something built by the end of the month! -
It would certainly be useful in rush hour traffic!
-
Nice looking machine Rob. I've been on the decaf coffee as well for about 18 months now to try and stay off blood pressure medication. So far it's working and thankfully haven't missed the caffeine at all.
-
What is on your bench right now ? Share a picture :)
GusMac replied to Martinnfb's topic in Modelling Discussion
I remember vividly the Eliminator album coming out. The line in Legs about 'She's got hair, down to her fanny' caused much amusement amongst myself and my immature group of young teenage friends as fanny is slang for something rather different in the UK. -
How B-52 Bombers Scramble: Small Explosives Power the Engines
GusMac replied to MARU 5137's topic in General Discussion
Yes, nitroglycerine is a powerful vasodilator and routinely used as a treatment for angina. A large dose of that would not be pleasant. It's also about 15 times more explosive than TNT -
1/18 Hawker Sea Fury - probably VX620..
GusMac replied to airscale's topic in LSM 1/35 and Larger Work In Progress
Just stunning work Peter. The weathering is wonderful as it's a proper metal surface underneath where the wear occurs. -
What is on your bench right now ? Share a picture :)
GusMac replied to Martinnfb's topic in Modelling Discussion
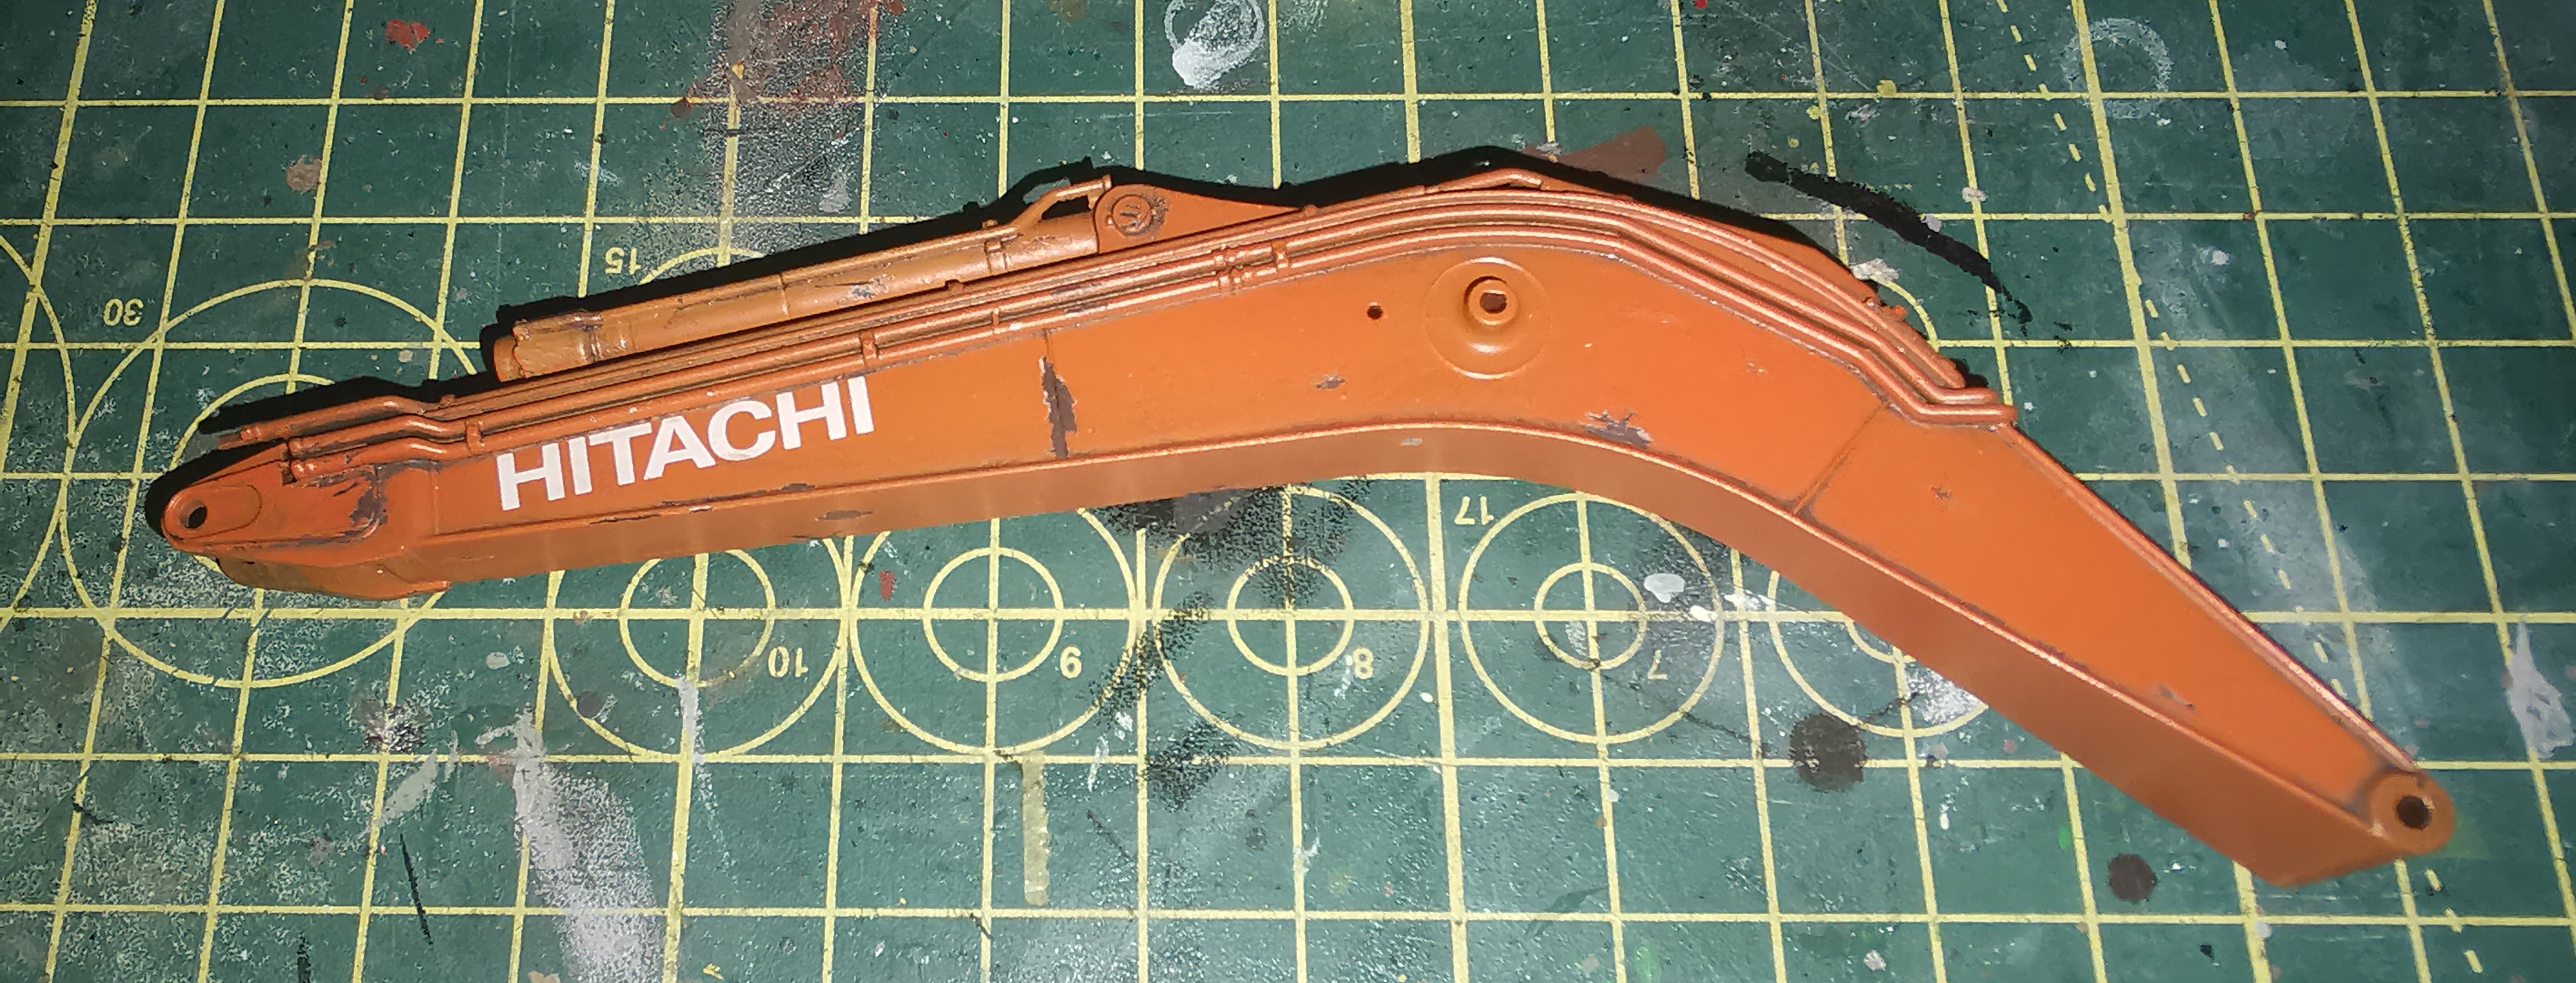
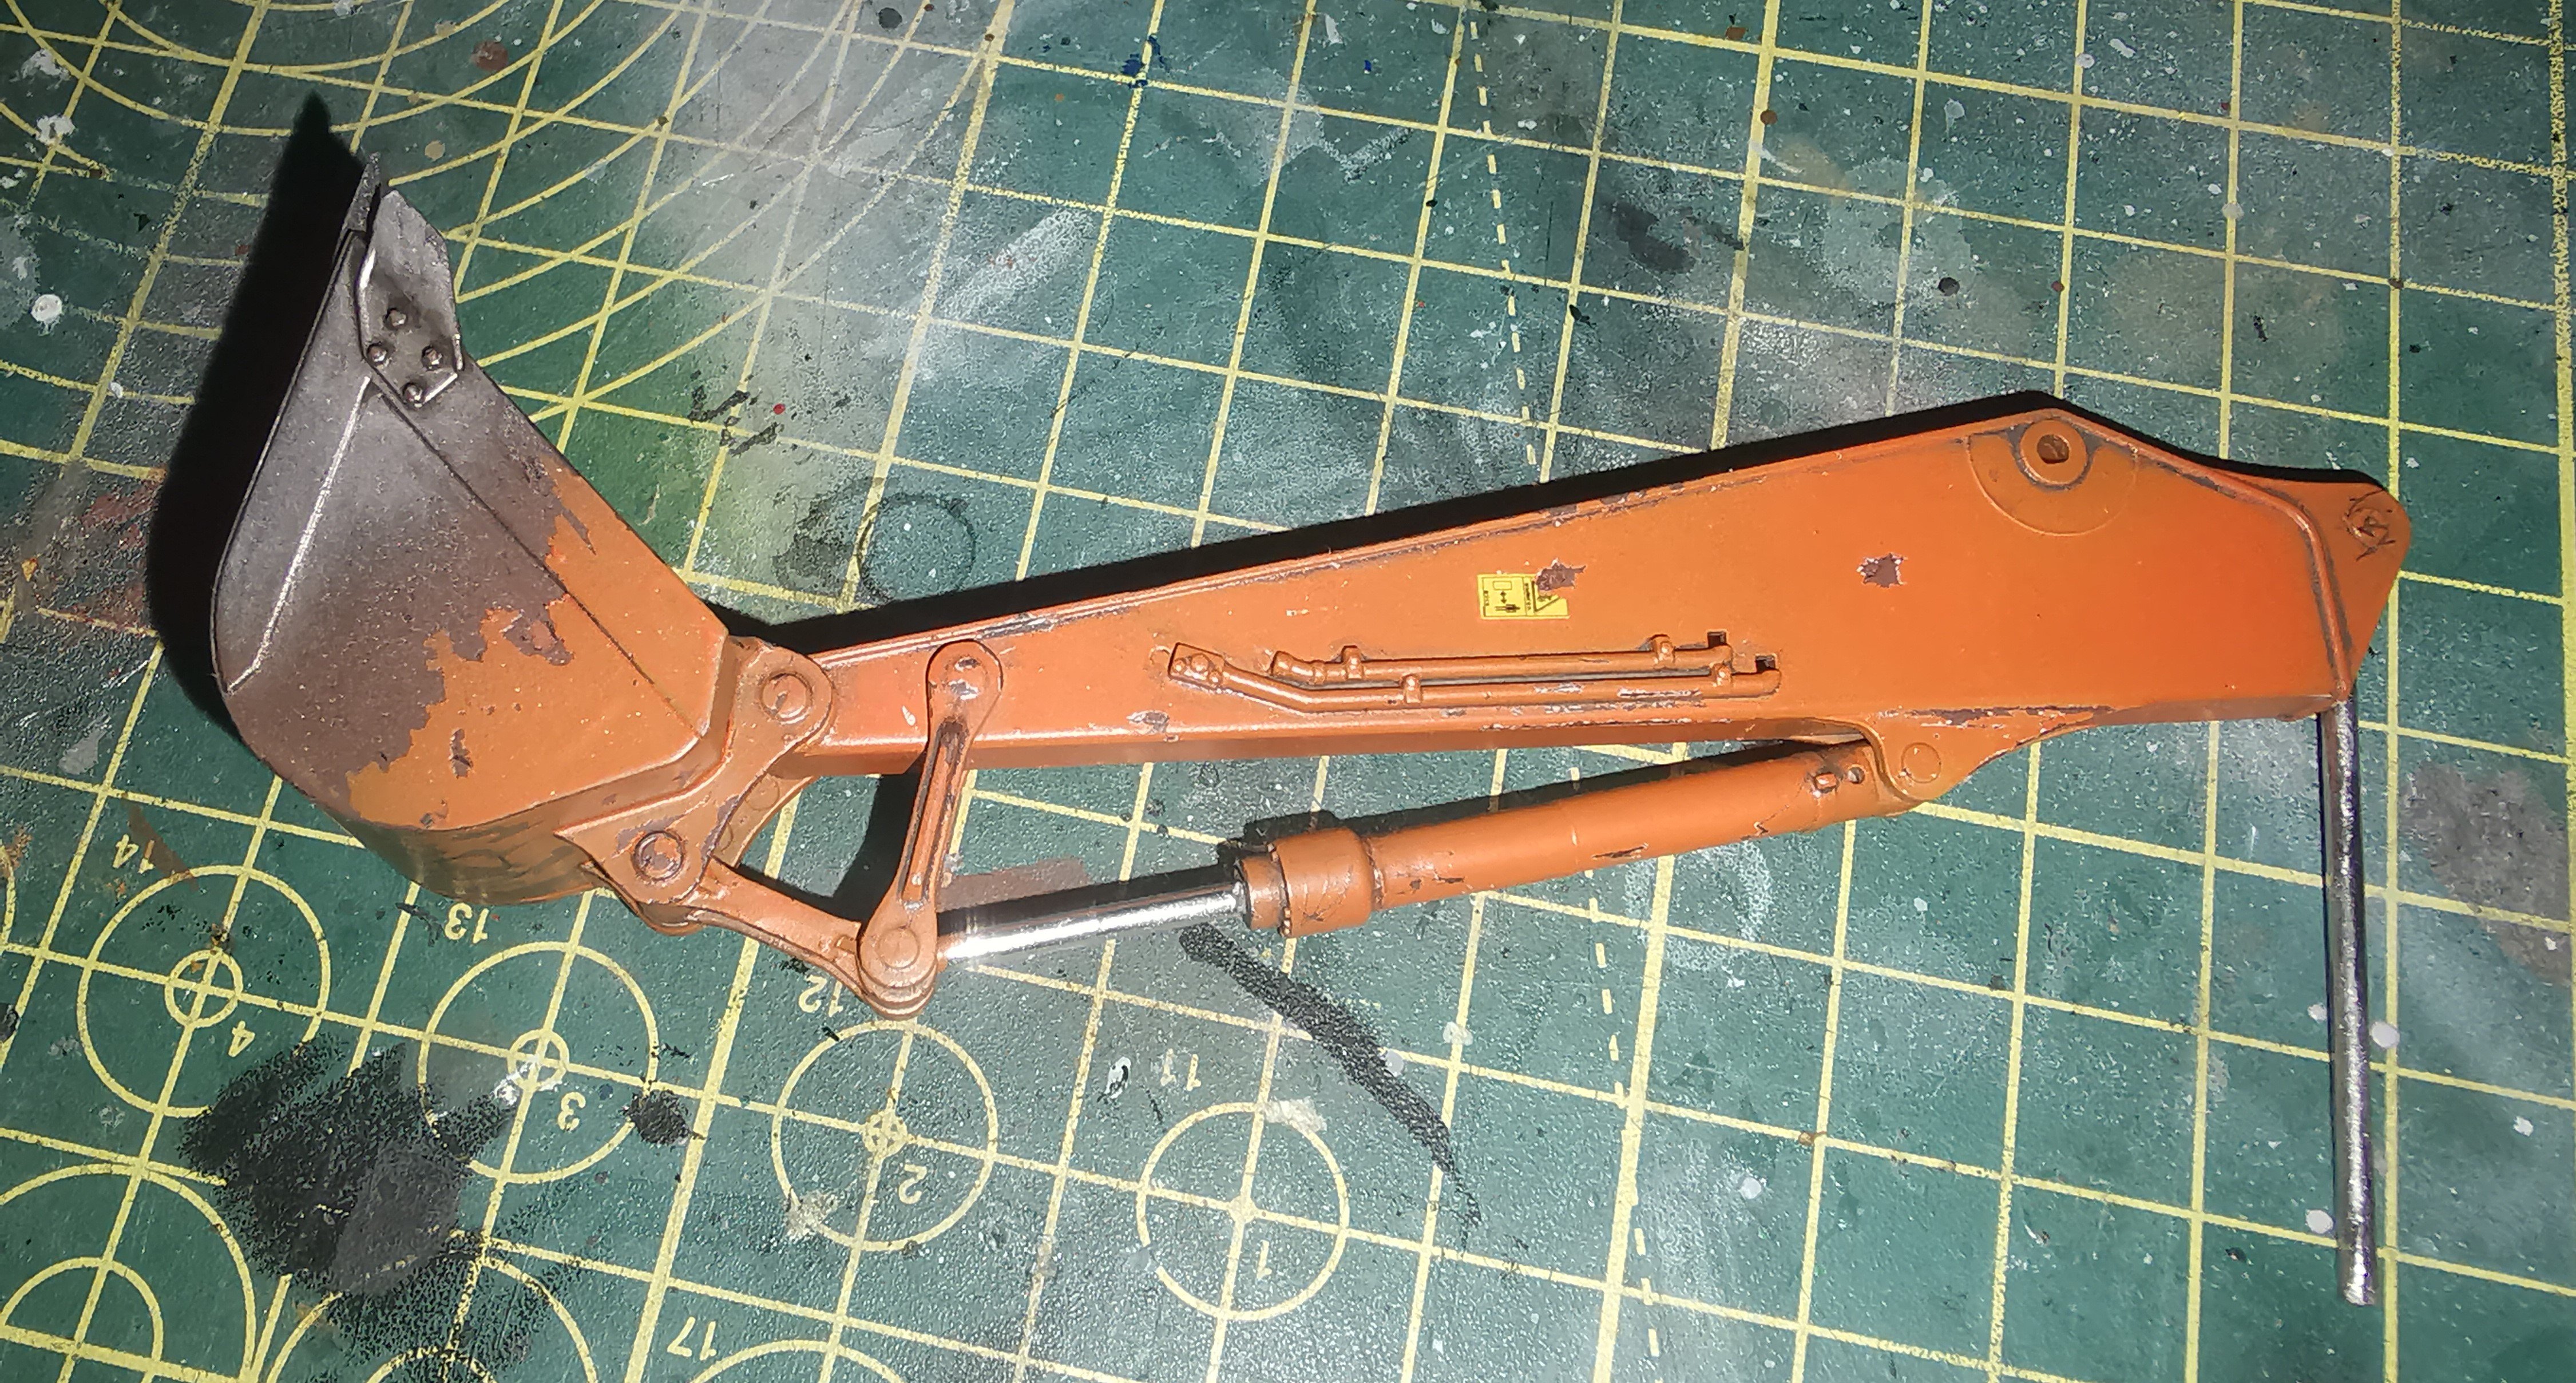
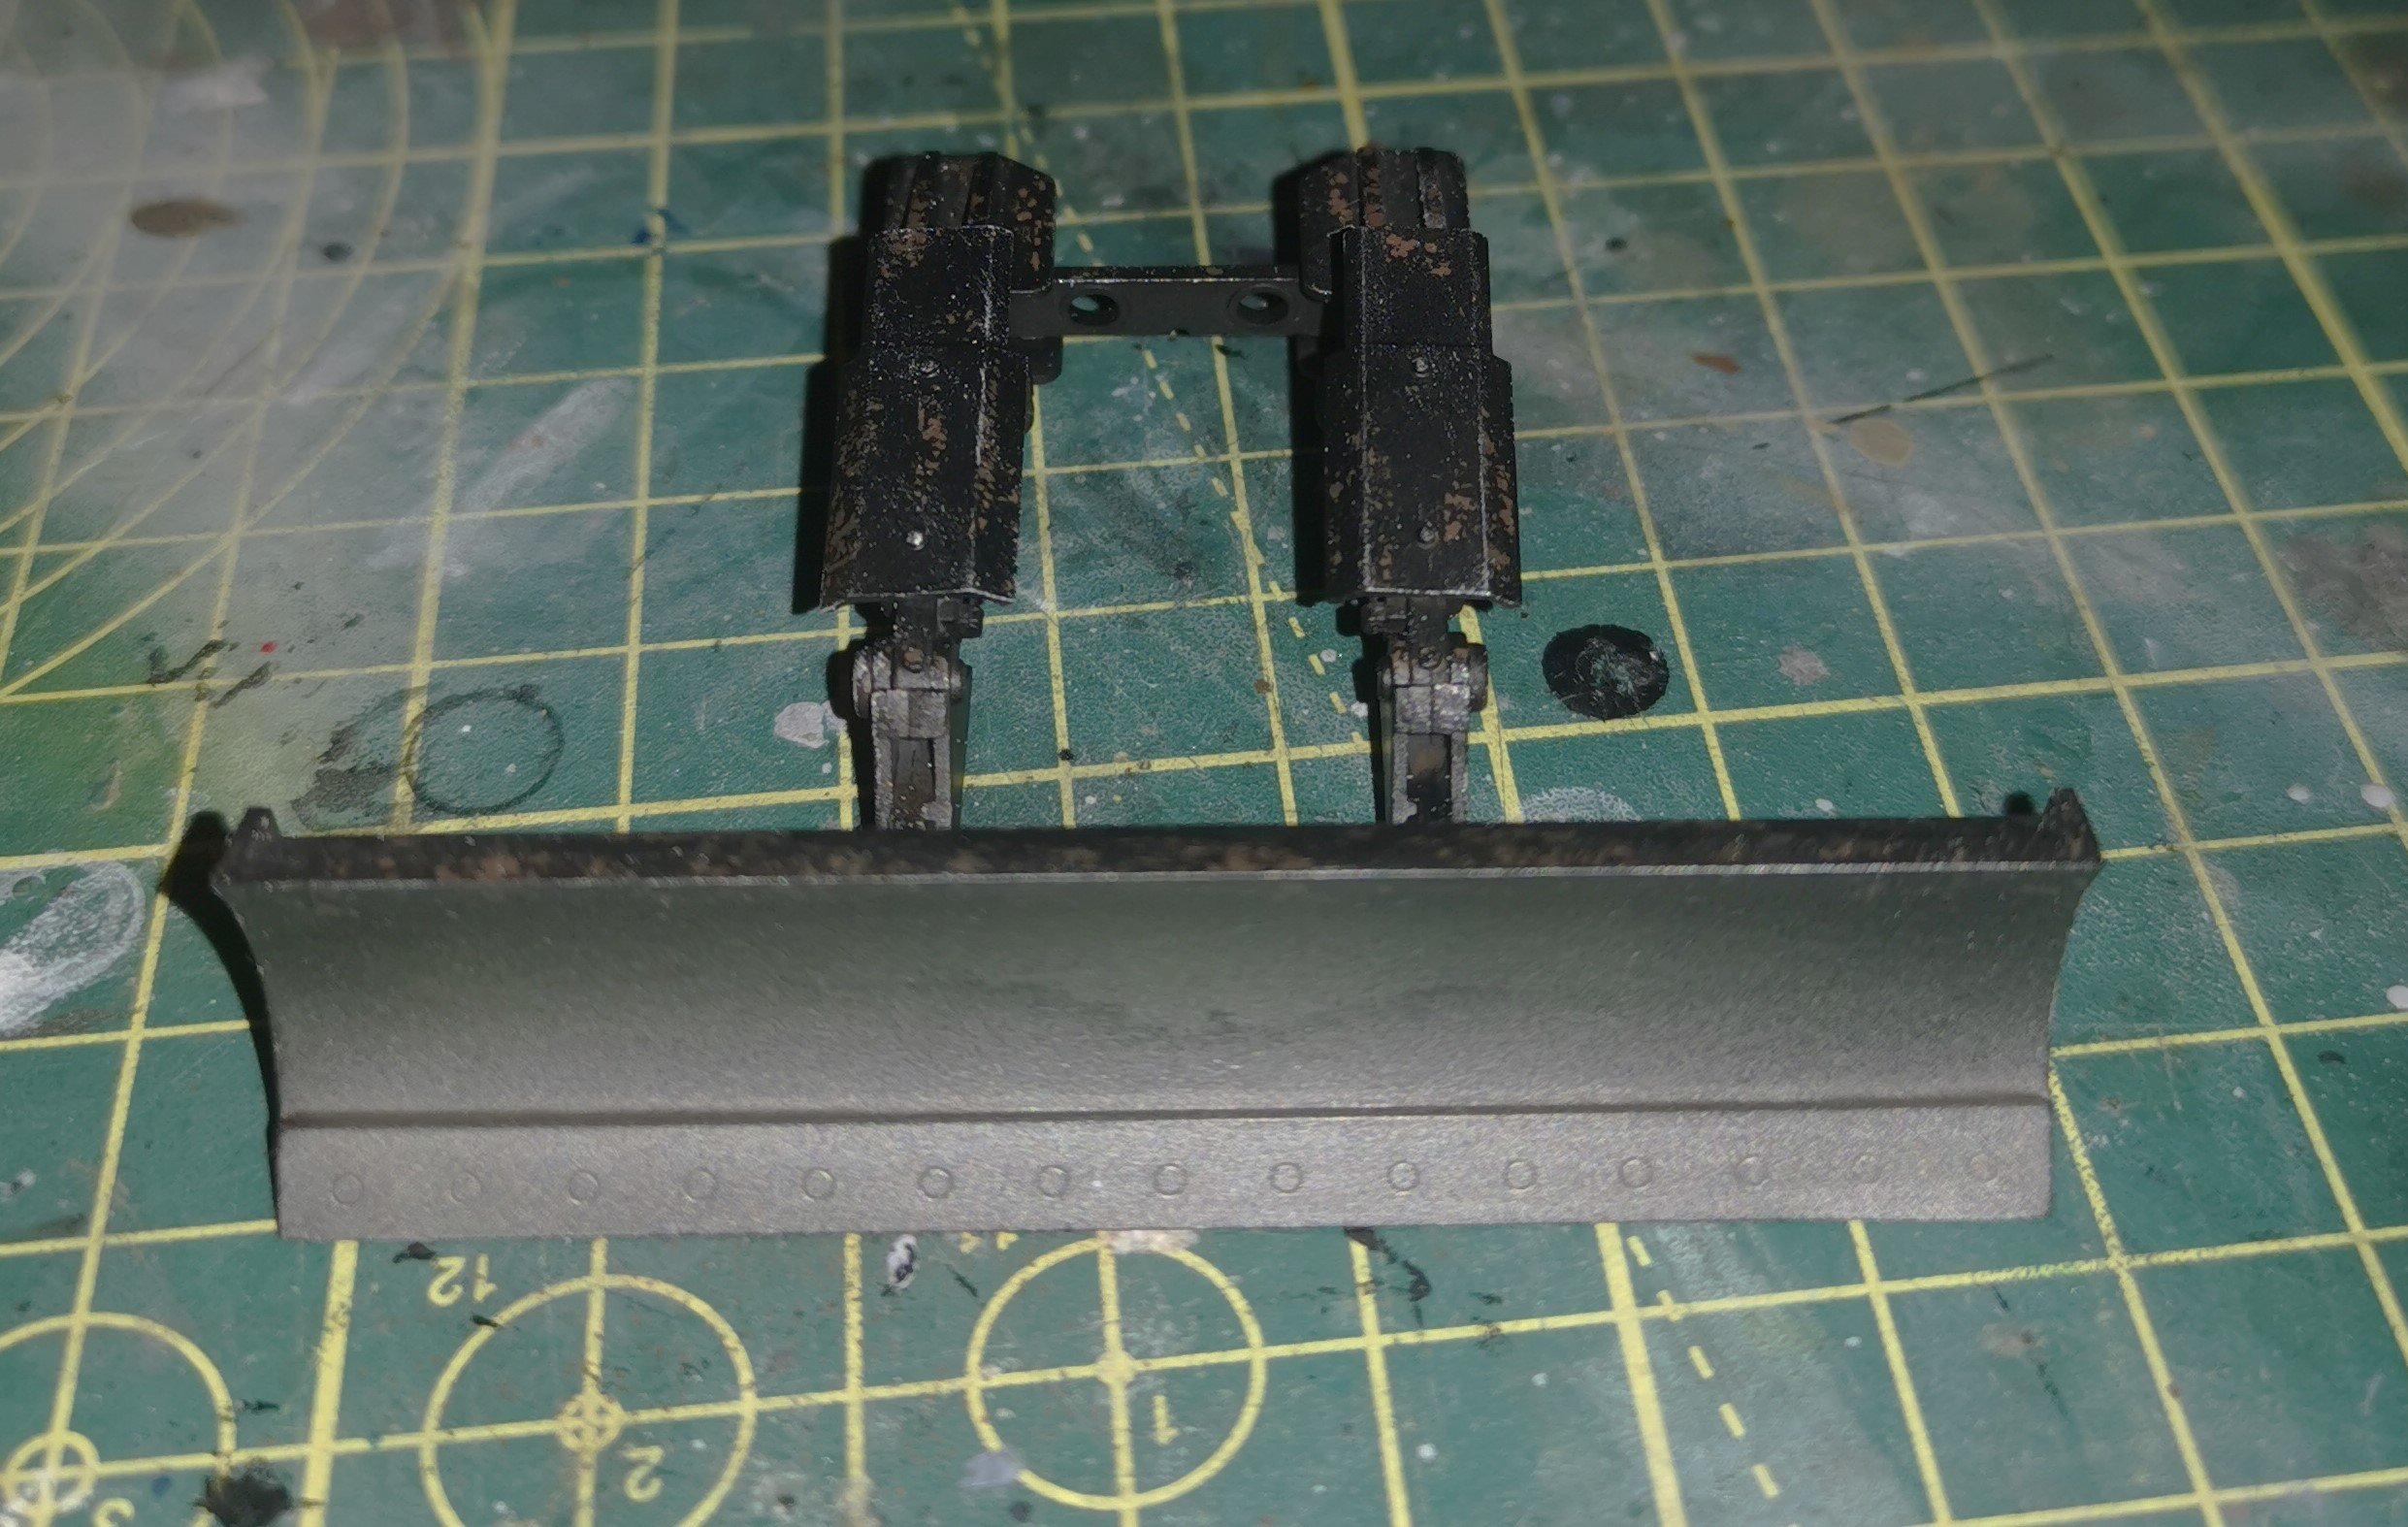
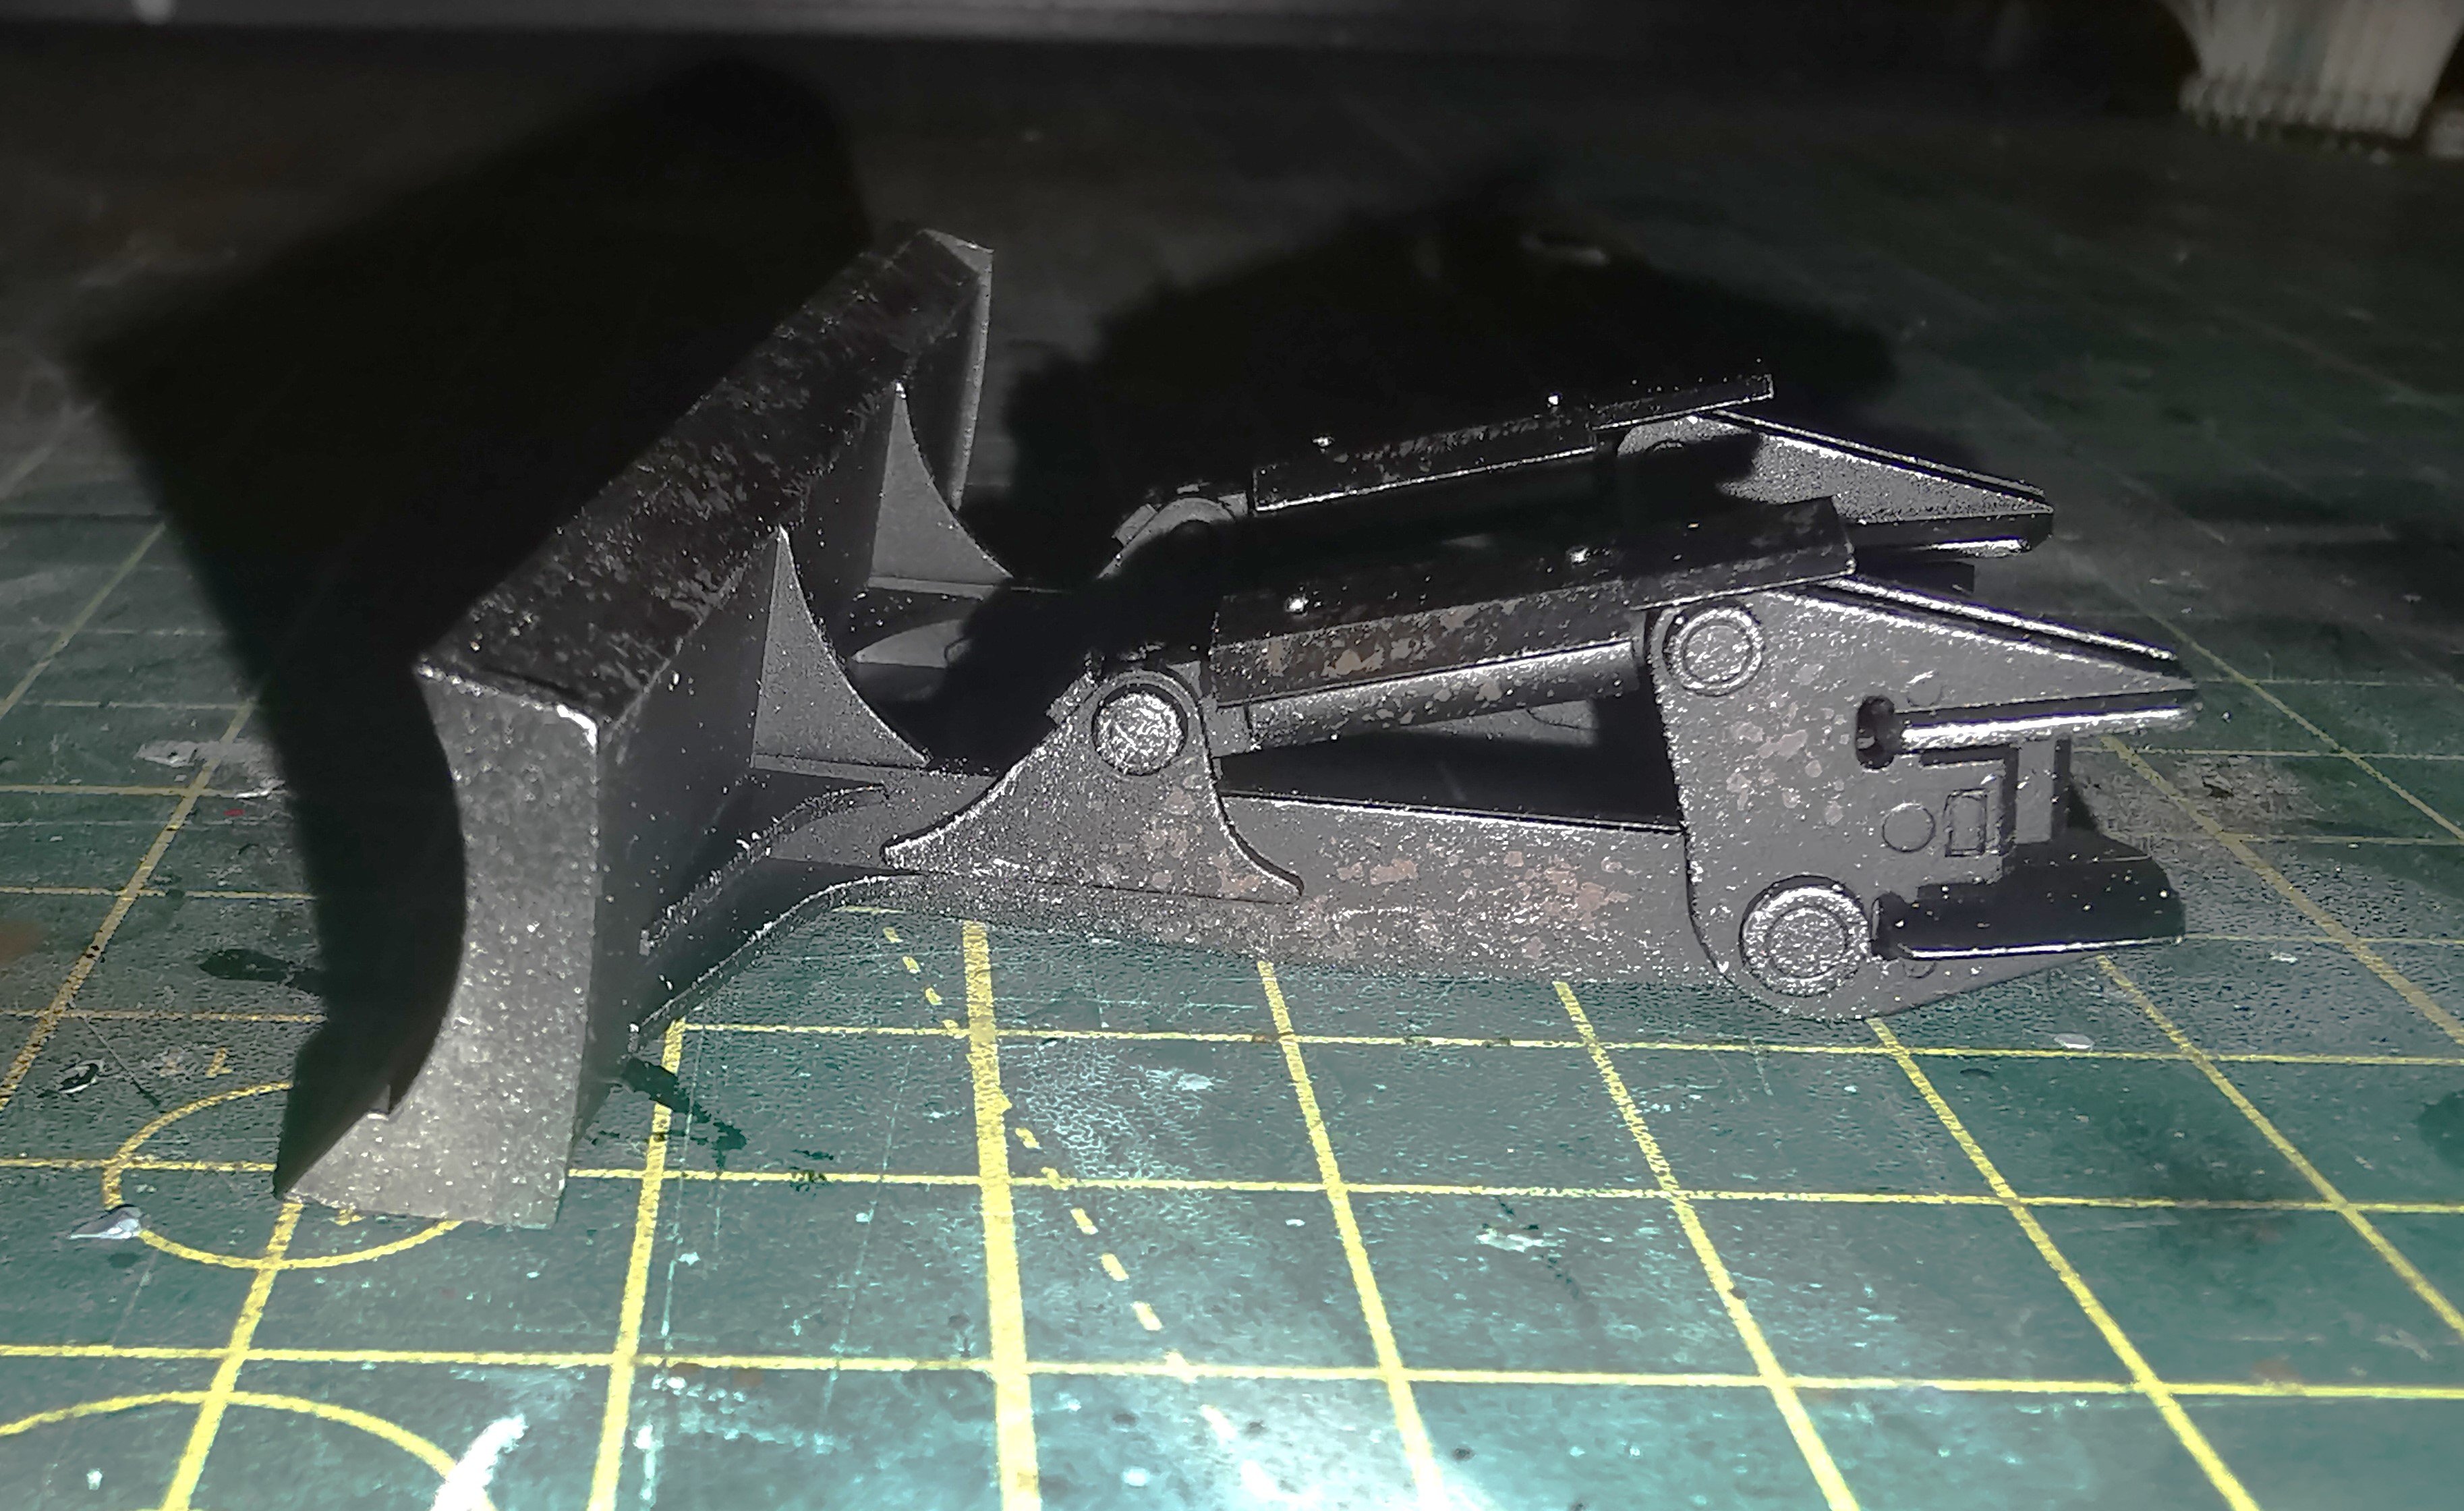
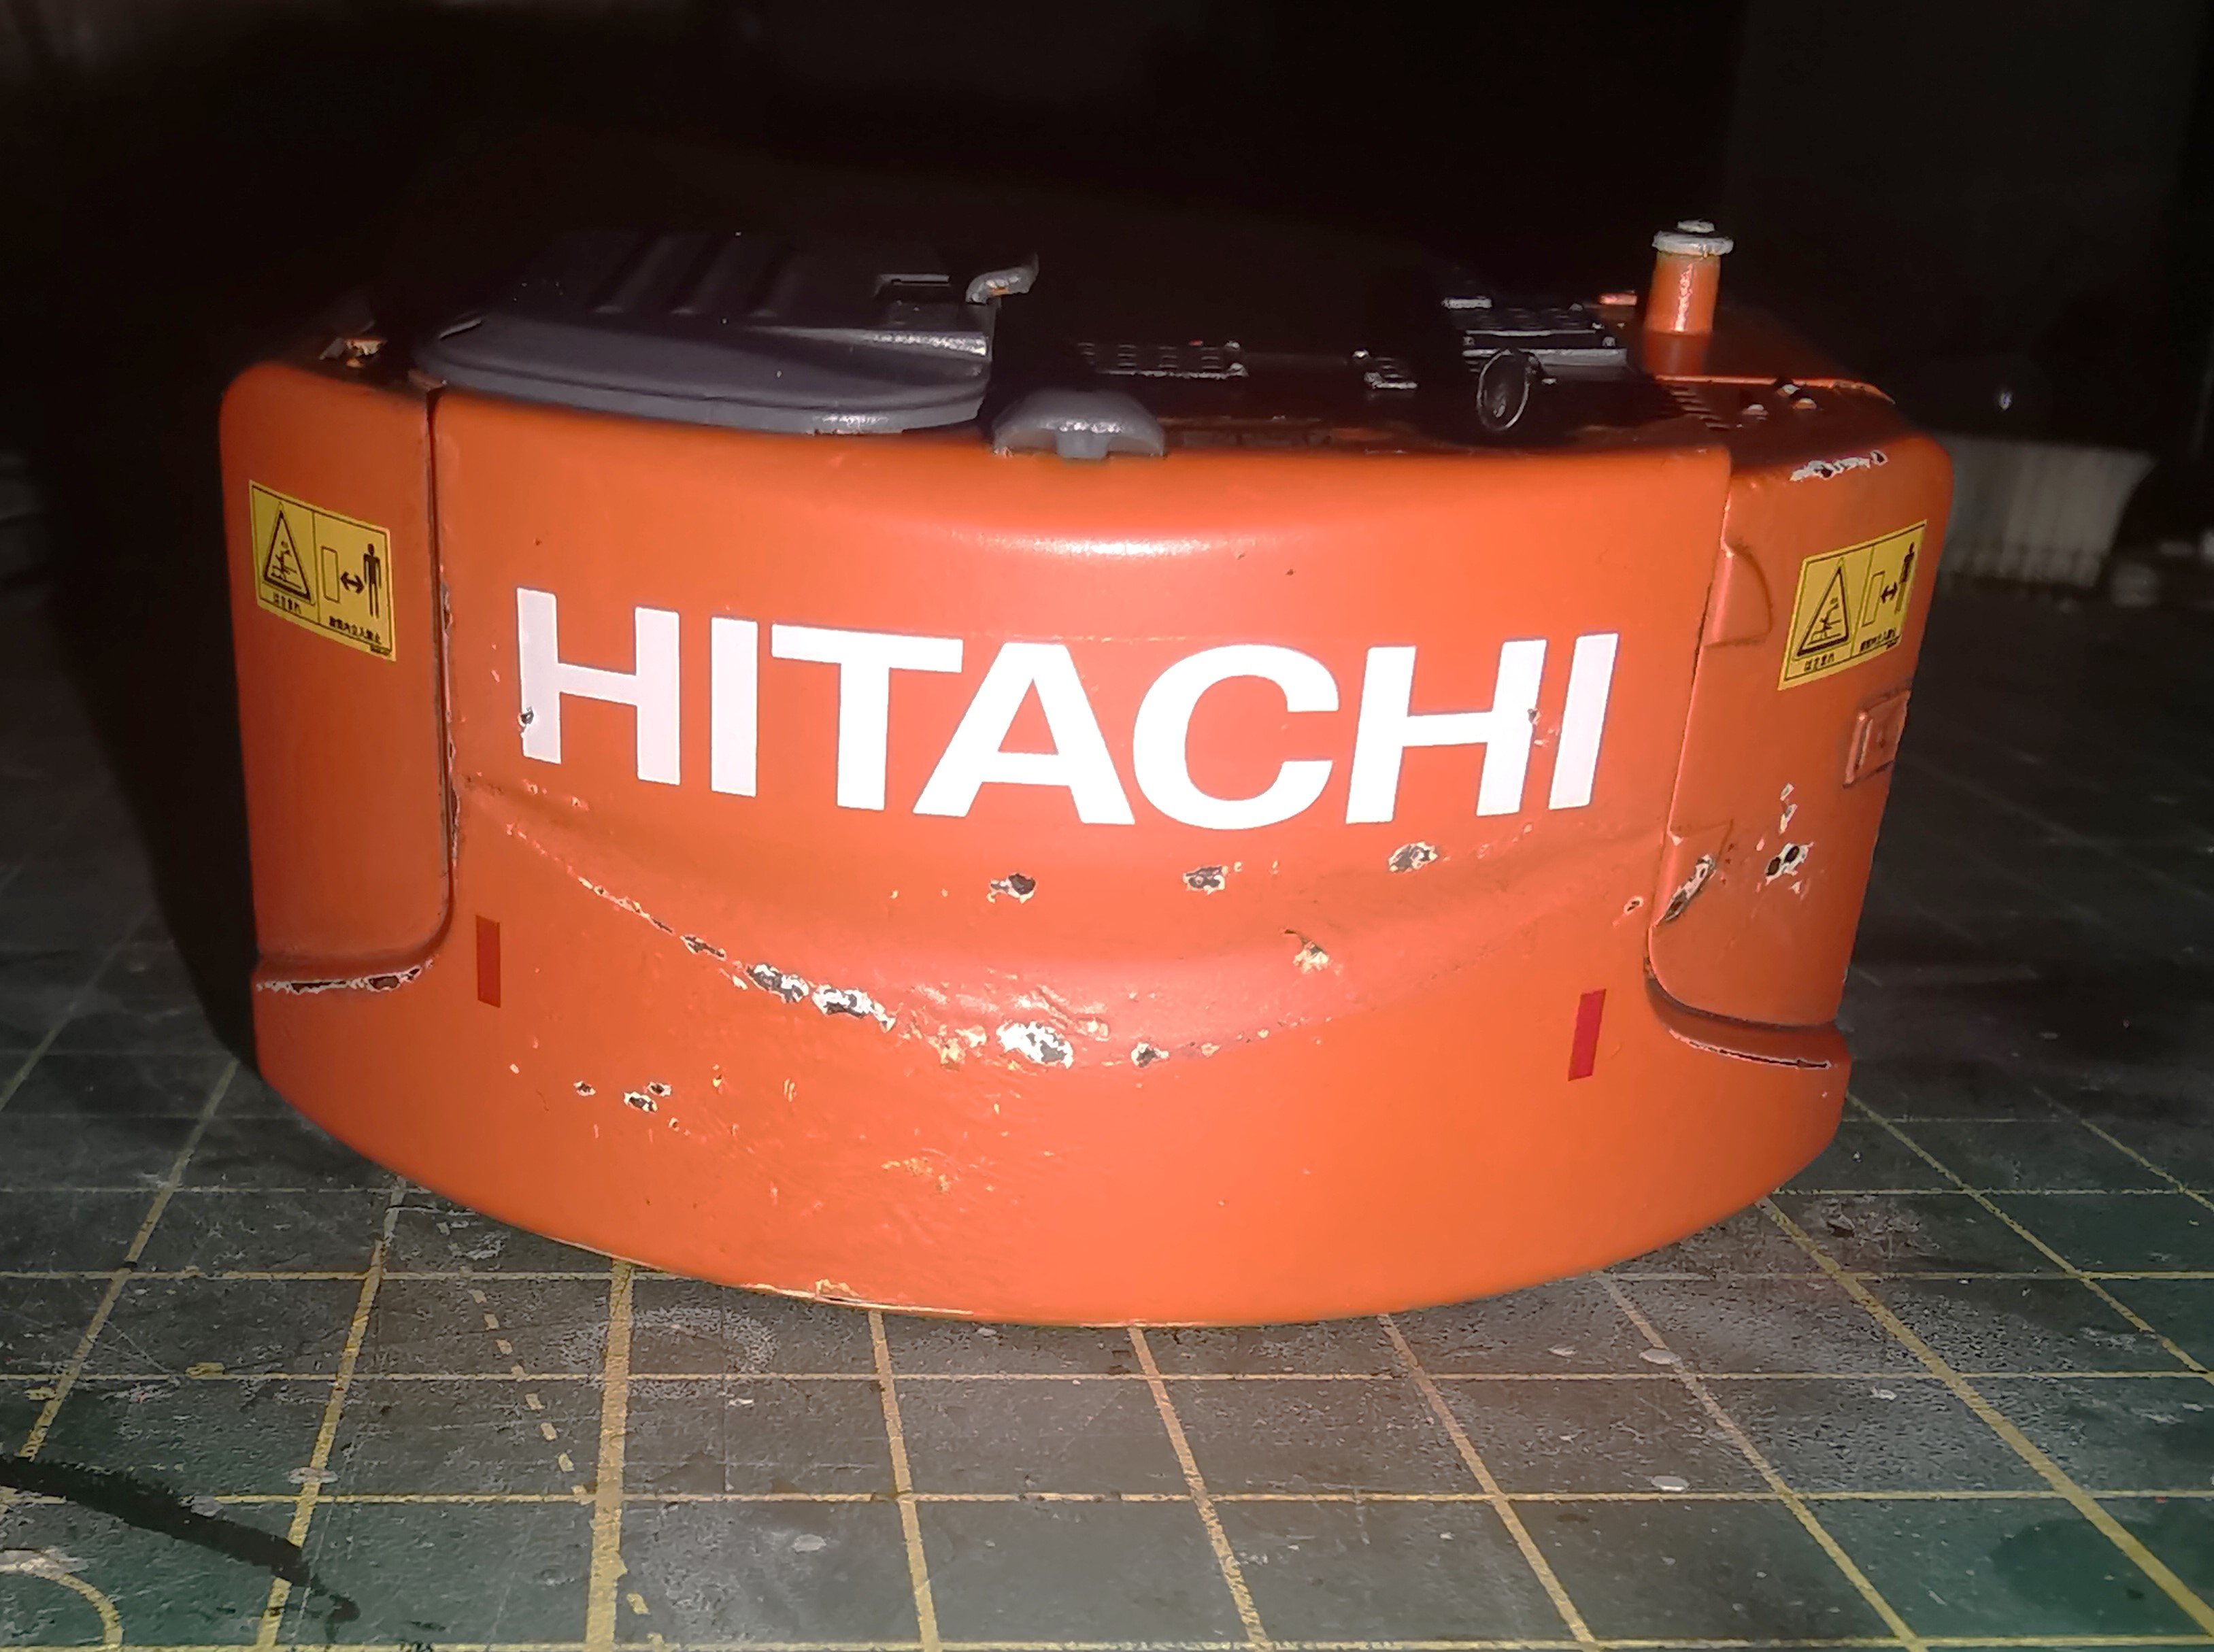
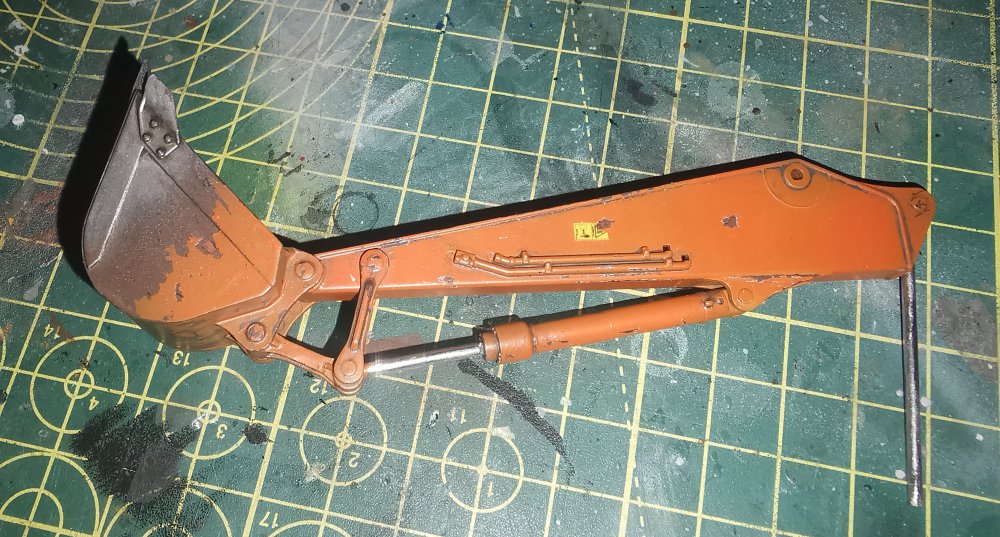
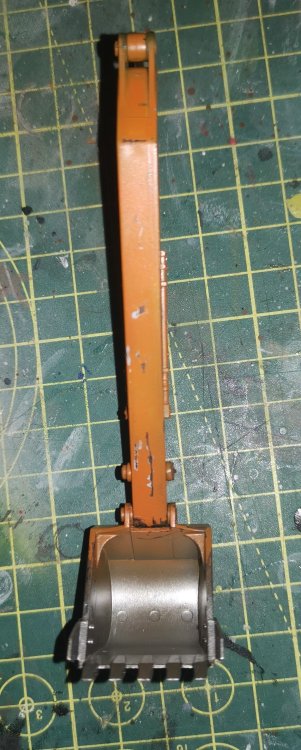
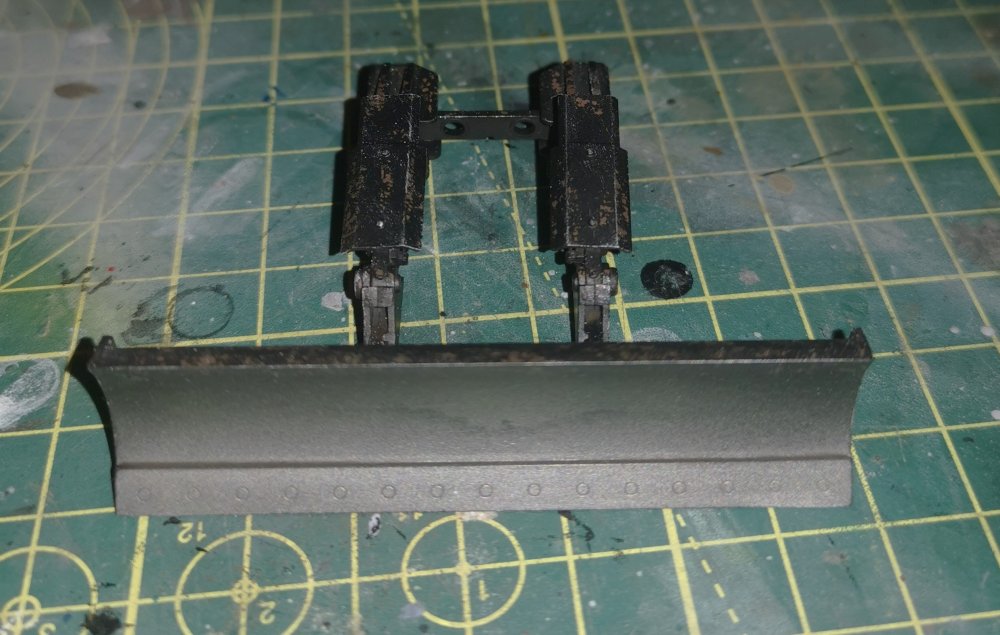
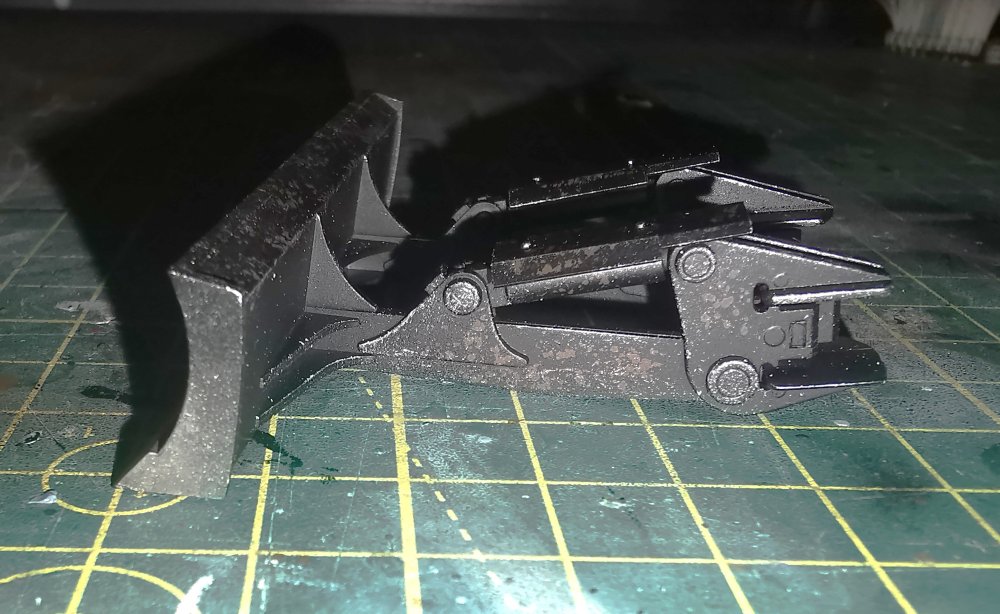
Making a bit more progress on the Zaxis excavator. Everything has had a wash and flat coat and a bit of dry brushing where required. Next up is assembly and then weathering to get everything muddy and dusty which I'm planning to do with chalks as per the discussion in the GB thread. The ejector pin marks in the bucket are a pain as I missed them completely but I'm hoping the weathering will hide them. Most difficult bit I think is going to be trying to make the rubber band tracks look decent. Given the real machine actually comes with a rubber or steel tracks option, why Hasegawa decided to make their rubber band tracks resemble the steel tracks is one of the great mysteries of life!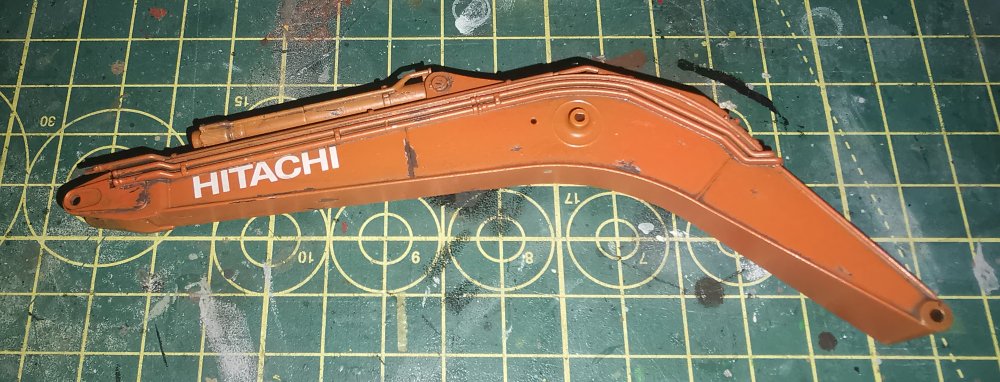


-
Westland Wyvern S.4 late- 1/48 Trumpeter
GusMac replied to BlrwestSiR's topic in The Sandbox Group Build.
The Fleet Air Arm specialised in fuggly - Fairey Gannet was the perfect example. -
I knew there were height restrictions for fast jet pilots due to the ejector seat constraints but never thought about waist restrictions! Goering wasn't gonna fit in there. 😆
-
Wow, that is a tight cockpit. Would suit my mum as she drives her car with her nose on top of the steering wheel! 😁
-
Doubt she'll come back - that's bound to be warmer than Loch Ness. Always amazes me that Loch Ness contains more water than all the freshwater bodies in England combined!
-
Looking really good. The fella at the front in the 3rd picture looks like he's lost his trombone. 😄
-
What is on your bench right now ? Share a picture :)
GusMac replied to Martinnfb's topic in Modelling Discussion
Shouldn't have been standing there when he fired. It's taken their heads clean off..... -
Brings back memories. What would 18p get you now???
-
I hope you enjoy figure painting!
-
What is on your bench right now ? Share a picture :)
GusMac replied to Martinnfb's topic in Modelling Discussion
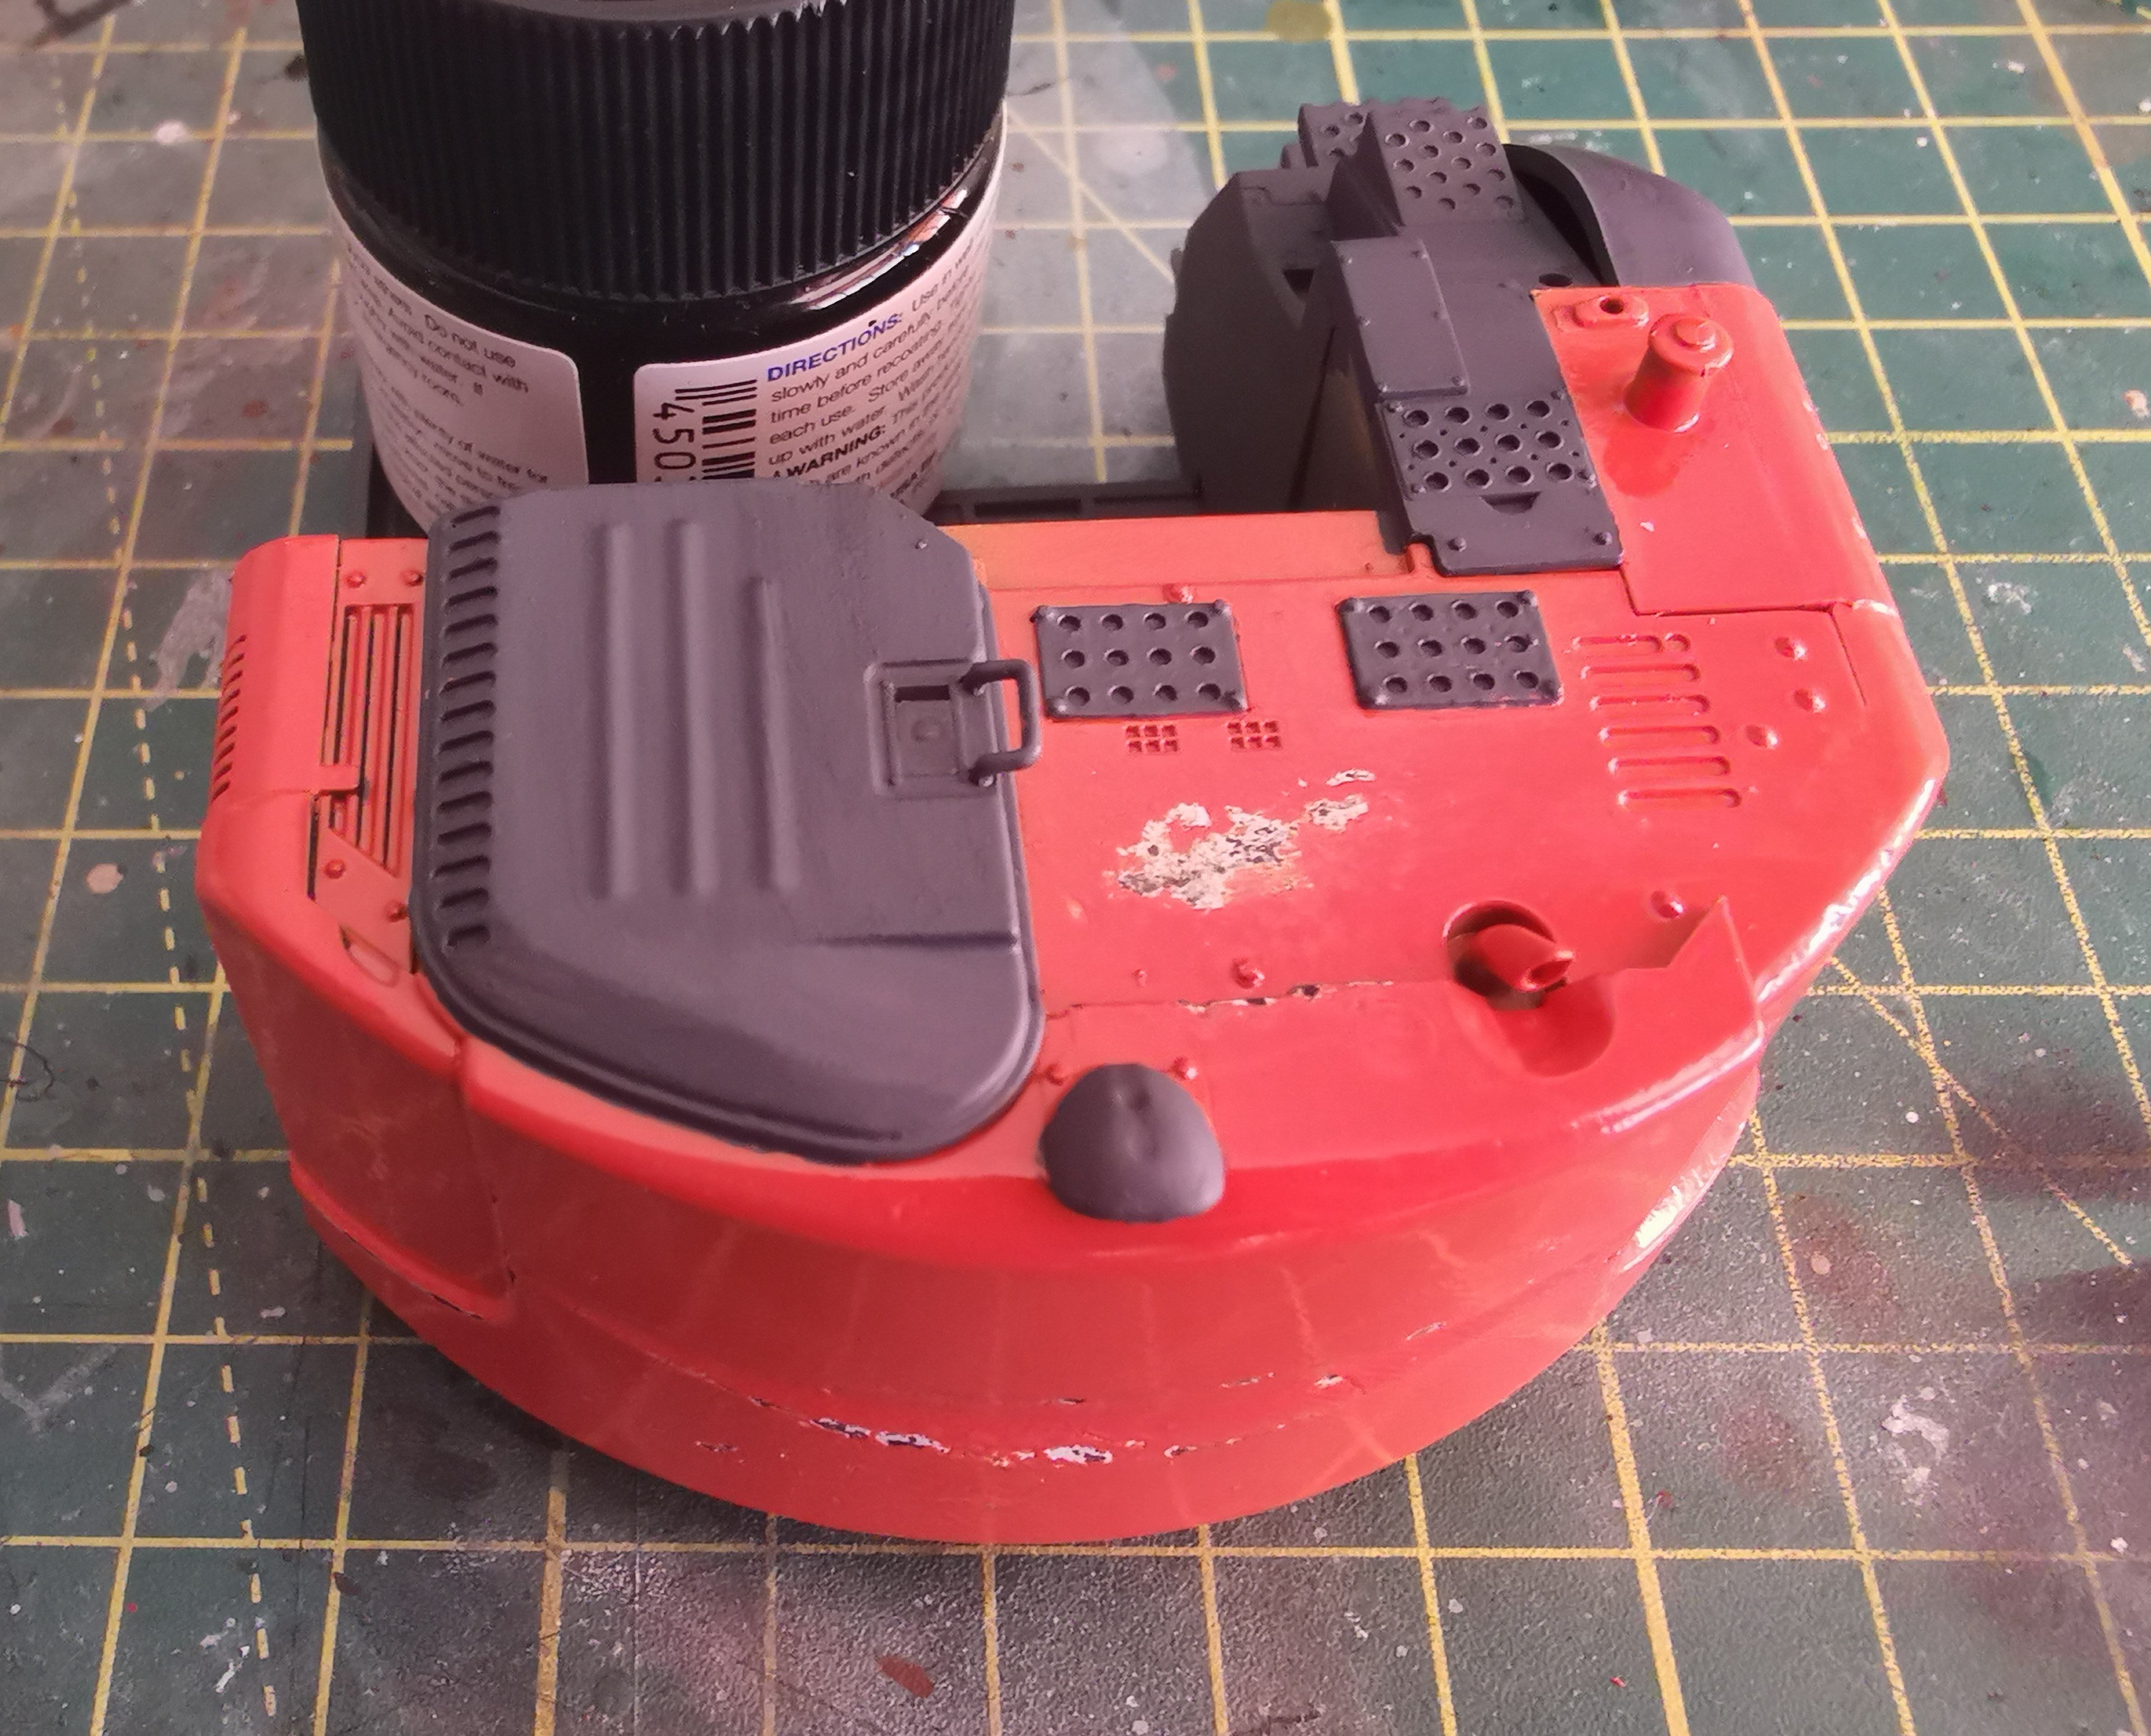
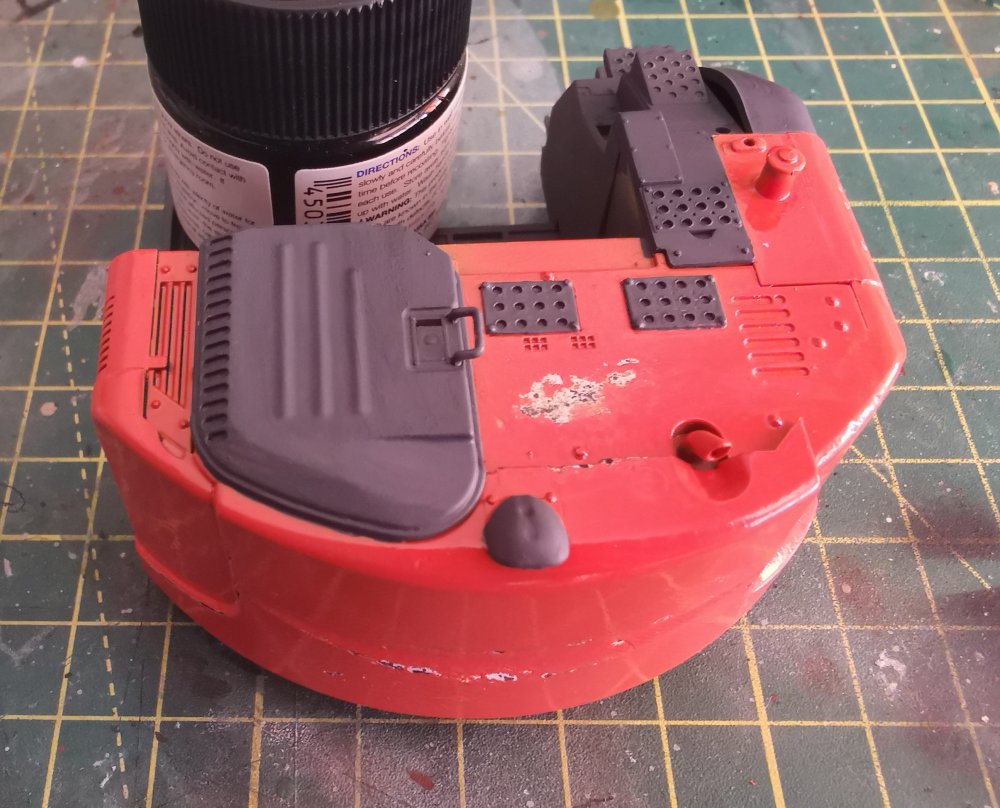
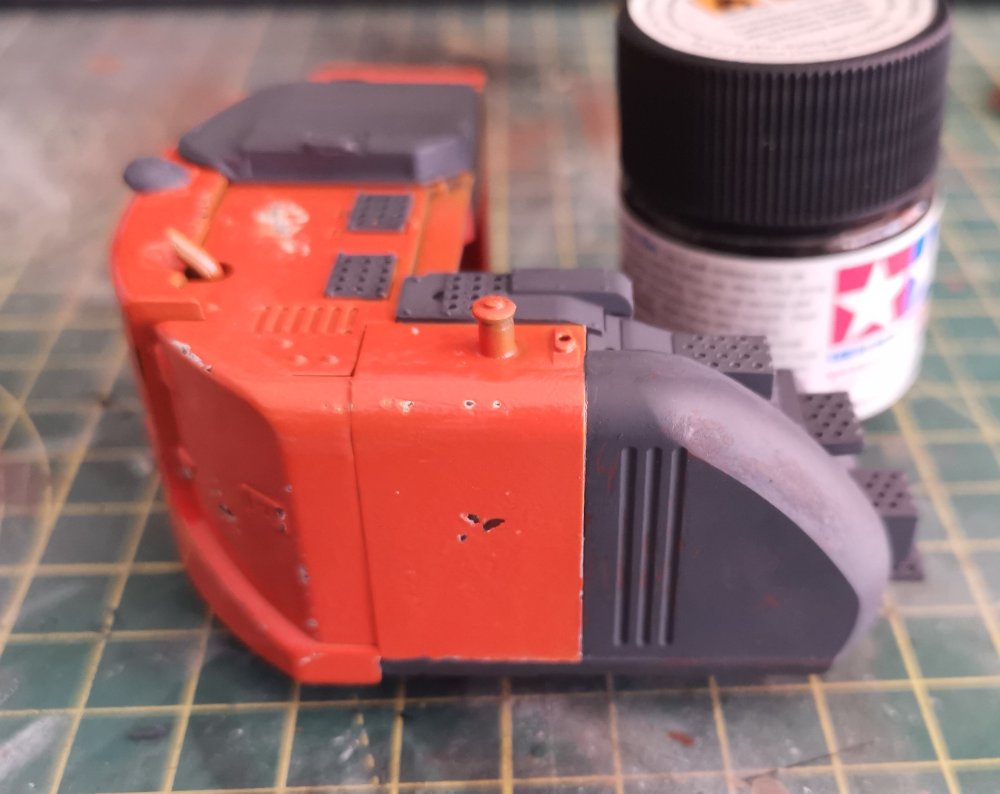
Got the main body of the digger painted and chipped. Again two layers with a white then orange over the rust base. Decals are next then weathering.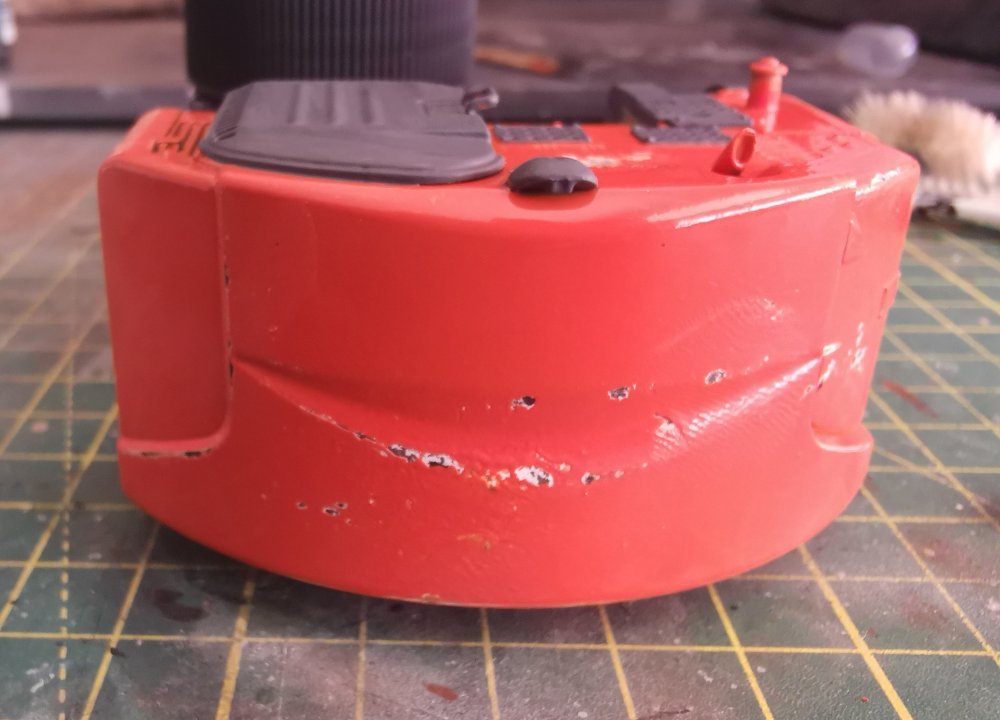
-
Yeah, not cheap but I'd lost too many brain cells trying to colour match the Swedish colours so I bit the bullet!
-
Forget Luxury Bristol Brabazon. Japanese stuff !!
GusMac replied to MARU 5137's topic in General Discussion
The short wingspan would certainly make it easier to place on a roof like that. Definitely looks like a widowmaker tail. -
I hear you on the MRP. Used it on the Viggen and loved it but had to get it directly from them as none of the UK suppliers had more than a very basic selection of colours.
-
No More Nails for zimmerit is certainly one I wouldn't have thought of trying. Works bloody effectively as an adhesive though. Interesting results with the Atom paints - look similar to the standard Ammo paints in that it looks like it needs lots of very thin layers. Must have changed something though as I've successfully thinned the original formulation with Mr Levelling.
-
MiKamAZ-8, recreational vehicle Afghan style?
GusMac replied to telepatu's topic in The Sandbox Group Build.
You have to admire the ingenuity shown in refurbishing that truck. -
The quality of the print on the cloak looks great.
-
Ah, seeing where you're going is such an overrated concept! There are plenty of drivers round here who seem to be able to drive without clearing their frosty windscreens in winter anyway.....
-
Somebody spotted his lunch?