Clunkmeister
-
Posts
7,200 -
Joined
-
Last visited
Content Type
Profiles
Forums
Events
Gallery
Everything posted by Clunkmeister
-
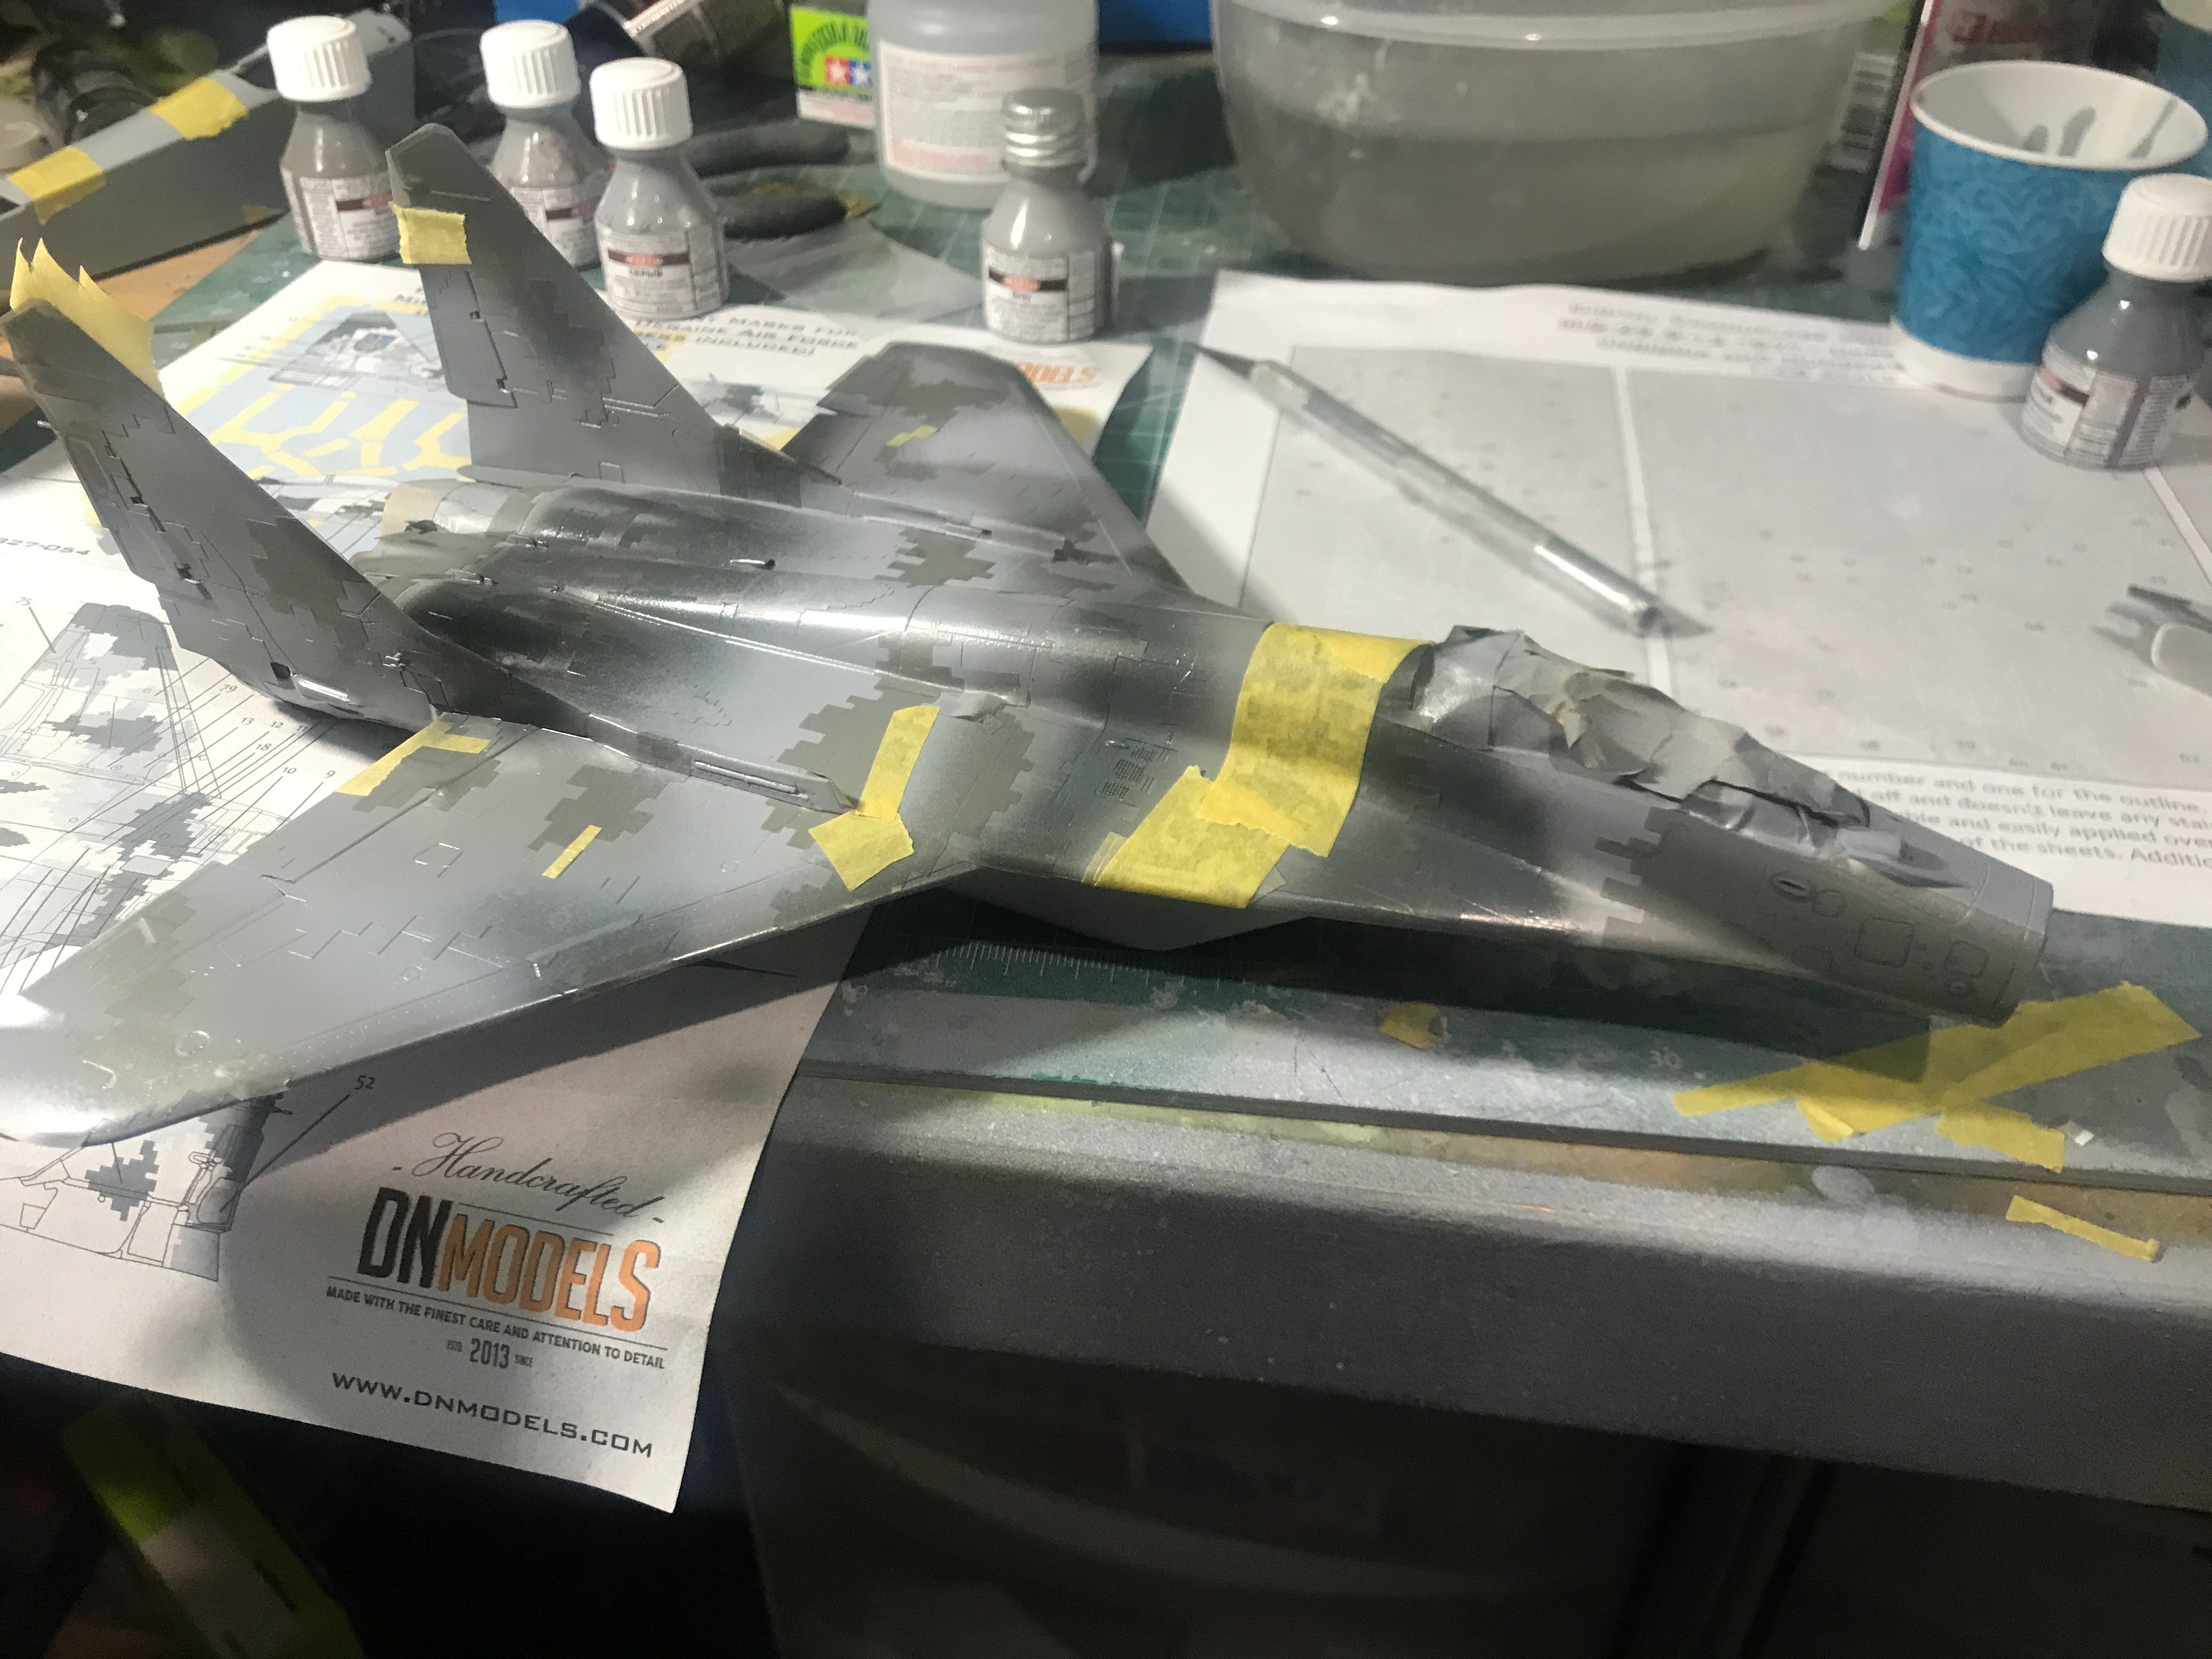
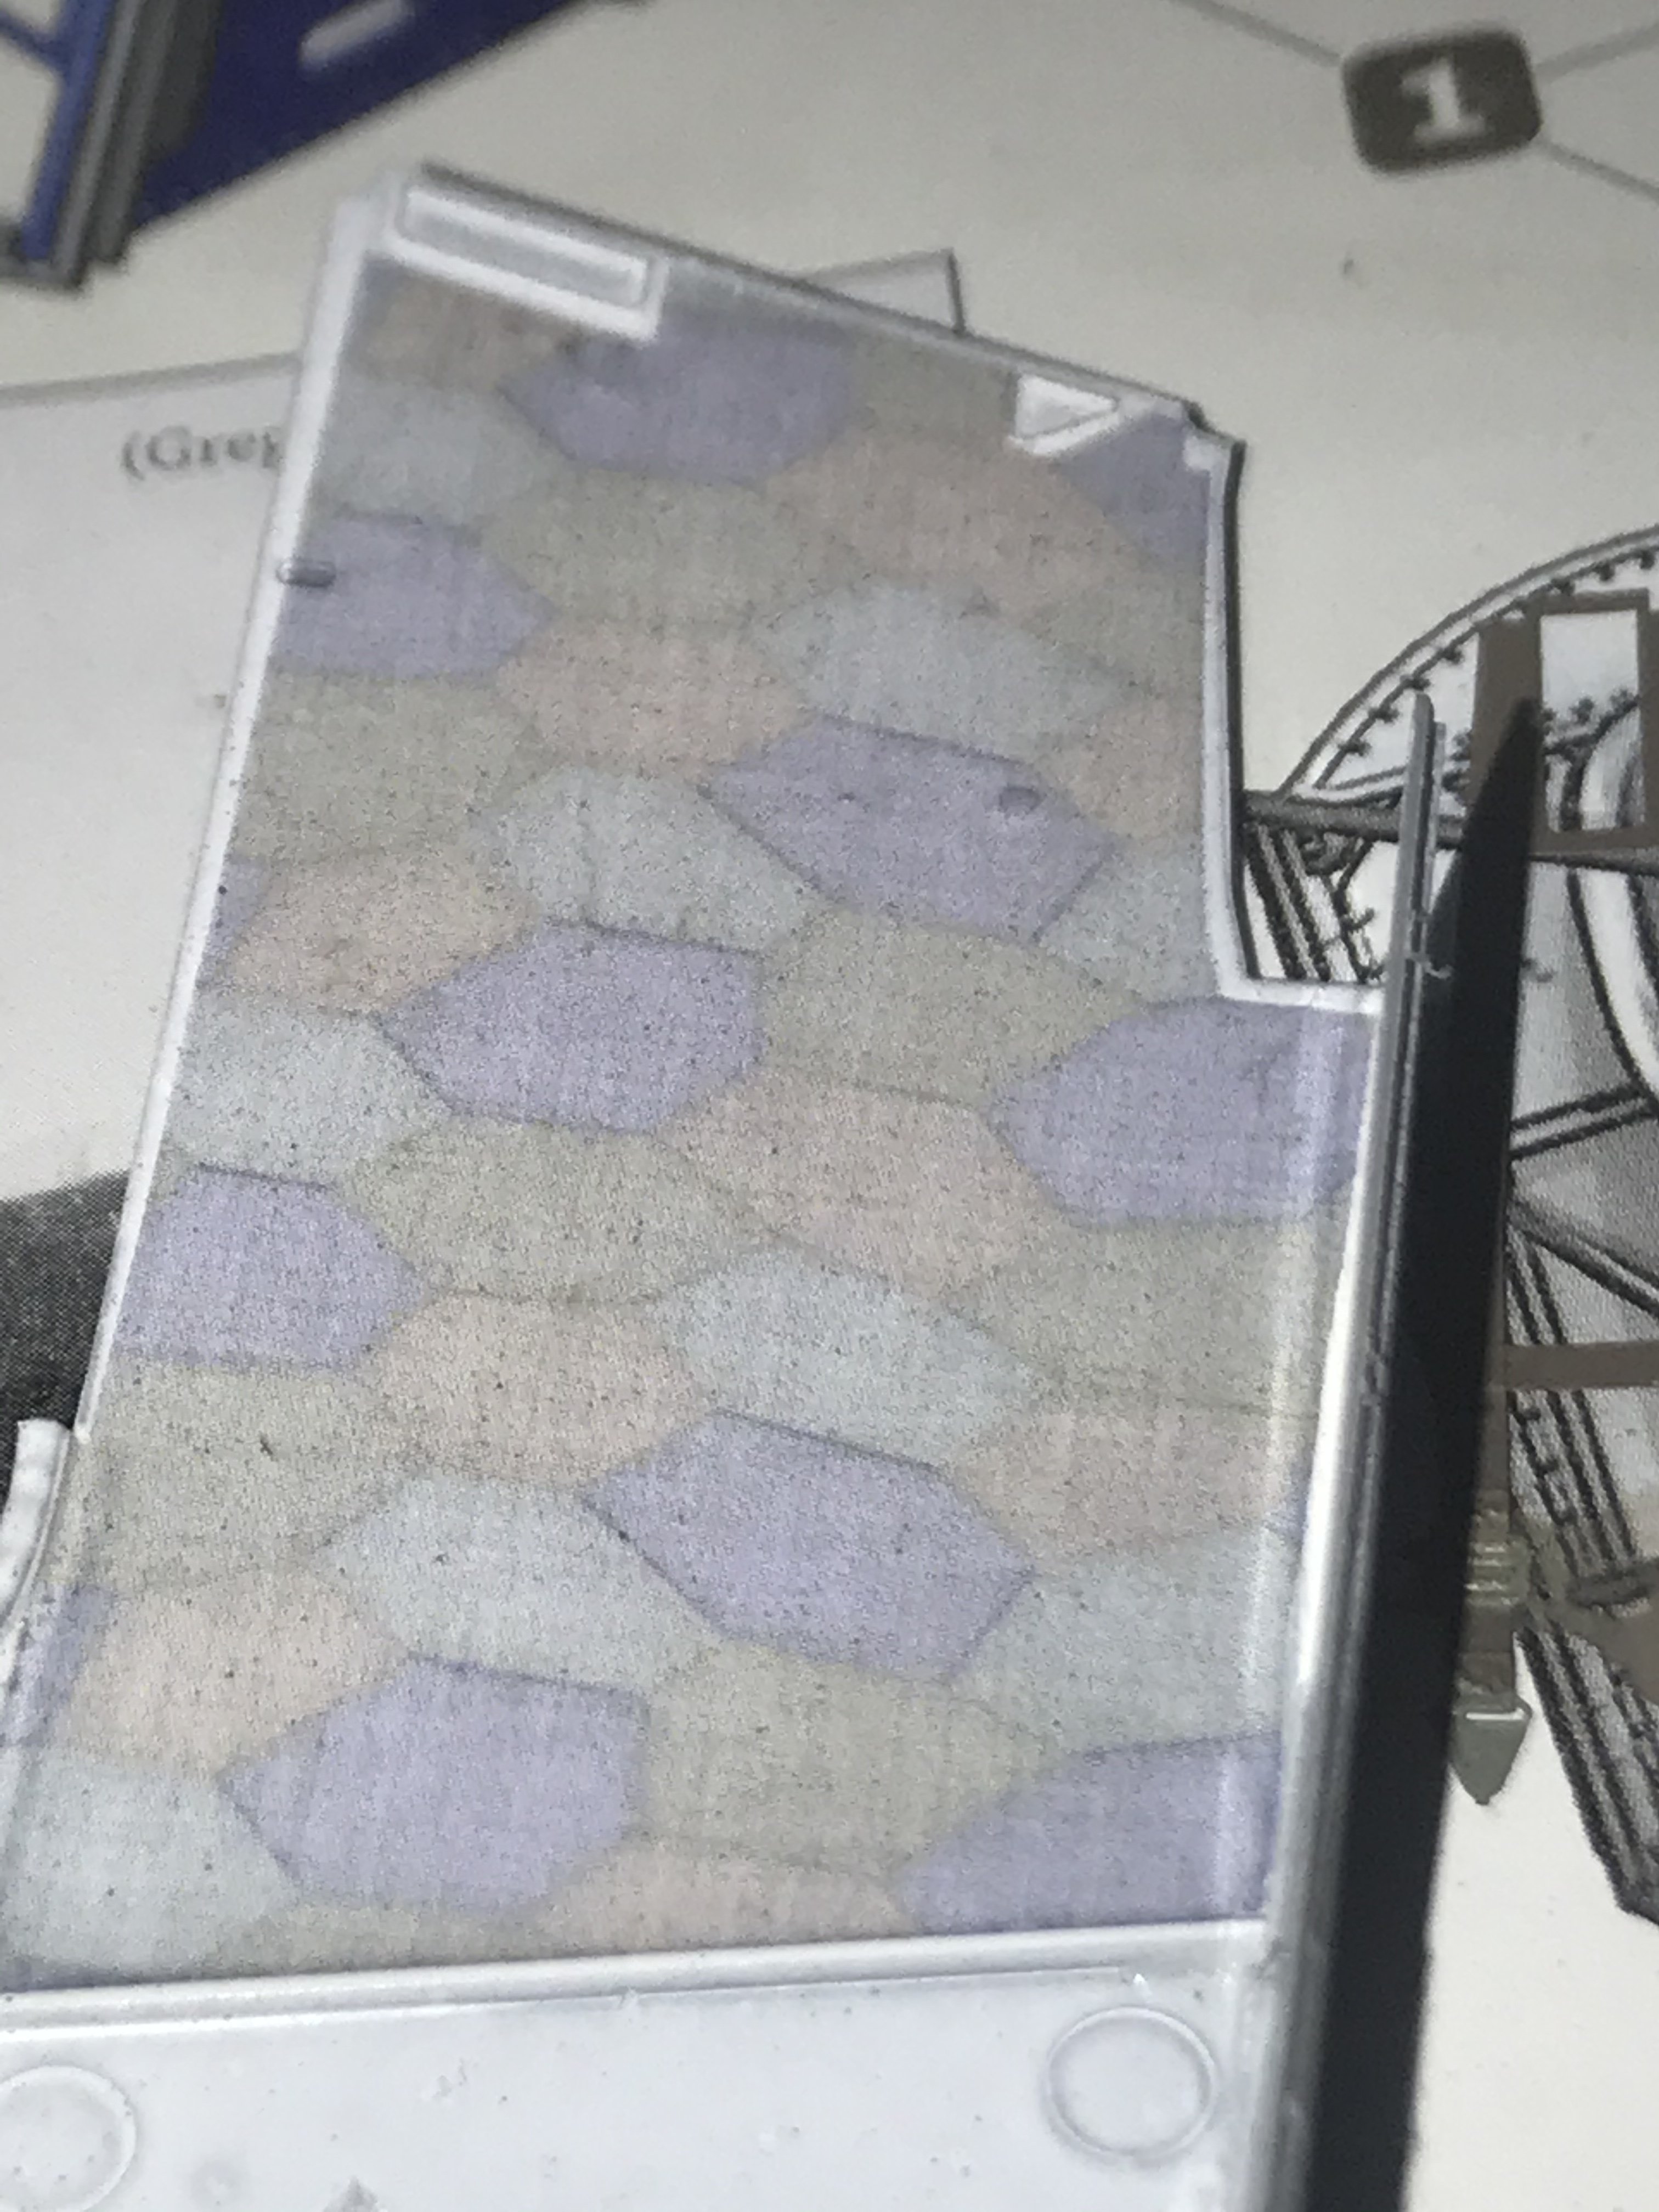
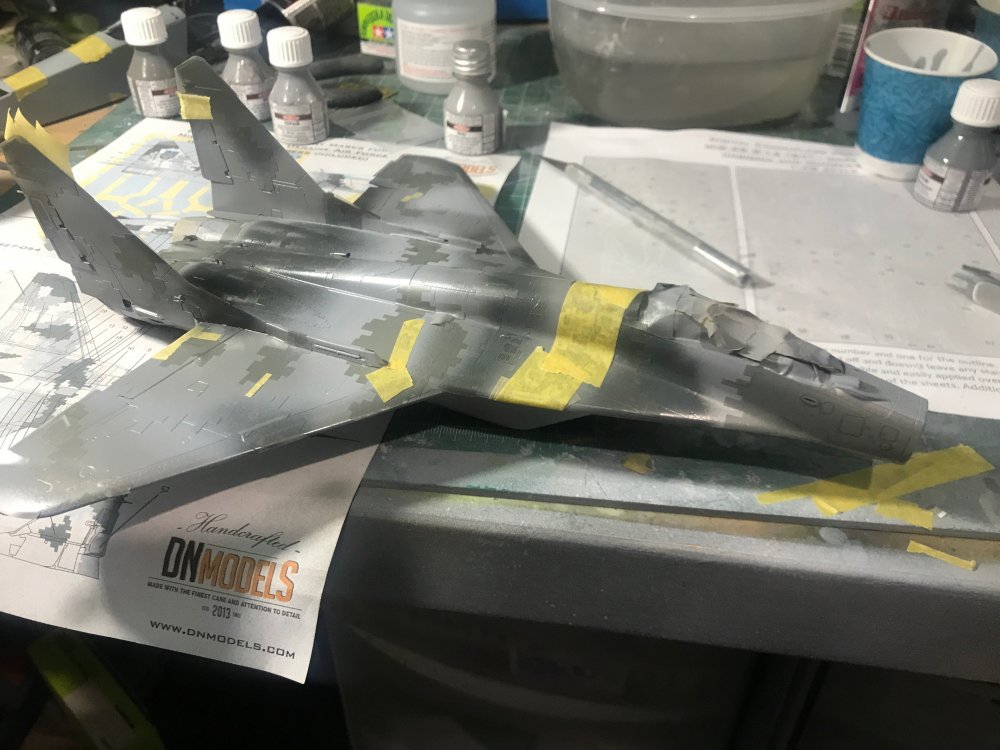
 Thanks Martin, but honestly I’m not a fan of the Akan stuff. It’s OK I suppose, but next time I think I’ll go back to Gunze. Airbrush settings are all different with this and it seems to prefer much more thinning to keep it from being grainy.
 -
Much fun happening.

-
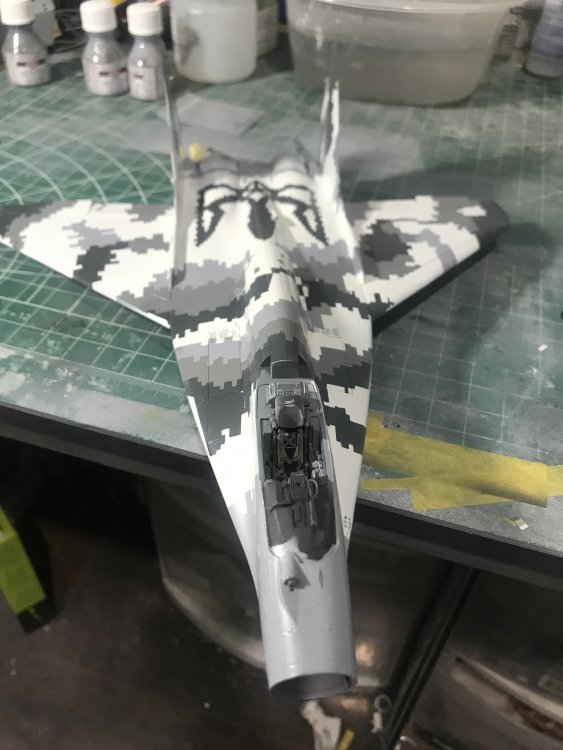
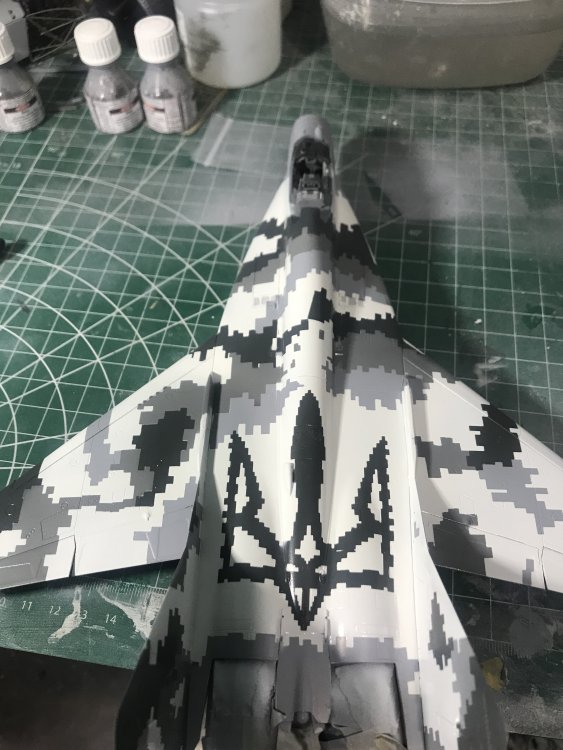
Well, big milestone and great success tonight. Some touch ups to do, and a bit of clean up, but the first big step was by far the most nerve wracking, and it turned out ok.


-
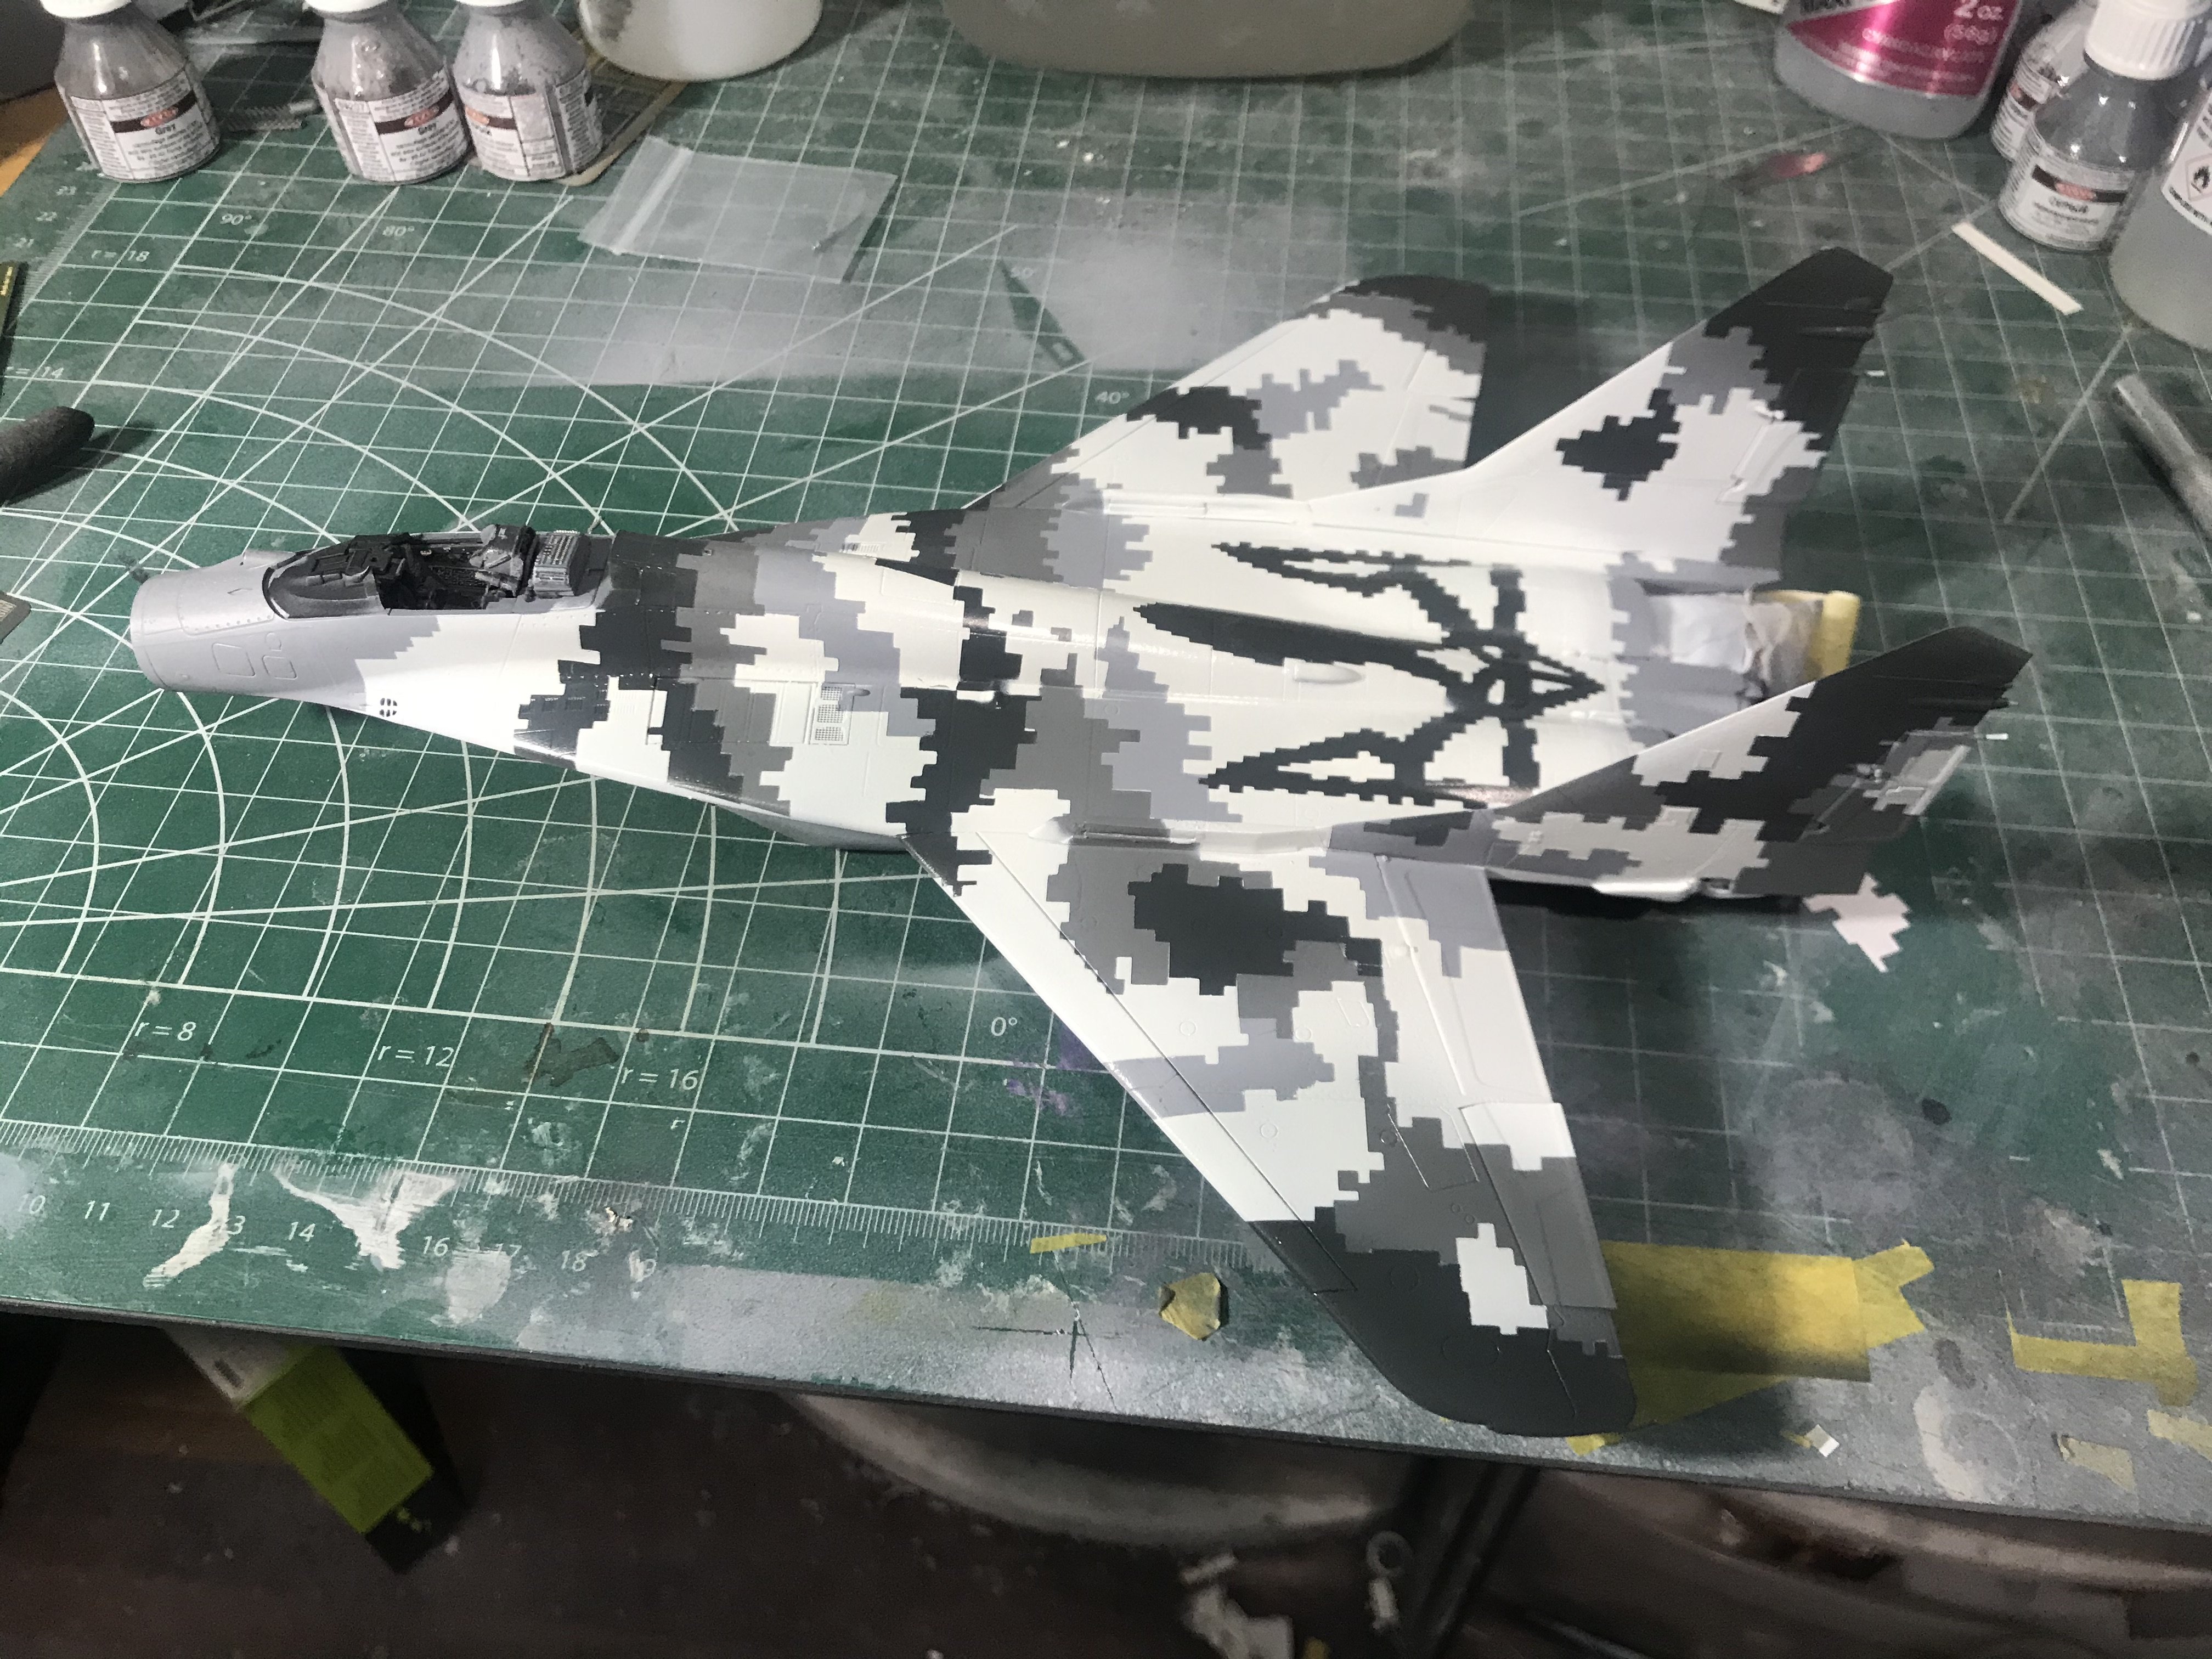
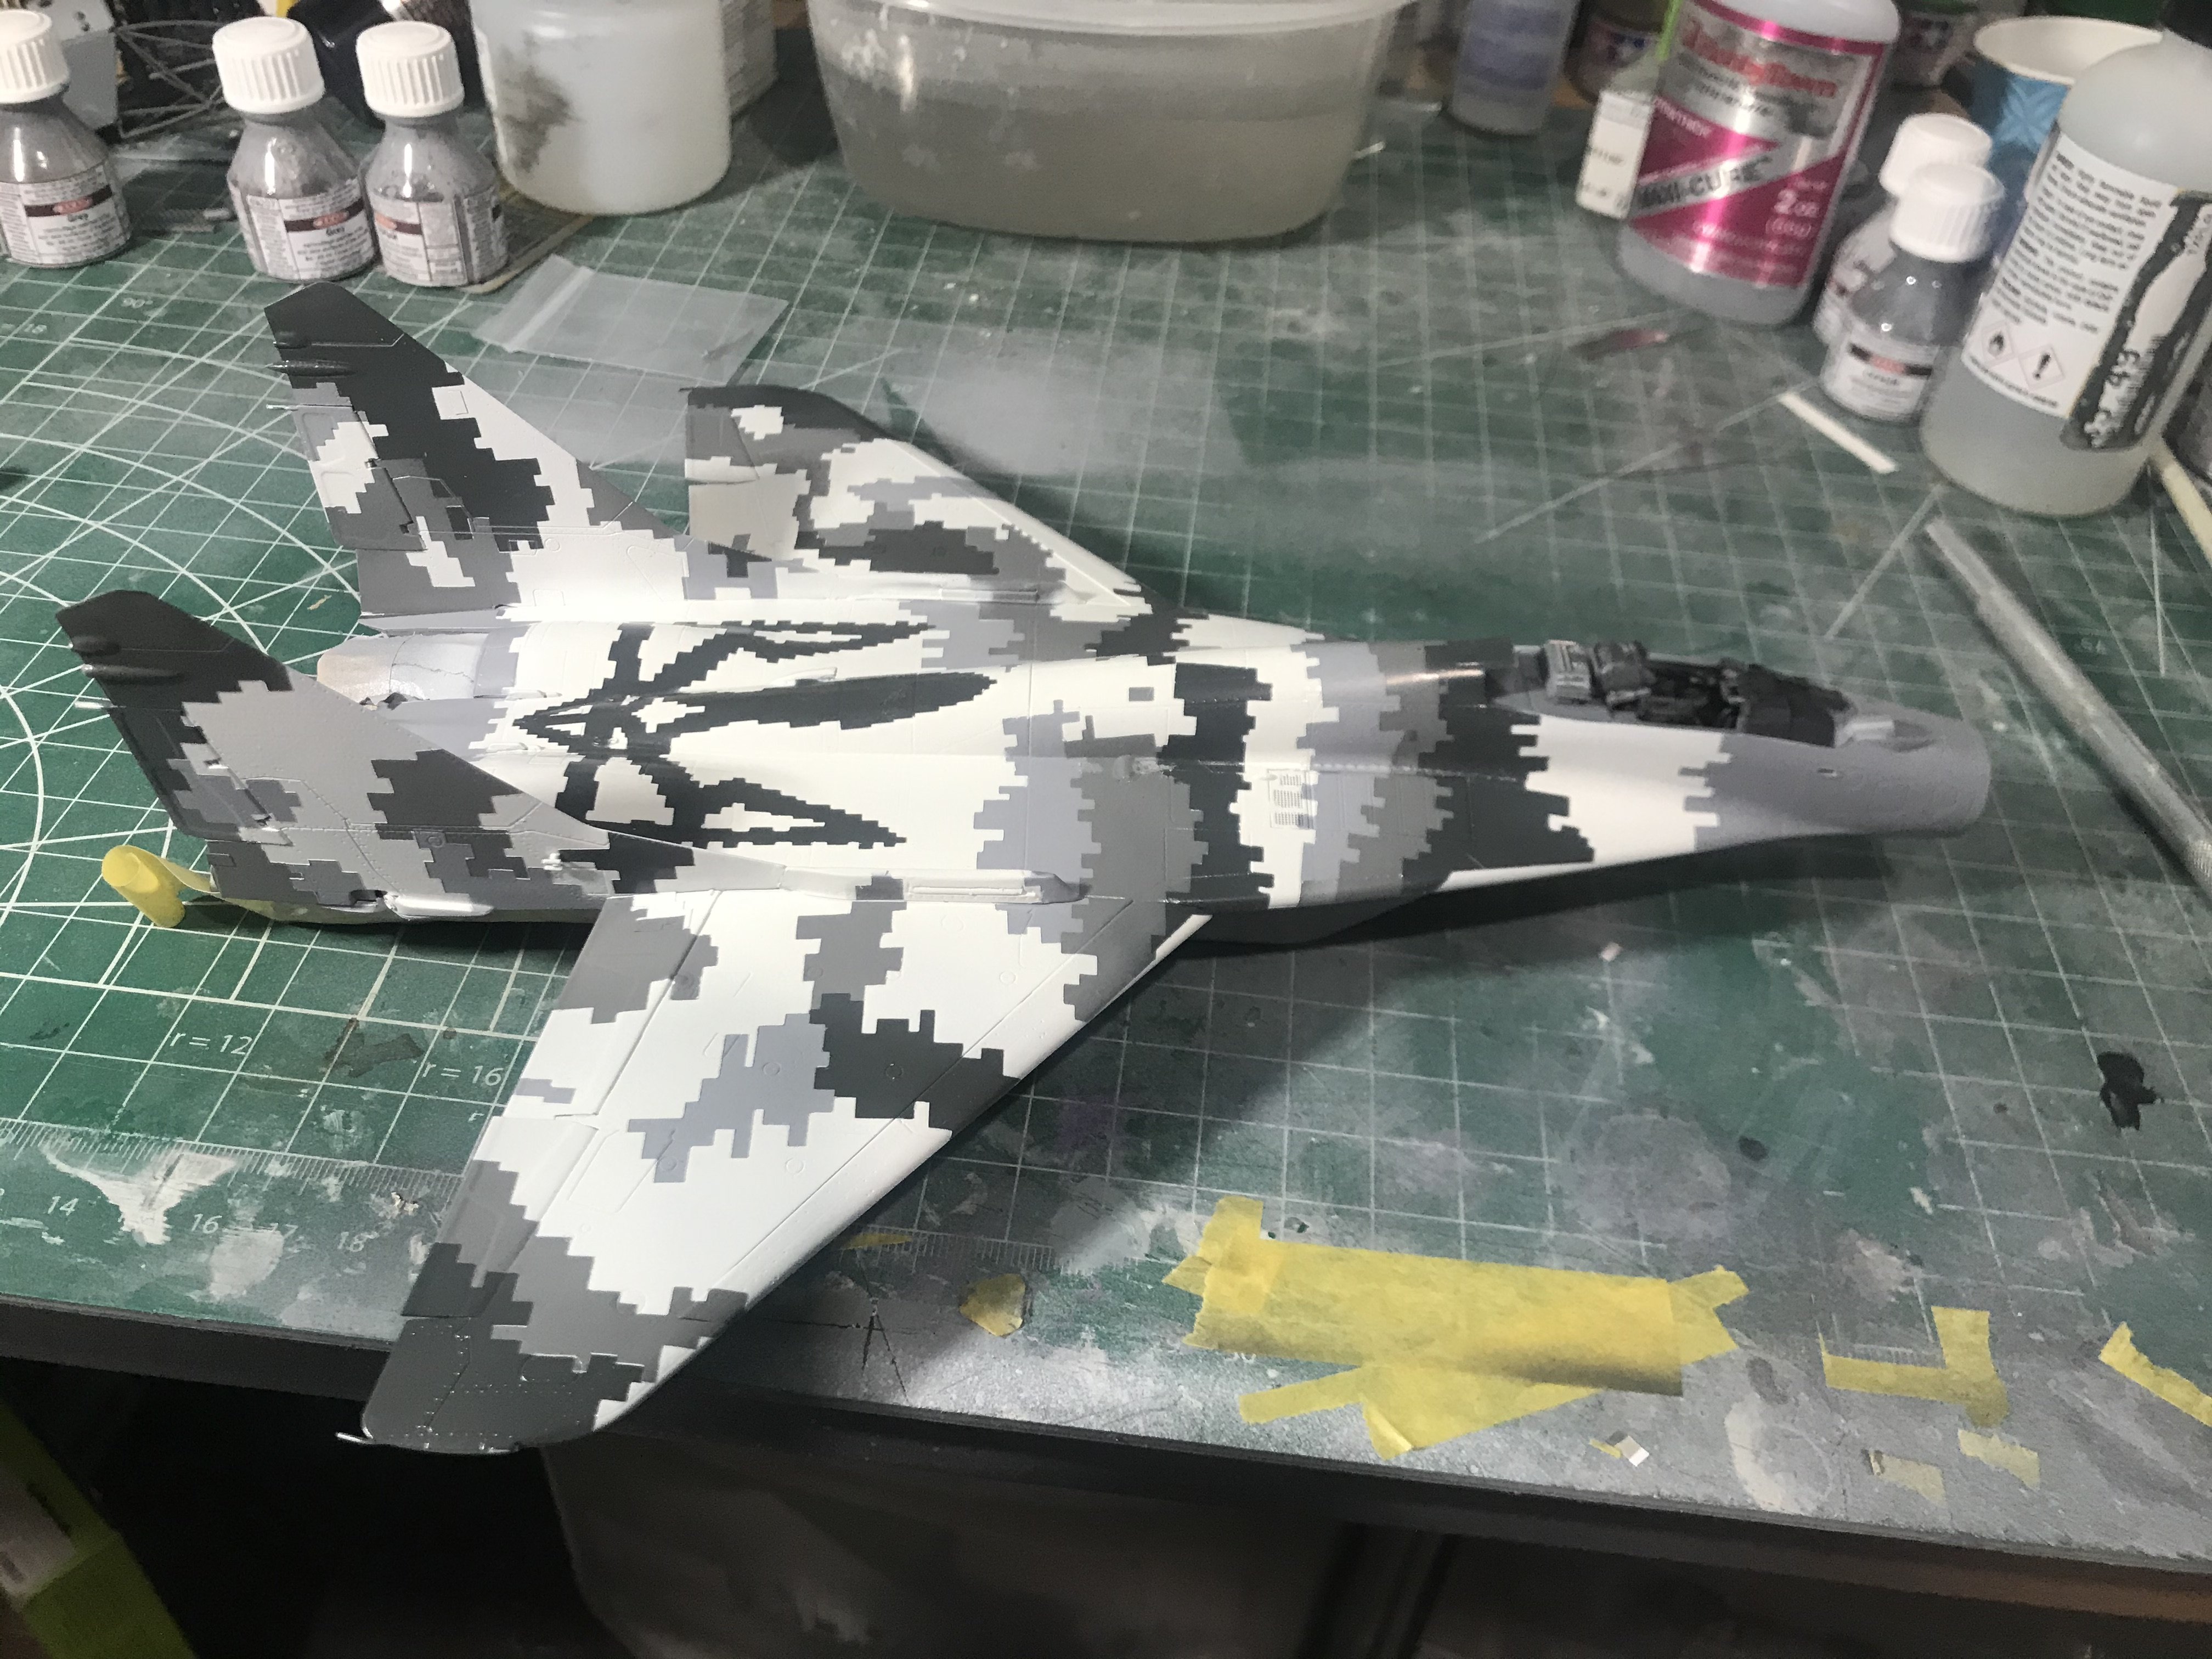
Will it ever end? This thing is looking some kind of hideous!!! But I assume there’s a method to all this madness.

-
I agree, John. The way the kit pieces jig themselves with each other ingenious, but you’re assembling the cowl now, so that should set the spacing for you.
-
I was always worried about that Aires pit, John. The kit pit is useable but lacks some detail, but it keys directly to the nose gear well, which keys to the firewall, then to the engine and cowl, etc, etc. But it looks like you got it covered by pre fitting the cowl now. Just remember that when you’re sure you have more than enough noseweight, add another half pound.
-
WNW Fokker D.VllF Ukrainian Galician Army 1919
Clunkmeister replied to Clunkmeister's topic in Everything Ukraine Group Build
Awesome! Looking forward to seeing the 111 develop. 1/32 is the perfect scale for WW1 kites, as they’re just the perfect size… Try a Wingnut kit, guaranteed you’ll get hooked. -
WNW Fokker D.VllF Ukrainian Galician Army 1919
Clunkmeister replied to Clunkmeister's topic in Everything Ukraine Group Build

-
WNW Fokker D.VllF Ukrainian Galician Army 1919
Clunkmeister replied to Clunkmeister's topic in Everything Ukraine Group Build
Built a lot of Wingnut kits through the years. They’re actually fun. My last one was a Felixstowe, so this is pretty much child’s play -
WNW Fokker D.VllF Ukrainian Galician Army 1919
Clunkmeister replied to Clunkmeister's topic in Everything Ukraine Group Build
You sweet on me, boy!!! 🤣🤣🤣🤣🤣🤣🤣 -
WNW Fokker D.VllF Ukrainian Galician Army 1919
Clunkmeister replied to Clunkmeister's topic in Everything Ukraine Group Build
We’ll pull it all apart, and rig the controls and bracing wires -
WNW Fokker D.VllF Ukrainian Galician Army 1919
Clunkmeister replied to Clunkmeister's topic in Everything Ukraine Group Build
A little bit of dreaming... the fit is amazing.
-
WNW Fokker D.VllF Ukrainian Galician Army 1919
Clunkmeister replied to Clunkmeister's topic in Everything Ukraine Group Build
Not much rigging on this one, but hey, we got the first one done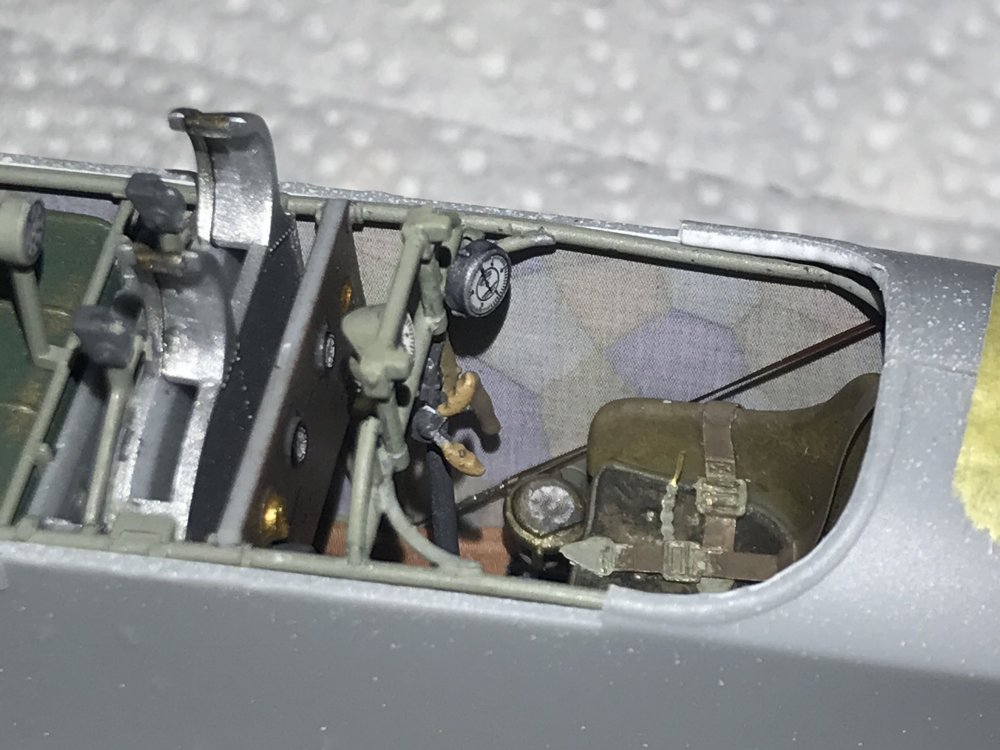
-
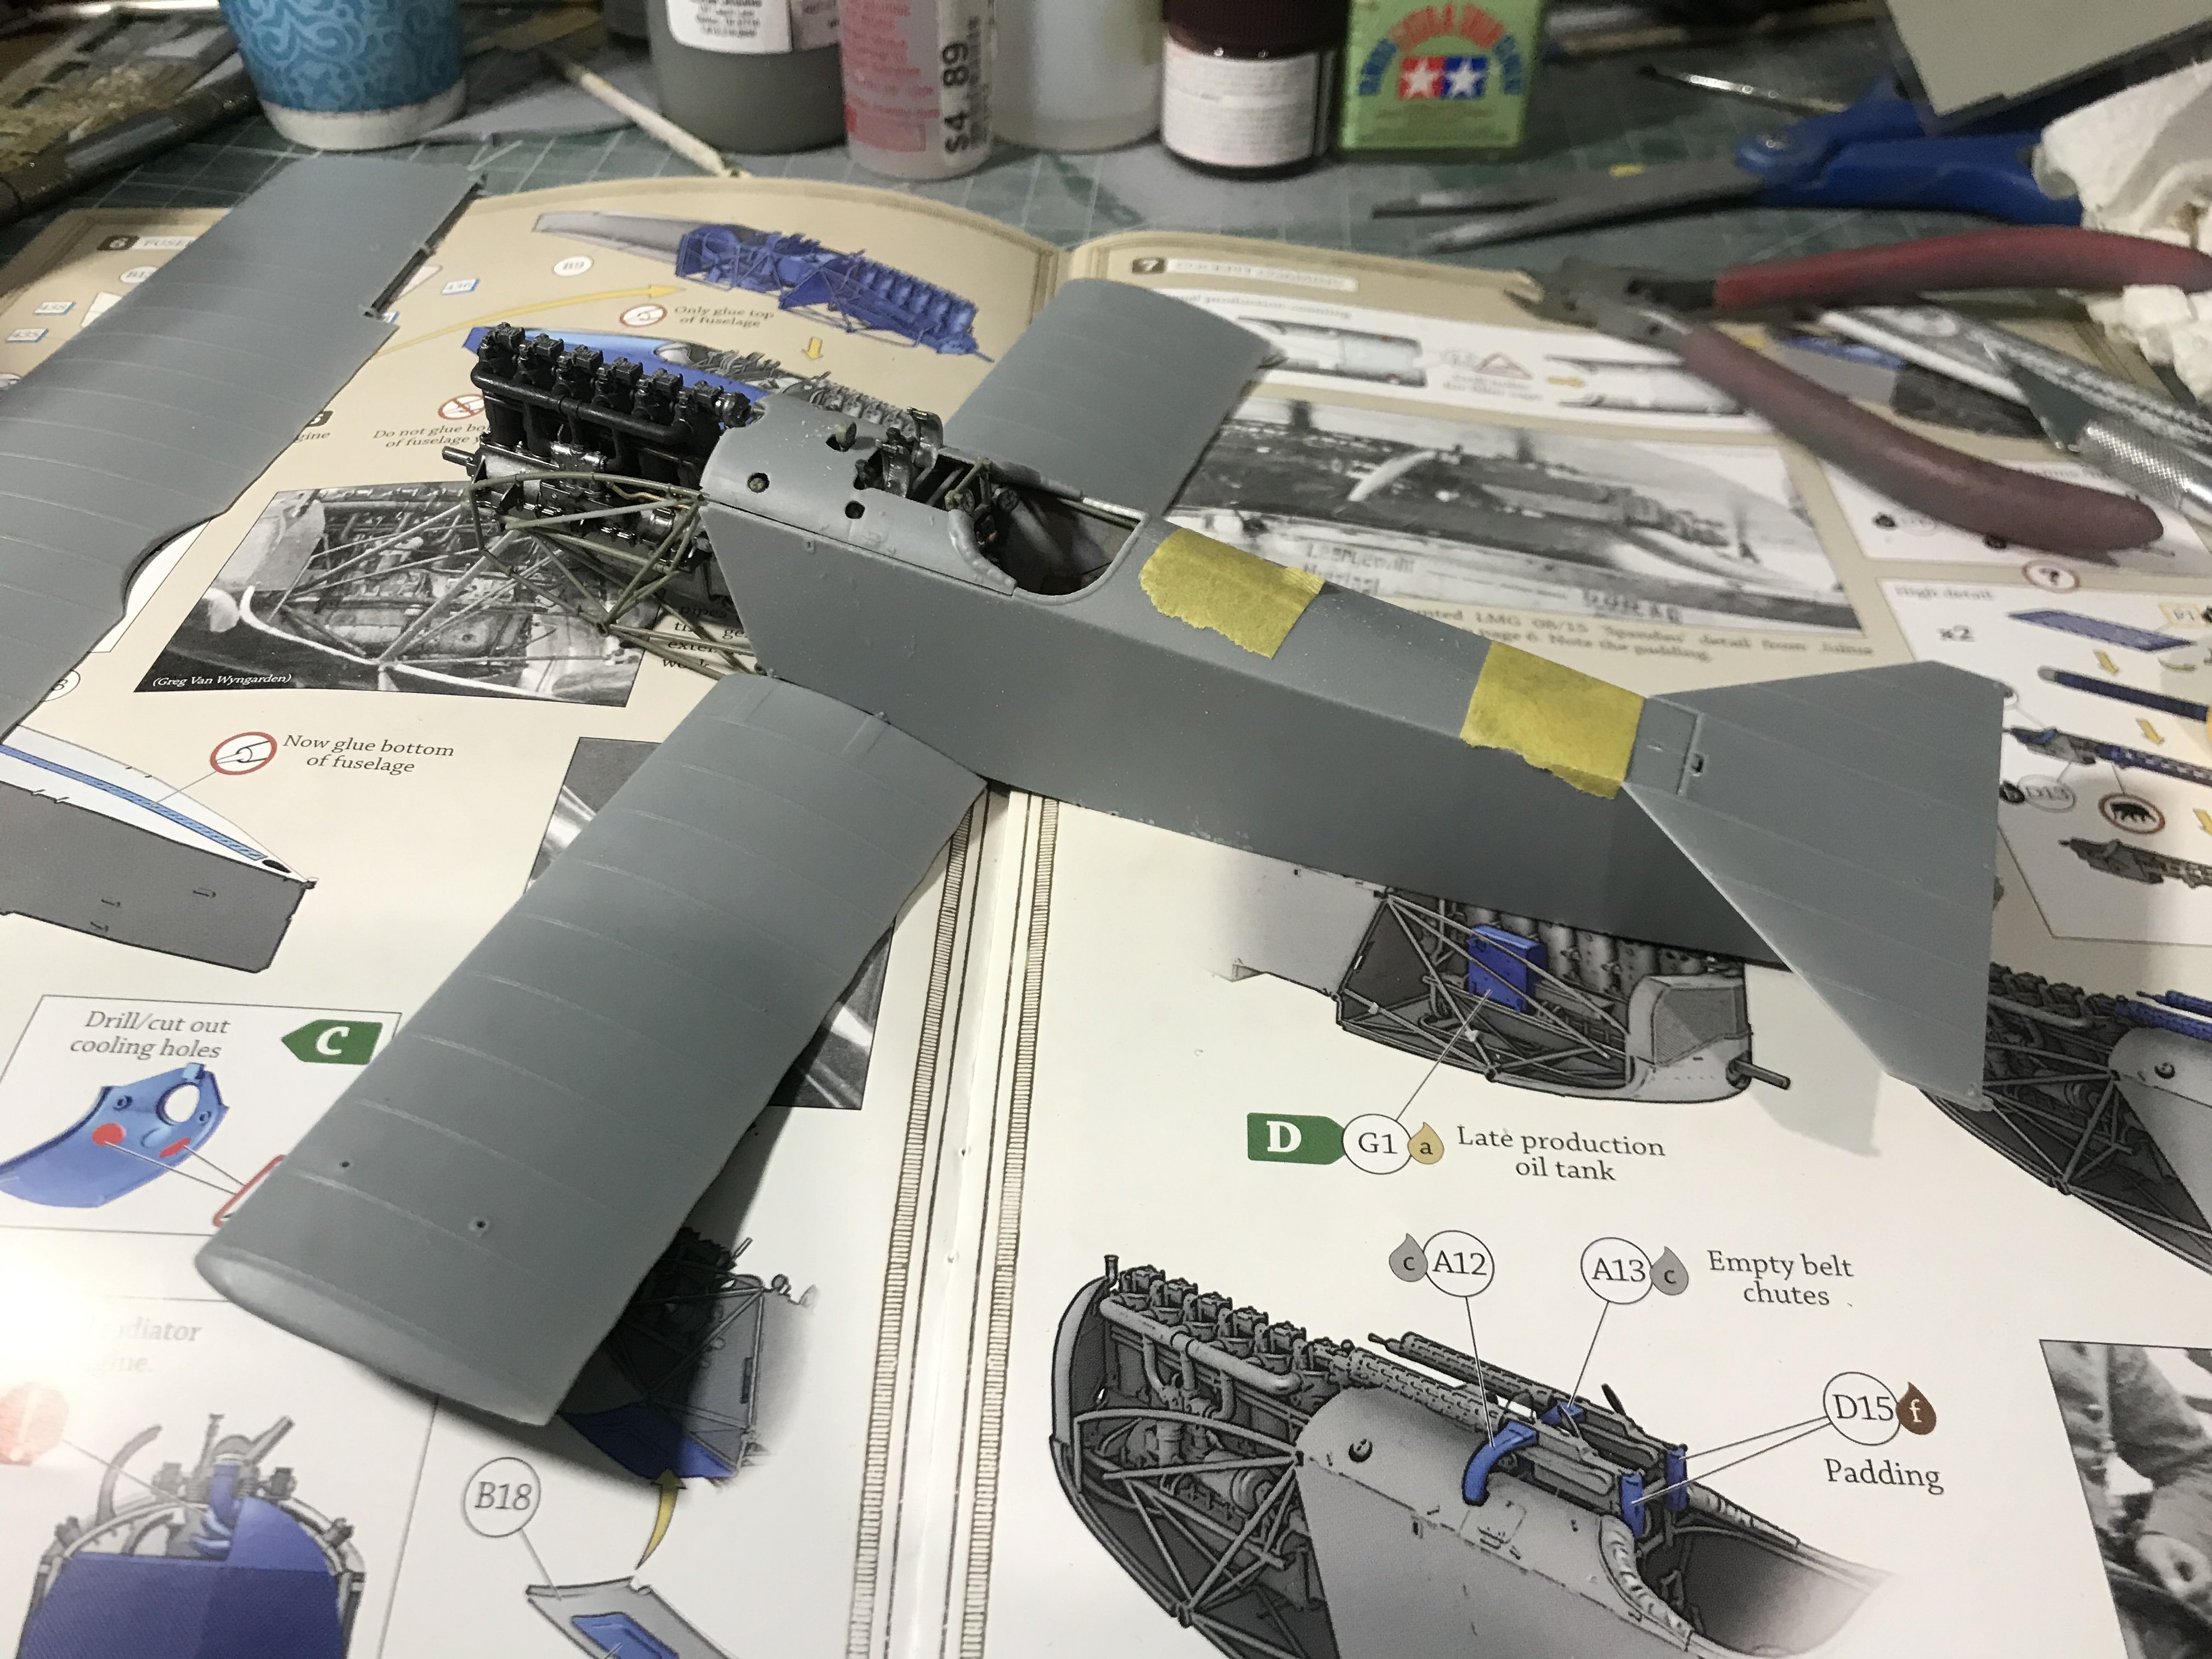
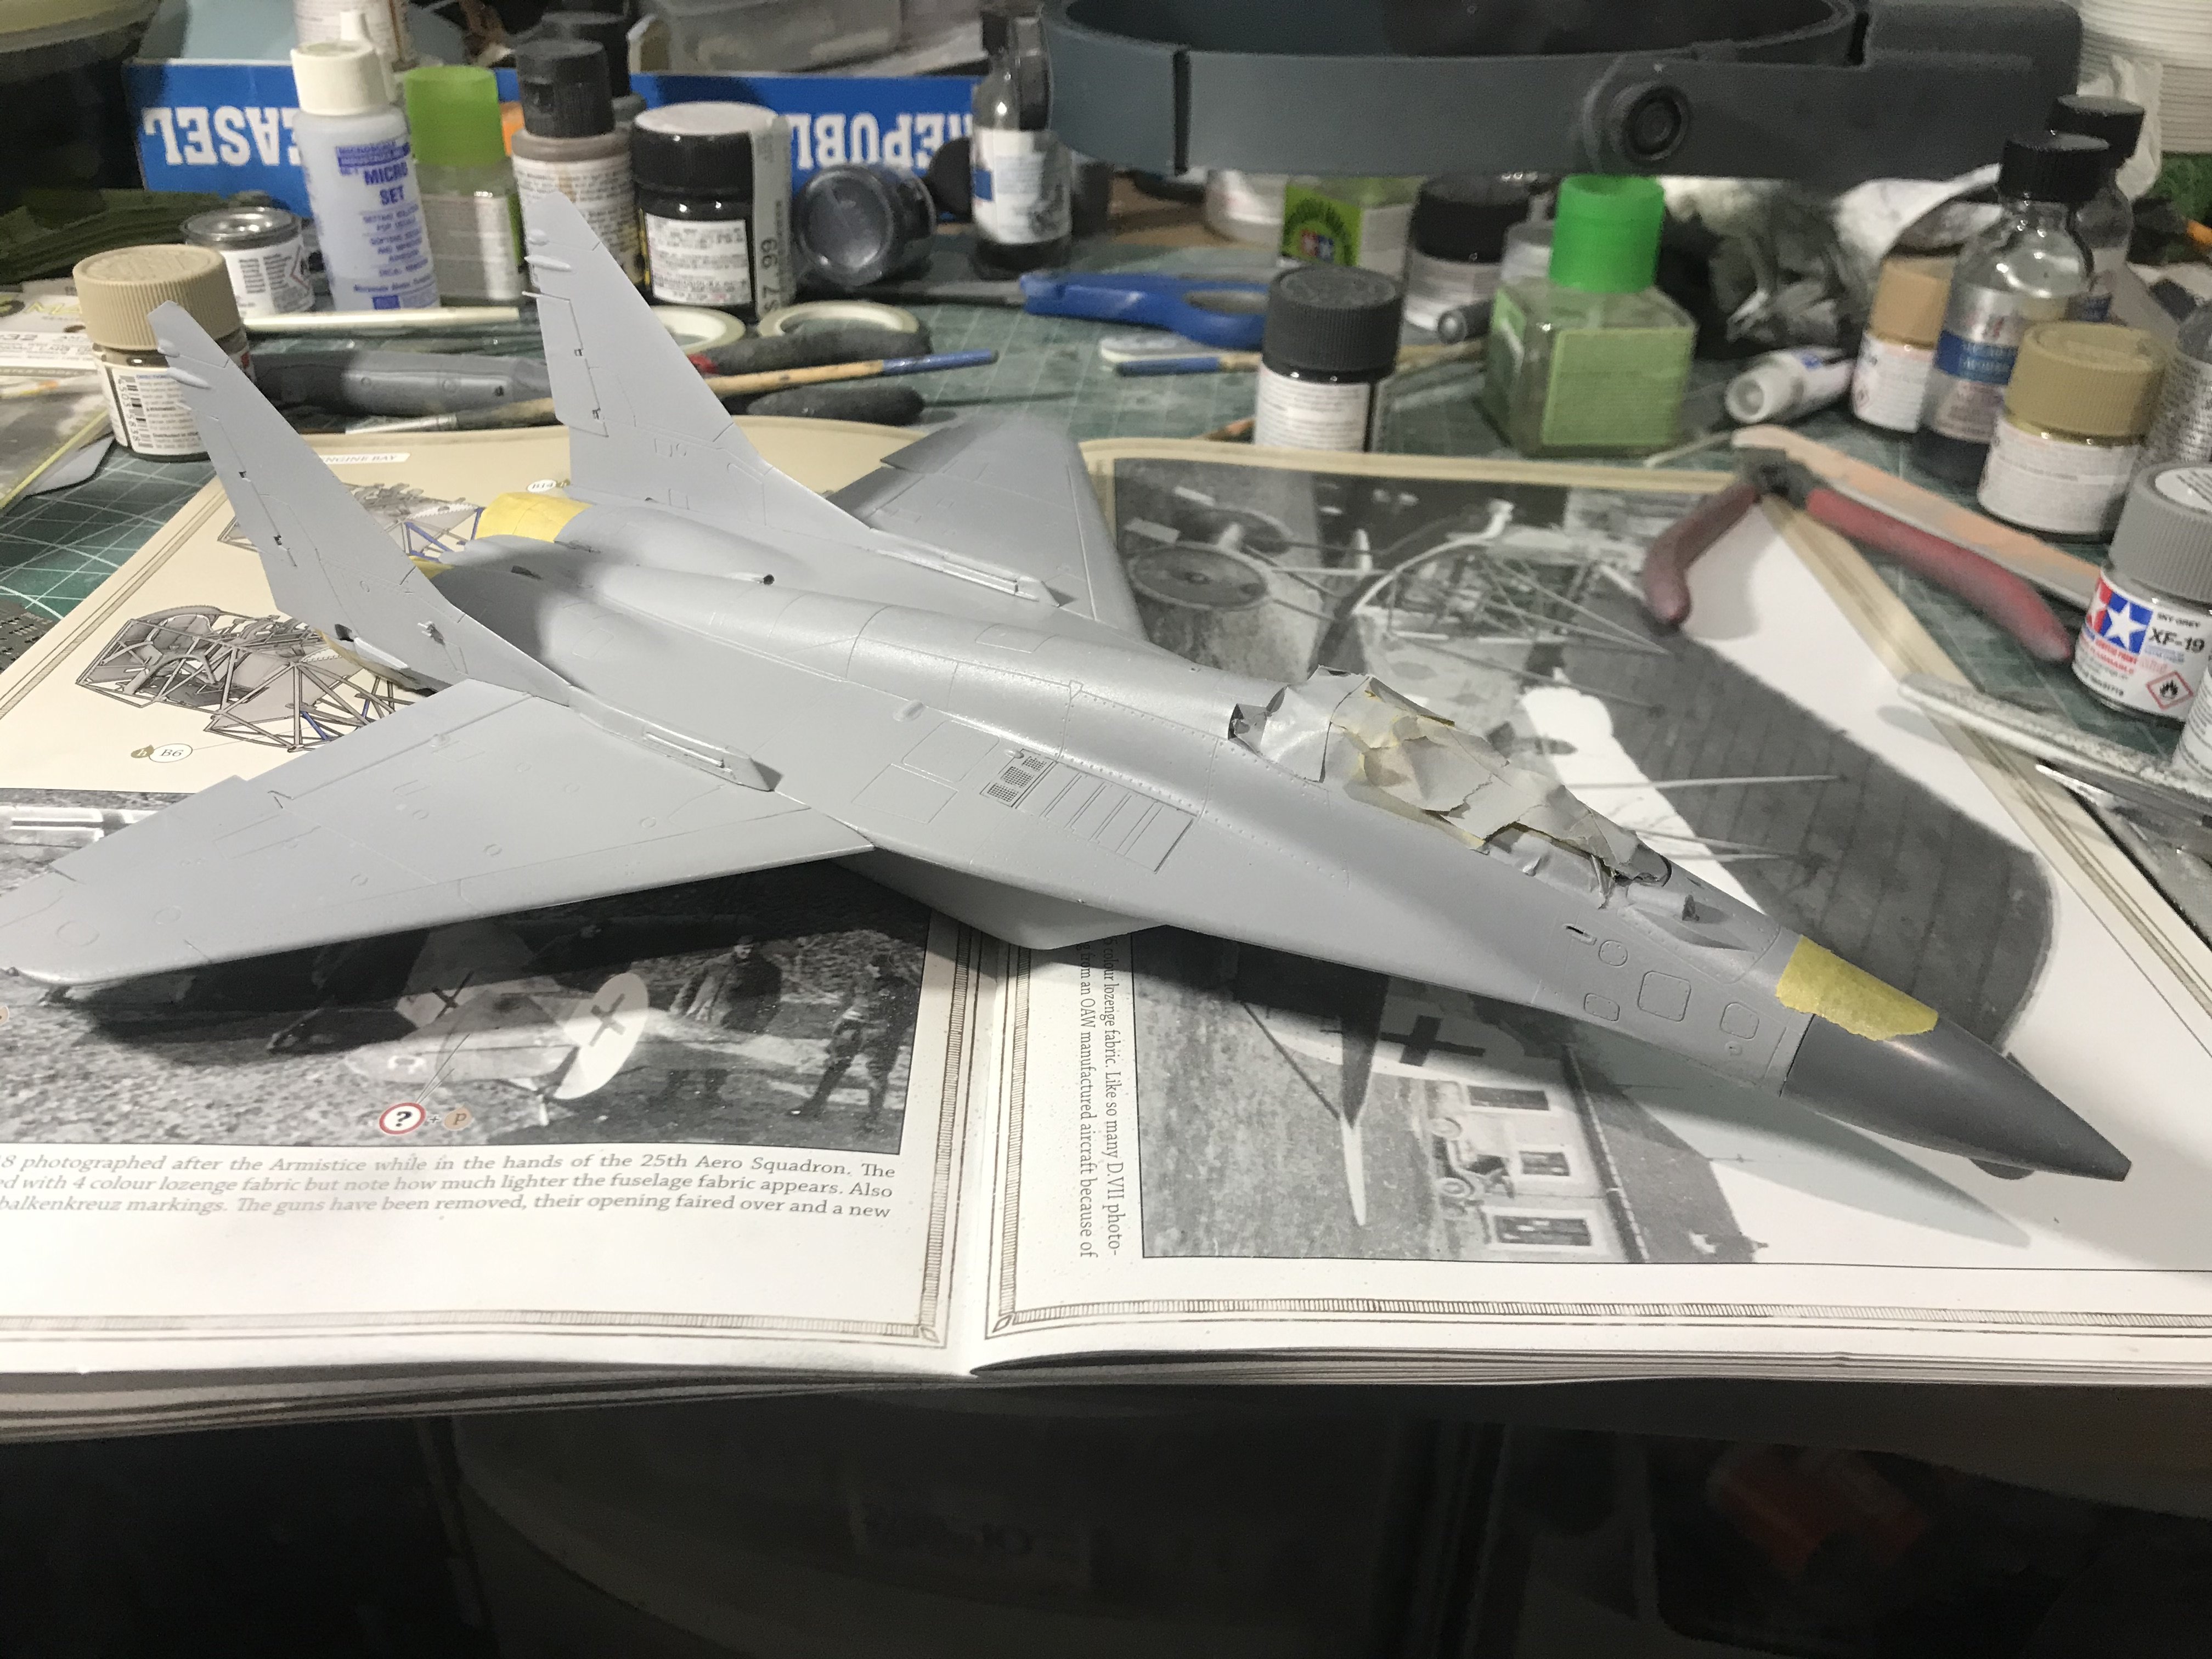
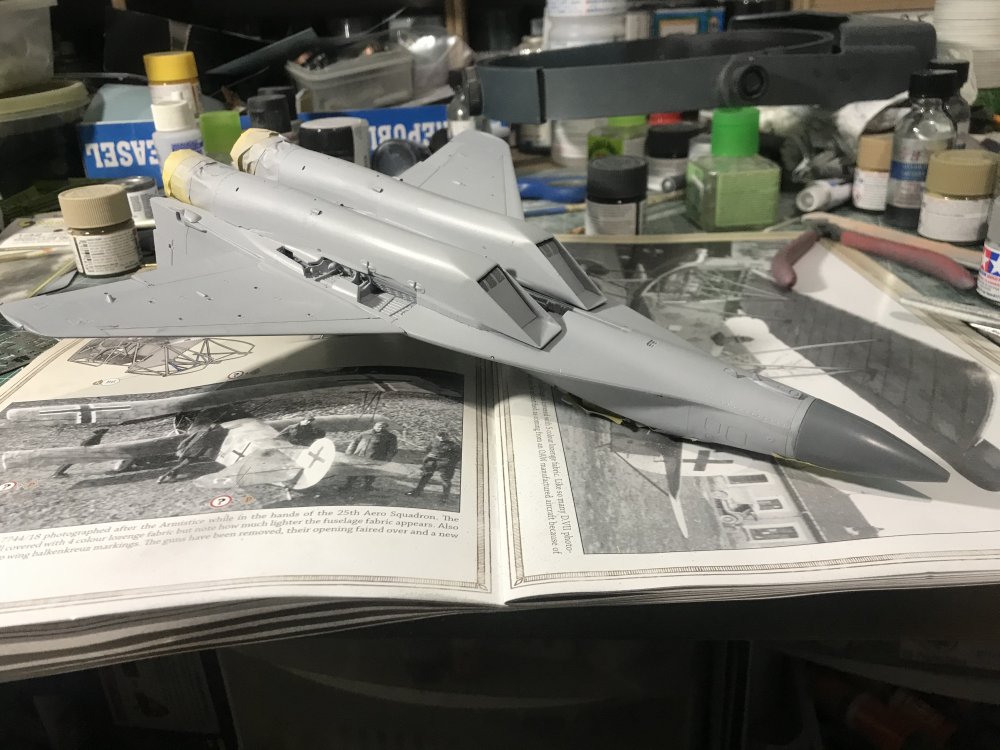
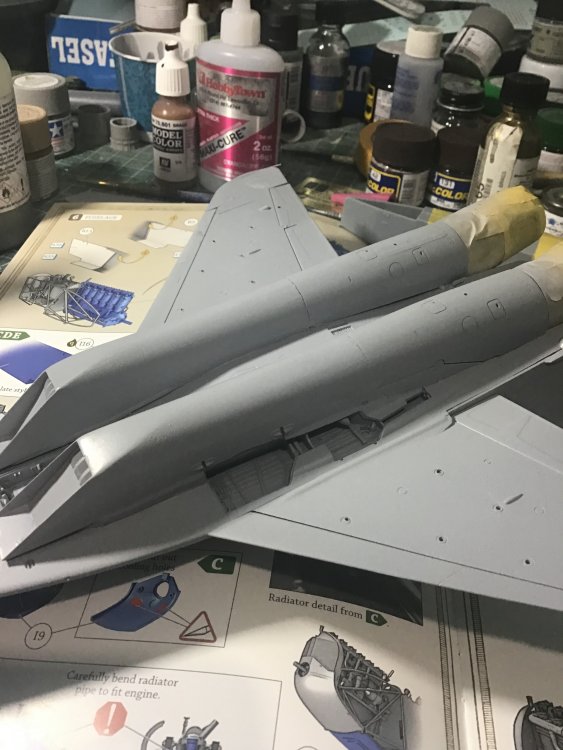
Moving right along, just endless gap filling and rescribing stuff. She’s looking better and I’m starting to think about the first color coat

-
WNW Fokker D.VllF Ukrainian Galician Army 1919
Clunkmeister replied to Clunkmeister's topic in Everything Ukraine Group Build
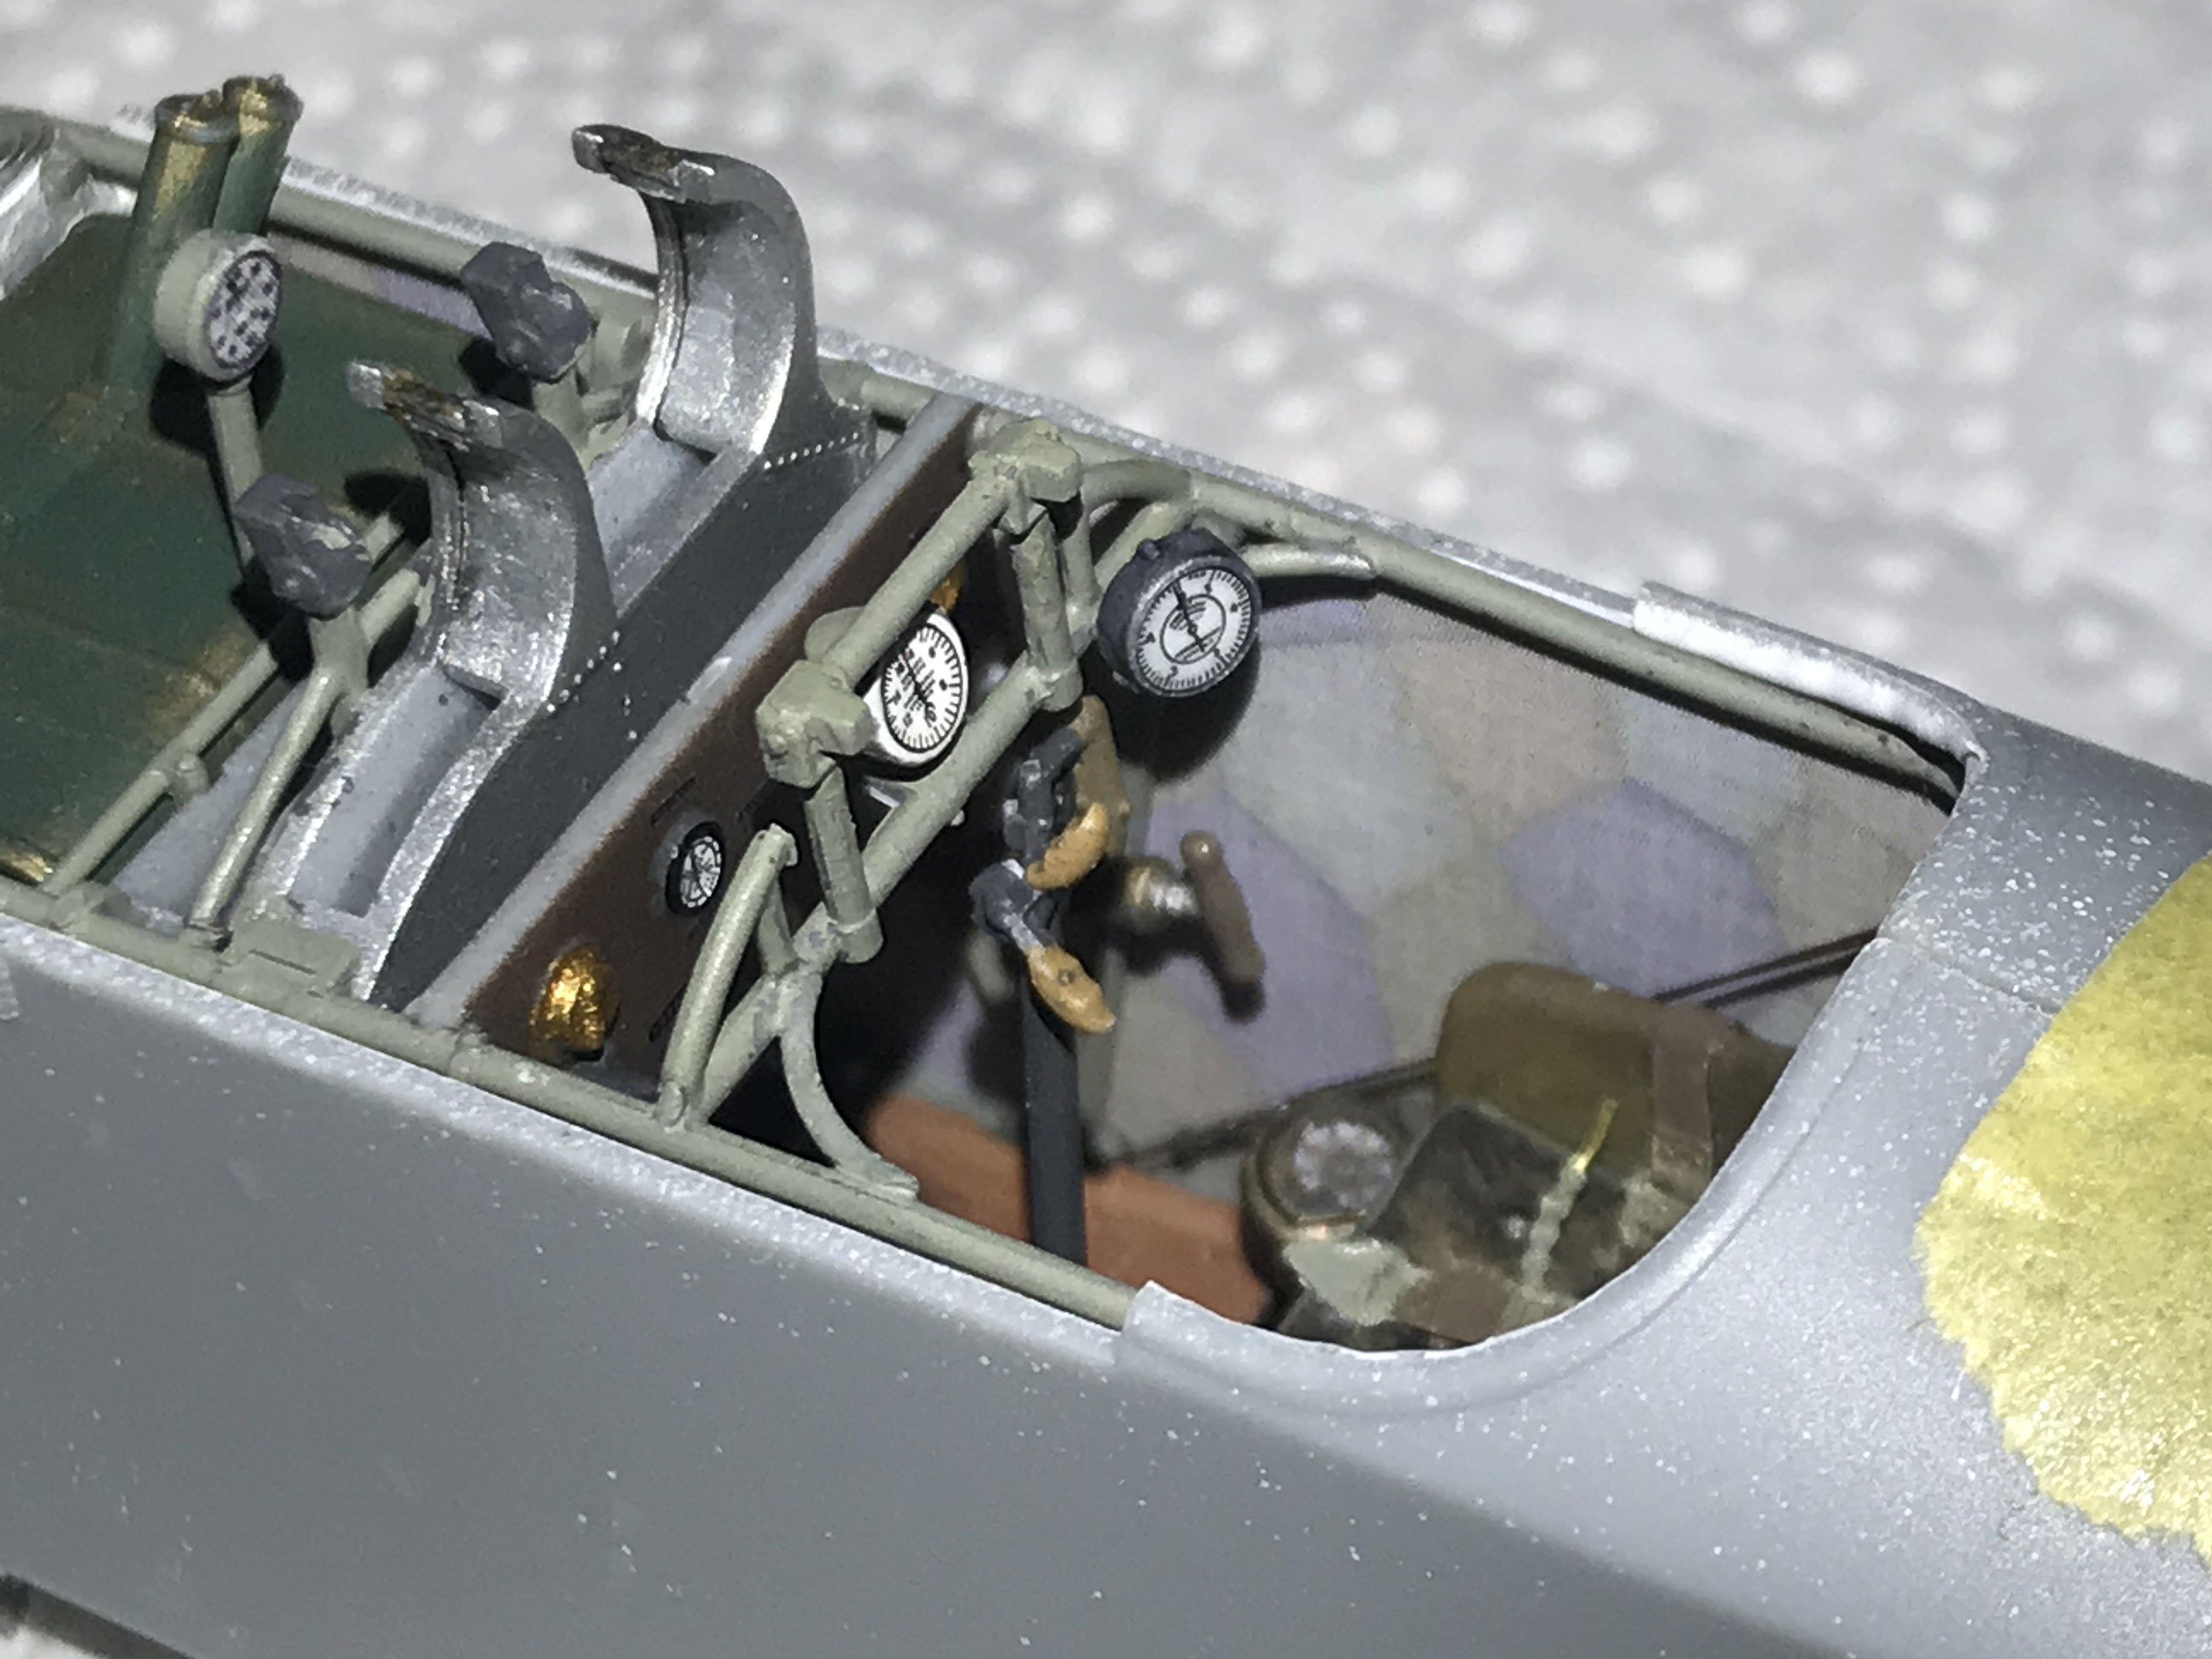
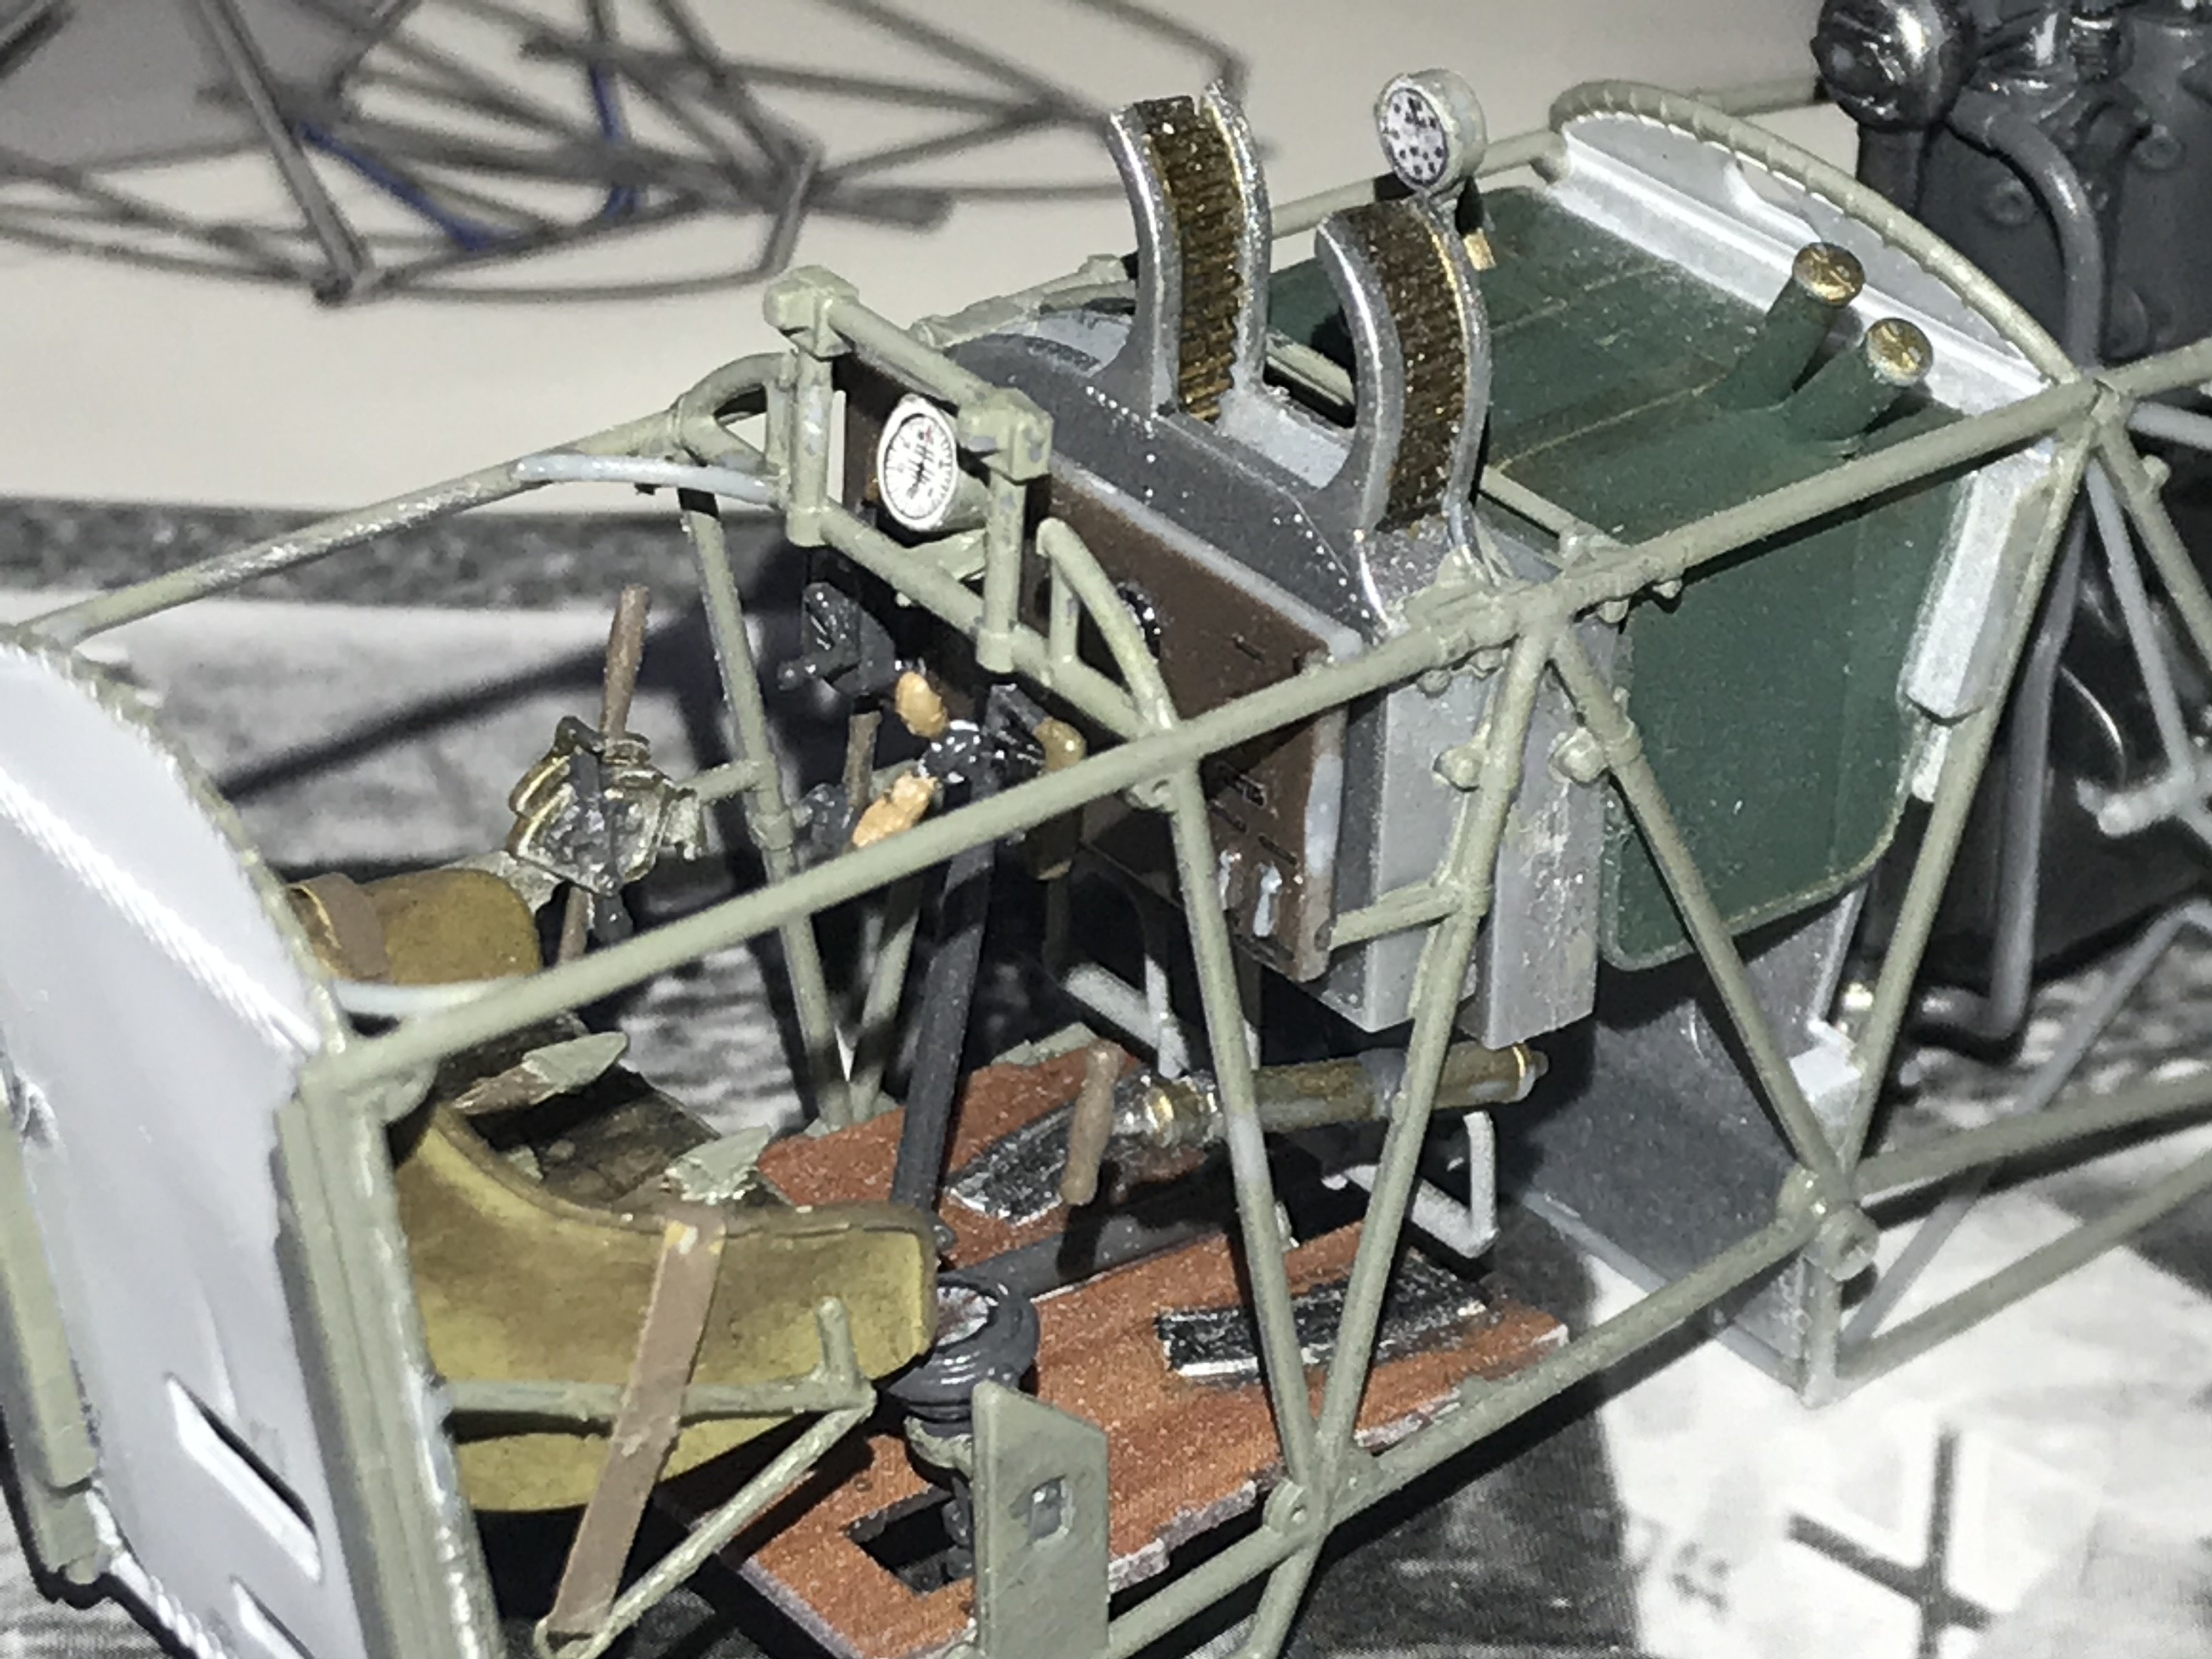
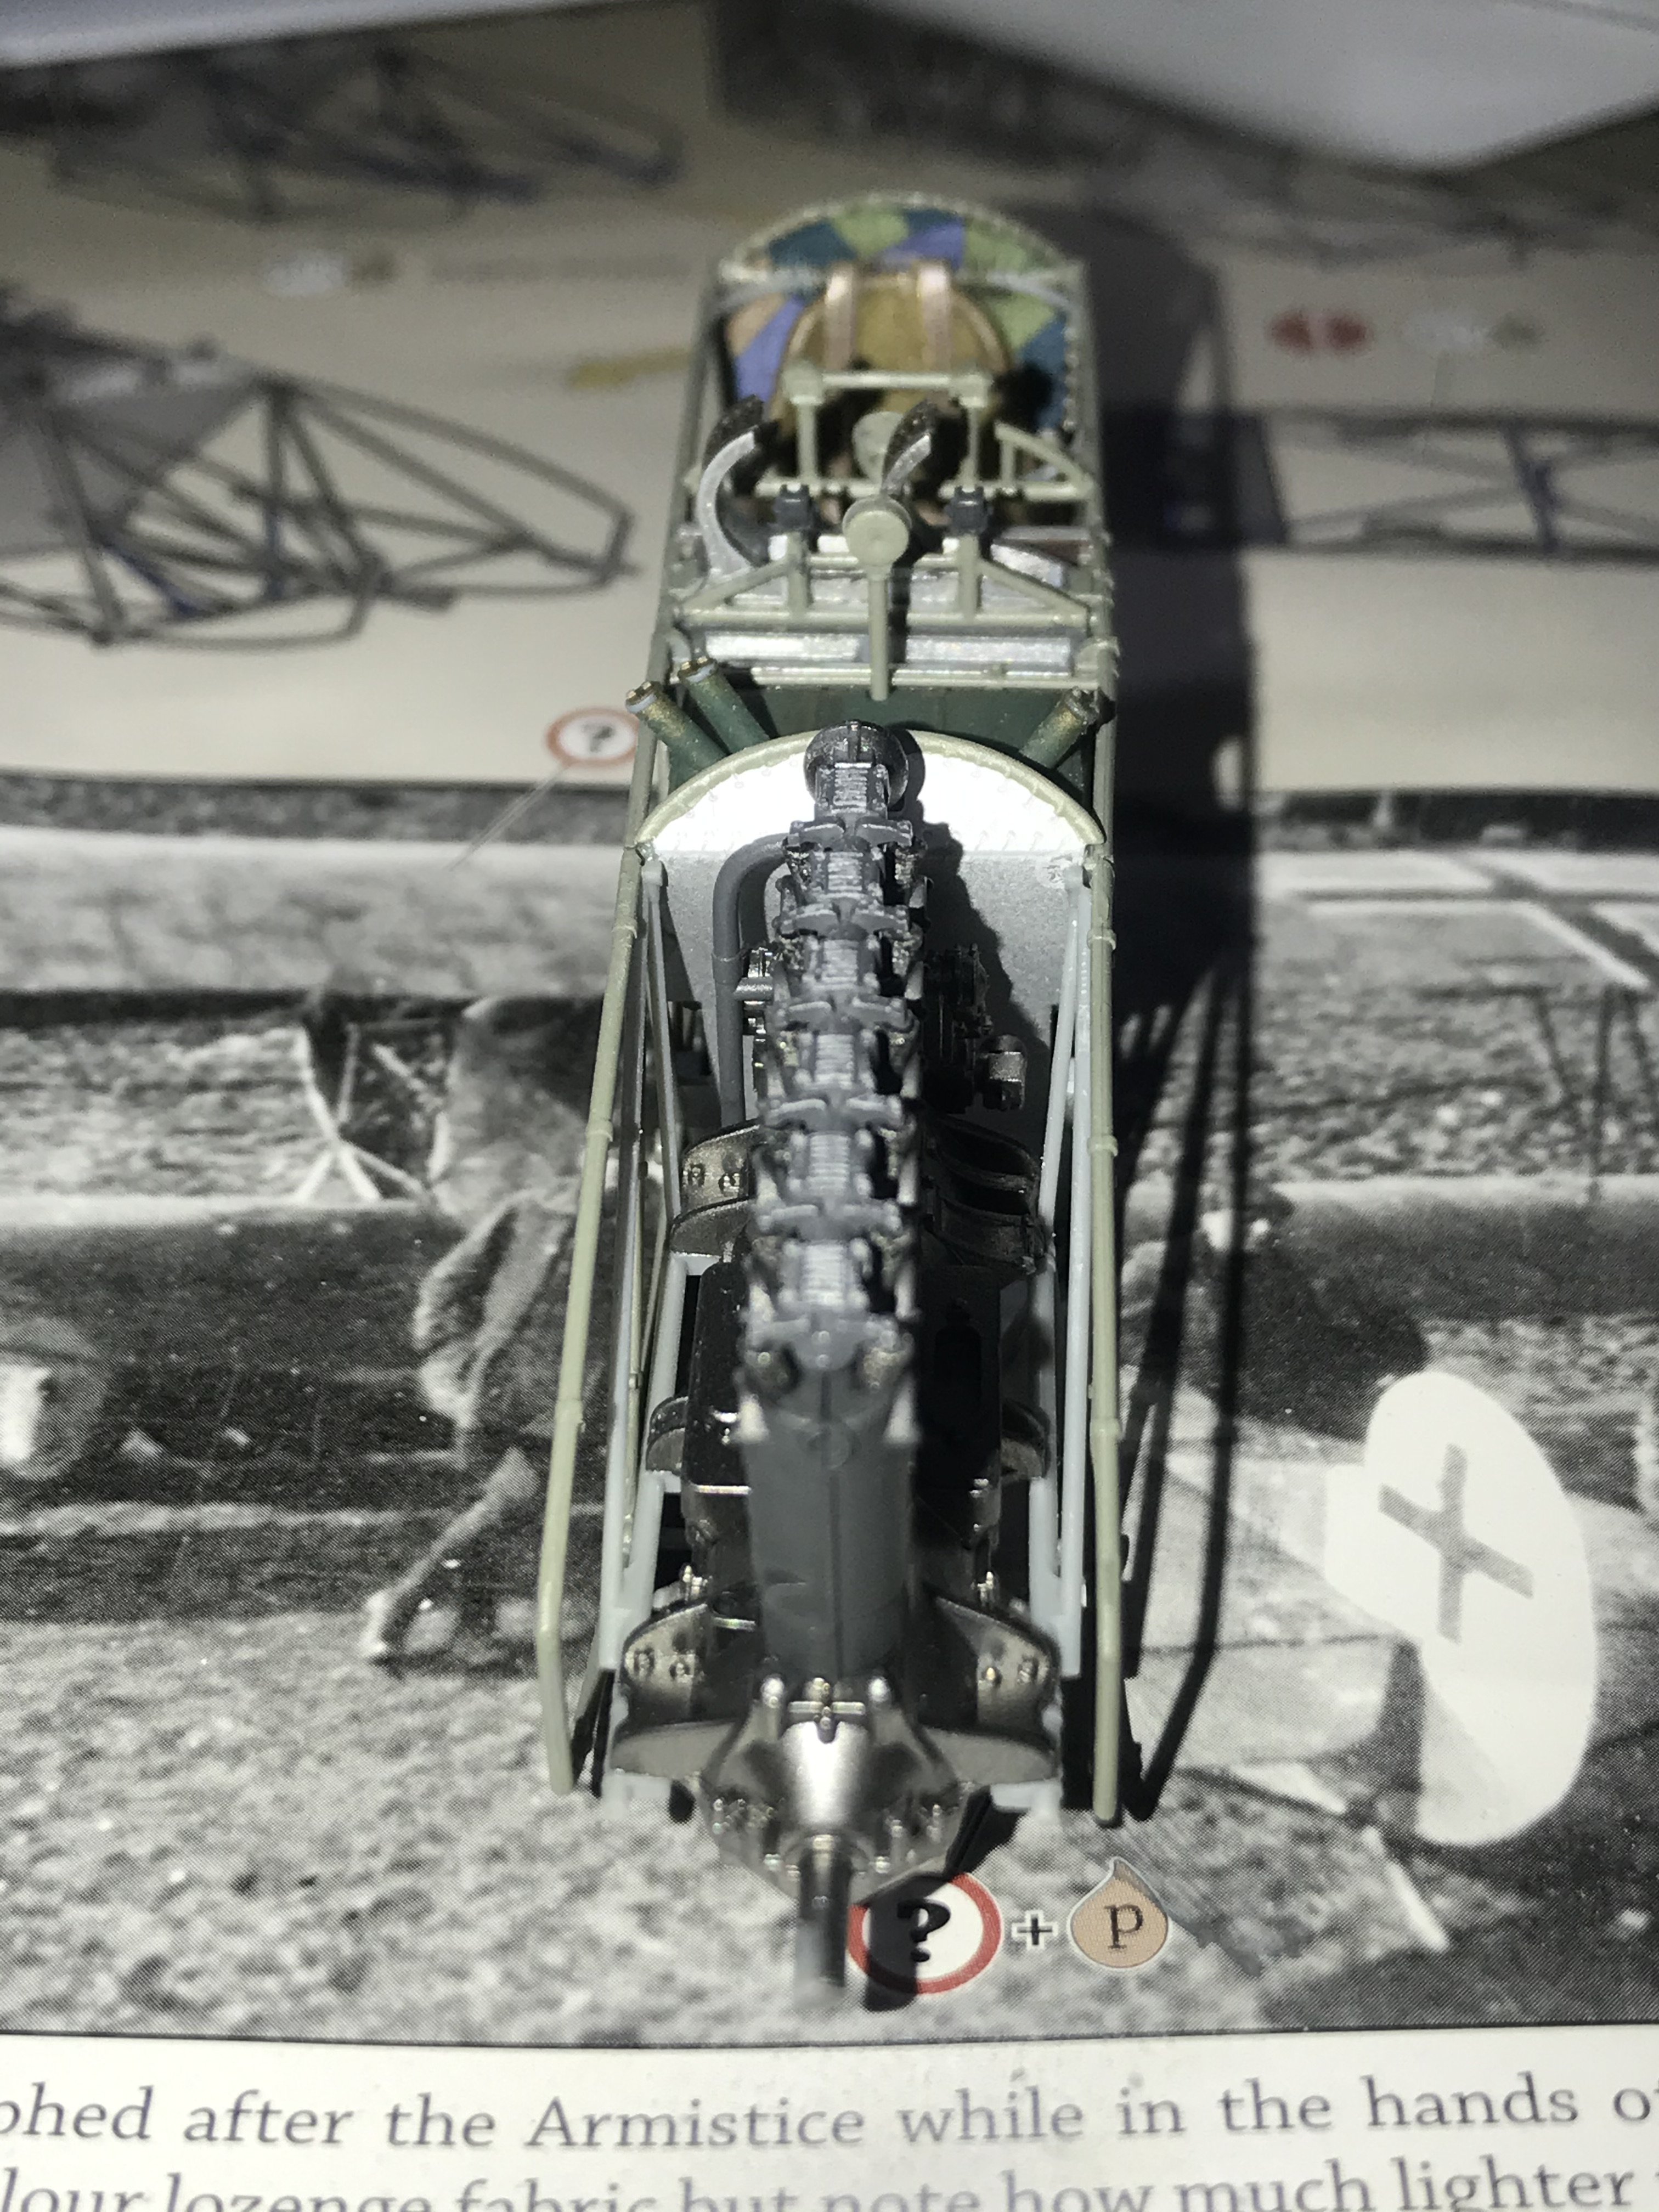
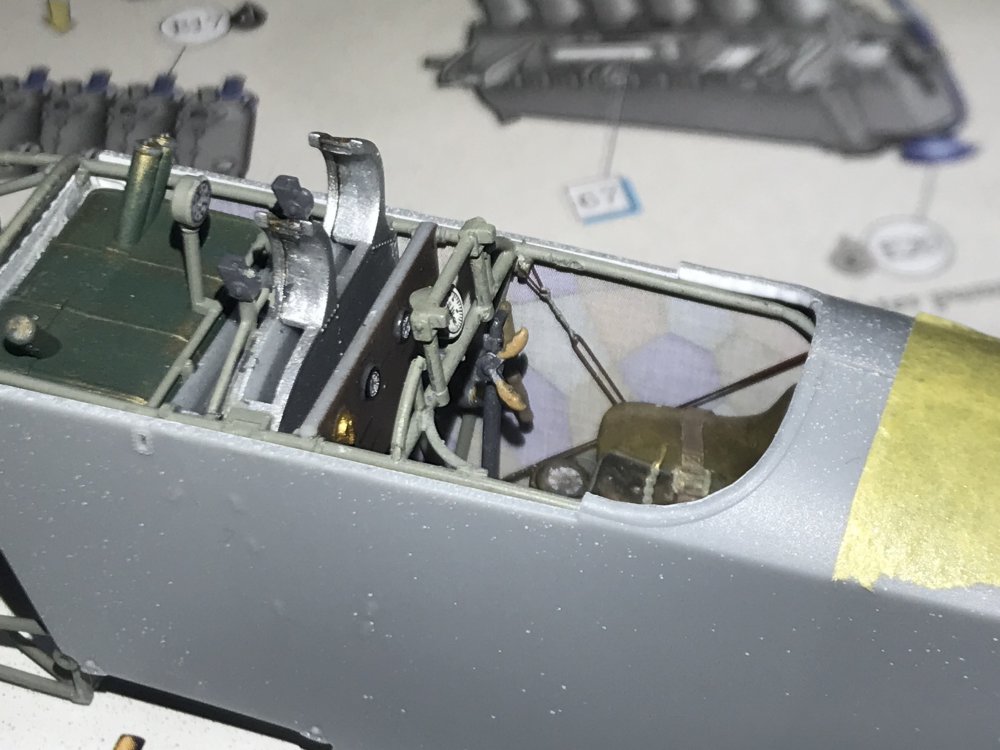
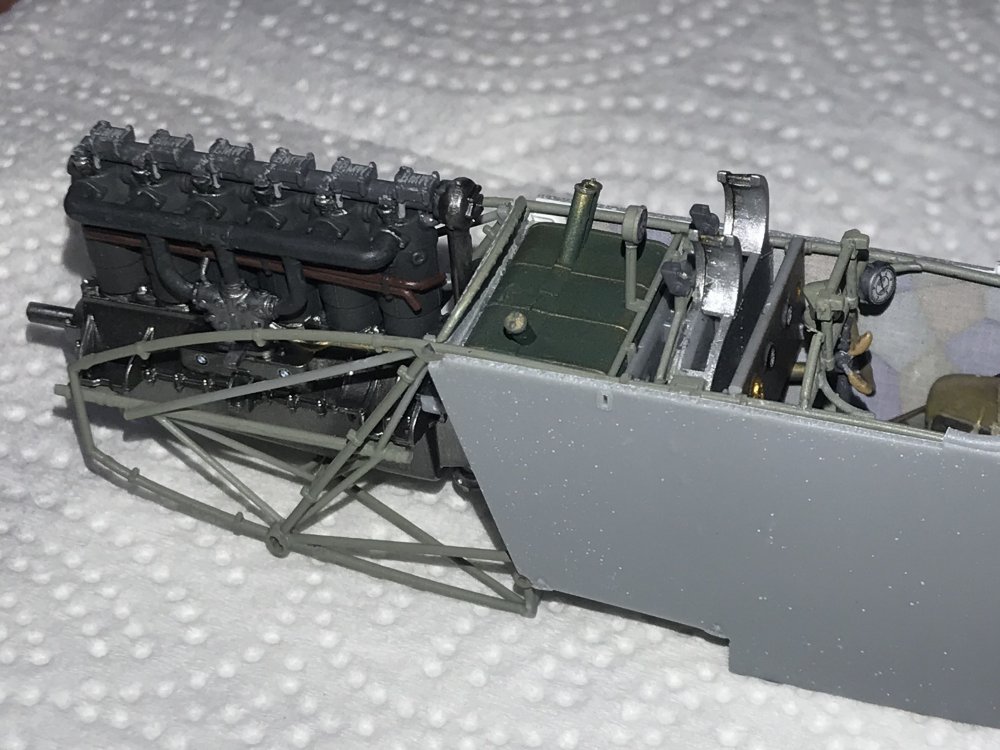
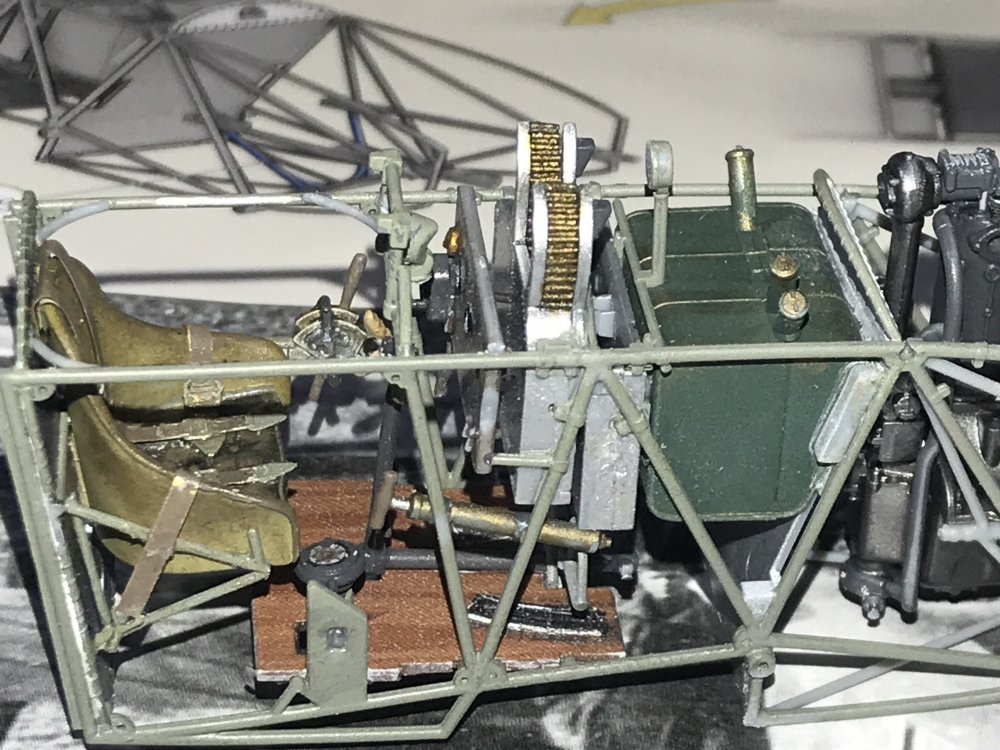
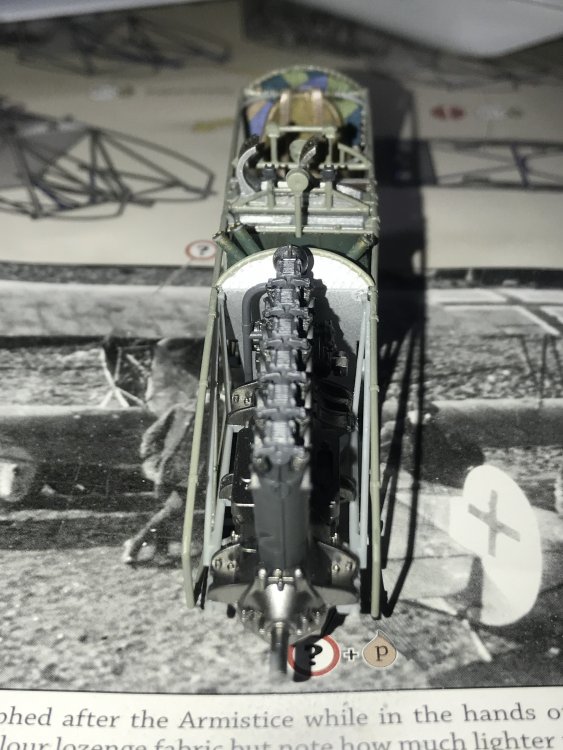
The engine is just hand assembled and being used for spacing… No dullcoat yet until the entire cockpit construction is finished. So again, I’m sorry about the “toy” look.


-
WNW Fokker D.VllF Ukrainian Galician Army 1919
Clunkmeister replied to Clunkmeister's topic in Everything Ukraine Group Build
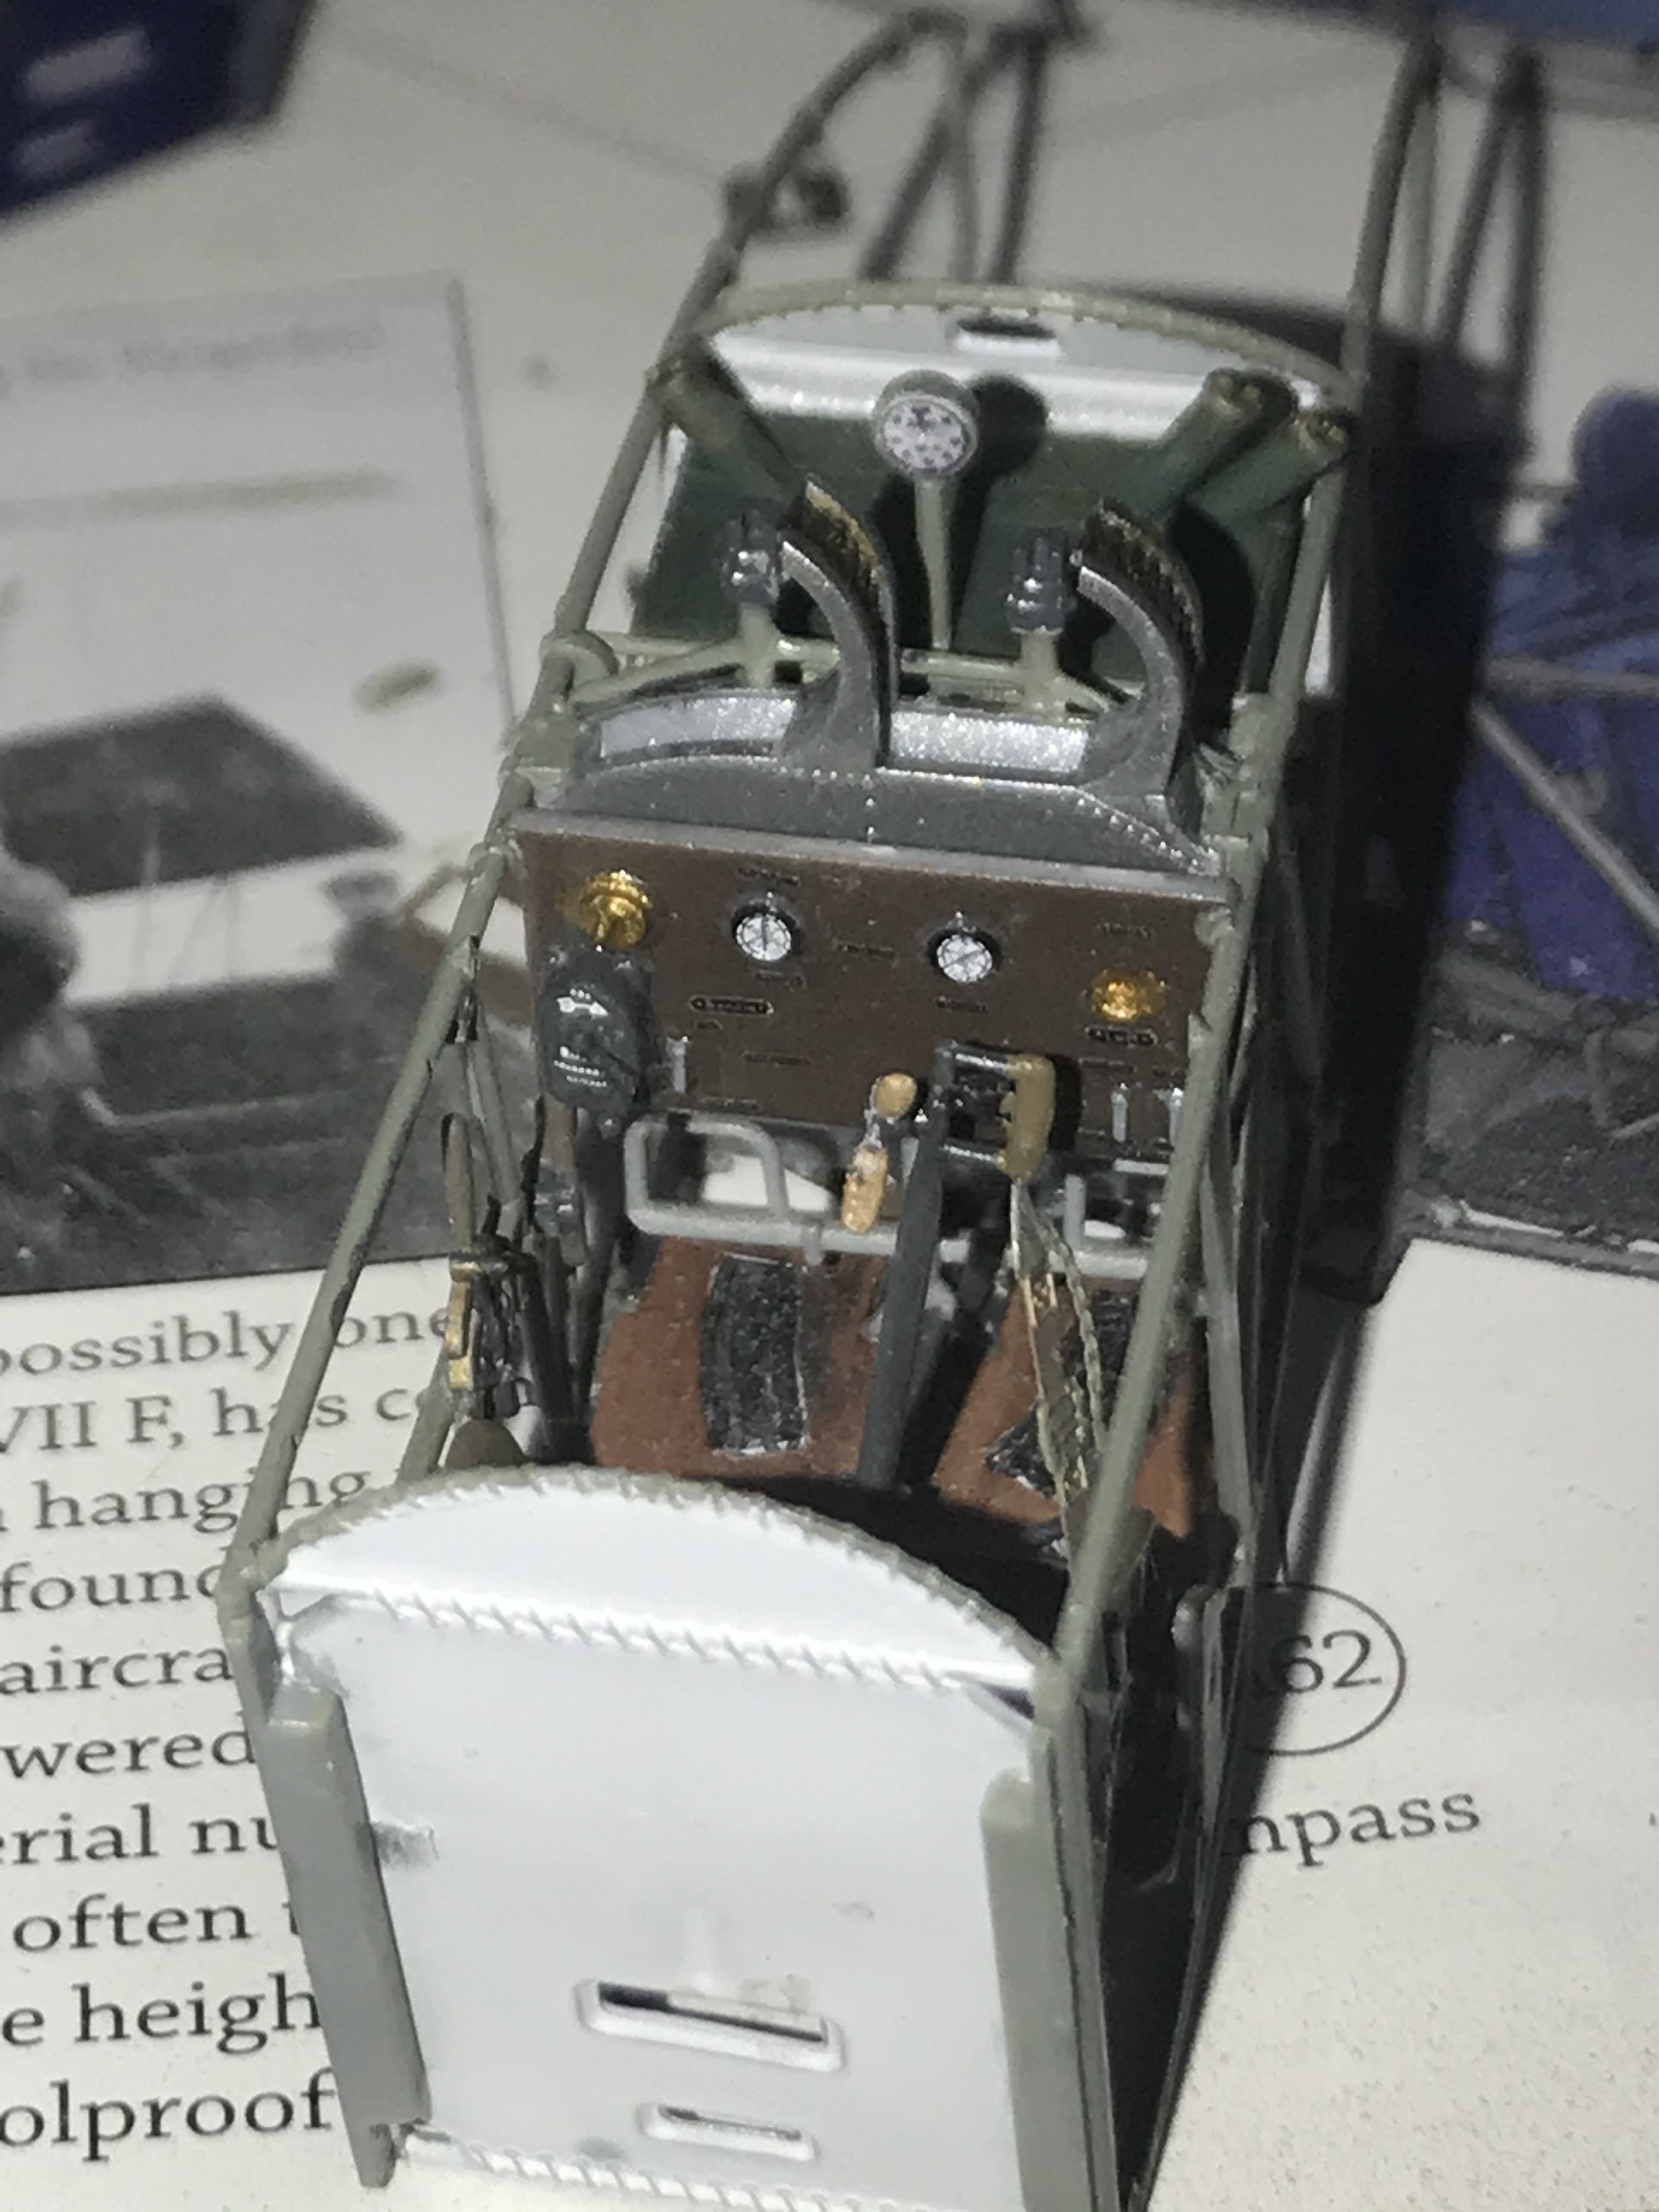
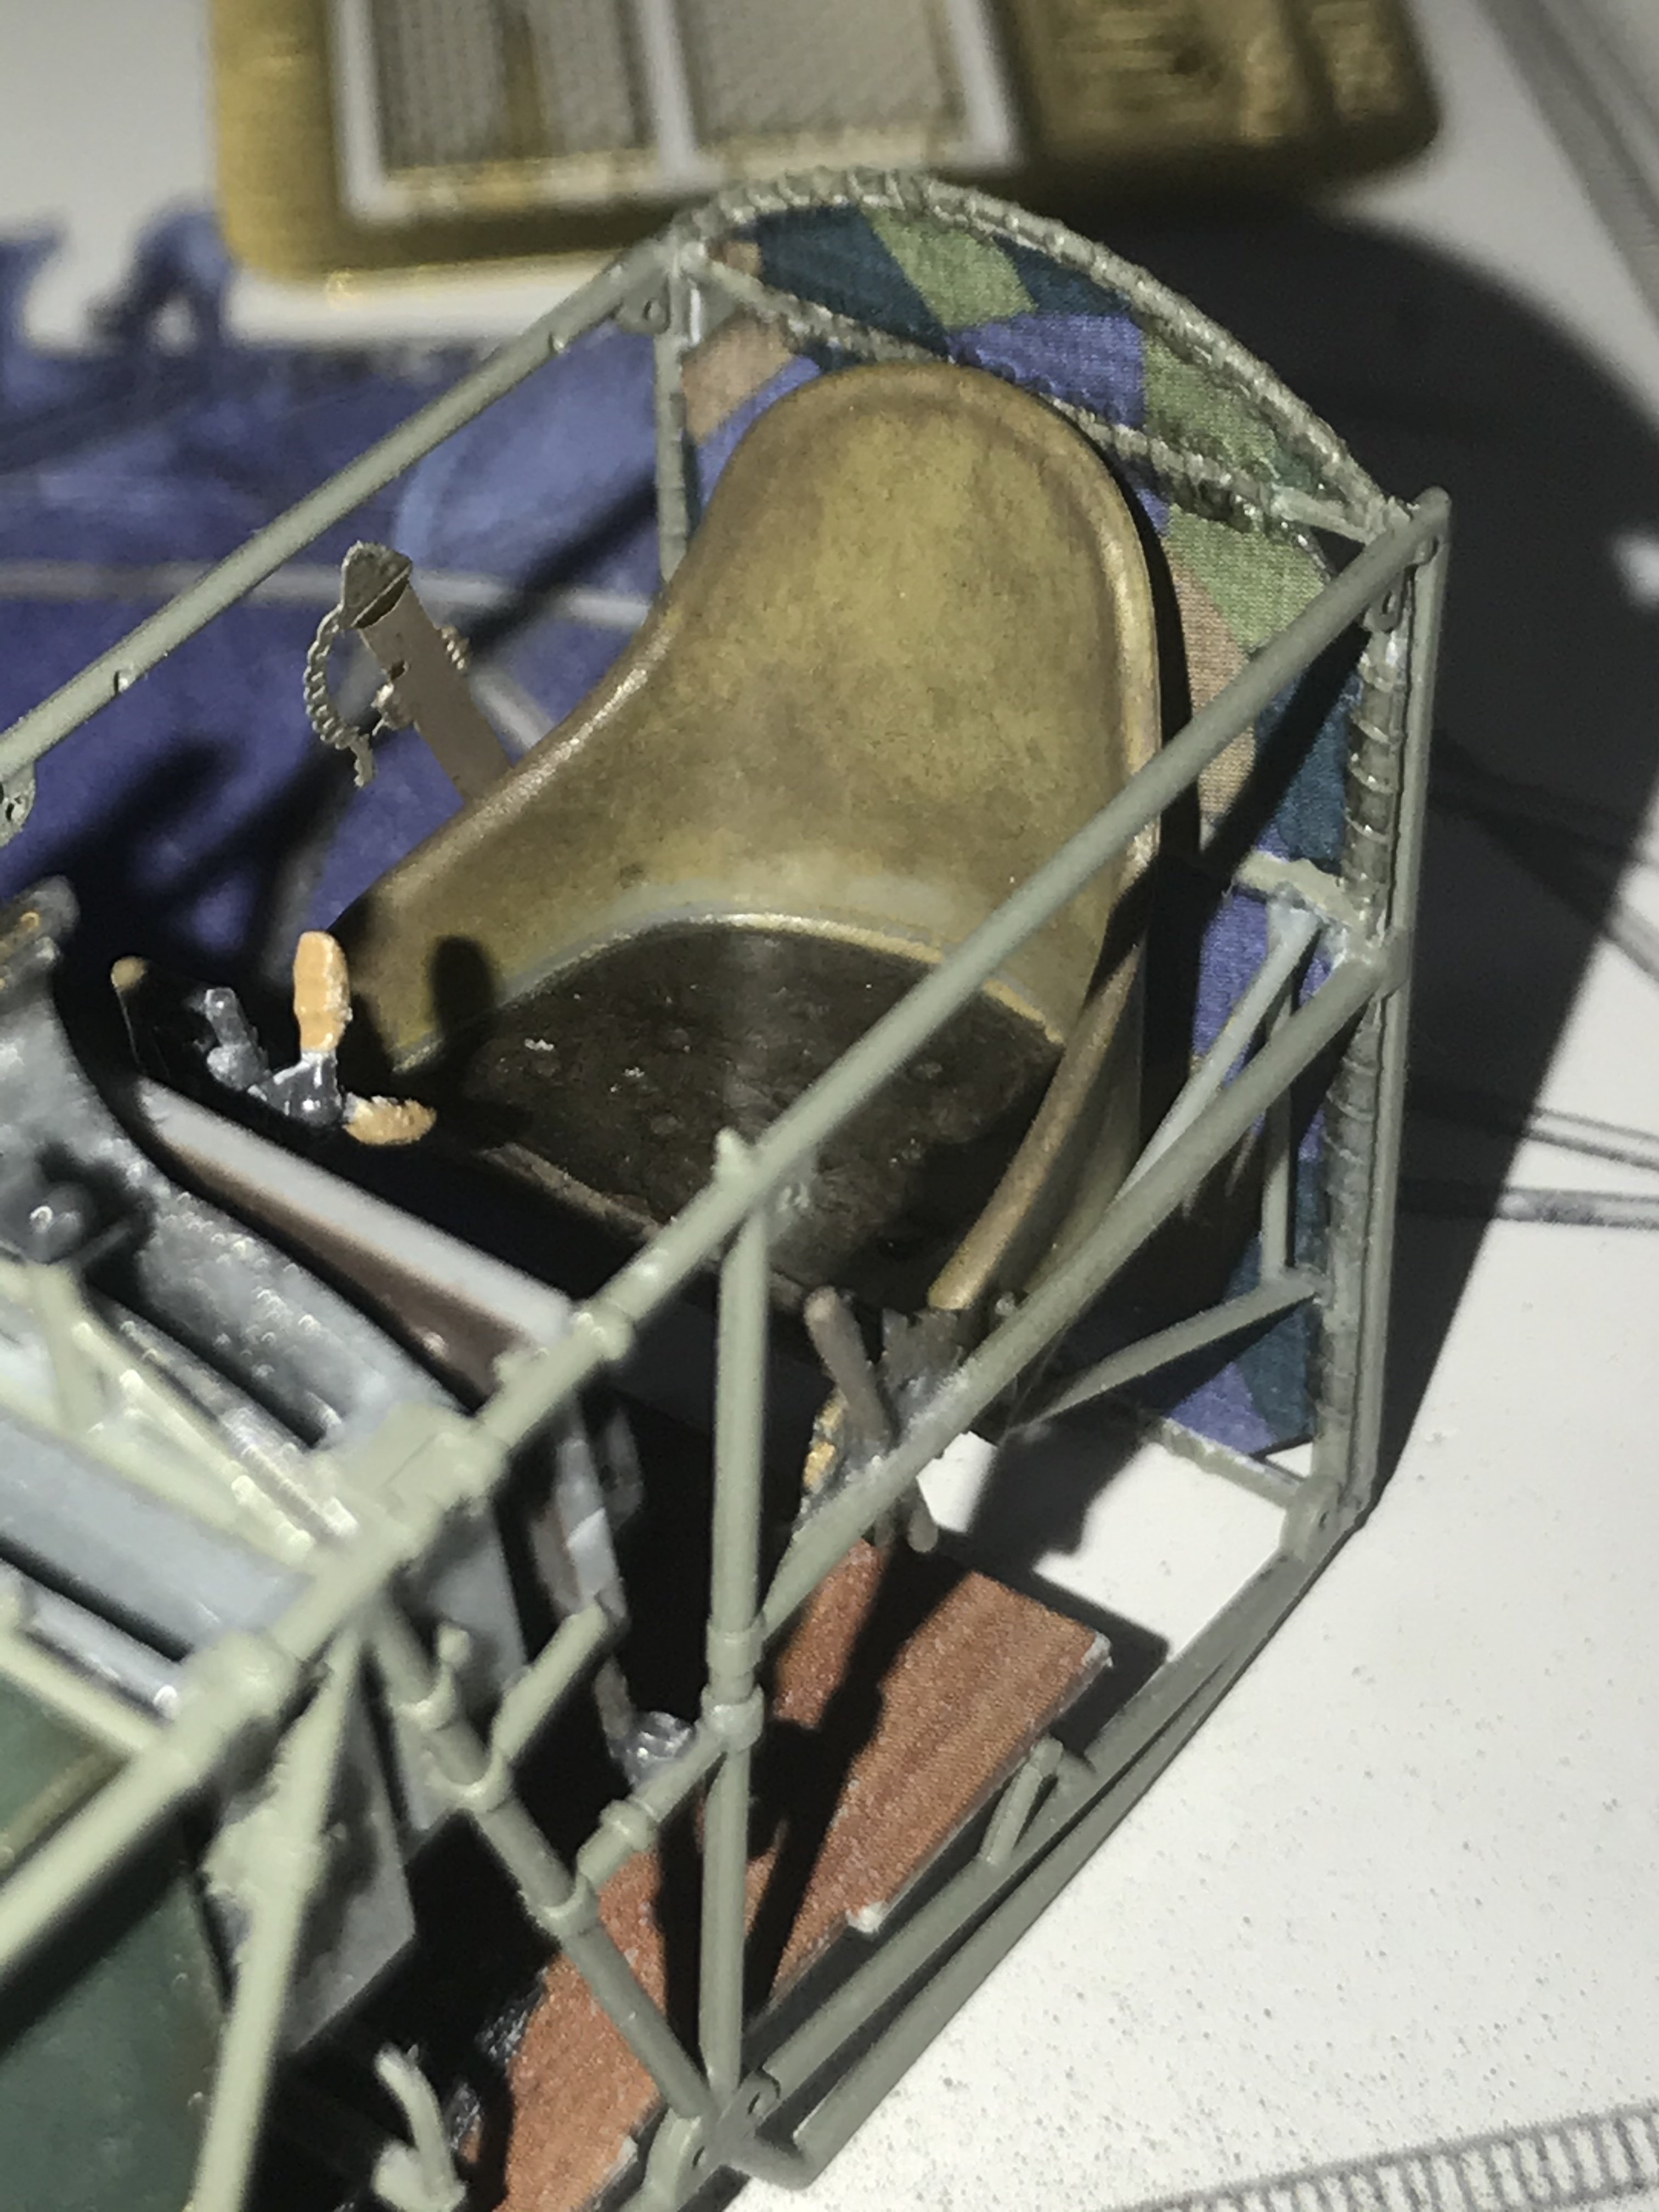
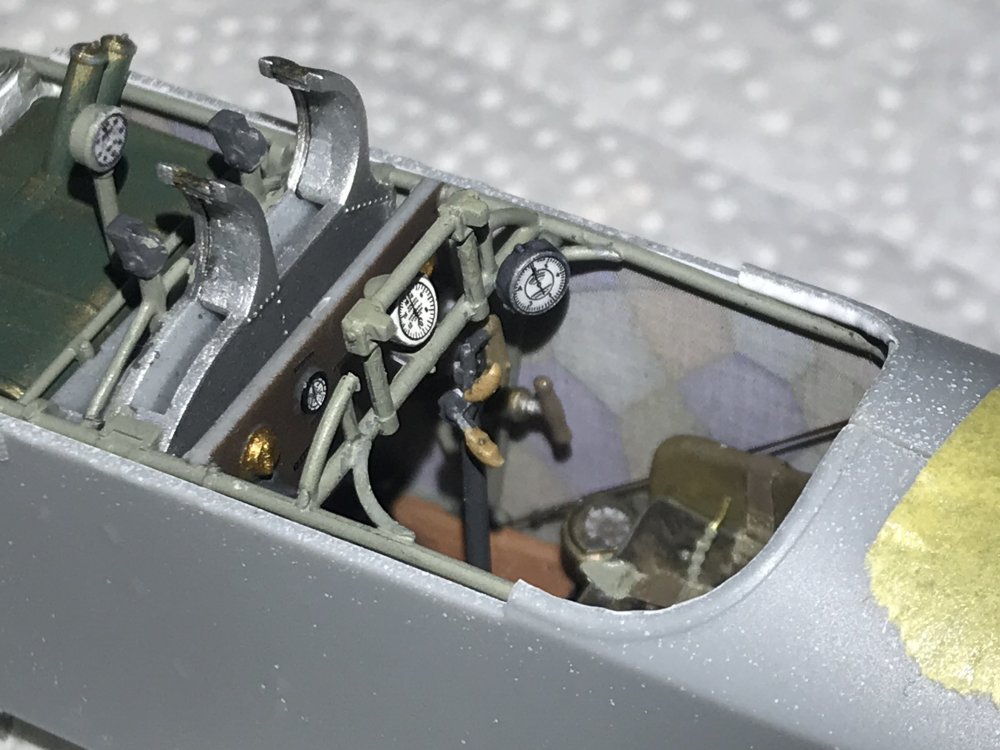
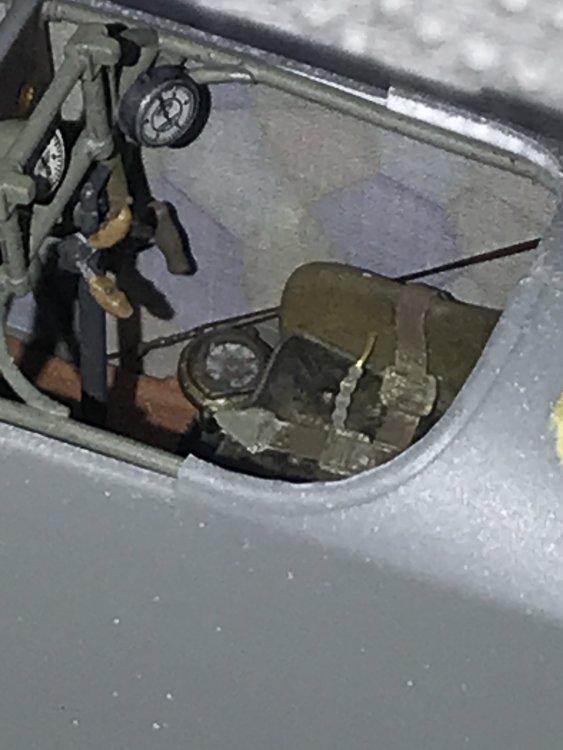
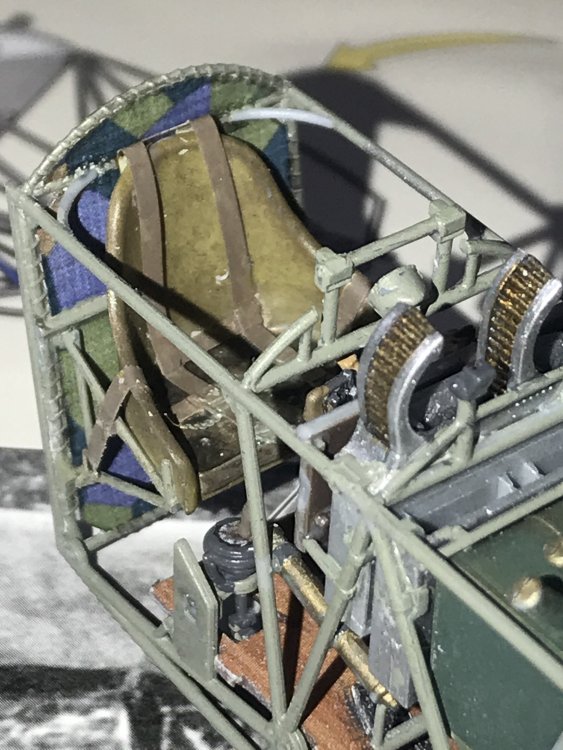
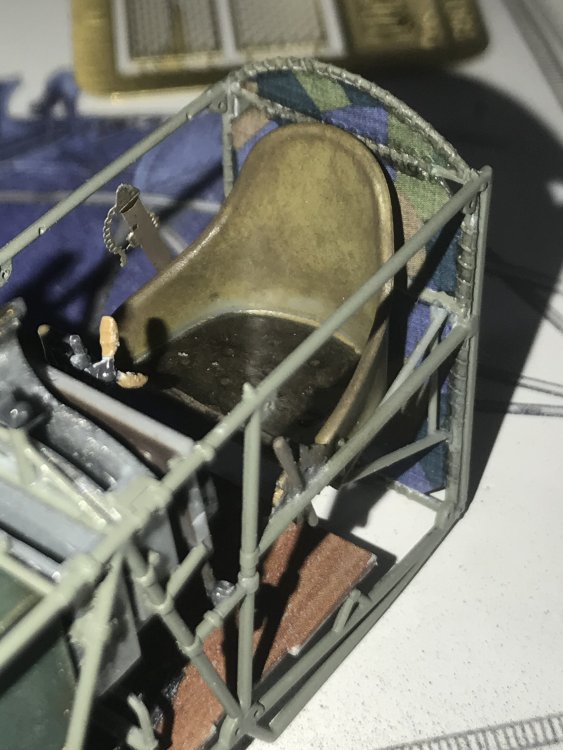
The levers are a bit overscale, but for this, it’s good for me. It looks good when looking in. I guess I could build a panel out of Airscale stuff, but I’m just not feeling it right now. Plus, that seat cushion looks BLACK in the pics. I’m gonna lighten it up with some liberal amounts of dry brushing. The camera does goofy things to colors -
Can I post this on the LSM Facebook page?
-
Flawless build, Carl! Can I post it on our Facebook page?
-
WNW Fokker D.VllF Ukrainian Galician Army 1919
Clunkmeister replied to Clunkmeister's topic in Everything Ukraine Group Build
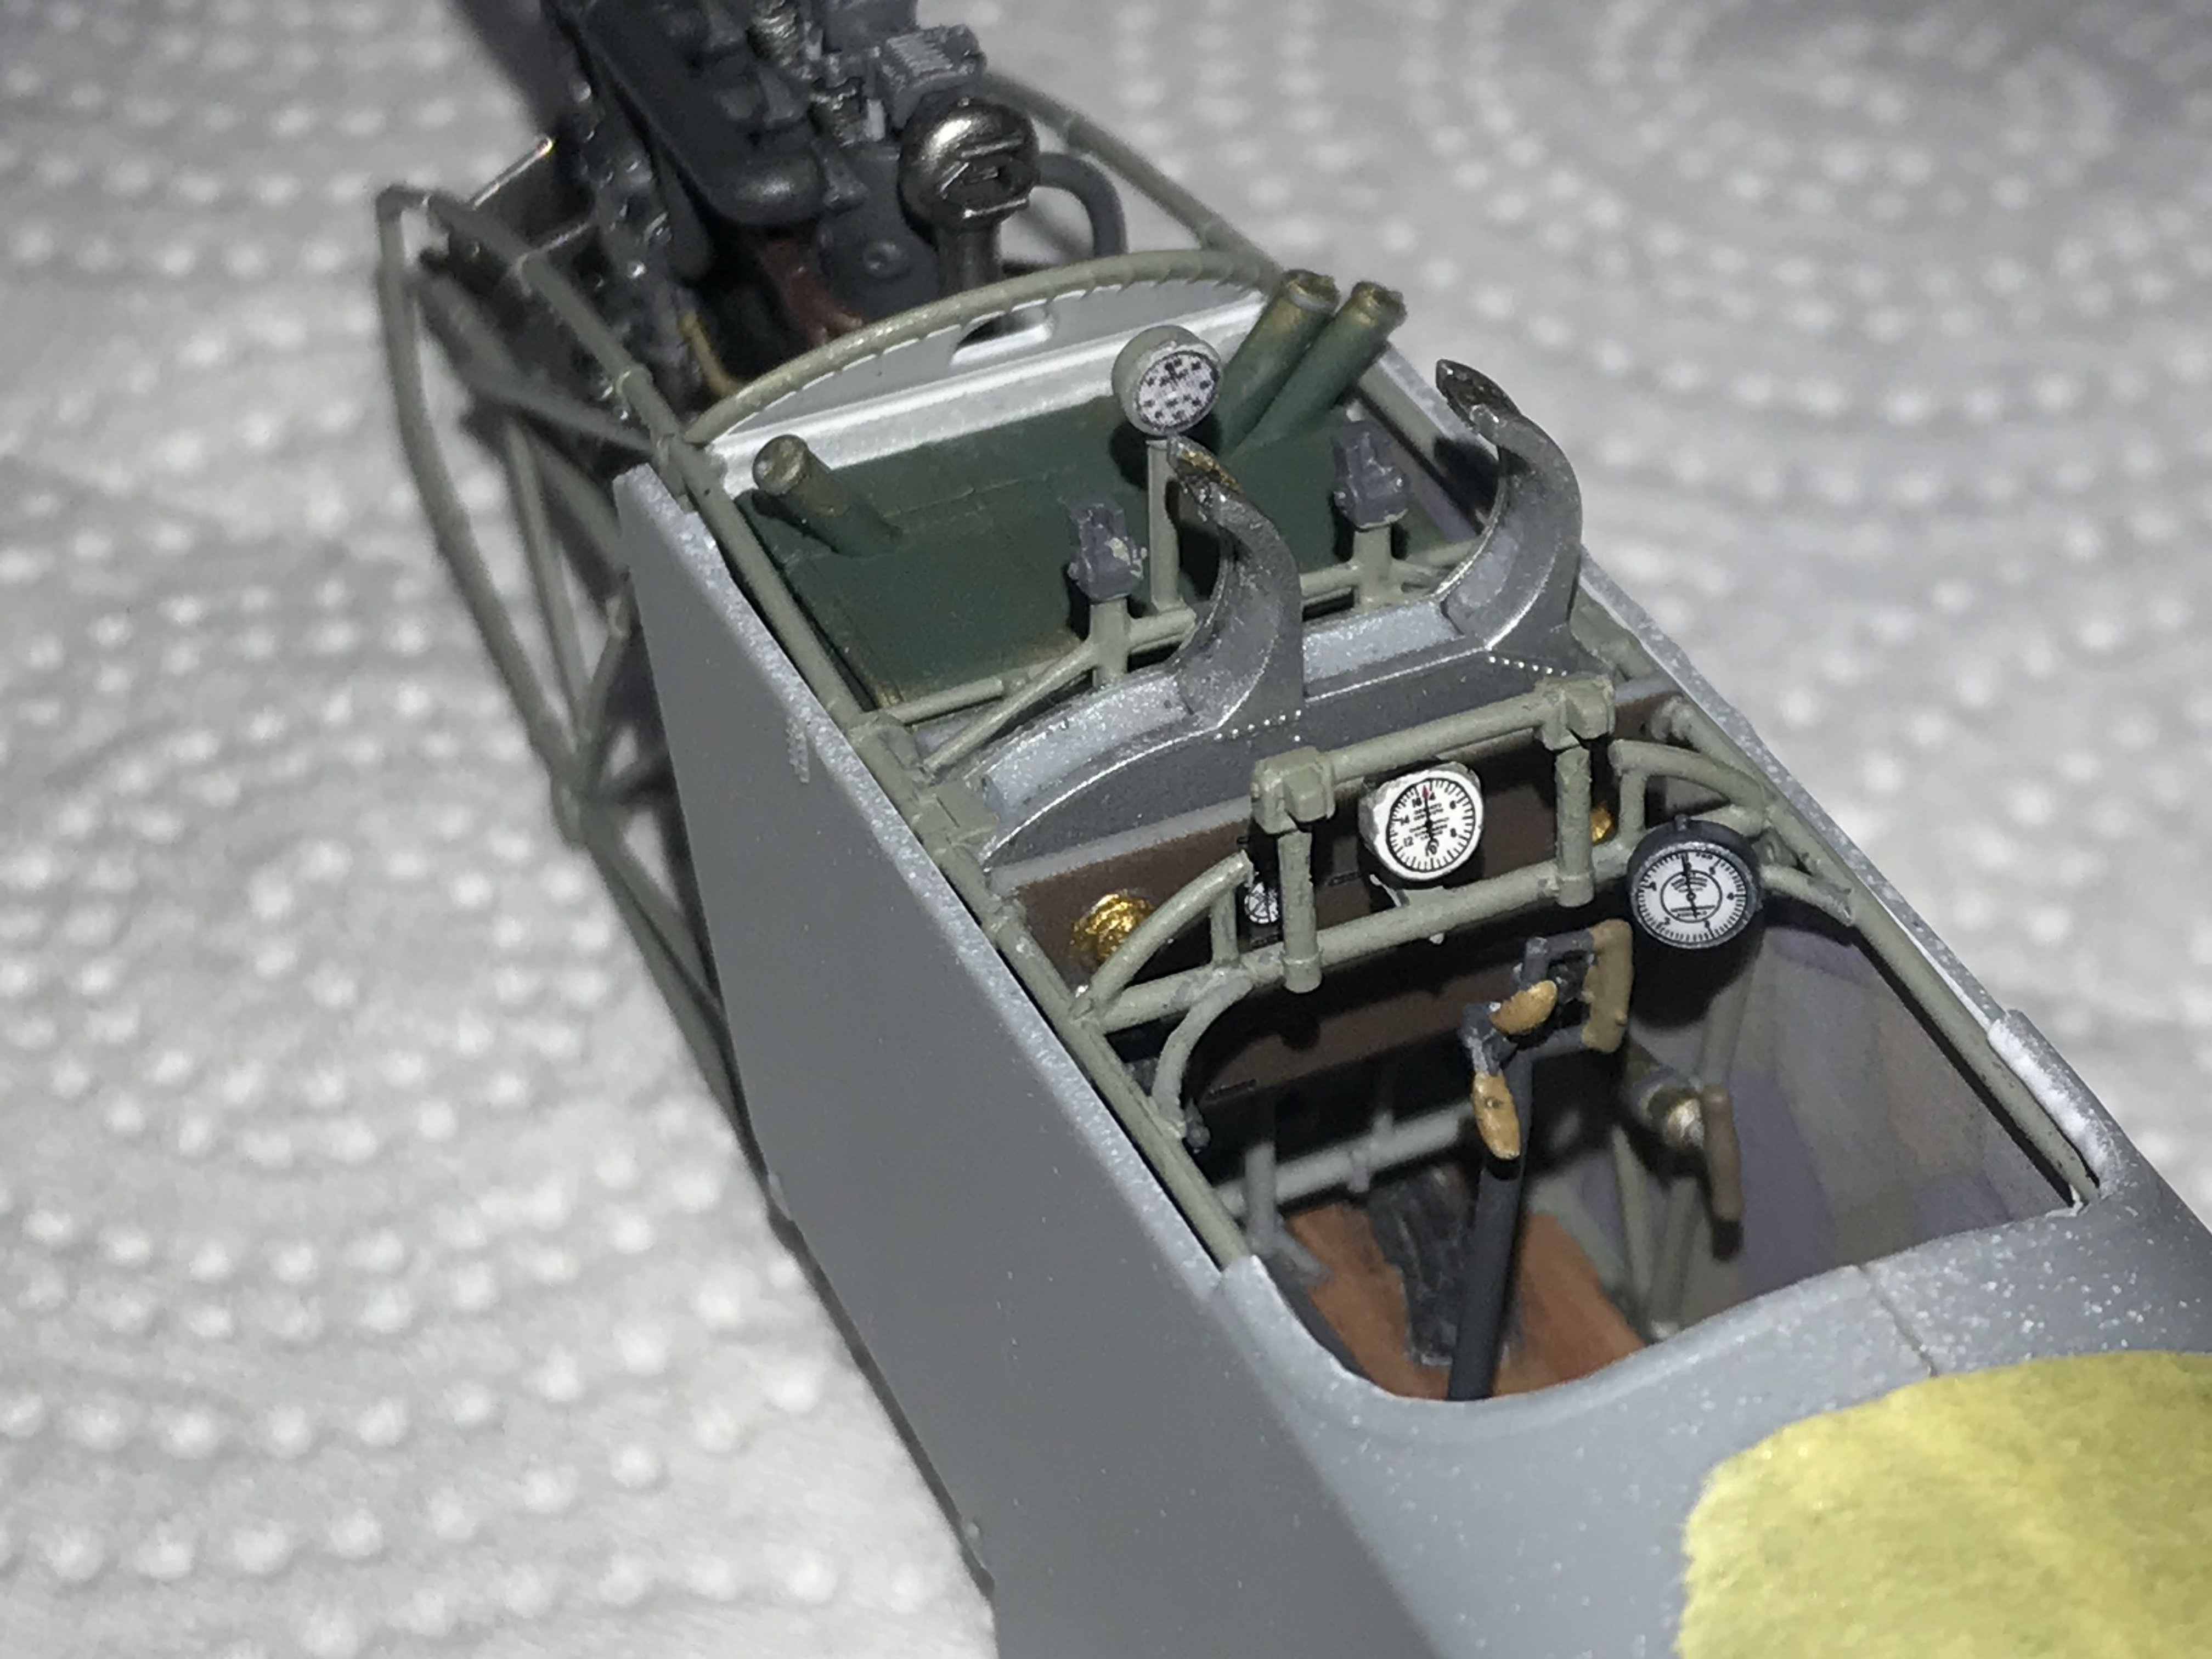
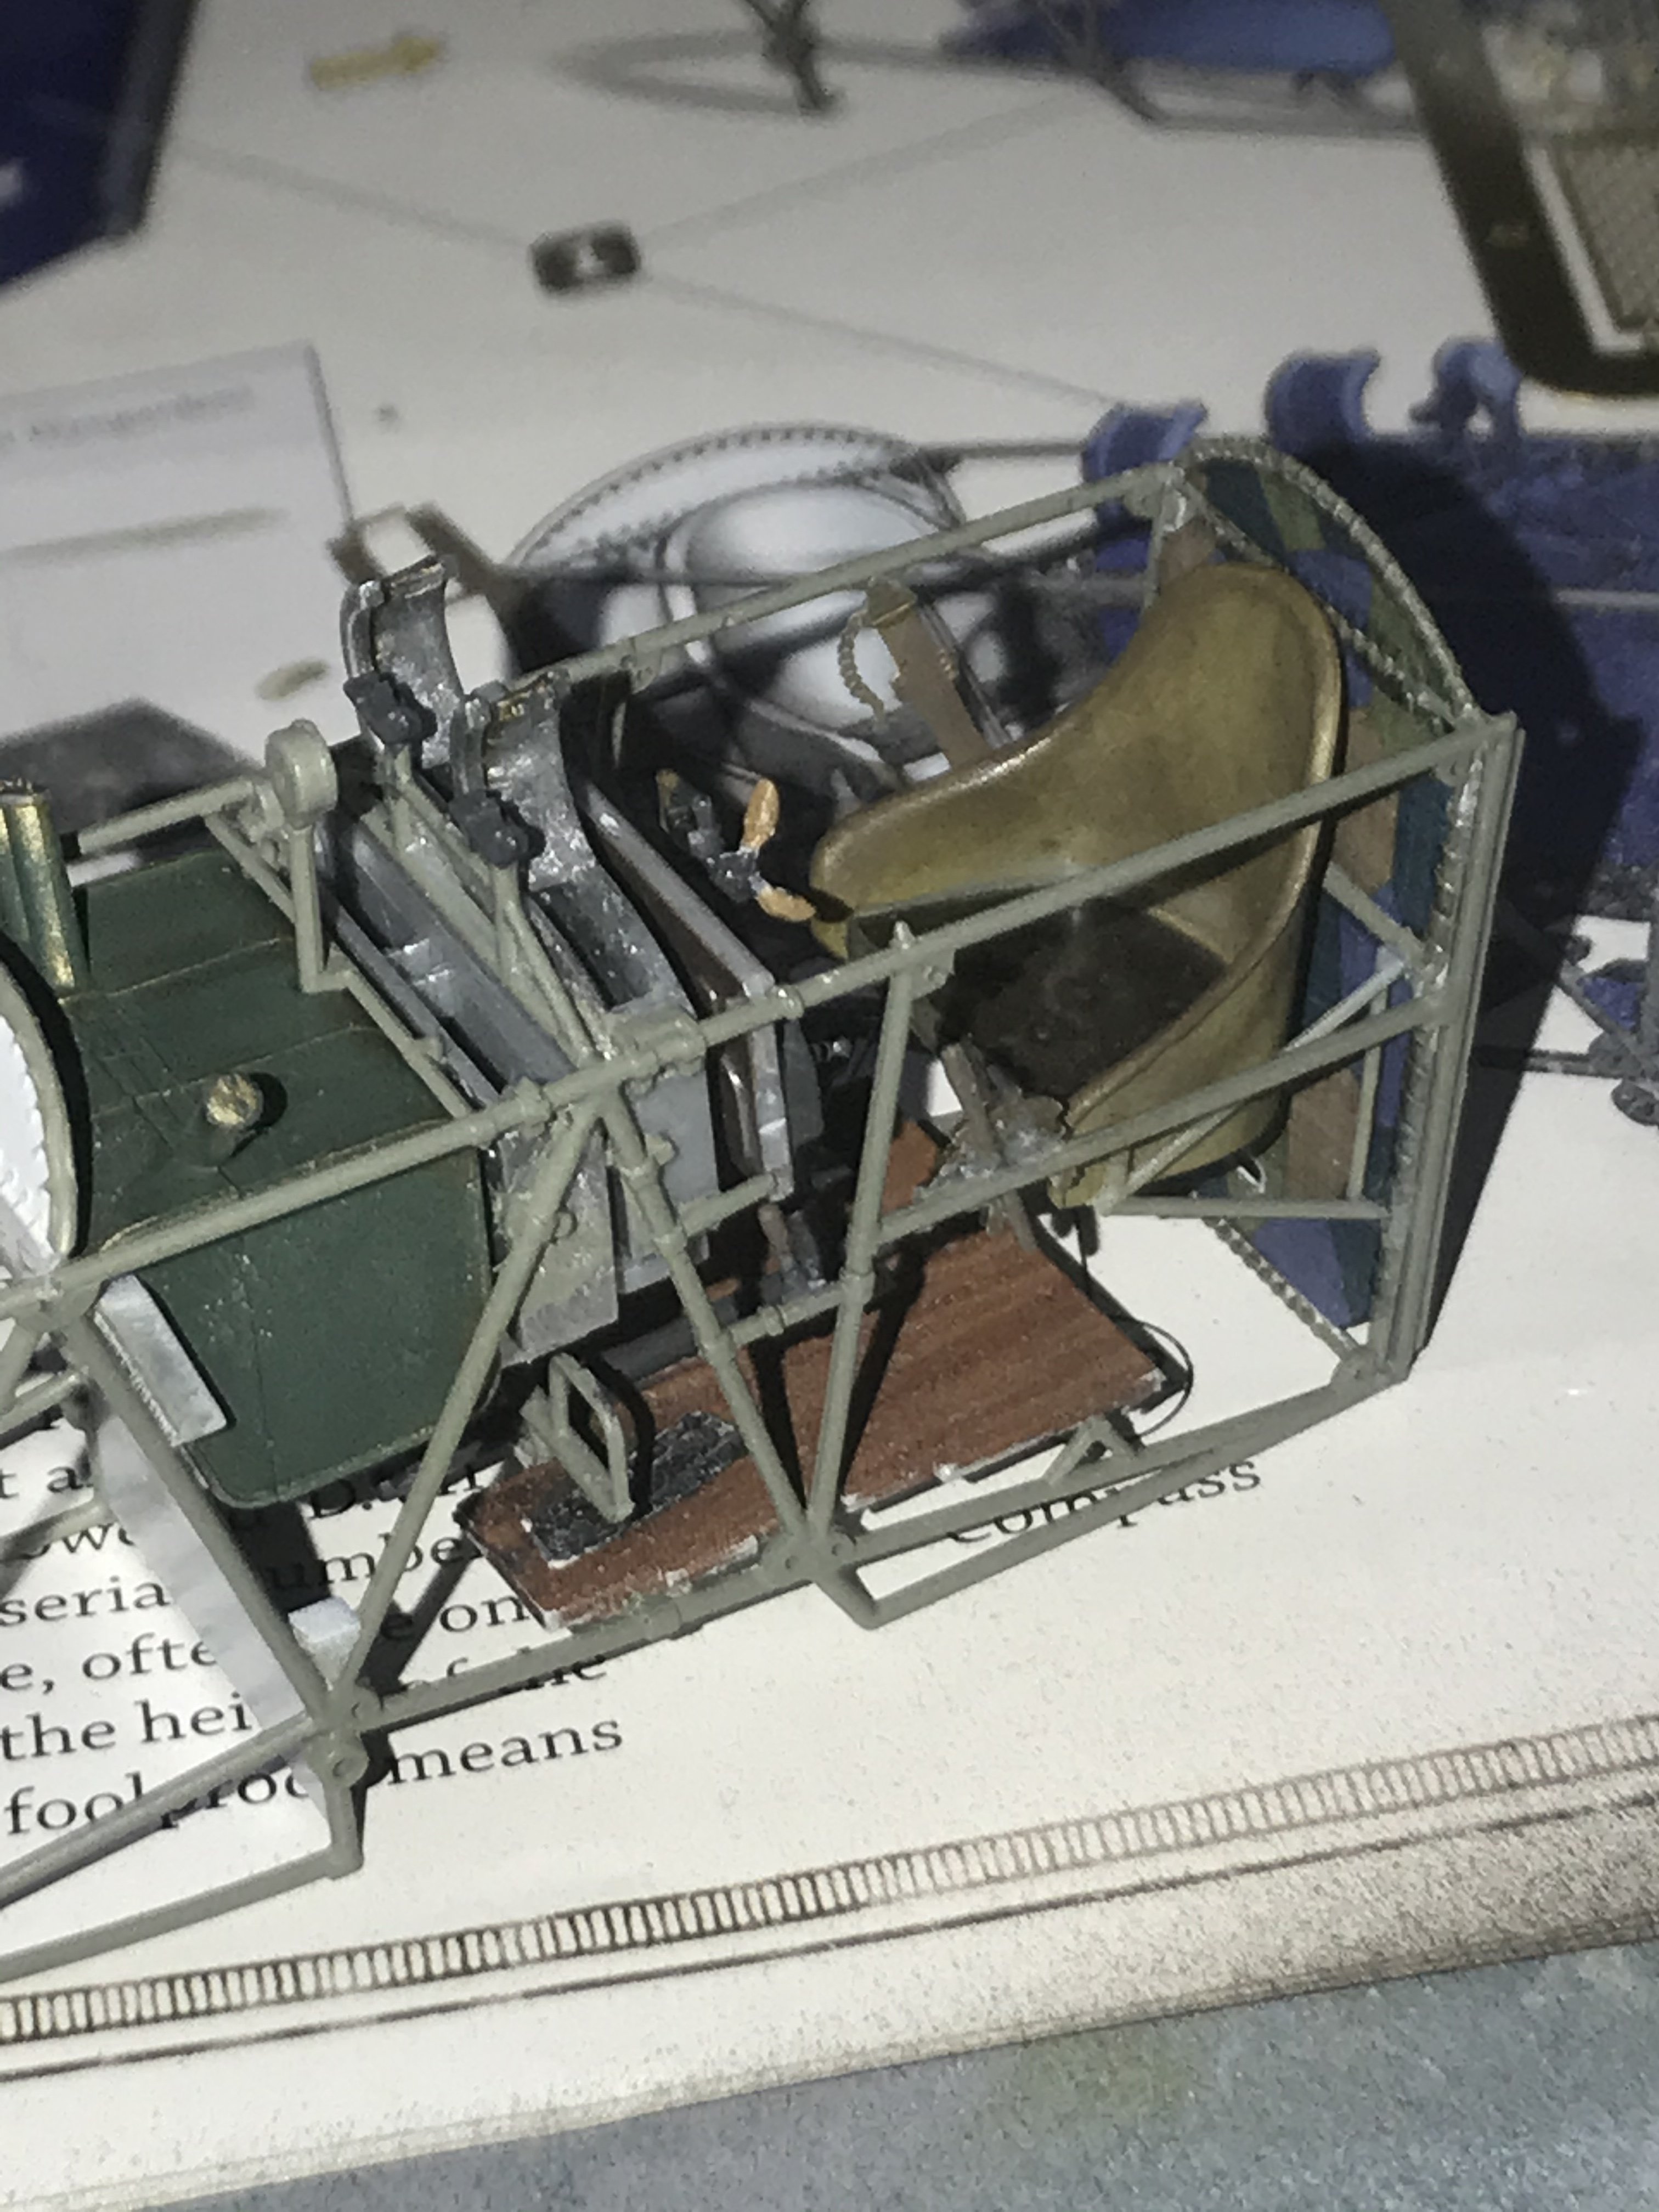
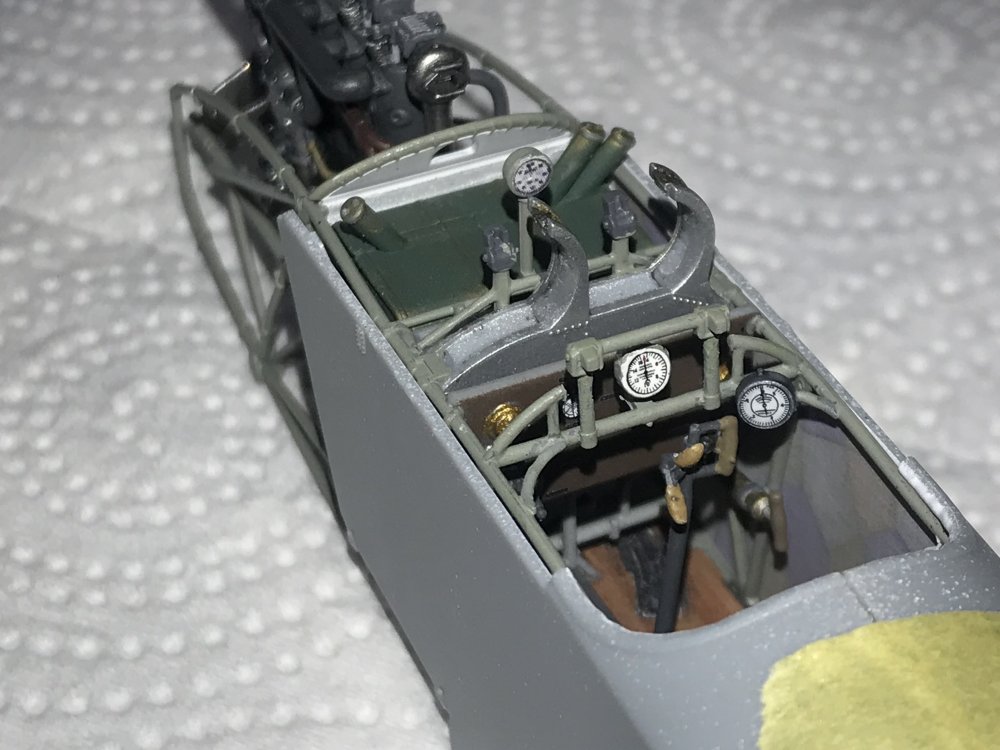
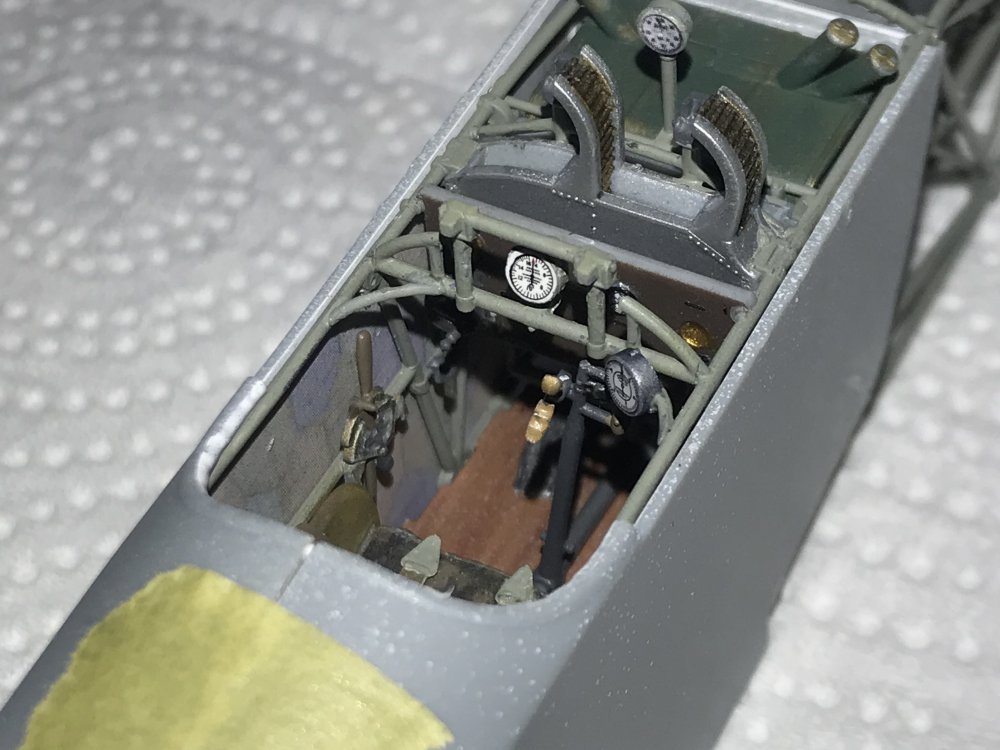
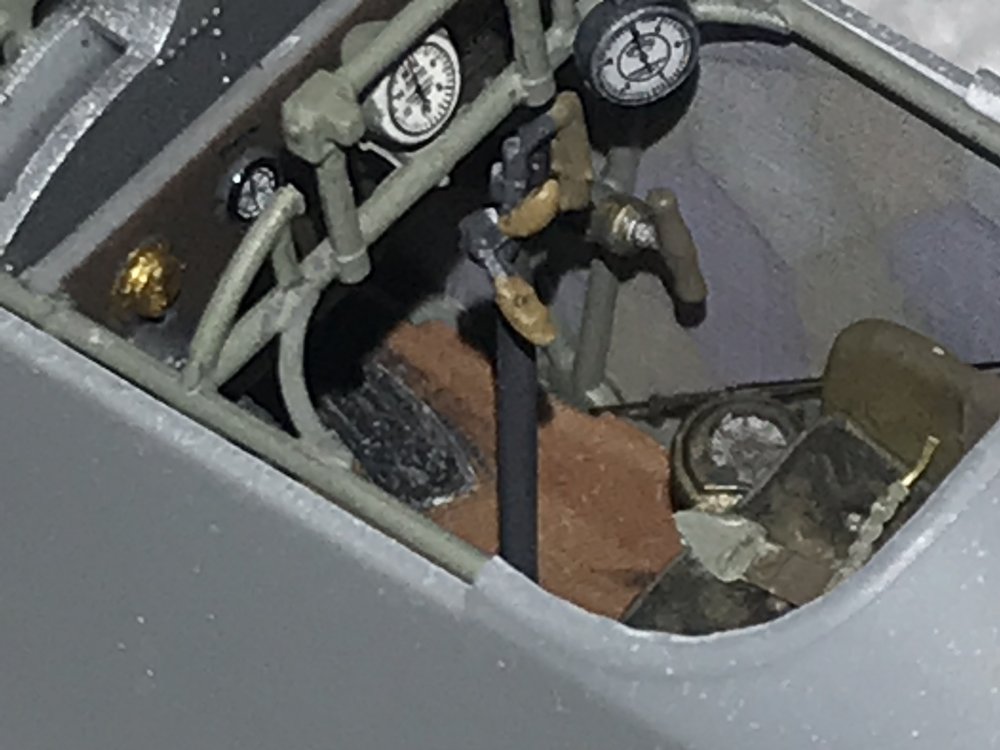
I apologize for the dust in the pics, but I didn’t blow it off. Gonna set the seatbelts, then rig the cage, followed by the rear MG mounts, and a bit more cockpit bracing. Then some light weathering and a matte coat. -
WNW Fokker D.VllF Ukrainian Galician Army 1919
Clunkmeister replied to Clunkmeister's topic in Everything Ukraine Group Build
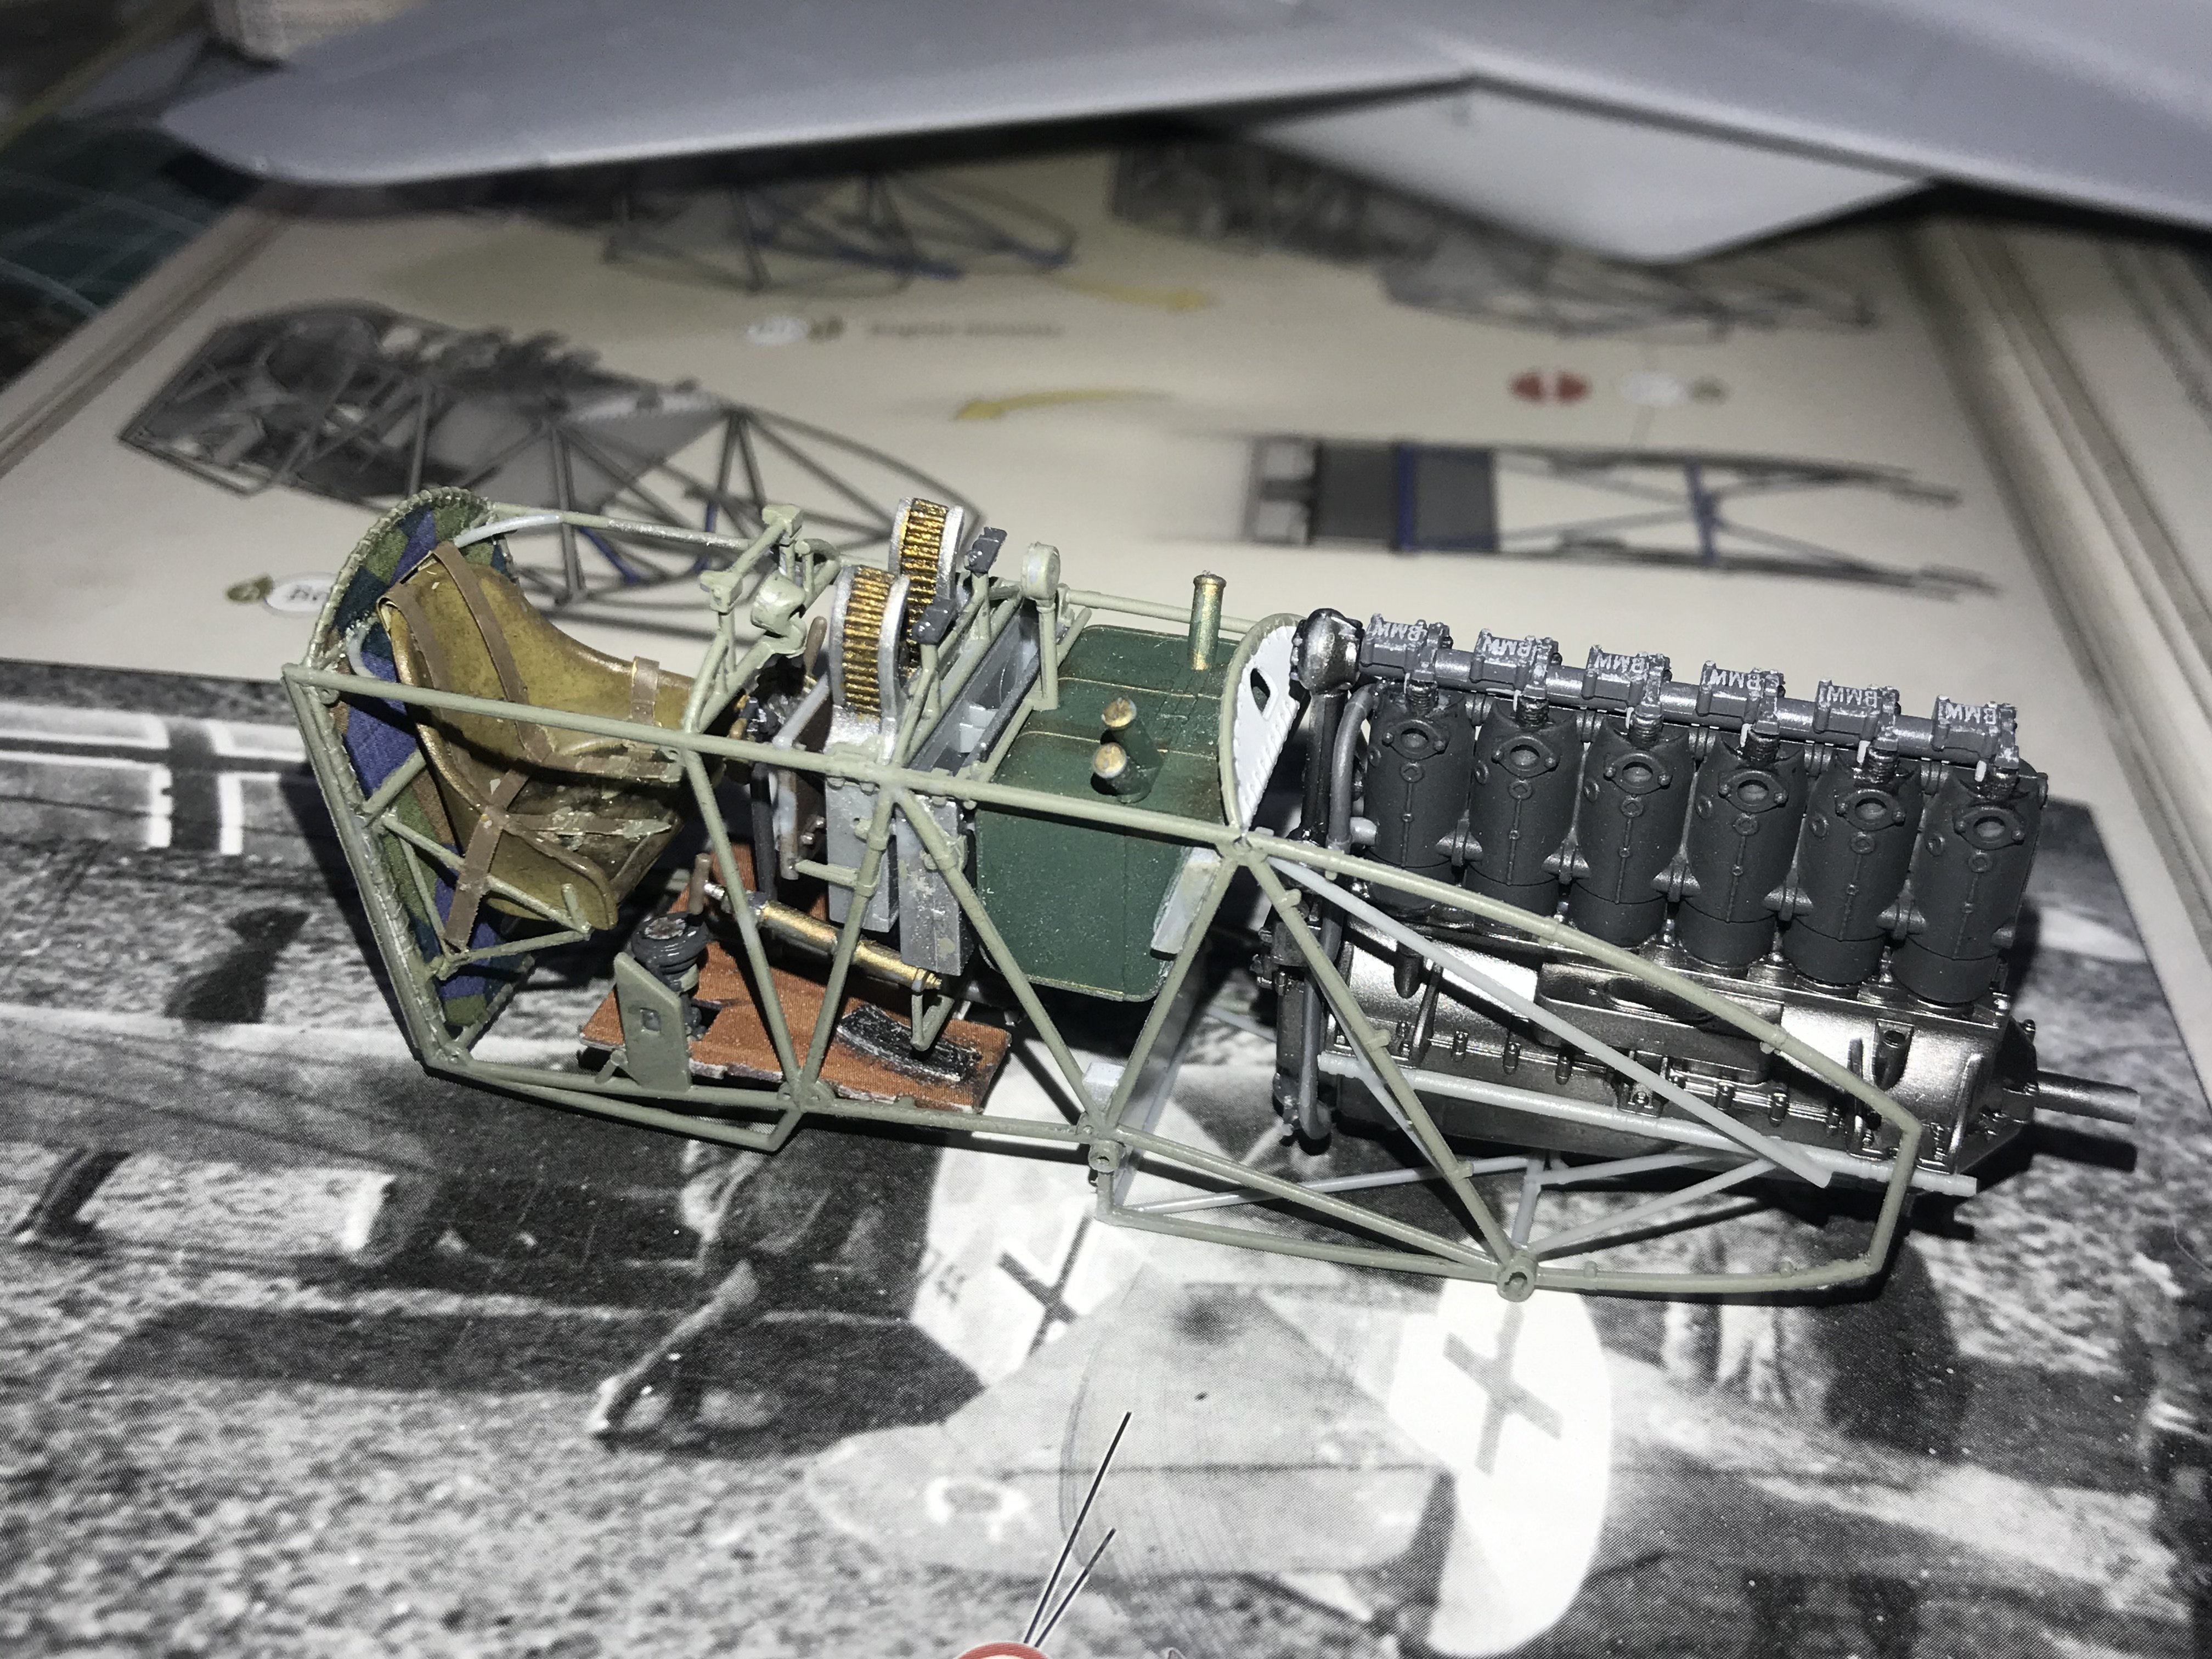
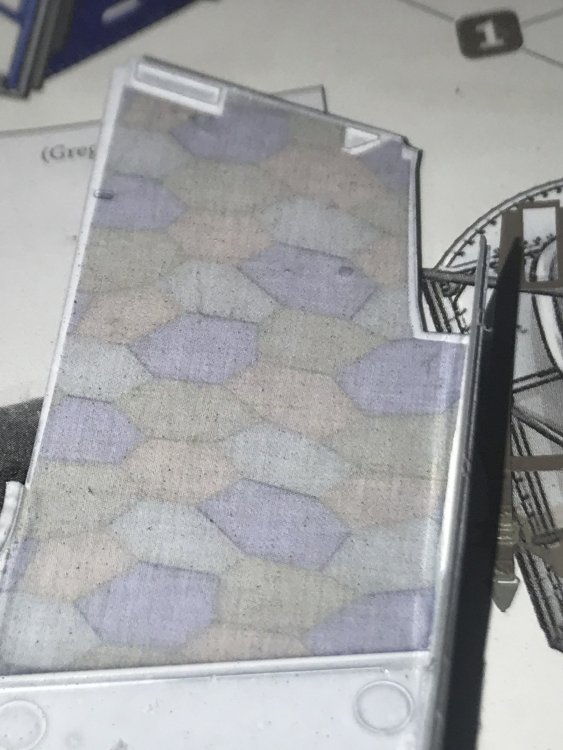
Been puttering away at this as the 29 waits for stuff to cure, and he it is as of right now. I’m having a great Time with this, I haven’t built a Wingnut kit since I finished my Felixstowe 5 years ago. They’re great fun, and if you take care, are very easy to build. As y’all can see, it’s pretty much an OOB build other than Aviattic decals. I’m even seeing if I can use the kit seatbelts. Jury still out on that one, however.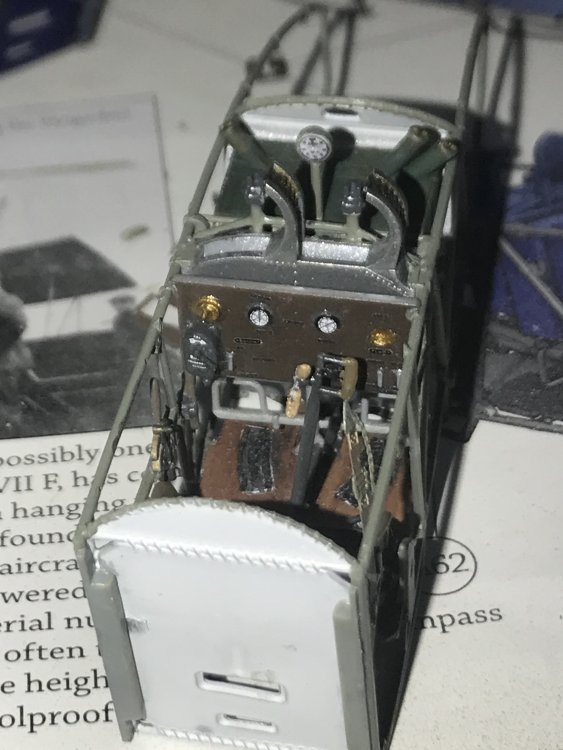

-
A Mukker?
-
WNW Fokker D.VllF Ukrainian Galician Army 1919
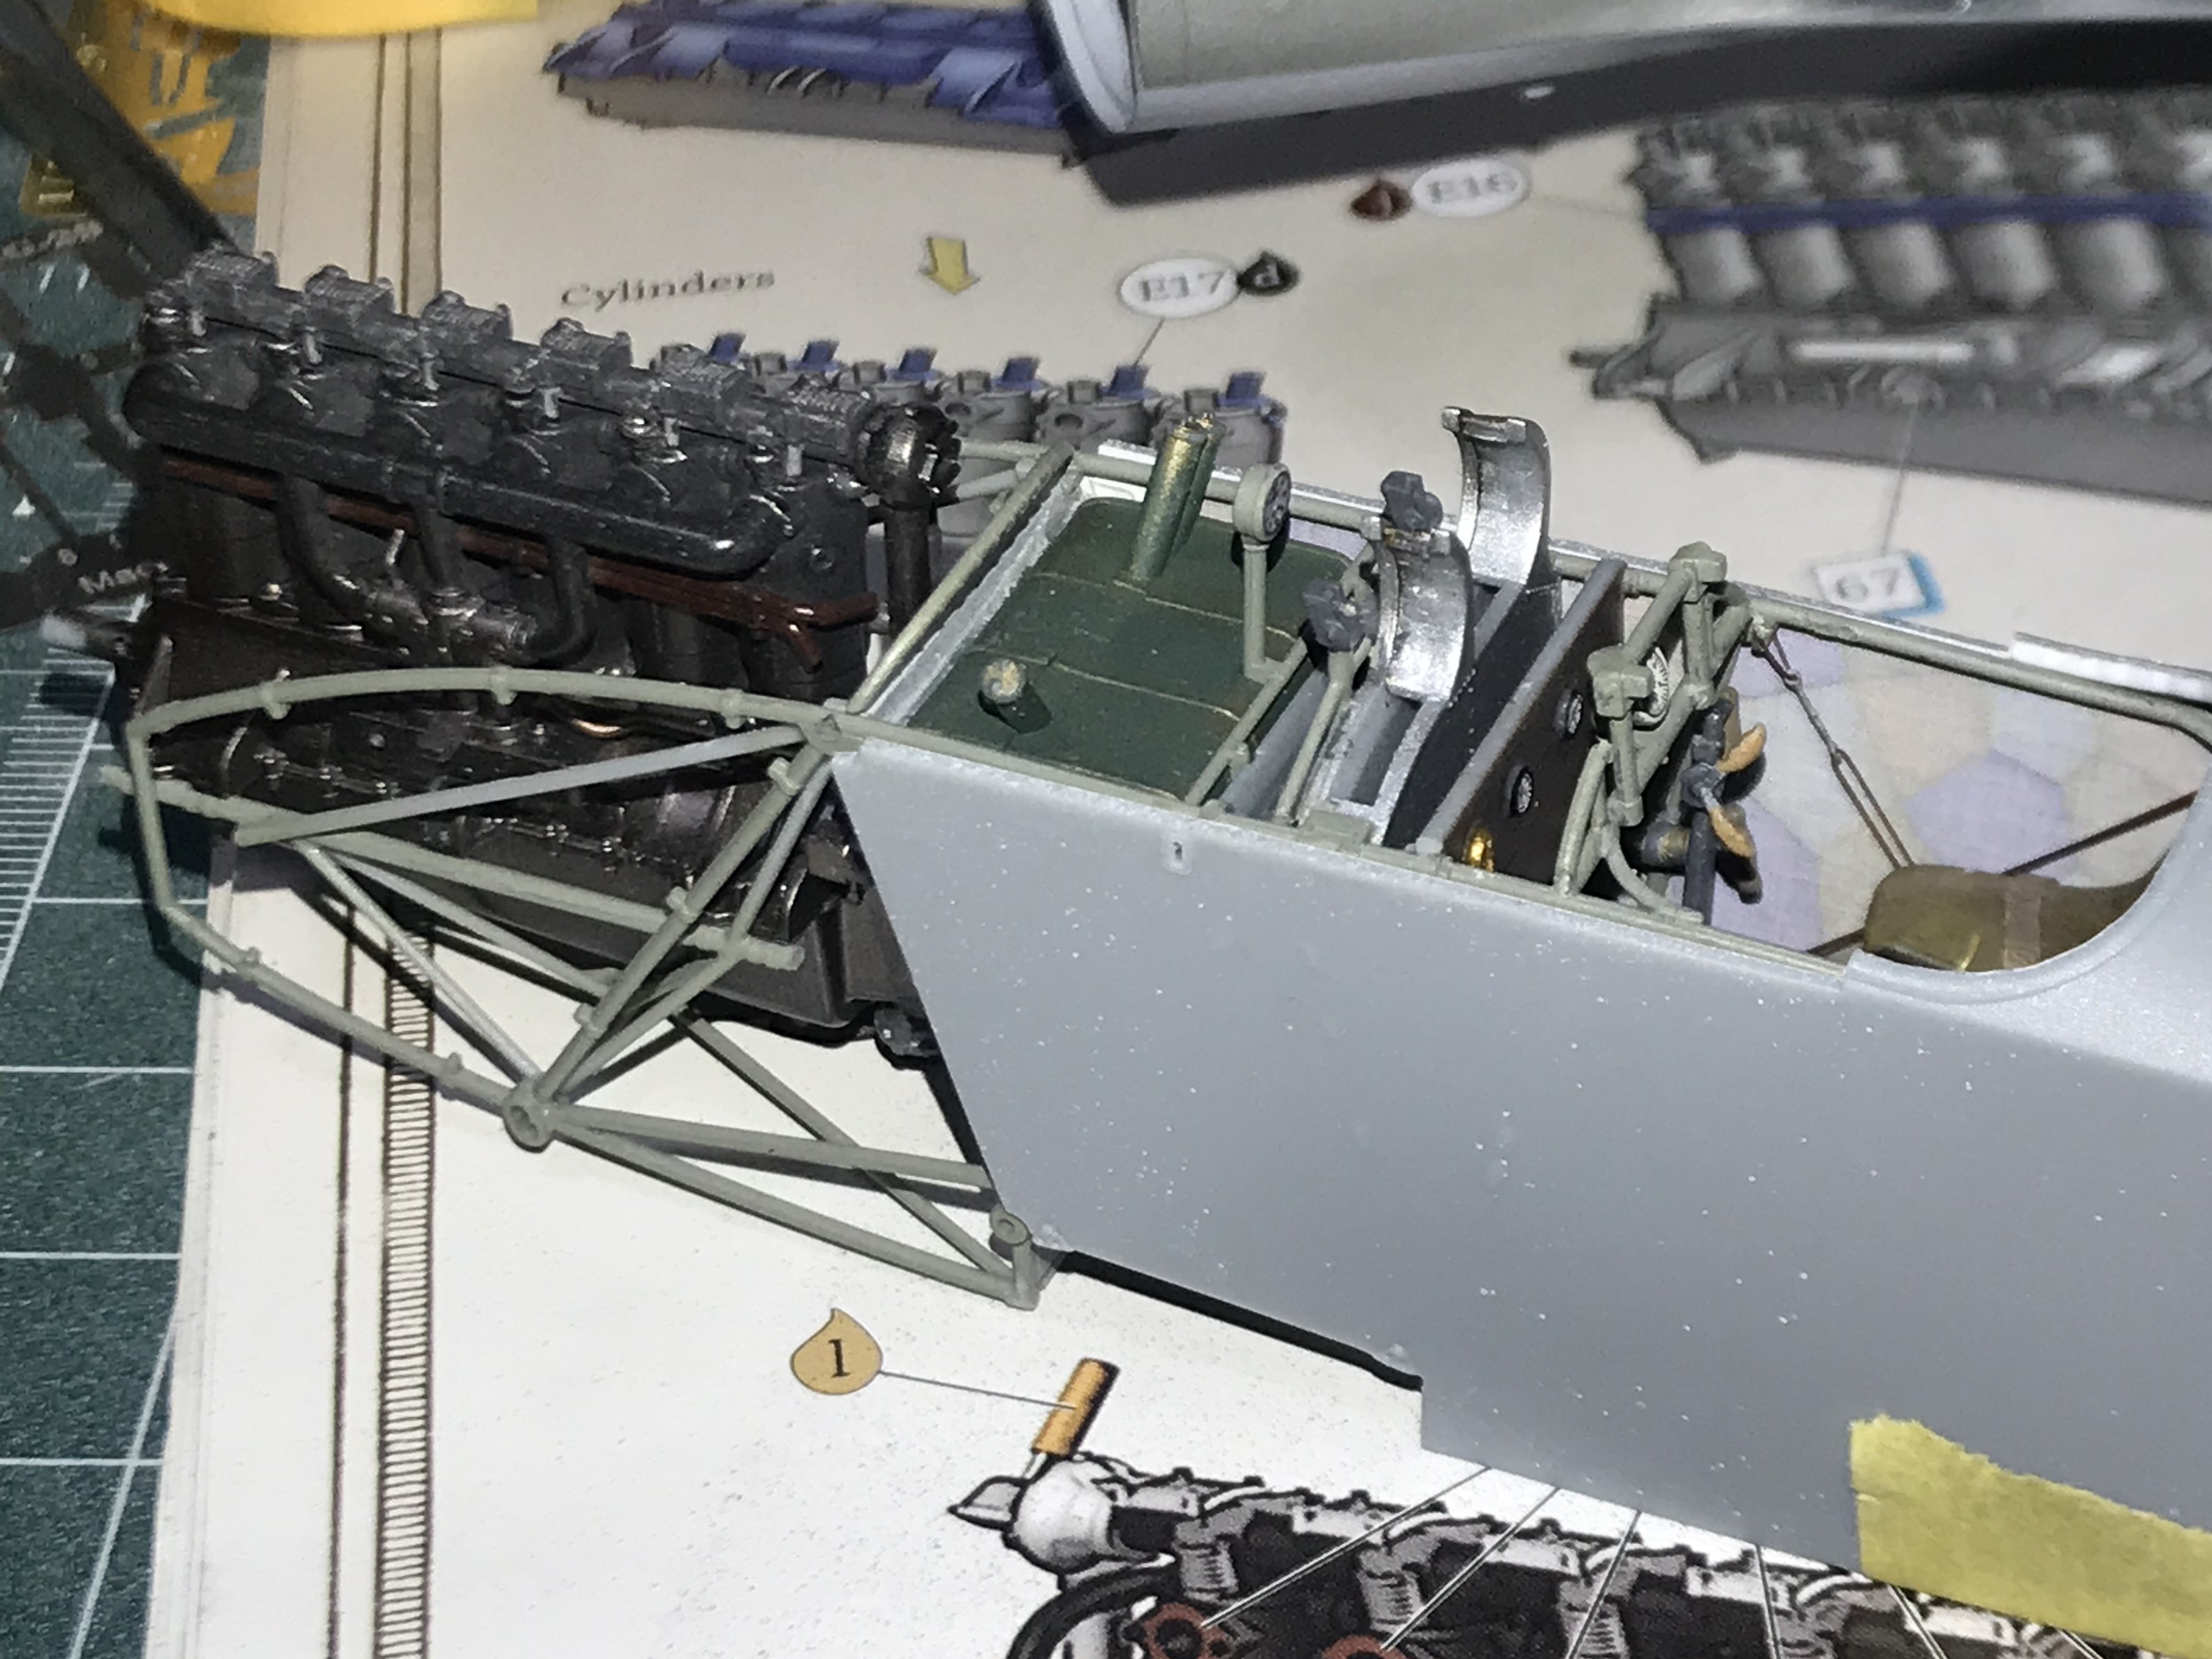
Clunkmeister replied to Clunkmeister's topic in Everything Ukraine Group Build
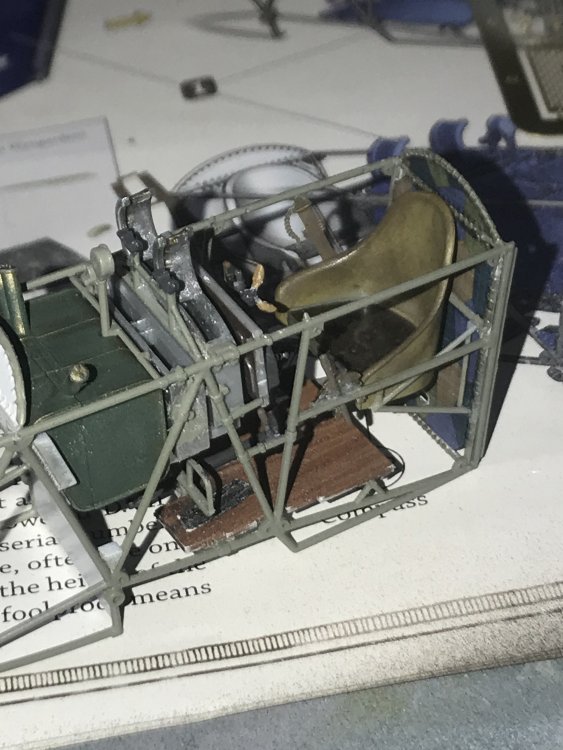
Assembled the basic interior frame and glued it together. So, what better way to assure alignment than to use the fuselage halves to hold it in alignment… Everything is so precise on a Wingnut kit that we can safely use the model itself as a jig when necessary. Construction of this is fast. The model is positively brilliant in execution.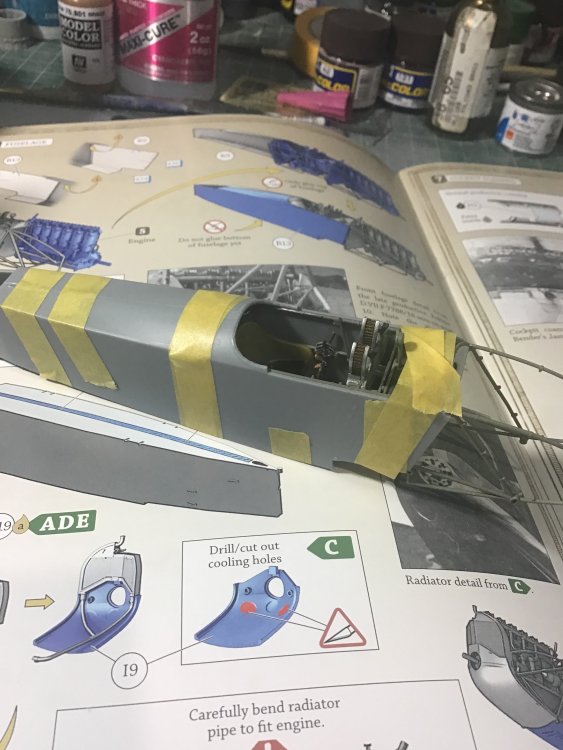
-
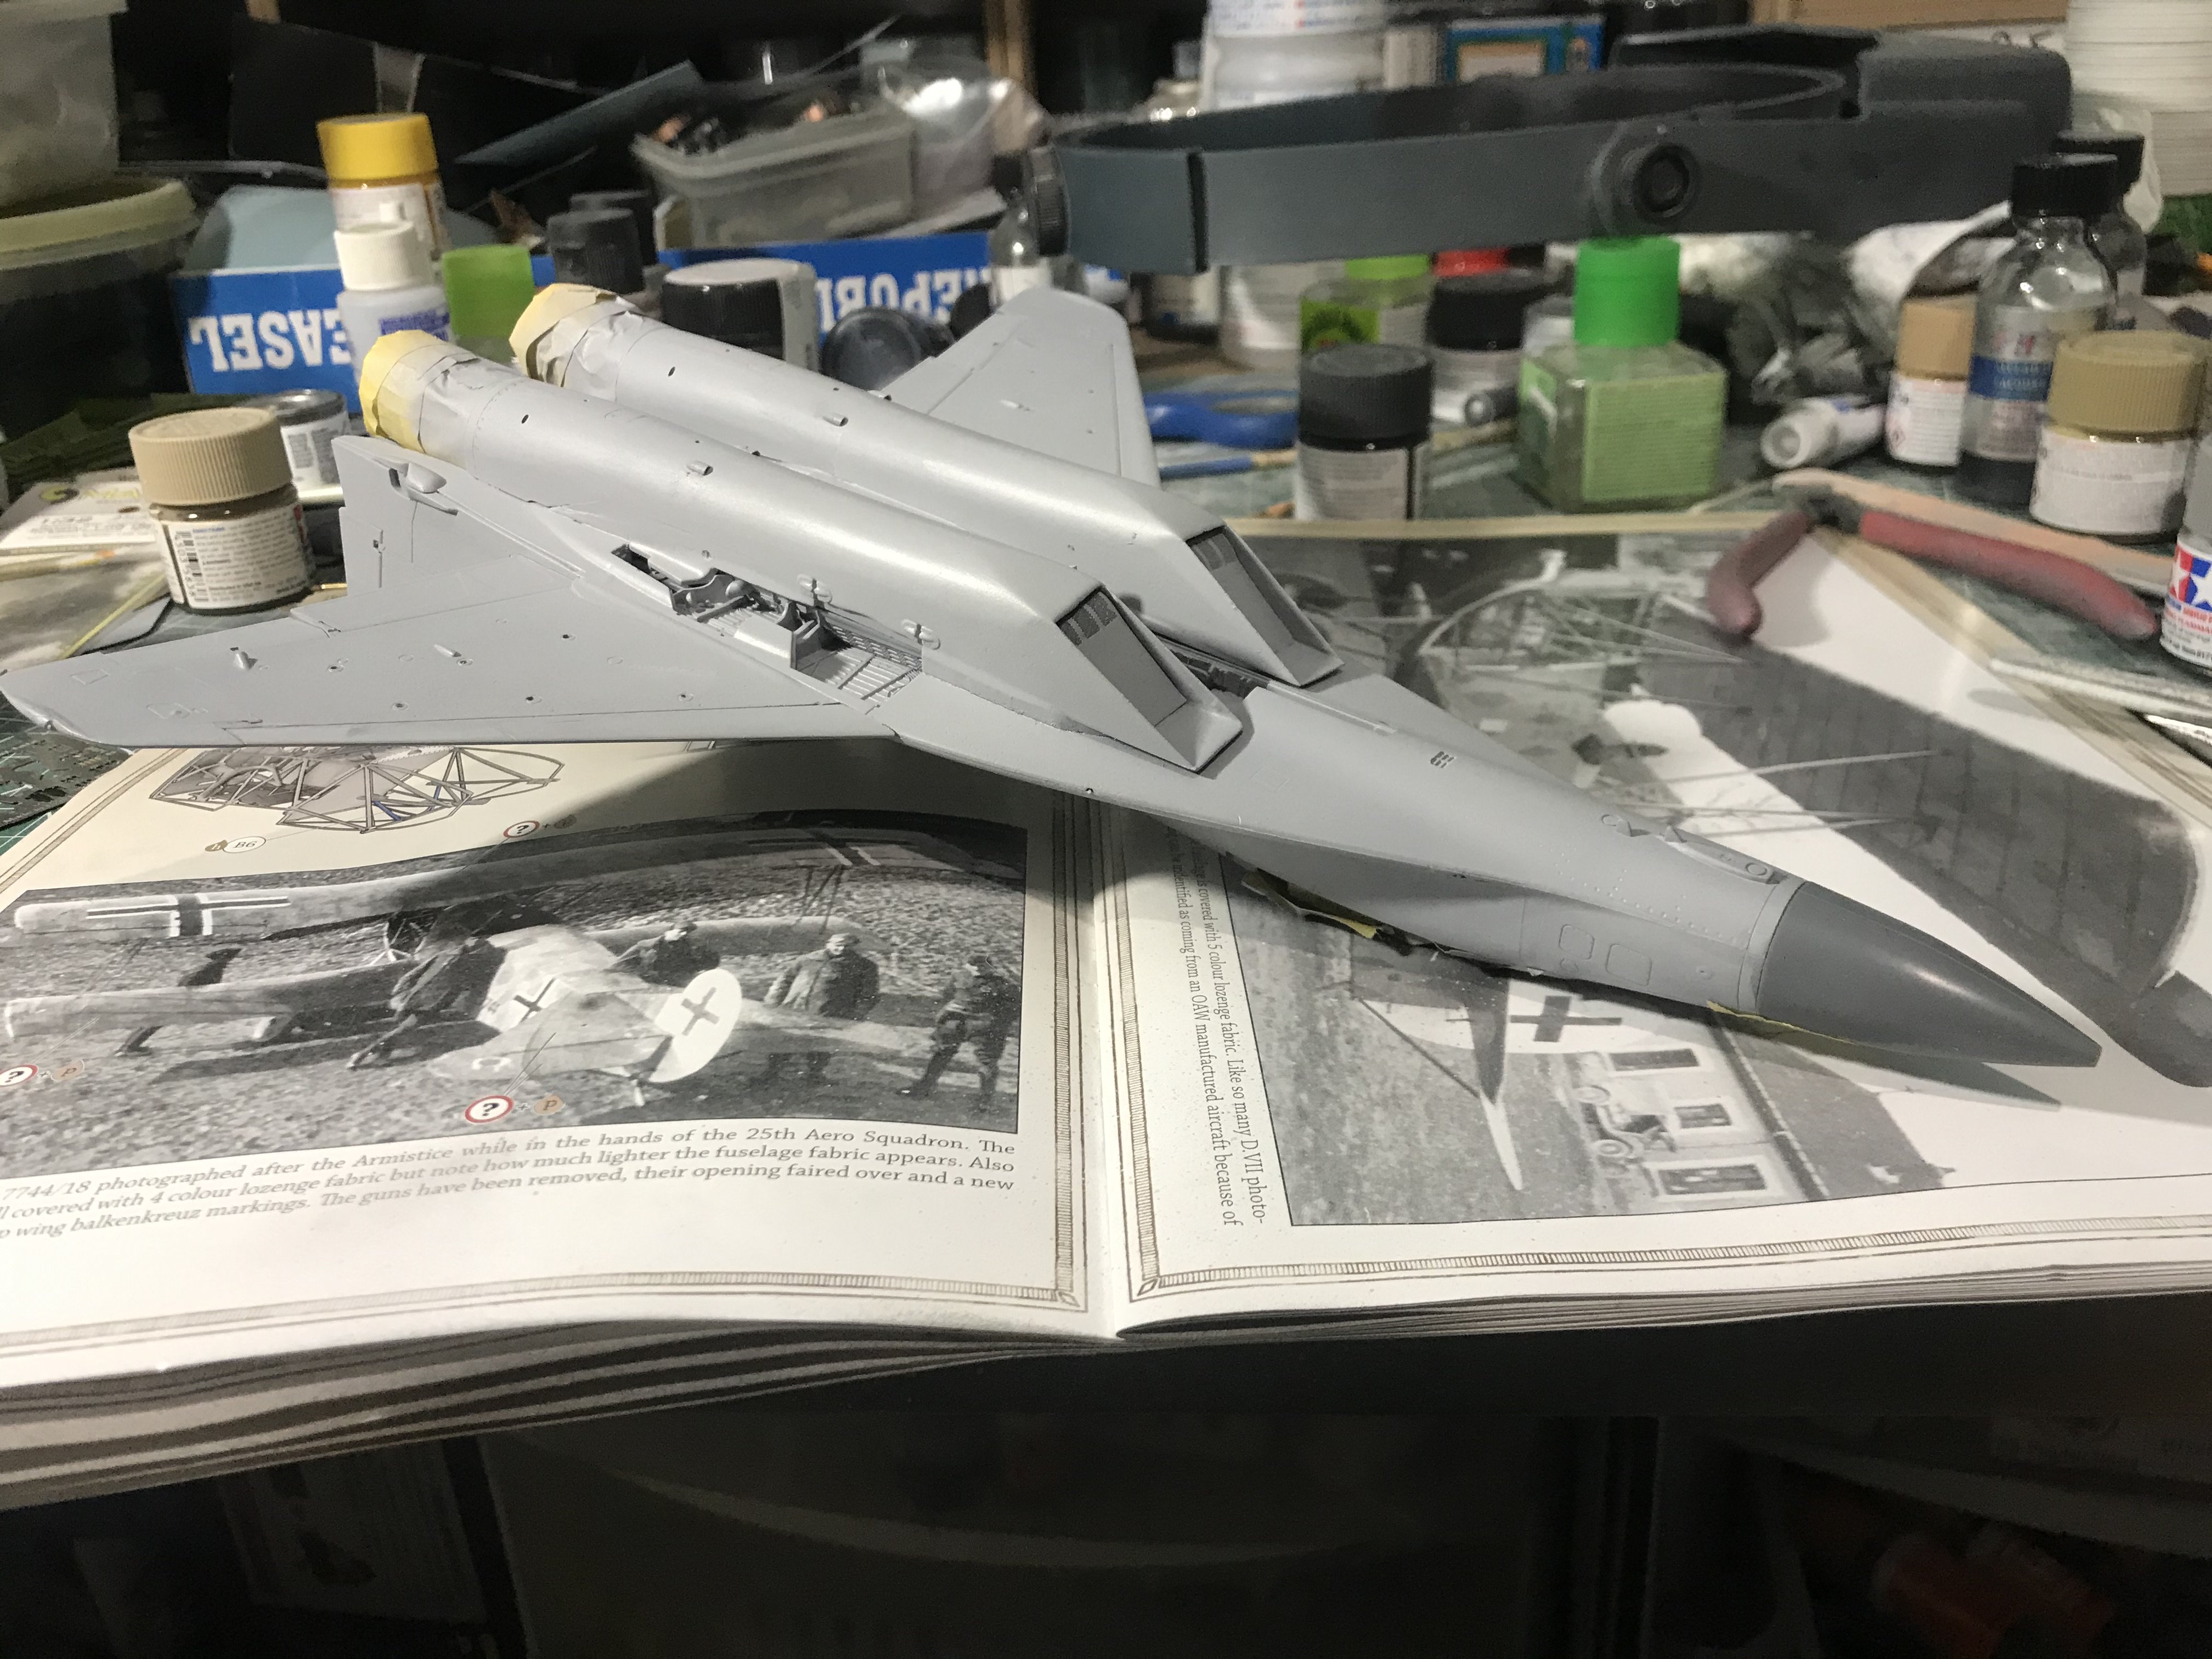
Seems we have some very pesky join lines. Time to break out the board sander.
-
Yup. The first one lasted a few days, the send lasted a couple weeks.
-
Great project, Bill. She’s gonna be impressive. I always wanted a B-70 in my cabinet, but there’s no cabinet big enough. 😂