
Kaireckstadt
-
Posts
1,705 -
Joined
-
Last visited
Content Type
Profiles
Forums
Events
Gallery
Everything posted by Kaireckstadt
-

Mengnut Wings Fokker Dr. 1
Kaireckstadt replied to Wolf Buddee's topic in LSM 1/35 and Larger Work In Progress
Awesome work and great documentation Wolf. With your posts one can start the build with adding them to the instructions and avoid any problems. -
SH 1/32 YAK 3 "Here to Berlin" Finished
Kaireckstadt replied to KevinM's topic in LSM 1/35 and Larger Work In Progress
A lot of ich work to be done to get all the parts fit but you did a great job Kevin. Since I have this in my stash, I will closely go on following your build. -
Thanks for the explanations Rob! If I were you I also wouldn’t leave the island ! So I see no possibility to help you from my side, sorry!
-
The color of the car looks really nice and shiny and the racing stripes add extra detail to the model!
-
That doesn’t sound good Rob! Which island do you live on if I may ask? Maybe it‘s an idea that I buy the things here for you and send it with a private parcel? Don‘t know if it will work but do you think it’s possible? Cheers Kai
-
KH P-39 Airacobra
Kaireckstadt replied to Peterpools's topic in LSM 1/35 and Larger Work In Progress
When I read your description Peter I couldn’t help myself thinking if anyone build a testshot of this kit. It‘s even worse than the Italeri Mirage! But you did a great job dealing with all the problems along the way. Keep on with the excellent work! -
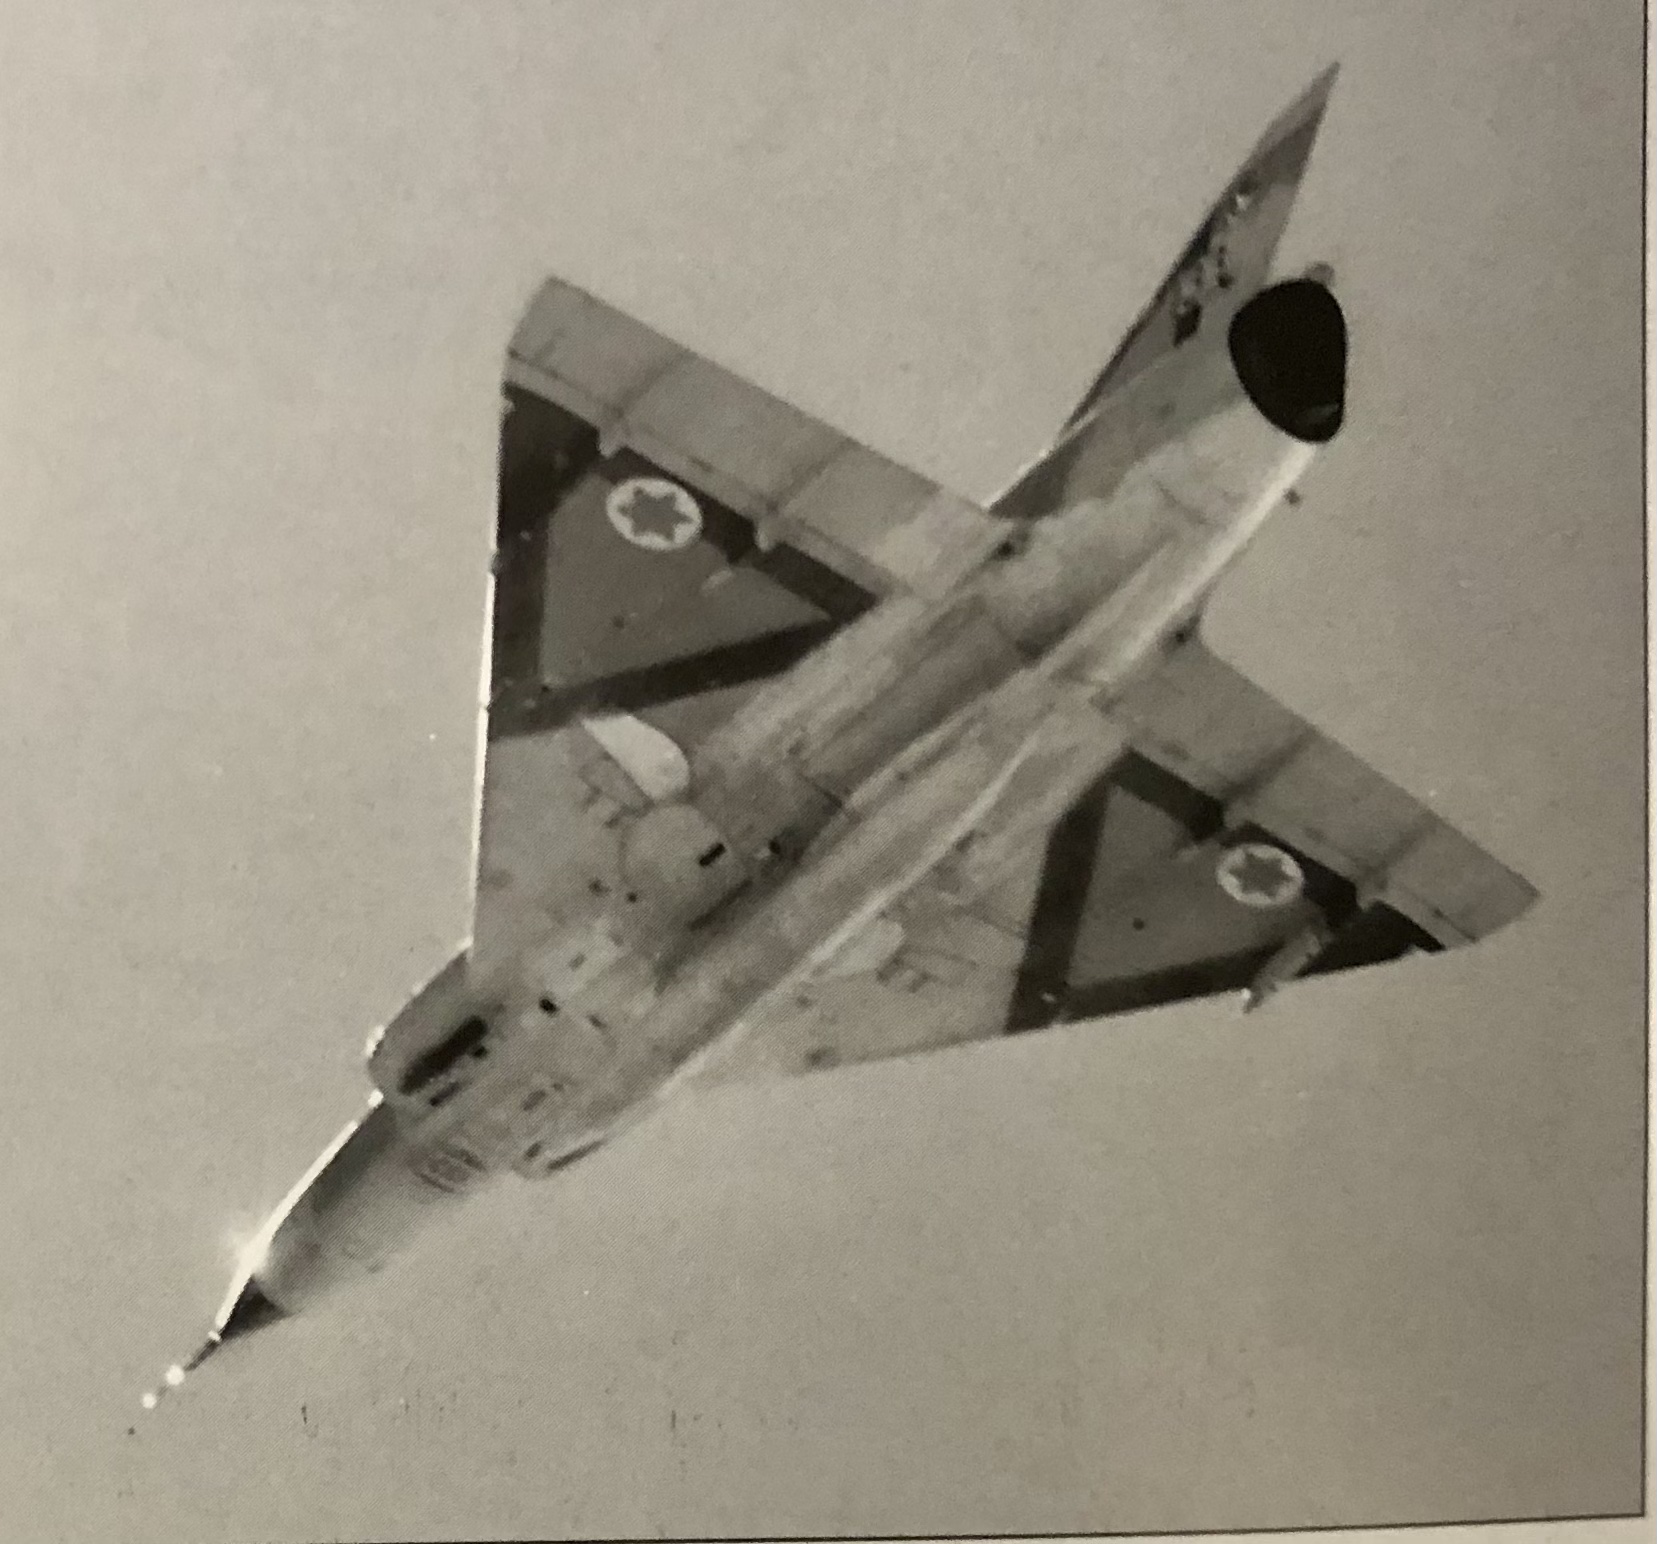
Israeli Mirage III C with Atar9C
Kaireckstadt replied to Kaireckstadt's topic in LSM 1/35 and Larger Work In Progress
Thank you for your feedback Frank. I‘ve made the same experience like you. I sometimes completely deleted the effects of the preshading by overdoing the airbrushing. This is why I decided to do it like I did on the Lancaster. With mixture of techniques and working with heavily thinned paint I can achieve the effects I want and can avoid using panelliners in the end. There isn’t a single drop of panelliner on the Lancaster but the panellines and rivets are subtle visible. The only risk is that you create a lake on the model while airbrushing. But this can be avoided by spraying at low pressure and the right settings on the airbrush. And this is why I love my H&S Infinity CR. Your method of postshading the panellines look quite convincing. Very subtle but you really need to have a quiet hand. Nice looking 109 btw. Did you show the WIP here? Thanks also for the feedback regarding my Lancaster and the crew. Since I want to present my models in a little scene I had to learn some of the techniques for figure painting. This is also where I came across the topic of blending in. And last but not least: You don’t keep me away from painting. This forum here is not only to present one’s work but the main point is sharing experiences and learning new tricks and techniques. Cheers Kai -
Israeli Mirage III C with Atar9C
Kaireckstadt replied to Kaireckstadt's topic in LSM 1/35 and Larger Work In Progress
Thank you for your feedback Peter. Taking your P-39 experiences into account I can fully understand that you want to sell your model and the accessories you bought. This weekend there will be no time for me to continue but next week. -
Great build Gary! With the right background and the finished base it would look like the real thing.
-
Atlas Cheetah E Scaleworx Conversion
Kaireckstadt replied to GusMac's topic in LSM 1/35 and Larger Work In Progress
Awesome work Gus! This will be a stunning livery in the end! -
Ferrari 330P4 Open top 24Hrs Daytona 1967
Kaireckstadt replied to mark31's topic in LSM 1/35 and Larger Work In Progress
Awesome stuff Mark! -
KH P-39 Airacobra
Kaireckstadt replied to Peterpools's topic in LSM 1/35 and Larger Work In Progress
That reminds me of another model company… -
Unbelievable! You should really offer a training course for scratchbuilding. I would join it immediately.
-
KH P-39 Airacobra
Kaireckstadt replied to Peterpools's topic in LSM 1/35 and Larger Work In Progress
This is really a nightmare what you described! I can fully understand you that enough is enough and that you decided to keep some panels open. Scribing and riveting isn’t one of my favorites too. When I built my Tamiya Corsair it was the first model where nearly no scribing or riveting was necessary due to it’s clever engineering. What I hate too are ejector pin marks. I nearly got mad when I build my HK Lancaster. The flaps were full of them and they were quite visible. But Gary’s trick with CA glue and an old electric toothbrush makes work much easier. So: continue with your awesome work, even if it’s the last KH! -
Israeli Mirage III C with Atar9C
Kaireckstadt replied to Kaireckstadt's topic in LSM 1/35 and Larger Work In Progress
I know that you were only kidding Hubert! Thanks for your feedback! Some days I don’t have desire for model making and then it makes no sense to go modeling because the result would never please me. Since I have a family, friends and other hobbies I do not manage to build more than 1-2 models per year. So I can fully understand your comment. Please go on teasing me! I need that sort of motivation BTW: Is your PZL P-11 done yet? -
Israeli Mirage III C with Atar9C
Kaireckstadt replied to Kaireckstadt's topic in LSM 1/35 and Larger Work In Progress
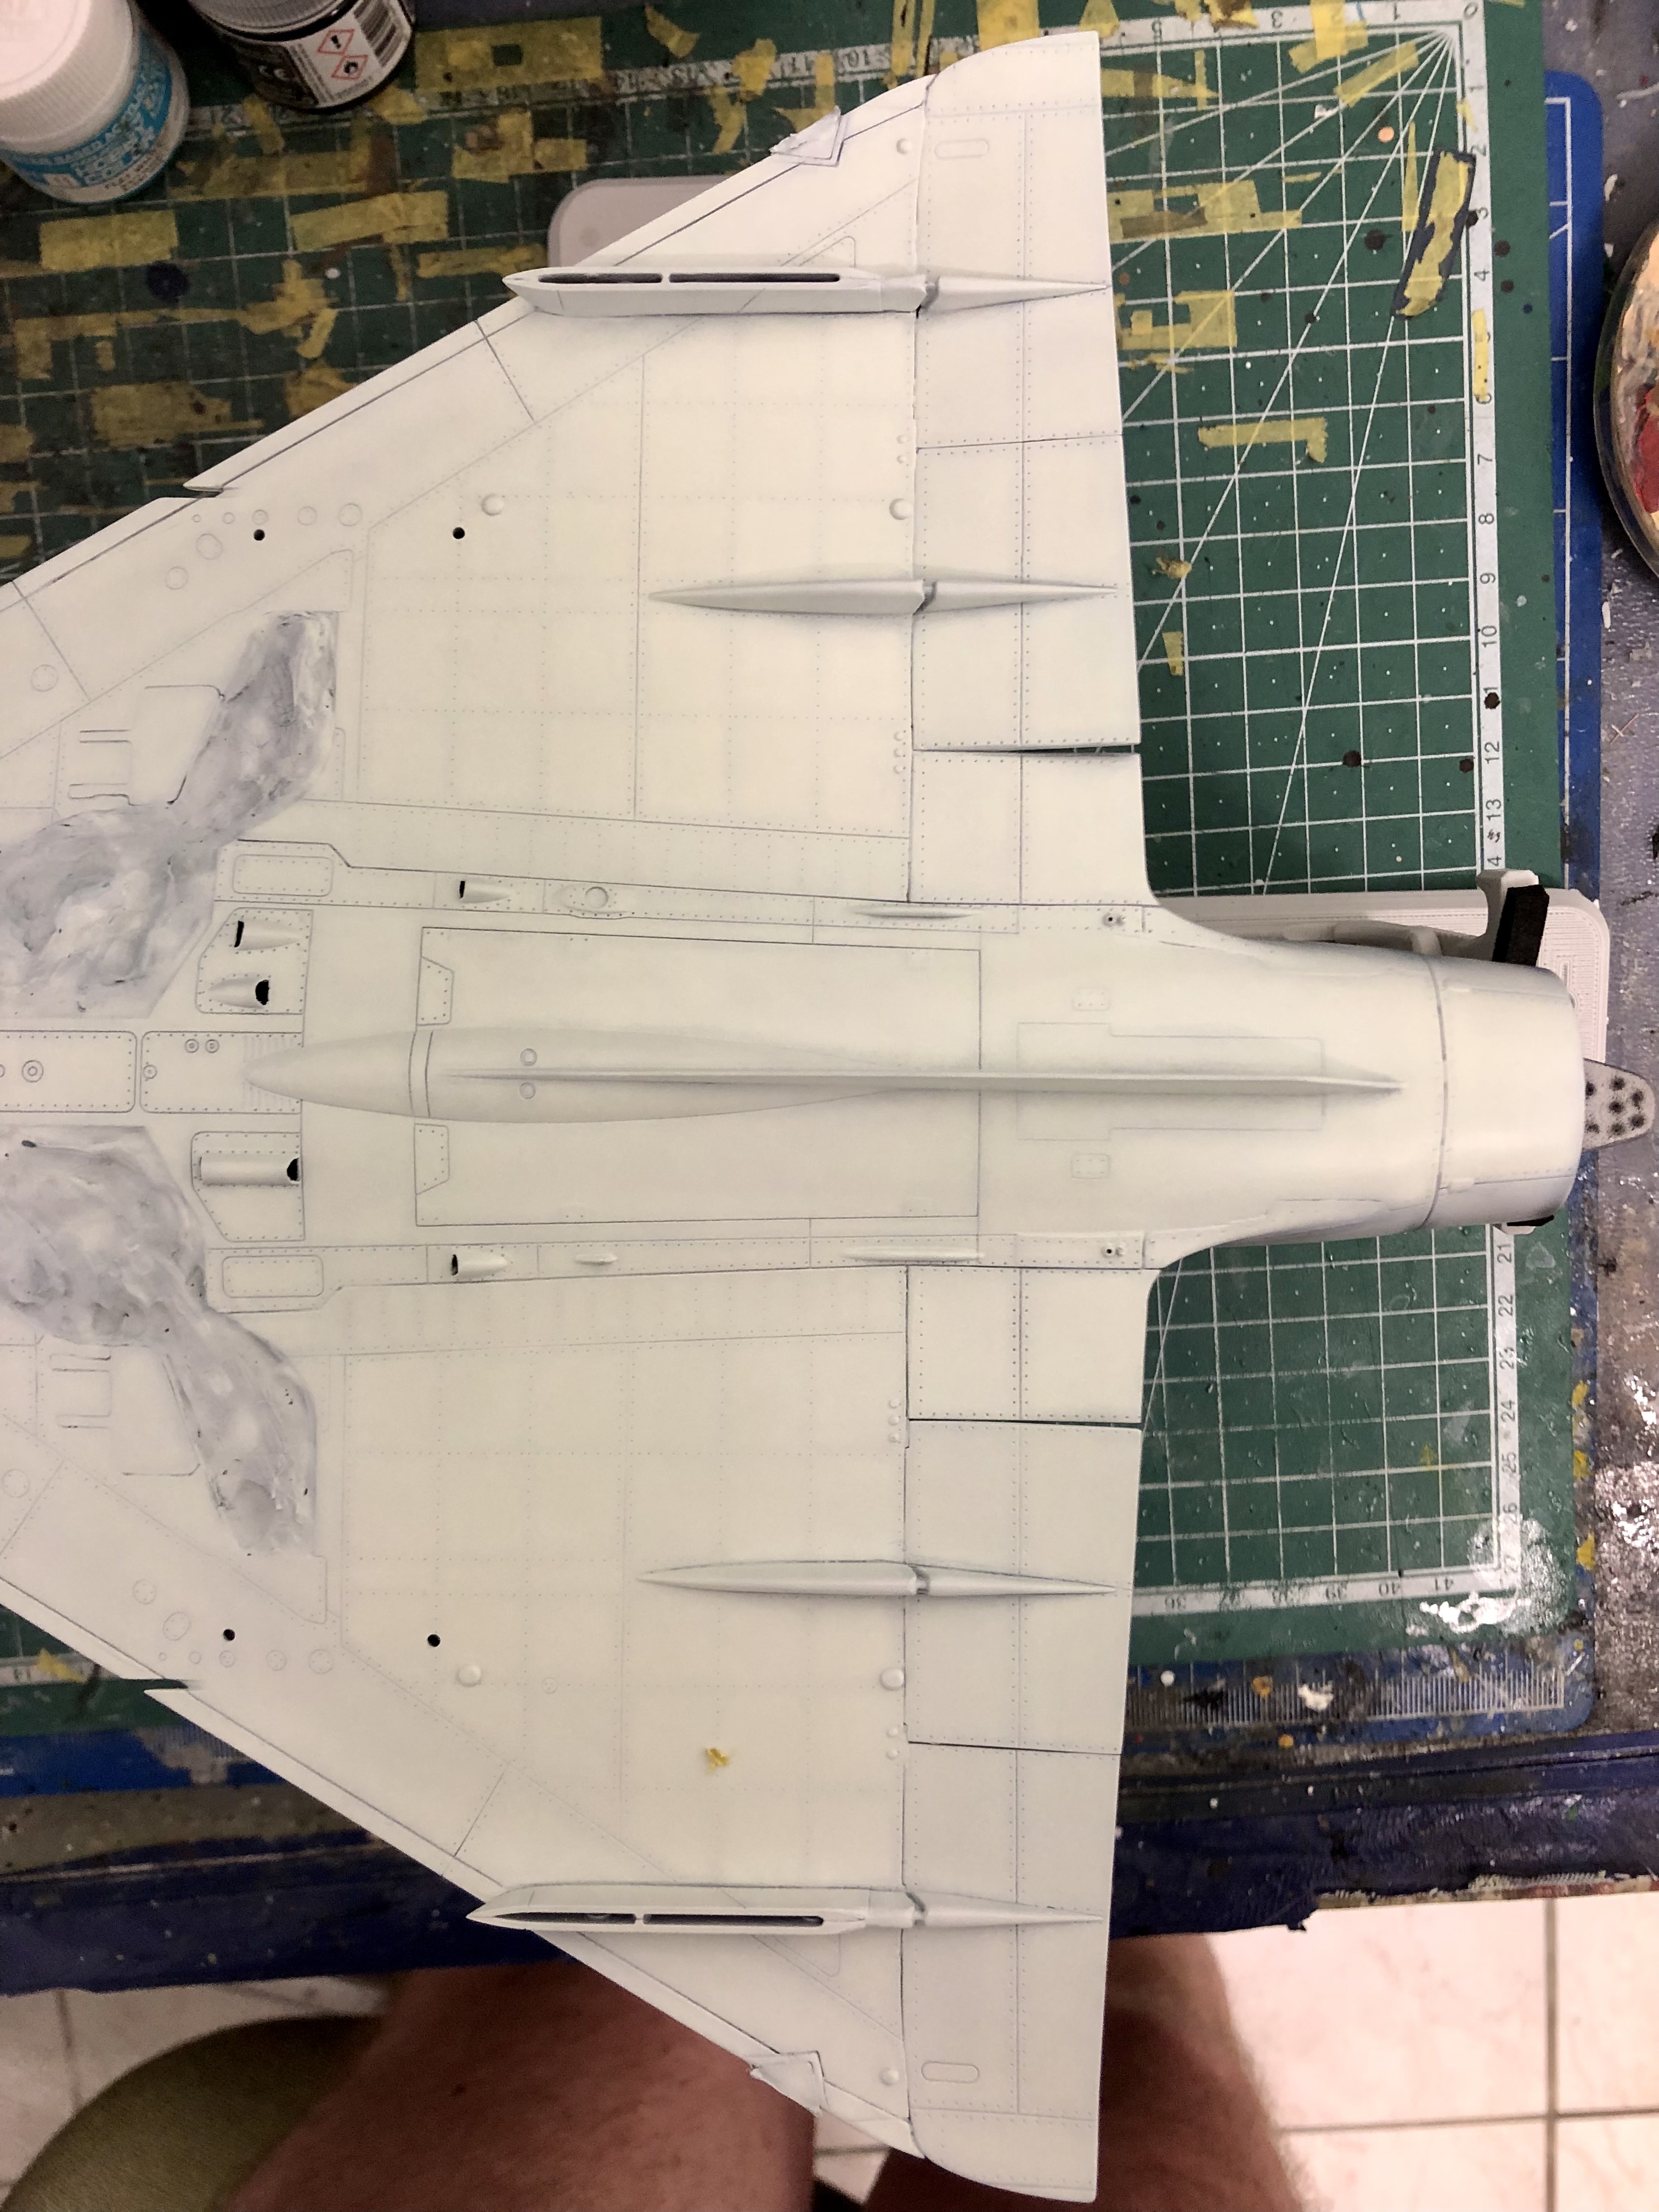
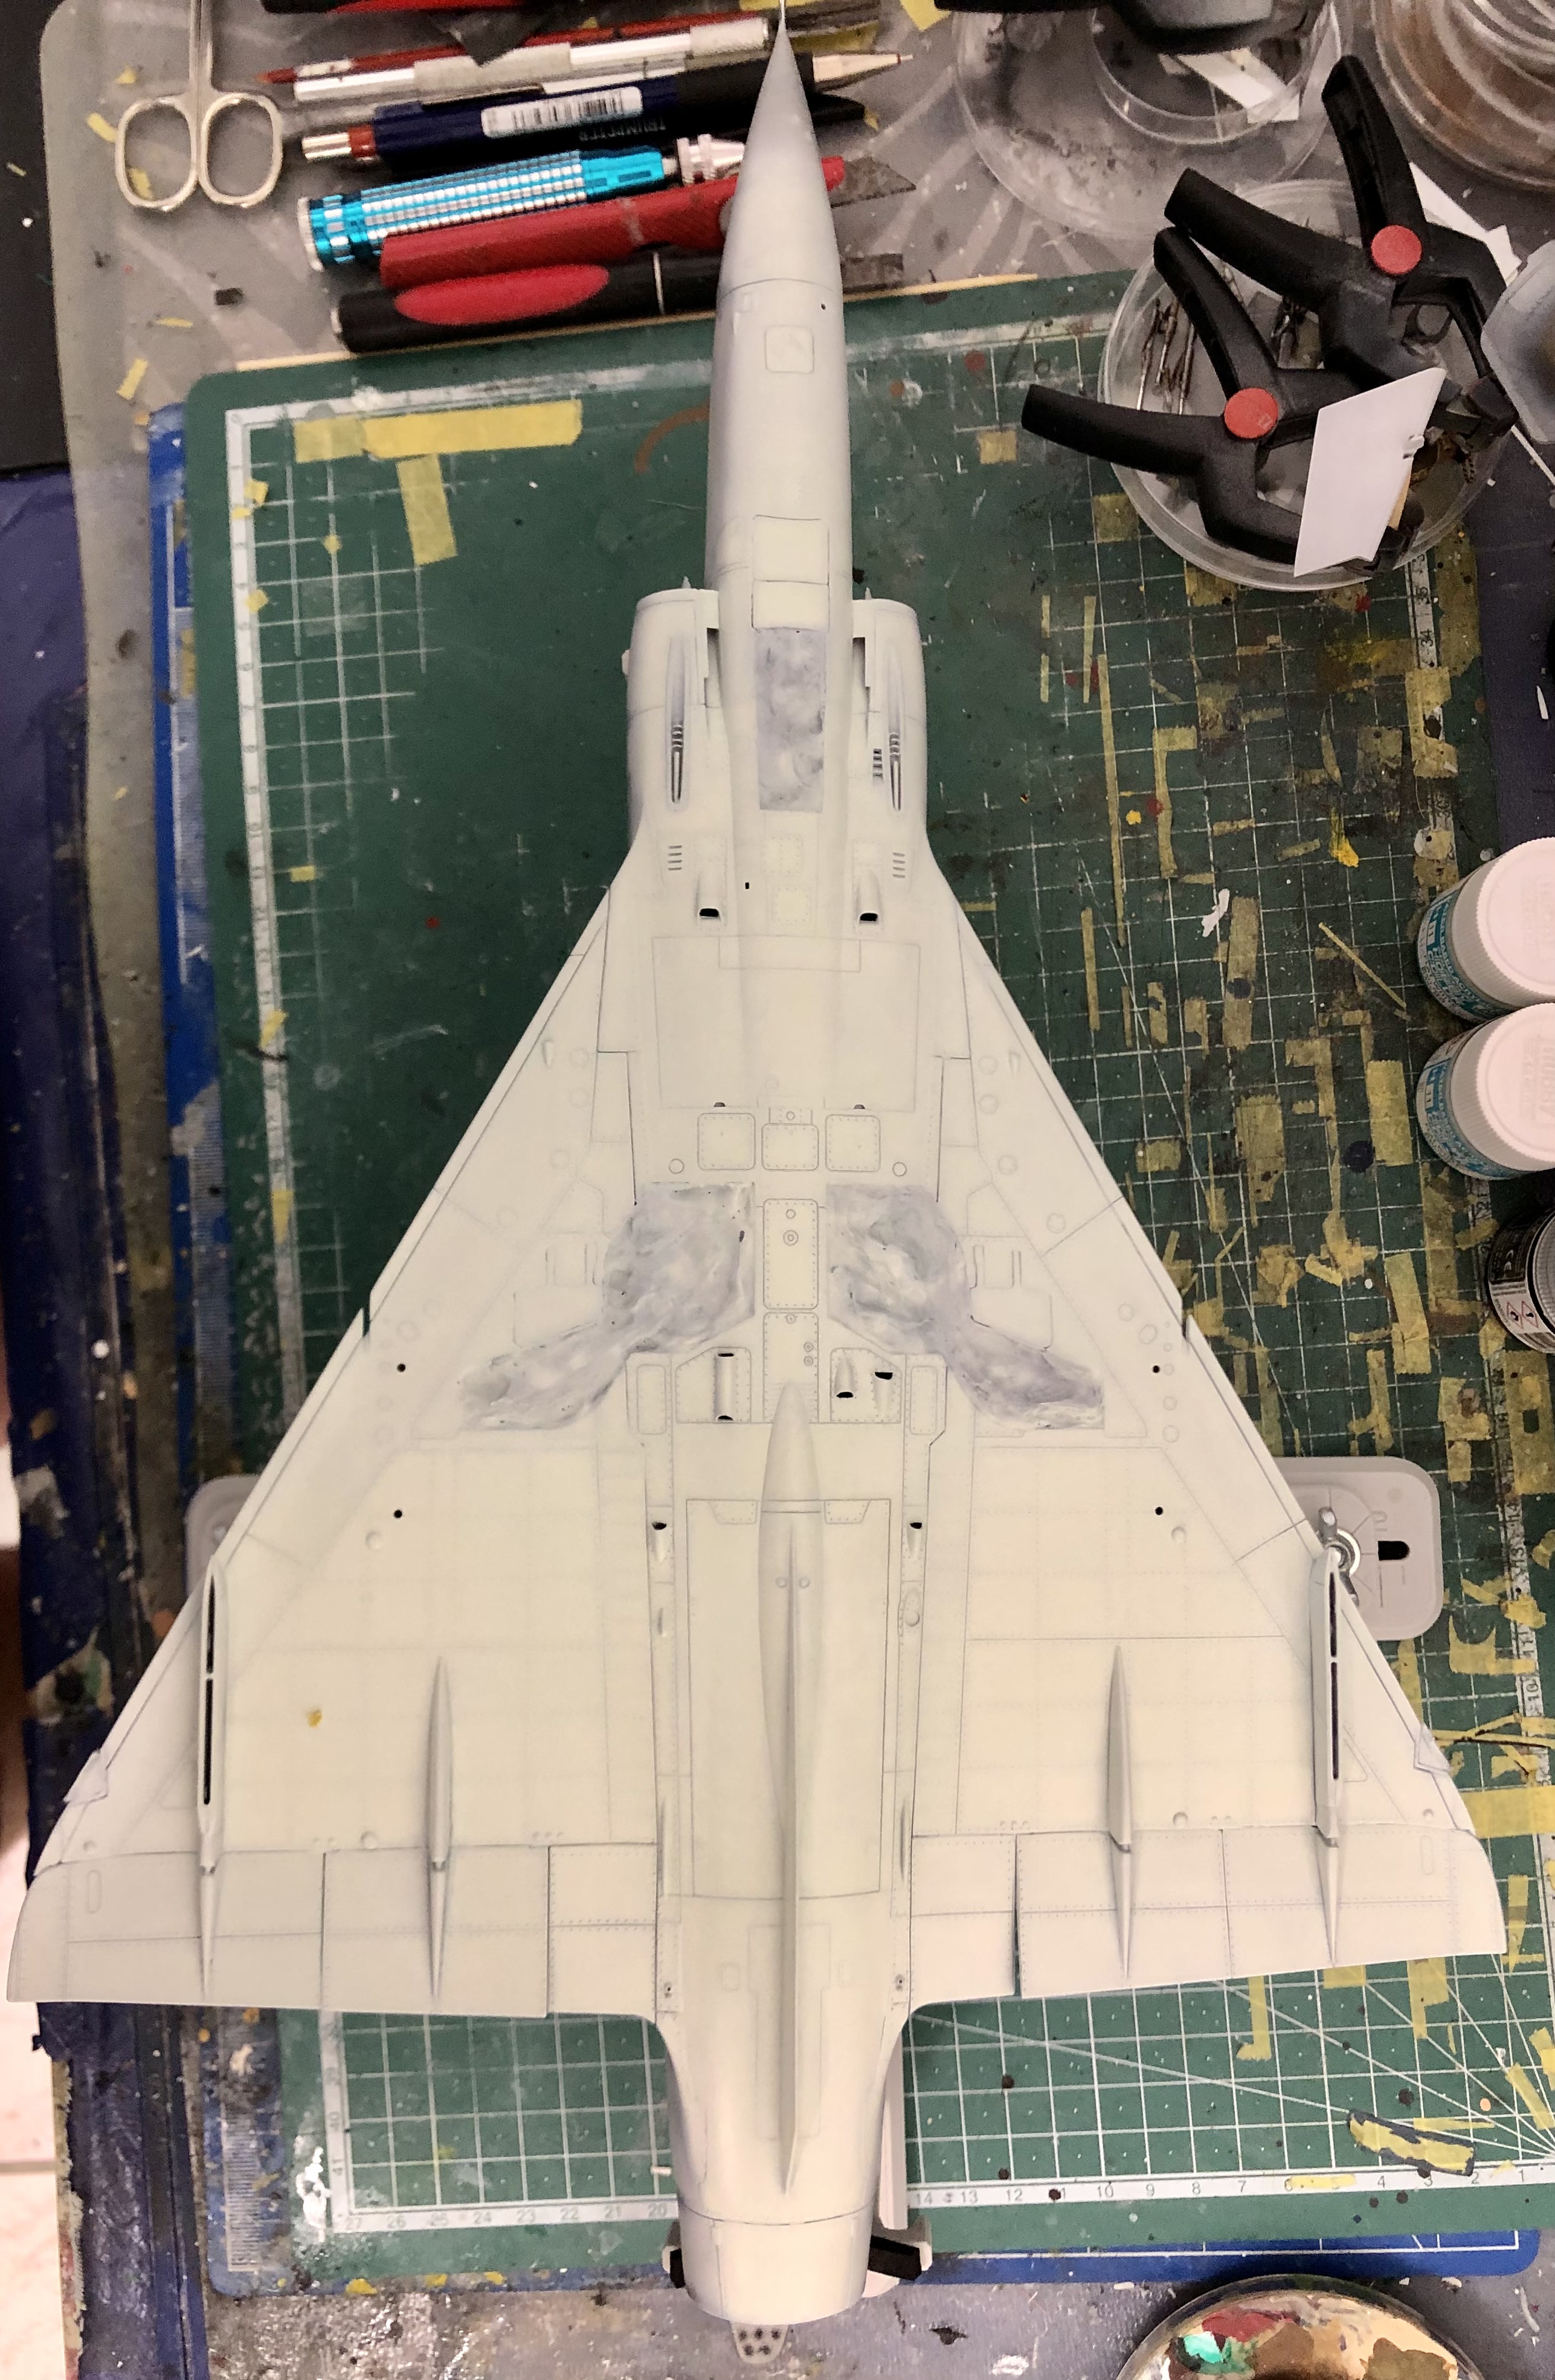
Thanks Hubert, I‘m very slowly I know. The bottom side will receive it’s yellow triangles with black edges next and then the bottom side is finished: and I can move over to the top side. So still a way to go!
-
Israeli Mirage III C with Atar9C
Kaireckstadt replied to Kaireckstadt's topic in LSM 1/35 and Larger Work In Progress
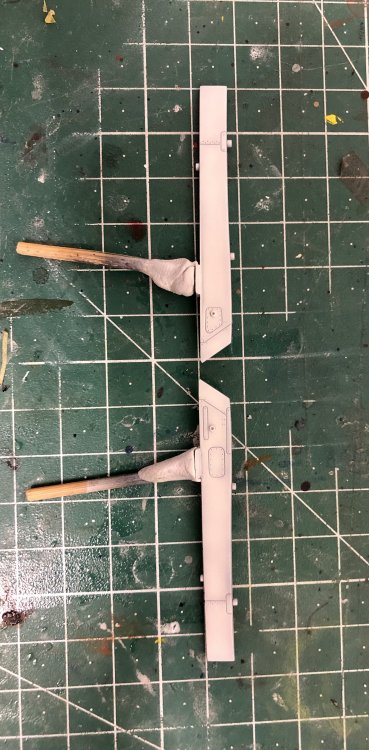
Thank you Gus. The area of the guns and the surrounding panel has to be painted gun-metal. It was left unpainted on the real aircraft: This I will do with AK Metal colors later on. Unfortunately the effect the rings have now will disappear…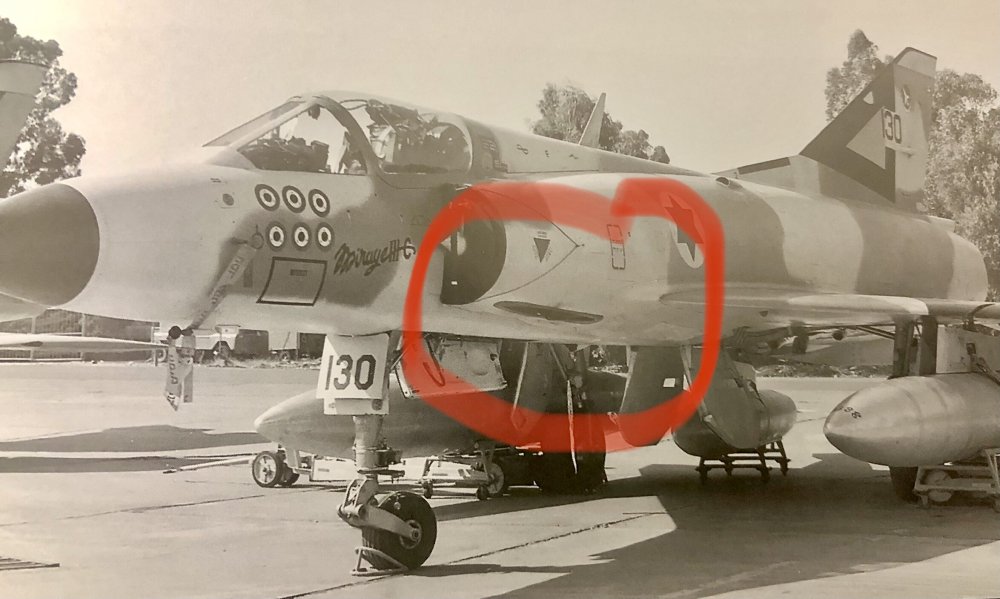
-
Israeli Mirage III C with Atar9C
Kaireckstadt replied to Kaireckstadt's topic in LSM 1/35 and Larger Work In Progress
Thank you Rob and you are right: it’s no Greek Mirage… But I will add in the end some oil-stains, dirt and soot with oils and Tamiya Weatherine Sets to the lower side. -
Israeli Mirage III C with Atar9C
Kaireckstadt replied to Kaireckstadt's topic in LSM 1/35 and Larger Work In Progress
Thank you Gary! The harsh and spotty look after the second painting stage has (hopefully) disappeared so that it looks subtle. The bottom can‘t be weathered that much because it’s not exposed to the elements like the top. -
Gottfreid Weiroster Bf 109G6 R6 Revell 1/32
Kaireckstadt replied to GazzaS's topic in LSM 1/35 and Larger Work In Progress
I remember you saying that you don’t like to do cockpits. The pictures show the opposite. They show what is possible without brass AM IPs. Just painting like in the times when no brass or 3D was available. Beautiful work Gary. Looking very busy and well worn - even without the missing detail bits -. -
Great looking model base Gary and thanks for the tutorial how to build it! This will be a perfect presentation when finished.
-
Israeli Mirage III C with Atar9C
Kaireckstadt replied to Kaireckstadt's topic in LSM 1/35 and Larger Work In Progress
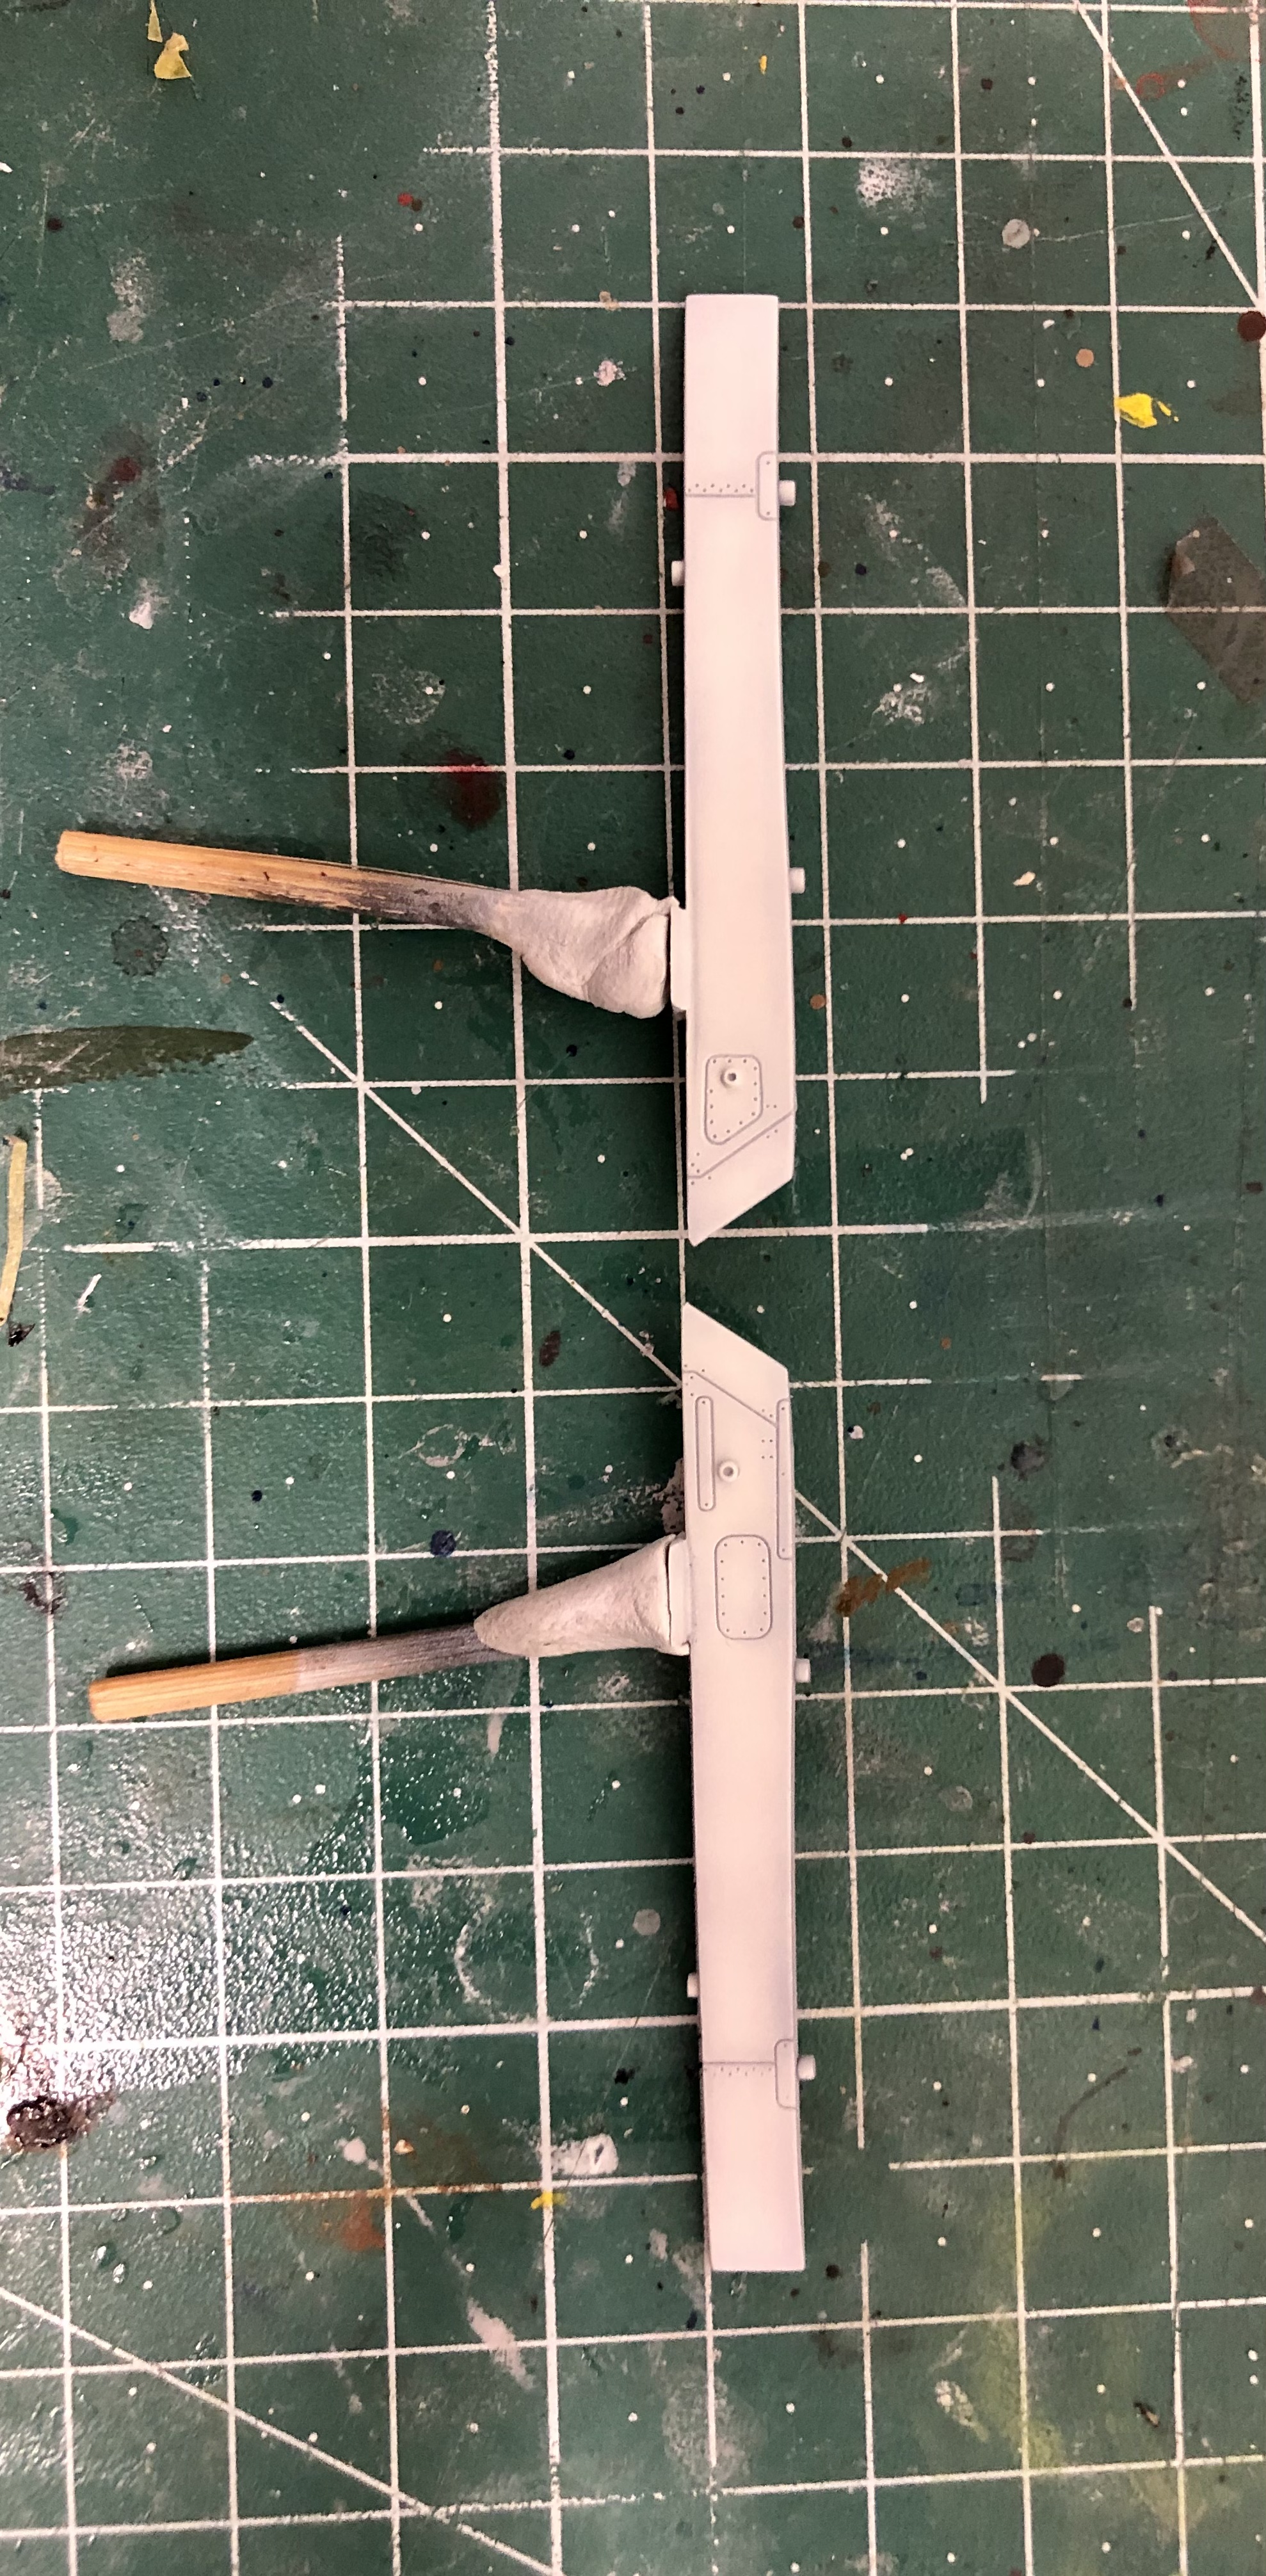
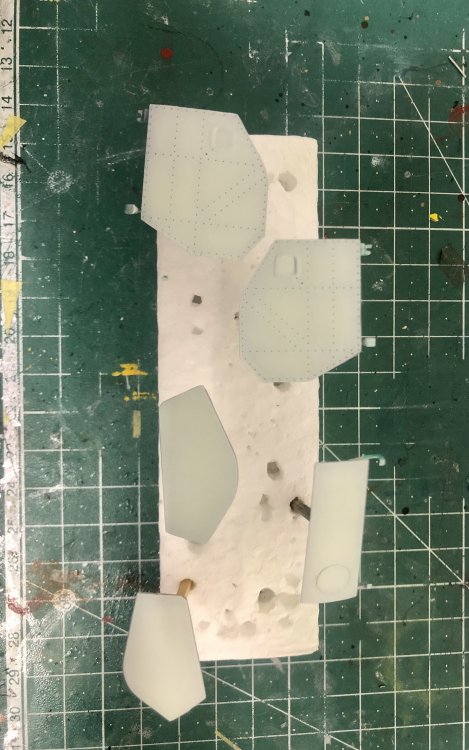
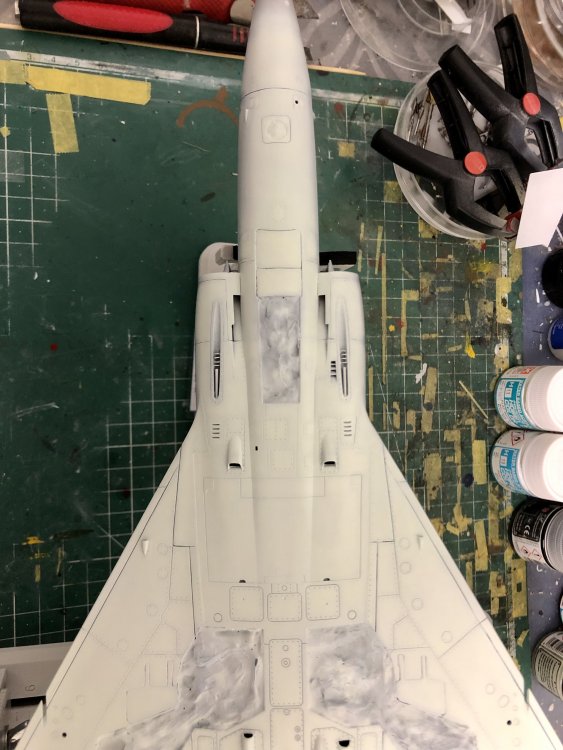
Tonight I blended in the lightened colors to the basic colors with basic color thinned by 80%. Looks like this now: And all landing gear doors: And the outer-wing pylons: That’s all for today. Next thing is to start painting of the upper fuselage.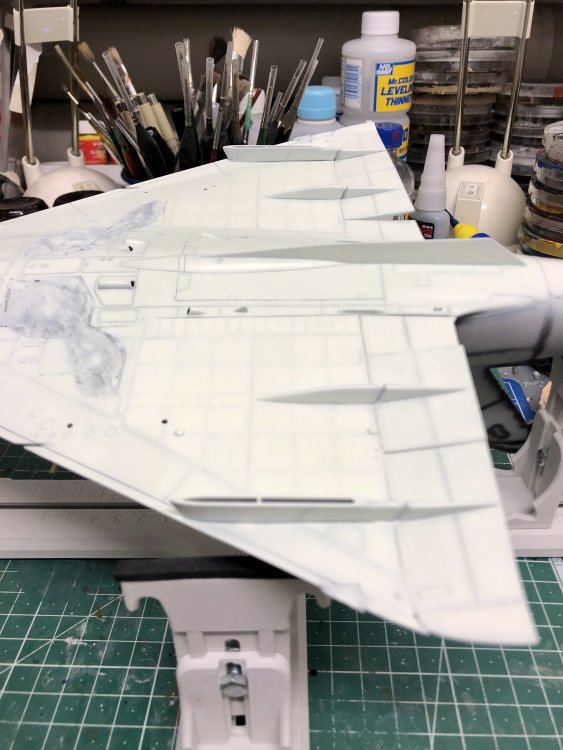


-
Lancaster ND644 in 32nd scale
Kaireckstadt replied to FME erk's topic in LSM 1/35 and Larger Work In Progress
Thanks for the explanation Ian ! Now I know what you mean. The next mistake I made on mine… And good to hear that they corrected it on the 48 scale version. Looking forward to seeing your progress! -
Atlas Cheetah E Scaleworx Conversion
Kaireckstadt replied to GusMac's topic in LSM 1/35 and Larger Work In Progress
Sounds great Gus. Can‘t wait for the next update! -
Quite an unusual topic from you Rob. Didn’t think that you would start building a car. You are always good for a surprise! Nevertheless: Great start and the detail painting and the color on the car body looks really awesome! Since it‘s a Tamiya kit shake&bake can be awaited. The kit-engineers really know their business (the ones from Italeri should make a training course in Shizuoka…) I‘ve read that some of the car-builders use real car 2K-Clear-Cote for the final finish after having polished the basecote. The results looked really nice. Curious which method you will try!