Kaireckstadt
-
Posts
1,705 -
Joined
-
Last visited
Content Type
Profiles
Forums
Events
Gallery
Everything posted by Kaireckstadt
-

ME 109 E4 1/18 scale
Kaireckstadt replied to Trigger's topic in LSM 1/35 and Larger Work In Progress
Really awesome progress on your 109 Frank! I can imagine that it is a lot of work and your scratchbuild items look just perfect! This is really a big challenge you have to face because it is as you said: once a decision is taken there is hardly no way back. But up to now you faced it perfectly! Curious to see the next update! -
Copy Gary: very cool (and big!)
-
KH P-39 Airacobra
Kaireckstadt replied to Peterpools's topic in LSM 1/35 and Larger Work In Progress
Comparing your situation a couple of months ago and today you made such big steps forward. Unbelievable that you were in such a sad condition compared to today! But the good thing is that you are back to the bench and deliver work in such beautiful quality. As Rob said: when you build a kit you have to take decisions which variant you want to build. God decision to close the compartments you mentioned. Will underline the sleek appearance of the bird. Looking forward to seeing the next post! -
Tamiya 1/12 Porsche 910
Kaireckstadt replied to Kpnuts's topic in LSM 1/35 and Larger Work In Progress
Great build with a stunning result! -
Ferrari 330P4 Open top 24Hrs Daytona 1967
Kaireckstadt replied to mark31's topic in LSM 1/35 and Larger Work In Progress
For me too please Mark! The one just close to Harv and Peter! -
Great solution for the skull on the spinner Gary. Looks really nice! The prop-painting is really awesome! Another eyecatcher on this beautiful bird.
-
Awesome work Mark! It‘s truly museum quality what you are building here! Stunning racing-car!
-
Atlas Cheetah E Scaleworx Conversion
Kaireckstadt replied to GusMac's topic in LSM 1/35 and Larger Work In Progress
I always thin AK Real Colors with Gunze Leveling Thinner. No problems up to now. -
Israeli Mirage III C with Atar9C
Kaireckstadt replied to Kaireckstadt's topic in LSM 1/35 and Larger Work In Progress
Thanks Frank! You are right: Now the real fun part begins! BTW: When will we see an Update of your 1/18 109E-build? Curious to see the progress! -
Israeli Mirage III C with Atar9C
Kaireckstadt replied to Kaireckstadt's topic in LSM 1/35 and Larger Work In Progress
Thank you Peter! Me too. I’m really tired now of all the rework... -
Great progress Gary and the complete paintjob looks really awesome now. The detailing on the front-section is stunning! Can‘t wait to see it finished!
-
Israeli Mirage III C with Atar9C
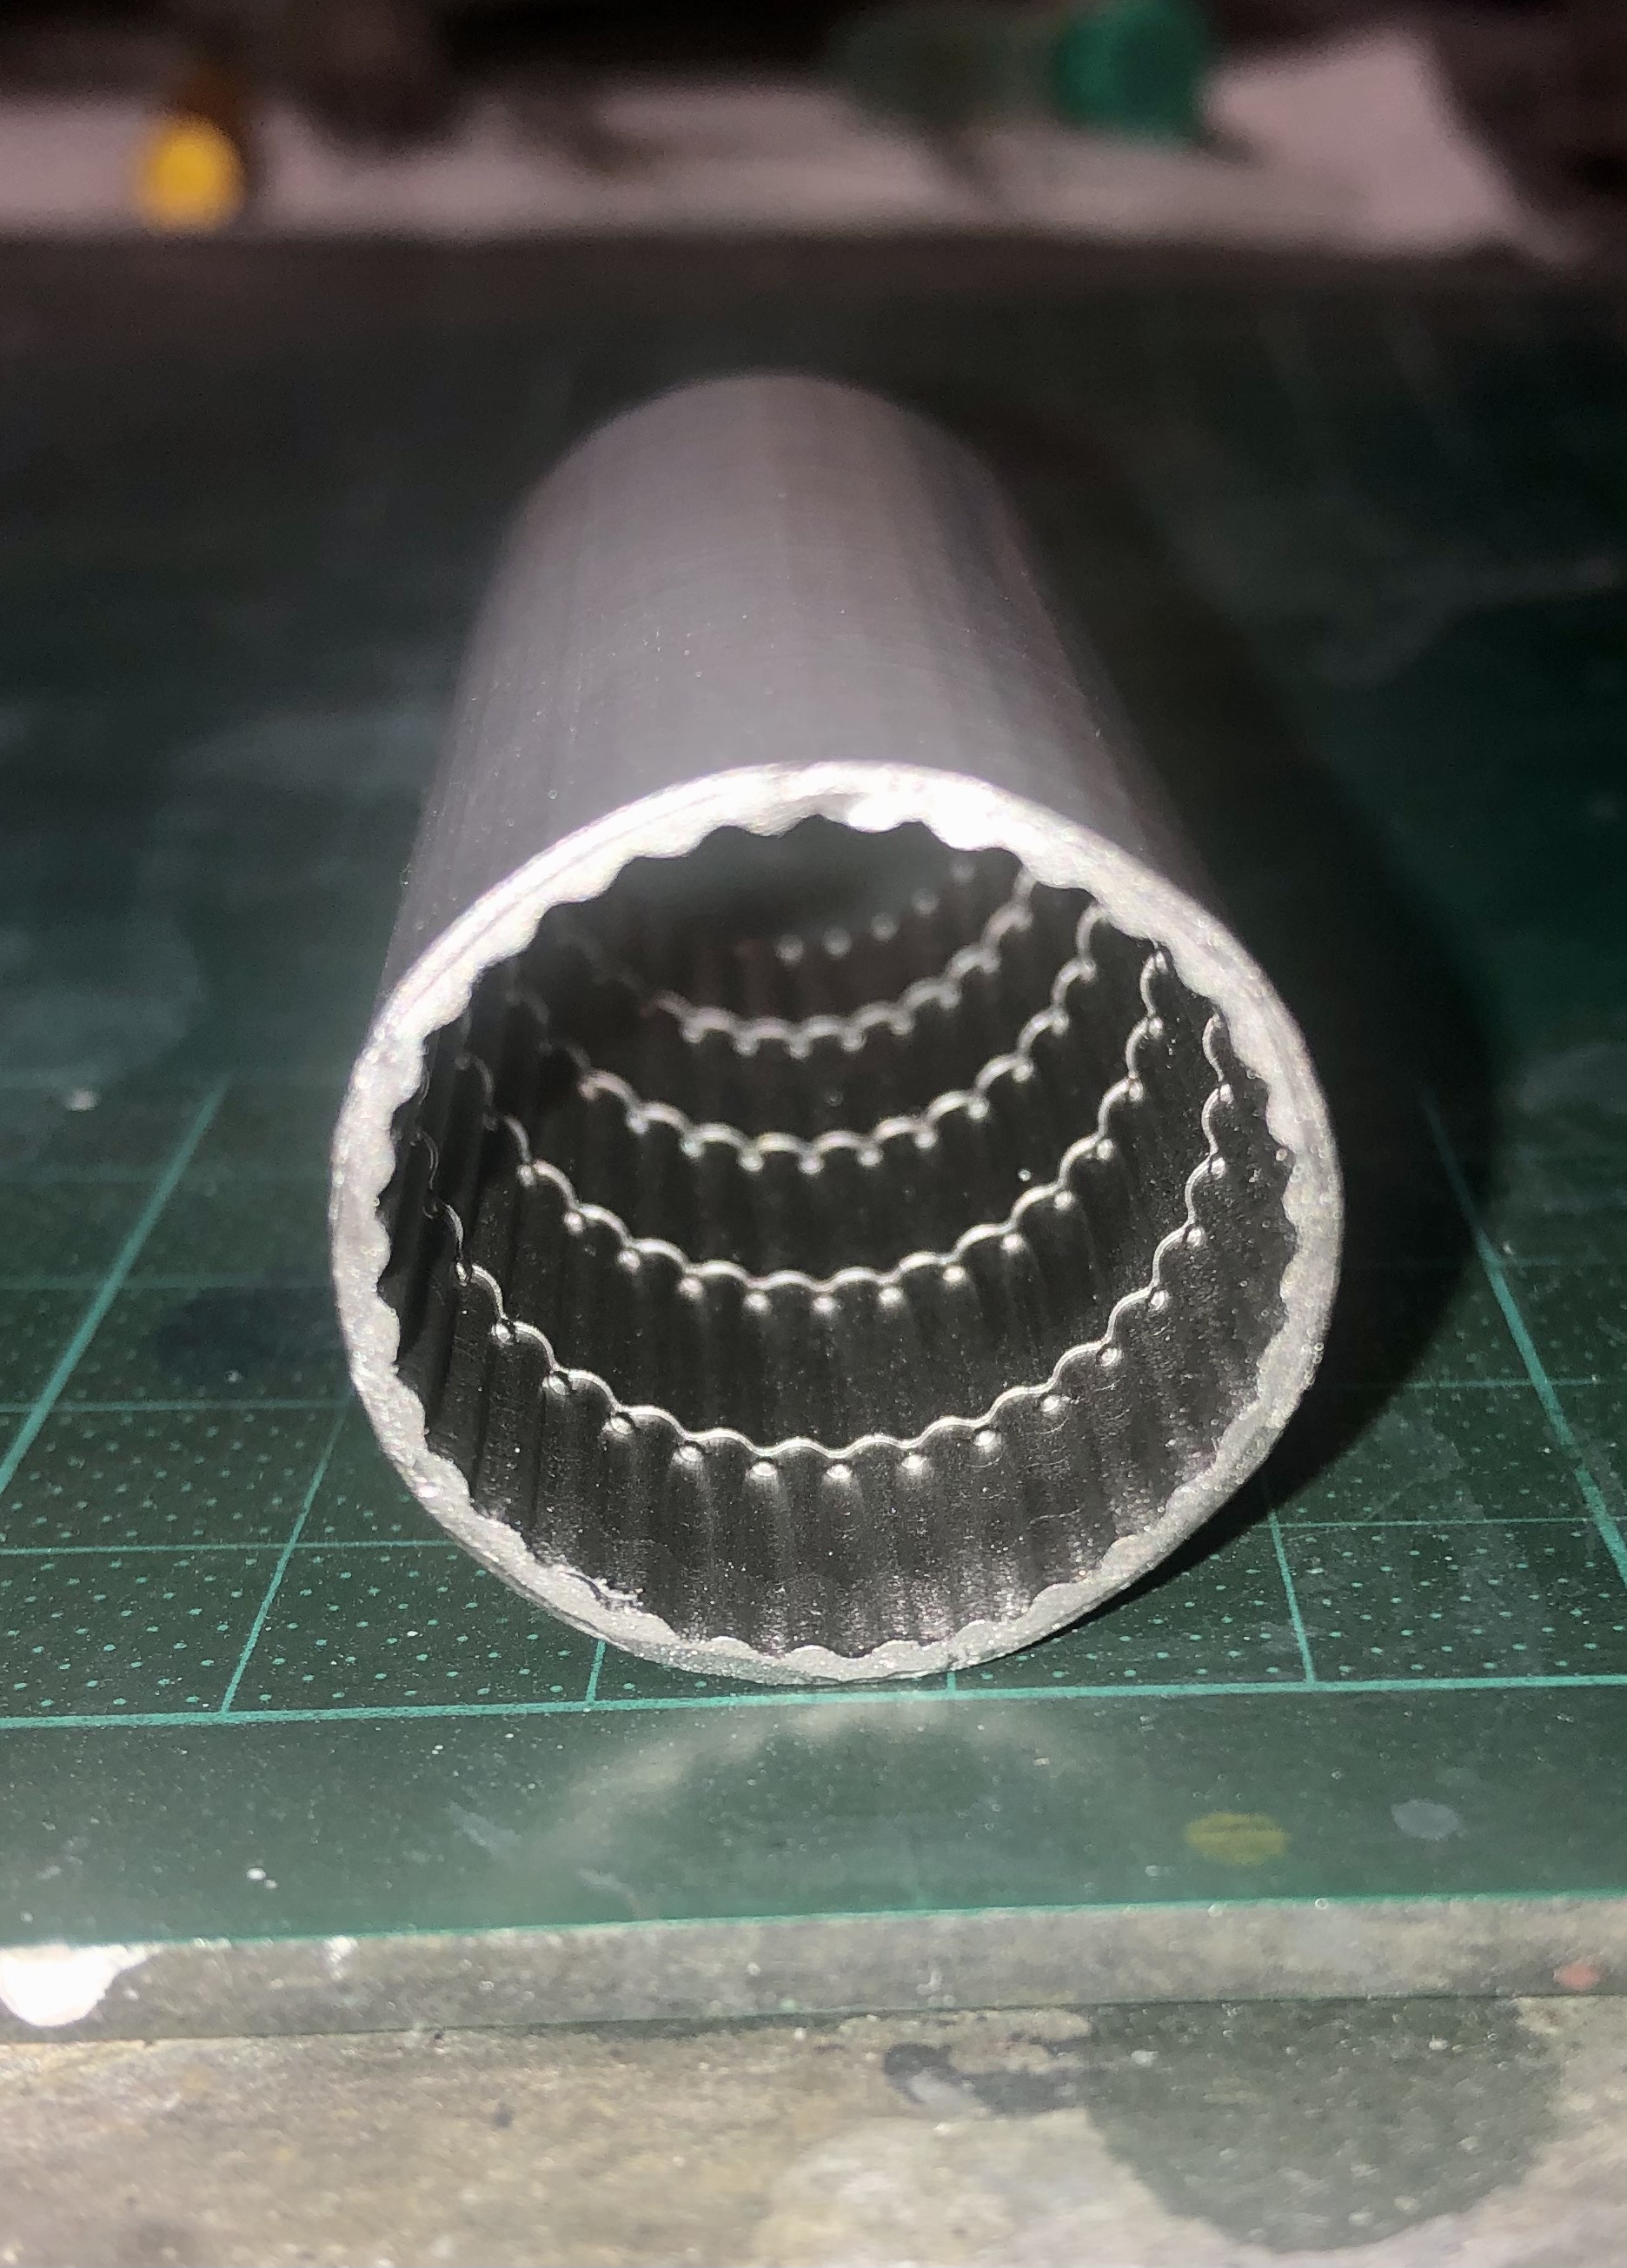
Kaireckstadt replied to Kaireckstadt's topic in LSM 1/35 and Larger Work In Progress
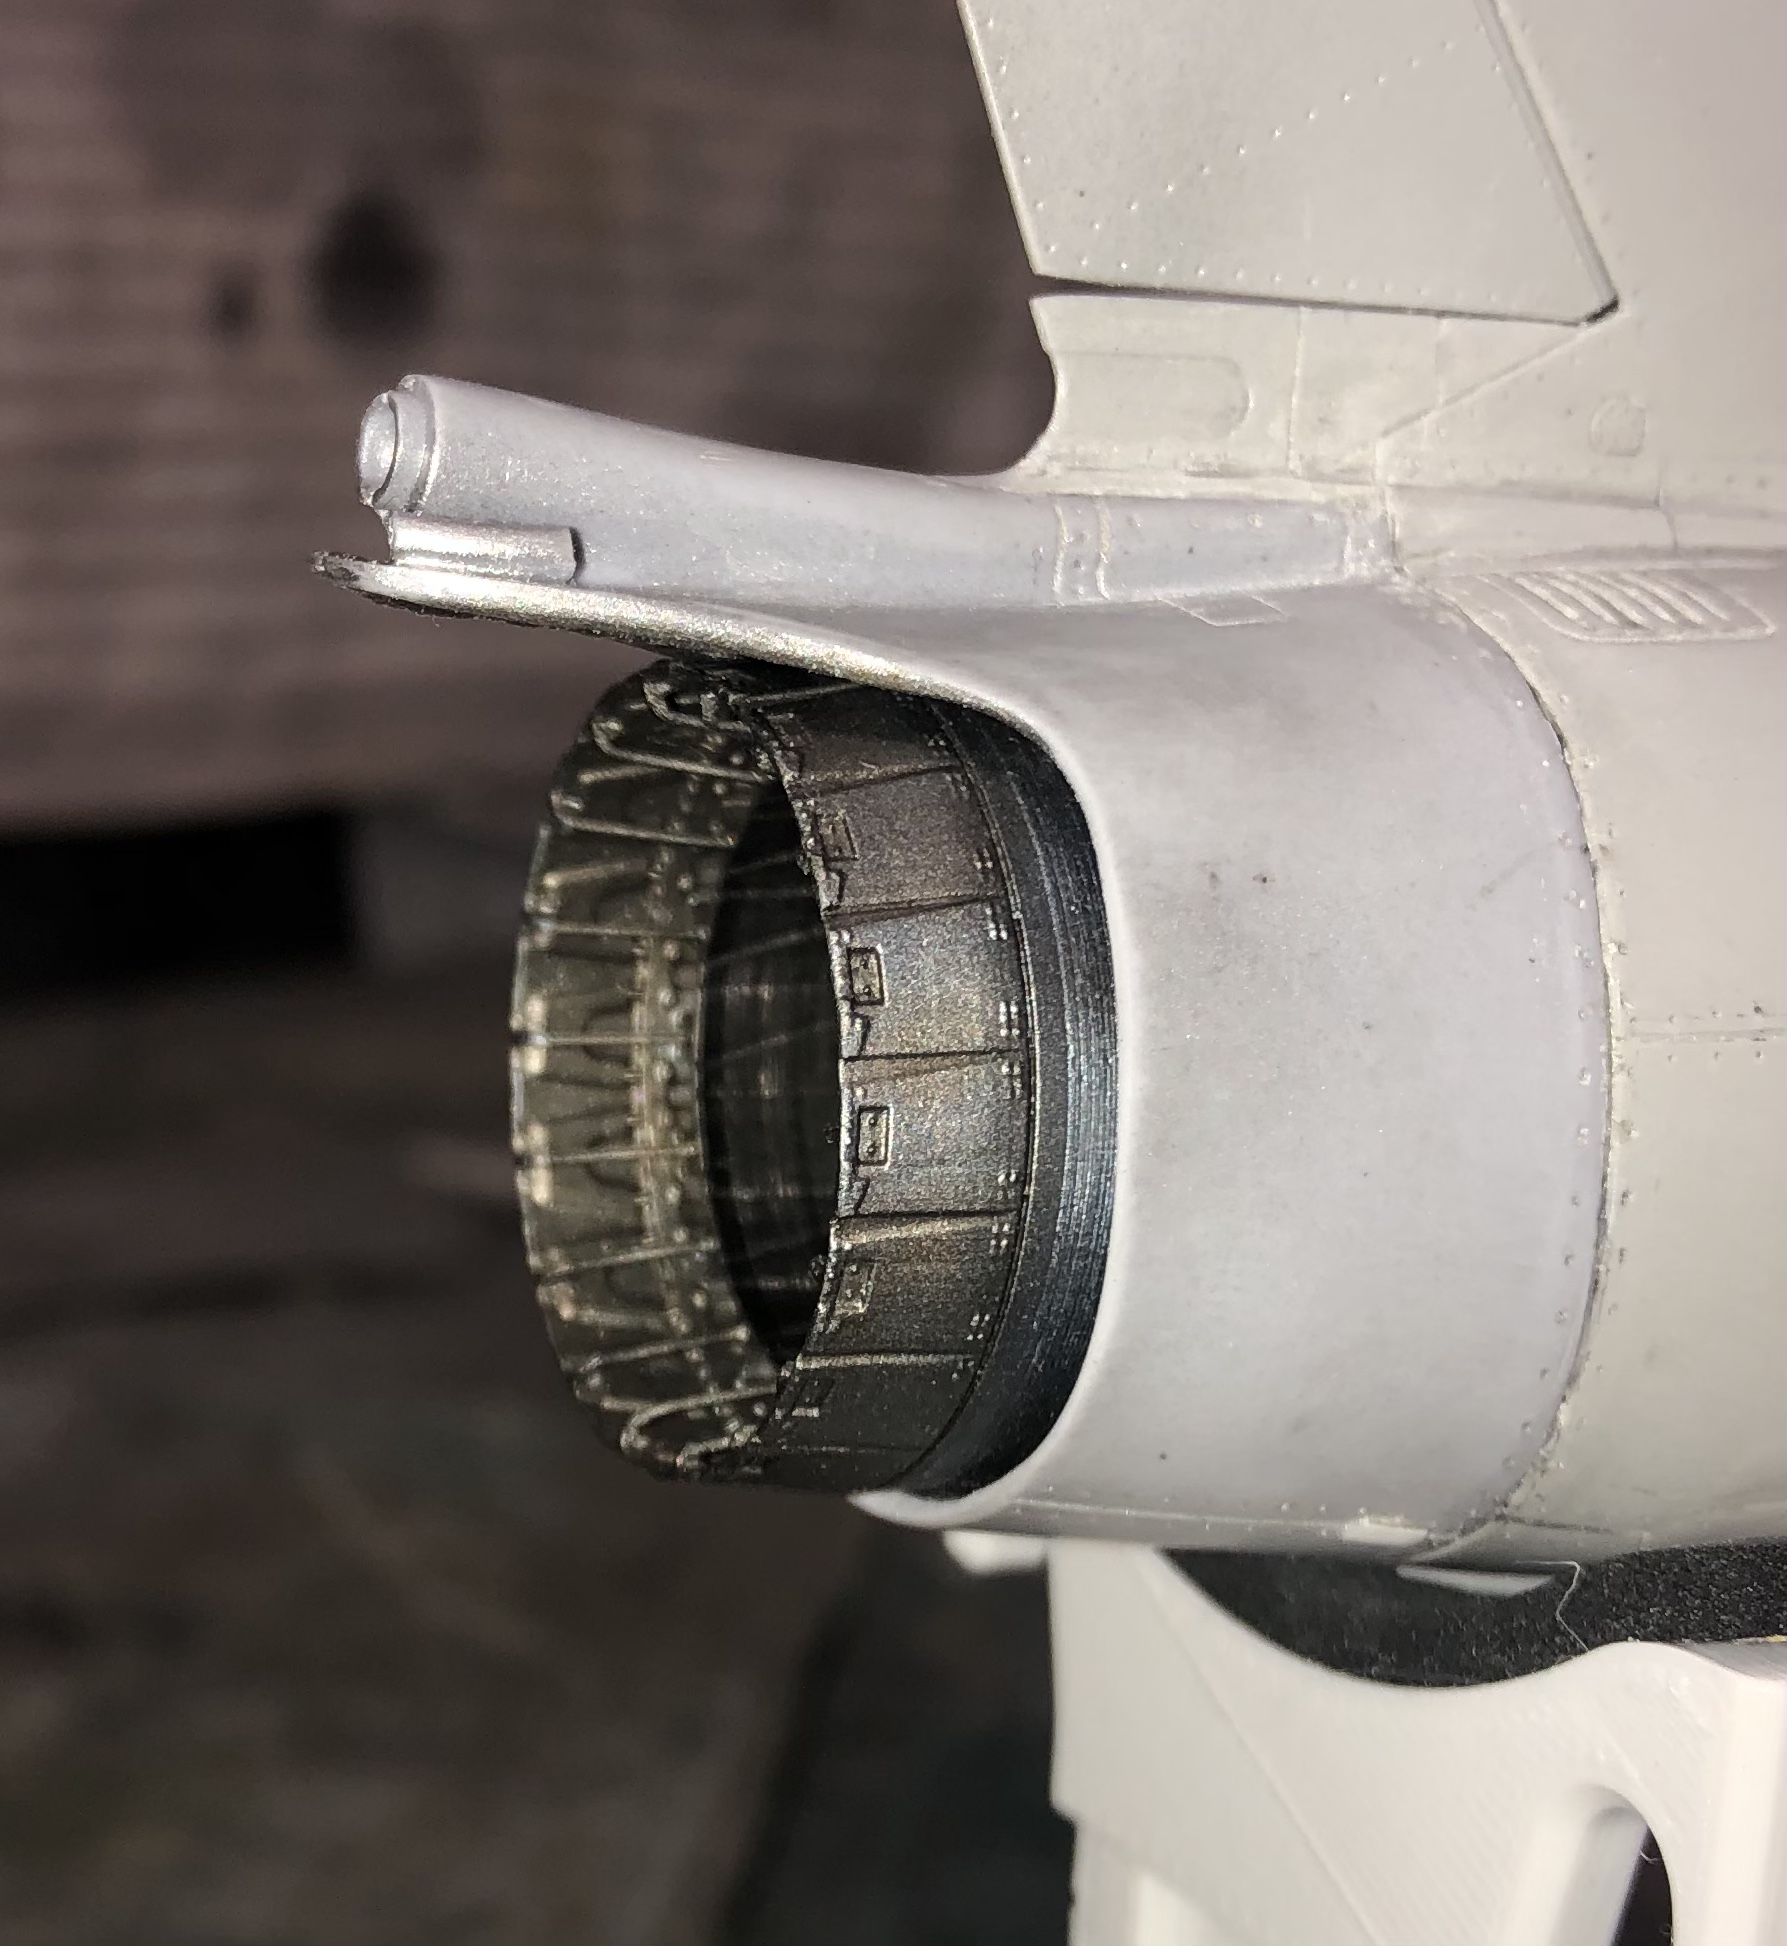
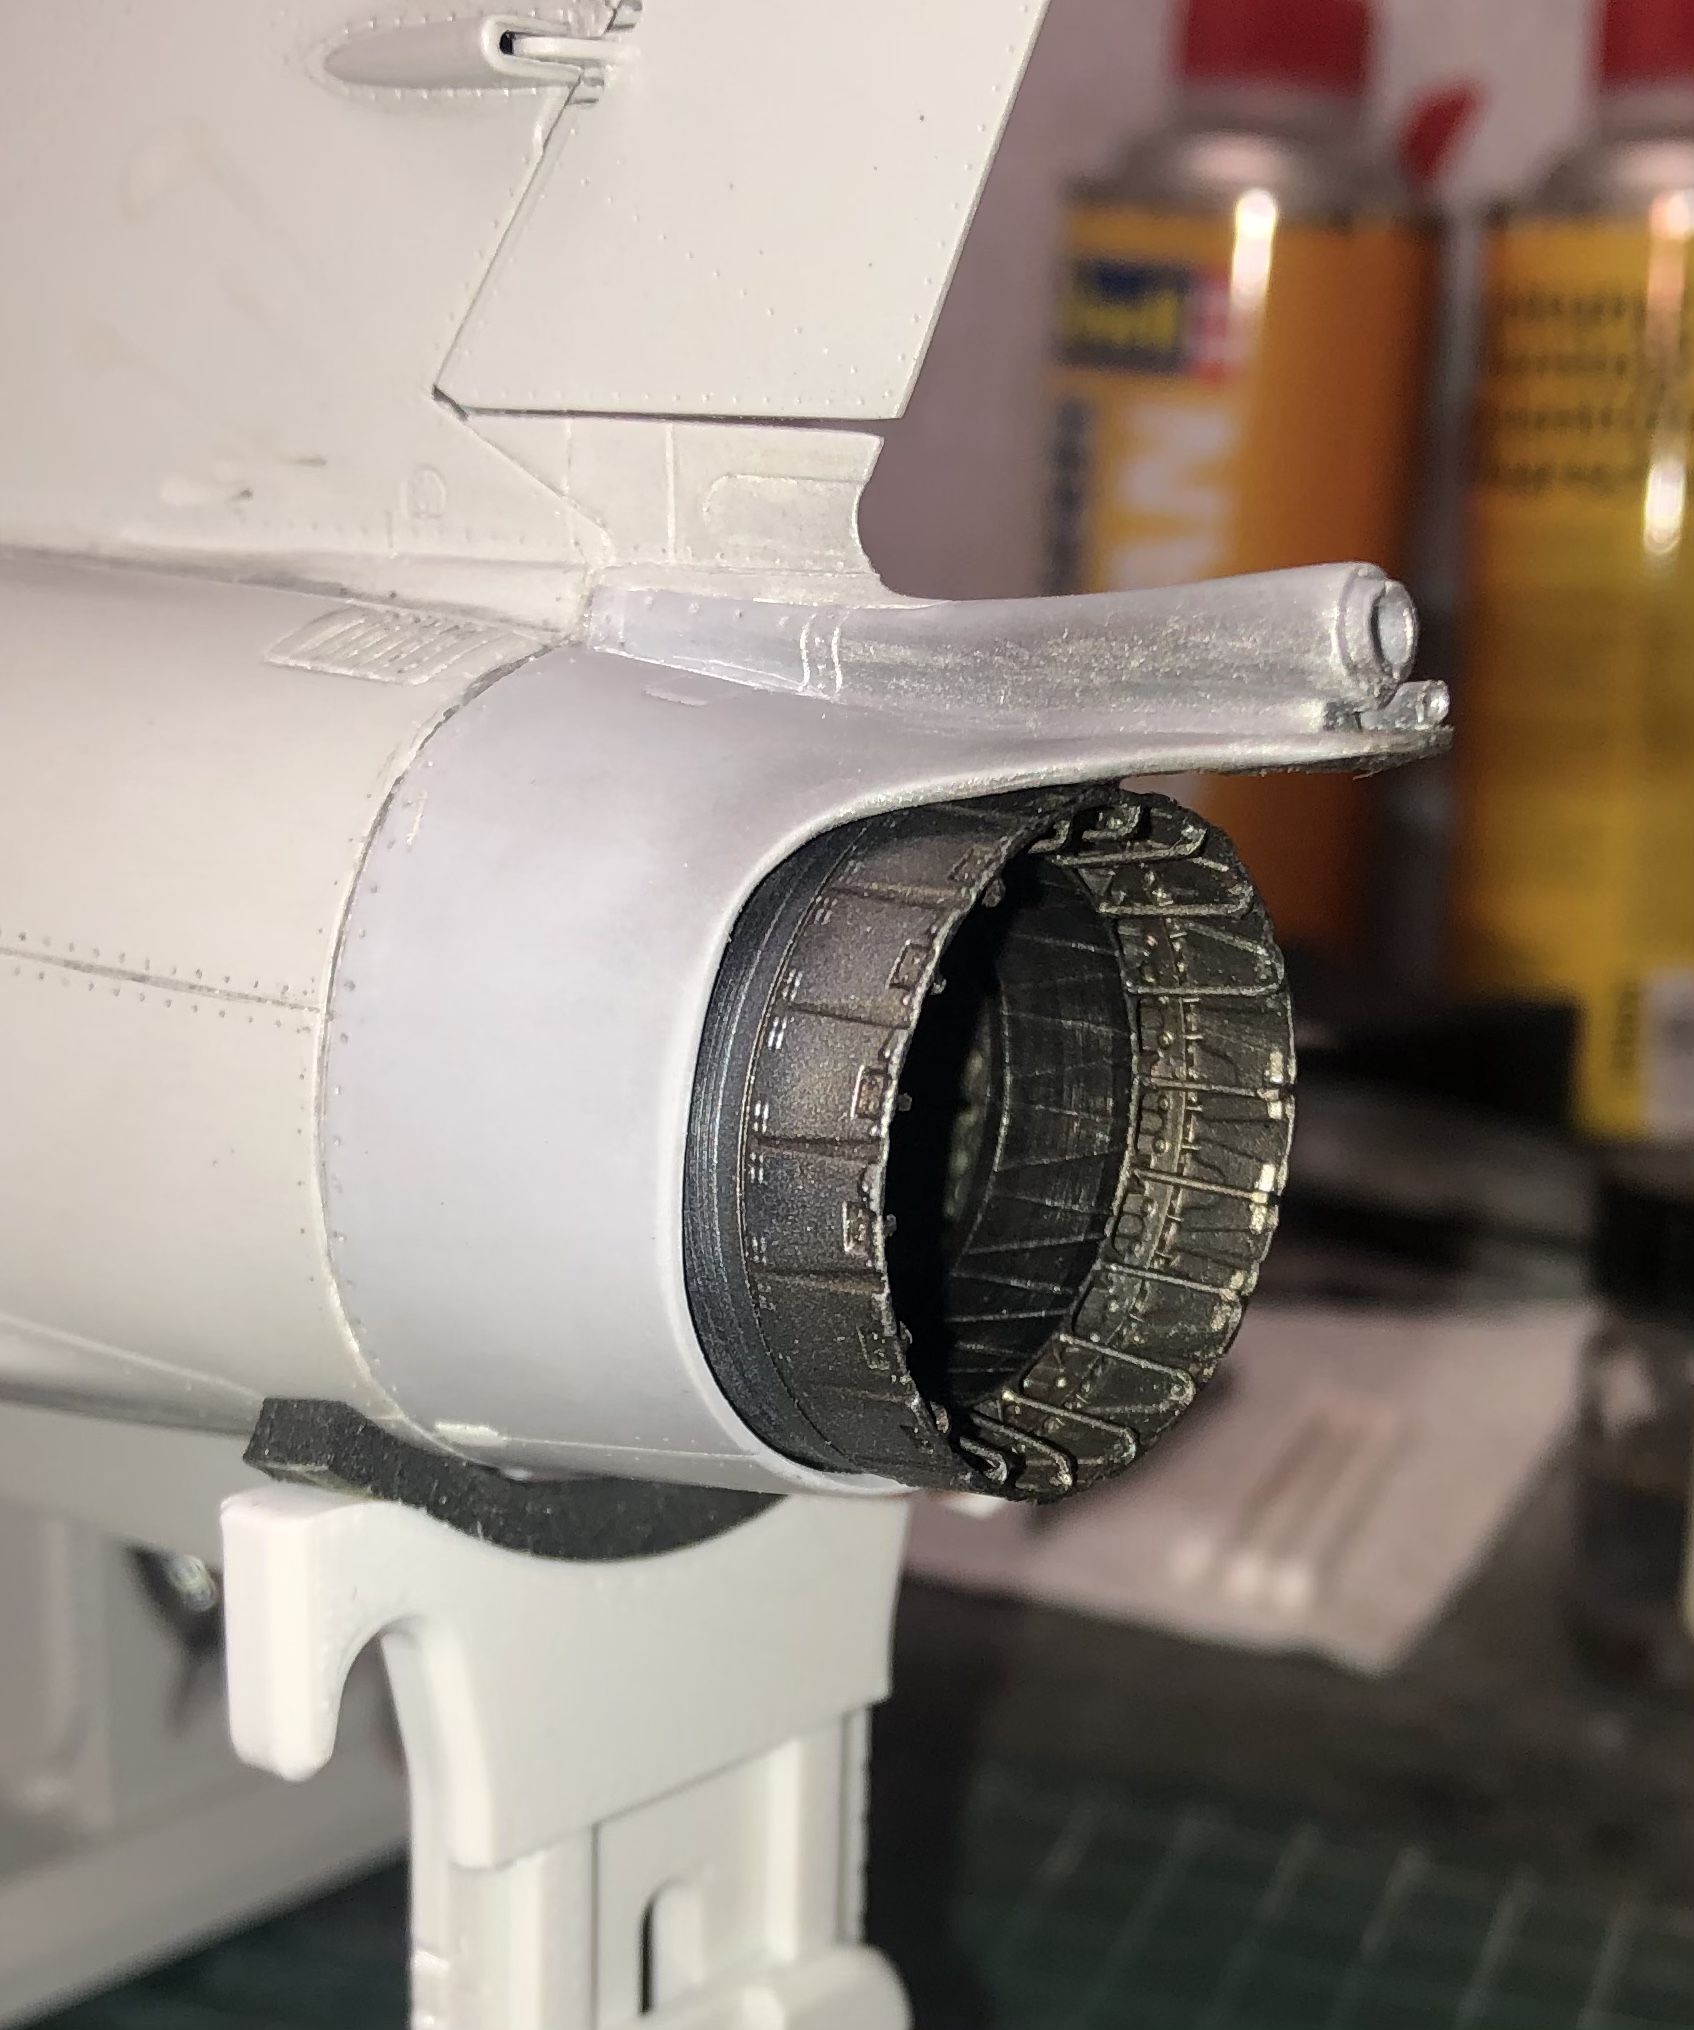
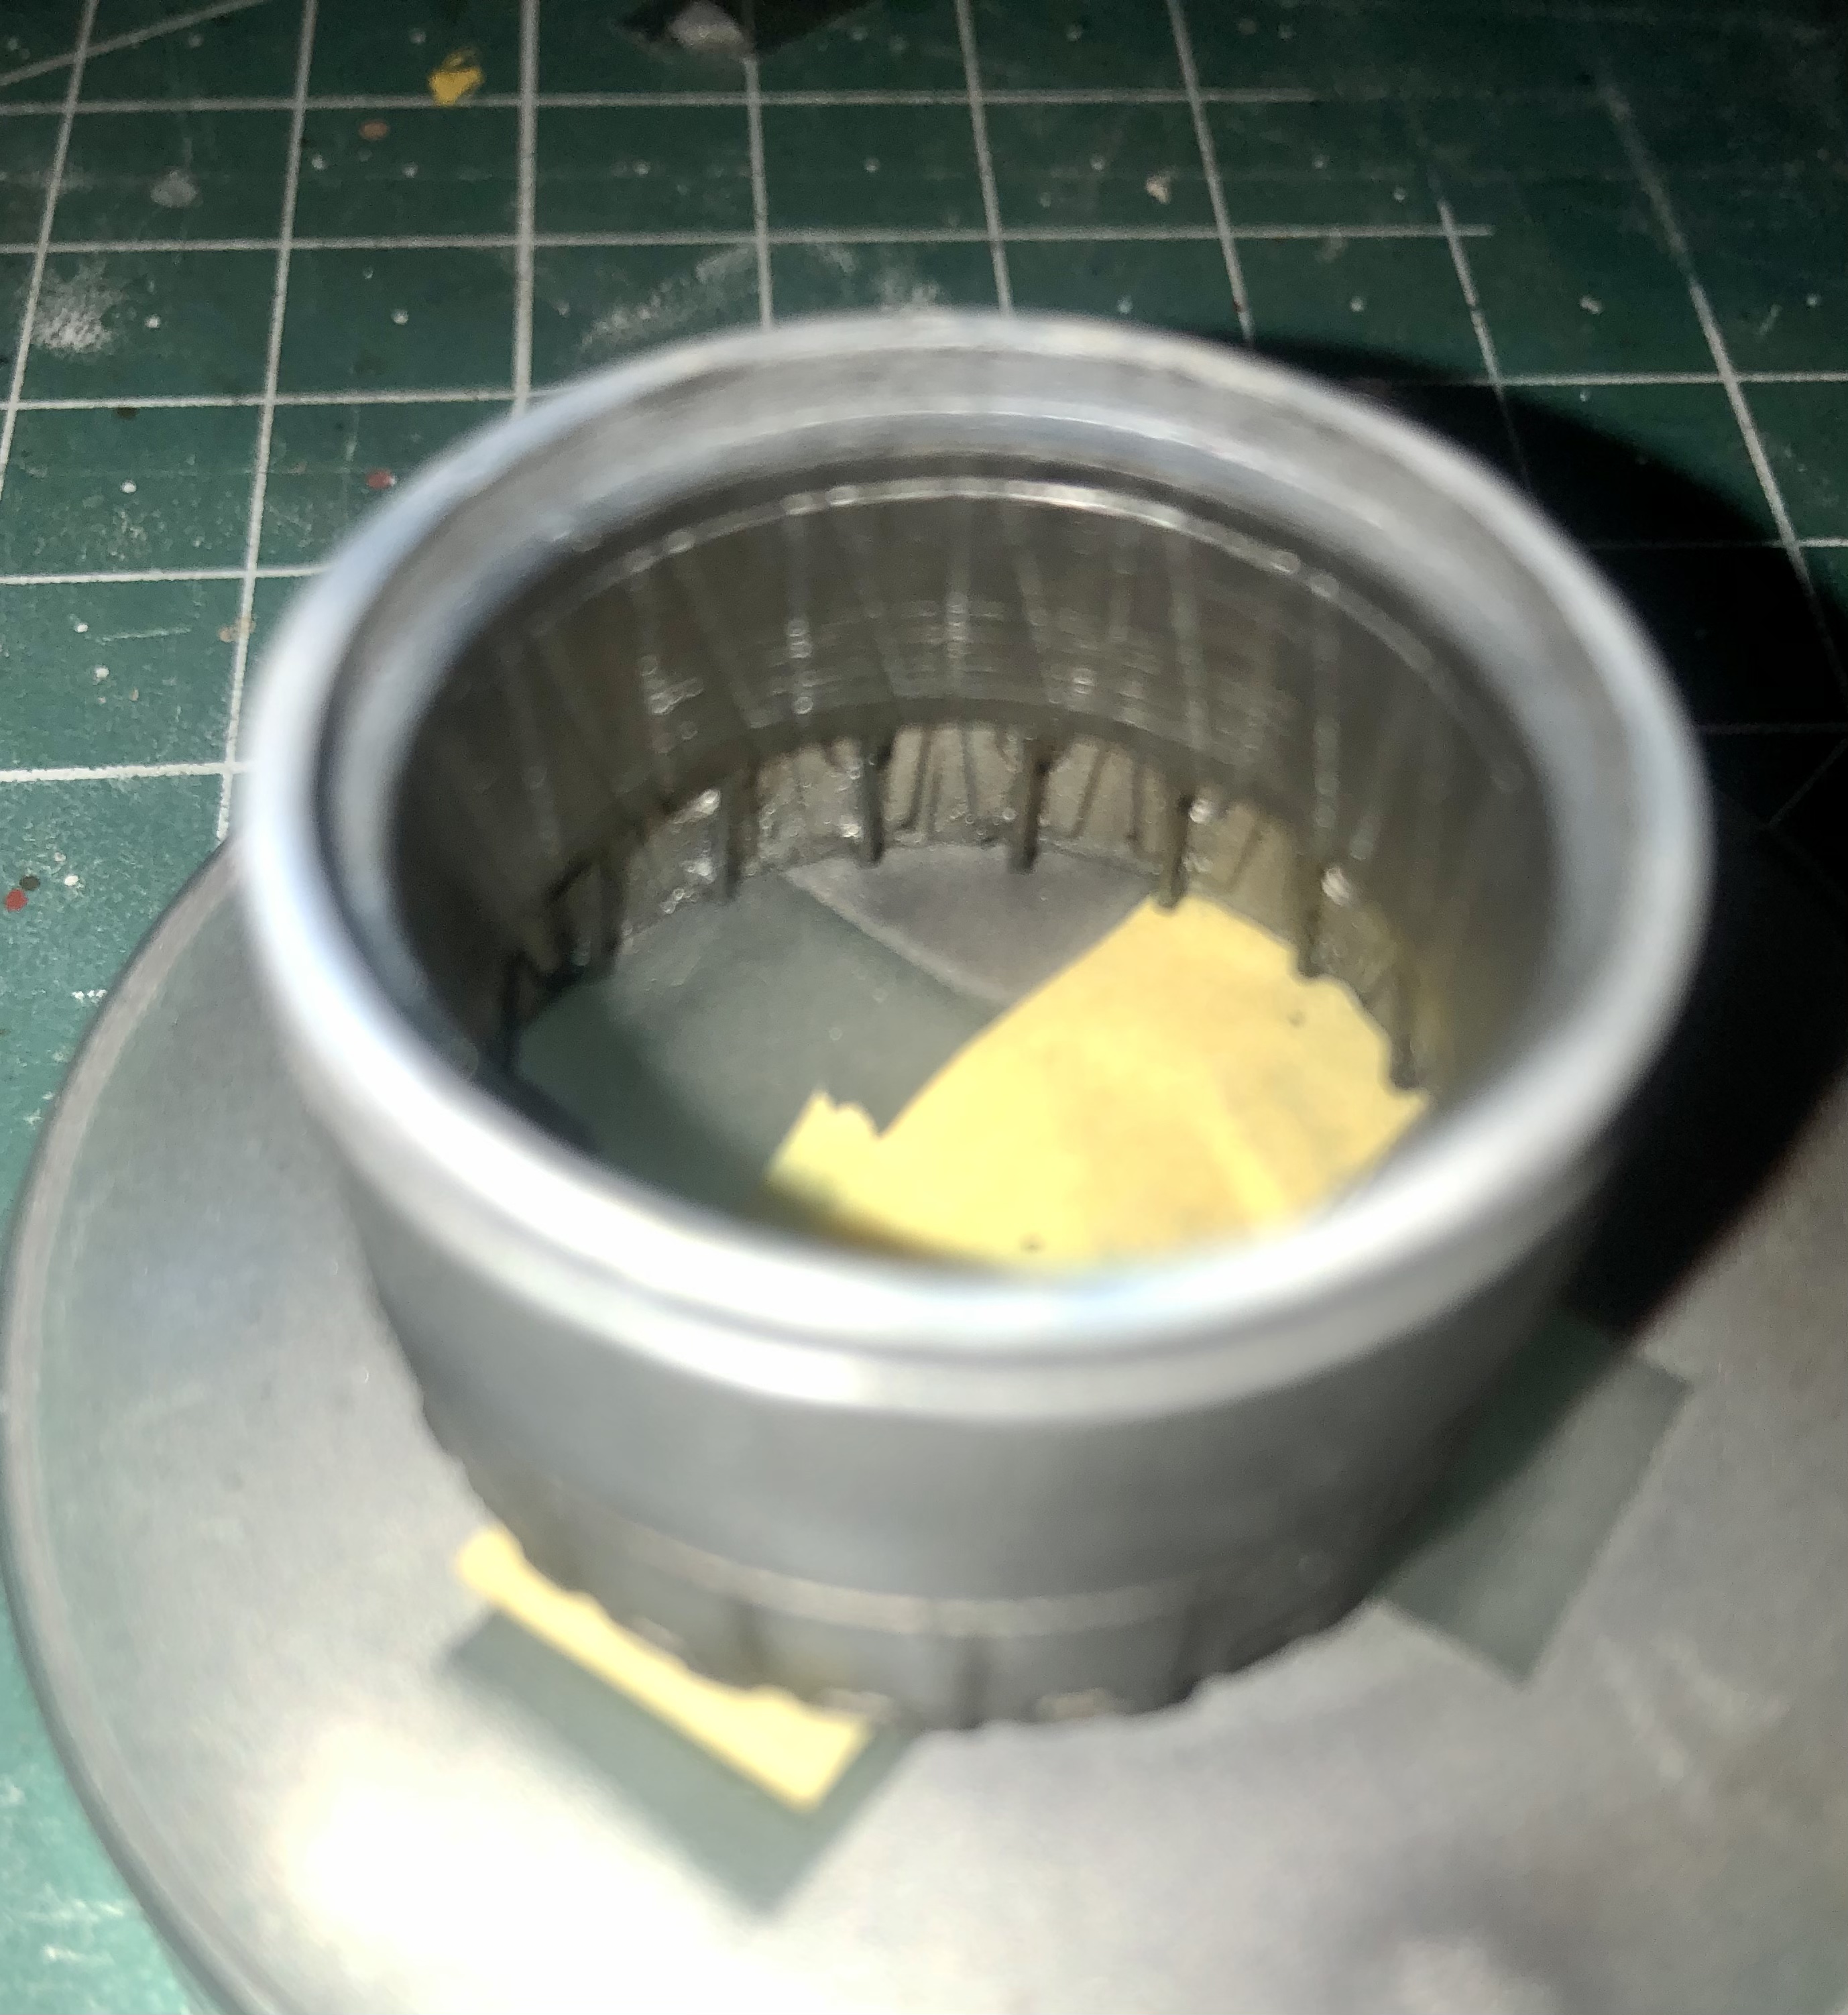
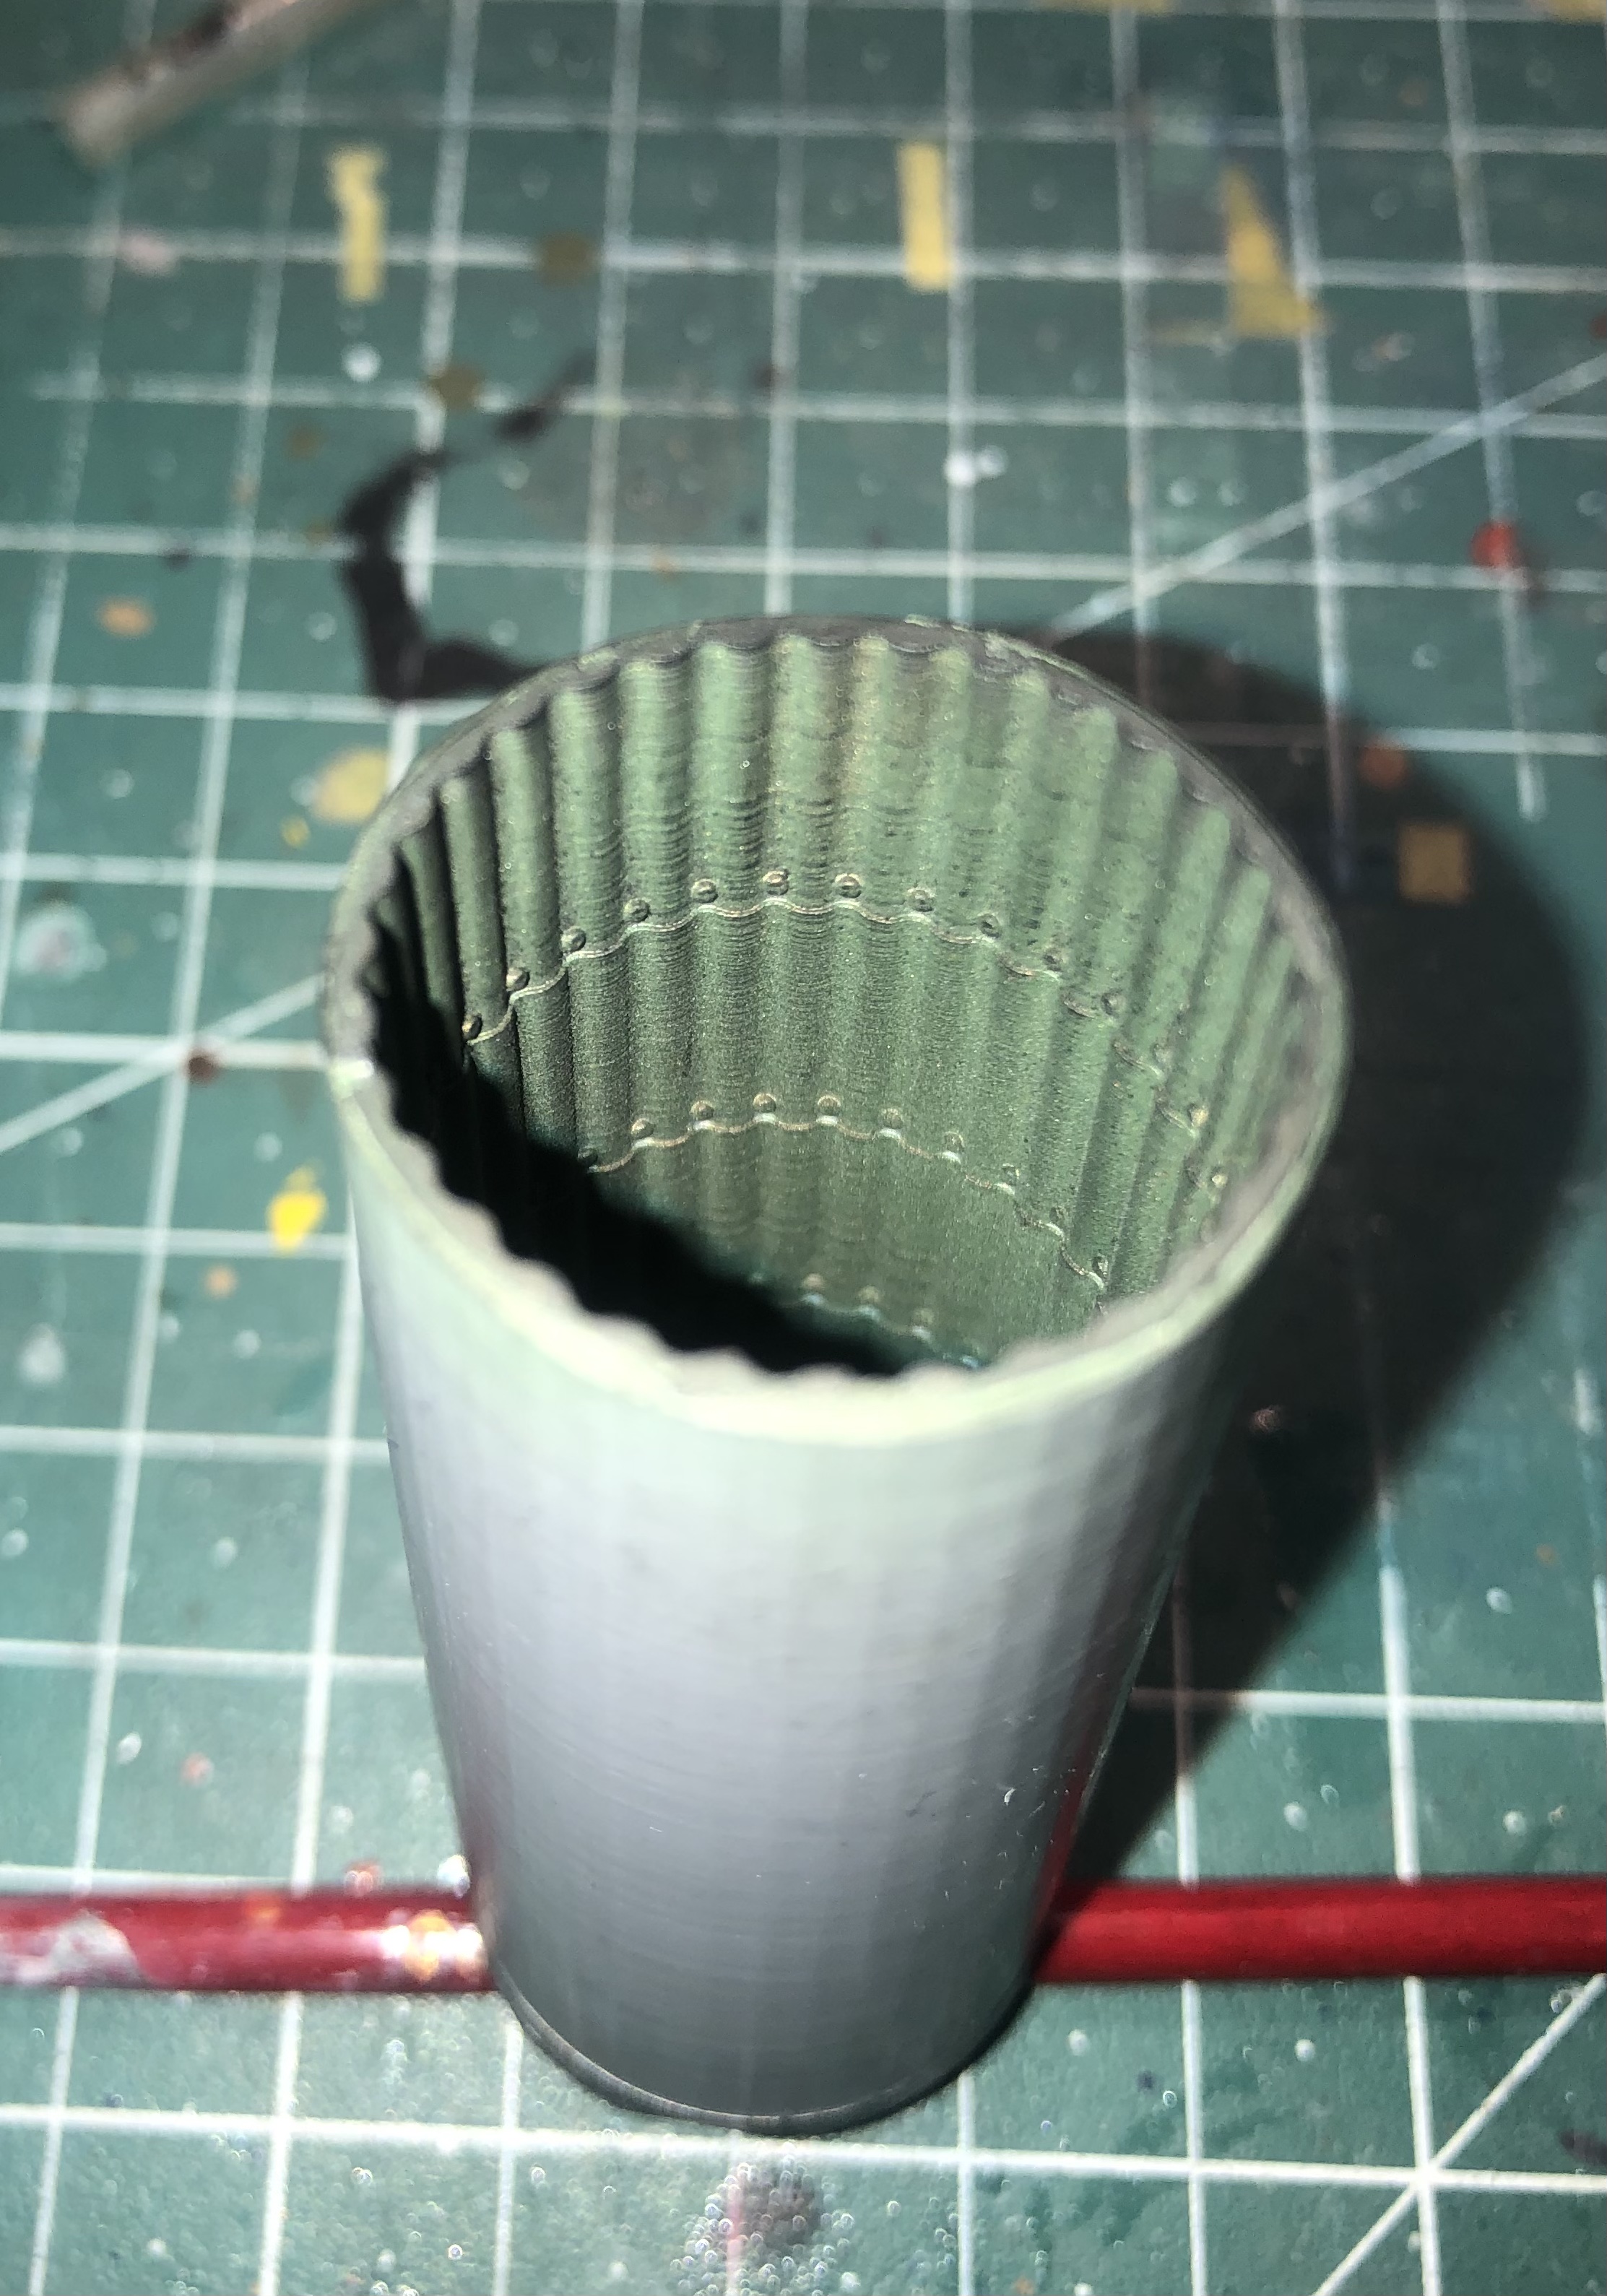
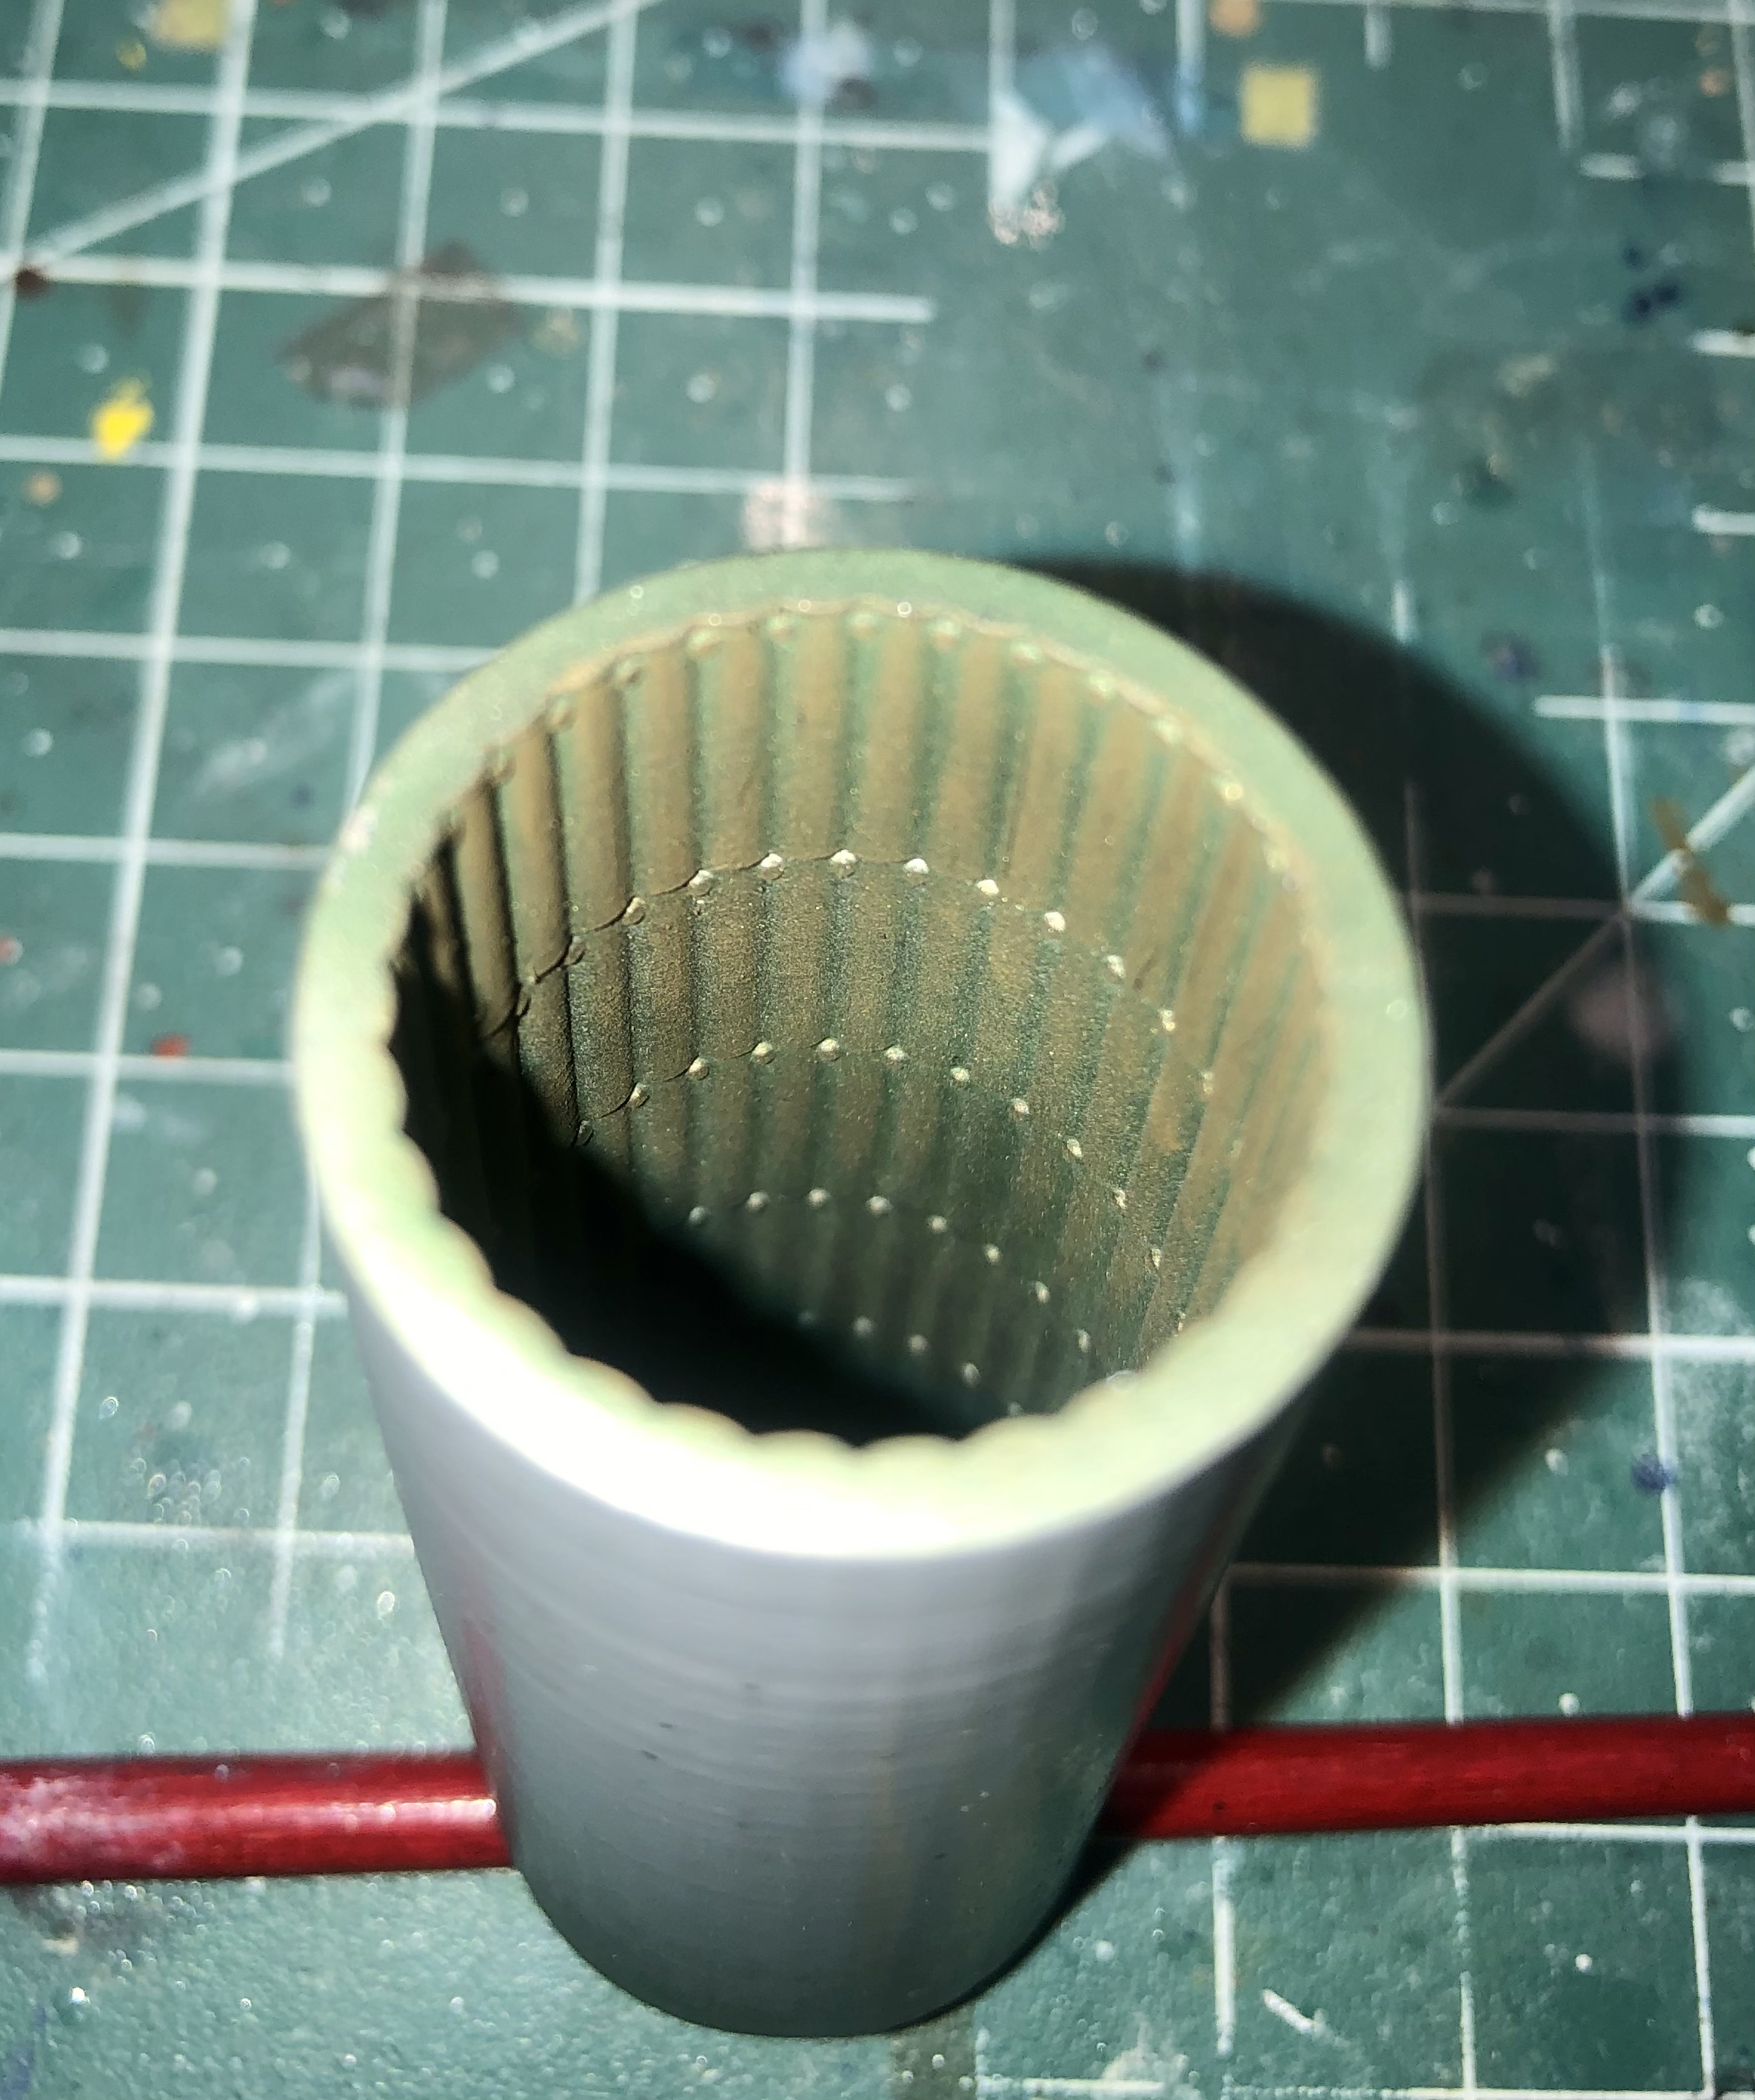
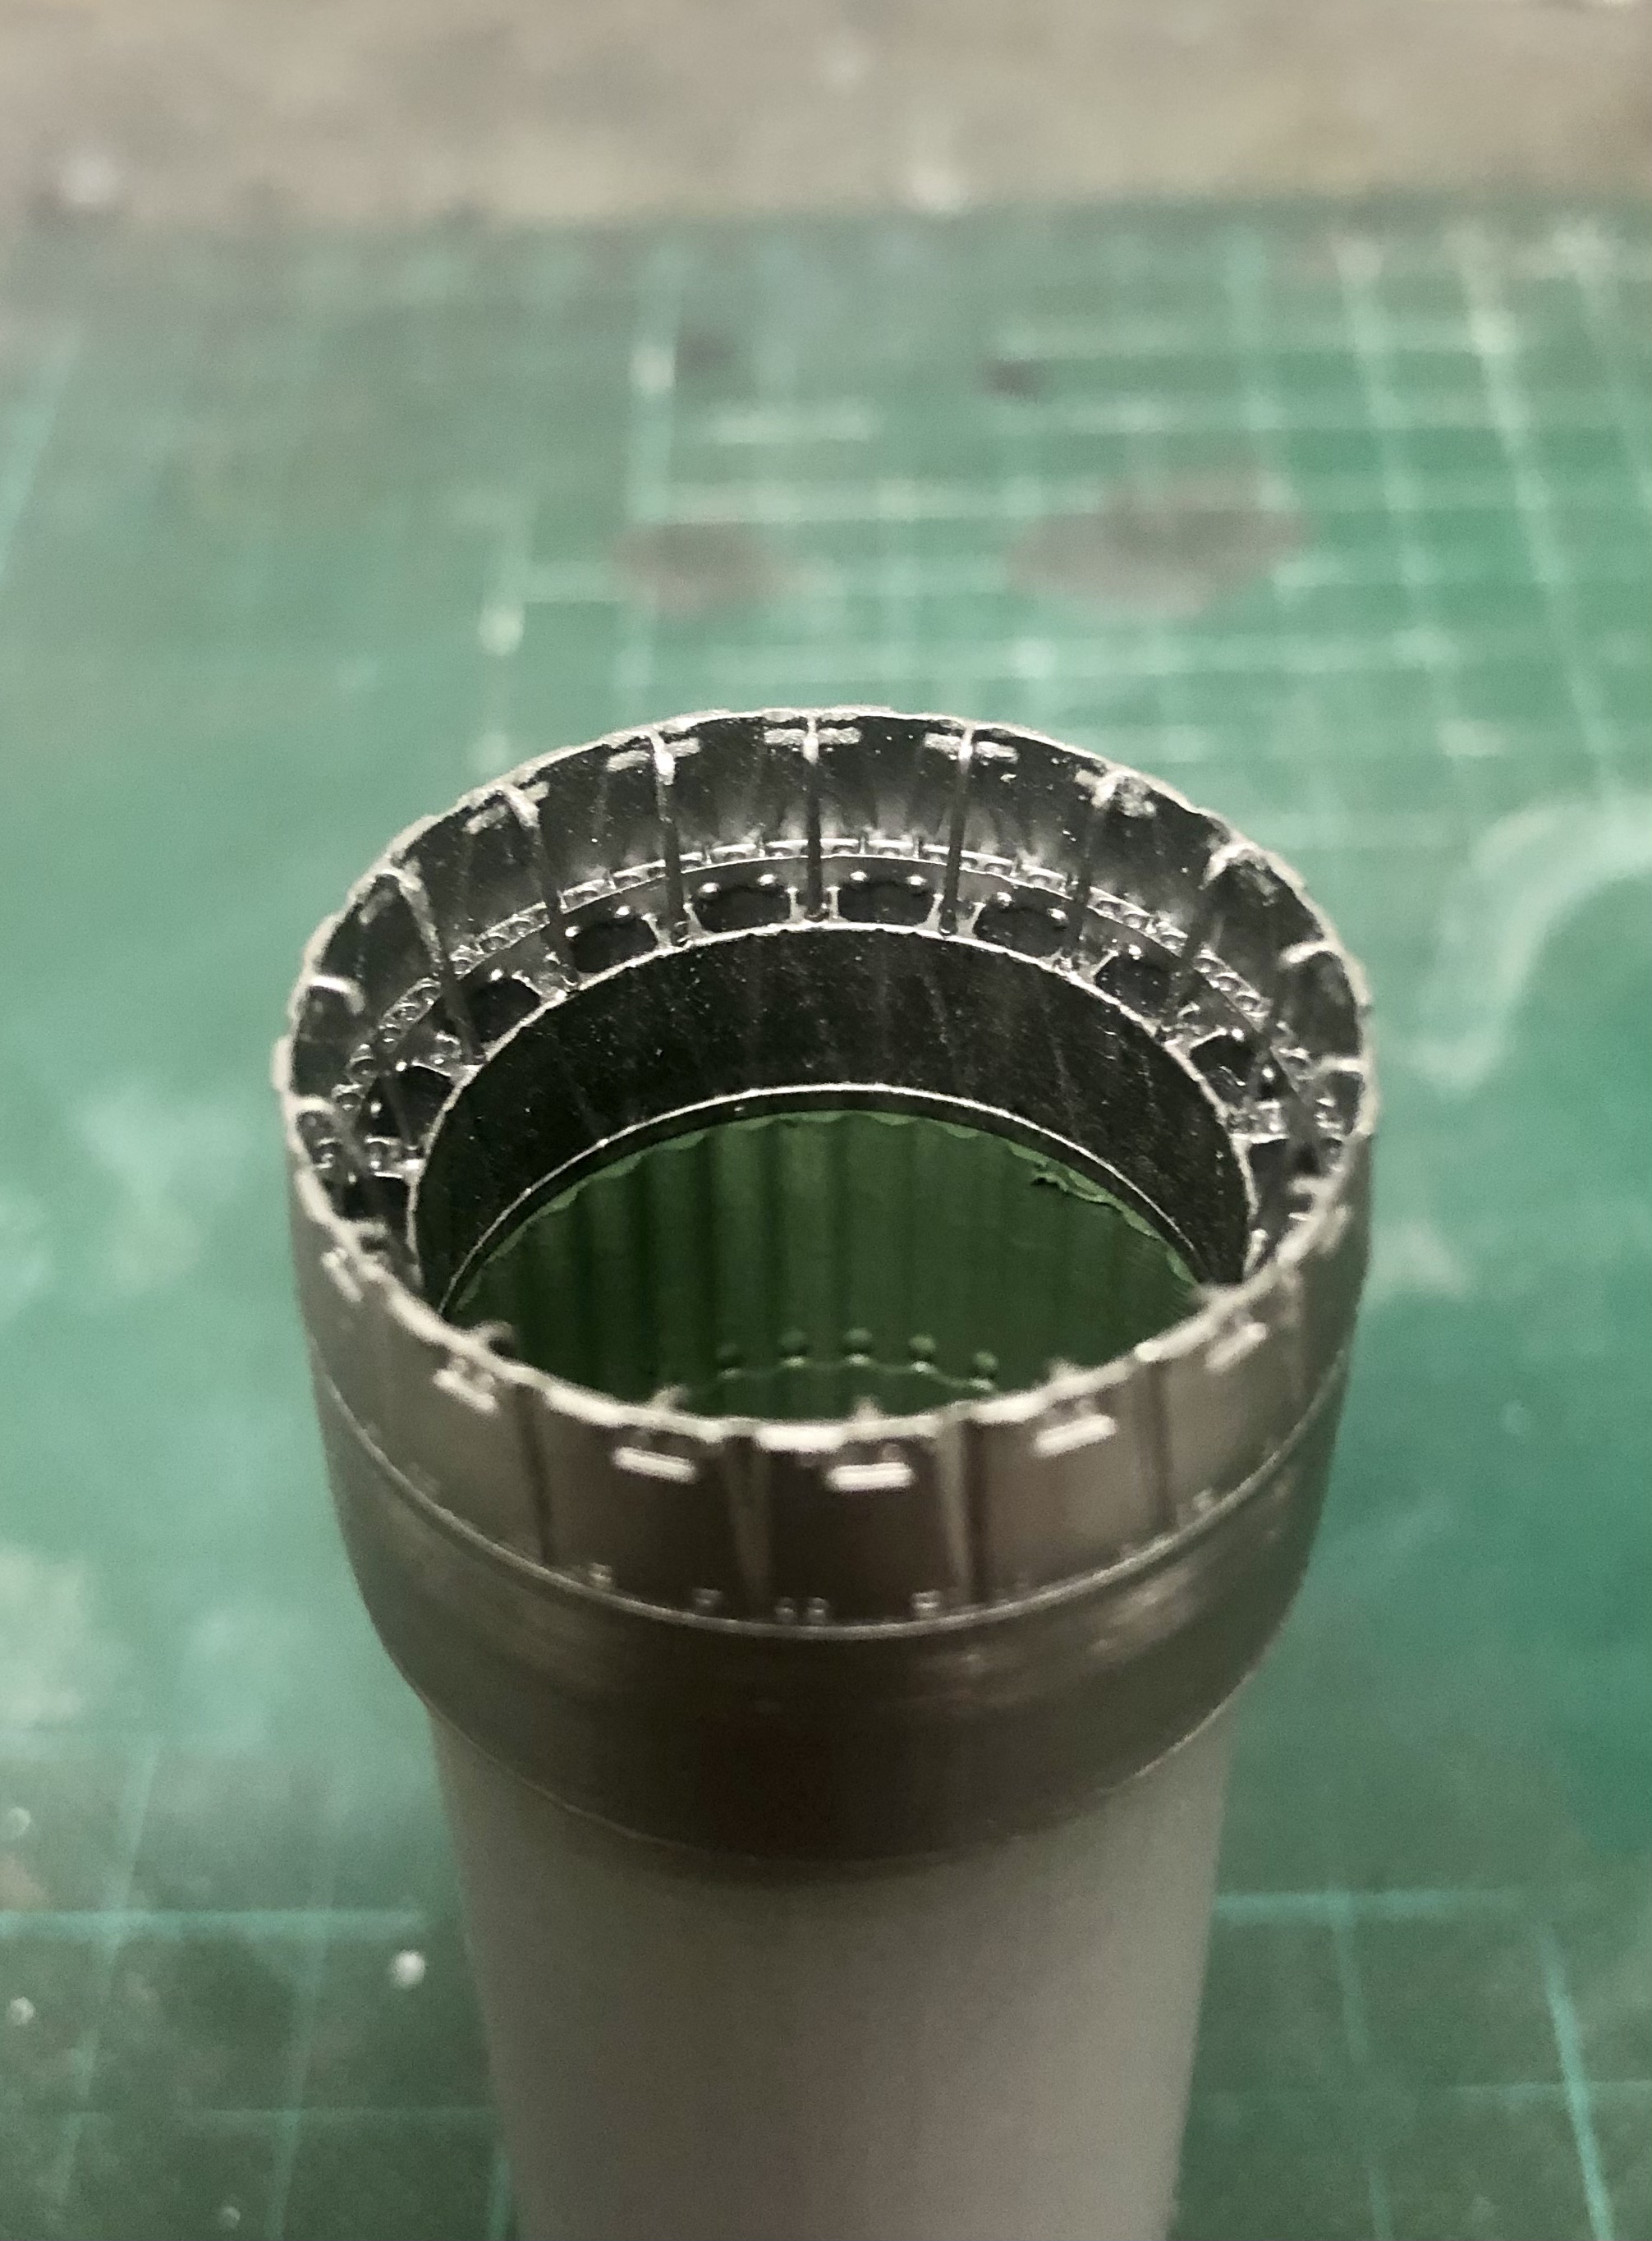
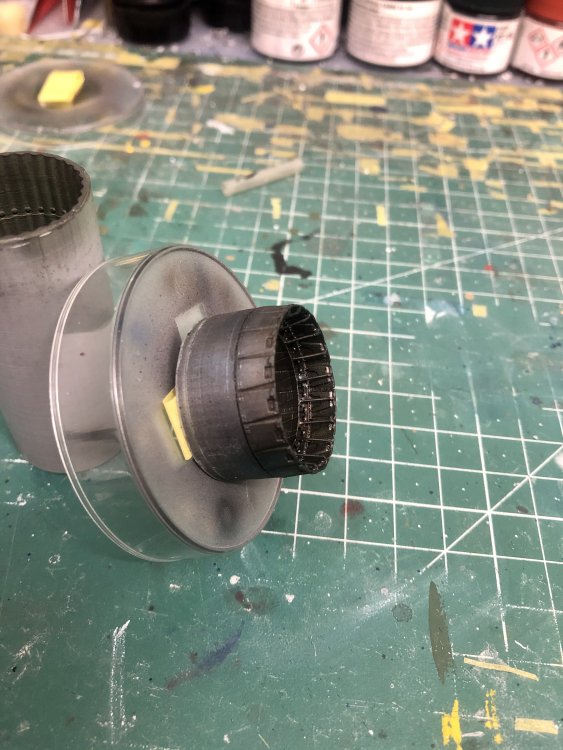
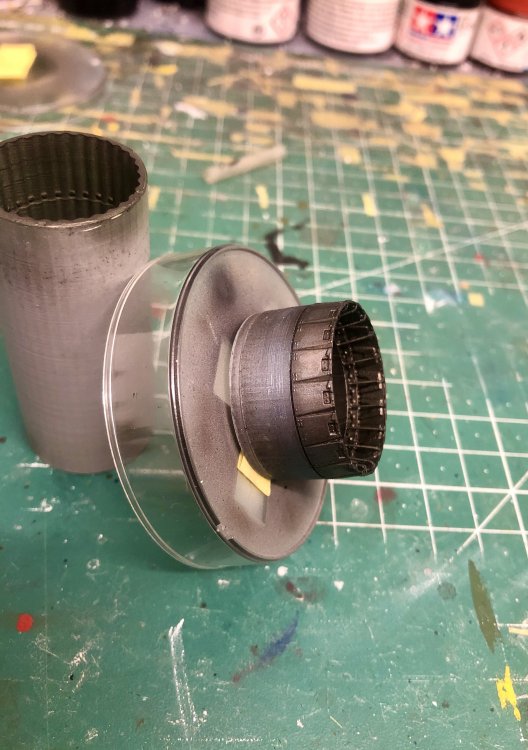
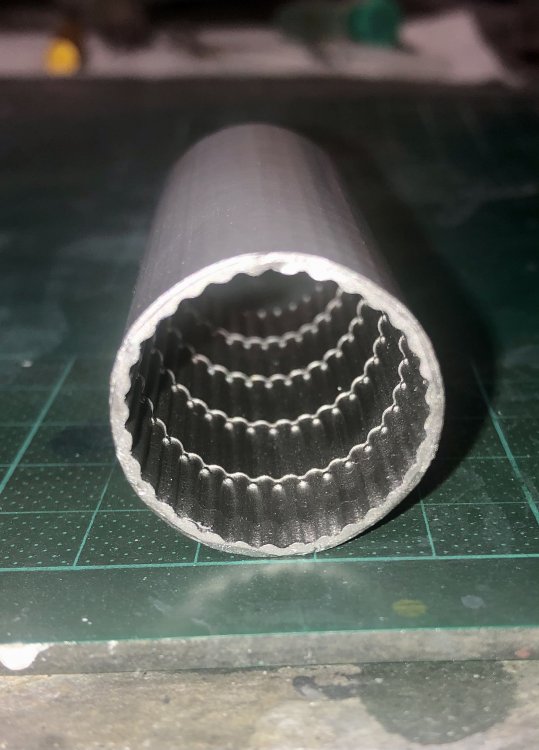
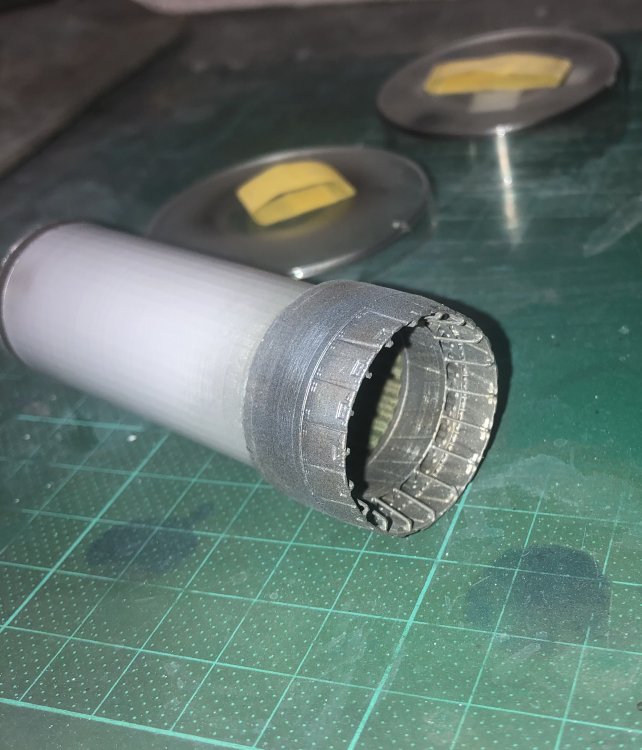
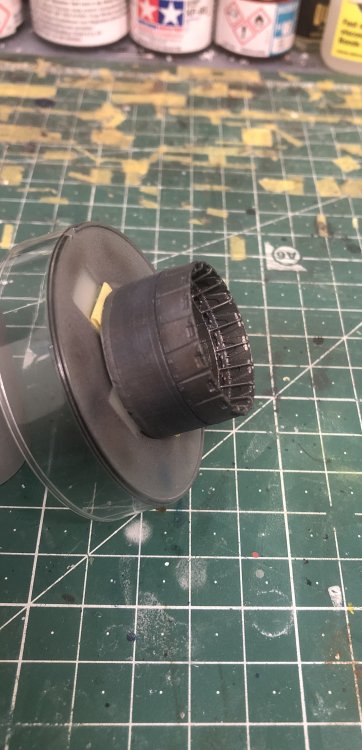
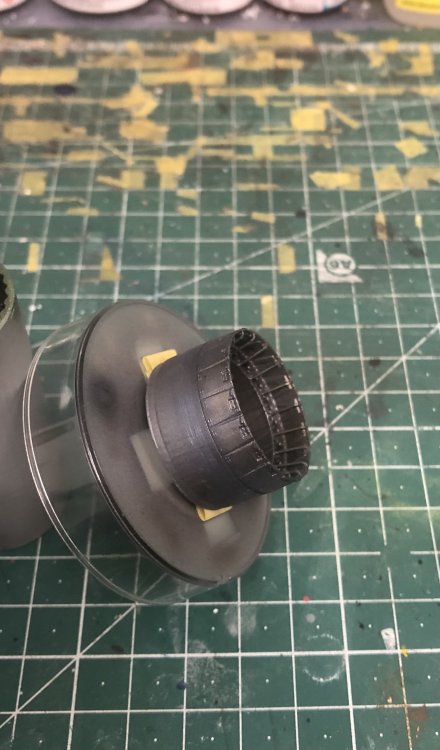
Before starting the priming process I test-fitted the thruster within the tail cone, because a rework of this area after the painting process would be much effort. Some rework was necessary until the fit was ok: Now I can start masking and priming at the long weekend...

-
Atlas Cheetah E Scaleworx Conversion
Kaireckstadt replied to GusMac's topic in LSM 1/35 and Larger Work In Progress
Great scheme! Have you ever thought of AK-Colors? They really have a wide range. If you use a glosscote in the end the complete scheme will be easier to paint from my point of view. And it works! The Tamiya glosscote is really very good. A friend of mine paints airliners with Tamiya flat white and then Tamiya glosscote. Or you use the special one from AK. Looks awesome!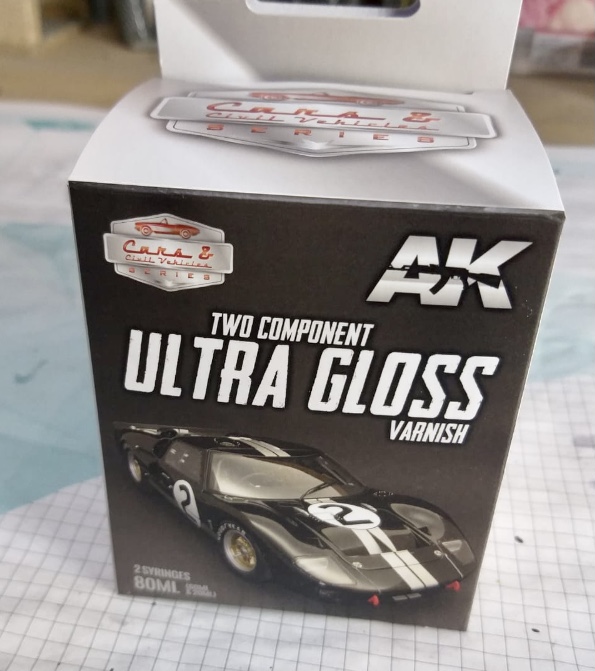
-
Atlas Cheetah E Scaleworx Conversion
Kaireckstadt replied to GusMac's topic in LSM 1/35 and Larger Work In Progress
That looks great Gus! I forgot that it has an inflight refueling probe. Lots of new stuff on the Cheetah! Can‘t wait to see it in the paintshop! Can you post a picture of the livery you plan? -
Israeli Mirage III C with Atar9C
Kaireckstadt replied to Kaireckstadt's topic in LSM 1/35 and Larger Work In Progress
Thank you Peter! Much appreciated! -
Israeli Mirage III C with Atar9C
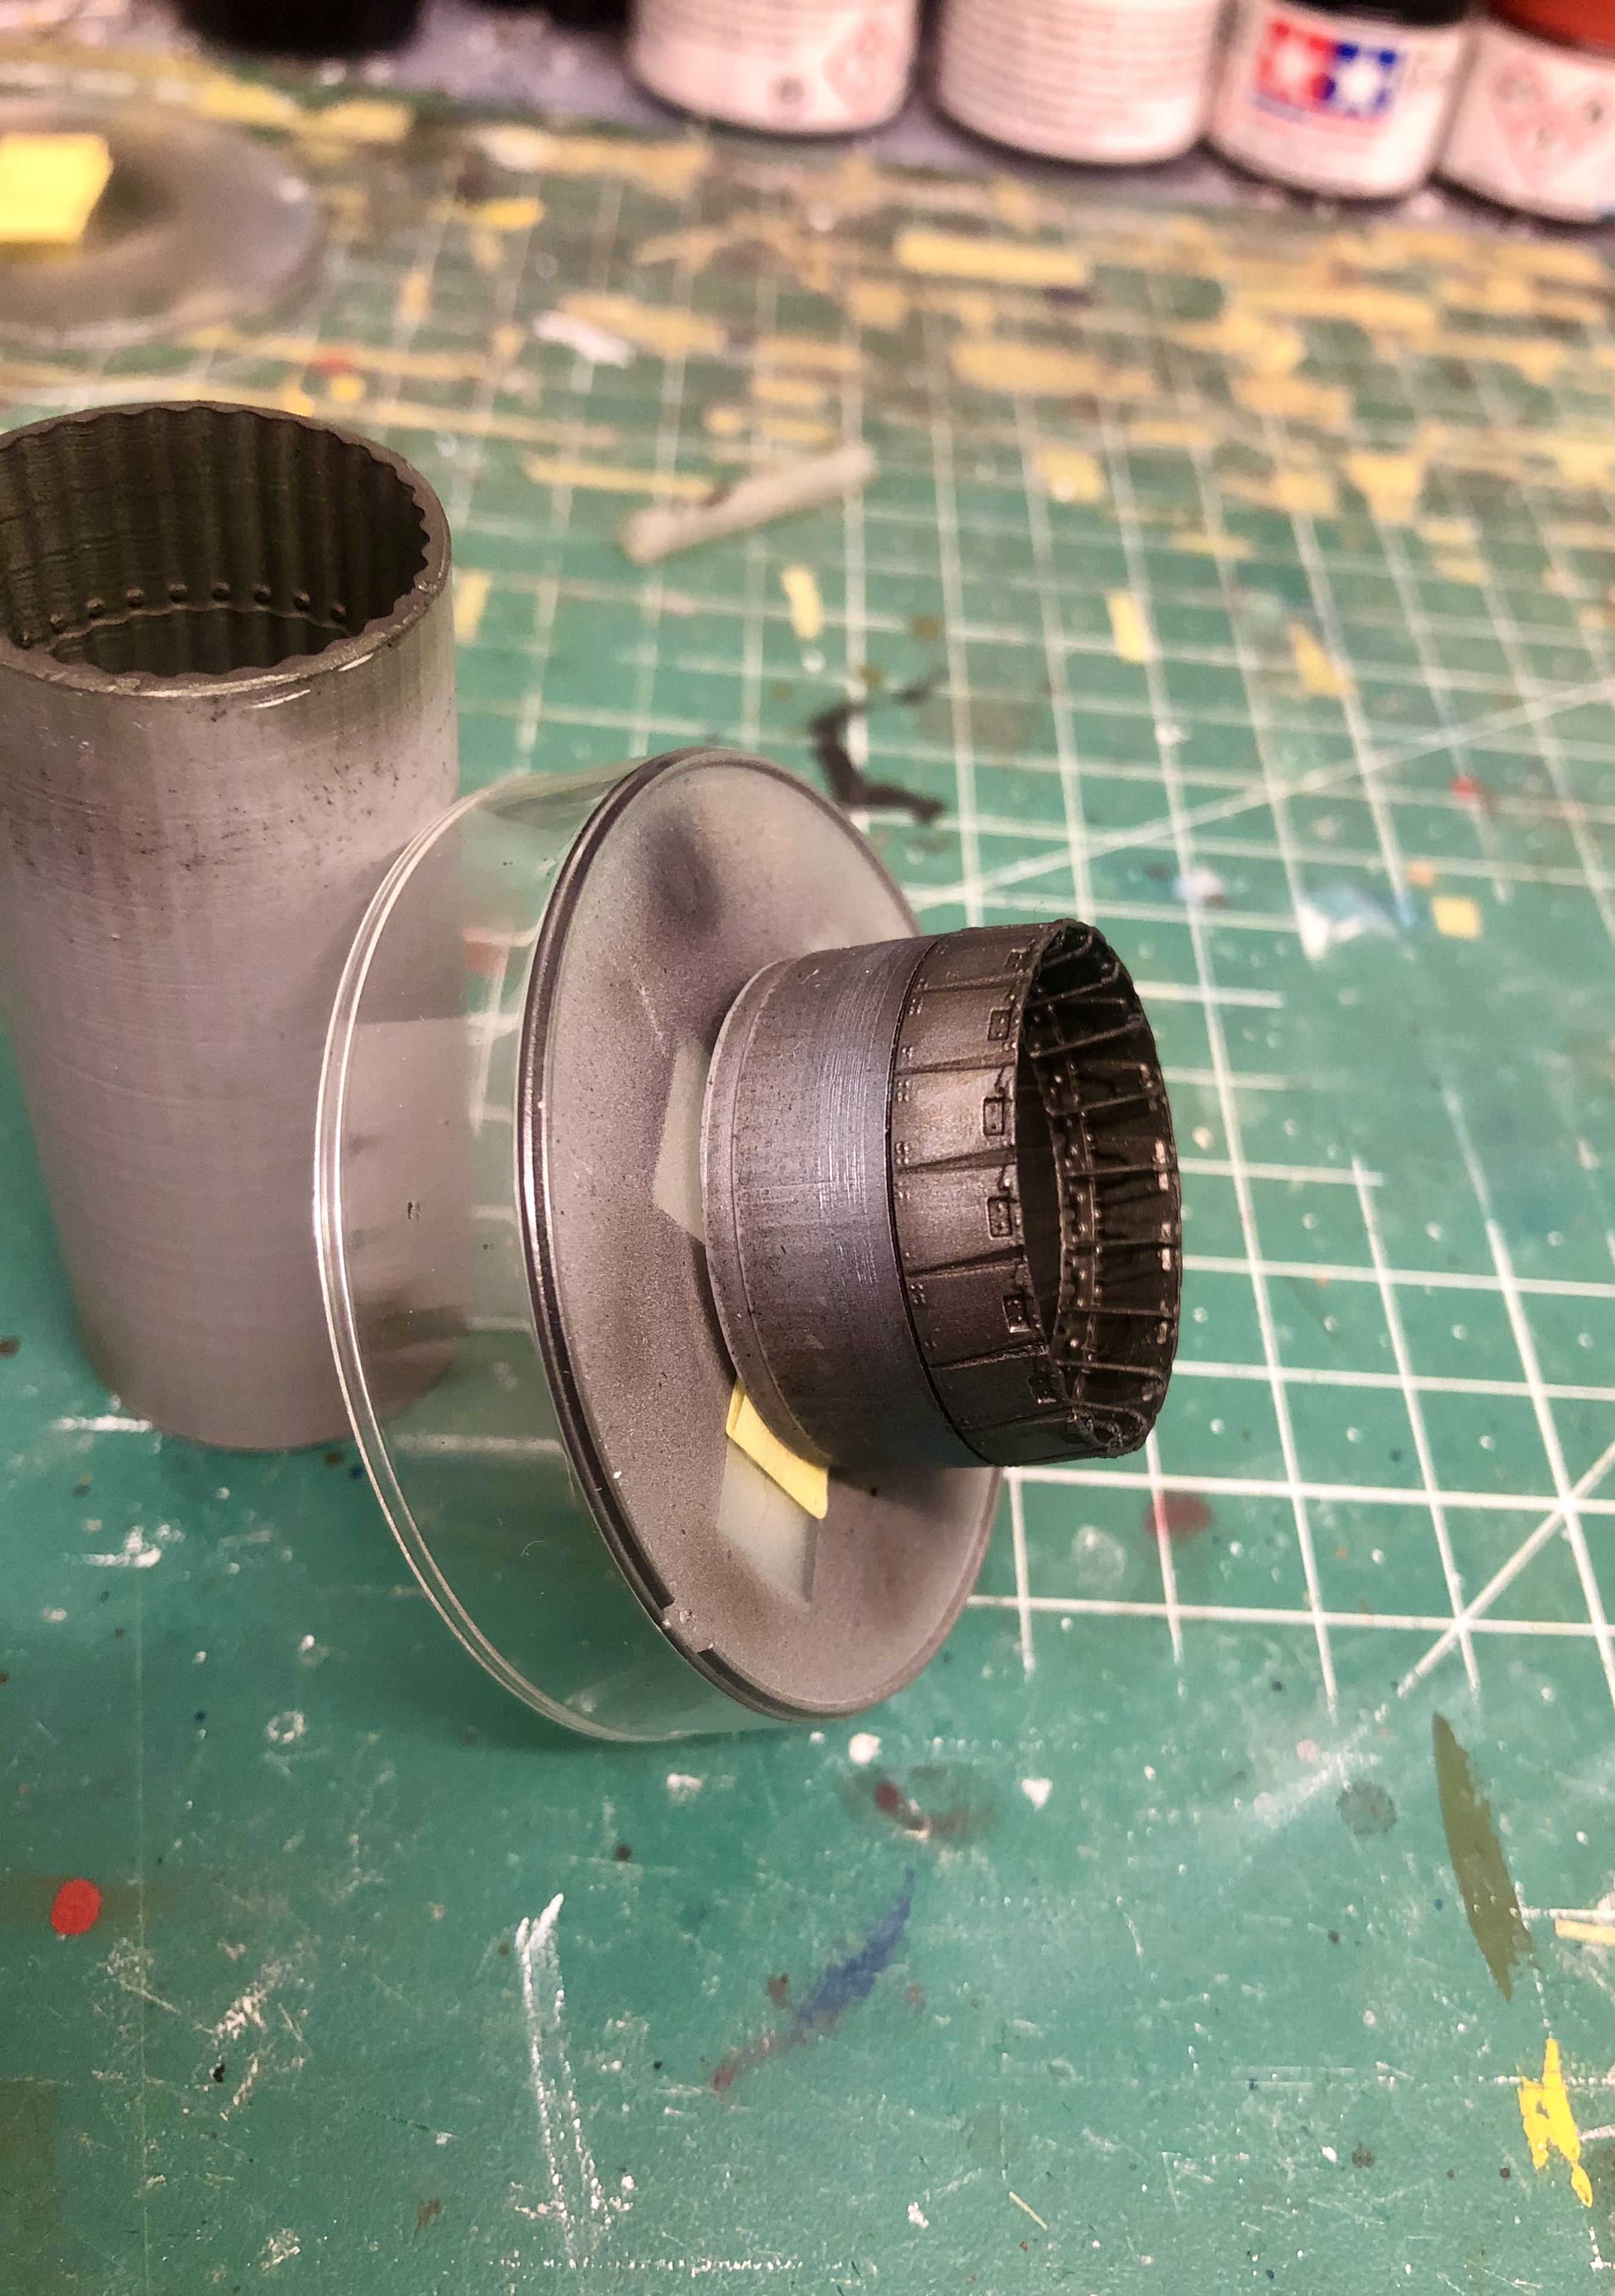
Kaireckstadt replied to Kaireckstadt's topic in LSM 1/35 and Larger Work In Progress
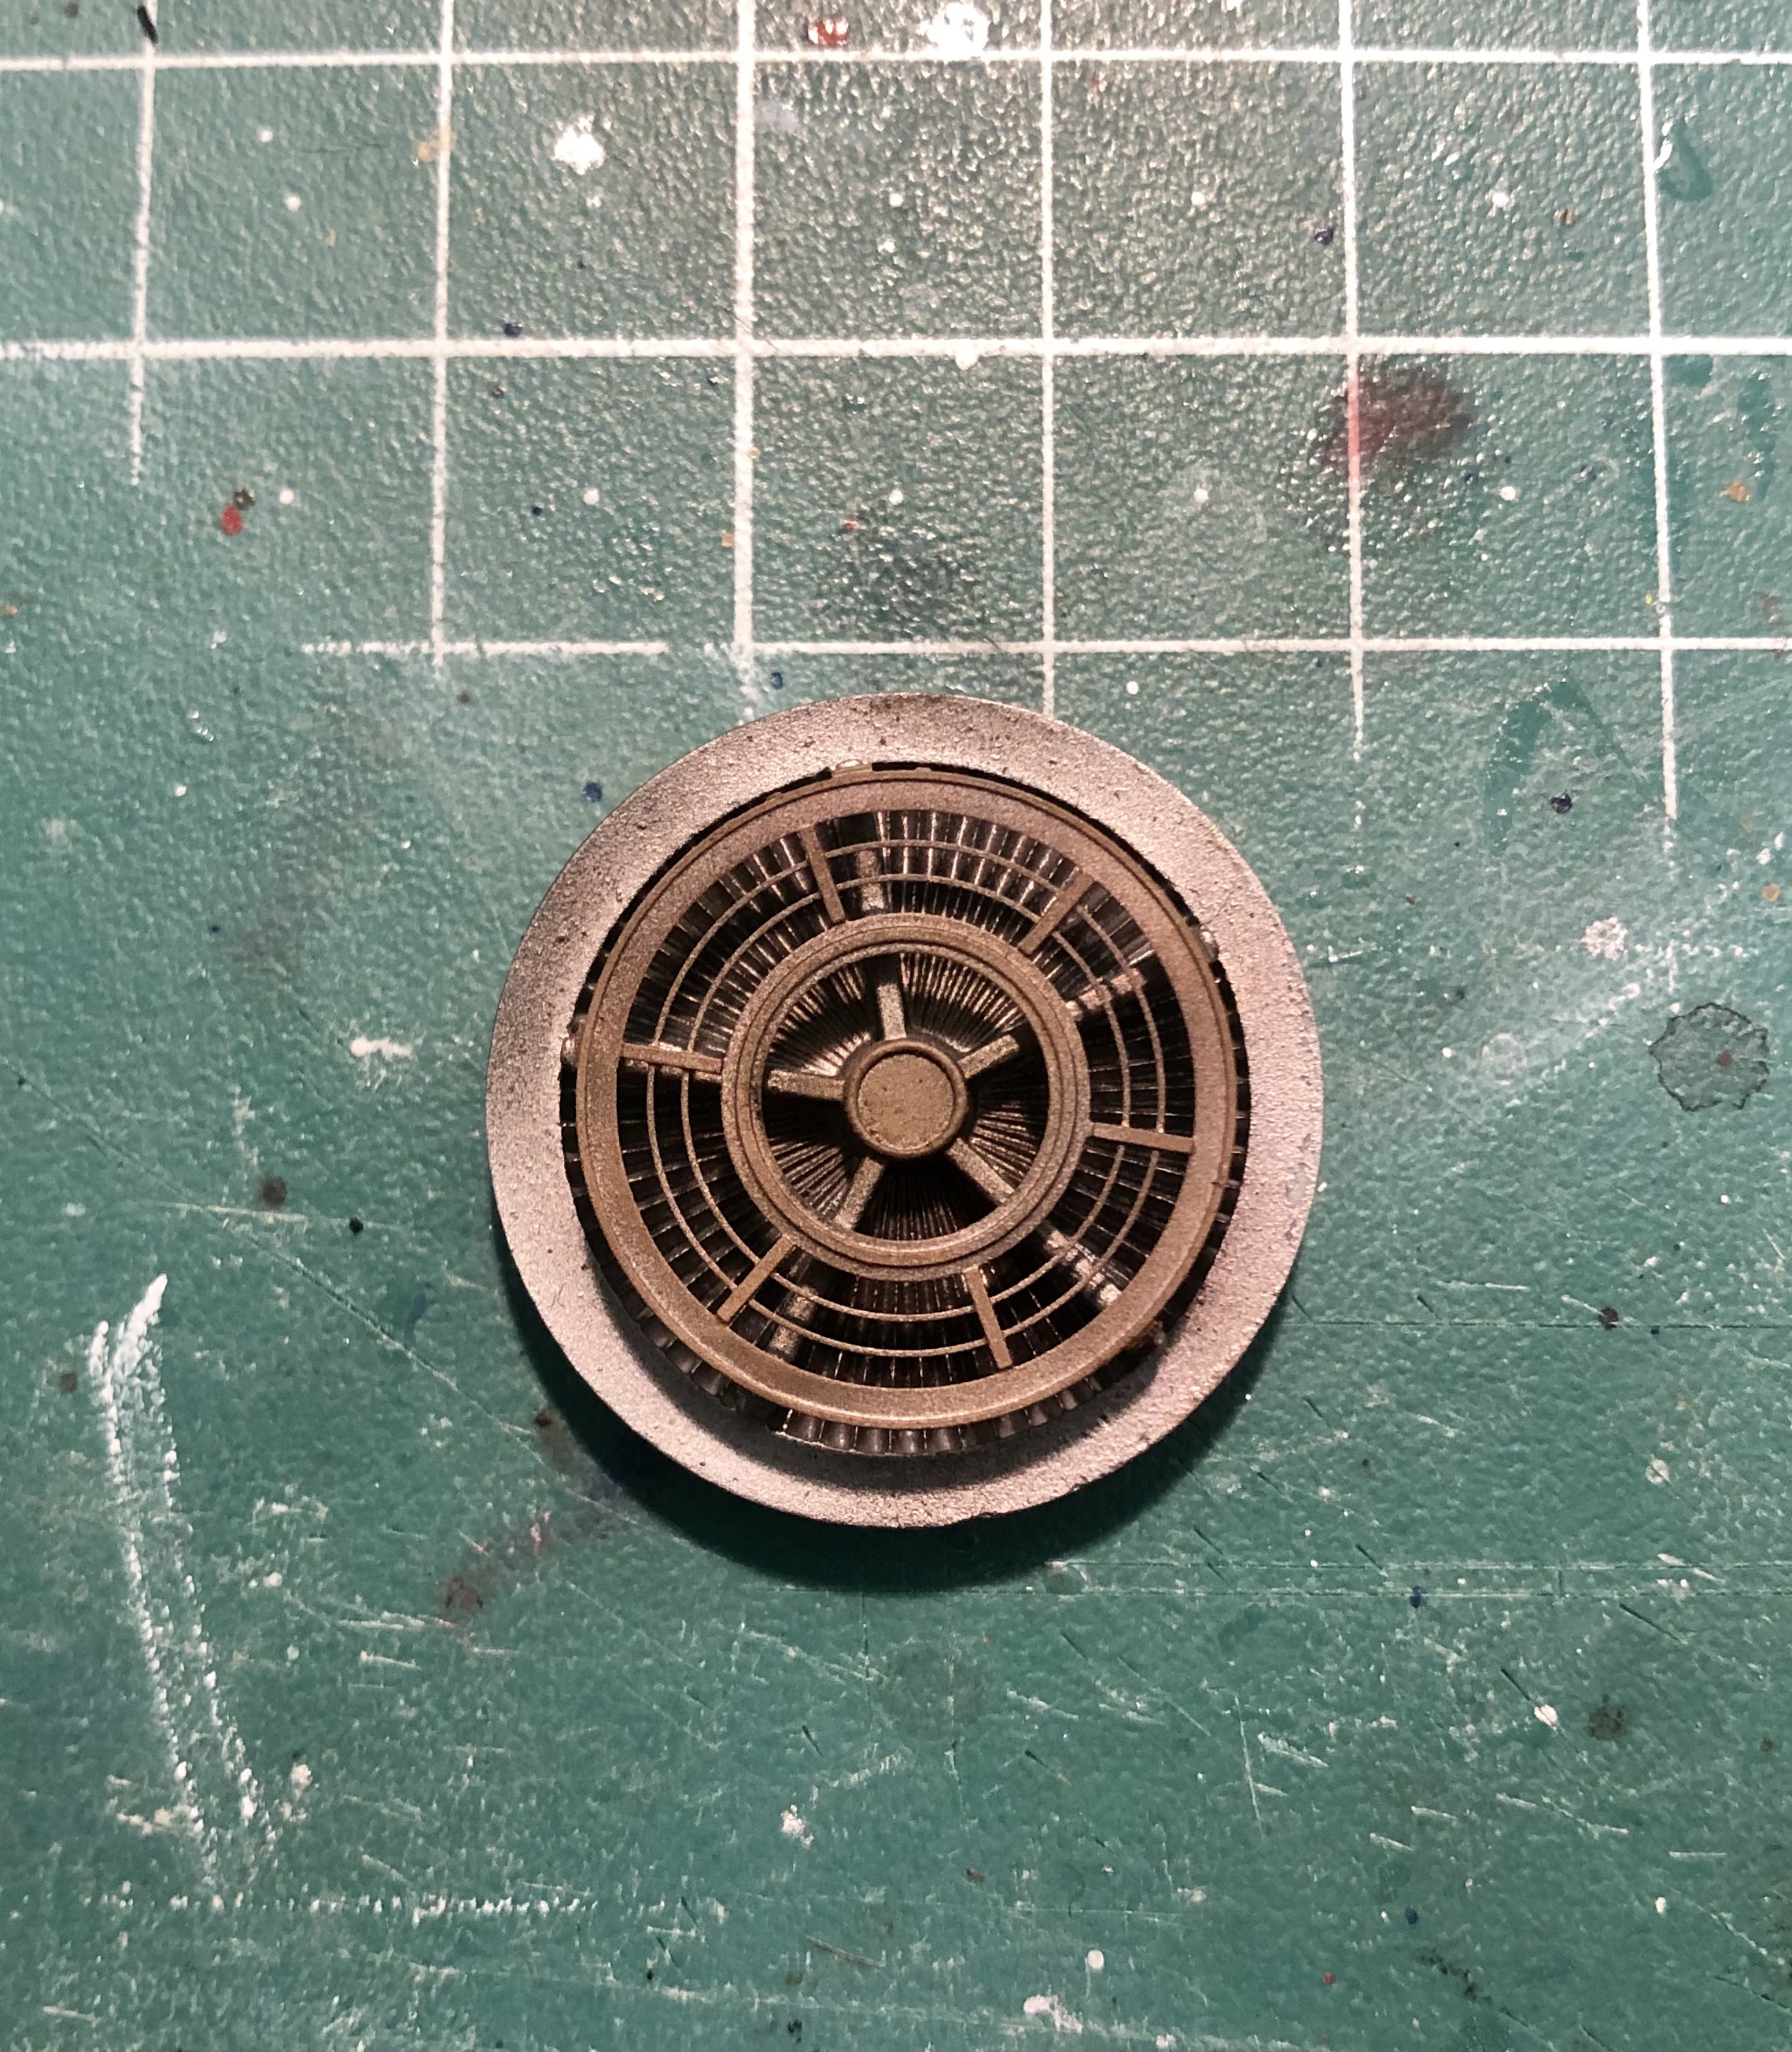
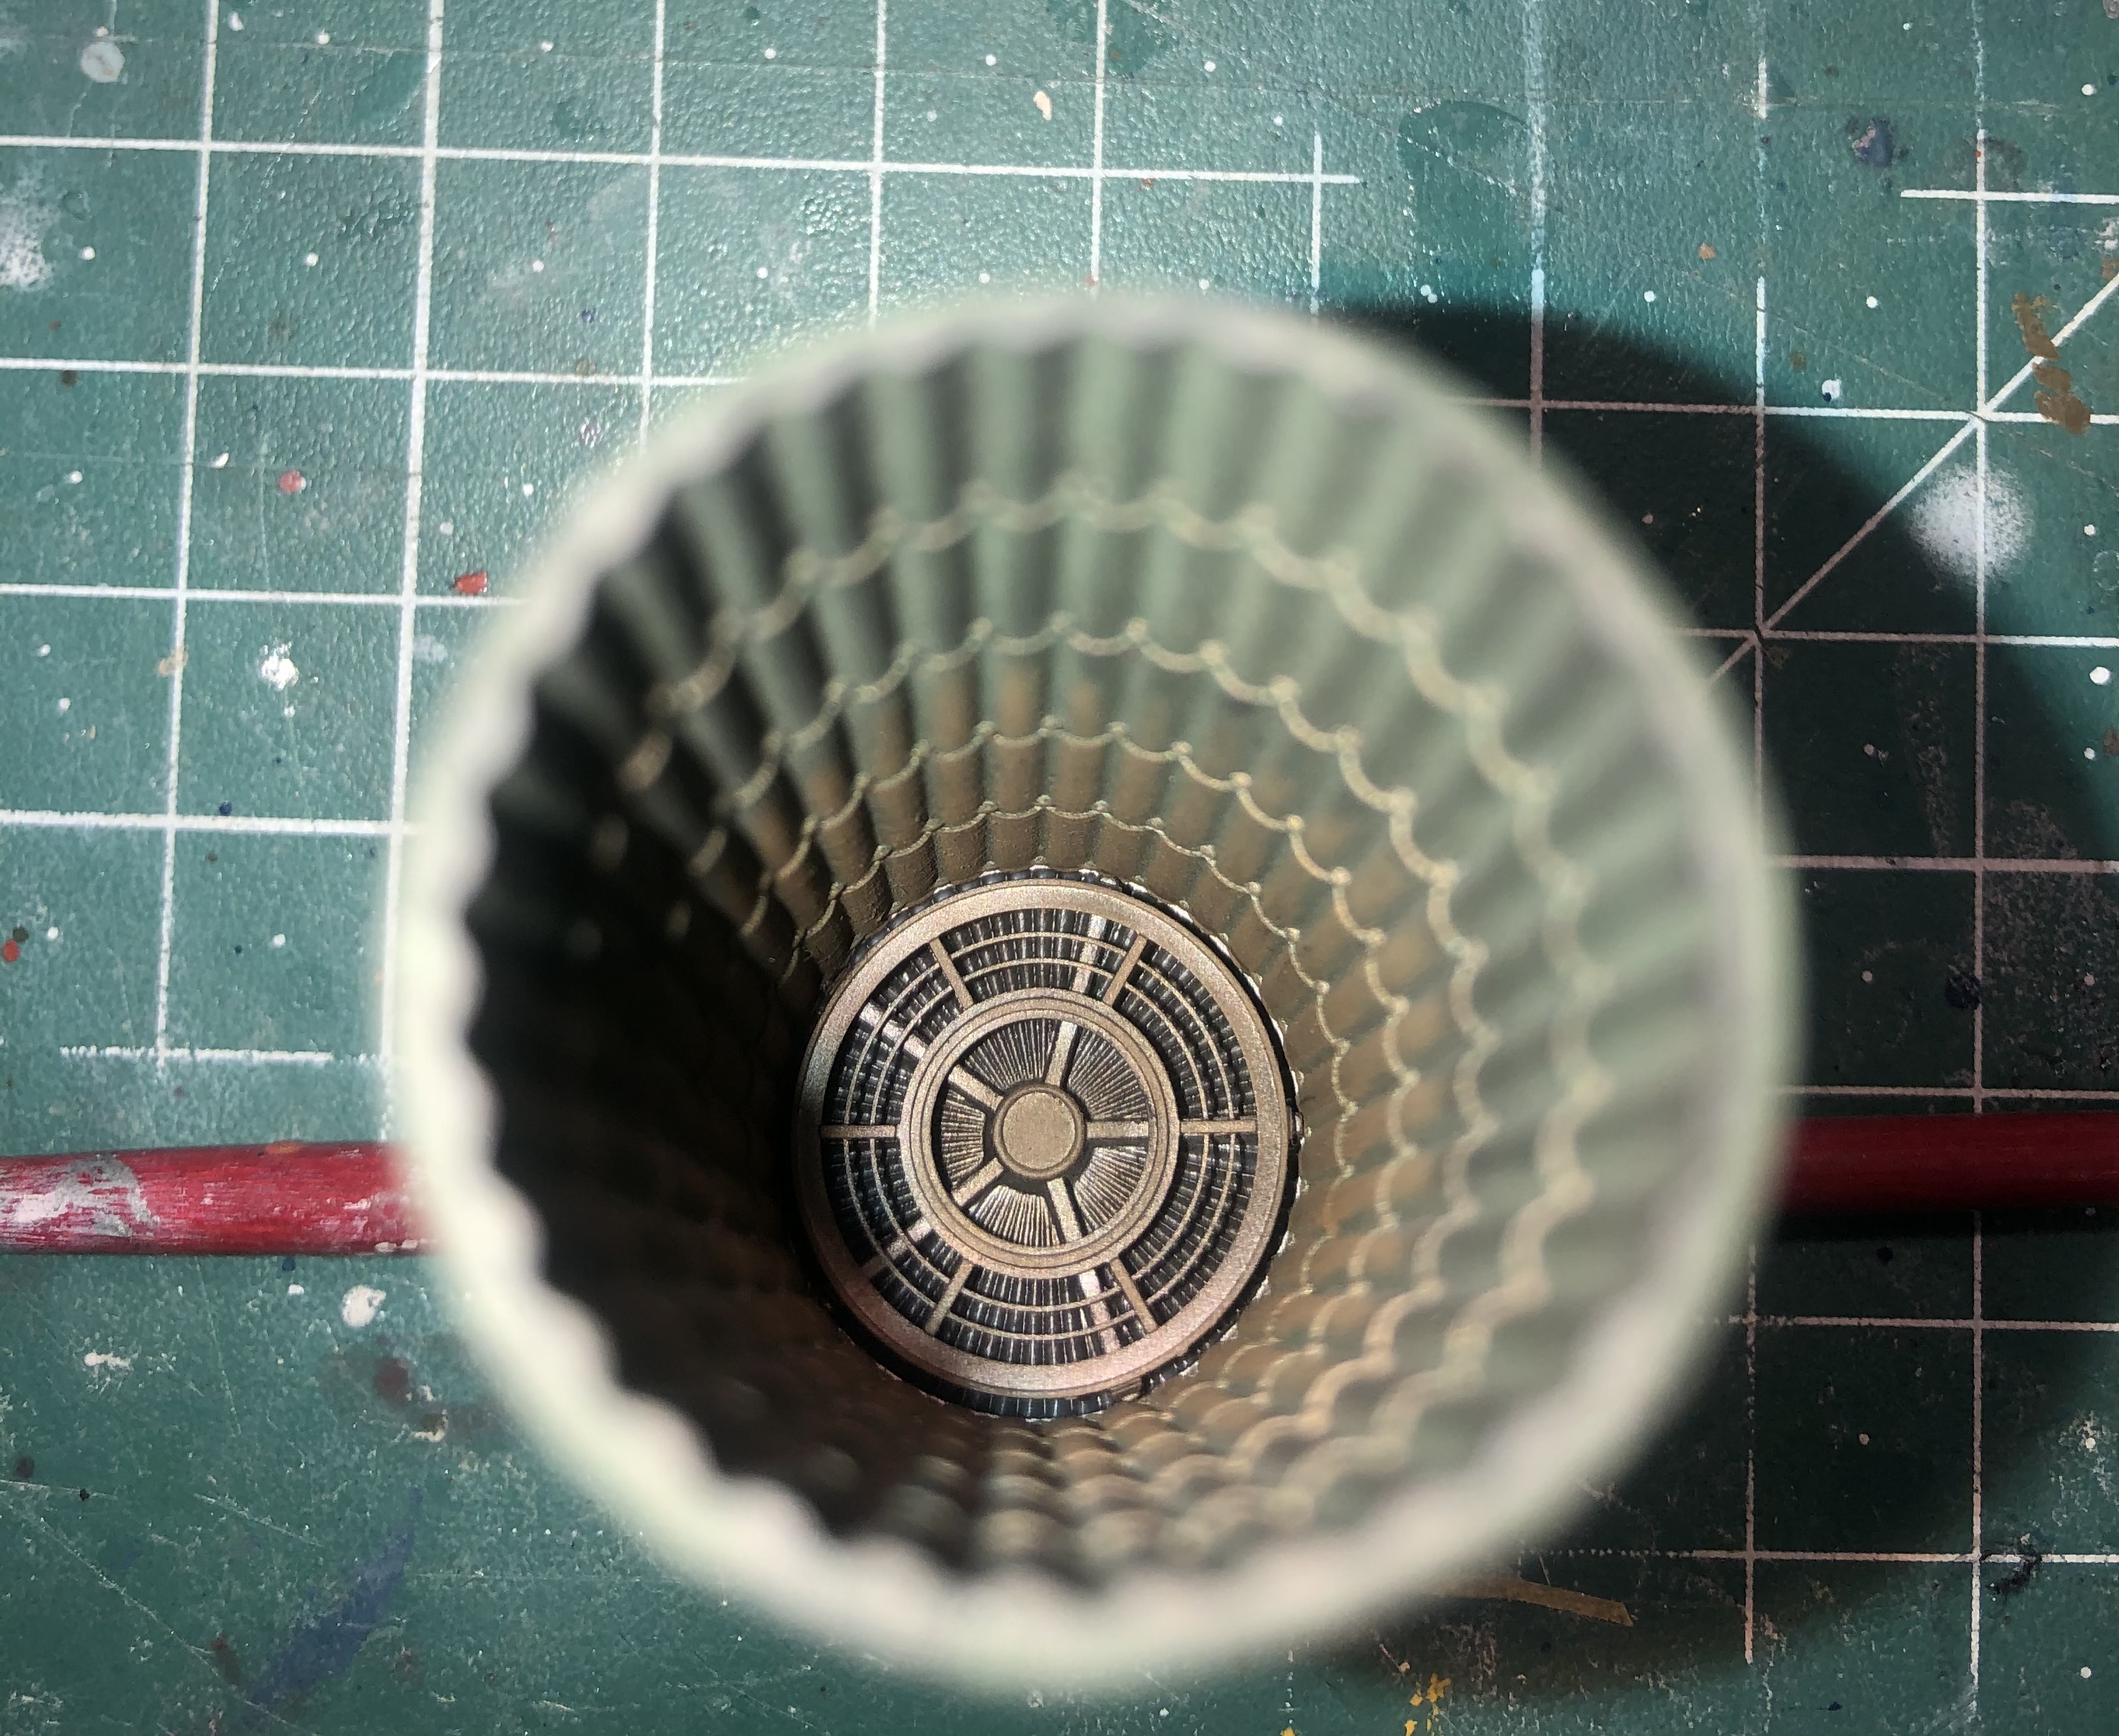
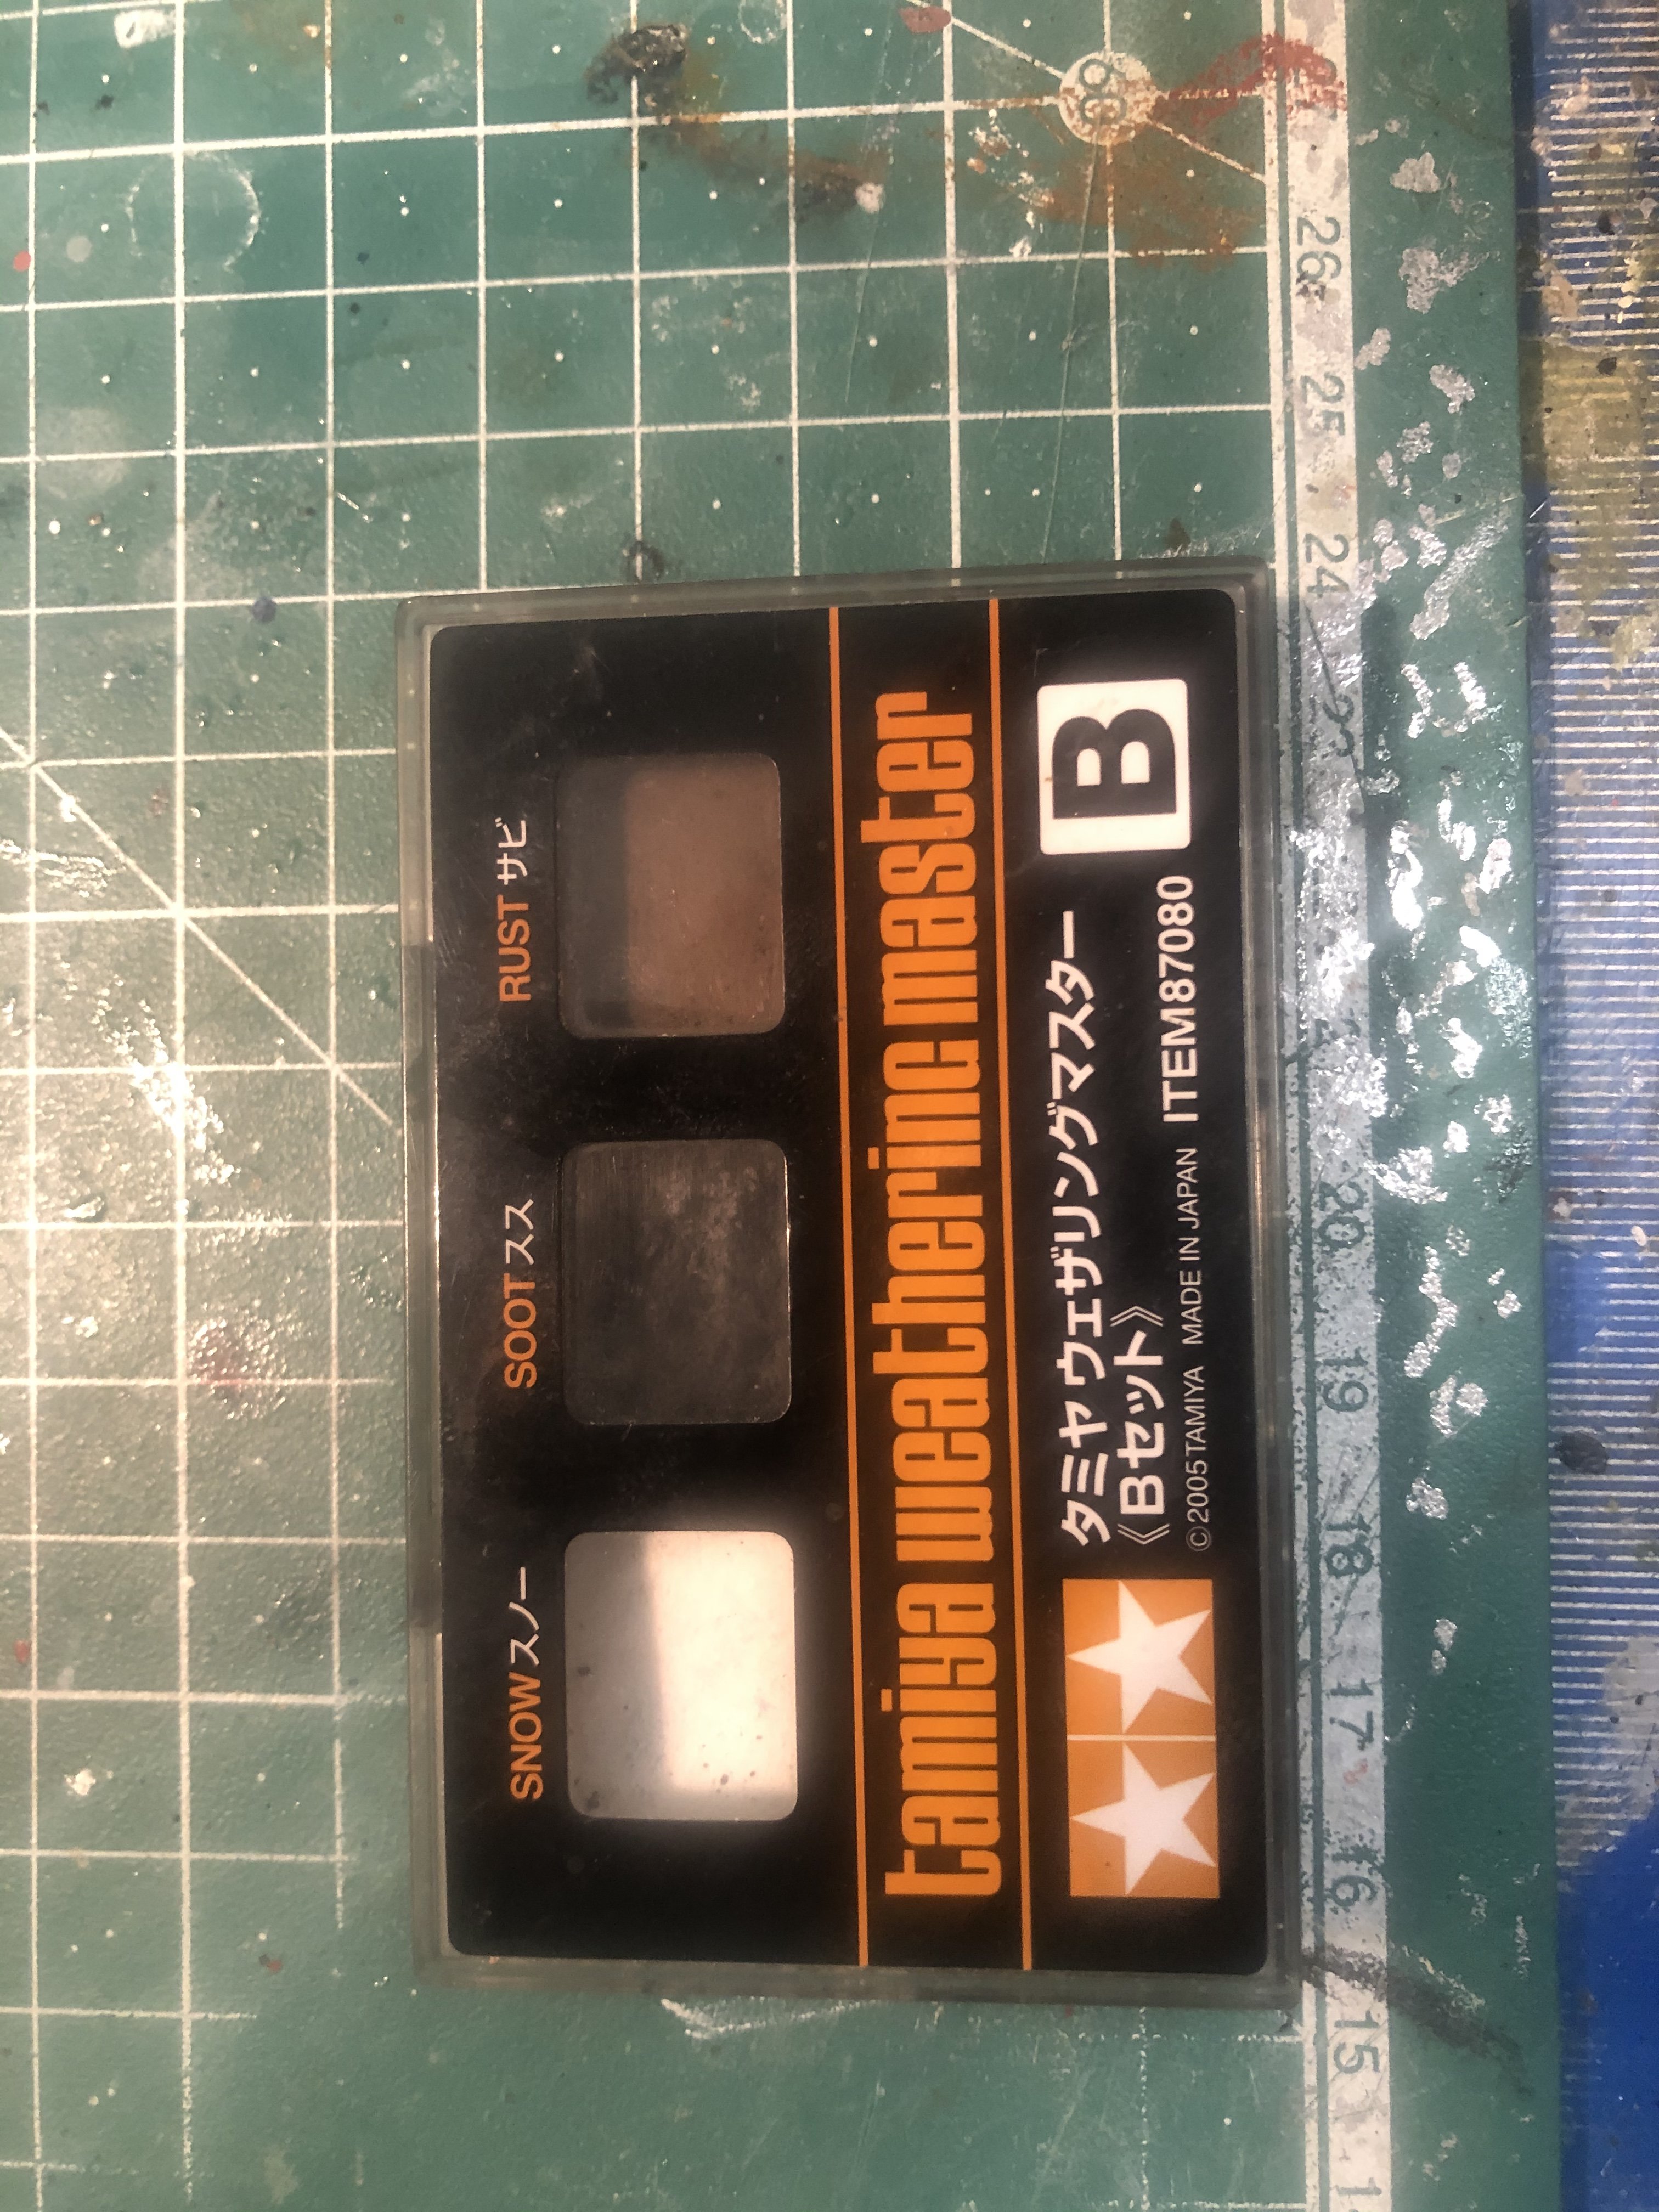
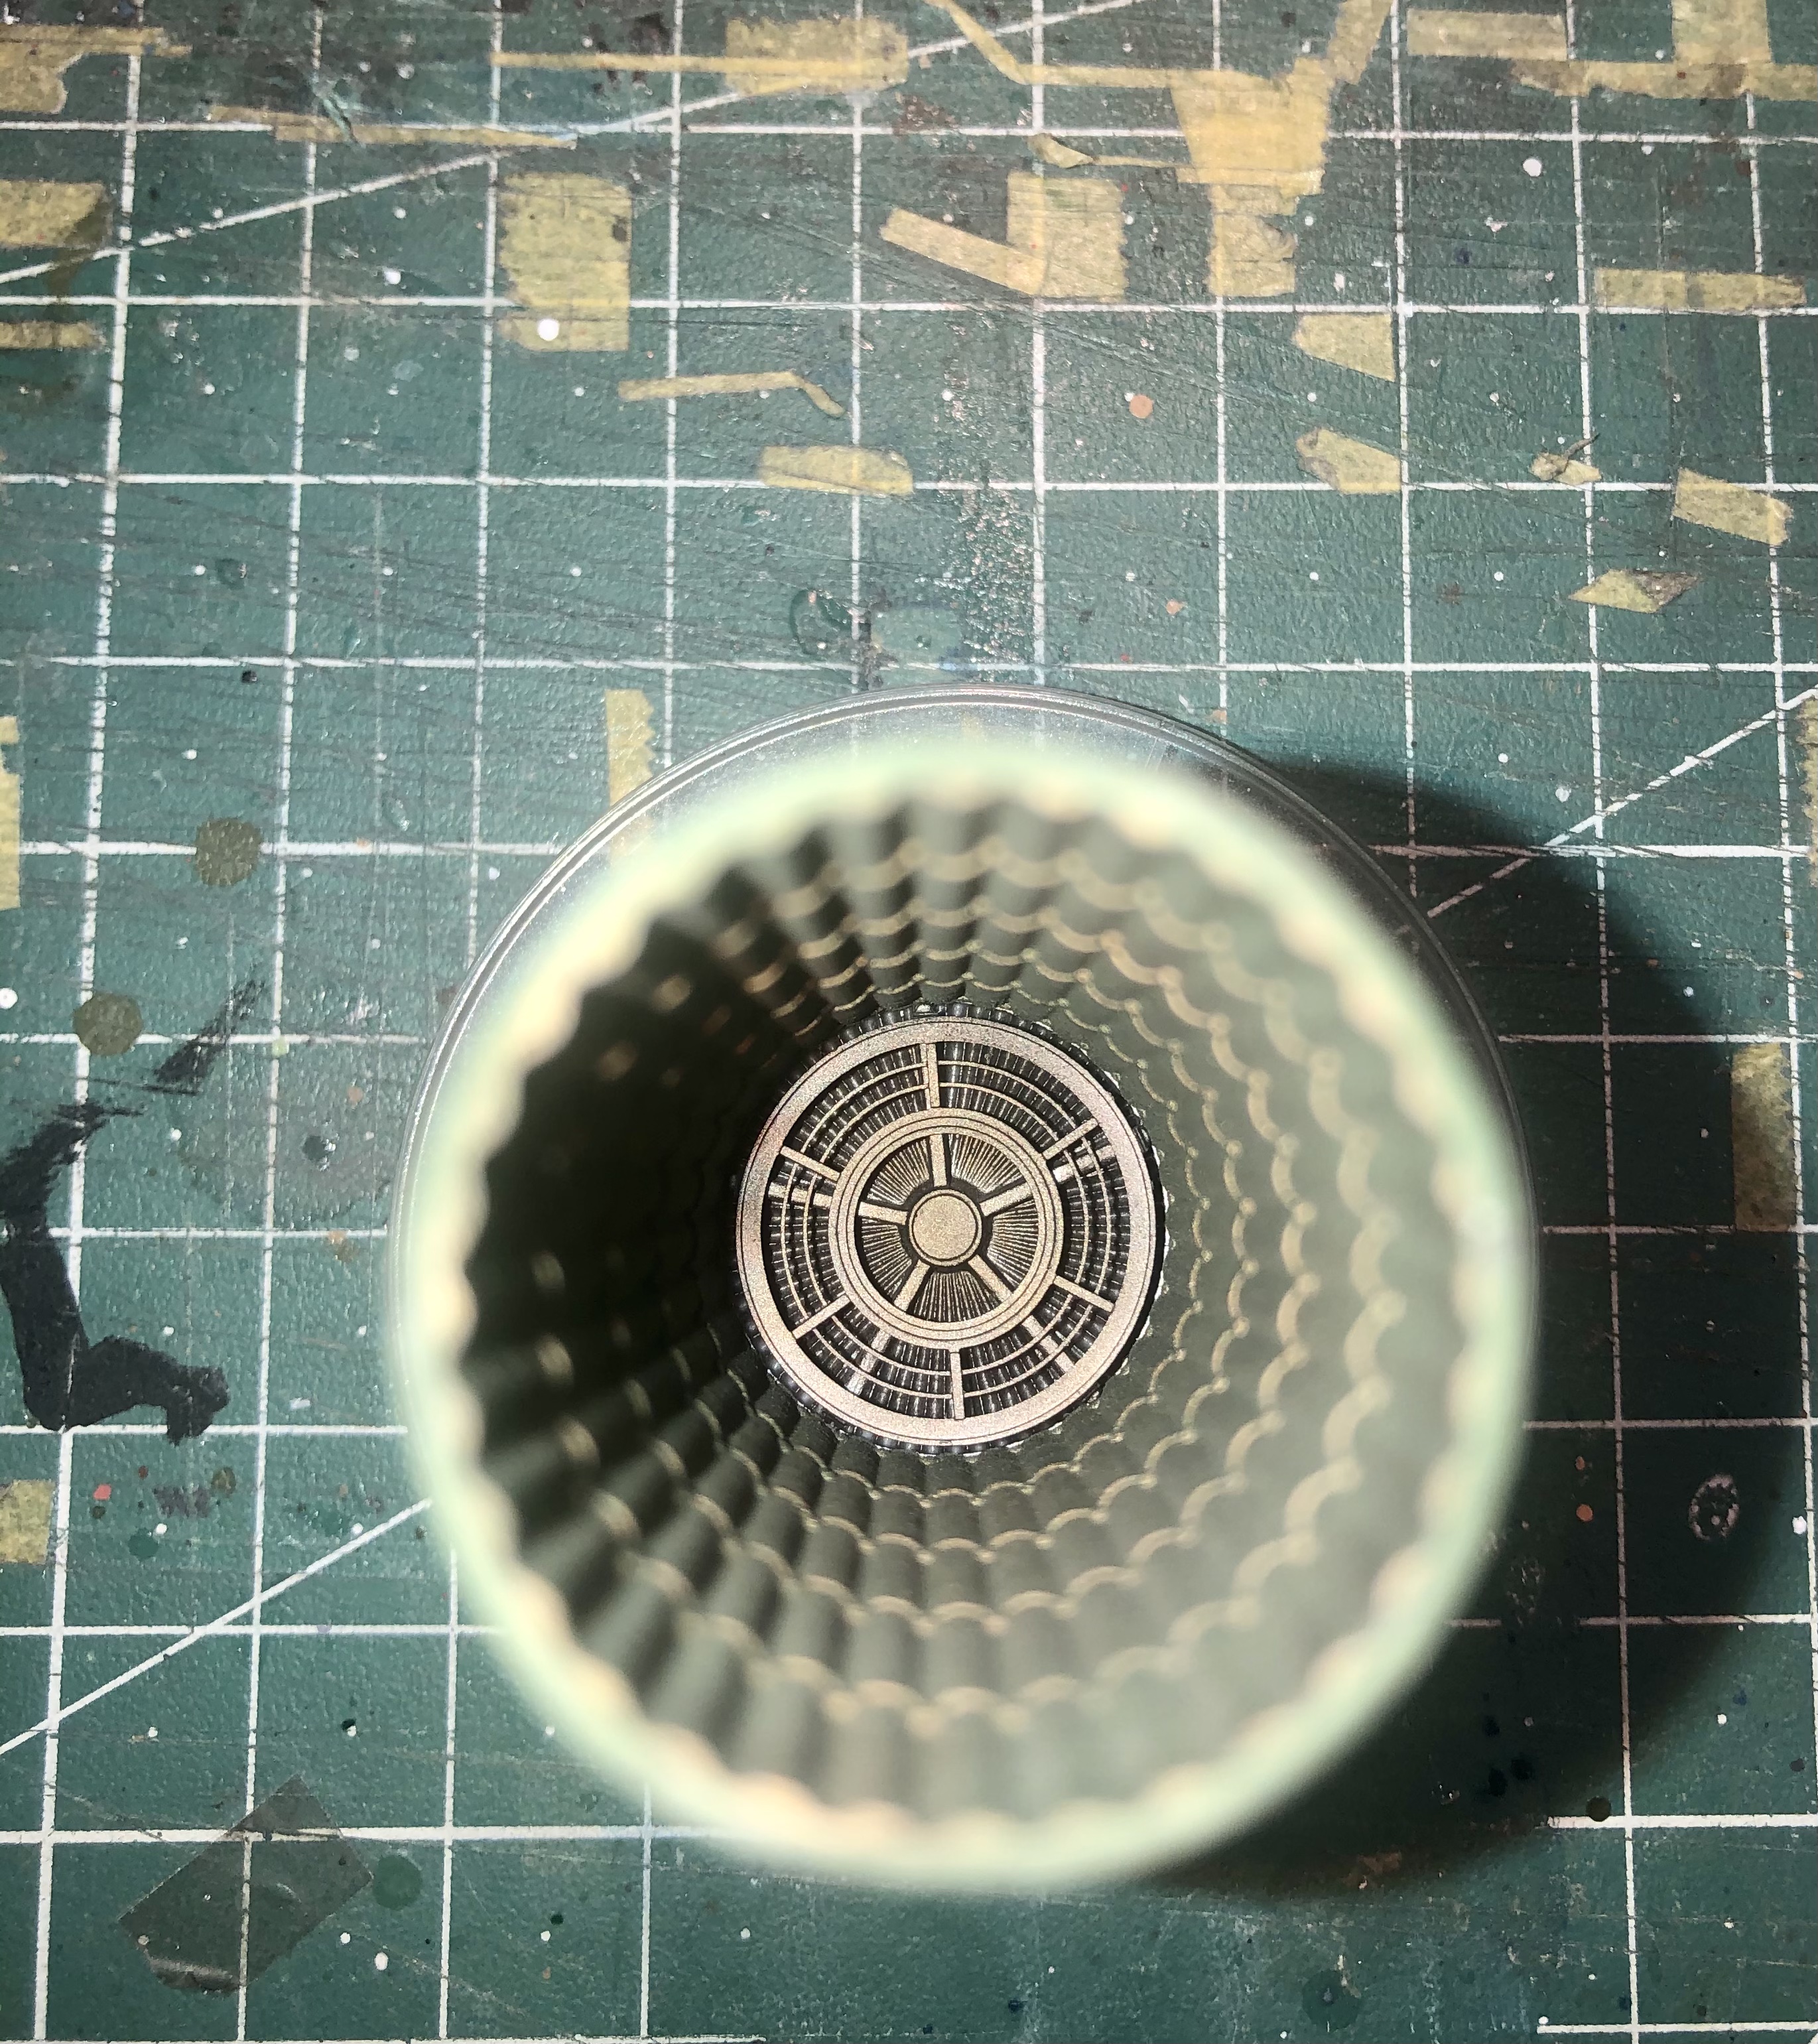
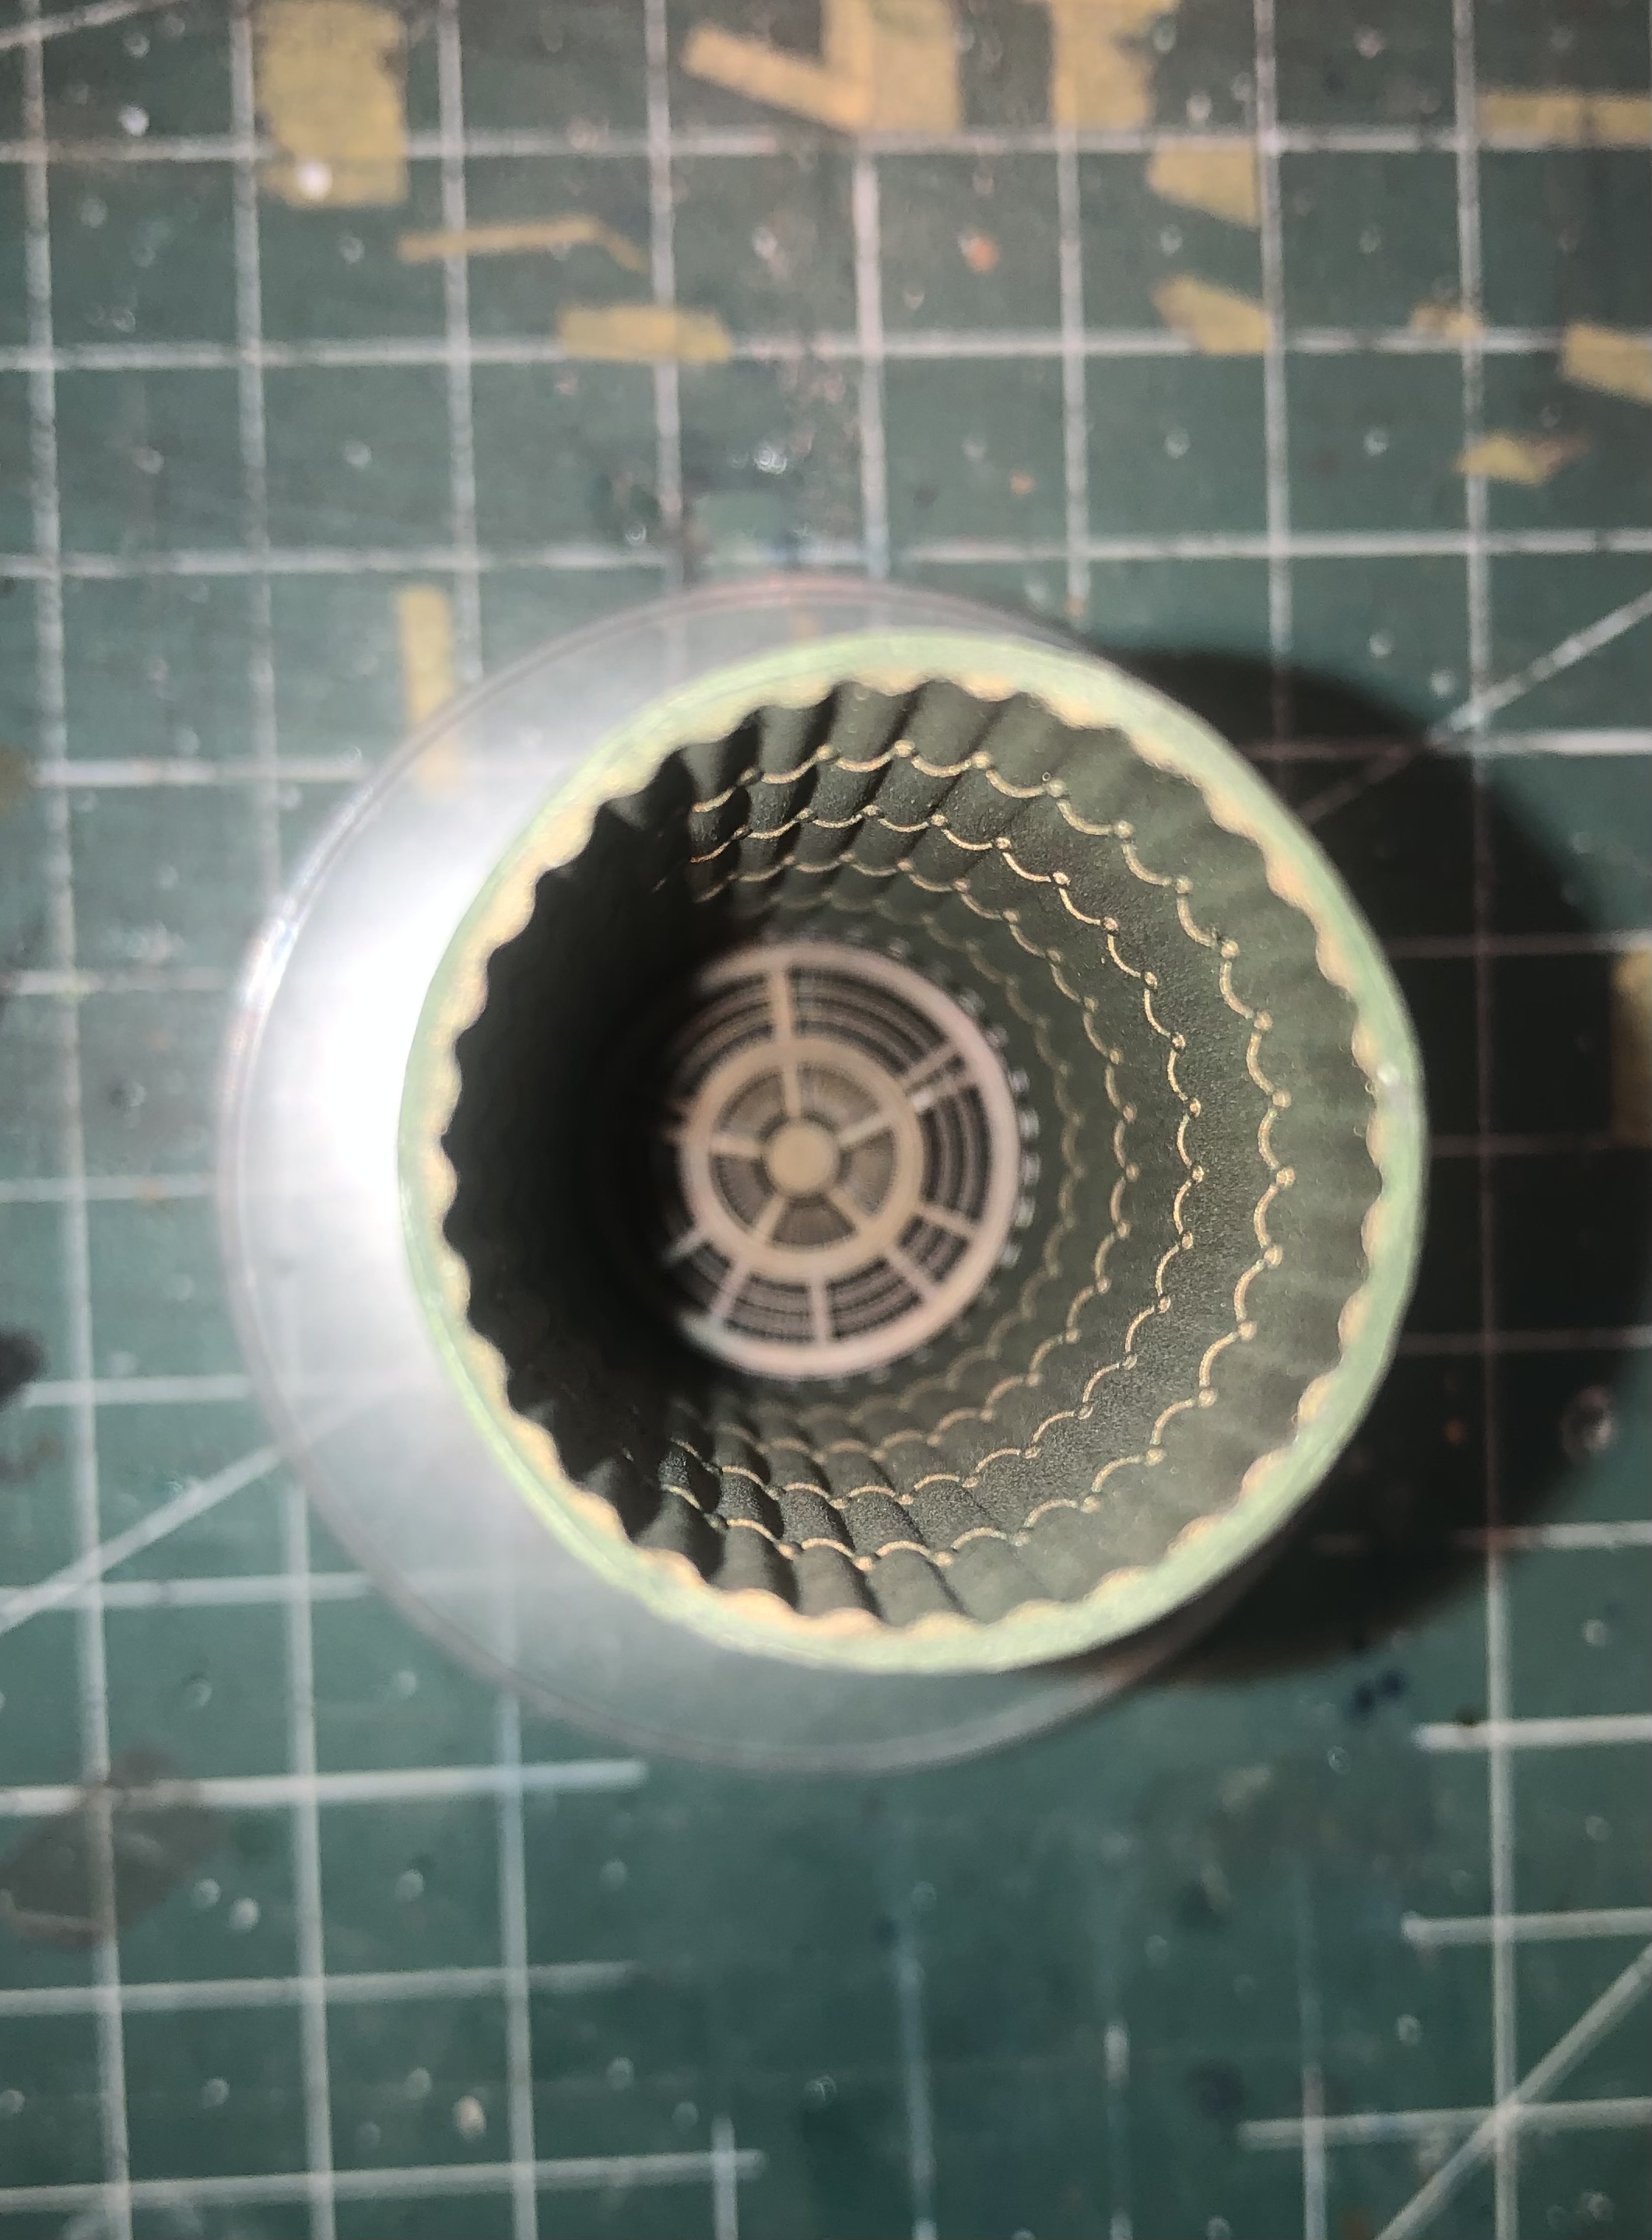
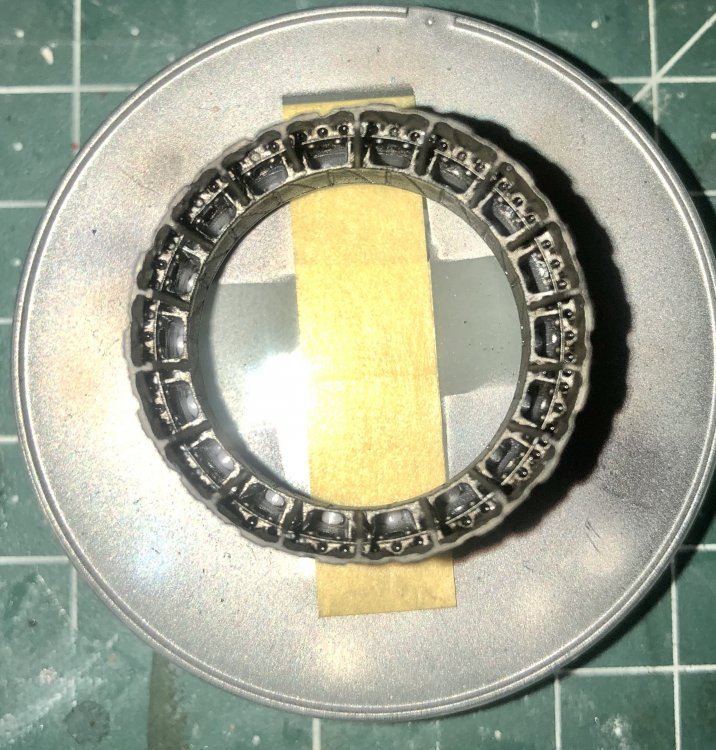
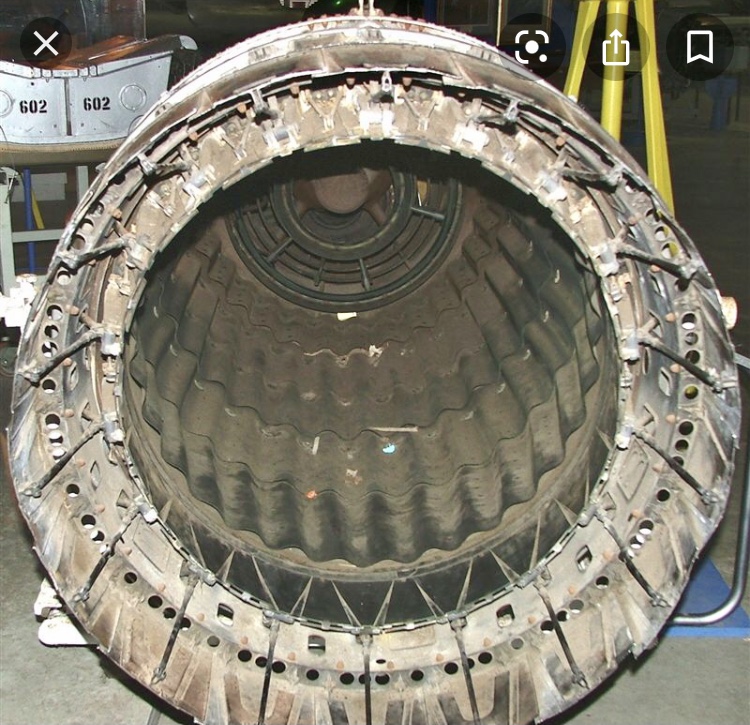
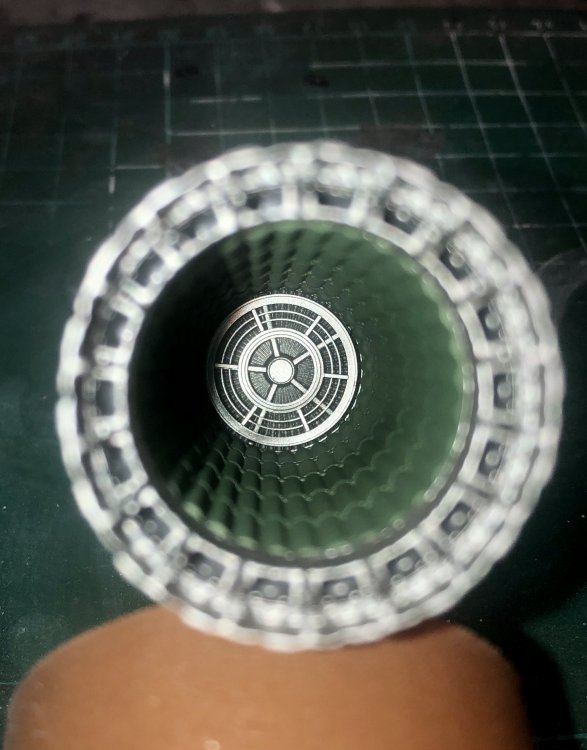
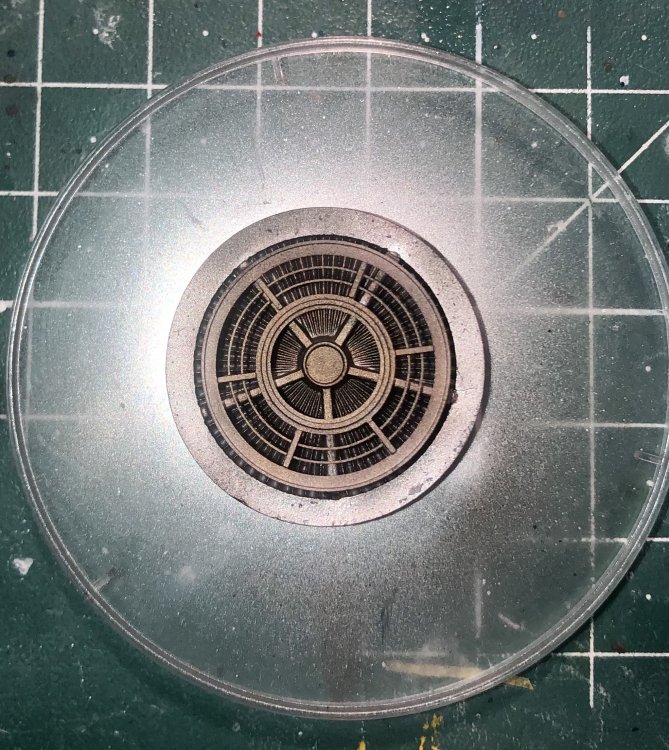
The thruster is completely finished now. The nozzle received a wash with oil-colors: The other parts were weathered with different colors of the Tamiya Weatherine Sets: Here‘s a picture of an original thruster: And this is my interpretation: So now on to the priming phase... Happy modeling and have a nice long weekend!


-
Atlas Cheetah E Scaleworx Conversion
Kaireckstadt replied to GusMac's topic in LSM 1/35 and Larger Work In Progress
Can’t wait to see them Gus. So we all have a „weekend of flaws“ in front of us ? You, Alberto and myself are close to priming. I‘m sure there will be some flaws to correct... -
Israeli Mirage III C with Atar9C
Kaireckstadt replied to Kaireckstadt's topic in LSM 1/35 and Larger Work In Progress
Thank you Gus! The fit was ok but you really have to take care that the front plastic part on the fuselage fits correctly: I had to sand the rear parts a little bit to get a tight fit to the fuselage. BTW: I‘m so impressed by your Cheetah conversion that I ordered the conversion kit at Scaleworx yesterday. I also got another Revell Mirage III E (the same you use) very cheap from a friend.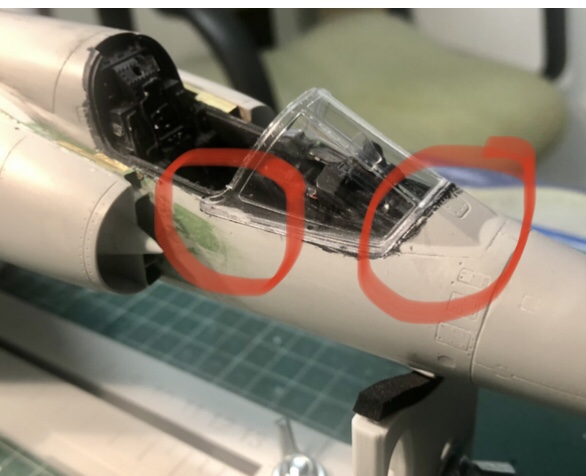
-
Israeli Mirage III C with Atar9C
Kaireckstadt replied to Kaireckstadt's topic in LSM 1/35 and Larger Work In Progress
Thanks Gary. Let’s see how it will look like when finished! Thanks Rob! I did the same you did. Alclad only used for these 2 colors. AK Colors are really beautiful! Thank you Peter, didn’t hear of this new clear glue from Revell. I use contacta clear from them. I hope I can start priming at the long weekend! -
Ferrari 330P4 Open top 24Hrs Daytona 1967
Kaireckstadt replied to mark31's topic in LSM 1/35 and Larger Work In Progress
Me too, Mark ! -
Wow that’s what I call large scale! Is it R/C-capable? The figure looks good to me but the pictures are a little too dark. Nice progress so far on the build! Will follow this for sure!
-
I‘m with Rob, Gary. Due to the kind of photos it‘s not easy to tell if the improvement worked. In my eyes the green is still very visible on the vertical stabilizer.
-
Israeli Mirage III C with Atar9C
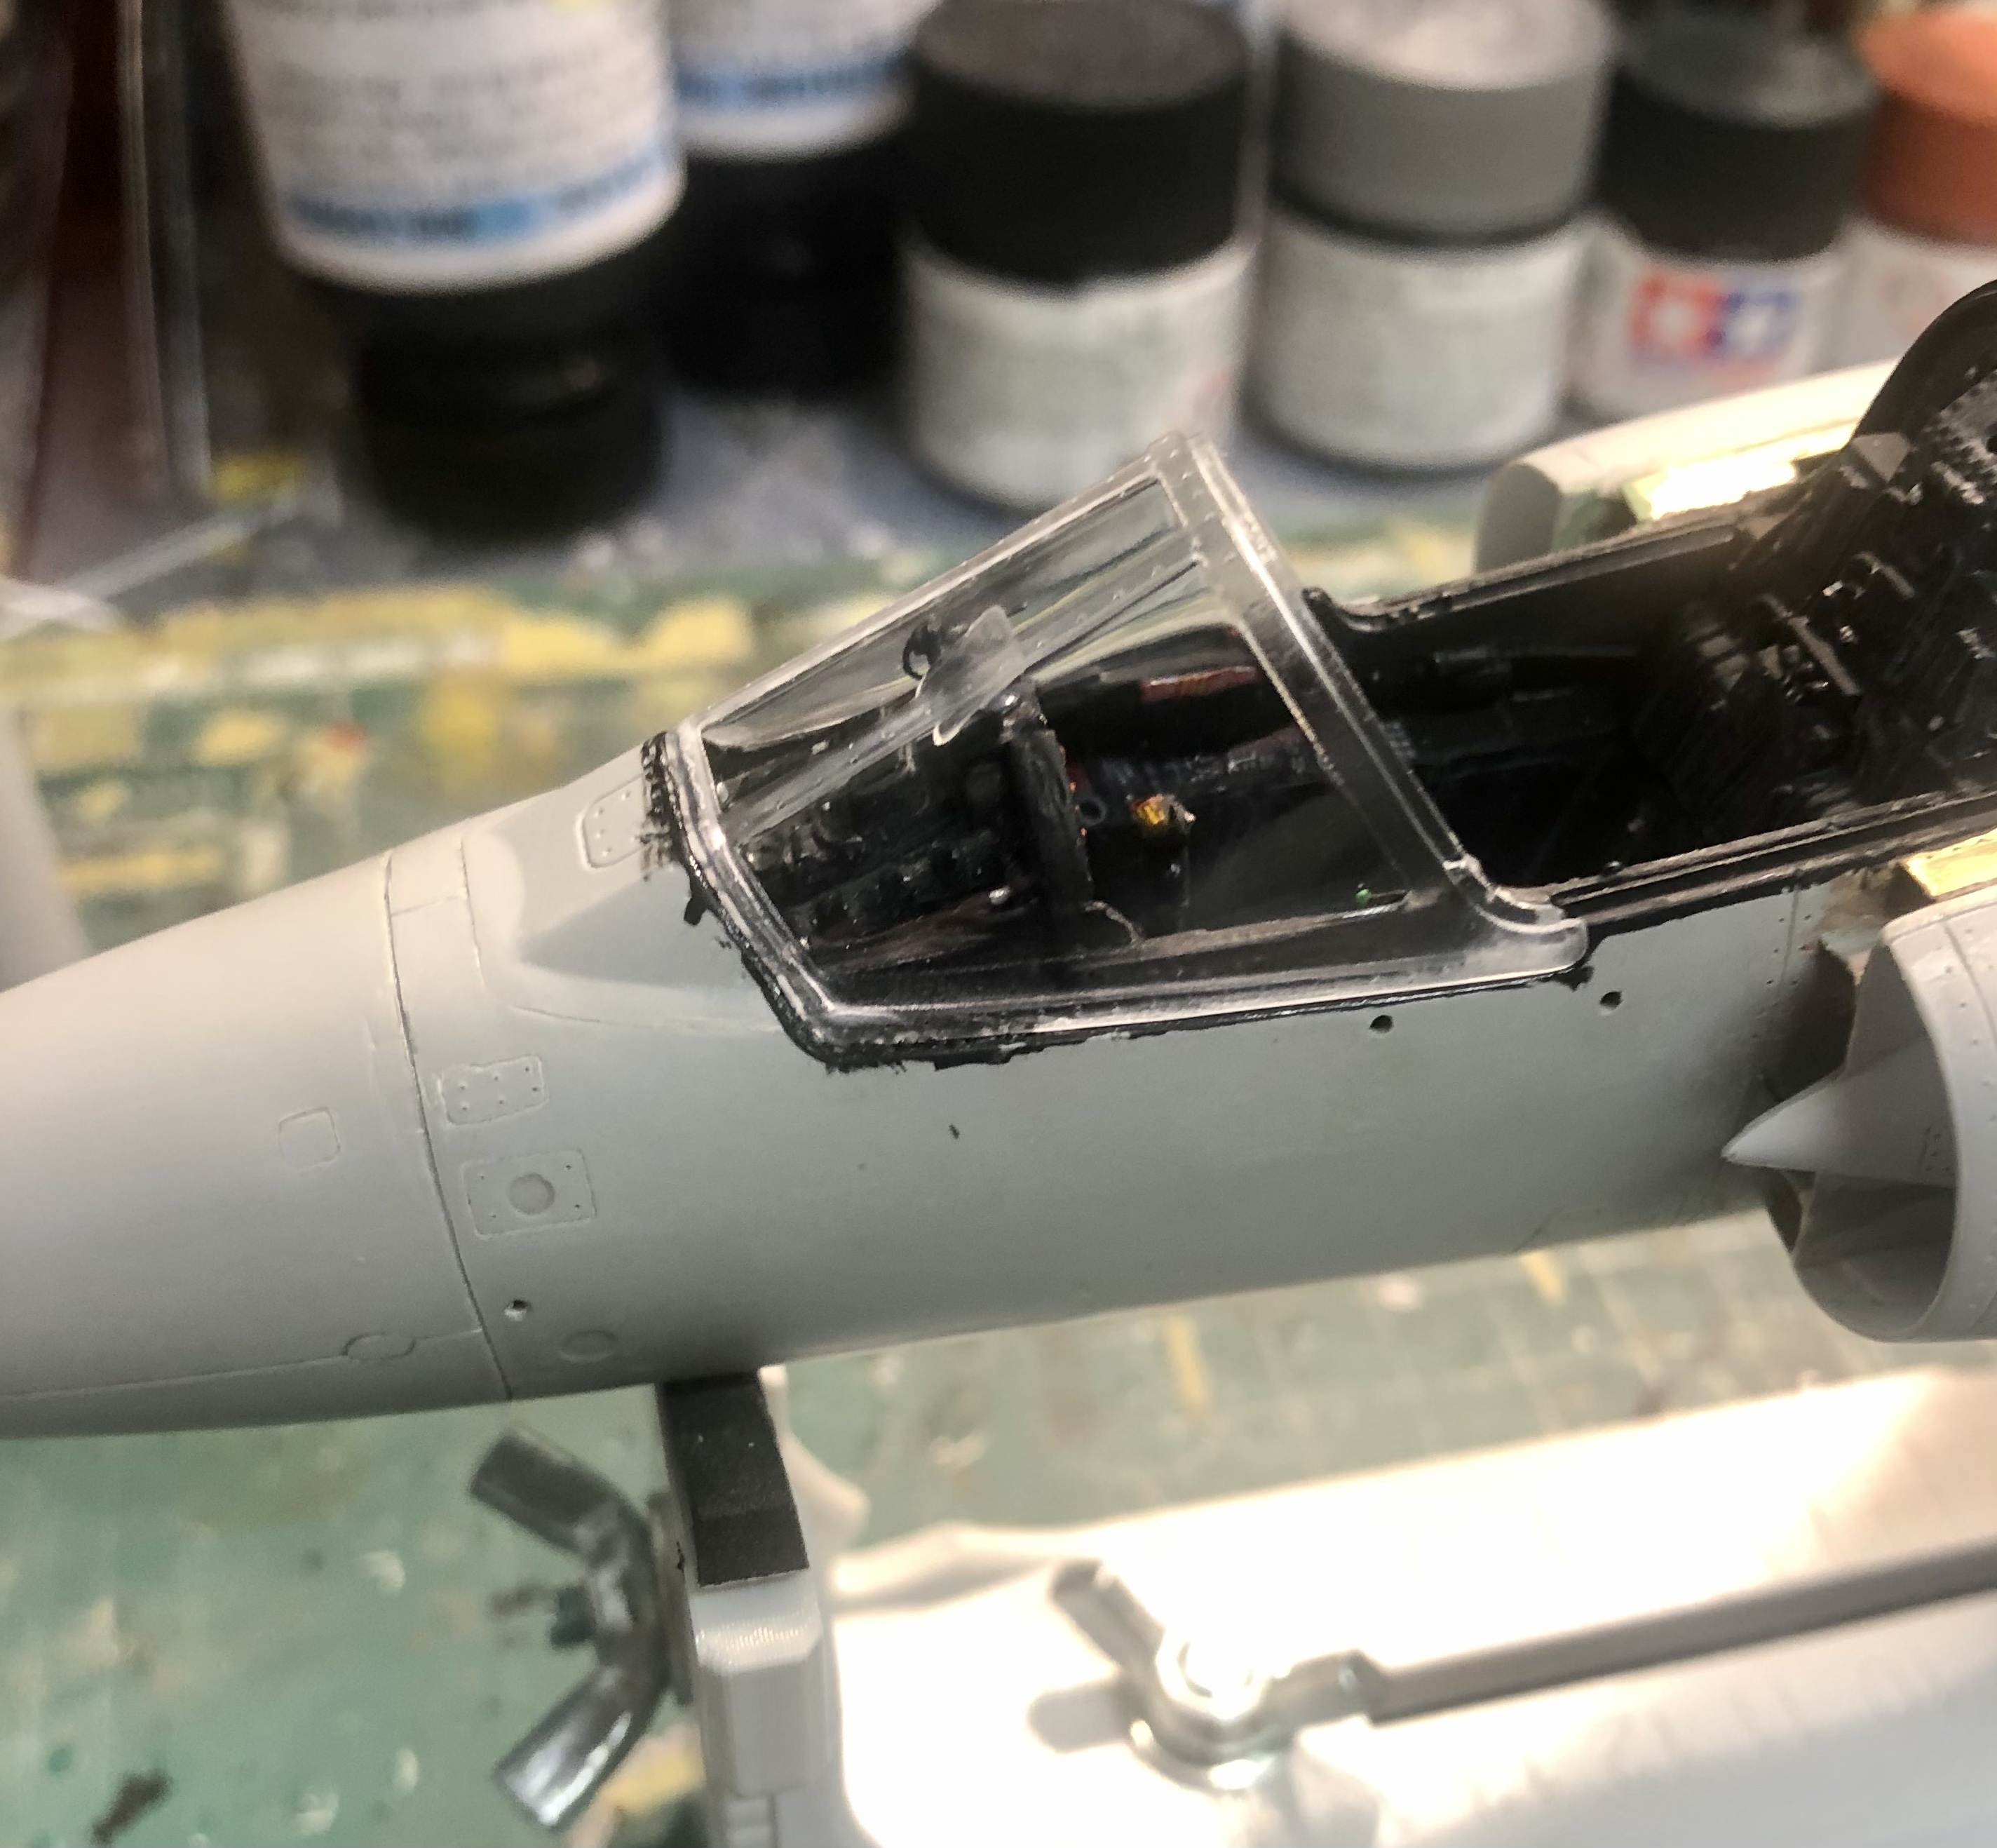
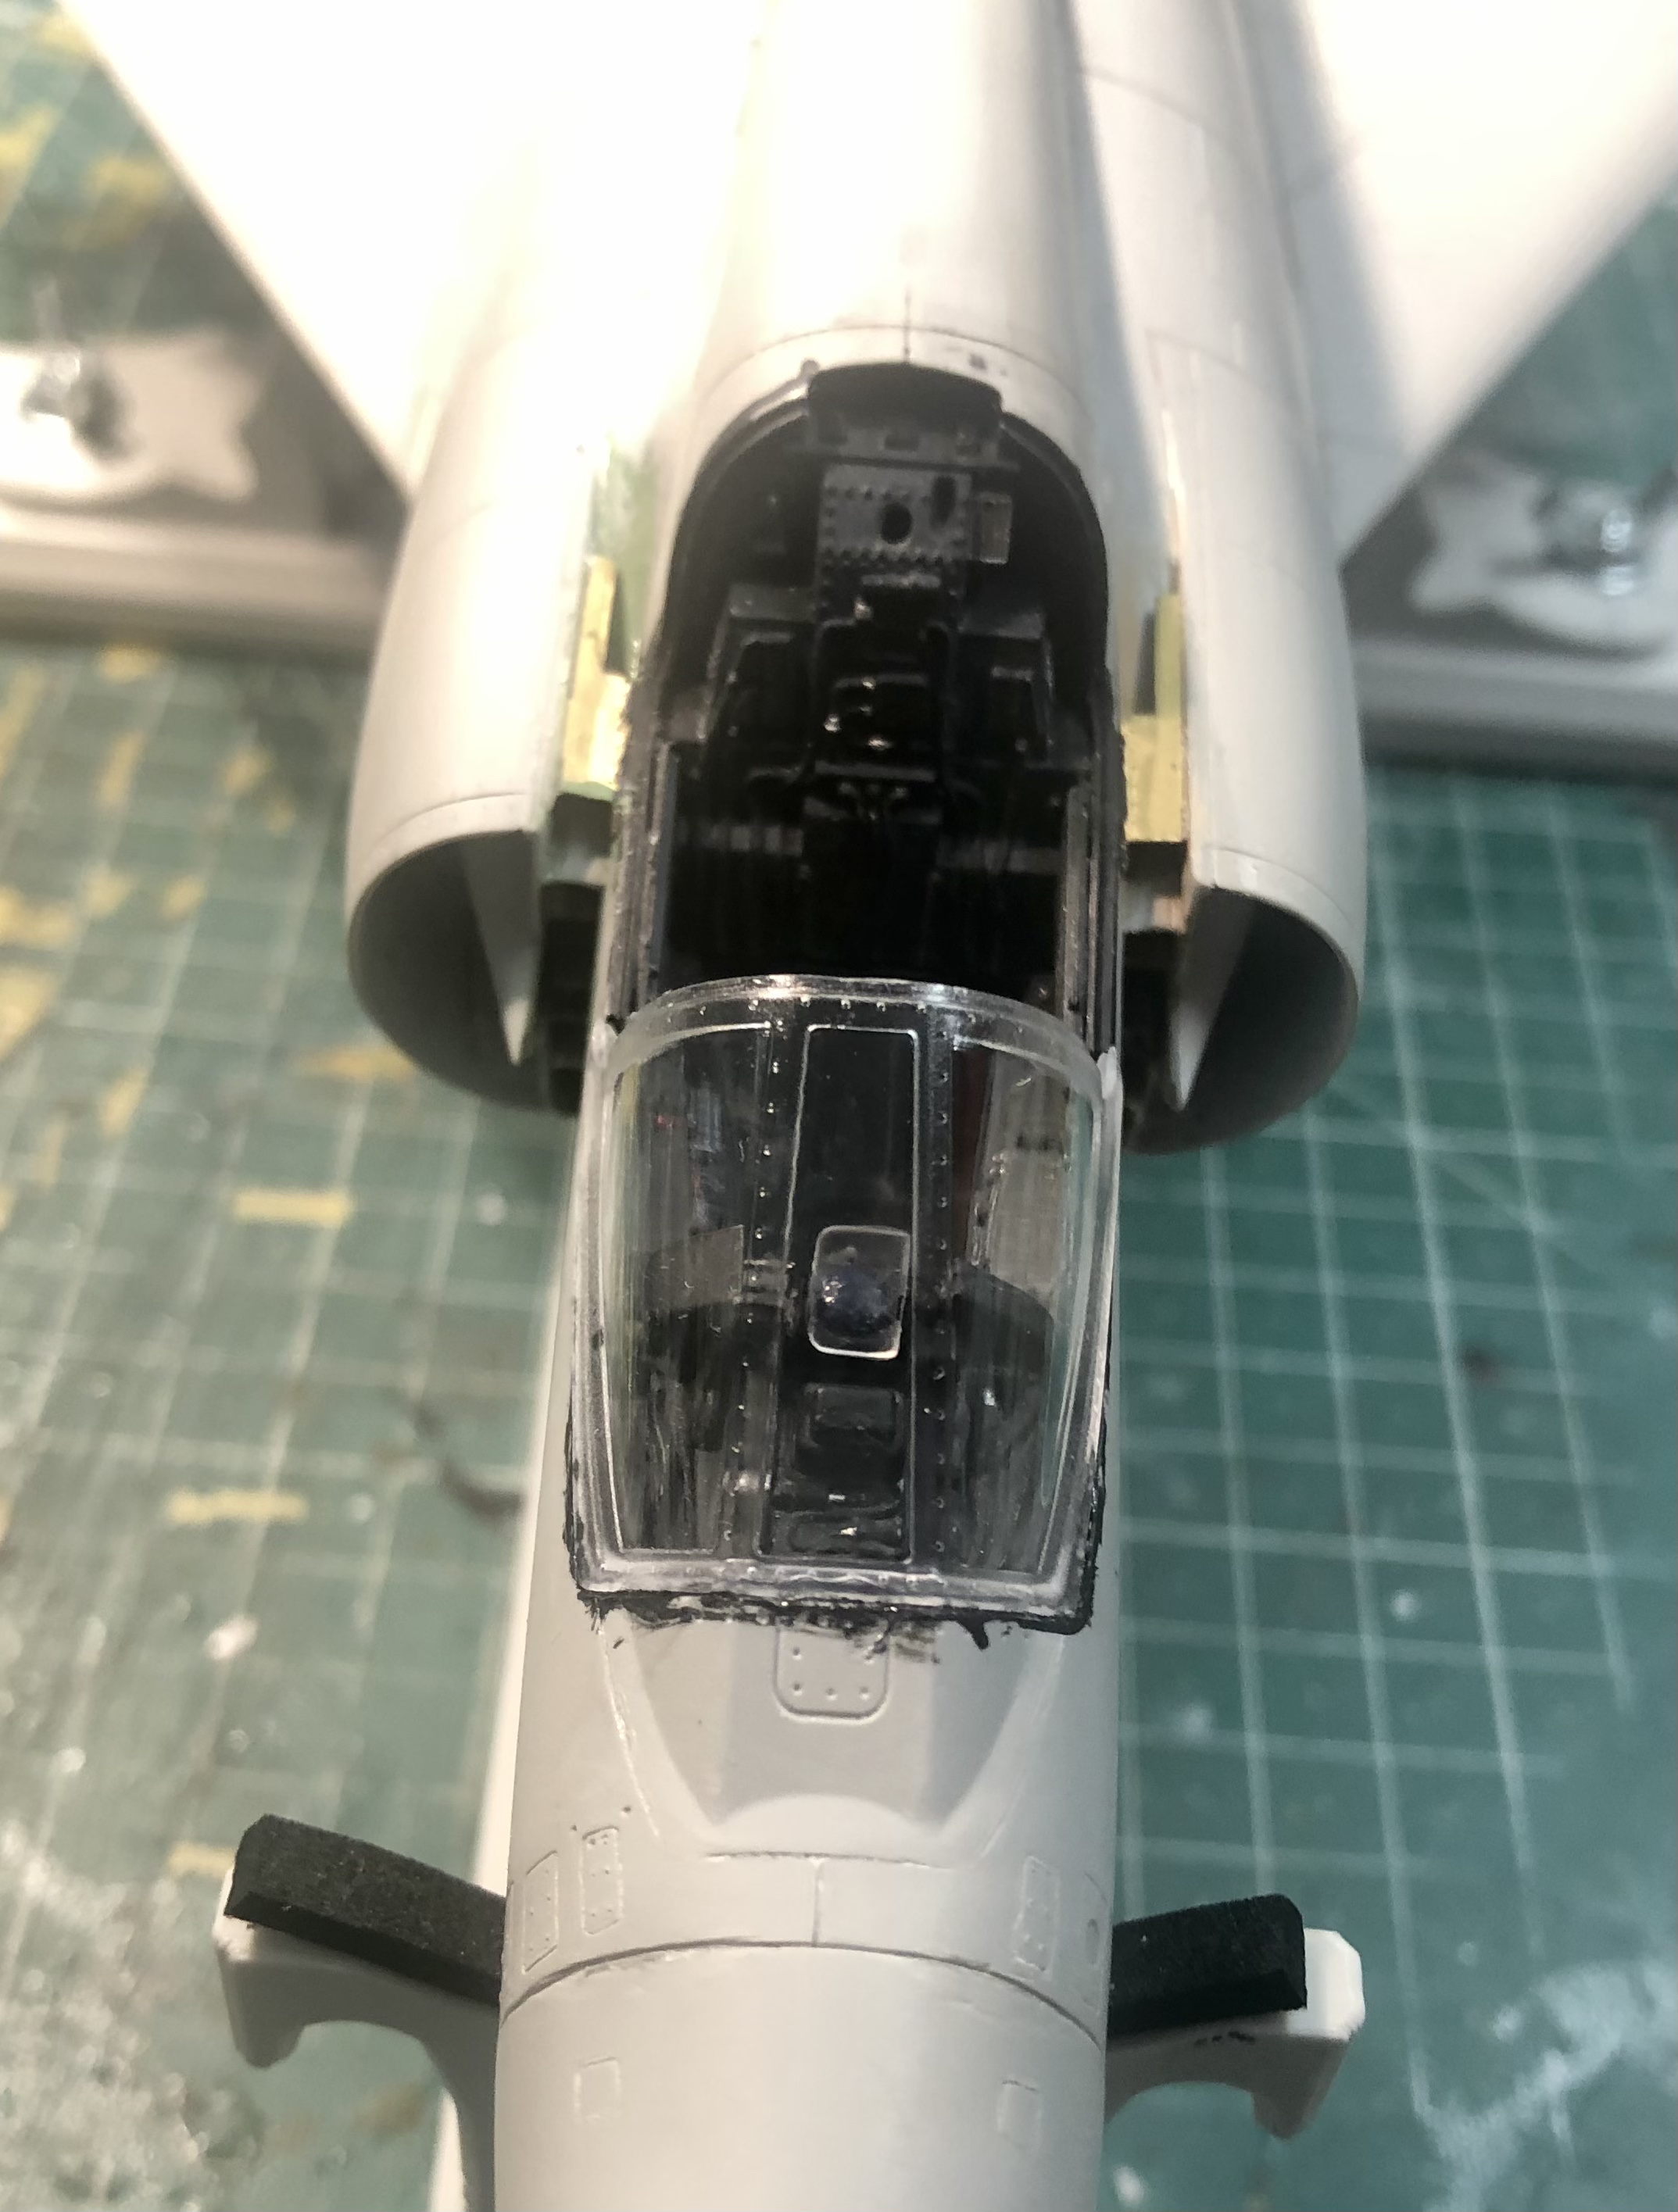
Kaireckstadt replied to Kaireckstadt's topic in LSM 1/35 and Larger Work In Progress
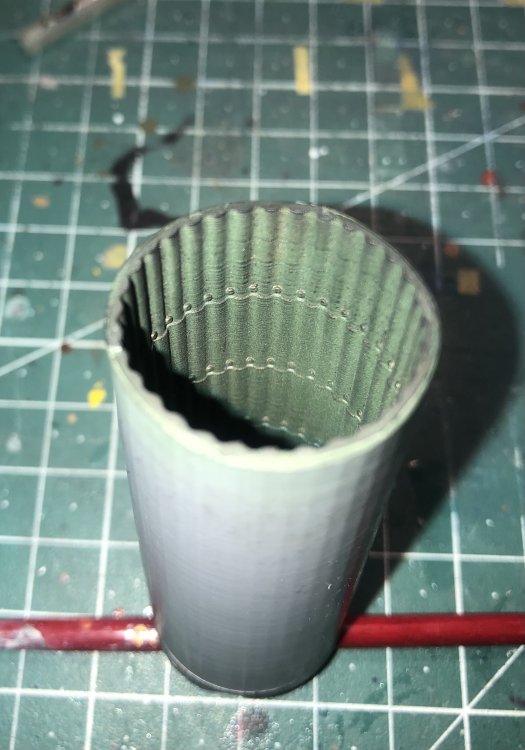
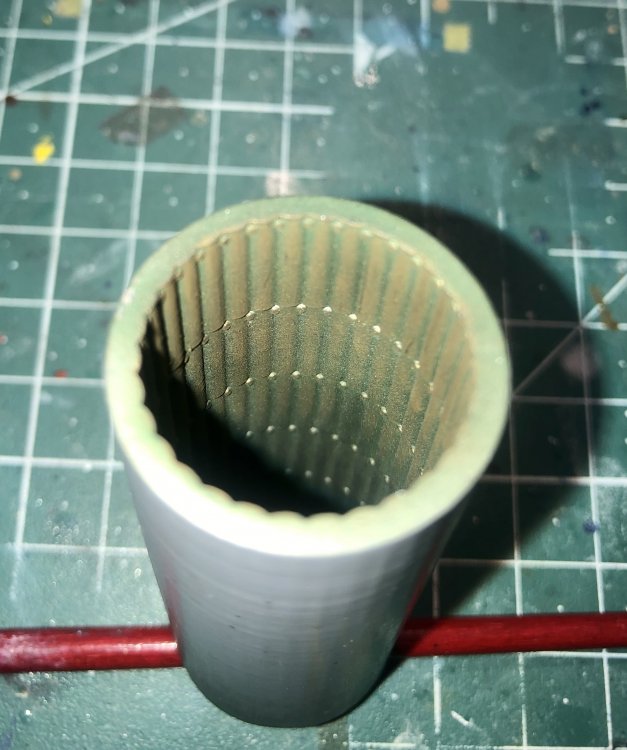
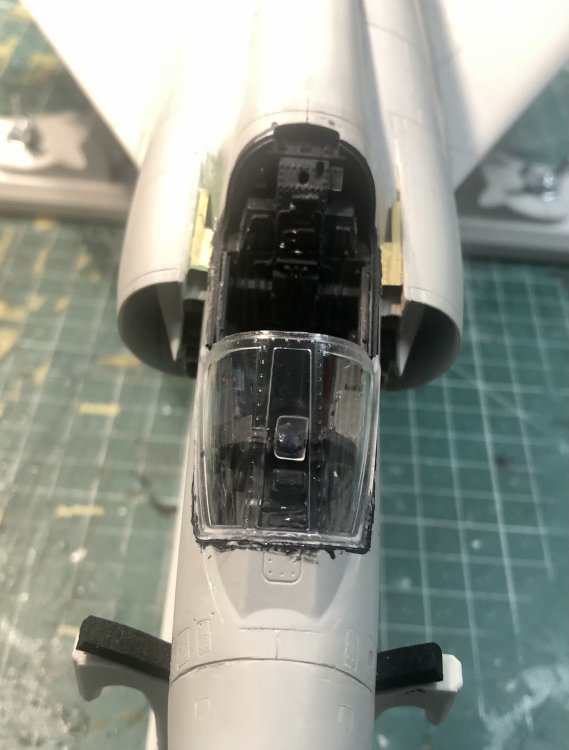
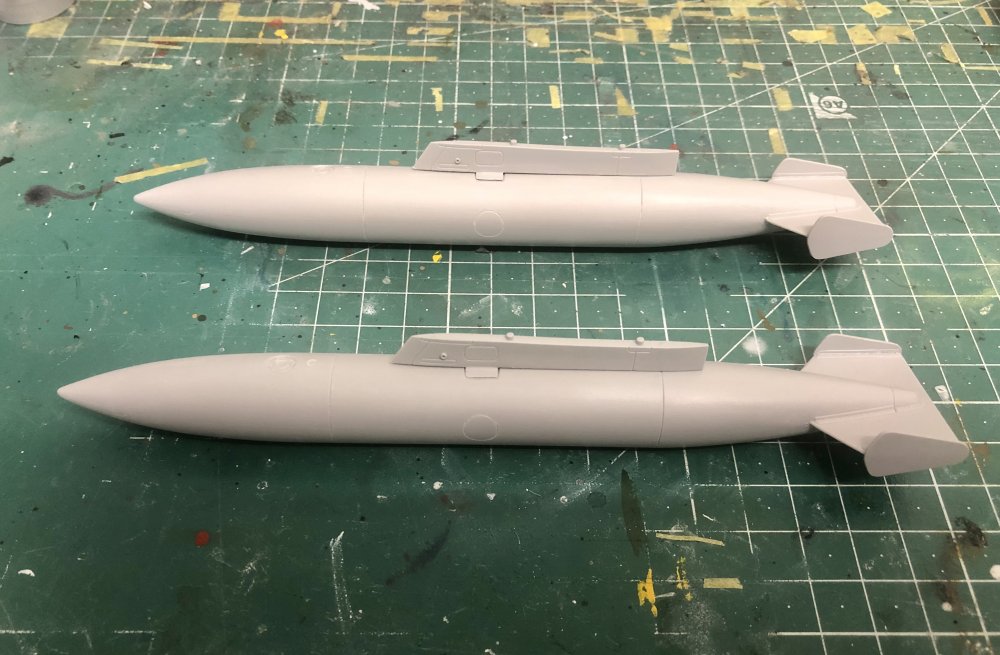
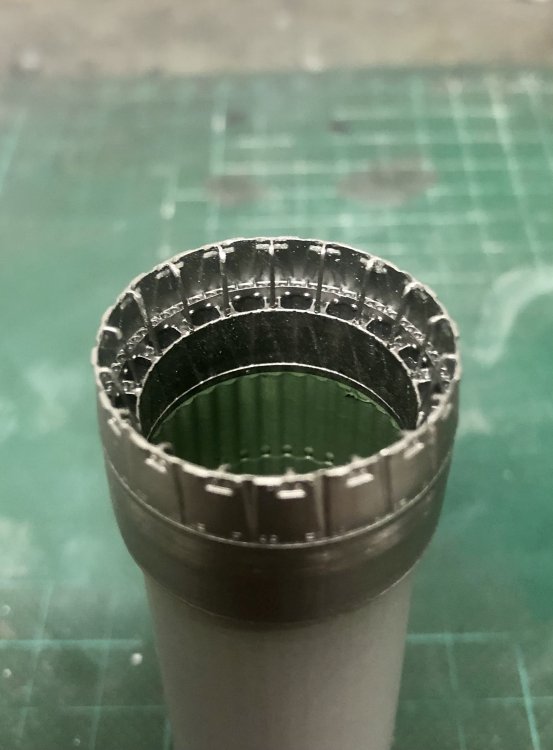
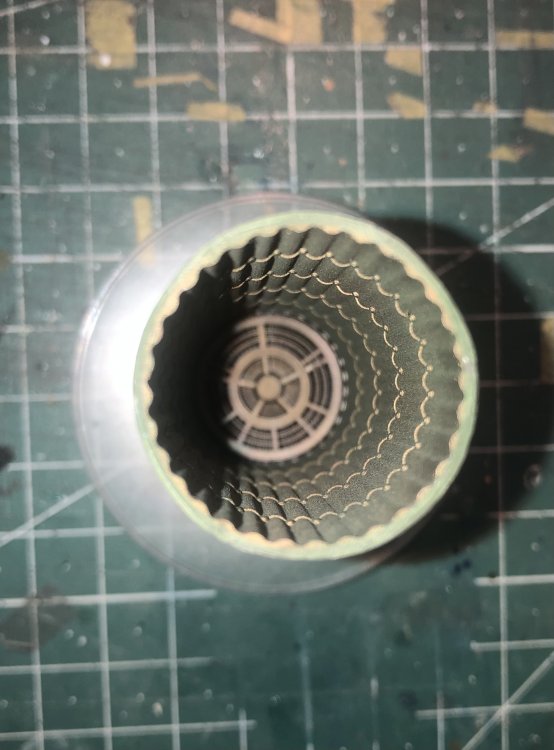
Tonight I glued the windshield to the cockpit, finished the rework of the external tanks and painted the exhaust. After rework the fit of the windshield was ok: This was followed by sanding and rescribing of the subsonic wingtanks: Then I painted the complete exhaust-system. I started with AK Extreme Metal steel. The nozzle and the Turbine with AB-ring were painted with it while the thrust tube received a coat of Tamiya green: This was then accentuated with AK Extreme Metal pale burnt iron, burnt iron, metallic blue, Alclad jet exhaust and Alclad sepia. Since the nozzle has a more matt sheen every component received a coat of flat Xtracolor varnish: I still have to pick out the details with a wash and some staining inside the tube but the basic painting is finished.

-
Interesting description of the technique you used Gary! My personal feeling is that with the buff oilcolor you totally achieve the goal you wanted to reach. This is perfect in my eyes and what can be seen on a foto (the real thing for sure looks different). The green oilcolor shadows for me are too prominent. But that is only my personal feeling and the way my eyes look at it. For me they seem to be much more intense than the buff shadows. Rob has a different opinion but that’s absolutely ok because it’s really based on subjective perception. Nevertheless this is an awesome build and I really like how you (and Rob too) test new techniques! Kai
-
Nice progress on your build Alberto! The bangseat turned out very well and the nozzle is awesome. Looks absolutely realistic! I can see that you also had some fit-issues with the Istacast tailcone like me. Nice rework also on all the fuselage-flaws offered by Italeri. Next step now painshop?