
Kaireckstadt
-
Posts
1,705 -
Joined
-
Last visited
Content Type
Profiles
Forums
Events
Gallery
Everything posted by Kaireckstadt
-
Great work Tim! Absolutely stunning what you are doing! Love it!
-
 Great looking seat Alberto! I‘m curious how the fit in the cockpit will be especially with the details at the back of the seat!
 -
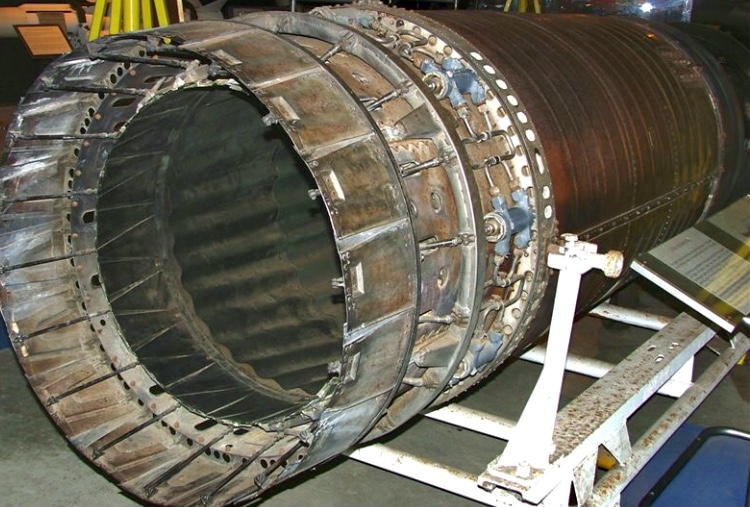
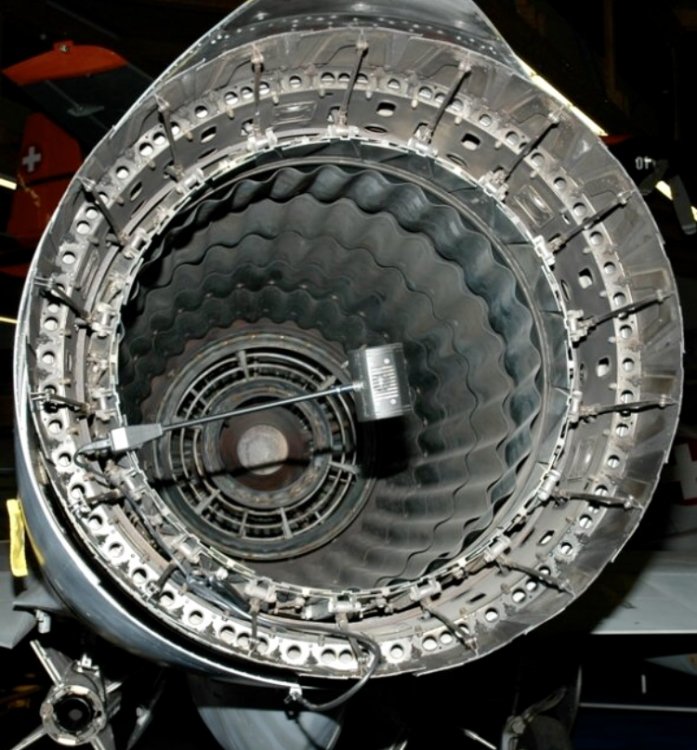
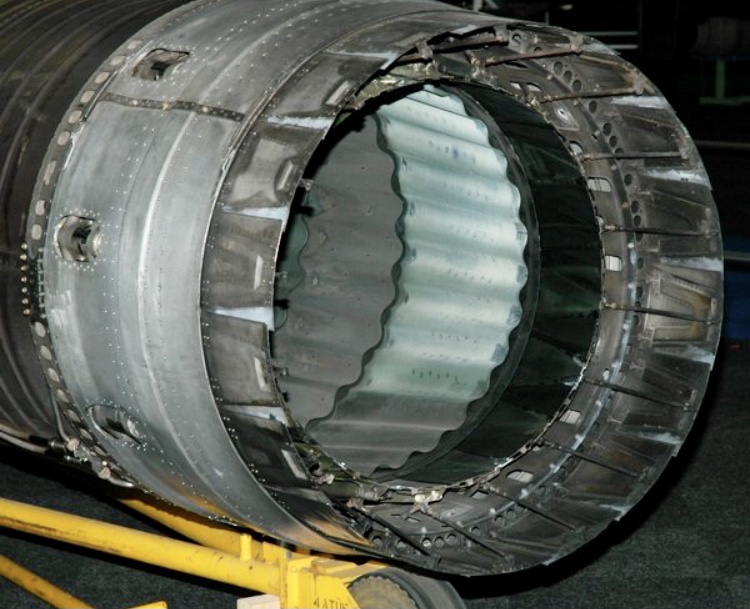
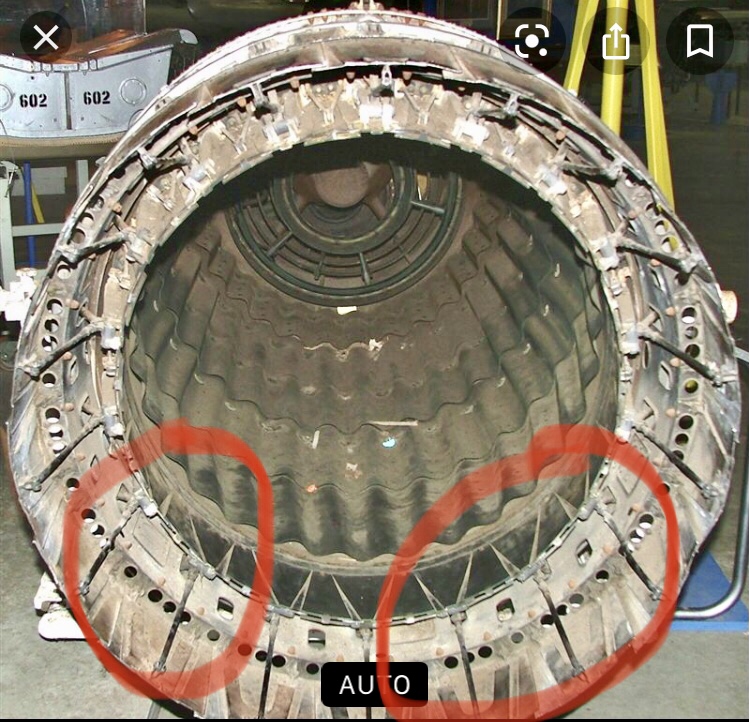
The exhaust nozzle looks really nice. And finally you got the fuselage parts together! Which rework helped? Here are some pics of the afterburner section. Lots of different colors to be seen: These actuation-levers are prominent but missing in the Isracast exhaust nozzle!
-
I would solve the problem in 2 ways depending on the progress of the build: If the 2 assemblies are not glued together I would shim the part at the engine deck, cut it to shape and sand it a little. The rest of filling the (very small) left gap will be done by the glue. If they are glued together already why not use sprueglue for closing the gap? This will for sure close it in a way that you won’t see it afterwards. And - as Doc Rob said - I don’t think either that it will be at least visible in the end...
-
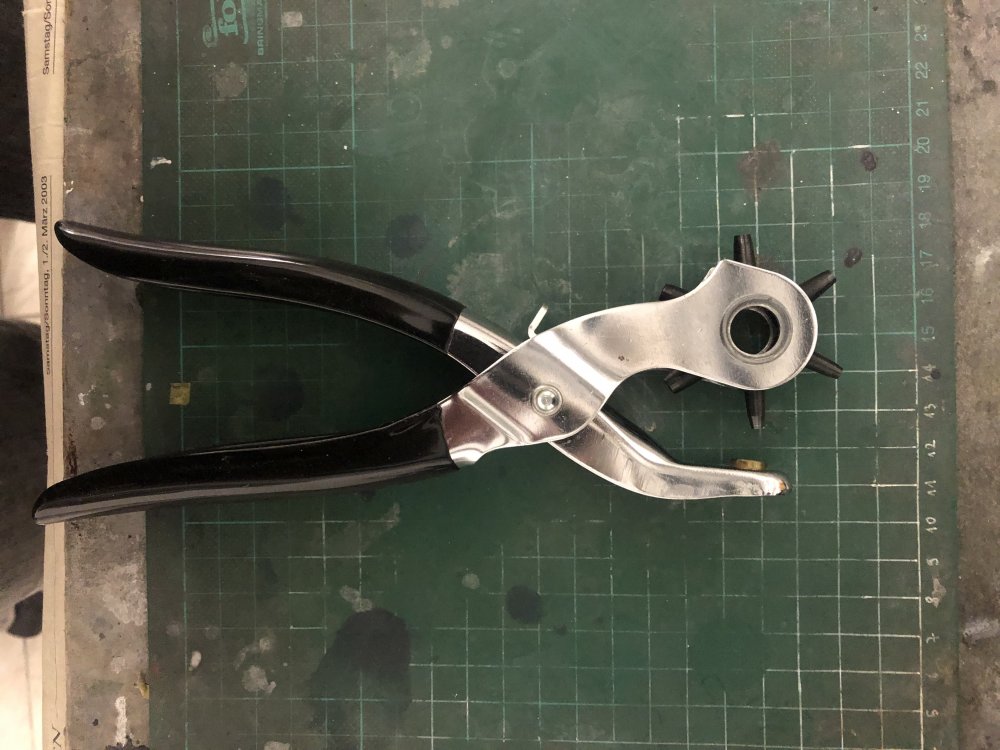
Really good fotos Gaz! Taking into account the diameter of the bezels I won’t do anything. I don’t think that the eye of the viewer will realize that when the whole thing is installed in the pit. I also avoided up to now to buy a punch-and-die set. They are so expensive and I don’t need them very often. What helps me is a hole maker you use to make holes into a belt or a jeans. The variety of diameters is not great but within an acceptable range and I had no problems to die out holes in sheet of 1/2-3/4 mm thickness. And the biggest advantage: It is not that costly and your wife is happy and you can pay it out of the monthly budget of the household...
-
Israeli Mirage III C with Atar9C
Kaireckstadt replied to Kaireckstadt's topic in LSM 1/35 and Larger Work In Progress
Thanks Gaz! When the rescribing is done I can finally start with the work I like most: painting ! That‘s right Peter! Italeri doesn‘t leave out any opportunity to annoy the model-builder... BTW: What about the progress on your ZM He-219? -
Israeli Mirage III C with Atar9C
Kaireckstadt replied to Kaireckstadt's topic in LSM 1/35 and Larger Work In Progress
Me too Peter, but as I said this won’t be a problem I have to cope with since my canopy will be left open. One subassembly without rework! I can’t believe it... -
Israeli Mirage III C with Atar9C
Kaireckstadt replied to Kaireckstadt's topic in LSM 1/35 and Larger Work In Progress
Thank you Frank! I haven’t done one before either but I always liked the 3-tone camouflage like the SEA-scheme of the US Airforce and wanted to make one Israeli aircraft. F-15 or F-4E would have been a better choice regarding the available kits. The IDF also flew early F-4Es as far as I know. I have the Tamiya in my stash. Maybe this will be my second IDF-plane. -
That’s a tricky build Gaz! But your experience will help you solving any problem. Beautiful build so far!
-
ME 109 E4 1/18 scale
Kaireckstadt replied to Trigger's topic in LSM 1/35 and Larger Work In Progress
Beautiful start Frank! Will follow closely! -
Israeli Mirage III C with Atar9C
Kaireckstadt replied to Kaireckstadt's topic in LSM 1/35 and Larger Work In Progress
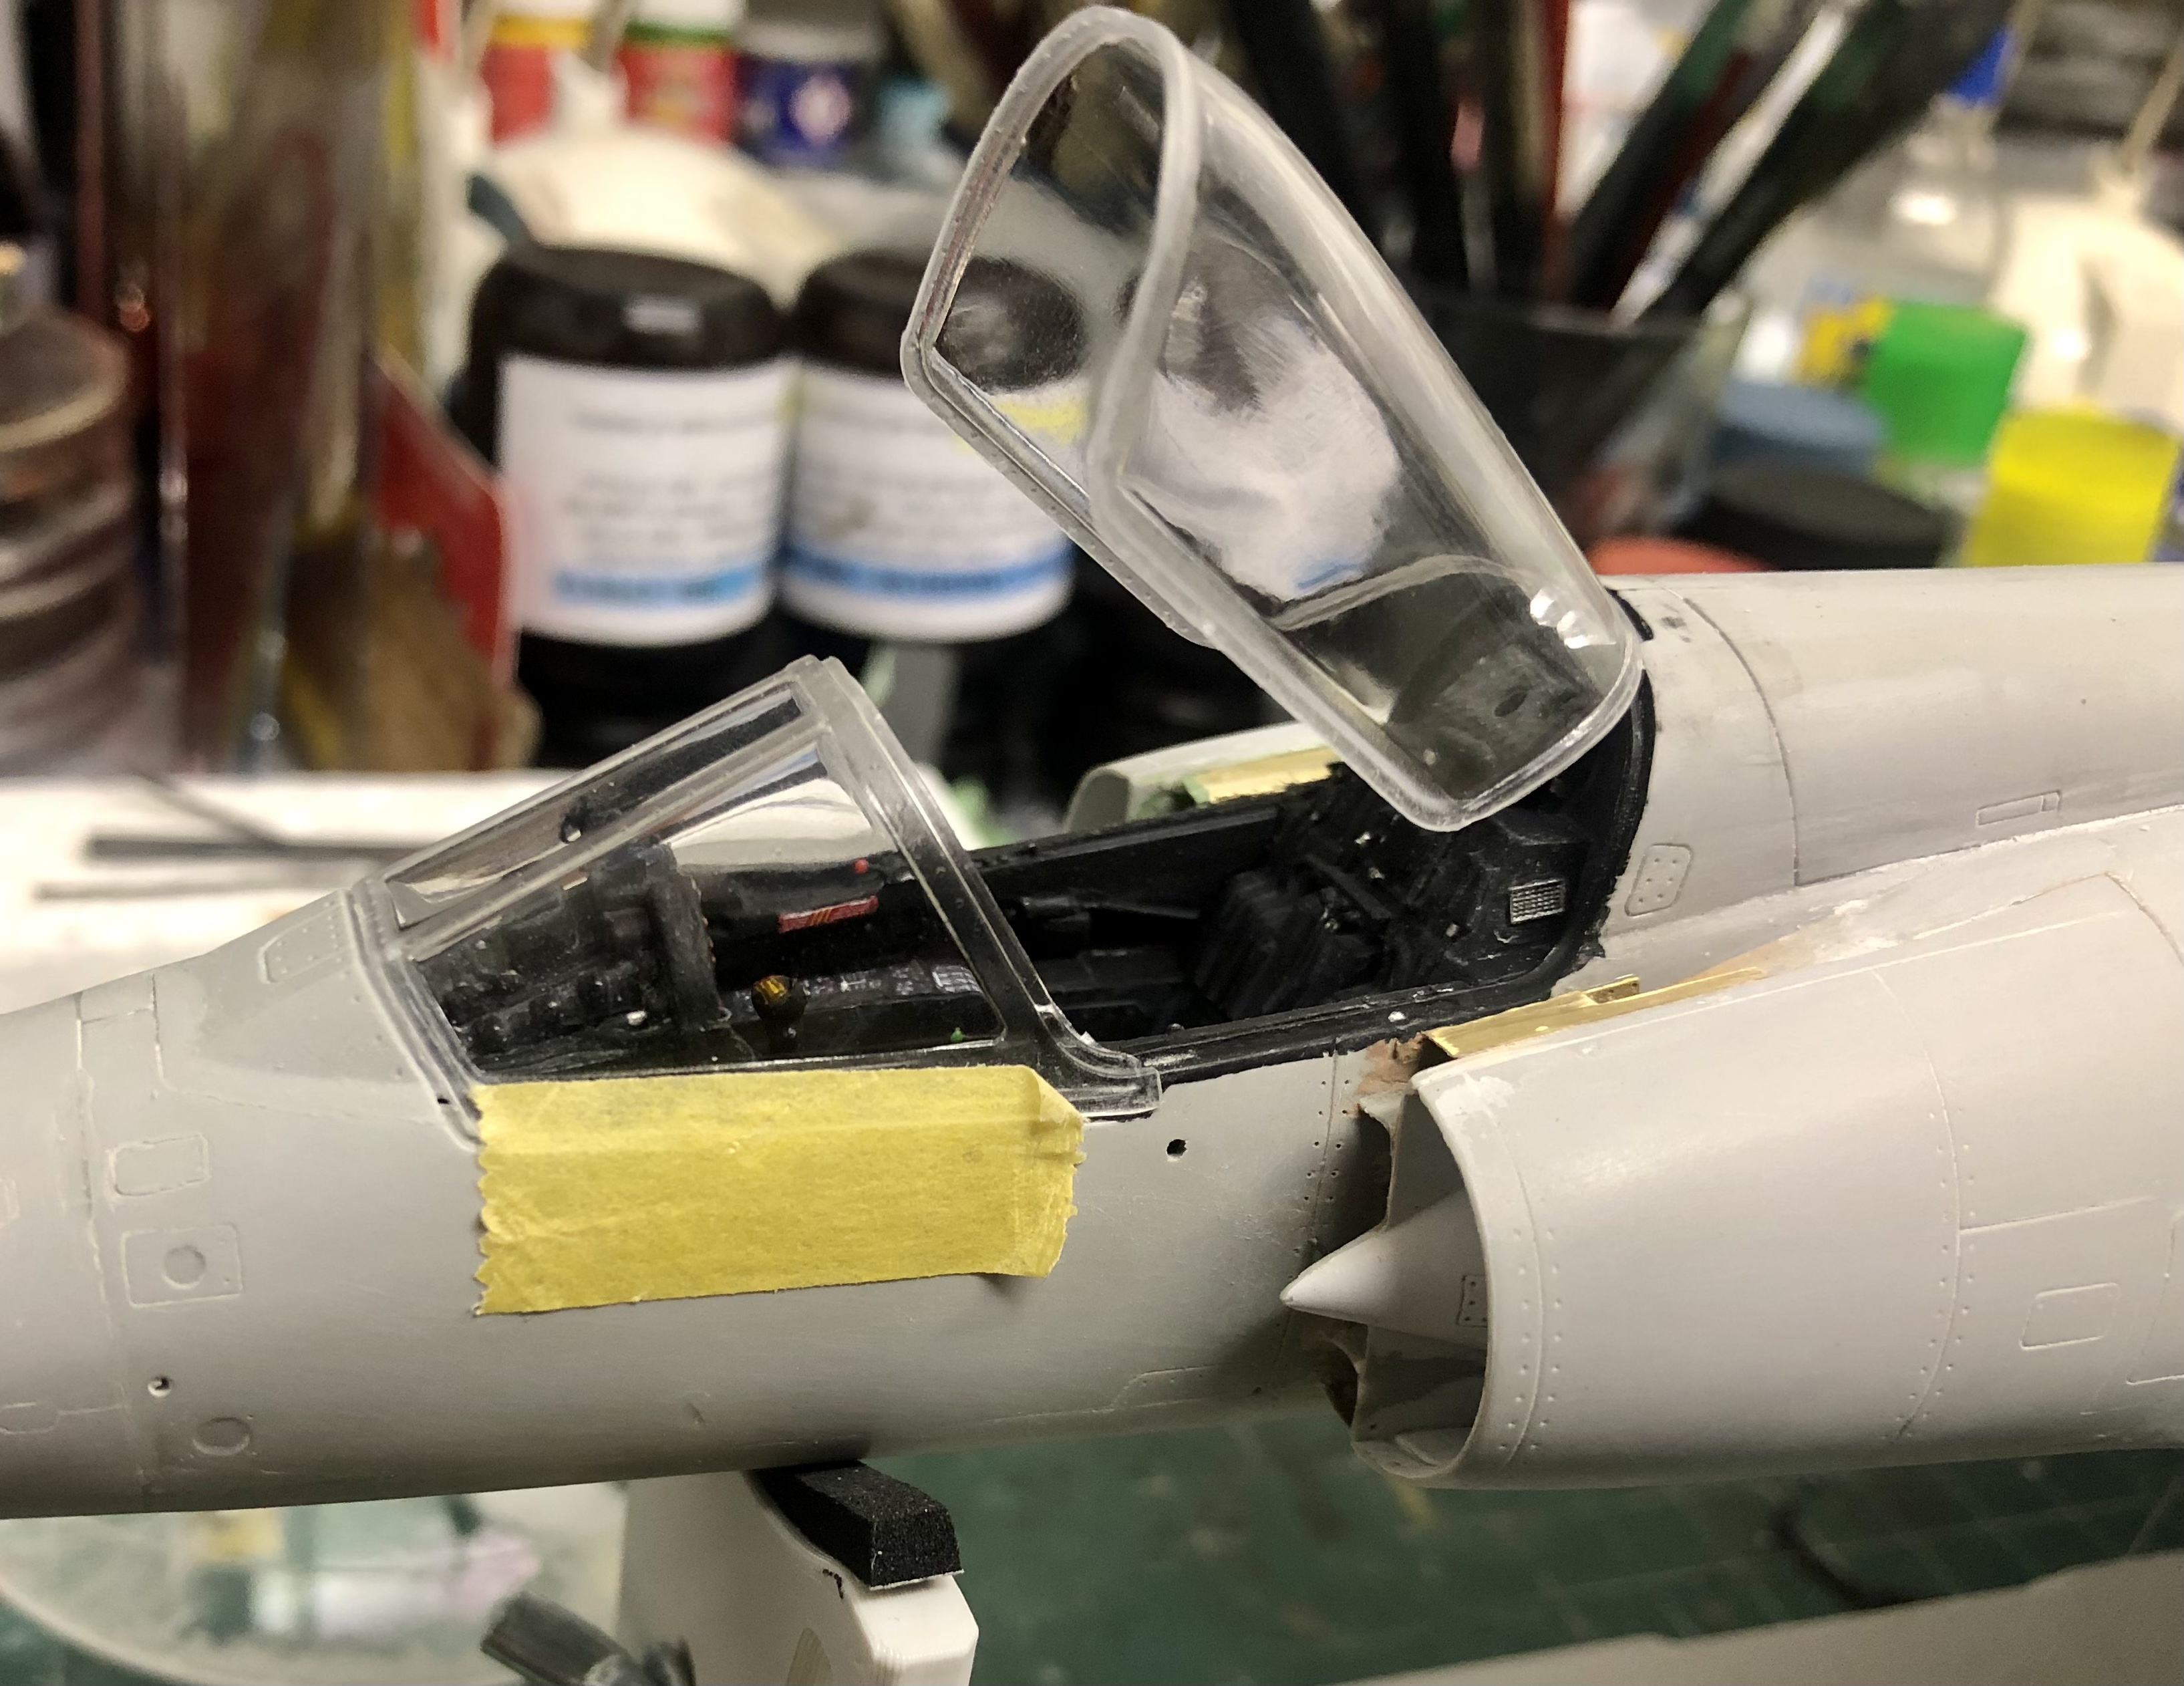
Thank you Peter! Yesterday I made a test-fit of the windshield and canopy. The fit of the windshield is really good. No gap to fill: But the fit of the canopy is only good if you plan to leave it open: But I‘m happy: I will leave it open... The first subassembly without rework! I‘m curious how the fit of the external tanks will be!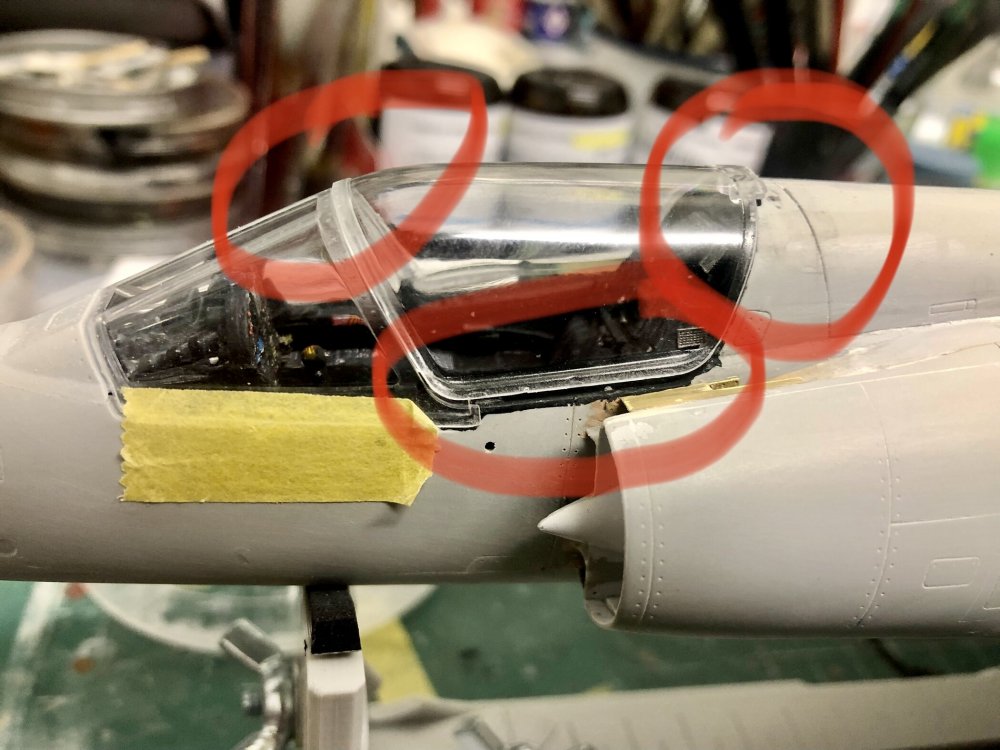

-
But the best since it’s the only one. The old Revell kit is from the 70 ties and the actual Revell is a reboxed Italeri. I really love challenges Alberto but from my point of view it‘s not a good kit when you have to rework most of the parts even if the details are good. But this is only my opinion. Have you been able to overcome the problem with the fit of the cockpit tub and the lower fuselage?
-
Israeli Mirage III C with Atar9C
Kaireckstadt replied to Kaireckstadt's topic in LSM 1/35 and Larger Work In Progress
Thanks for your feedback Frank. I had exactly the same thoughts like you. Don’t know what was in the head of the designer. They could have really done much better. I am also looking forward to the painting stage but still a lot of rescribing ahead of me... -
You can really call this one done Gaz! As I already said: Awesome work! The pictures are a little too dark from my point of view (but this hides the inner drive spockets ).
-
Stunning work of the scrstchbuilding-champion! Awesome work Rich!
-
Israeli Mirage III C with Atar9C
Kaireckstadt replied to Kaireckstadt's topic in LSM 1/35 and Larger Work In Progress
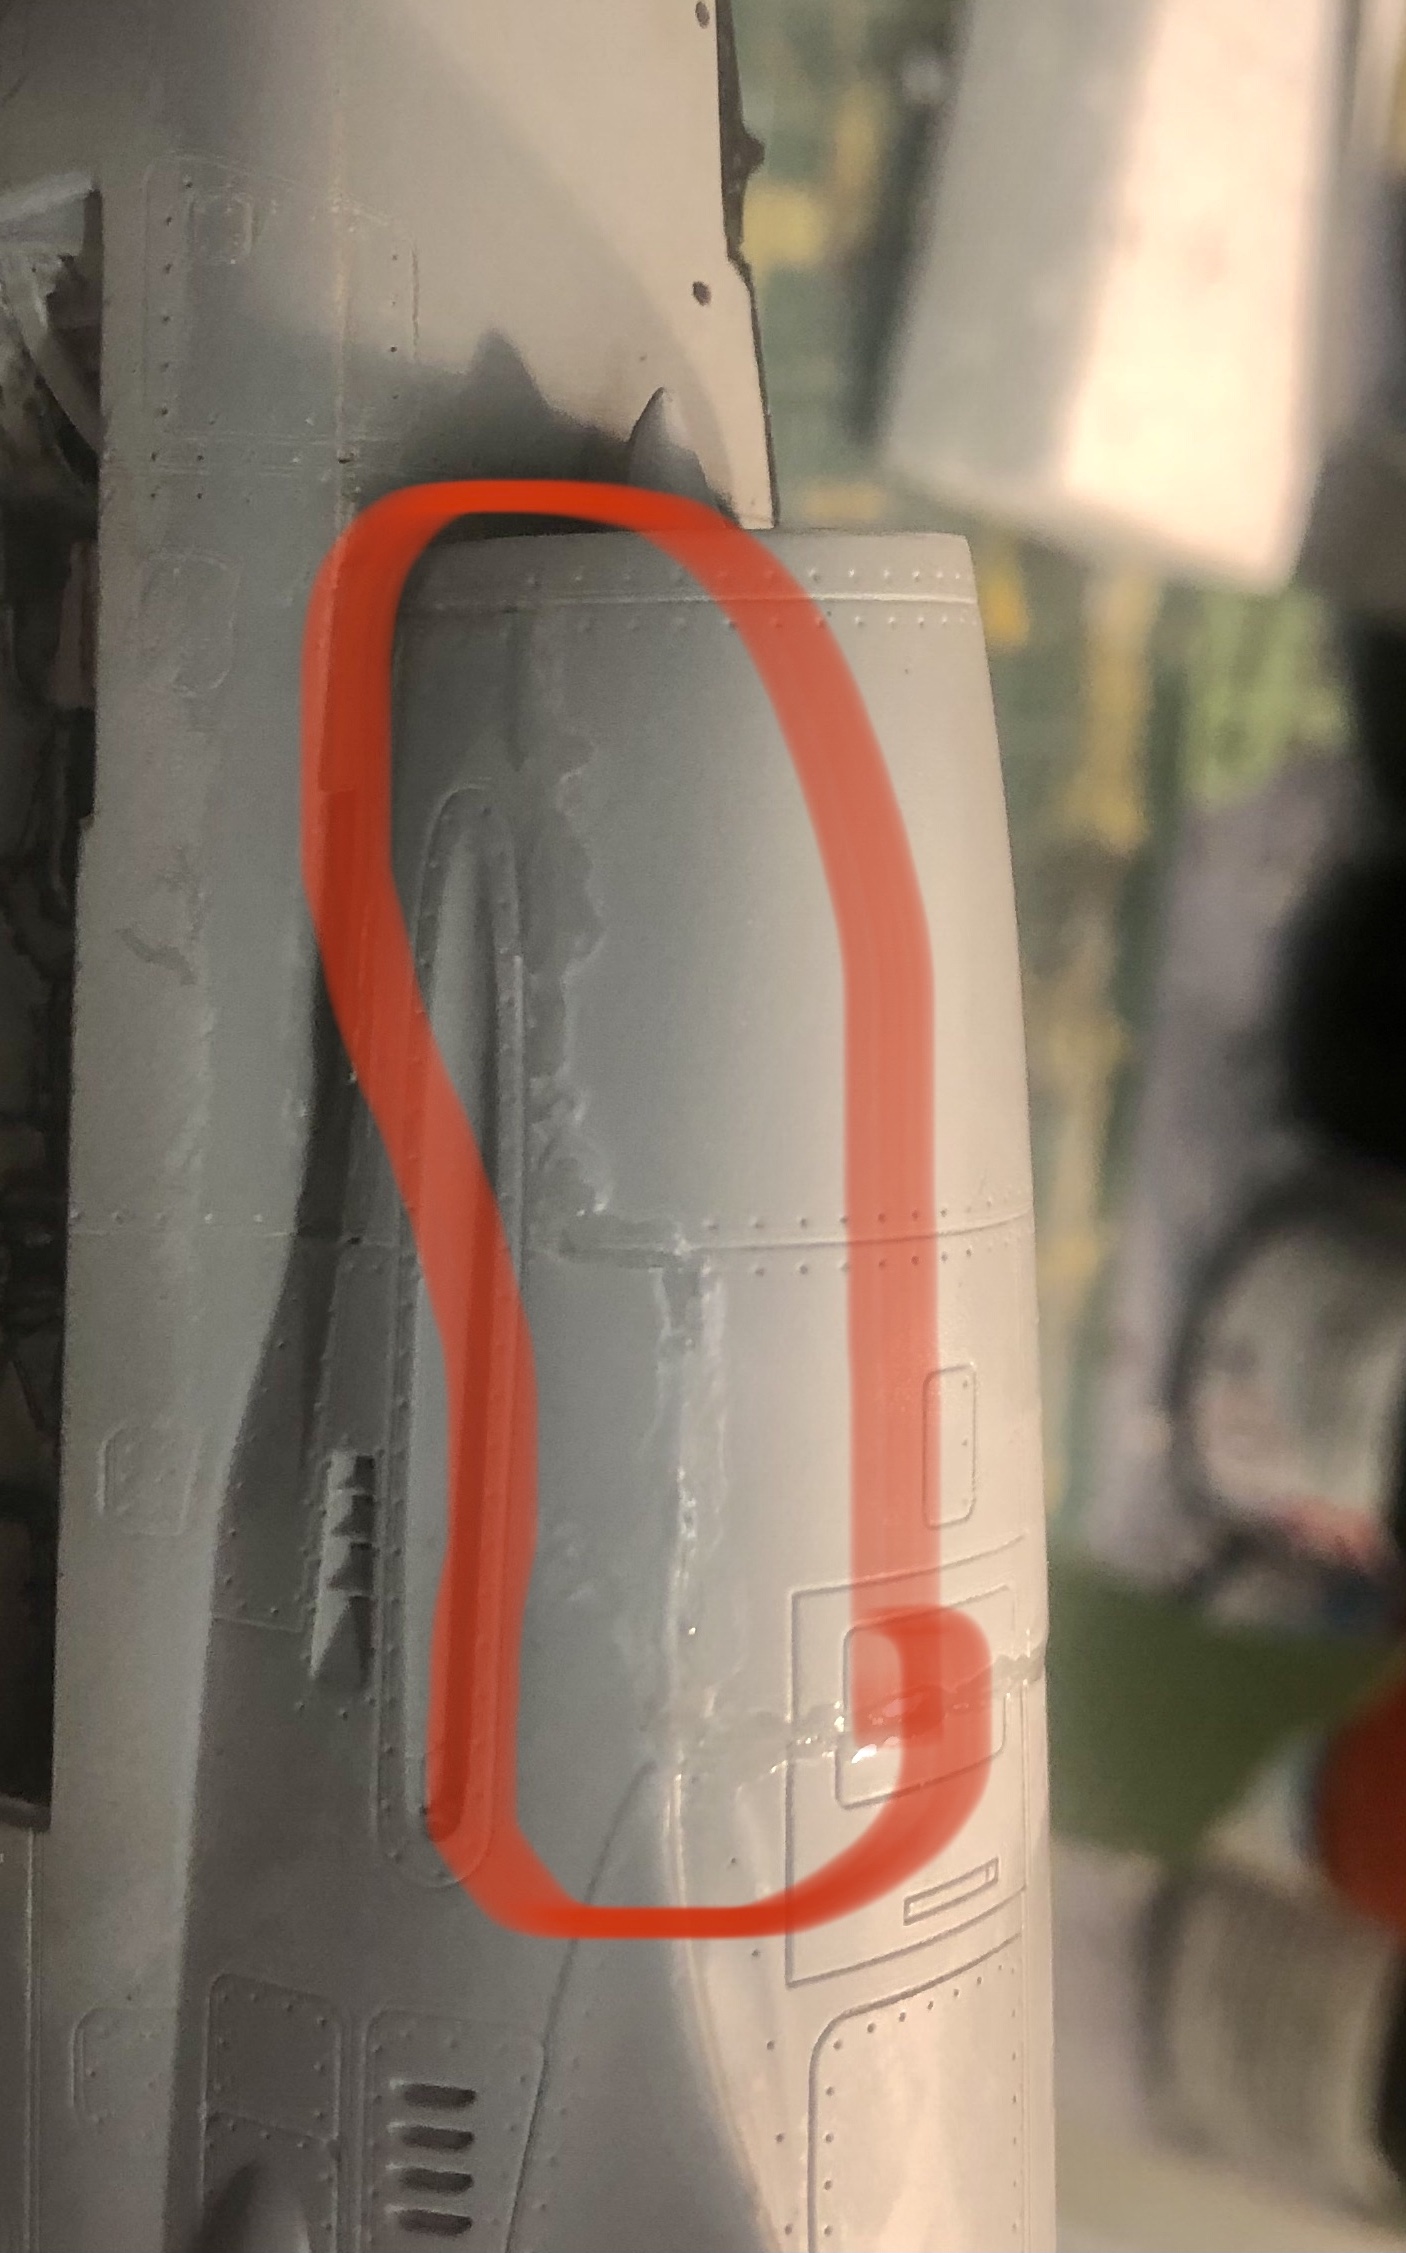
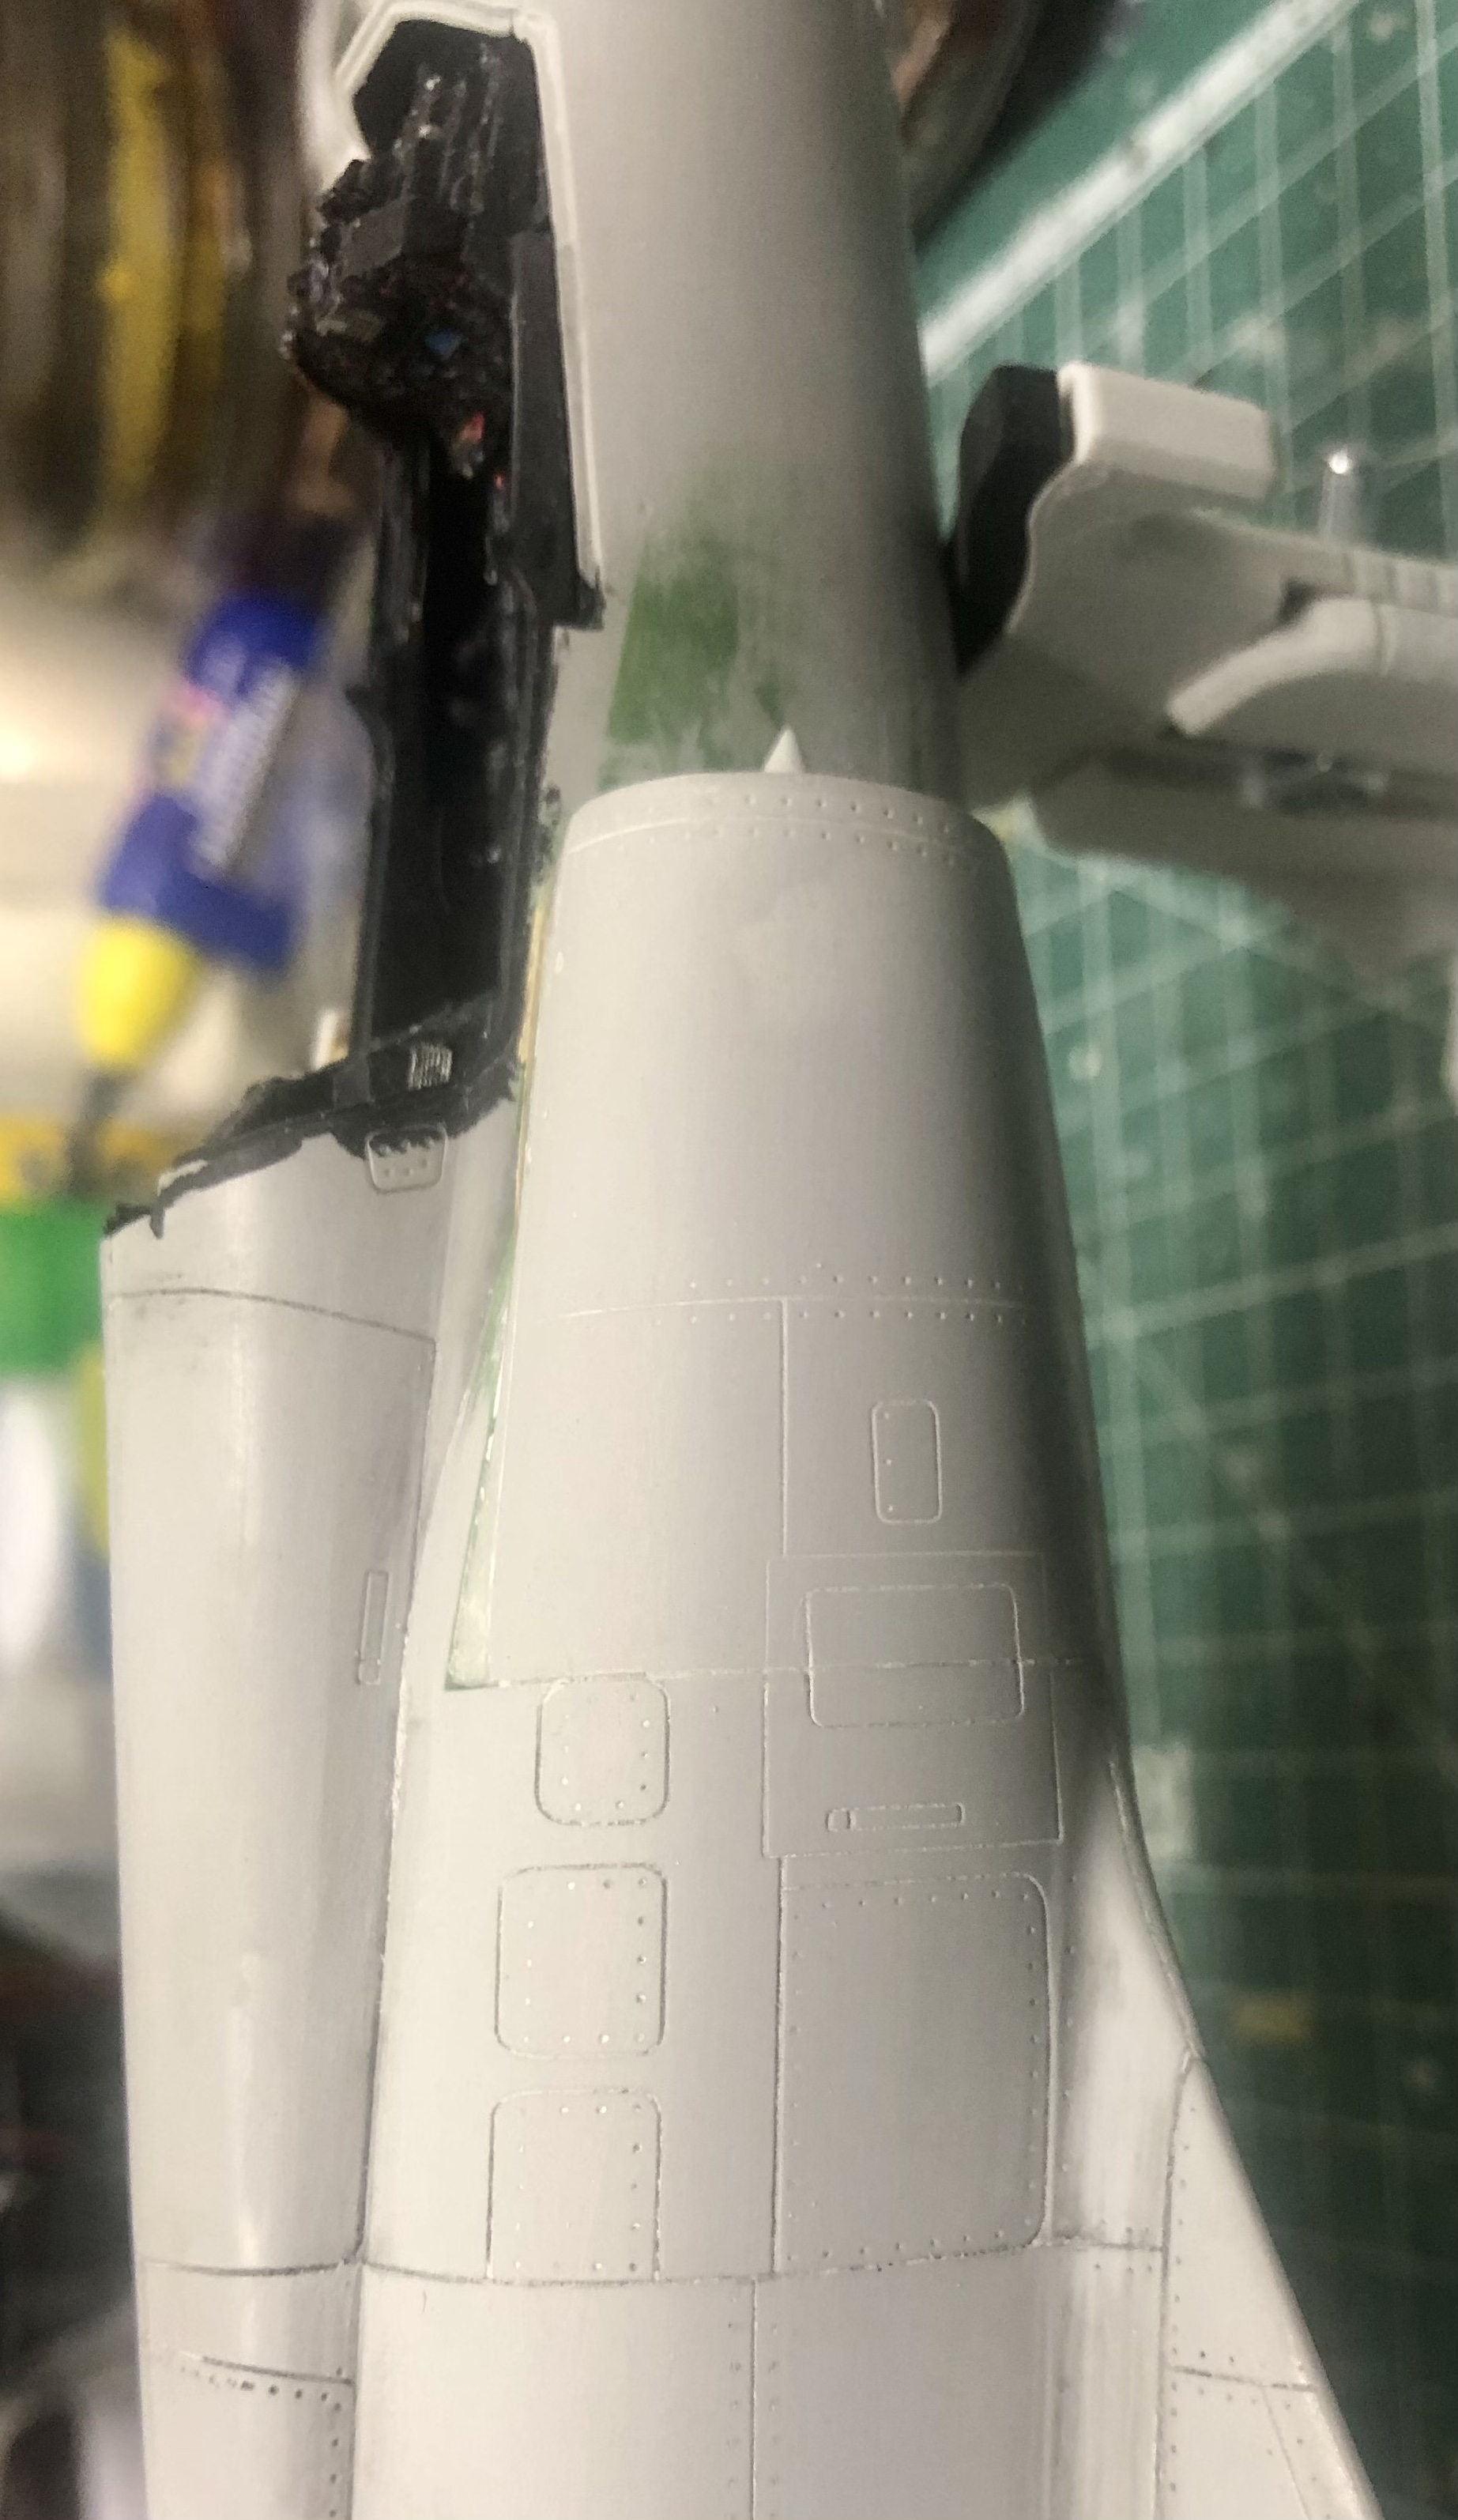
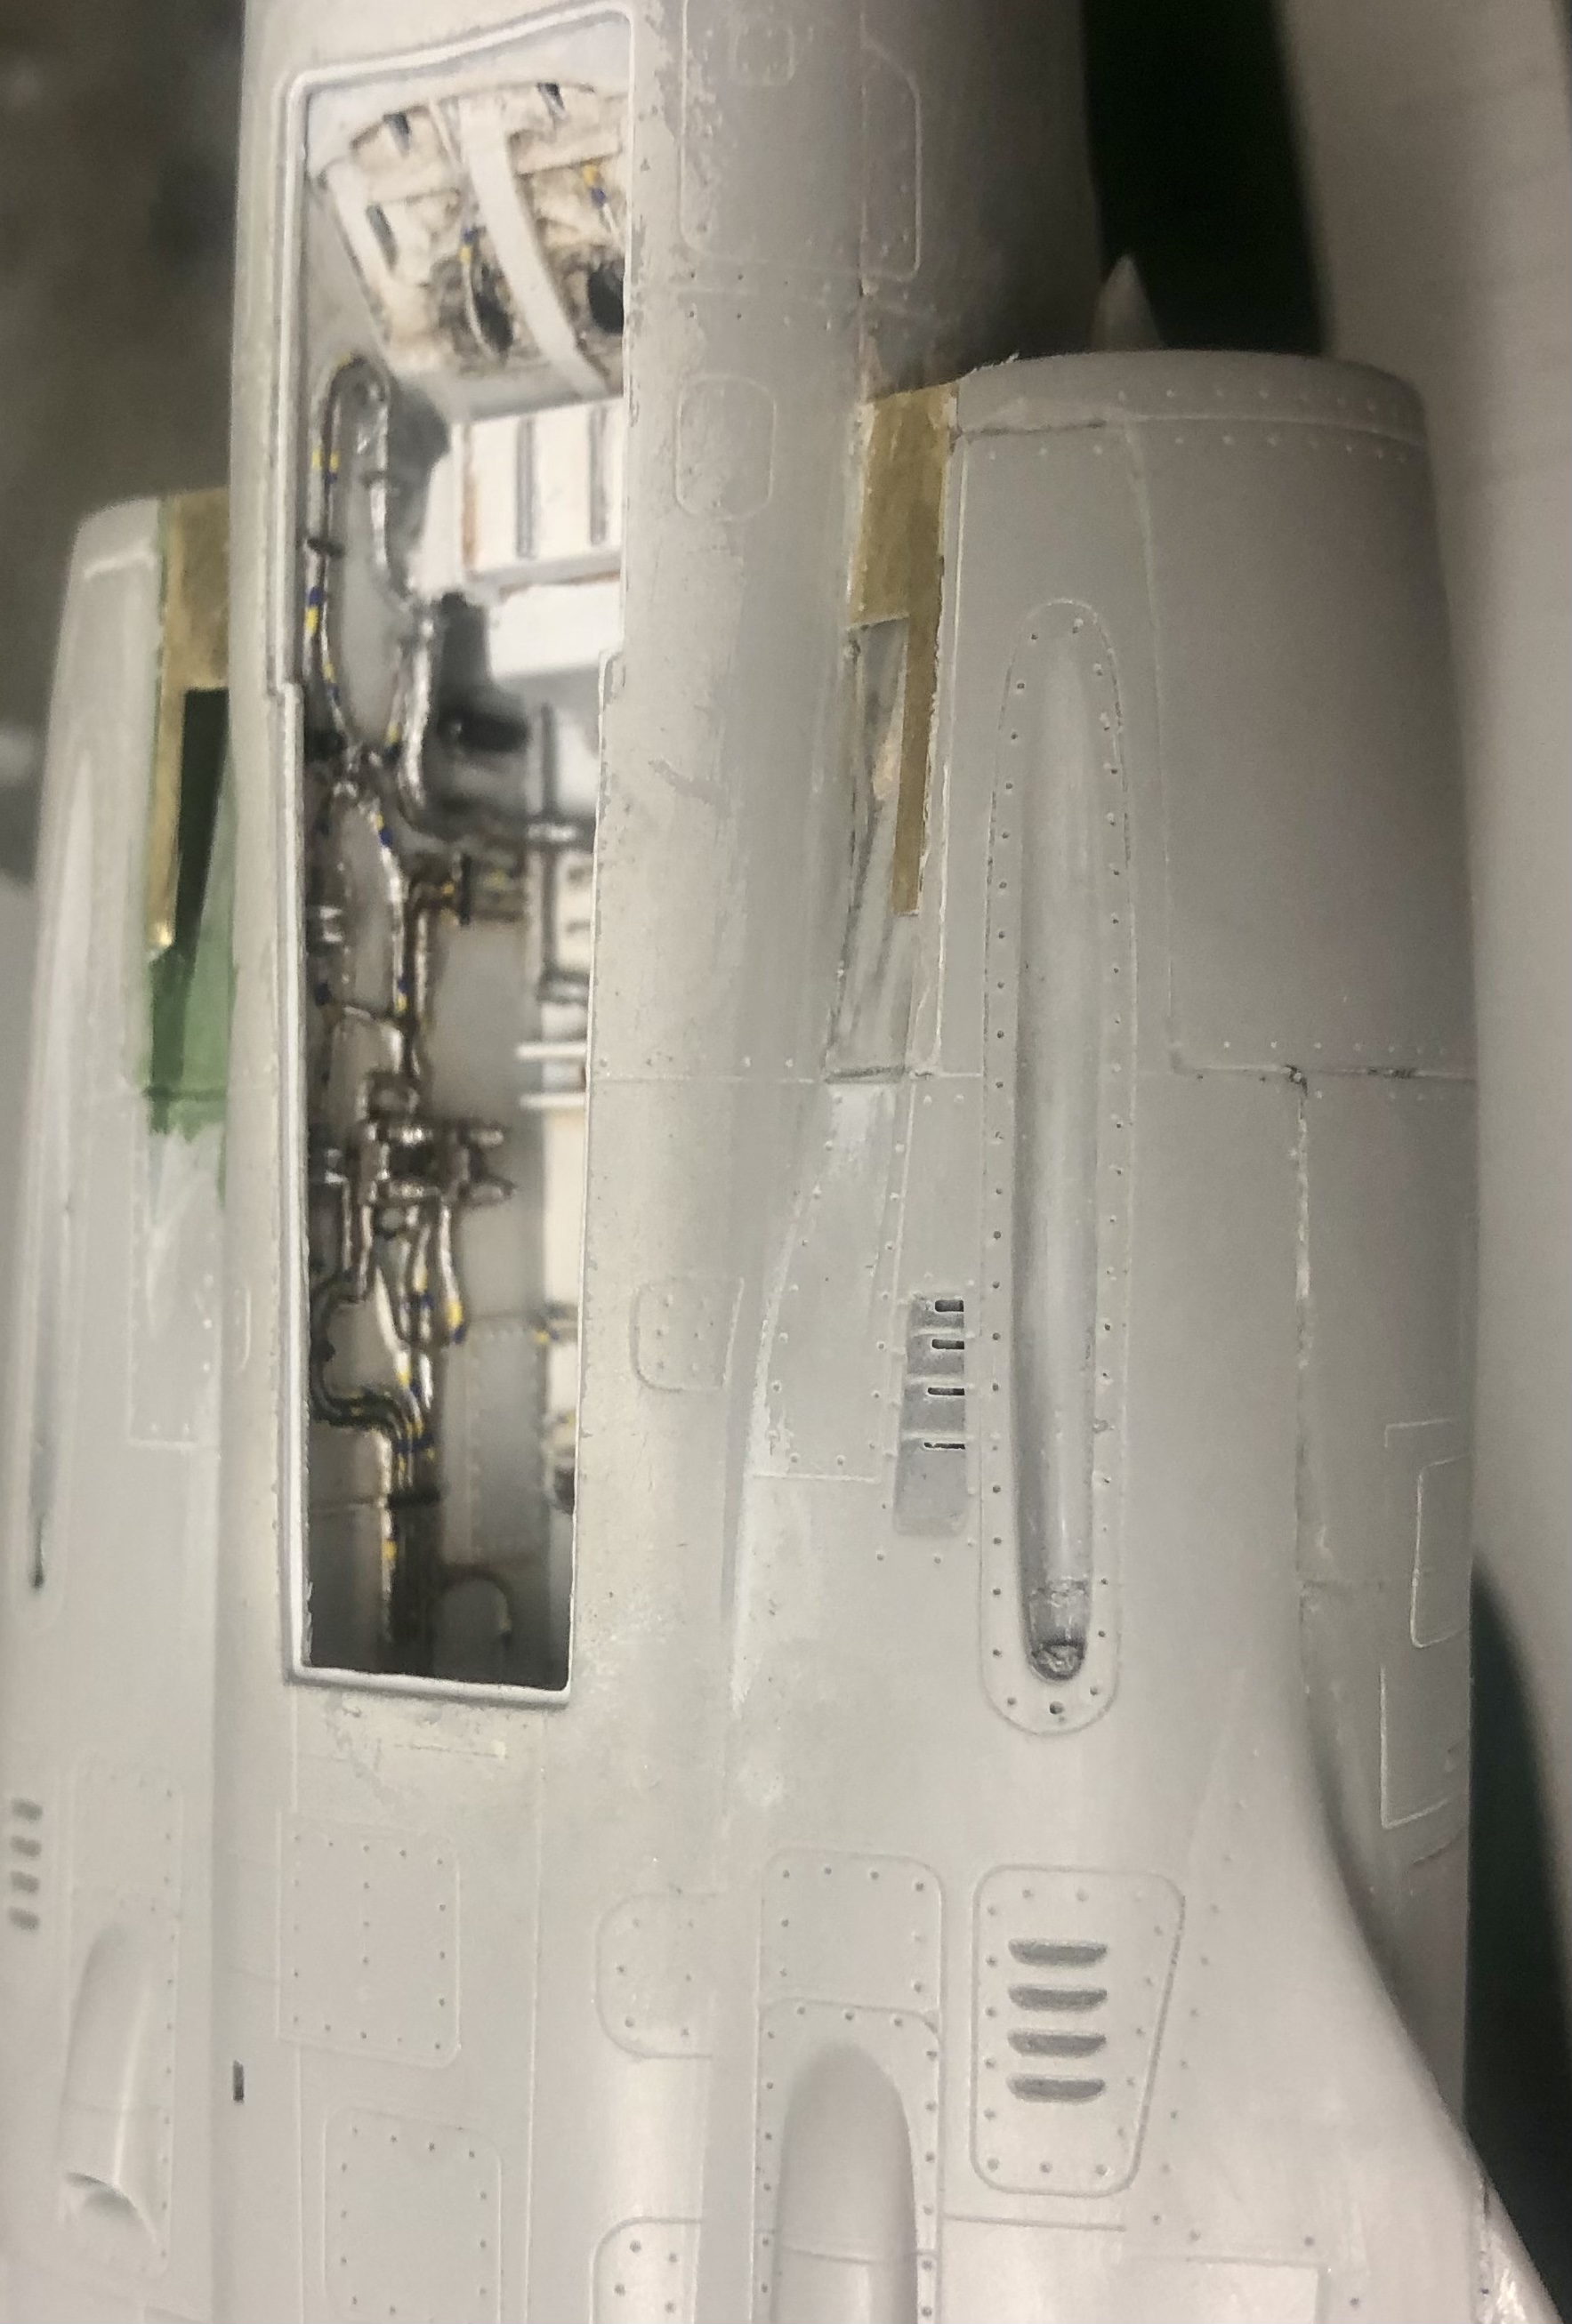
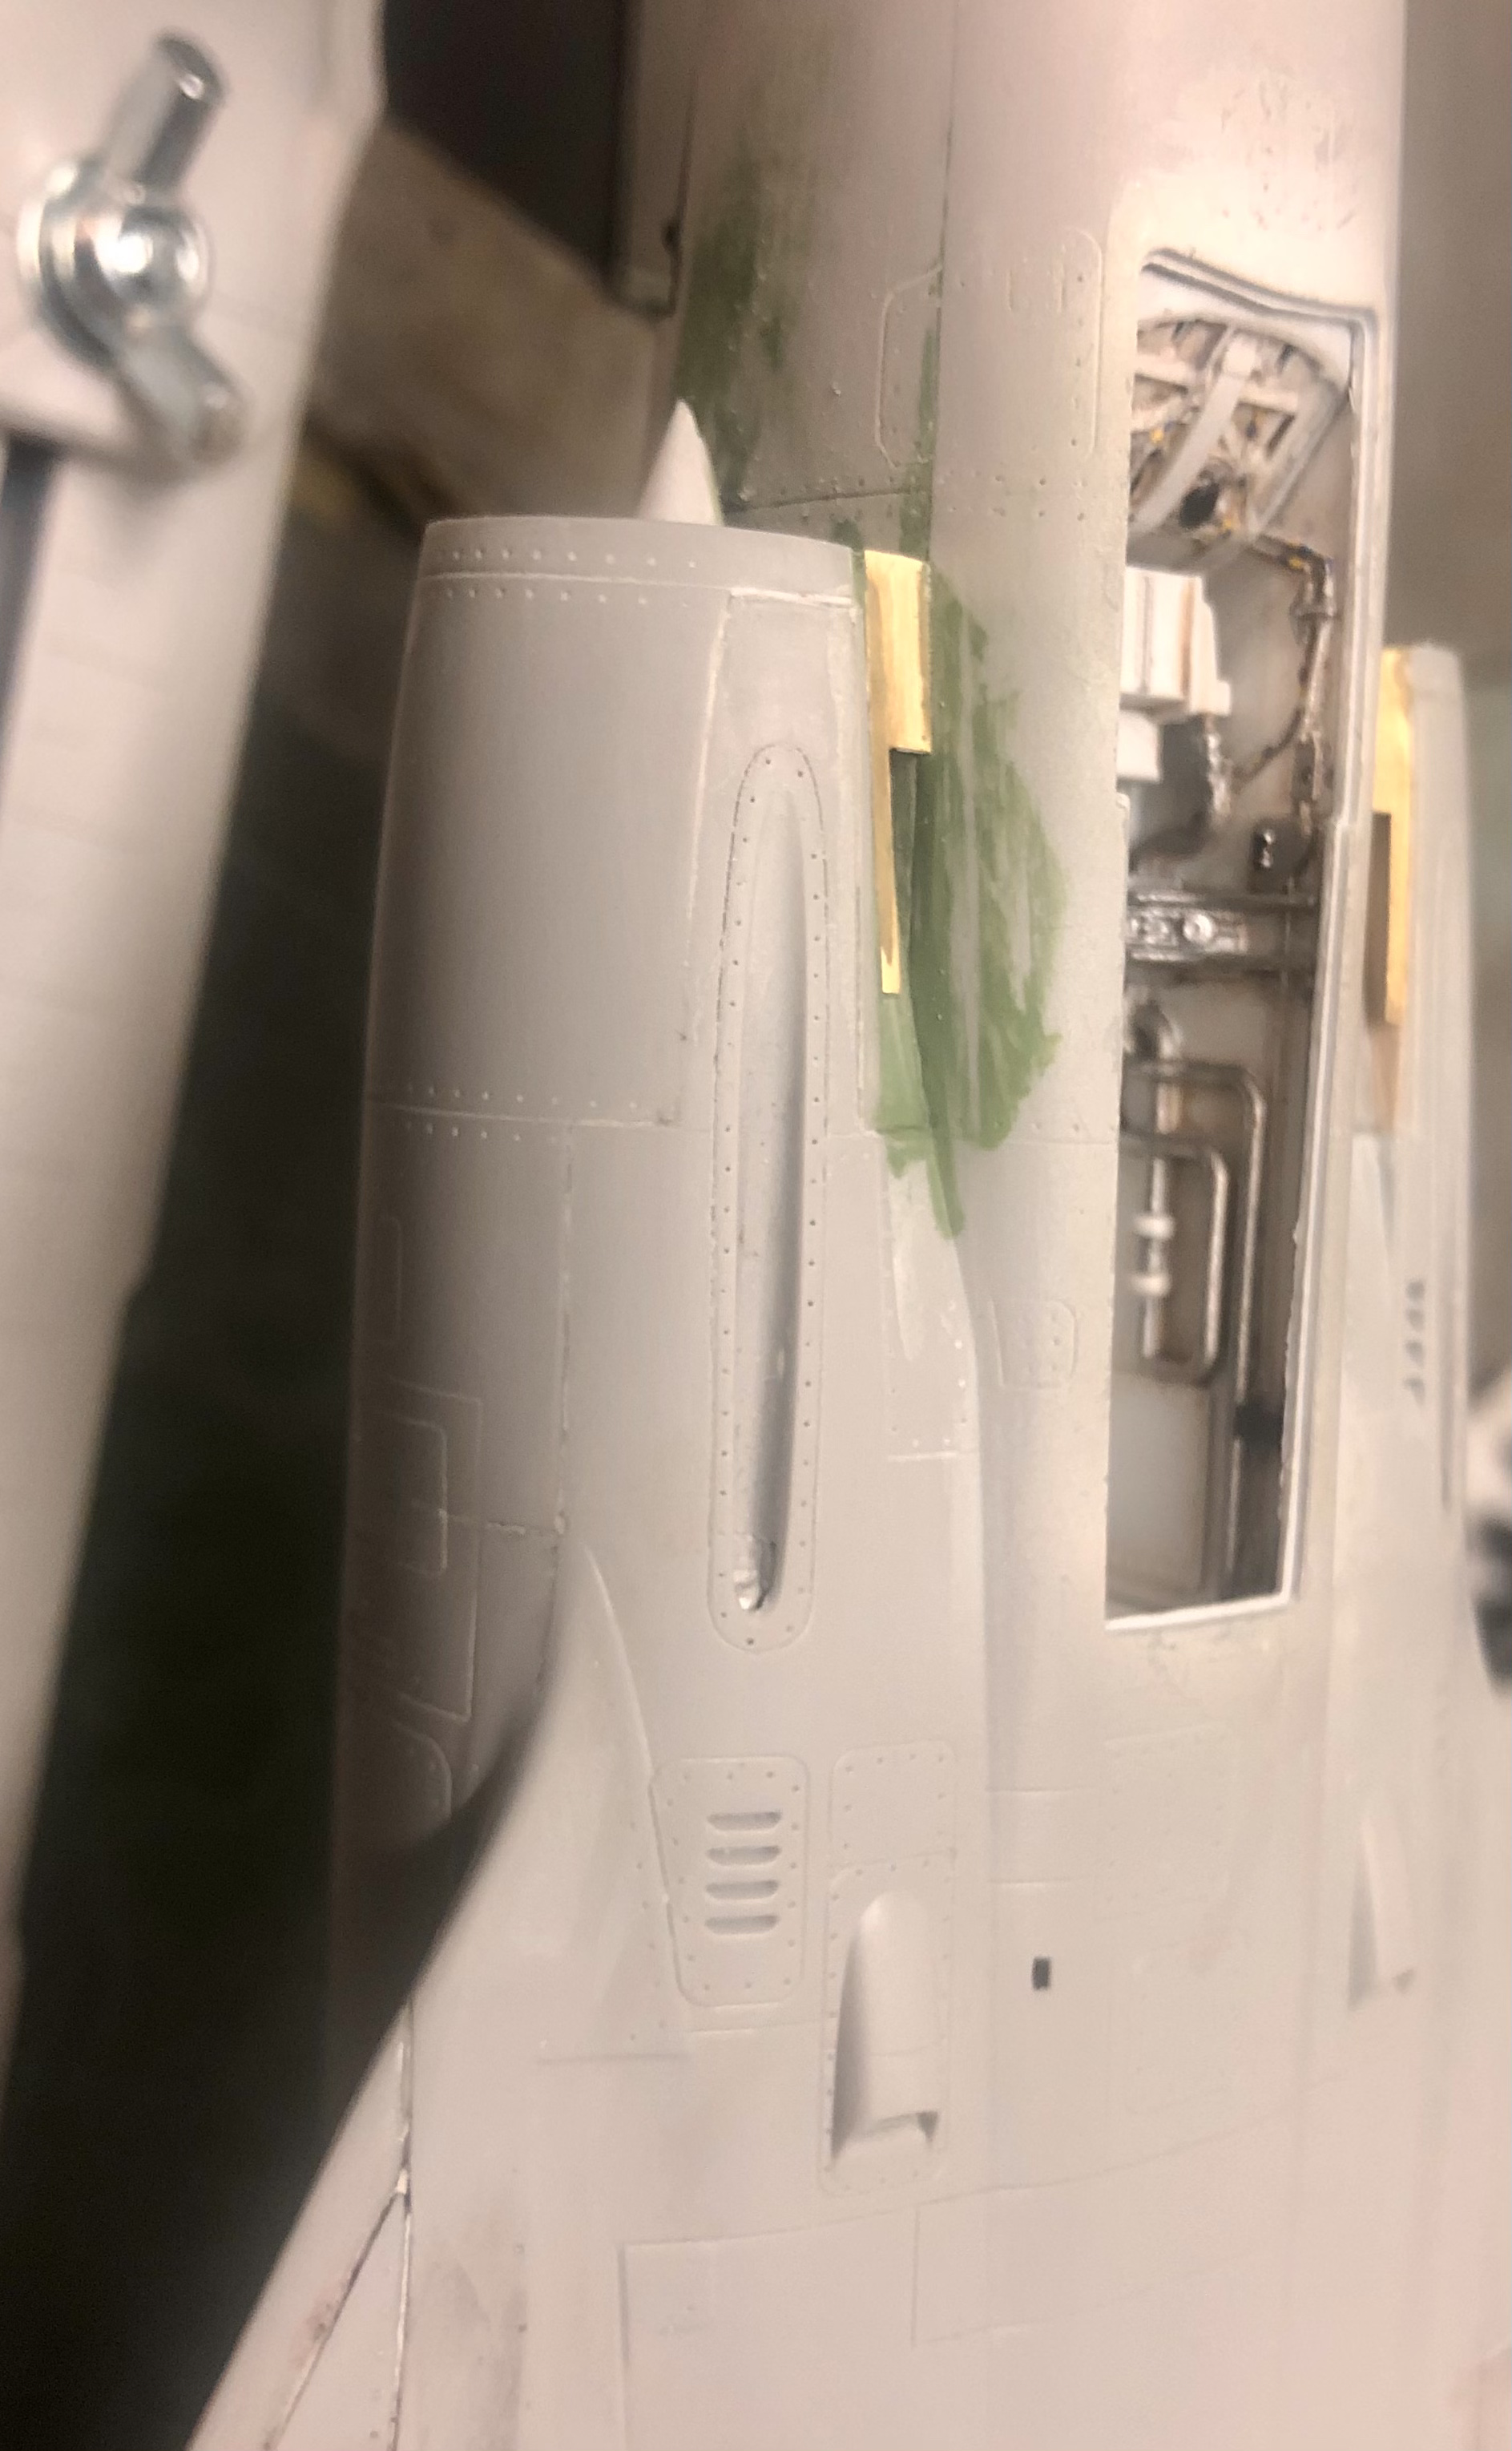
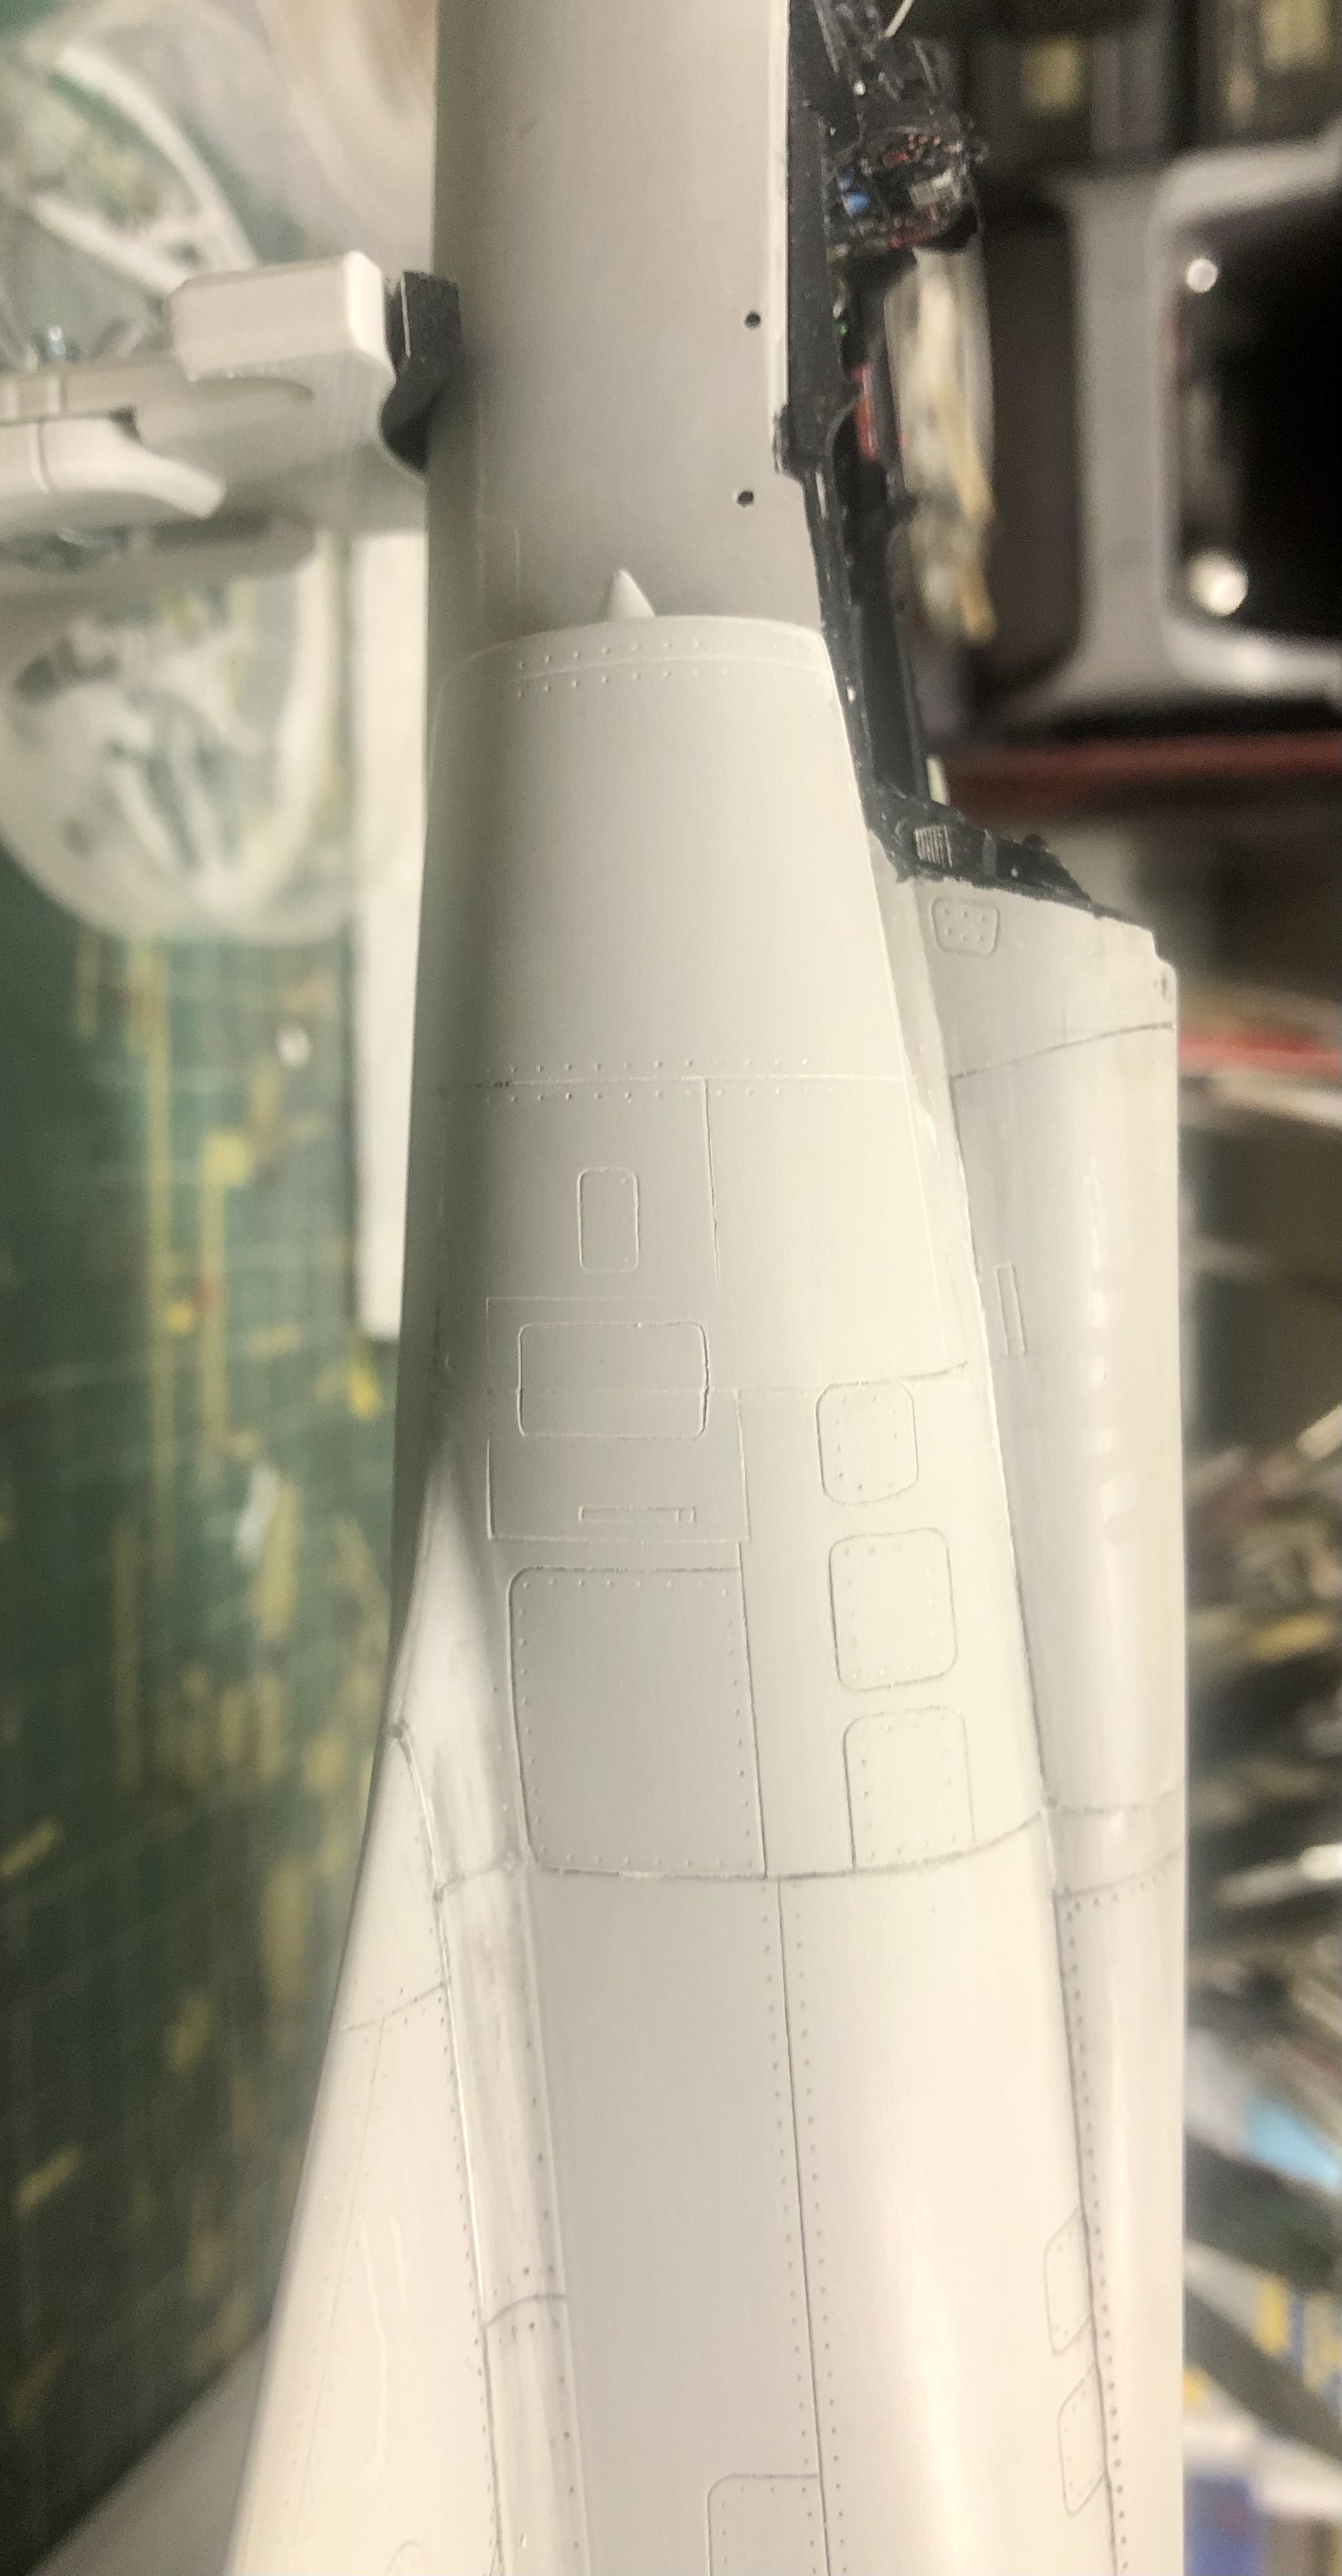
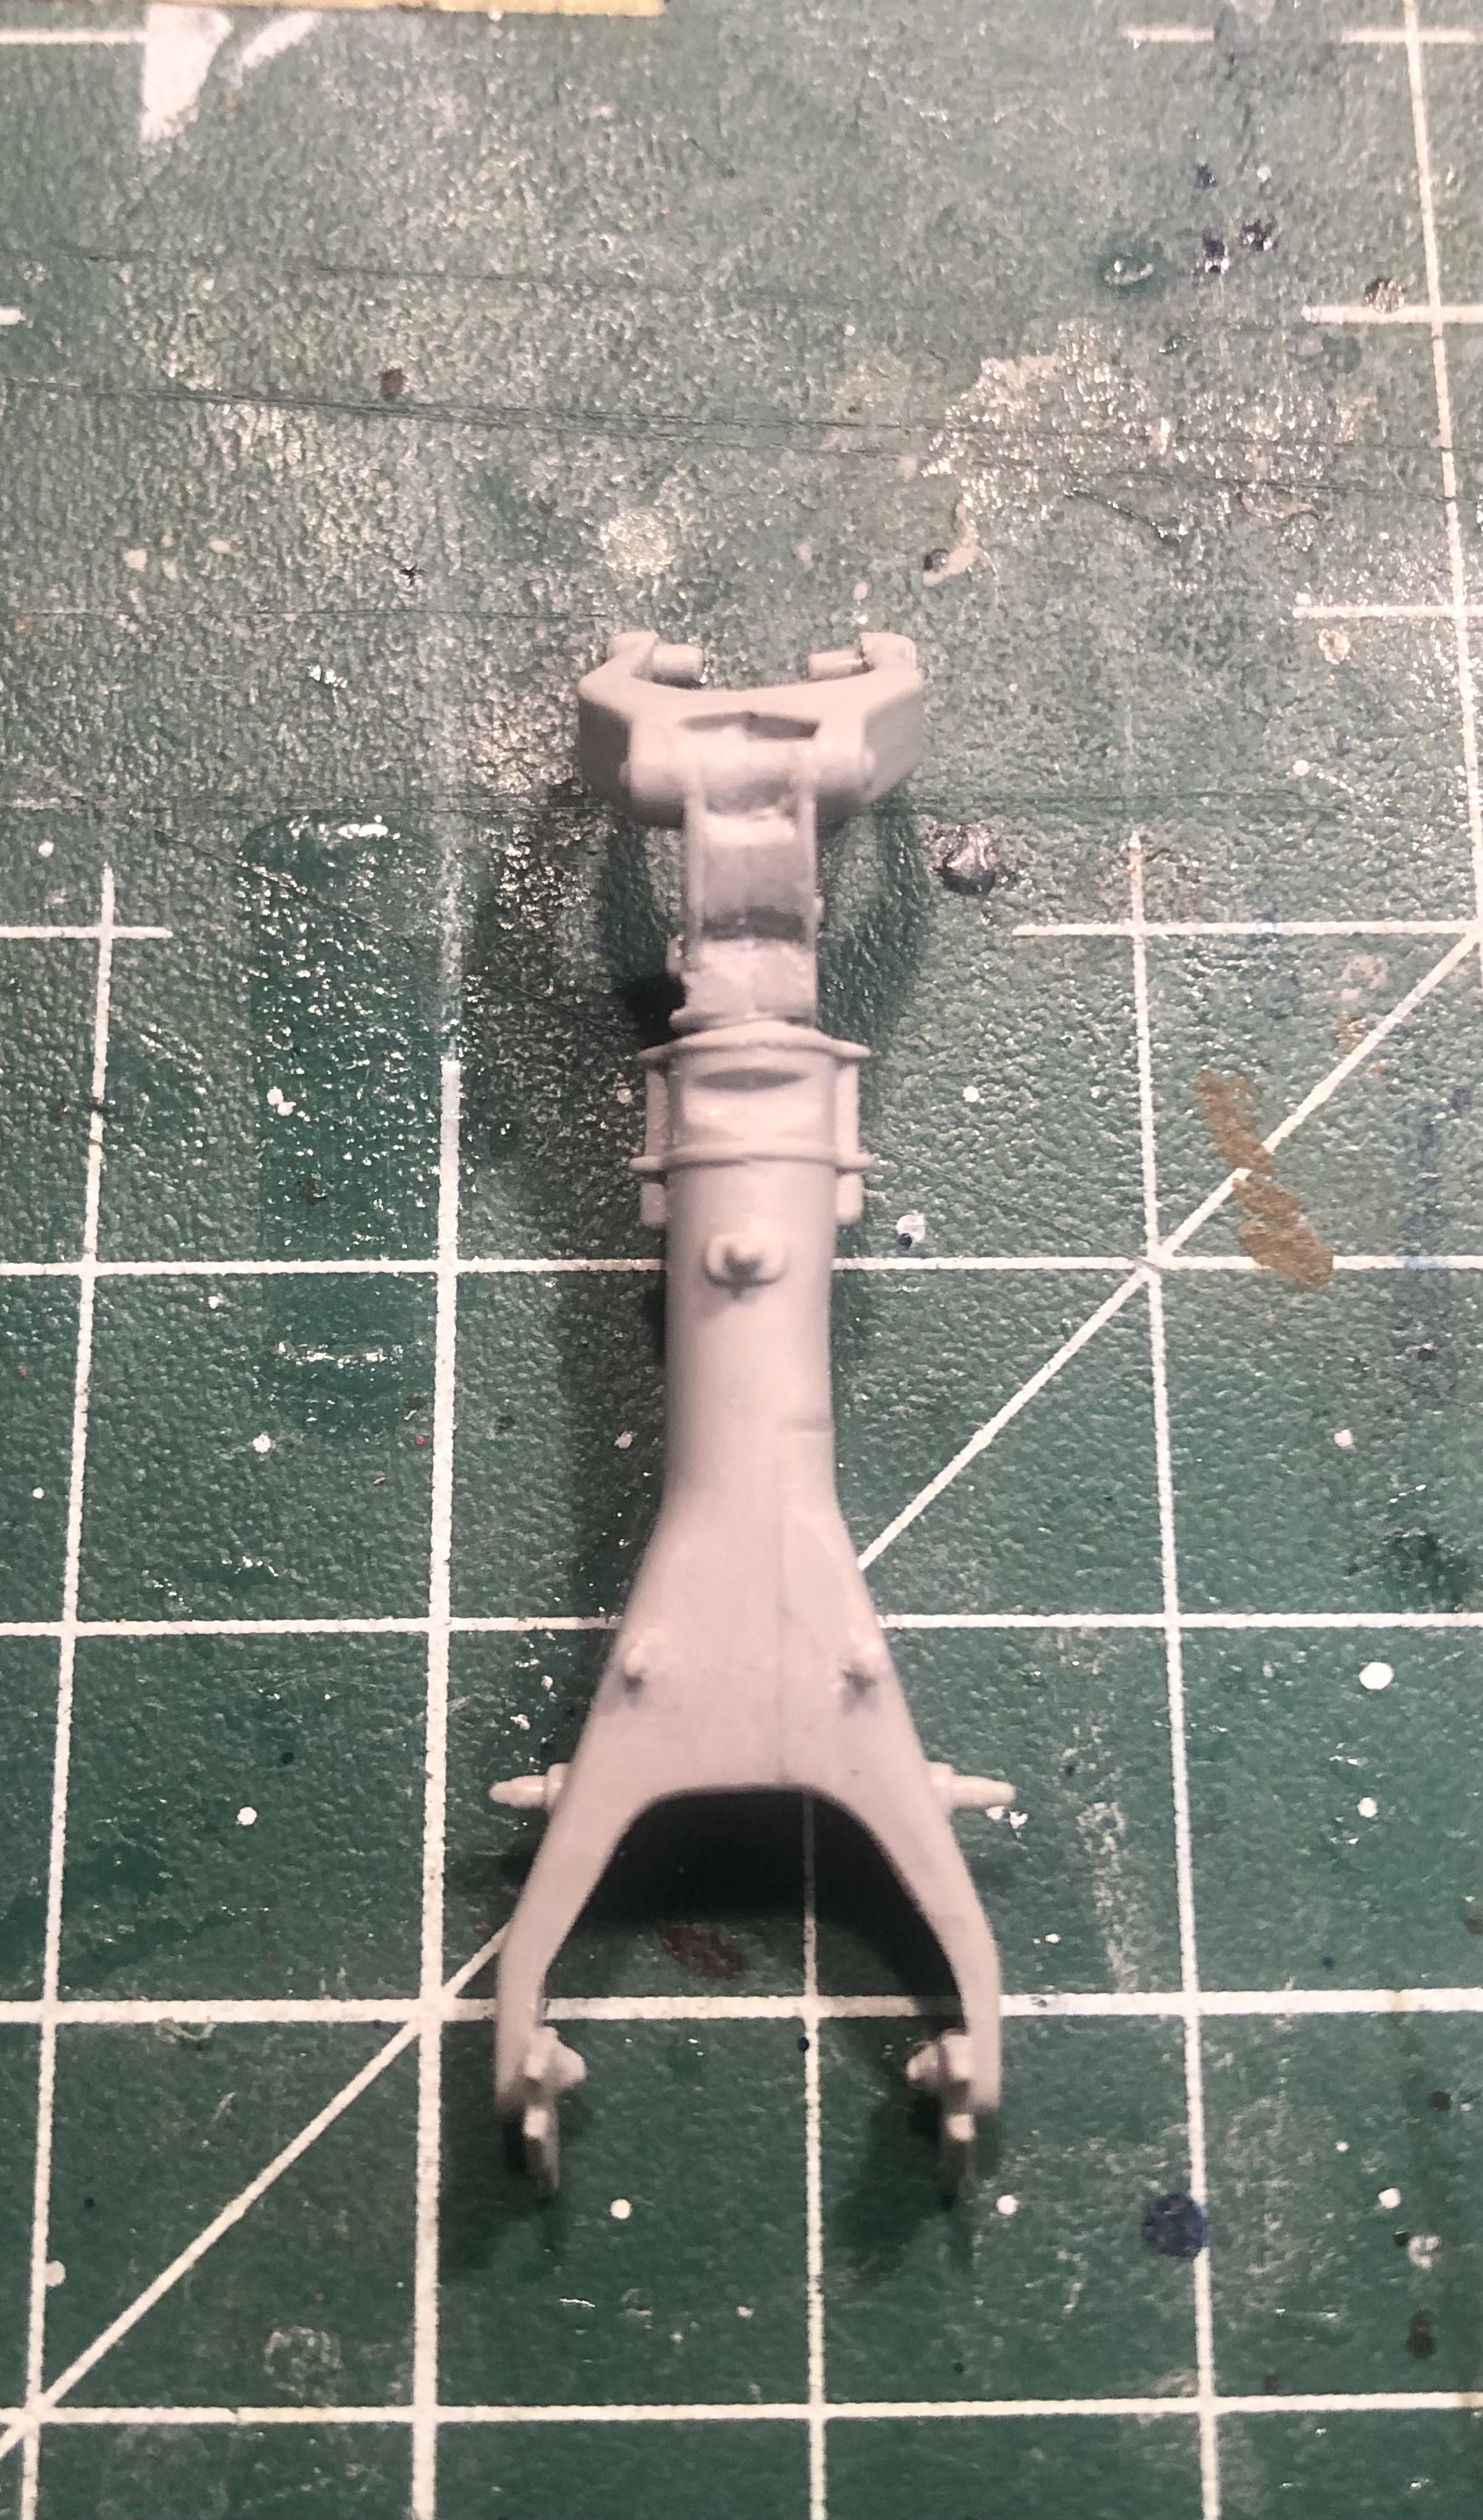
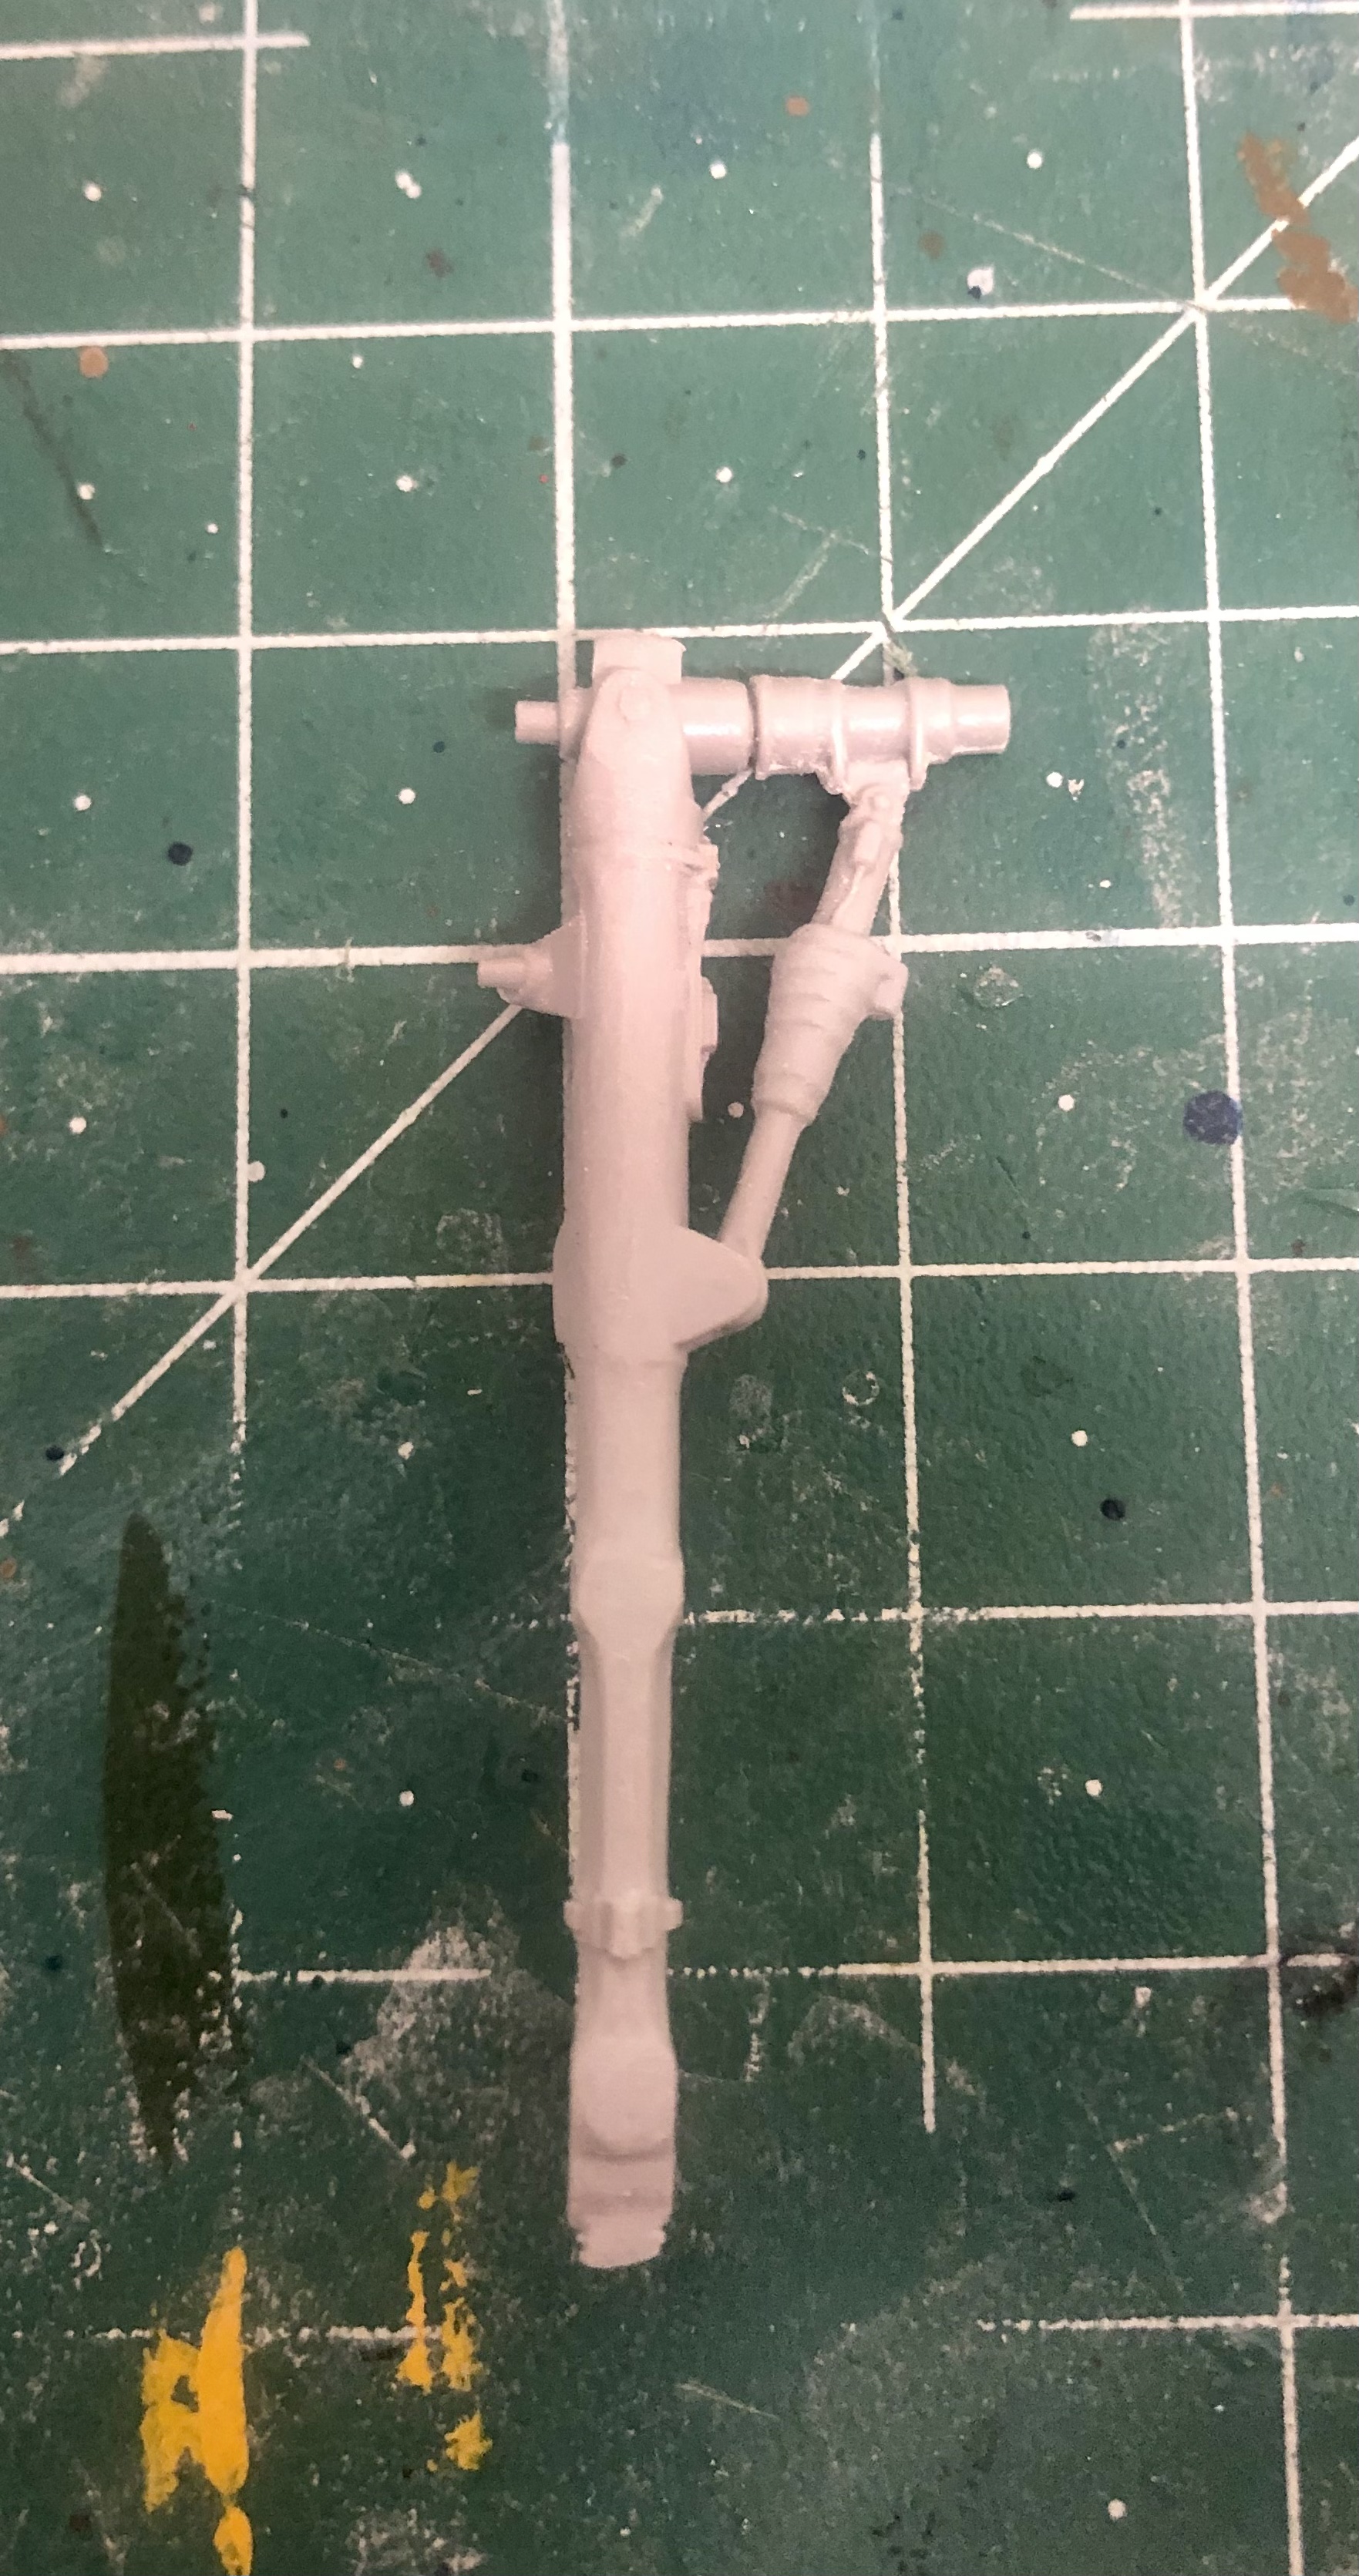
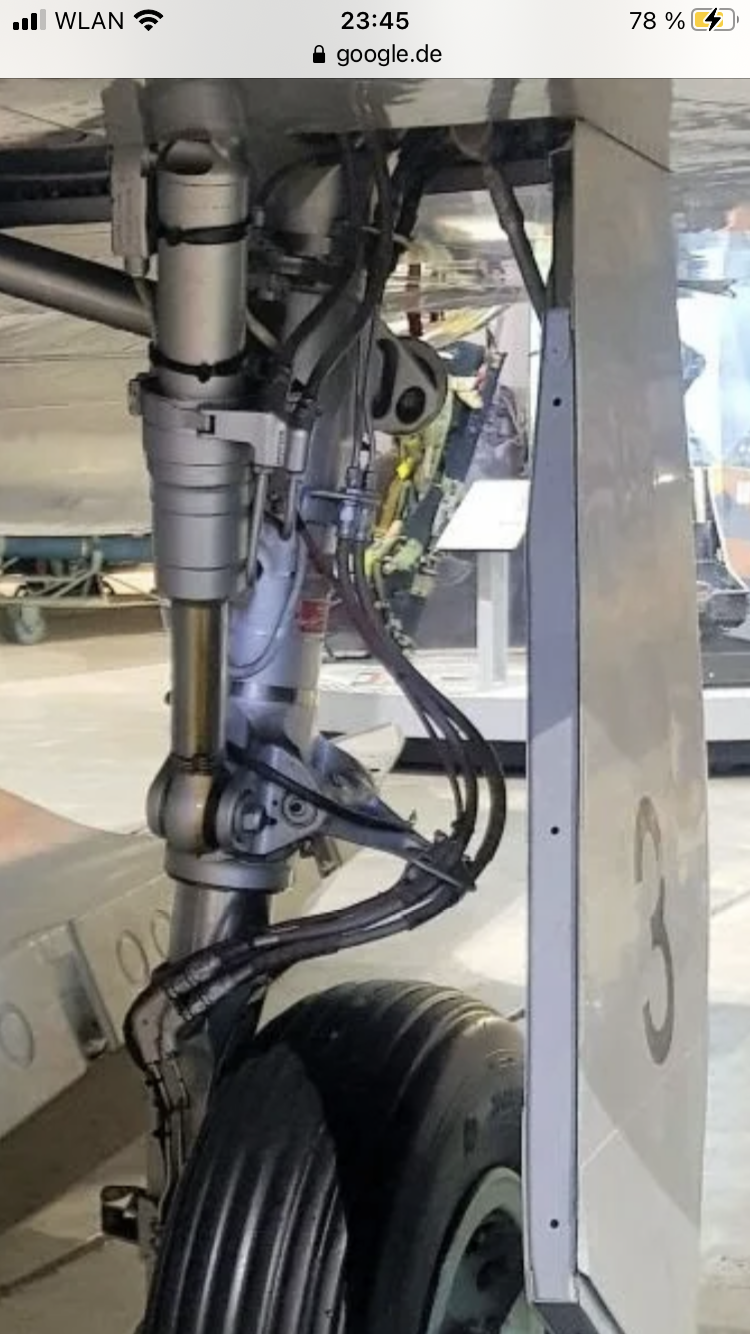
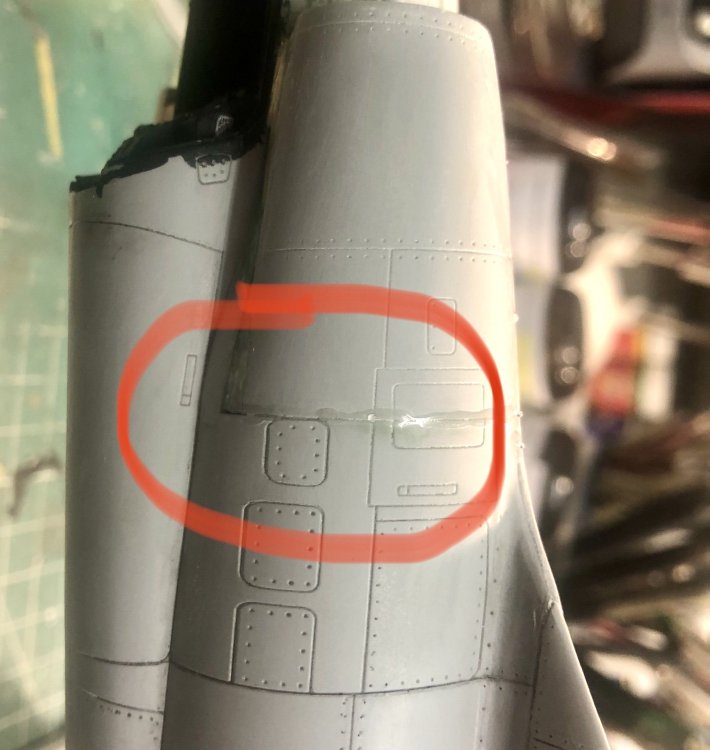
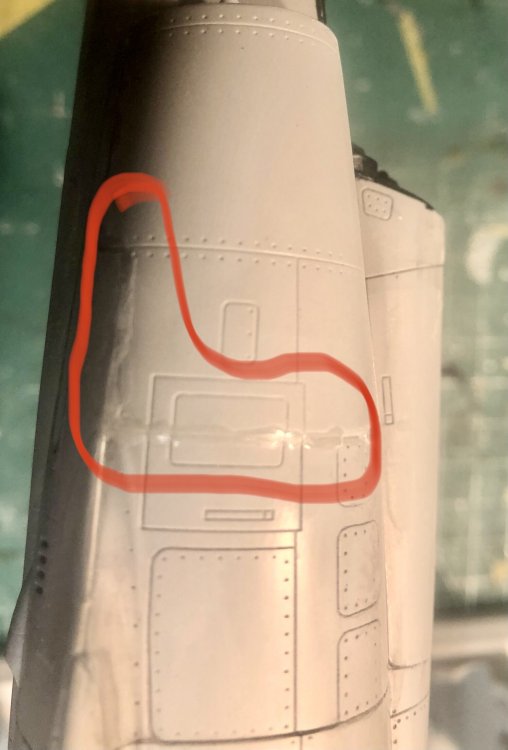
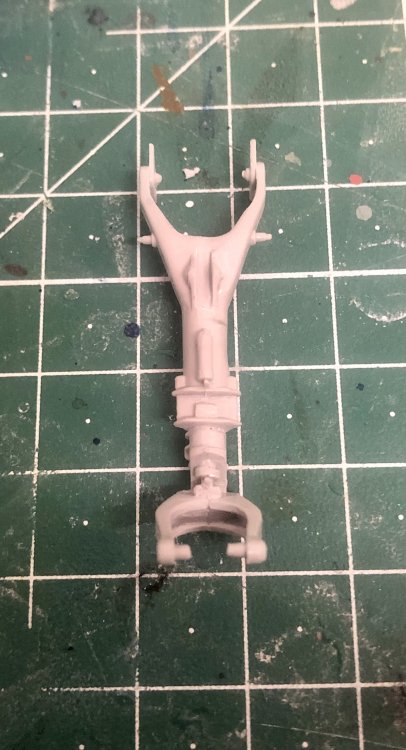
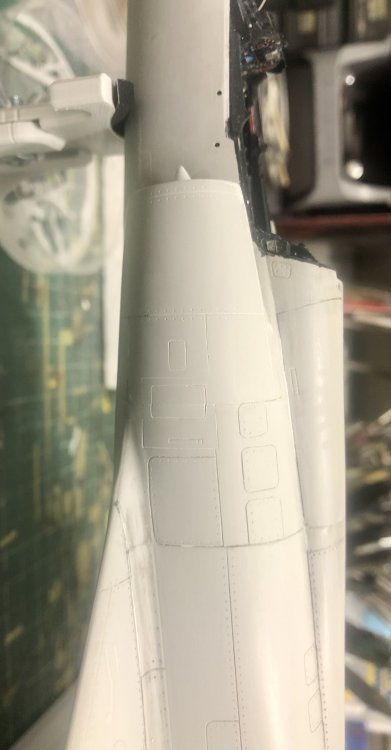
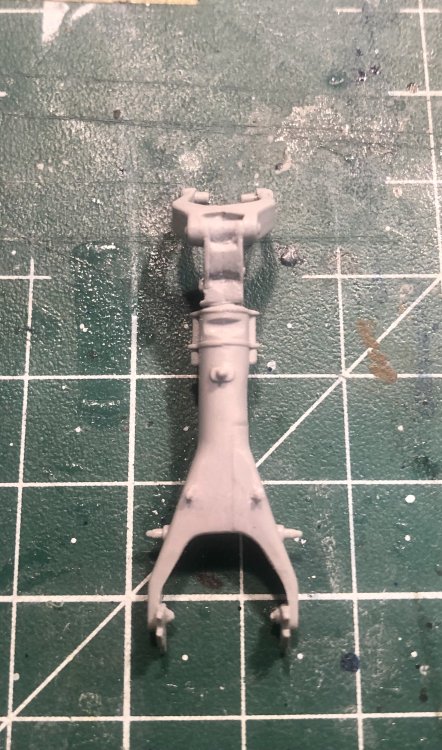
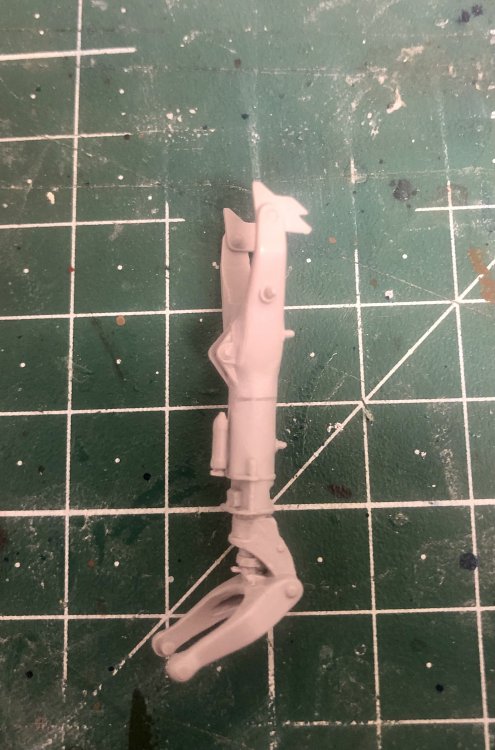
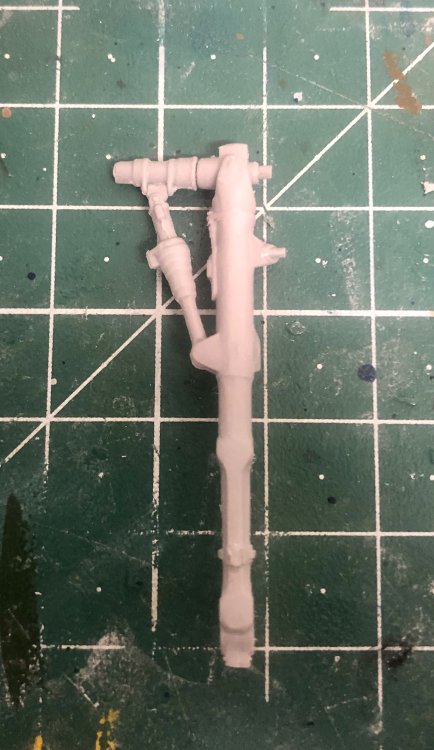
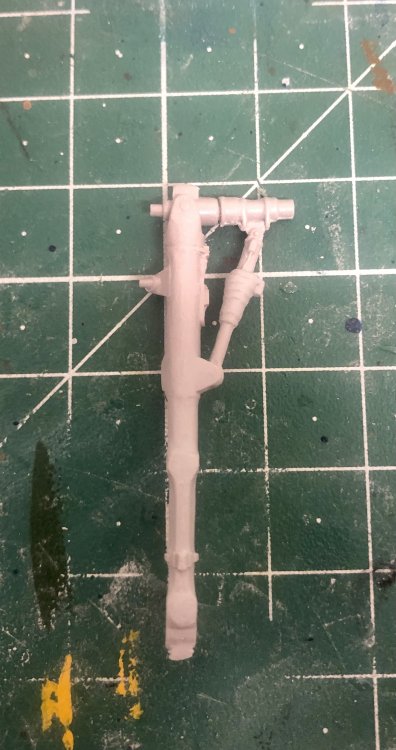
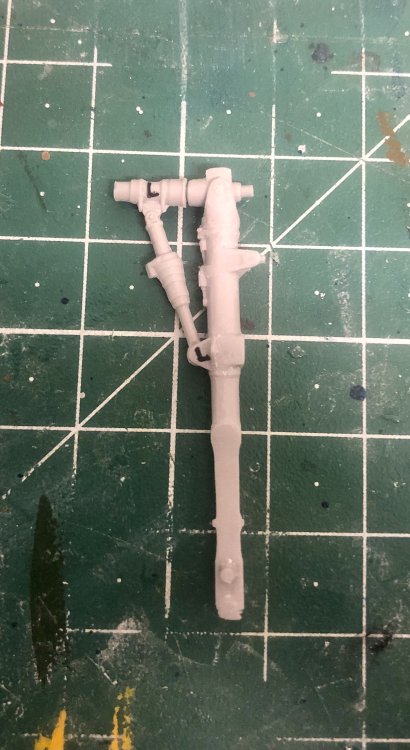
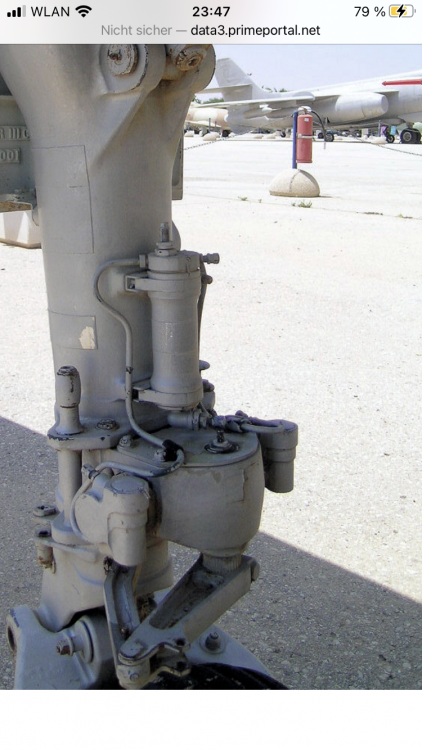
Today I took care about the intakes. After looking at pictures of the real plane it soon became clear that the seams of kit are no seams at the real plane. I really think that the Italeri designers have a contract with sanding-paper companies. Otherwise there is no explanation why the seams are placed that stupid. I sealed them all with superglue: I then sanded them smooth and started the rescribing. Still a lot of work to do: Then I moved over to the landing gear. I filled the gap on the front gear with superglue and then reworked all: Now I can start detailing them with piping. That’s all for today.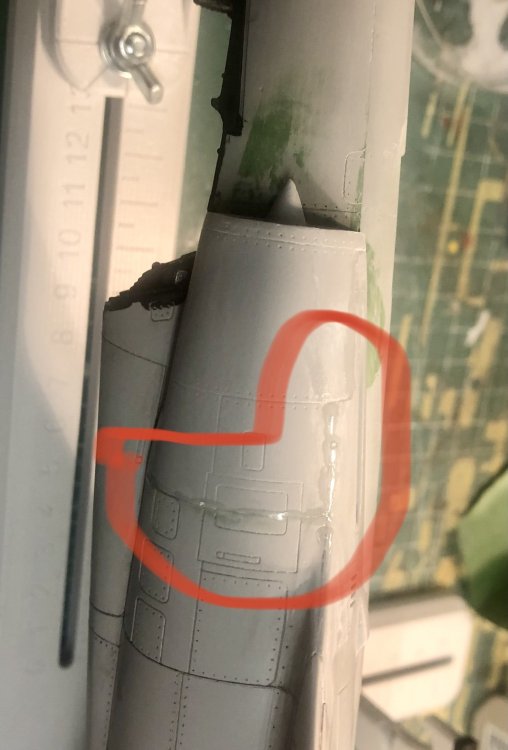


-
Looking mighty good John! The cowl-fit is also tight and looks fine! Looking forward to seeing the first camo-paint on it!
-
Stunning tank Gaz! Beautiful details and awesome paintjob! The extra miles you went totally paid off! The gunner really brings life to the model! Gorgeous build Gaz!
-
1/32 Revell RF-4C 14th TRS
Kaireckstadt replied to SapperSix's topic in LSM 1/35 and Larger Work In Progress
You are more than welcome Frank! Looking forward to seeing it installed in your beautiful bird! Kai -
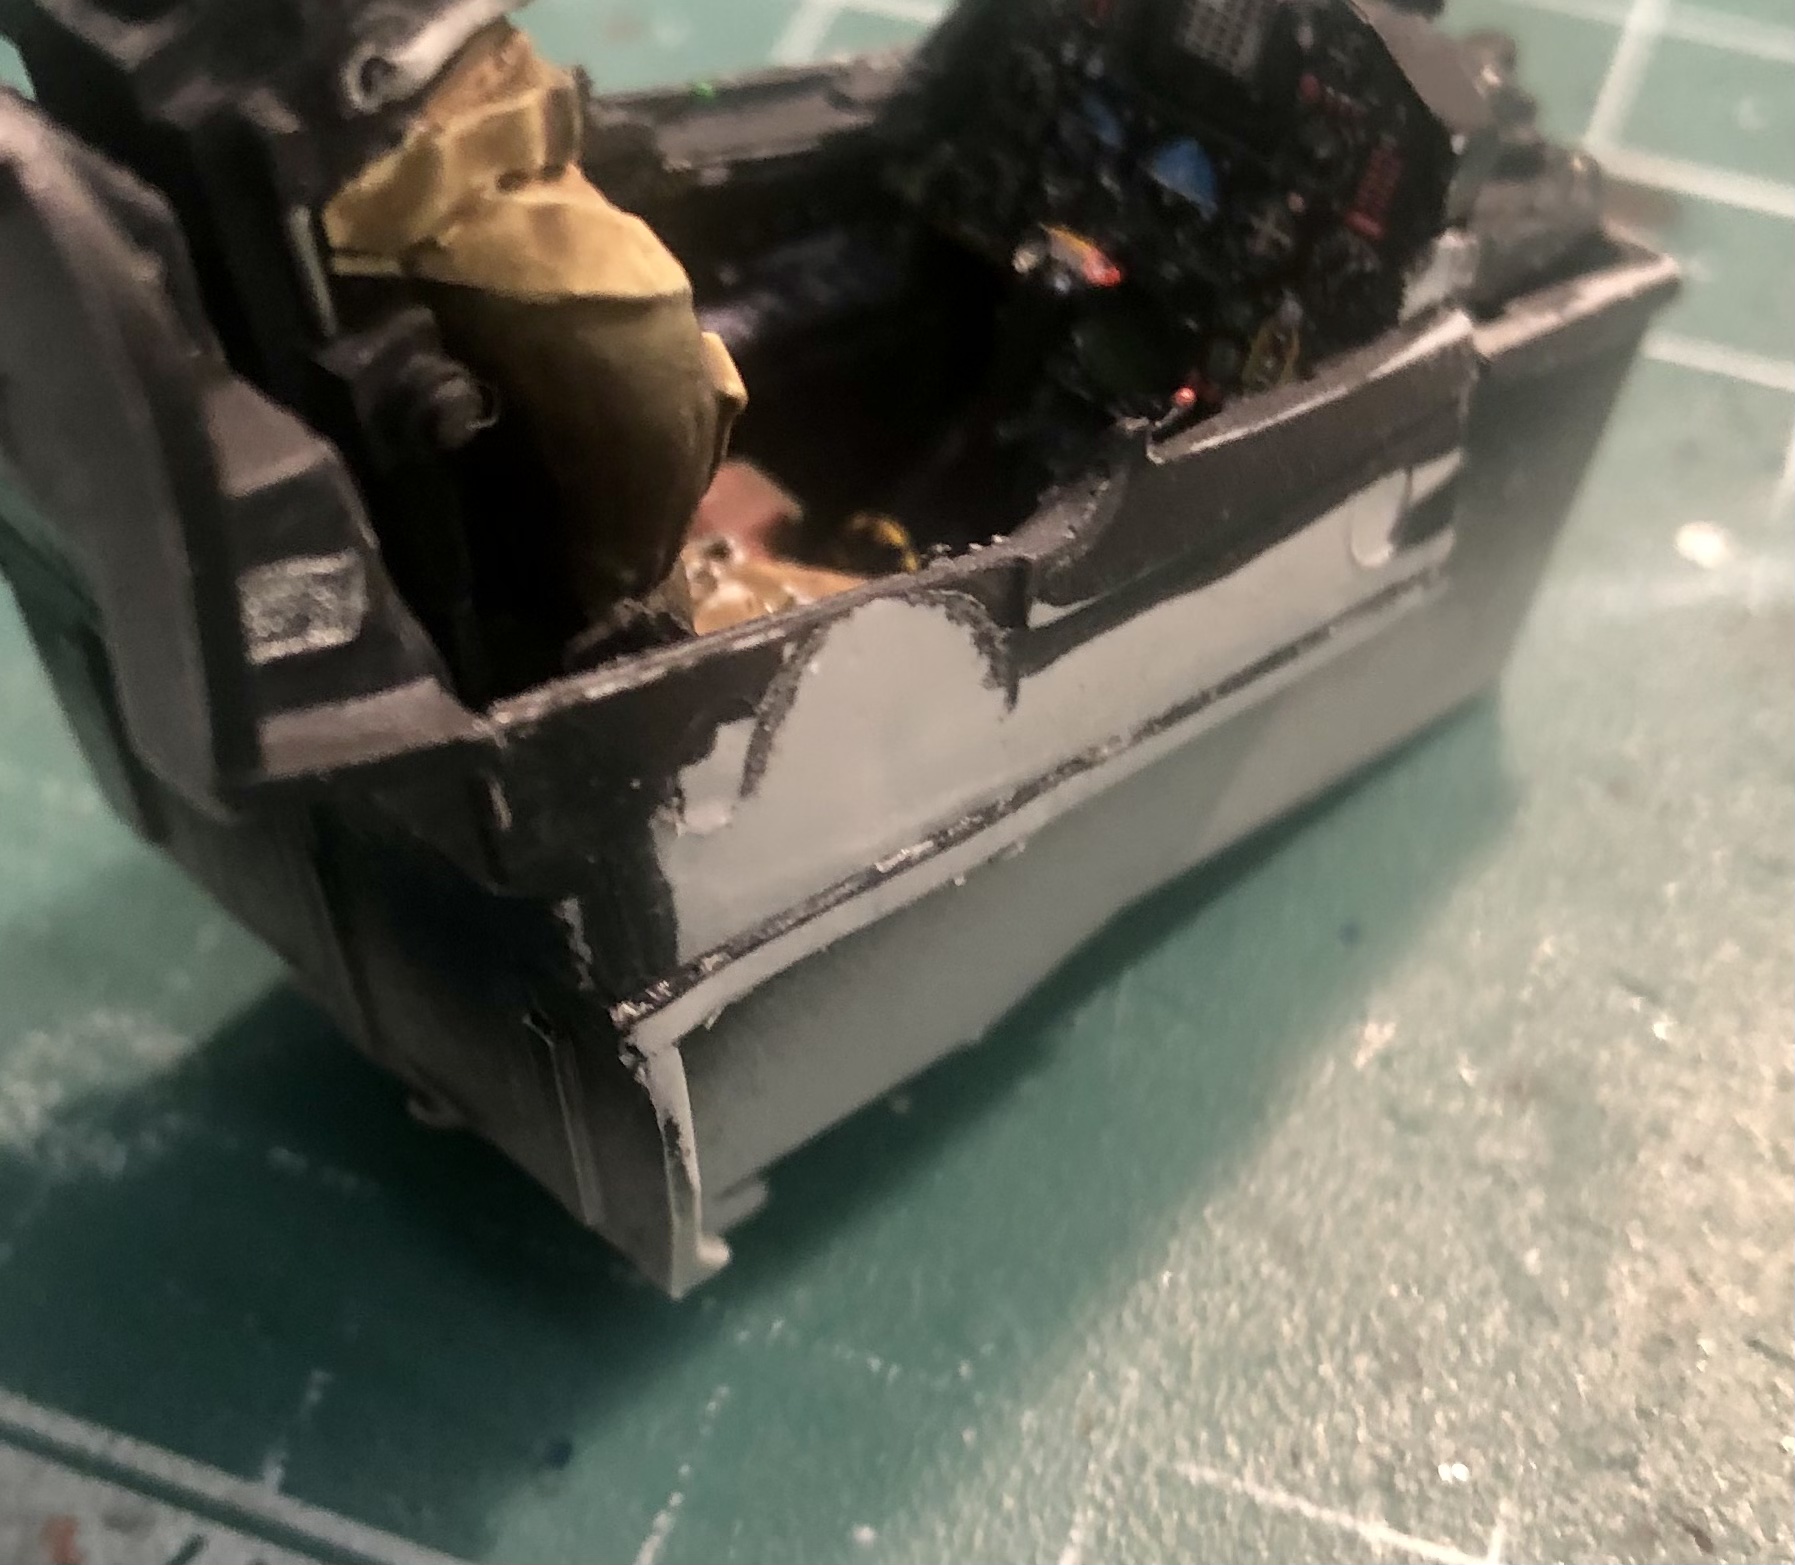
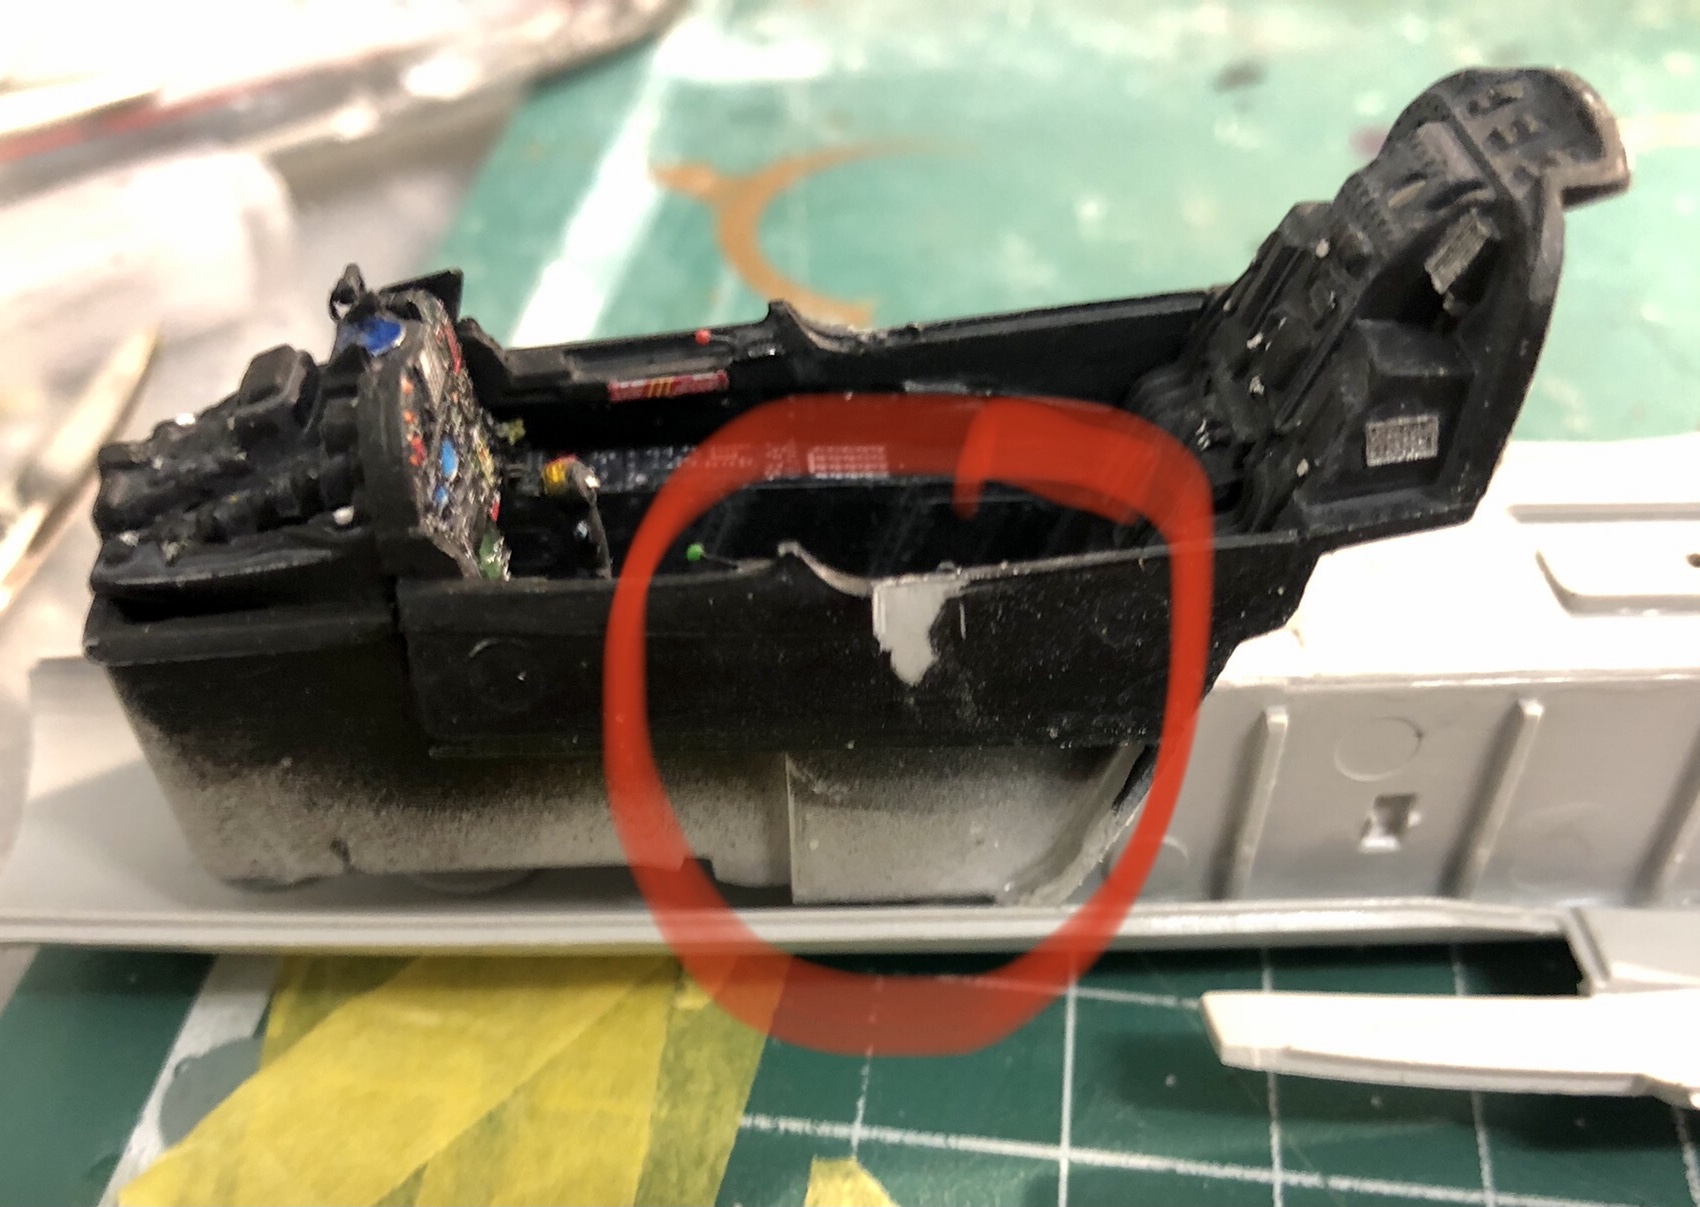
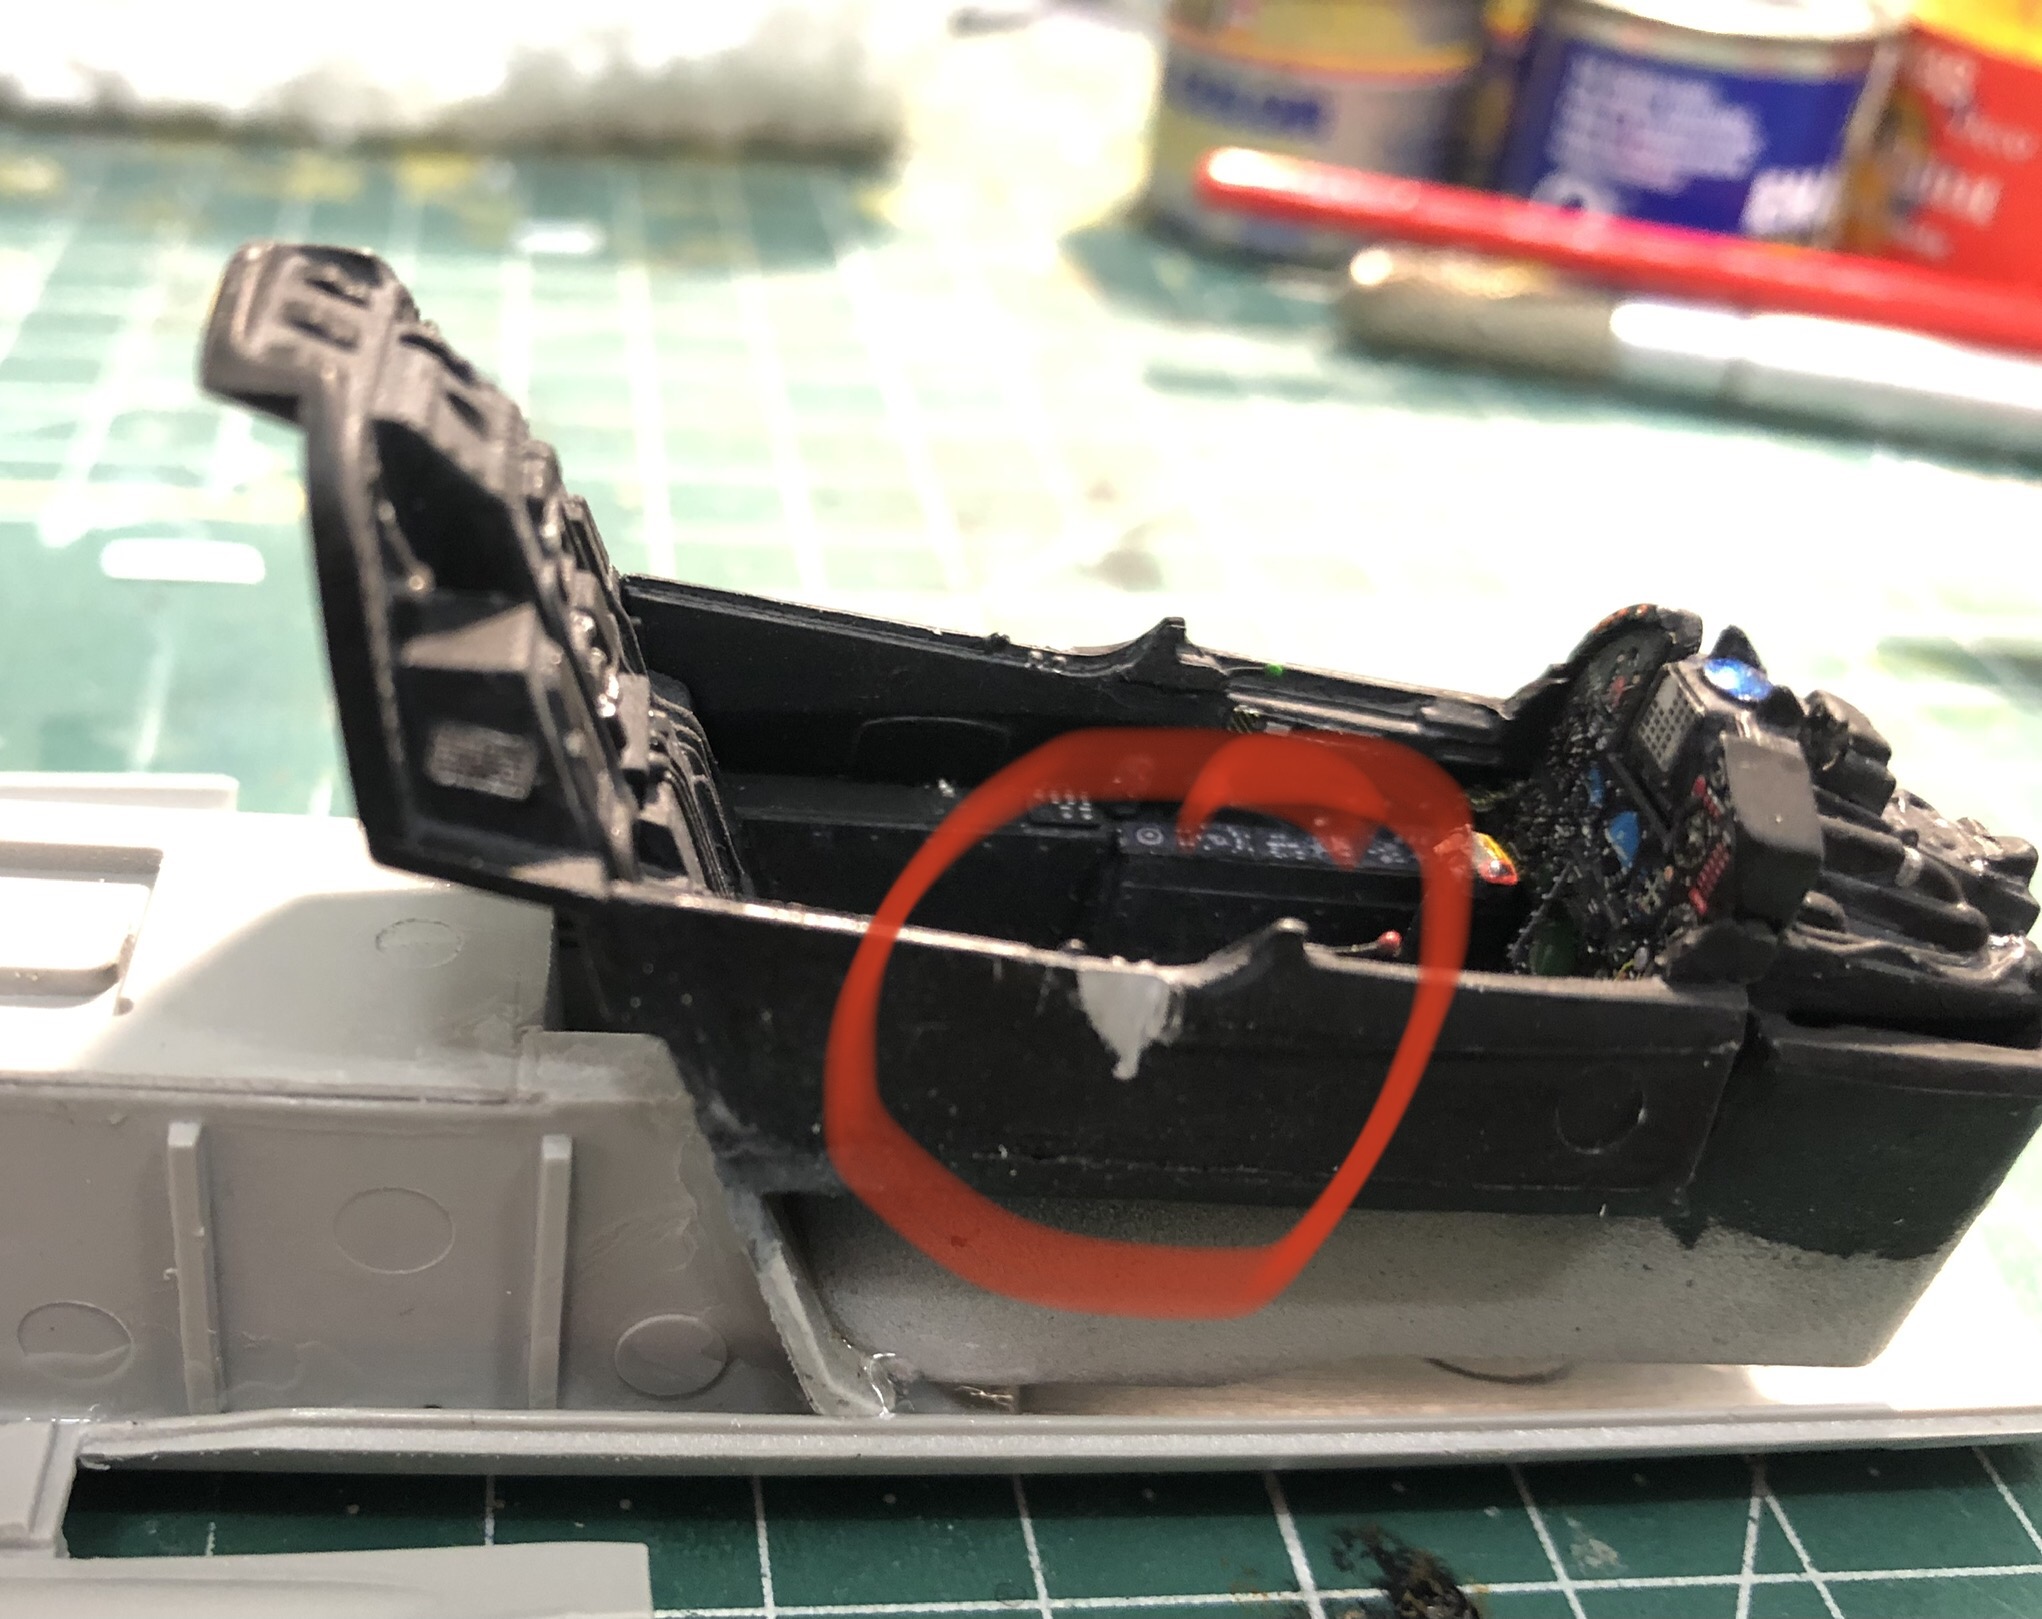
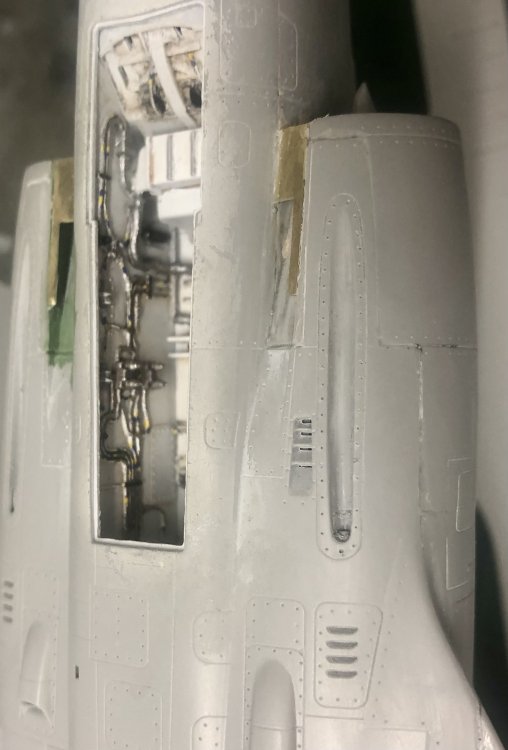
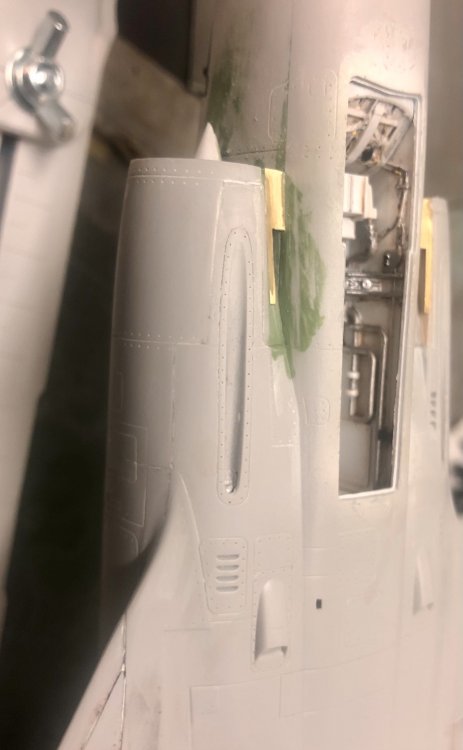
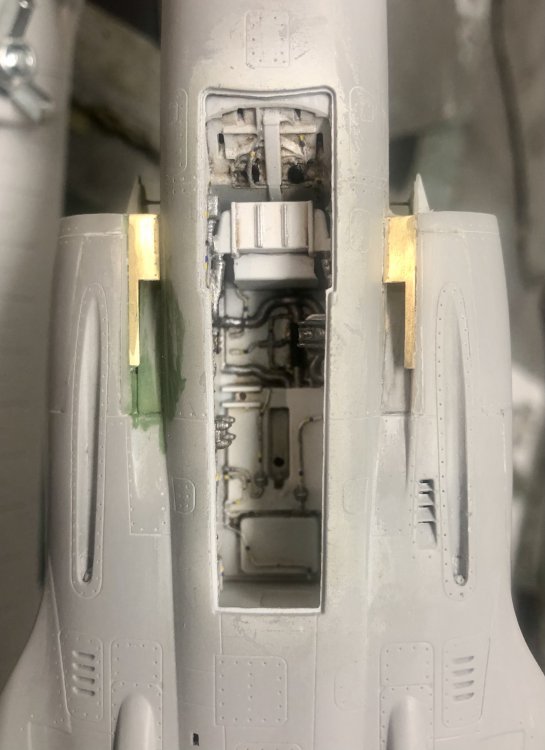
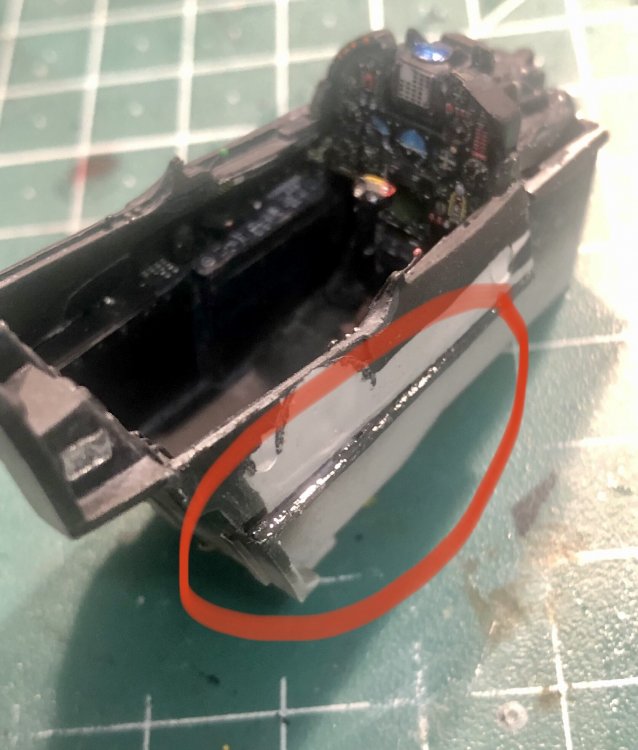
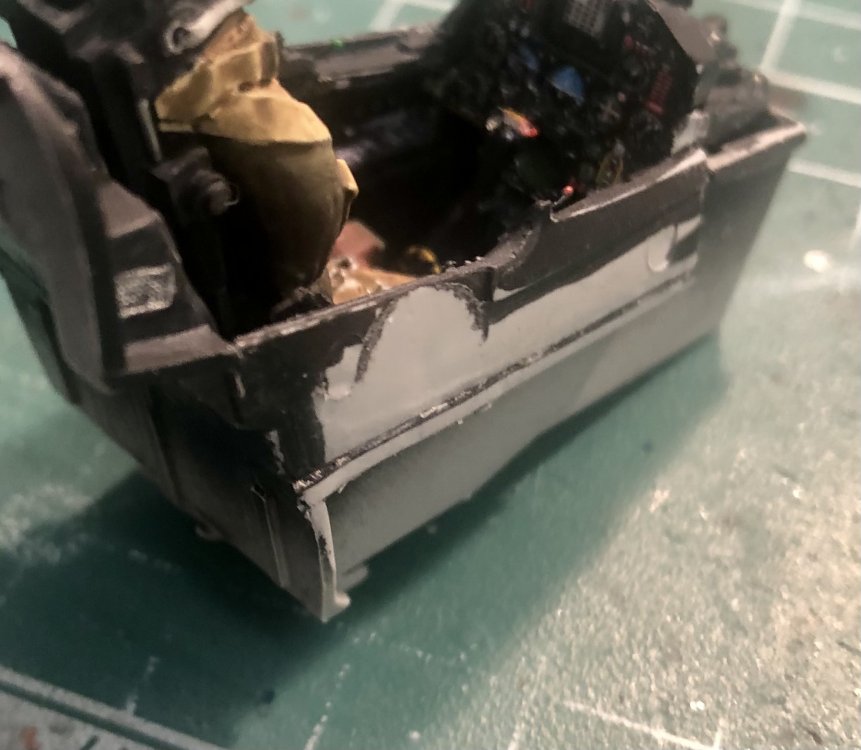
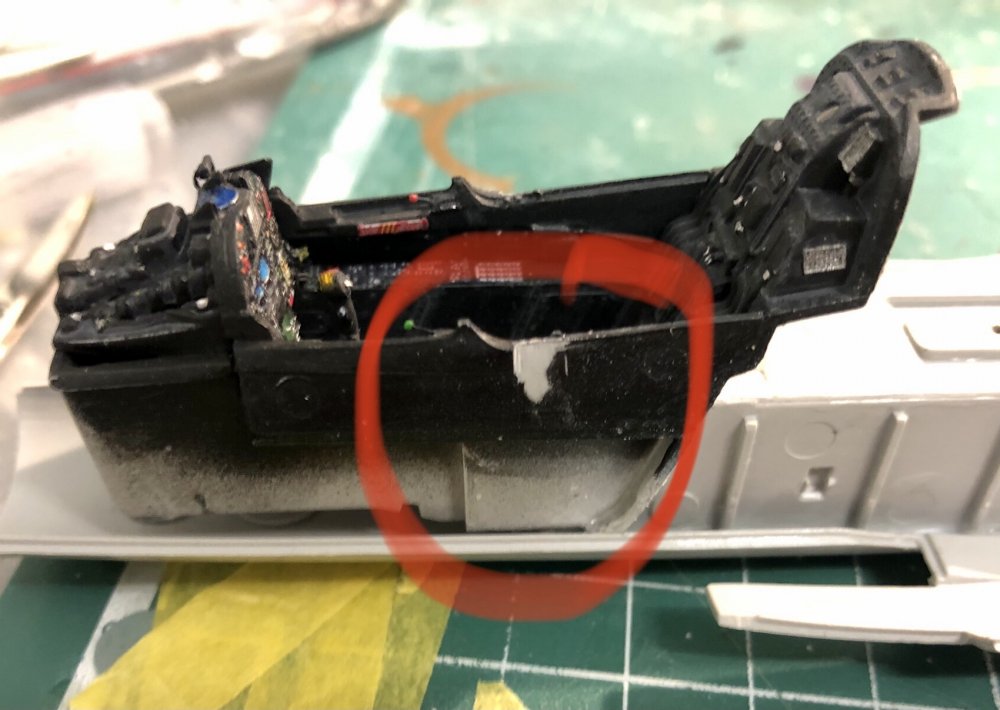
I know what you mean Alberto. I had 2 problems with the fit of the cockpit tub: The first problem I had was the fit of the side panels in the upper fuselage which I could easily correct: And I had to sand away some mm of the cockpit tub on the right side, which caused the same trouble you have now: But with this rework the fit was ok. Maybe you should glue the cockpit tub back part to the tub and then align the side-panels. This is which showed me where I had to rework the complete assembly to fit into the fuselage. Hope this helps a little. Kai

-
DB605 Engine 1/18 scale HPH
Kaireckstadt replied to Trigger's topic in LSM 1/35 and Larger Work In Progress
This is what I call really big! Looks really well detailed and for sure I will follow your build! Especially the adaption of the engine is an interesting topic! As Rob said: This will be an epic project! -
Israeli Mirage III C with Atar9C
Kaireckstadt replied to Kaireckstadt's topic in LSM 1/35 and Larger Work In Progress
Peter, I didn‘t start the assembly of the external stores so far... I will add the big subsonic fuel tanks from Italeri and Shafrir2-missles which I bought from Isracast. We will see which problems arise with them. The hope dies last. Good decision to leave yours in the stash. Kai -
Can’t wait to see it completely finished! This is more than an awesome build!
-
Totally agree! Looks perfect now!
-
Israeli Mirage III C with Atar9C
Kaireckstadt replied to Kaireckstadt's topic in LSM 1/35 and Larger Work In Progress
Thanks for your wishes Frank. You are right, I need it. You should really only build this model when you are a total Mirage III addict or when you have no other model at hand or - like me - when you have promised to build one for the Mirage SIG for Telford which I did before knowing what awaited me... But as I already said: I will win the fight! Italeri will loose...