DocRob
-
Posts
7,045 -
Joined
-
Last visited
Content Type
Profiles
Forums
Events
Gallery
Everything posted by DocRob
-
 I´ve done that also, after I bent my needle. used a Japanese grind stone with 6000 and 12000 grit. Worked perfectly. Cheers Rob
 -
AEG G.IV - Creature of the Night - WNW 1/32
DocRob replied to DocRob's topic in The Great Twins Broup Bluild
I don´t know why you always have to heap another shovelful onto my narrow shoulders, Hubert . I will look into these galvanic grown parts, but I will not do it for myself. I will order the Rexx exhausts, which seem to be wider available lately. I remember the times, even before the war, where the signature of Rexx was ´sold out´. Cheers Rob -
AEG G.IV - Creature of the Night - WNW 1/32
DocRob replied to DocRob's topic in The Great Twins Broup Bluild
Can´t really tell, Mike, I never owned one. They were hard to find for a while. From the pictures, I´ve seen, they are very nice, thin material with a convincing finish. I think, I will ad them for the AEG, as they are very prominent and the protruding end parts of the exhausts are simplified in plastic. @Fran made a nice review some years ago, with detailed pictures: Cheers Rob -
AEG G.IV - Creature of the Night - WNW 1/32
DocRob replied to DocRob's topic in The Great Twins Broup Bluild
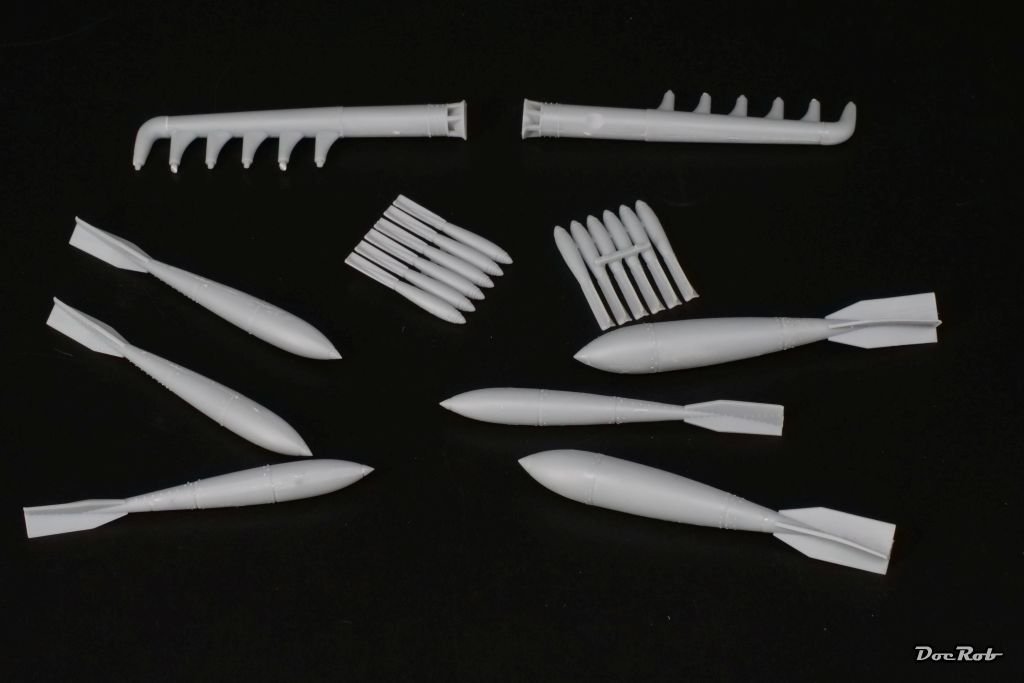
Well, it´s a bomber, why not starting with the bombs and the exhausts. In this case, it´s because the smaller 12,5 kg bombs will be filled into inboard racks and have to be painted first. I glued the parts together along with the exhausts, to evaluate the need for substitute them with AM. There are bombs from Kellerkind and the metal exhausts by Rexx. The parts look promising, but I will decide after priming. This beast was able to carry a bomb load of up to 800 kg and a later -.b version could handle a 1000 kg bomb, a lot more than the Gotha. It seems the ground was the worst enemy of this type, as many crash landed, due to night conditions and the tendency to nose dive easily when touching down. Earlier types were used in daytime raids, but better fighter coverage pushed the AEG´s into night duty. Cheers Rob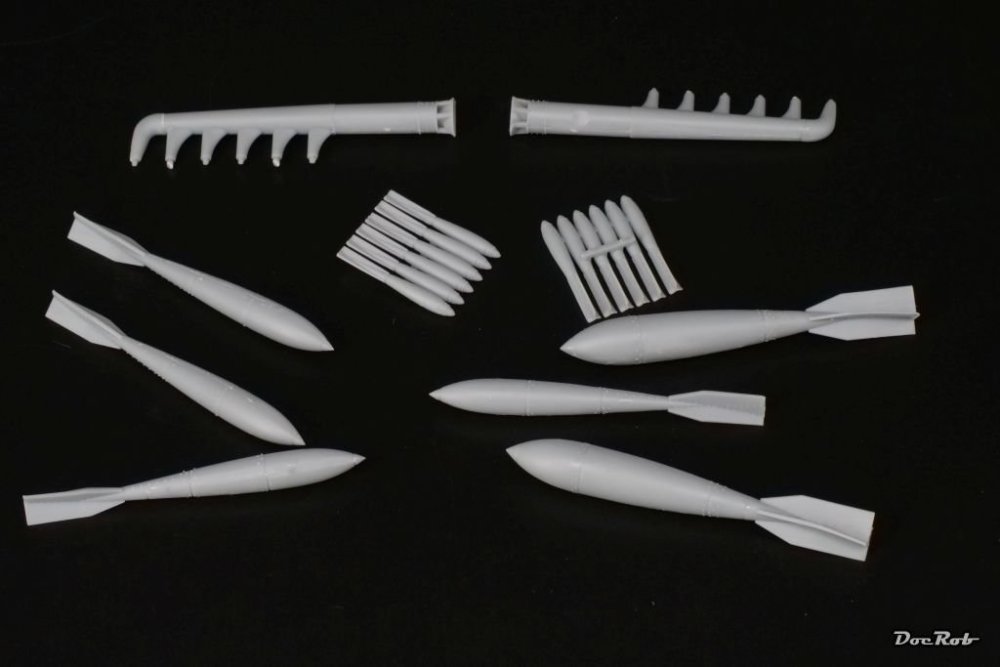
-
AEG G.IV - Creature of the Night - WNW 1/32
DocRob replied to DocRob's topic in The Great Twins Broup Bluild
Thank you amigos, it´s not my first WWI build, but by far the most complex. I built a WNW Pfalz, a Hansa Brandenburg and a MikroMir Fokker D.VIII in 1/32 and two Eduard SSW´s in 1/48, but they all were simple to rig. Interestingly most of these builds were more rewarding than most other plane builds I did, even with lots of scratching and improvisation with the Mikro Mir Fokker. There is a lot to learn while building these old stringbags, but I have another even more challenging WWI twin in my stash, Aviattic´s 1/48 Gotha G.V (ex Hippo/AZ) with Aviattic, Gaspatch and Lukgraph extras. This is also a night bomber, but the 1/48 scale and base kit makes it harder than the AEG, I guess. Cheers Rob -
One stupid question Martin, do the needle and nozzle have the corresponding size? With the older Infinity nozzles, it´s easy to mix them up, guess how I know Cheers Rob
-
McLaren MP4/6 Ayrton Senna Fujimi 1/20
DocRob replied to DocRob's topic in LSM 1/35 and Larger Work In Progress
Ok, due to the twins-GB, the McLaren build is boxed and paused. It gave me a lot of grief, but i felt, that now the fun part of the build would have started, but that´s for later. Cheers Rob -
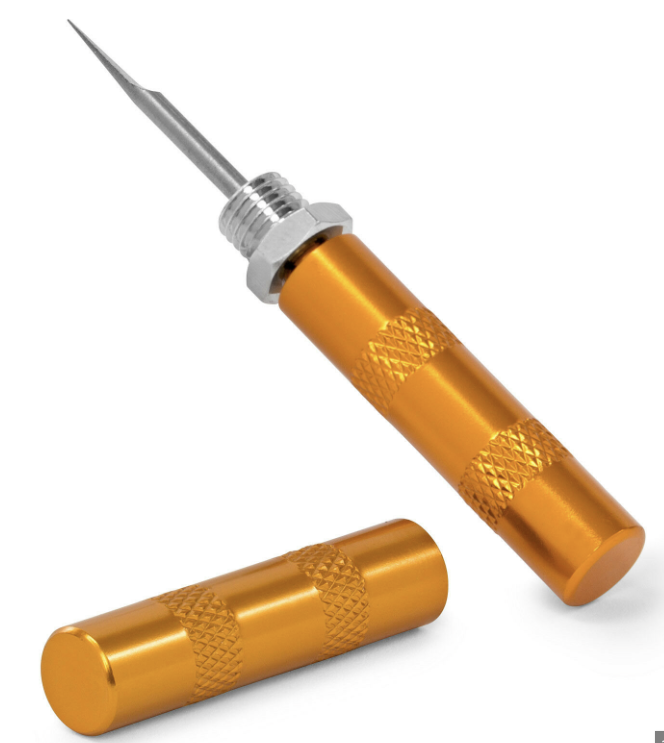
Can´t help with the bombs, Martin, other than finding these here made by Res-Im: FAB-250M-62 (2pcs), RES-IM 32009 (scalemates.com) Have you checked and cleaned the nozzle of your AB. If there is something sticking in there it can have this effect. I have something like this to clean the nozzle: The flat grinded side cleans away the dirt, used with some cleaner fluid (Best is imho AK´s Extreme Metal Cleaner / Thinner) Once, I even had a hairline crack on the tip of the nozzle, which caused a bad spray habit. It was only visible with a magnifier. Cheers Rob
-
1:32nd scale Halberstadt D.II
DocRob replied to sandbagger's topic in LSM 1/35 and Larger Work In Progress
I hope, you can fix these issues Mike. There should be some fitting props left from other WNW kits. If not, I can look into my WNW Halberstadt C.I/II kit, which I need and if there are some left. I need the Niendorf for my build, so Garuda and Axial are up for grabs. Cheers Rob -
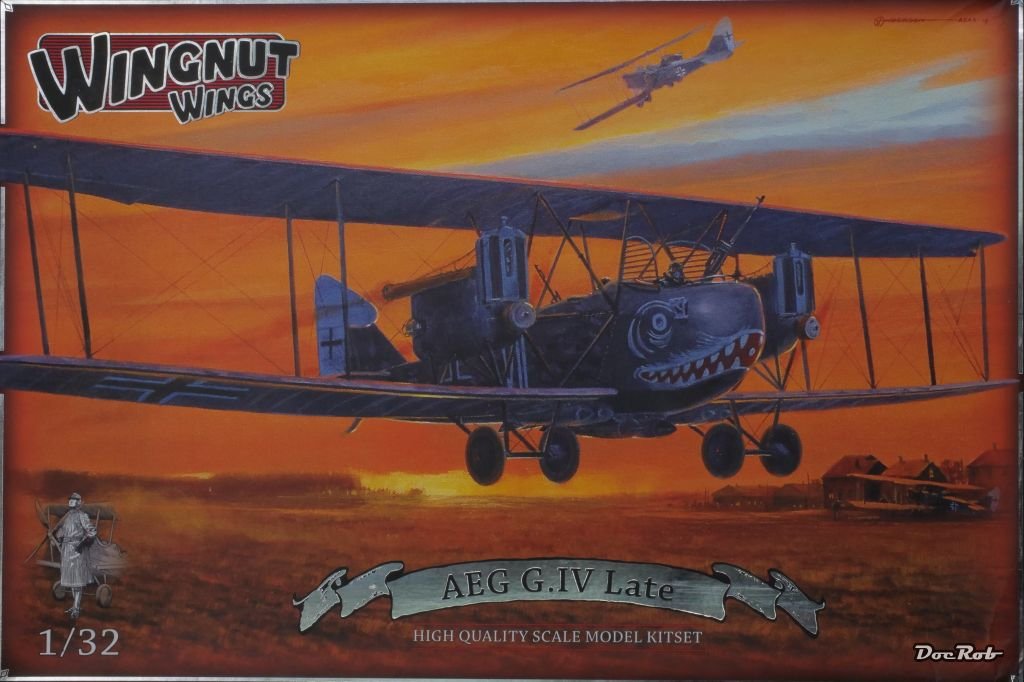
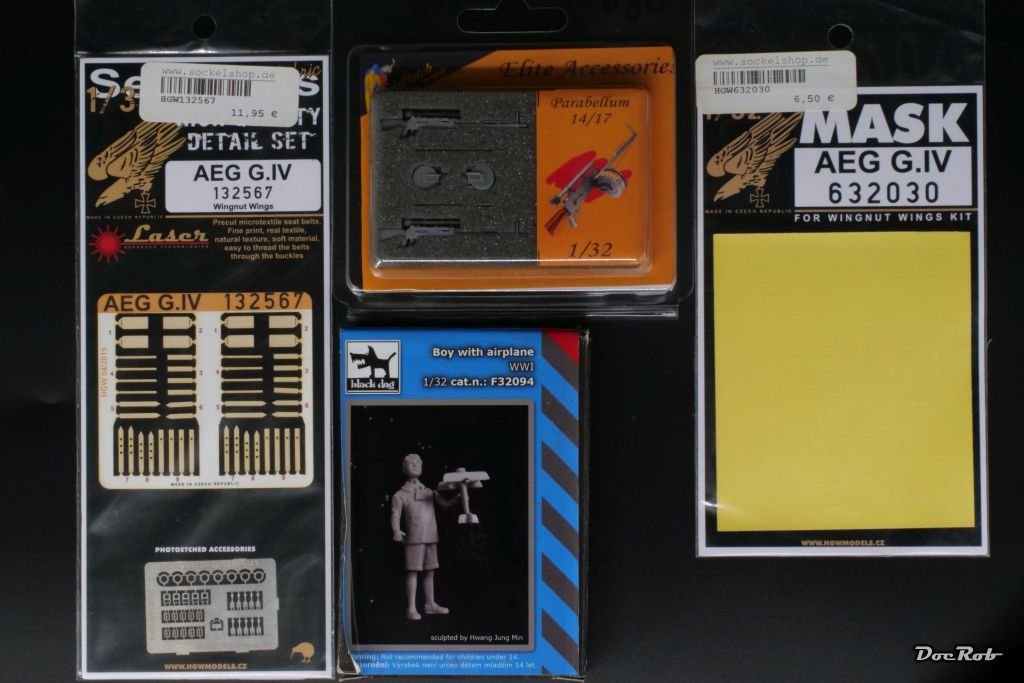
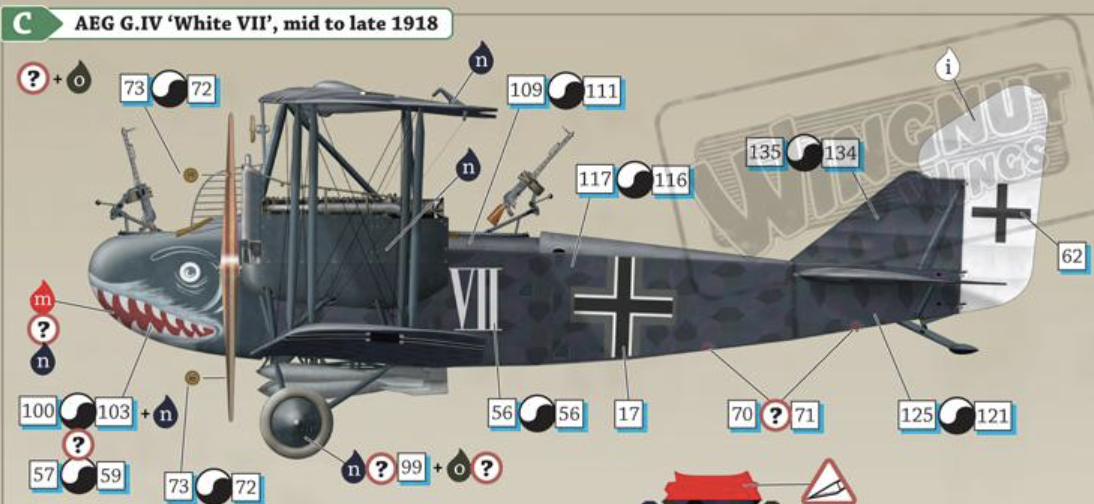
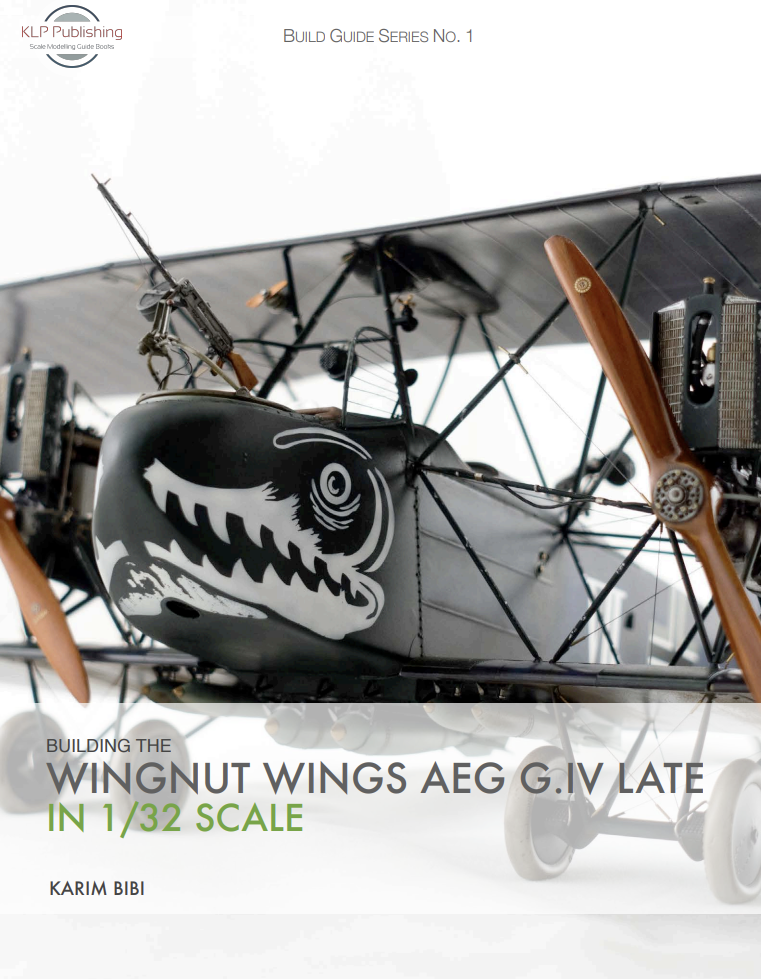
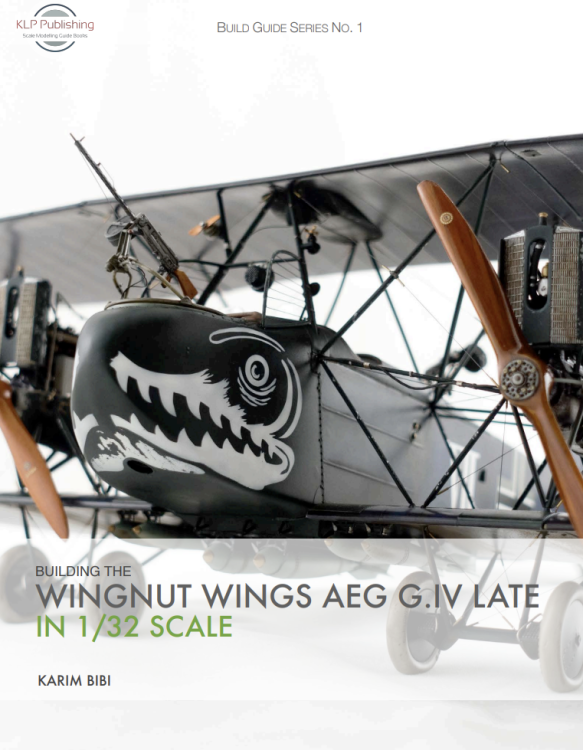
I have to admit, I was less than thrilled with this GB initially, when I read about it on my Berlin vacancy. Back home, I decided to browse through my stash for inspirations, still unsure about my participation. Lots of twins to choose, but one immediately rang a bell, the monstrous (for it´s time) night bomber version of the AEG G.IV by Wingnut Wings. I have a soft spot for quirky designs and since I bought the kits years ago, it was sometimes on my schedule, but was dropped, because of sheer size and complexity. Well, now with the GB, there is another possibility to tackle this lozenged monster. I´m absolutely not sure, if I can finish the AEG in time, but will try. This is the kit and this will be the chosen scheme, but with the shark? mouth only in white. The entire airframe will be decaled with the kit supplied night lozenge and I have to experiment a bit with the underlying color for contrast and accentuation. I will use some AM, like HGW Seat belts, Gaspatch MG´s and HGW masks. The figure of the boy will play a role along with a mechanic, which is still to choose. I think about adding Rexx metal exhausts and skipped the thought about adding Taurus timing gear for the engines. I watched at many pictures and decided, the gear is hidden under the wing in a tube metal cage, so not a lot can be seen and I will enhance the kit parts with some detailing. Rigging will be a nightmare and I´m not finally decided about the rigging material. I liked fishing line and Bob´s buckles a lot with other builds, but may simplify rigging a bit. A while ago I thought about a method, gluing in the thread directly into holes, pre drilled through the wing. this can be pulled taught from above, sealed with CA and cut flush, when dry. Because of the later to apply lozenge decals, the holes will remain invisible. Later I found a build log, where the builder used that method on his AEG build and it worked, lets hope the best. I will further use Karim Bibis great PDF-book, which I acquired from KLP publishing and use it as a guideline through the complex build. Cheers Rob


- 263 replies
-
- 10
-

-

-
You are cruising, Martin. I´ve not even started my GB build log and you already talk about wheels, now that´s what I call discouraging . Roll on with that beauty, I really like the engines and exhausts. Cheers Rob
-
Thank you for the ´what´s in the box´ and first impressions, Rog. I have build a Tamiya 1/20 Renault RE20 turbo recently and understand your thoughts about realizing, how these cars work through the build. I´ve spent some time watching reviews about the recent F1 kits, as they are also down my alley in general. I decided against the Lotus, because one of the fugly turbo blasters is enough. Building and painting F1 cars is demanding, because of their ´inside out´ character and there are plenty of improvements to make, if you like with all the kits. If you are in the market for a McLaren MP 4/4 you may wait a bit, Beemax / Nunu has announced one for 24, which I guess is superior to the Meng offering, which looks very simplified in places. For photo reference, there is a book available from MFH called ´JOE HONDA Racing Pictorial Series - Lotus 99T & 100T - FIA Formula 1 World Championship 1987 and 1988´ Cheers Rob
-
Tamiya Mosquito FB Mk VI 60326 - 1/32
DocRob replied to Bomber_County's topic in LSM 1/35 and Larger Work In Progress
Yeah, Jeff, it includes my whole stash and all future buys in a random line up . Earnestly, there is about a third of my stash with relatively urgent must builds. With time there are some changes, but some kits are always in, and the Mossie is one of them. My immediate schedule depends on a lot of factors, like interest into a subject, variety, challenges, learning of techniques or external factors, like actual group builds. Cheers Rob -
MiniArt P-47D Thunderbolt: COMPLETED 2/13/24
DocRob replied to Peterpools's topic in LSM 1/48 Work in Progress
Your airbrush work looks phantastic, Peter. I hope the checkered decals will lay down well around the cowling. Cheers Rob -
Tamiya Mosquito FB Mk VI 60326 - 1/32
DocRob replied to Bomber_County's topic in LSM 1/35 and Larger Work In Progress
I can do that Phil, but my build schedule reaches very far into the future . Cheers Rob -
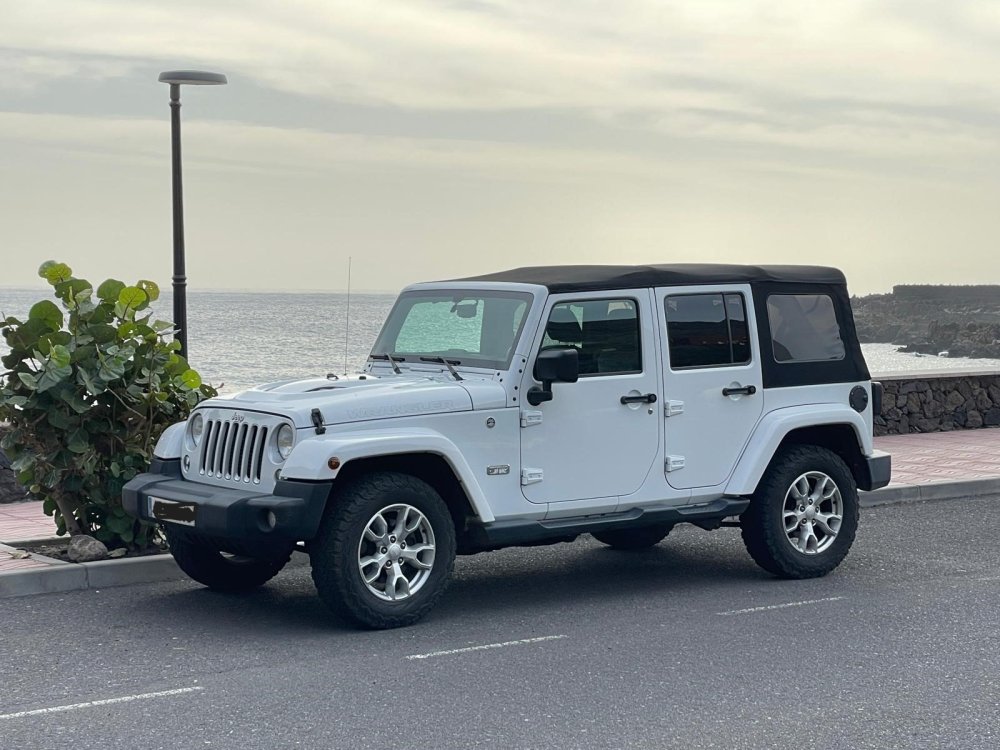
Thank you Scott, you guys are so generous, it´s an honor to be among a bunch of great guys here. The transmission control module we were looking for, is produced in Hungary or Germany and not only for European markets. The US parts with the same parts number are also produced in Europe. It´s weird, because the transmission is a product of a German company named ZF. These transmissions are not only used in Jeeps, but also in Mercedes Vans and other cars. The shortage of these parts must effect a lot of cars with the same problem. Spanish and German Jeep branches, told us with hush hush voices, that these parts are not available right now and nobody knows, when they will be. US vendors including Mopar only ship to US addresses. We tried Ebay´s worldwide service from the US, but first they said, they don´t ship to the Canary Islands, which is not unusual, but when we changed the shipping address to Berlin Germany, they said the same. So far for worldwide service . Cheers Rob
- 2,035 replies
-
- 6
-
-

-
- car related stuff
- anything about cars
- (and 6 more)
-
Thank you Martin, I hope we are trouble free for a while, but If need arises, I will remember your generous offer. Trouble was, we could locate cheap parts in the US, but they were all sent back for one reason or another and in Europe these parts like control units are not available because of supply shortages. The prices for used parts are rediciolous and they are unbelievable rare. We found some in Poland, after searching in whole Europe. Of course, these parts would not be sent to the Canary Islands, so we had to pick them up in Berlin, phew. Cheers Rob
- 2,035 replies
-
- 5
-
-
-
- car related stuff
- anything about cars
- (and 6 more)
-
Nice haul, Rog, I will follow your future build log closely. I considered the kit as well, but gave it a pass, because I don´t like the turbo engines a lot, but I had to sleep about it for numerous times, as the kit seems to be great. Are you aware, that Beemax / Nunu offers a detail set for the Lotus, which includes tobacco ad, lots of PE, carbon decals and some turned metal parts? Cheers Rob
-
Tamiya Mosquito FB Mk VI 60326 - 1/32
DocRob replied to Bomber_County's topic in LSM 1/35 and Larger Work In Progress
The camo looks phantastic Phil, like you, I try to do everything to prevent touch ups, which I hate to do. Normally, reality tells a different story though . She will be a stunner when ready. Cheers Rob -
Couldn´t look into the car thread for month, because our Jeep had a problem with the automatic gear. It couldn´t be solved by the largest Jeep dealer in half a year, because they lacked spare parts. It would rot there for further years, had we not taken the initiative and try to solve the problem together with a friend, who is a car mechanic. After numerous iterations, I spare you the details, we finally found, the problem is a tiny control unit, which normally can be bought for 200$ and the prob could have been solved in two hours. Instead, it took nine month, now that´s a price for globalization. Lets forget about that, I´m a happy man , Jacky rolls again. Cheers Rob
- 2,035 replies
-
- 7
-
-
-
-
- car related stuff
- anything about cars
- (and 6 more)
-
No problem Bill, I will happily follow your build as a guideline for mine, later. I like the Mossie a lot, but it wouldn´t have been my first choice anyway. It seems, all the large scale twins are a heap of plastic and not so easy to tackle, but what is a GB without a challenge . Cheers Rob
-
Thank you Carl, this looks way better, than what HGW provides. Cheers Rob
-
Indeed, this and many others, I took many pictures, until my wife got ultimately bored. Cheers Rob
-
Sikorsky JRS-1 with AM (Eduard) 1/72
DocRob replied to Landlubber Mike's topic in The Great Twins Broup Bluild
Now that´s something special, Mike. I nearly bought the kit, when it came out from Eduard, but hesitated because of the scale. I will follow your build build and watch you doing your magic. Cheers Rob -
Those seatbelts look very good, it´s boring work with the HGW sets, but the result speaks for itself. Needless to say, I went through the same painful process several times. Do you have a picture or link for the Wako instructions; Carl? Cheers Rob