DocRob
-
Posts
7,043 -
Joined
-
Last visited
Content Type
Profiles
Forums
Events
Gallery
Everything posted by DocRob
-

"Alert 1 to Eagle 1, splash the Zeros!"- Tamiya F-14
DocRob replied to BlrwestSiR's topic in Let’s Get Wet Group Build.
Just yesterday, I stumbled over this. Unfortunately no 1/32 but movie connected decals for planes from a sub company of DEF-Model. DEF Model Cheers Rob -
1/350 Trumpeter Narvik Class Zerstorer Z30 - Completed
DocRob replied to PanzerWomble's topic in Let’s Get Wet Group Build.
On my USS Arizona build of the same scale, I only drilled out the portholes. As the hull is closed and dark inside this was sufficient for me, You'll need your mentioned 20x magnifier and strong lighting to see more than a black hole. Cheers Rob -
1/350 Trumpeter Narvik Class Zerstorer Z30 - Completed
DocRob replied to PanzerWomble's topic in Let’s Get Wet Group Build.
Sure, get some Ion Model crew figures and then some brass for the barrels. Then it's up to you, to find the perfect part for a starter among the 470. I'd go for the stand and hull, drilling out the portholes. Cheers Rob -
Nice Carl, I had a lot of lead cast BattleTech power suits painted up, when I was young. Somehow they all got lost. Cheers Rob
-
Tell me something about humidity Gary, yesterday we had 99% and above 80% is absolutely normal here. It doesn't affect my airbrushing though, at leas, I haven't noticed it as of yet. The boats look great, especially with the wood texture, but also terribly narrow. I wouldn't want to sit in these in the rough Atlantic Ocean. My SUP seems to be wider. Cheers Rob
-
Clear the Bench! It's Kotare Spitfire time!
DocRob replied to GazzaS's topic in LSM 1/35 and Larger Work In Progress
Wow Gary, this IP is looking sharp and will shine after all the treatments. Good to see, that no AM is needed for once, as the provided tedious way looks perfectly good. Cheers Rob -
Revell 1/32 Spitfire Mk IIa
DocRob replied to Peterpools's topic in LSM 1/35 and Larger Work In Progress
Beautiful result Peter, the decals and stencils bring her alive. Sorry to hear about the gloss and decal issues, it seems that Cartograph isn't always top shelf, maybe there are different processes / materials available to choose for the customers. I always dread decaling and the prep work, because so many things can go wrong so late in the build. Luckily your Spit and your spirit survived the misfortunes. Cheers Rob -
Thank you Mike. I removed the carrier film, using a sharp blade to lift a tiny edge and pulled off the rest with pliers, parallel to the decal to reduce the strain on the ink. I can imagine, it might work on a polished surface, but as I said, before I would try it out on lets say a plane, I would intensely test the process on a mule. Cheers Rob
- 329 replies
-
- 5
-

-
- uss arizona
- eduard
- (and 1 more)
-
I considered the Lublin R XIII G, the version with floats for a while, but haven't bought the Lukgraph kit until now. One kit, I have in stash with some Eduard PE and figures is the 1/48 kit of the PZL.23B Karas. I like the quirky plane a lot and look forward to the build. I already finished the PZL P.11c from ICM, which was a great kit to build. For me it was a testbed for a pure oil paintjob applied only with brushes. Along my Fokker D.VIII build in 1/32, I also built the Polish version of the Fokker in 1/72, which was quite fiddly, but enjoyable. The kit was from Arma Hobby. Cheers Rob
-
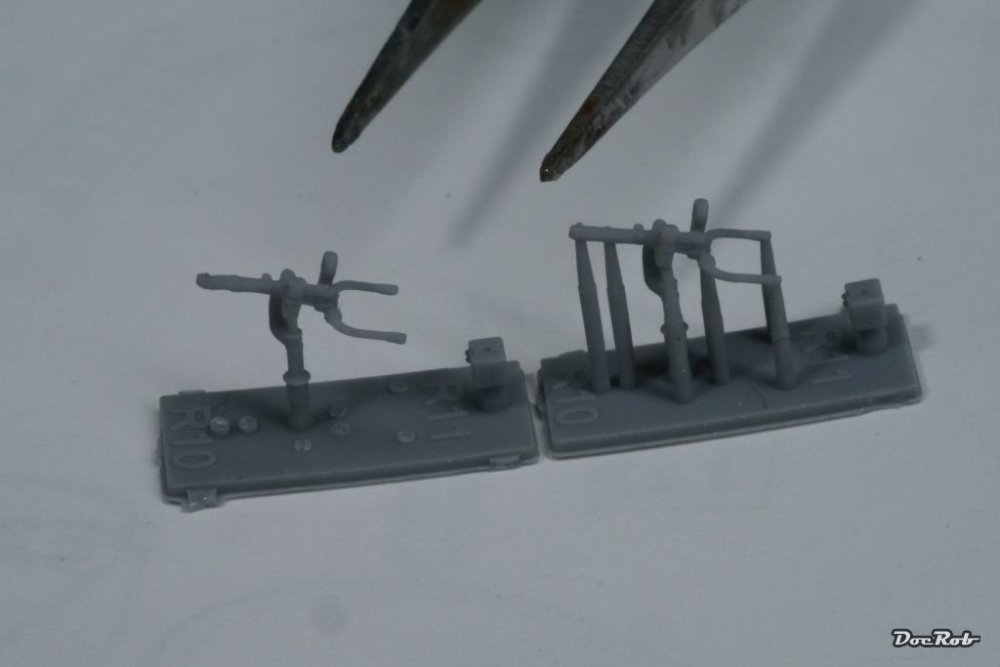
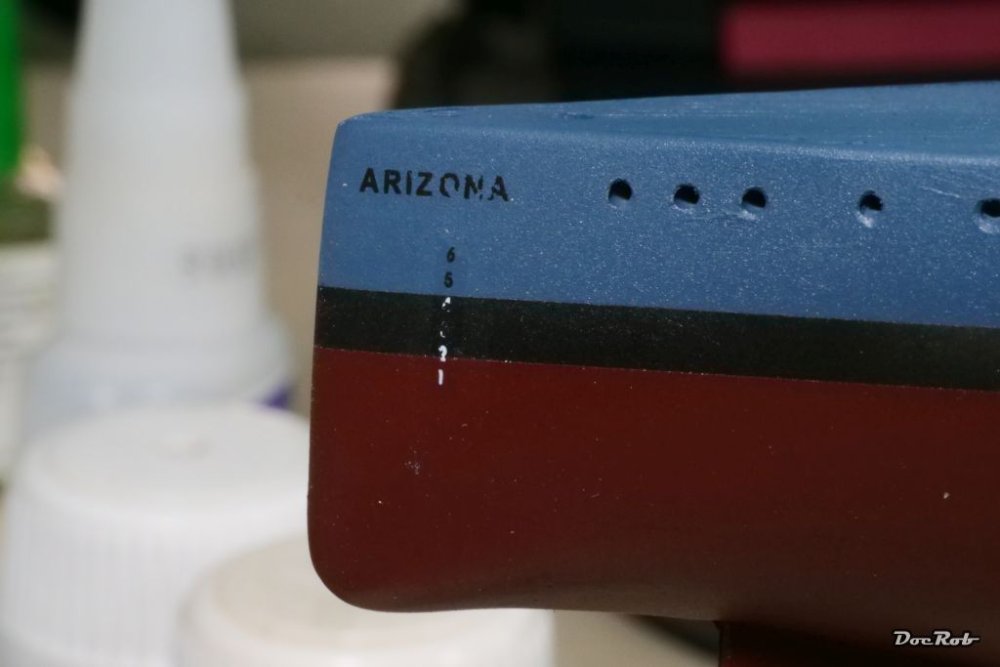
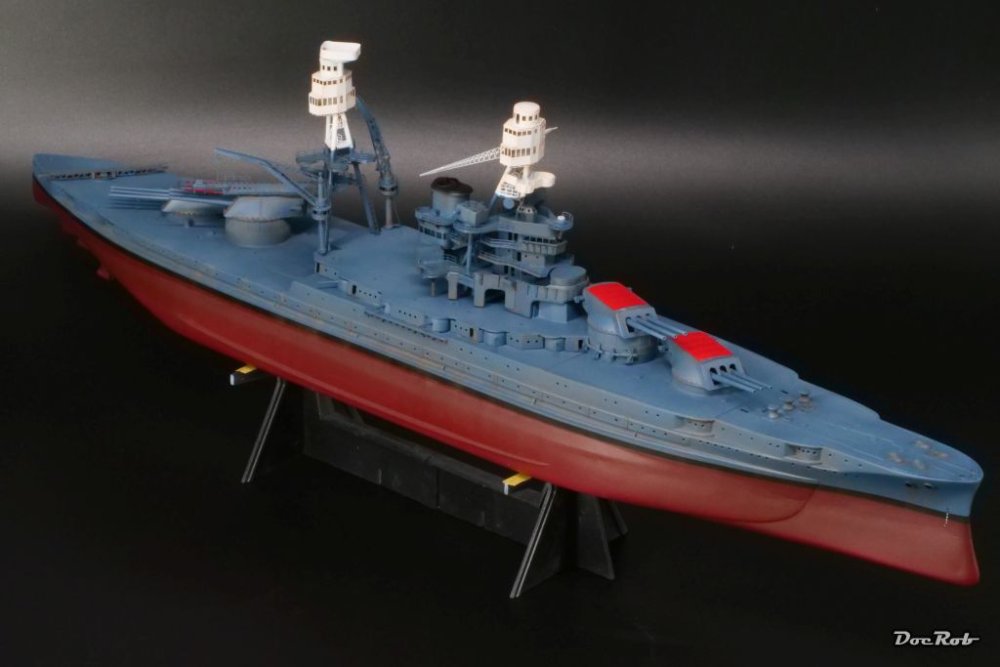
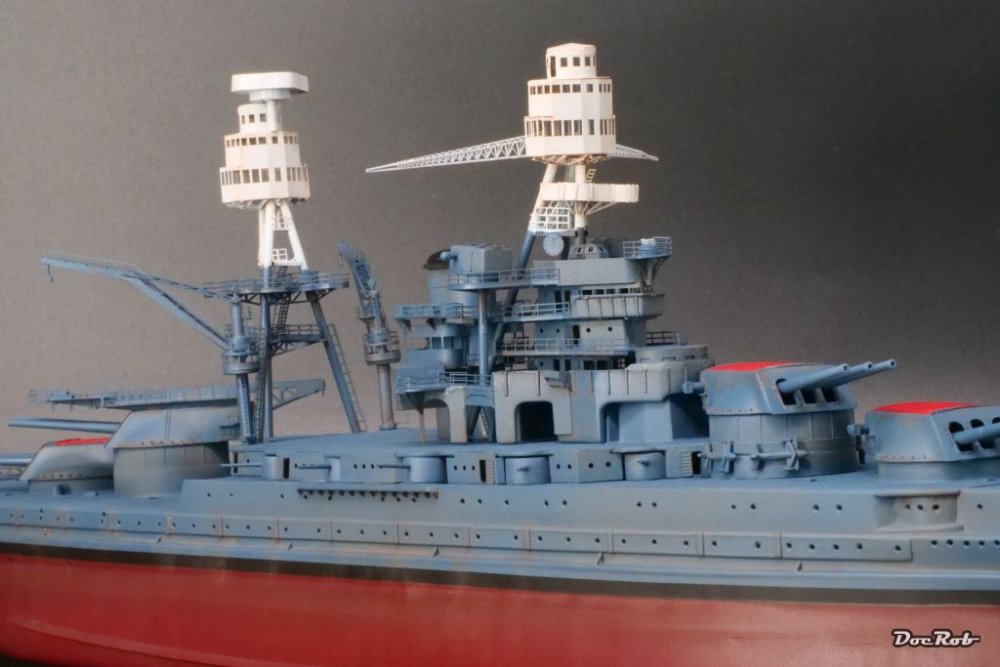
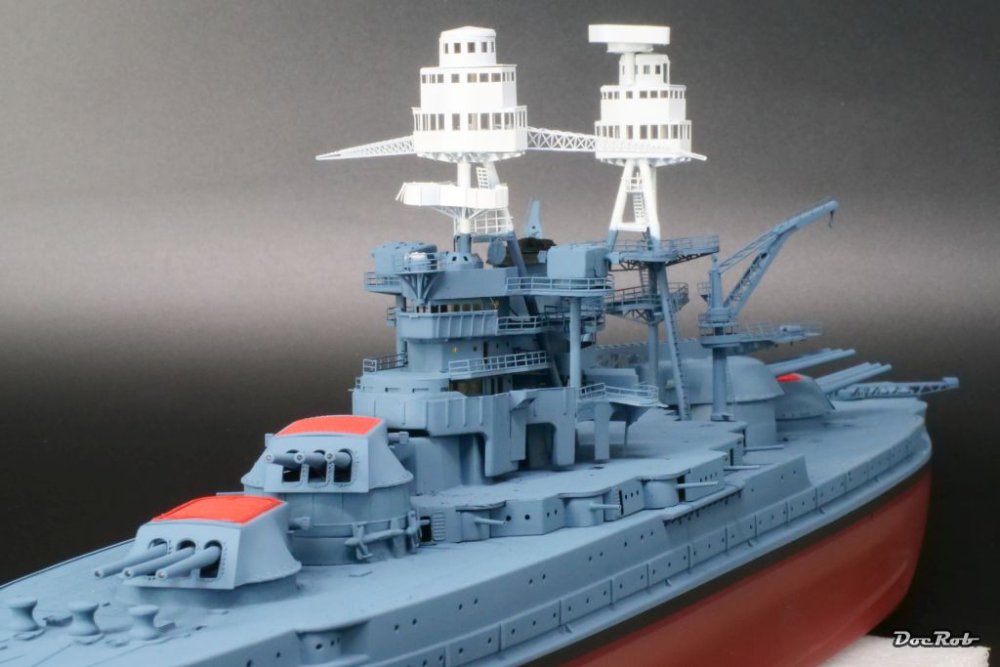
I've been busy over the last days with the USS Arizona. I decided to weather a bit, because no ship ever looks clean and because I wanted to learn weathering on ships. But first to the decals. Luckily there are not many and that's definitely a pro for ship modeling. These here are the new incarnation of Eduard decals which have to be cut out, because the carrier film is not. After application, they looked like this with silvering and reflecting carrier film. Eduard claims, the carrier film of these newer decals can be removed, leaving an almost painted on result. Hmm, sounds good, but after peeling off the carrier film very carefully all the decals had stencil lifts .. My underlayer maybe was not perfect, but it was not too shabby either with a coat of gloss GX100 from Mr. Color. Before I try these again on a larger scale, I would test on some mules. With the carrier film on, they look worse than other decals, quo vadis Eduard? Next I prepared some of the tiny printed parts for painting, like AA-guns and searchlights, which will be added to the superstructures after the weathering stage. Like I said above, I gloss coated the model, to have a good base for weathering for which I used Tamiya panel liners, but mainly brown oil colors for the first step. My technique is to apply oils liberally and not to scarce with a larger synthetic brush. Different areas were treated with different mixing ratios of oil color and matte finish whit spirit. After a short period of drying, I spread the colors again with help of a bit of thinner and try to work in the direction of the flow, hull downwards and reduce the amount of oil color accordingly. This time, I used the oil color from one of AK's oil pens, and these oil are of a lesser quality, than my normally used from Abt 502. This is where I am now, albeit after taking the photos, I knocked back the effect a bit more, a true benefit of oil rendered weathering. Cheers Rob

- 329 replies
-
- 10
-
-
- uss arizona
- eduard
- (and 1 more)
-
Thanks Kevin, there are many things to do until this may be a highlight, but lots have been done and it feels good to lock back and see what I achieved. Cheers Rob
- 329 replies
-
- 3
-
-
- uss arizona
- eduard
- (and 1 more)
-
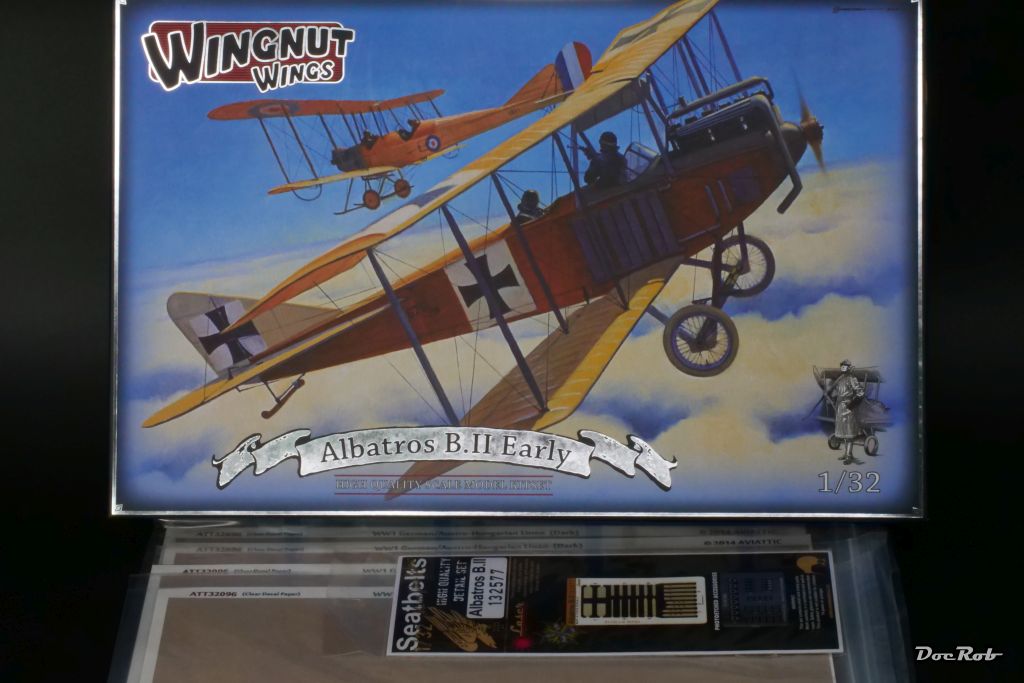
Phinally this Phantastic Phlying assembly from wood and cloth arrived on my doorstep. It was the last from my 'I really want it' list from WNW. The kit has the same fantastic quality of the other kits of the brand and is even equipped with some cookie cut wood decals for the fuselage. On first inspection, they look a bit coarse, but I will varnish the wood on mine, so it might work and I added some HGW seat belts to the mix. Along the plane came four sheets of linen decal for the wings, one transparent linen structured for a silver doped plane (Nieuport) and one sheet as a backup for my Halberstadt's fuselage with stippled Lozenge. Last but not least, there were 1ManArmy's stencil masks for my ZM HS-219 included in the package, which nearly took forever to get here. Cheers Rob

-
ProModeler 1/48 PBY-5A Catalina + Goodies, RFI
DocRob replied to CANicoll's topic in Let’s Get Wet Group Build.
I will add another sound to your CRACK Chris. It's BANG, which I had yesterday handling the long hull of my Arizona and hit my desk lamp. Luckily the damage was not too excessive, some bent PE parts and a bit of unwanted chipping. For the insignia masking or larger masking in general, which require multiple masking, there was a god tip in the 1ManArmy manual, to get the masks align perfectly. Before removing them from the backing paper, apply some transparent frisket film on top. That makes placement easier and hinders deformation of the masks. Cheers Rob -
No need for, it seems with his strikeout ratio. I was a good contact hitter, but that man got my blind . Cheers Rob
-
Very late group build entry, Marder III.
DocRob replied to 1to1scale's topic in D-Day 75th Anniversary Group Build
This GB actually never was officially finished, so please feel free to add the 1/35 original to the 1/1 'replica' . Cheers Rob -
These PE additions look great and enhance the appearance of your bird a lot, Kriss. I built a 1/32 of a later version and found the plane and the kit very attractive. There are some great Polish plane kits out there, unfortunately not so many in large scale. Cheers Rob
-
Looks great Mike and leaving all hatches and canopies open, like you consider is the best way, I think. Cheers Rob
-
1/48 Revell MDD FG1 Phantom 892 Sdn FAA 1972 RFI
DocRob replied to PanzerWomble's topic in Archived GB's Sub Forum
Fantastic result with that Phantom. Had there be no carrier in the pics, I had take them all for model shots. Thanks for showing and also compliments on the photo work. Cheers Rob- 13 replies
-
- 4
-
-
- phantom fg1
- revell
- (and 2 more)
-
Nothing better to have some family on the diamond and enjoying a good game. I played Baseball in German leagues for 25 years and I absolutely love the game. I never had an opposing pitcher only near the 100 mph mark, but would really like to be the batter, not to hit, but to get the feeling. The strangest thing, that happened to me was a lefthanded pitcher calling for time in the middle of the count and got another glove and continued throwing with the other hand ace style. He struck me out and left me gaping . Cheers Rob
-
A couple minor changes are being implemented, y’all.
DocRob replied to Clunkmeister's topic in General Discussion
I like including the very popular 1/48 scale into the LSM sections. I hope that means, that finished 1/48 builds can be presented in the 'LSM armour/aircraft Finished Work' section. I'm completely with Hubert about the 1/24 sub forum, which would clutter the main page and lately there were a lot of 1/16 armour kits released (I even built one ). The logical next step would be a 1/16 sub forum. I think 1/32, 1/35 and 1/48 are the main scales, which cover 90% of the builds and as there are fitting categories for other scales, there should be no more sub forums than the named and a section for 'Others'. Cheers Rob -
Go for it Martin, it's somehow a joyful torment to get these old kits to look good in the end. I've realized exactly this lately . Cheers Rob
-
The interior looks fantastic Mike and hopefully the huge canopy will leave a lot of it visible. I hope there are no serious fit issues looming, but your approach should limit the risk a bit. Cheers Rob
-
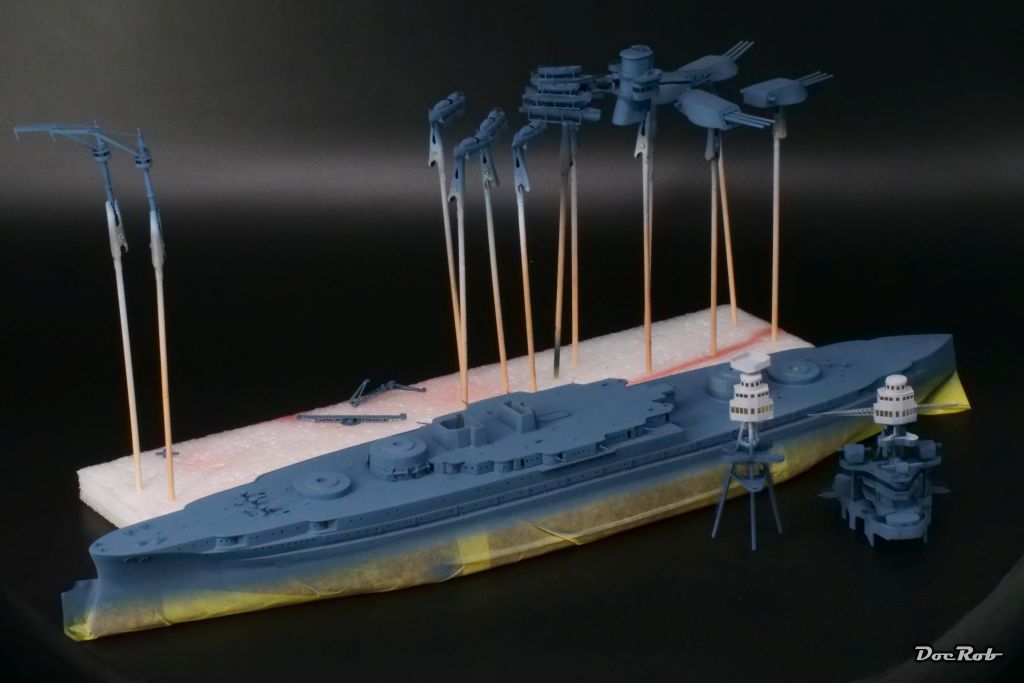
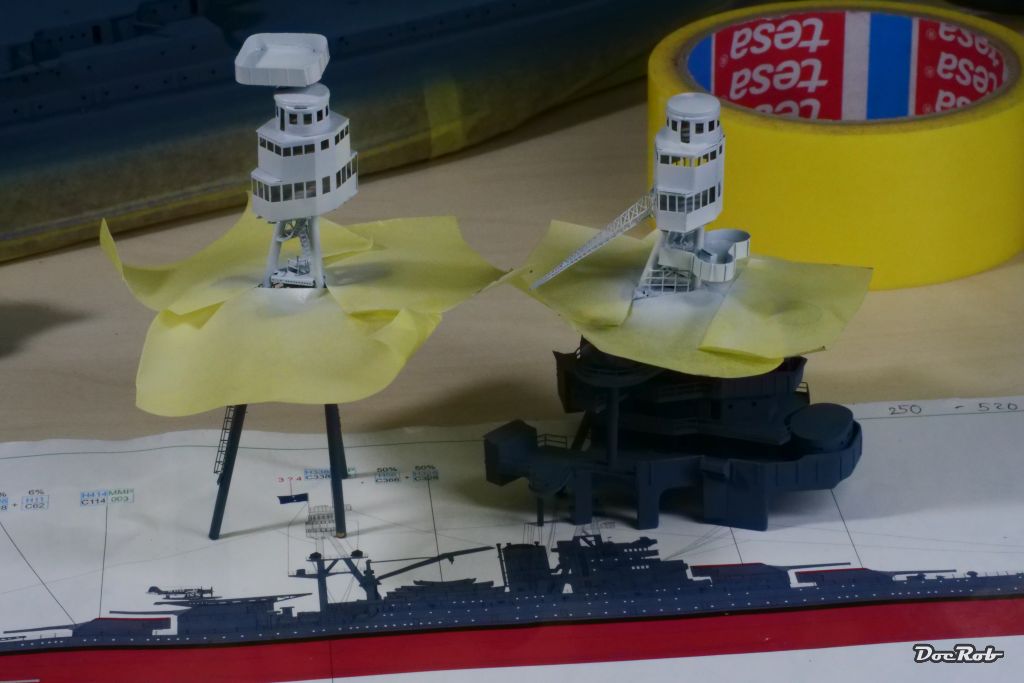
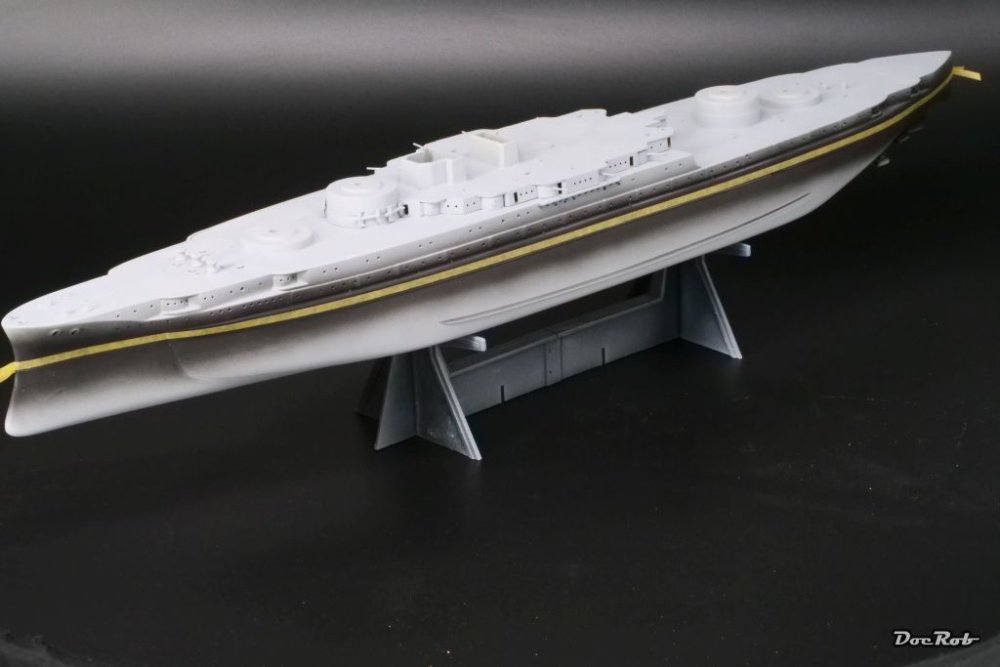
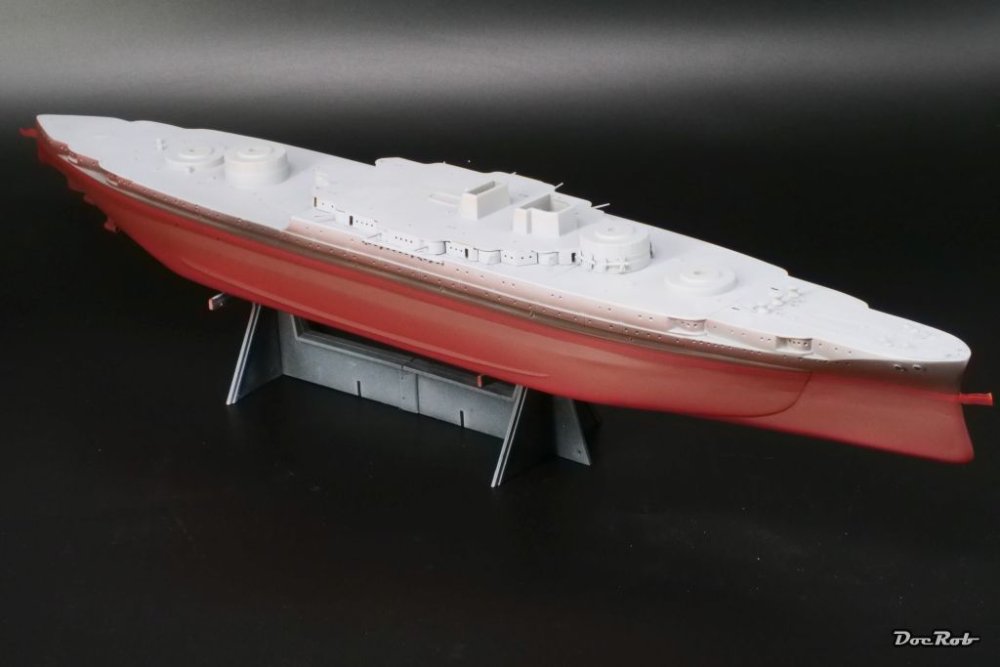
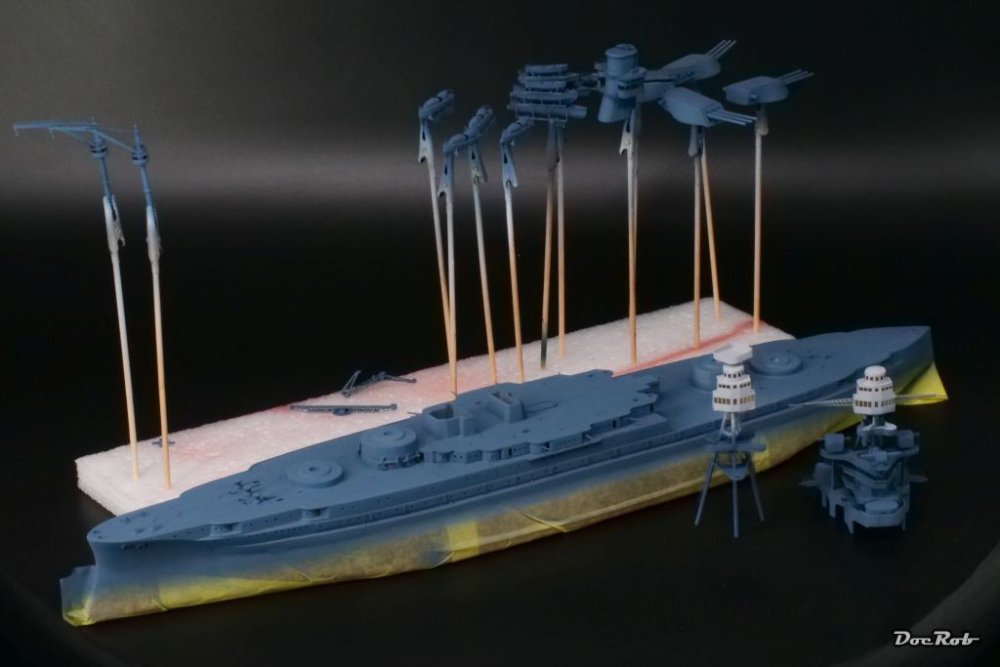
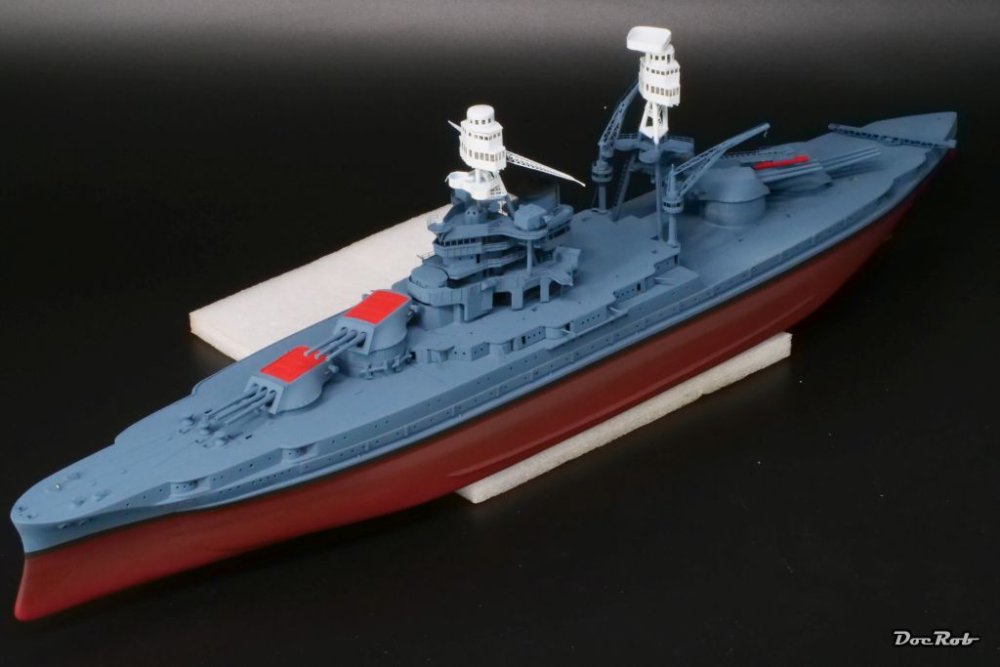
After the grey primer, it was time to put some colors onto the Arizona. I started with the stripe around the hull. The hull got a wide spray of flat black around, then I took the measurements from the side view and marked 1mm under the lower border of the strip with my waterline marker tool. I used 3mm Kabuki tape, parallel to the pencil mark for masking the strip. Afterwards the underwater ship was airbrushed with a mix of about 70% of Tamiya XF7 flat red and the rest with Tamiya XF9 hull red. There is a bit of modulation in the color to break the monotony of this large area. The underwater ship was masked then, along the top of three gun turrets, which were beforehand painted flat red on the tops for divisional markings. I read a lot about the coloring above the waterline and concluded with nothing is 100% certain about the hue. I decided to go with a very blue version of grey and looked through my stores, as I didn't want to mix the color, because, I will need it over a longer period of detail painting and corrections. My firs intention was to use Real Colors Intermediate blue, but than I found a jar of Tamiya's XF18 medium blue and liked it a lot. It was exactly the shade of blugrey, I was looking for. After this application, I went to the upper superstructure, which many claim to have been white, others say light grey. I went with Real Colors Insignia White, but masking the areas off was tedious. I used Panzer Putty, which took away a railing or two and de-tacked Kabuki tape. After peeling off the masks, The main components put together looked like this. Now it's time for the wooden decks, but before, I have to decide, If I apply a clear coat and some weathering. I have the tendency to do so, but let's see. Cheers Rob

- 329 replies
-
- 9
-
-
- uss arizona
- eduard
- (and 1 more)
-
Wow Martin you are cruising through this build, which seems so full of obstacles, but the way you address them make it look easy. Great scratchwork on the clear paarts and fuselage and great painting. Love the spinners, which are a focal point in every build. A heavy dose of Massive Attack always helps. I frequently help myself to a very loud listening session every here and than. I love Mezzanine more than Protection, but Heligoland is their best imho, which was btw the most valuable album in my stash. People were willing to pay up to 1200 € for it, until they made a re-release. The value is only a fun fact to me, as I never sell vinyls and bought this one for 30 € new. Cheers Rob
-
Clear the Bench! It's Kotare Spitfire time!
DocRob replied to GazzaS's topic in LSM 1/35 and Larger Work In Progress
Thanks for showing Gary, seems to be a decent kit from your pics, lets wait, how it goes together with glue. I never build a Spitfire and have non in large scale in my stash. I wait if this one urges me enough. There is also the new 1/24 Airfix MK IXc or the Tamiya offerings. I prefer the later models, but lets see, maybe this one pulls the trigger. Cheers Rob