
Martinnfb
-
Posts
11,524 -
Joined
-
Last visited
6 Followers


Recent Profile Visitors
15,672 profile views


-
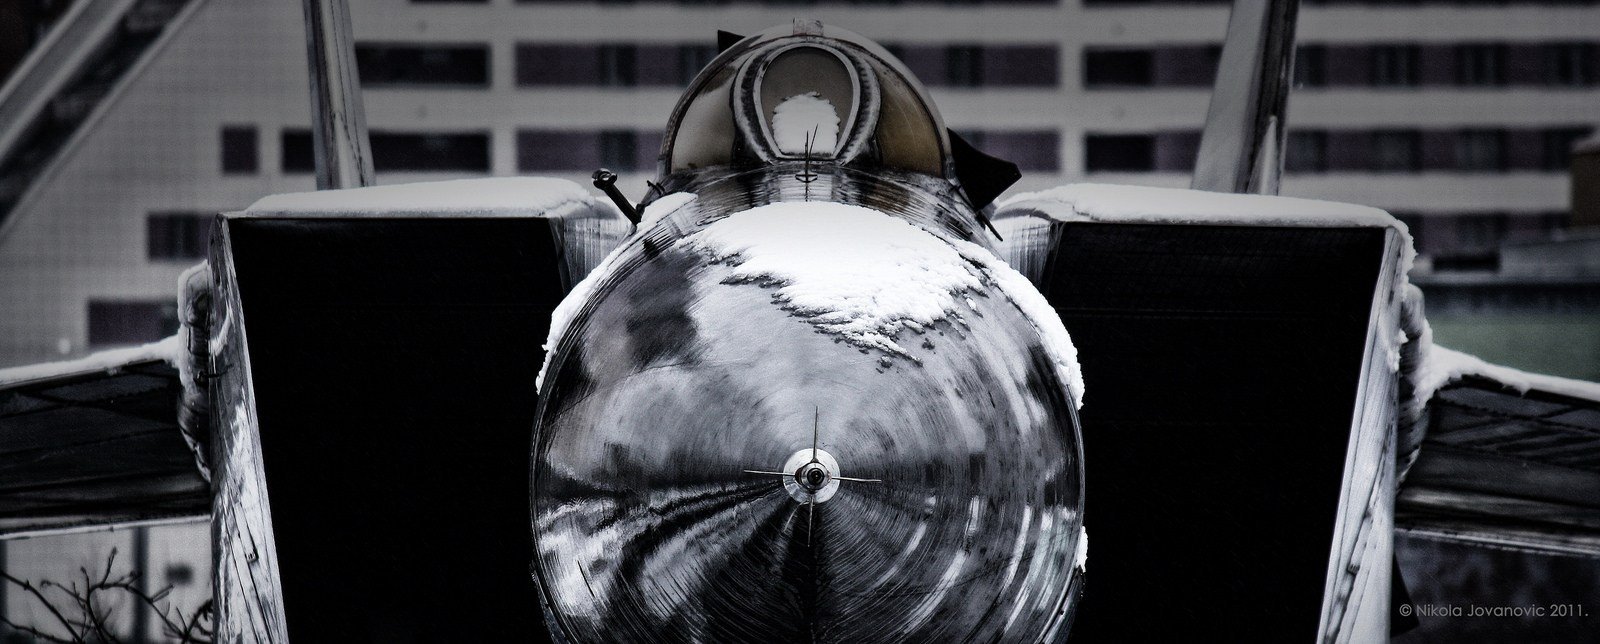
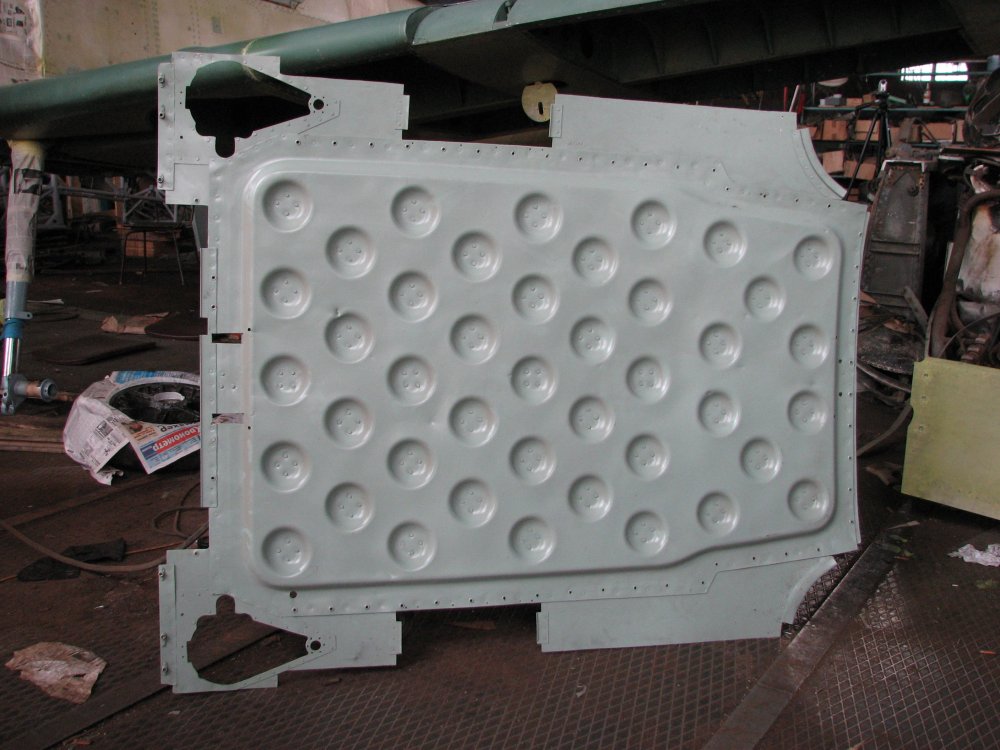
As you mentioned scrapyard, this picture came to mind.
-

1/24 Airfix Bf-109K (conversion)
Martinnfb replied to Martinnfb's topic in LSM 1/35 and Larger Work In Progress
plastic carnage doors are primed. Trump’s one on the right

-
1/24 Airfix Bf-109K (conversion)
Martinnfb replied to Martinnfb's topic in LSM 1/35 and Larger Work In Progress
Close enough Building tunes
-
1/24 Airfix Bf-109K (conversion)
Martinnfb replied to Martinnfb's topic in LSM 1/35 and Larger Work In Progress
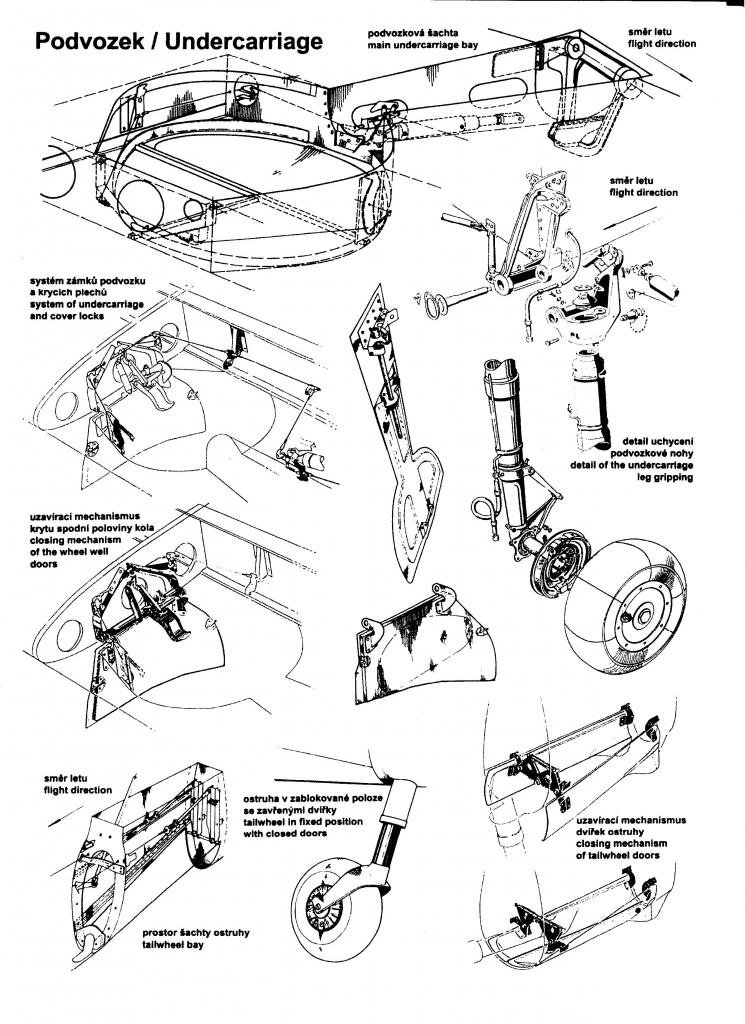
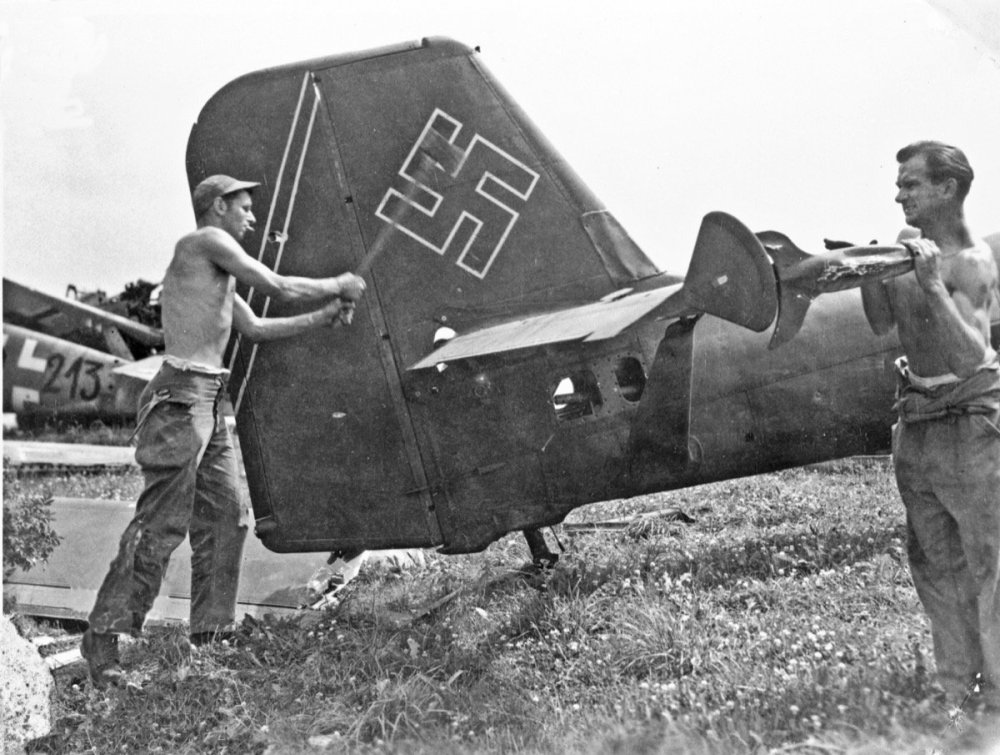
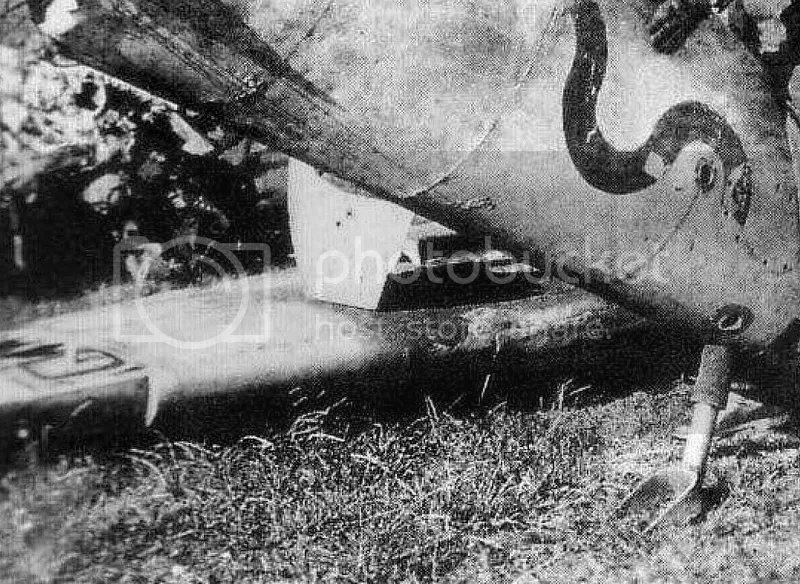
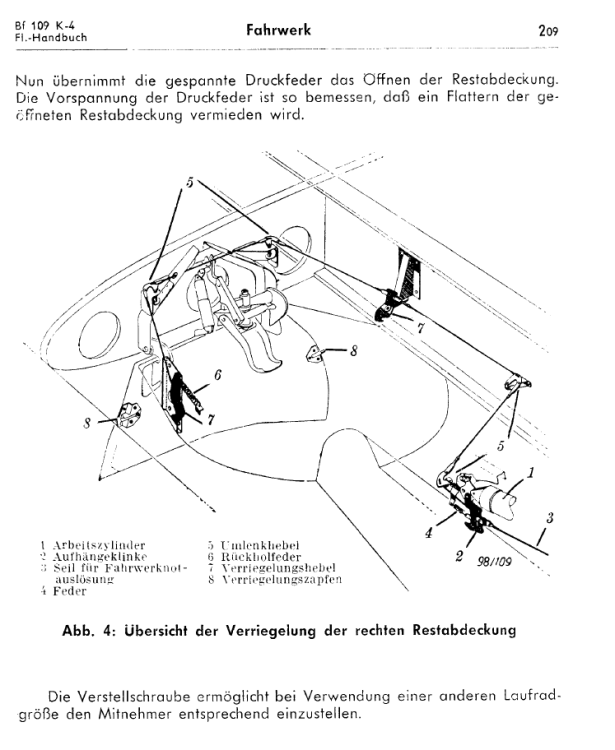
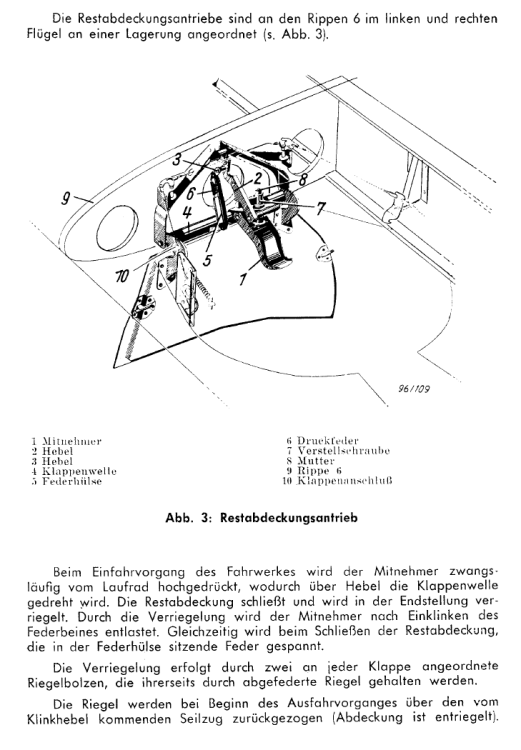
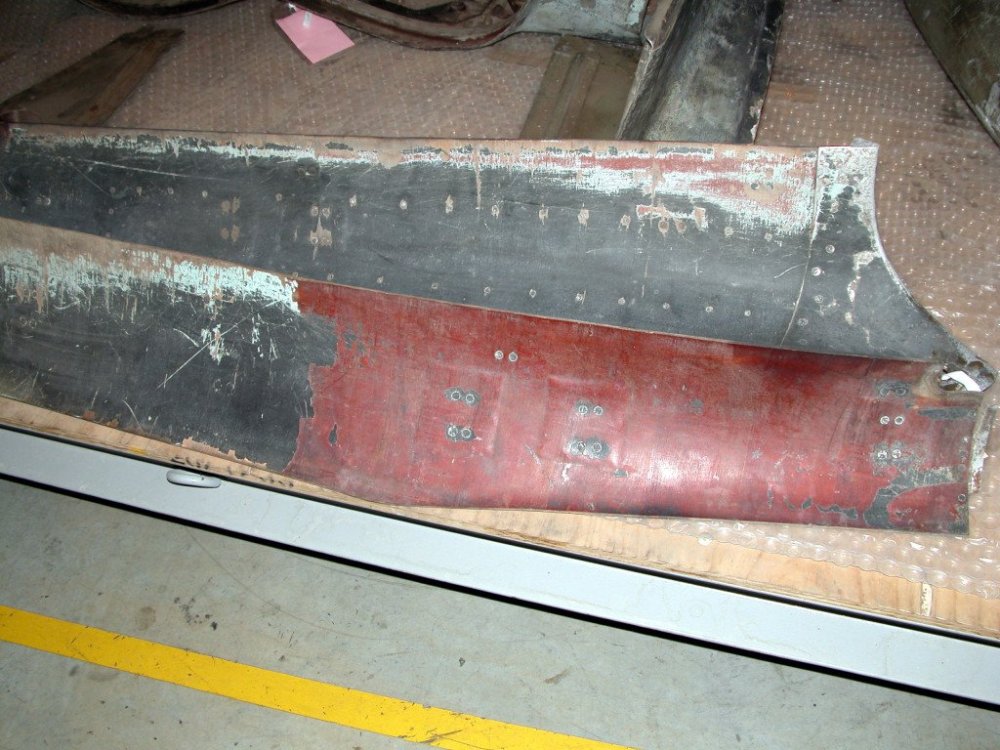
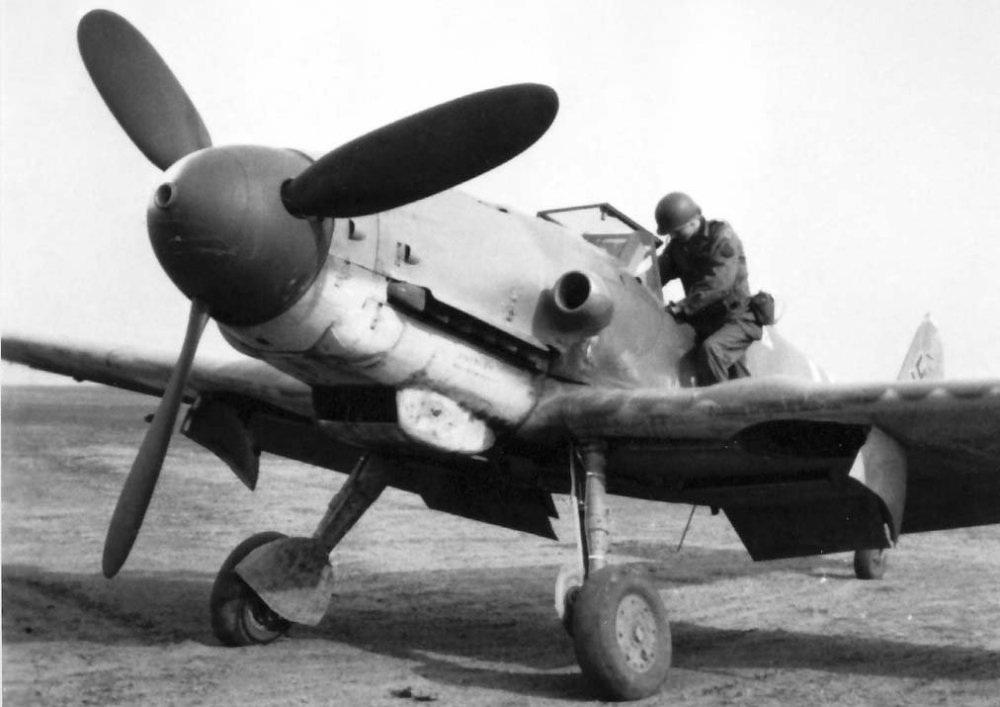
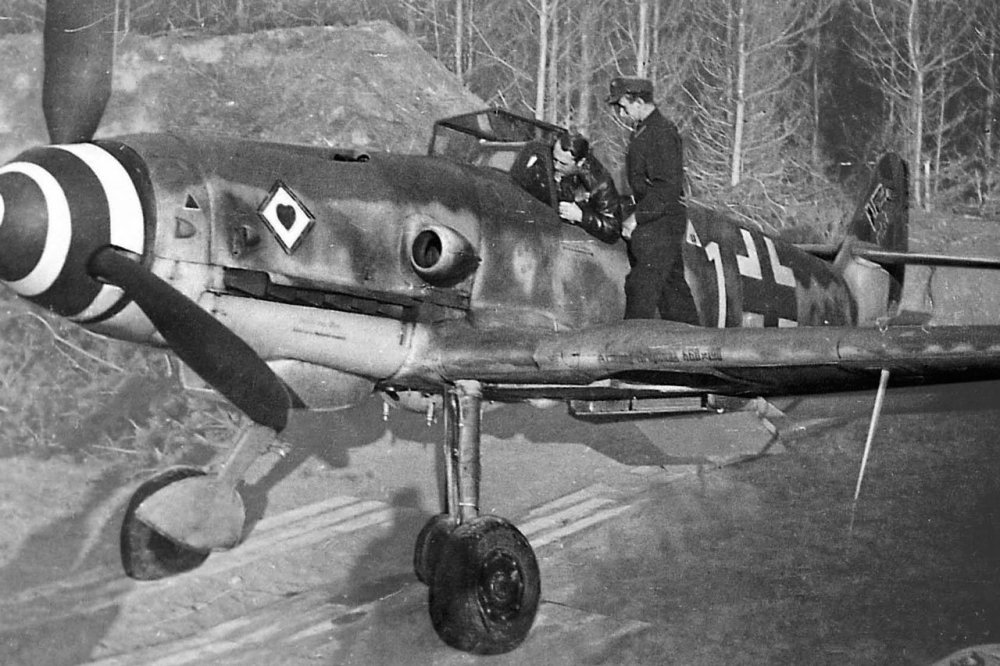
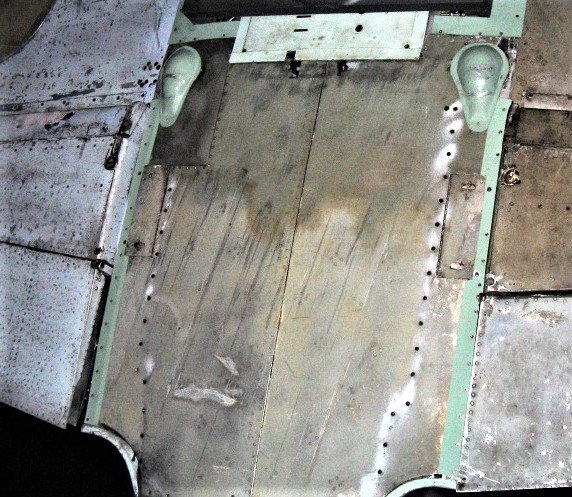
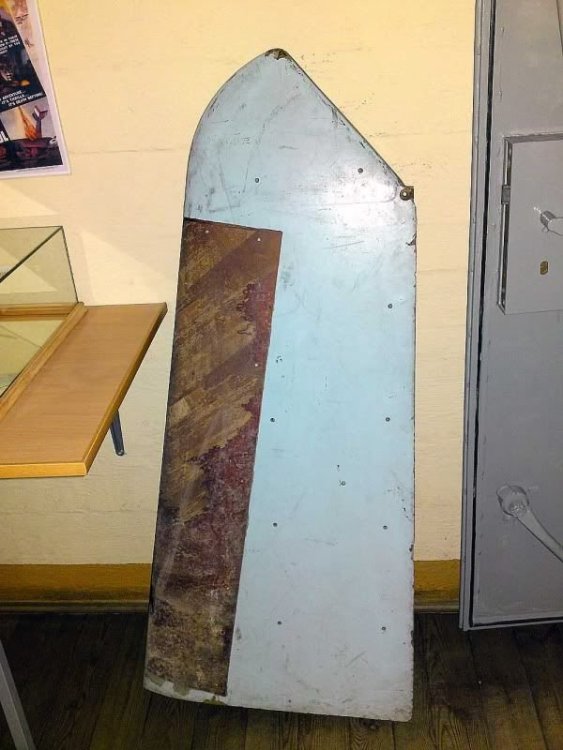
Some material to study.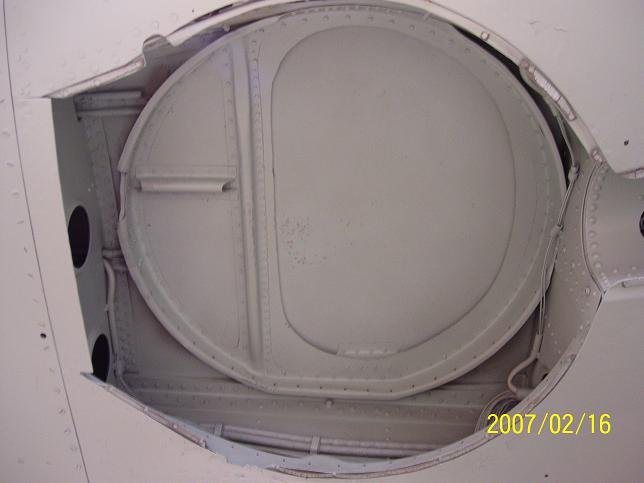

-
1/24 Airfix Bf-109K (conversion)
Martinnfb replied to Martinnfb's topic in LSM 1/35 and Larger Work In Progress
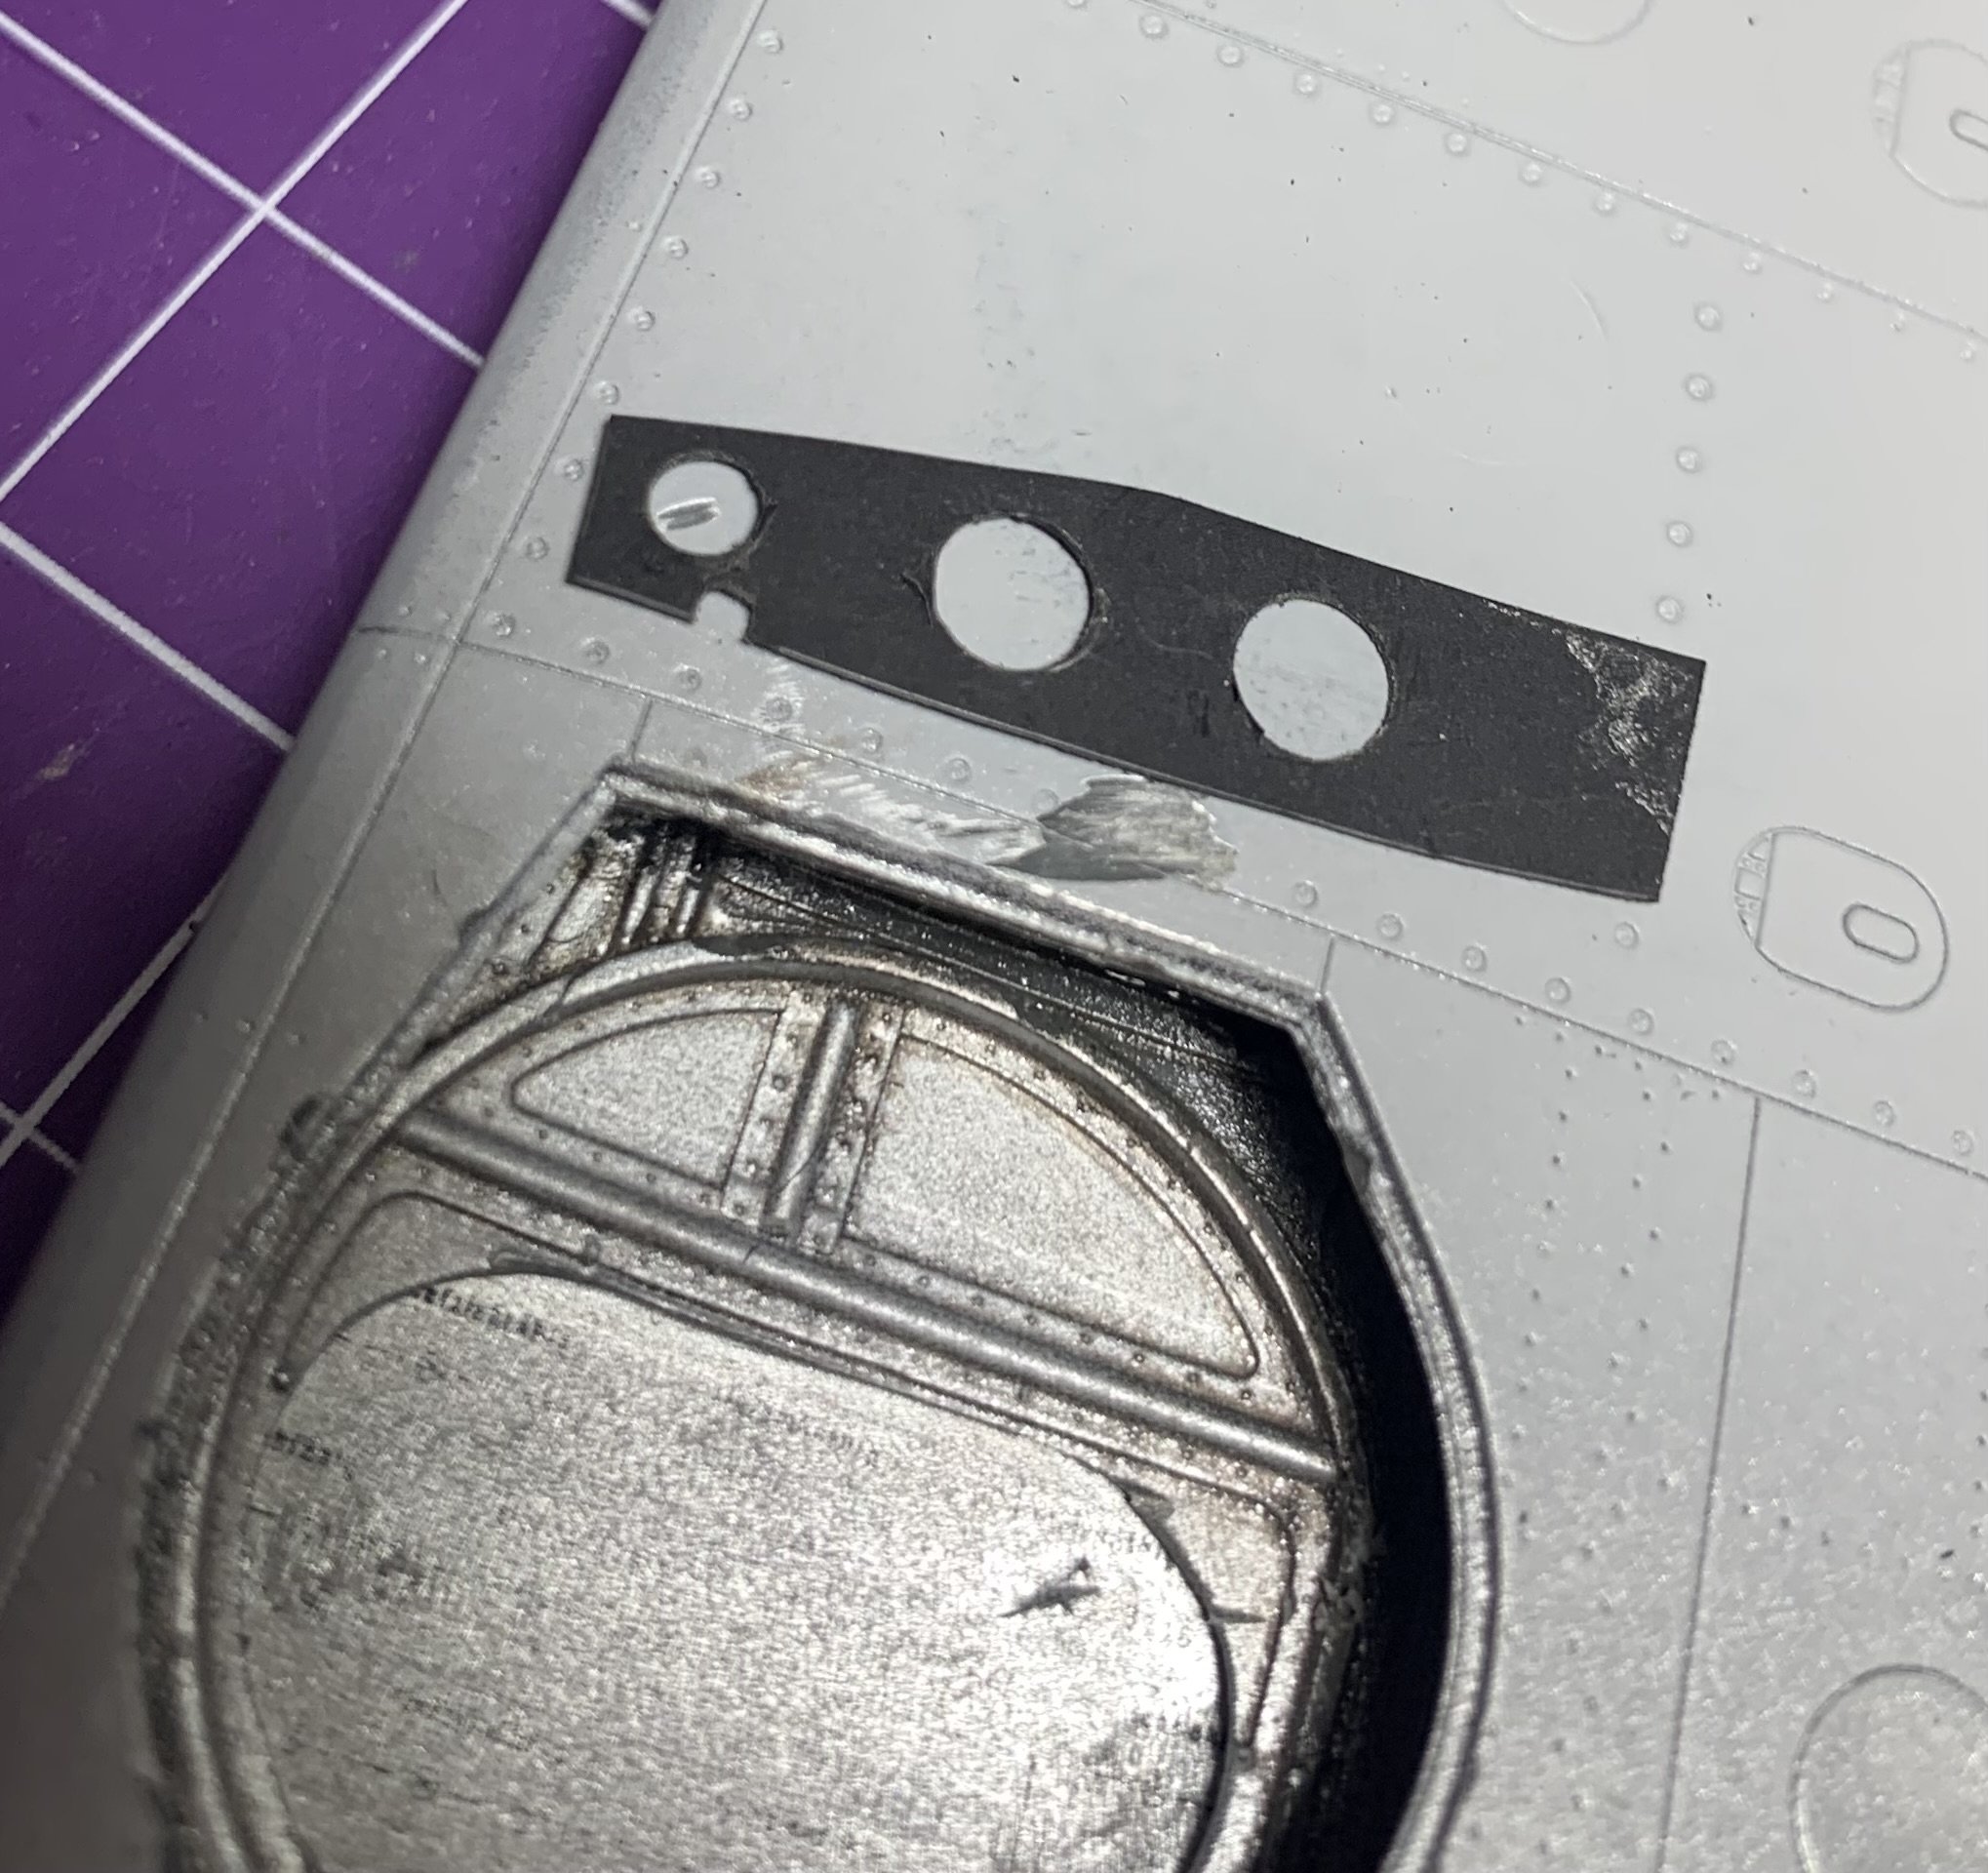
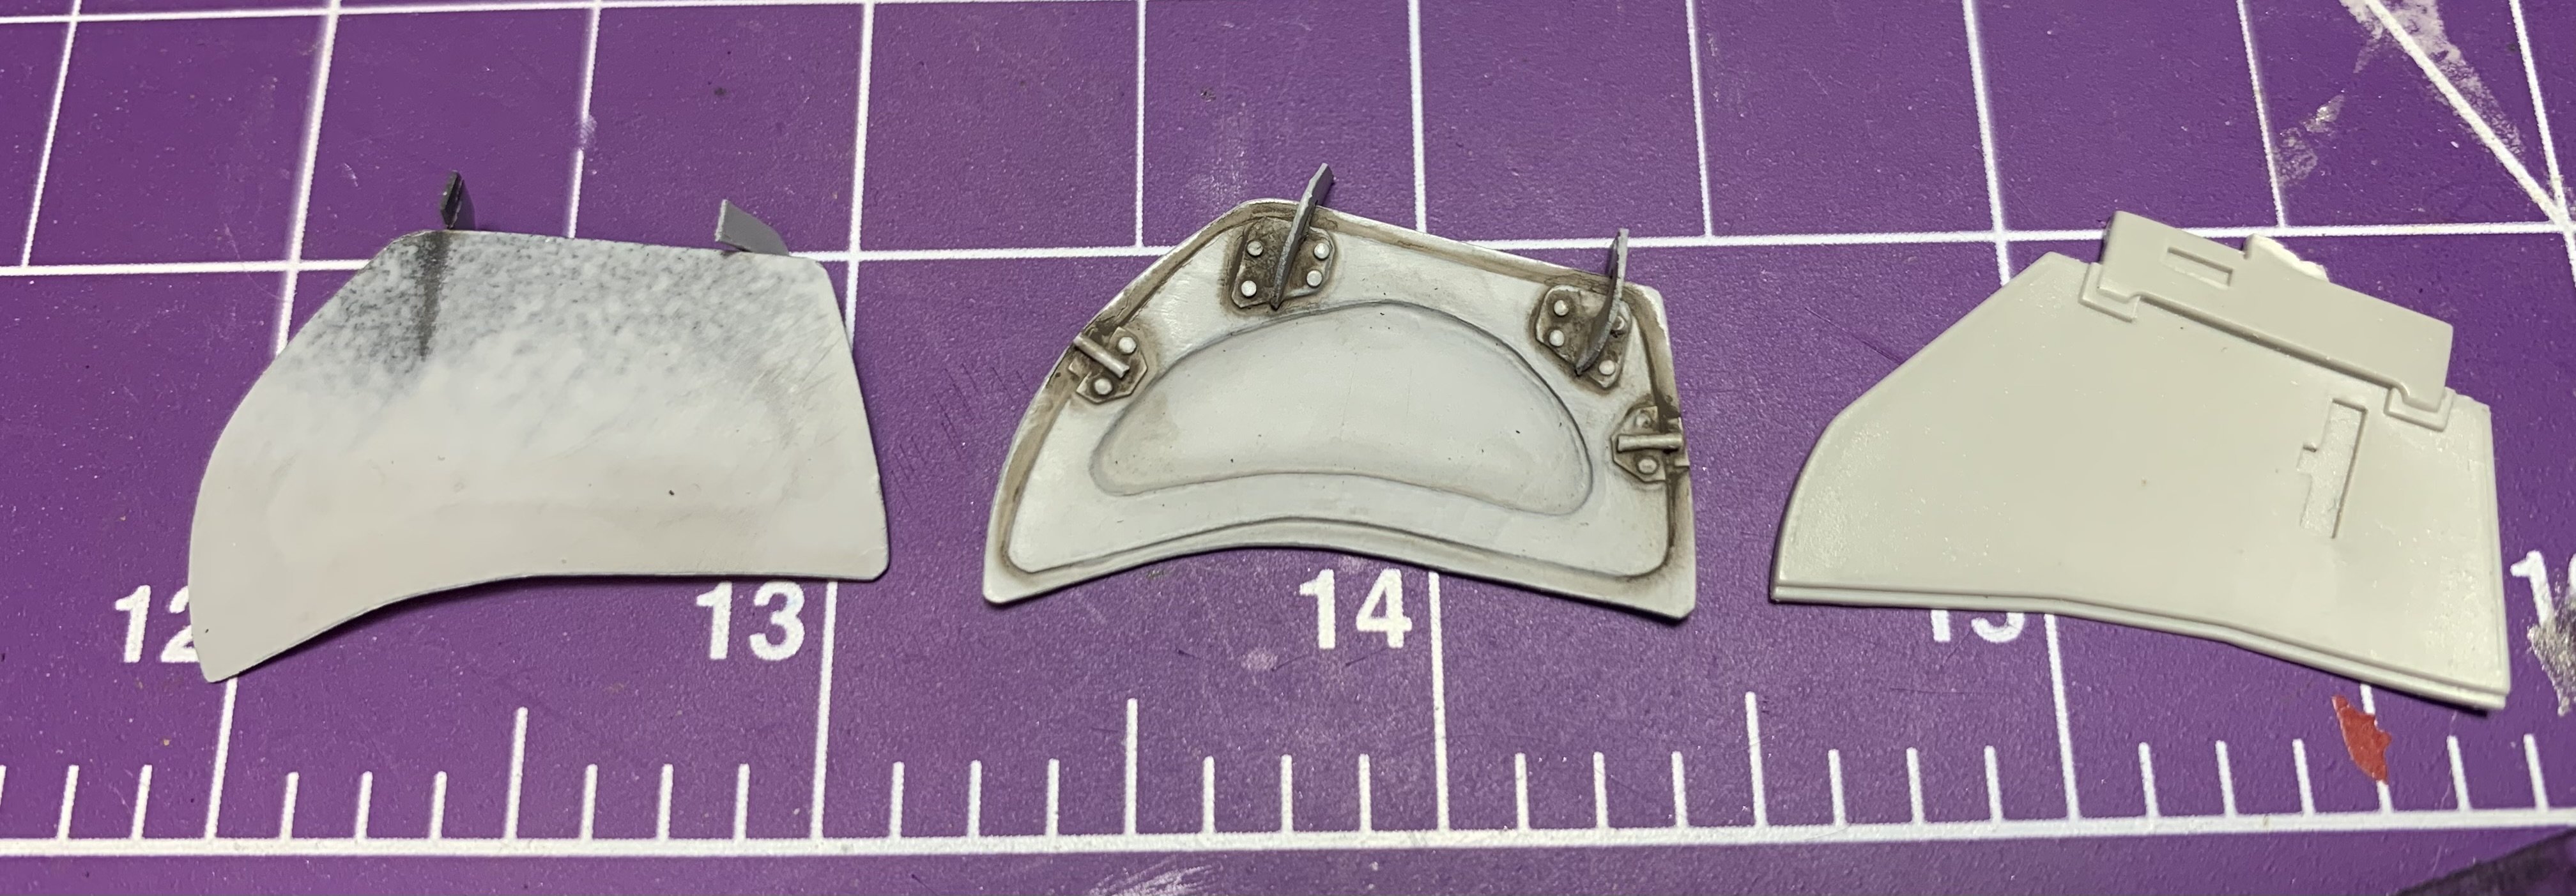
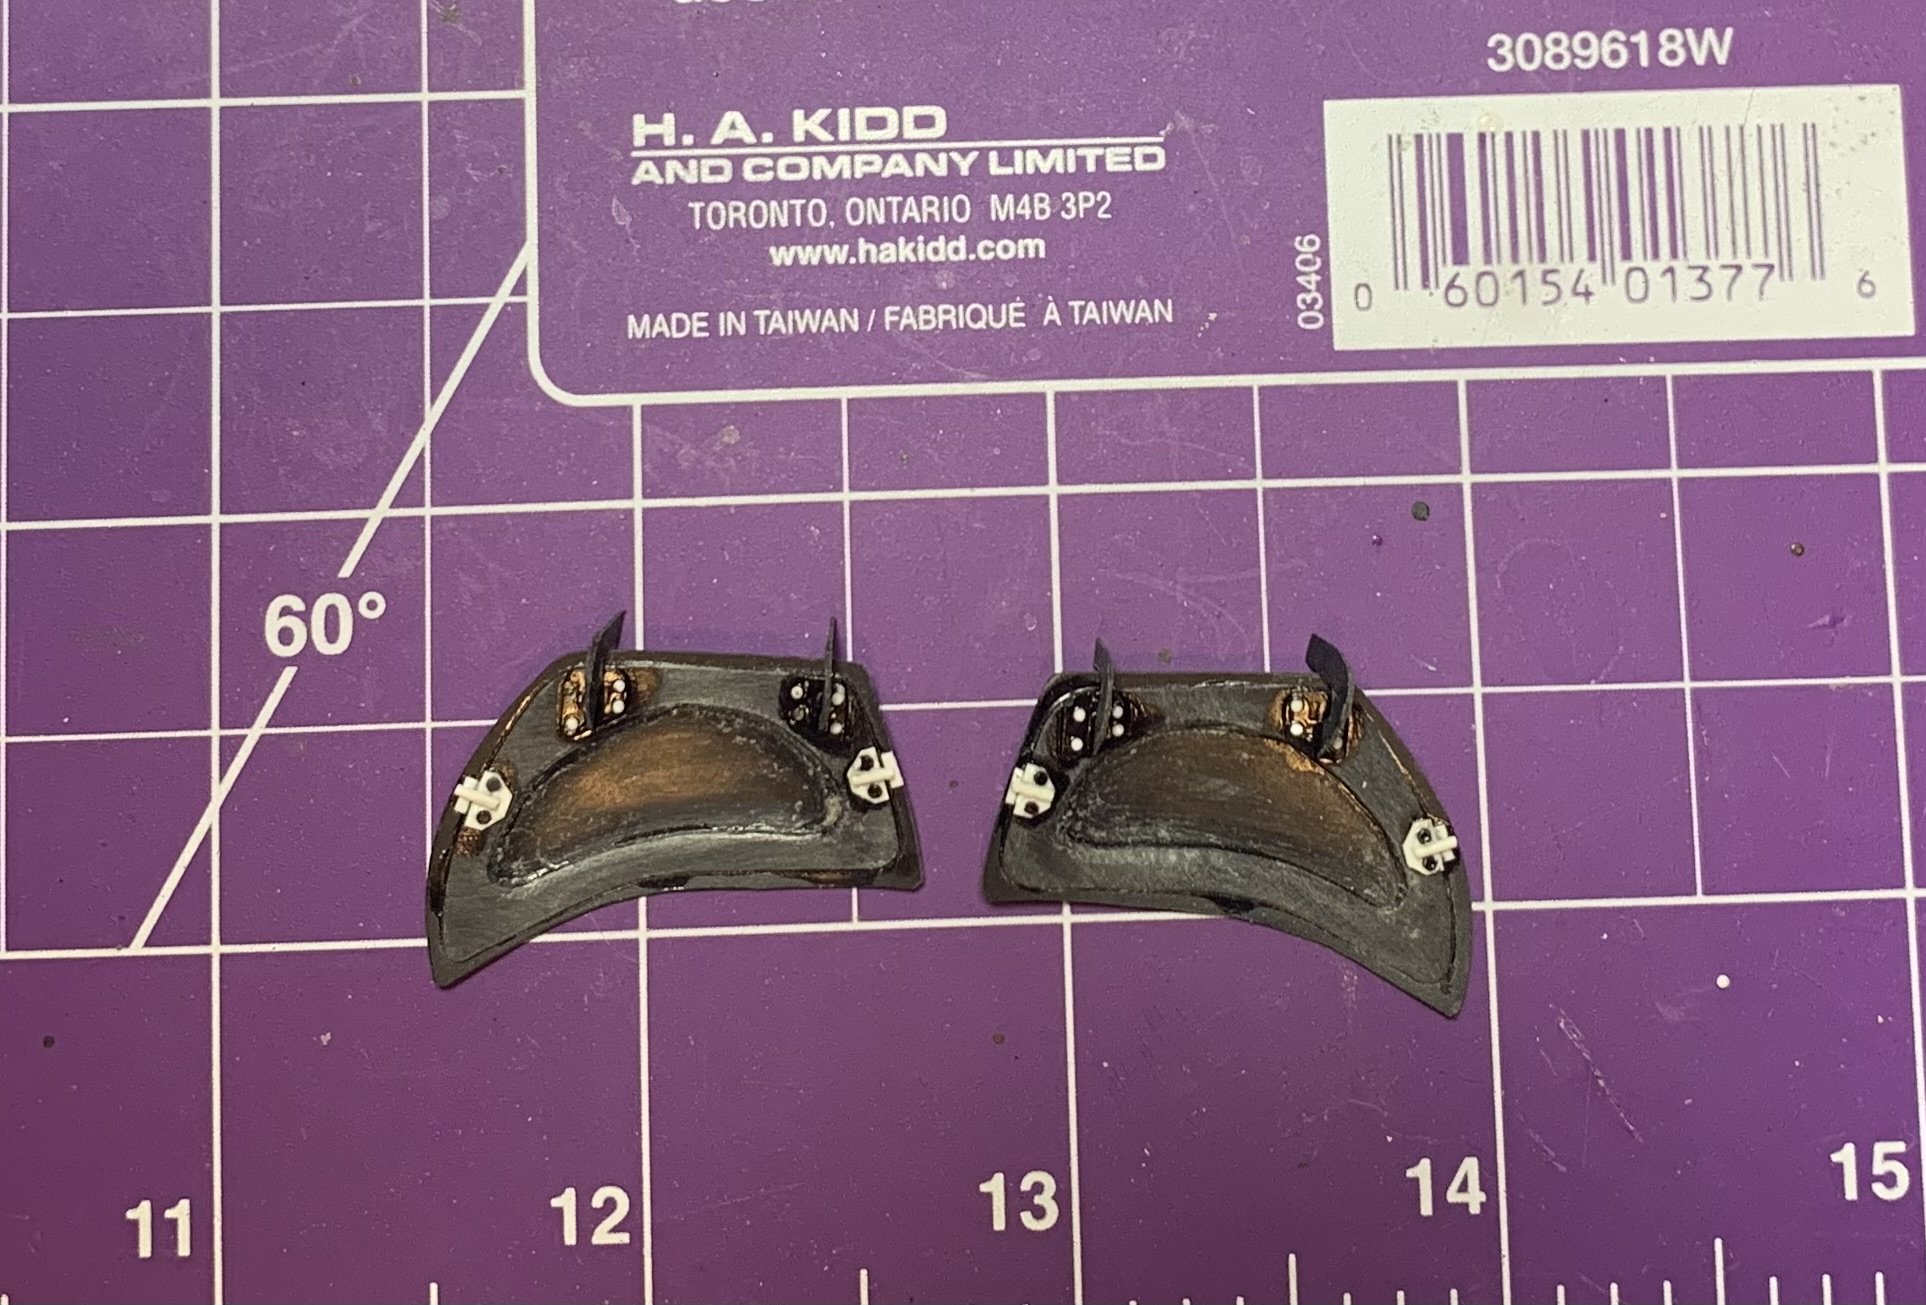
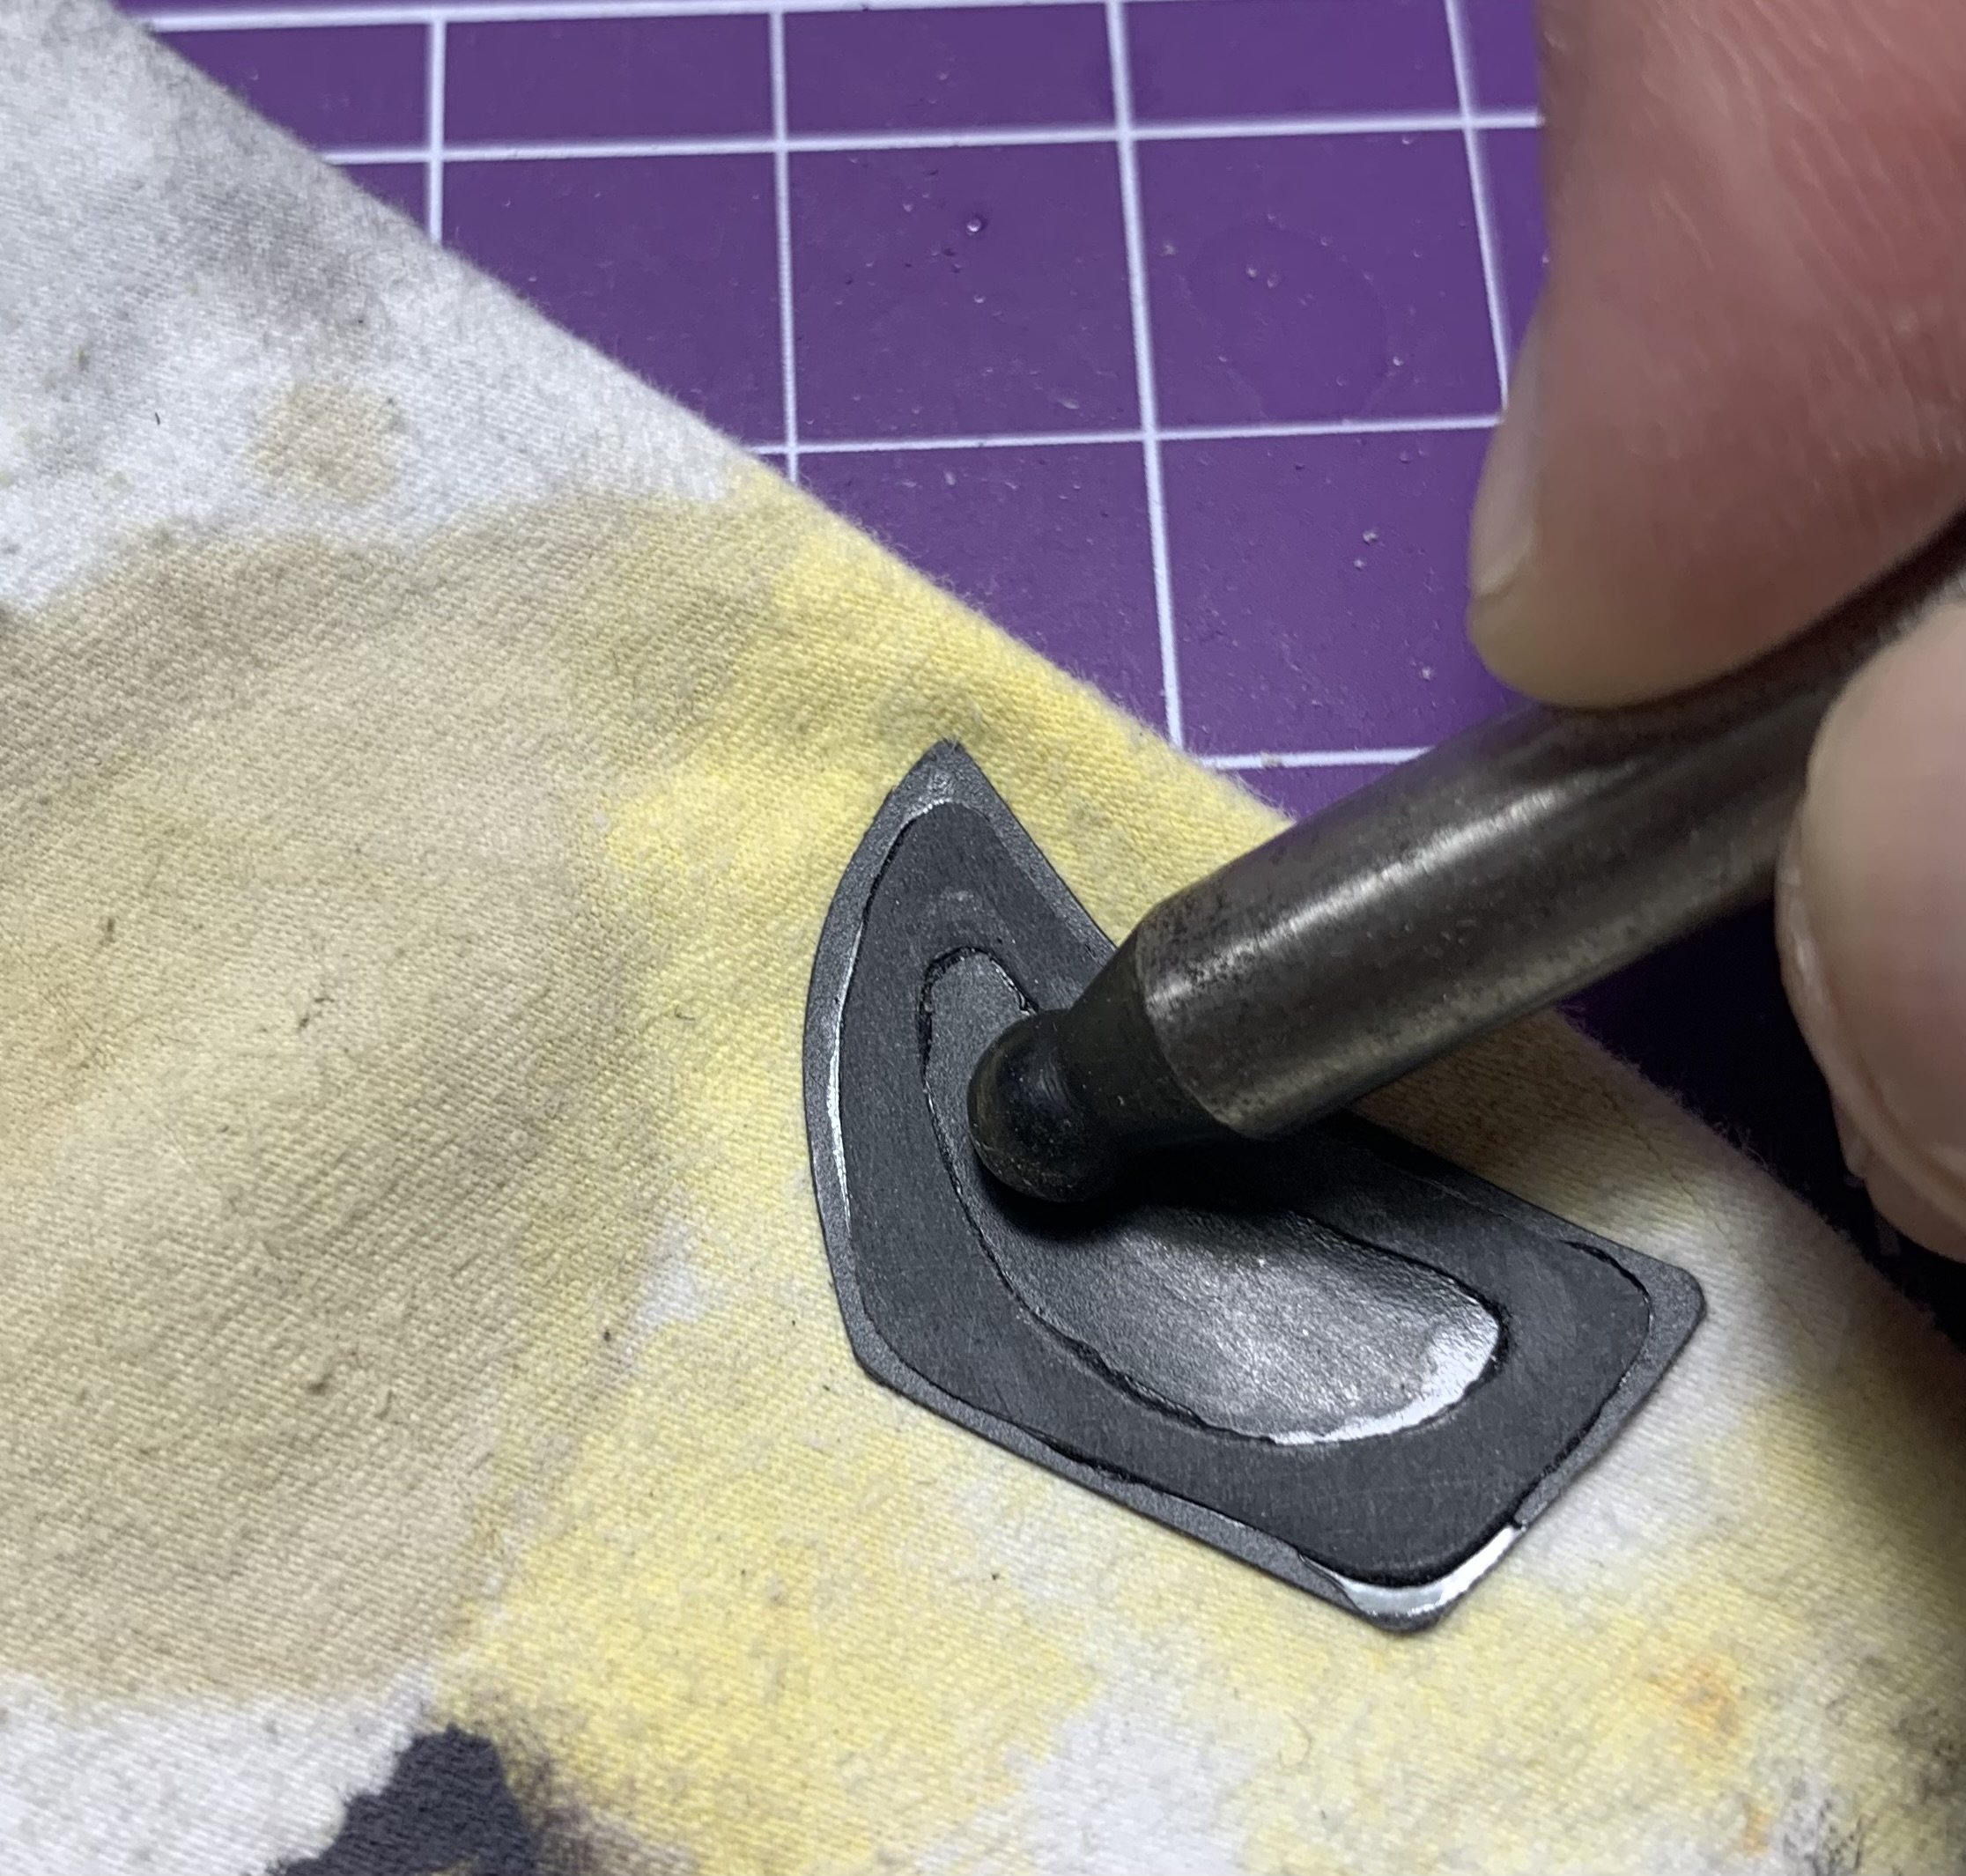
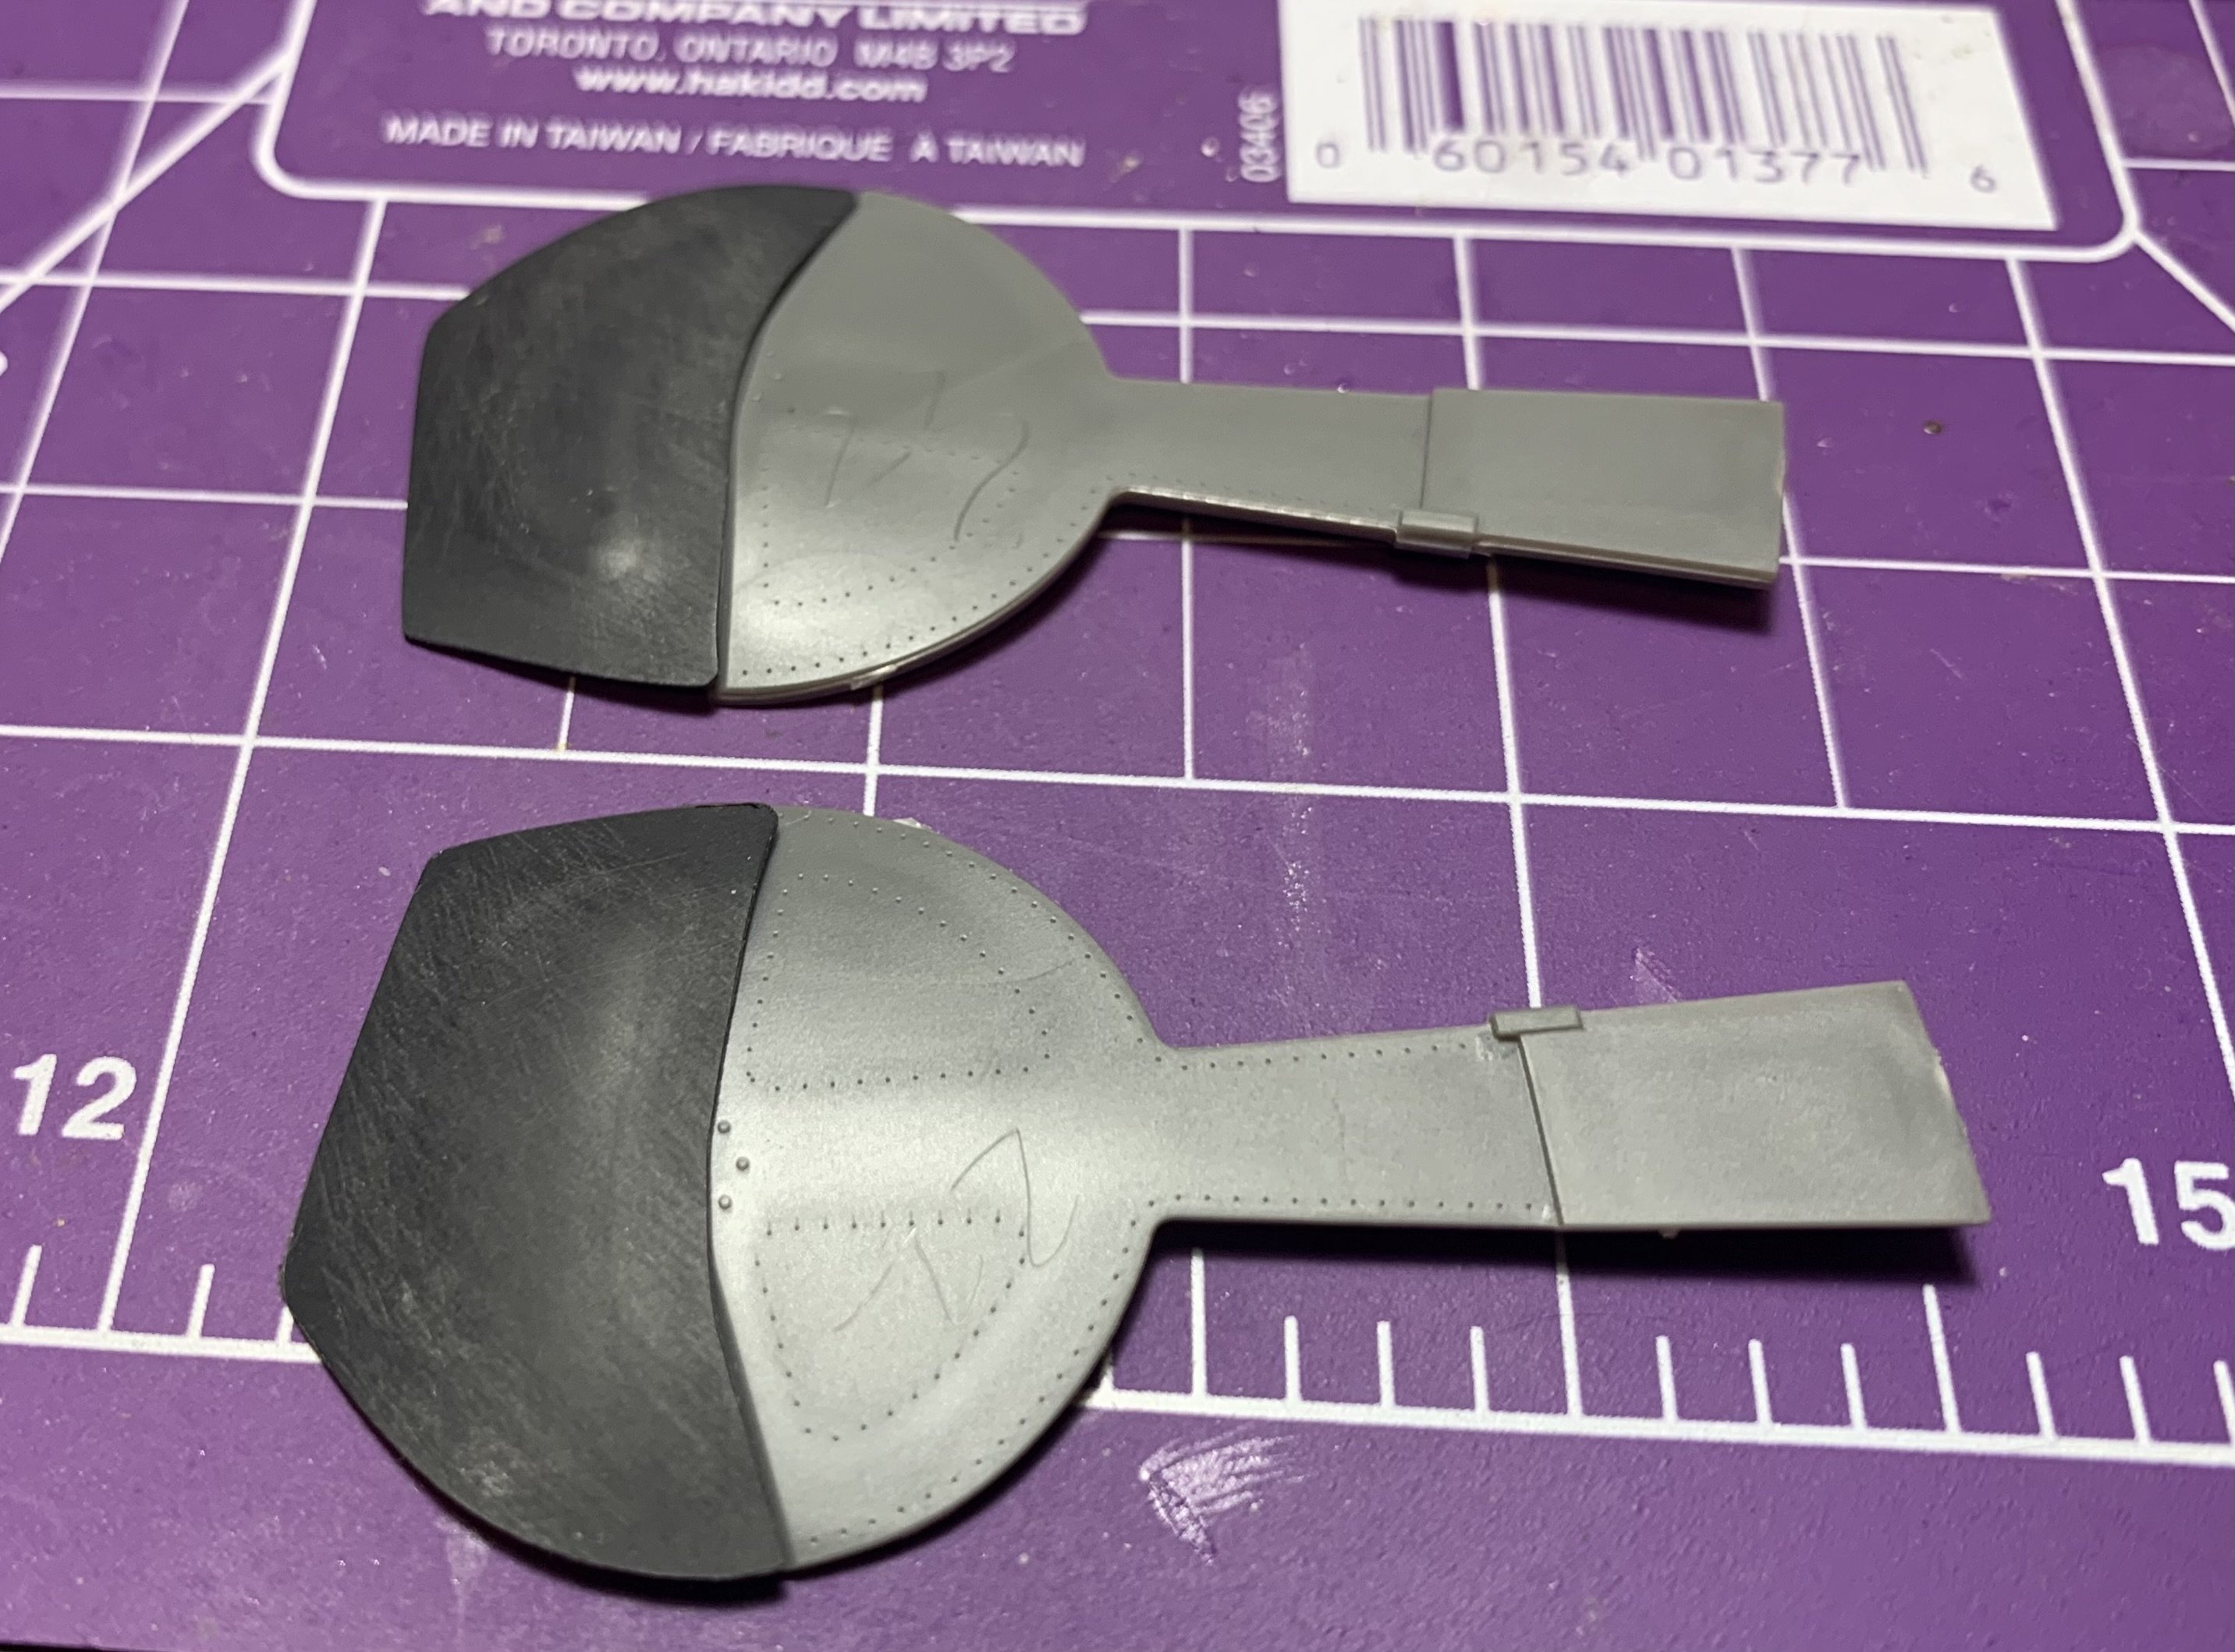
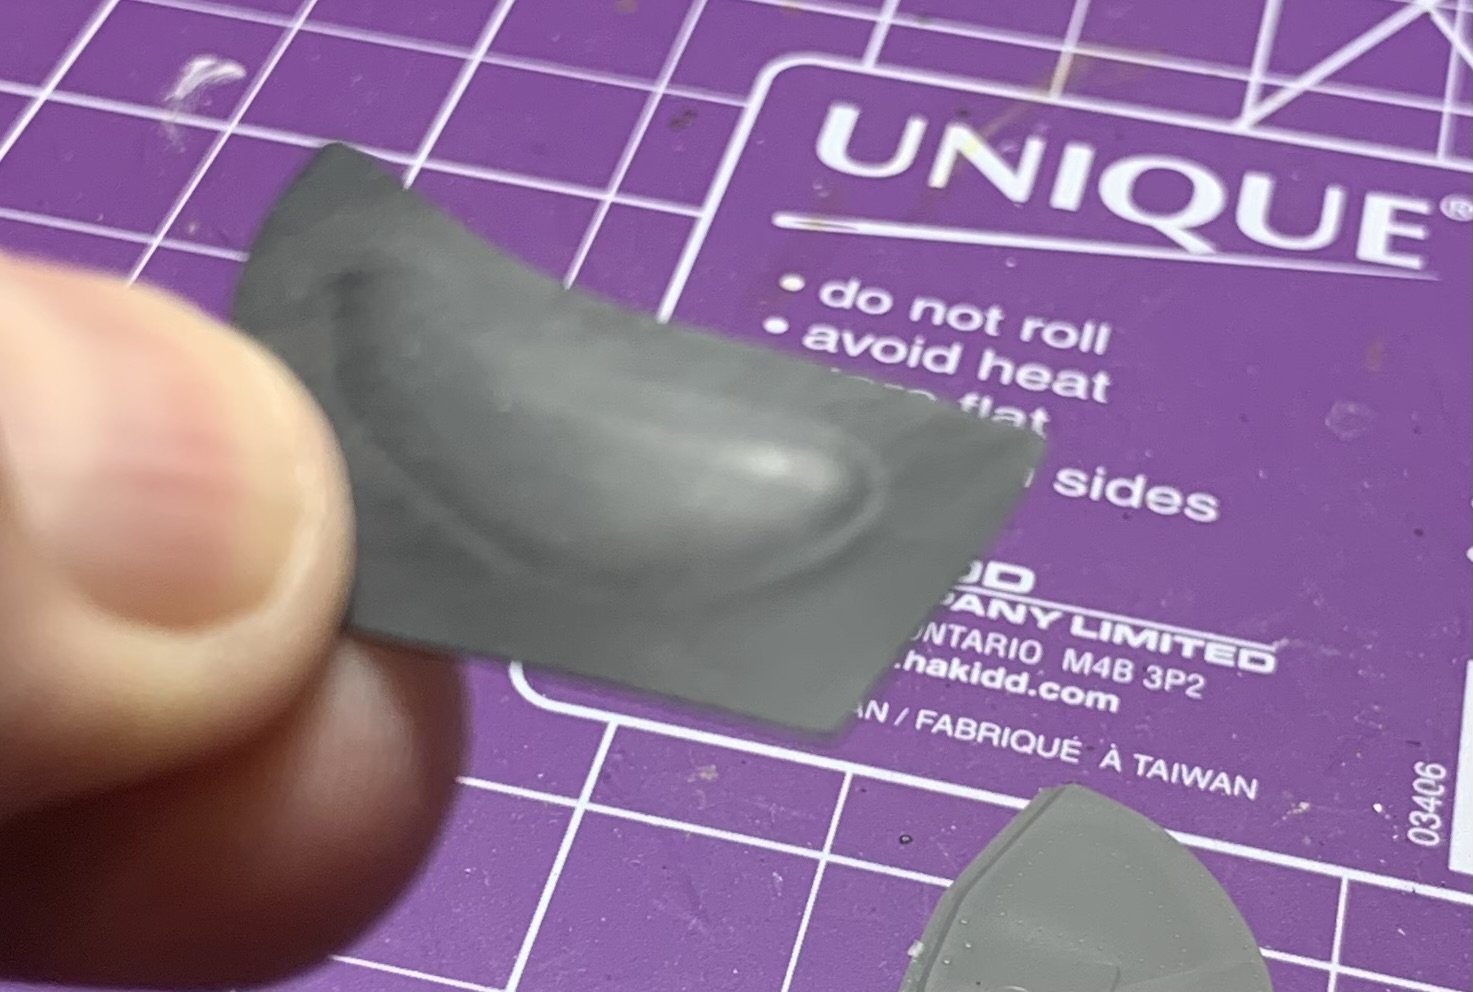
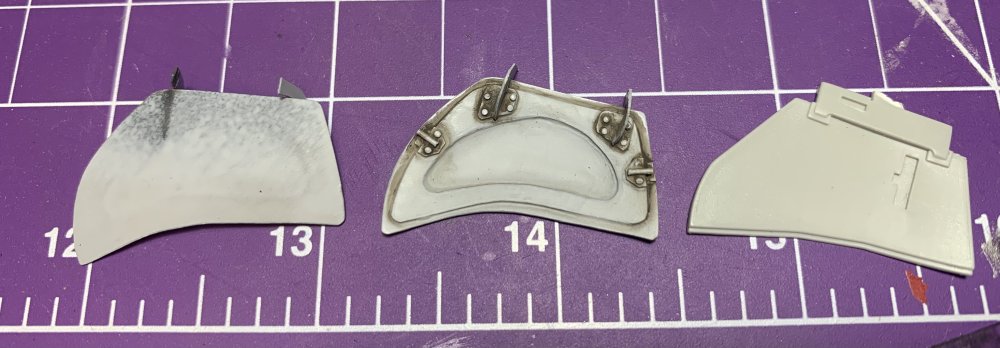
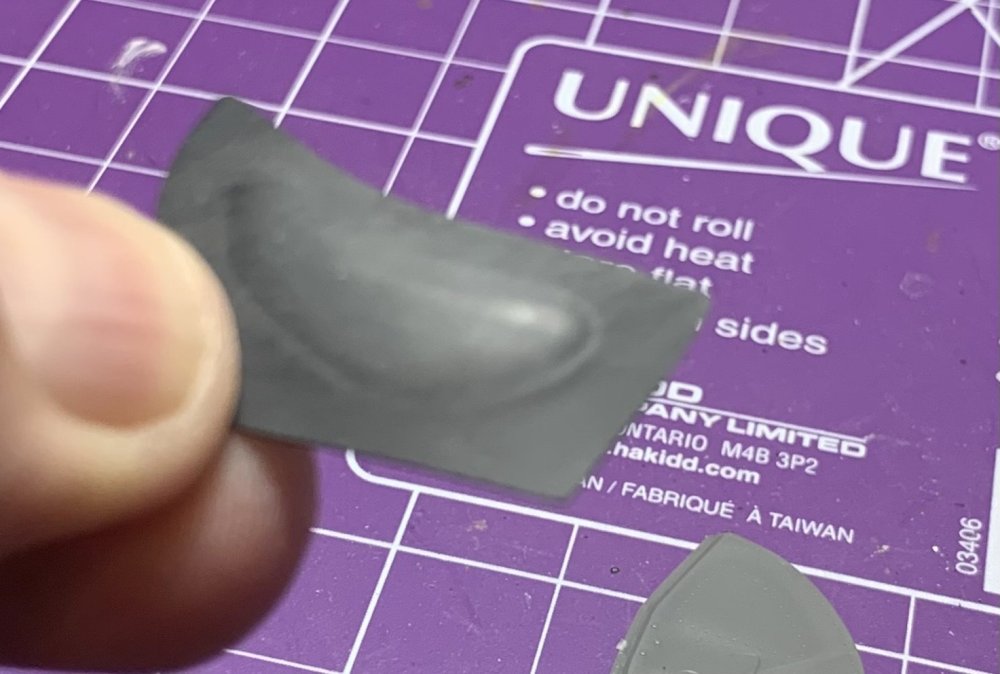
Let’s fab up some covers. firstly we have to remove the dust shields, we won’t talk about dust shields… and then it’s all just bunnies and unicorns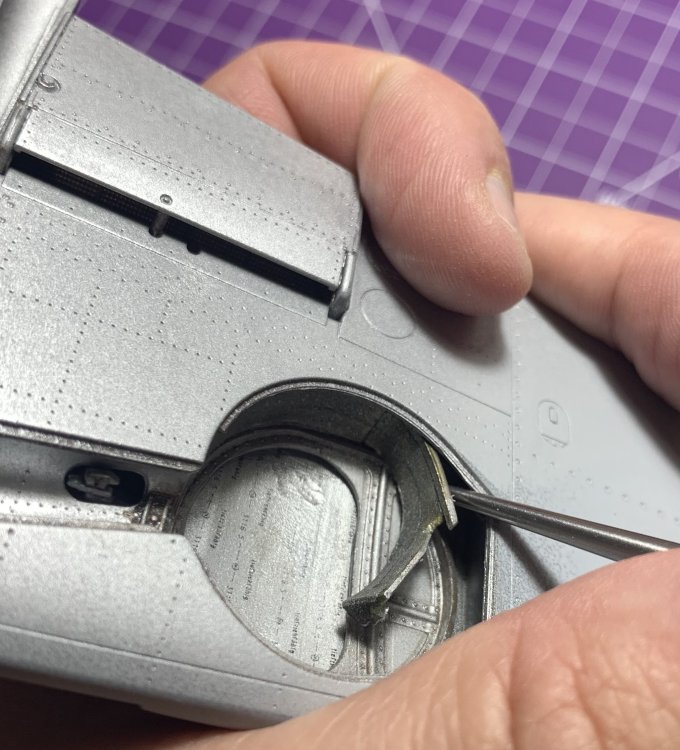


-
We are in the midst of a trade war as a result shipping has become weaponized.
-
1/24 Airfix Bf-109K (conversion)
Martinnfb replied to Martinnfb's topic in LSM 1/35 and Larger Work In Progress
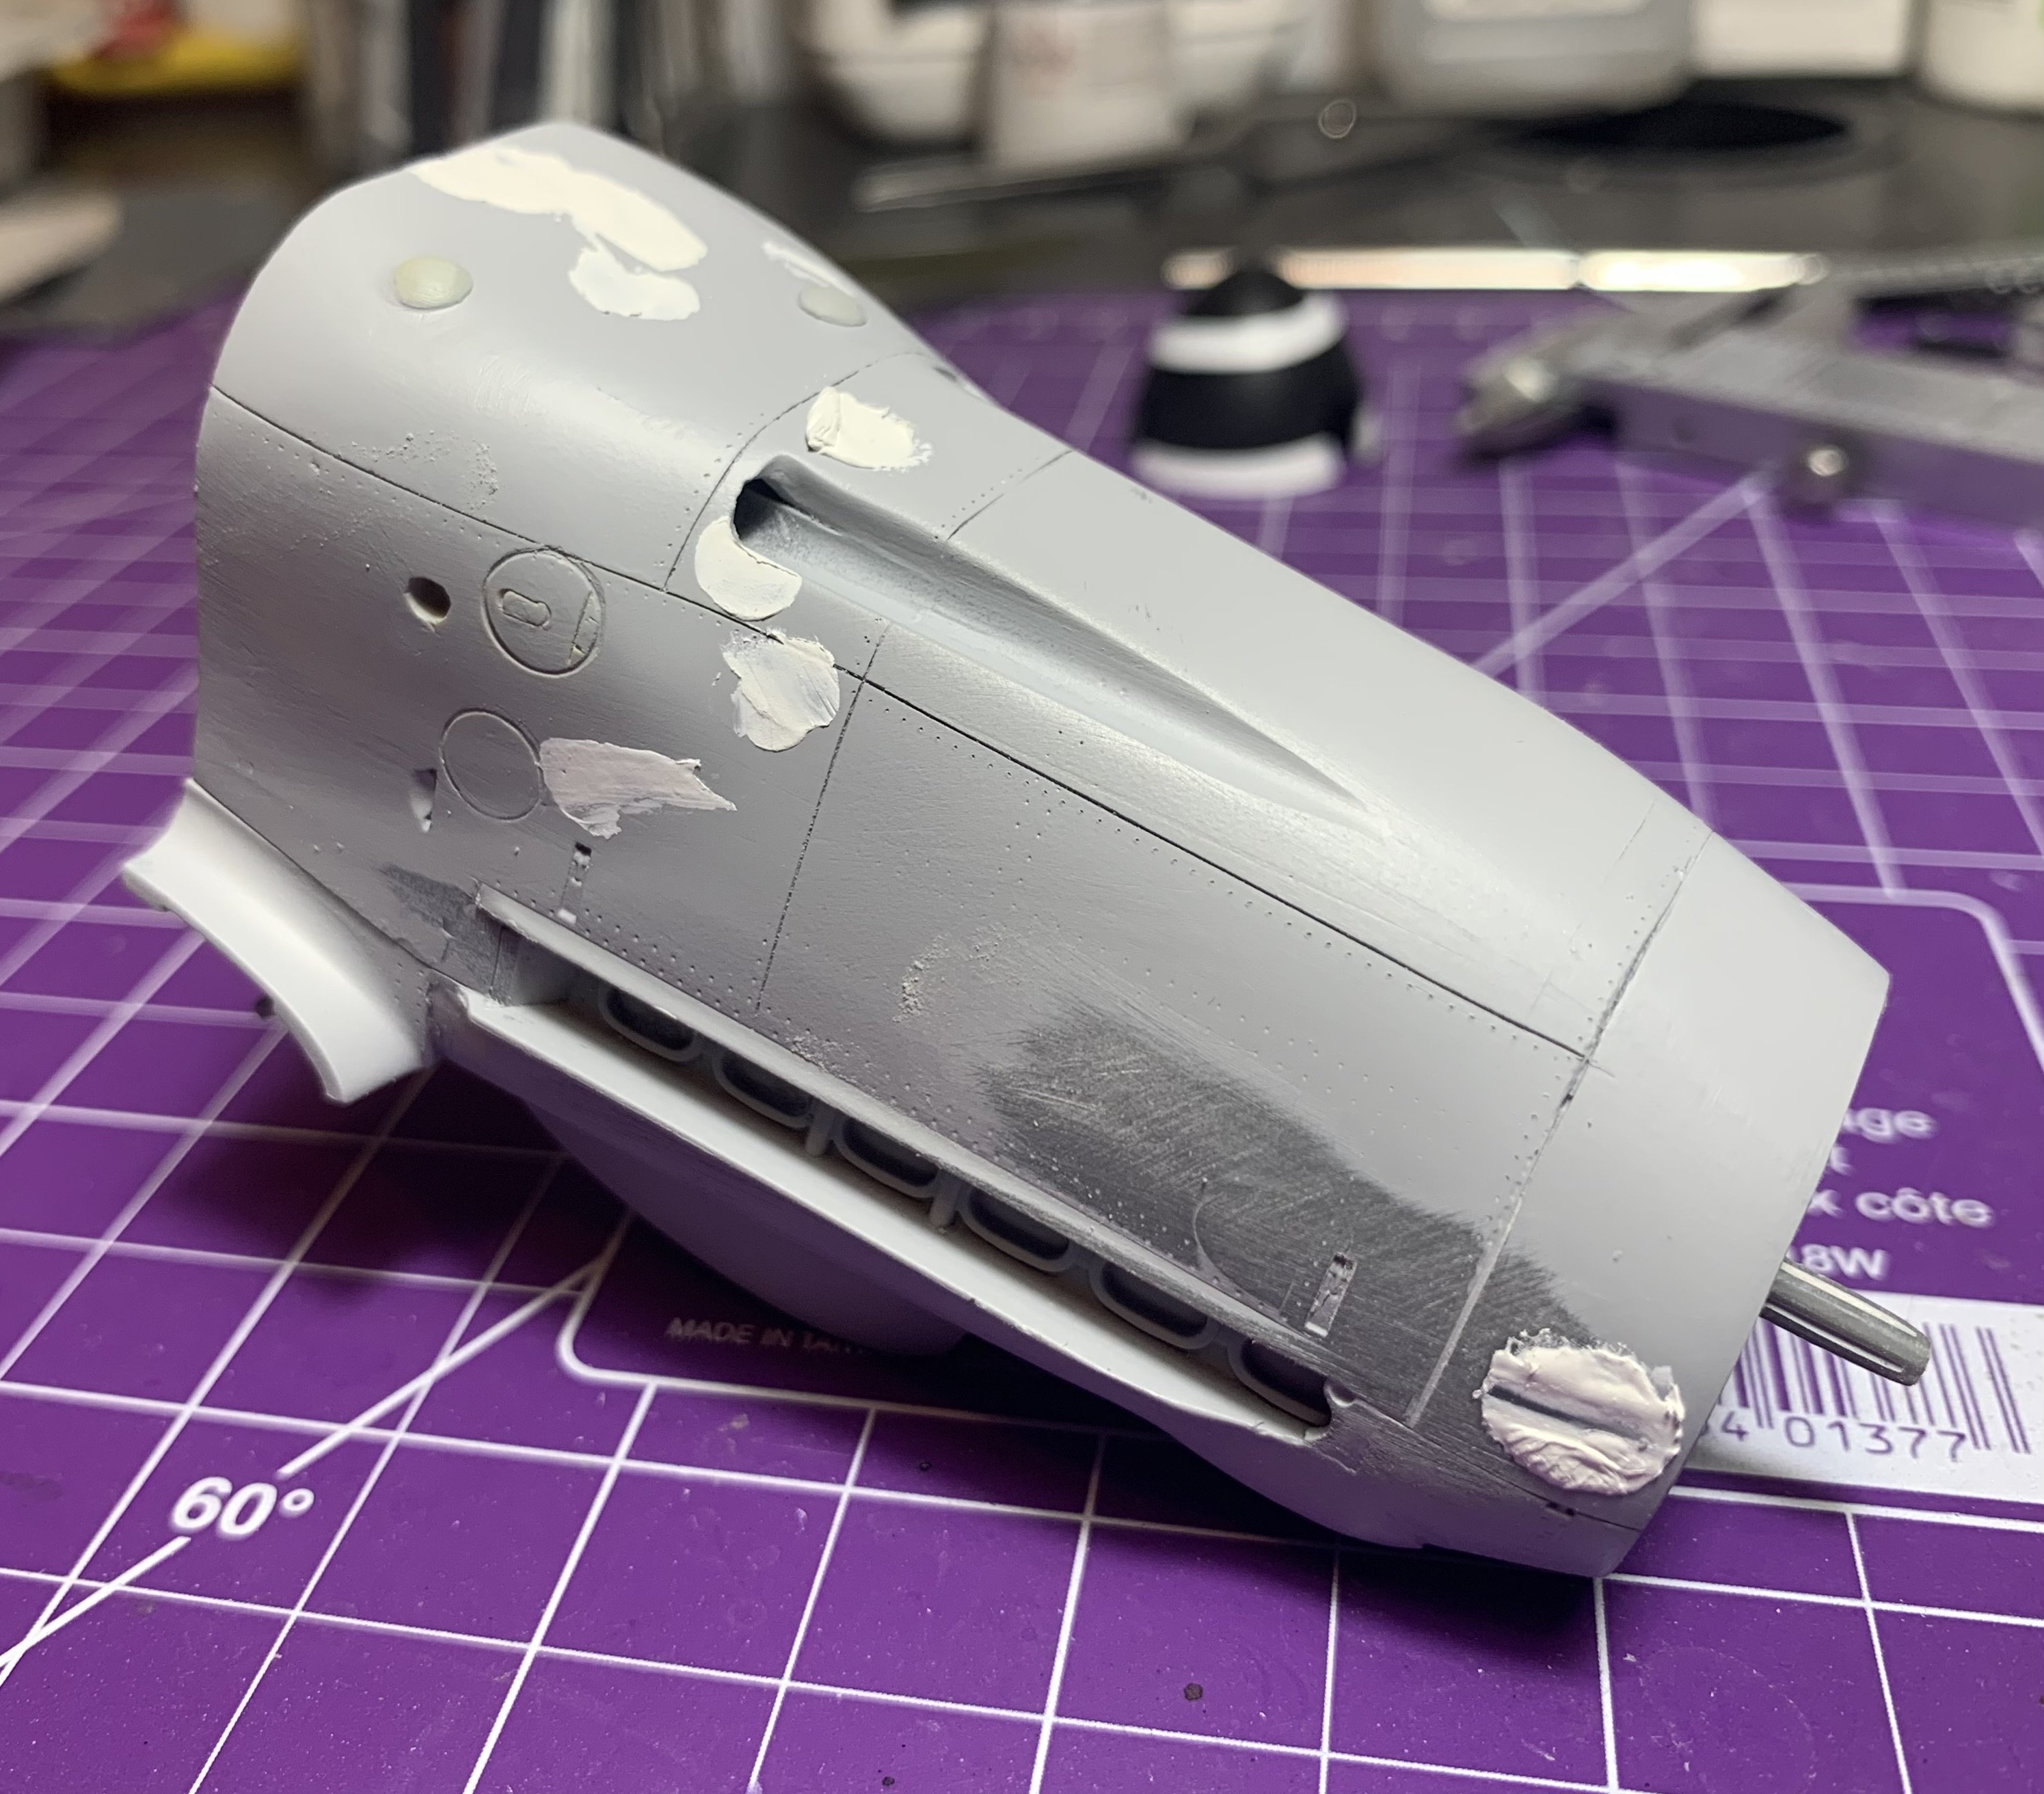
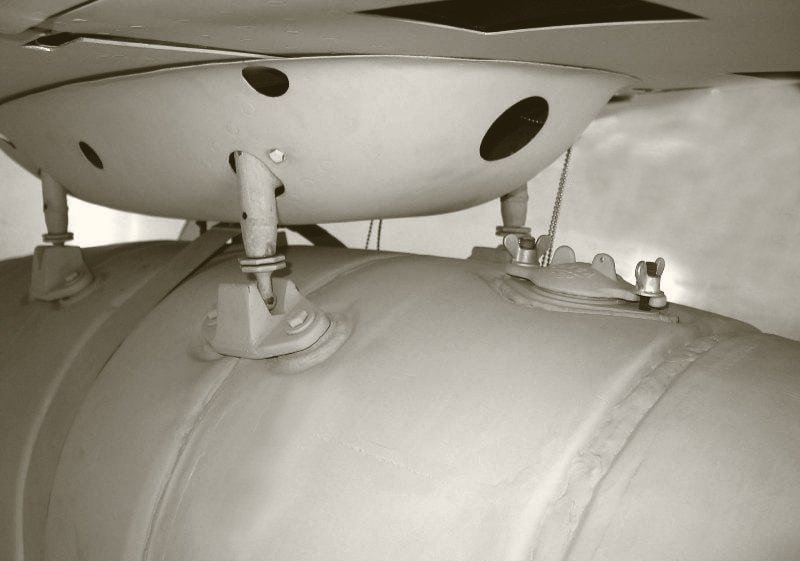
Slowly adding important features to the cowling and filling boo-boos as I go. I decided not to hang the drop tank on, which requires little refining of its rack . wing root fairings received some extra detail. These are not riveted, but strapped on allowing independent movement between these two structural segments.


-
https://pavewaymodels.com/product/lau-3-a-132/
-
Nice to see this old kit getting some well deserved attention. Looking great at first glance I thought it’s the ICM kit. Cheers Martin
-
Damn I missed out the whole show. Looking really good John. Cheers Martin
-
1/24 Airfix Bf-109K (conversion)
Martinnfb replied to Martinnfb's topic in LSM 1/35 and Larger Work In Progress
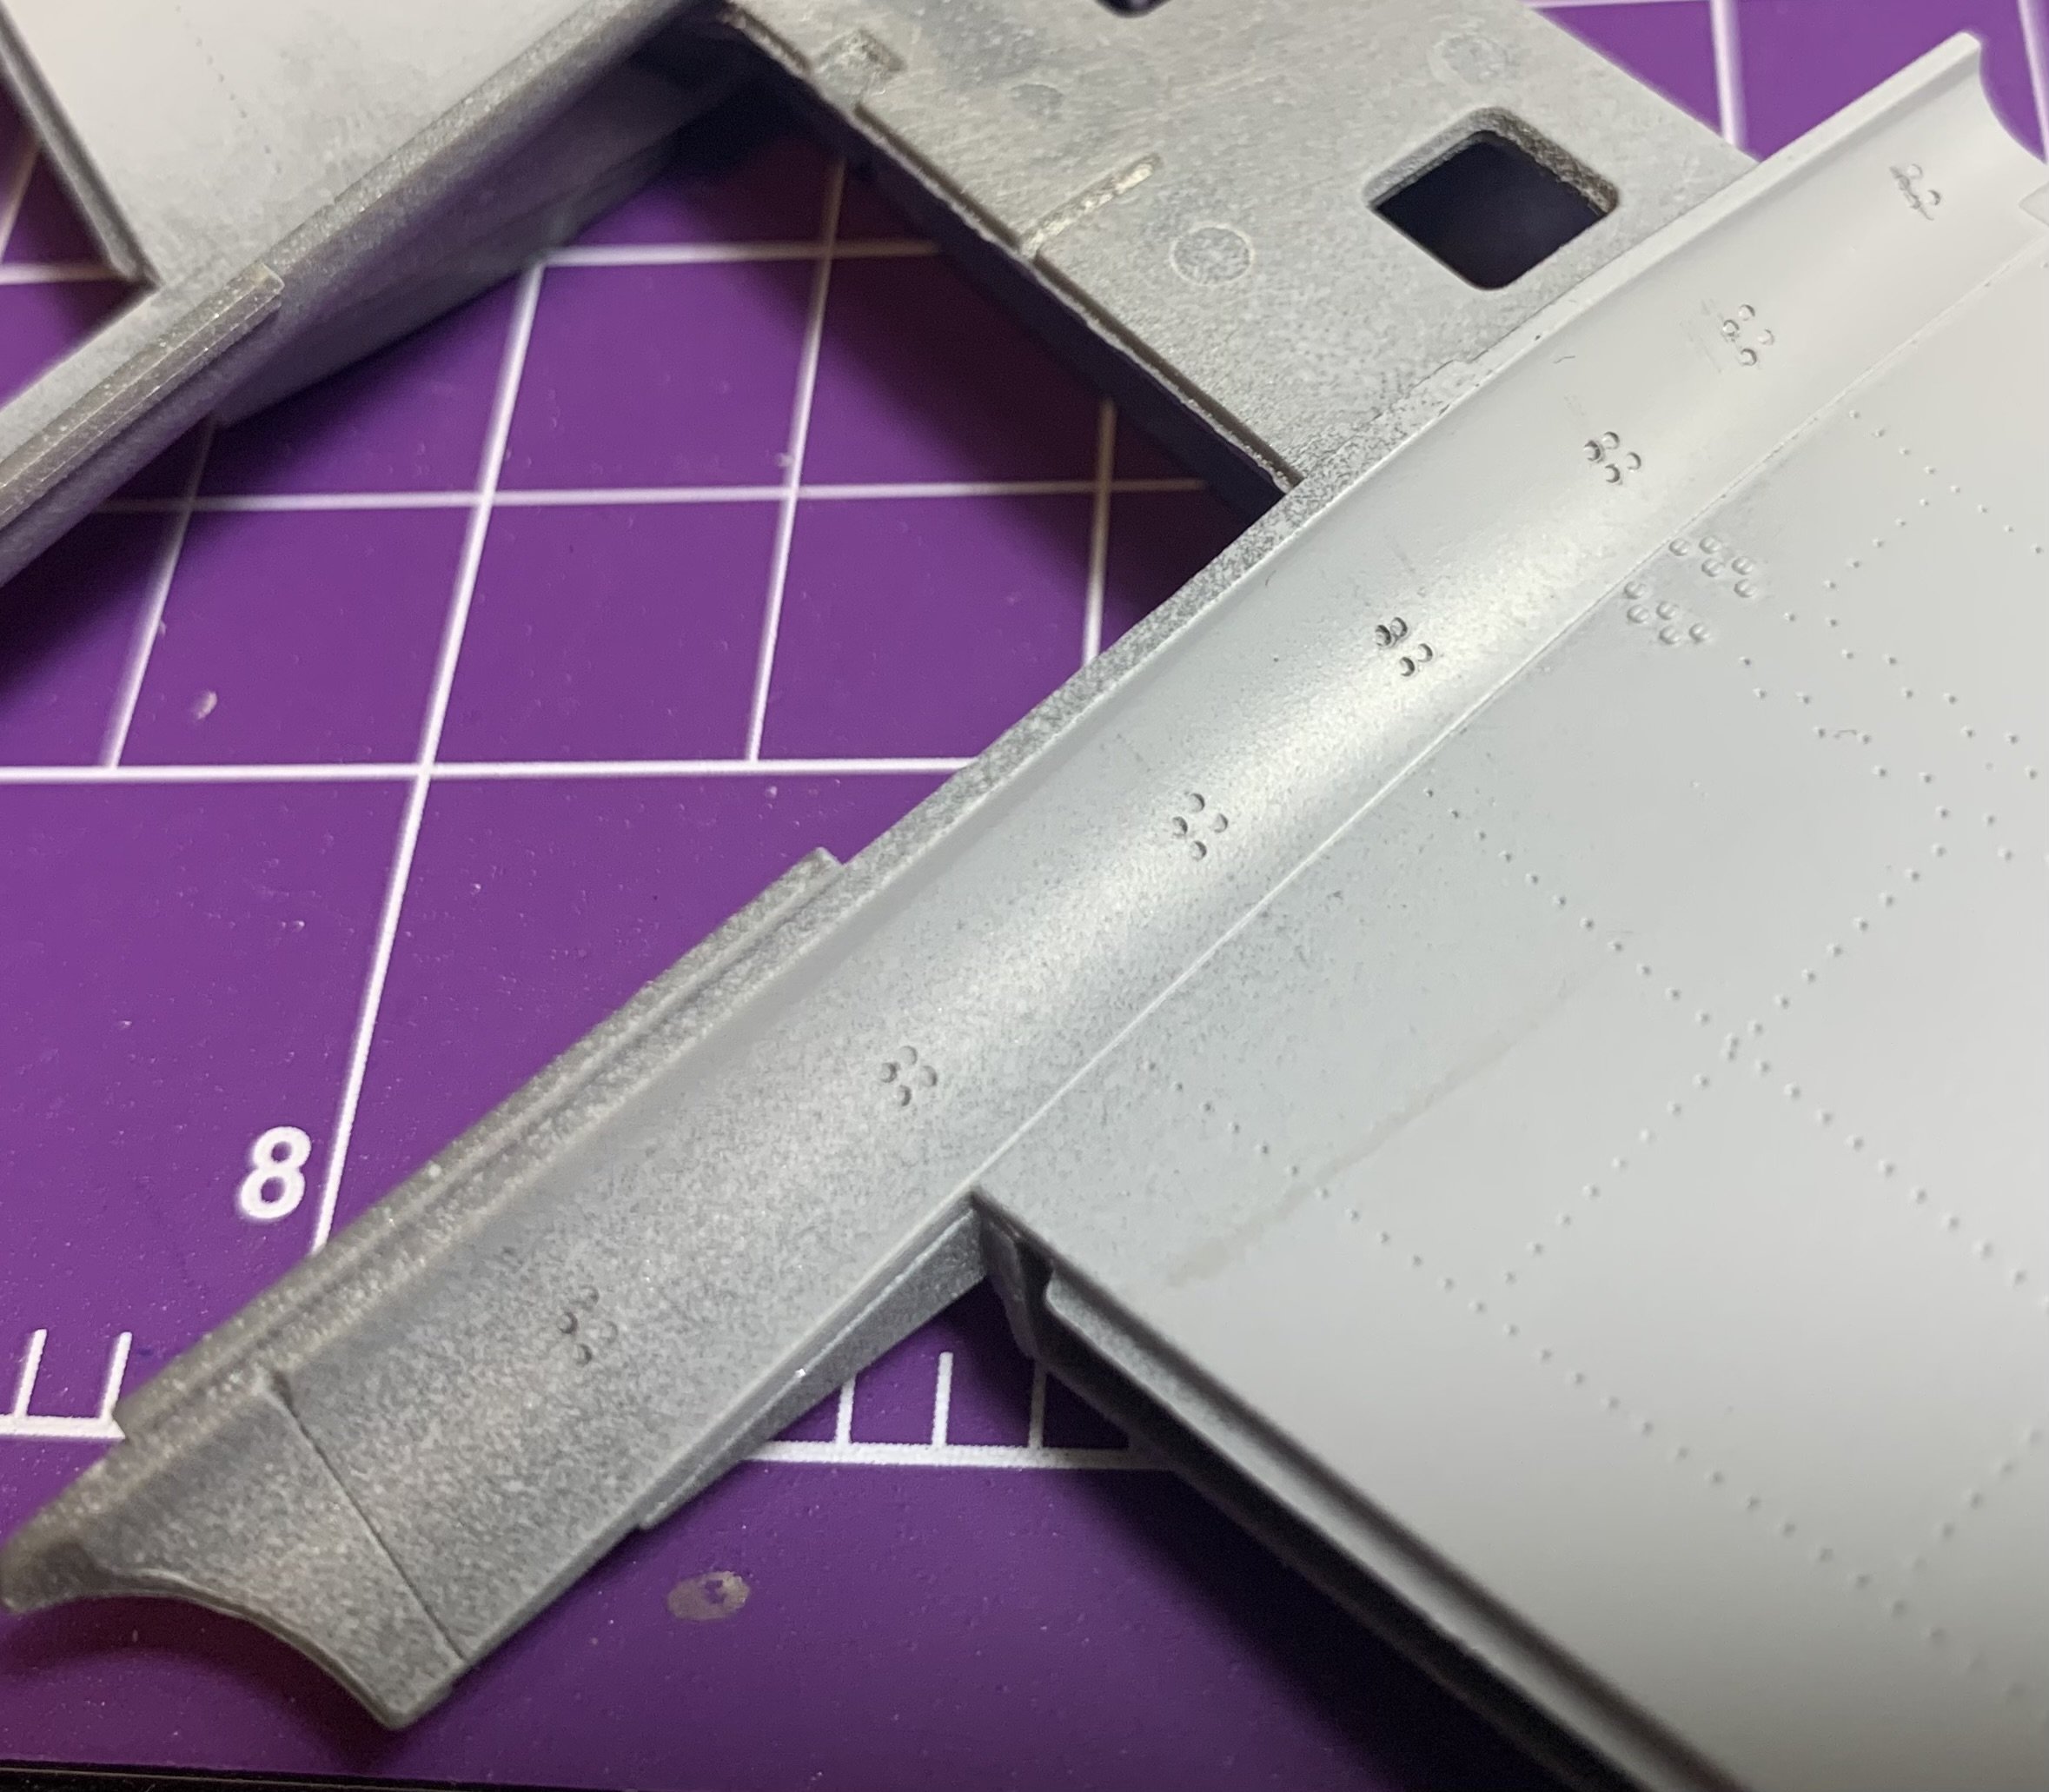
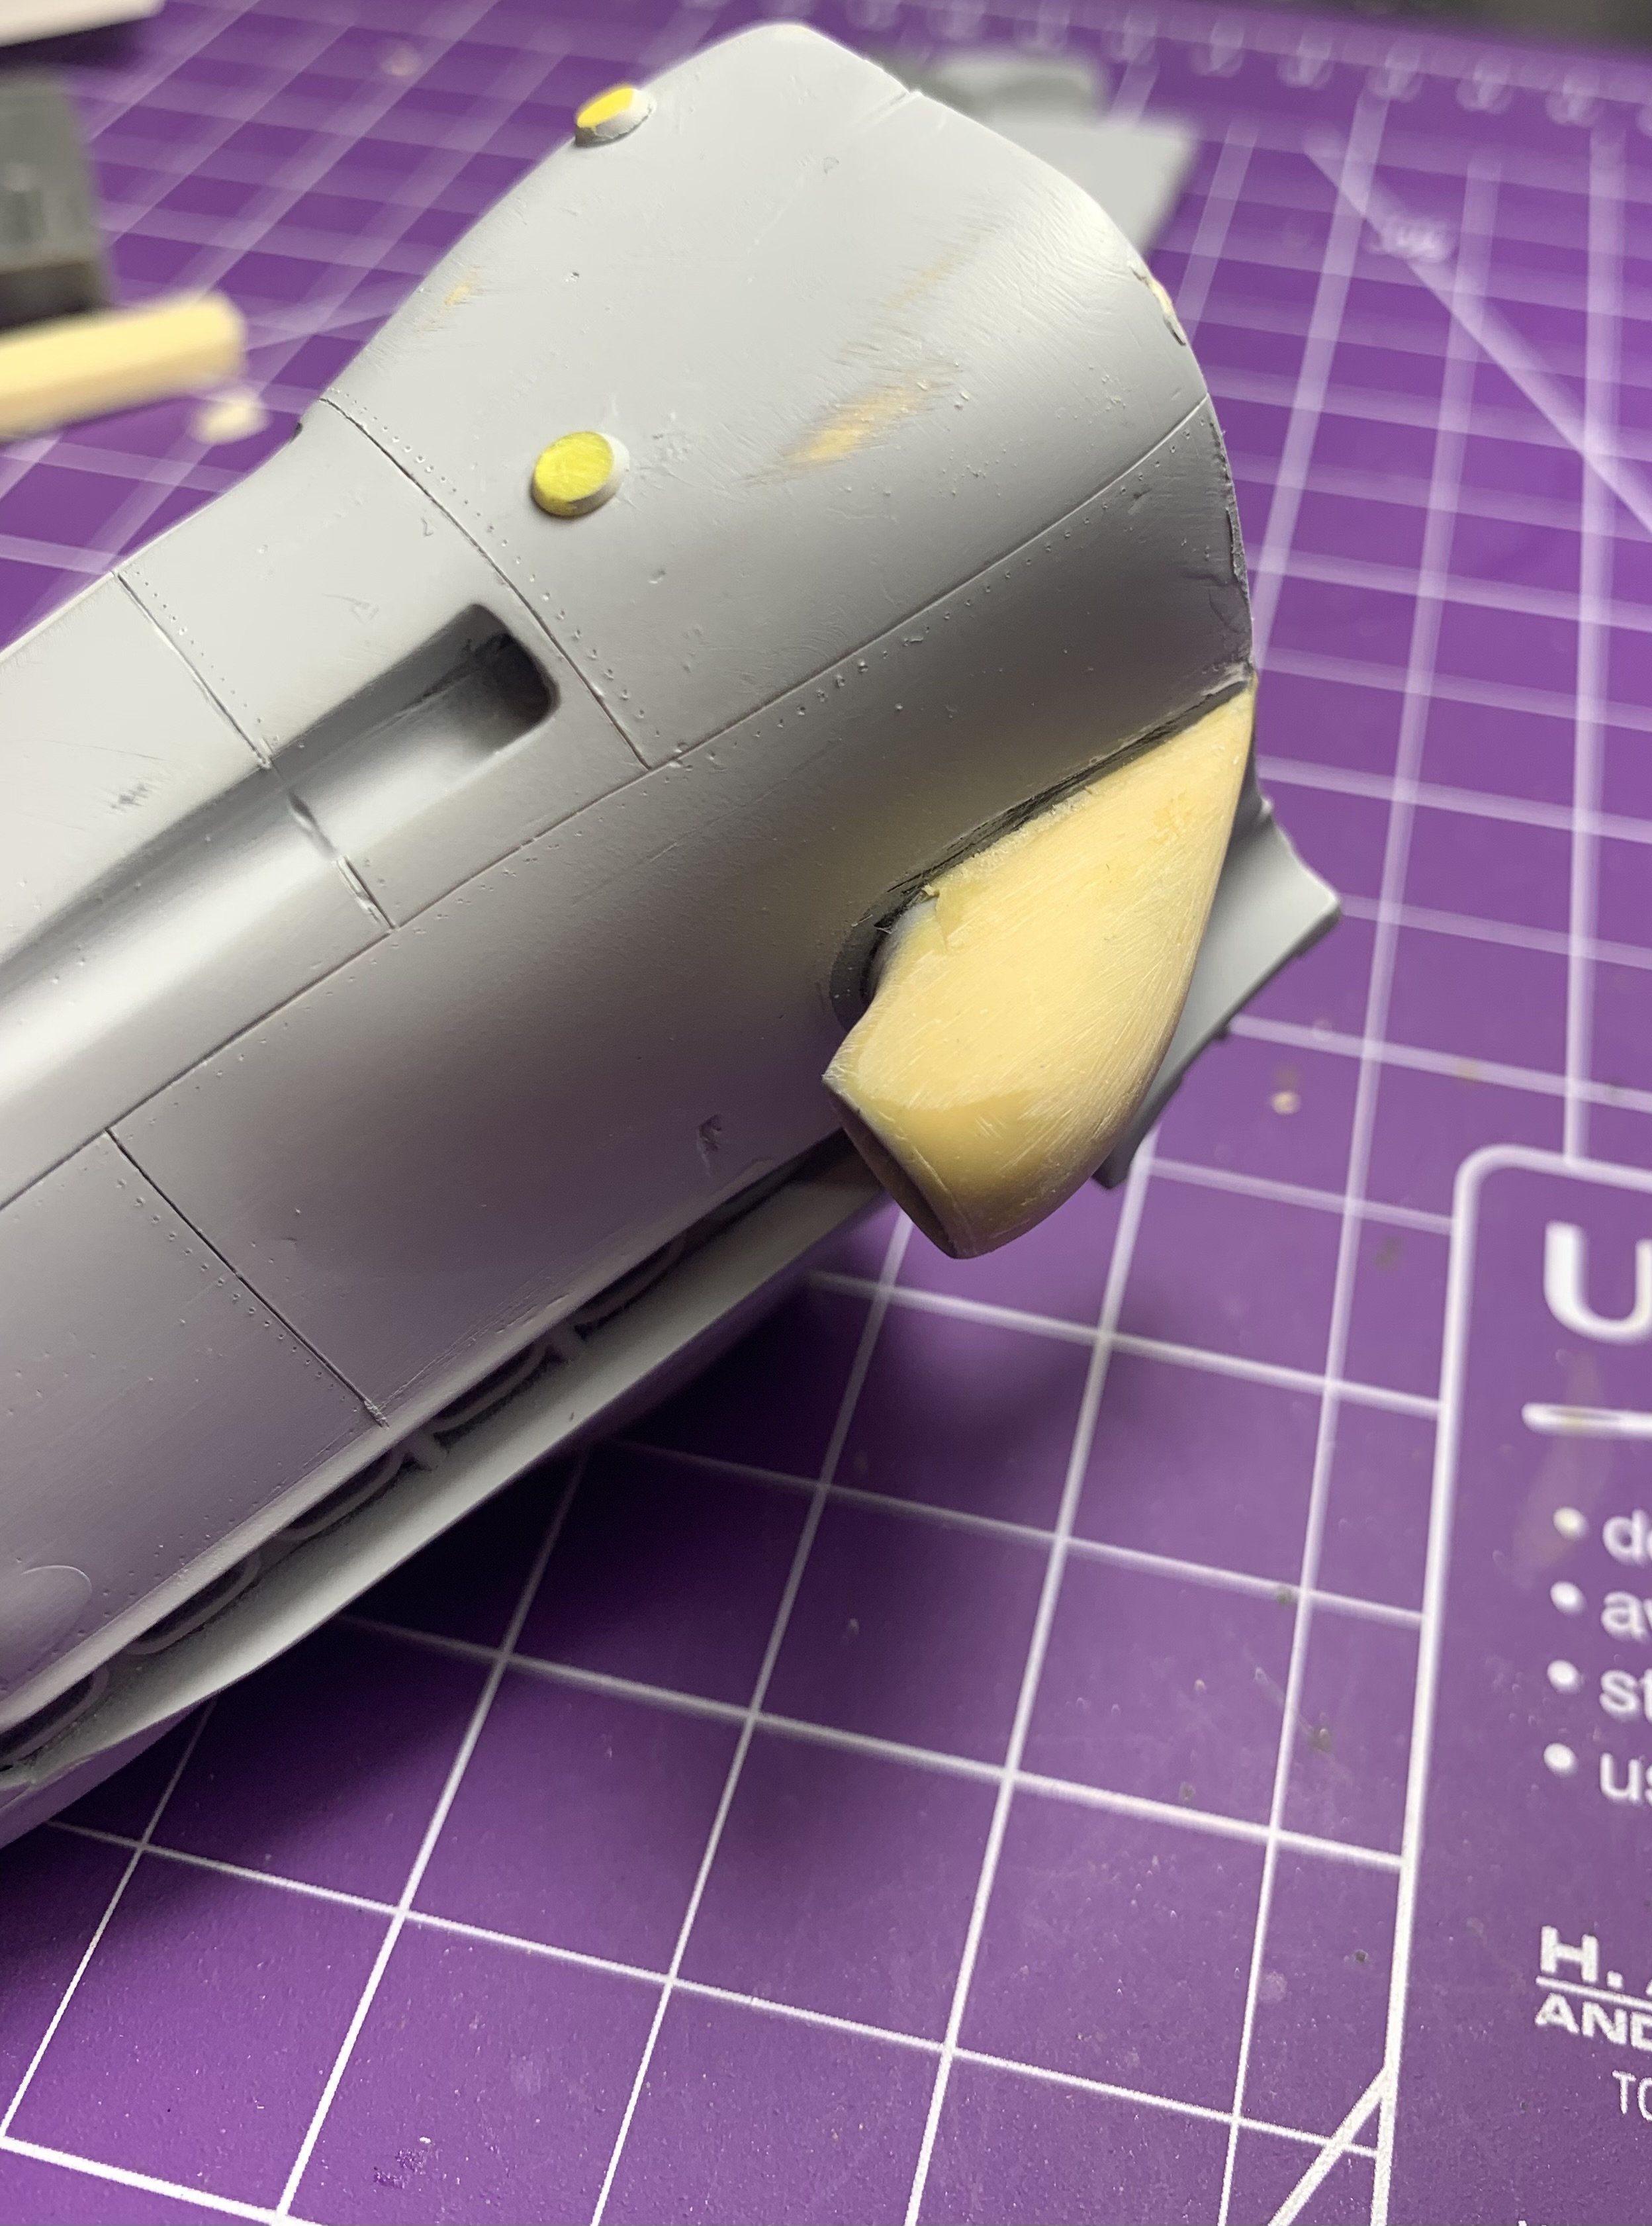
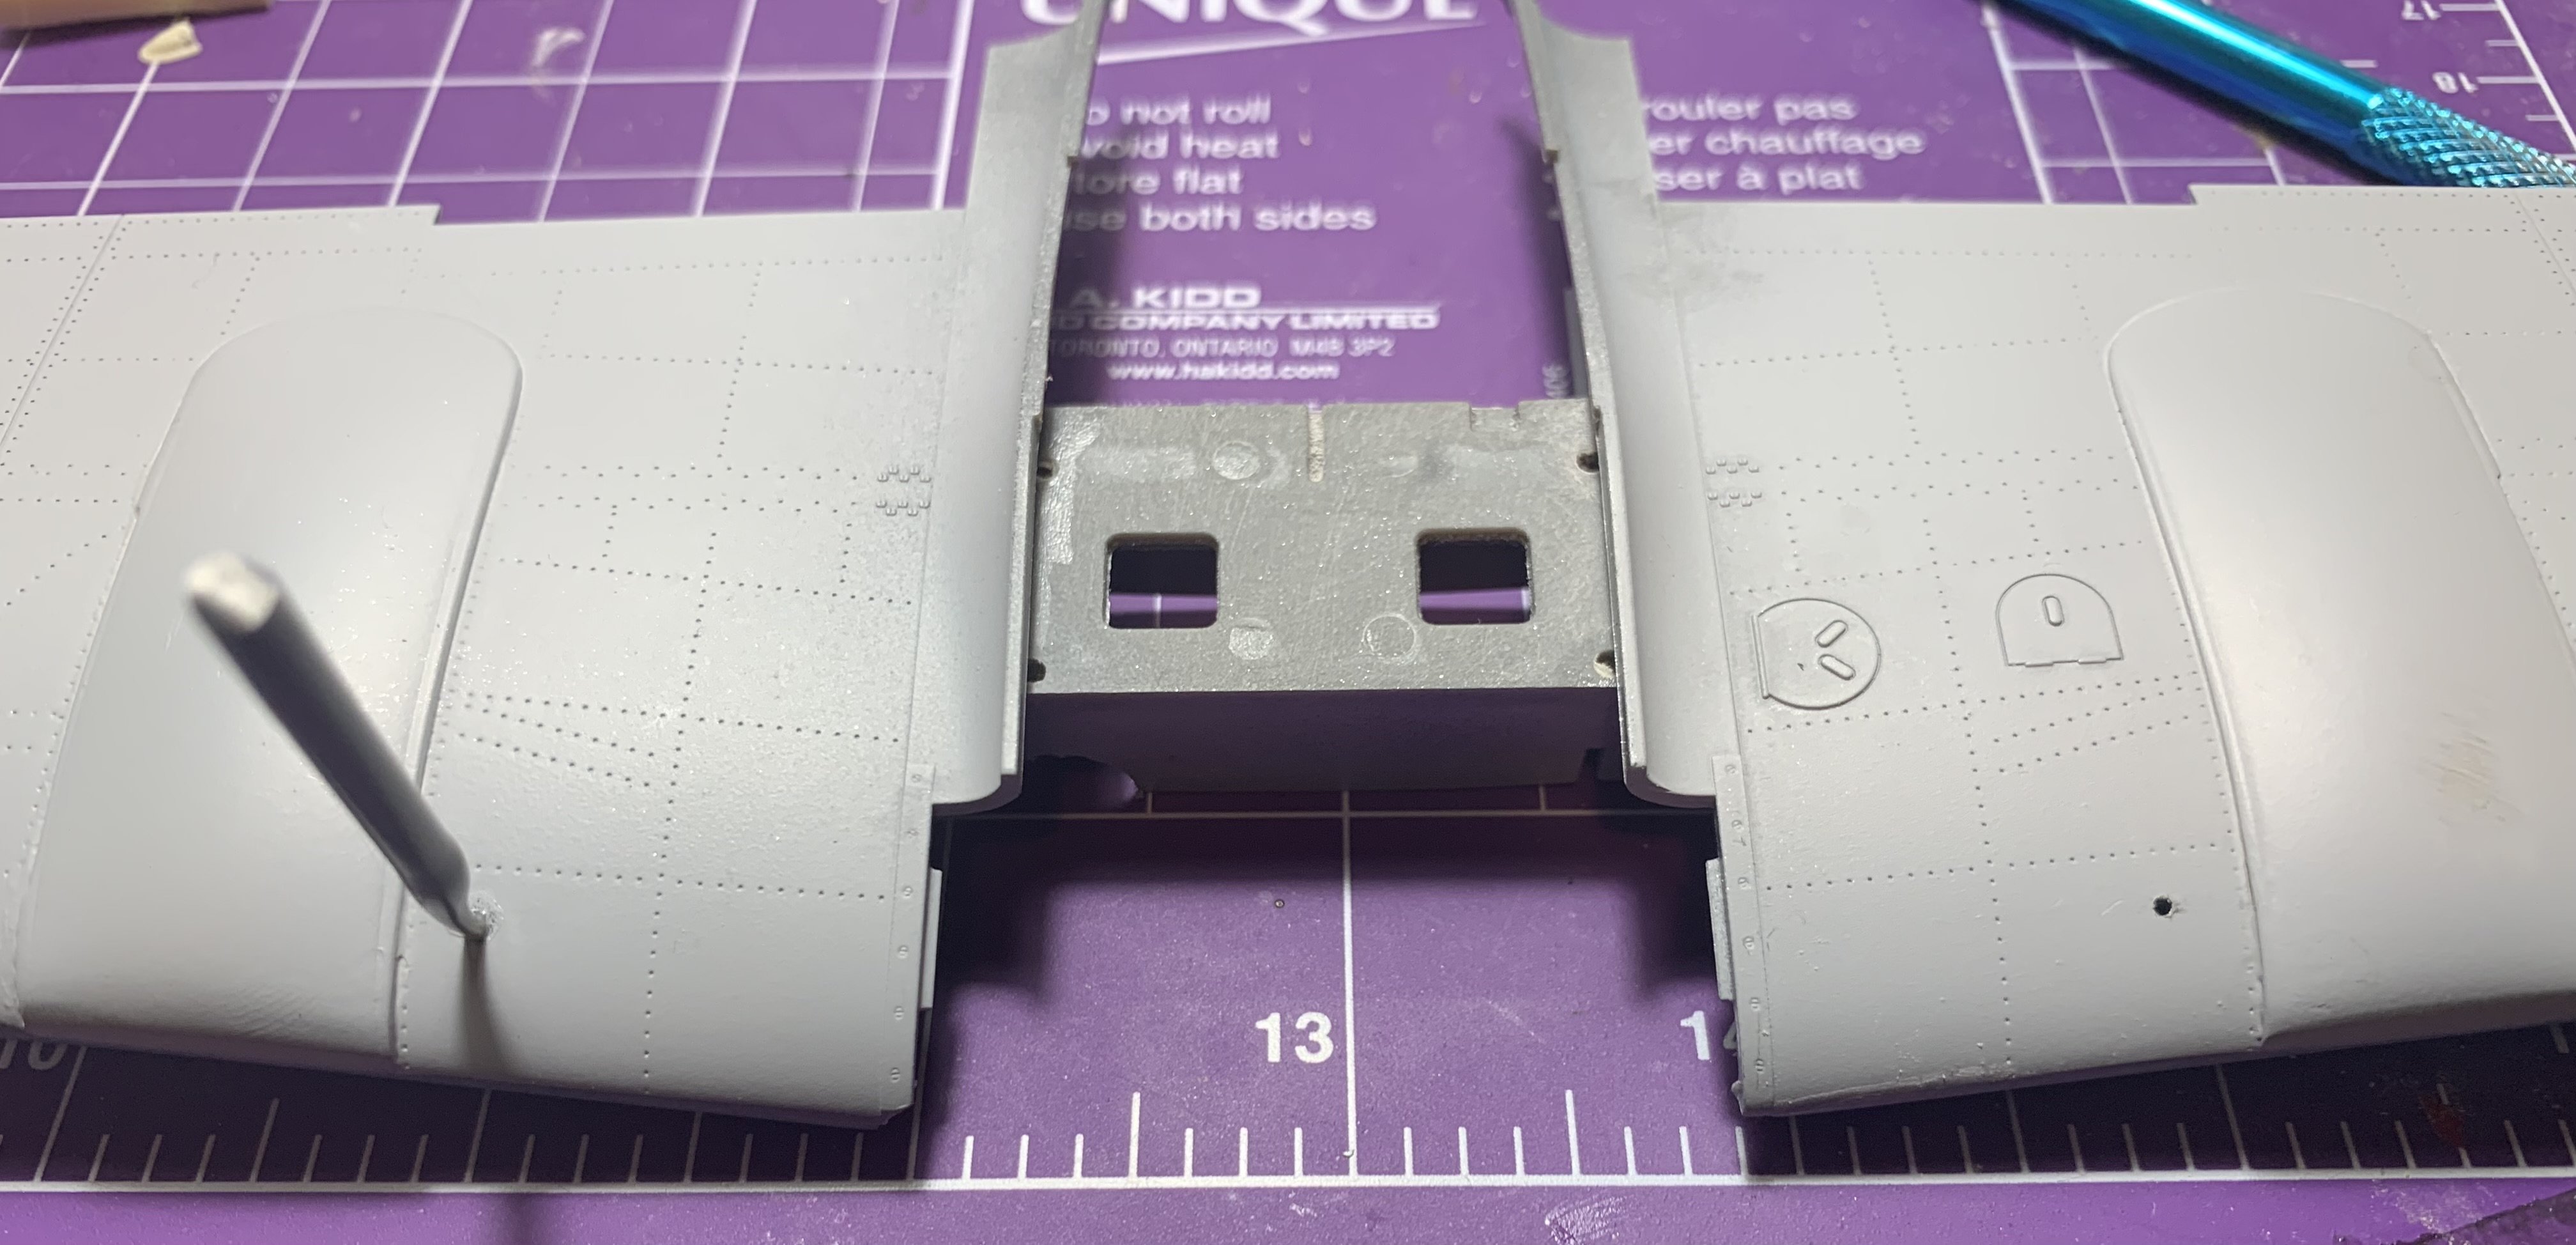
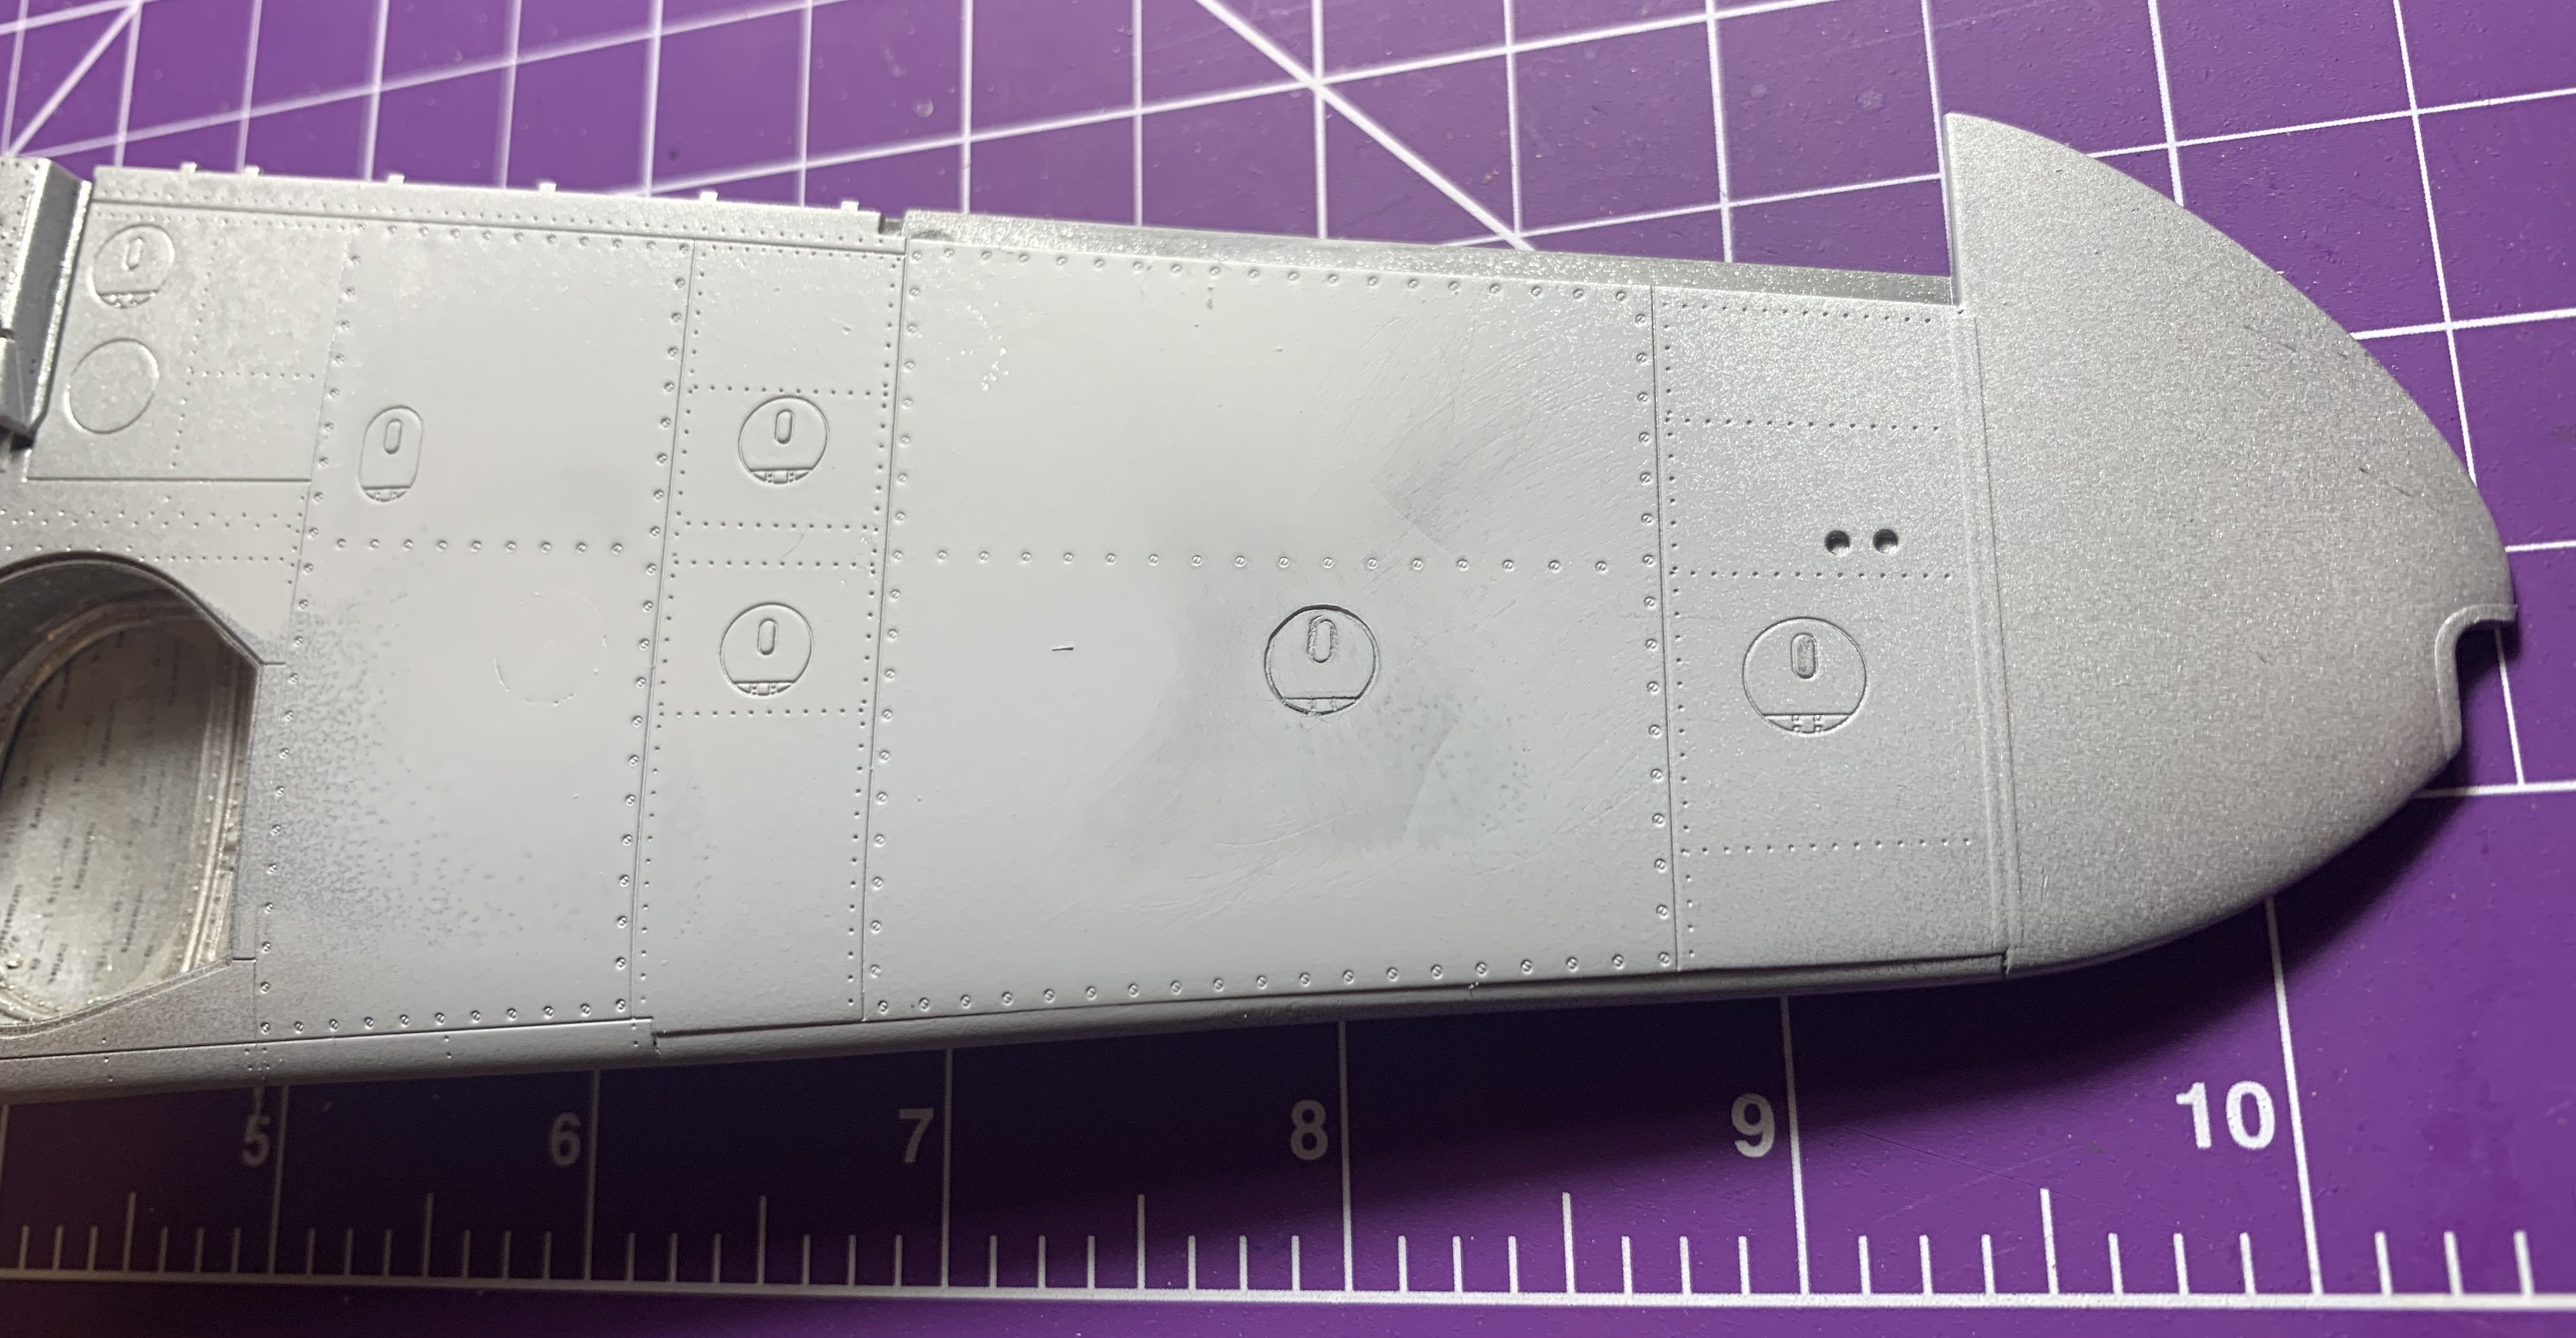
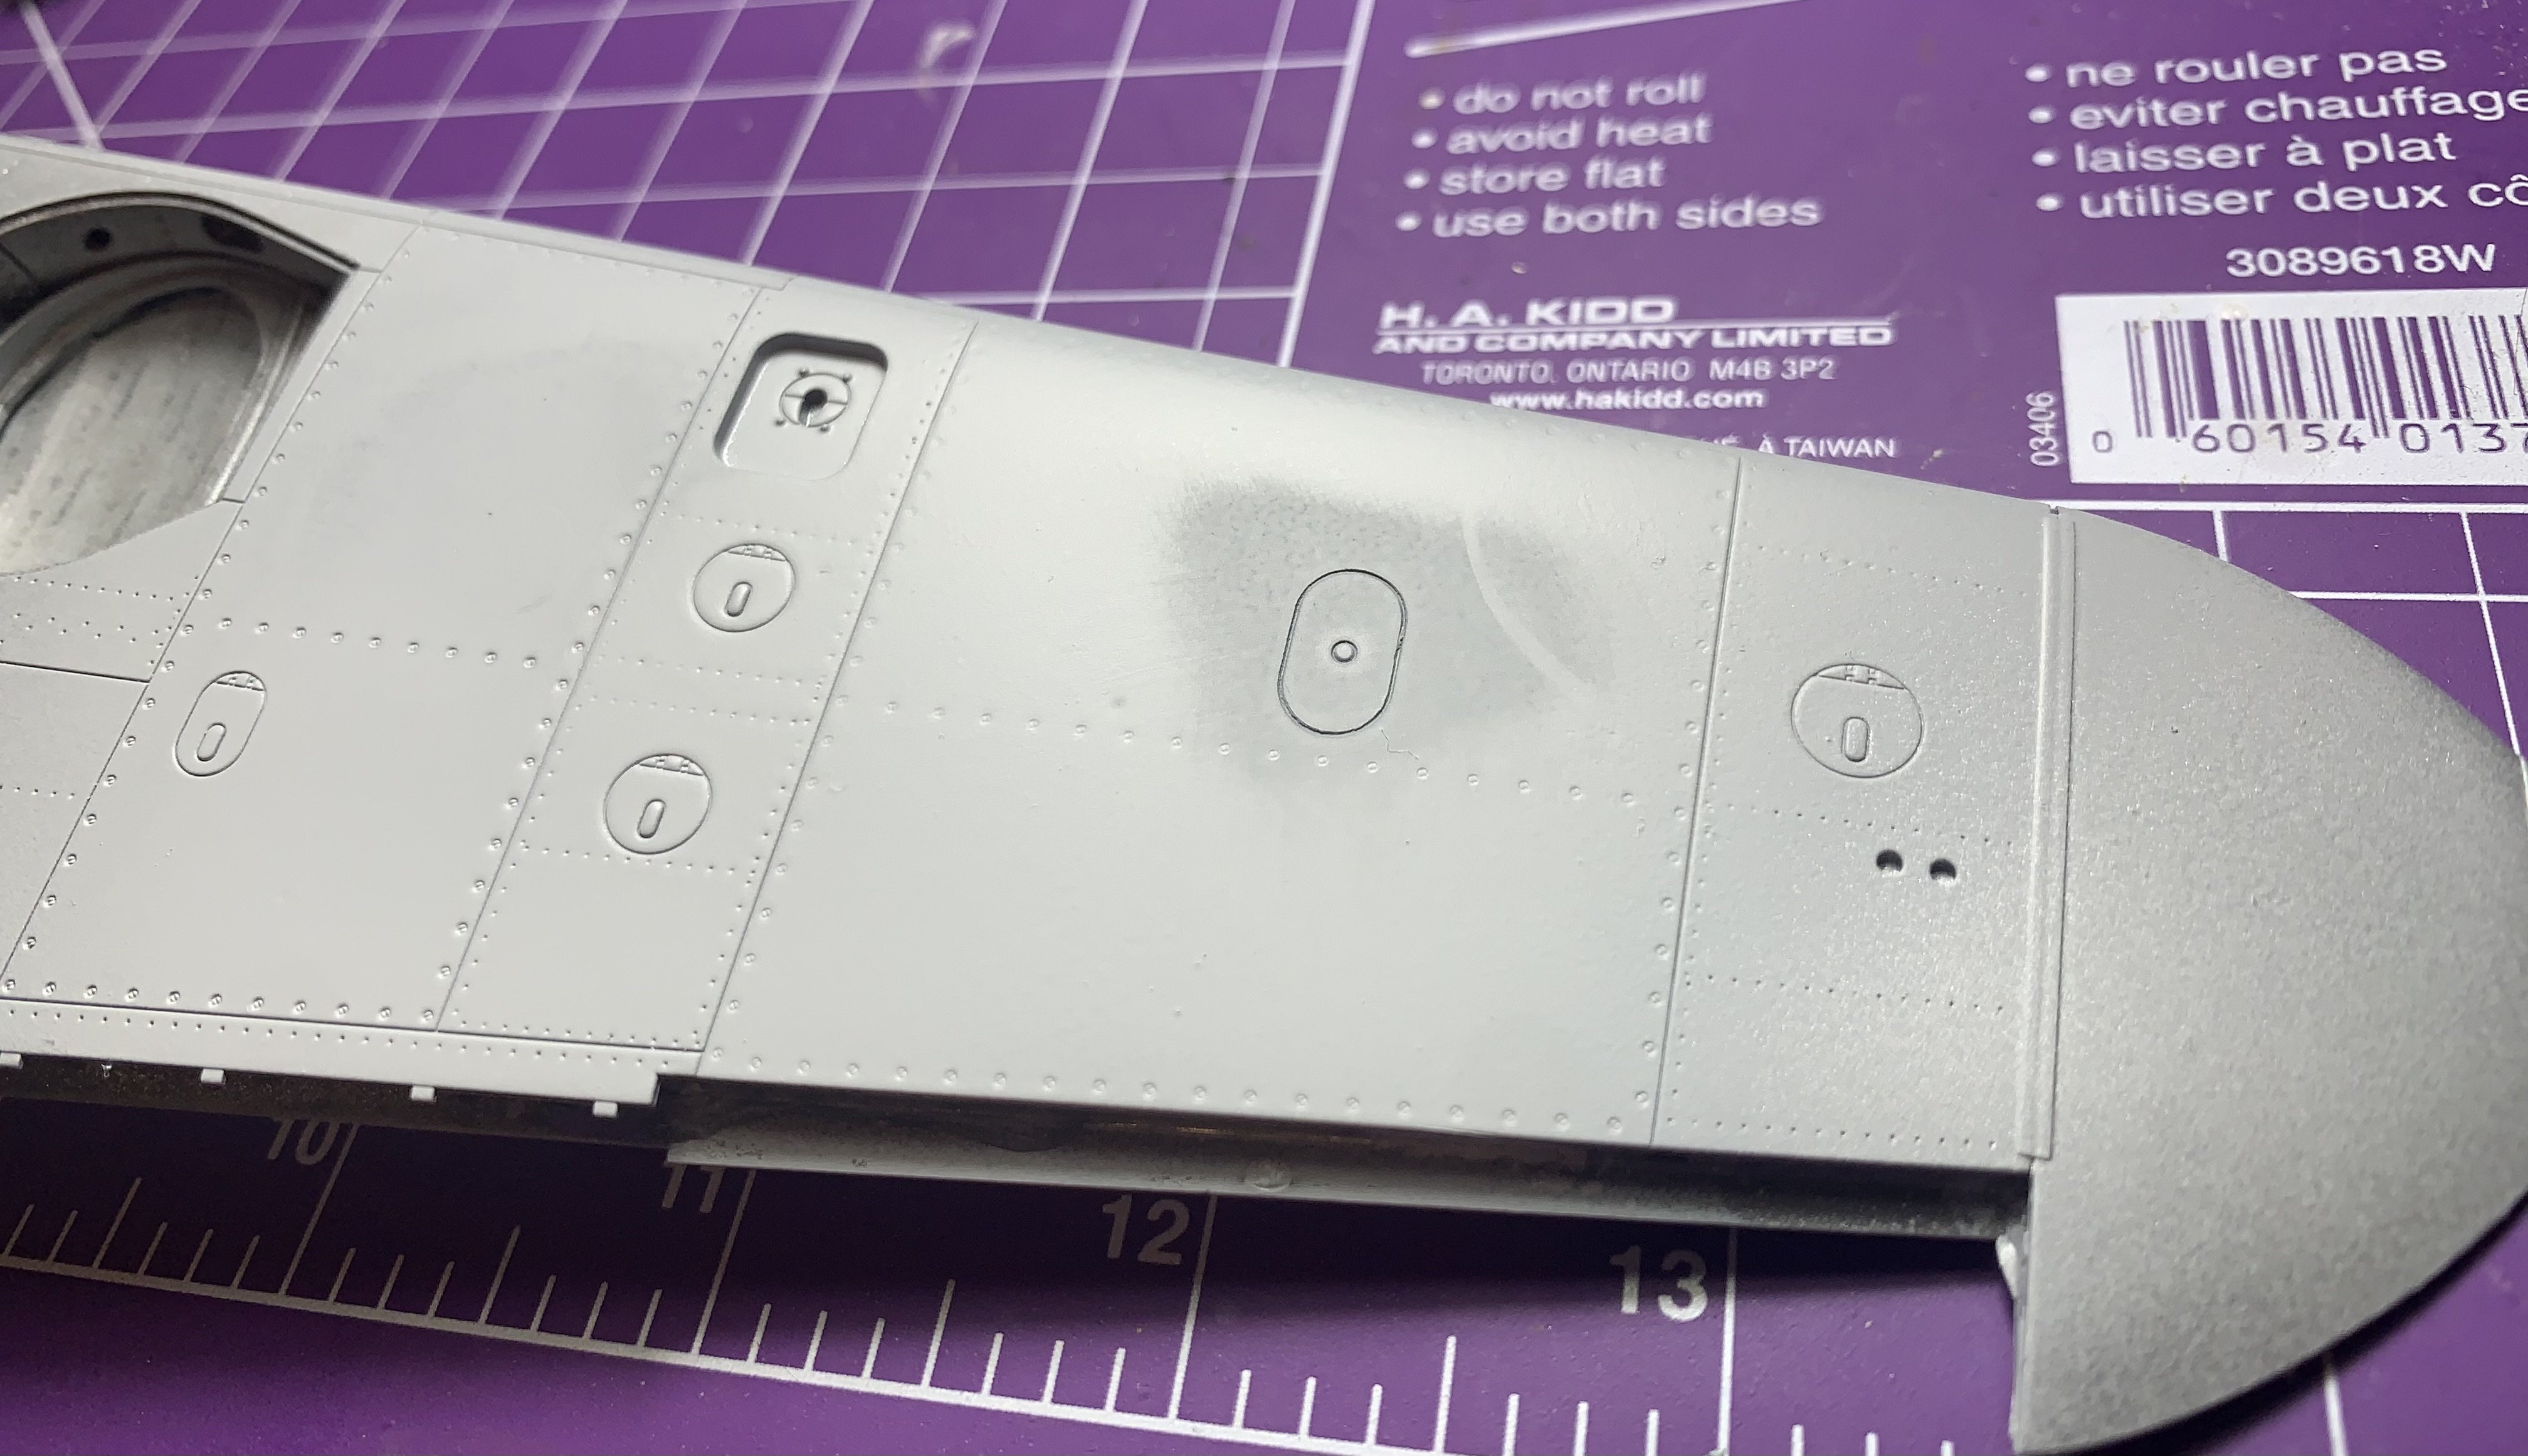
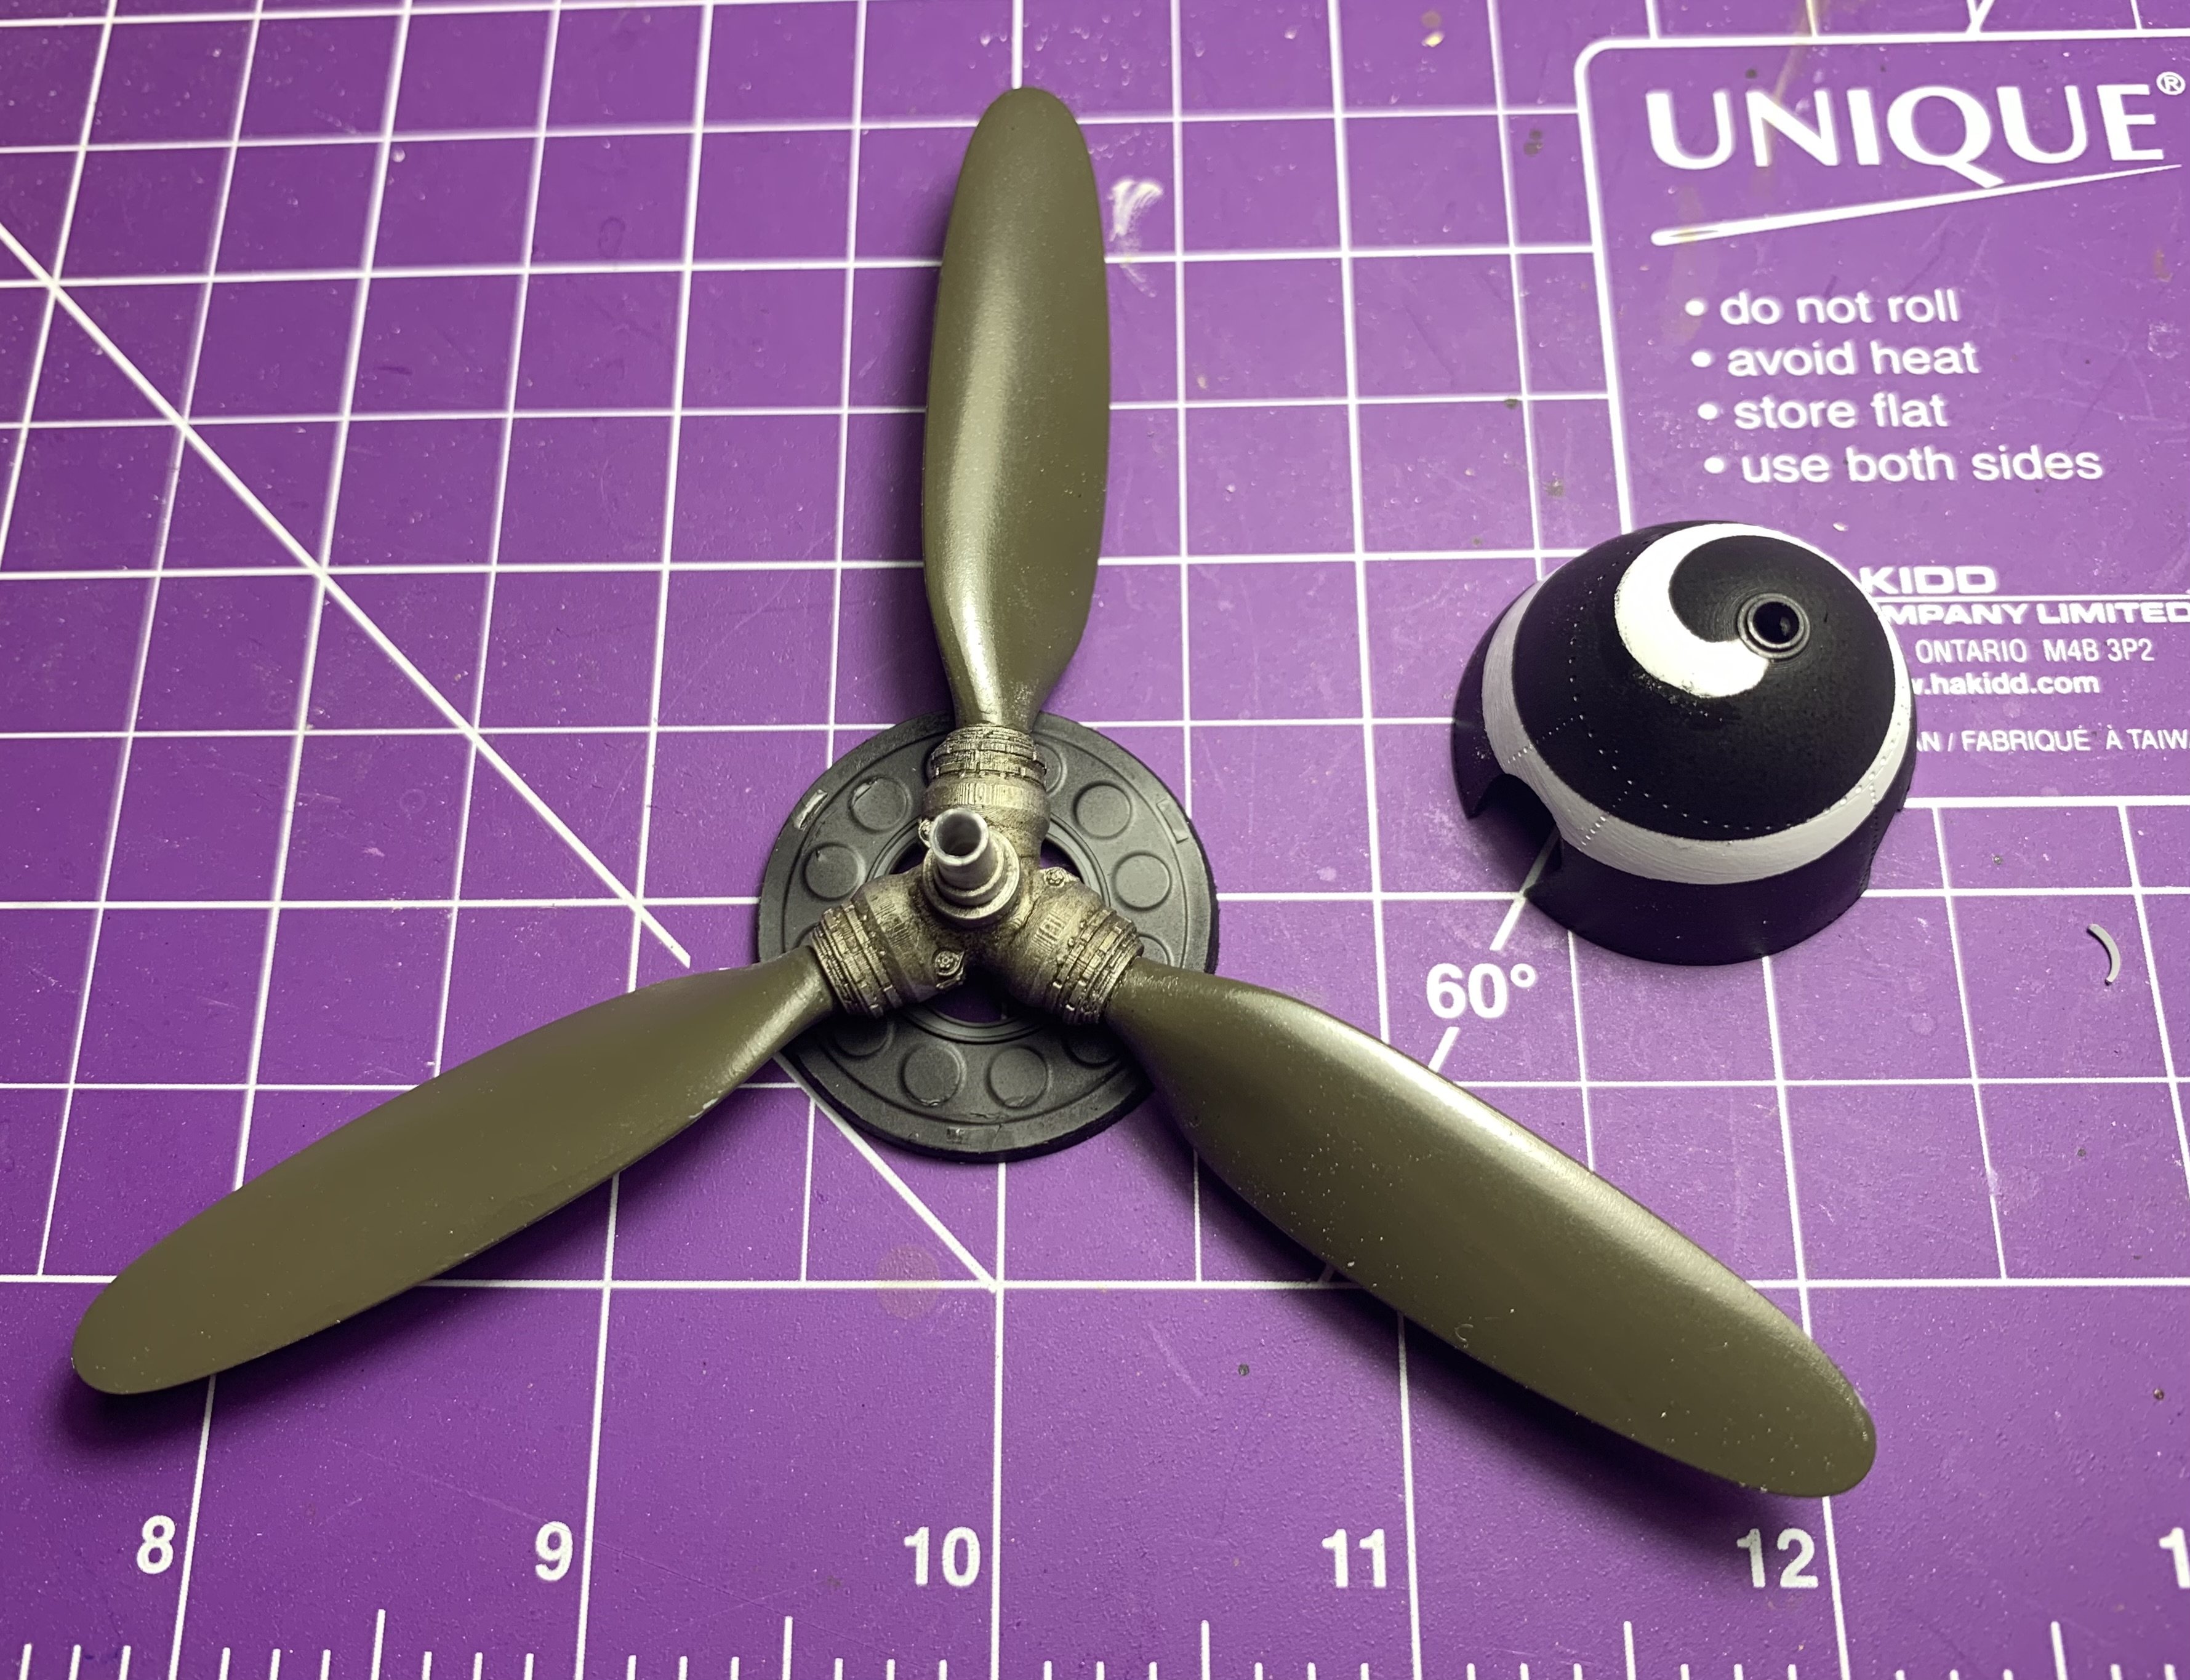
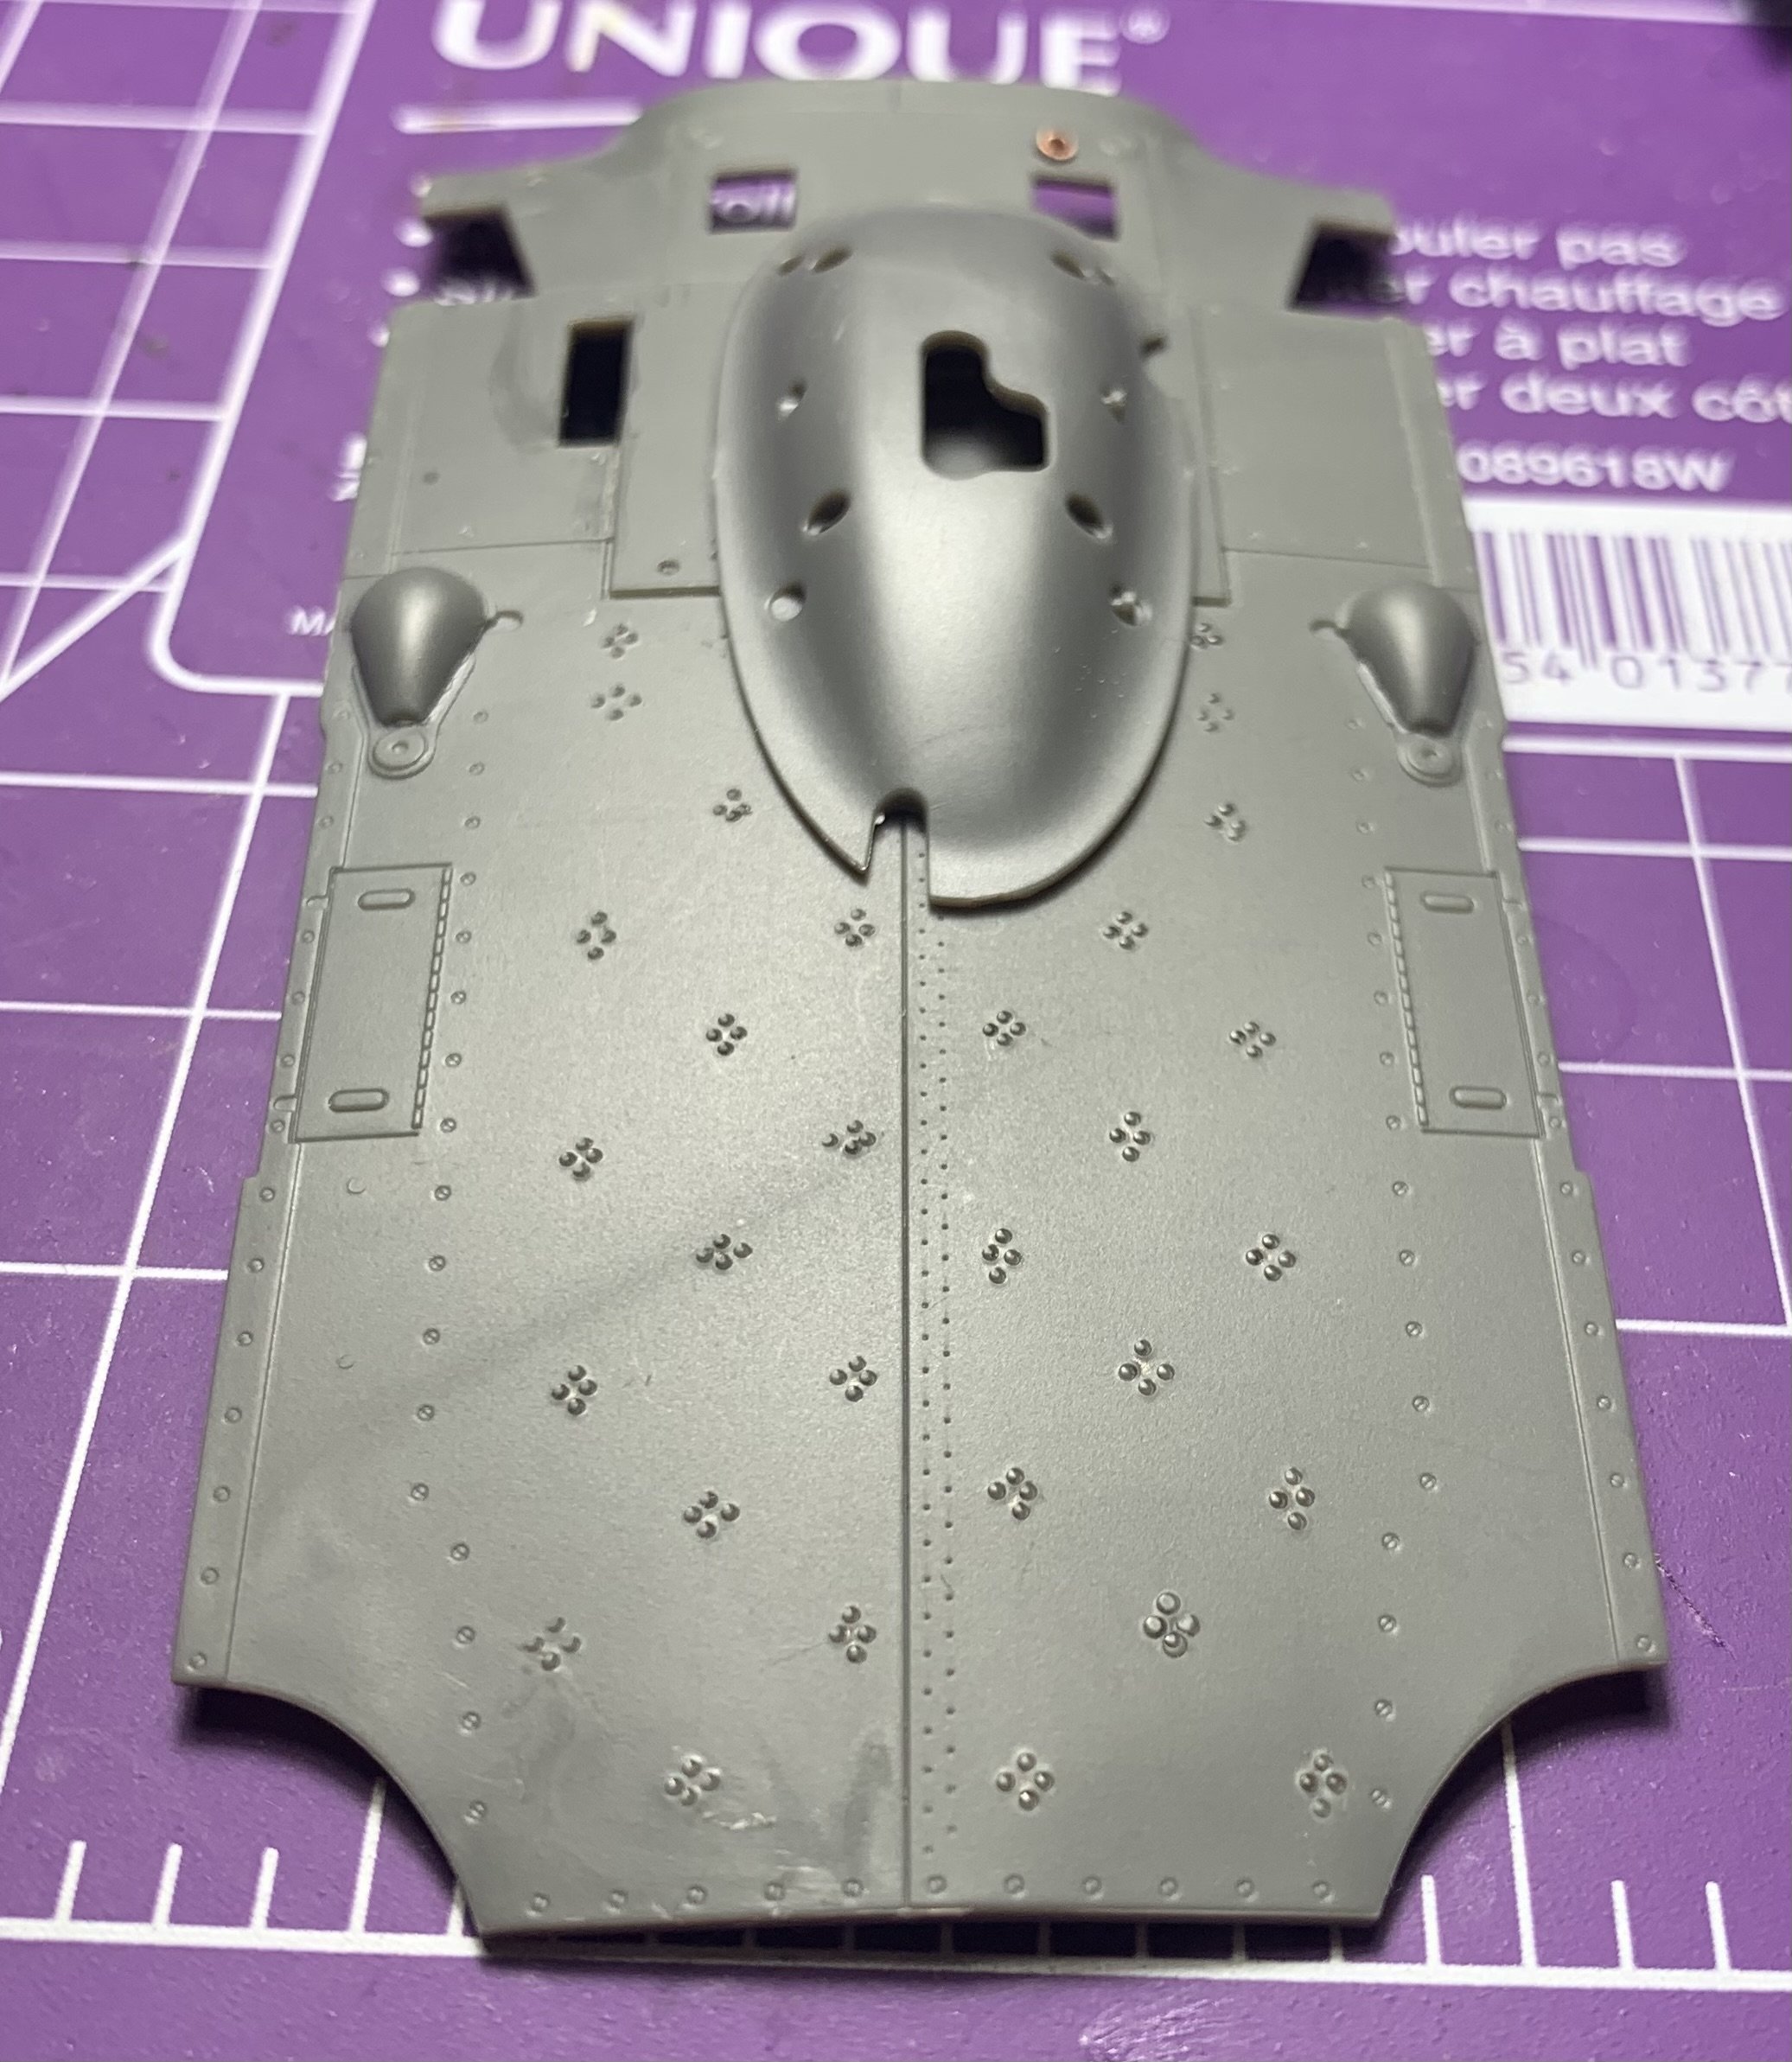
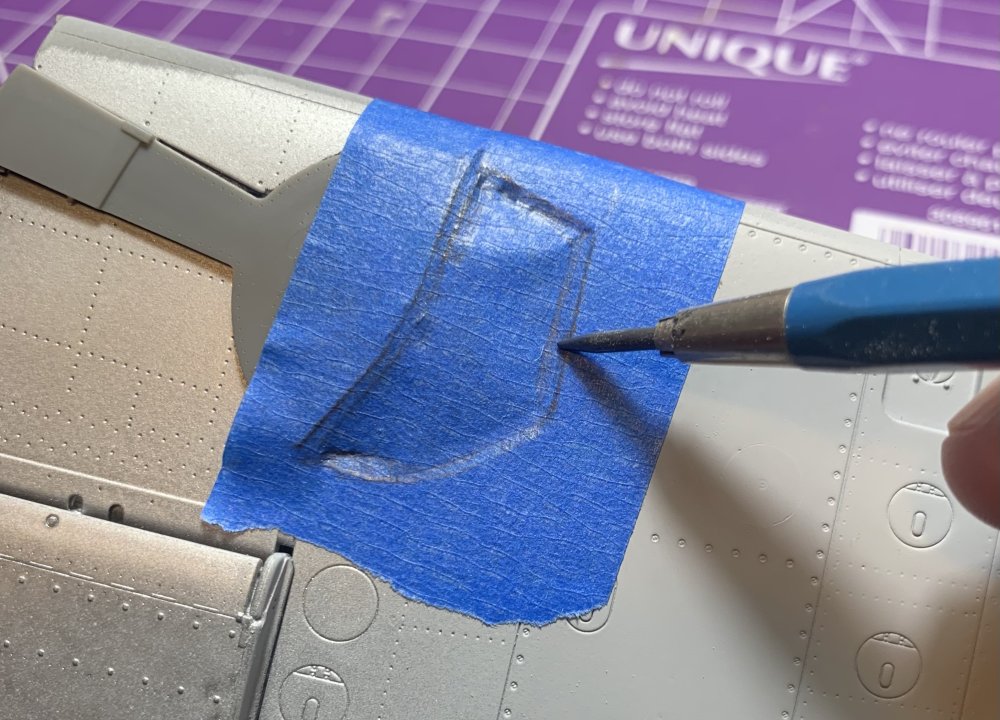
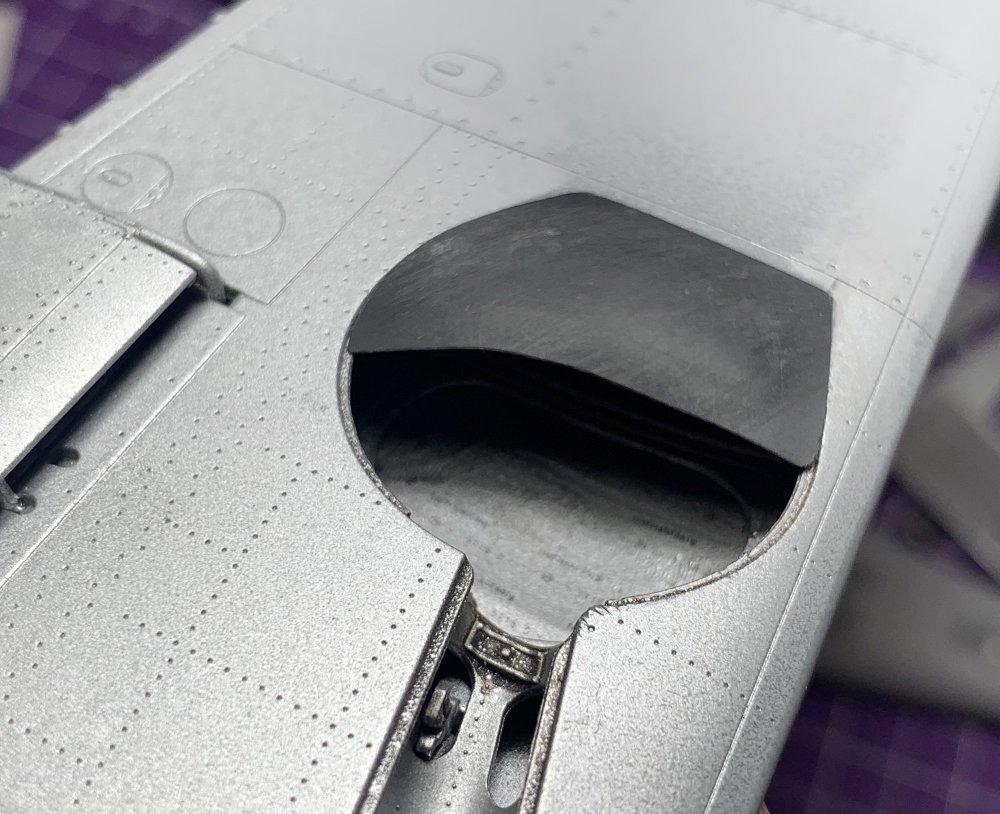
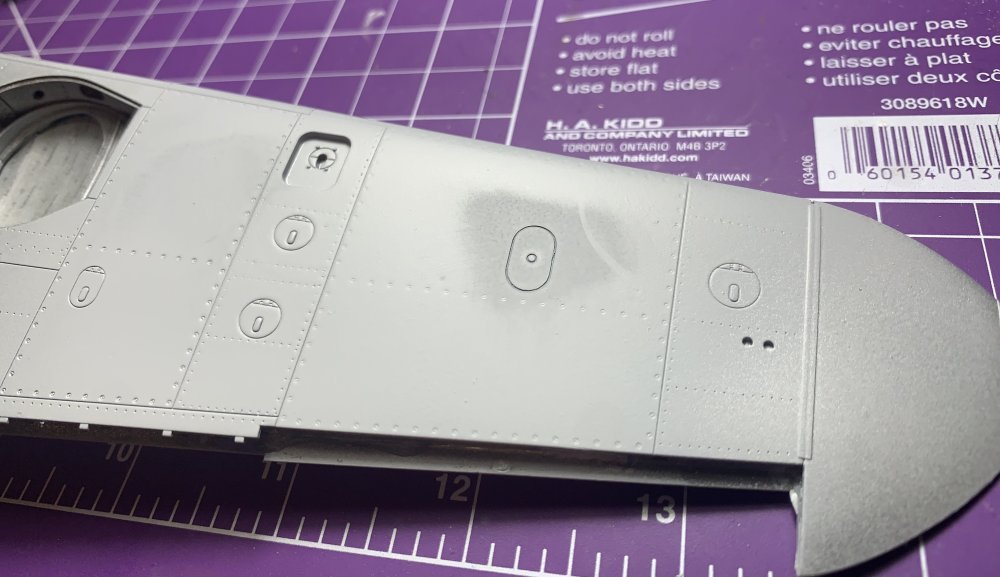
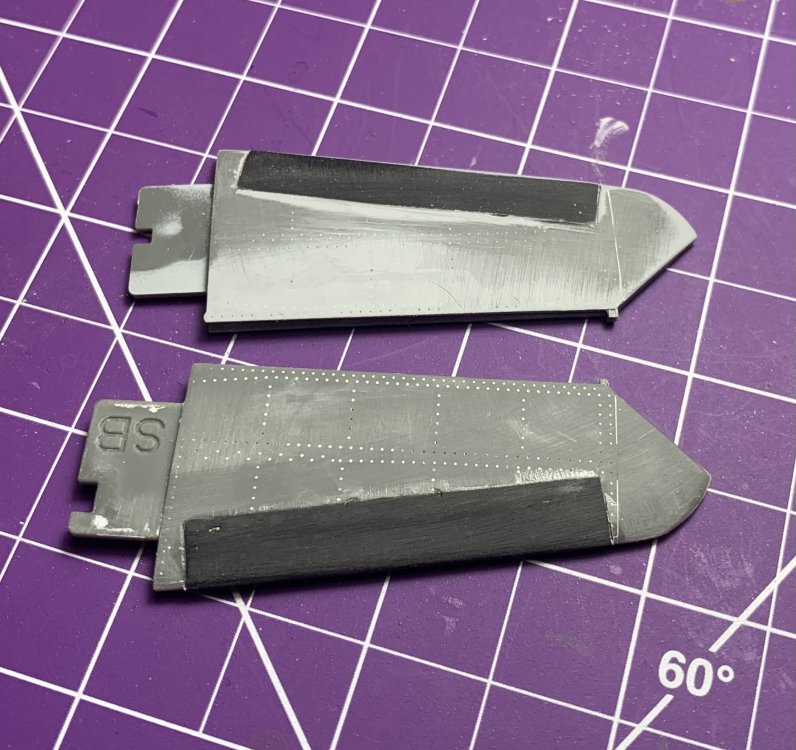
Started working on the supercharger intake, then messed up positions of the holes for the gear indicator:) erased and add some service covers on the bottom of the wing Propeller blades are from Trump’s kit, hub and spinner is Model monkey and the base plate is Again Airfix mid section got some riveting , a detail that is always omitted, but it signifies the reinforced double cover panel, just saying and lastly the horizontal stabilizers will pretend that they're made of wood. that’s all for tonight. Tunes


-
ICM 1:48 Do 217K-2 with Gliding Bombs Fritz-X
Martinnfb replied to JayDee's topic in Aircraft Reviews
Sweet! Can't wait. I'll be watching closely. -
This is going to be EPIC!!!

-
1/32 Italeri F-104 C
Martinnfb replied to CrankyCrafstman's topic in LSM 1/35 and Larger Work In Progress
Ron, glad to see you back. Will follow your progress with interest. Cheers Martin