ScottsGT
-
Posts
2,767 -
Joined
-
Last visited
Content Type
Profiles
Forums
Events
Gallery
Everything posted by ScottsGT
-
So how did one $2.99 bottle turn into a $62 order before shipping? 🤪
-
Doing my typical evening modeling site surfing, I ran across a post on Hyperscale I just had to pass on where someone was looking for certain masks. Clicked on the link and found out he offers the 1/32 F-35 splinter masks and it looks like decals printed off an Alps printer as well. I’ve sent an email asking a couple questions, but I’m in! If you’re looking for unusual painting masks, check it out. Advance Modeling Products From one of the posts on Hyperscale; “Highly recommend AdvModPrds, as Jim Sorenson knows his paint schemes! He's the former F-16 Paint Shop Supervisor at Hill AFB, UT and is now retired.” His product line is mostly jets, but there’s a few prop jobs in there too.
-
- 2
-

-
I can’t wait to see what else they bring to market as well.
-
More temptations for me. Stop it!
-
Figure out that cowl, engine and fiddly bits details yet?
-
Still waiting on Quinta to do sets for these. I sent them an email and they said they were planning on it.
-
Looks good to my eye. Not over done, baked just right. Not every tank the US ever had was a well weathered battle scarred heap in need of a good pressure washer. But agreed, throw some kind of markings on there. A star, something.
-
I think John should order one for each of his carrier based Corsairs. 😇 I’ll keep these in mind for future builds.
-
John, once again you knocked it out of the park. Rigging looks great too. What do you use?
-
What is on your bench right now ? Share a picture :)
ScottsGT replied to Martinnfb's topic in Modelling Discussion
Well, that was easy. Hope it doesn’t sit another 8 years before I finish it up.
-
What is on your bench right now ? Share a picture :)
ScottsGT replied to Martinnfb's topic in Modelling Discussion
While waiting on Carl’s wing to arrive from the great white north, I grabbed the old project off the SOD. Putting down paint now and finding more sanding scratches I need to remove. 😡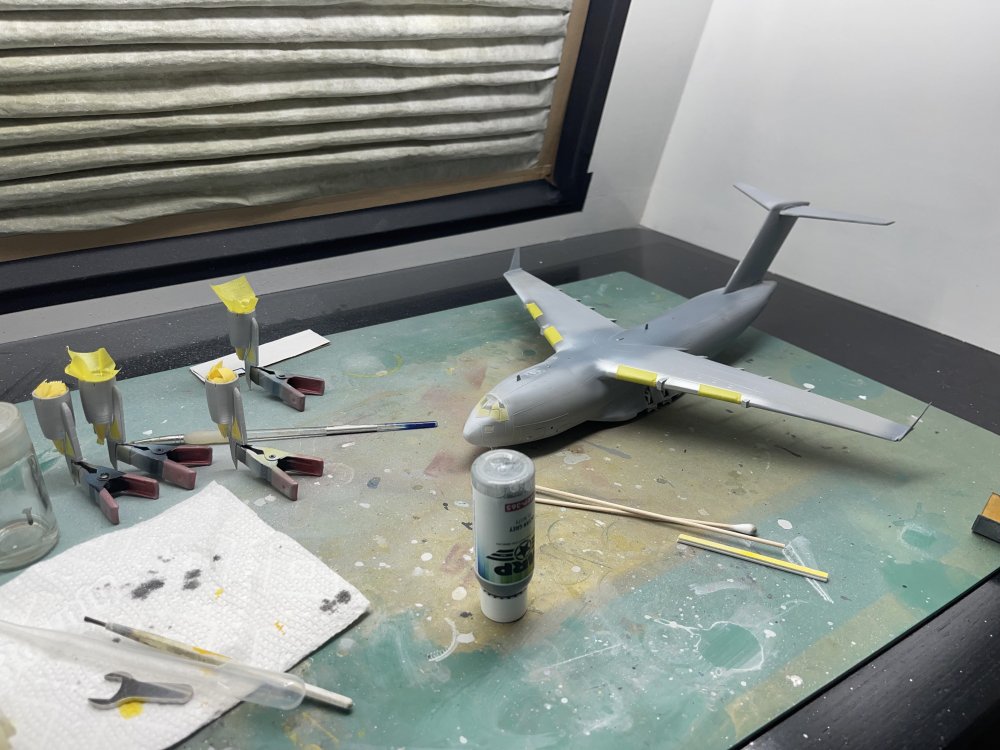
-
I could barely make out the silvering. But now that you pointed it out…. Im thinking a Dewalt 4.5” grinder with a flap disc would do the trick.
-
Unless a judge was fluent in Japanese, I bet no one caught it. I sure as hell wouldn’t. But there you have it. Time to strip it back down to bare plastic and start over.
-
Question Peter. When you talk about flaws, are you referring to a modelers skills like painting outside the lines, part glued on crooked or sand scratches in the surface? Or historical data incorrect or possible decal should have been .5mm further to the left in judges opinion? I’ve never been in a contest other than a local Hobby Town USA grand opening event that was not IMPS sponsored.
-
Man, those are some great builds. I bet that first one still had the paint drying. Thanks for the pics.
-
Oh man, happy birthday Carl! Didn’t mean to put you to work on your birthday.
-
What is on your bench right now ? Share a picture :)
ScottsGT replied to Martinnfb's topic in Modelling Discussion
Are you saying you assaulted George? 😱 -
Aww come on. That just makes too much sense! 🤪 Guess I should have thought about the obvious.
-
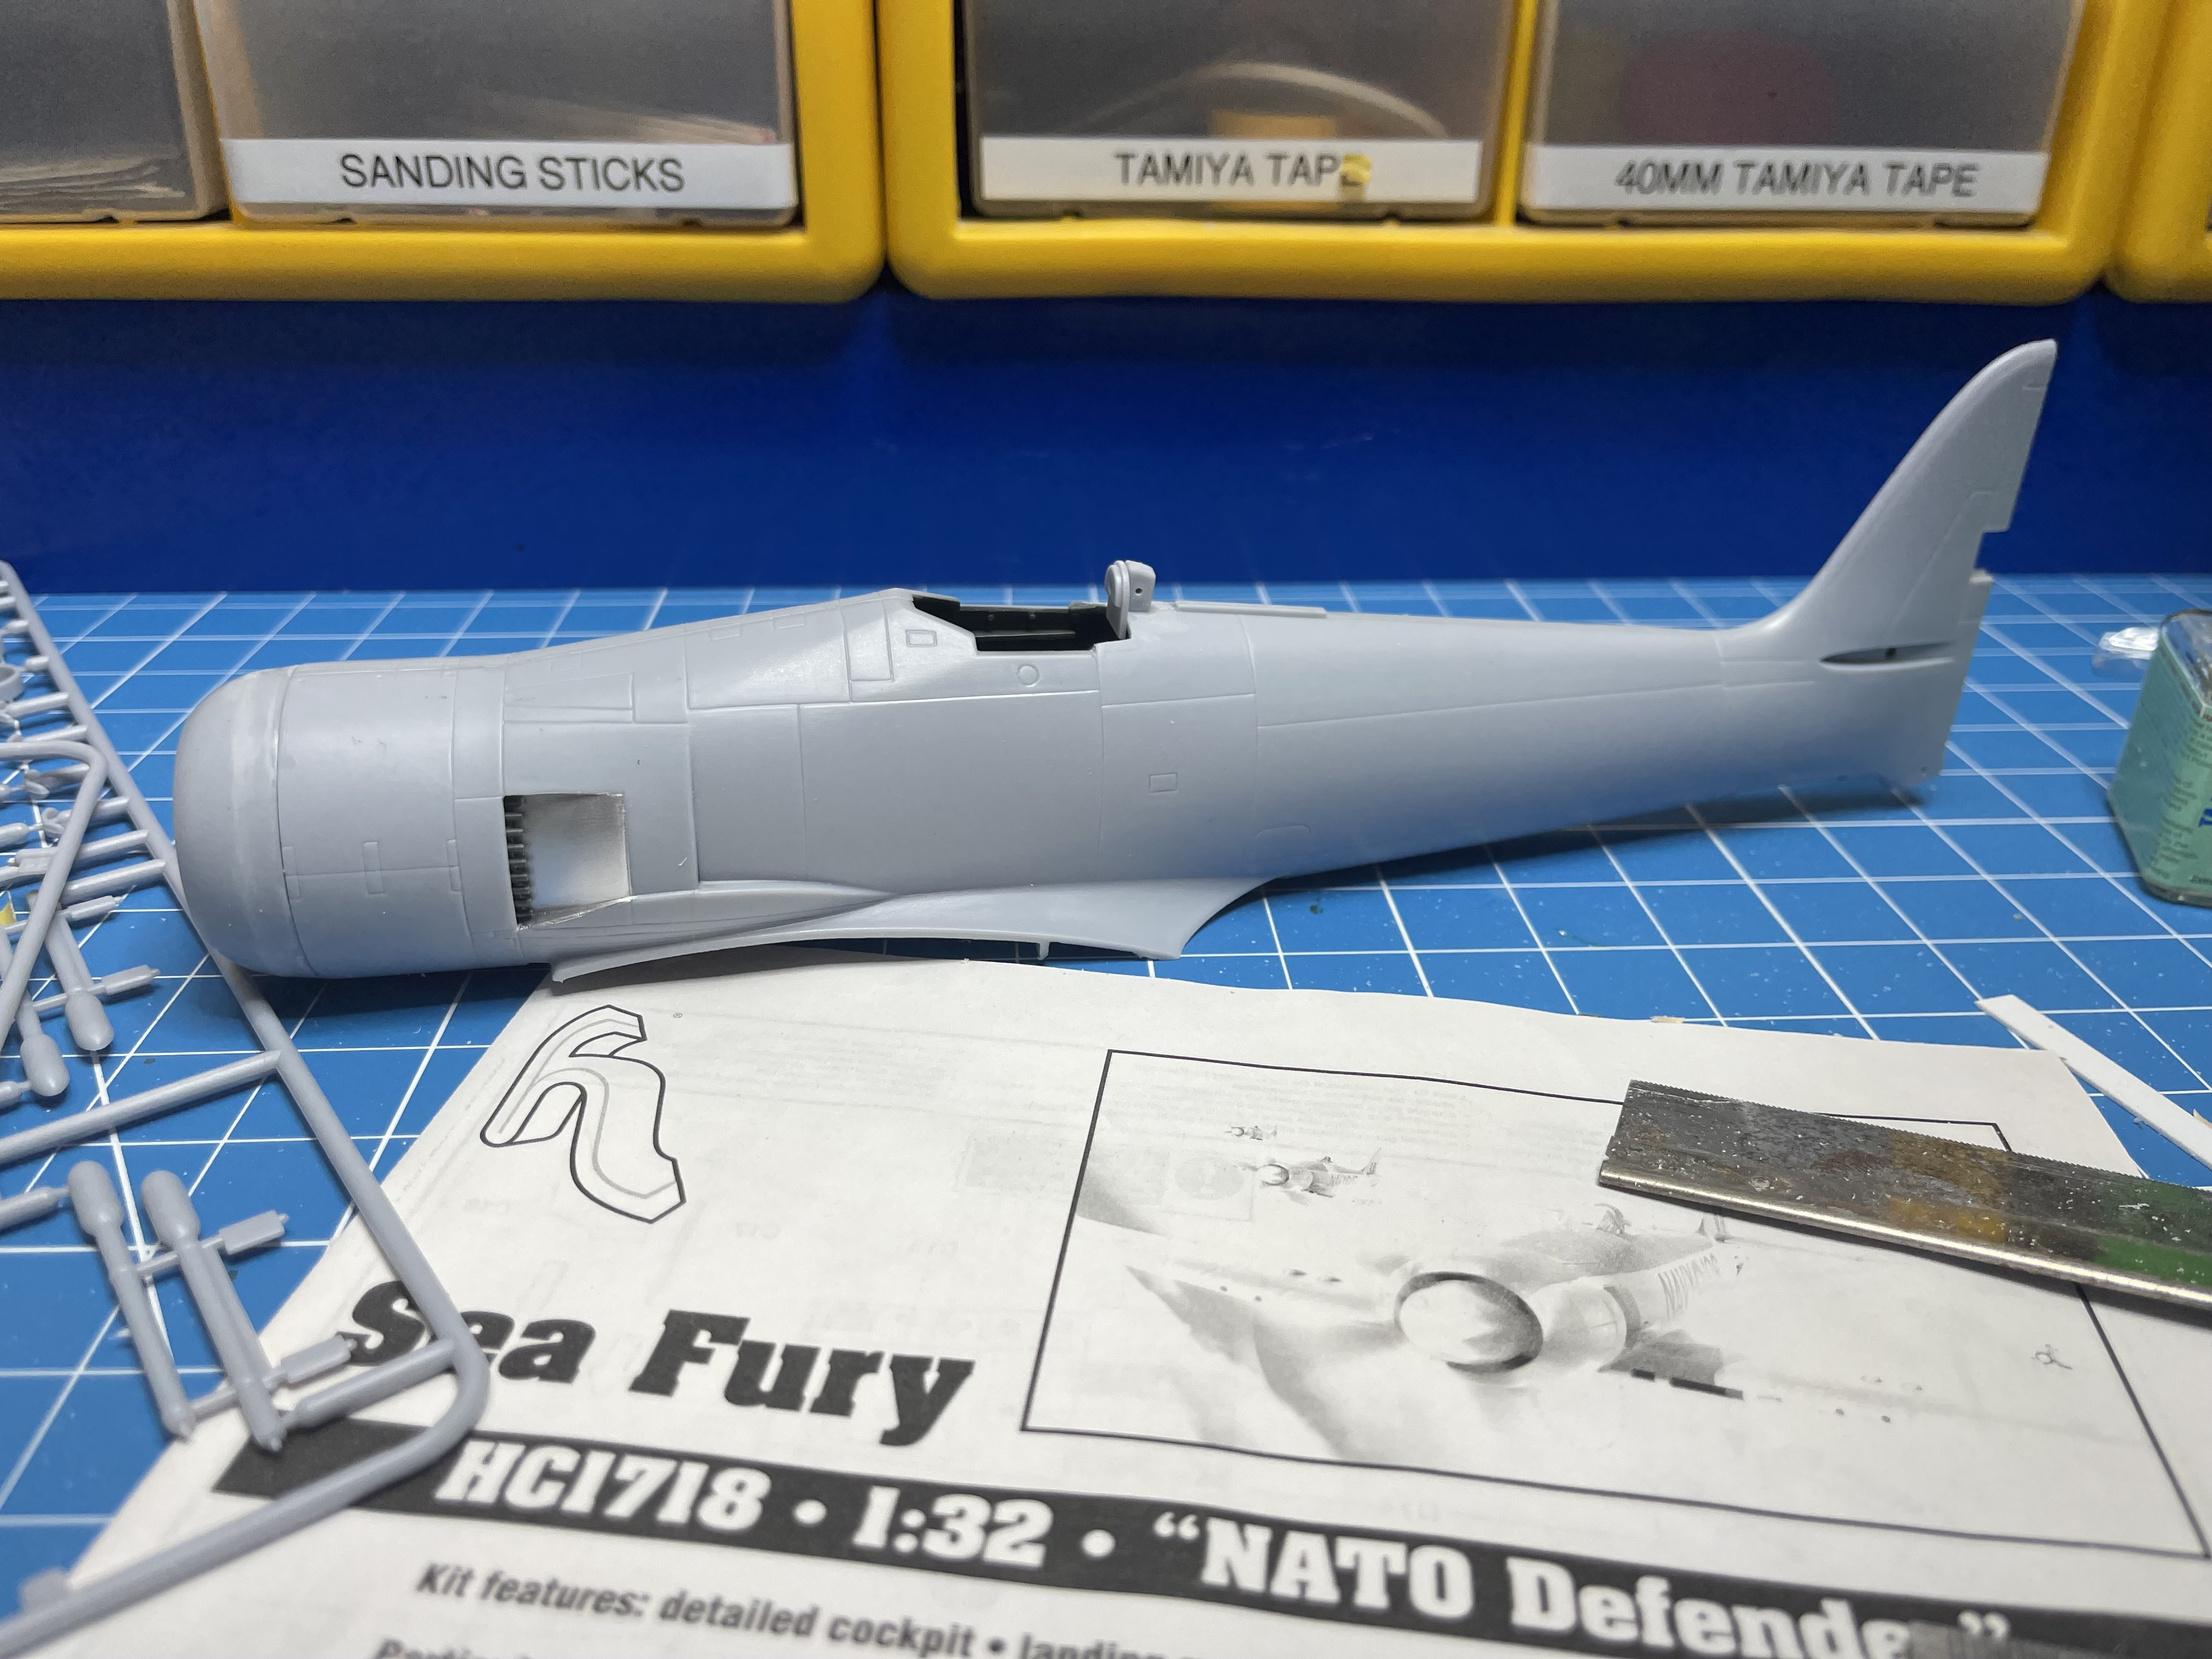
Honestly, I do not know that much history behind this aircraft. I always assumed it was a WWII plane I just never heard much about. Now that I’m building a Sea Fury I started reading into the history of it. Okay, it’s post WWII, development started during the war. I also discovered the Brits painted the D Day invasion stripes on the during the Korean War. But I could not find why. Anyone know? To honor those that fought on D Day?
-
I’ve often thought the front 30’ of a B-36 fuselage would make a cool guest house looking out over the lake. I have a gut feeling that wouldn’t sit well with the wife.
-
What is on your bench right now ? Share a picture :)
ScottsGT replied to Martinnfb's topic in Modelling Discussion
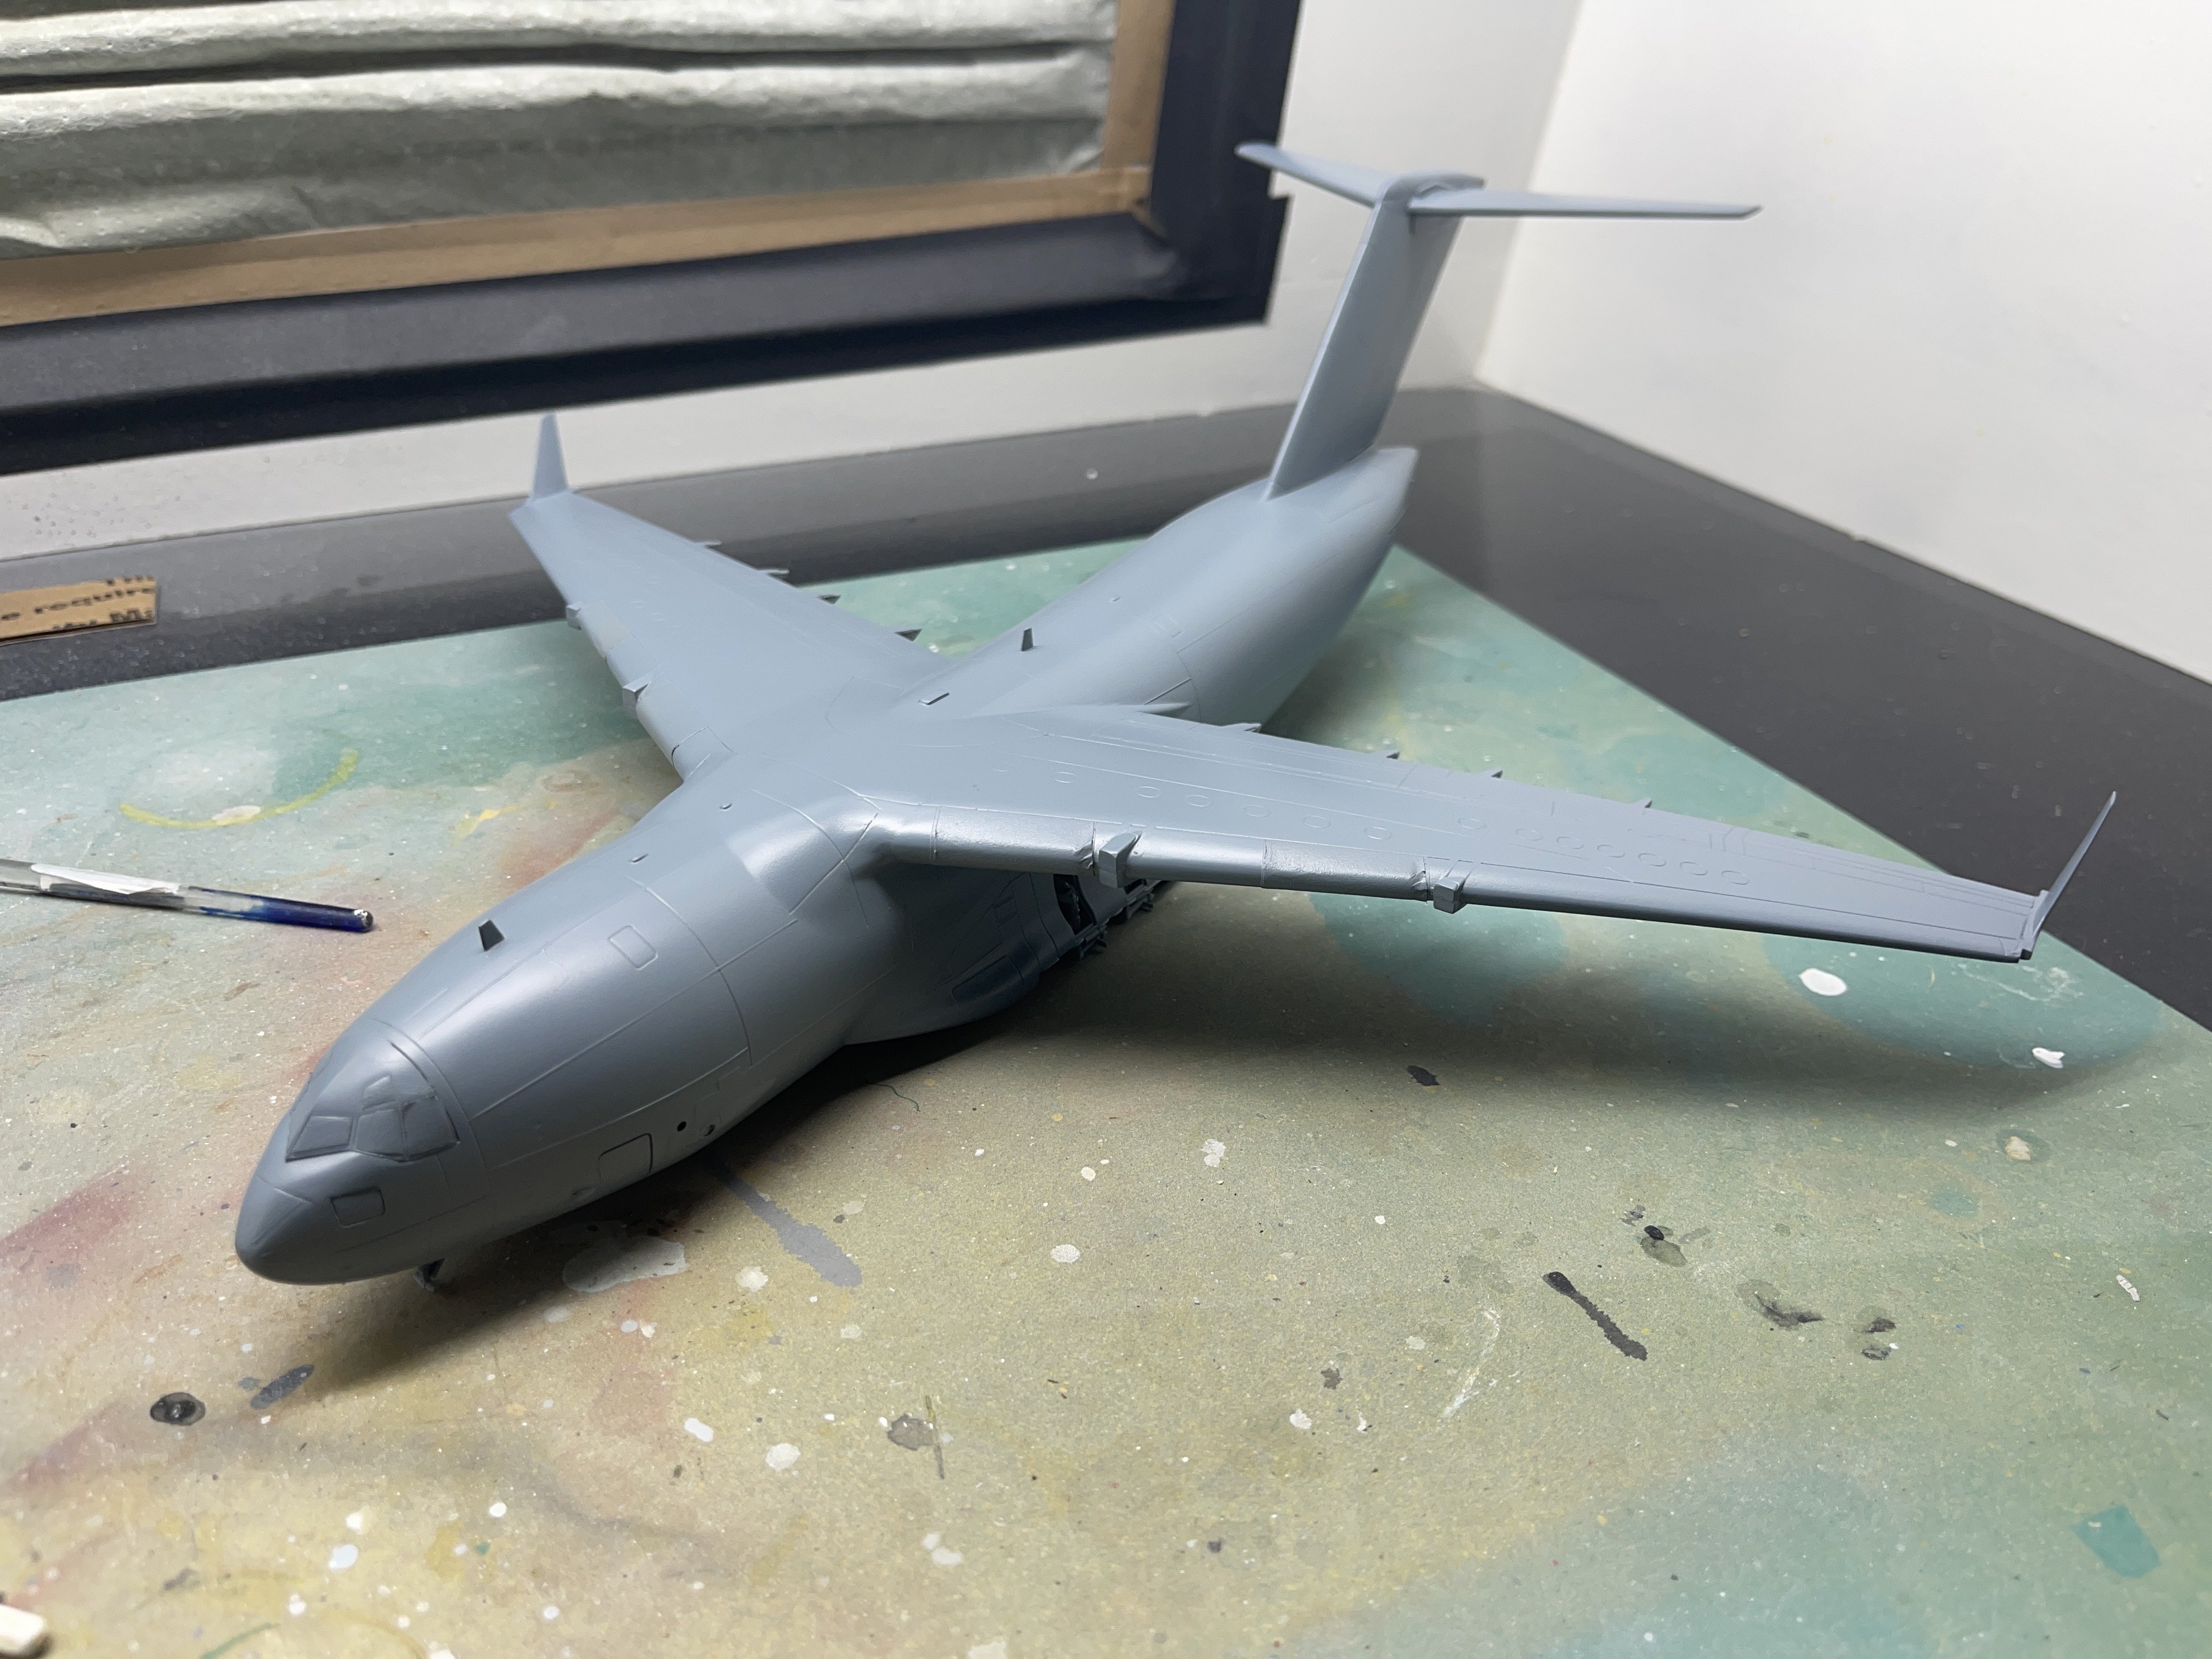
Wrapped up the Tomcat Tuesday. Pulled this one out of the stash yesterday. Did a lot of reading about kit short comings and made a couple mods already. Carl has offered up a Fisher folded wing and I gratefully accepted! That alone will be a big correction to the build.
-
So sad to see this come one day for myself. I’m not a member, so I cannot see what he’s selling, but giving up a passion (in my opinion) is putting one foot in the grave.
- 1 reply
-
- 2
-
-
Yea, I get it! I was a paint and bodyman in my first career. I gave up the collision repair painting because I didn’t have the eye for paint matching. Stuck with the bodywork until a new career came along.
-
Rog, A few drops of black mixed in that yellow/green will match later interior green that’s more common. 8 drops of white and 1 drop of the yellow/green give you a pretty good slime light green for jets.
-
What is on your bench right now ? Share a picture :)
ScottsGT replied to Martinnfb's topic in Modelling Discussion
Excellent weathering job on that keyboard too! Both look outstanding! (But I’d be tempted to strip down that keyboard and start over 😁)