CrankyCrafstman
-
Posts
1,358 -
Joined
-
Last visited
Content Type
Profiles
Forums
Events
Gallery
Everything posted by CrankyCrafstman
-
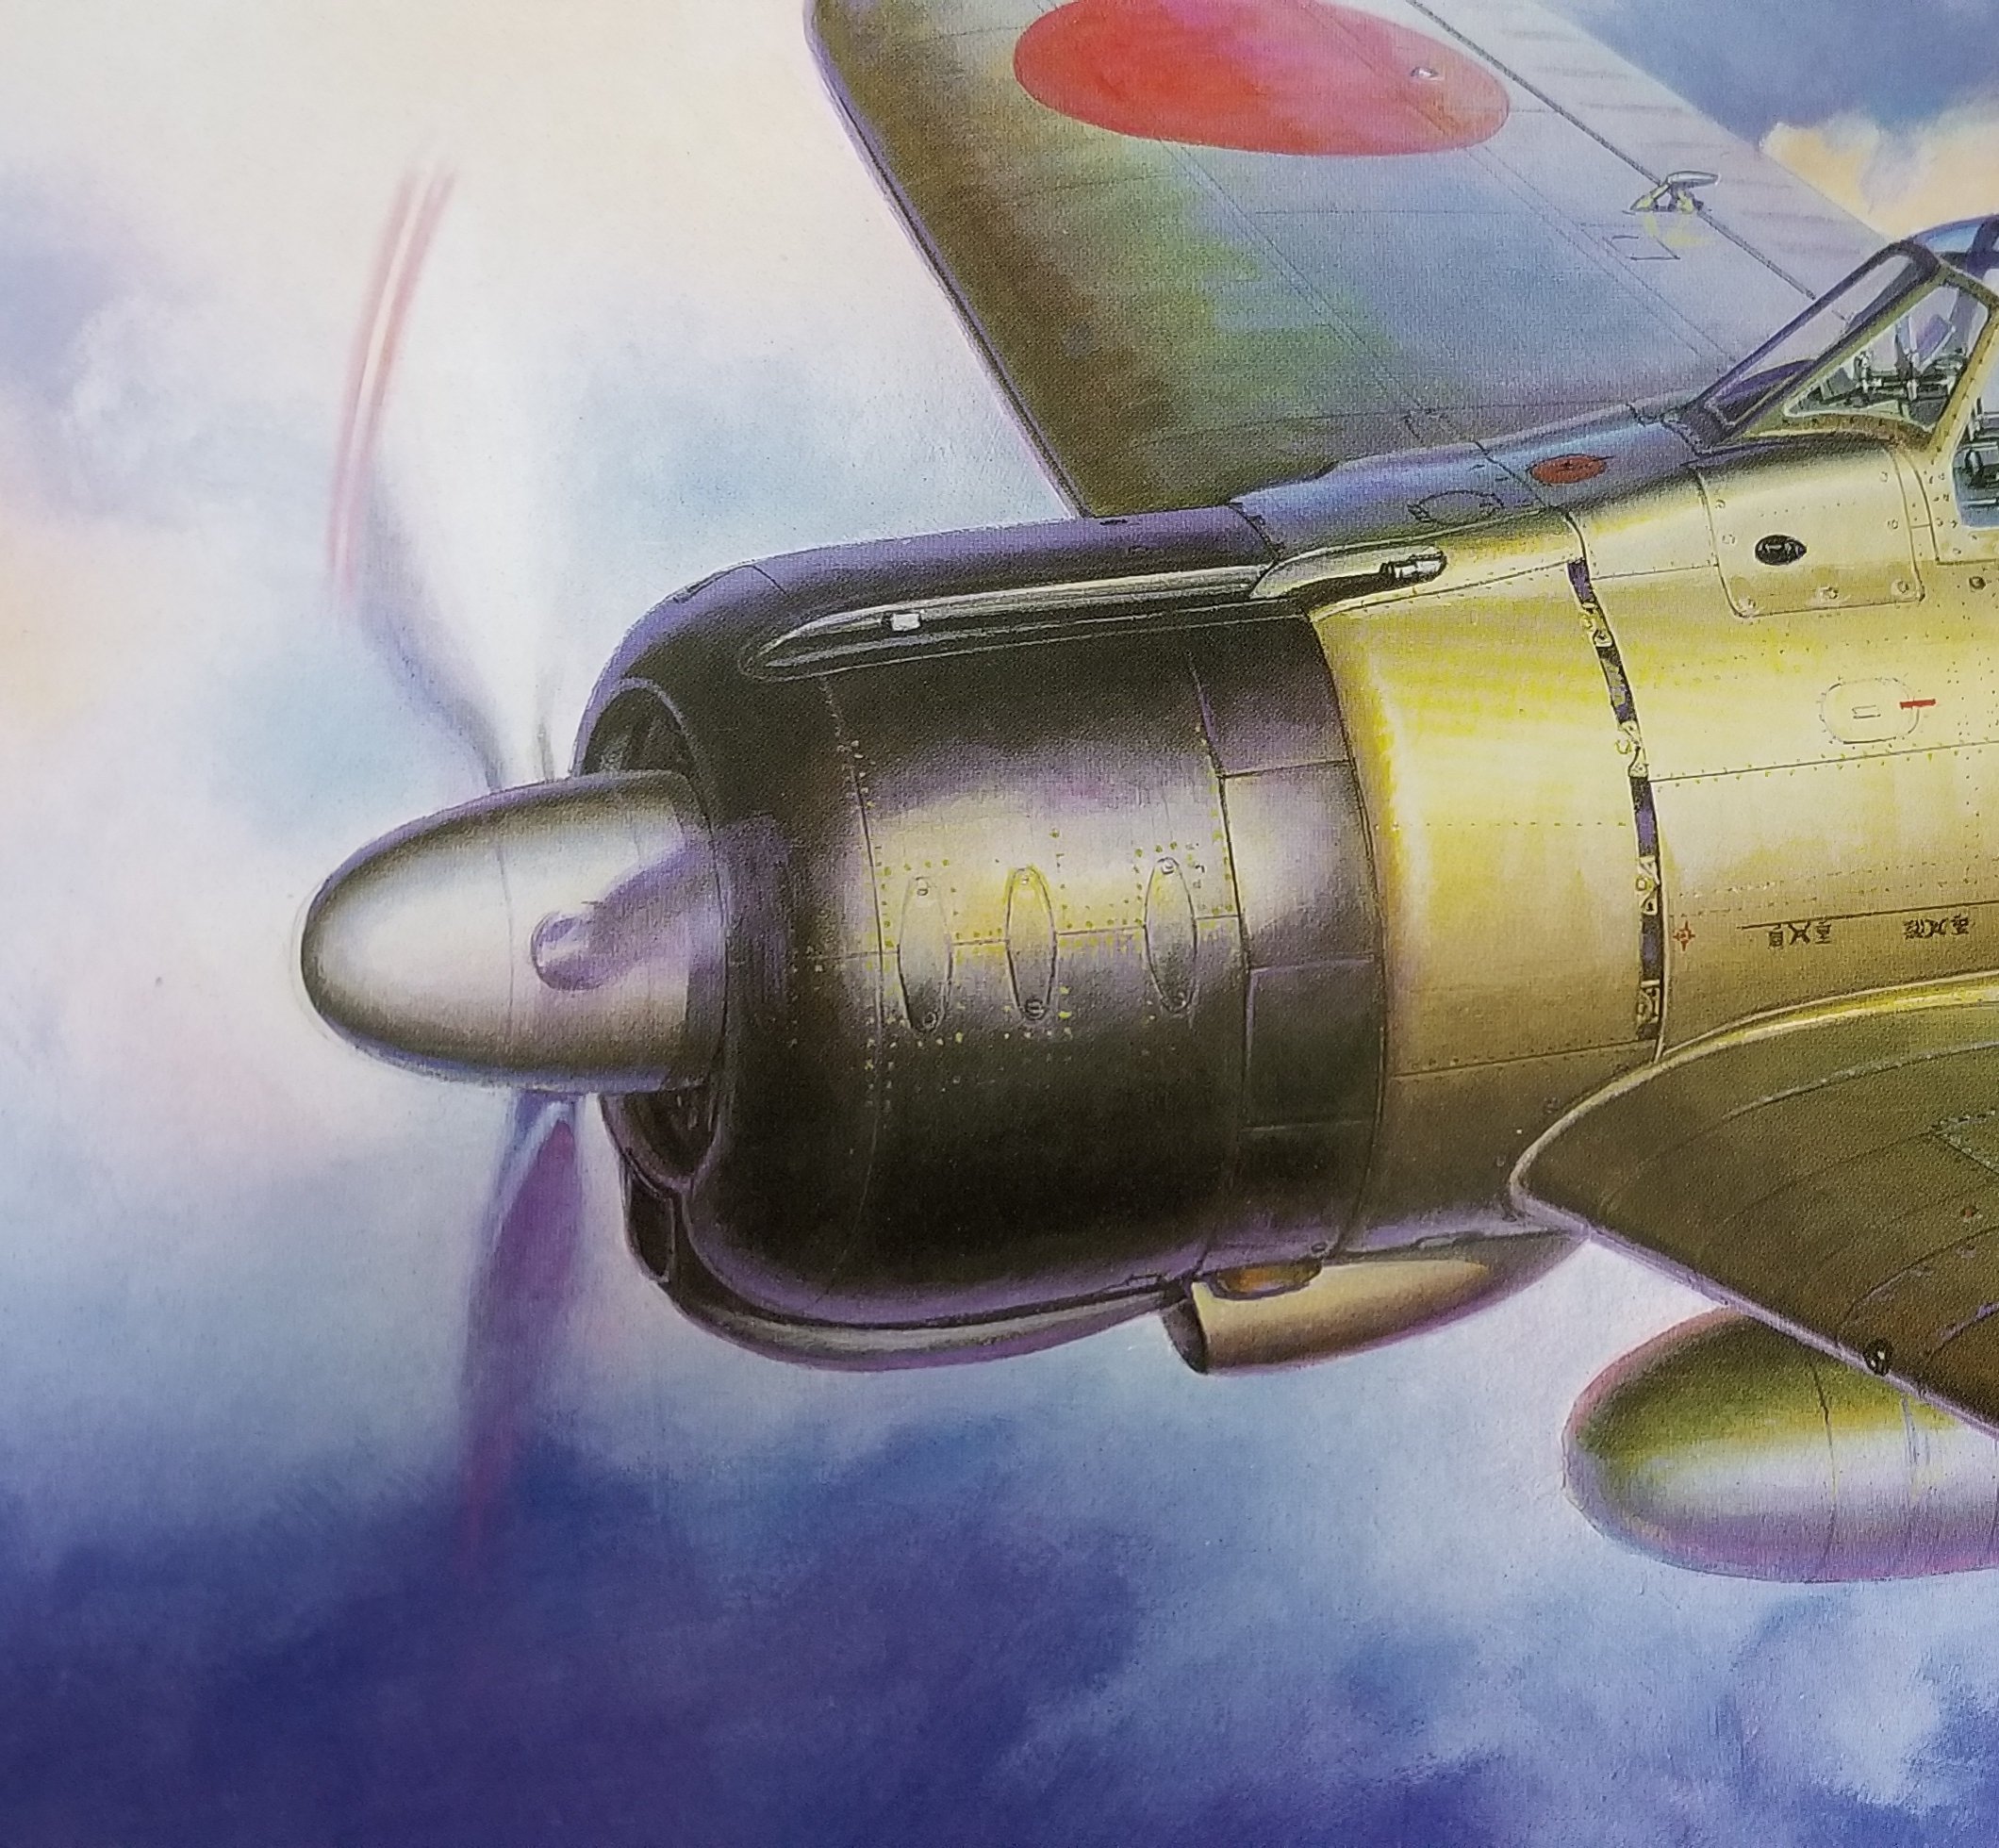
Nice...but the prop needs to be spinning or it just doesn't look right
-

PBJ-1 "devil dog " straffer
CrankyCrafstman replied to CrankyCrafstman's topic in LSM 1/35 and Larger Work In Progress
Thanks Clunky This will be awhile in the making still collecting stuff for the build and I need to finish the Zero. Ron G -
PBJ-1 "devil dog " straffer
CrankyCrafstman replied to CrankyCrafstman's topic in LSM 1/35 and Larger Work In Progress
Thanks Bir I'll check them out. -
HB Models B-24 Hints, Tweaks, Tips
CrankyCrafstman replied to Clunkmeister's topic in Modelling Discussion
Must have took a really hard bounce and the nosed in?? -
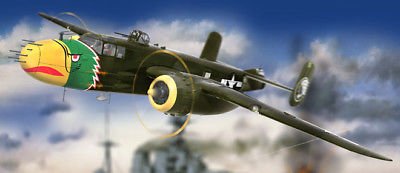
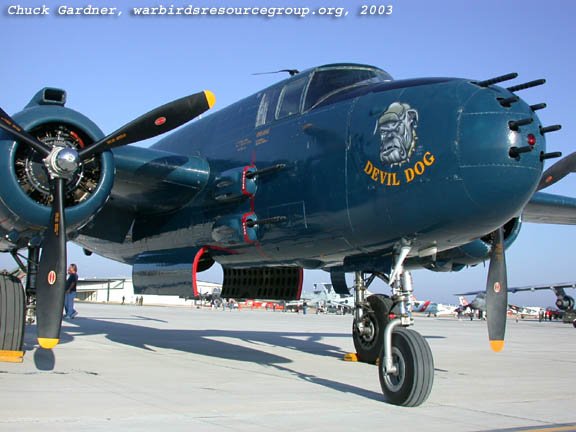
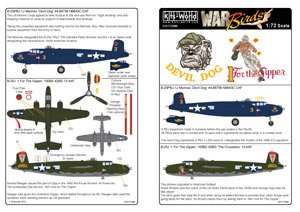
Hey guys This will be my next project after I finish my A6M2b Zero. I kind of started this a couple of years ago but I ended up having to go in to the hospital for a liver transplant so it got shelved. So I'm going to try and finish it. I have the Brazin wheels/tires, Profimodeller brass gun barrels, G-factor landing gear and kits-world devil dog decals. I'm thinking about the Eduard or Yahoo's instrument panel. Any suggestions on other stuff will be greatly appreciated. this is the kit. this is the plane I'm going to do.are the decals. These are the decals. Going to have to get an extra bottle of glossy dark sea blue.
-
HK Models 1/32 Lancaster Hints, Tweaks and Tips,
CrankyCrafstman replied to NigelR32's topic in Modelling Discussion
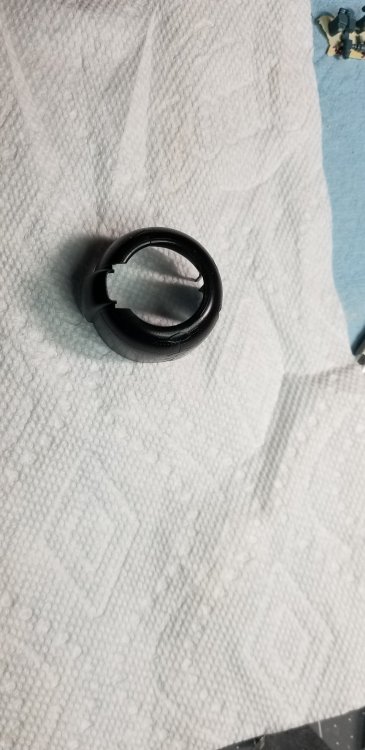
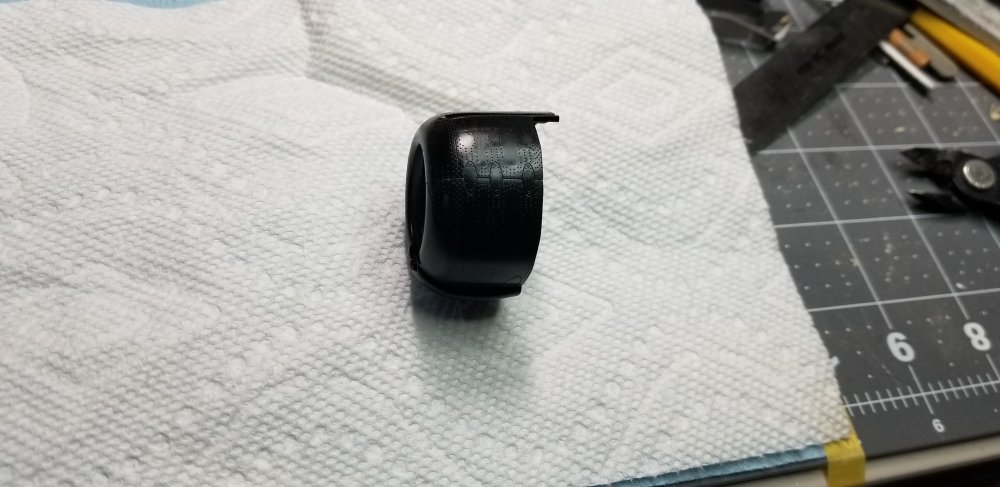
Hey Nige I found your next project seat B-24 seat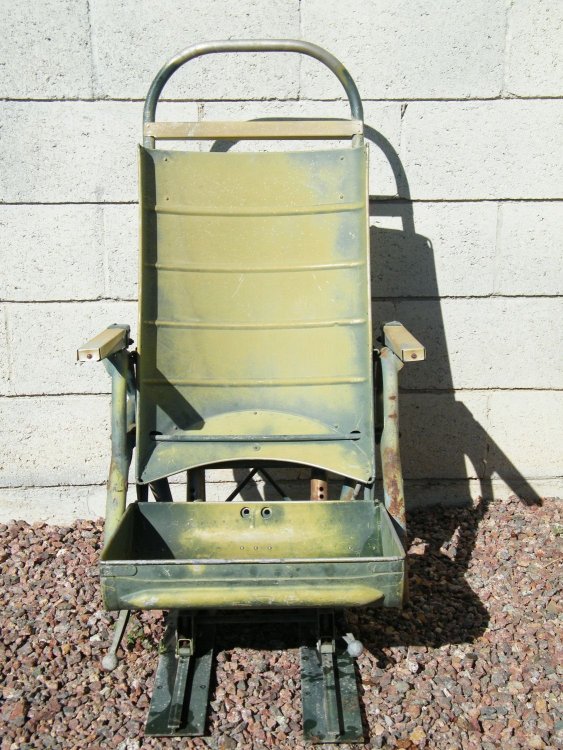
-
HB Models B-24 Hints, Tweaks, Tips
CrankyCrafstman replied to Clunkmeister's topic in Modelling Discussion
I also found a fix for the front turret issue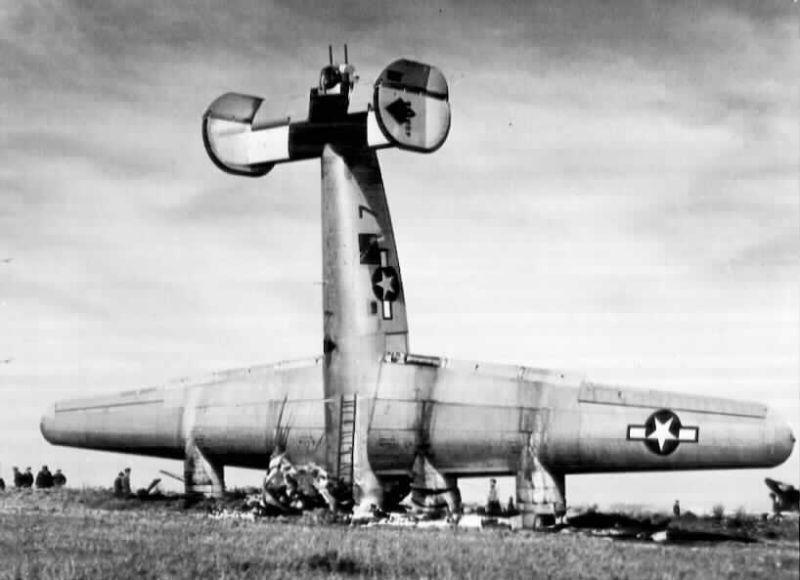
-
HB Models B-24 Hints, Tweaks, Tips
CrankyCrafstman replied to Clunkmeister's topic in Modelling Discussion
Hey guys This would make a great display diorama for the B-24J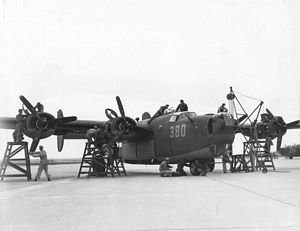
-
1/32 Lancaster build and improvements
CrankyCrafstman replied to NigelR32's topic in LSM 1/35 and Larger Work In Progress
By jove bloke that's some amazing work. -
Thanks Mark, it's really tedious work about 5 hours of painting taking my time. I still have to do the instrument panel decals then final assembly of the pit.
-
I must be crazy, B-24J on the bench.
CrankyCrafstman replied to 1to1scale's topic in LSM 1/35 and Larger Work In Progress
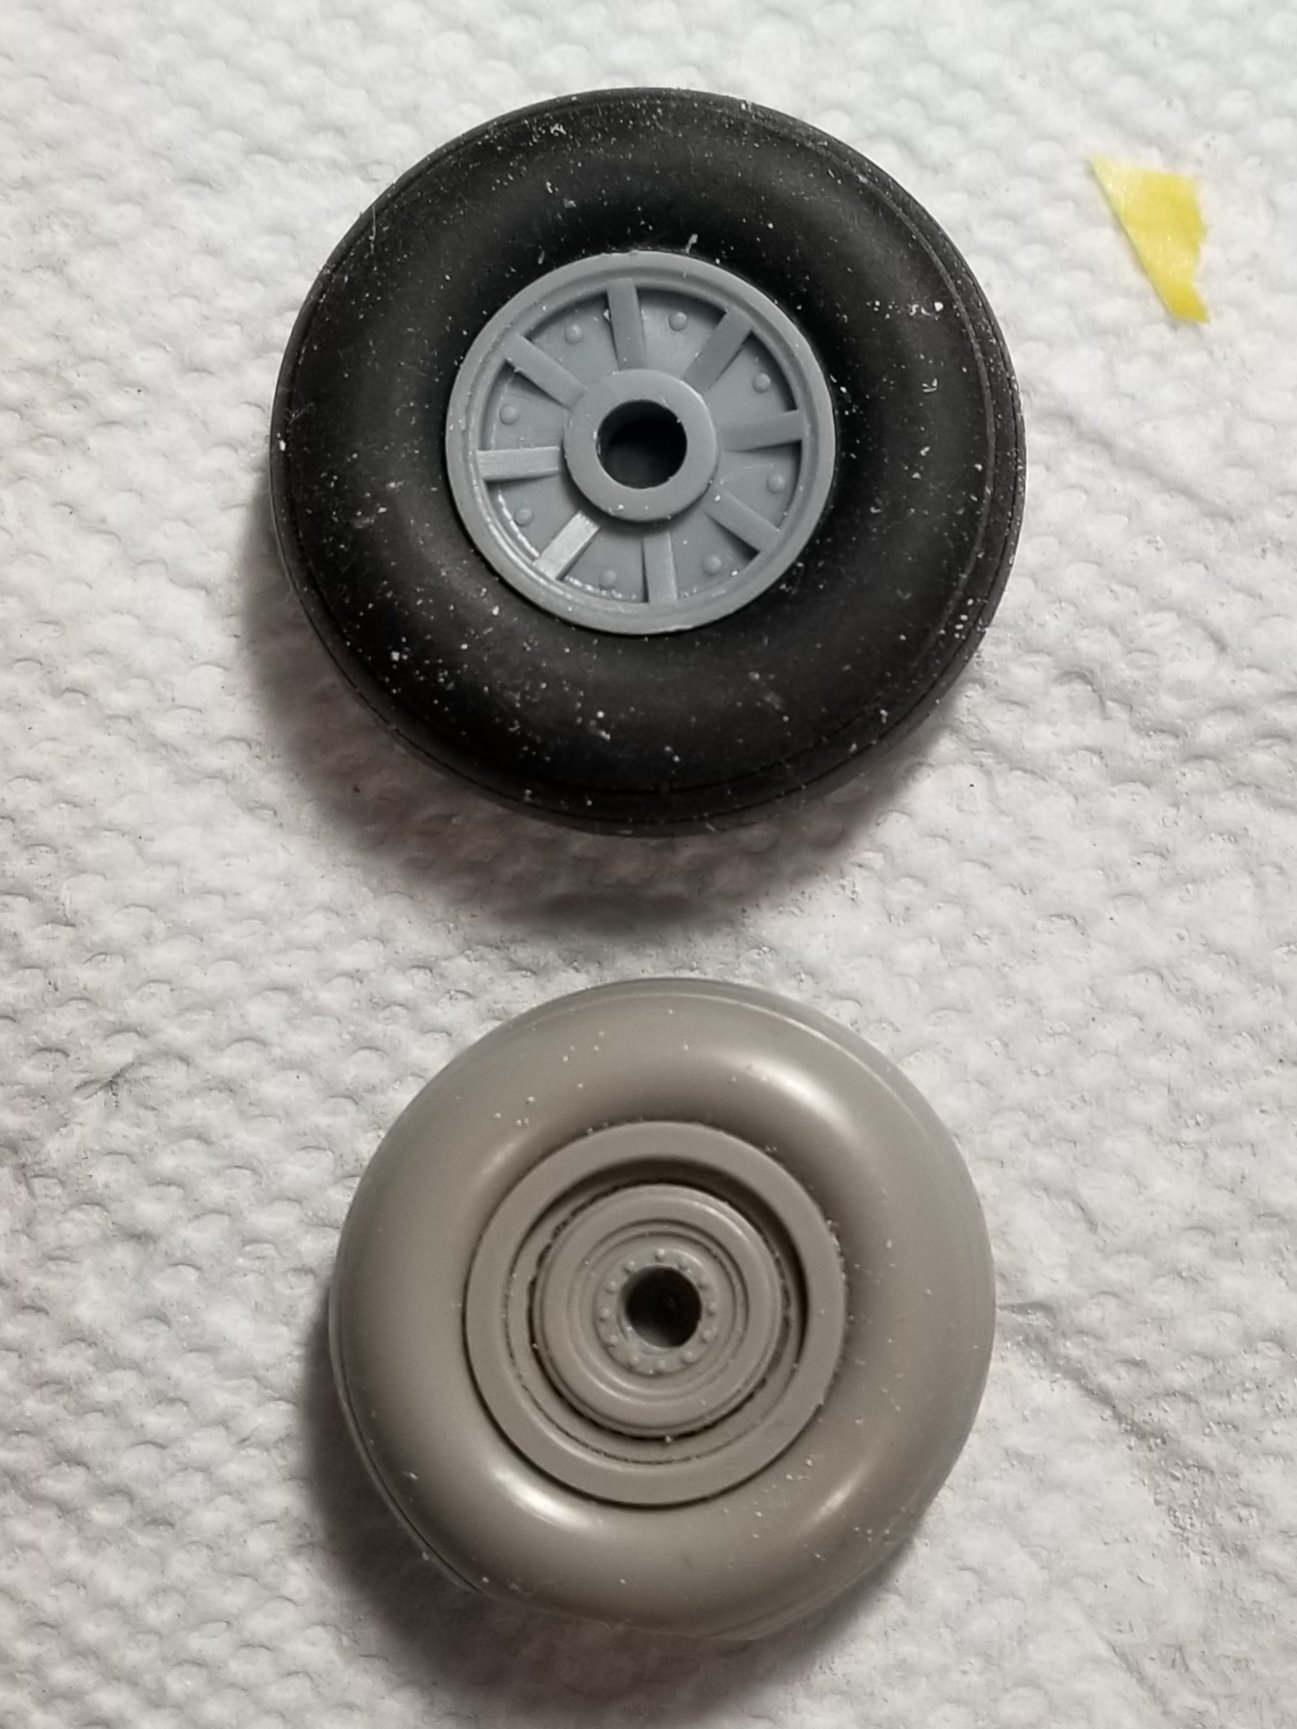
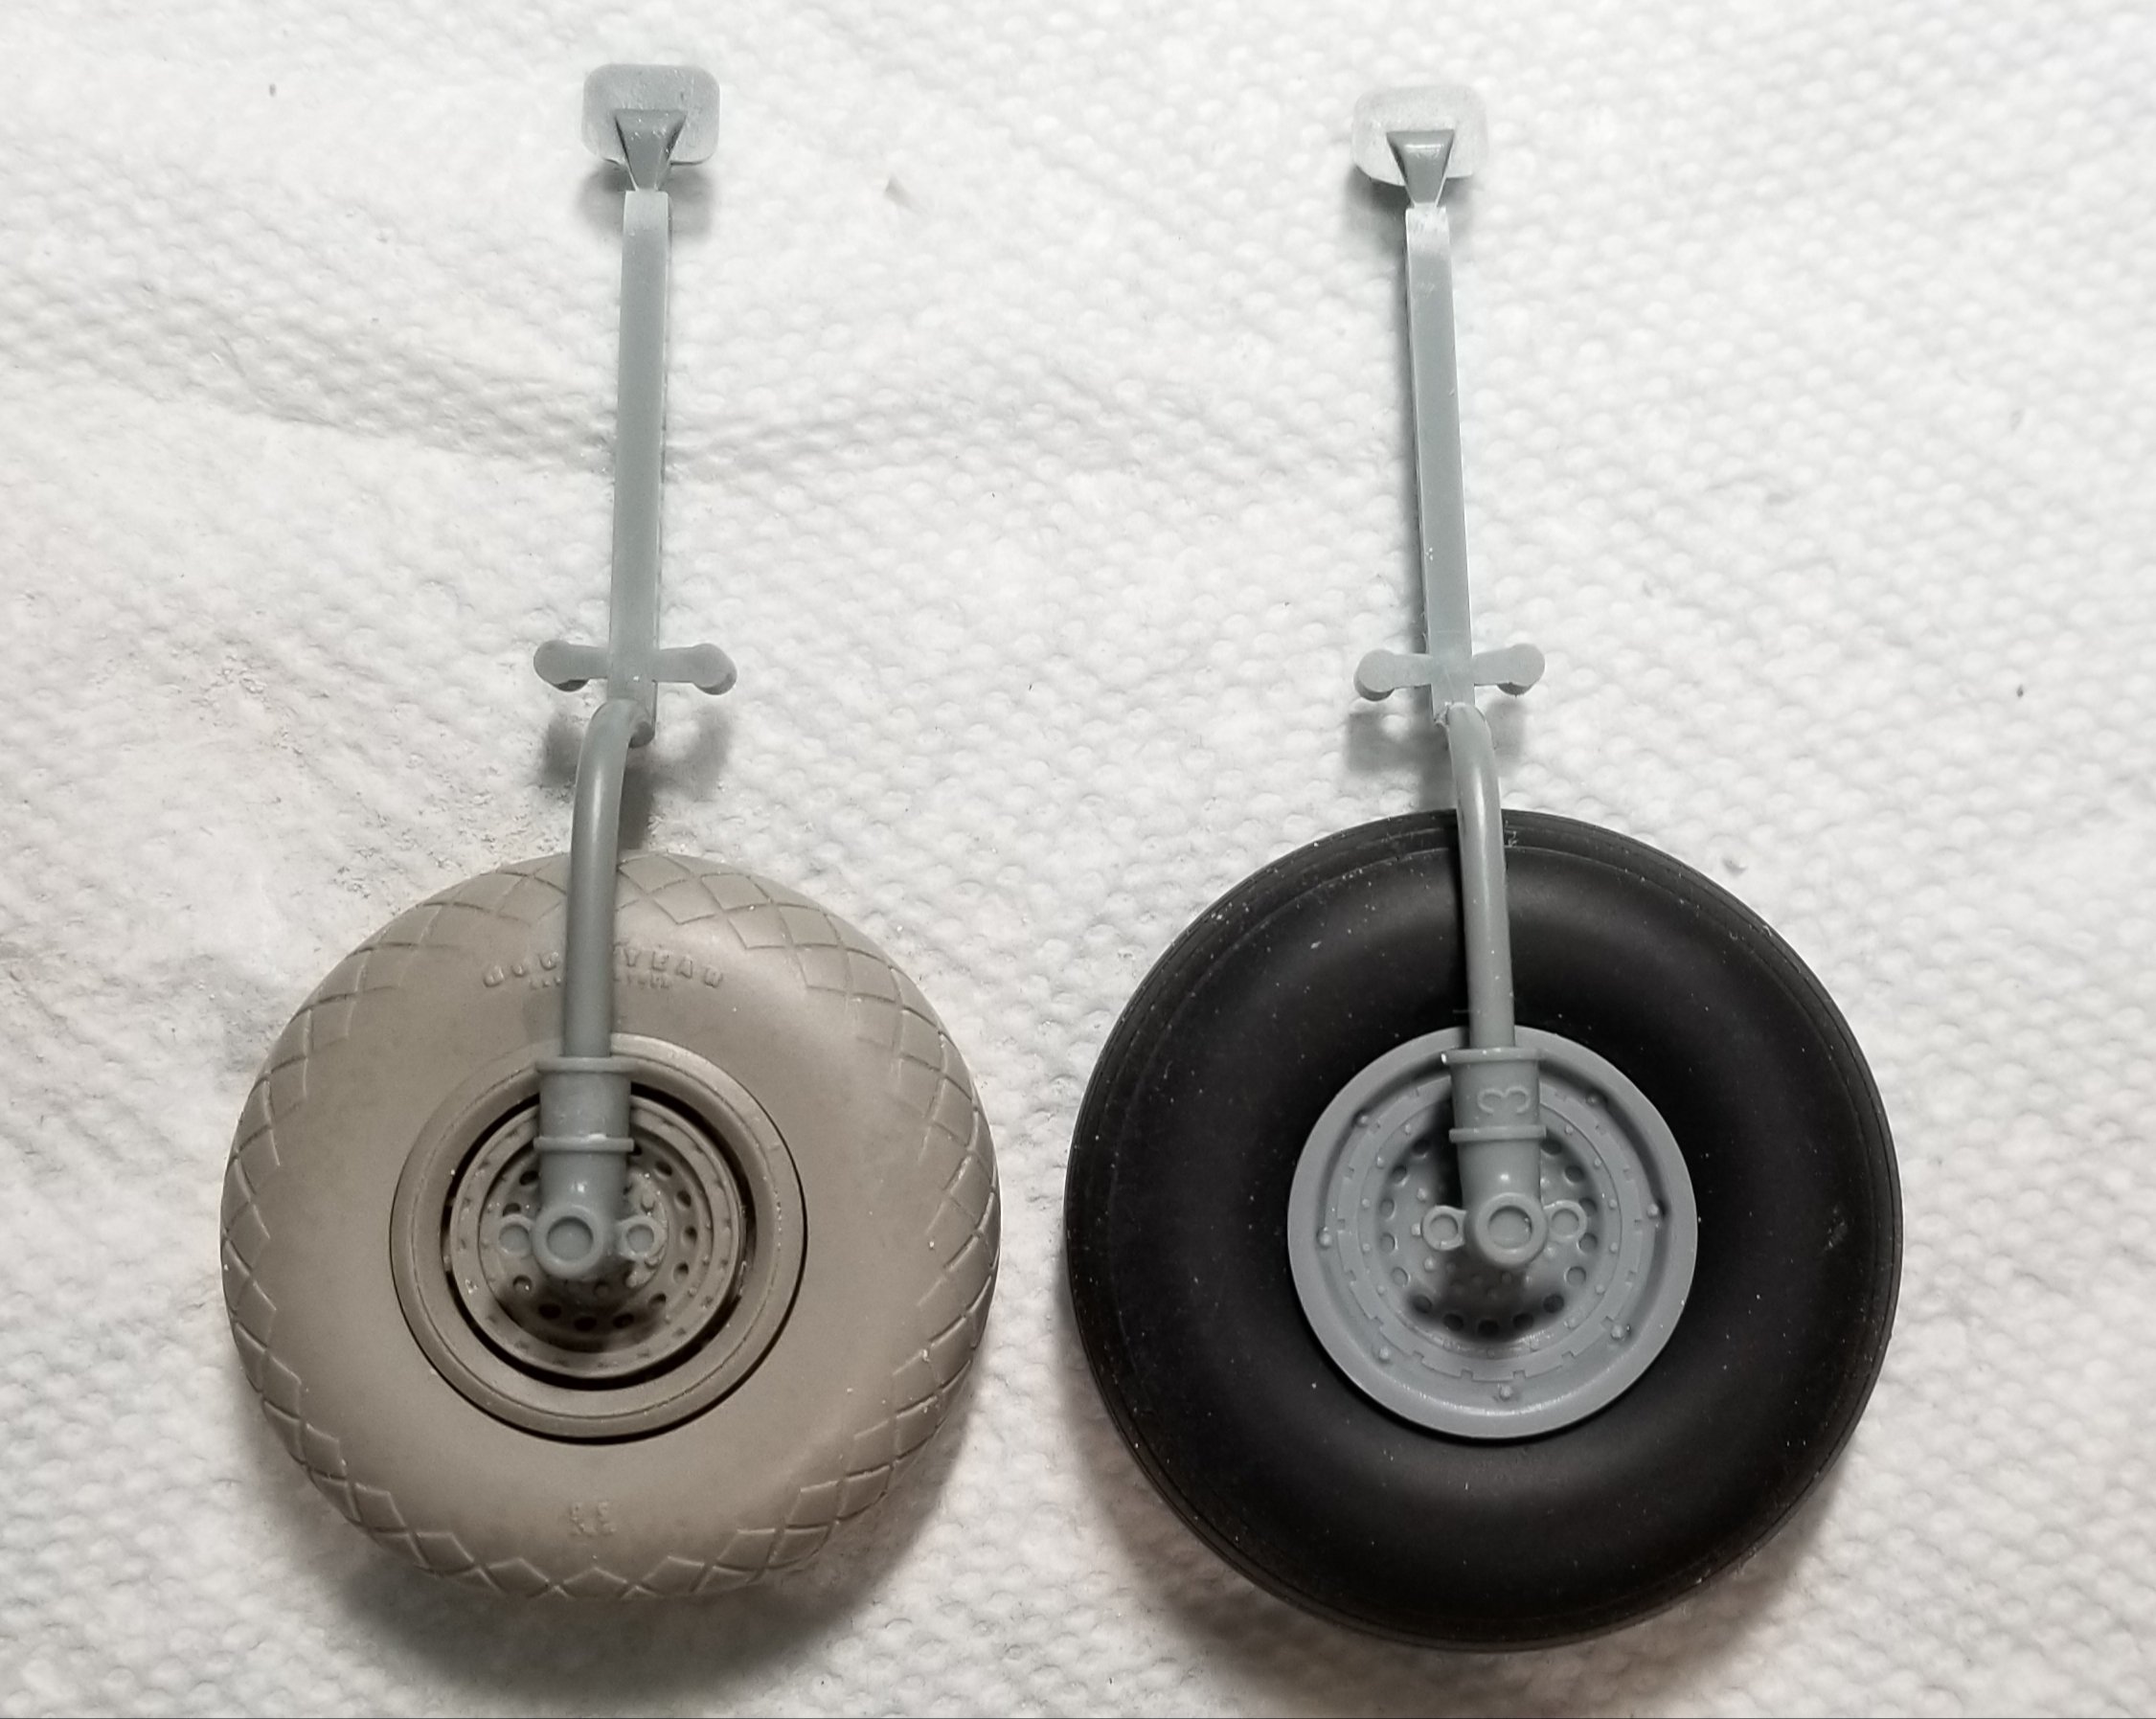
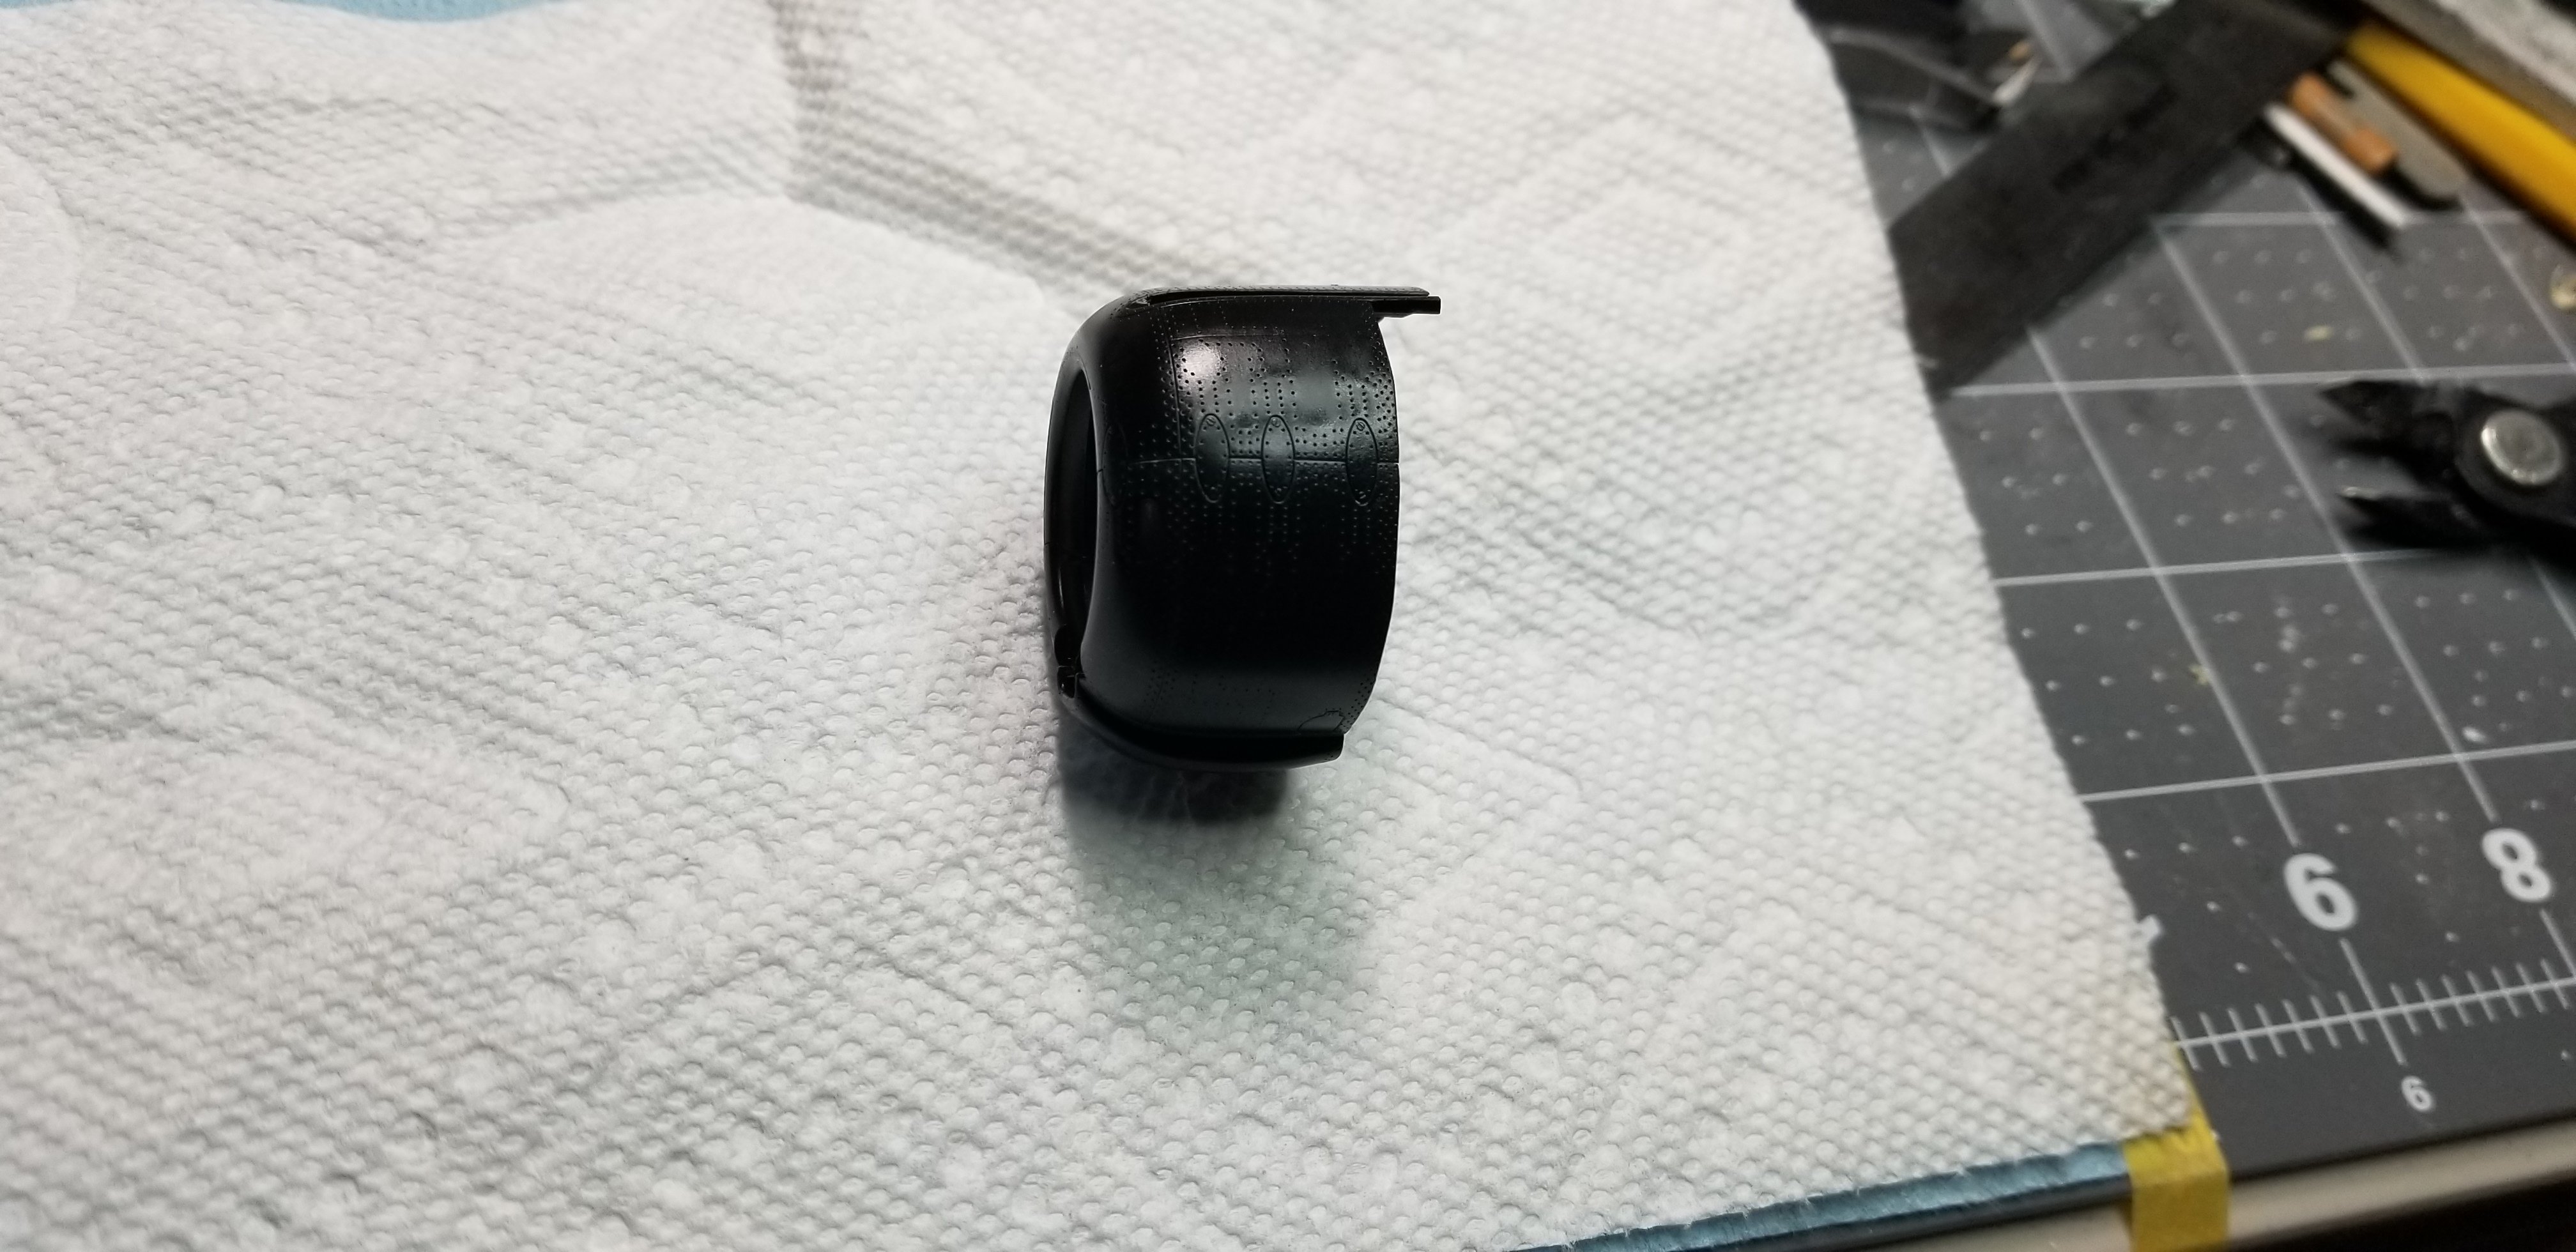
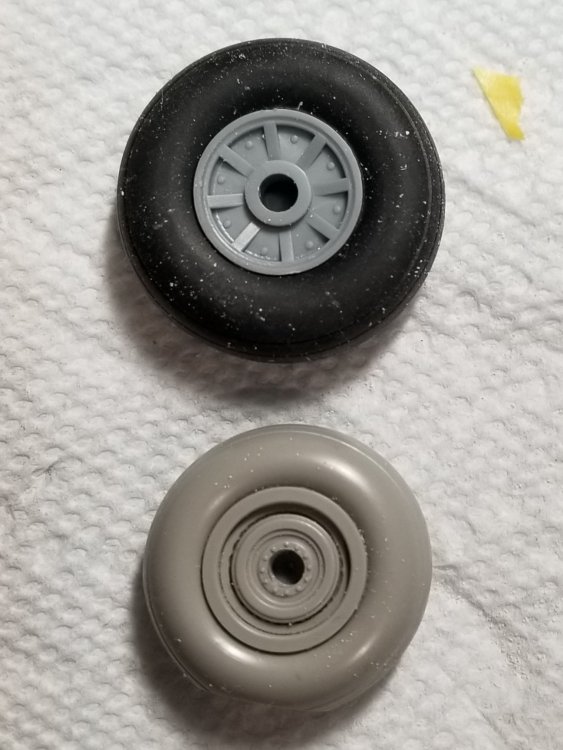
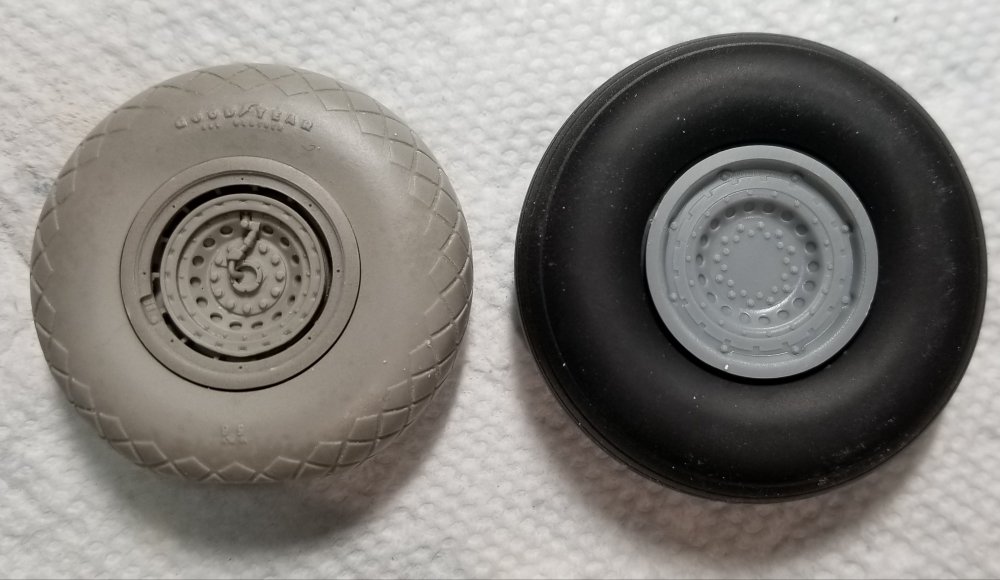
Hey 1to1 I thought you might be interested in this. I just got my Brassin B-17 wheels in the mail these I plan to use along with the Aires P-38 tire/wheel on the HB Liberator. I trimmed em up and here is a comparison to the kit parts. Front wheel front side kit parts on top Aires on the bottom. front wheel rear side kit parts on top Aires on the bottom. The kit front tires measure 37." in dia. And 12" wide. The Aires tires measure 32" in dia. And 12" wide. The real planes tires where SC36's - 36.15" dia. And 12.47" wide. Main wheels front side Brassin on the left kit on the right. Main wheels rear side Brassin on the left kit on the right. The kit main tires measure 59" in dia. And 18" wide. The Brassin tires measure 53" in dia. And 17" wide. The real planes tires where SC56's - 56.56" dia. And 20.44" wide. Just some information for your data banks Ron G

-
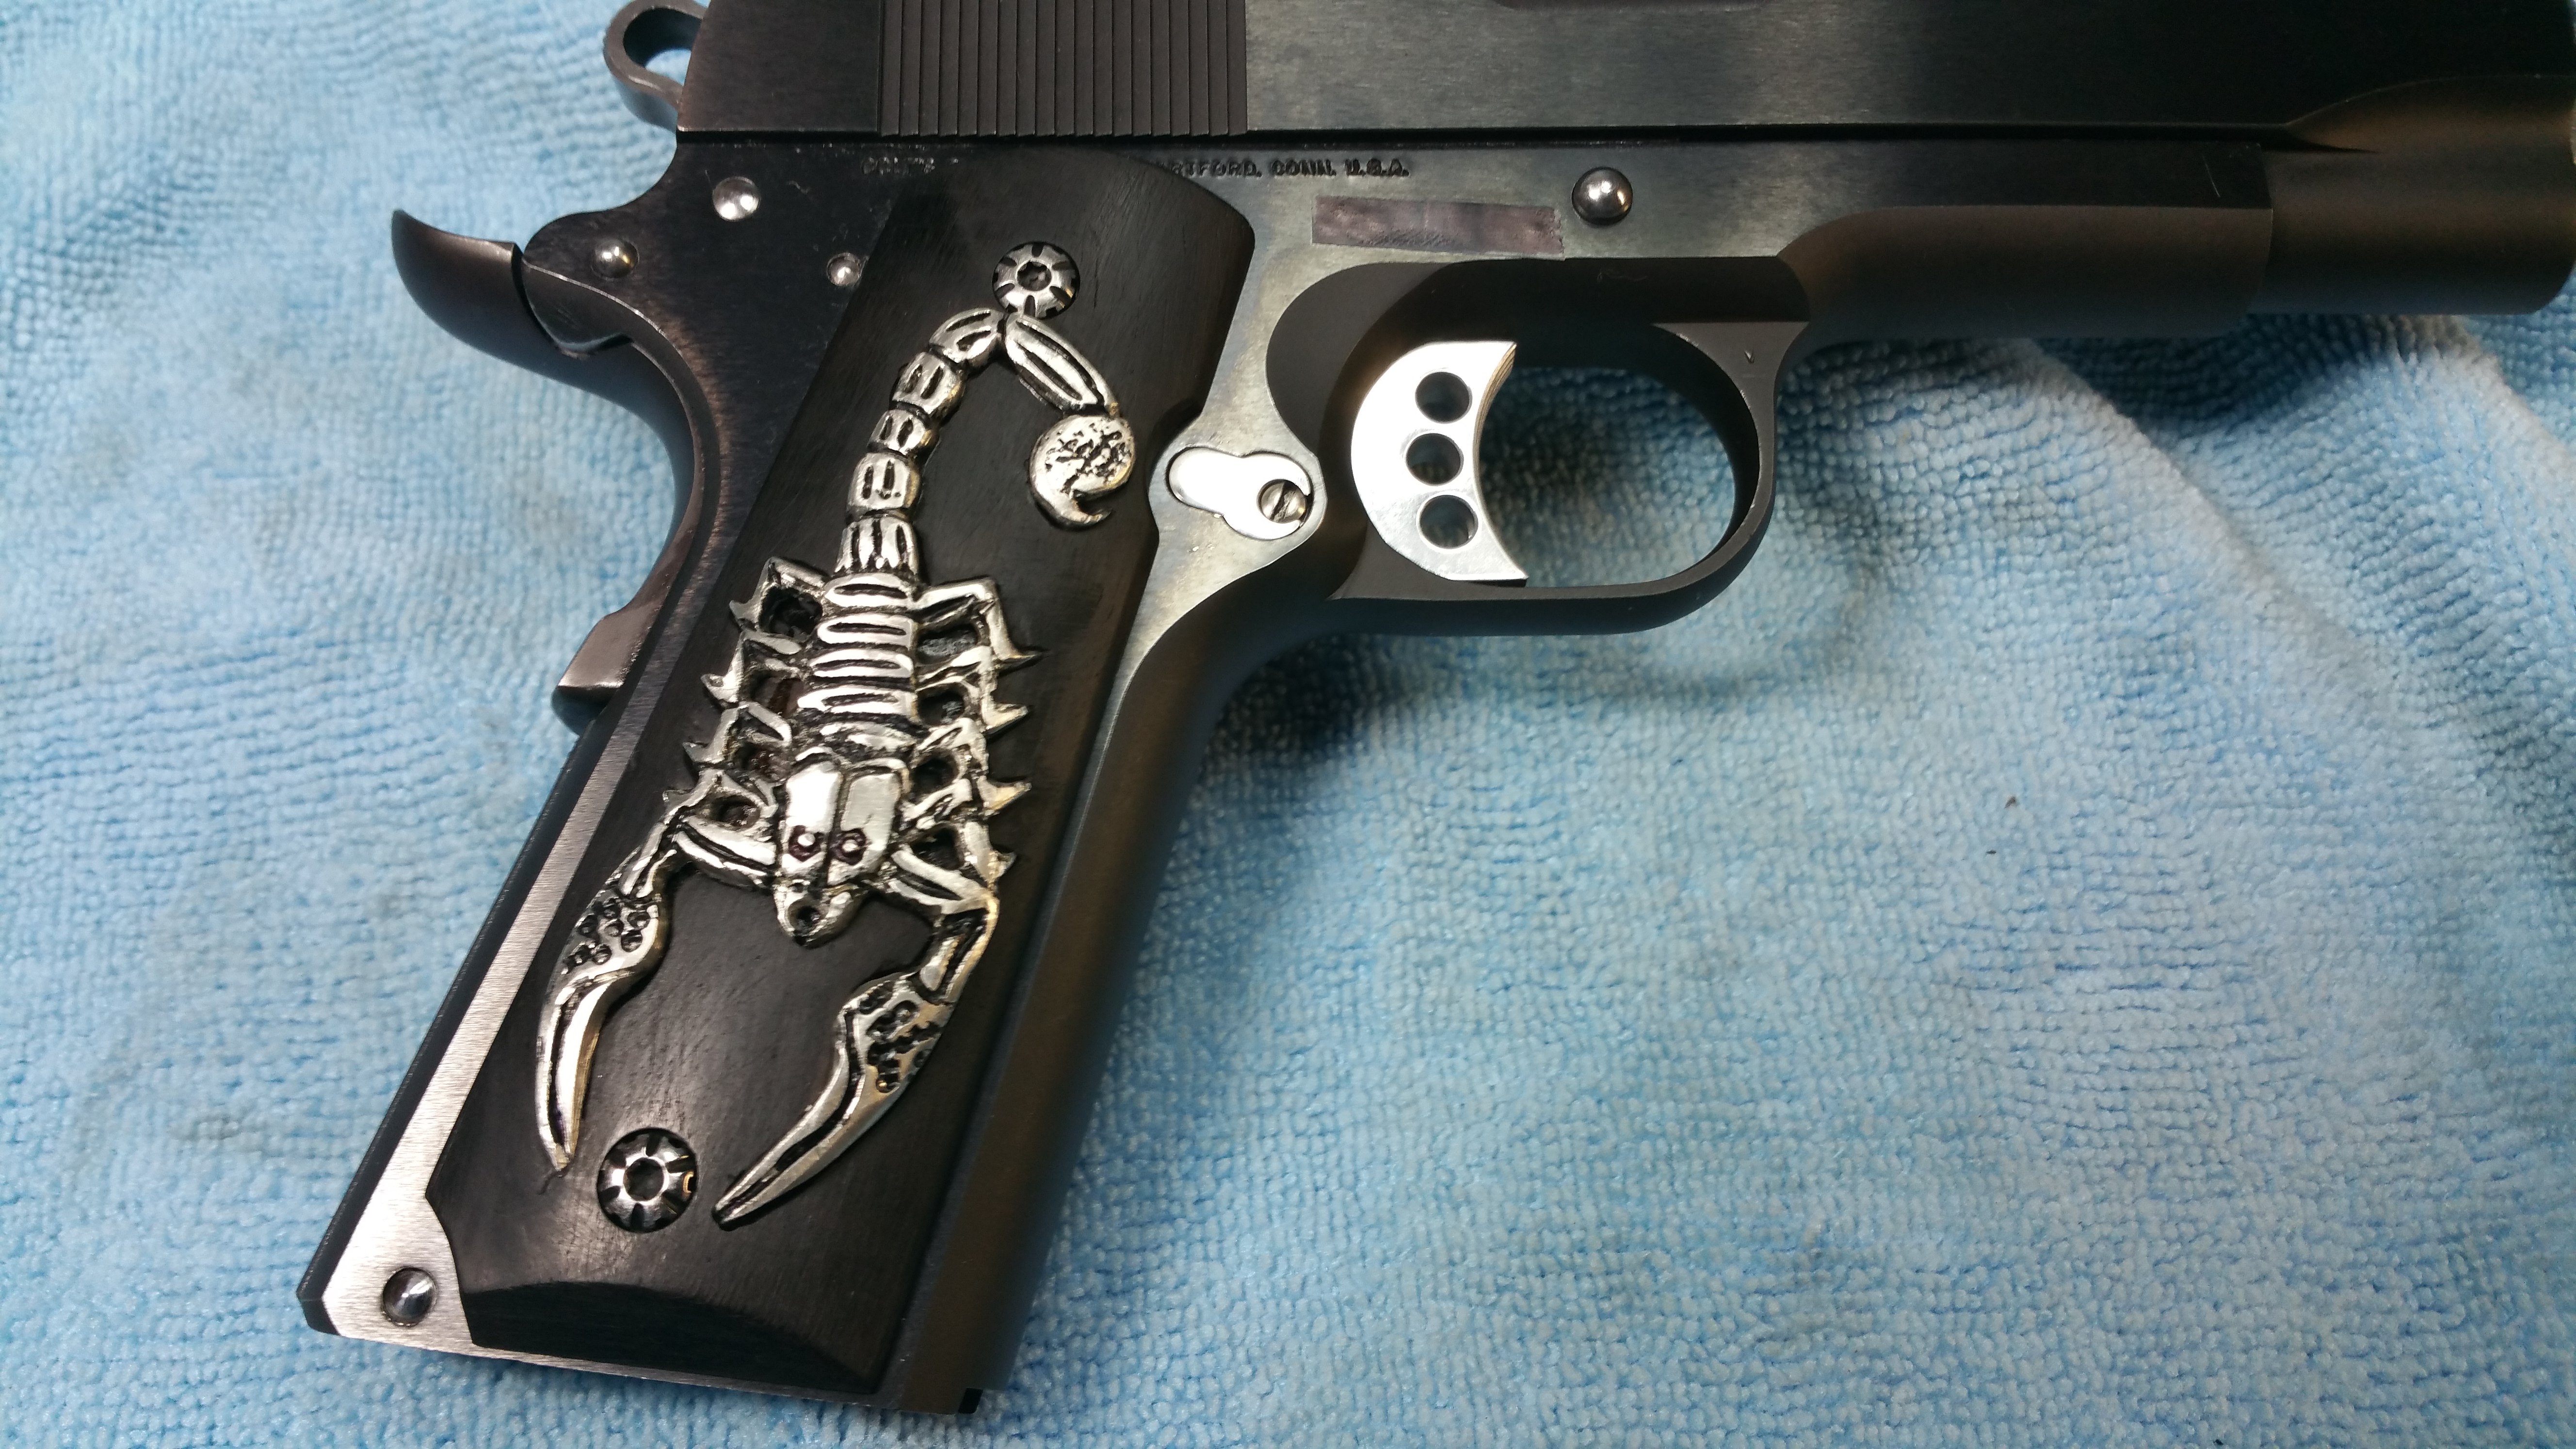
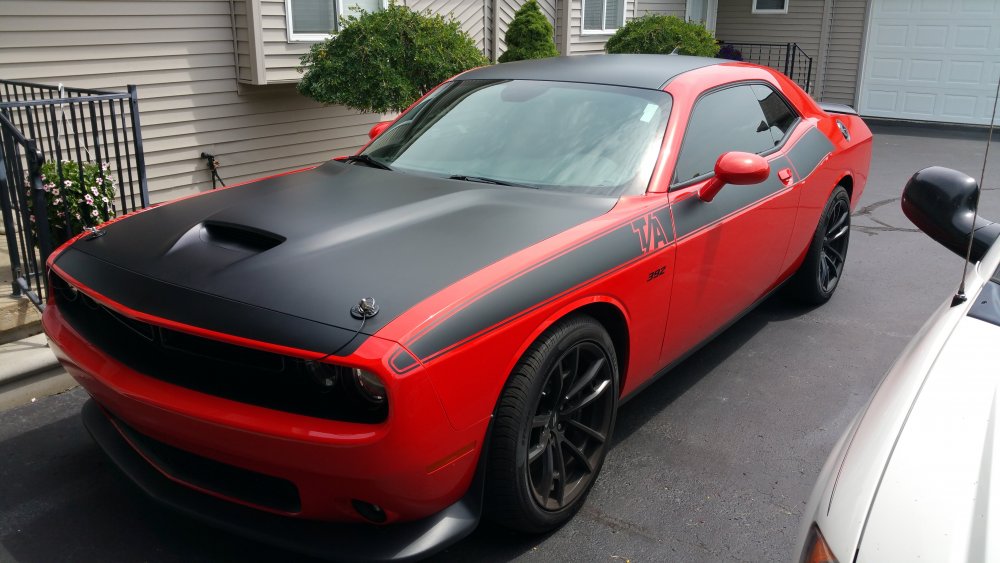
These are my other interests. My 2017 392 T/A Challenger and guns my customized Colt commander. I made thise grips myself.

-
What is on your bench right now ? Share a picture :)
CrankyCrafstman replied to Martinnfb's topic in Modelling Discussion
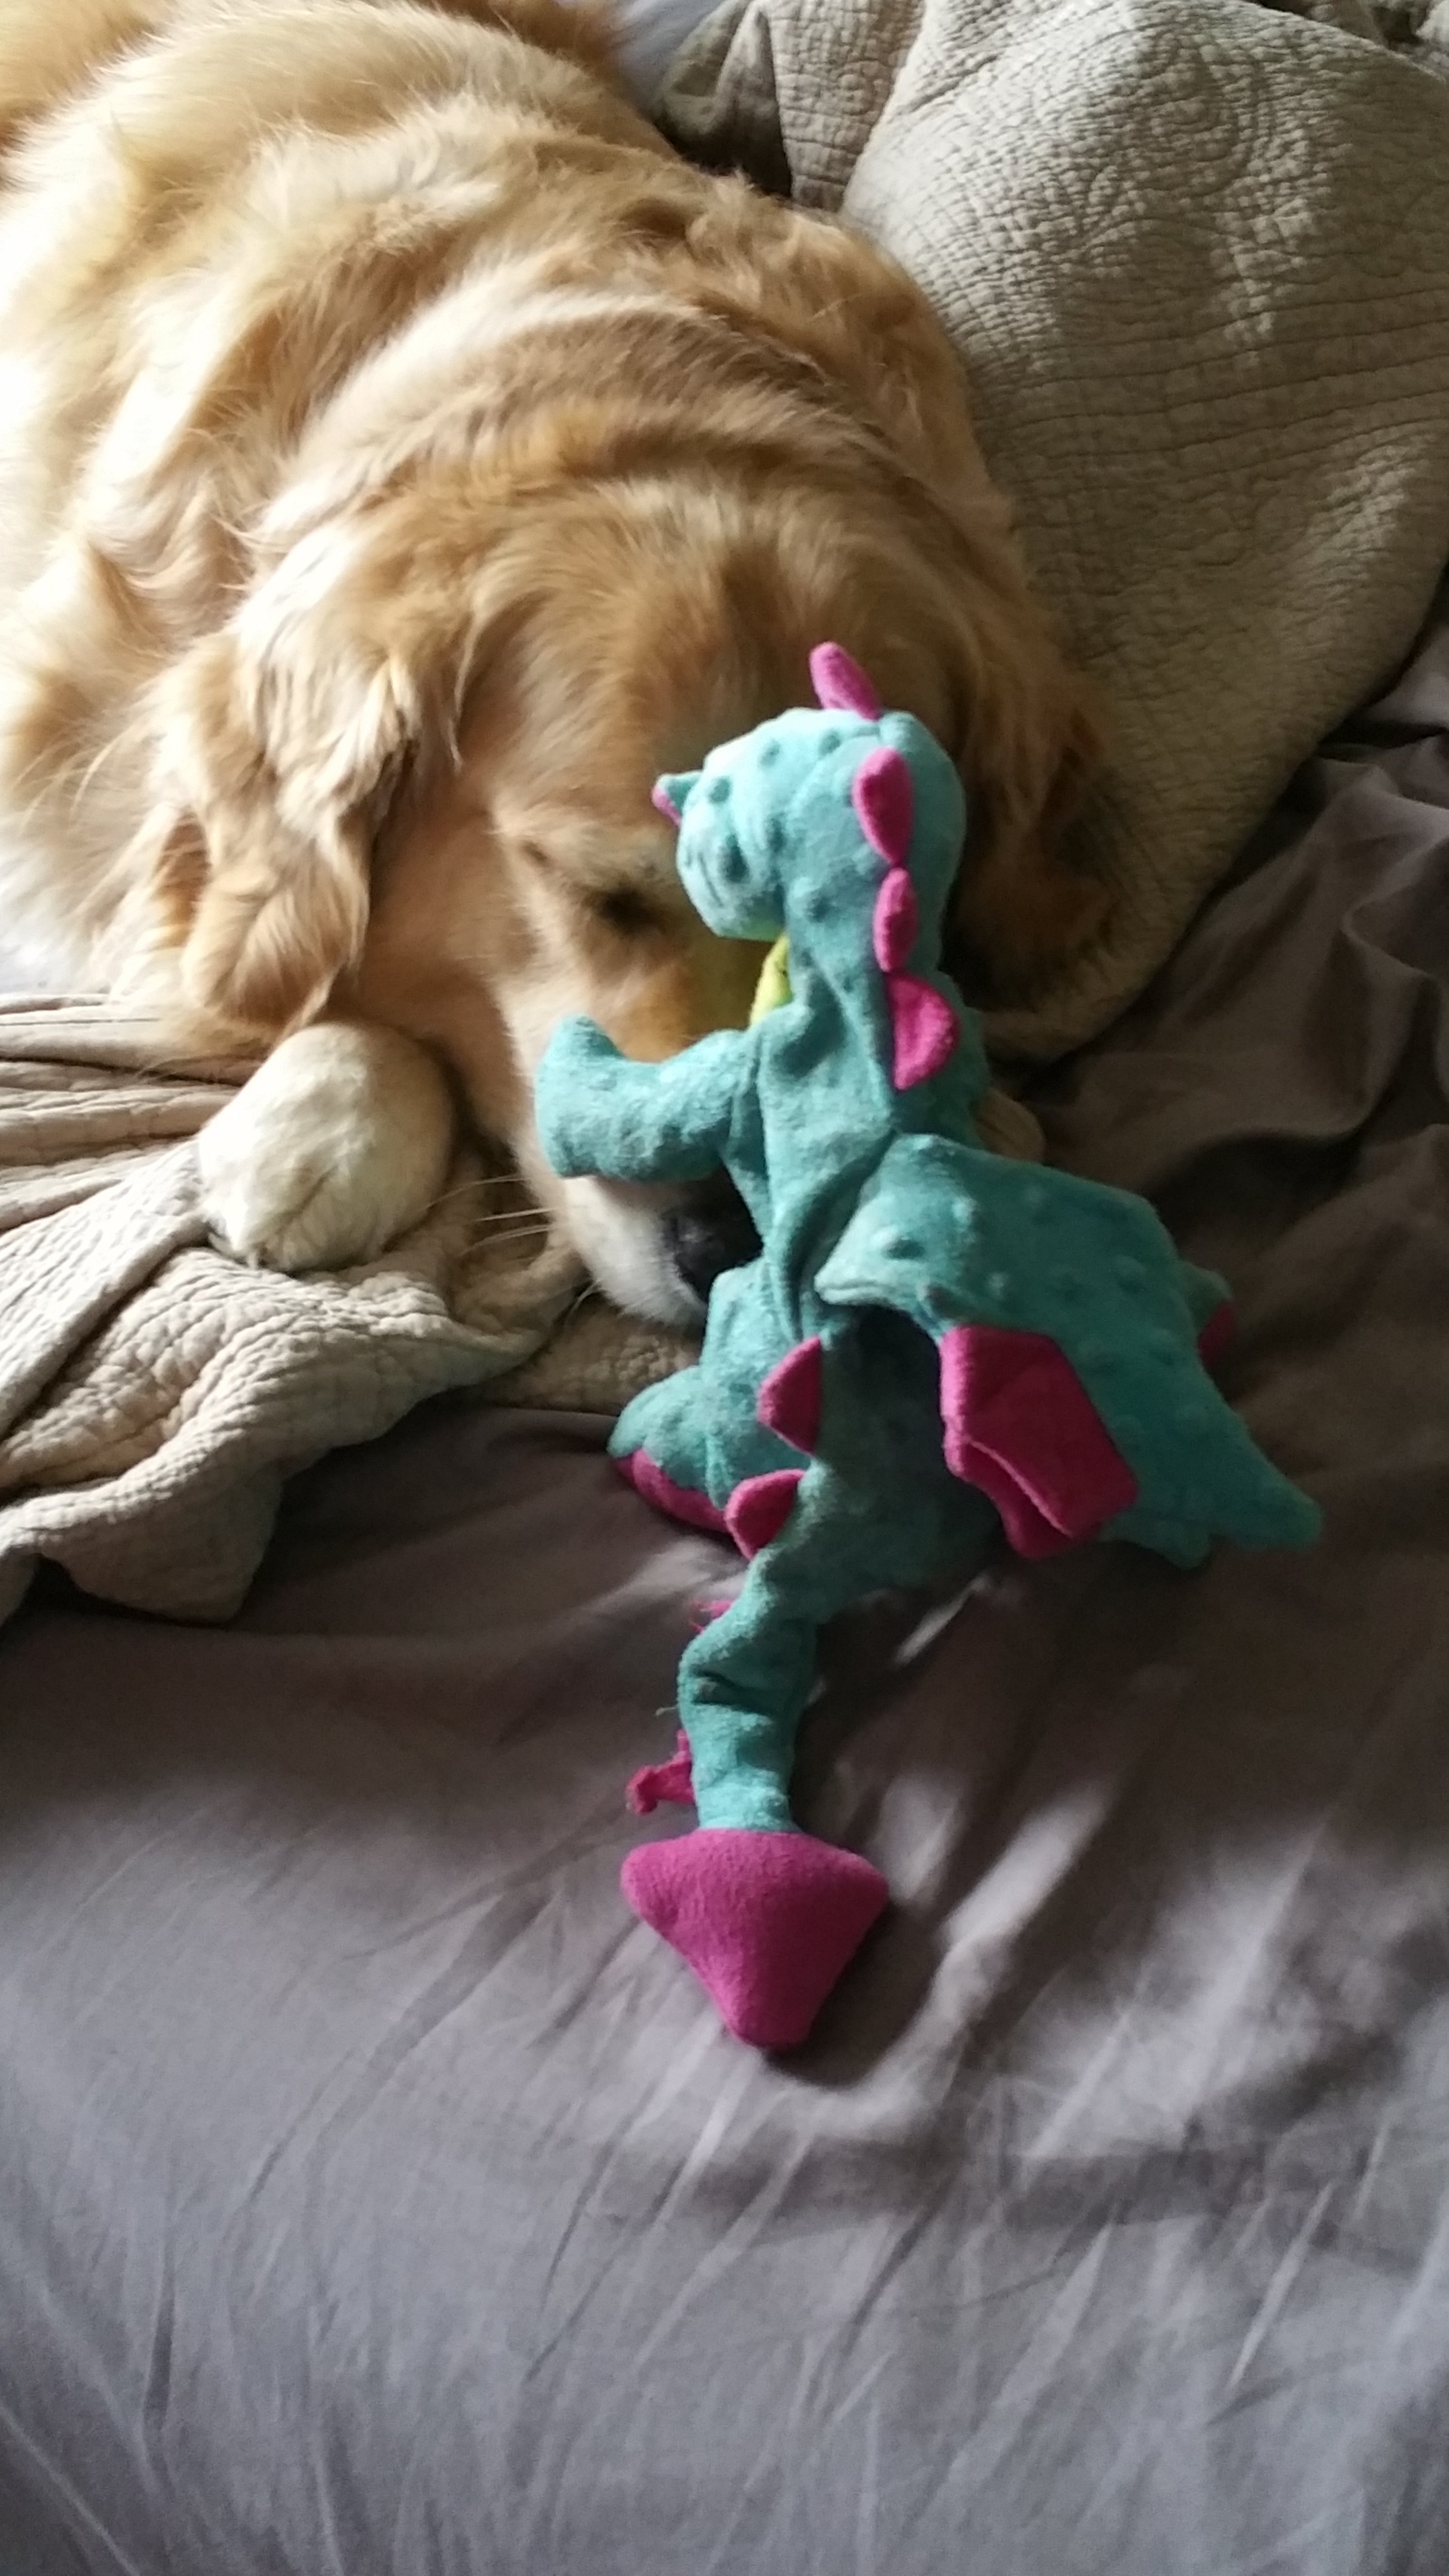
This is my not so little buddy, he's being held captive by his favorite toy dragon.
-
Hey Nige I've never had a problem with it. It seems to go down nice and smooth and drys fairly quick. I use all Vallejo paint, thinners and cleaners only. Hope this helps. Ron G
-
Hey Gaz I have a 1/6 scale Dragon M4A3 that needs to be finished, only needs about a half gallon a paint...lol
-
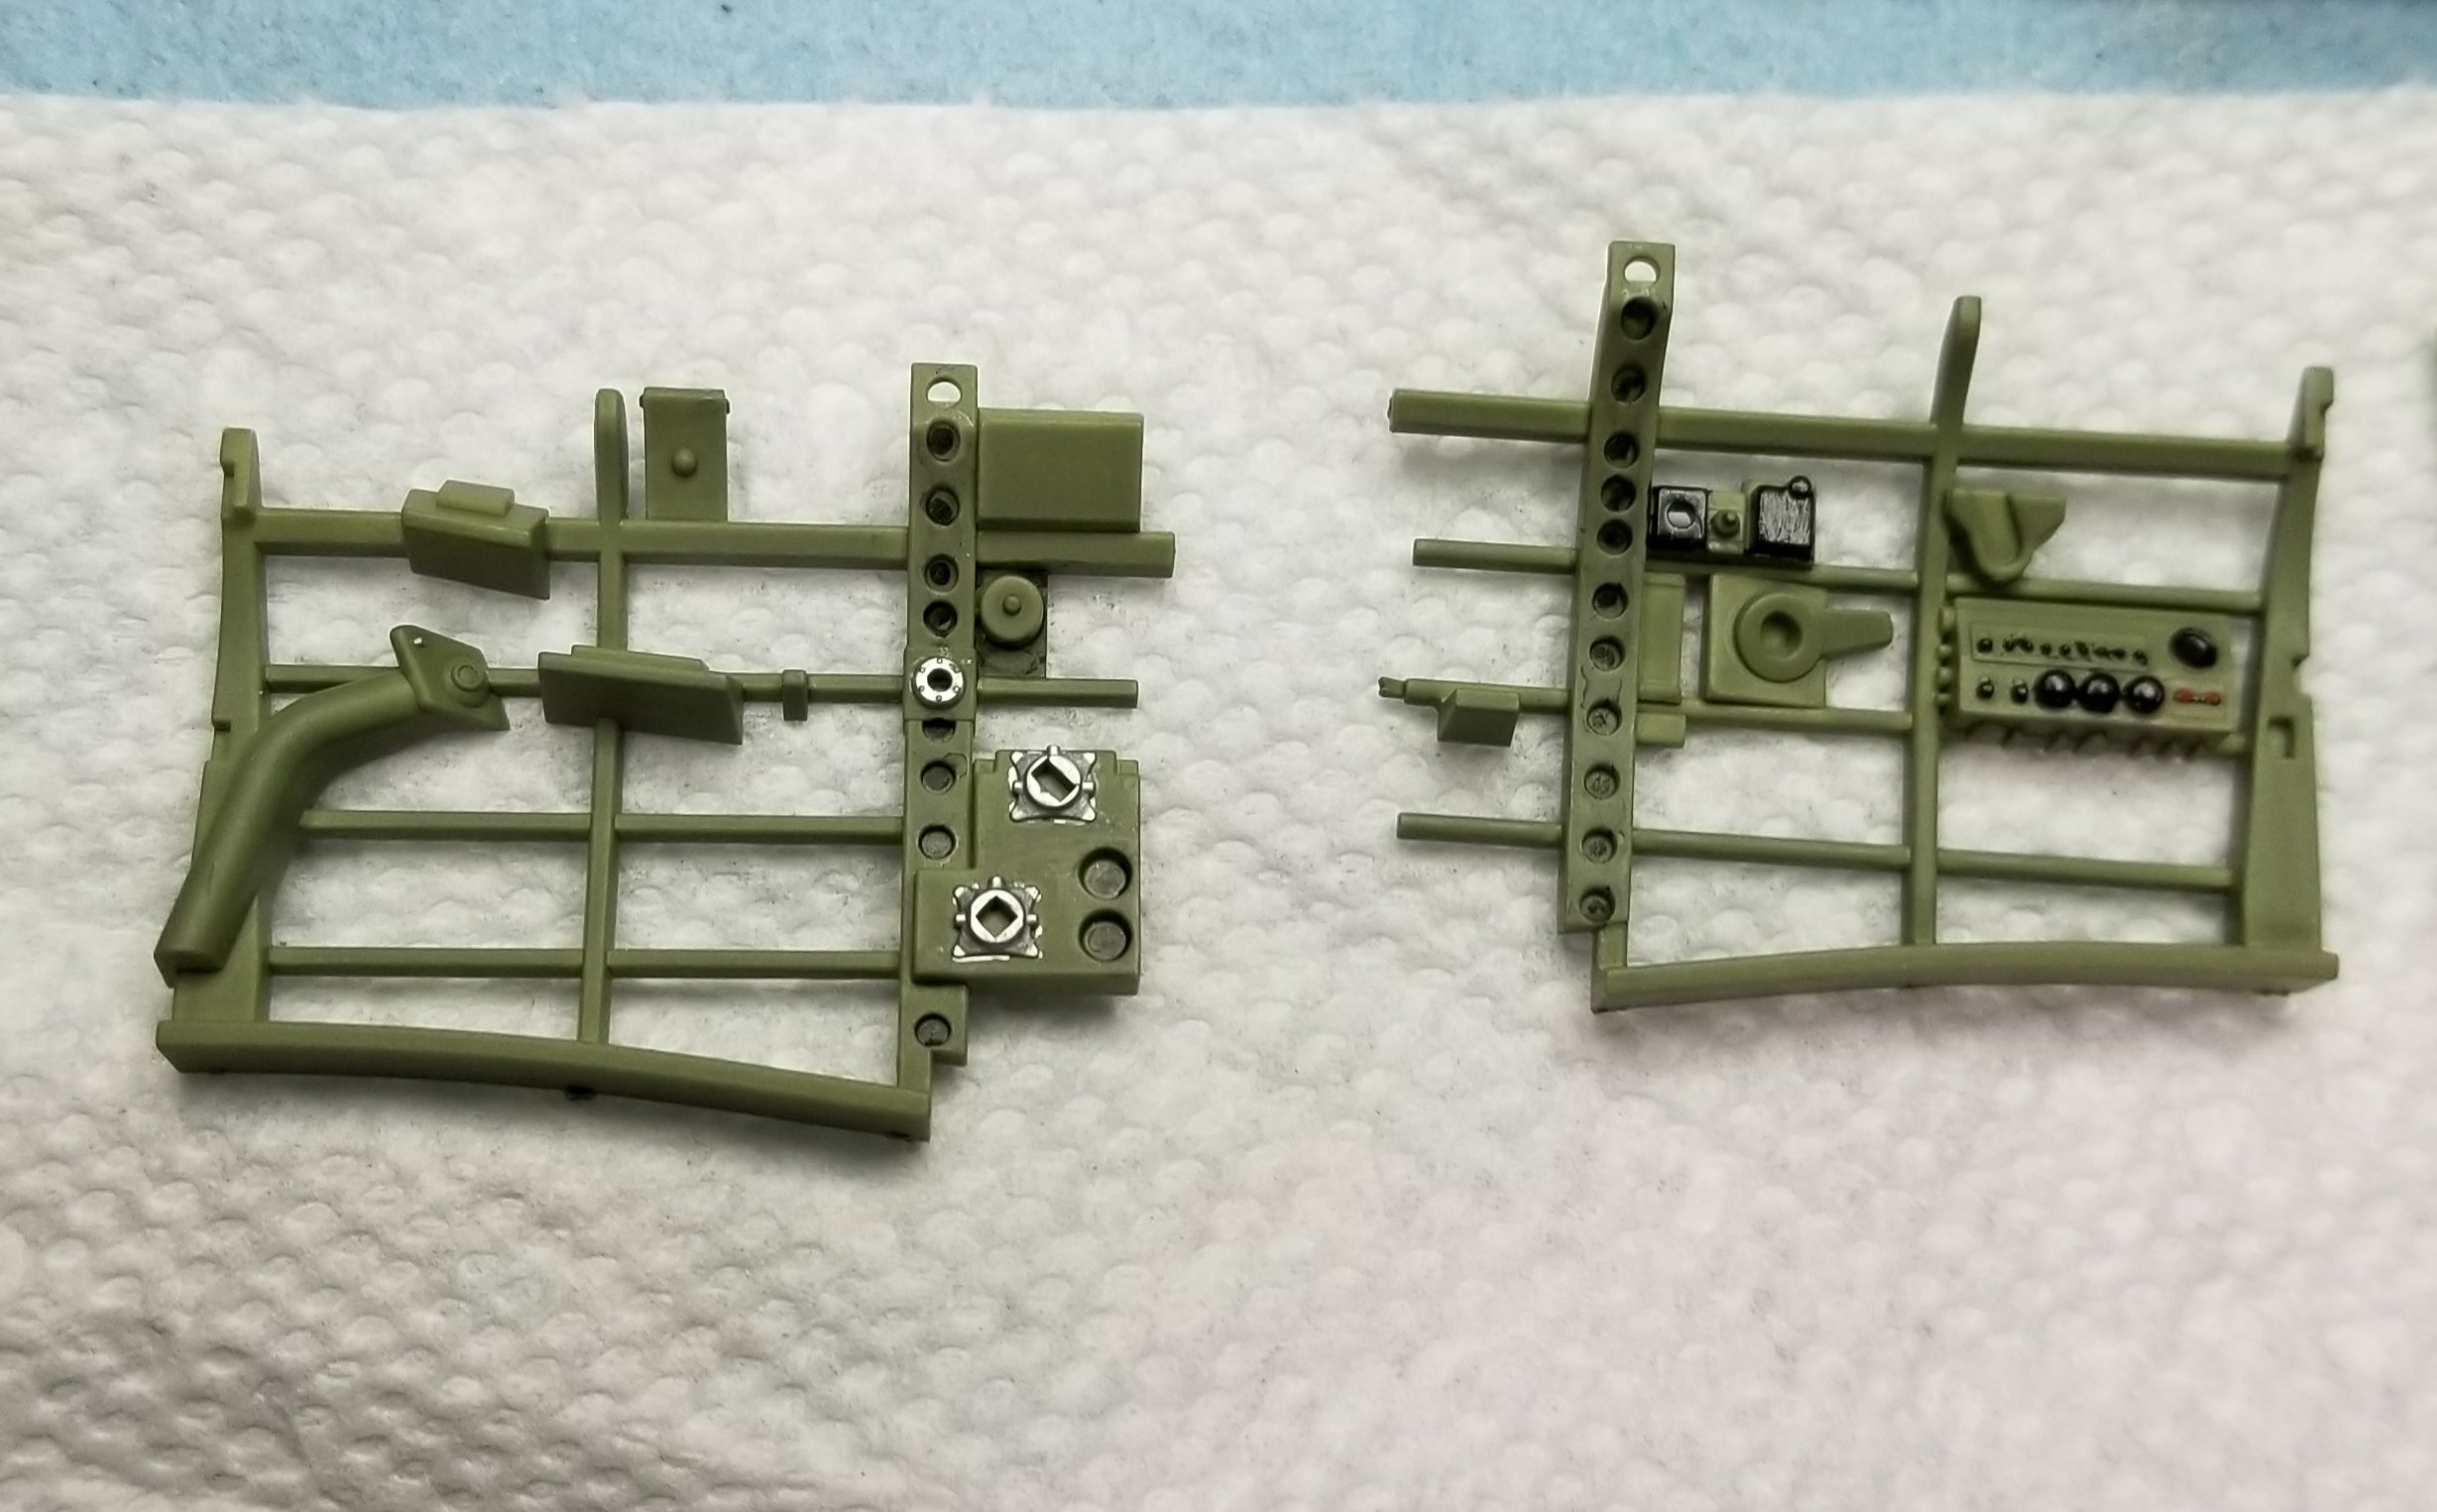
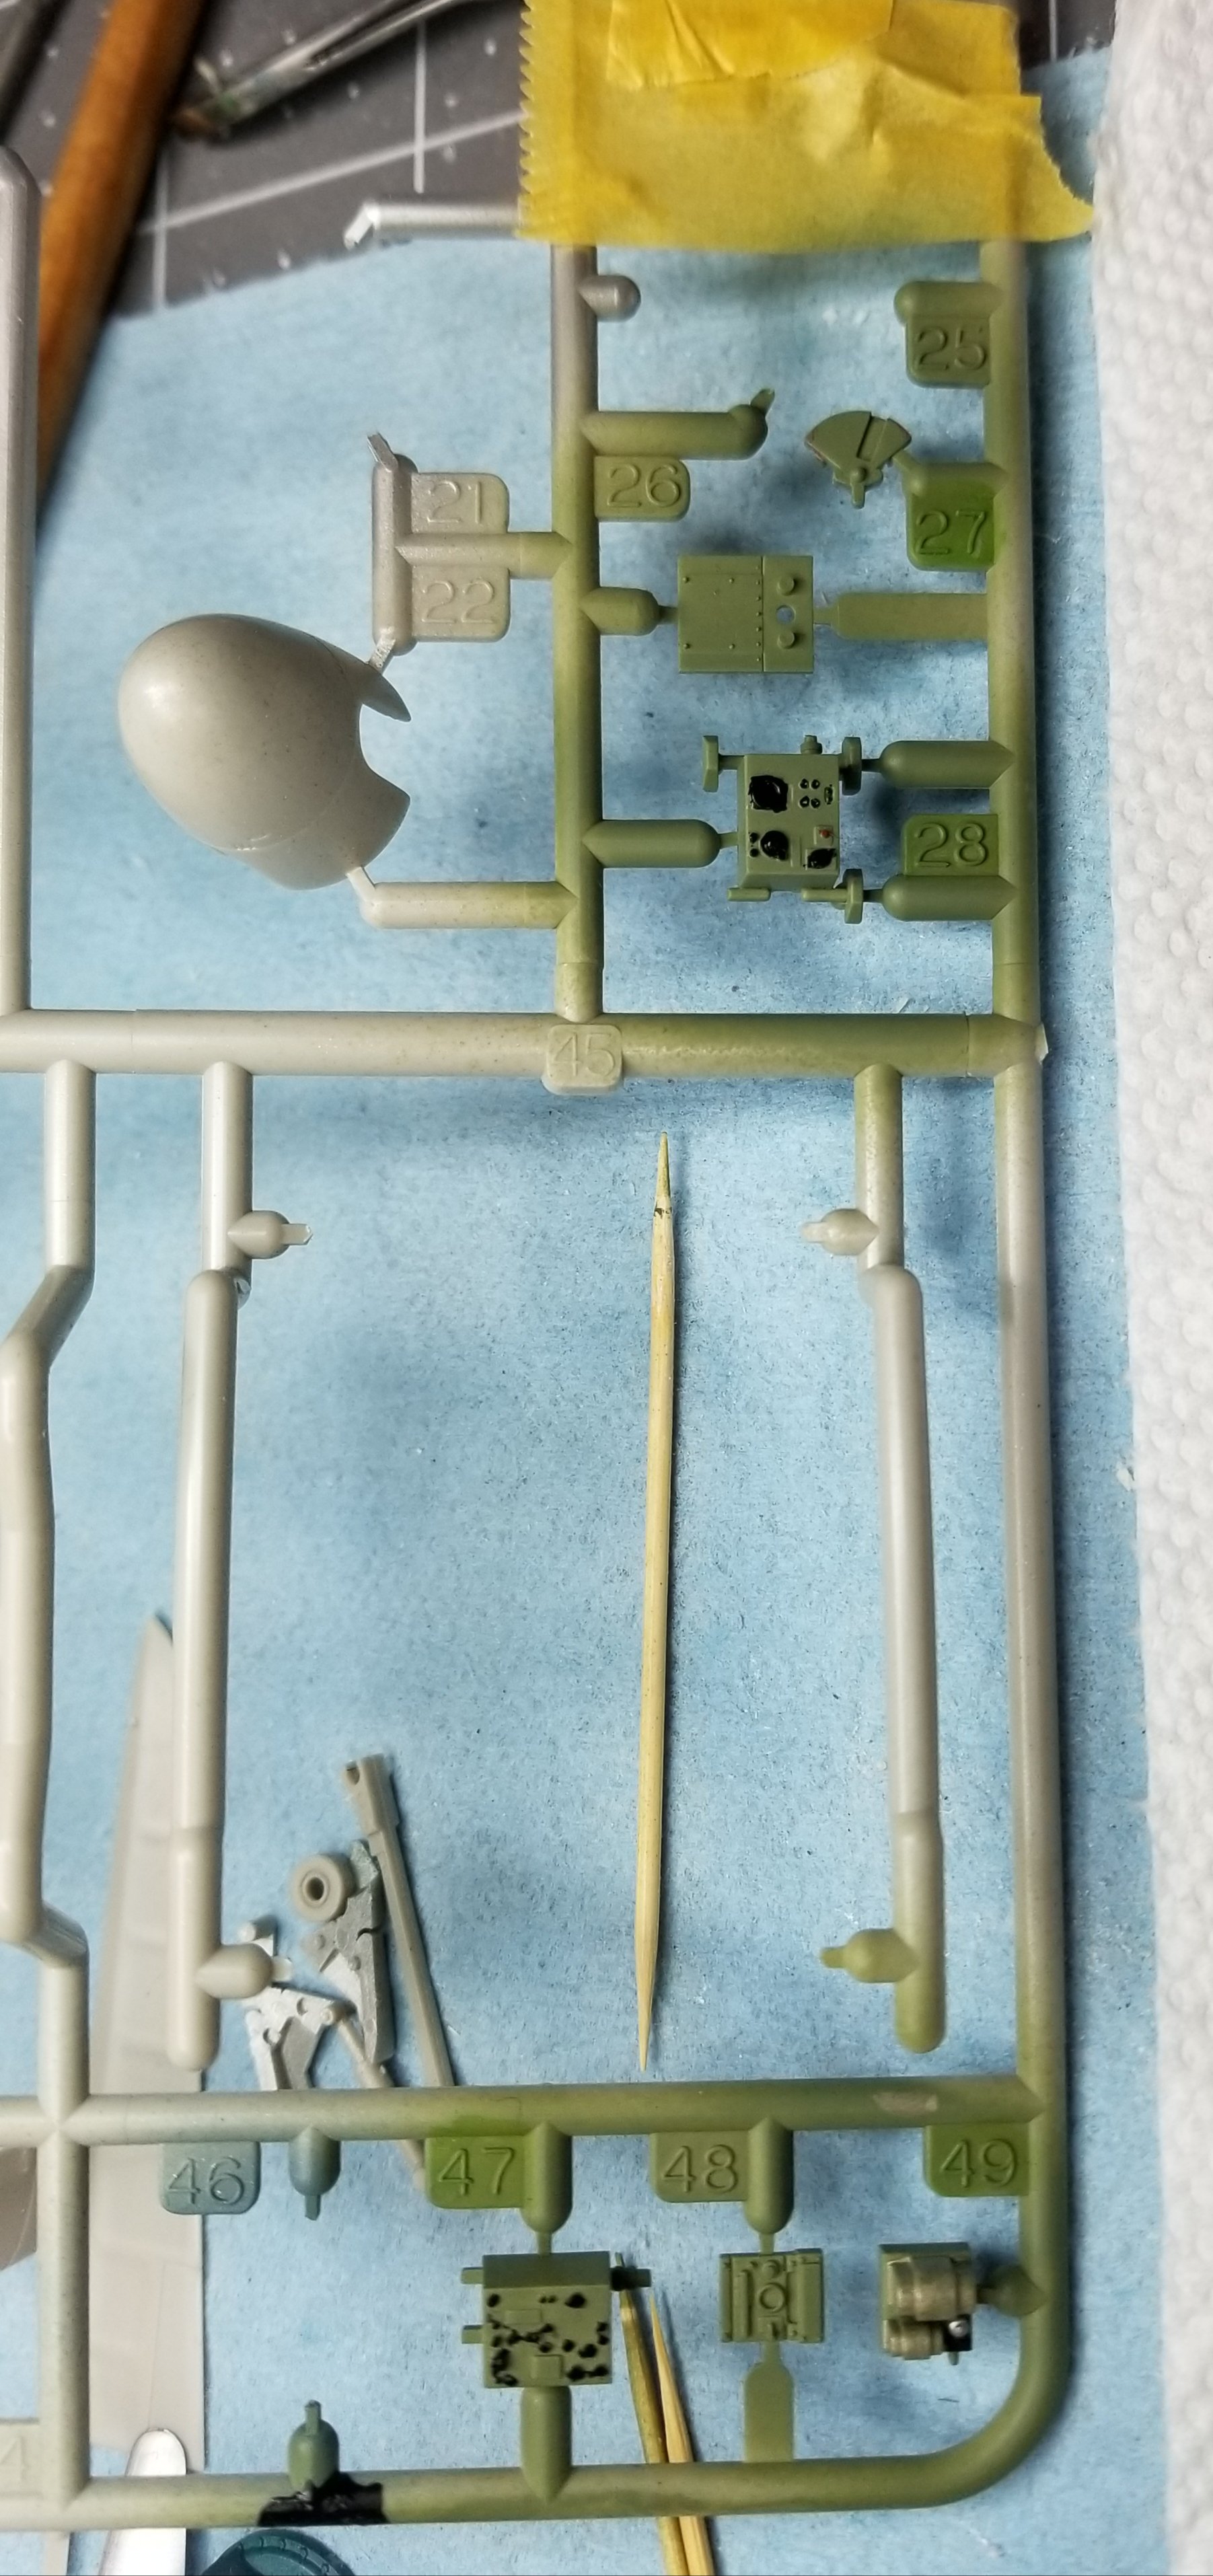
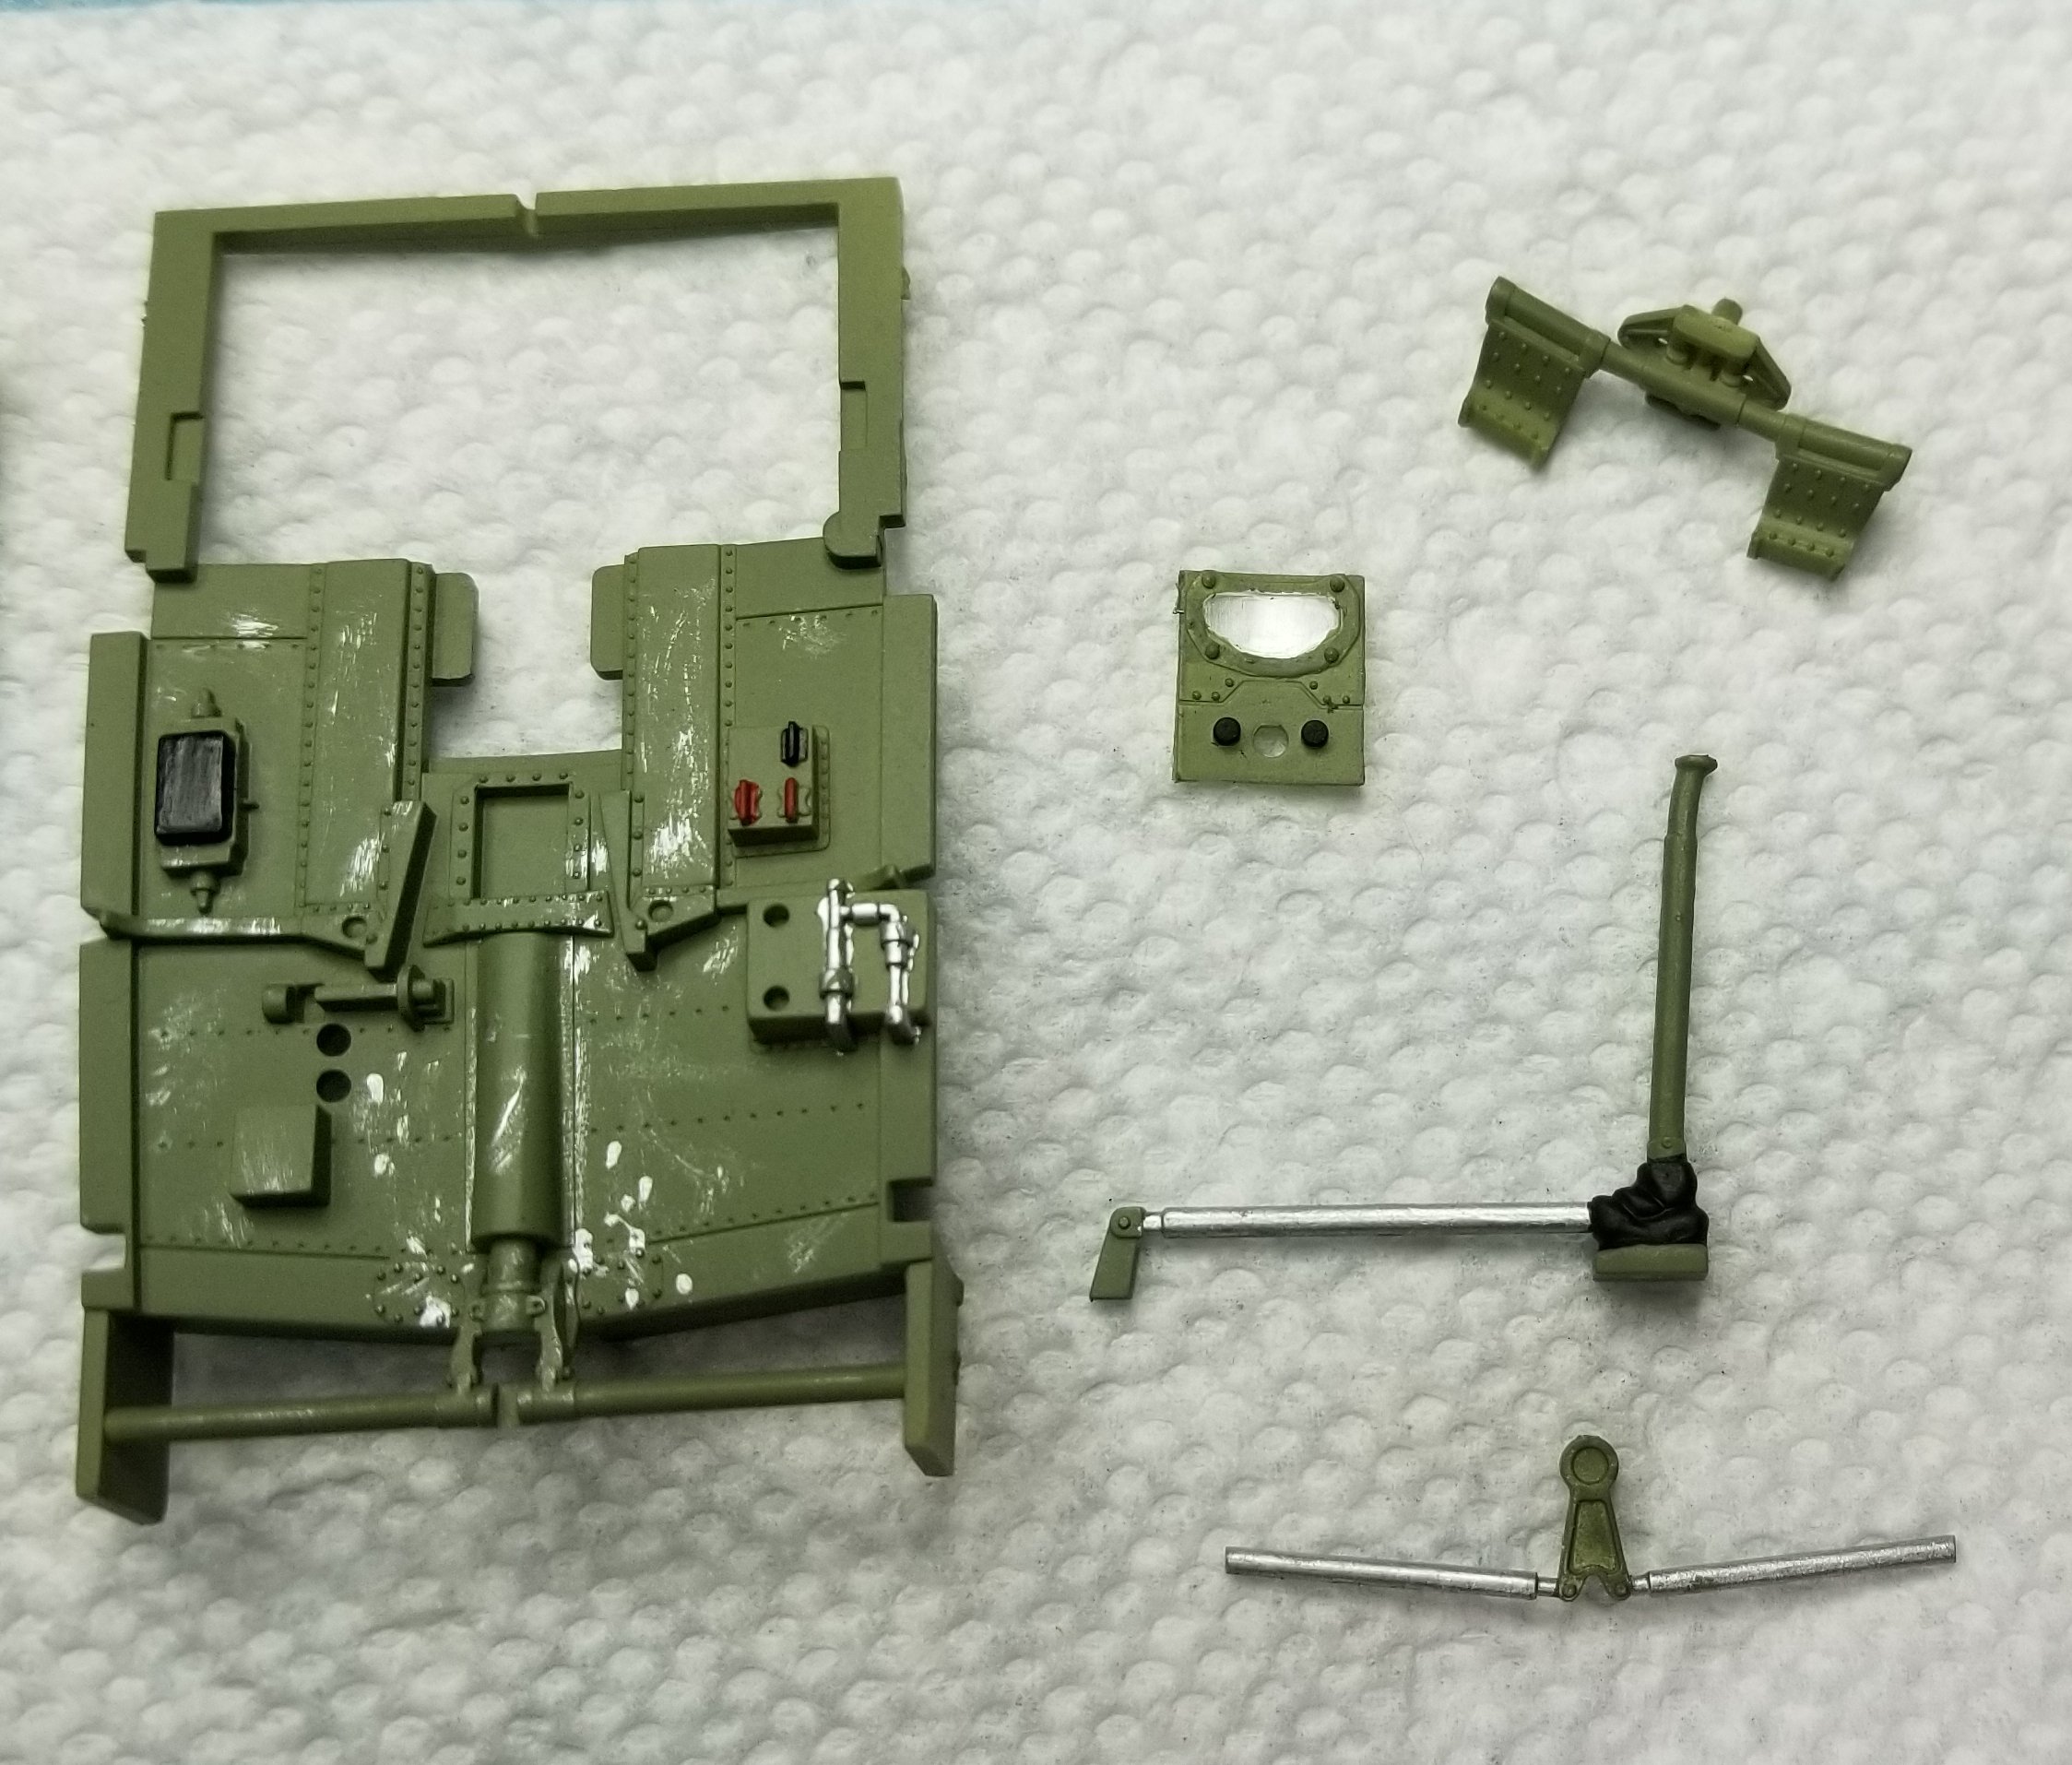
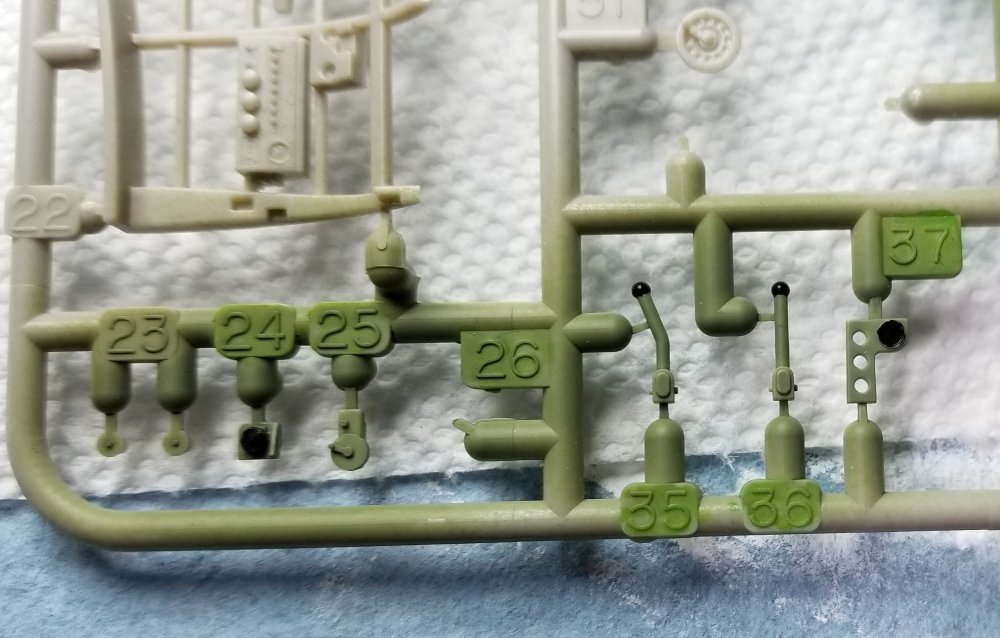
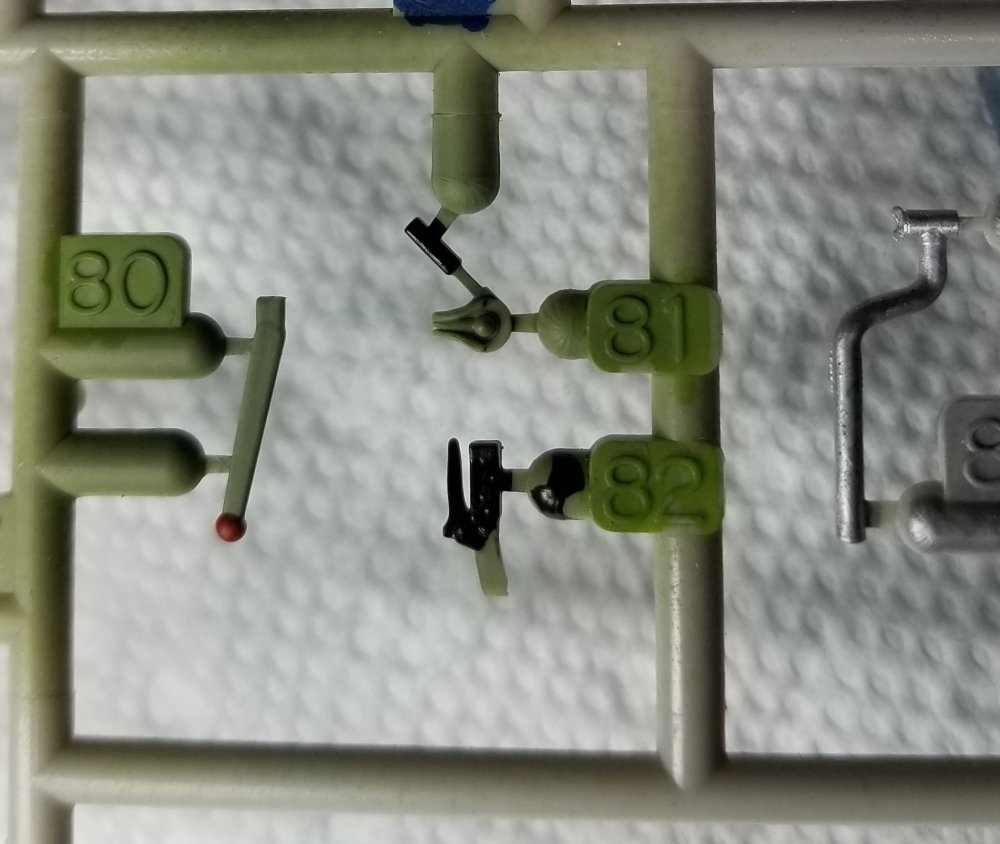
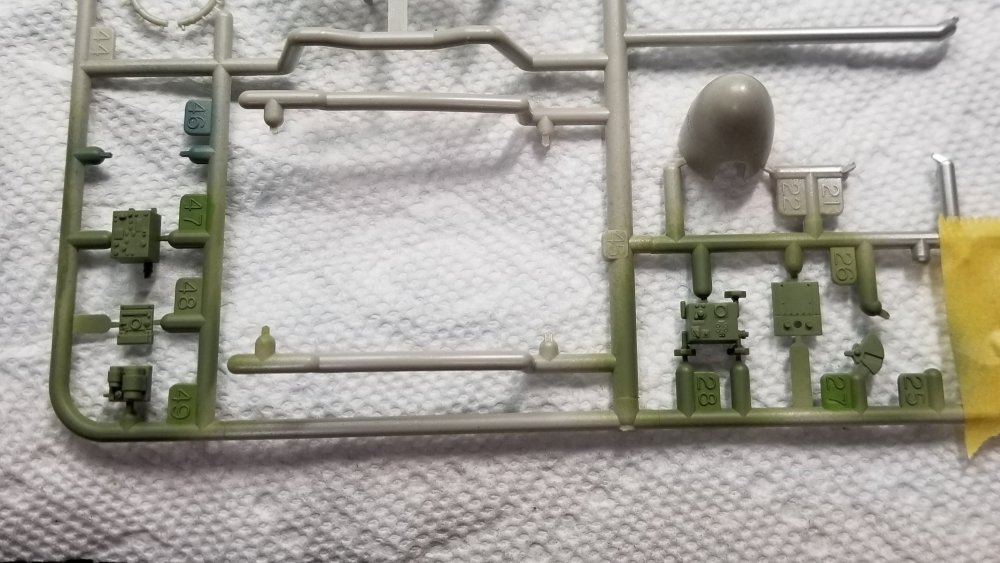
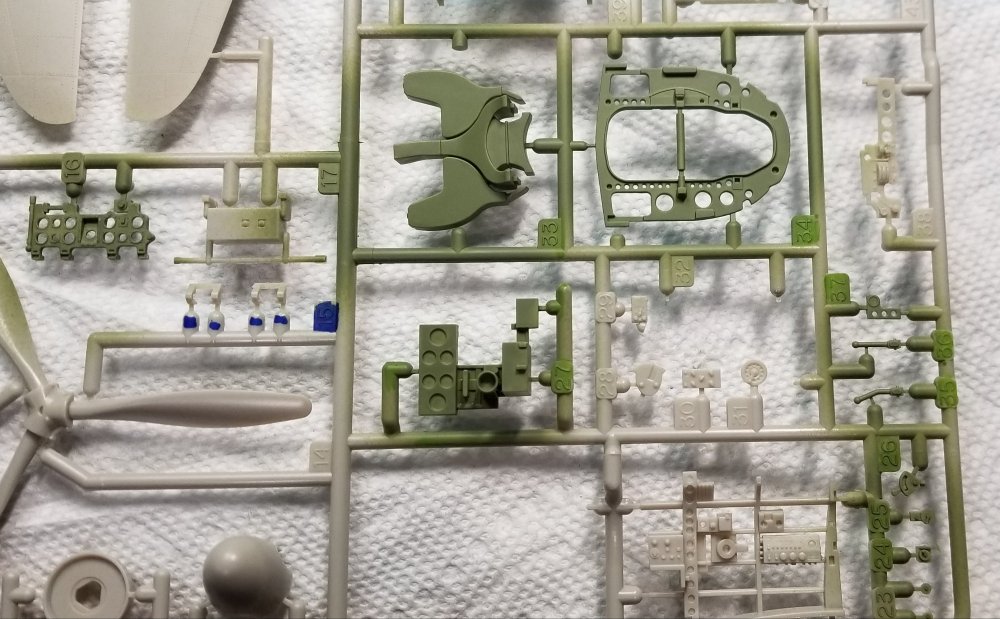
Ok, I actually started putting it together. Step 1 thru 3 is done. Pictures of the cockpit parts detail painted. need to add decal to part 37 need to add decal to cockpit side on right. instrument panel bezels painted blackstarted some weathering on the cockpit floor. Hopefully tomorrow I'll have the cockpit put together. Thanks for looking Ron G


-
What is on your bench right now ? Share a picture :)
CrankyCrafstman replied to Martinnfb's topic in Modelling Discussion
Hey Clunky I think you need to change your moniker to Neatmeister...lol -
What is on your bench right now ? Share a picture :)
CrankyCrafstman replied to Martinnfb's topic in Modelling Discussion
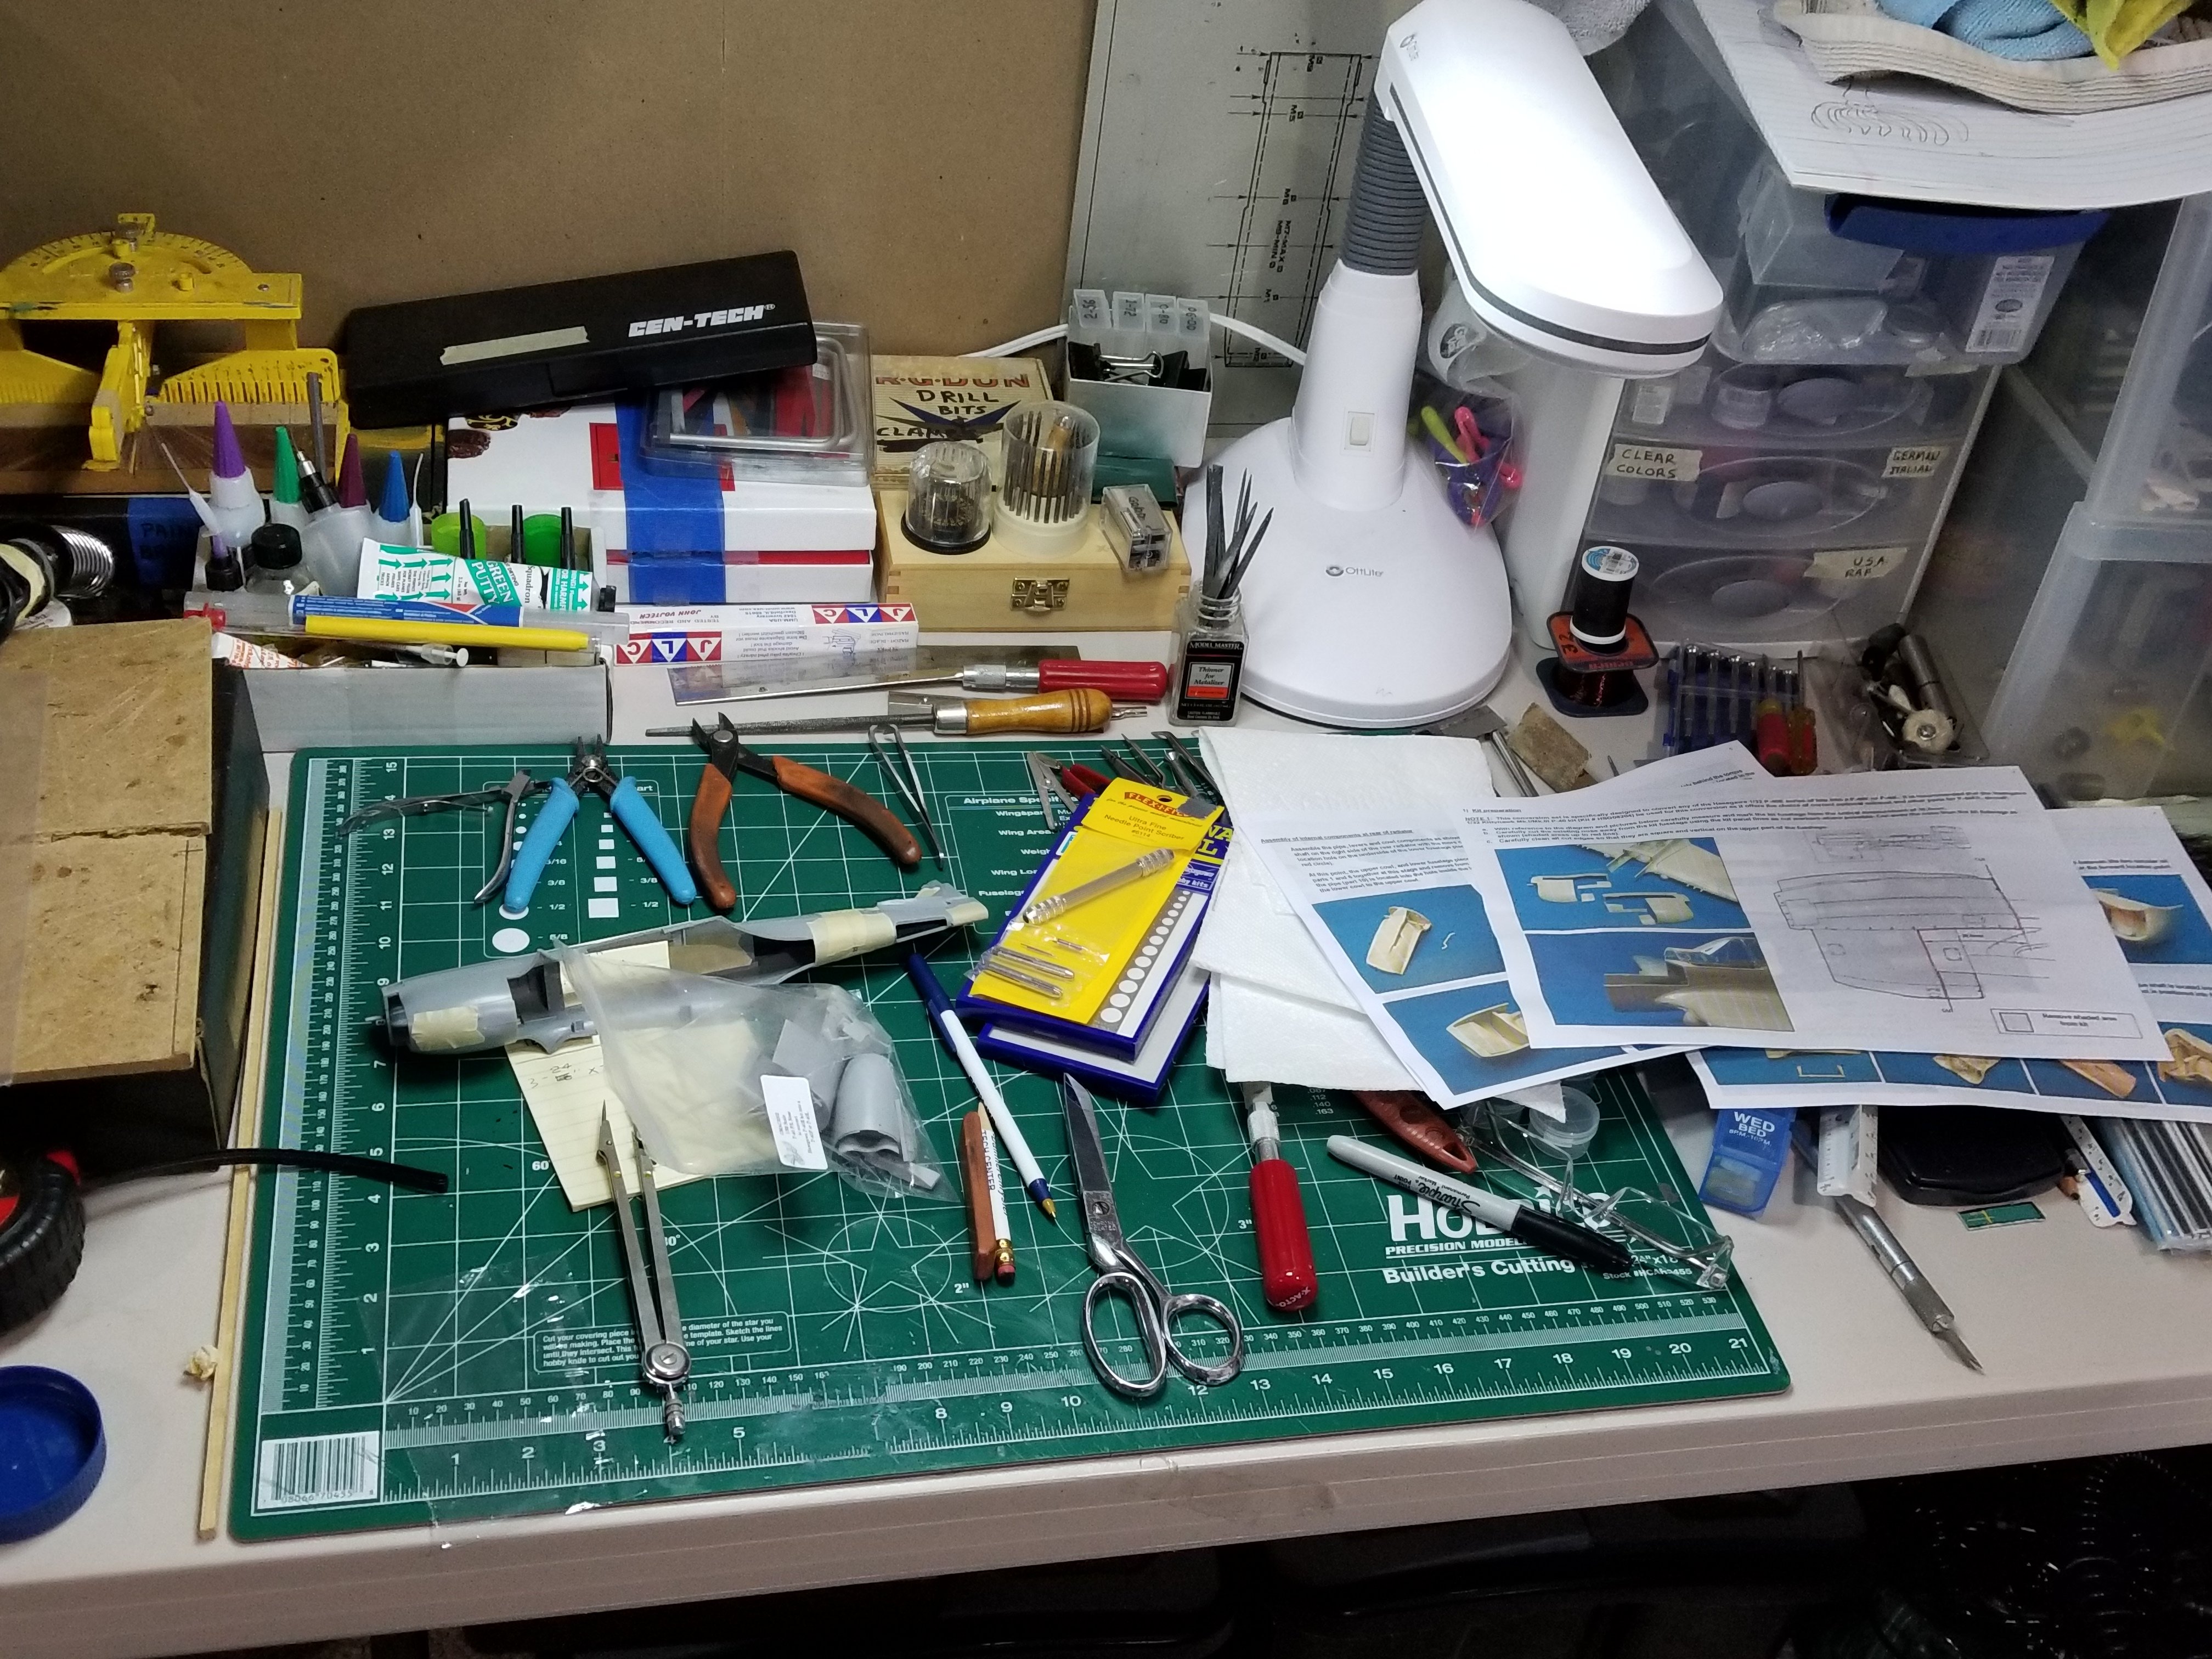
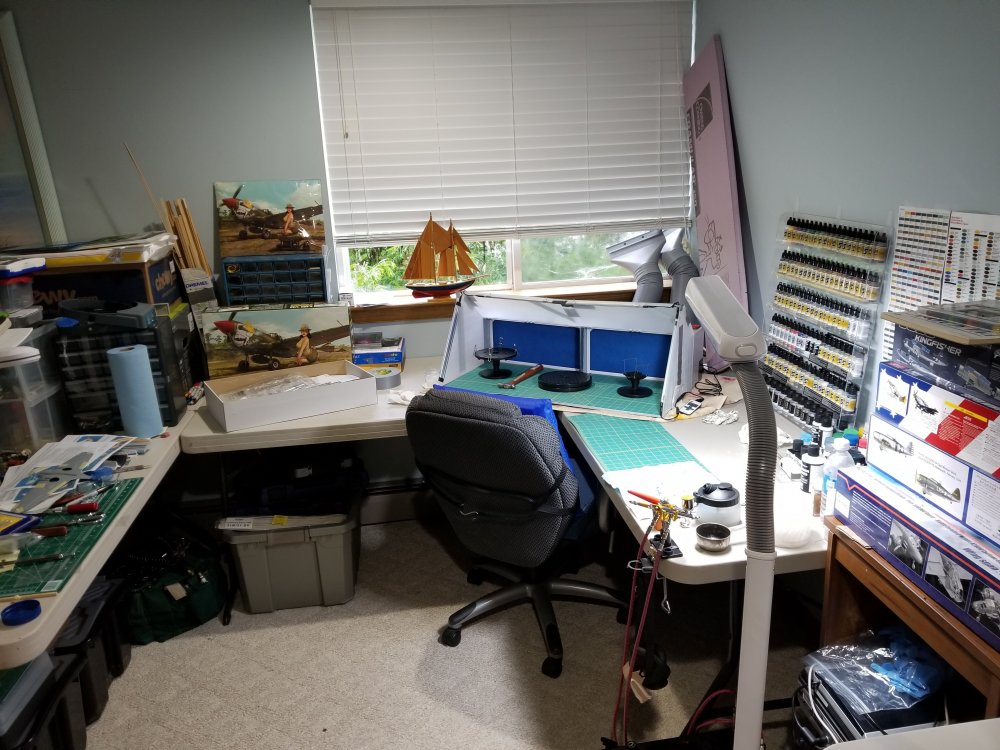
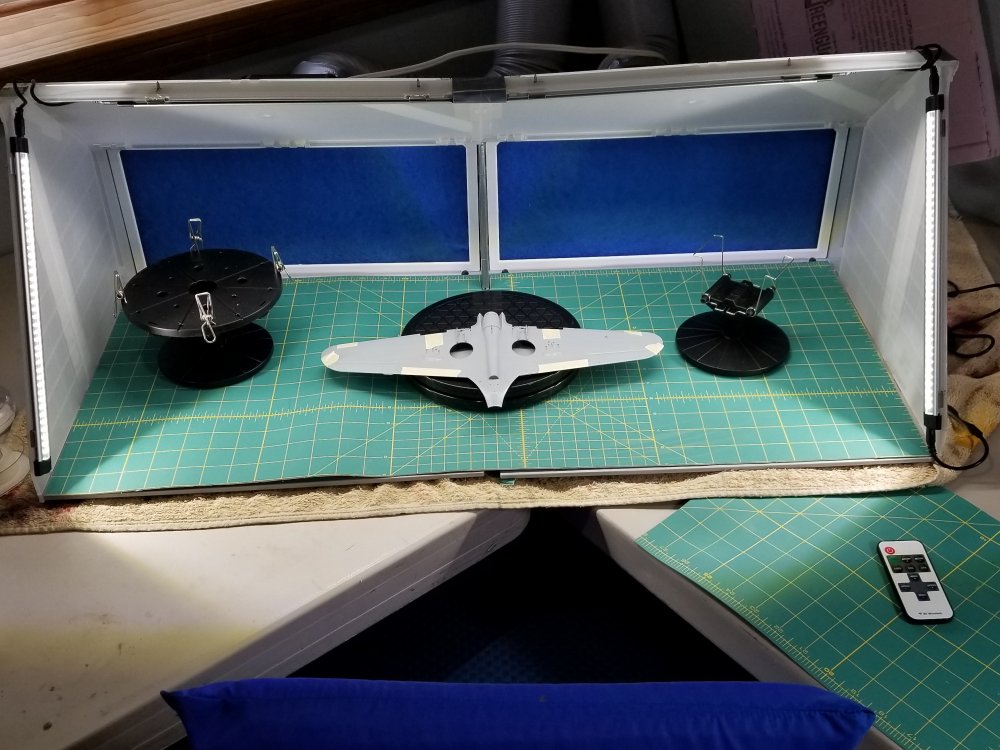
Hey Martin Yeah it's not a bad setup, but I need to make some improvements. The table to the right is to deep and makes it difficult to get to my paint rack, plus I now need to add another rack because of all tbe extra paint I have acquired since I got the first rack. I also have to take things apart so I can attach the duct work for paint booth to the pink piece of foam that will go in the window and allow it to vent to the outside. Also I need to get a stand for my Foredom tool so I can hang it in its proper place. Work, work, work its never done -
What is on your bench right now ? Share a picture :)
CrankyCrafstman replied to Martinnfb's topic in Modelling Discussion
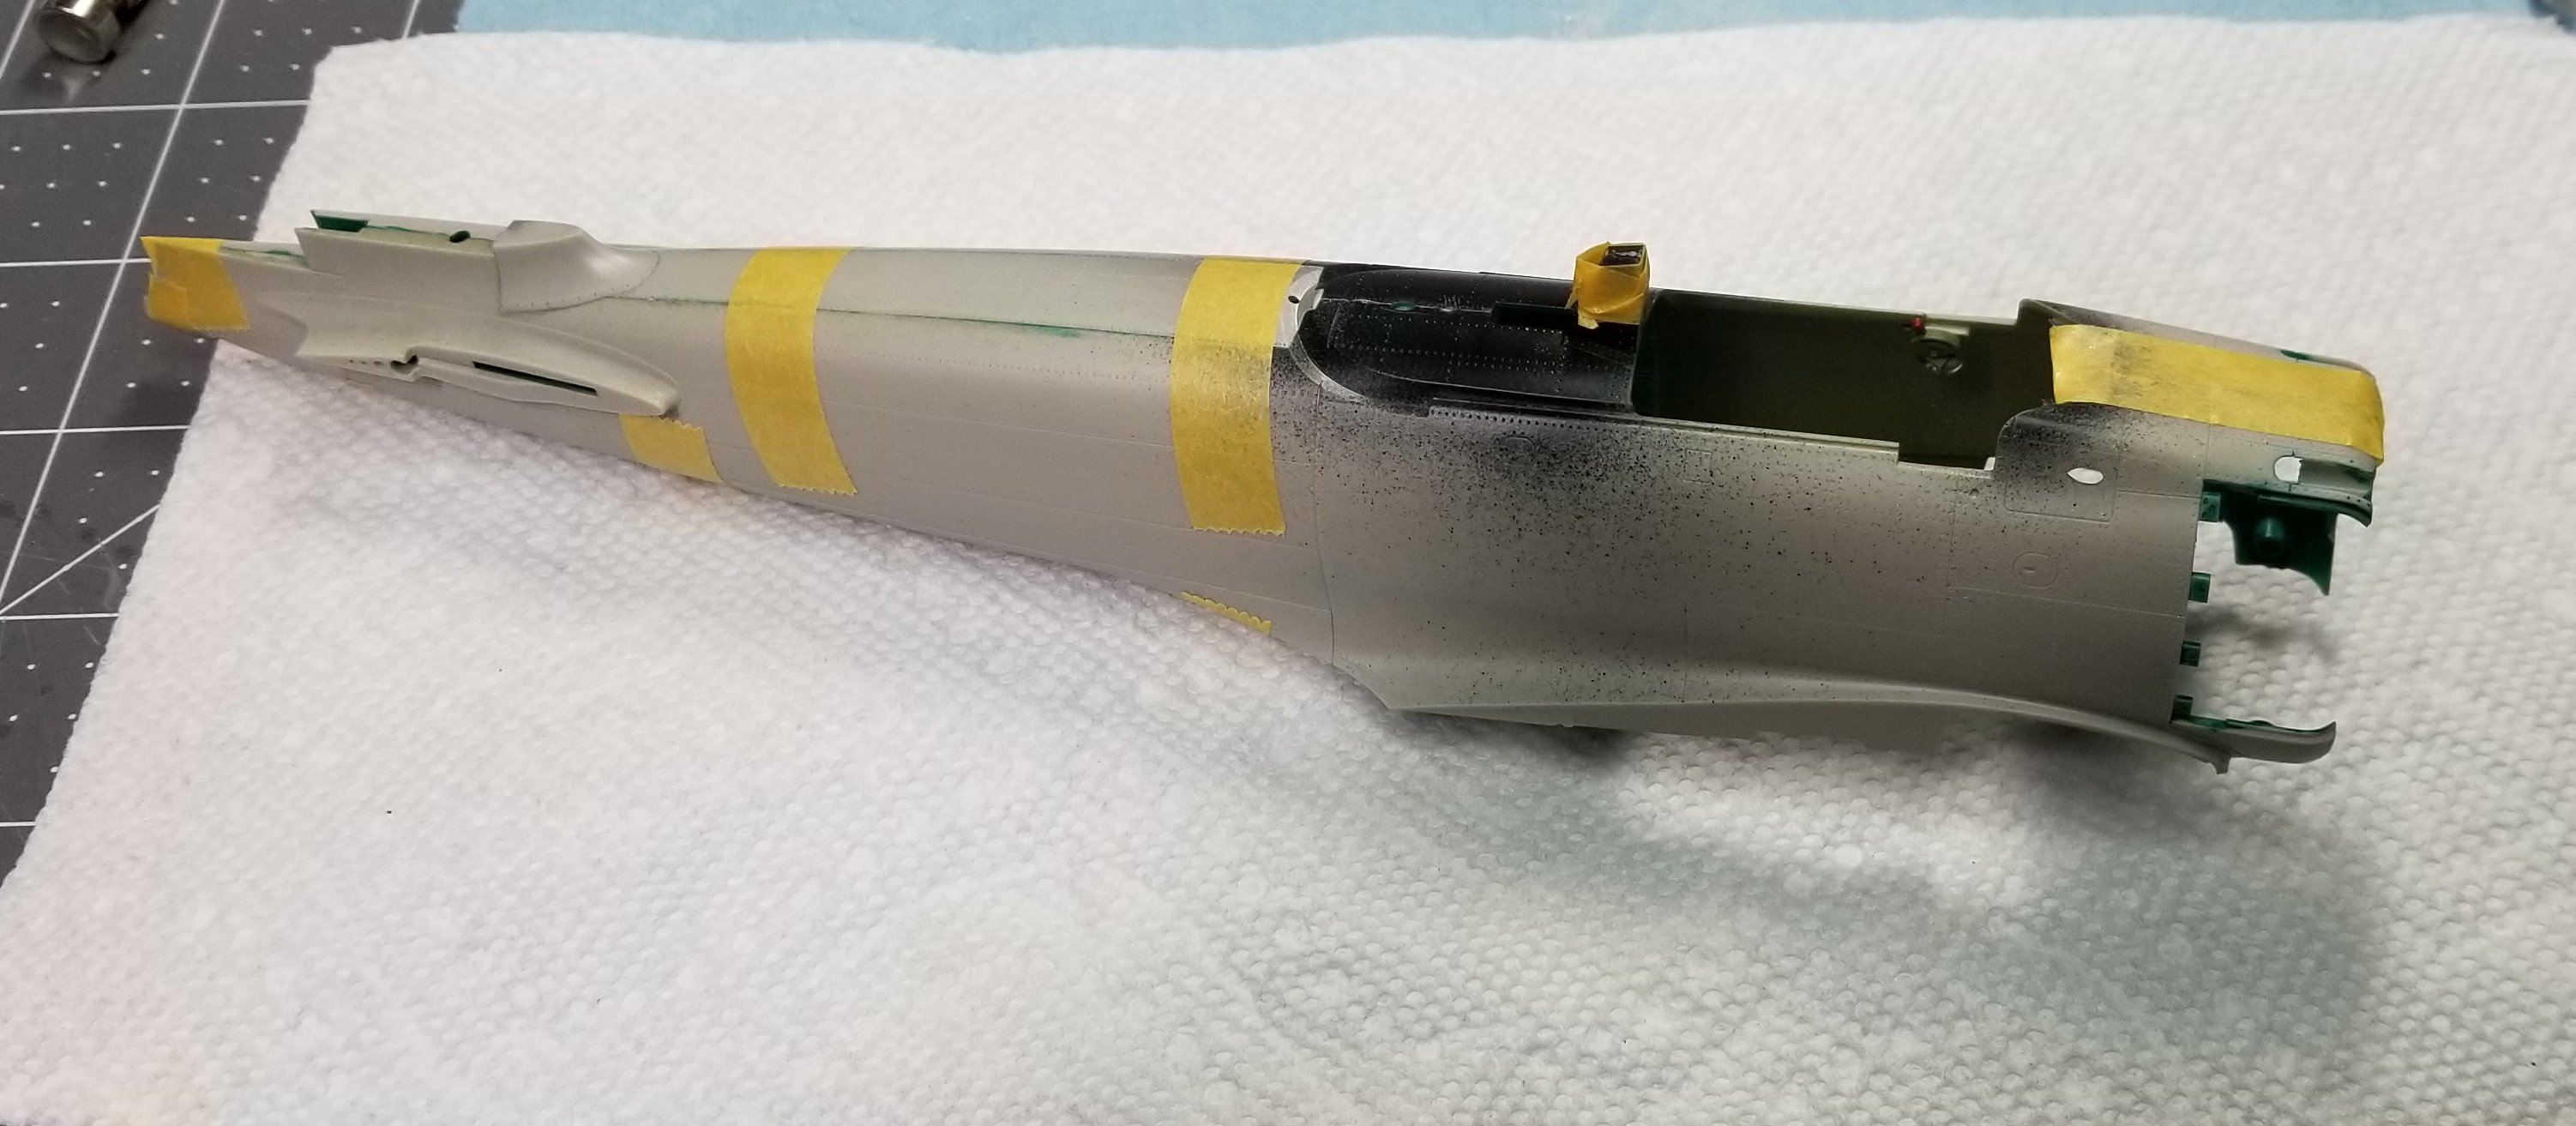
I'm working on a 1/32 Tamiya A6M2b My work area paint booth work bench

-
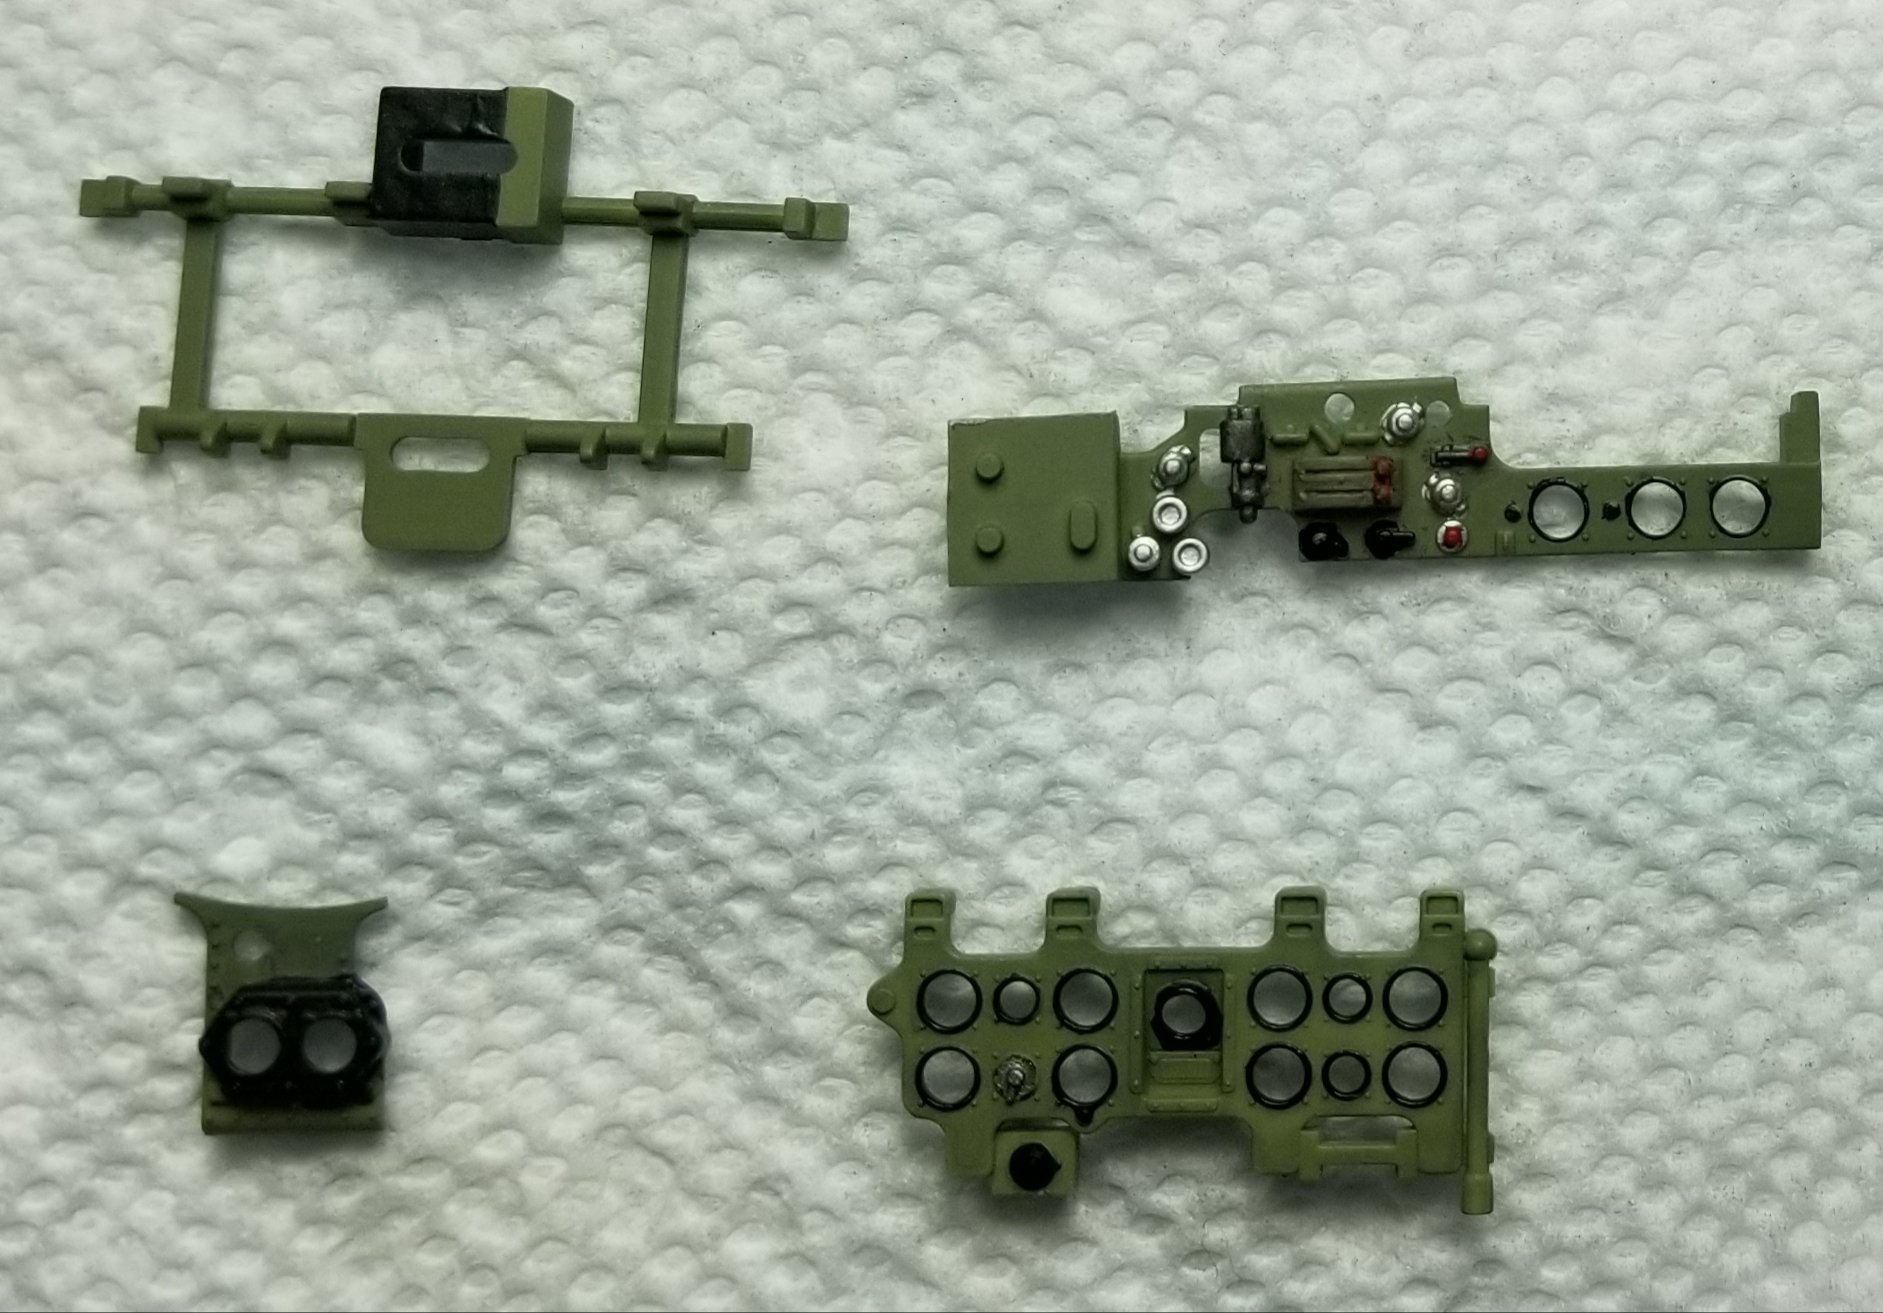
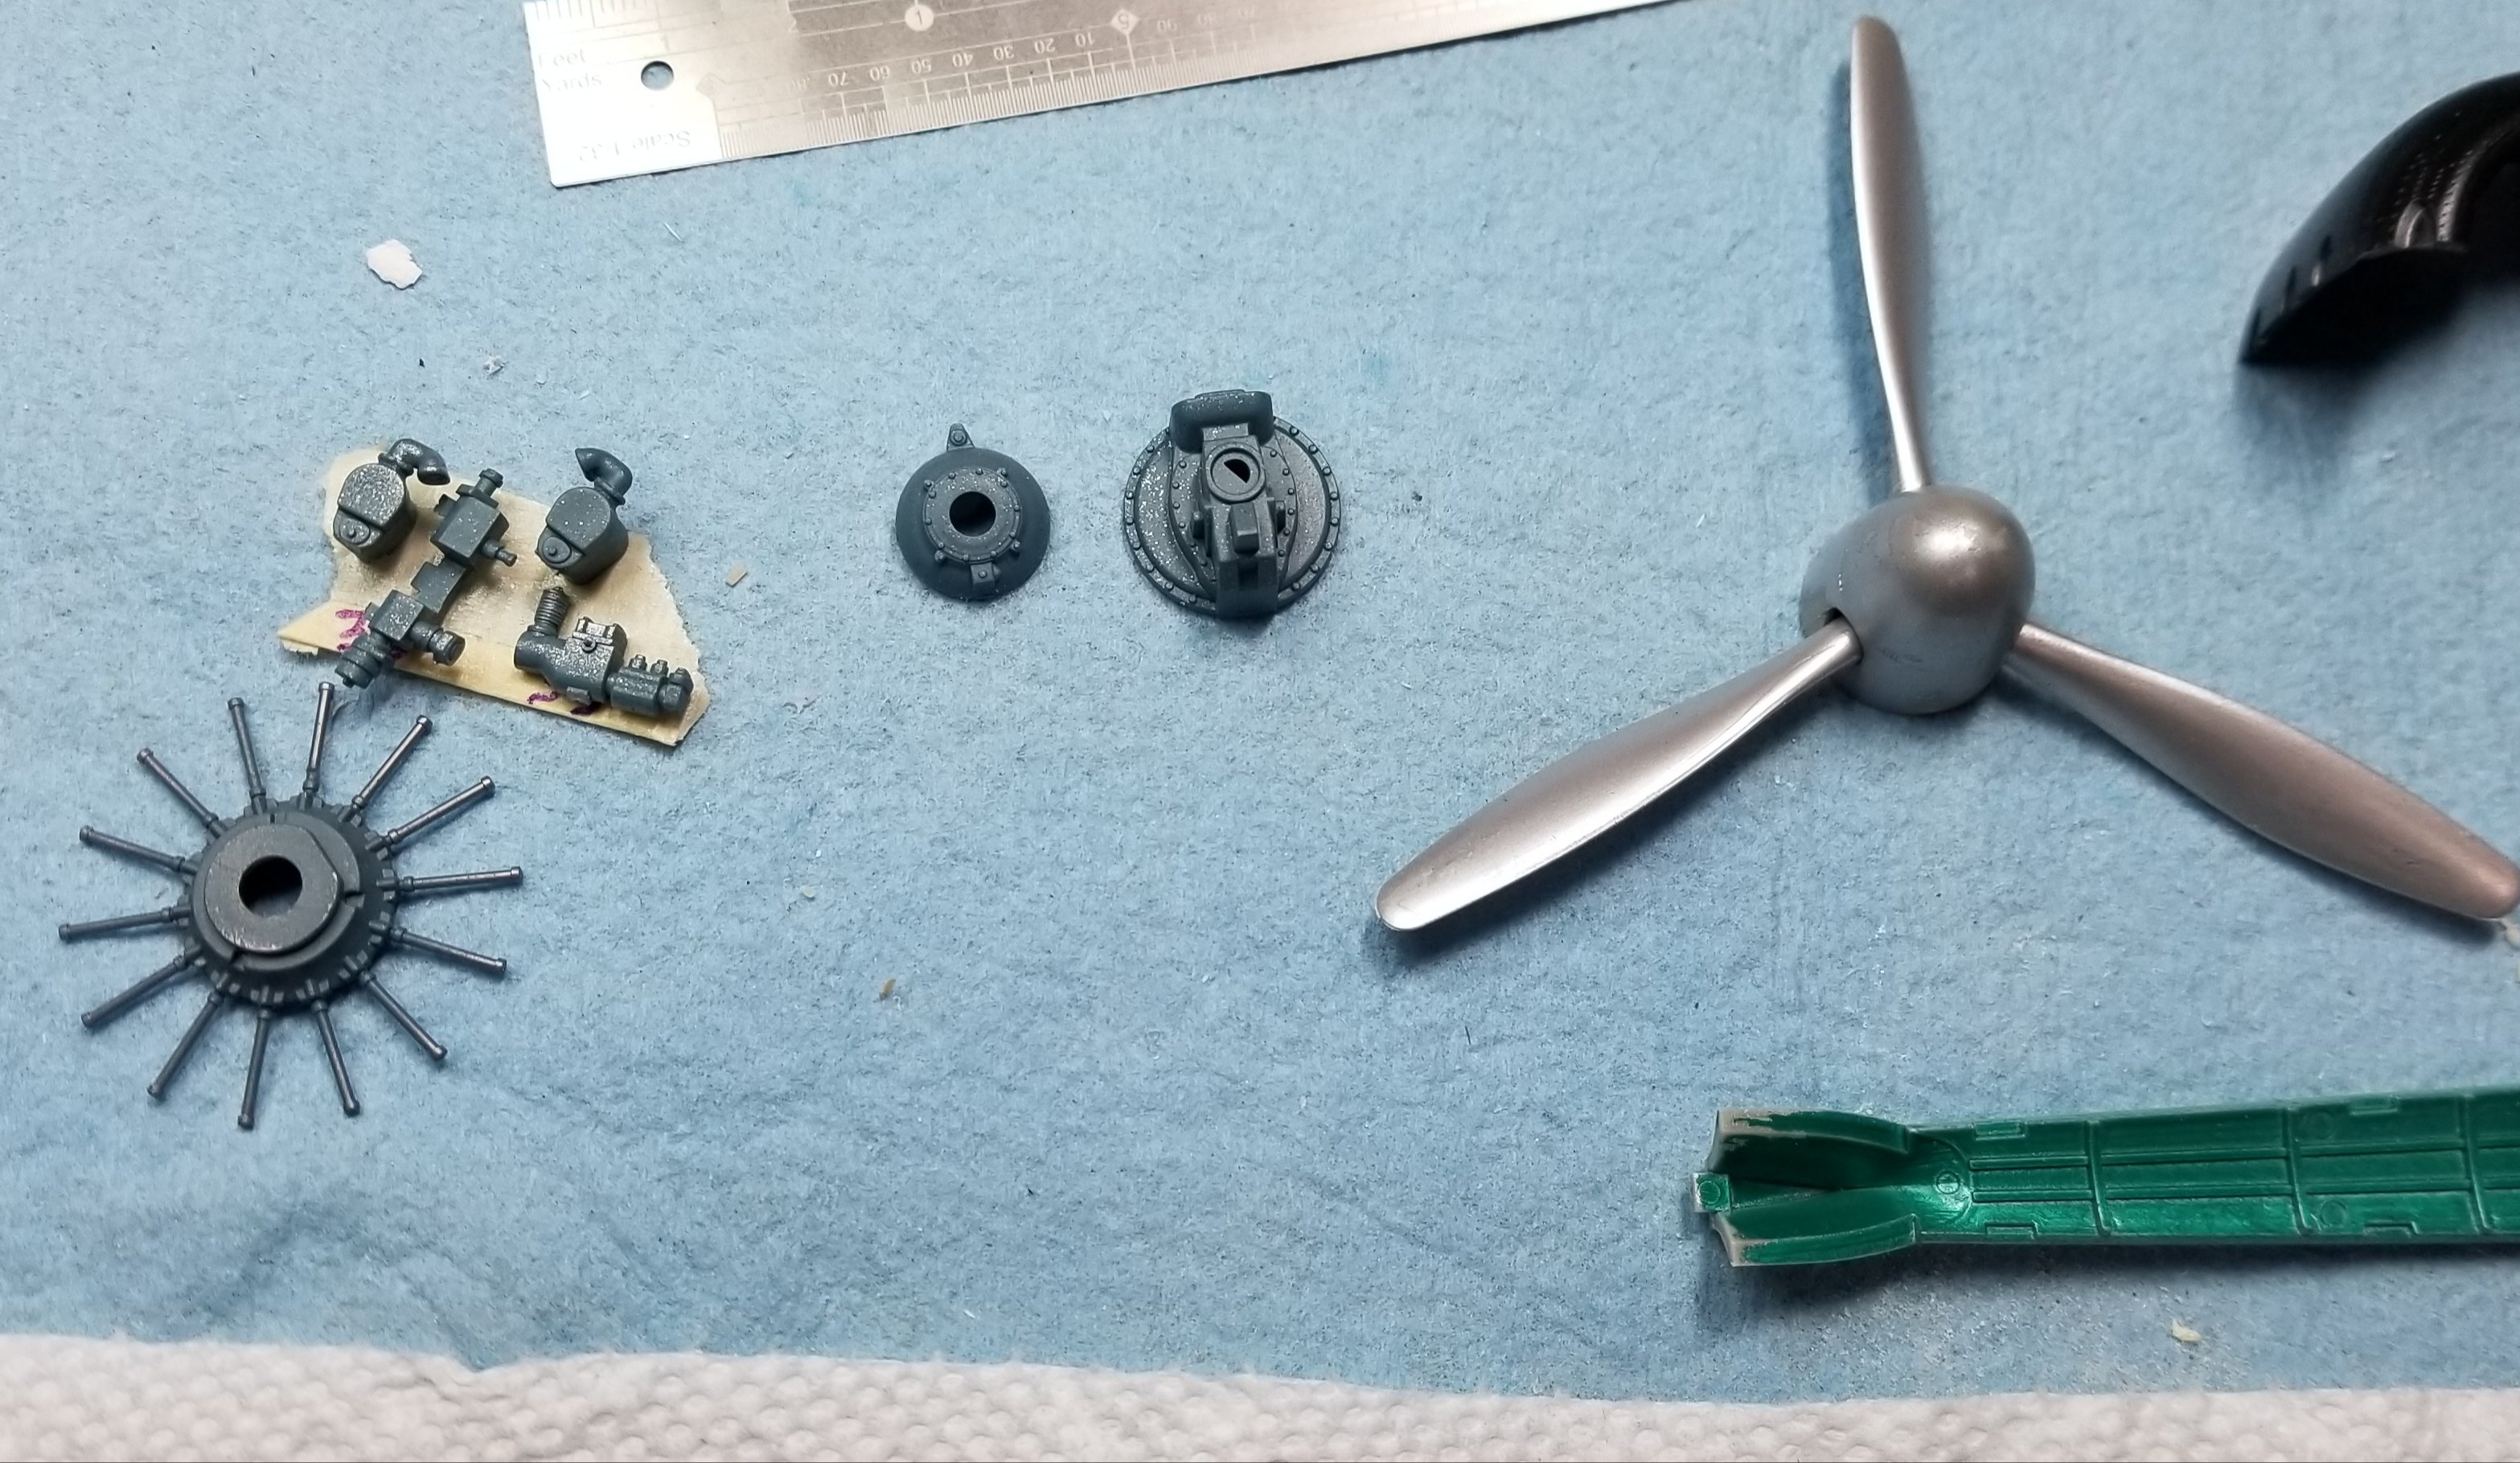
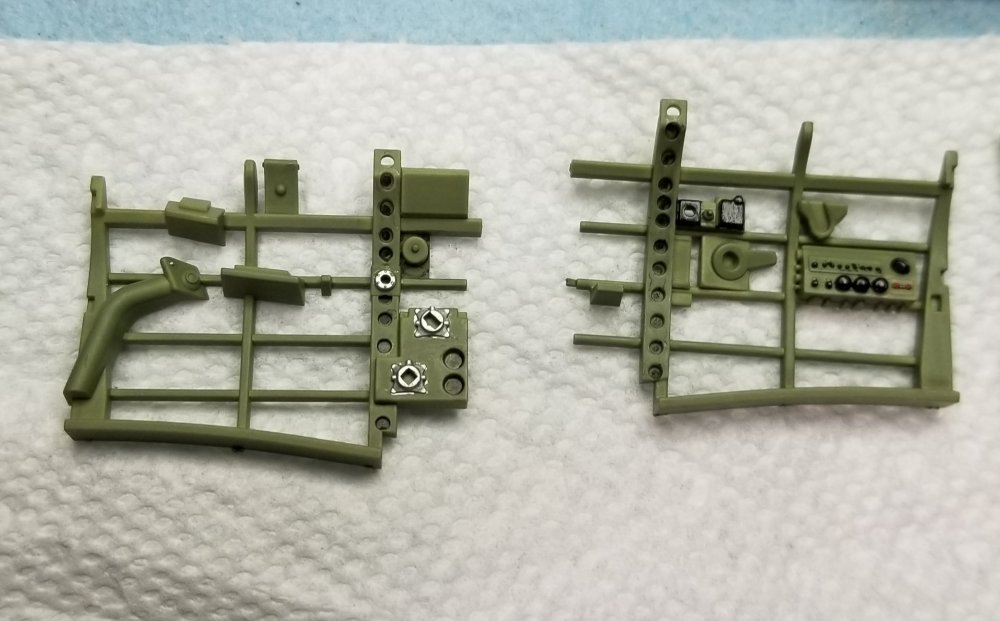
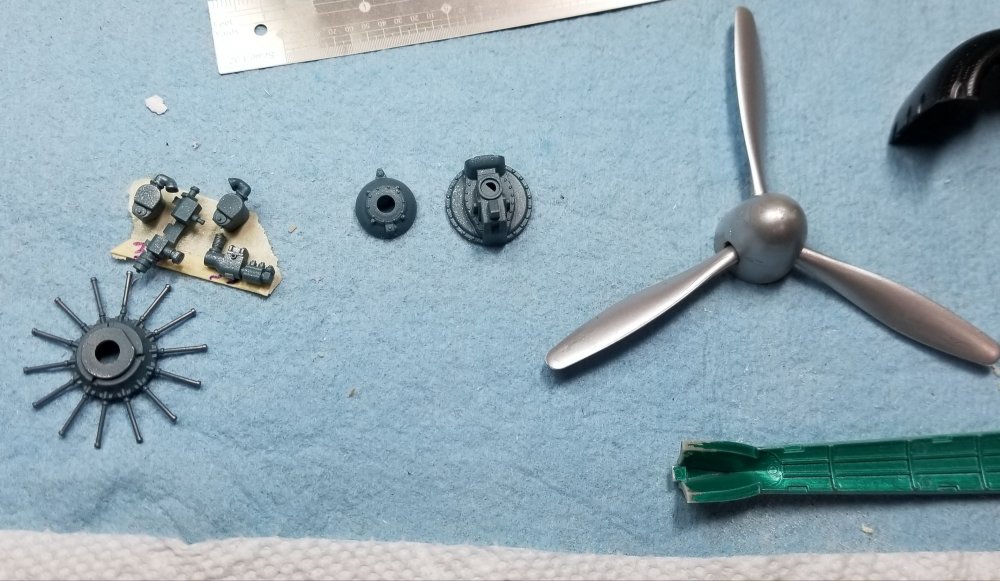
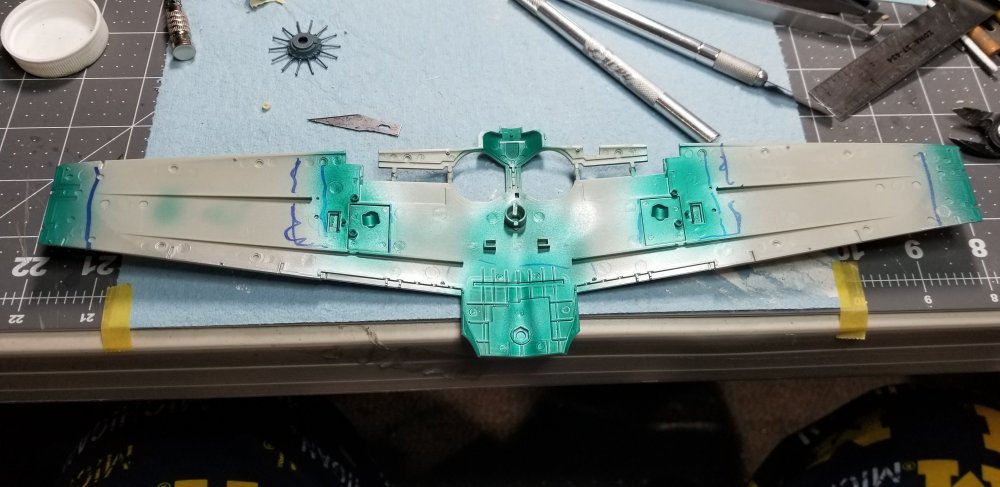
Ok, here are some more pictures. This is my custom mix for the Mitsubishi cockpit green.
-
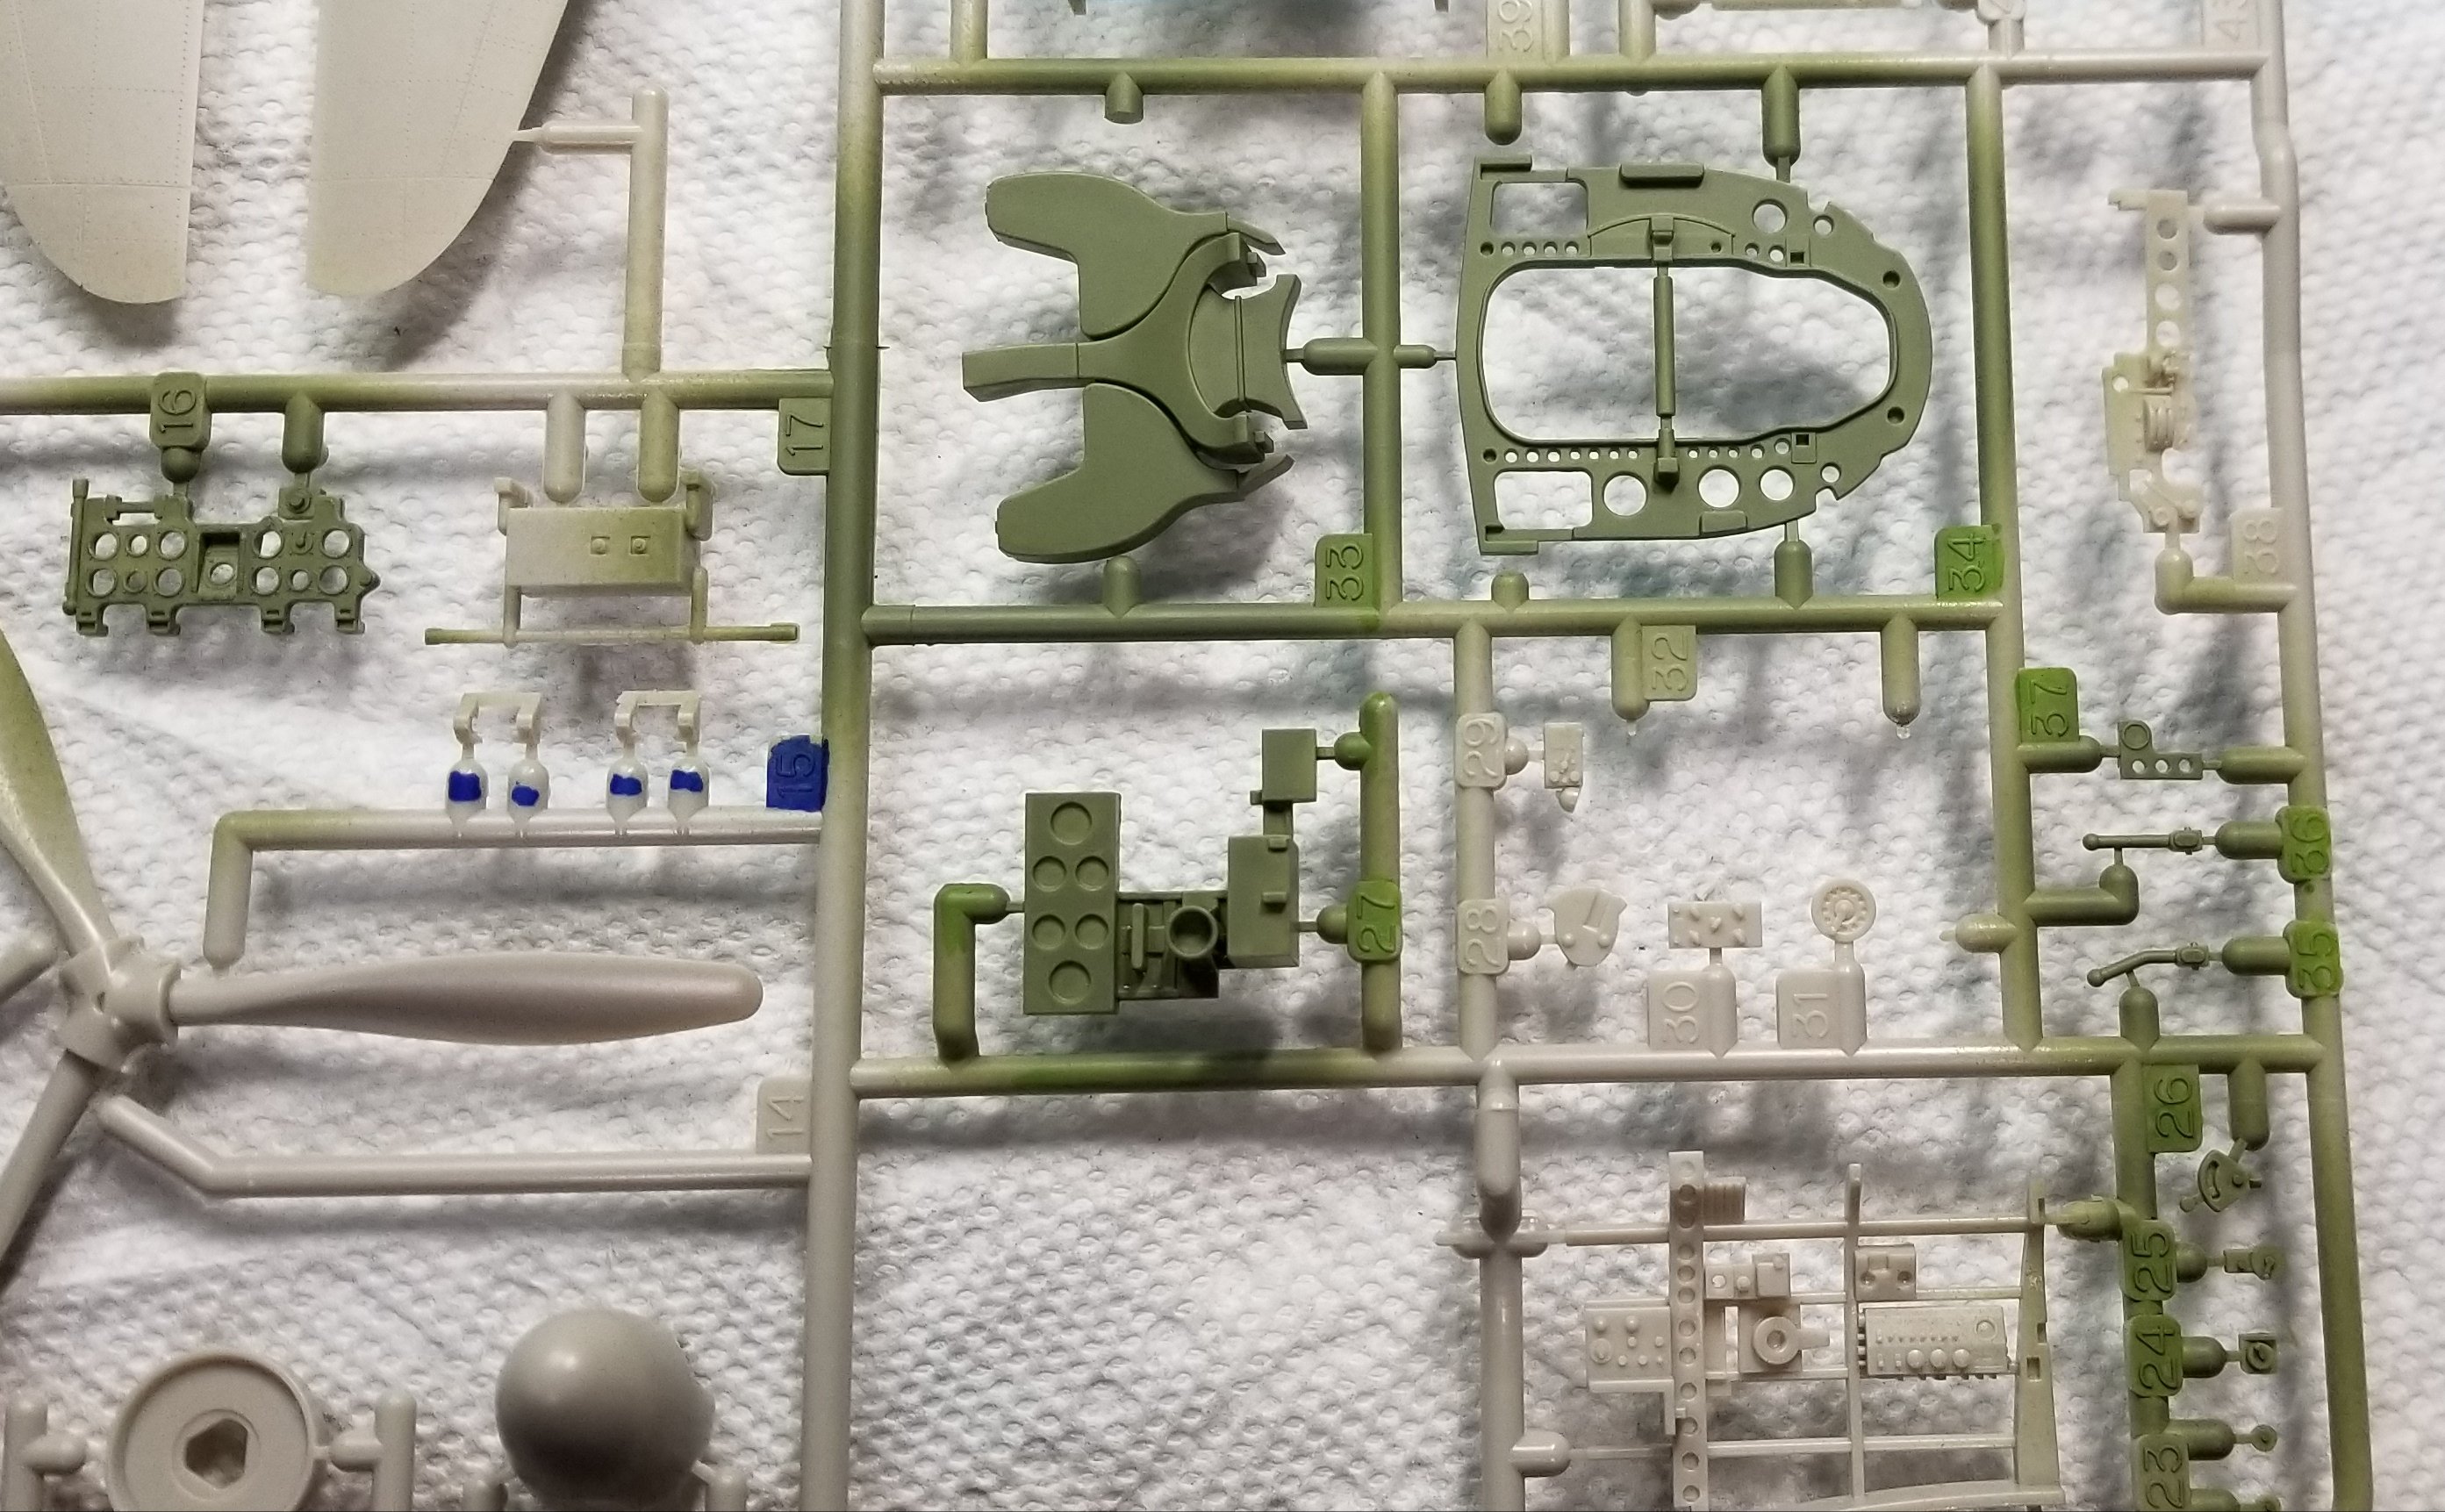
Ok here are some pictures


-
1/32 Lancaster build and improvements
CrankyCrafstman replied to NigelR32's topic in LSM 1/35 and Larger Work In Progress
Did all the moths fly away...lol -
1/32 Lancaster build and improvements
CrankyCrafstman replied to NigelR32's topic in LSM 1/35 and Larger Work In Progress
Hello Nige I'm definitely not trying to be picky, but why is the raised floor that the seat is sitting on so thick? Just curious so I can get mine correct. Ron G -
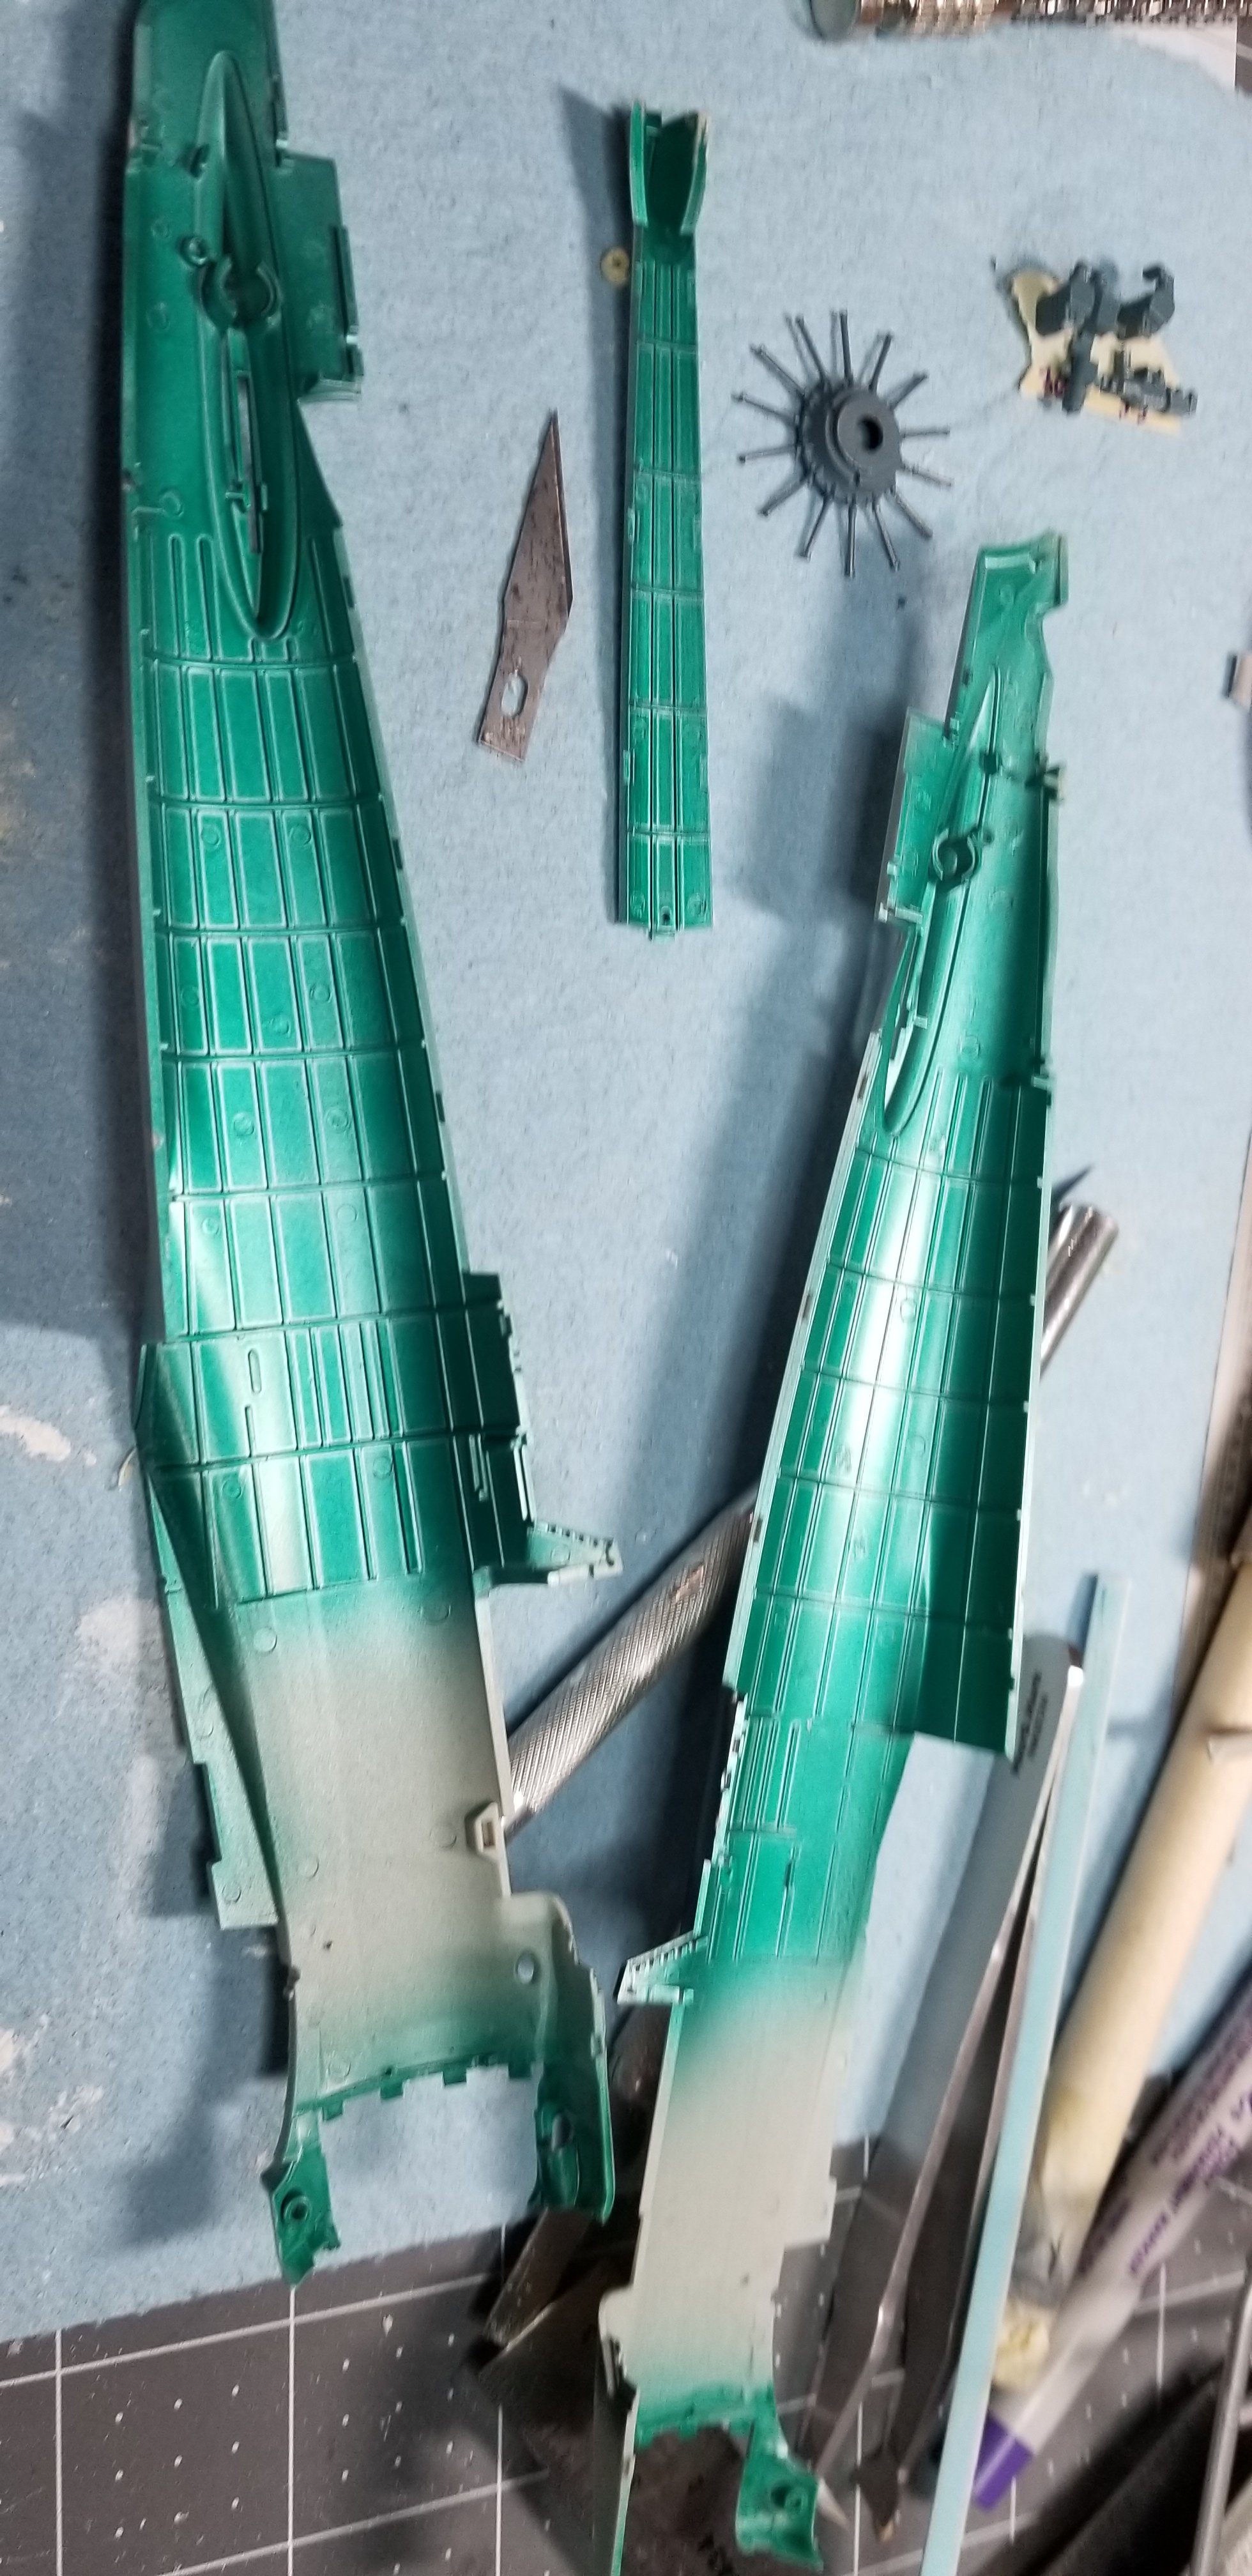
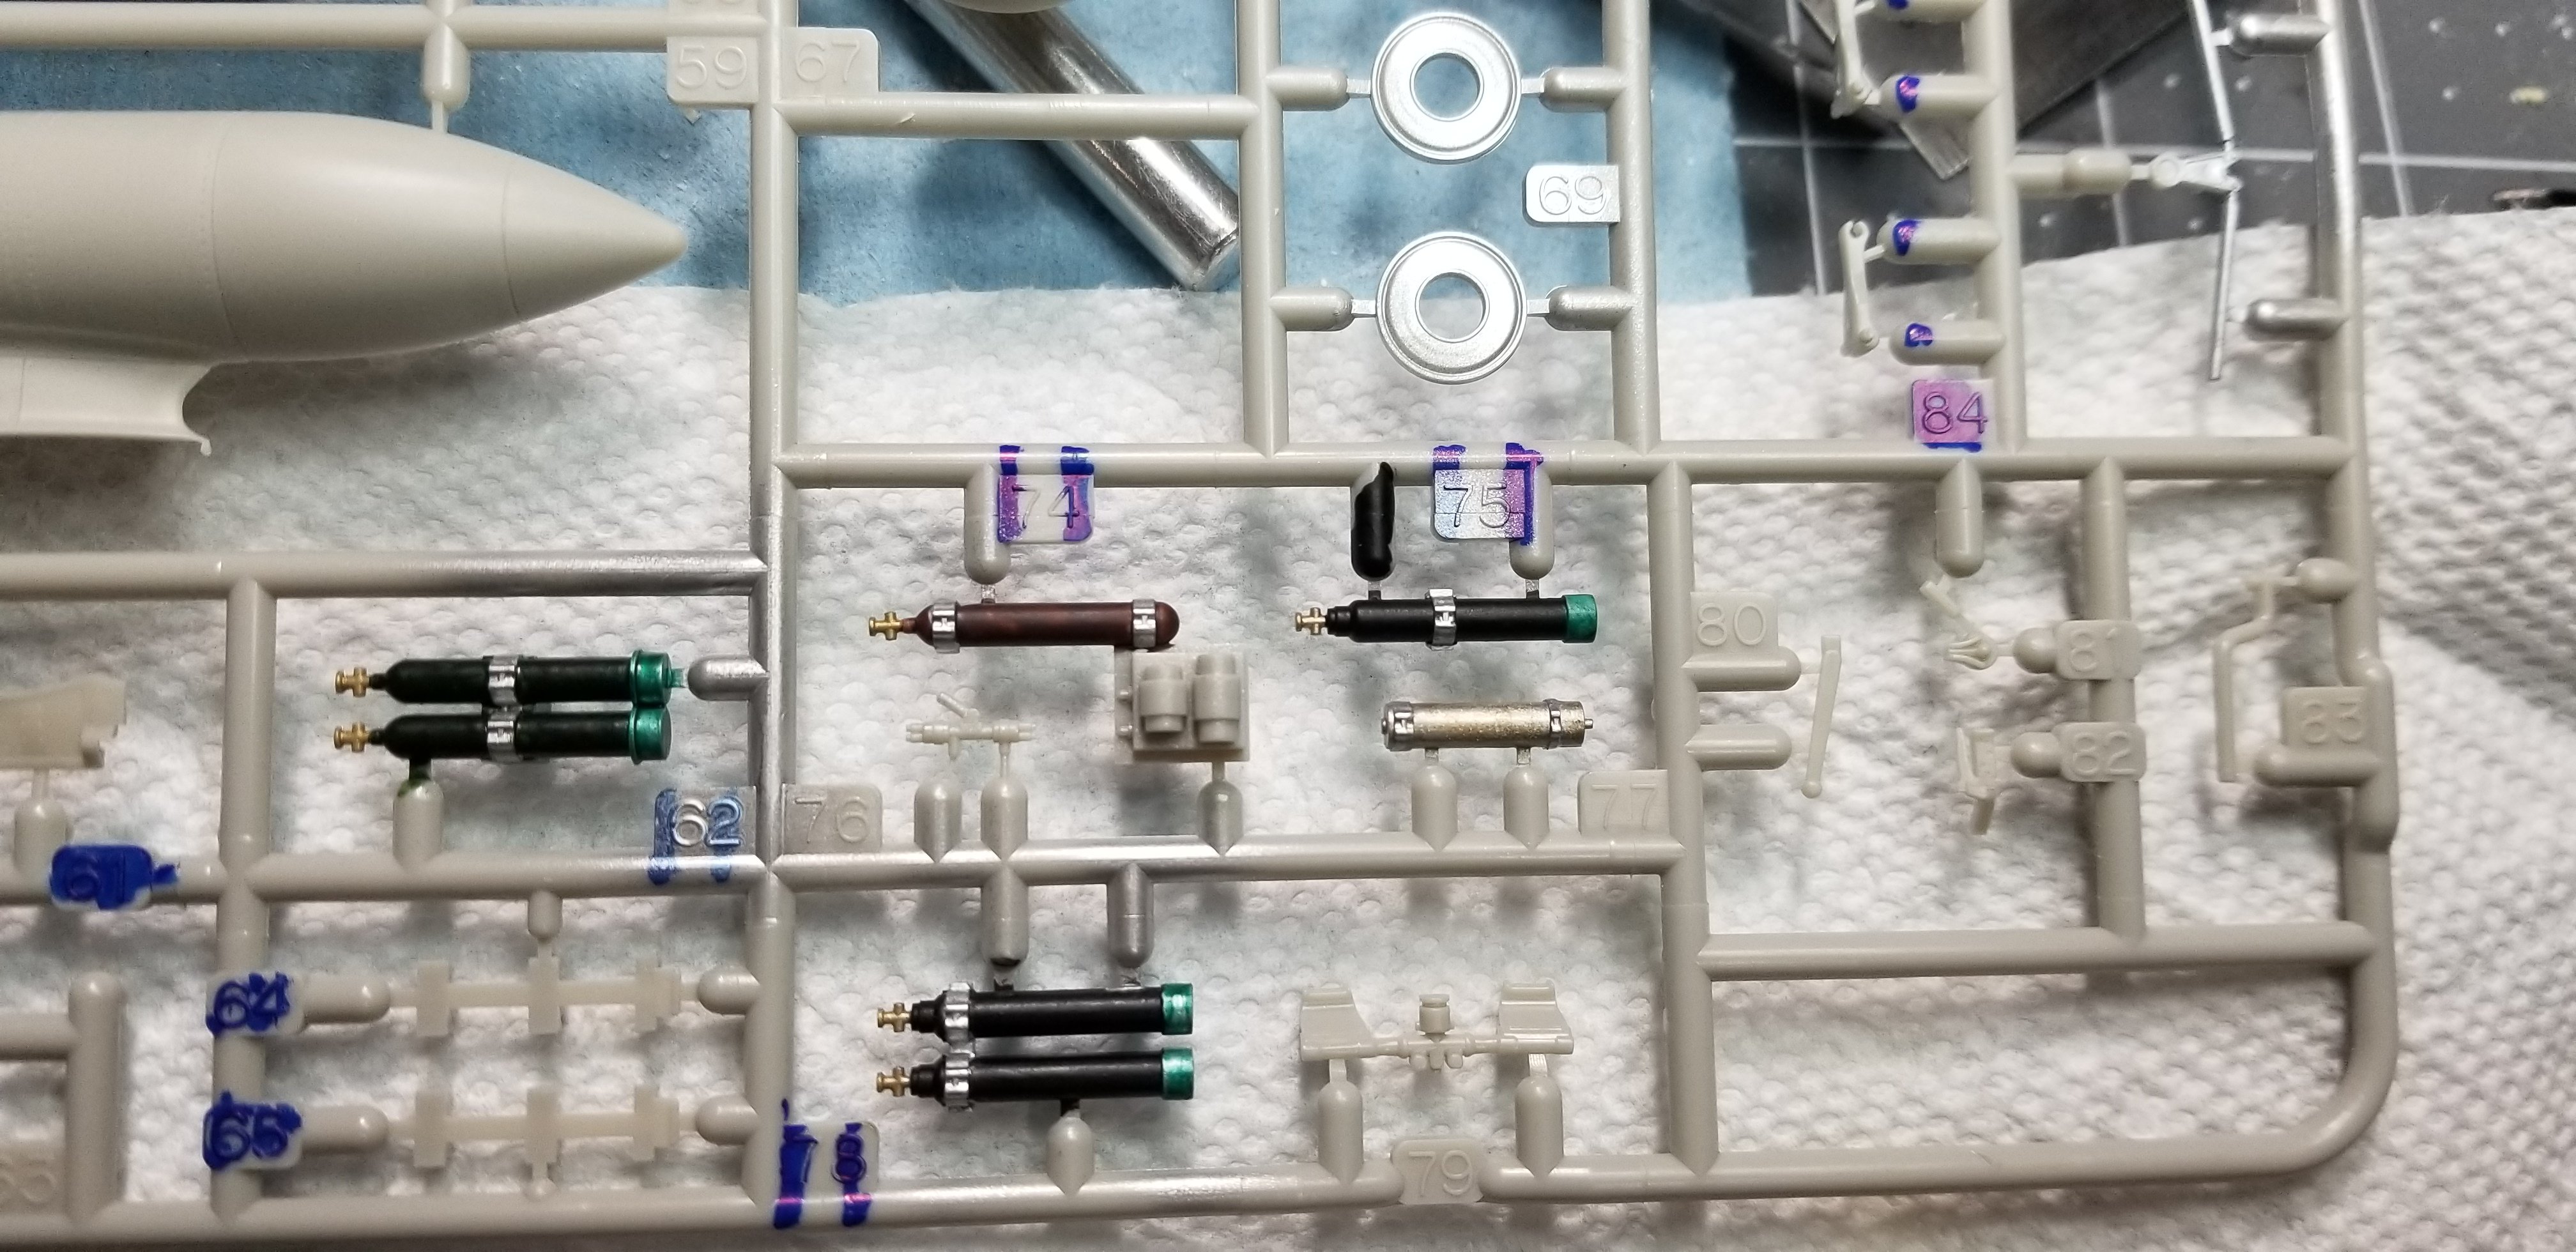
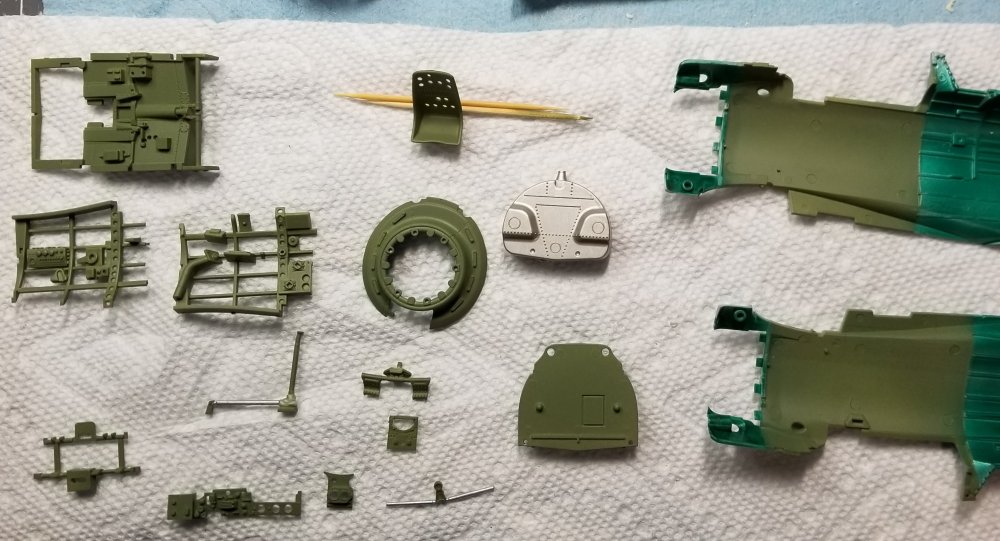
Ok, just a little update. I have all the Aotake areas primed with white aluminum and the engine cases painted in Sakae blue/grey. Tomorrow I'm going to paint the Aotake and start on the cockpit. Ron G
-
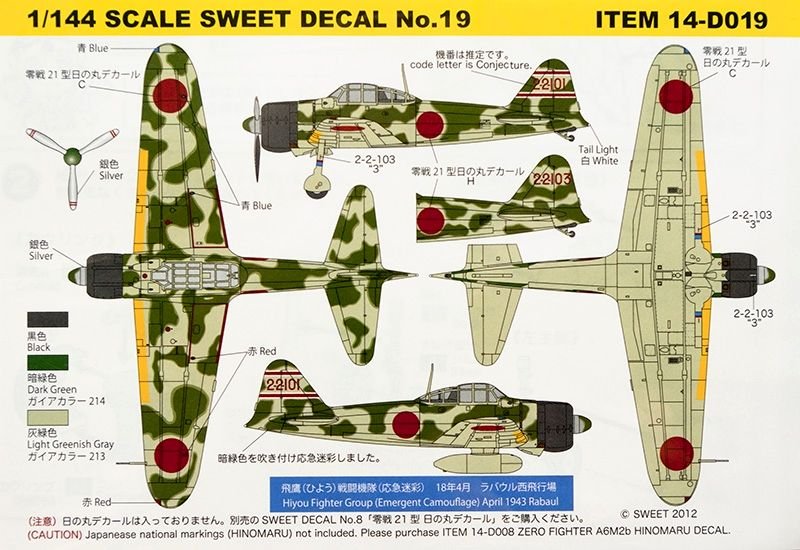
Well I think I'm going to have to take a different approach to this kit. I don't want to spend the money on the A6M5 kit so it looks like the A6M3 is out. Going to do it with a mottled green over grey upper/grey lower Mitsubishi. My have to make it a fictitious plane if I can't find decals for a specific plane painted like this.