BlrwestSiR
-
Posts
9,173 -
Joined
-
Last visited
Content Type
Profiles
Forums
Events
Gallery
Everything posted by BlrwestSiR
-

Revell 1/32 Spitfire Mk IIa
BlrwestSiR replied to Peterpools's topic in LSM 1/35 and Larger Work In Progress
Here you go Peter! https://trucolorpaint.com/ Not the best website but they have a lot of colours. -
What is on your bench right now ? Share a picture :)
BlrwestSiR replied to Martinnfb's topic in Modelling Discussion
Thankfully no, but the A pillars are incredibly thin. -
Revell 1/32 Spitfire Mk IIa
BlrwestSiR replied to Peterpools's topic in LSM 1/35 and Larger Work In Progress
Peter, the paint job looks great as expected. I enjoy spraying AK Real Color as well. They have a great selection of colors and both shops here in the city carry them which makes it easy to find too. If you get the chance, try TruColor. It's a great paint made in AZ and is lacquer based. It has a hard as nails finish when dry. Unfortunately it's not well known and the shops here have stopped carrying it. I think you can mail order direct from them. -
What is on your bench right now ? Share a picture :)
BlrwestSiR replied to Martinnfb's topic in Modelling Discussion
No, it's a crease in the bodywork so it's intentional. -
What is on your bench right now ? Share a picture :)
BlrwestSiR replied to Martinnfb's topic in Modelling Discussion
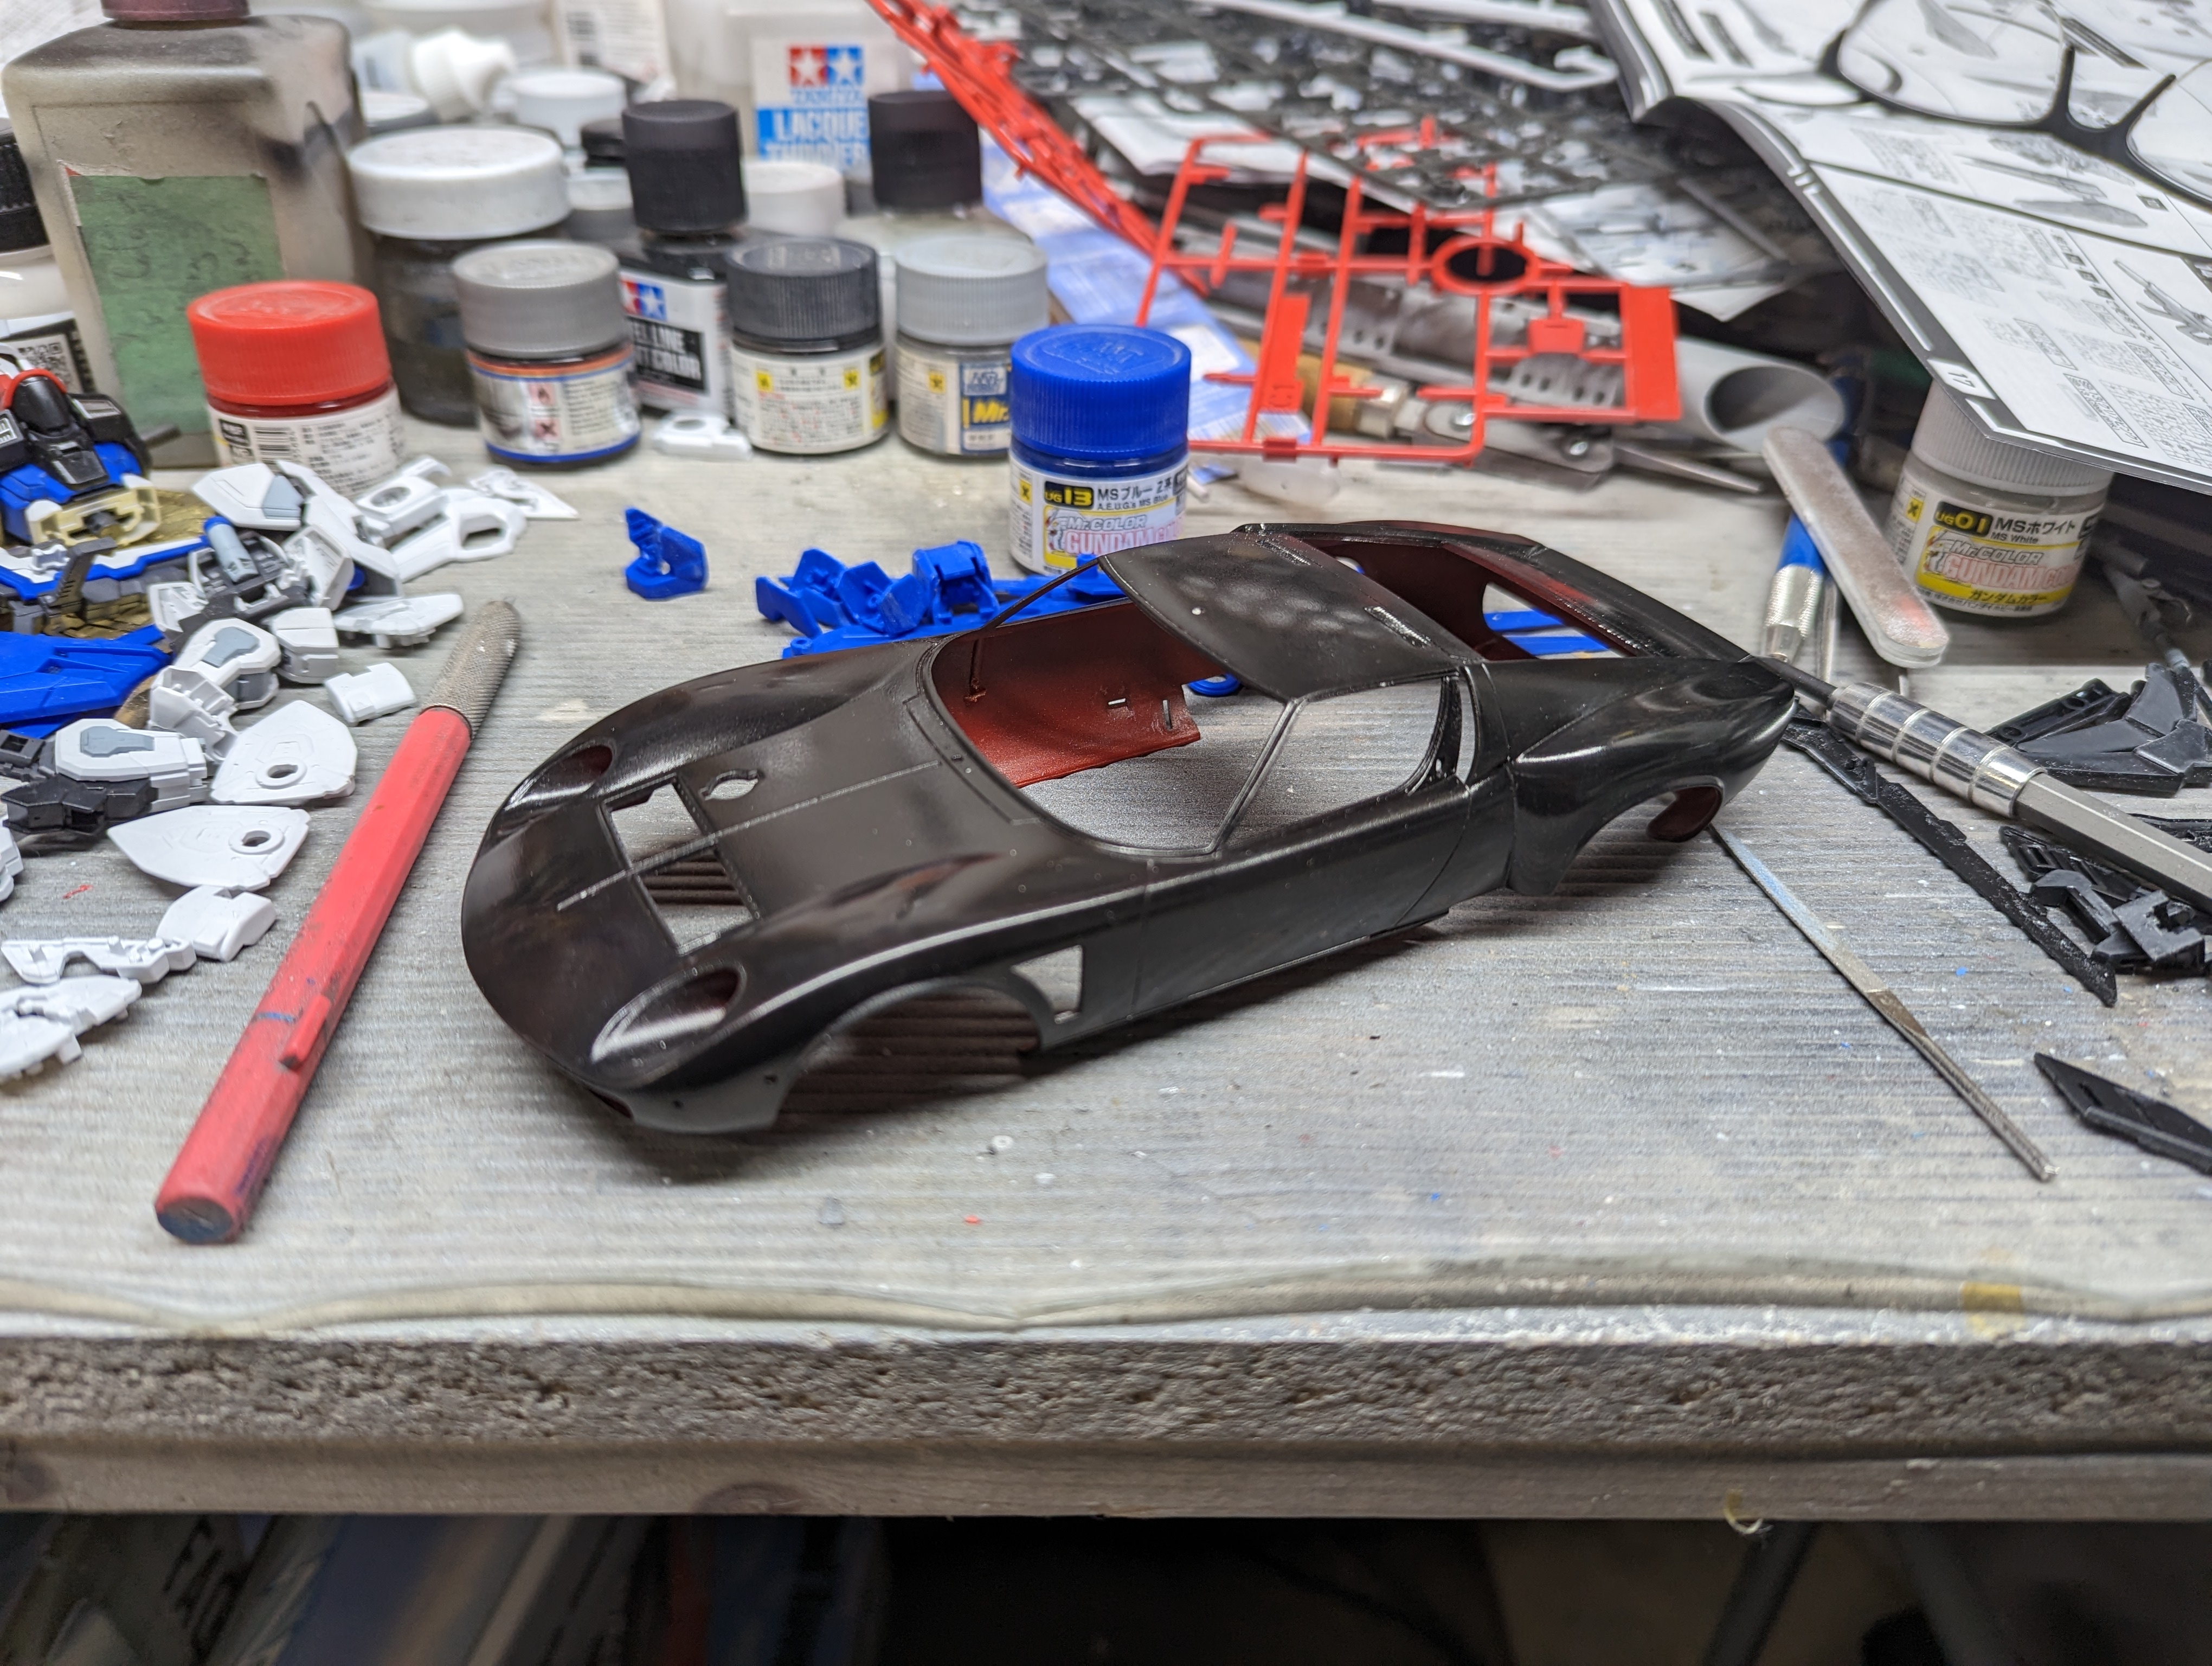
Now back to our regularly scheduled Gundam model.

-
What is on your bench right now ? Share a picture :)
BlrwestSiR replied to Martinnfb's topic in Modelling Discussion
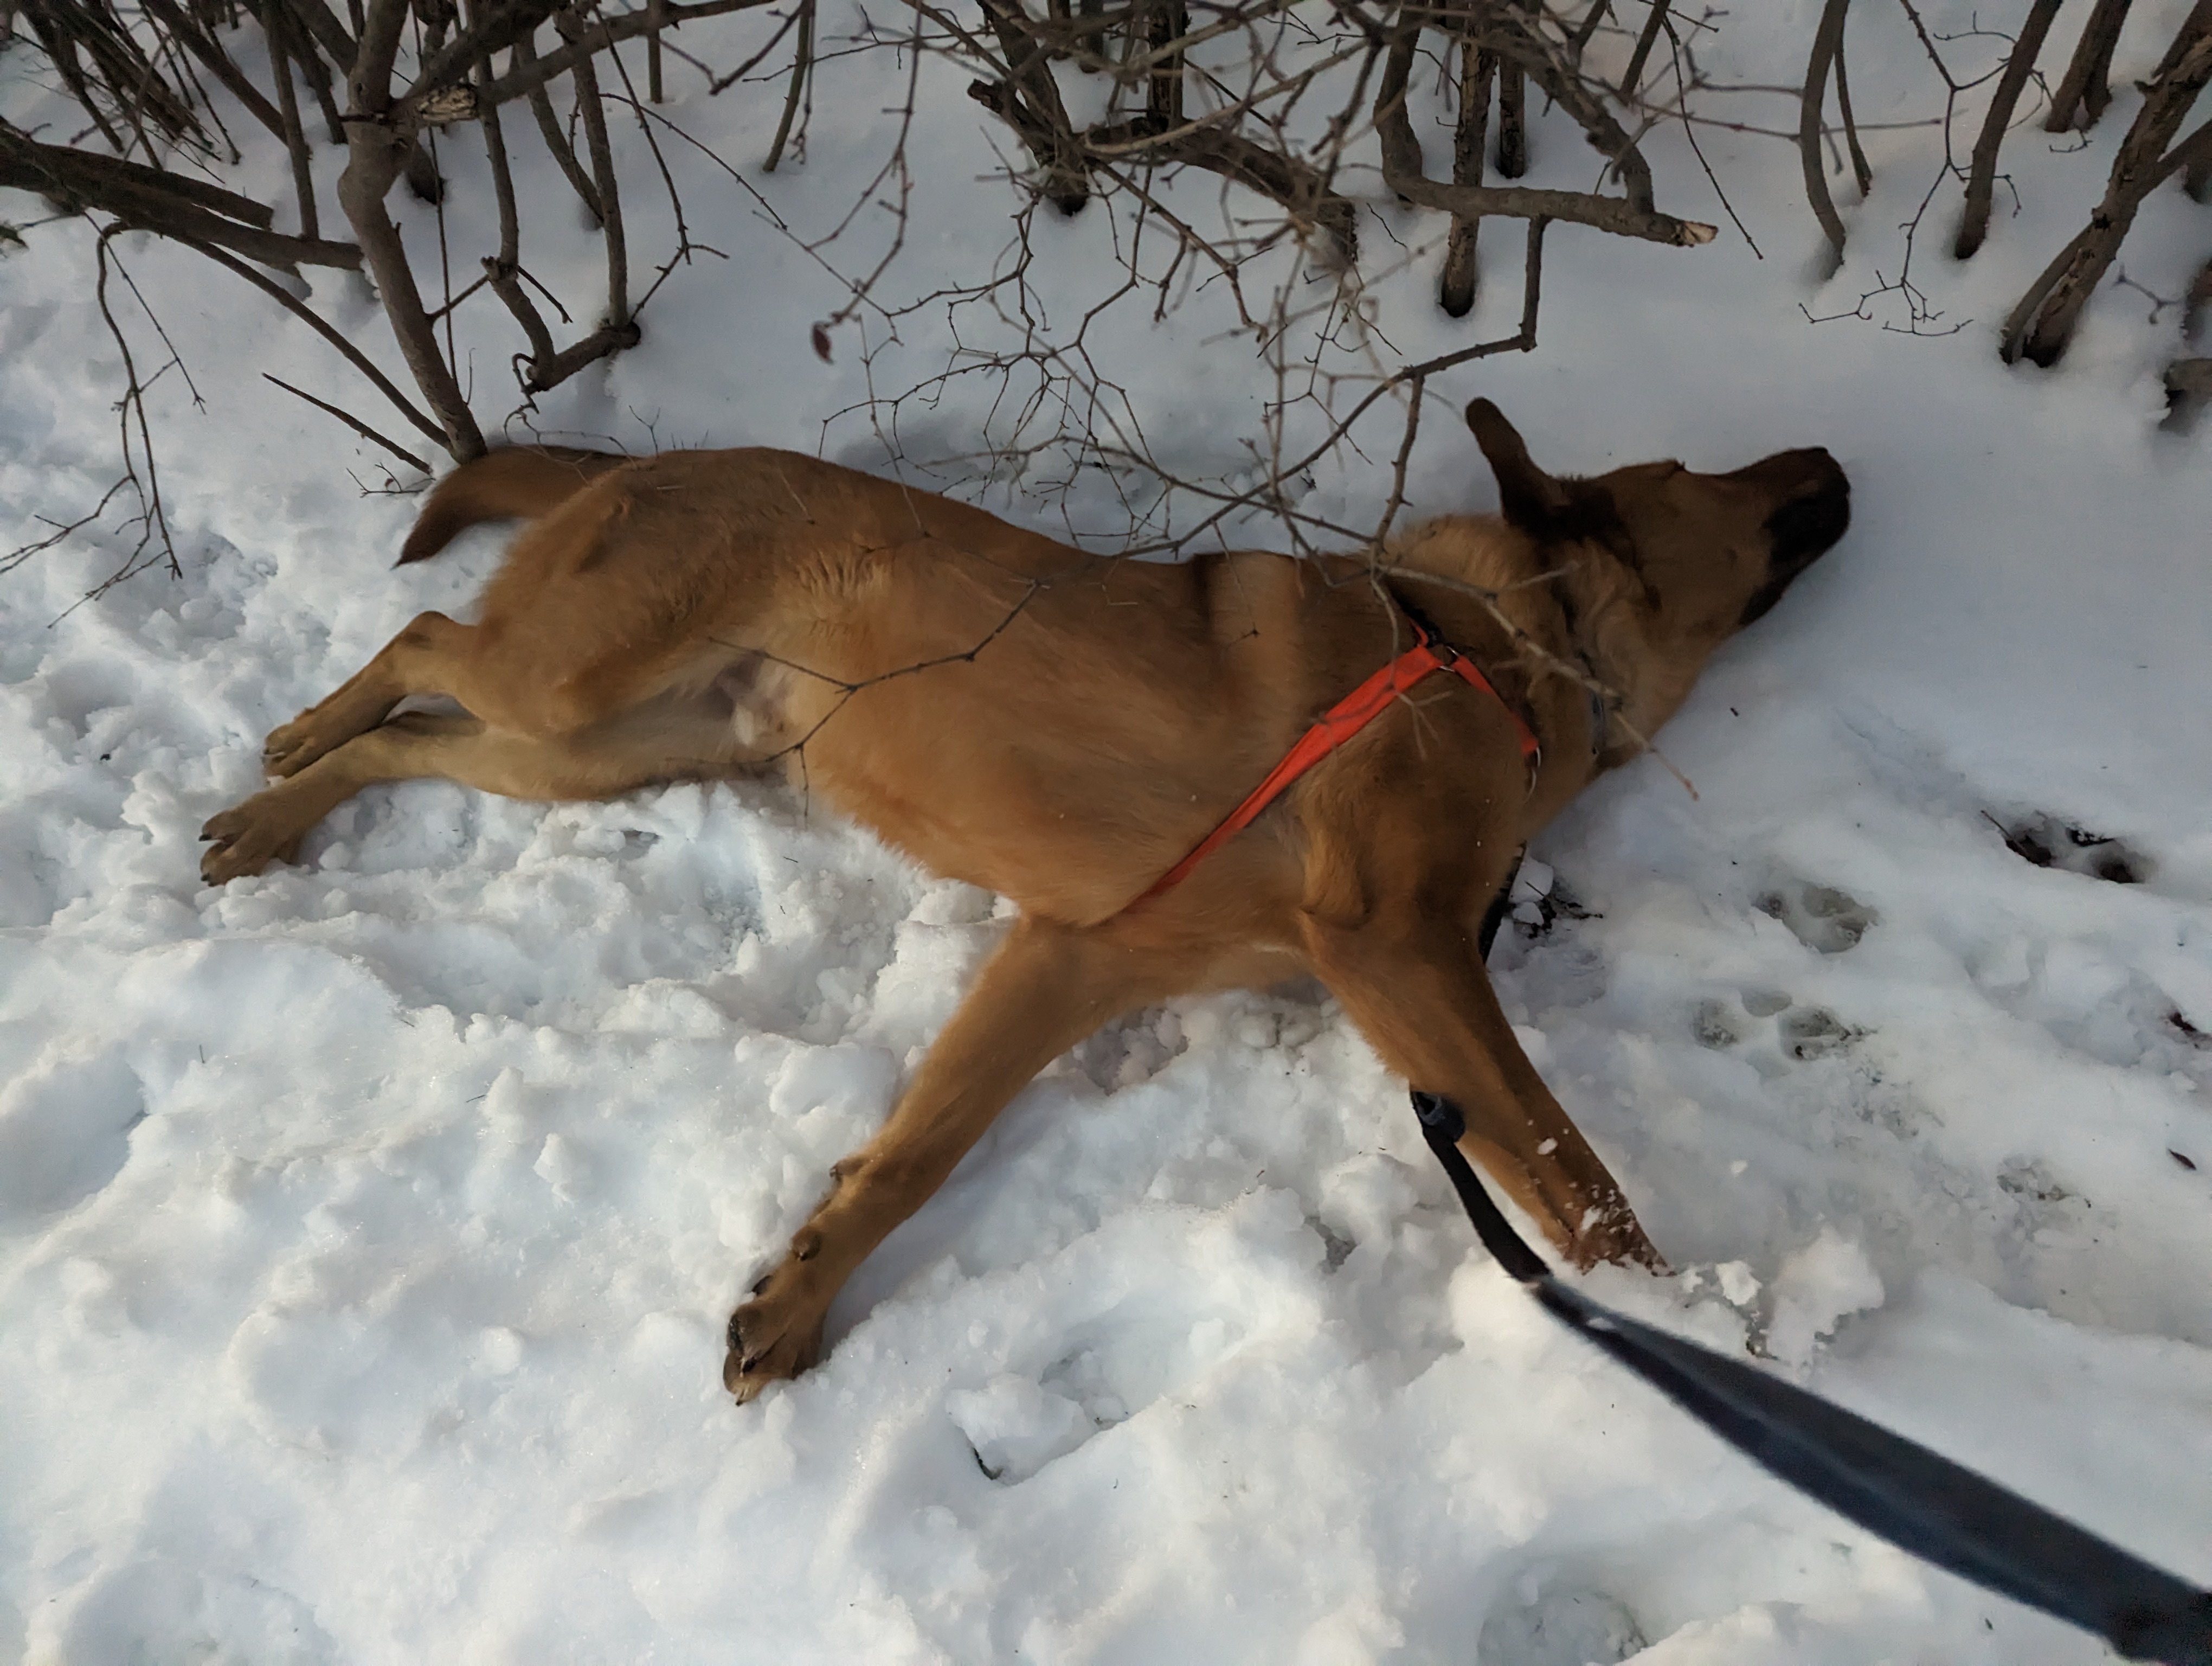
Wait, I hear something. Sounds like a... ...a squirrel!!! An Italian one by the looks of it.
-
John, wow. I look away and you're done! Well, the camo is done. Great work as always.
-
Revell 1/32 Spitfire Mk IIa
BlrwestSiR replied to Peterpools's topic in LSM 1/35 and Larger Work In Progress
Spitfire over the Mustang for me as well. I've yet to build a Tamiya one and like you, have a pair in the stash. Spitfires I'm up to 11 done and 9 in the stash not including the forthcoming Kotare one. Can't wait to see yours come out of the paint shop. -
What is on your bench right now ? Share a picture :)
BlrwestSiR replied to Martinnfb's topic in Modelling Discussion
There's so many of them...can't stop myself. -
A few years ago Sue and I are in their lighting section. They have some light called ANSLUTTA and it comes in a clear tube. The instructions have the name on them and are folded in such a way that all you read is SLUT on the packaging. We laughed our heads off. Sue even sent a pic to Ikea management and they said they'd look into it.
-
Sometimes both but that's purely by accident. It happens only if the cat sneaks in when no one is looking.
-
What is on your bench right now ? Share a picture :)
BlrwestSiR replied to Martinnfb's topic in Modelling Discussion
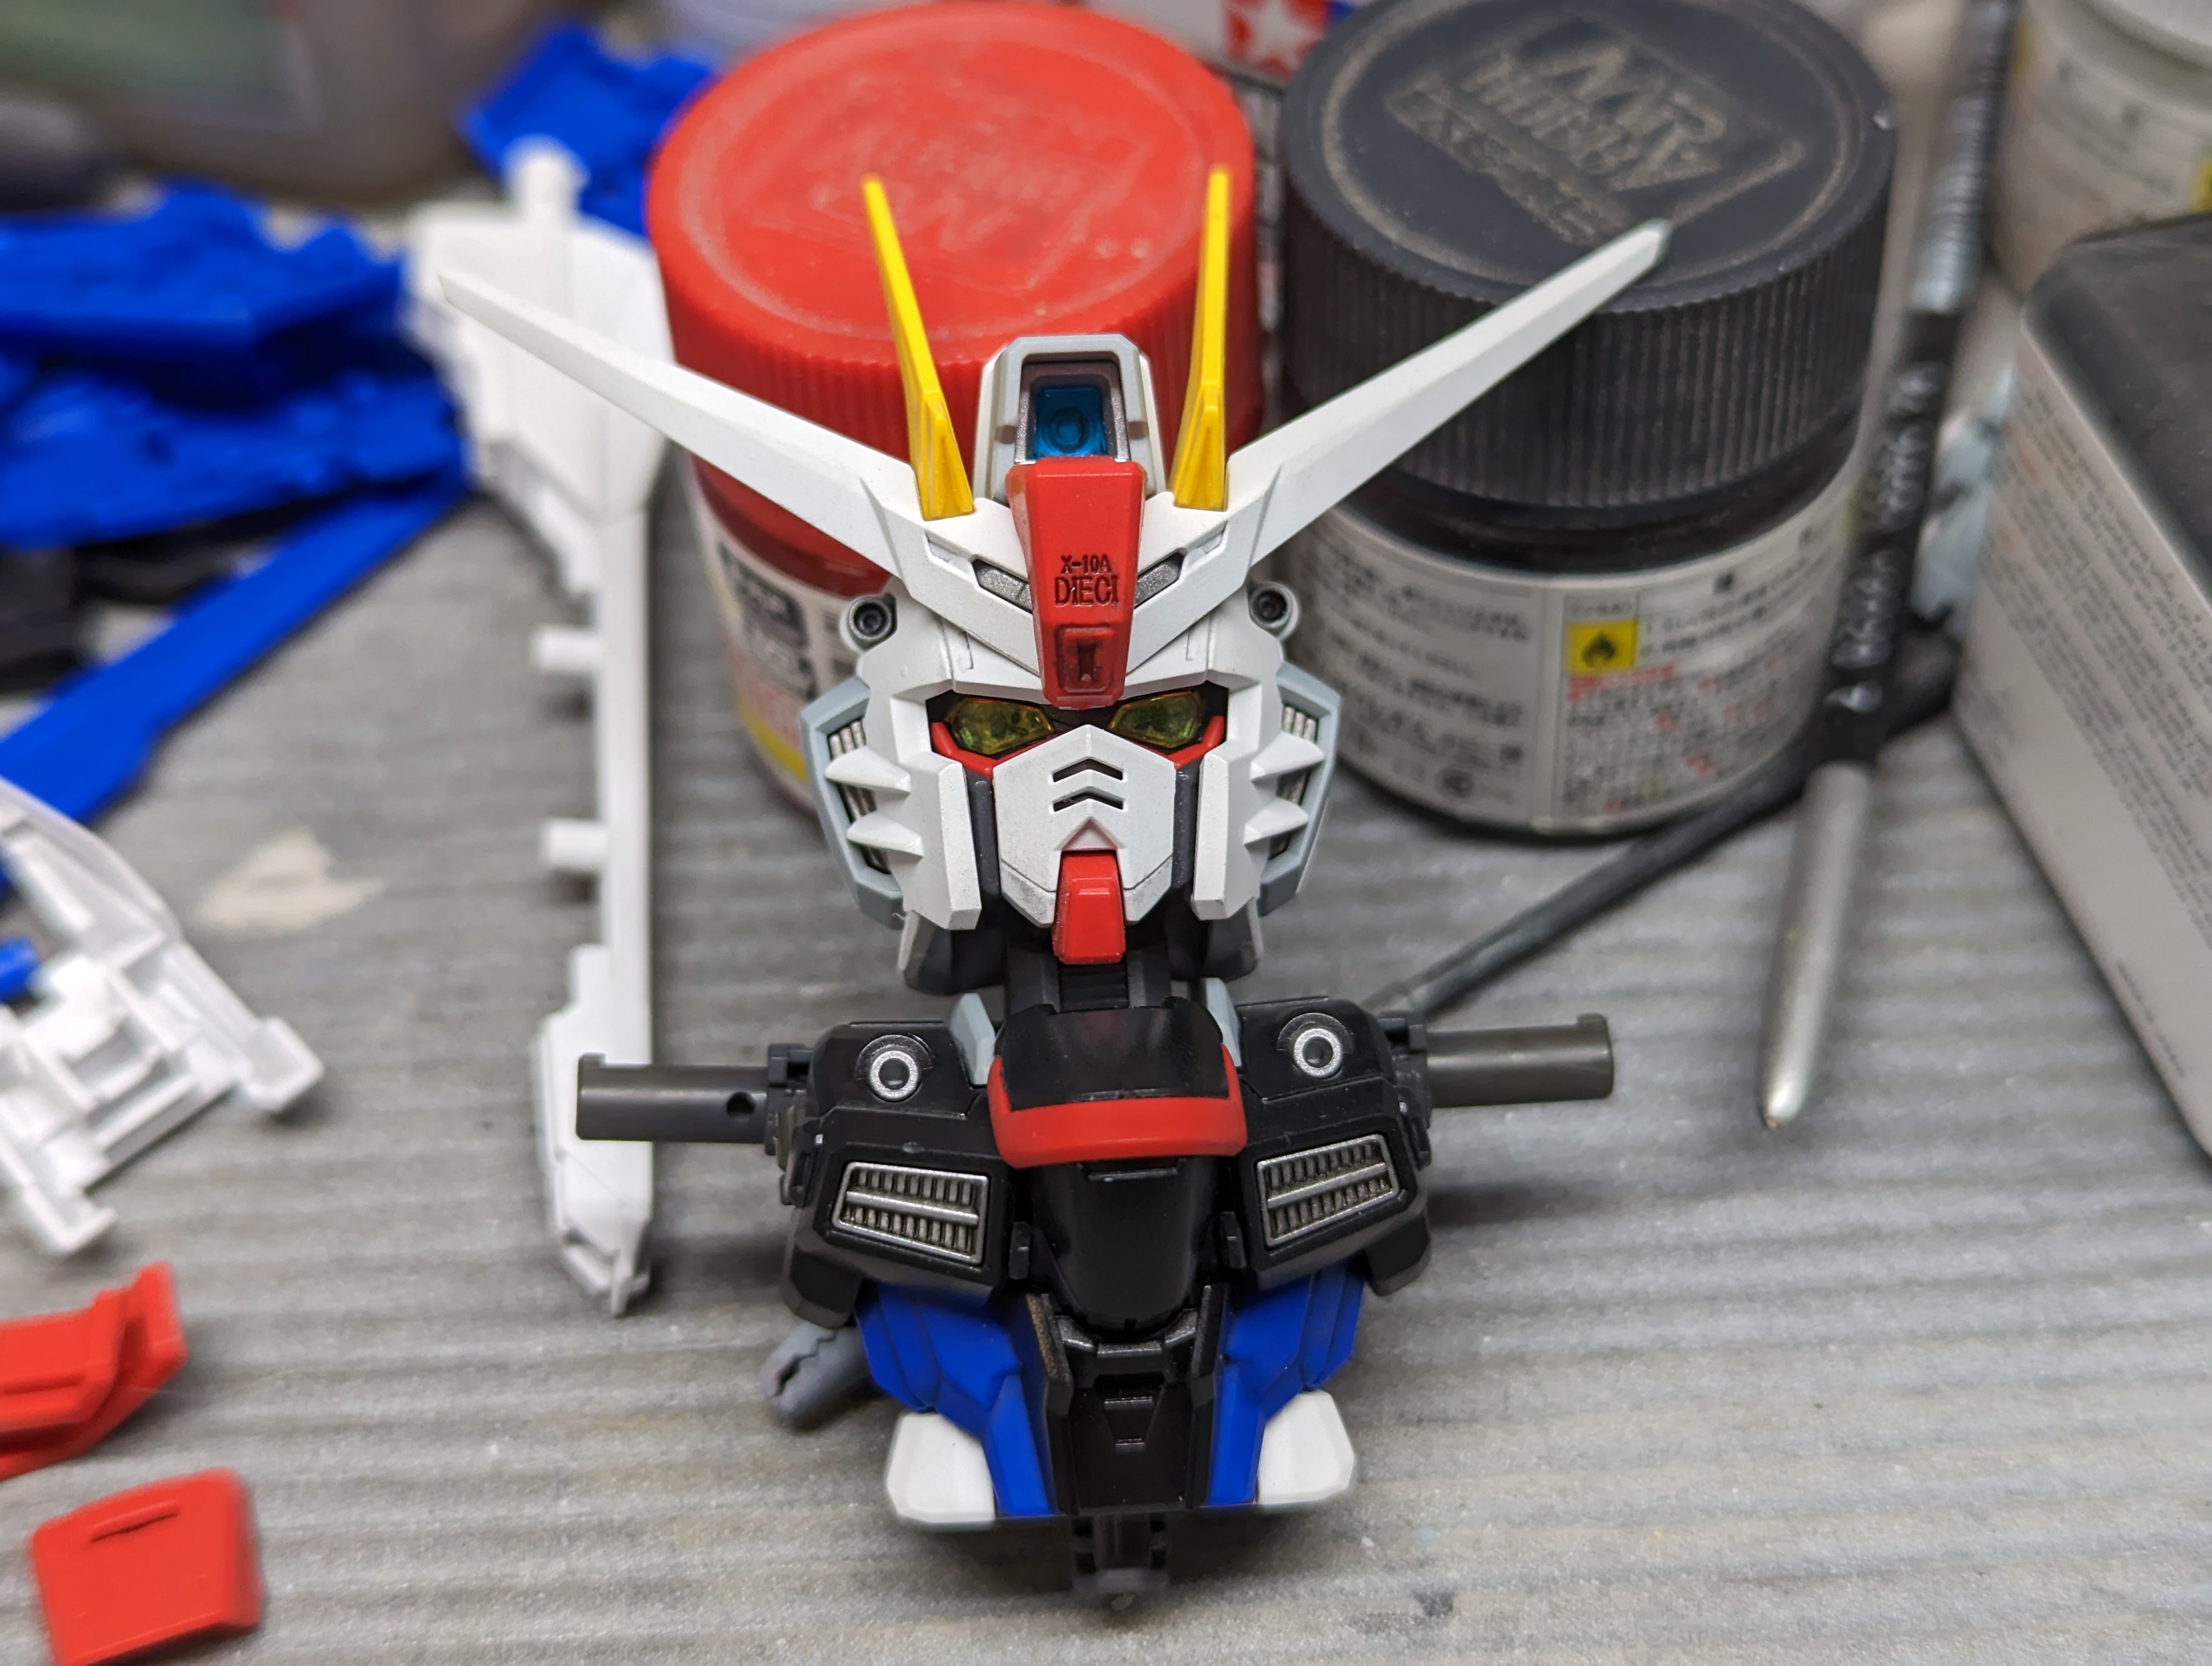
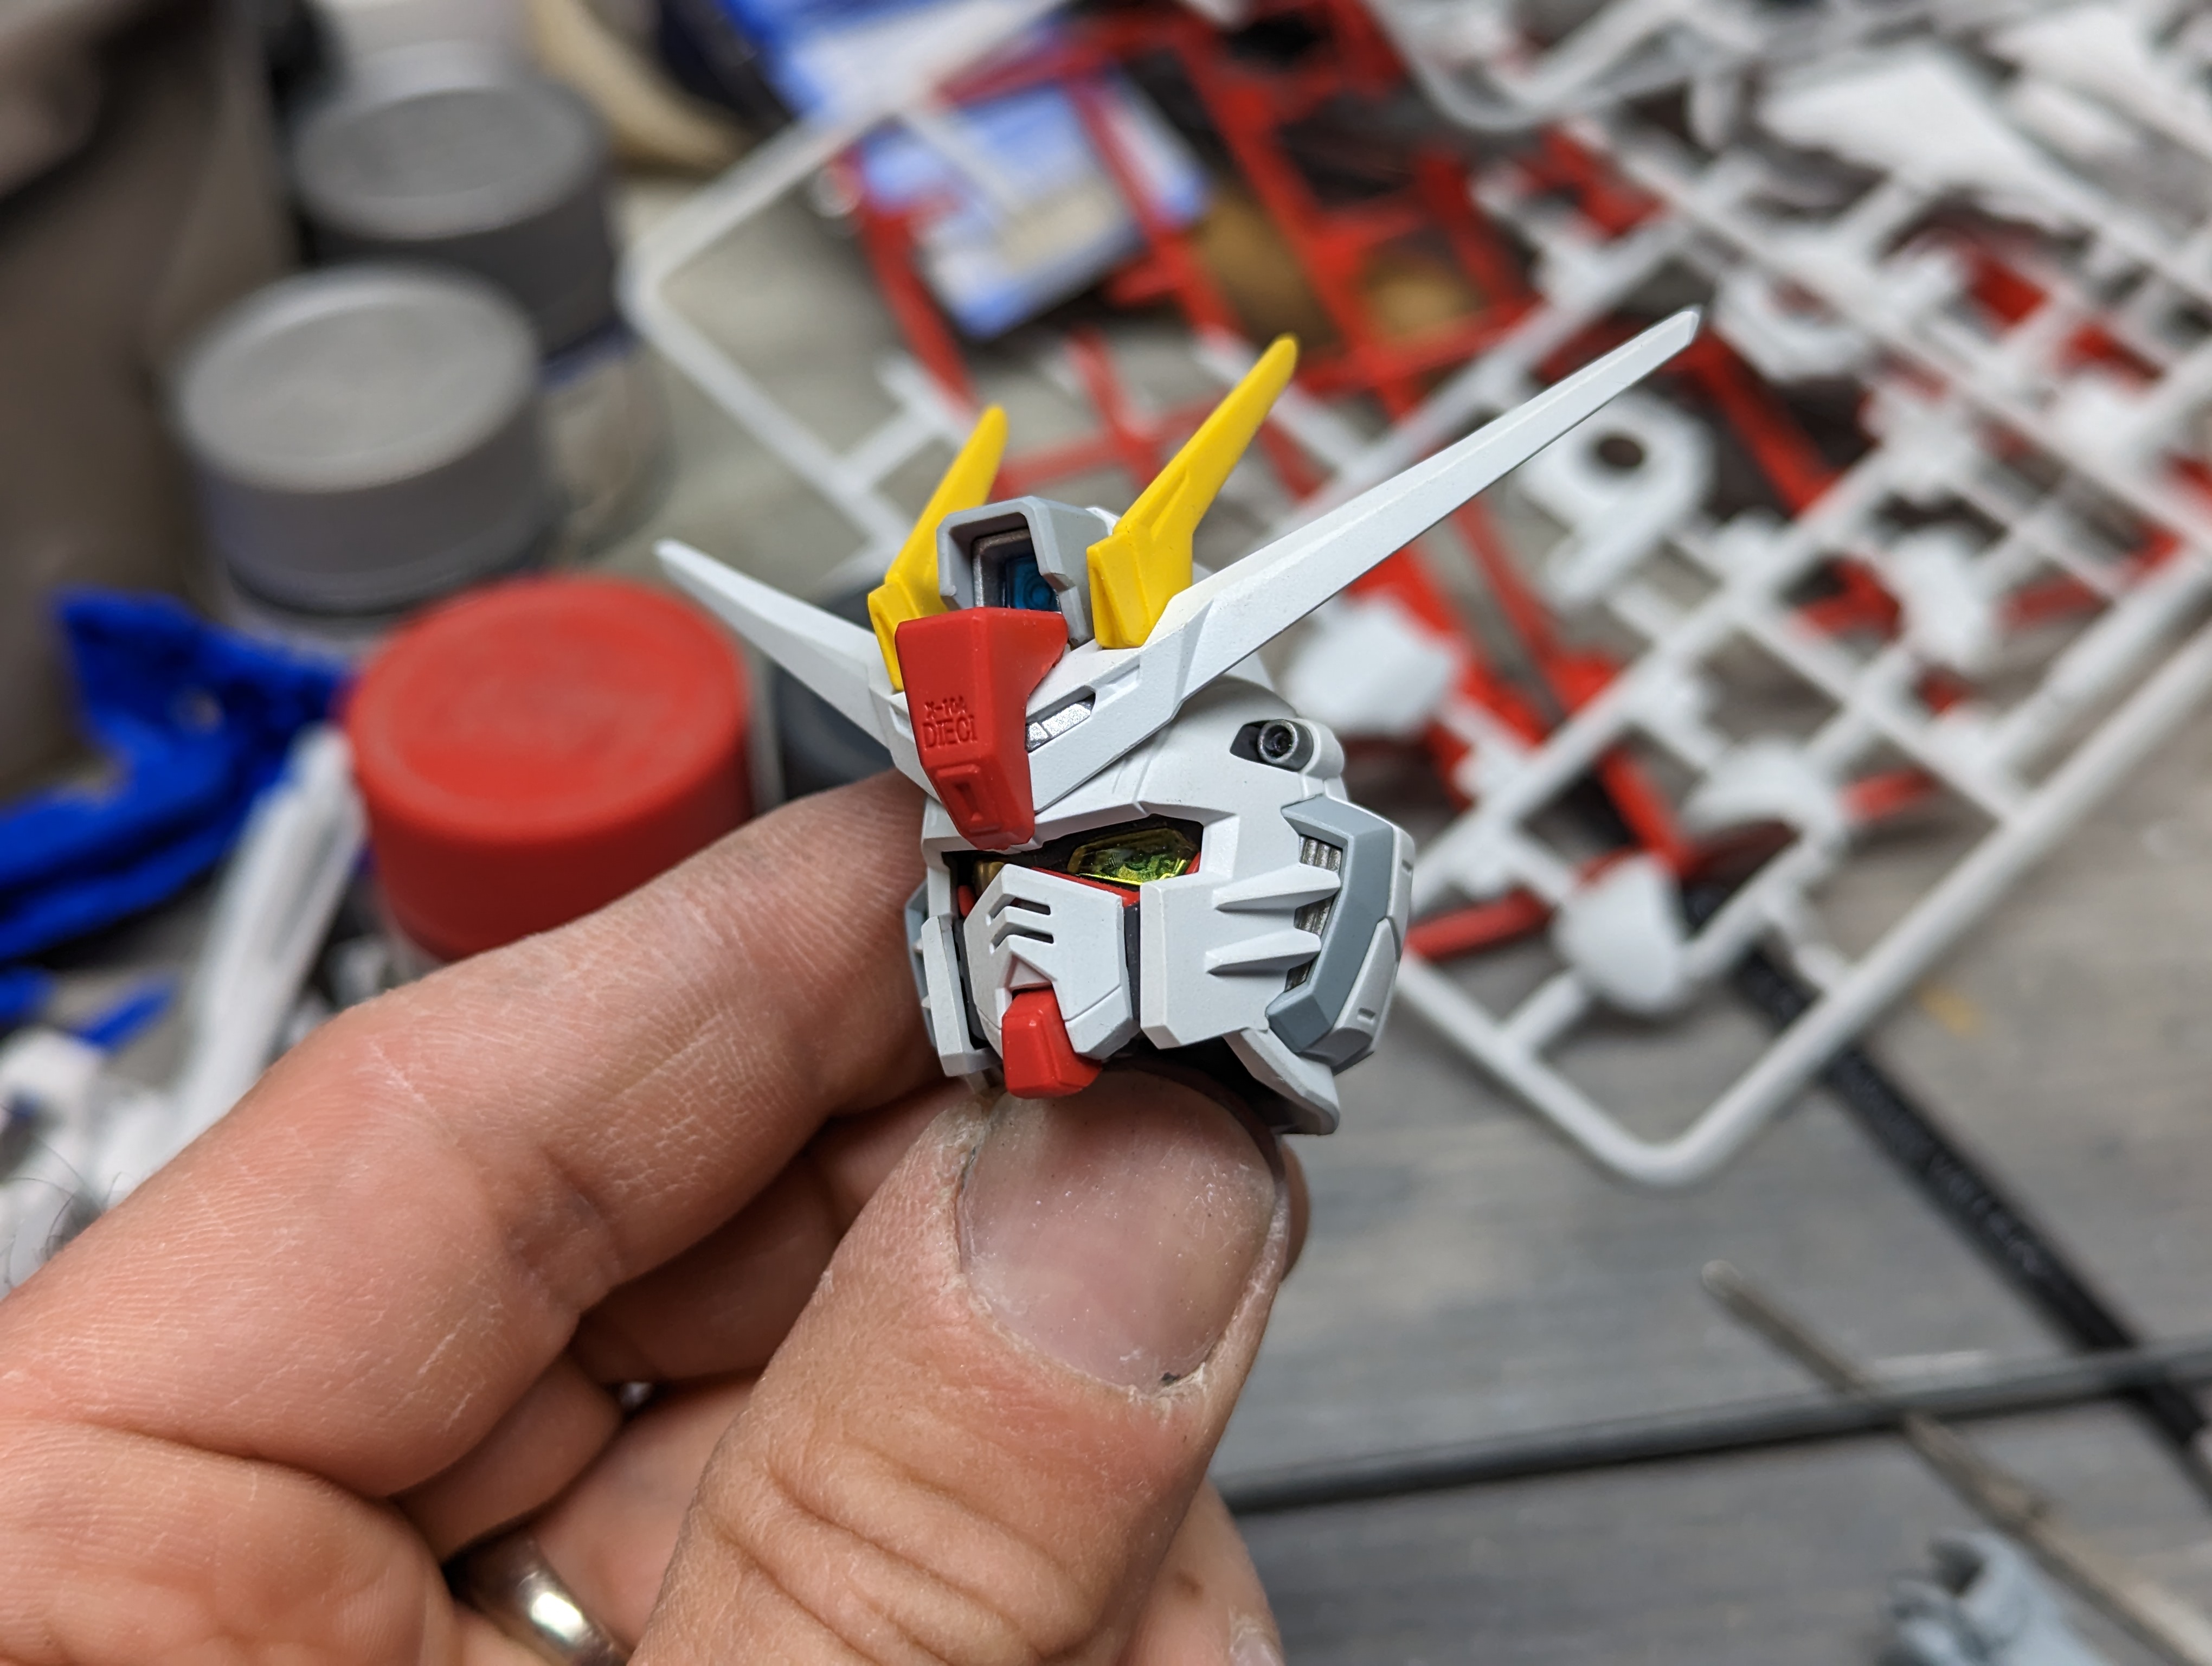
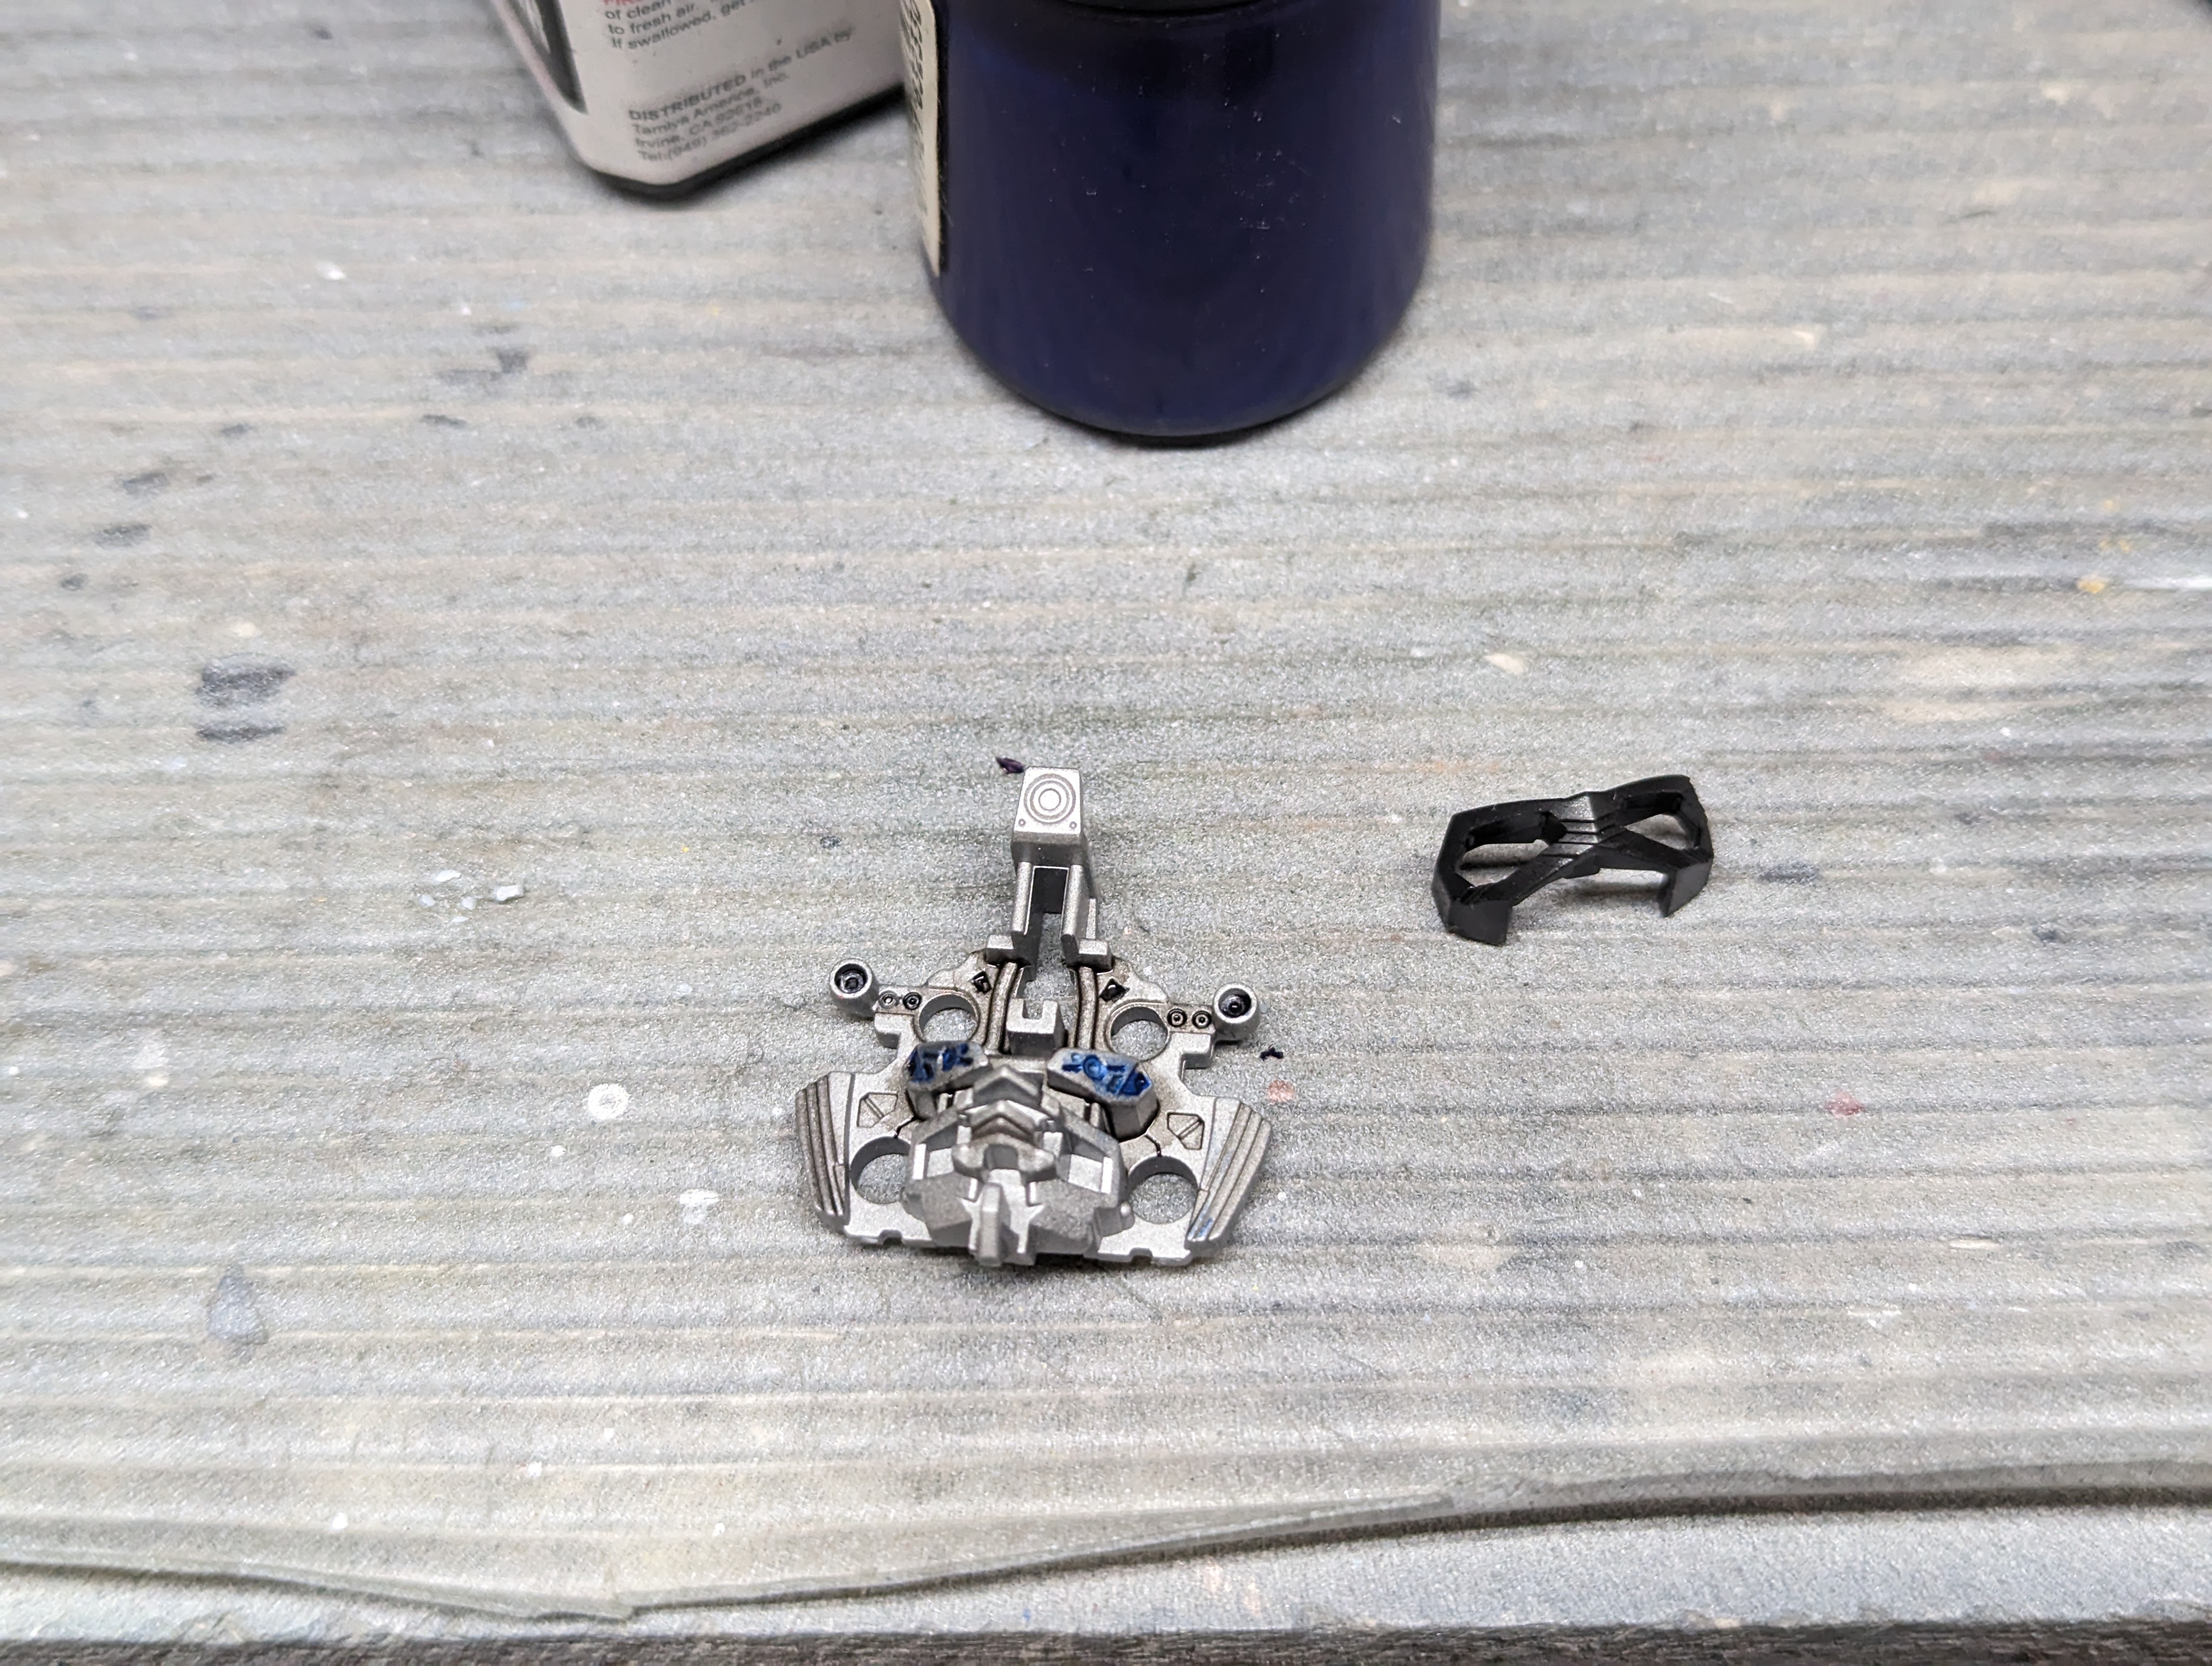
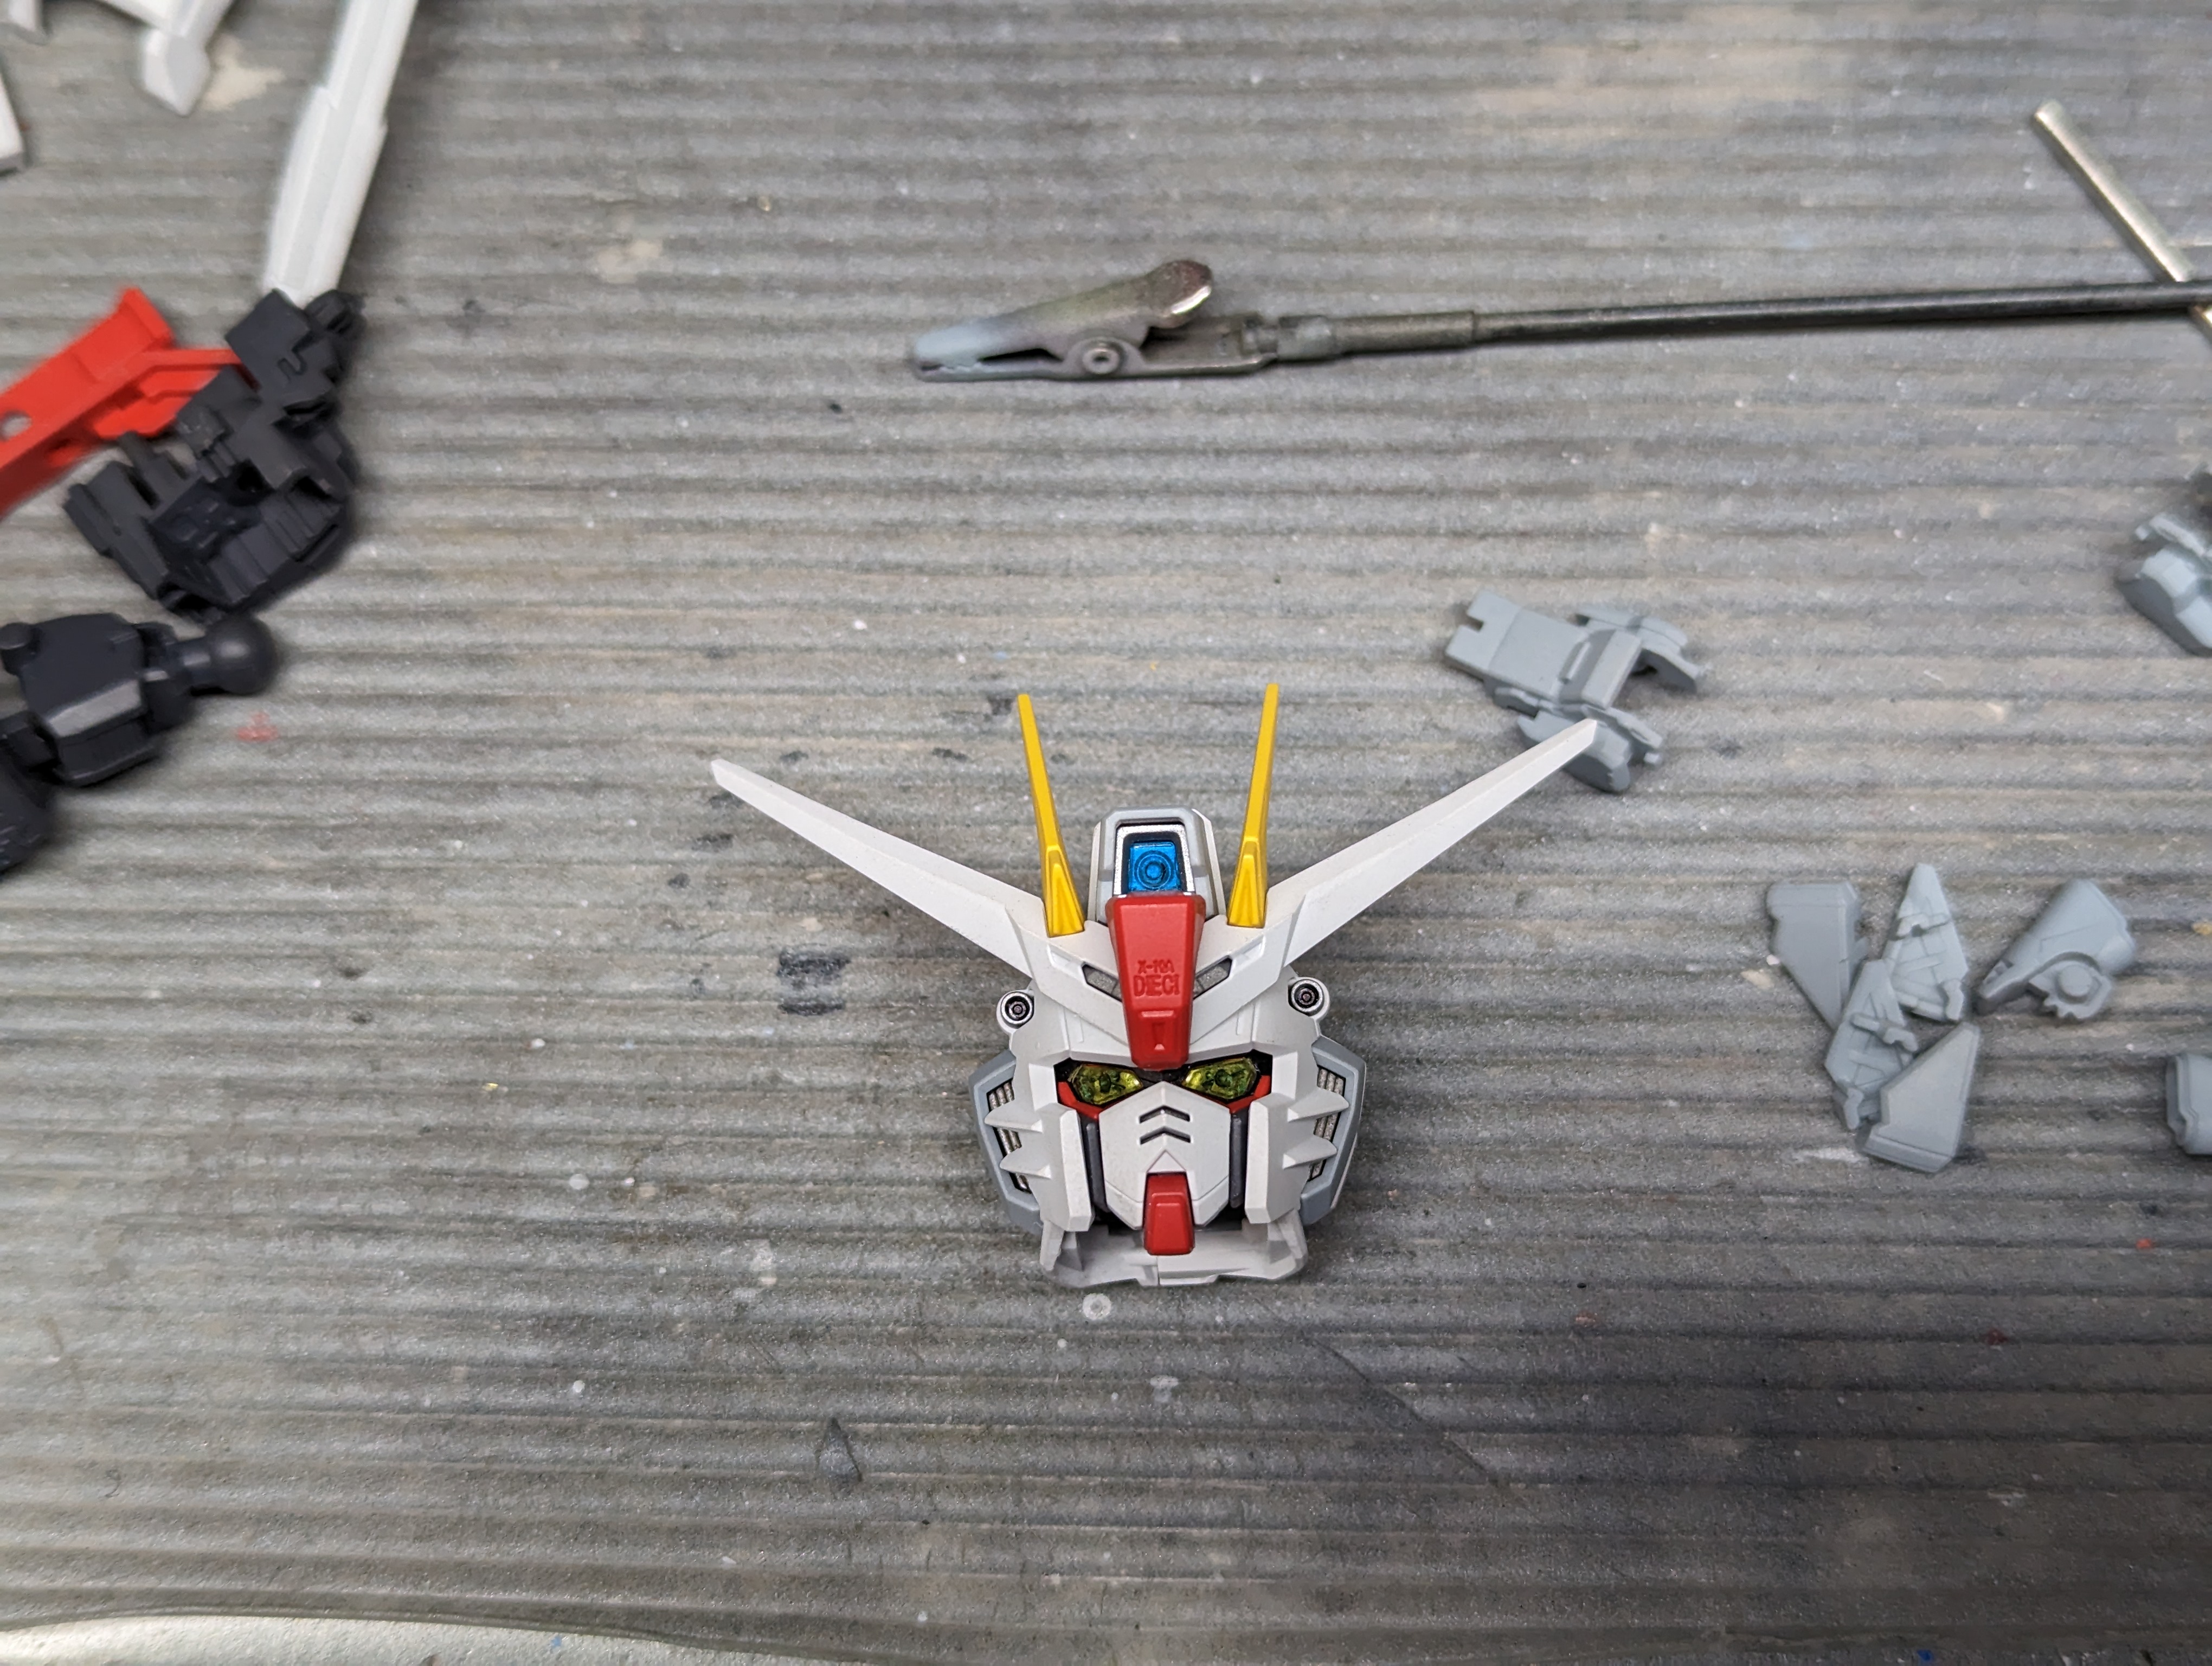
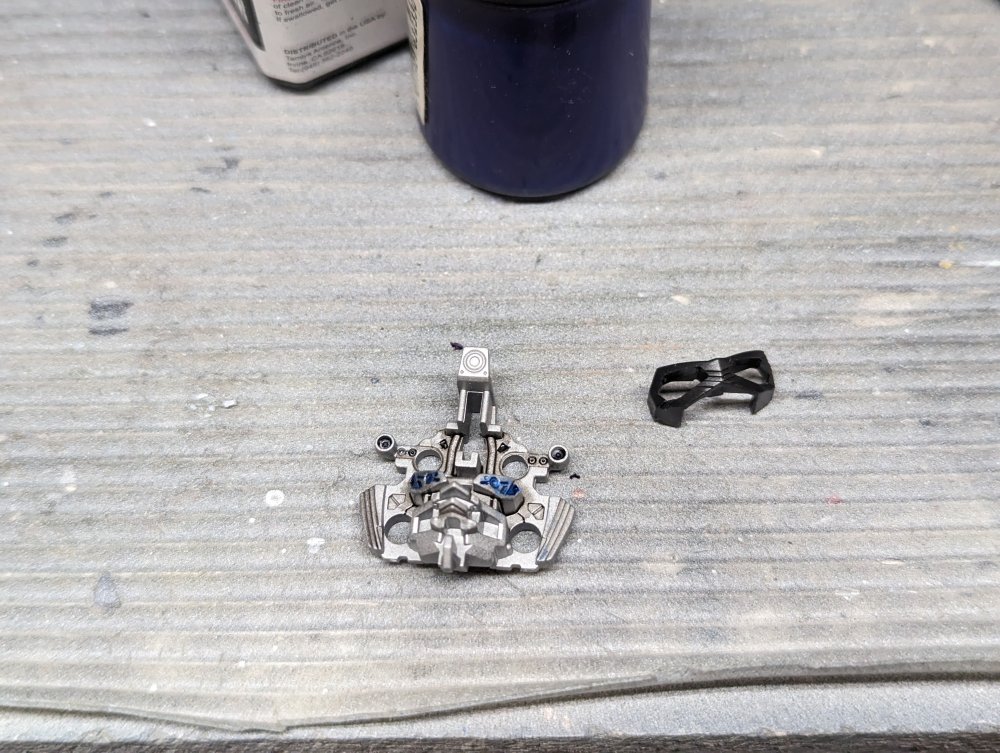
Started on the Gundam model. Each part gets painted separately and then put together. It certainly simplifies the paint job.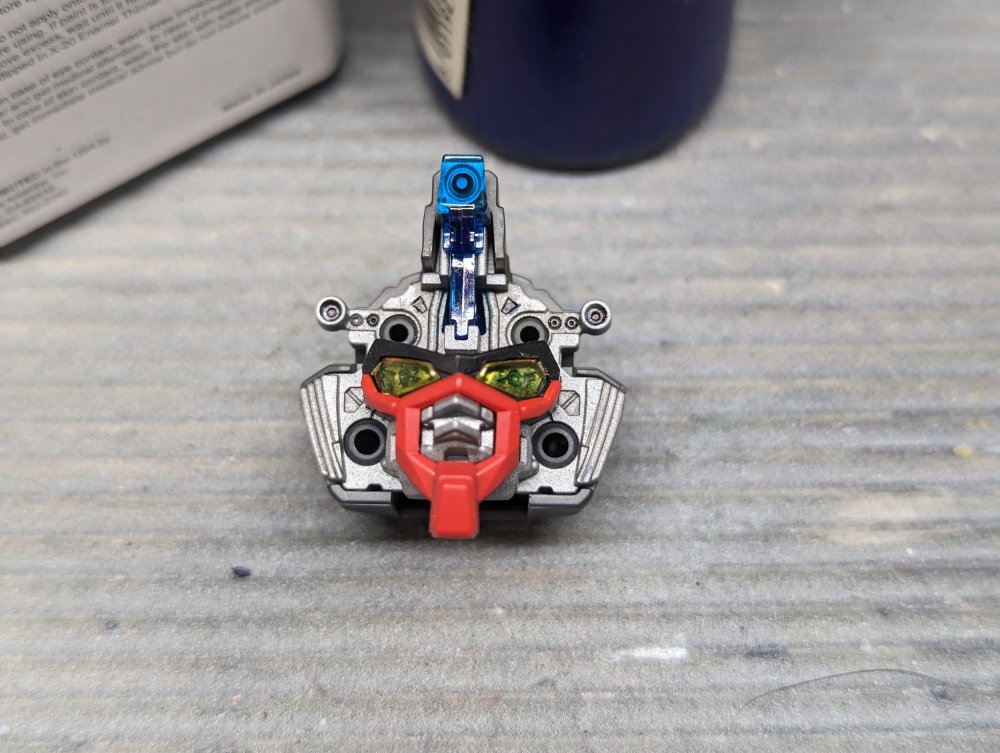

-
There were two separate camo schemes for the fighter and bomber versions. The fighters generally were green and grey on top while the bombers were typically green and brown with black undersides. Coastal Command Mossies often had a different camo pattern as well.
-
Yes, it was a great build. Not complicated and great fit. Plus with only a twin rotor main blade it doesn't take up much space.
-
Nice review Fran. I have this in the stash as well as having built the original ICM release. It went together really well. Some folks have complained about the landing skids having a weak attachment point but mine went on fine. The funny thing is the Special Hobby release is often cheaper than the ICM one even though it has more in the box.
-
ProModeler 1/48 PBY-5A Catalina + Goodies, RFI
BlrwestSiR replied to CANicoll's topic in Let’s Get Wet Group Build.
Catching up on your PBY Chris and you're really moving along. Glad to see the tail is coming together, especially after all the extra work. Definitely a big plane. End of the month, I'll be at Heritagecon which is at CWHM and they have a Canso. I'll see if I can grab some pics while I'm there even if it a bit late for your build. -
The RAF did fly some F-4Js so you could one of those...
-
39” 1/128 Seaview and Flying Sub
BlrwestSiR replied to ScottsGT's topic in Let’s Get Wet Group Build.
Looks like when Richard Dreyfuss was making Devil's Tower in his dining room. -
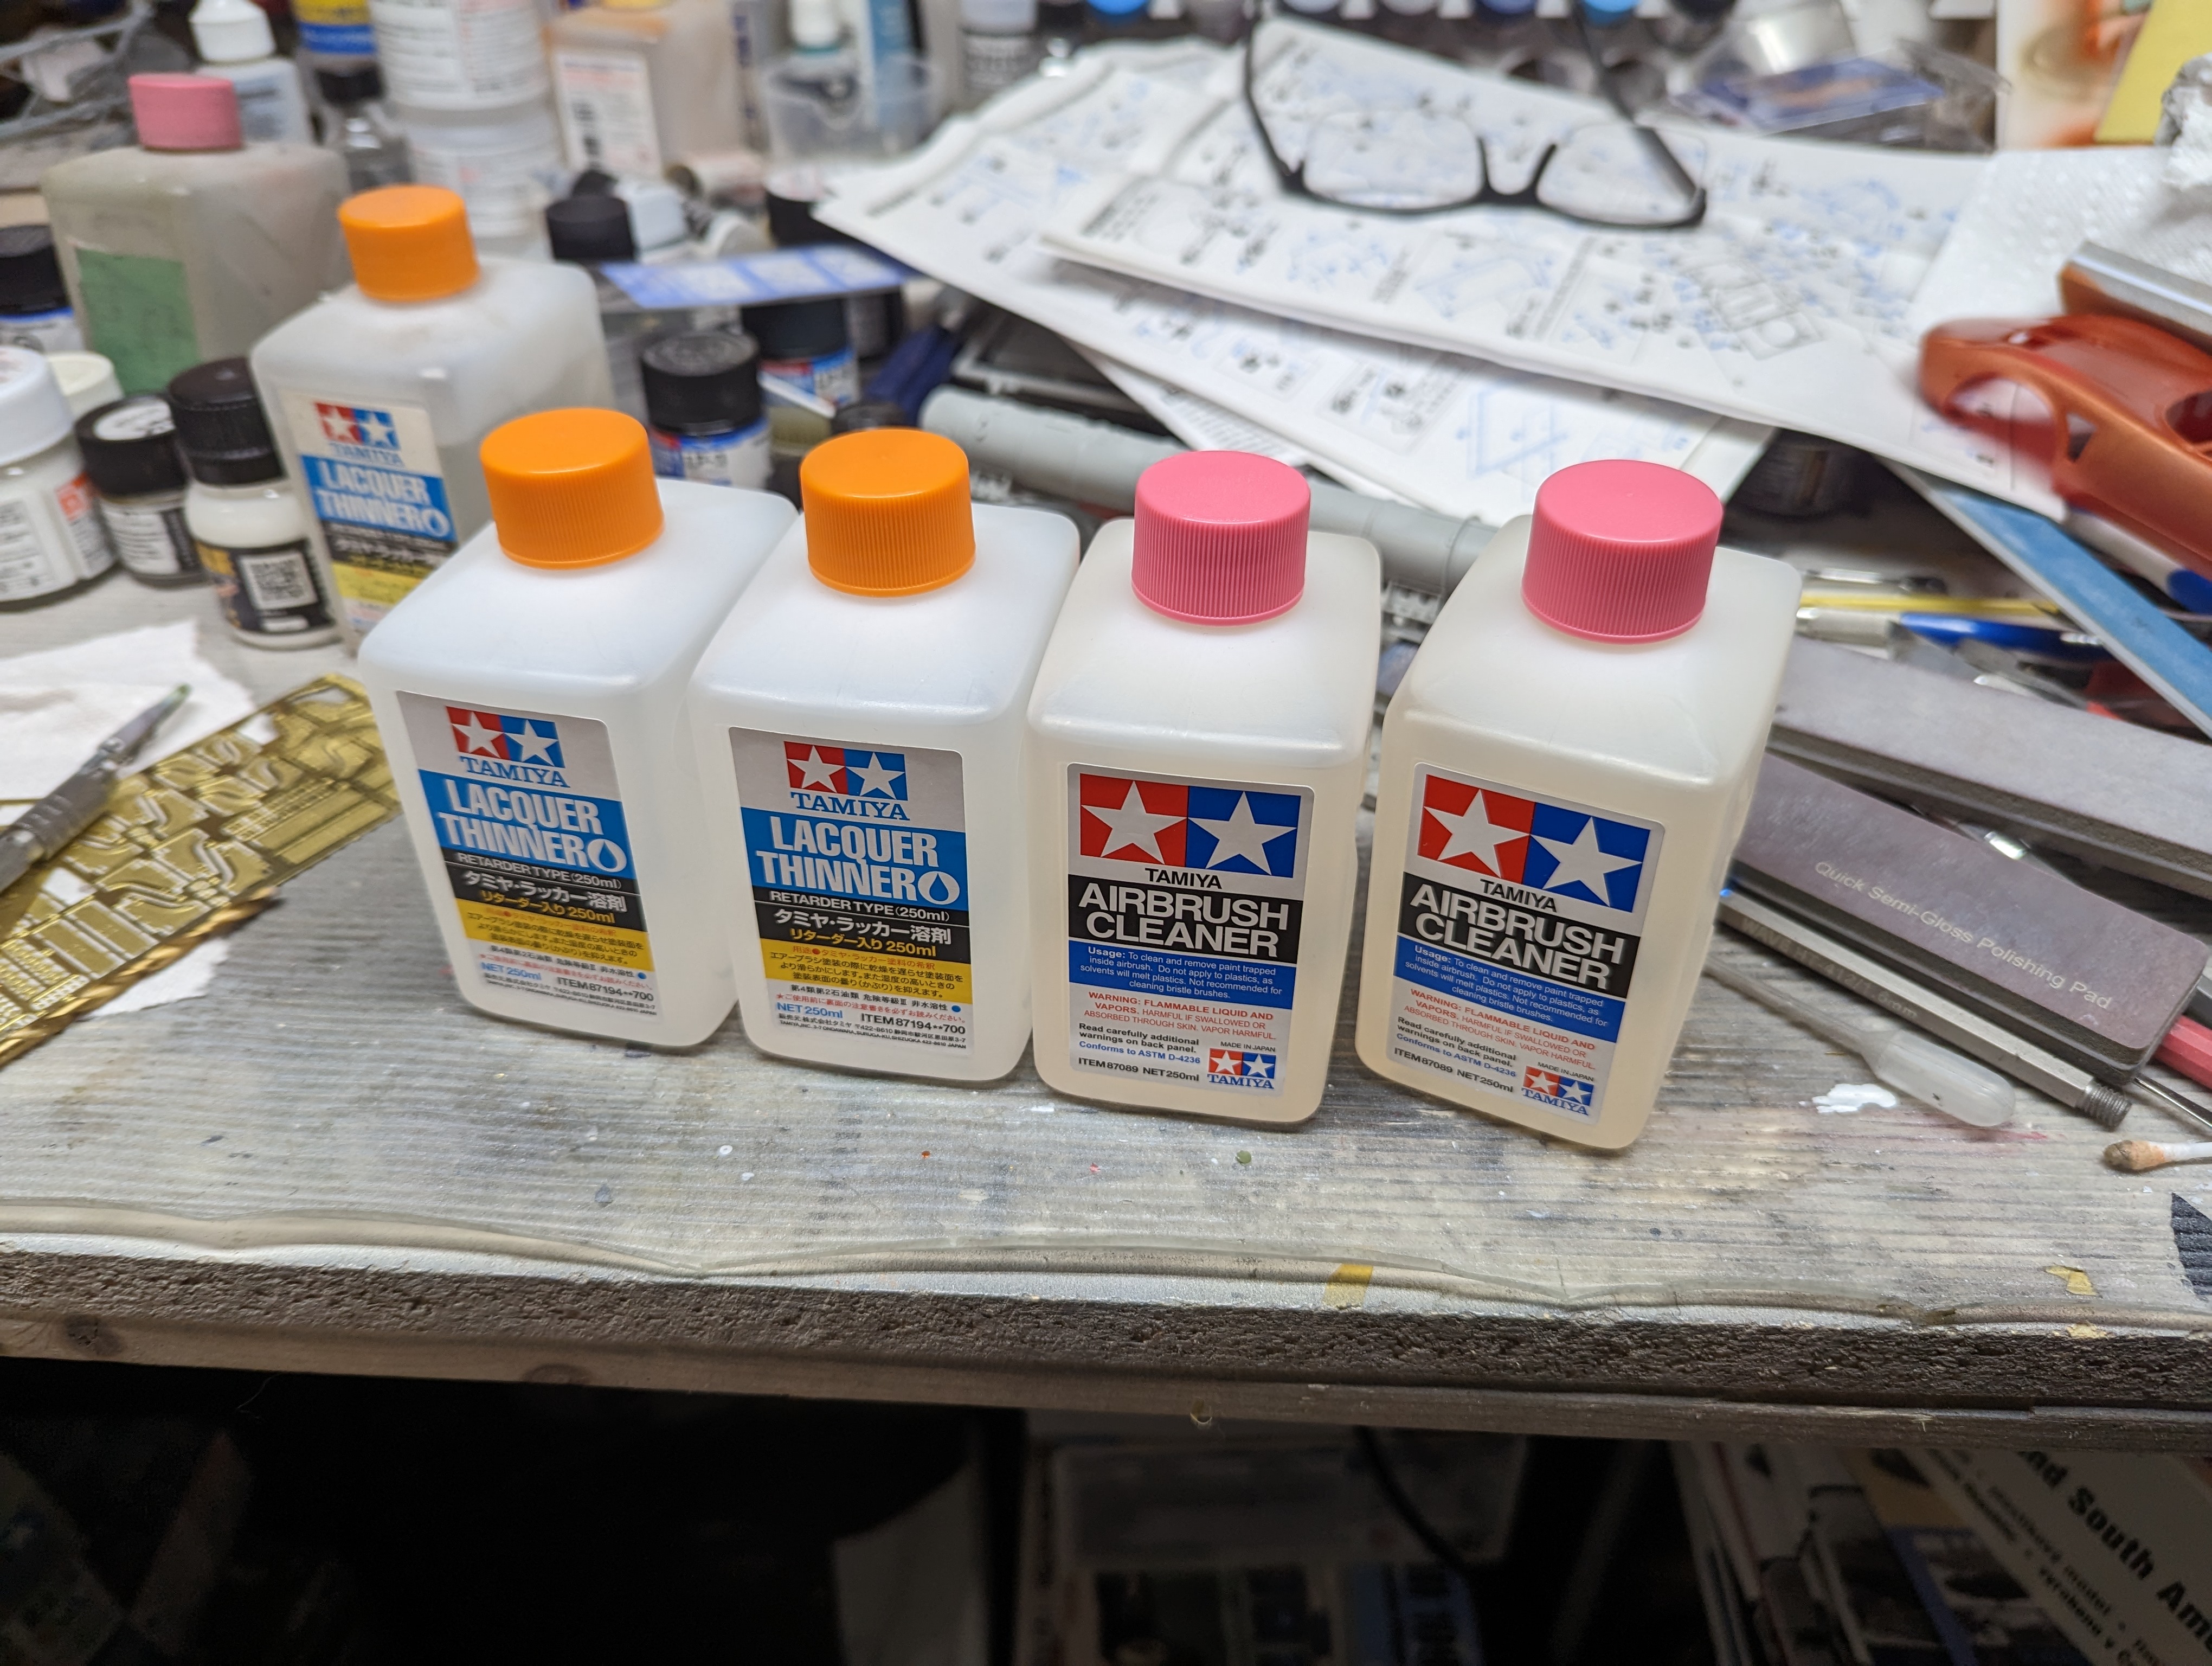
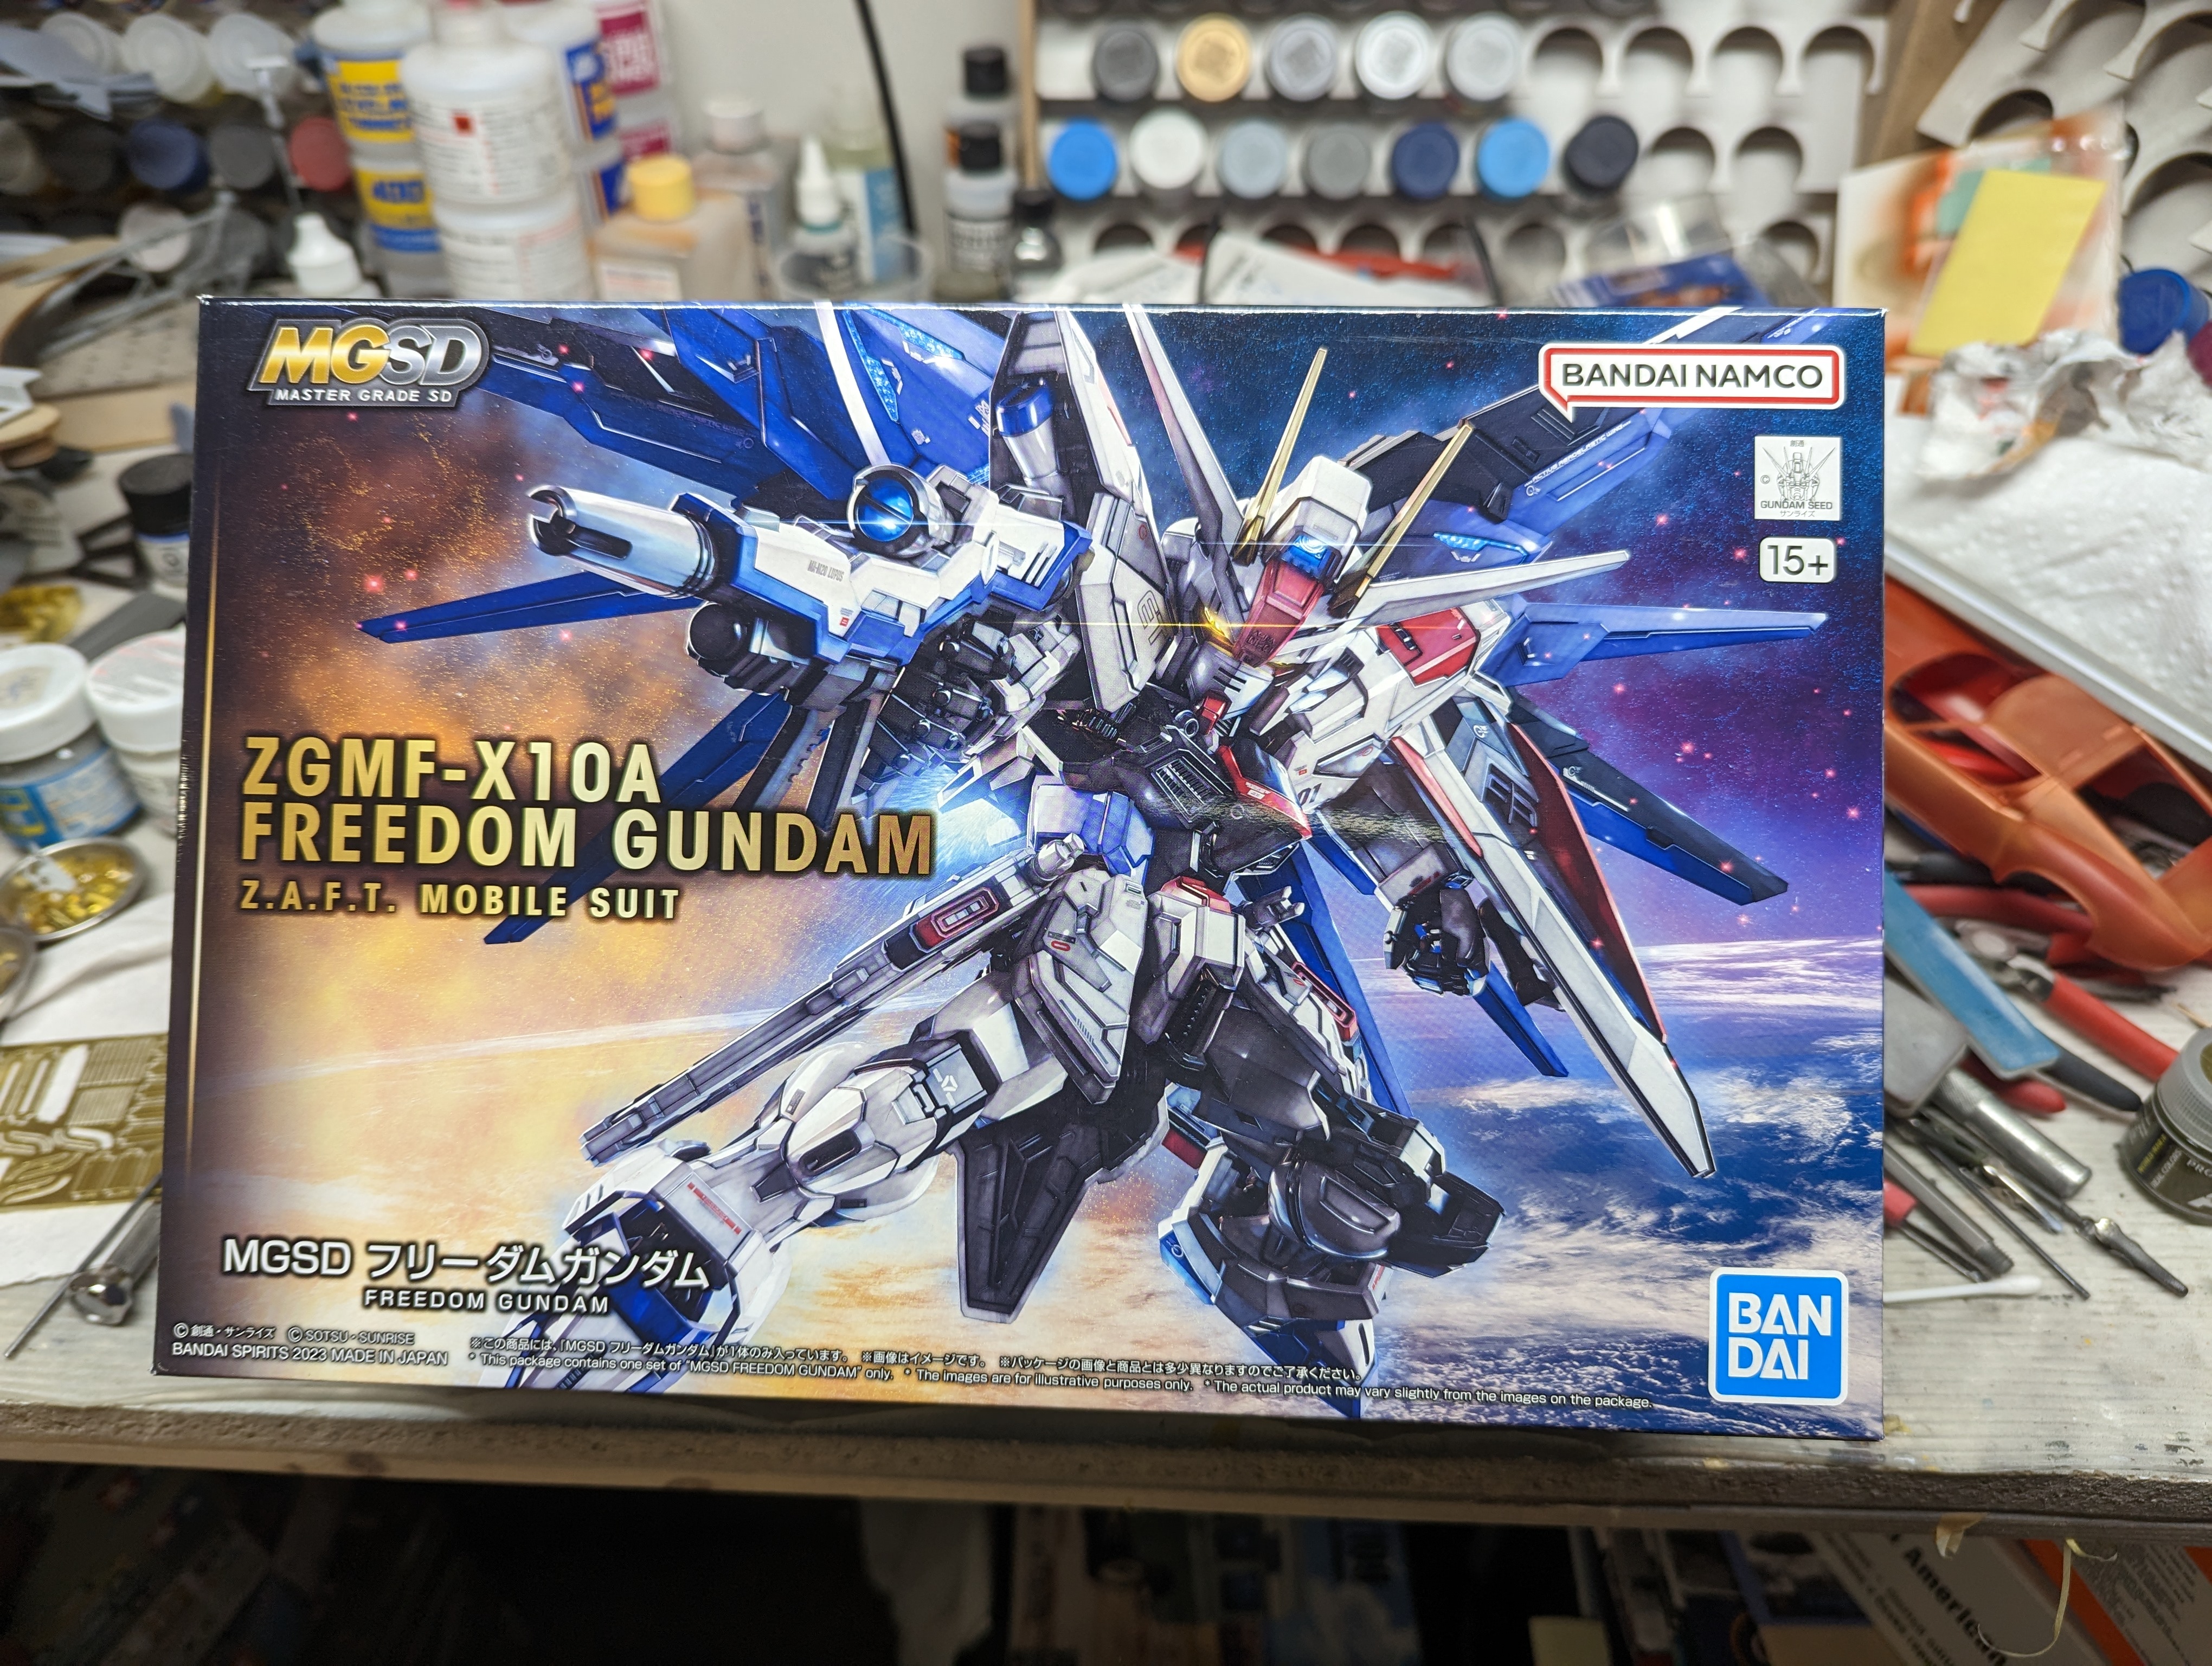
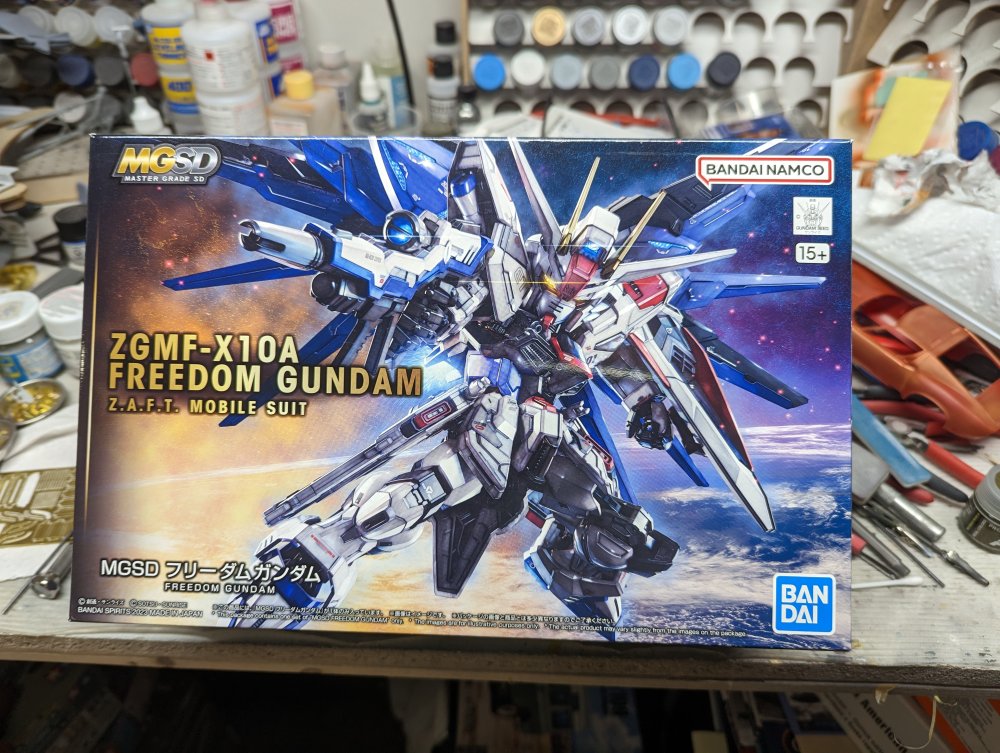
I decided to jump on the Tamiya chemicals bandwagon and picked some up from my LHS. It was easy as they had a sale on. The lacquer thinner with retarder is Tamiya's version of Mr Color Levelling thinner, which has gone up in price by a third since last year. On a per 100ml price the Tamiya worked out cheaper so I went with that. The other purchase was a Gundam kit. Oddly, I don't have many of these in the stash even though I have a fair bit of mecha. To make it more interesting, this is in the Super Deformed ("Egg plane") style.

-
An interesting night here last night…
BlrwestSiR replied to Clunkmeister's topic in General Discussion
Jimmy felt the same way...
-
Martin, you could try using Mr Surfacer to replicate the framing. Mask off the inner and outer edges of the frame, then apart Mr Surfacer 500. You'll need to thin it and it'll take a few coats to build up. It won't be as proud as the original but at least won't be flush.
-
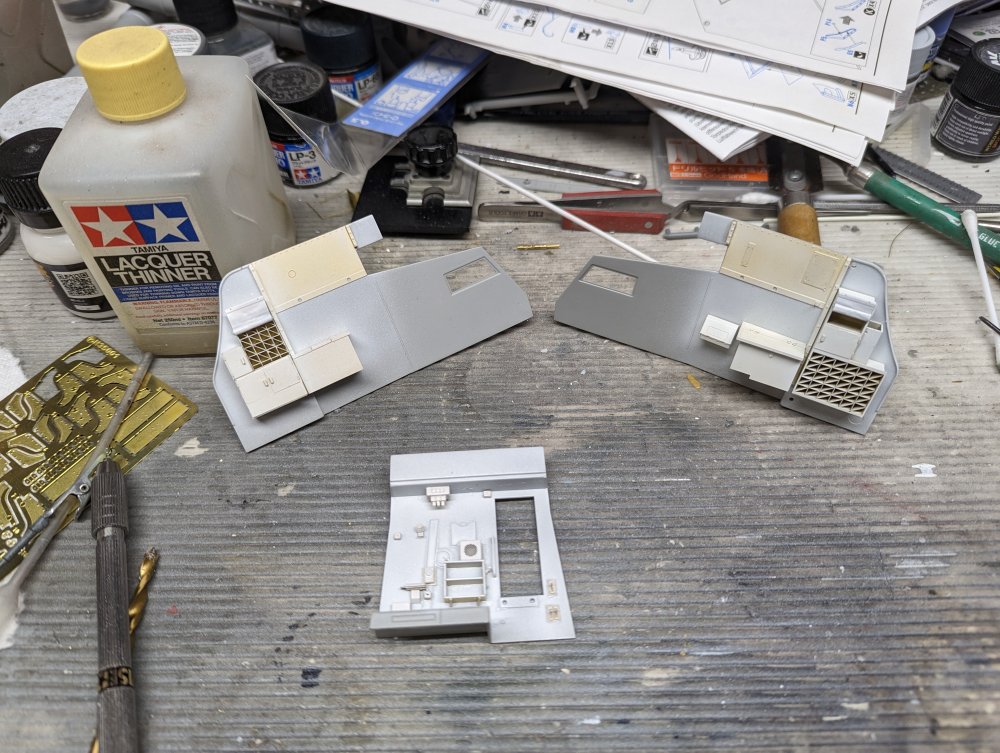
I haven't had as much time at the bench over the last couple weeks as I thought. When I have been there, I've had a bad case of the squirrels and worked on other stuff. Like a Su-122-54 and then a Jota SVR... So I finally did something ,even if it was a little bit on the Vosper. I got the rear cabin wall mostly done so sprayed a coat of primer on it to see how things look. I'll add a coat of white to the primer to make it opaque and then add some wiring to it. I'll still trying to figure out the best approach to the windows and how to paint things.
-
Like Peter said, a nice start. I built this kit years ago. I had the Alcock and Brown version which came with replacement seats and wheels cast in white metal. Carl
-
Nice job on re-contouring the fuselage. Definitely less bloated looking.
-
I still can't believe I sent the wrong spinner and back plates to you. I'm glad you've been able to work around that. Still feel bad though for making the extra work for you.