BlrwestSiR
-
Posts
9,104 -
Joined
-
Last visited
Content Type
Profiles
Forums
Events
Gallery
Everything posted by BlrwestSiR
-
 Looking good Martin. Quite a bit of reworking there but you're making it look easy.
 -
You can never have too many Spitfires. The new Airfix Spitfire kit is one I've been debating about getting. It wouldn't fit in with the rest of the Spitfires I've built (11) or the 9 still in the stash. But if I built it completely opened up, it could work...
-
What is on your bench right now ? Share a picture :)
BlrwestSiR replied to Martinnfb's topic in Modelling Discussion
Looks great and it's even better when you're having fun. -
LSM Modelling News 2023 merged Fran and Artful69’s threads
BlrwestSiR replied to Fran's topic in Modelling Discussion
I think they're 1/48. The right side of that grouping has a 1/48 banner above the Mi-4 Hound. -
Italeri 1/35 Elco 80' Torpedo Boat PT-596
BlrwestSiR replied to Bomber_County's topic in Let’s Get Wet Group Build.
Phil, some nice work on the cannon and grab rails. The later PT boats were definitely much heavier armed than the earlier ones. -
Considering ZM Bf-109 for next build.......
BlrwestSiR replied to JohnB's topic in Modelling Discussion
Mines not finished. I'm still not sure where it went wrong but the dihedral on my build is out the window. Looks like a banana . Wing root gaps are fine so can't figure out where it went wrong. I think if you do it with the cowls open, it makes things much easier. -
Gus, I've got the recent Tamiya kit which comes with link and length tracks. They had them on sale so I figured why not. Hope they fit.
-
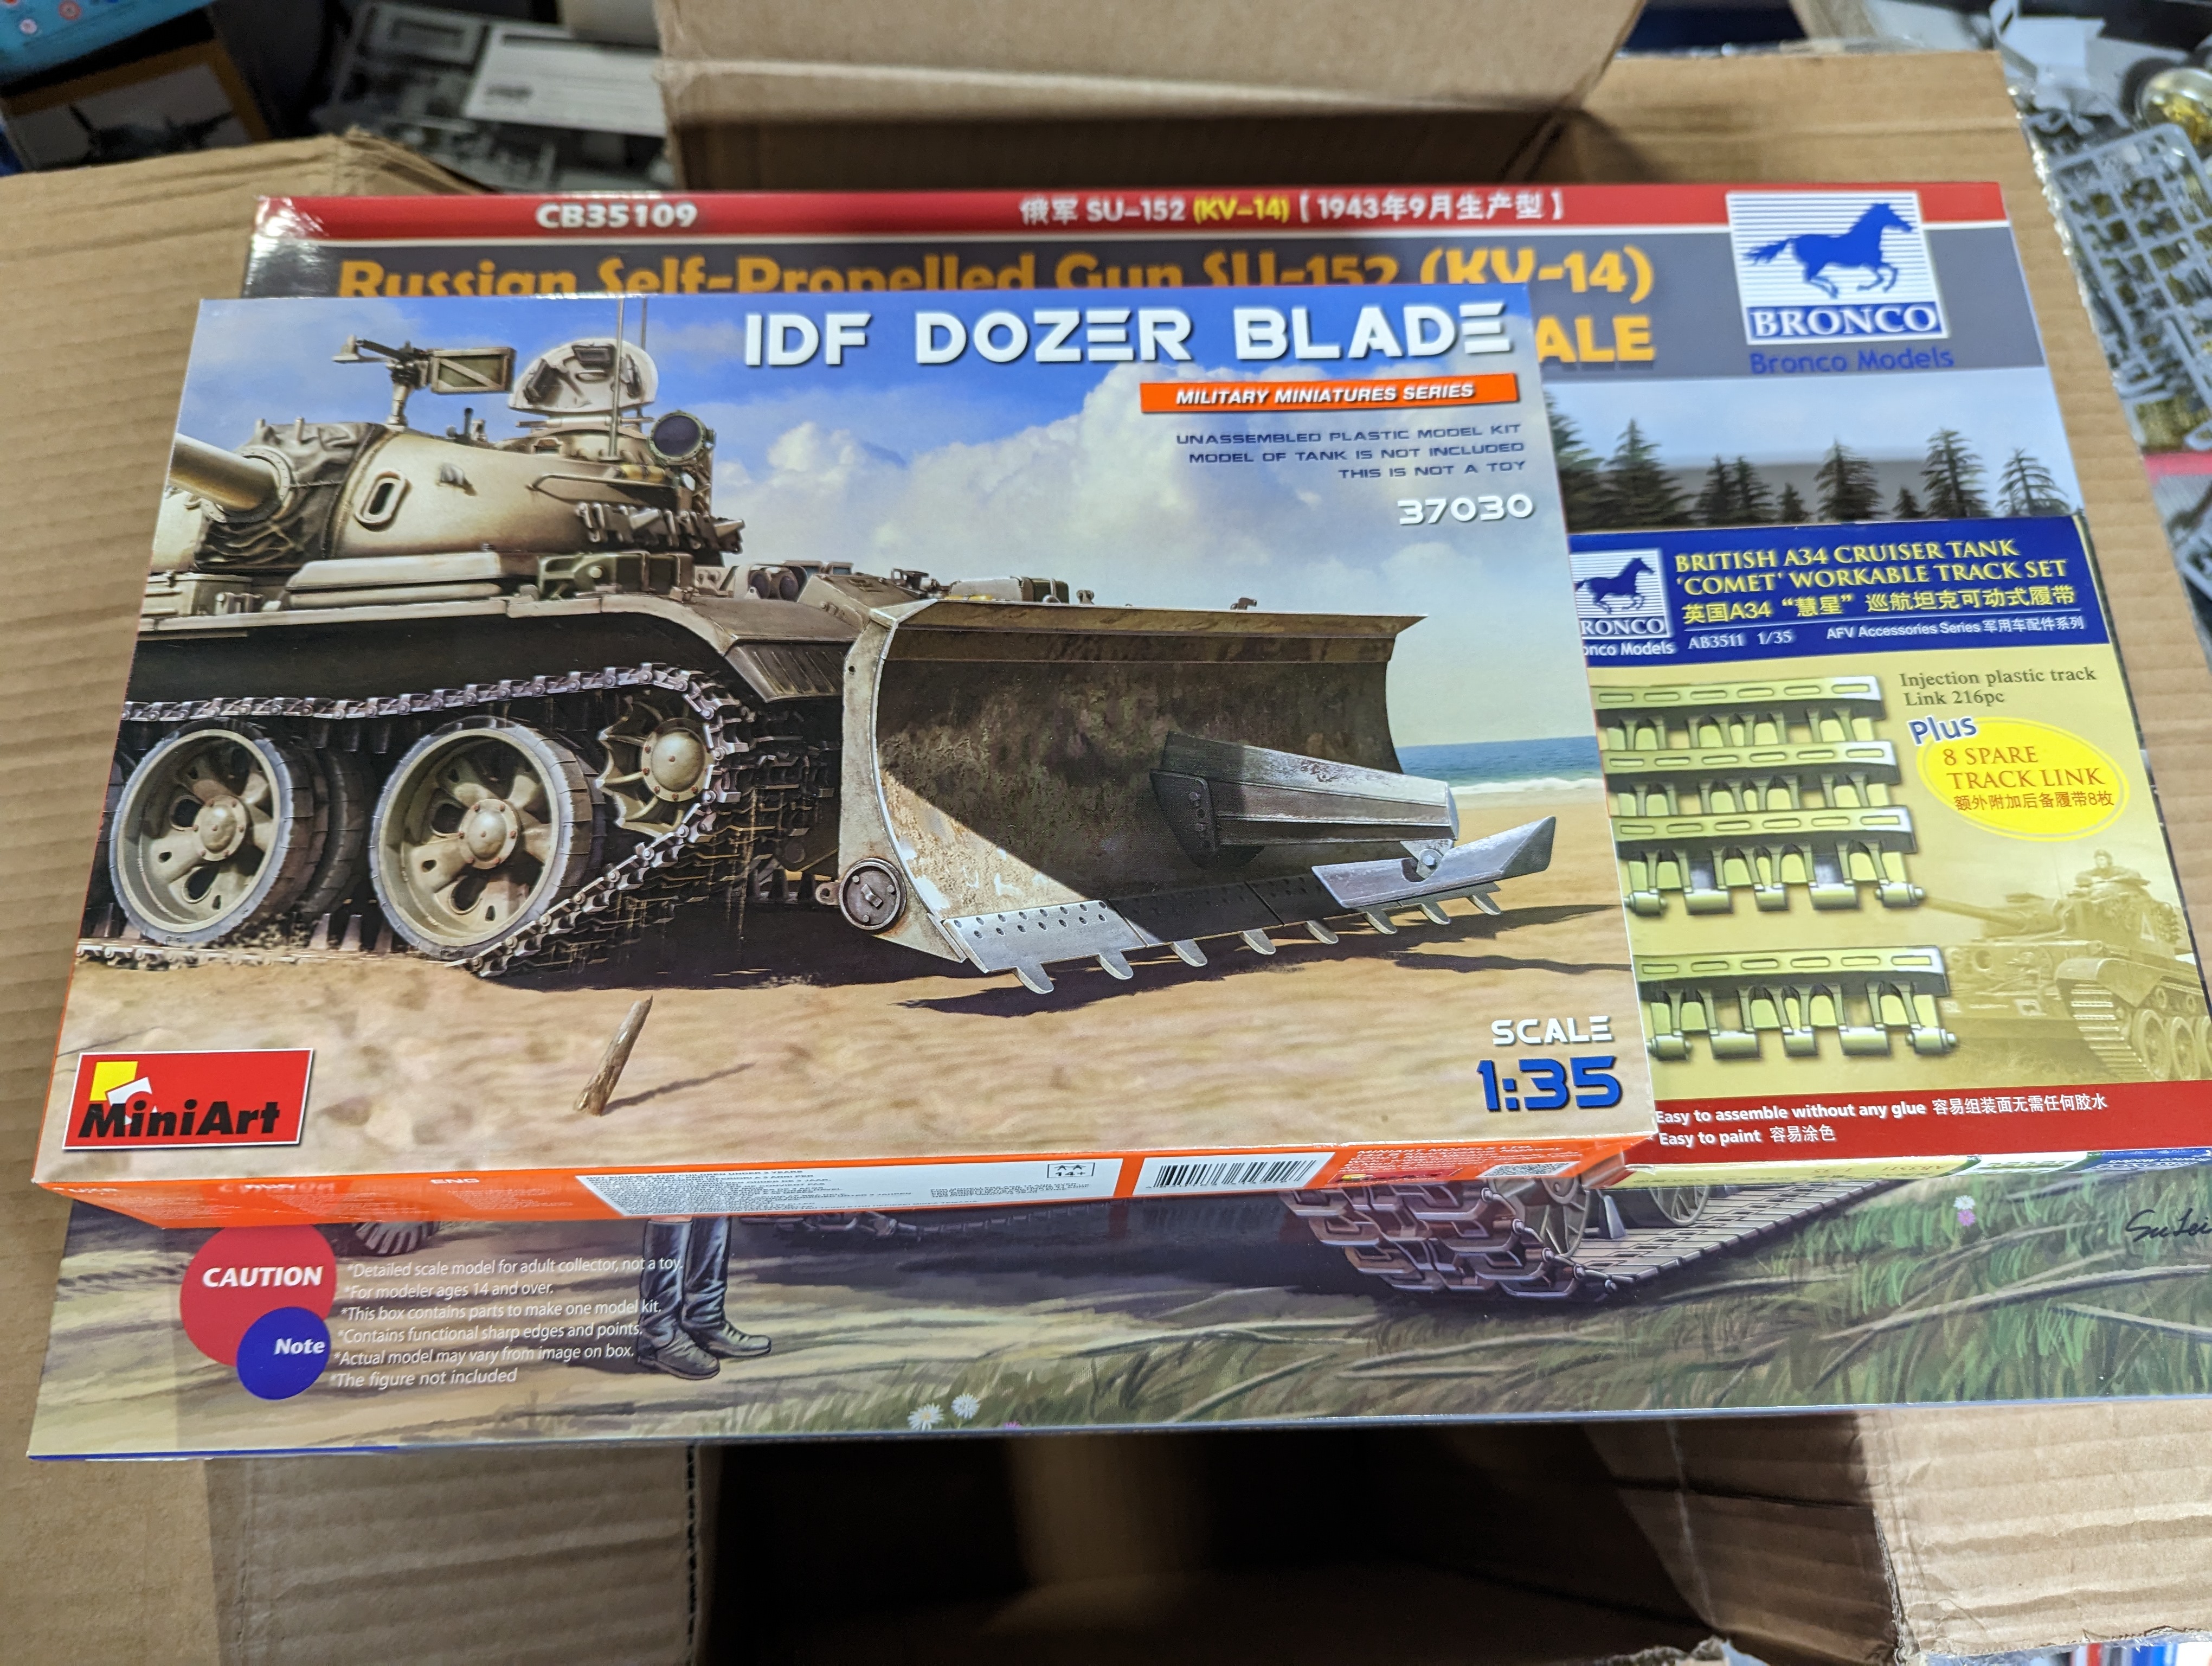
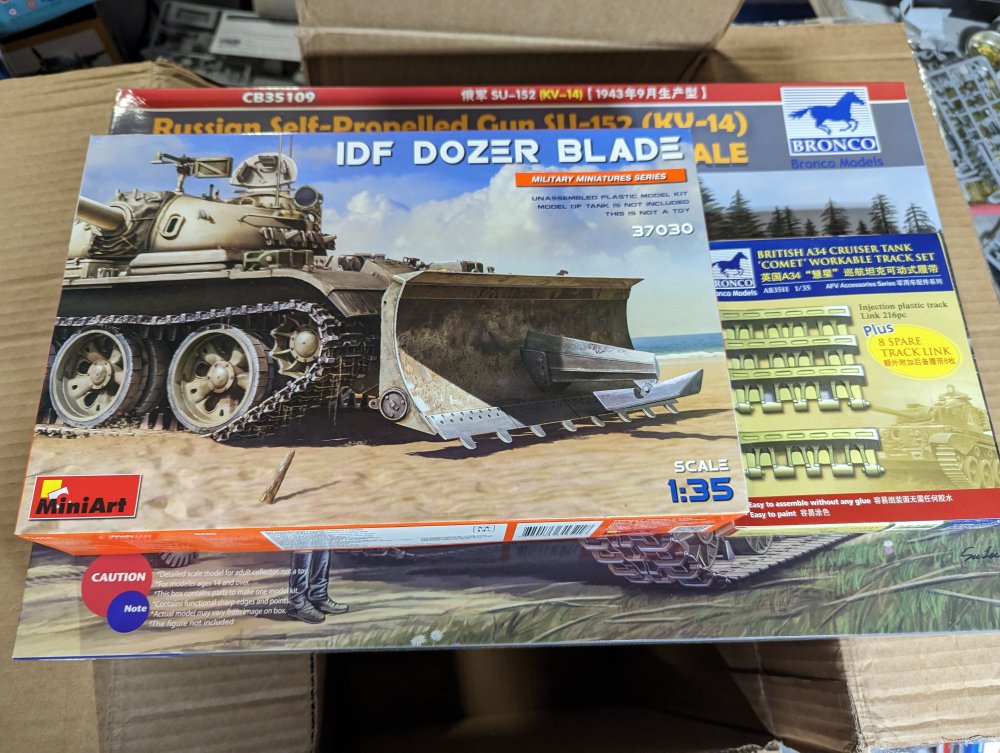
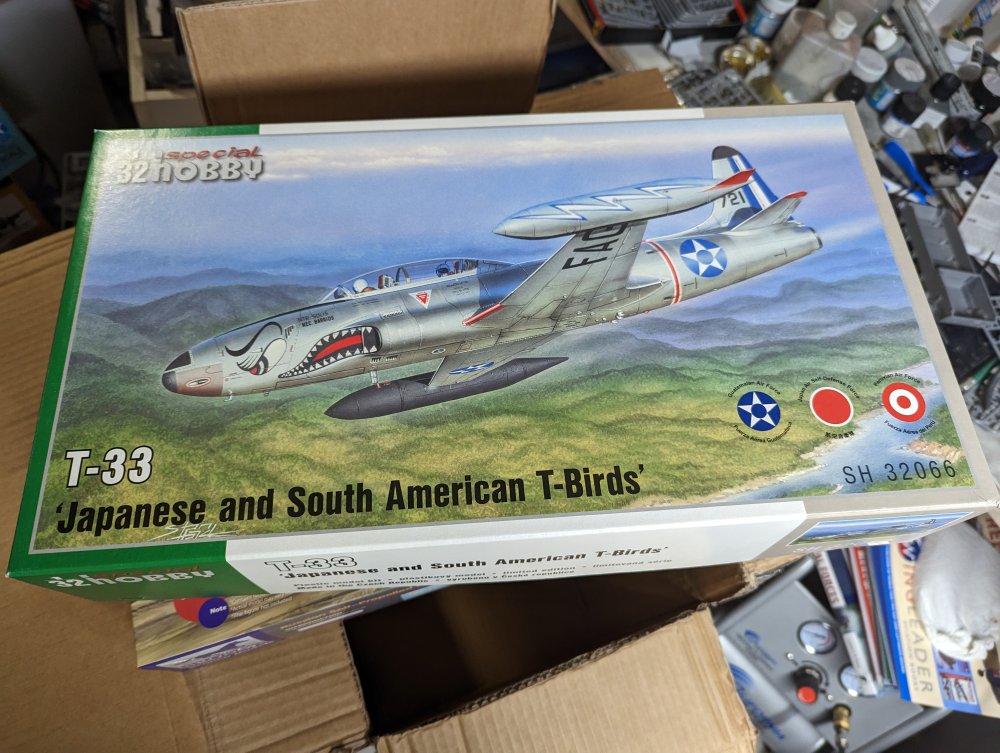
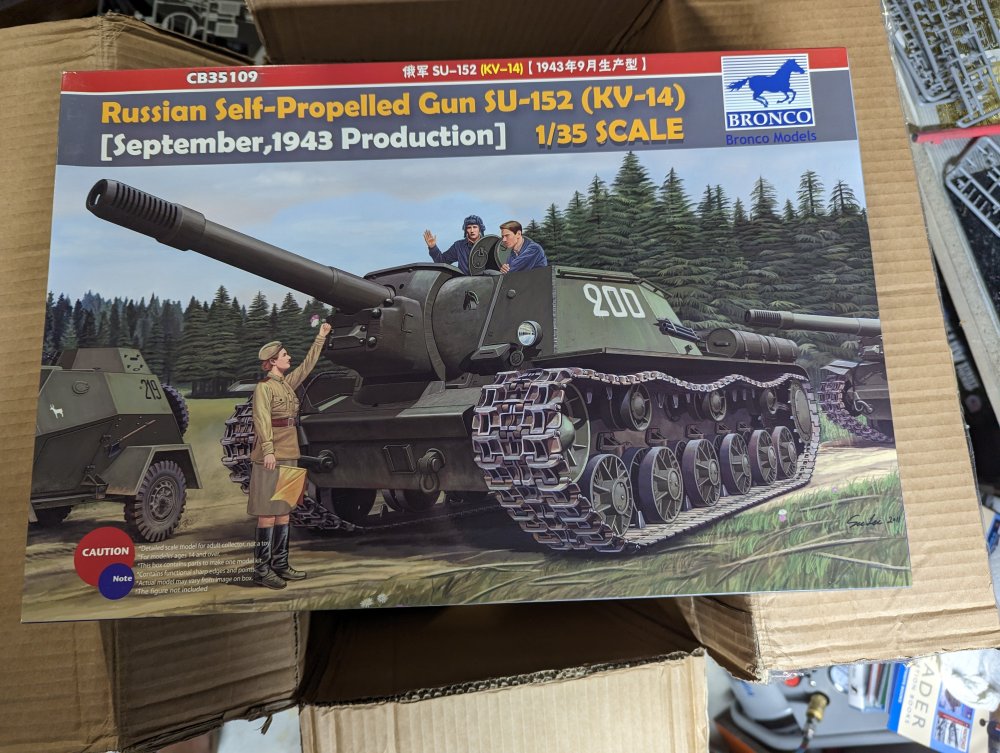
Great Hobbies had their anniversary sale so I picked up a couple kits. First up was the Special Hobby T-33. I picked up Mako Shark decals for it earlier so I needed the kit. Next up is an Su-152 from Bronco. I like these turret-less tank/assault guns for some reason. Lastly, a couple add-on sets for existing kits in the stash.
-
Looks great Jeroen. The weathering looks really impressive.
-
The base looks great. I have the Humber car with twin Vickers in the stash that I need to build. I find Bronco kits are a bit like Miniart ones, lost of small parts and great details.
-
LSM Modelling News 2023 merged Fran and Artful69’s threads
BlrwestSiR replied to Fran's topic in Modelling Discussion
I didn't know the were working on one. That would be nice to go with the recent AH-64 kits. -
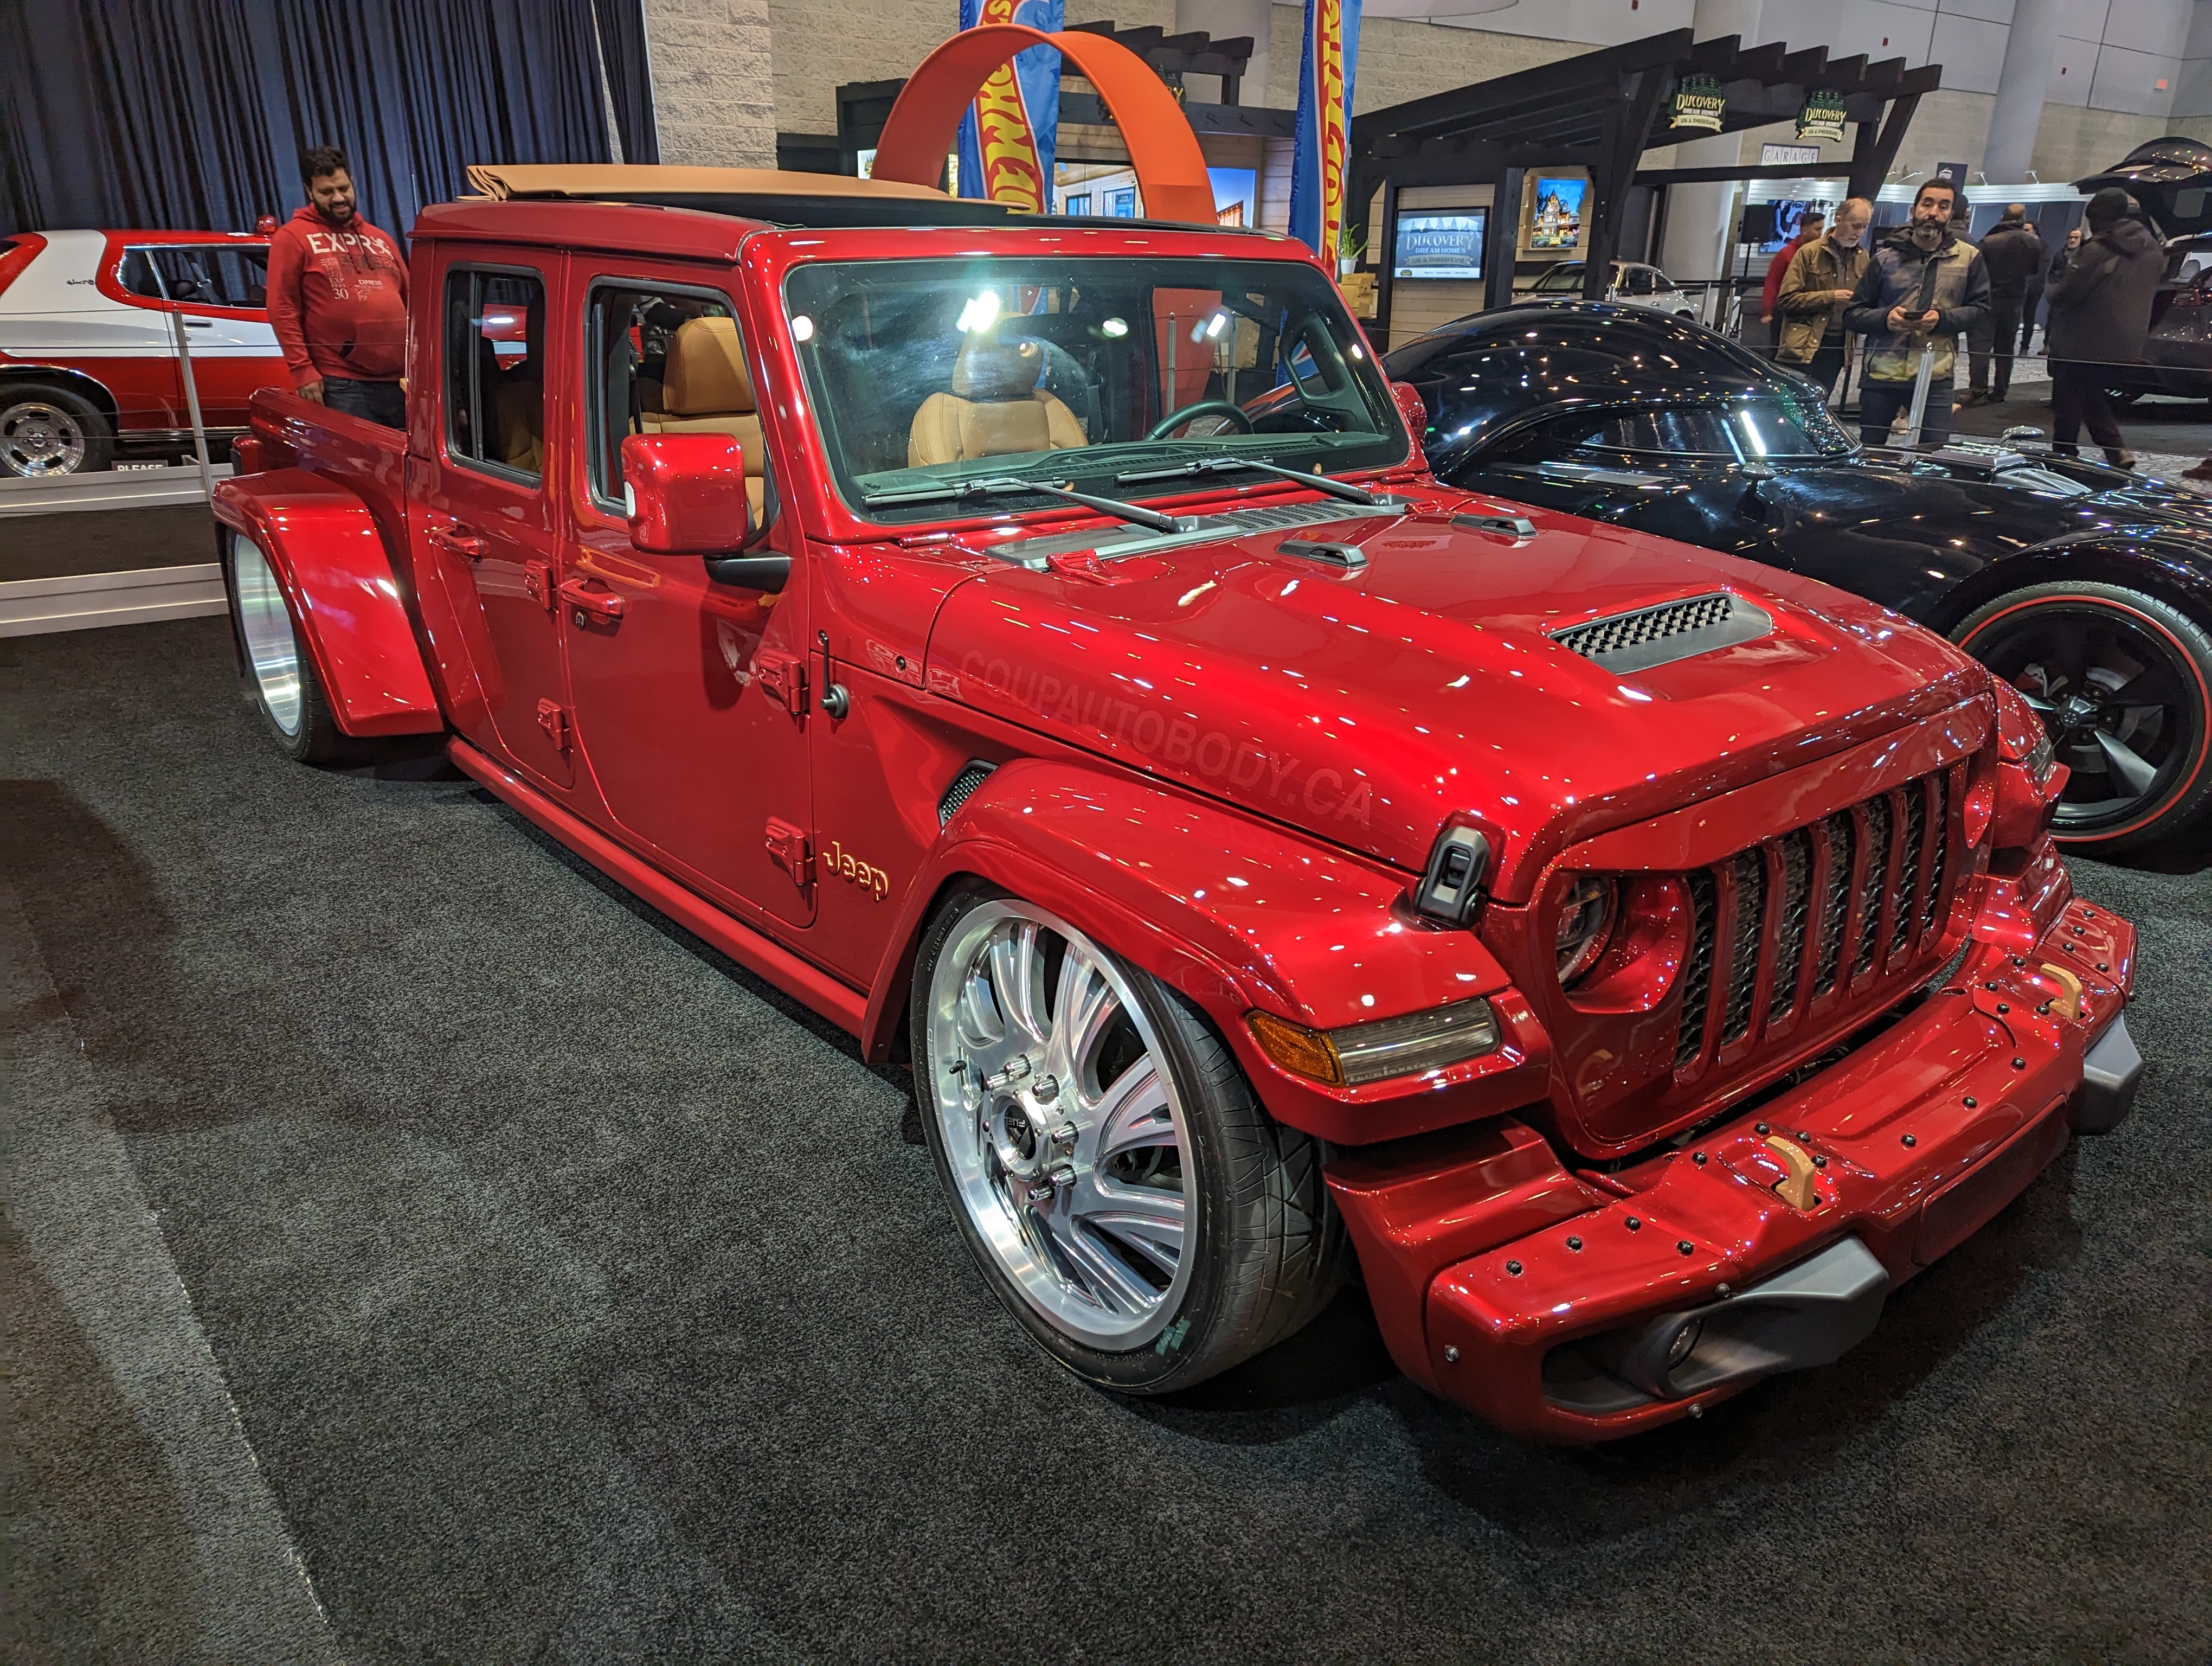
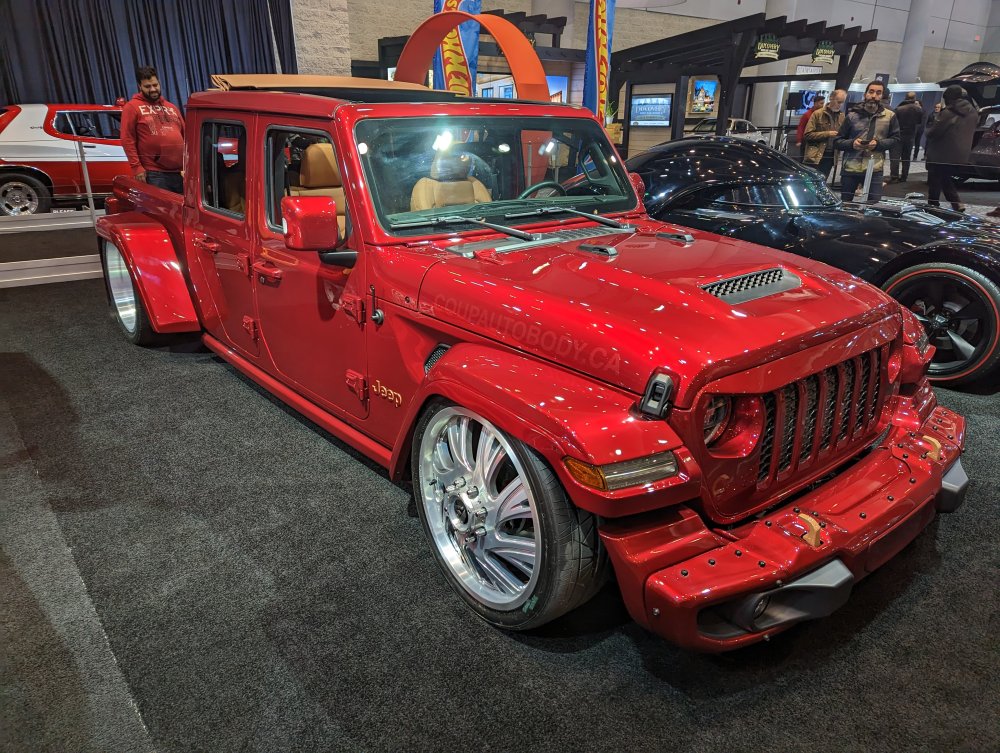
I found the next mods for Martin's Jeep:
- 2,035 replies
-
- 7
-

-

-
- car related stuff
- anything about cars
- (and 6 more)
-
I hear they love furniture.
-
That's actually a very nice kit. As to Harv, late to the party but glad to hear things are amicable and looking forward to seeing you send more time at the bench.
-
So my wife is cutting back on her wine to one bottle per day…..
BlrwestSiR replied to ScottsGT's topic in General Discussion
Martin, that was one of the wines that the agency I worked for carried. I had a 1999 one that we recently drank. Absolutely lovely. -
Someone's a naughty boy...
-
So my wife is cutting back on her wine to one bottle per day…..
BlrwestSiR replied to ScottsGT's topic in General Discussion
I worked at a wine agency for a few years. At the Christmas party one year, the owner comes over and asks what we are drinking as one of the opened bottles of wine has gone off. We all are drinking the same wine so one of asks if this is the one. He takes a sniff and says yup it's bad, and gets us all new glasses. After trying the new glass we're standing around quietly when one of the drivers says what we're all thinking: " I prefer the bad one" -
39” 1/128 Seaview and Flying Sub
BlrwestSiR replied to ScottsGT's topic in Let’s Get Wet Group Build.
Looks great. Are you going to leave it glossy or go for a semi-gloss finish? -
Like Peter said, a rarely seen variant so it'll be great to watch.
-
Revell 1/32 Spitfire Mk IIa
BlrwestSiR replied to Peterpools's topic in LSM 1/35 and Larger Work In Progress
Peter, the cockpit is looking great. At least you haven't made the mistake of forgetting to install the side panels. Did that on my build. Only found it much later after I was finished. -
So my wife is cutting back on her wine to one bottle per day…..
BlrwestSiR replied to ScottsGT's topic in General Discussion
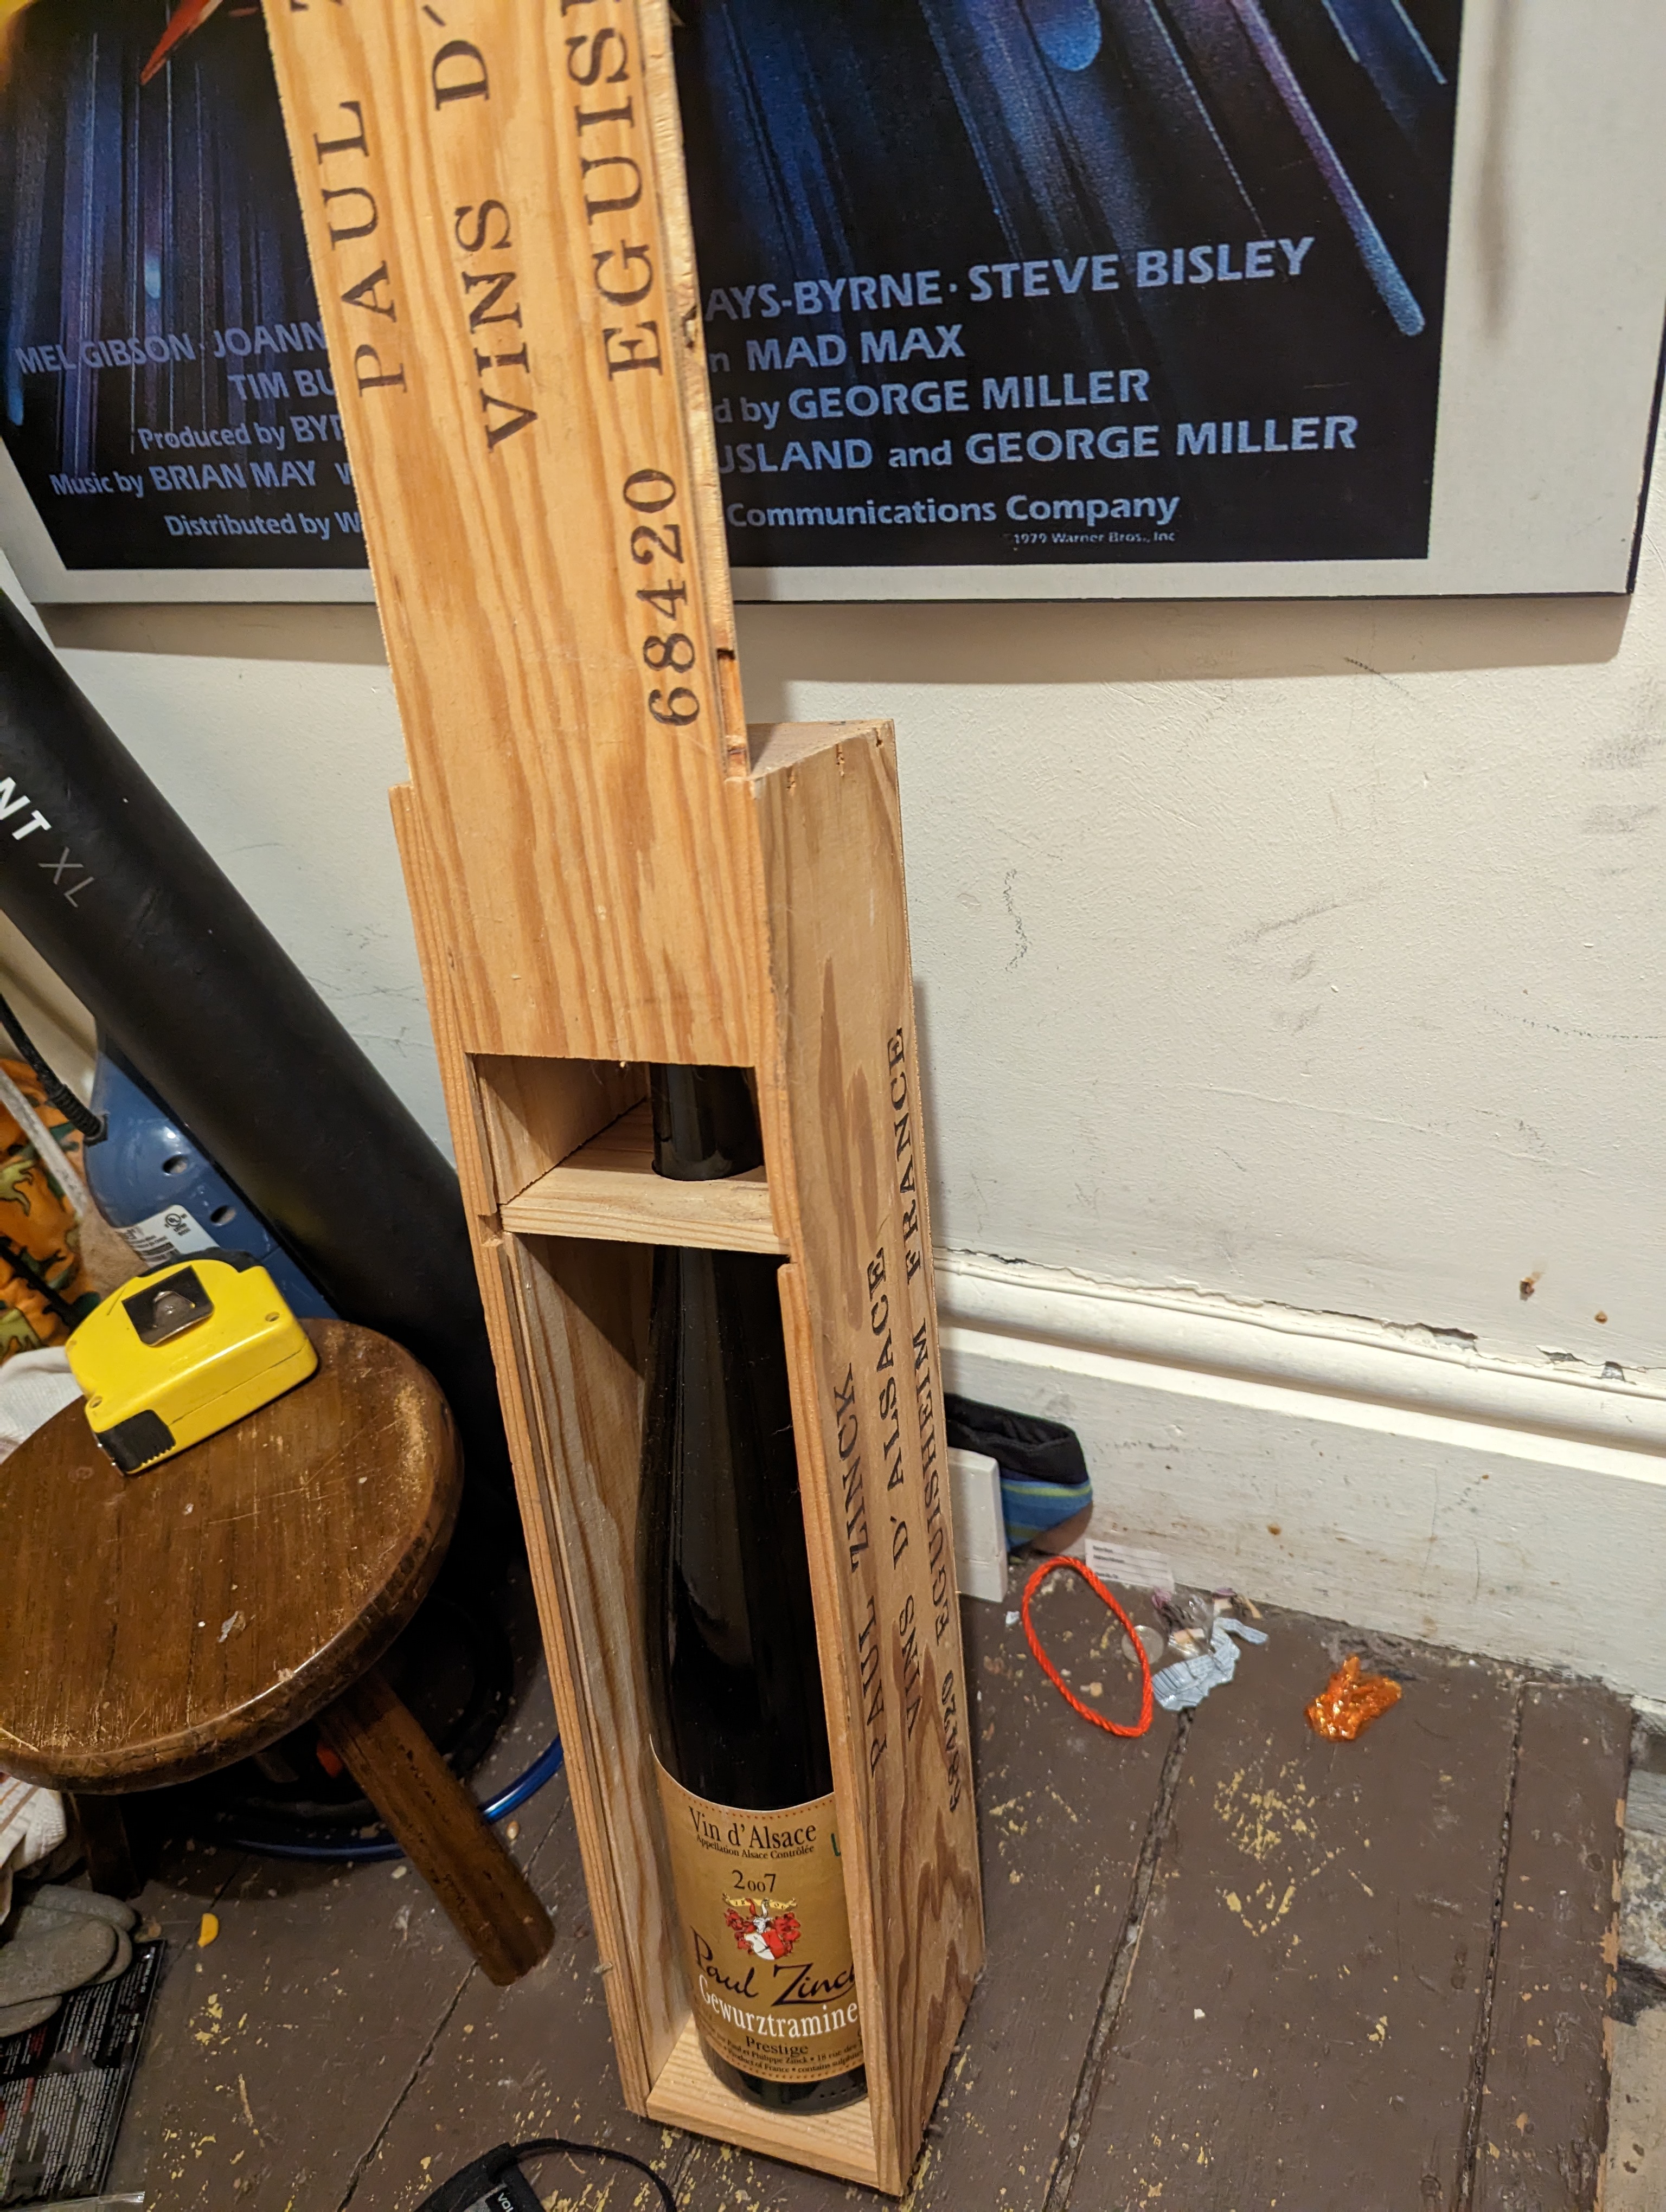
Forgot one! I won this at a wine tasting. It was brought over personally by the winemaker.
-
So my wife is cutting back on her wine to one bottle per day…..
BlrwestSiR replied to ScottsGT's topic in General Discussion
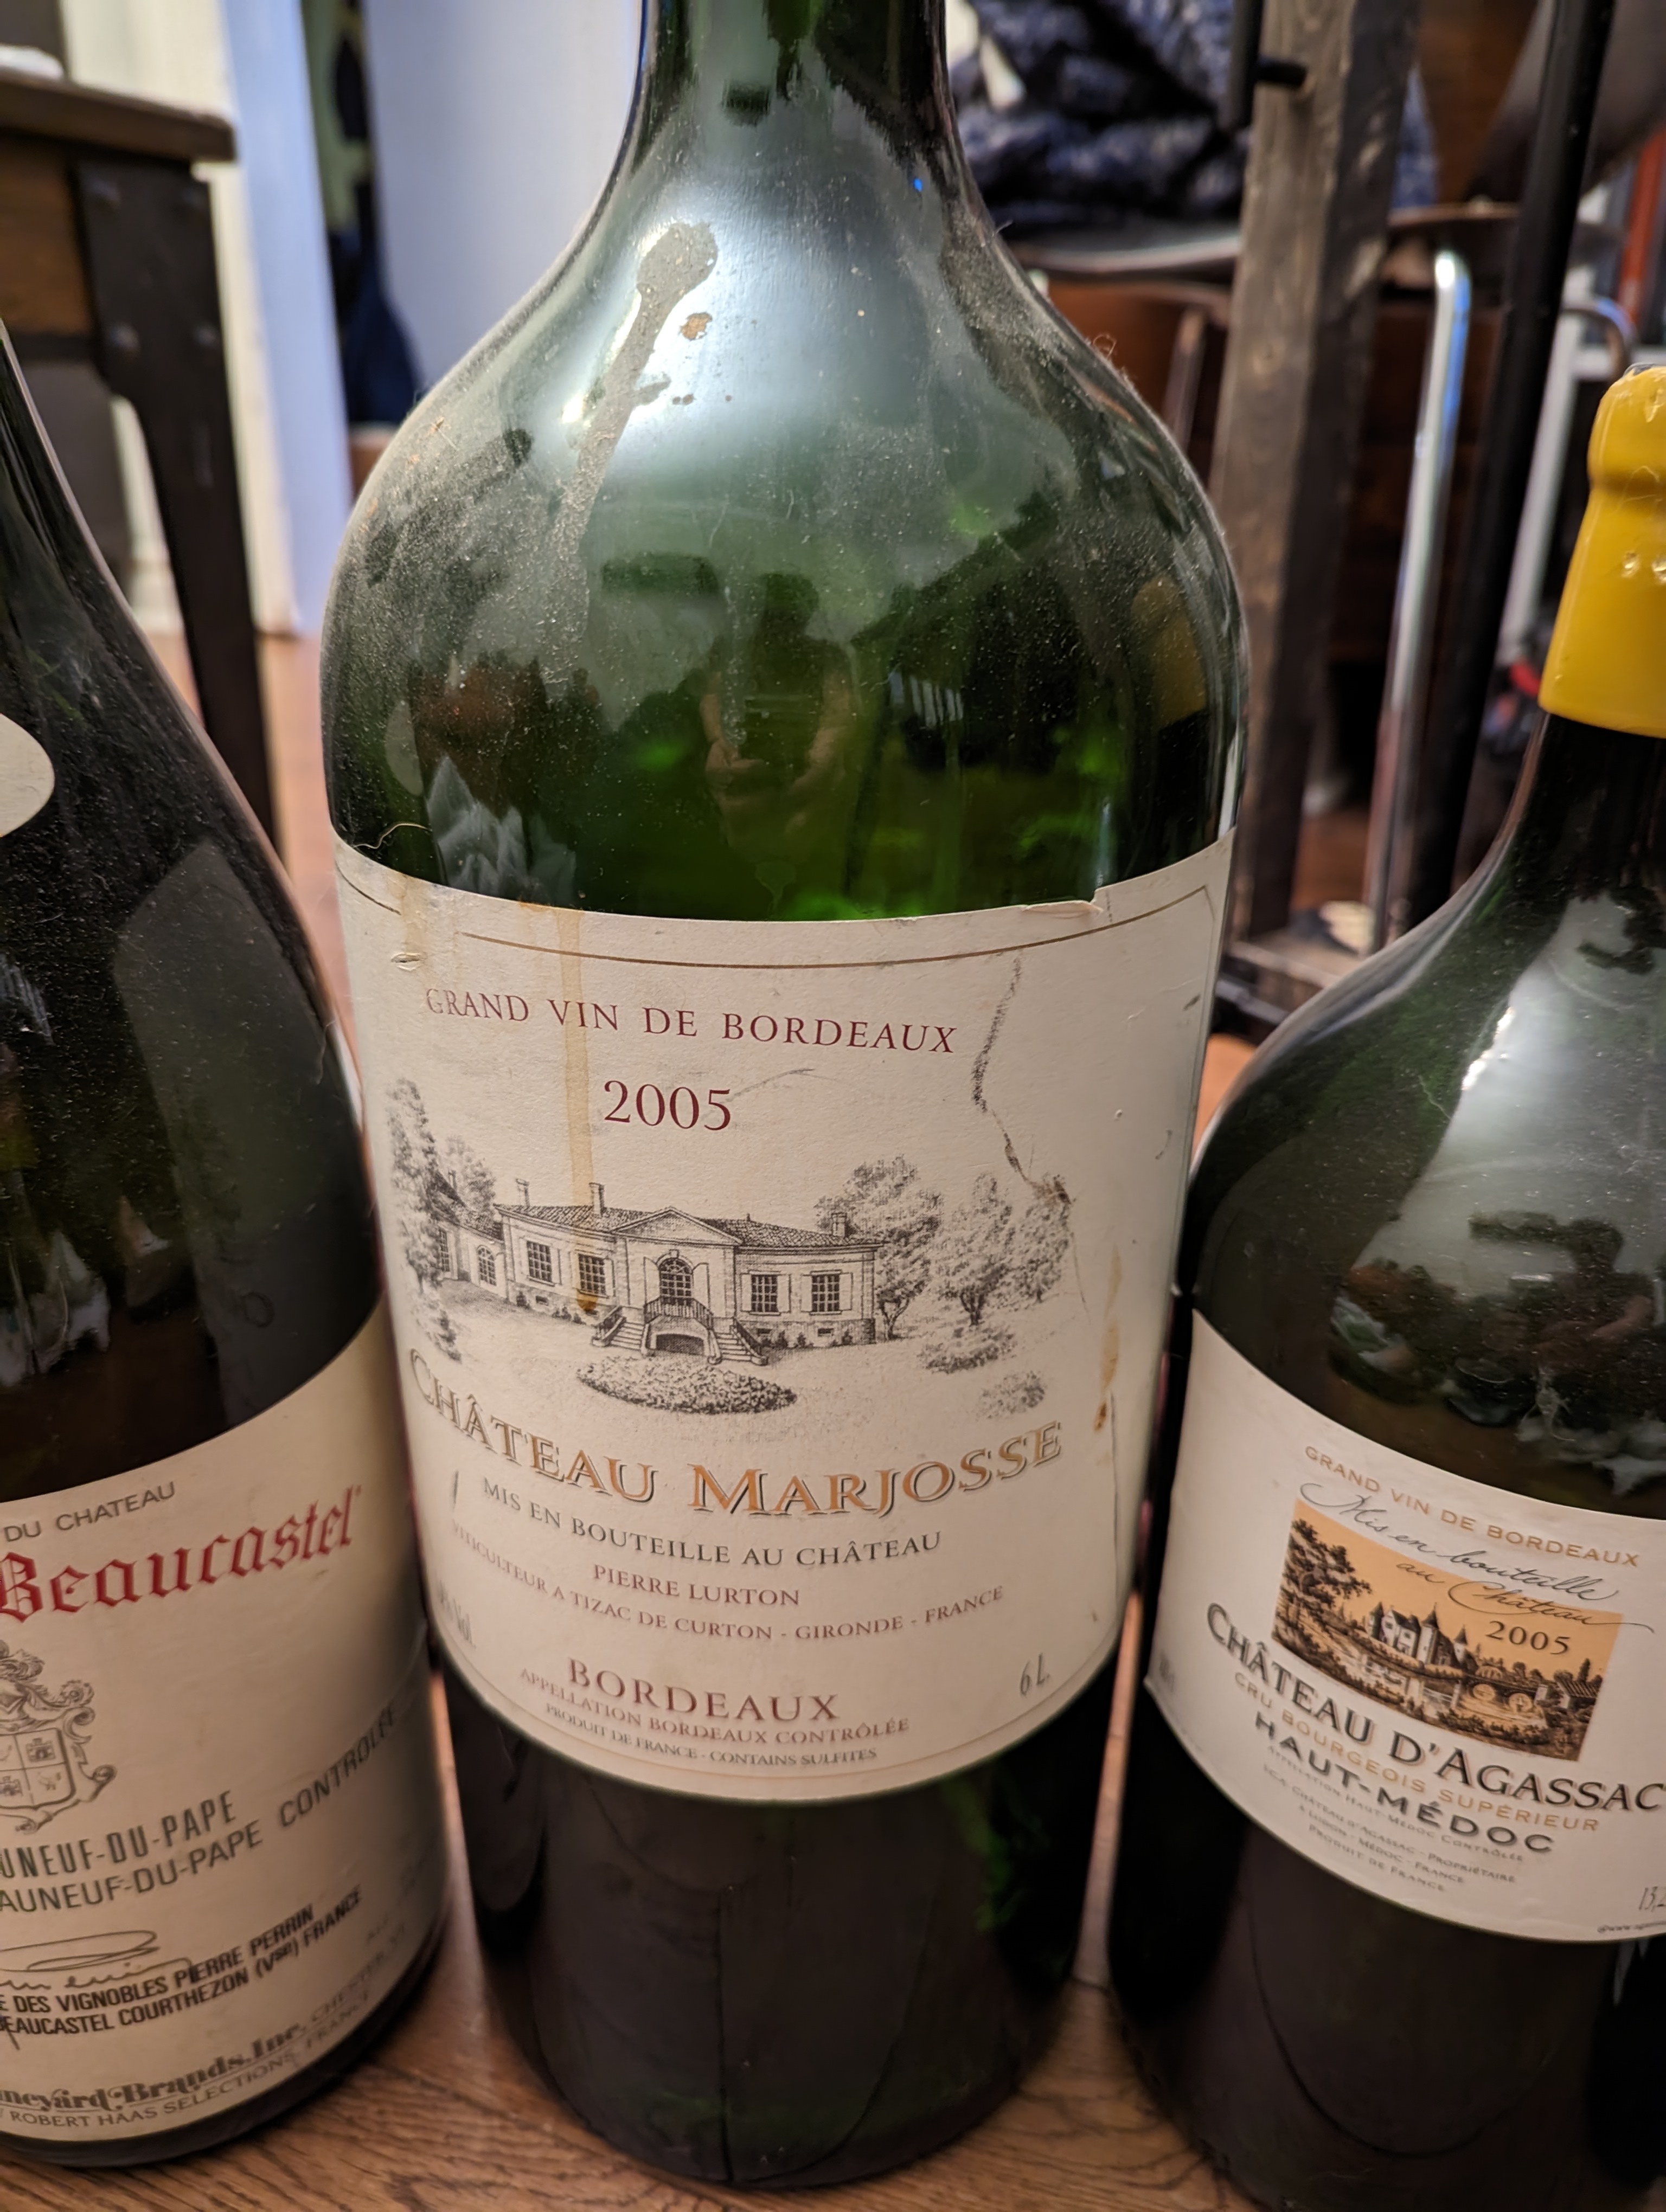
Here's the ones I have. The big one was the only bottle of wine we served at our wedding. If you like red wine and get the chance to try a bottle of Heitz cab (on the left), go for it. That was a great wine. Carl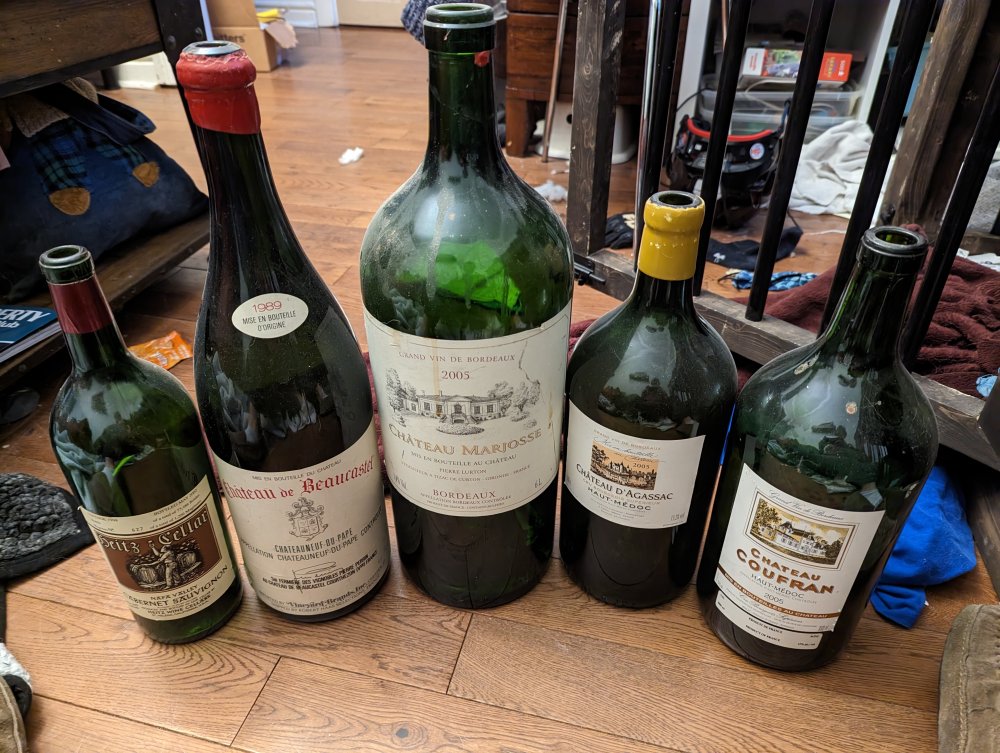

-
Looks like somebody is having fun. Any luck on a new couch? We finally ordered one this last weekend. Sue said Jimmy isn't allowed on it. I think that'll last about 5 minutes.
-
A Jeep in its natural environment.
- 2,035 replies
-
- 3
-

-
- car related stuff
- anything about cars
- (and 6 more)
-
LSM Modelling News 2023 merged Fran and Artful69’s threads
BlrwestSiR replied to Fran's topic in Modelling Discussion
Well, I just got an email from Squadron and they're saying a couple months which puts around April so maybe there's some substance to the rumours this time.