BlrwestSiR
-
Posts
9,200 -
Joined
-
Last visited
Content Type
Profiles
Forums
Events
Gallery
Everything posted by BlrwestSiR
-

What is on your bench right now ? Share a picture :)
BlrwestSiR replied to Martinnfb's topic in Modelling Discussion
Mark, can't wait to see it. Should be interesting to compare to their 1/32 kit and if they made any corrections when they down scaled it. Carl -
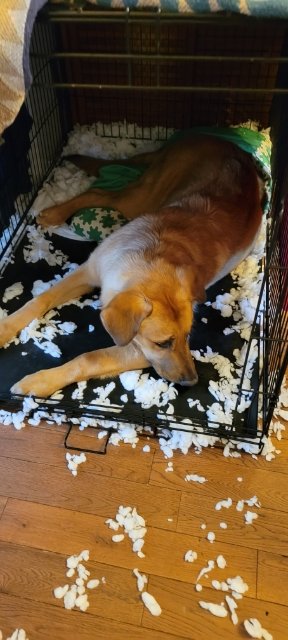
We've been working at training our puppy Jimmy. He's a good dog overall but has all the excess energy that puppies have. And some of their less than desired behaviours. Case in point: last night he ate his dog bed.
-
Oh, I like those.
-
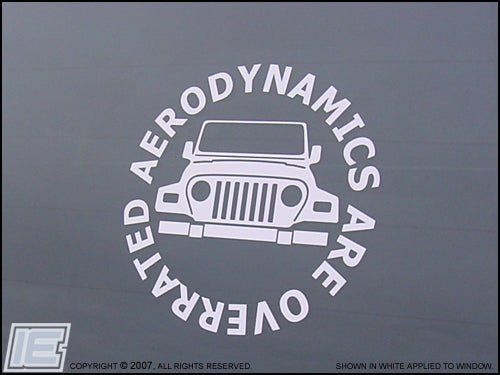
I can relate Martin. I drive a car that's nicknamed the Toaster for its resemblance to said kitchen appliance. You need a sticker like this for your Gladiator:
- 2,036 replies
-
- 6
-

-
- car related stuff
- anything about cars
- (and 6 more)
-
I'm not sure Bill. Probably, as it came in from the west of us and ended up running right across the province into Quebec. They're now saying it caused 5 fatalities in both provinces.
-
Yeah, this one rolled in fast. It was bad enough that we even got warnings on our cell phone about it maybe 10 minutes before it hit. Sue and I were out walking and just made it home. Unfortunately 2 people were killed by falling trees during the storm.
-
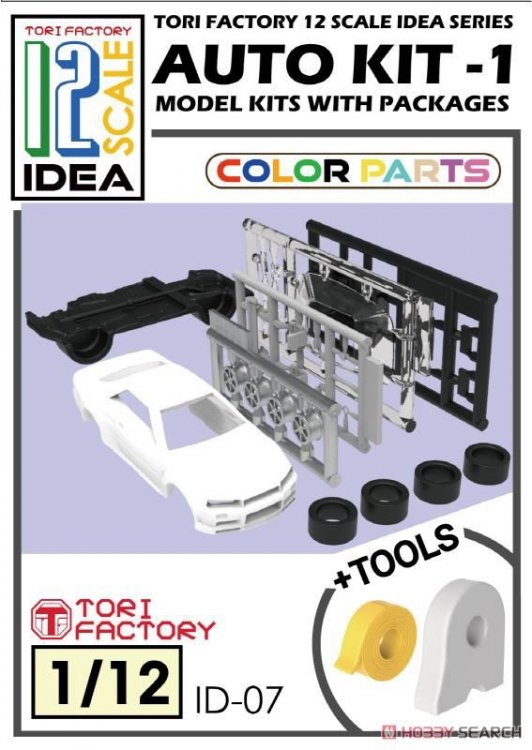
How about a model of a model kit? Tori Factory is coming out with a 1/12 model of a 1/24 car kit. https://www.1999.co.jp/eng/m/10887090 It even comes with a 1/12 masking tape and dispenser.
-
What is on your bench right now ? Share a picture :)
BlrwestSiR replied to Martinnfb's topic in Modelling Discussion
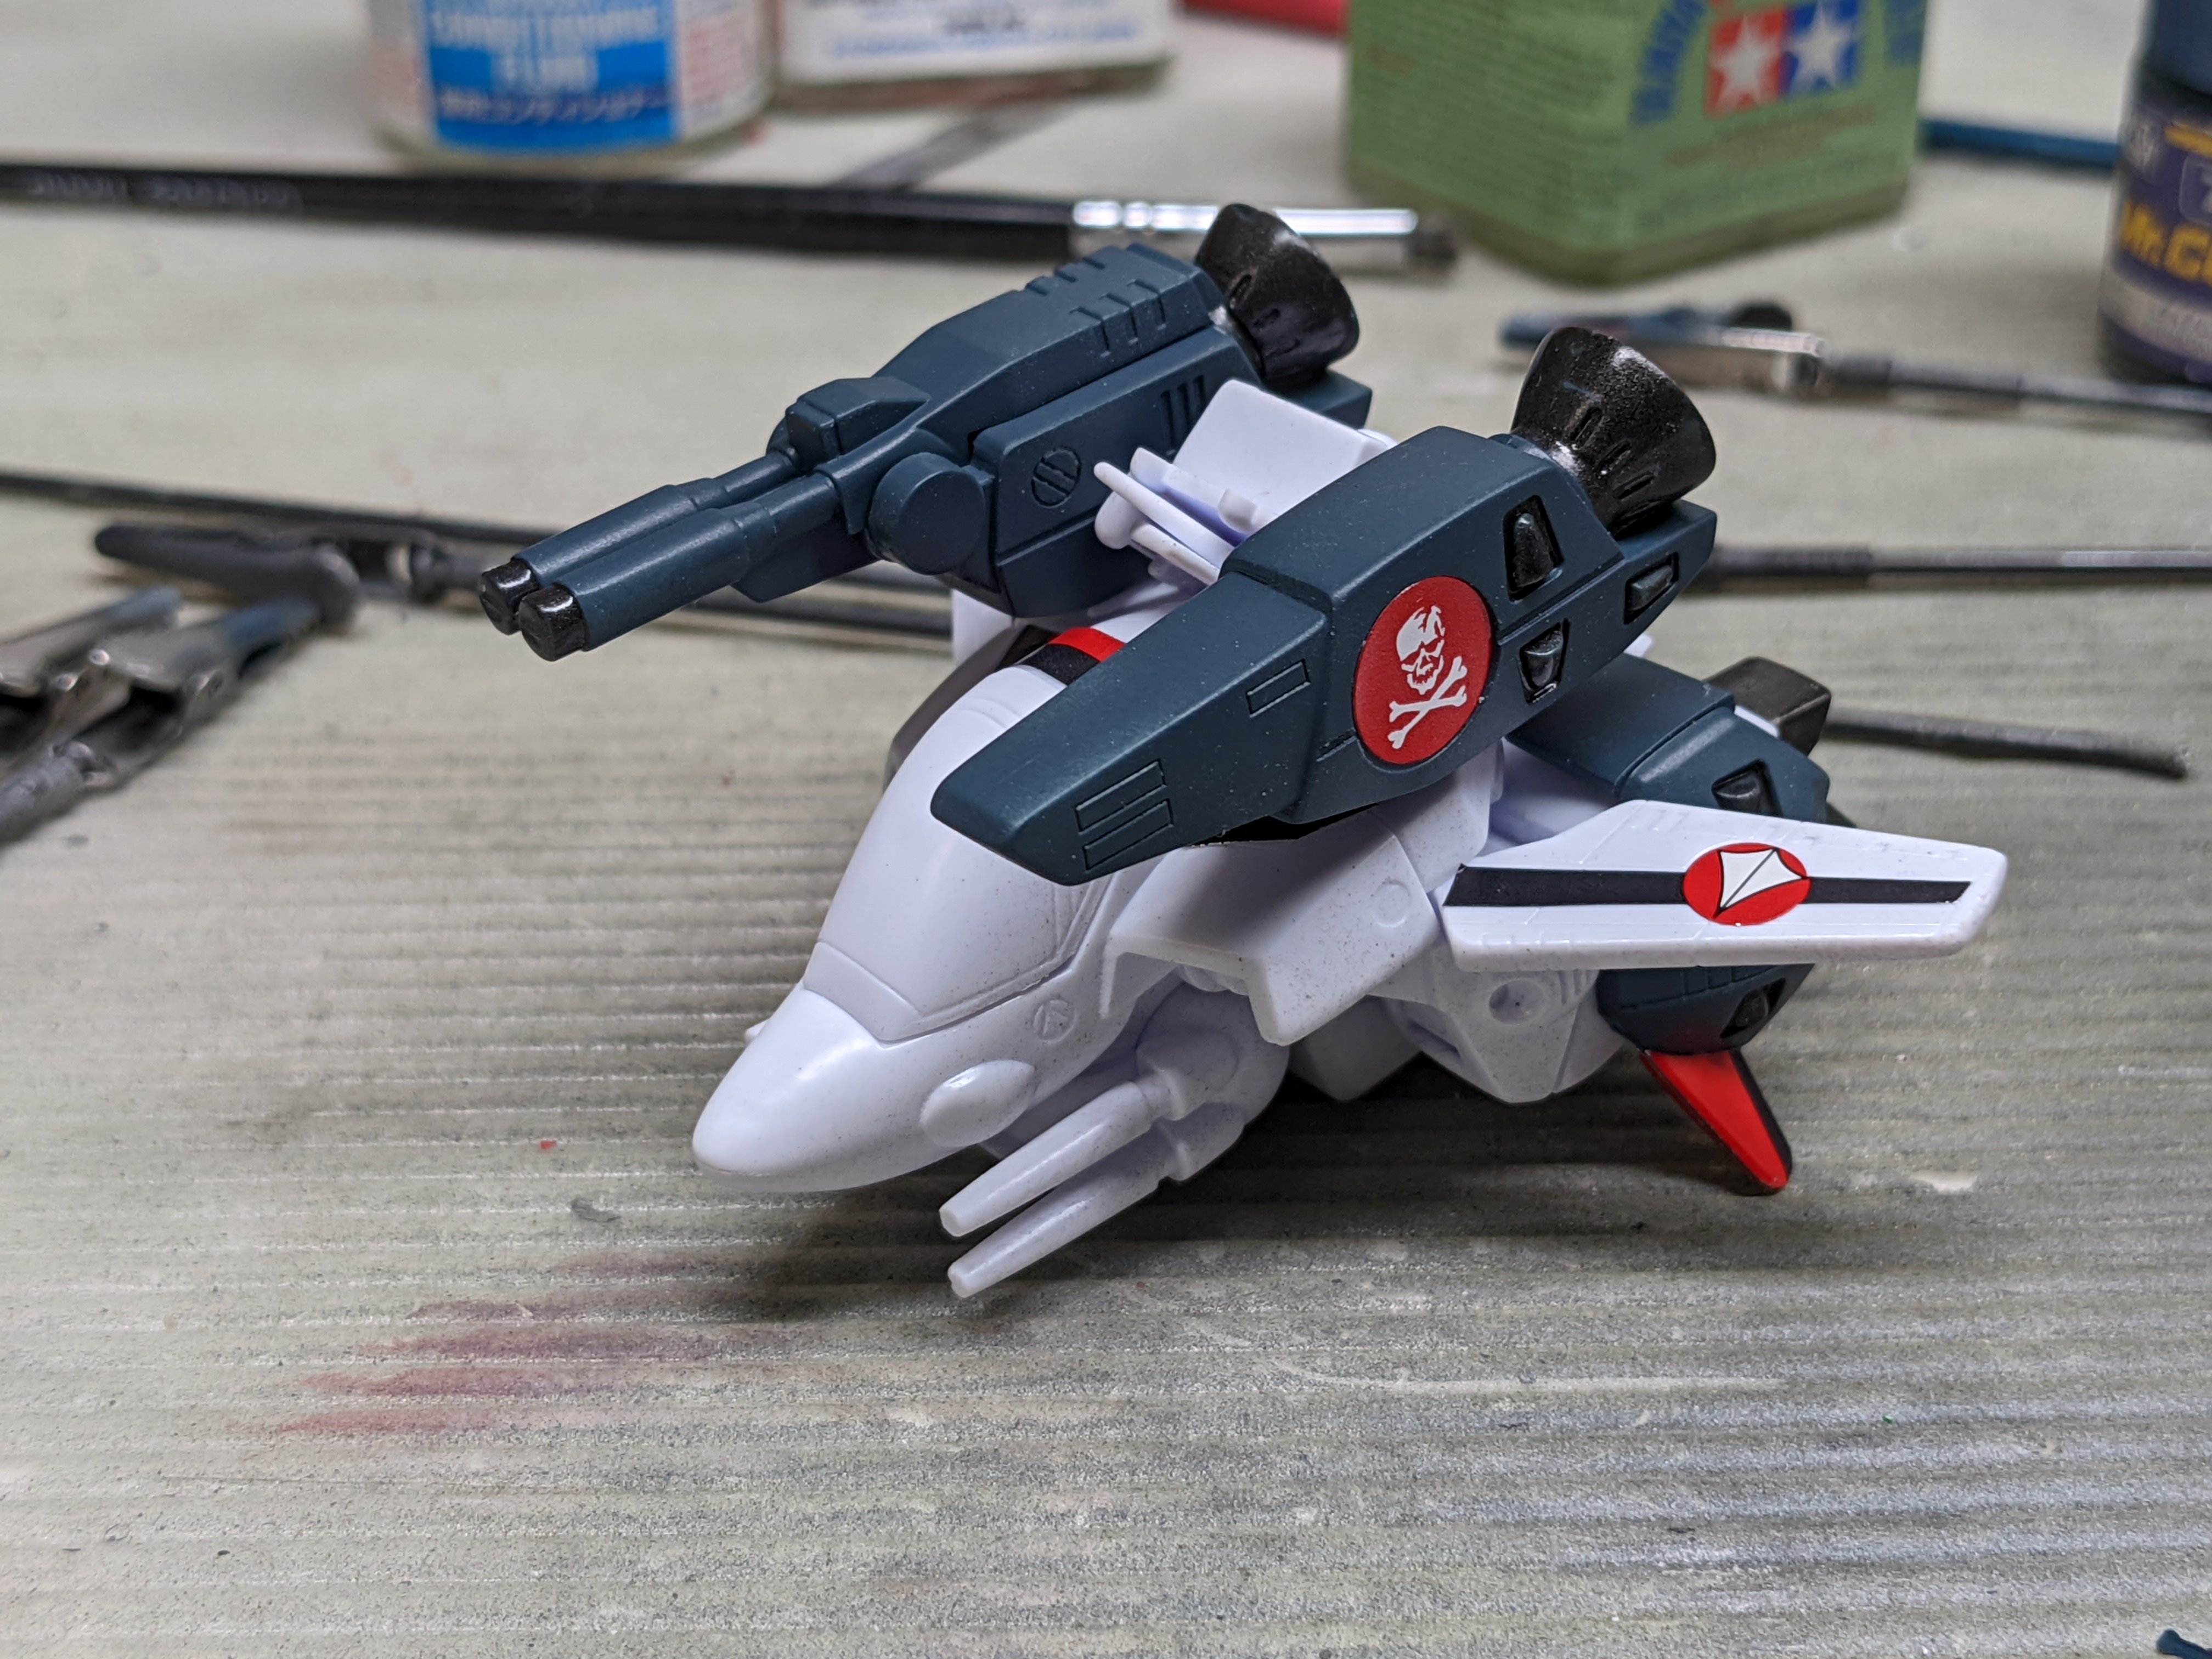
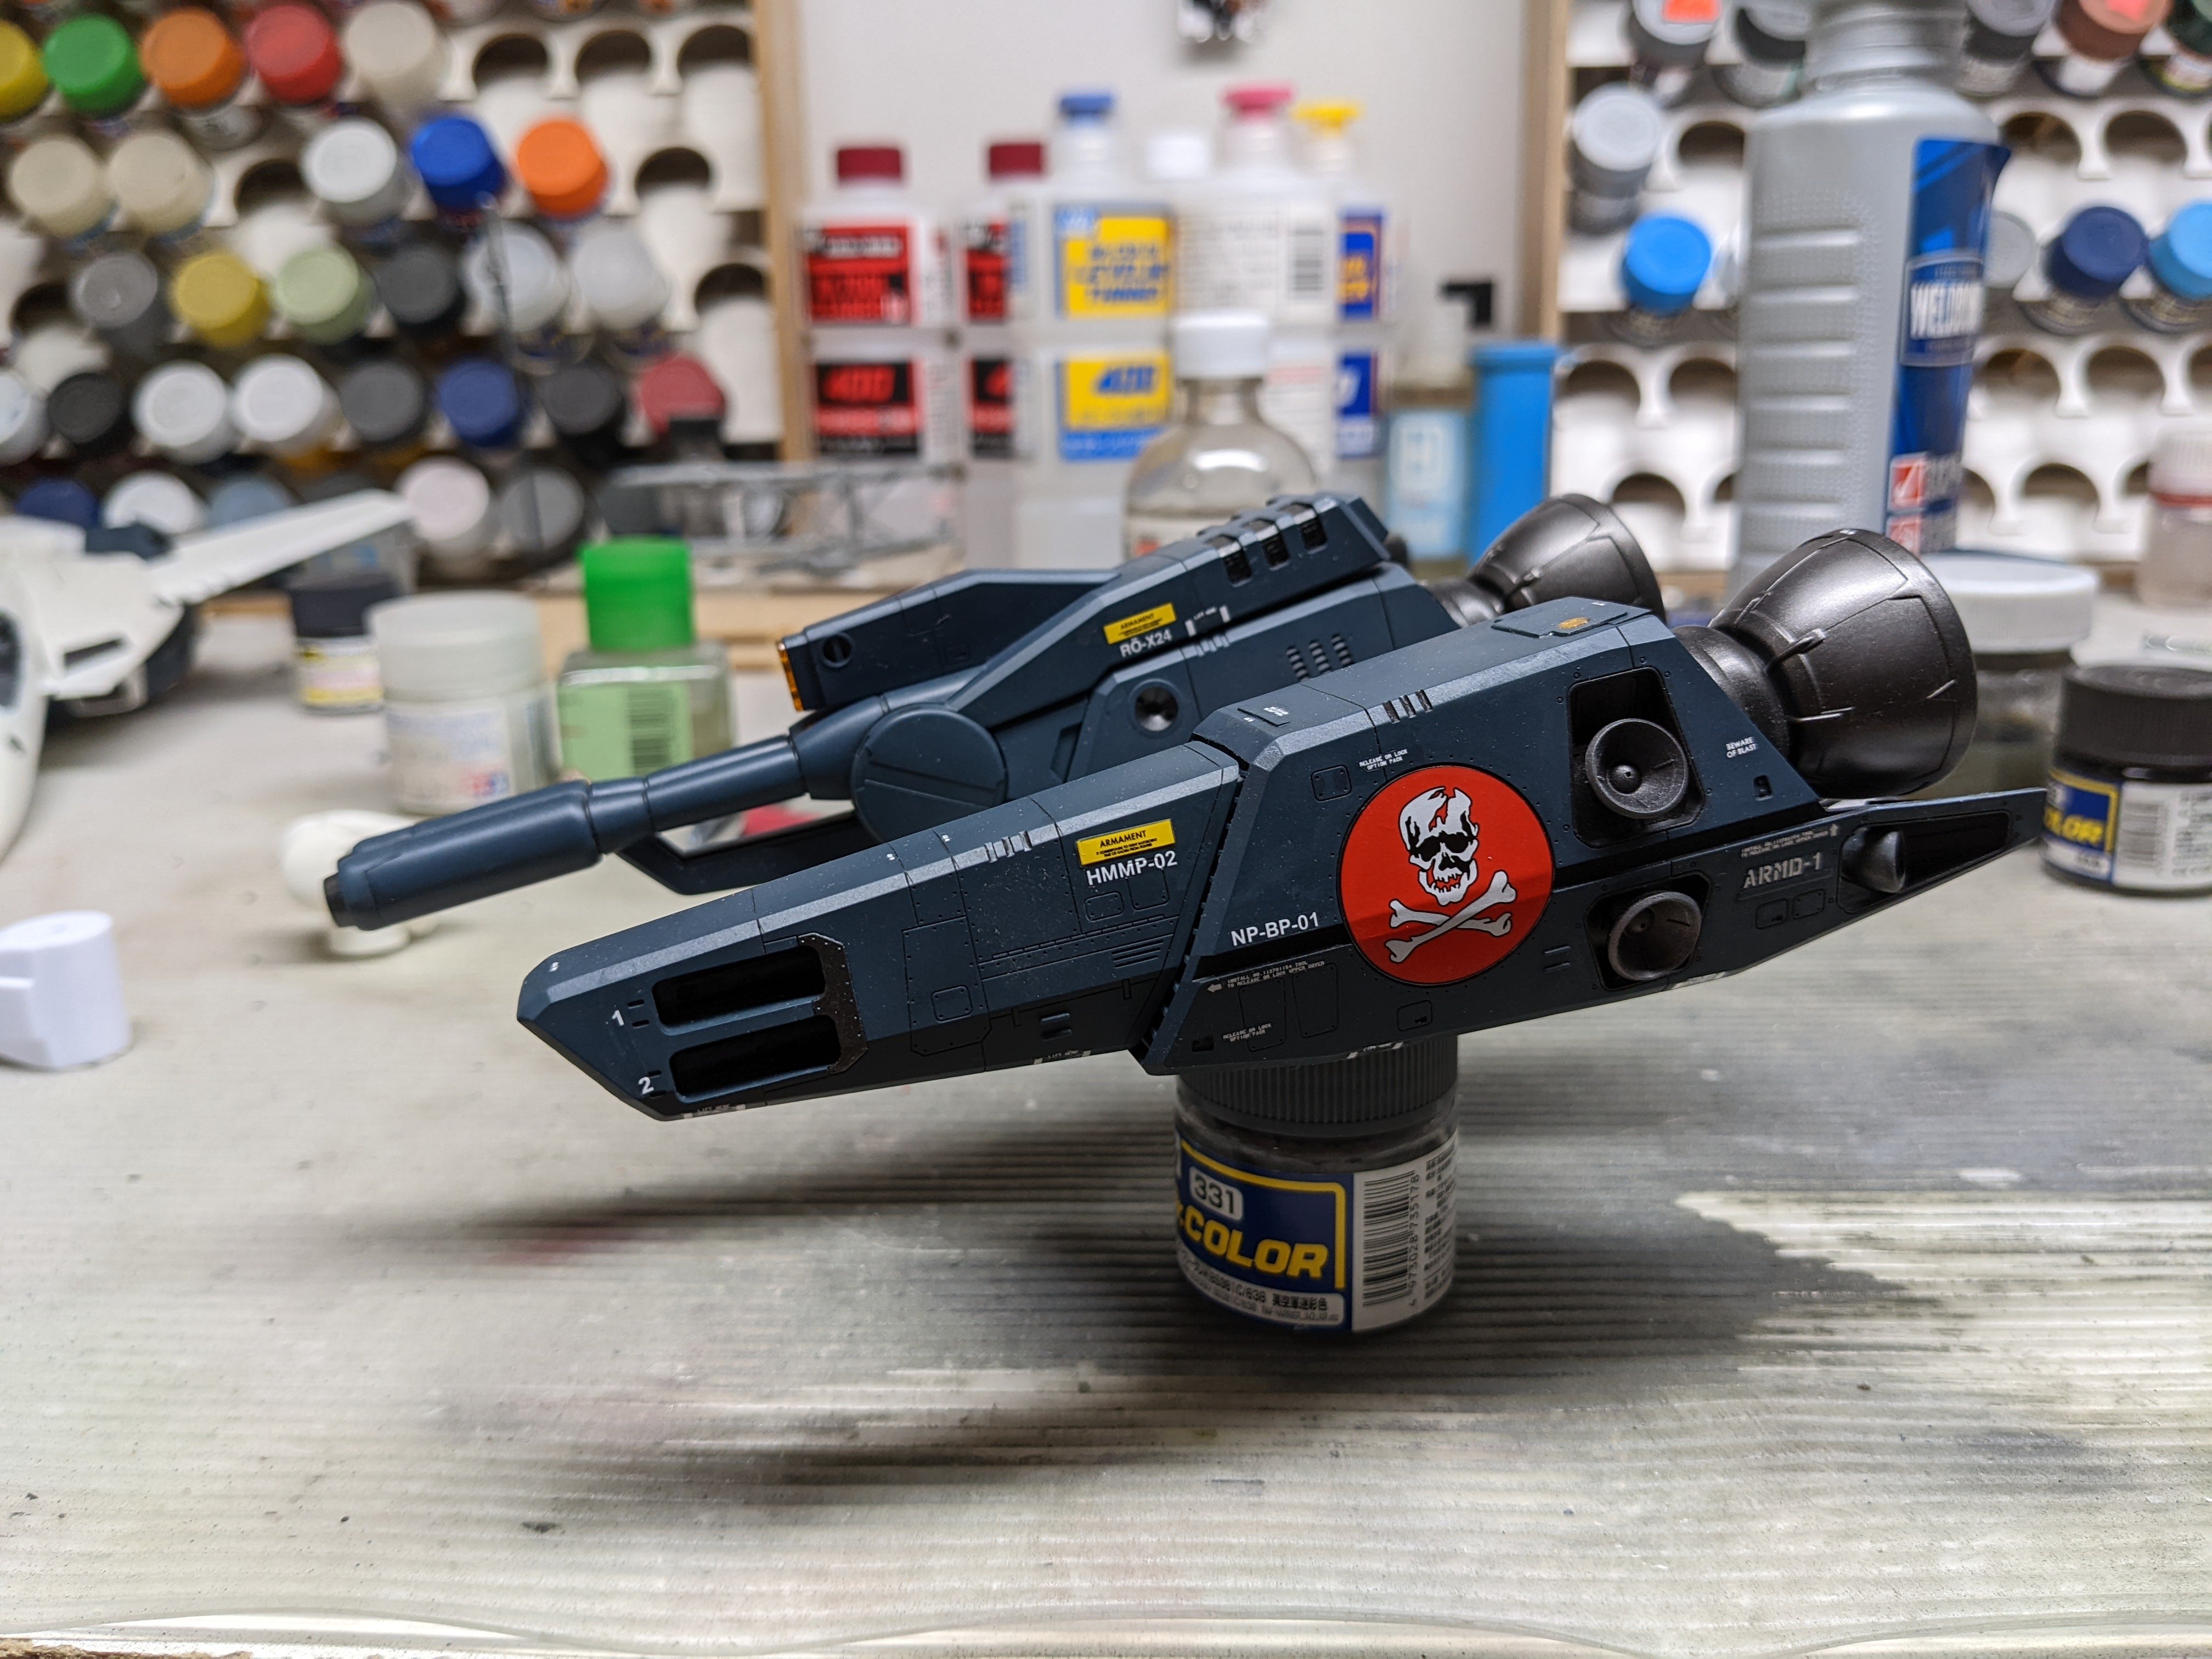
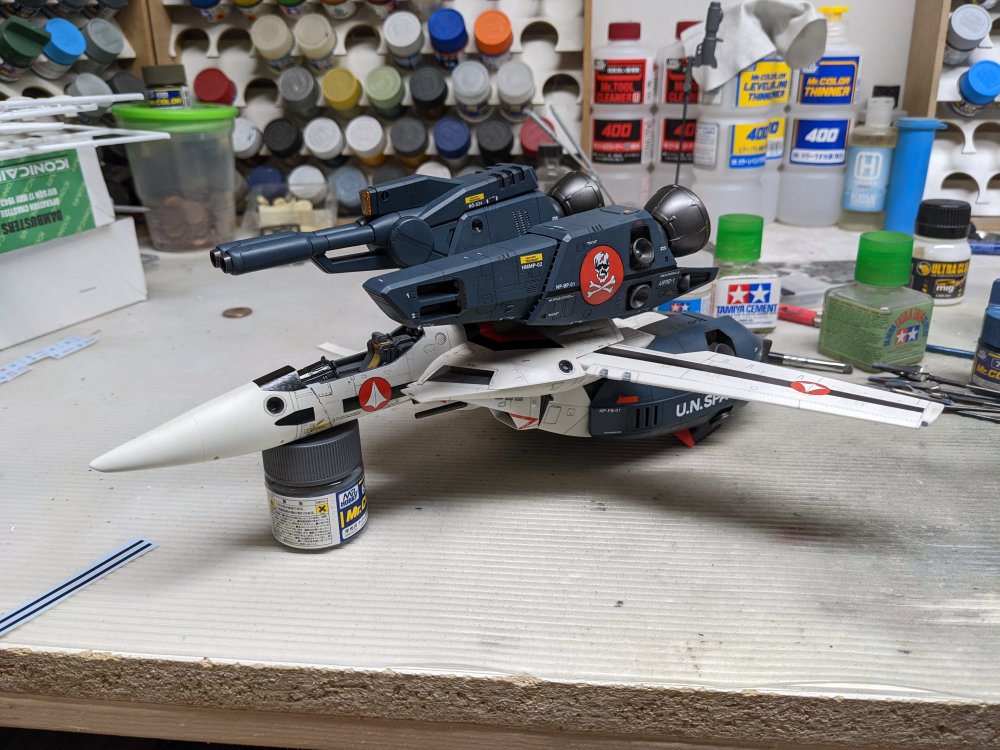
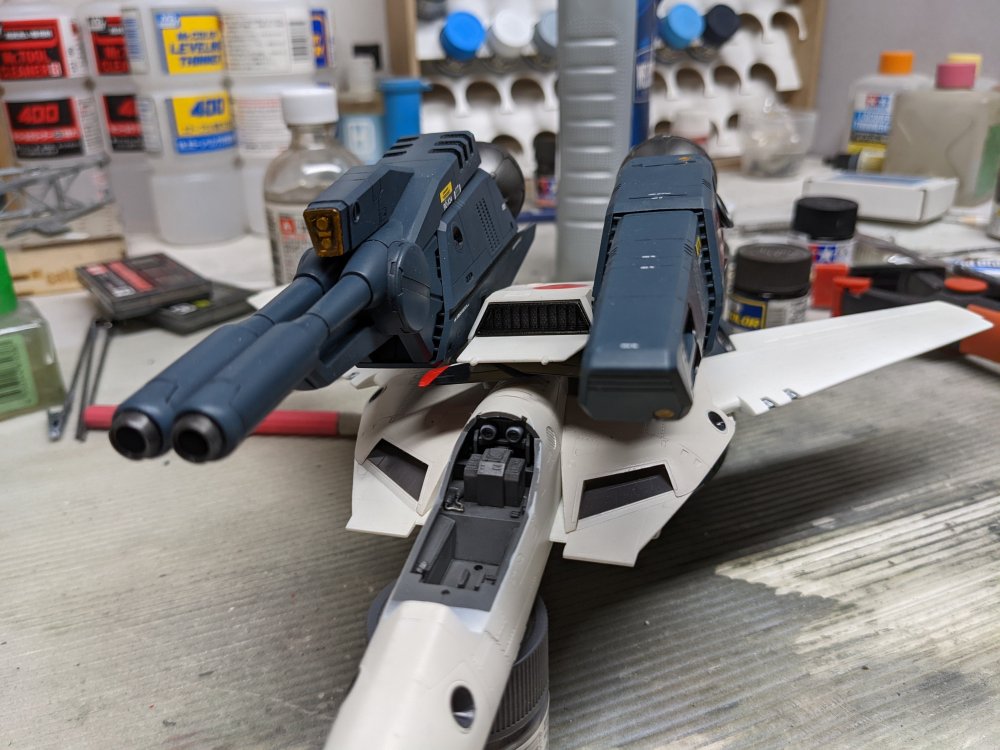
Getting closer to finishing the Valkyrie. Wait, sorry wrong one. THIS one is closer to getting finished.
-
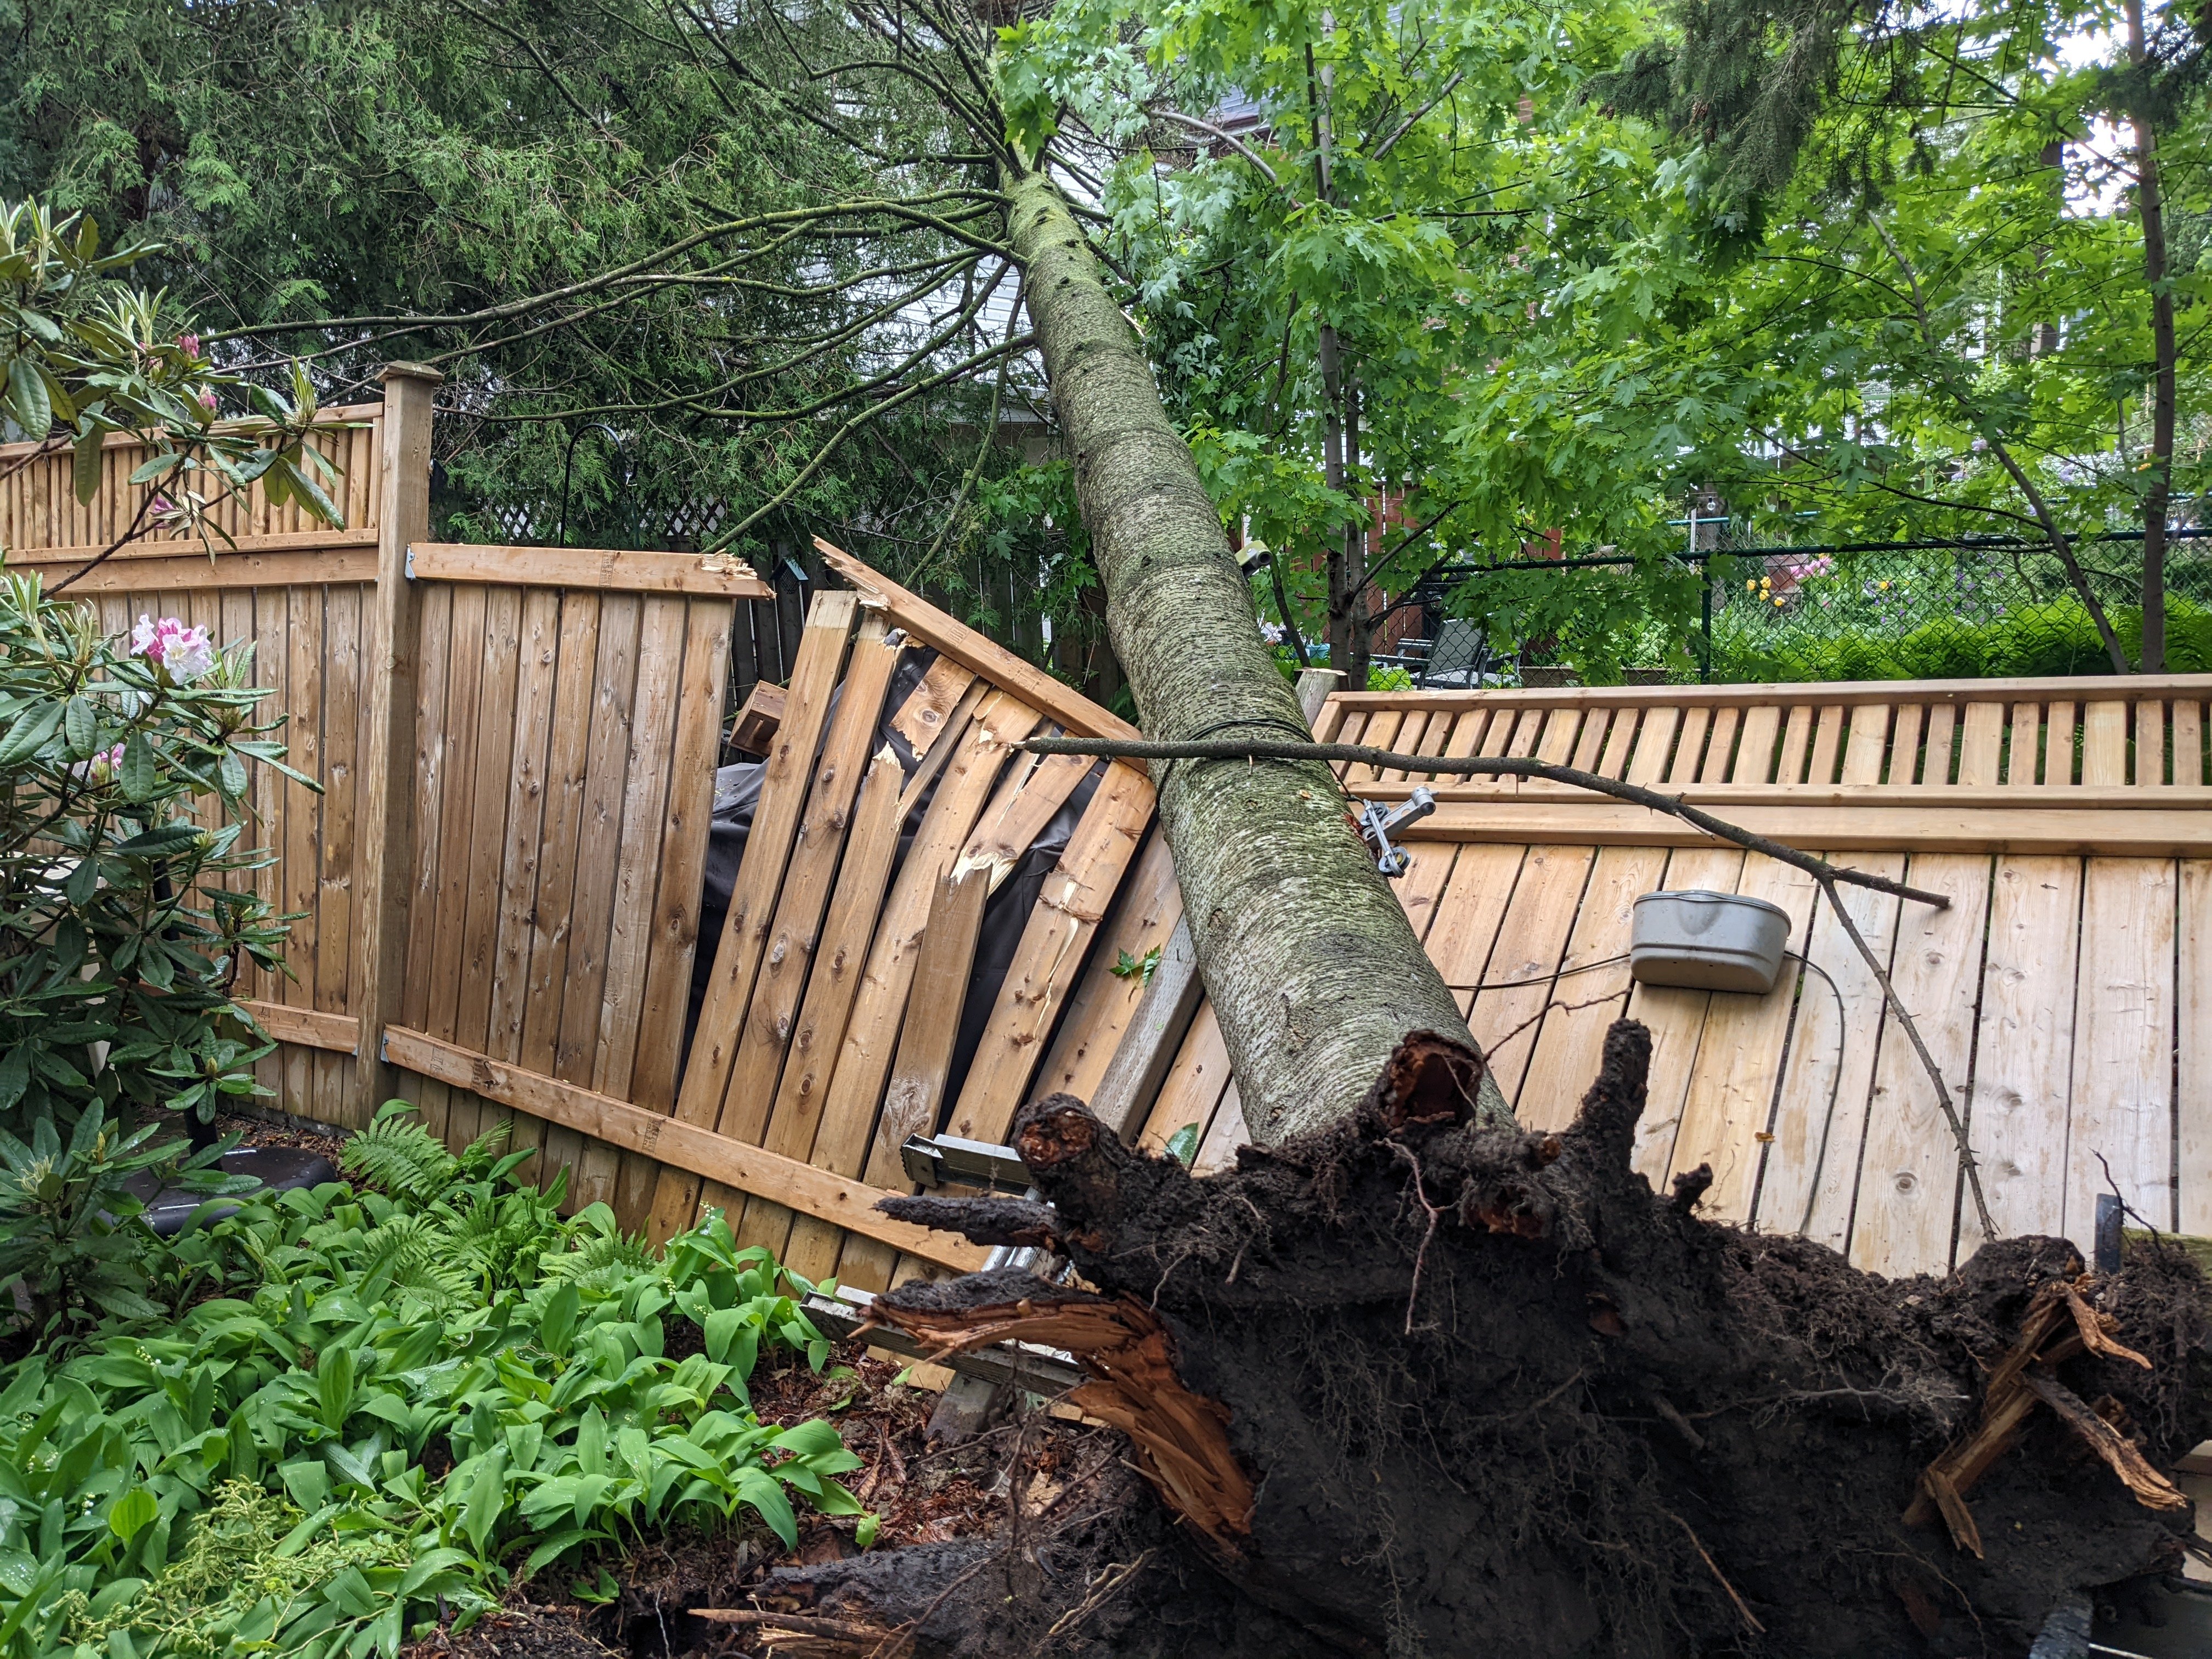
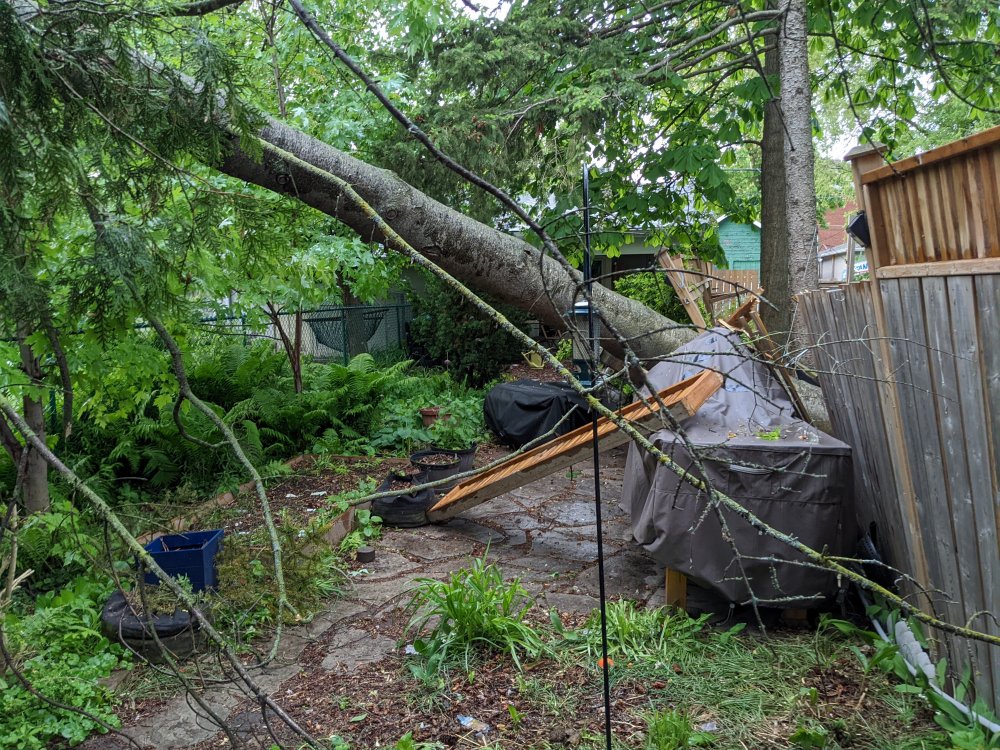
We got our neighbour's tree today during a bit of a thunderstorm. They were so nice, they even shared it with our neighbours on the other side. In all seriousness, nobody was hurt and it looks like the biggest damage was to the fence. Here's a view from their side. Going to be a bit of a pain to get rid of it though. Anyone need some firewood or mulch?

-
You're welcome! Can't wait to see you have fun with it. Carl
-
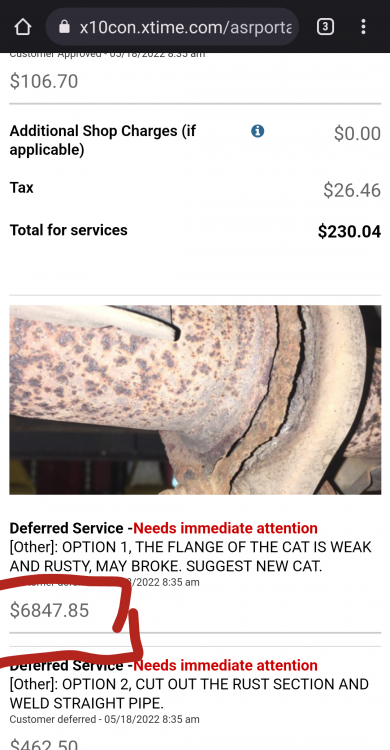
At this point, I think I'm going to leave it until/if it fails and then deal with it. Since they no longer do emissions tests here, a friend suggested just getting a straight pipe welded in and forgo the extra costs. Forgot to mention, we bought the car last year for $6800.
- 2,036 replies
-
- 1
-

-
- car related stuff
- anything about cars
- (and 6 more)
-
Brought our Honda Element in for service. I asked the dealership to take a look for a randomly occurring rattle. They checked the cat and although not the source of the rattle, they noticed that the flange on it attaching it to the exhaust is badly corroded. Not a surprise being a rust belt car. The surprise though was the quote to fix it: Needless to say, I told the dealer to leave it alone.
- 2,036 replies
-
- 3
-
-

-
- car related stuff
- anything about cars
- (and 6 more)
-
What is on your bench right now ? Share a picture :)
BlrwestSiR replied to Martinnfb's topic in Modelling Discussion
I will let him know. Since he started this kit he asks when I'm free to accompany him at the workbench at least every couple hours. Sadly I wish I could be free that much but it does give me an excuse for bench time of my own. -
What is on your bench right now ? Share a picture :)
BlrwestSiR replied to Martinnfb's topic in Modelling Discussion
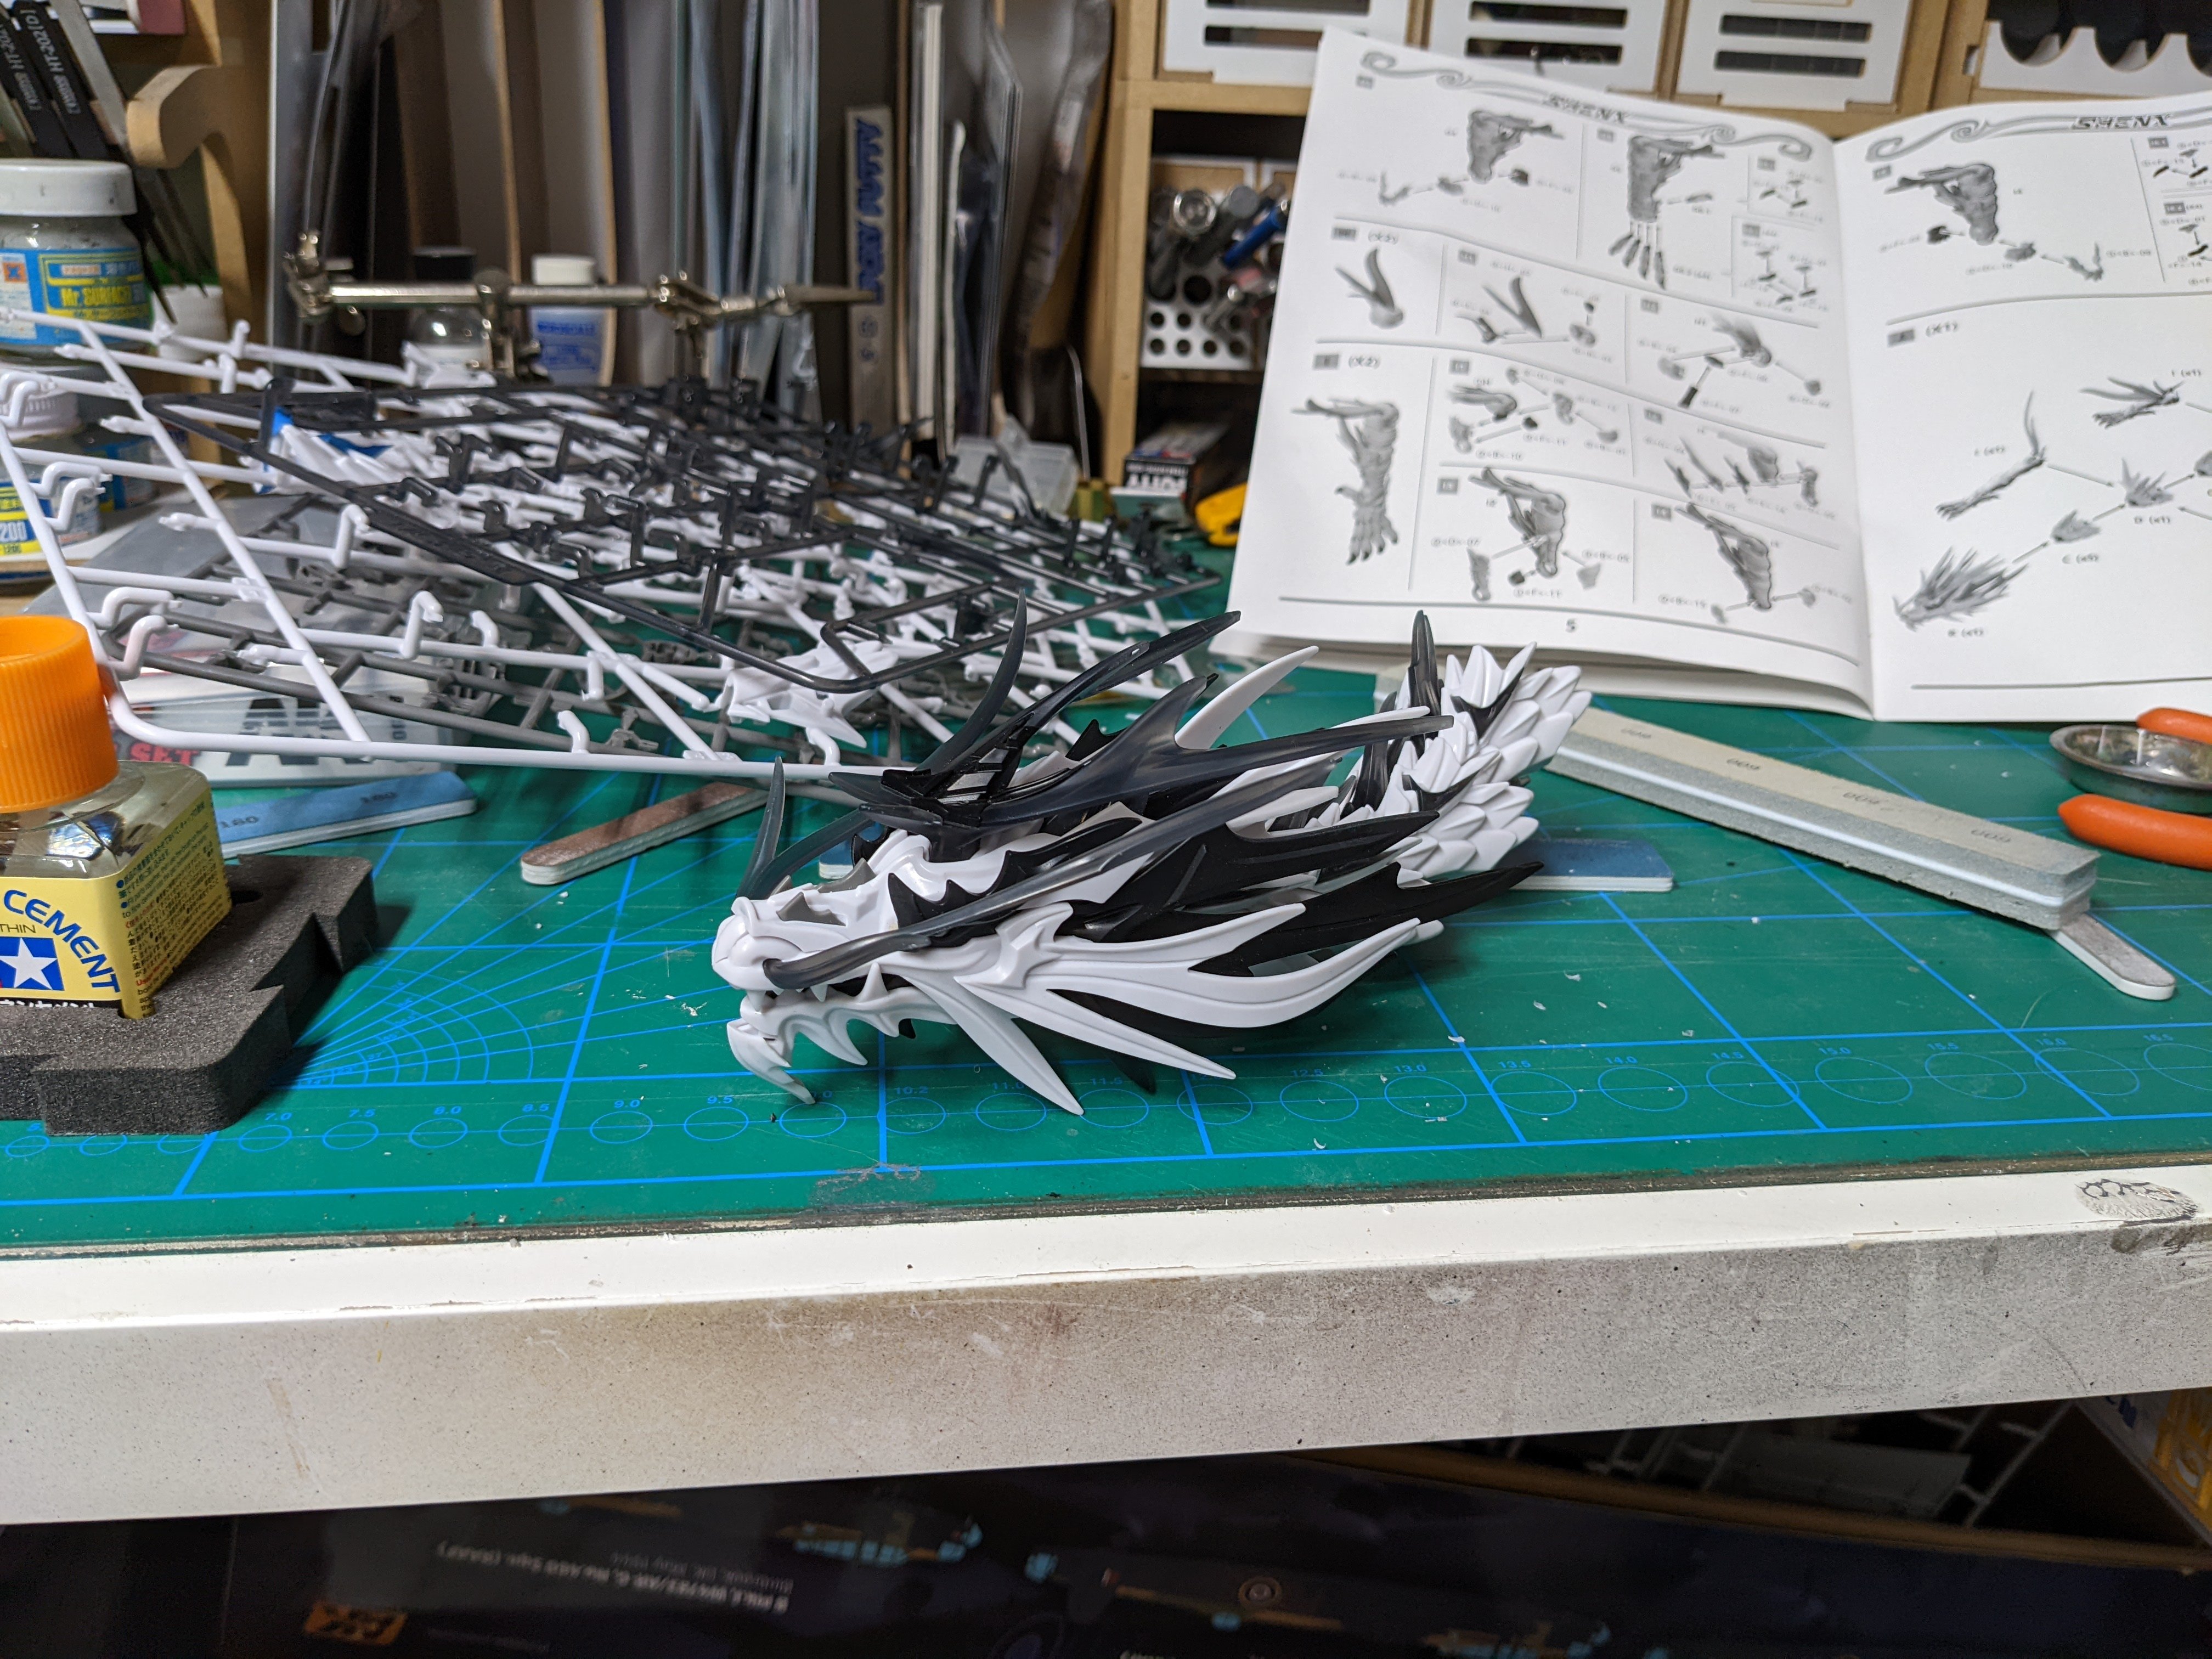
Here's the dragon our youngest had been working on. He's discovered the "joy" in repetitive assemblies as the body has 23 segments to it and 20 are identical. He's up to 5 of those so far. I tried to make him feel better and described building working individual link tracks to him. Carl
-
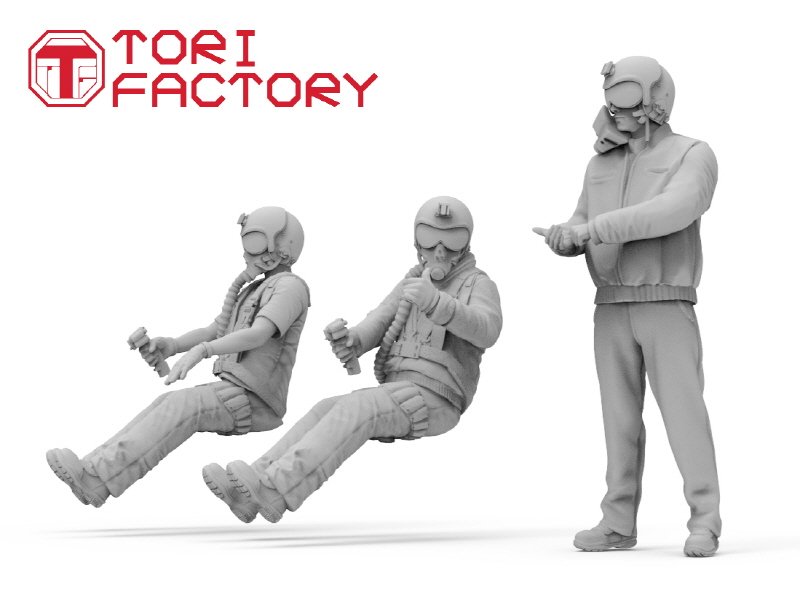
Looks like there's some figures coming out that might work. https://www.hobbyeasy.com/en/data/n9opuol3zpc4lbbl0yer.html
-
What is on your bench right now ? Share a picture :)
BlrwestSiR replied to Martinnfb's topic in Modelling Discussion
I've got the two seater. Carl -
Very nice bike there Ernie. A lovely colour and presentation. Reminds me of the ones the cops here in Toronto ride. Except theirs are white. One time I saw an officer riding one. She was maybe 5' tall and looked like one of my boys had hopped on it. That being said, she rode it like an absolute pro. Carl
- 2,036 replies
-
- 4
-
-
- car related stuff
- anything about cars
- (and 6 more)
-
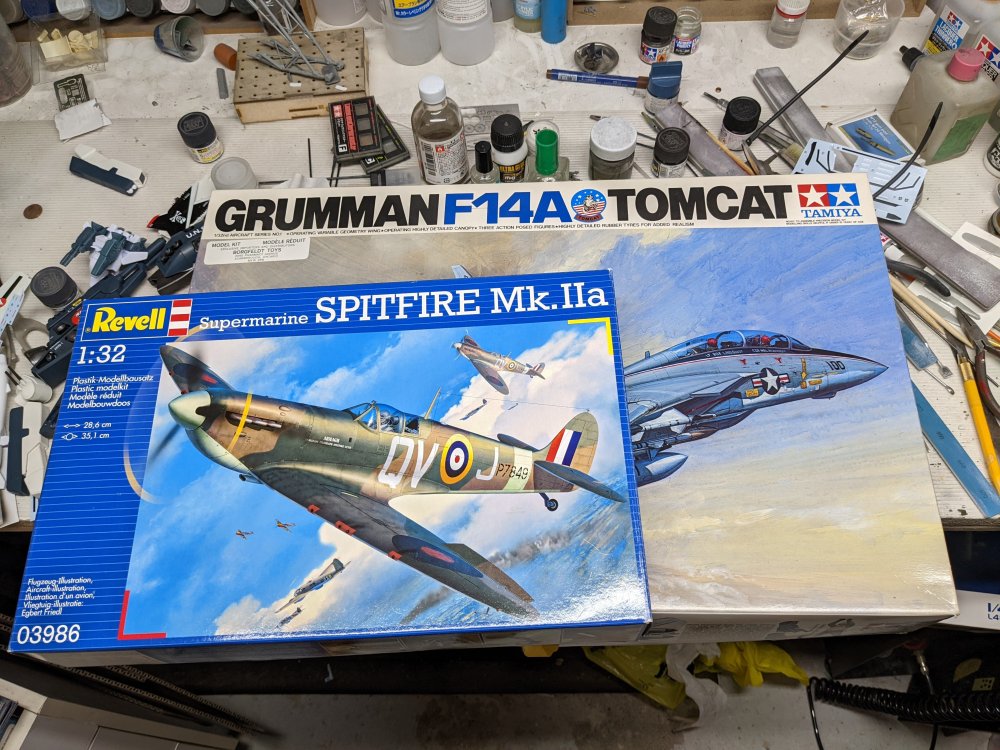
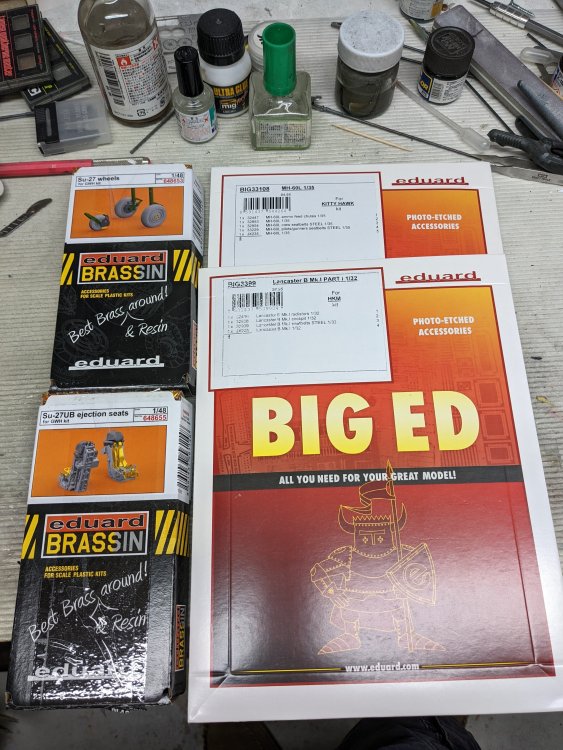
Got some AM in the mail today. And although I was trying to cut down on kit purchases, I couldn't pass these up for $75 CAD. The Spitfire even has a Barracudacast resin seat.
-
Good thing the seatbelts are out of the way. My sister's dog once chewed through the shoulder belts in her Subaru. Took the dog less than 20 seconds to do it. $500 for replacement ones.
-
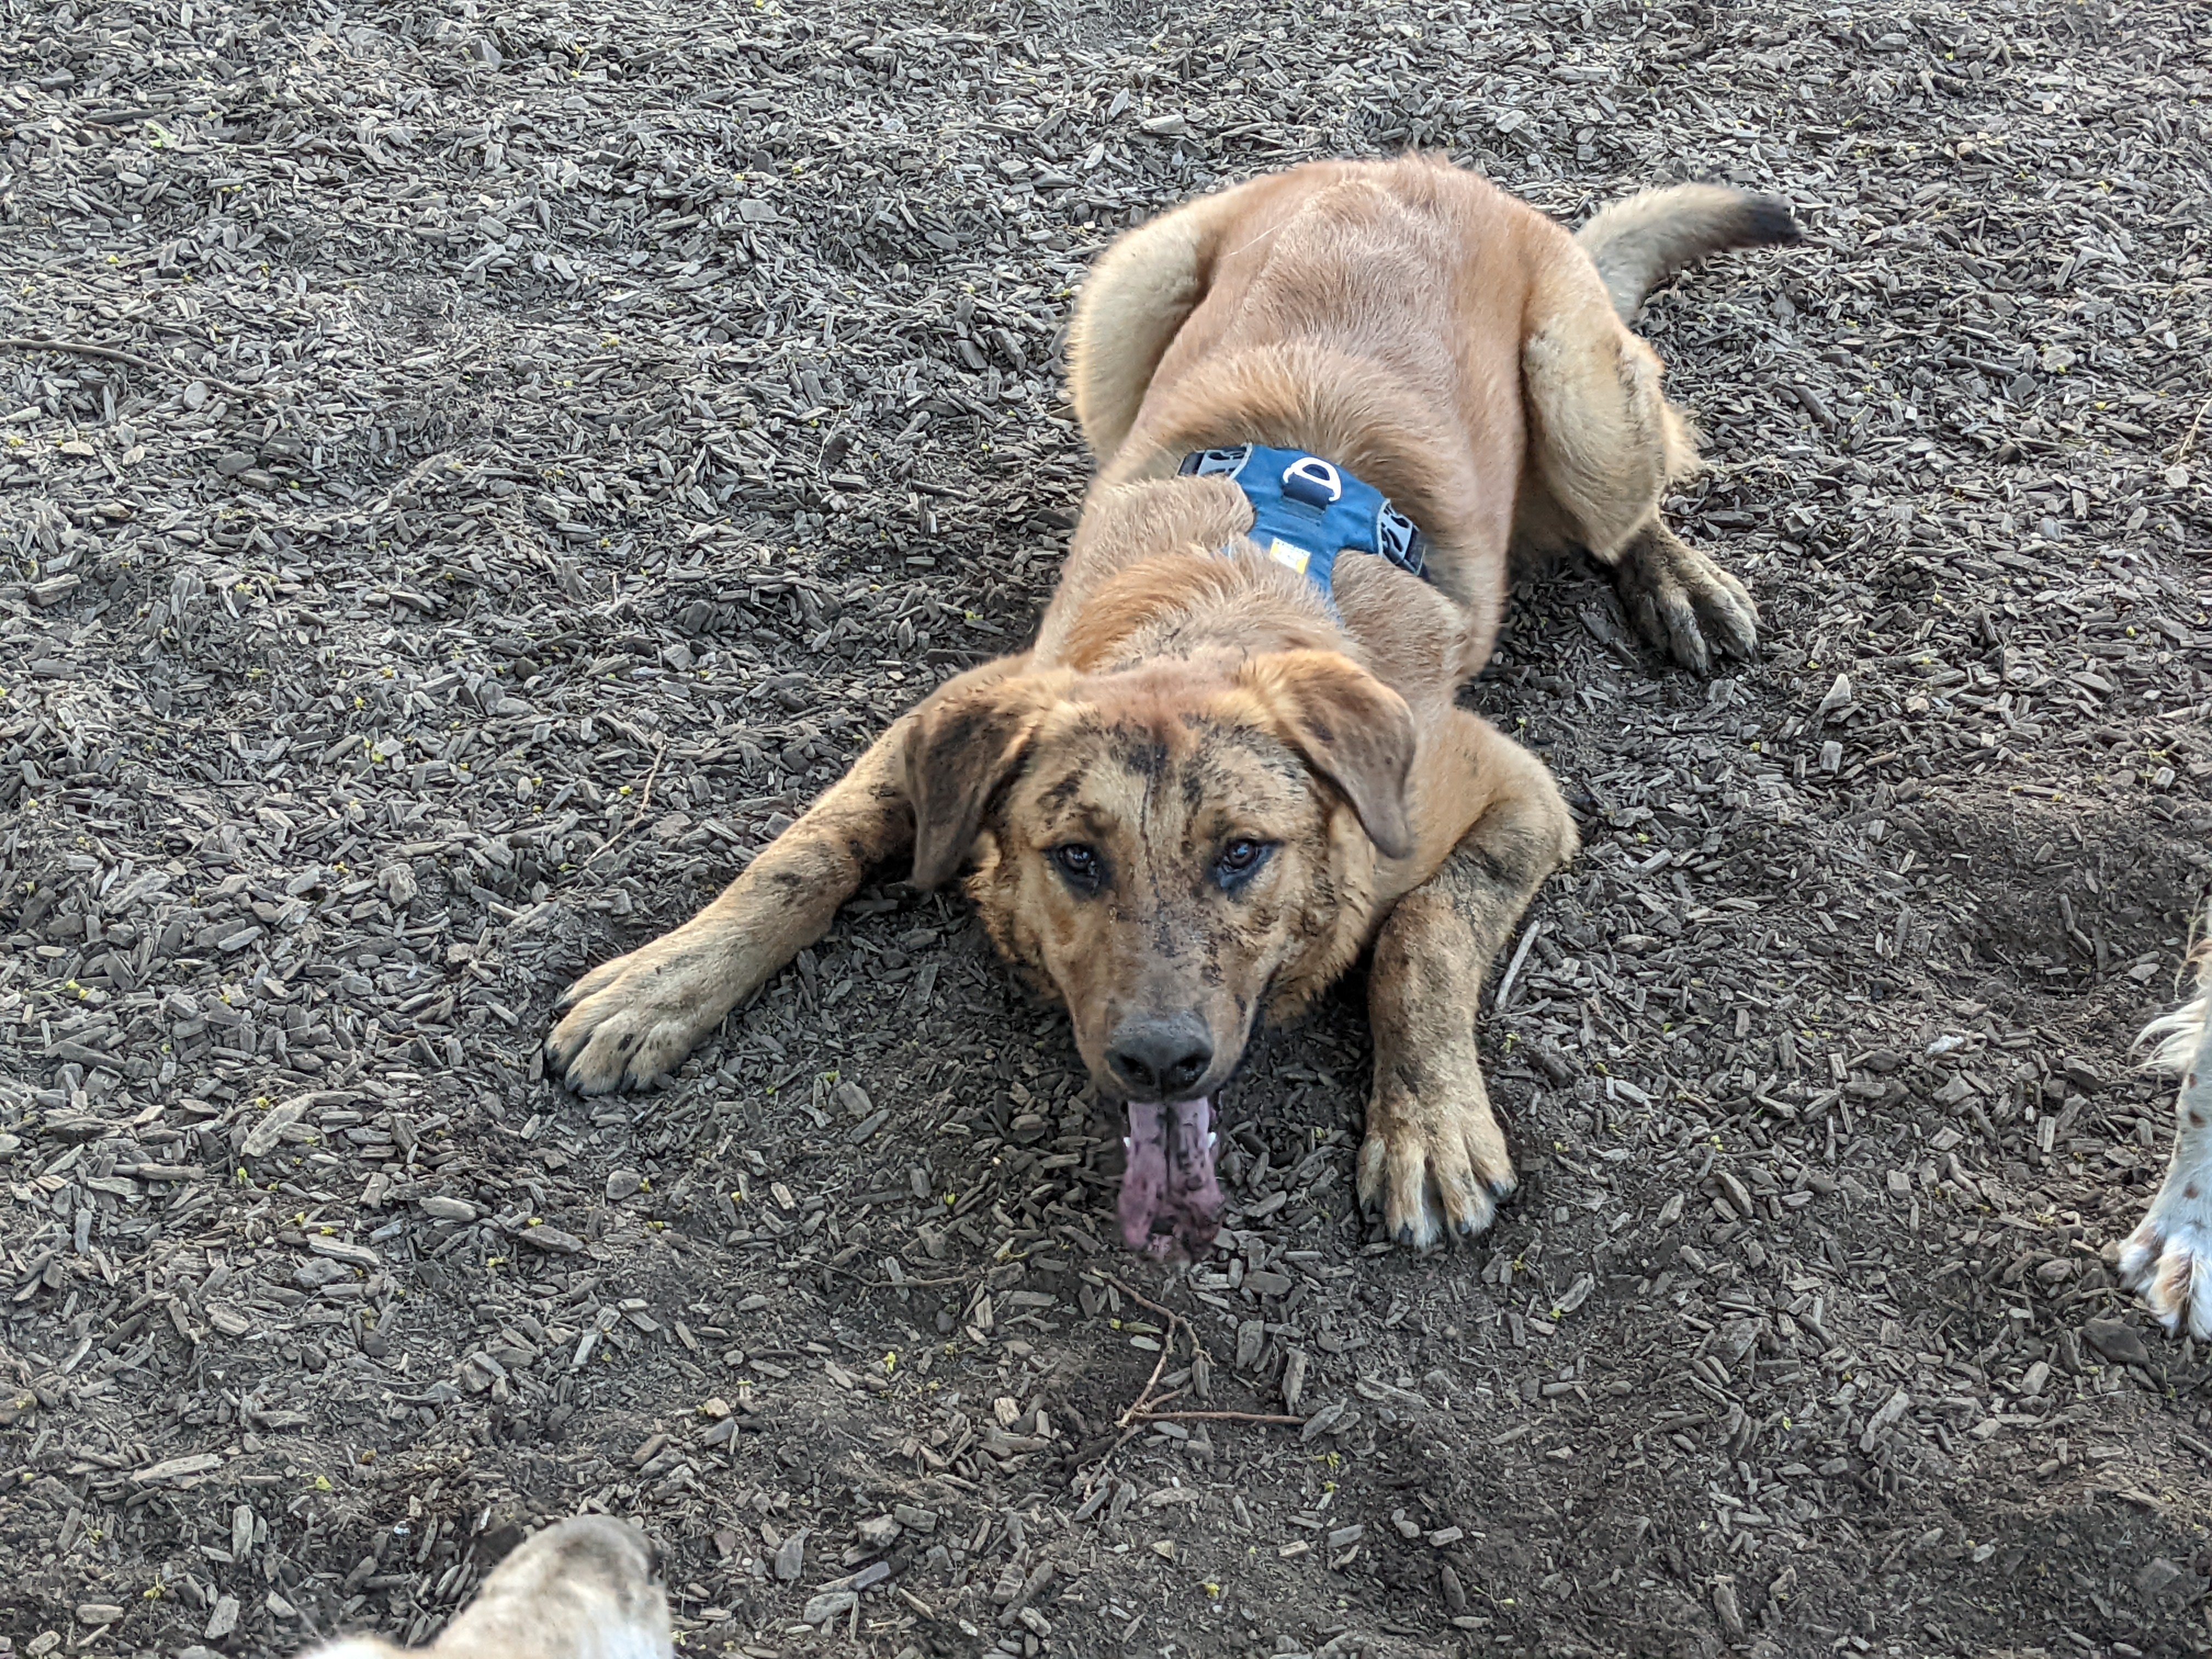
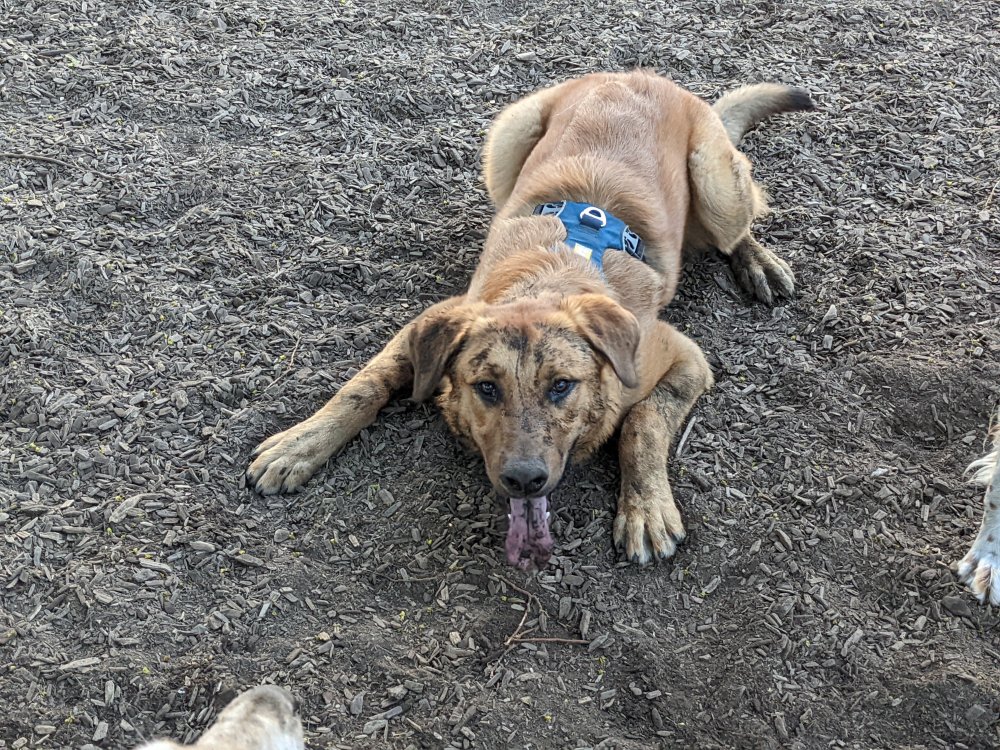
For all the mayhem they cause, I think we love our pets too much. Jimmy at the dog park after a wrestle with another dog.
-
The G is probably my favourite version of the F-4. I've got just about every conversion released for the Tamiya 1/32 kit in the stash and even tried doing my own at one point. I'll still build one in 1/42 but the ZM is a good reason to go smaller. Carl
-
What is on your bench right now ? Share a picture :)
BlrwestSiR replied to Martinnfb's topic in Modelling Discussion
I know, I know. Once the Valkyrie is done I'll be back to the B-24 and then the Lanc. Or maybe the Lanc and then the B-24. Either way I'll need to get them done and off the bench soon. Carl -
What is on your bench right now ? Share a picture :)
BlrwestSiR replied to Martinnfb's topic in Modelling Discussion
Nothing to see here. Just your standard He-219, B-24, Corsair, F-18, Lanc pile... Edward is working on a dragon model so I had to make some room for him.
-
What is on your bench right now ? Share a picture :)
BlrwestSiR replied to Martinnfb's topic in Modelling Discussion
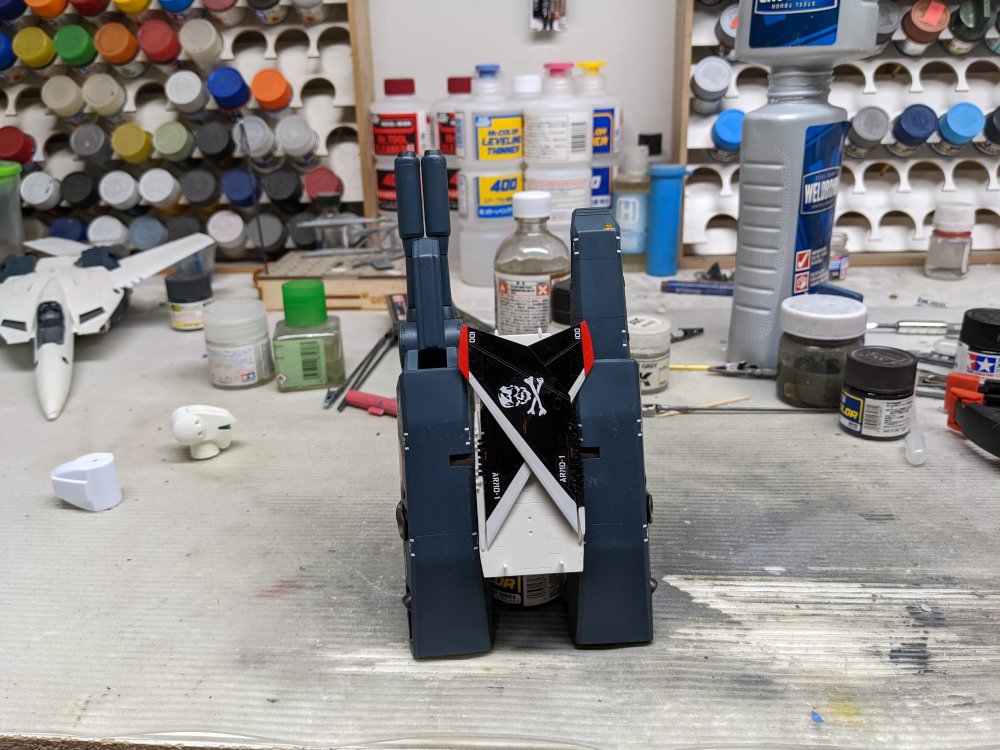
Decal time for the Valkyrie. Lots of them too. I think someone looked at an early F-4 too much. Plus there's decals where you'd be hard pressed to see them. Like underneath a folded tailplane.
-
Looks great Ernie.