BlrwestSiR
-
Posts
9,150 -
Joined
-
Last visited
Content Type
Profiles
Forums
Events
Gallery
Everything posted by BlrwestSiR
-
 The seat as others have said really looks stunning. Plus the belts have a natural drape that's hard to replicate in PE, 3D decals or even the fabric/paper ones. Not to mention assembly. Special Hobby have made leaps and bounds in the quality of their kits in the last few years. They still have the odd fit issue from time to time but it's worlds better than they used to be.
 -
Gotta love a Sherman with a big gun.
-
Any US vendors carry MLH/Bring It! Resin?
BlrwestSiR replied to ScottsGT's topic in Modelling Discussion
I'm on Britmodeler so if you want me to ask for you, let me know. -
Need a Tomcat to use them on? Asking for a friend.
-
Cobra Coupe - Le Mans - Model Factory Hiro 1/12
BlrwestSiR replied to DocRob's topic in LSM 1/35 and Larger Work In Progress
Rob, some great progress. Interesting to see the fit issues with the body. At least you know where to start with in terms of rectifying the problem. -
Chris, I have a couple kit boxes that are full of leftover parts: - Hobbyboss B-24 with all the stuff for prop kits - Tamiya F-4EJ box for jet parts - - Meng Jagdpanther one for tank parts and another tank box for just leftover track links. Can't recall which one. They worth keeping since you never know what might be needed down the road.
-
"Toss me the idol, I'll throw you the whip!!!" Oh wait, that doesn't quite work in this case. Let me get my kids back to school and then we can sort it out.
-
What is on your bench right now ? Share a picture :)
BlrwestSiR replied to Martinnfb's topic in Modelling Discussion
Getting there.
-
We've got one of these at the front door.
-
Here's a kit you don't see much of. No AM for the guild but there's an article on Armourama about what parts are for which version.
- 68 replies
-
- 10
-

-
What is on your bench right now ? Share a picture :)
BlrwestSiR replied to Martinnfb's topic in Modelling Discussion
How big is that cabin Mark? -
What is on your bench right now ? Share a picture :)
BlrwestSiR replied to Martinnfb's topic in Modelling Discussion
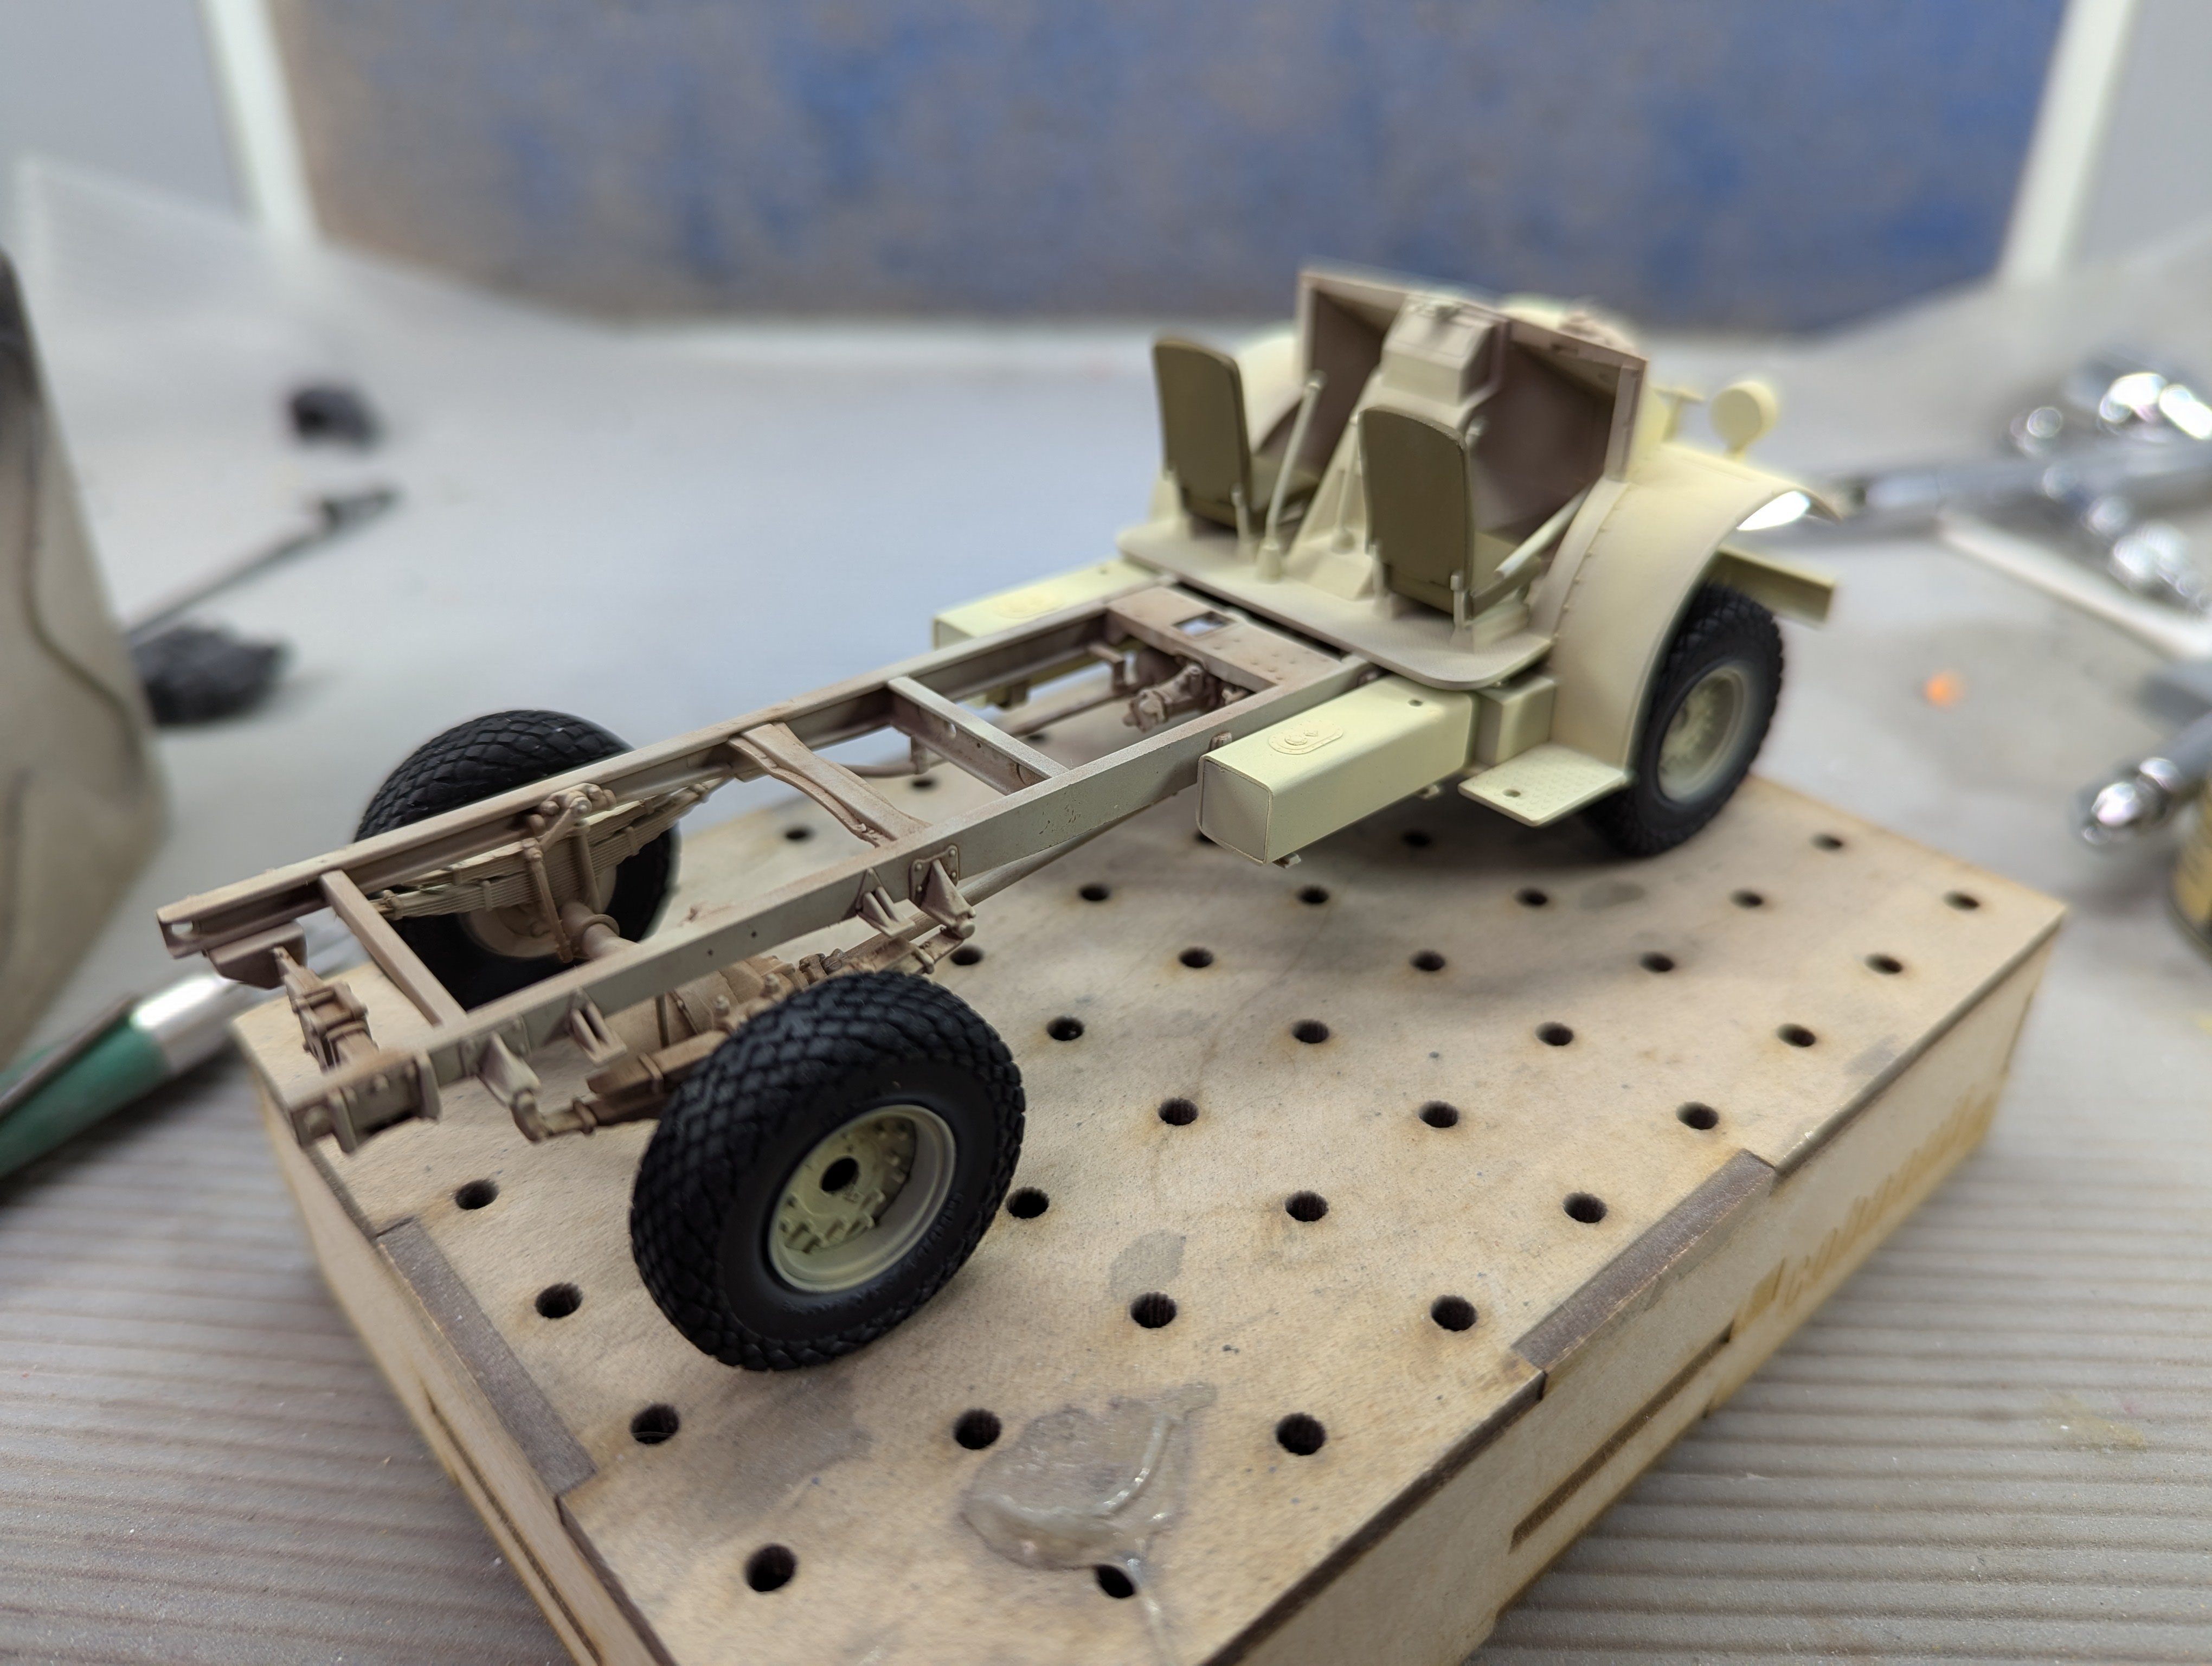
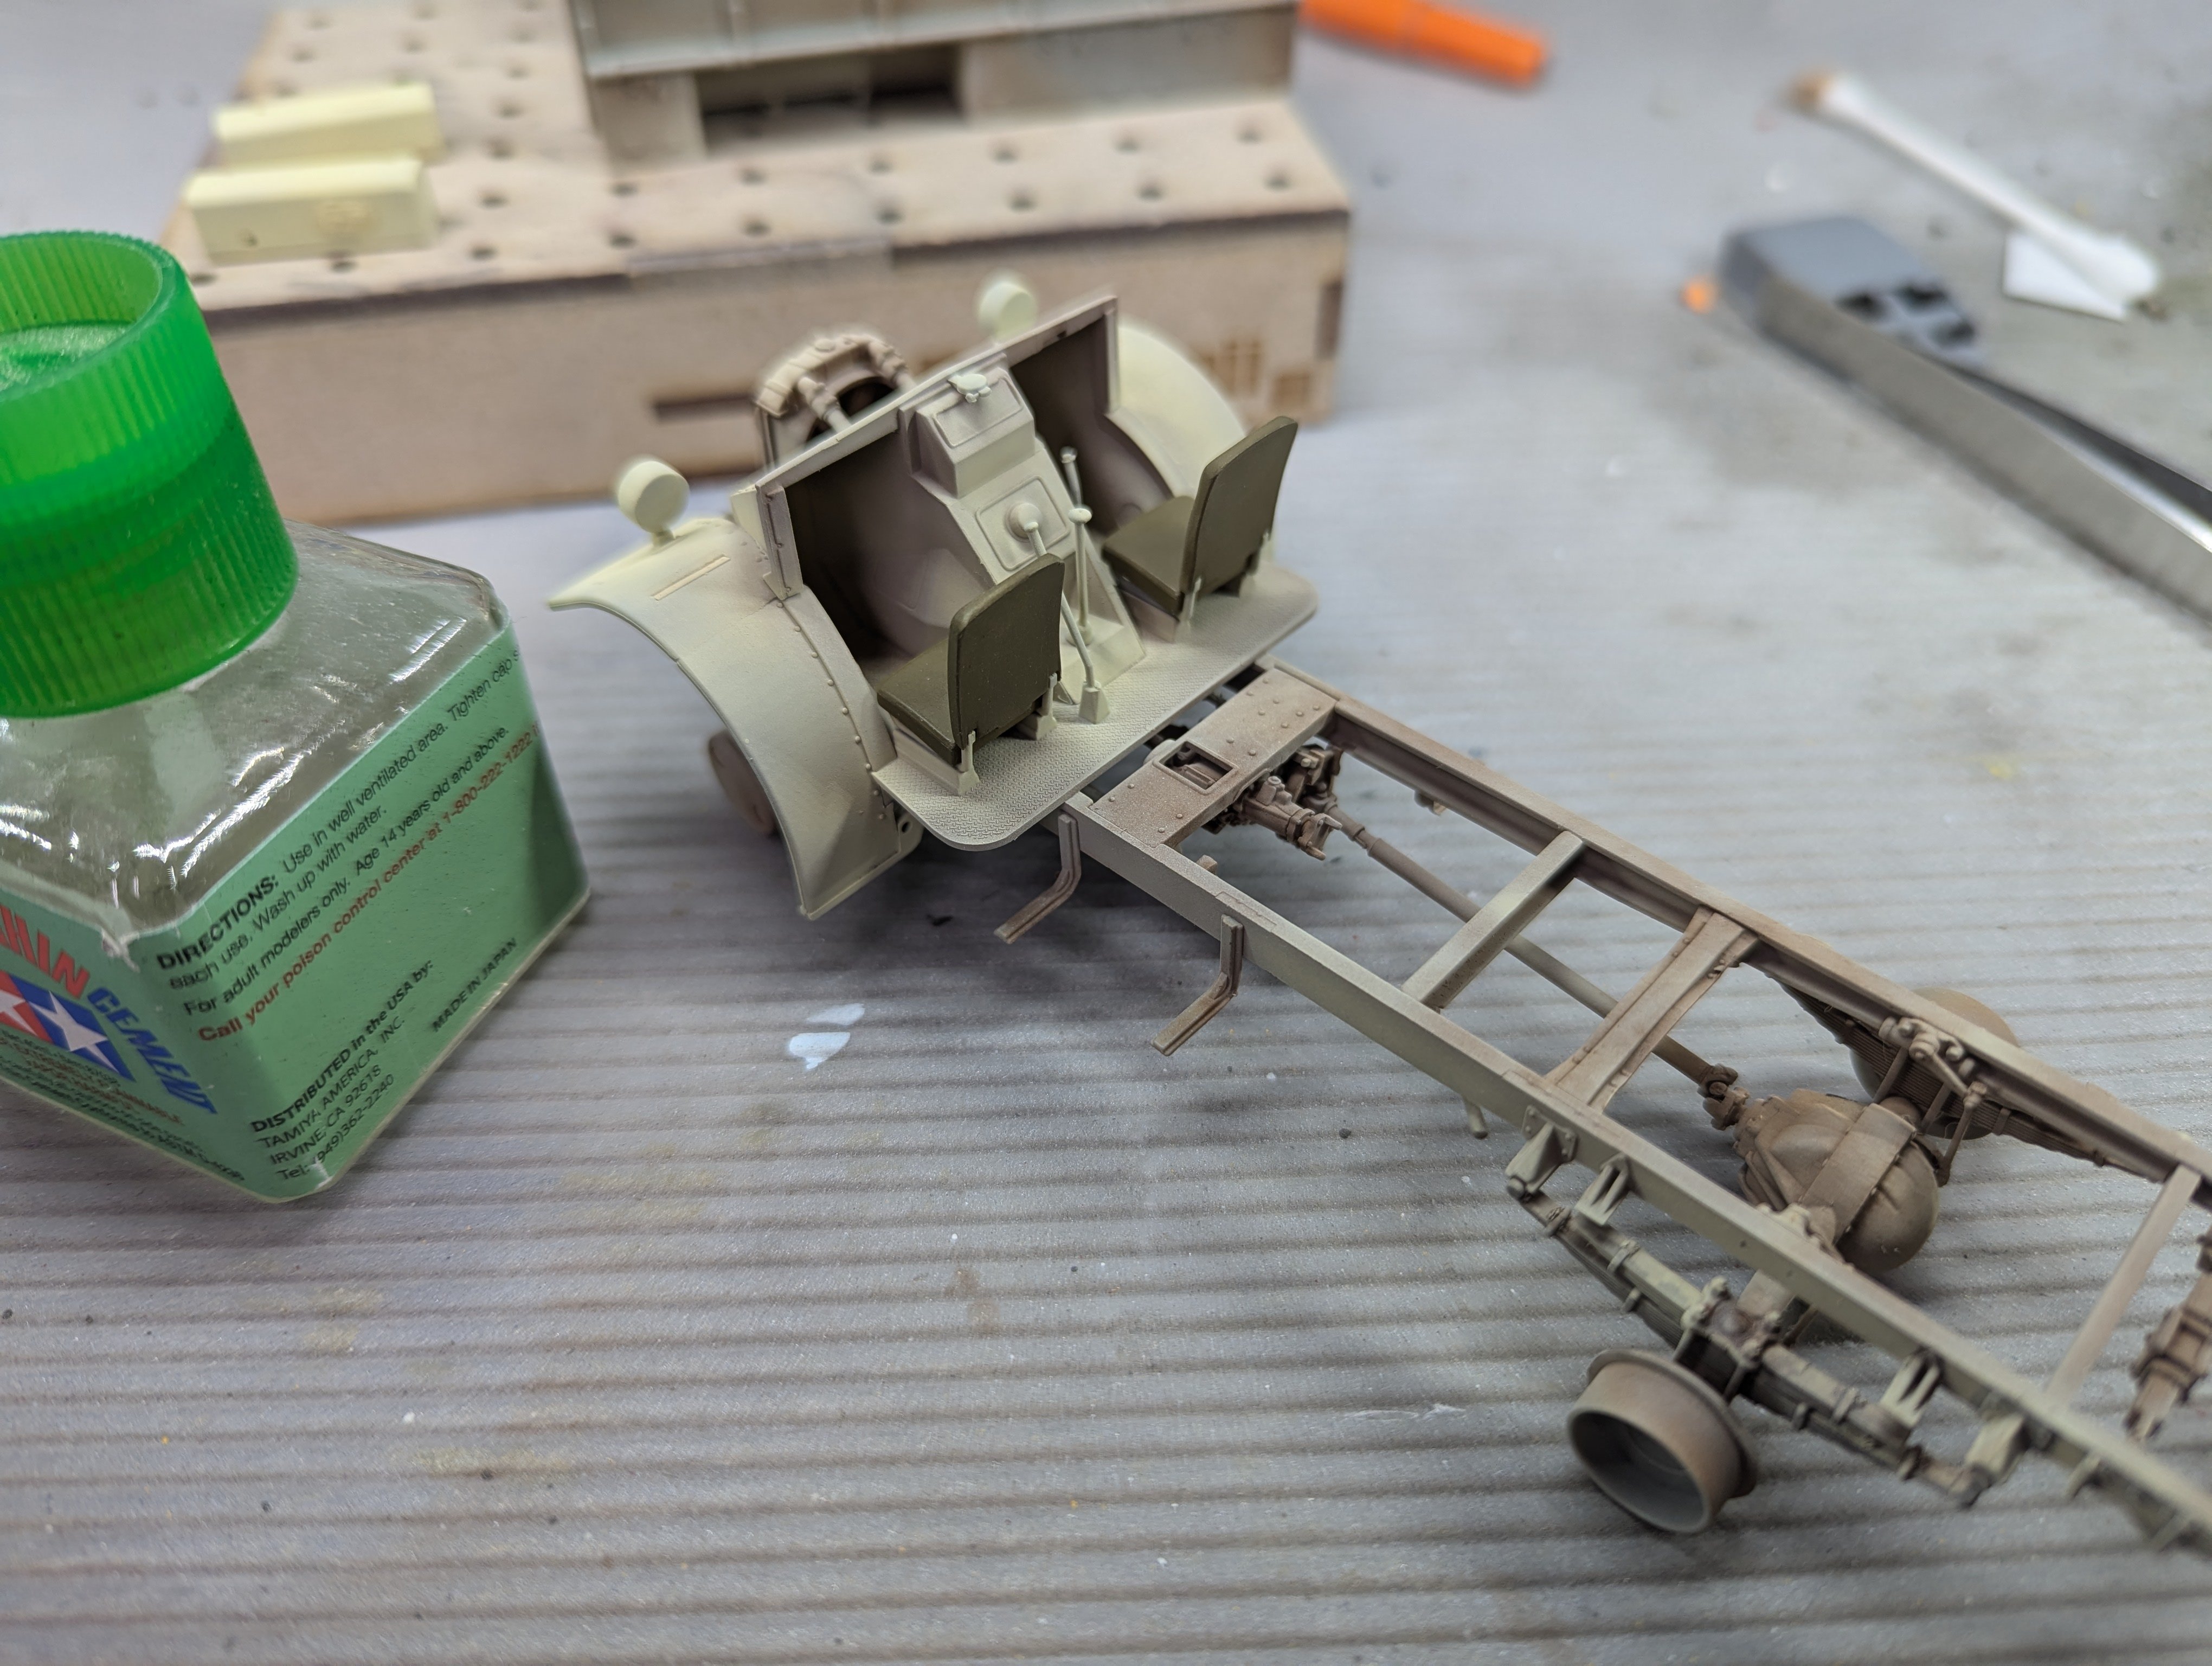
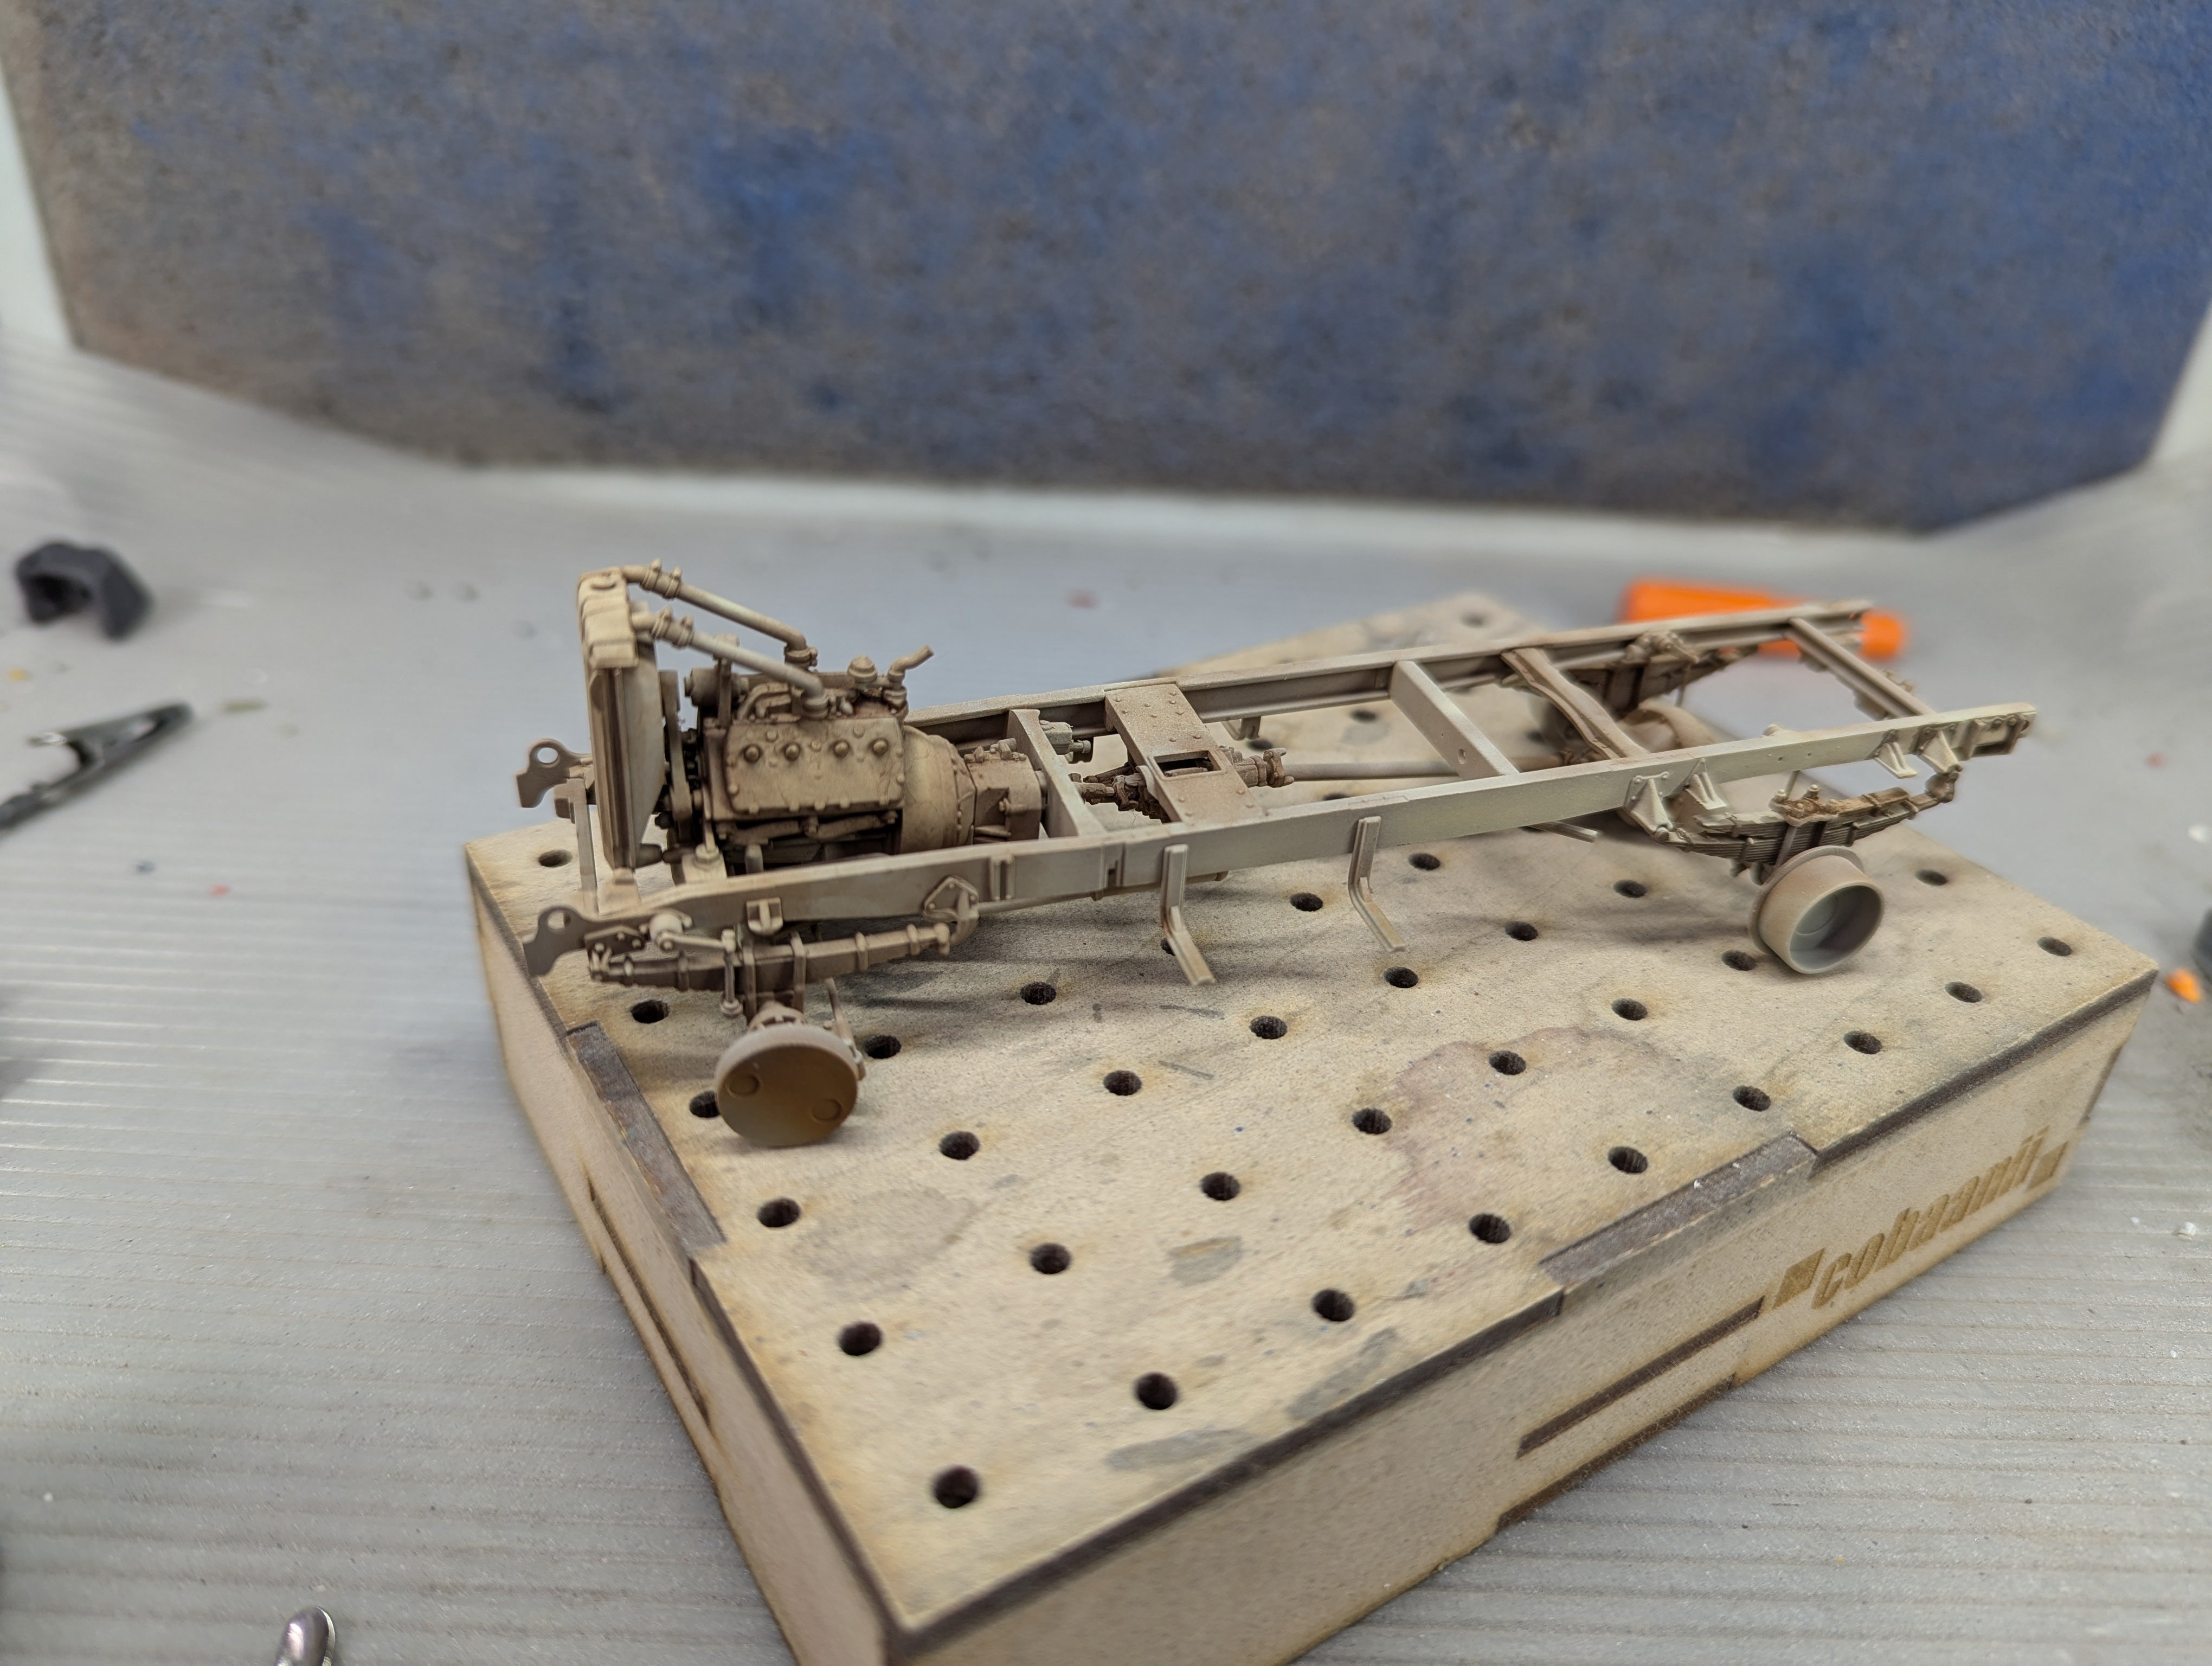
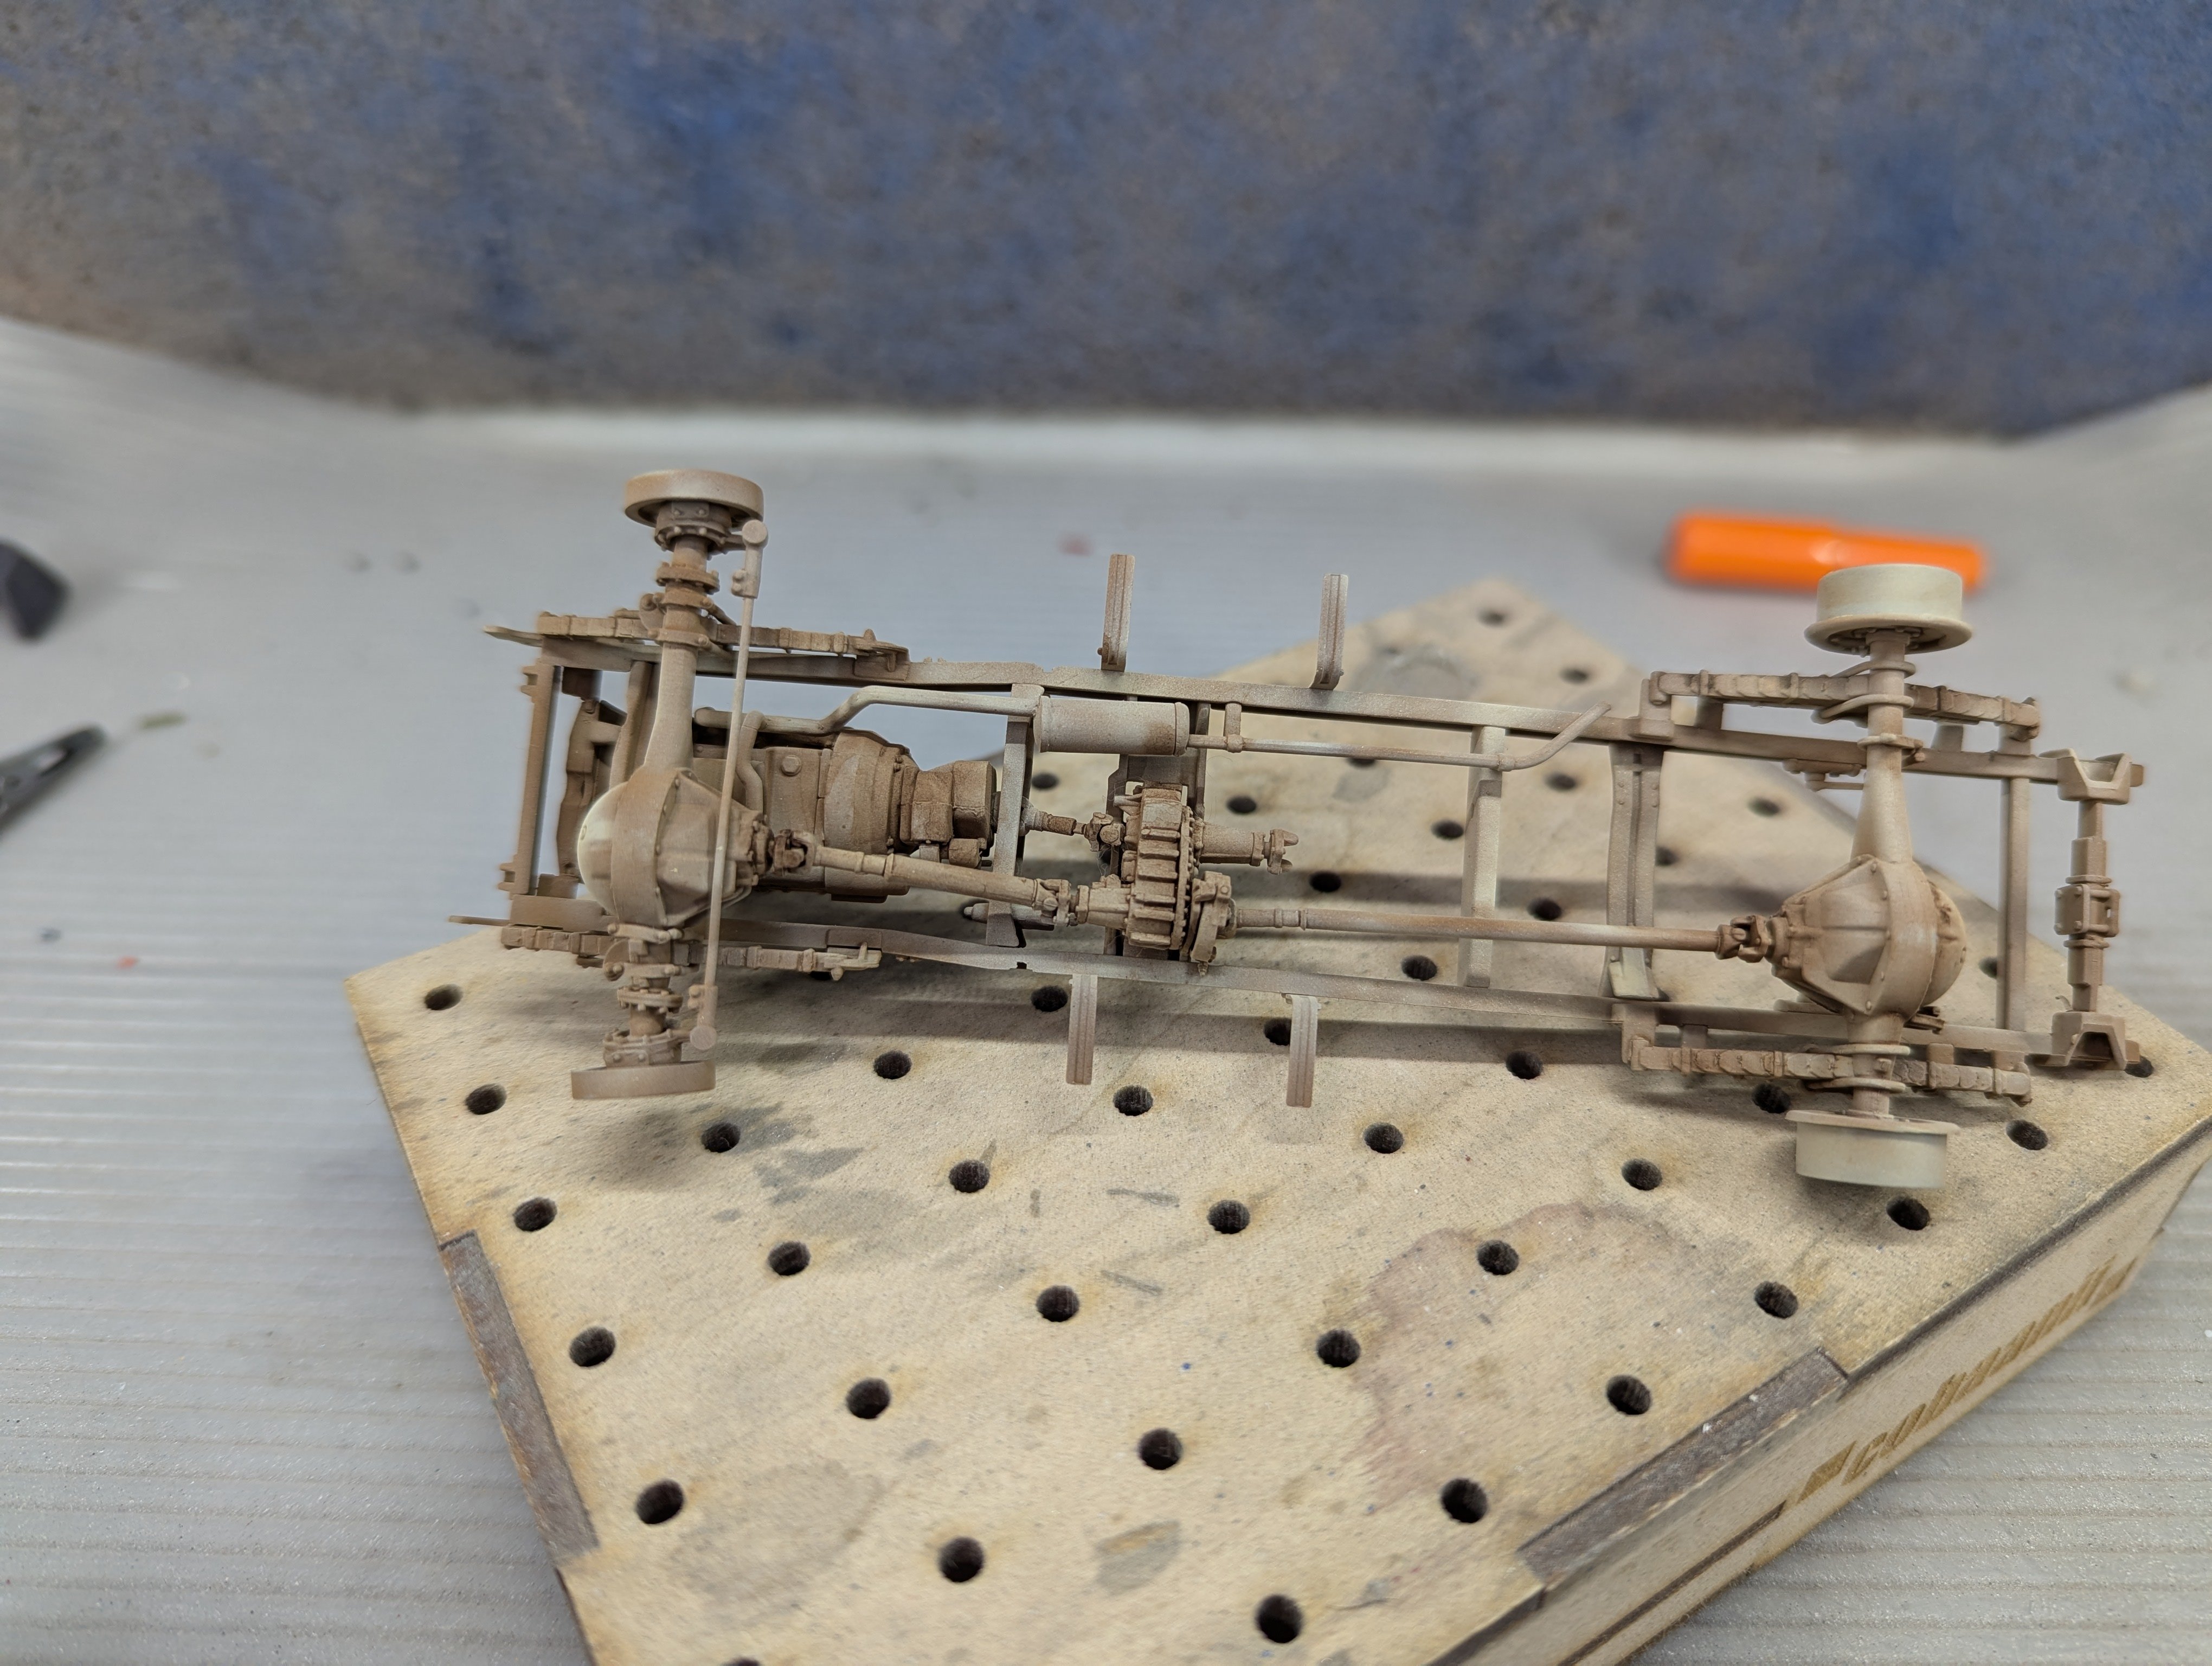
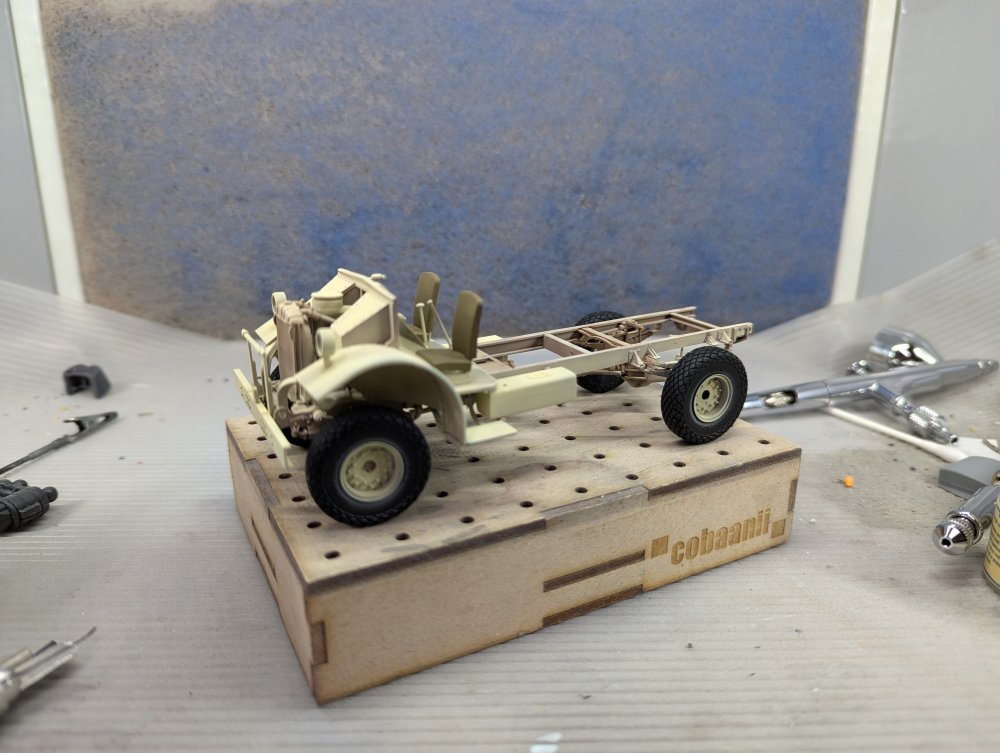
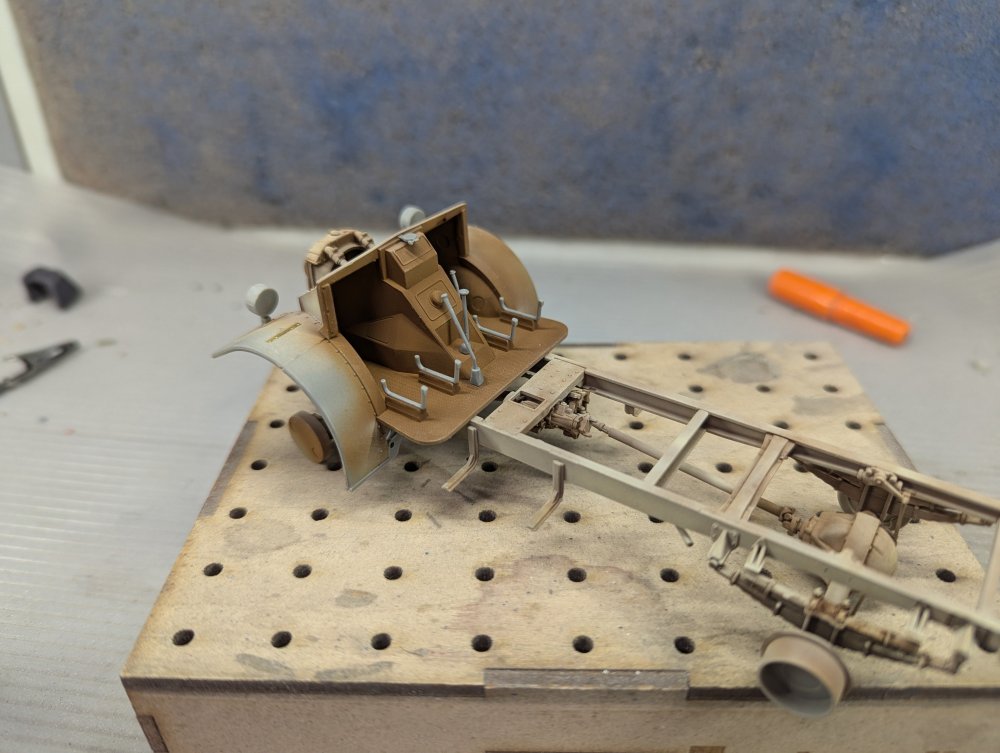
Back to the LRDG, cab is on, or what's left of one. Seats are in too. This would have been the perfect kit for the GB starting today. Guess I jumped the gun a bit.

-
What is on your bench right now ? Share a picture :)
BlrwestSiR replied to Martinnfb's topic in Modelling Discussion
"Game over man, game over!!!" -
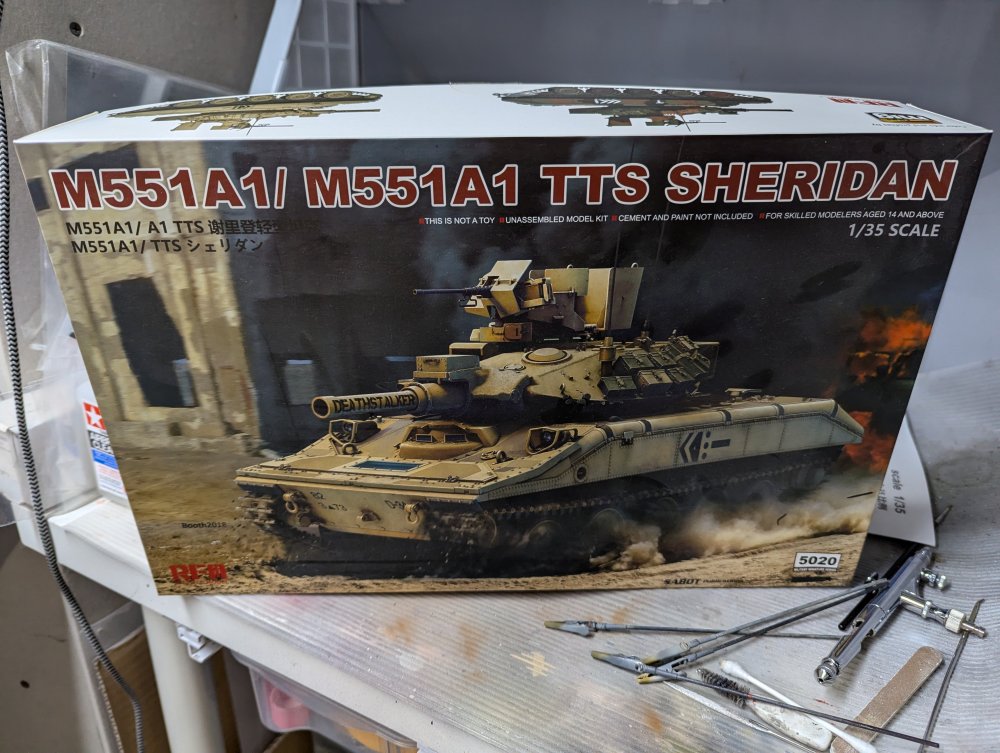
Going through the stash, I have a few choices. - a couple of M60 variants, one USMC with reactive armour, the other Israeli also with ERA - Israeli Tiran 4 with a dozer blade - Tiger 131 in two scales ( this is probably my leading contender) - Desert Storm F-4G Plus probably a couple more I can't recall off the top of my head.
-
Hey, how'd you get me lunch box???!!!
-
Actually, Martin is a bit west of Toronto. I'm in Toronto which may have led to the confusion.
-
What is on your bench right now ? Share a picture :)
BlrwestSiR replied to Martinnfb's topic in Modelling Discussion
Chris, I bought a Bambu Labs A1. It's a filament printer. It was $419 CAD for the printer. I went with filament as the boys will be using it and I didn't want them messing with resin just yet. -
What is on your bench right now ? Share a picture :)
BlrwestSiR replied to Martinnfb's topic in Modelling Discussion
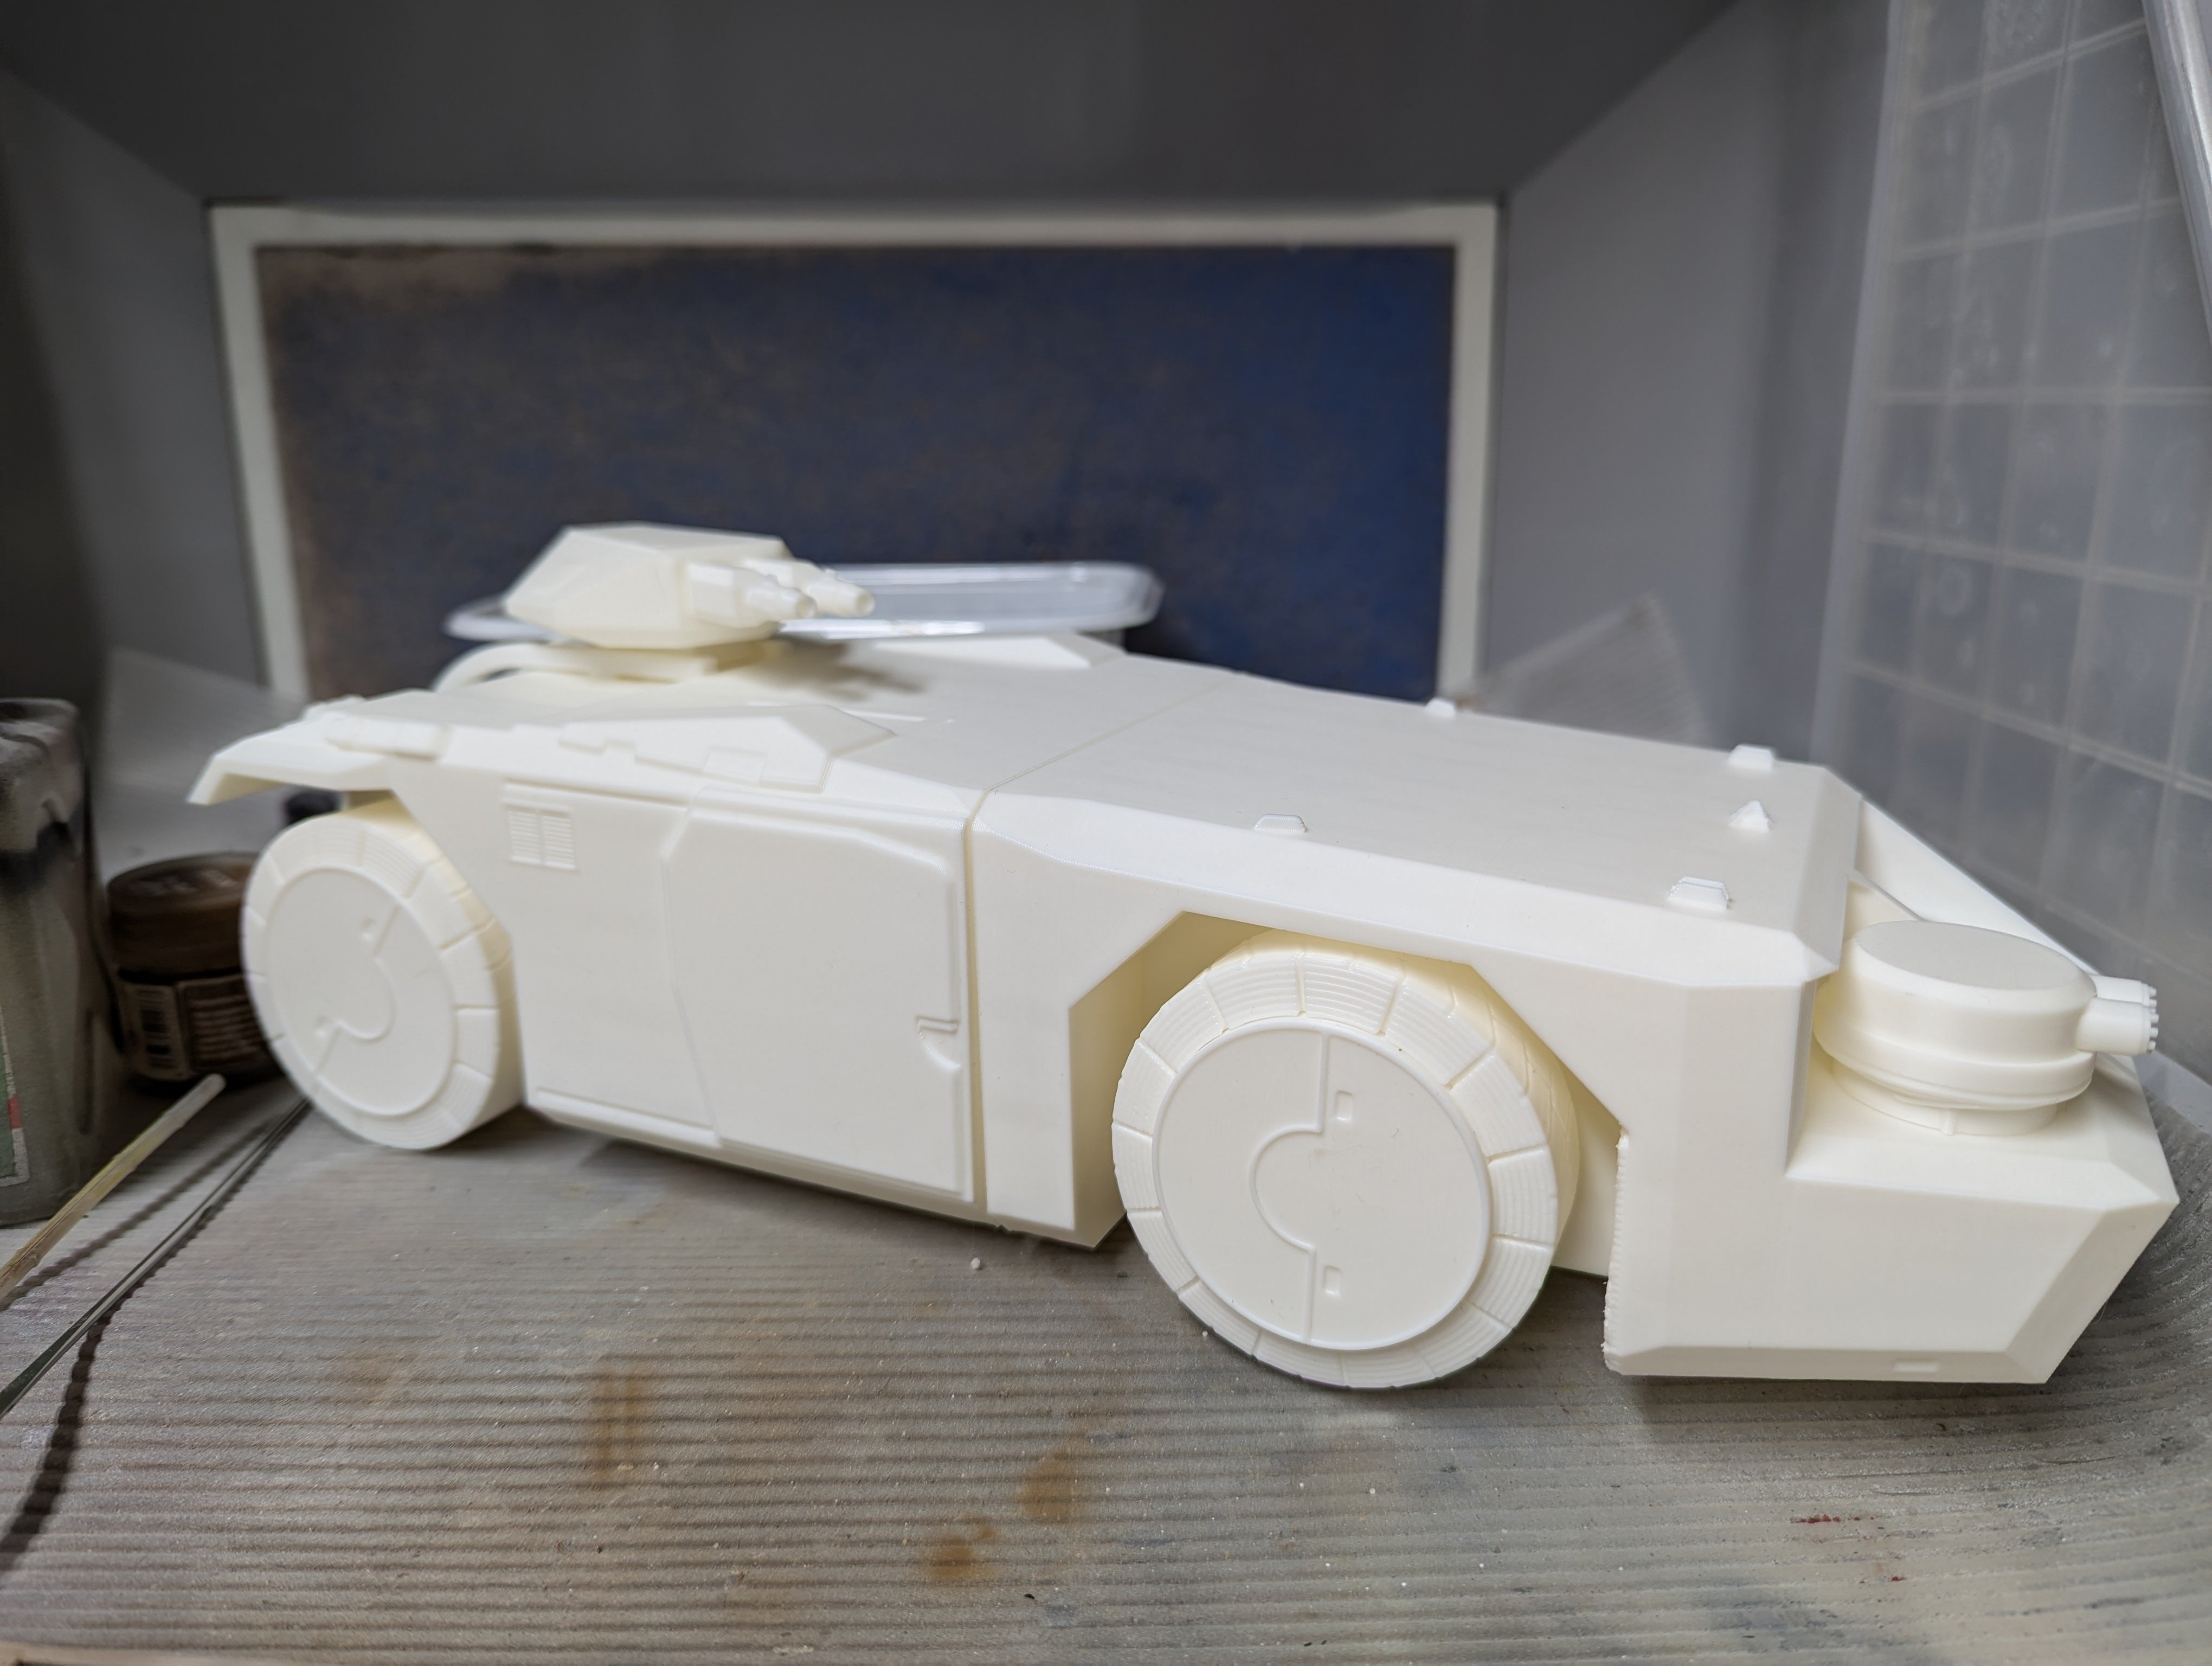
The APC just finished printing so I've done a quick clean up and test fit. I'm not sure on the scale but definitely bigger than 1/35.
-
What is on your bench right now ? Share a picture :)
BlrwestSiR replied to Martinnfb's topic in Modelling Discussion
I finally got to try the printer. The app for it had a free model of the M577 APC from Aliens so I had to try it. This is the rear half of the hull. There's the front half, wheels, and turrets. So 4 print cycles total to complete it.
-
Glad to hear you're getting back/closer to normal. Hope it keeps trending this way so you can start ballroom dancing again. PS- I hear you on the destroyed kitchen bit. I've got the same pet peeve.
-
Great looking cockpit there Dave.
-
Astra Militarum Baneblade warhammer tank
BlrwestSiR replied to FullArmor's topic in LSM Armour Finished Work
Fantastic looking tank! A cool and unique subject. -
Wow Chris! I missed this earlier thinking it was a different thread. Glad to hear you're on the mend. You and Scott really aren't selling retirement you know.
-
What is on your bench right now ? Share a picture :)
BlrwestSiR replied to Martinnfb's topic in Modelling Discussion
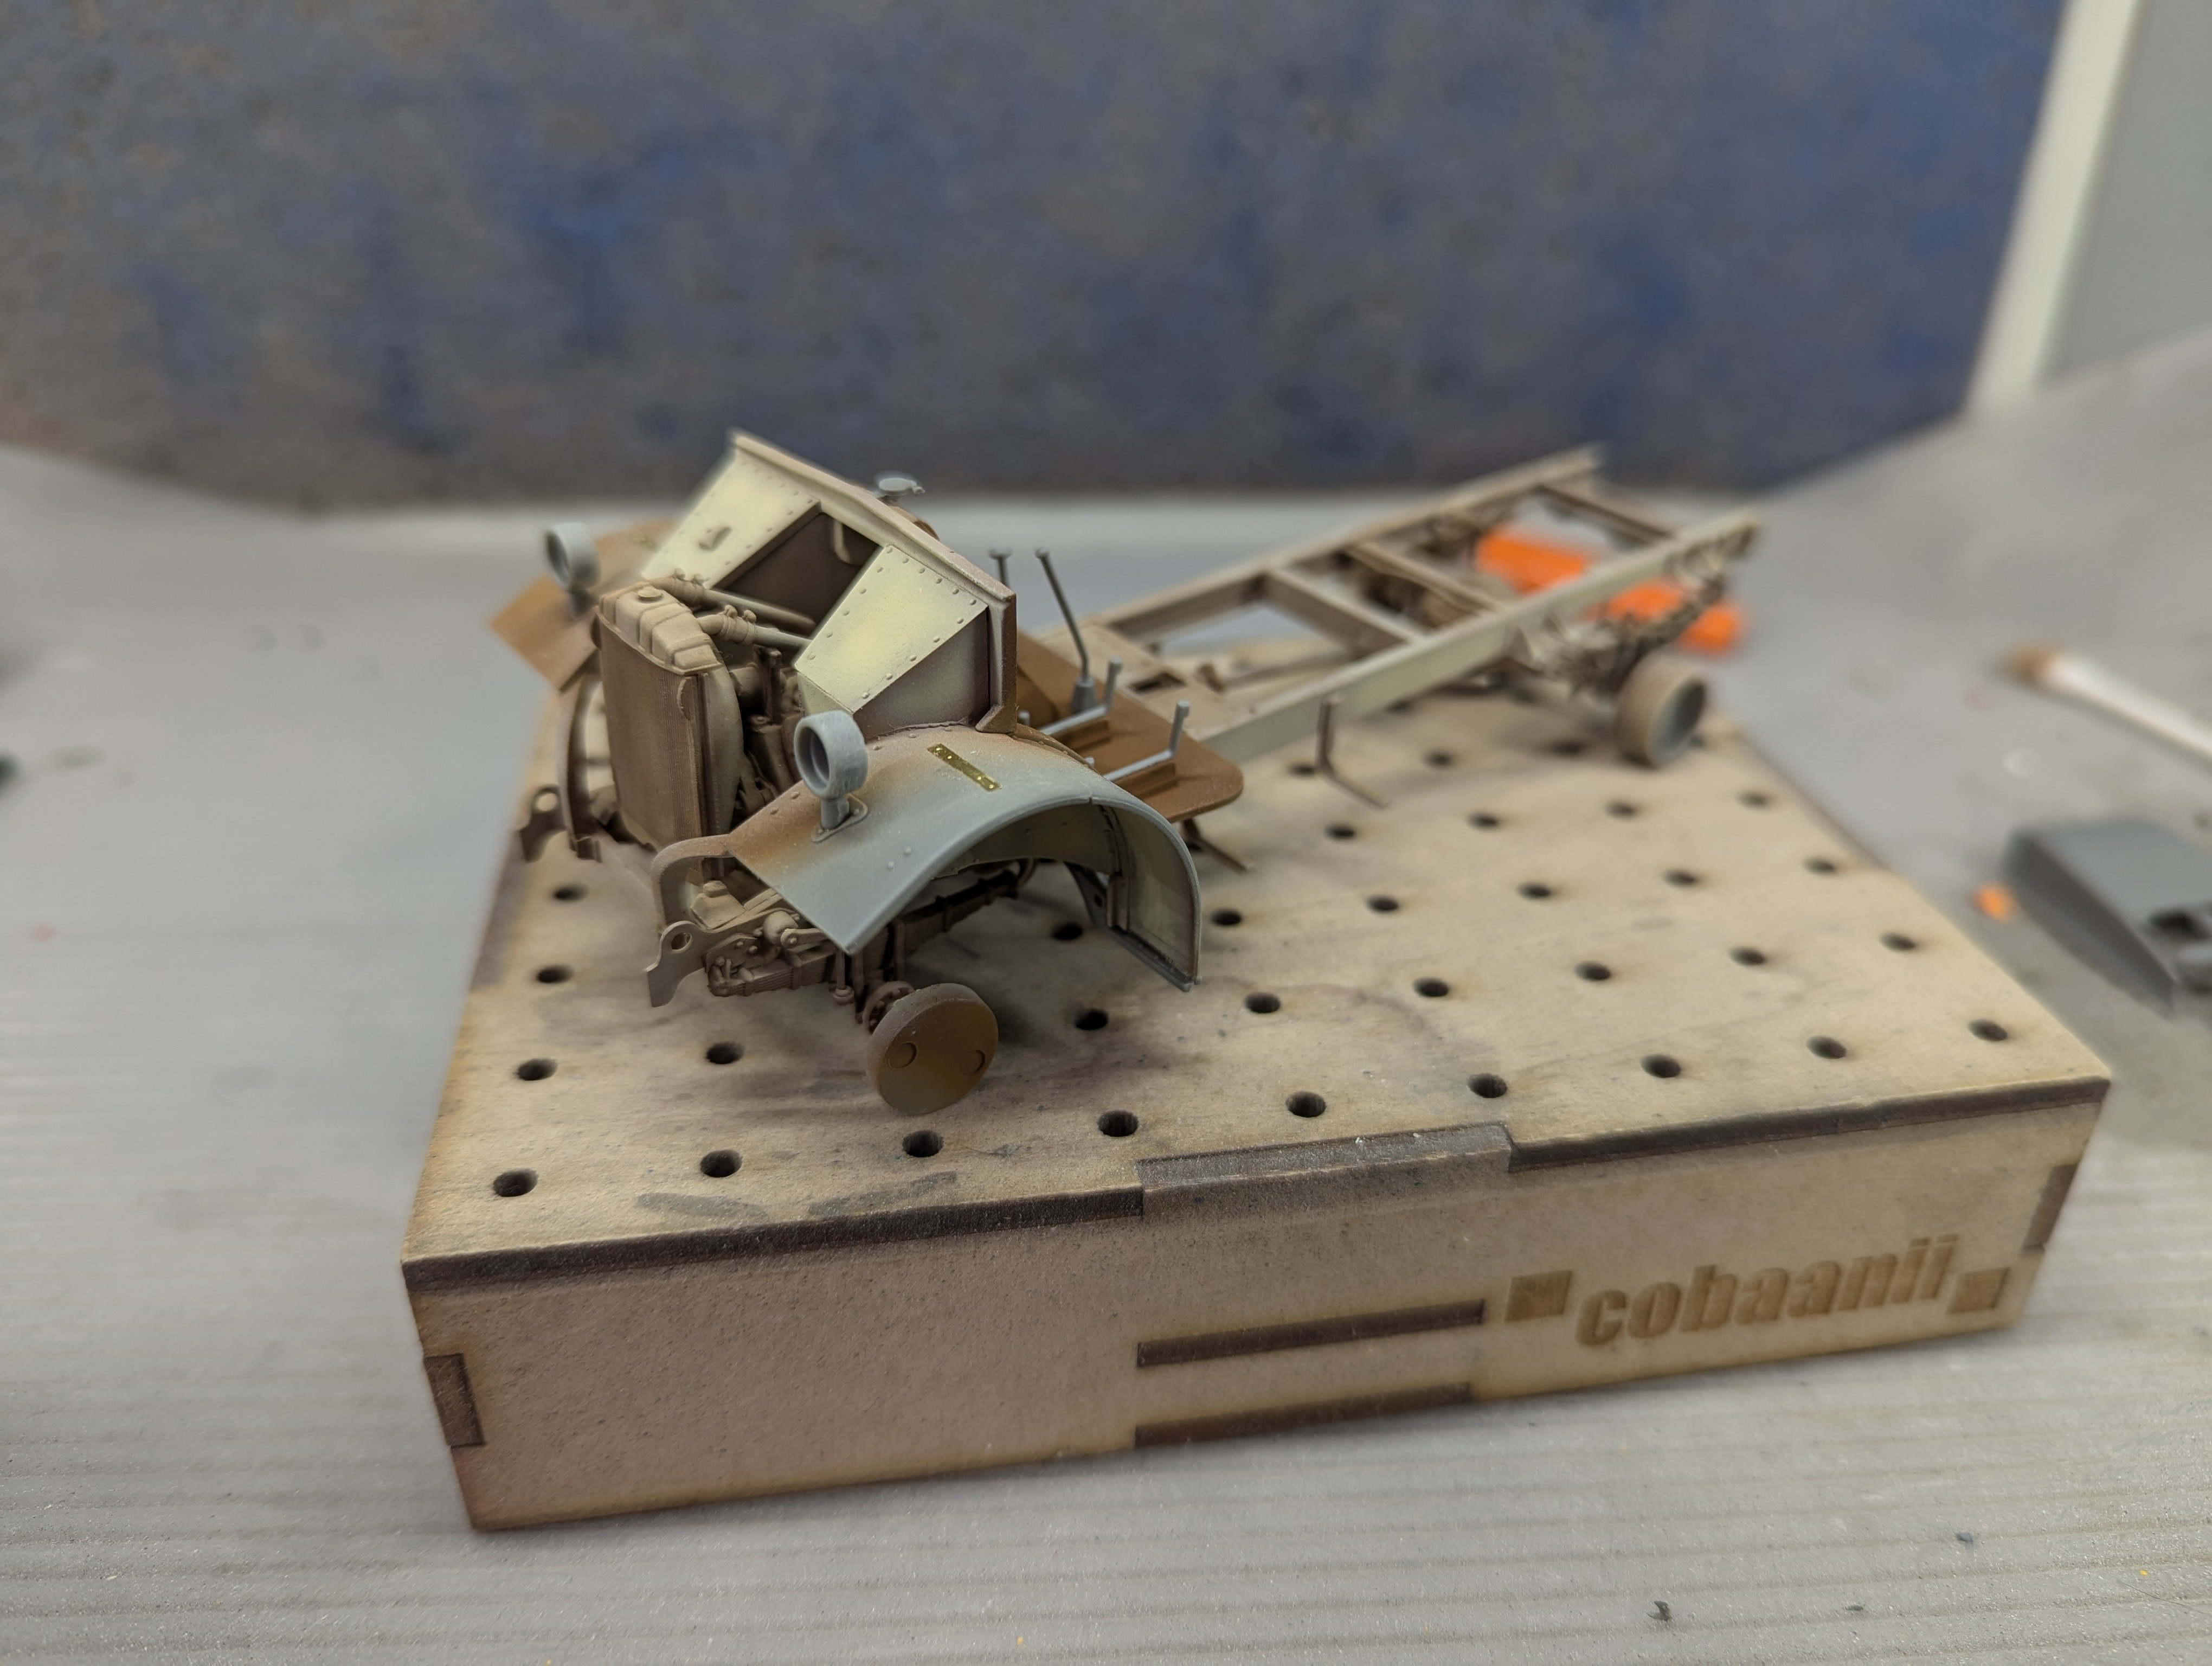
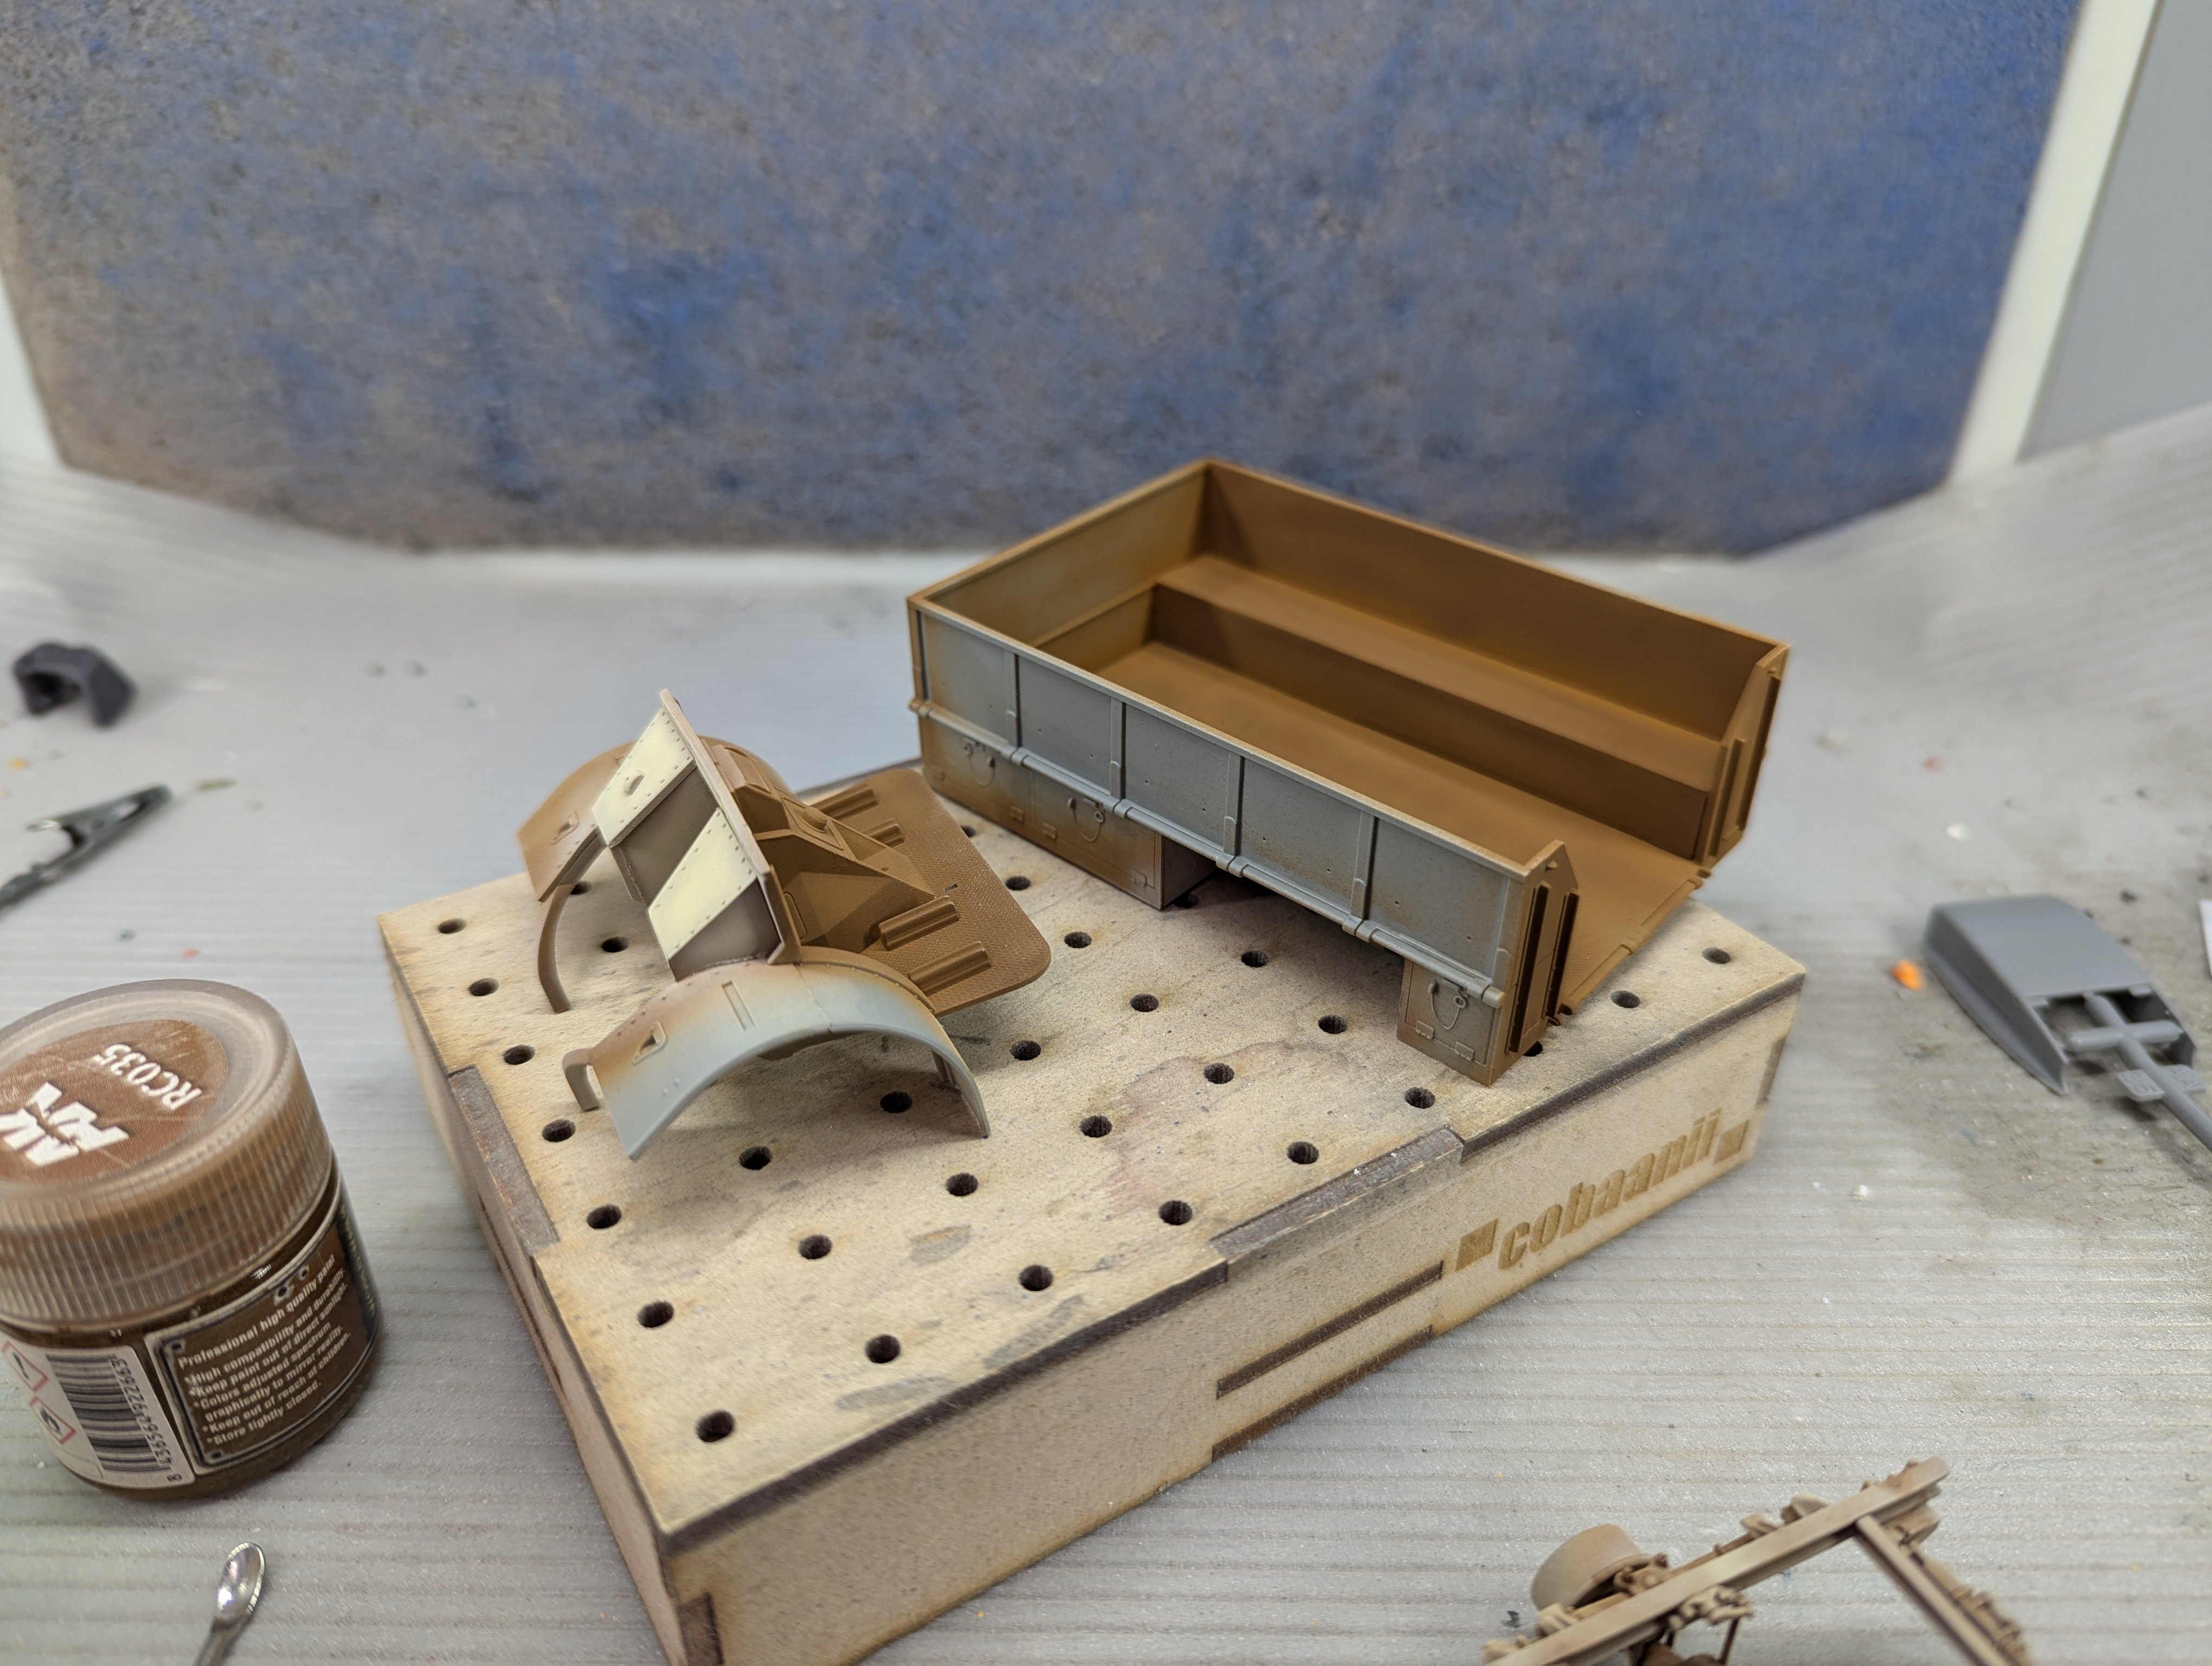
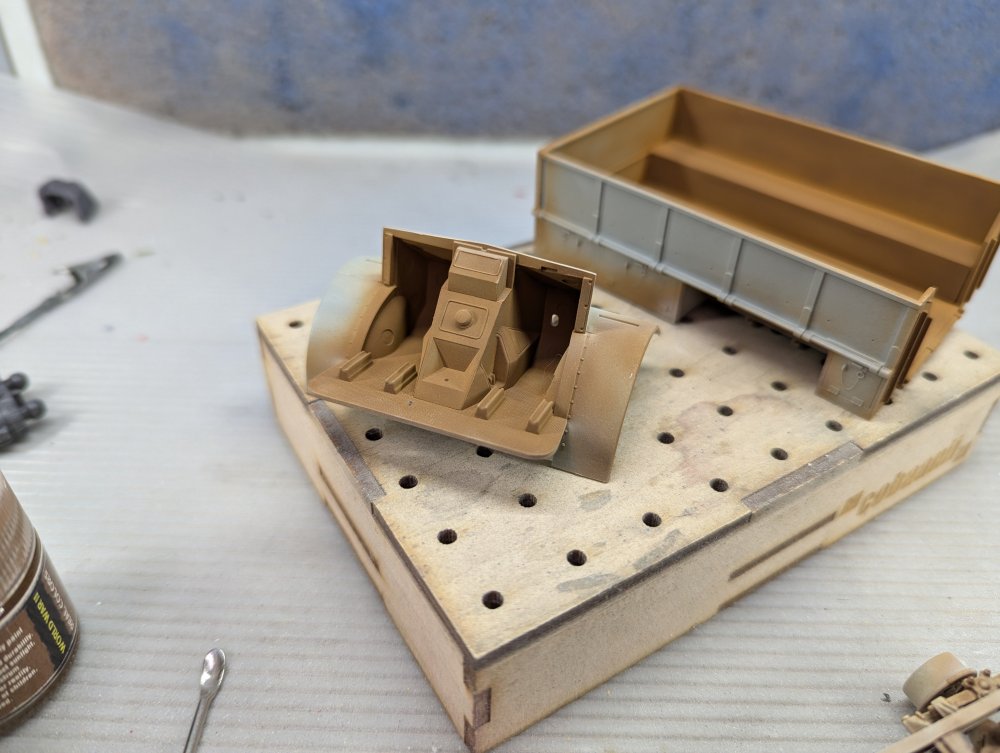
A bit more work on the Ford. I did a base coat of SCC 02 follows by Portland Stone. I did a quick wash with Mr Weathering Color. That really brings out the details. Lastly the cab and bed are assembled.


-
What is on your bench right now ? Share a picture :)
BlrwestSiR replied to Martinnfb's topic in Modelling Discussion
Phil, they make some very nice models. They can get fussy with the small parts at times but they're doing subjects no one else has. Check out LZ Models if you're interested in them. That's where I've been getting the kits from. Libor carries them and often has a package deal on new releases. You may need to sign up for his newsletter to get the offers. Carl