BlrwestSiR
-
Posts
9,212 -
Joined
-
Last visited
Content Type
Profiles
Forums
Events
Gallery
Everything posted by BlrwestSiR
-
Looking at the pic of the Cutlass in primer, it almost looks like it's done in TPS camo. Which would be kinda cool/interesting.
-
Of course probably the most familiar Falcon to those outside Australia would be Max Rockatansky's ride.
-

F-15DJ Kai or Eagle Plus- Finished!
BlrwestSiR replied to BlrwestSiR's topic in The Great Twins Broup Bluild
Here's a better view.
-
F-15DJ Kai or Eagle Plus- Finished!
BlrwestSiR replied to BlrwestSiR's topic in The Great Twins Broup Bluild
Canards are now on.
-
F-15DJ Kai or Eagle Plus- Finished!
BlrwestSiR replied to BlrwestSiR's topic in The Great Twins Broup Bluild
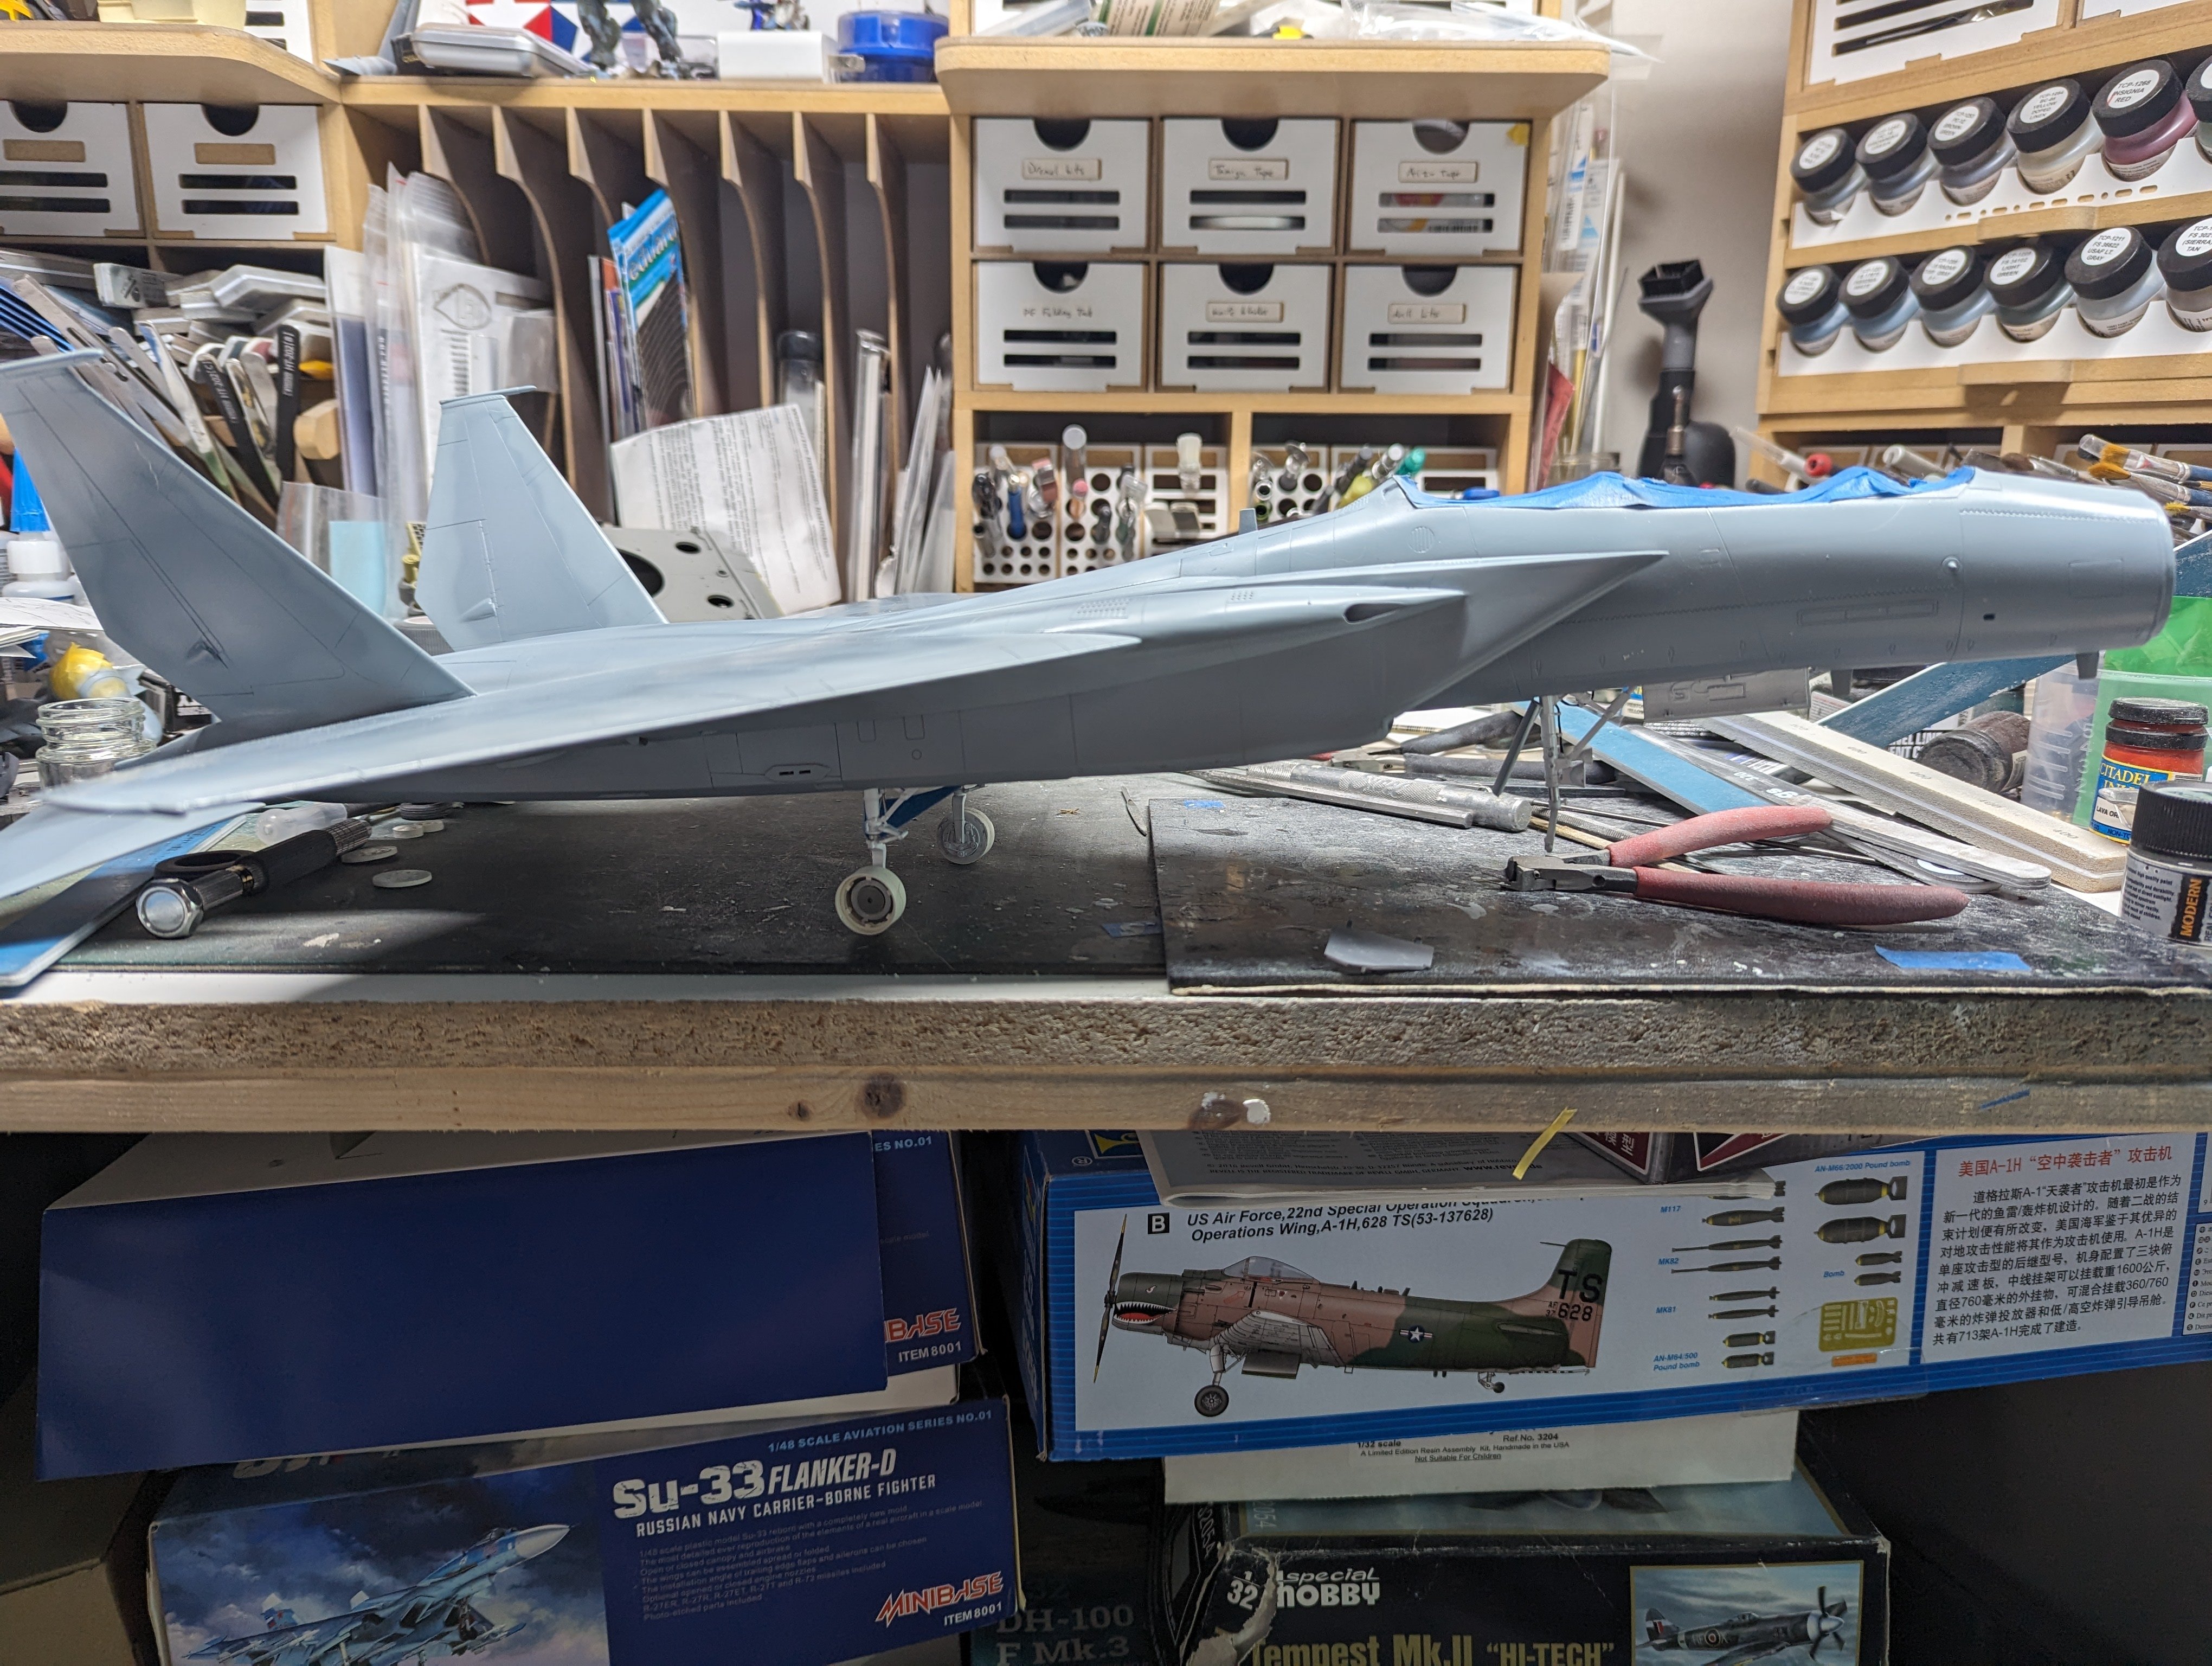
With the gear in, she's definitely tail heavy. Gluing the nose in place with the pennies I added brings her back to a proper stance.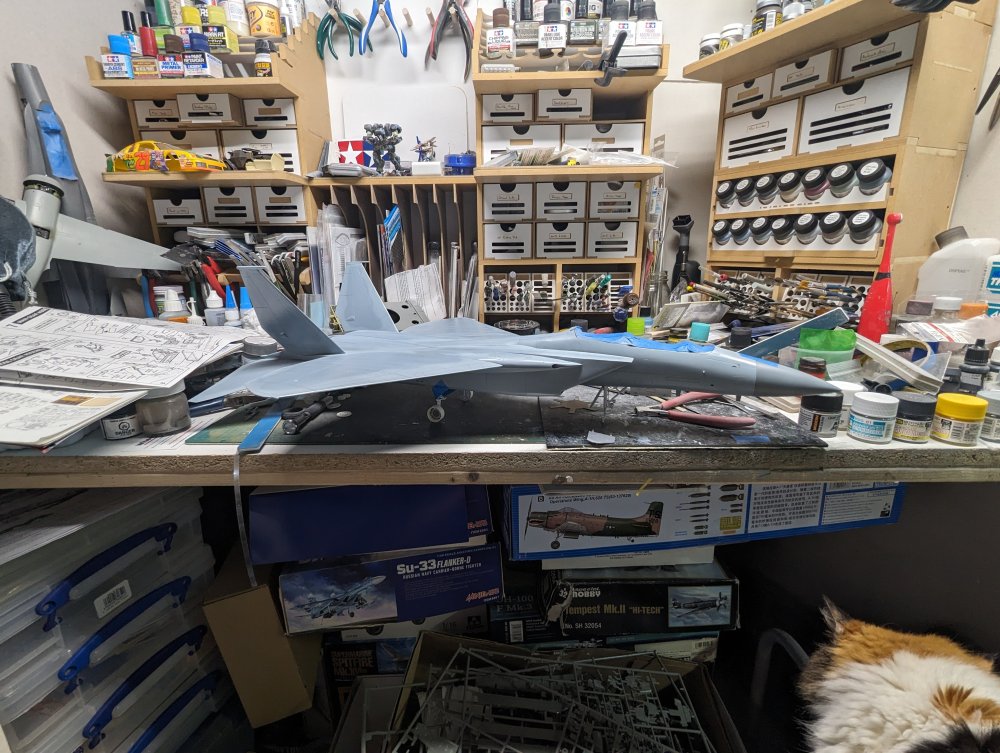

-
Hasegawa 1/48 NMF P-40N done RFI
BlrwestSiR replied to JohnB's topic in LSM 1/48 Aircraft Ready for Inspection
Wow, that looks really good. I'll need to rethink my P-40 plans now. -
Jeff, my vote is very much in the keep going with them. Your builds generally go far beyond "it's only a model" and get into the background of the vehicles and their many nuances. As for not being a plane or AFV, that's fine by me. My stash is a healthy mix of a variety of subjects and I like that they're all welcome here.
-
F-15DJ Kai or Eagle Plus- Finished!
BlrwestSiR replied to BlrwestSiR's topic in The Great Twins Broup Bluild
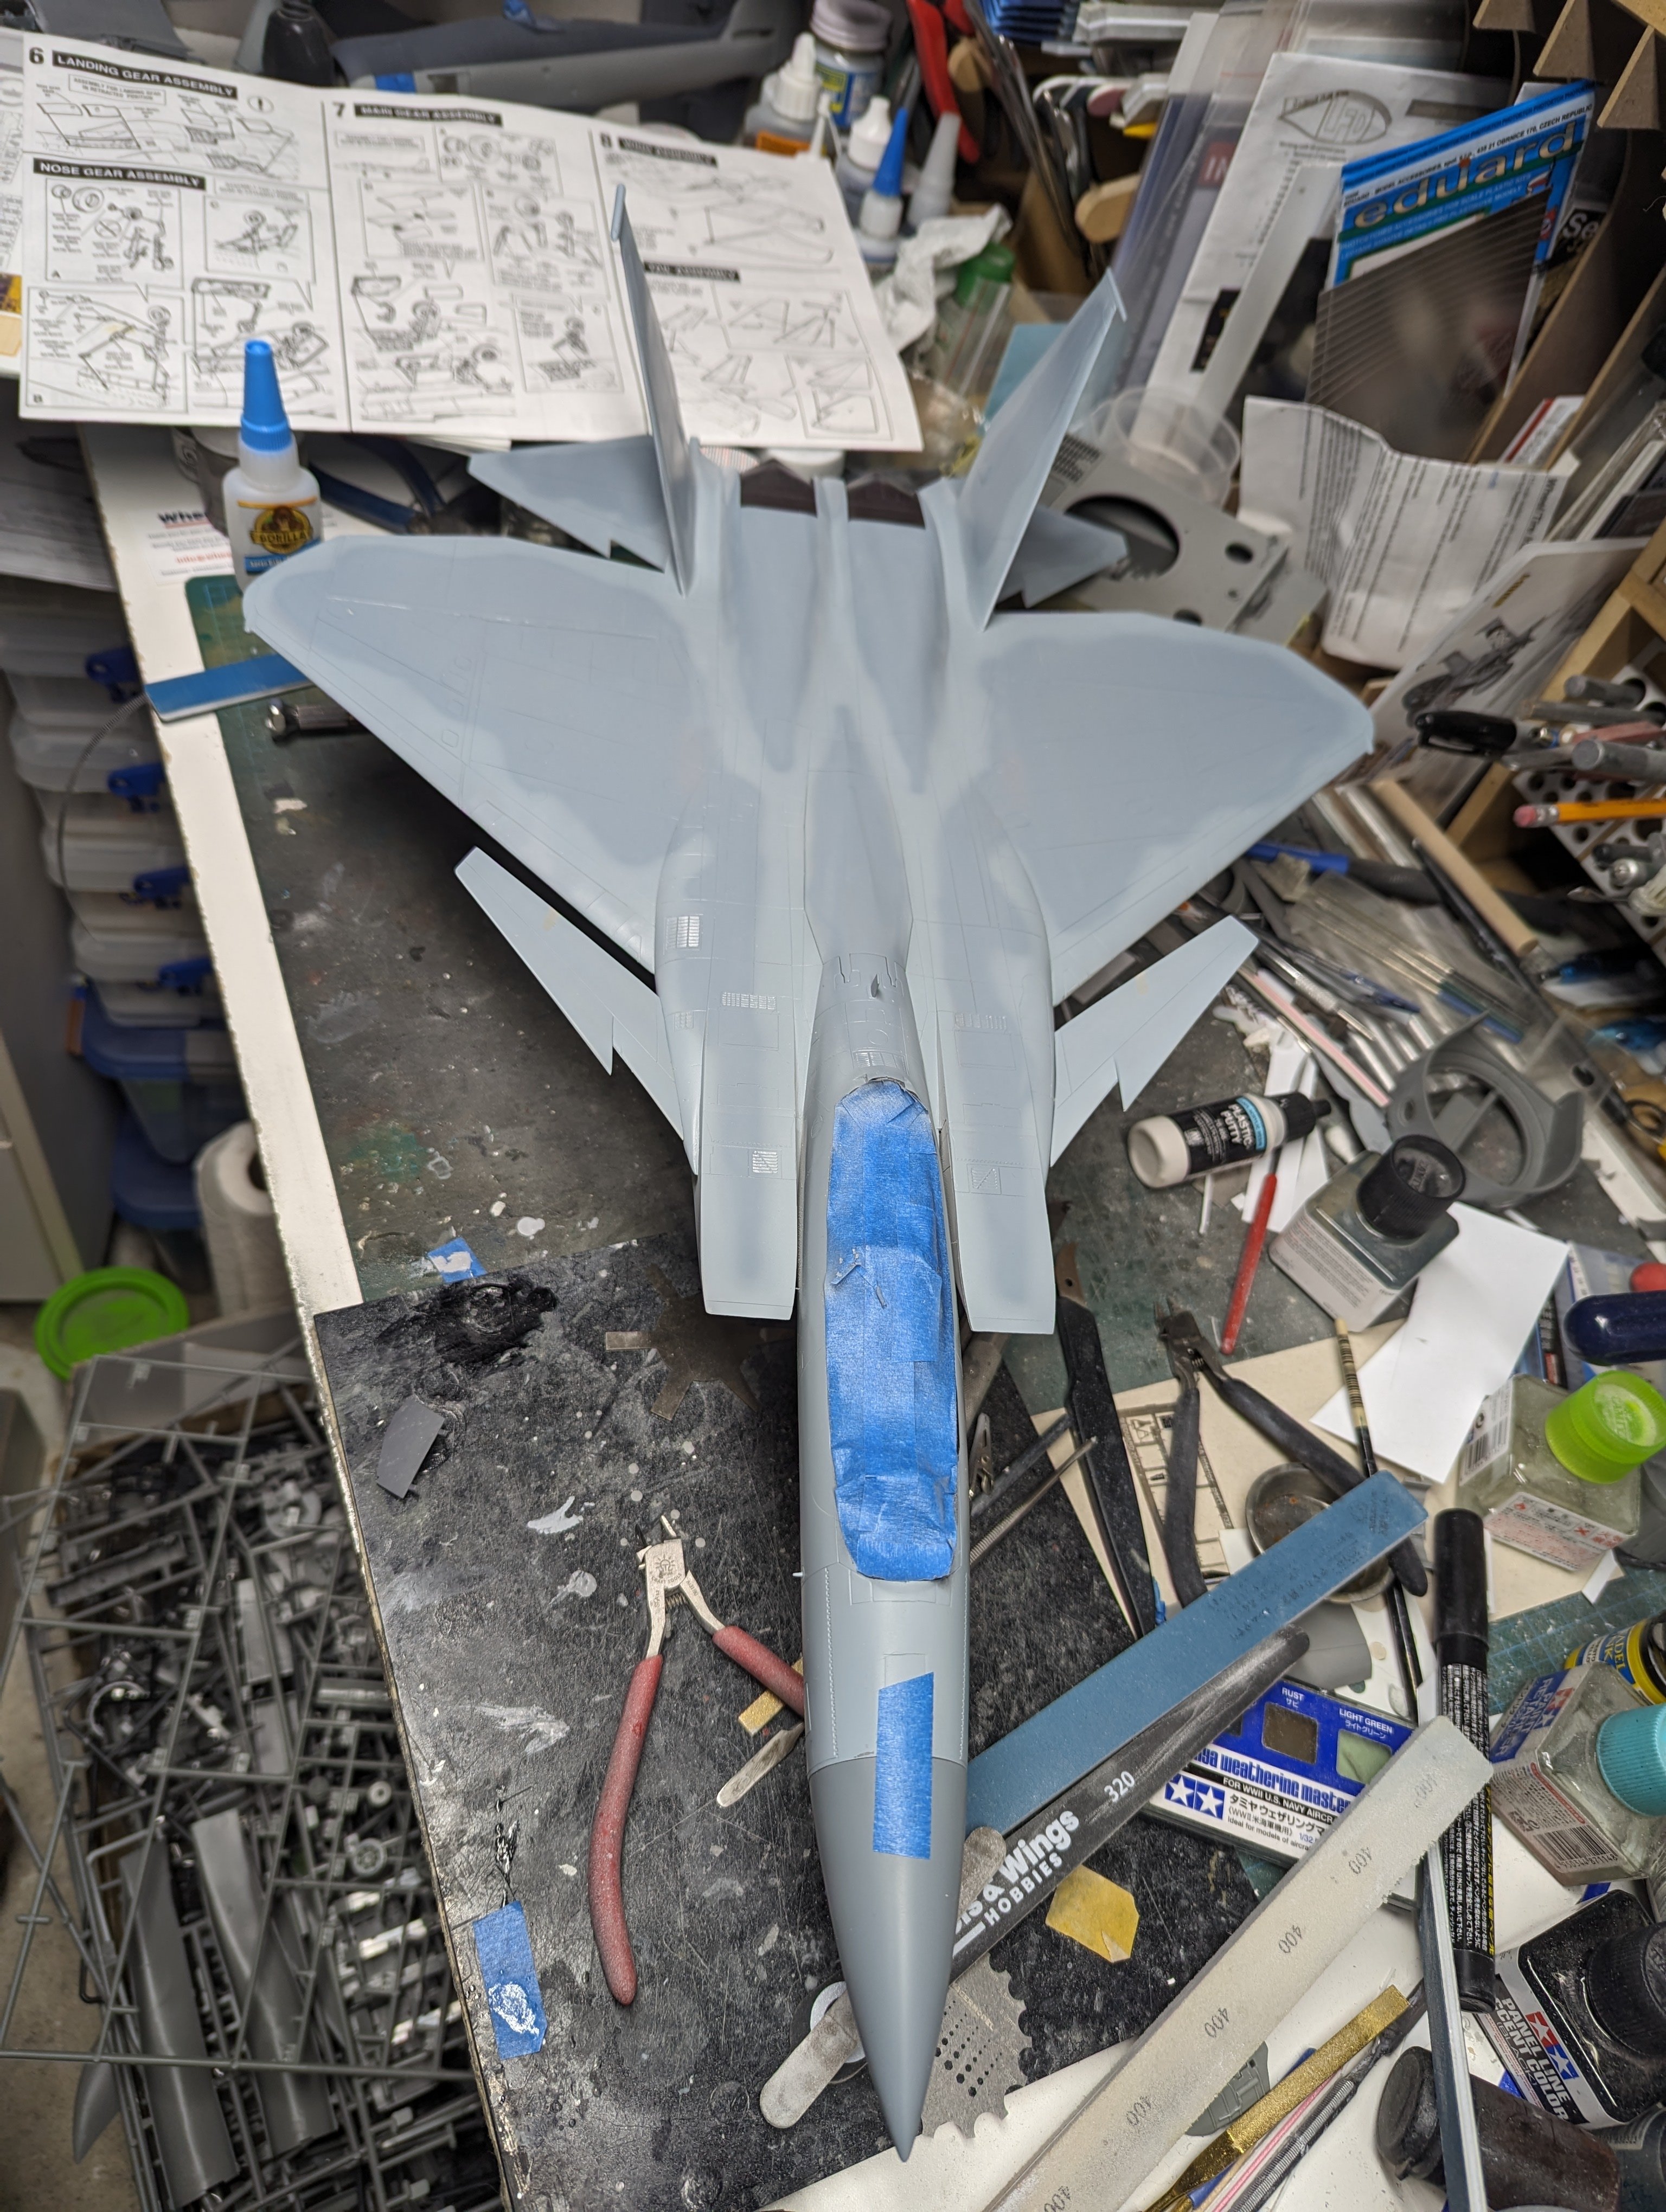
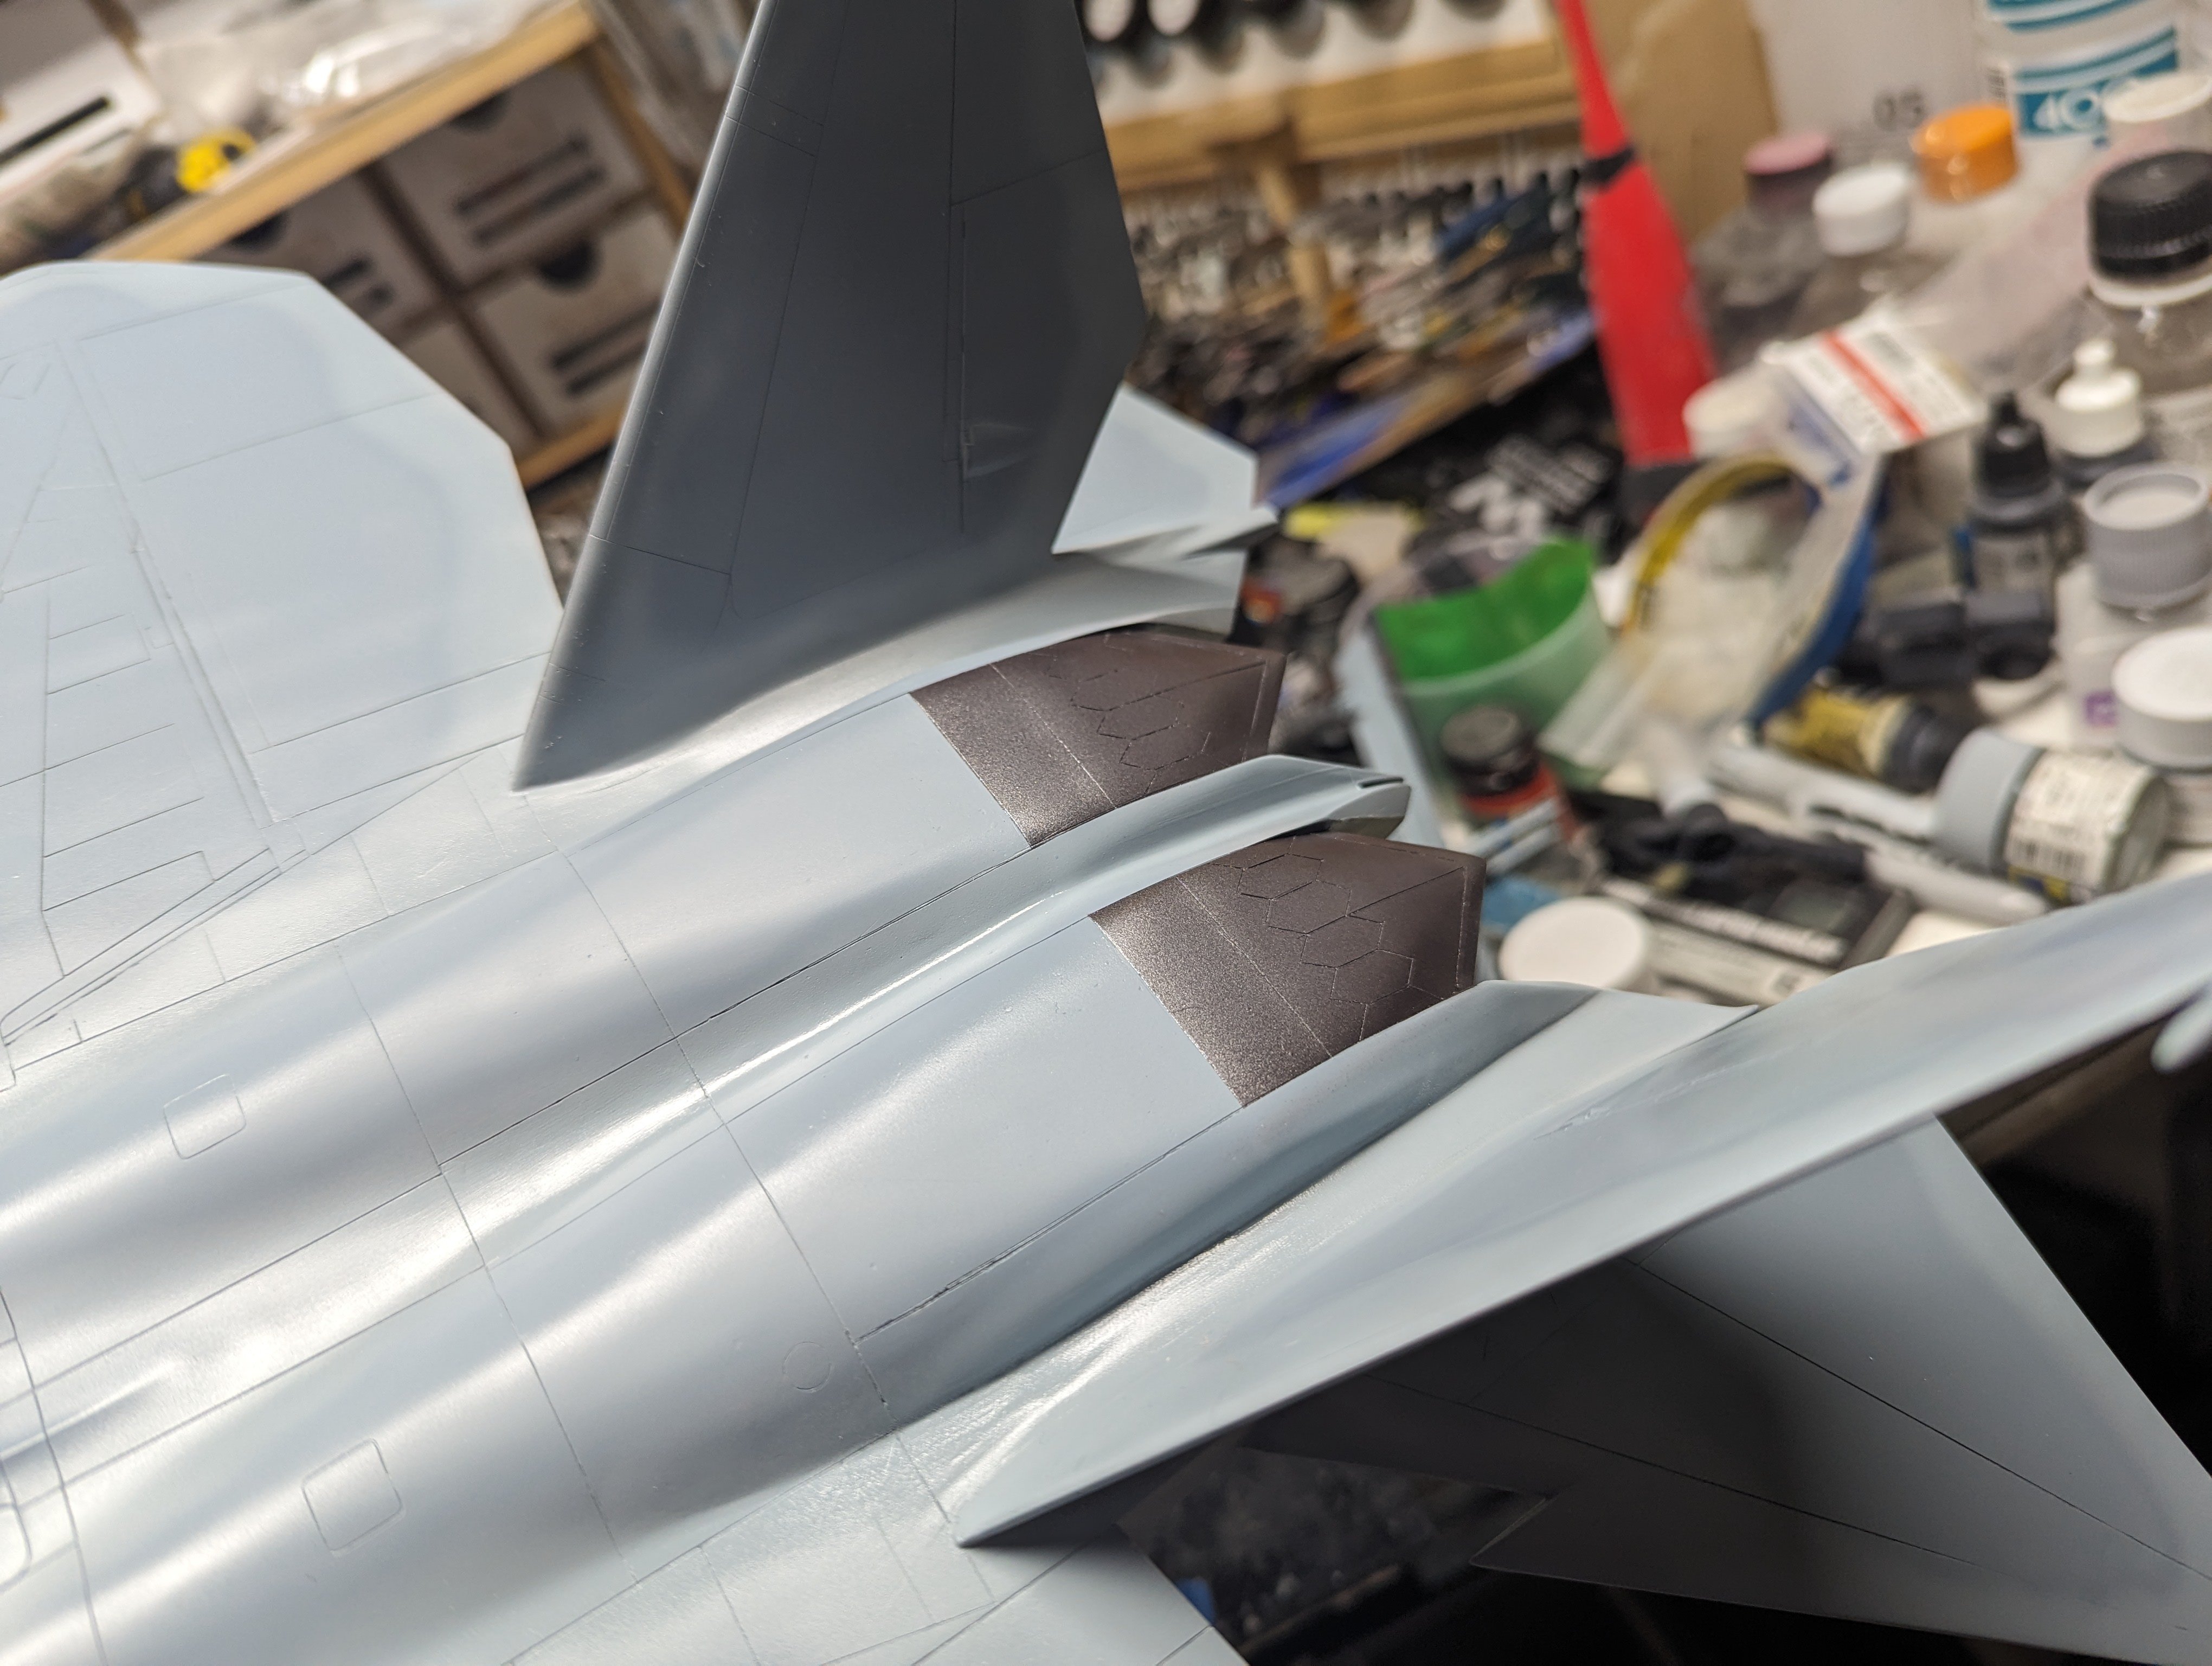
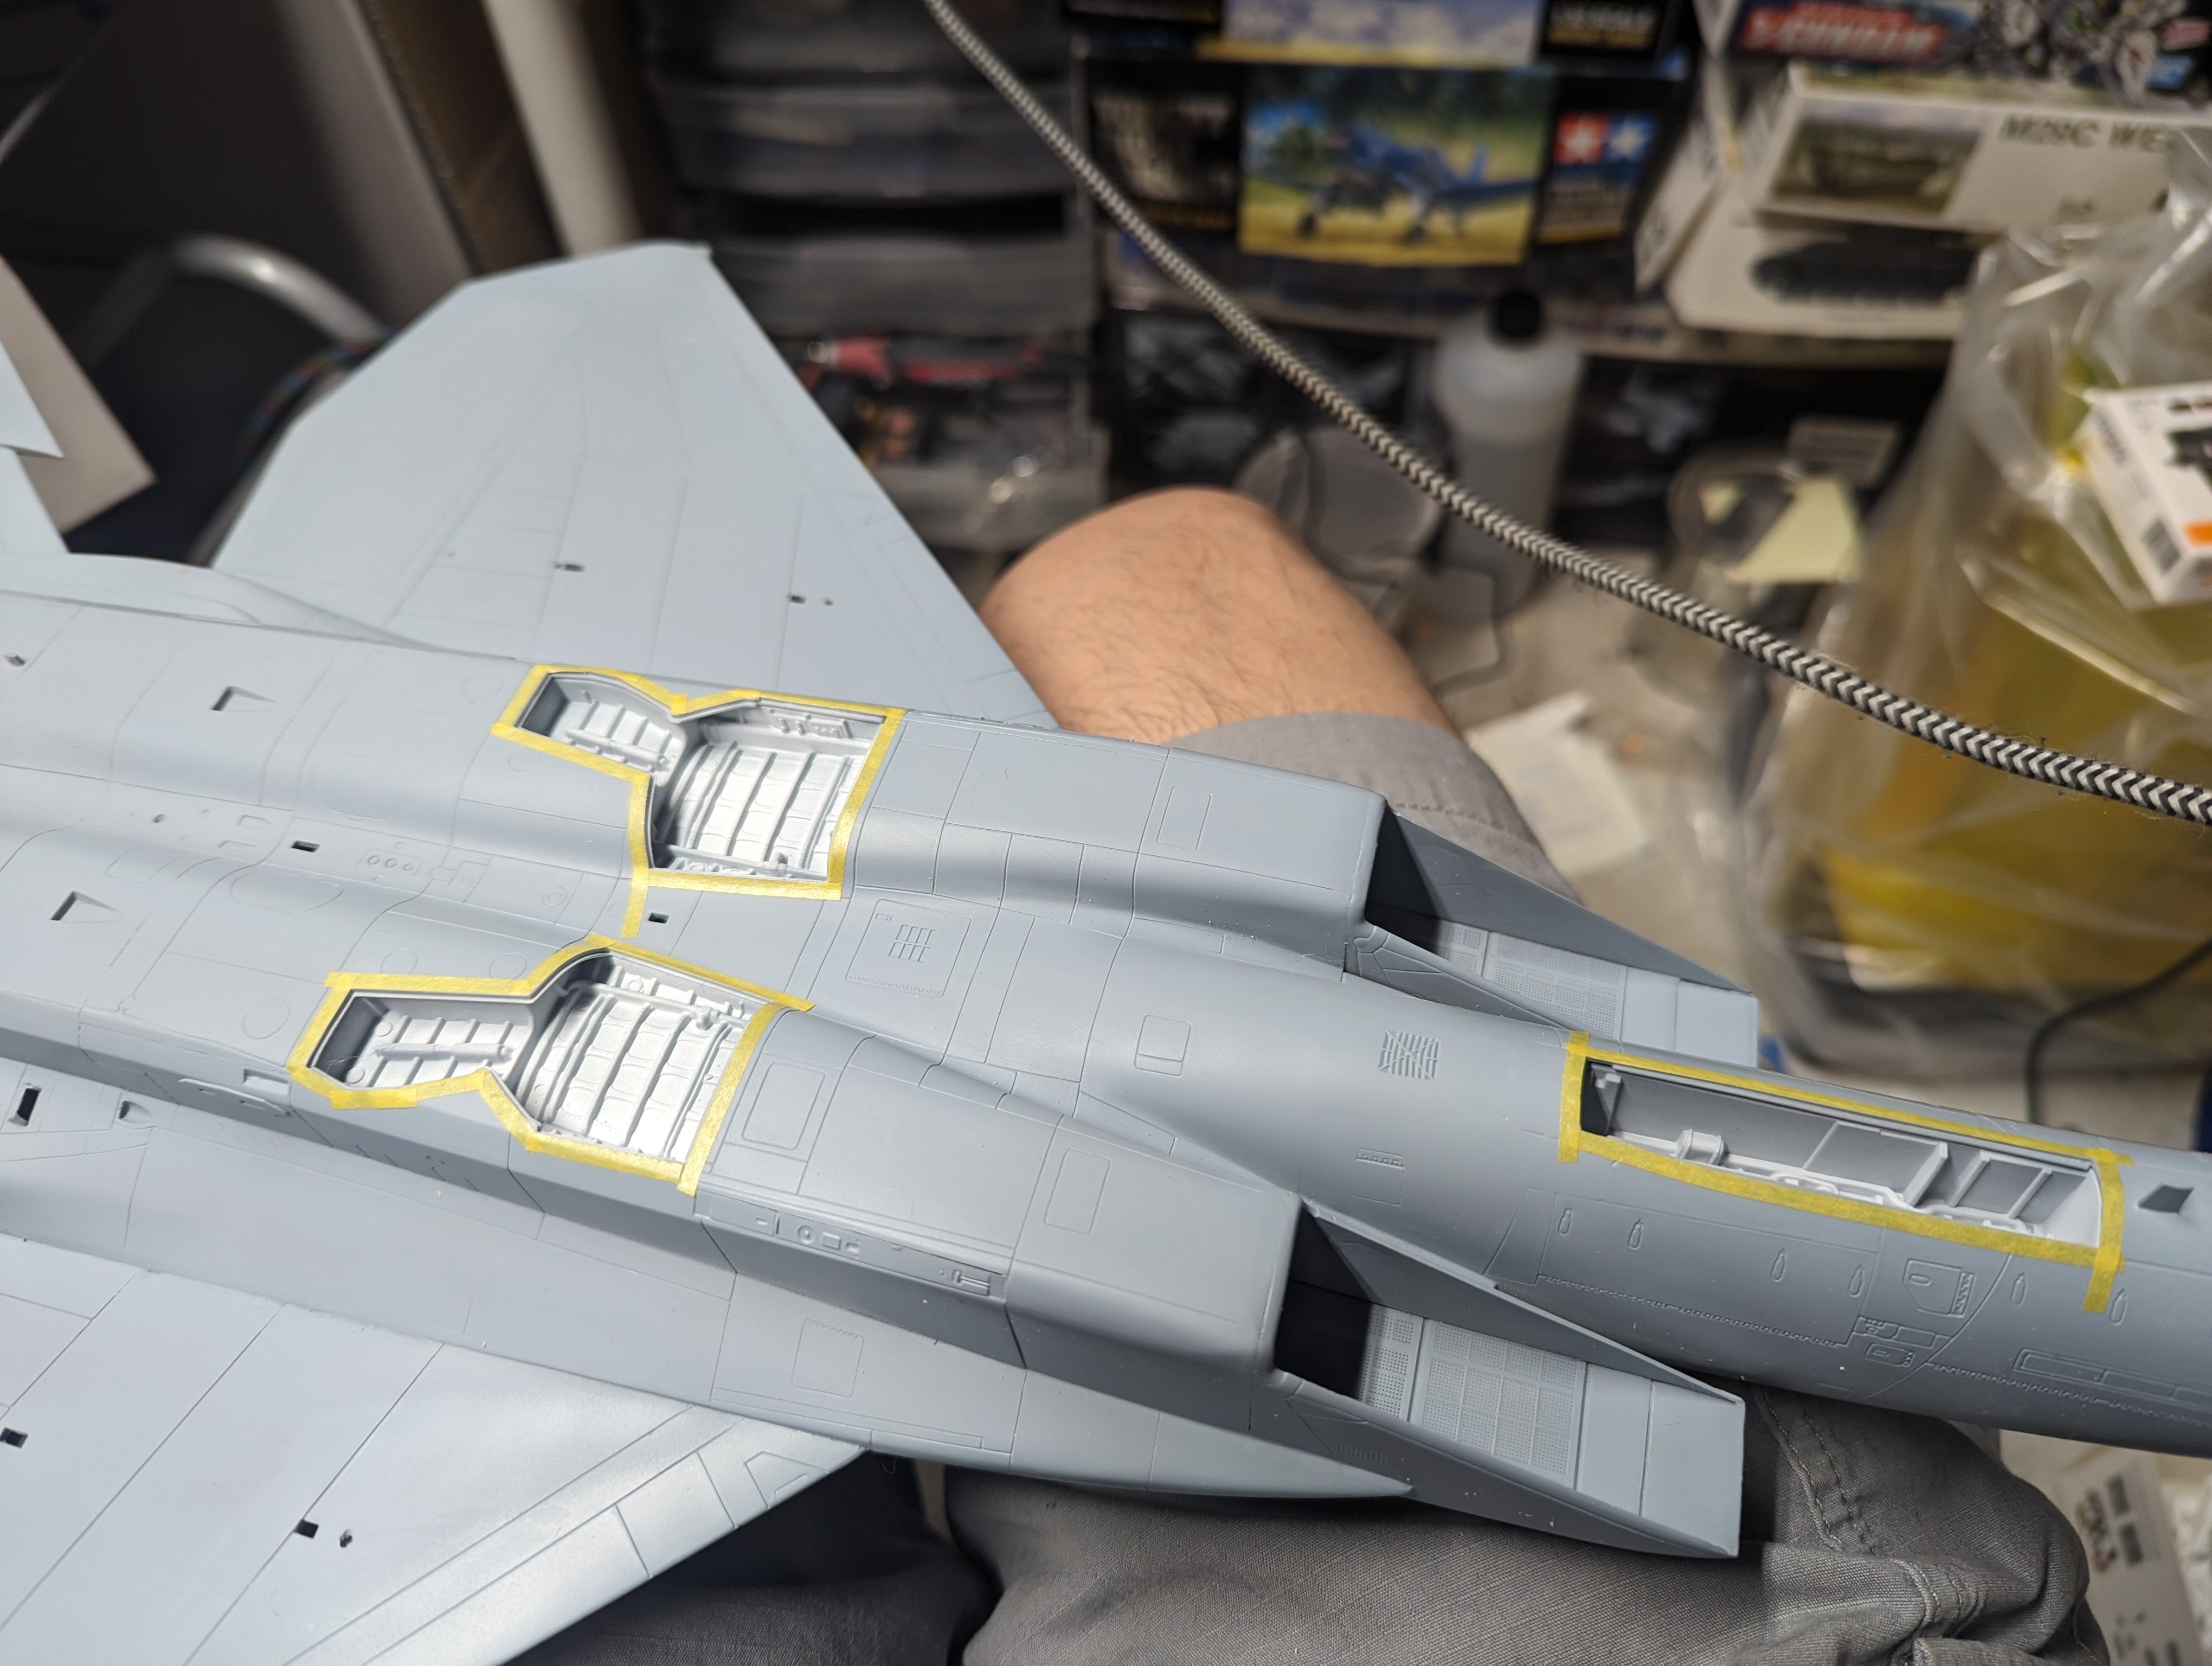
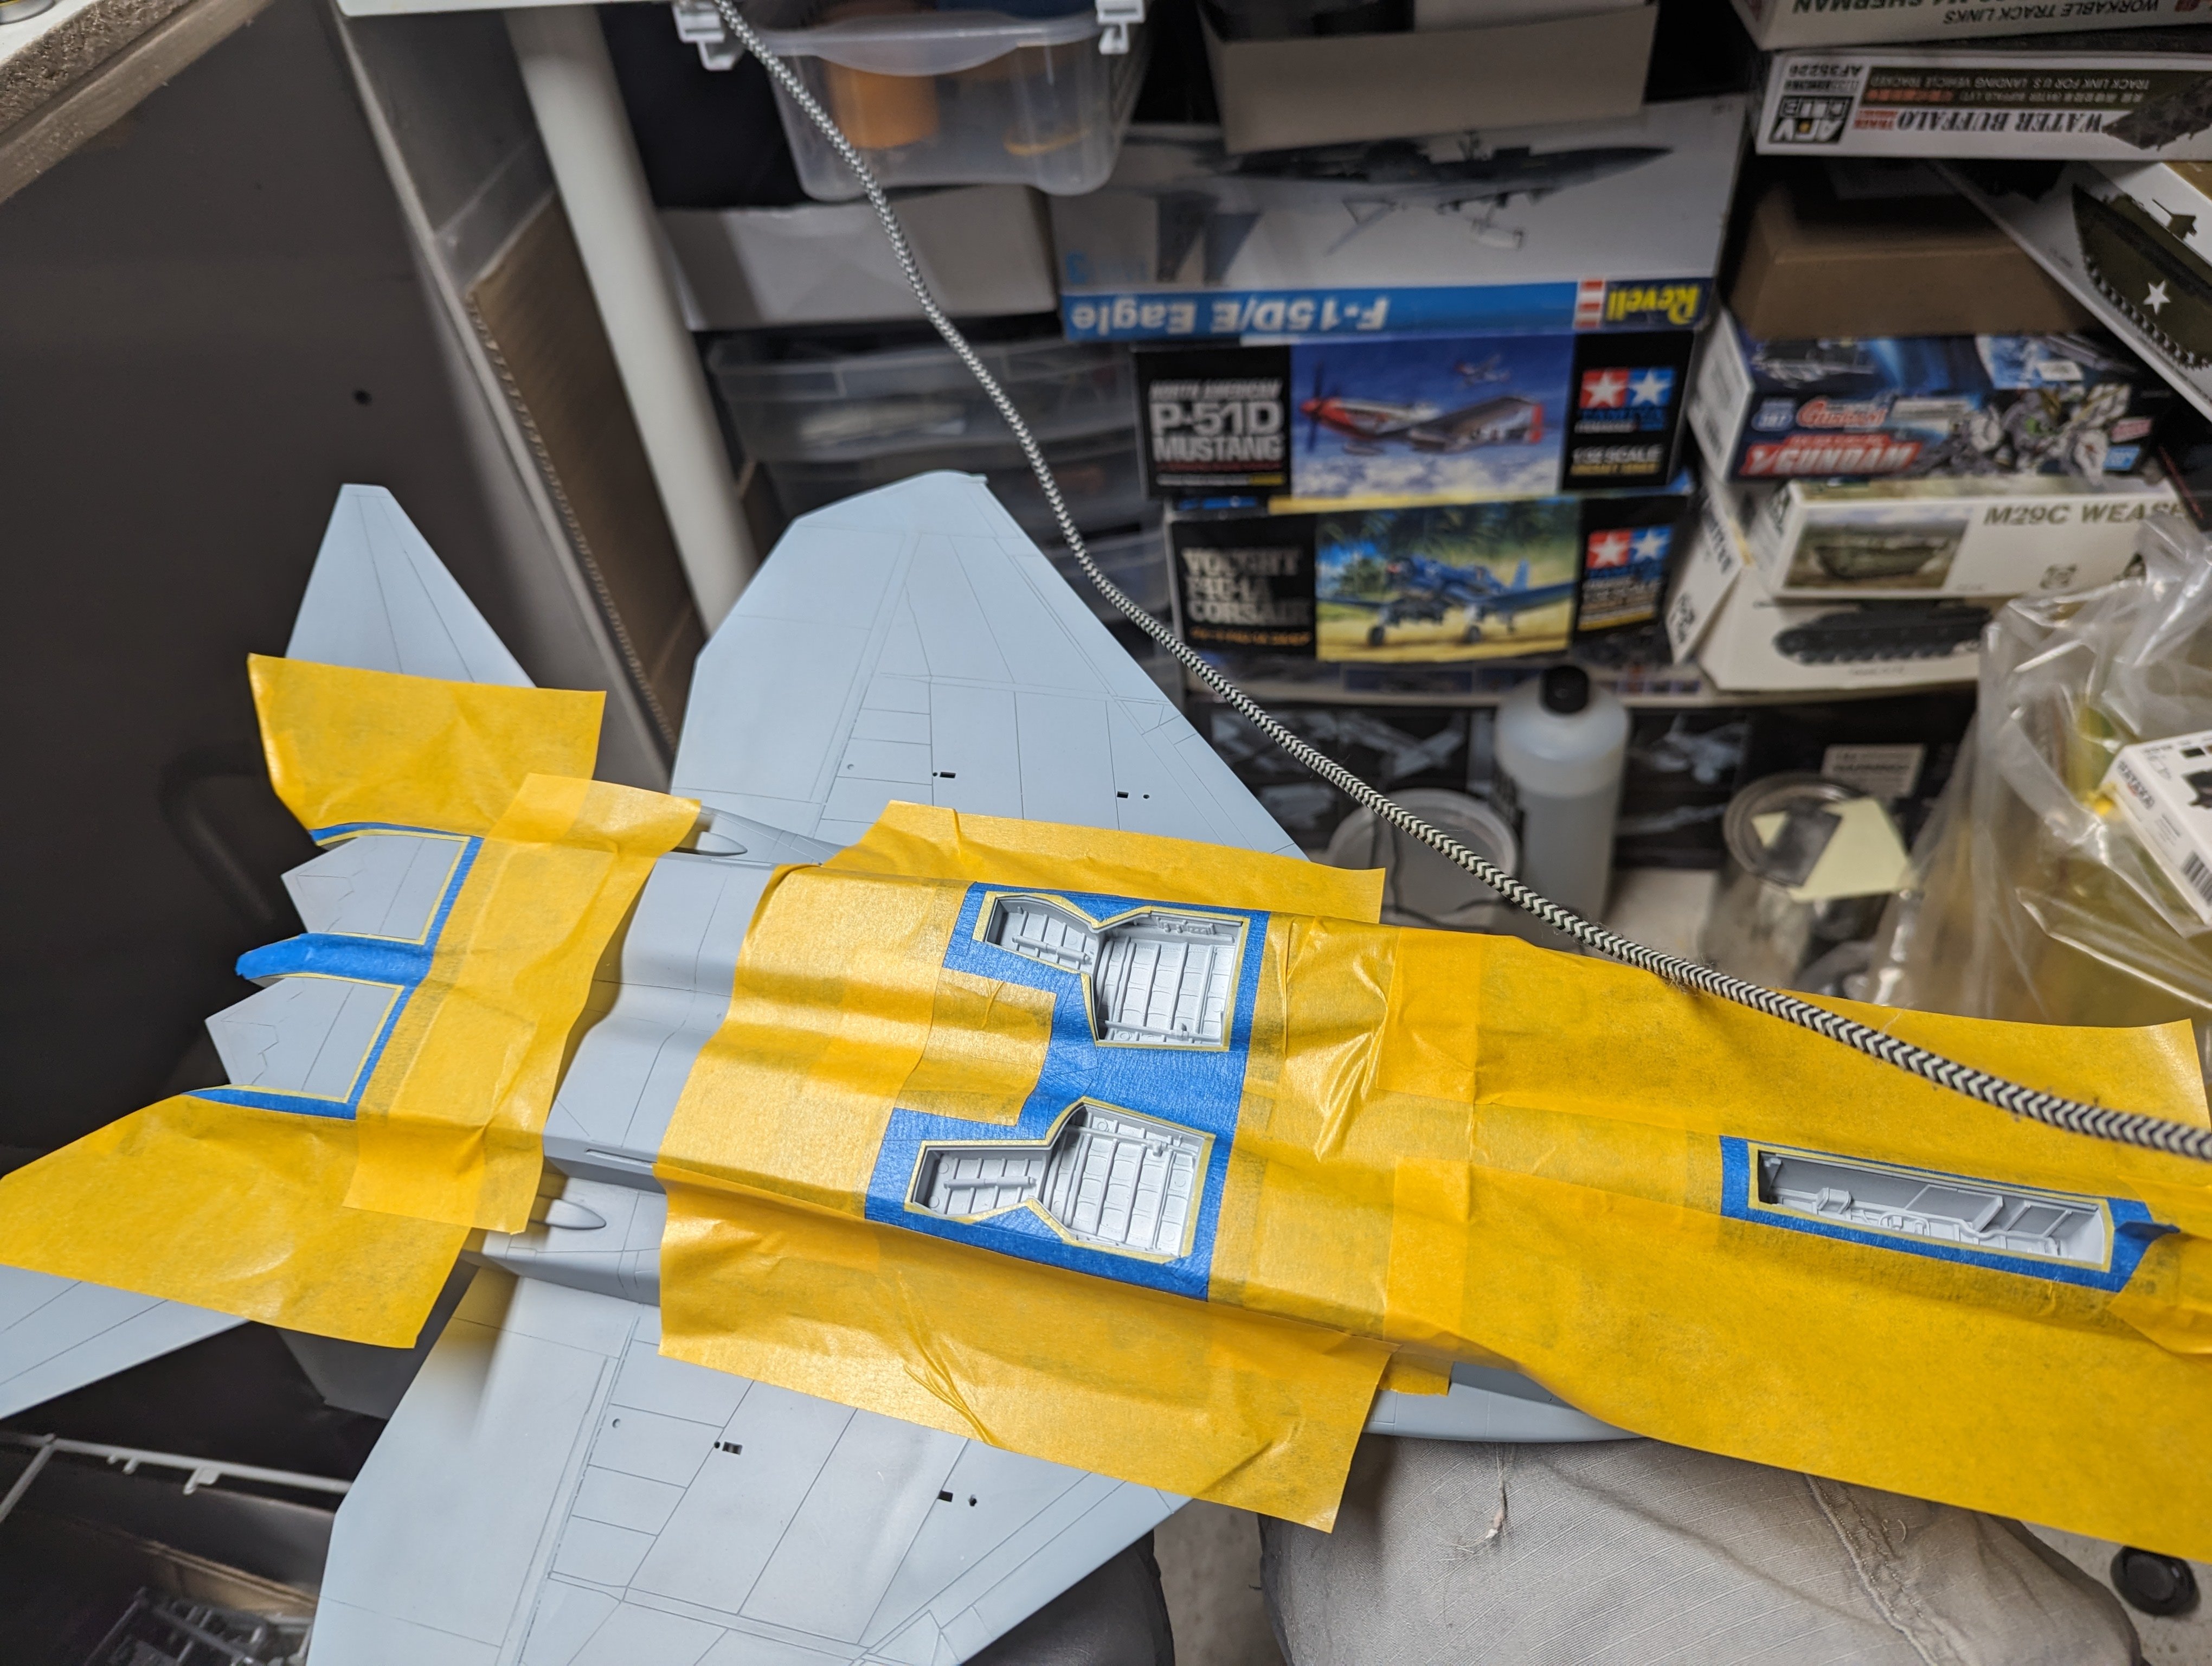
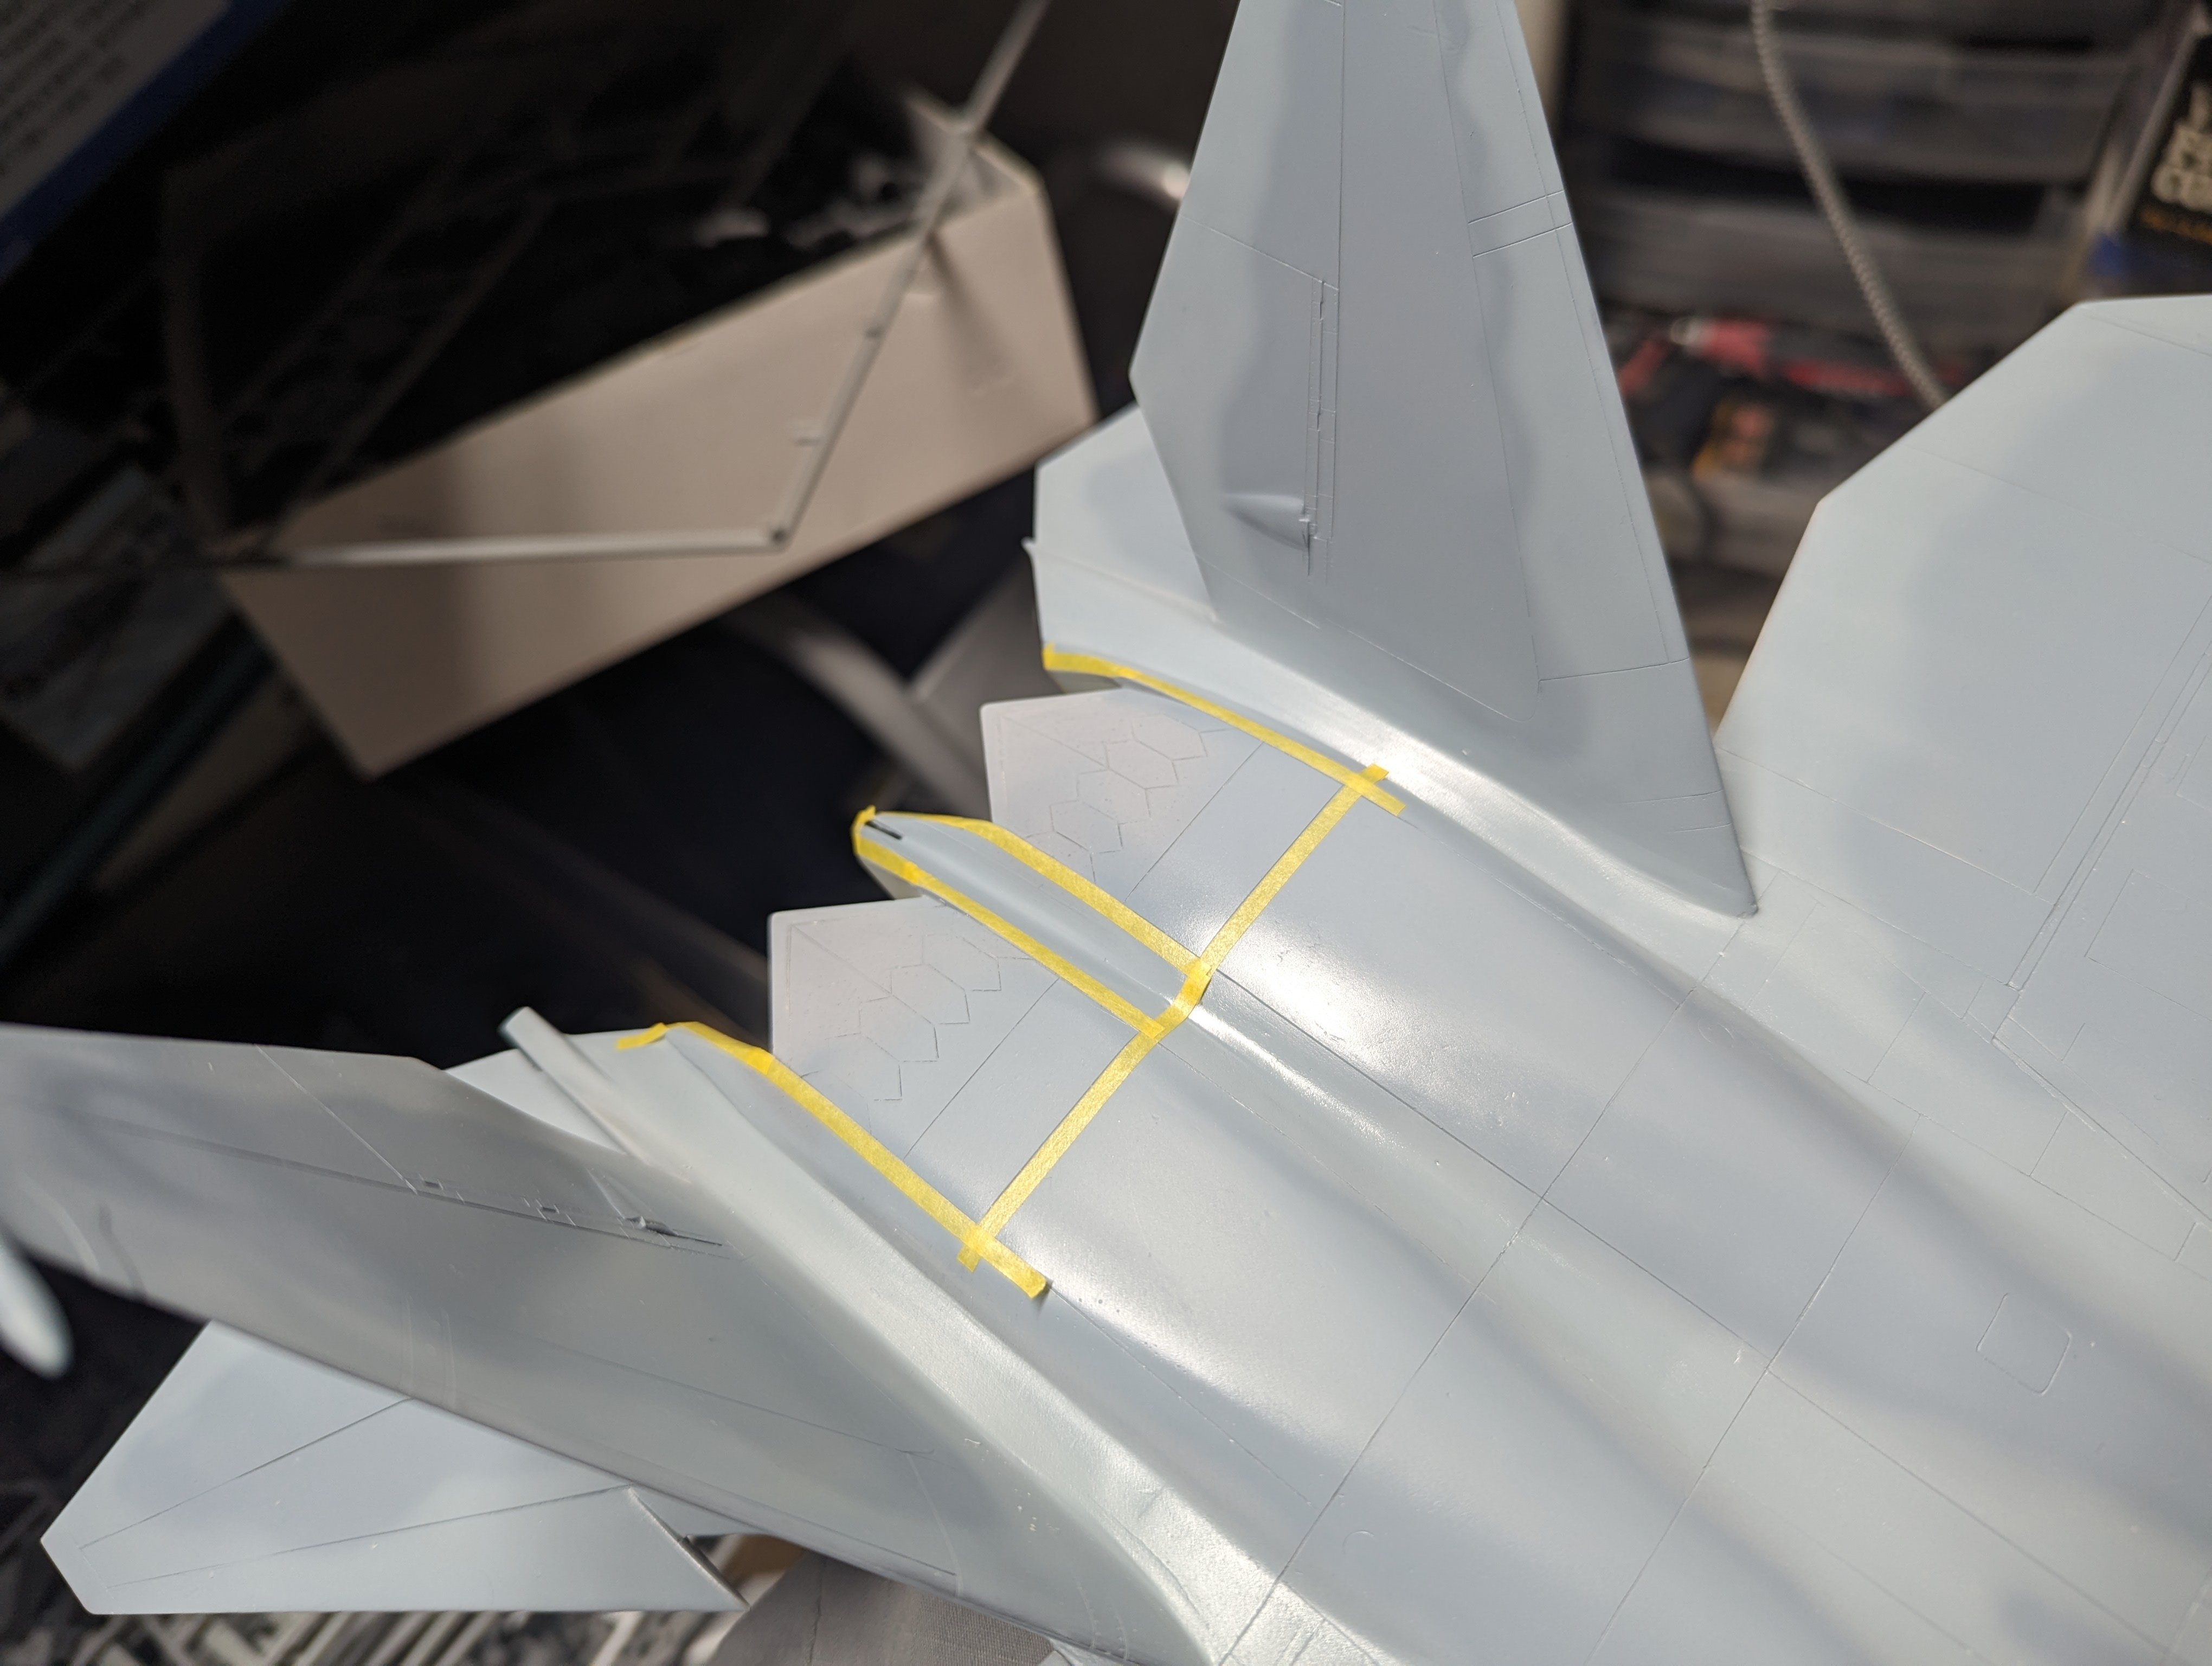
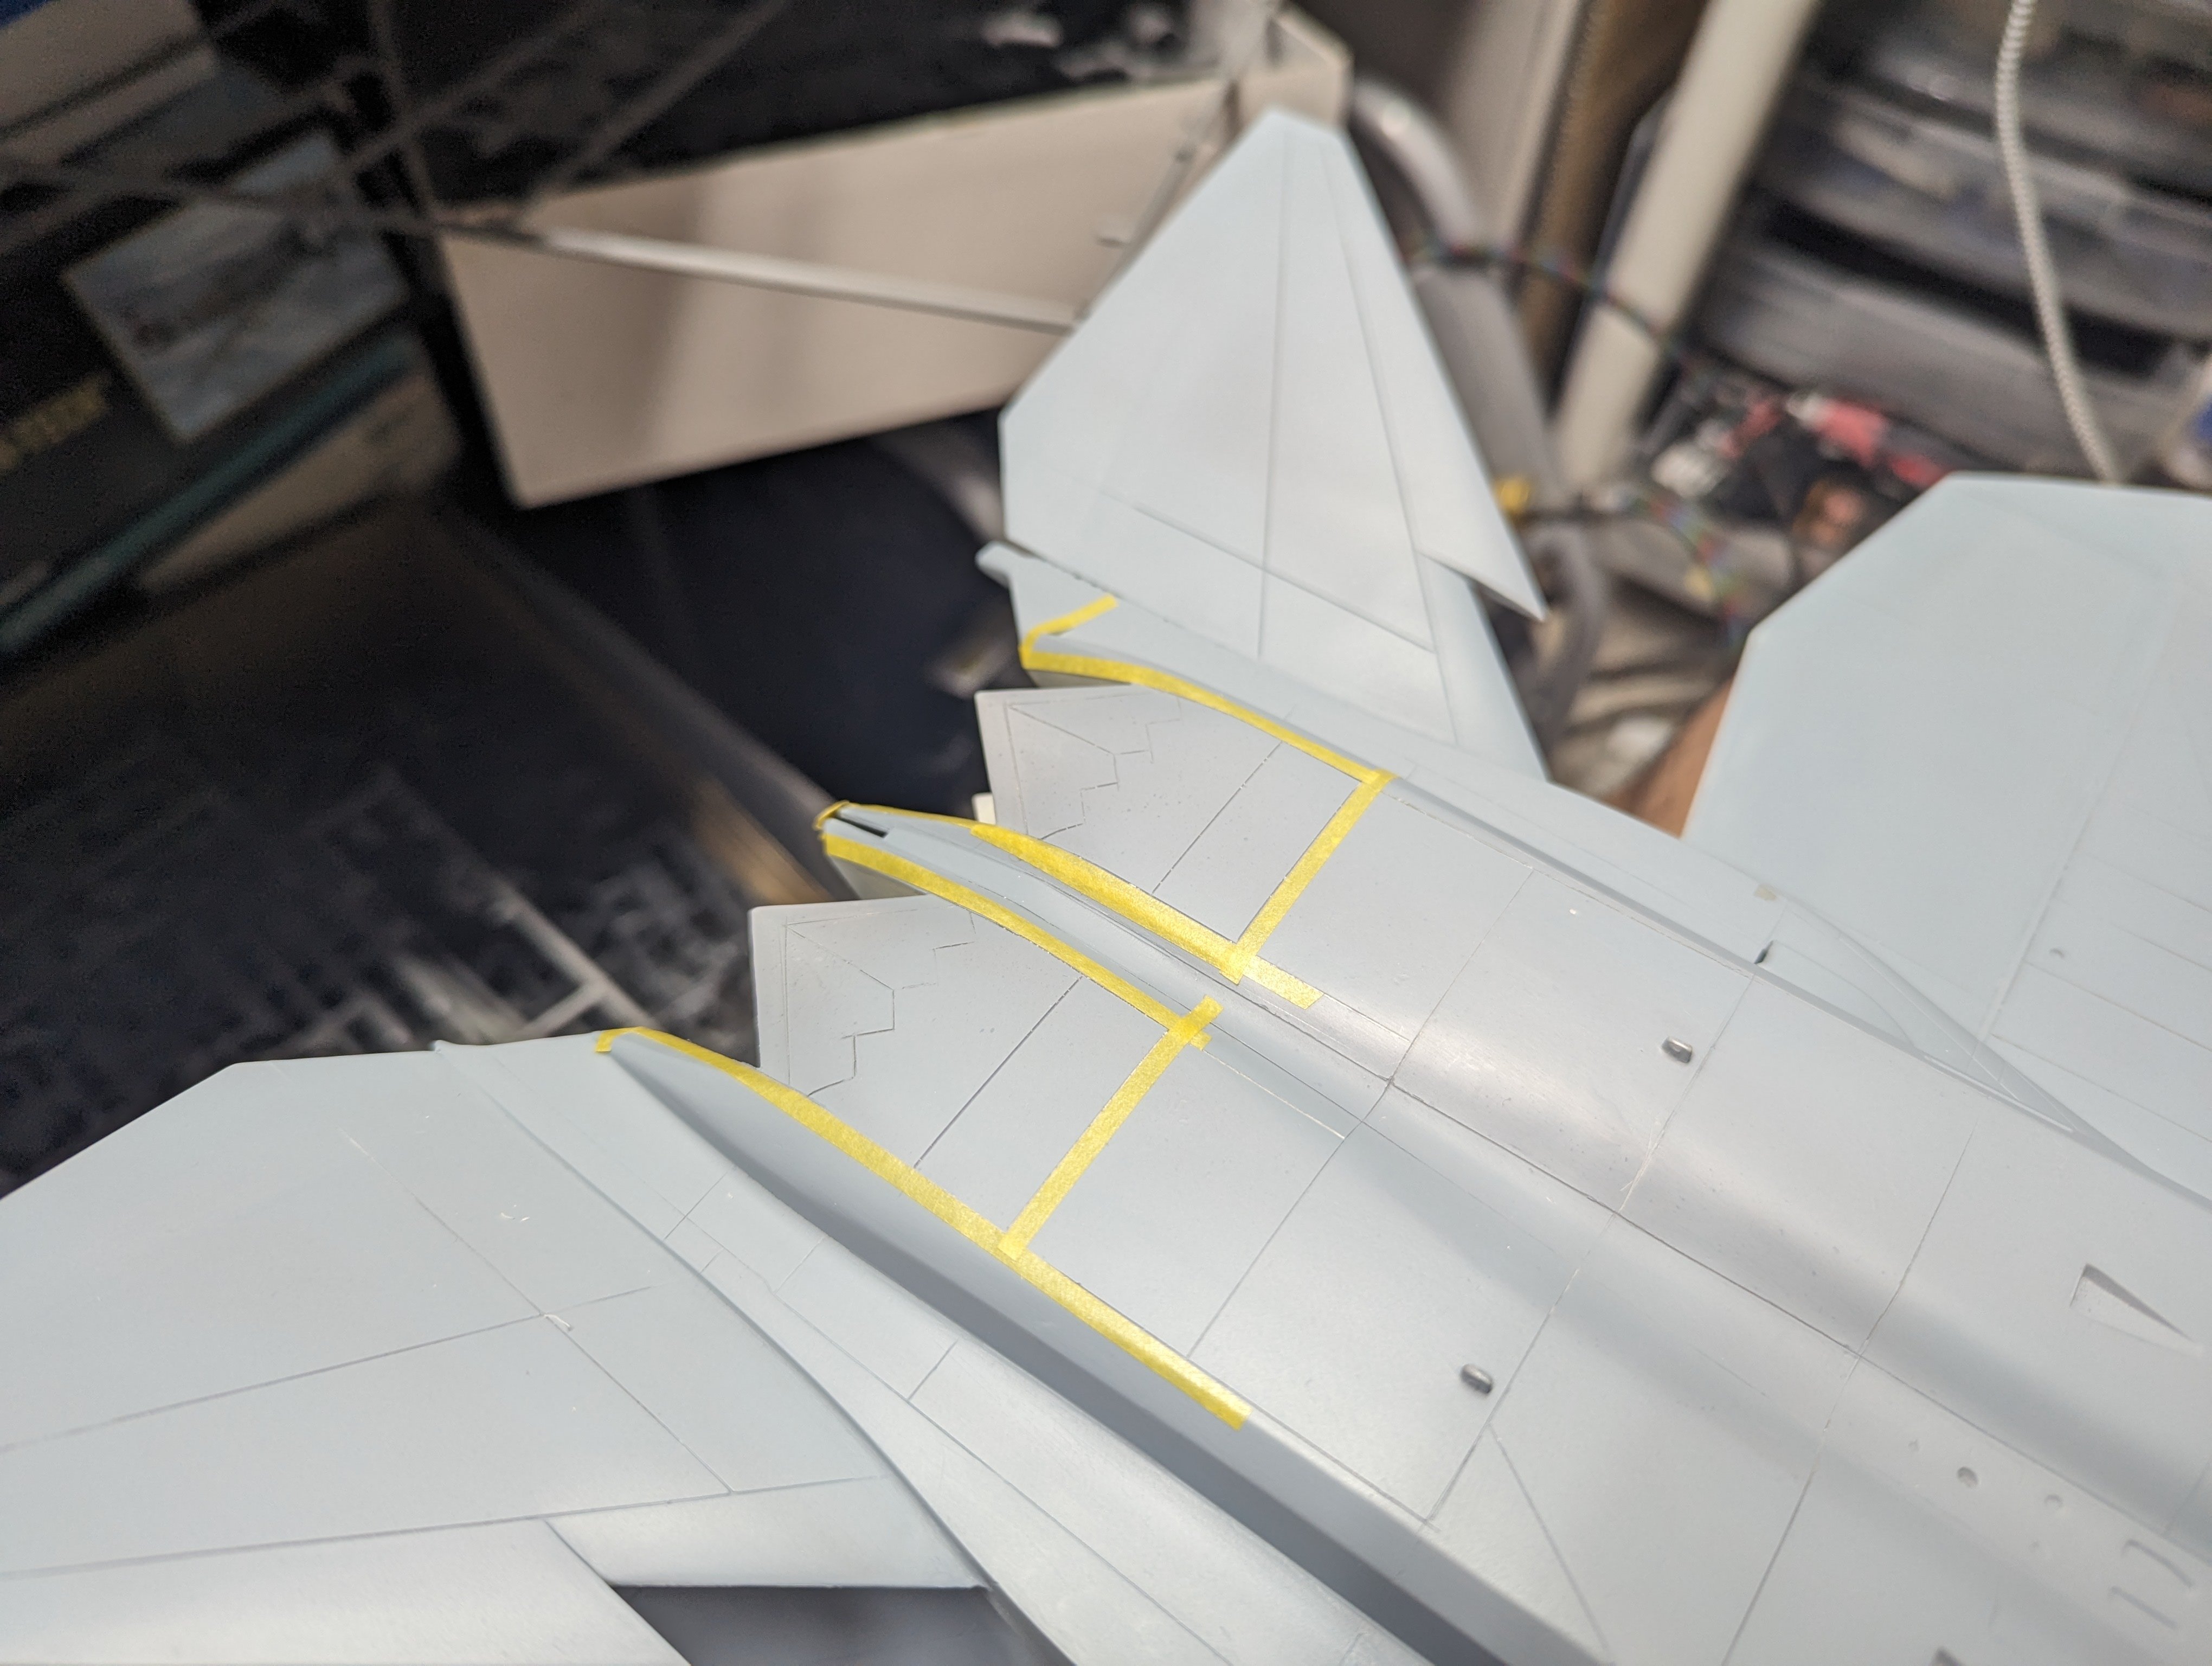
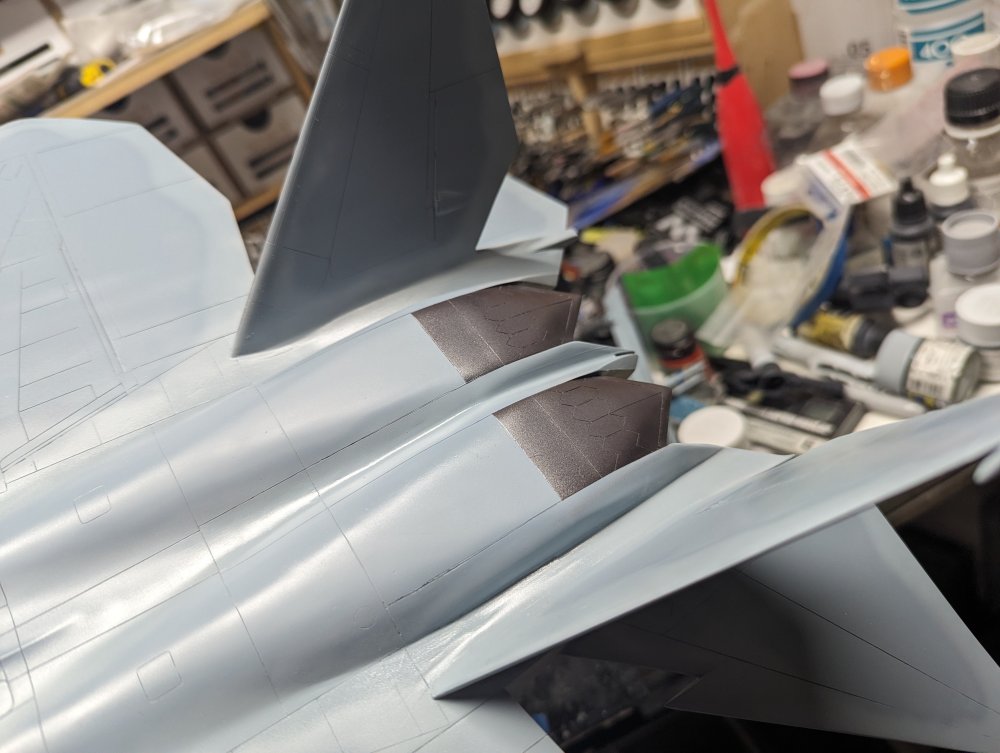
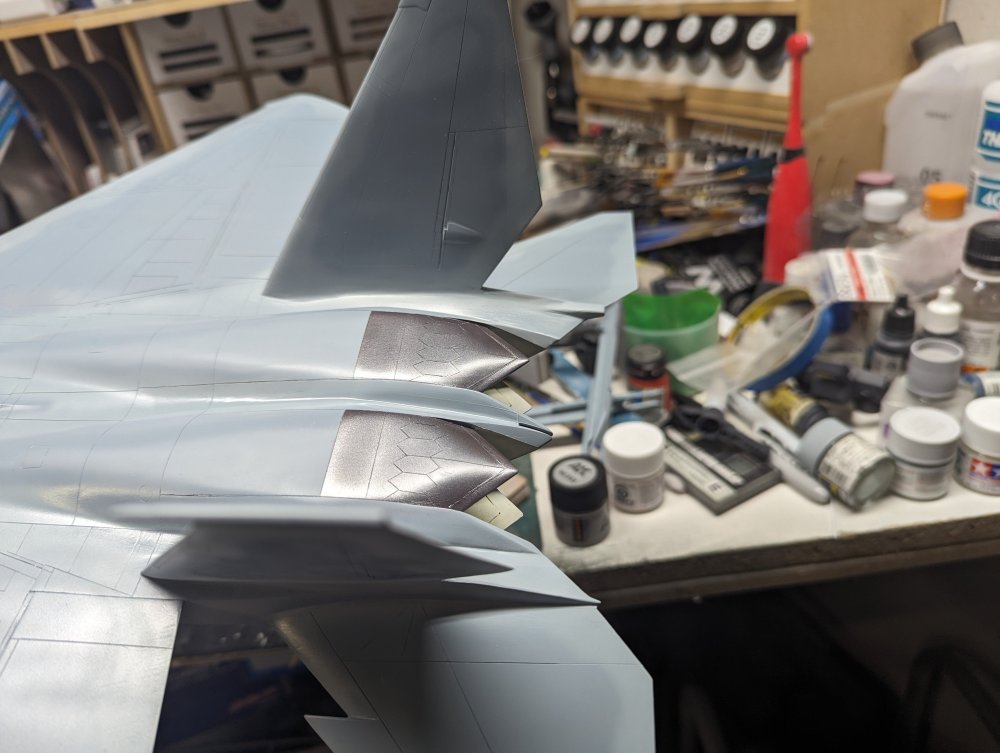
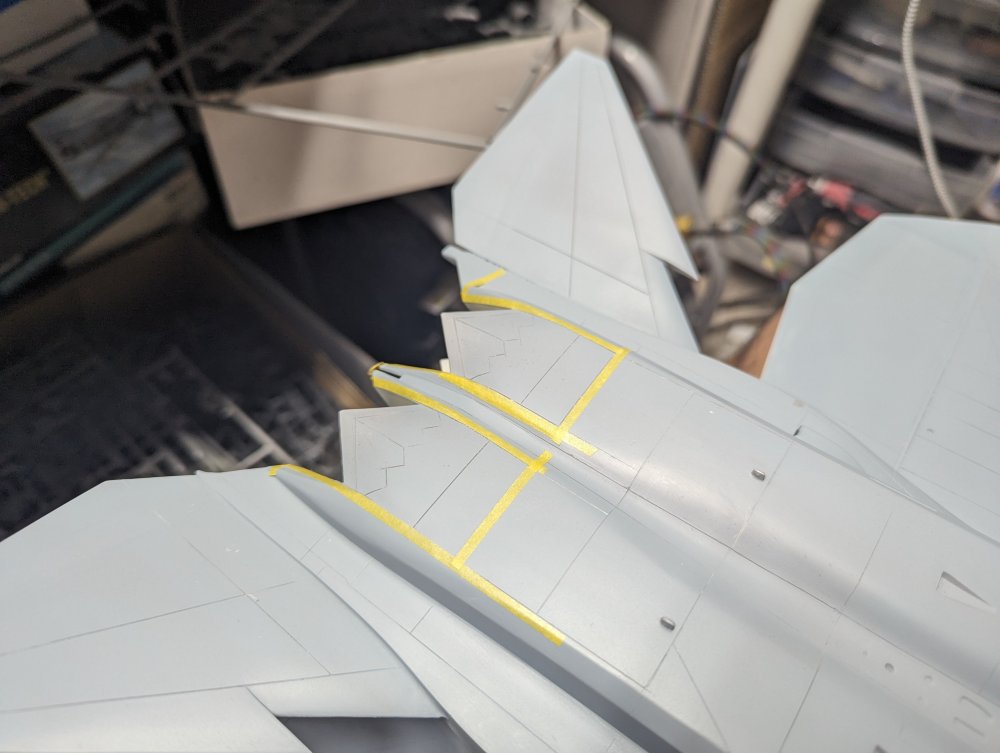
Next up was masking the gear bays and the burner cans. The gear bays was straightforward. I just followed the opening. It was pretty much the same with the burner cans. Except I noticed I'd missed scribing some panels and had to do those first. Then a coat of gunmetal, nothing fancy. I shaded it with some light gunmetal but that was it.


-
F-15DJ Kai or Eagle Plus- Finished!
BlrwestSiR replied to BlrwestSiR's topic in The Great Twins Broup Bluild
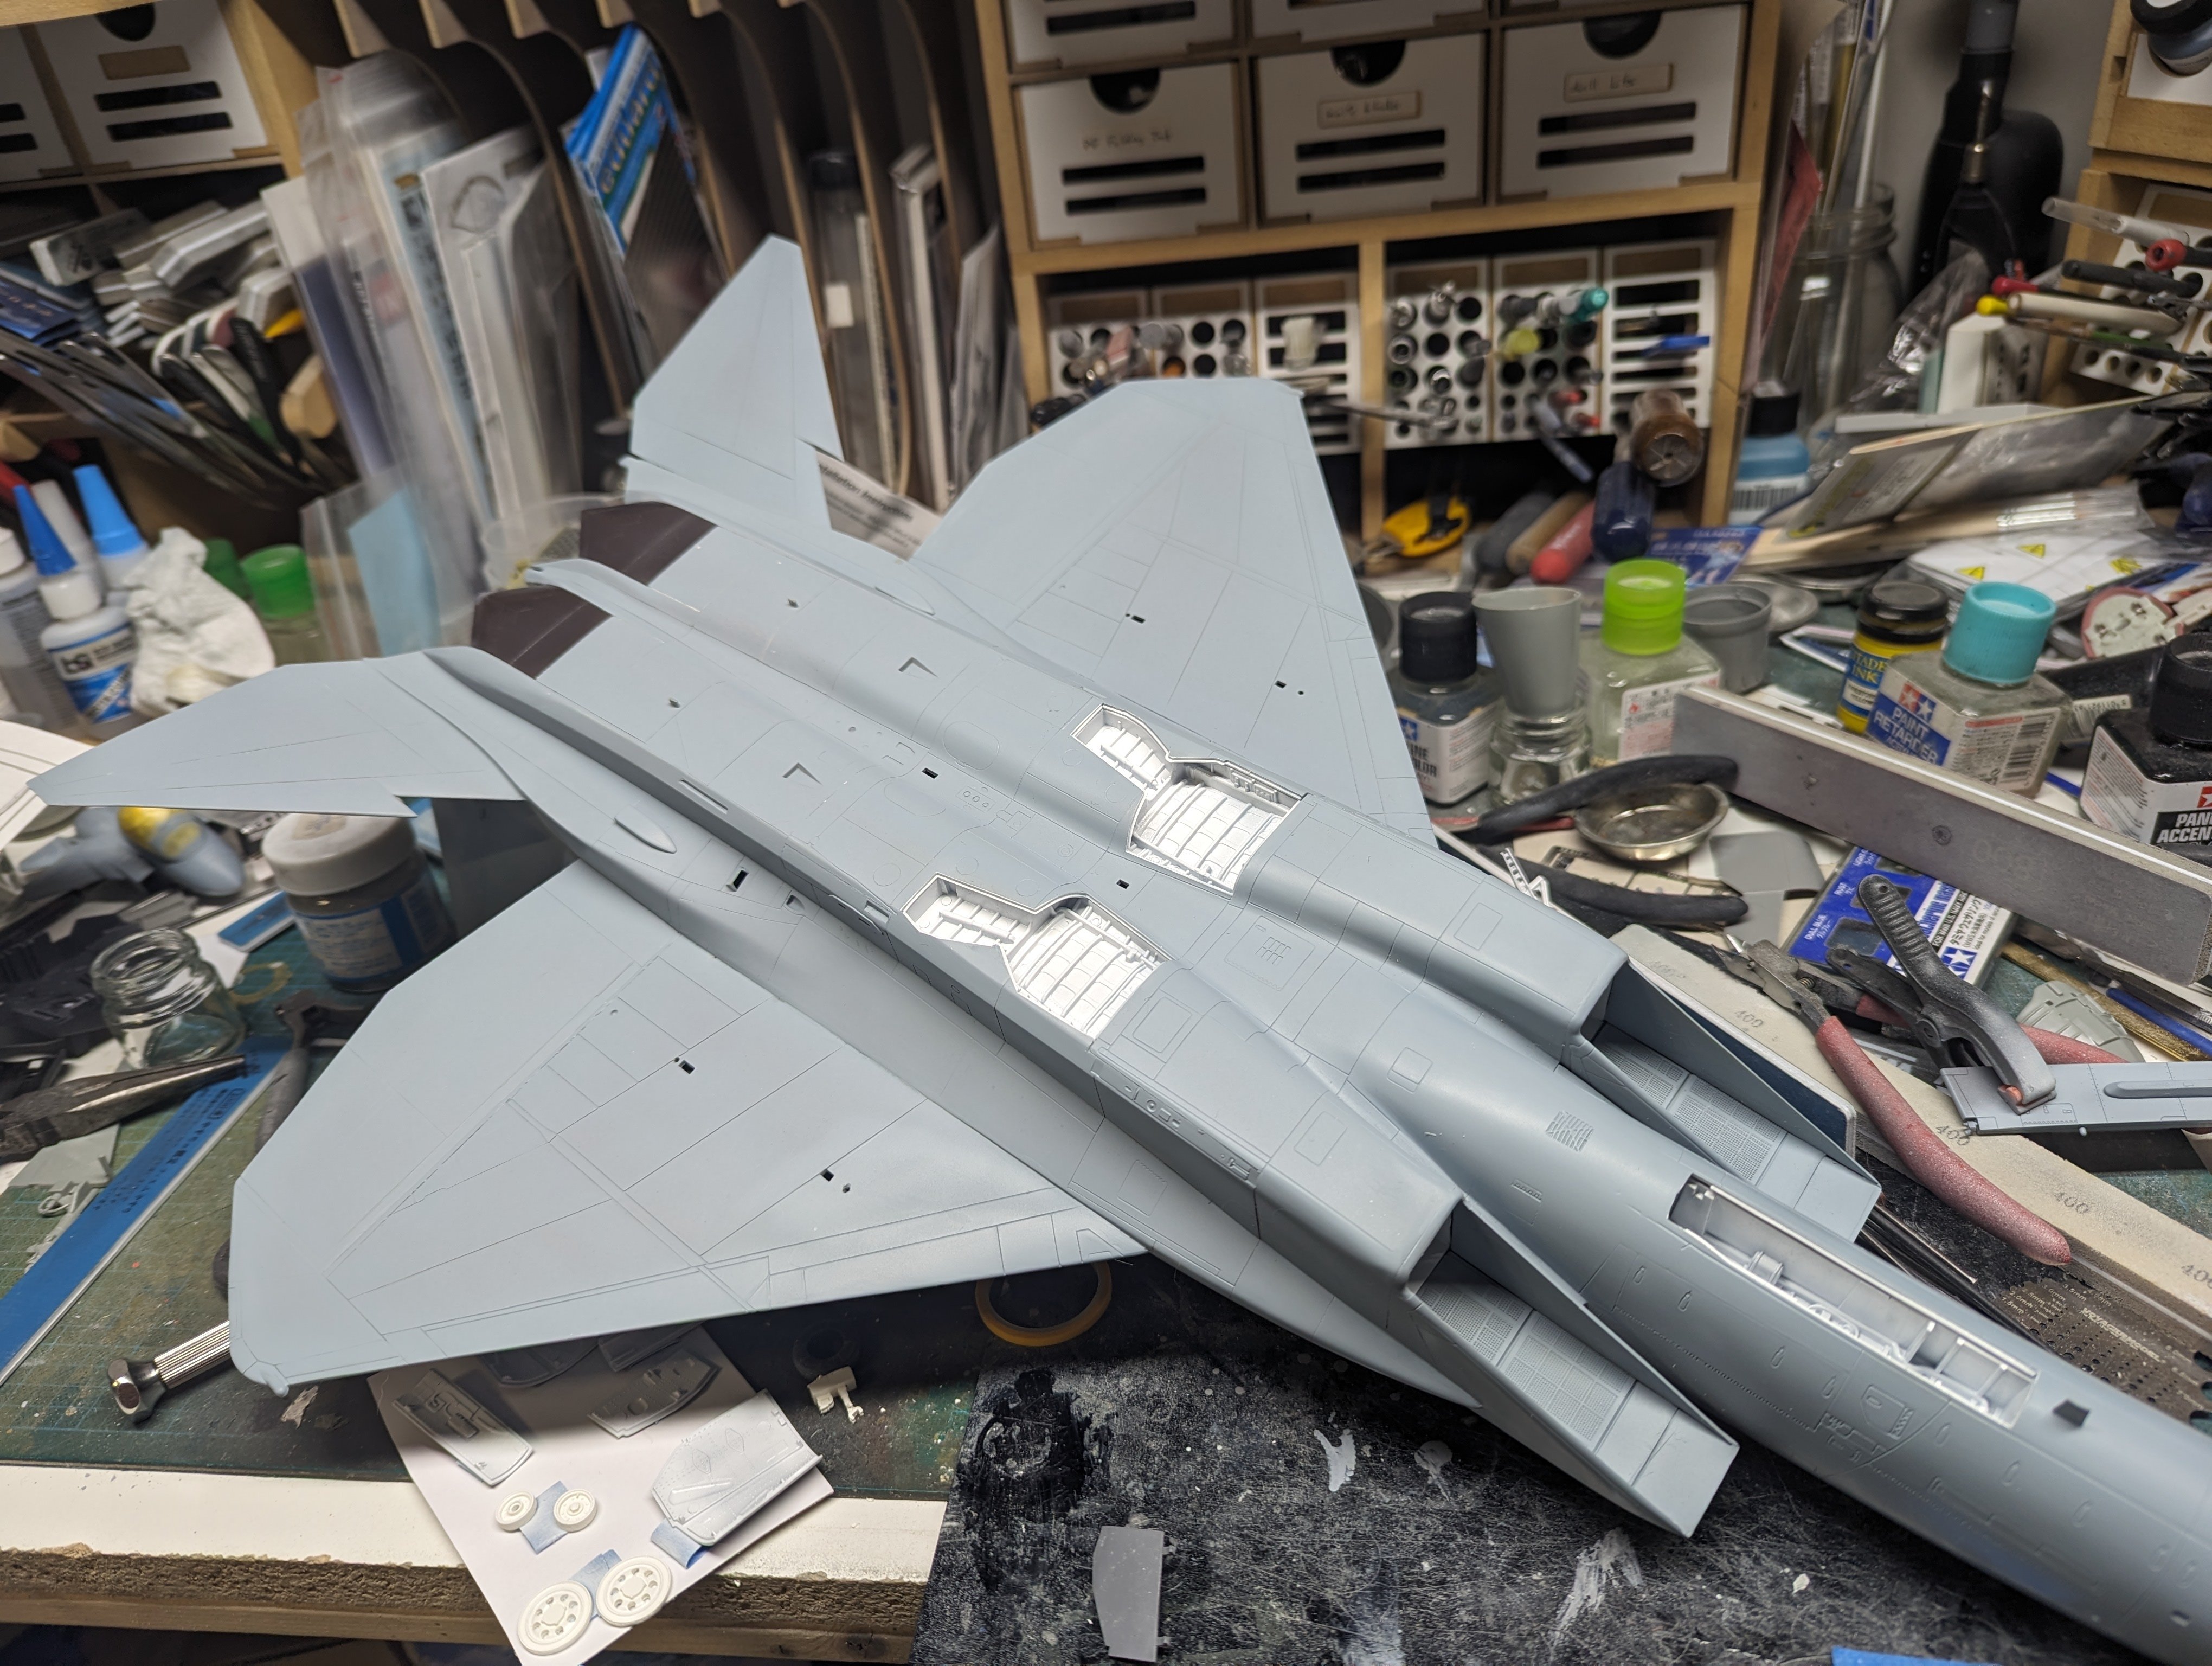
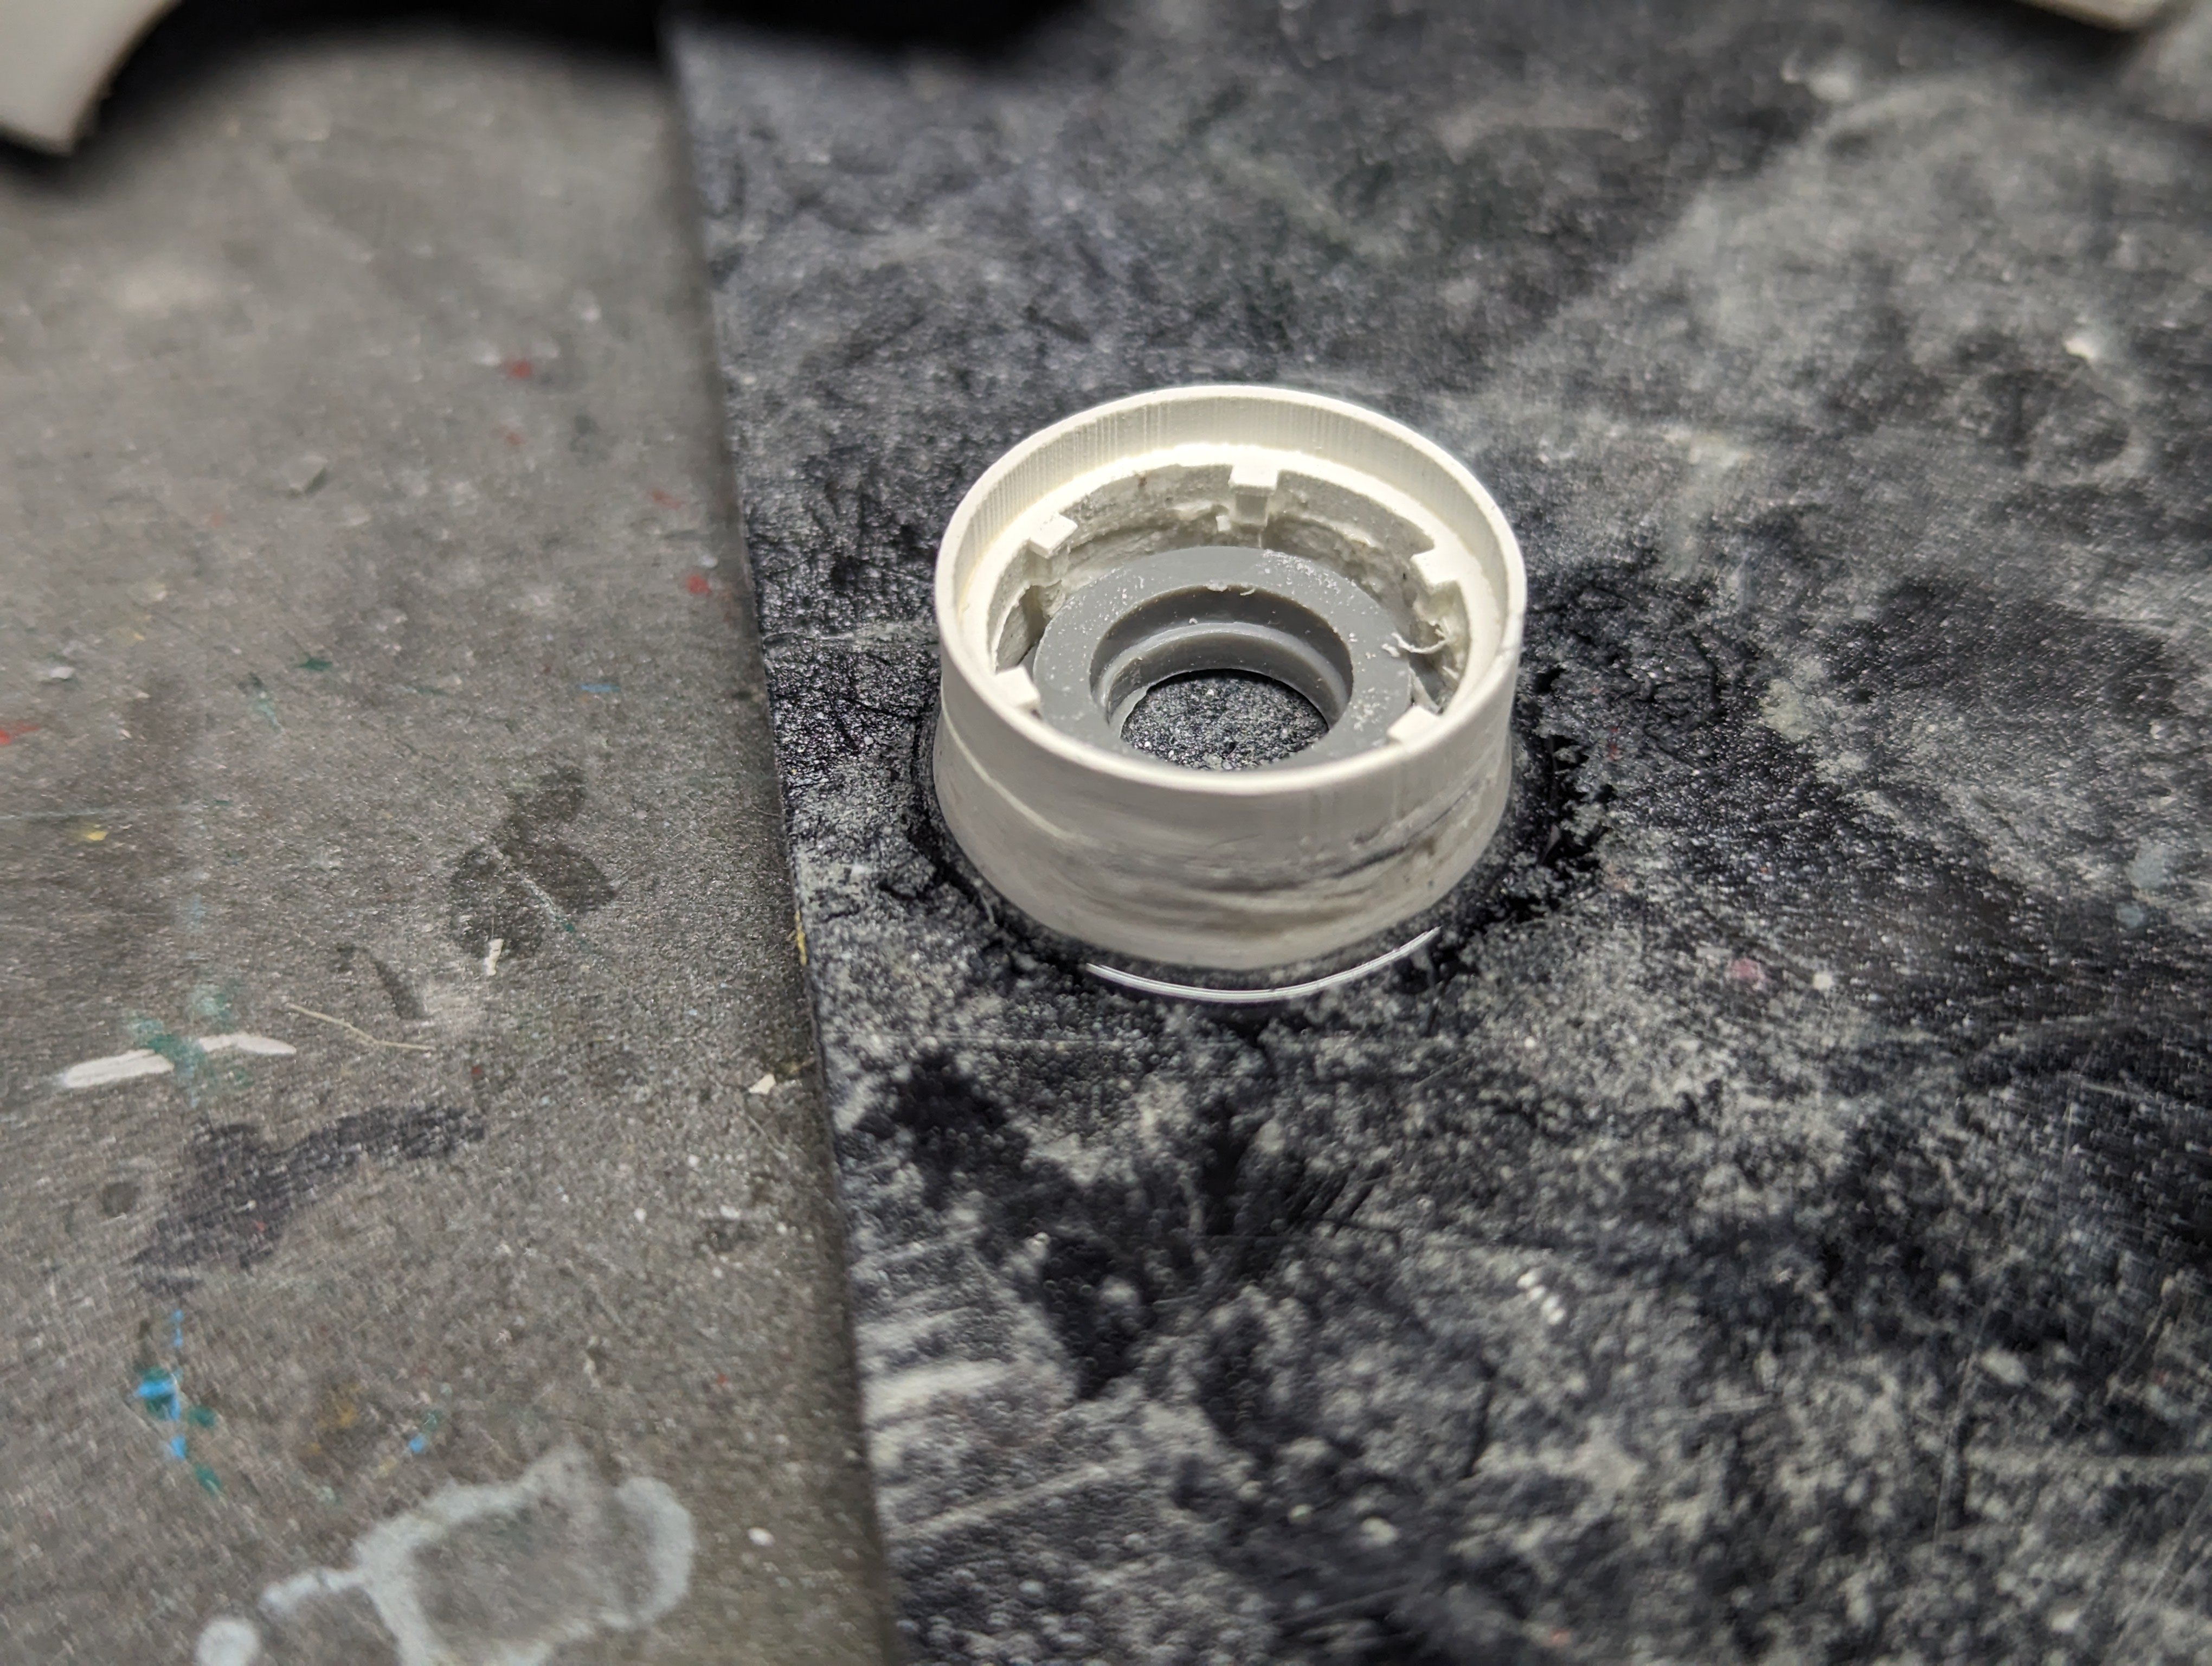
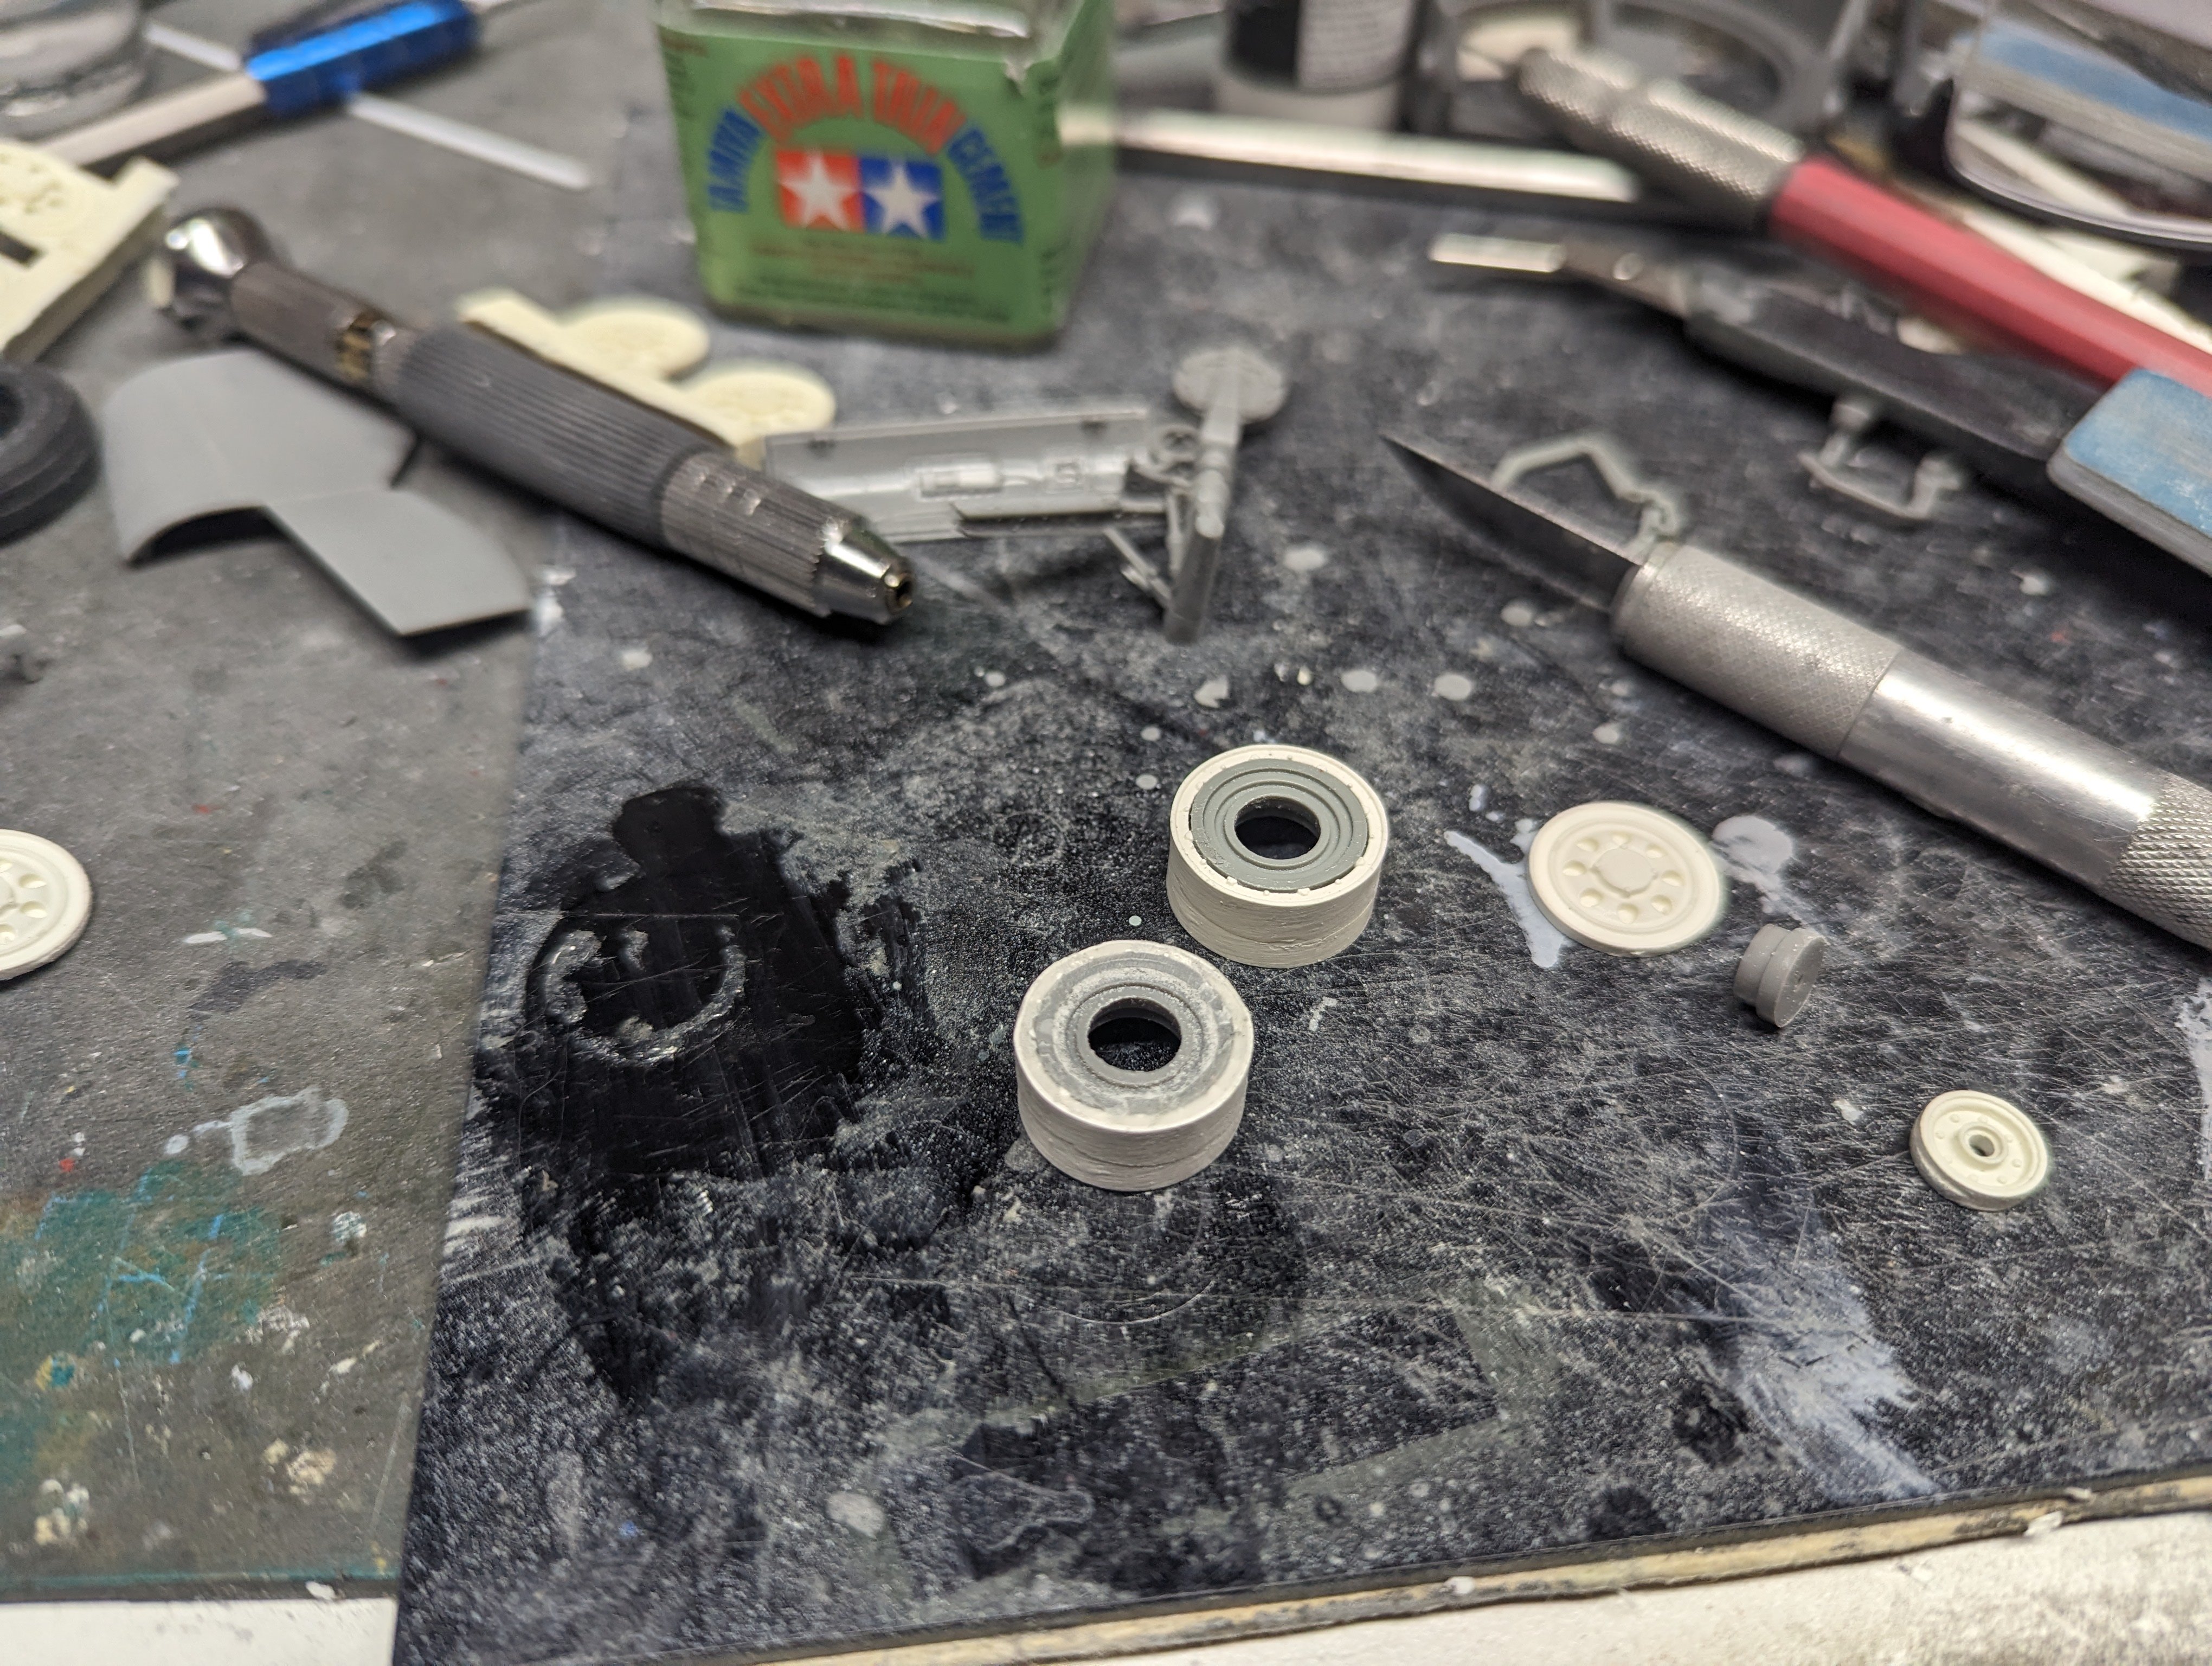
Thanks Peter! I'm getting there. Might even make the deadline. Landing gear is assembled. I had to adapt the resin AM wheels to fit the kit legs. They were designed for the Tamiya kit and mounted in a different way. I ended up gluing the kit hub to the resin rim. Well I must have used a bit too much CA as you might able to see from the pic. Needless to say, it was securely bonded to my bench. After some liberal applications of CA debonder and some prodding with a hobby knife, I got it free. You can see the but of damage compared to the other wheel.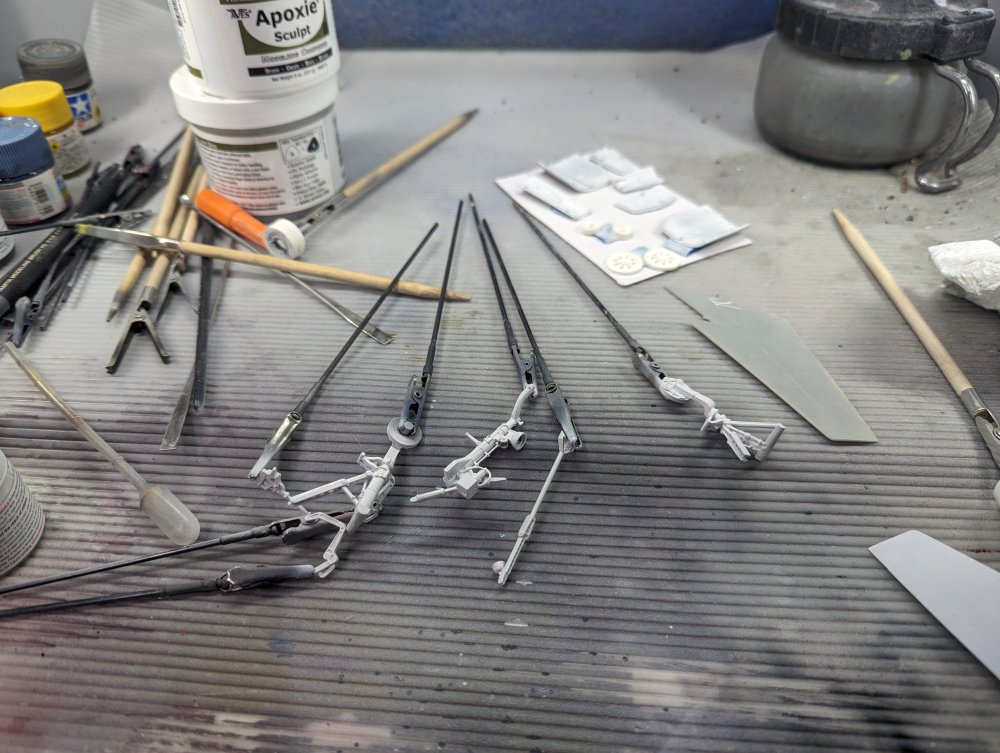


-
Better an avocado than a used diaper!
- 2,036 replies
-
- 2
-

-

-
- car related stuff
- anything about cars
- (and 6 more)
-
That's a lot of Tigers!!!
-
The DS is a gorgeous car that was so ahead of its time. Very much a timeless design like you said Rob . There's one in my neighbourhood that's sadly slowly rotting away under a tarp. Heller did a large scale one in plastic and I believe Ebbro does one in 1/24.
-
Same here, at least nowadays.
-
The tank in the last couple of pictures looks amazing. If you decide to leave it that way. A clear coat would be good so it doesn't tarnish. It's unfortunate the white decal didn't work out. The tank looked good in the black and white. Just not opaque enough.
-
That makes a bit of sense. Guess the label was just too big for them to read it.
-
A few years ago, I managed to get their 1/12 Porsche 956 race car. Easily the most expensive model I've ever bought and will probably stay that way.
-
Wow, it's coming together. Good thing with the nose gear that you were able to fix it.
-
You can buy them directly from Model Factory Hiro. A few online shops carry them as well: Hobby Easy in Hong Kong, BNA in Australia, Spotmodel and Hiro Boy in Europe. I'm not sure of any North American shops though.
-
F-15DJ Kai or Eagle Plus- Finished!
BlrwestSiR replied to BlrwestSiR's topic in The Great Twins Broup Bluild
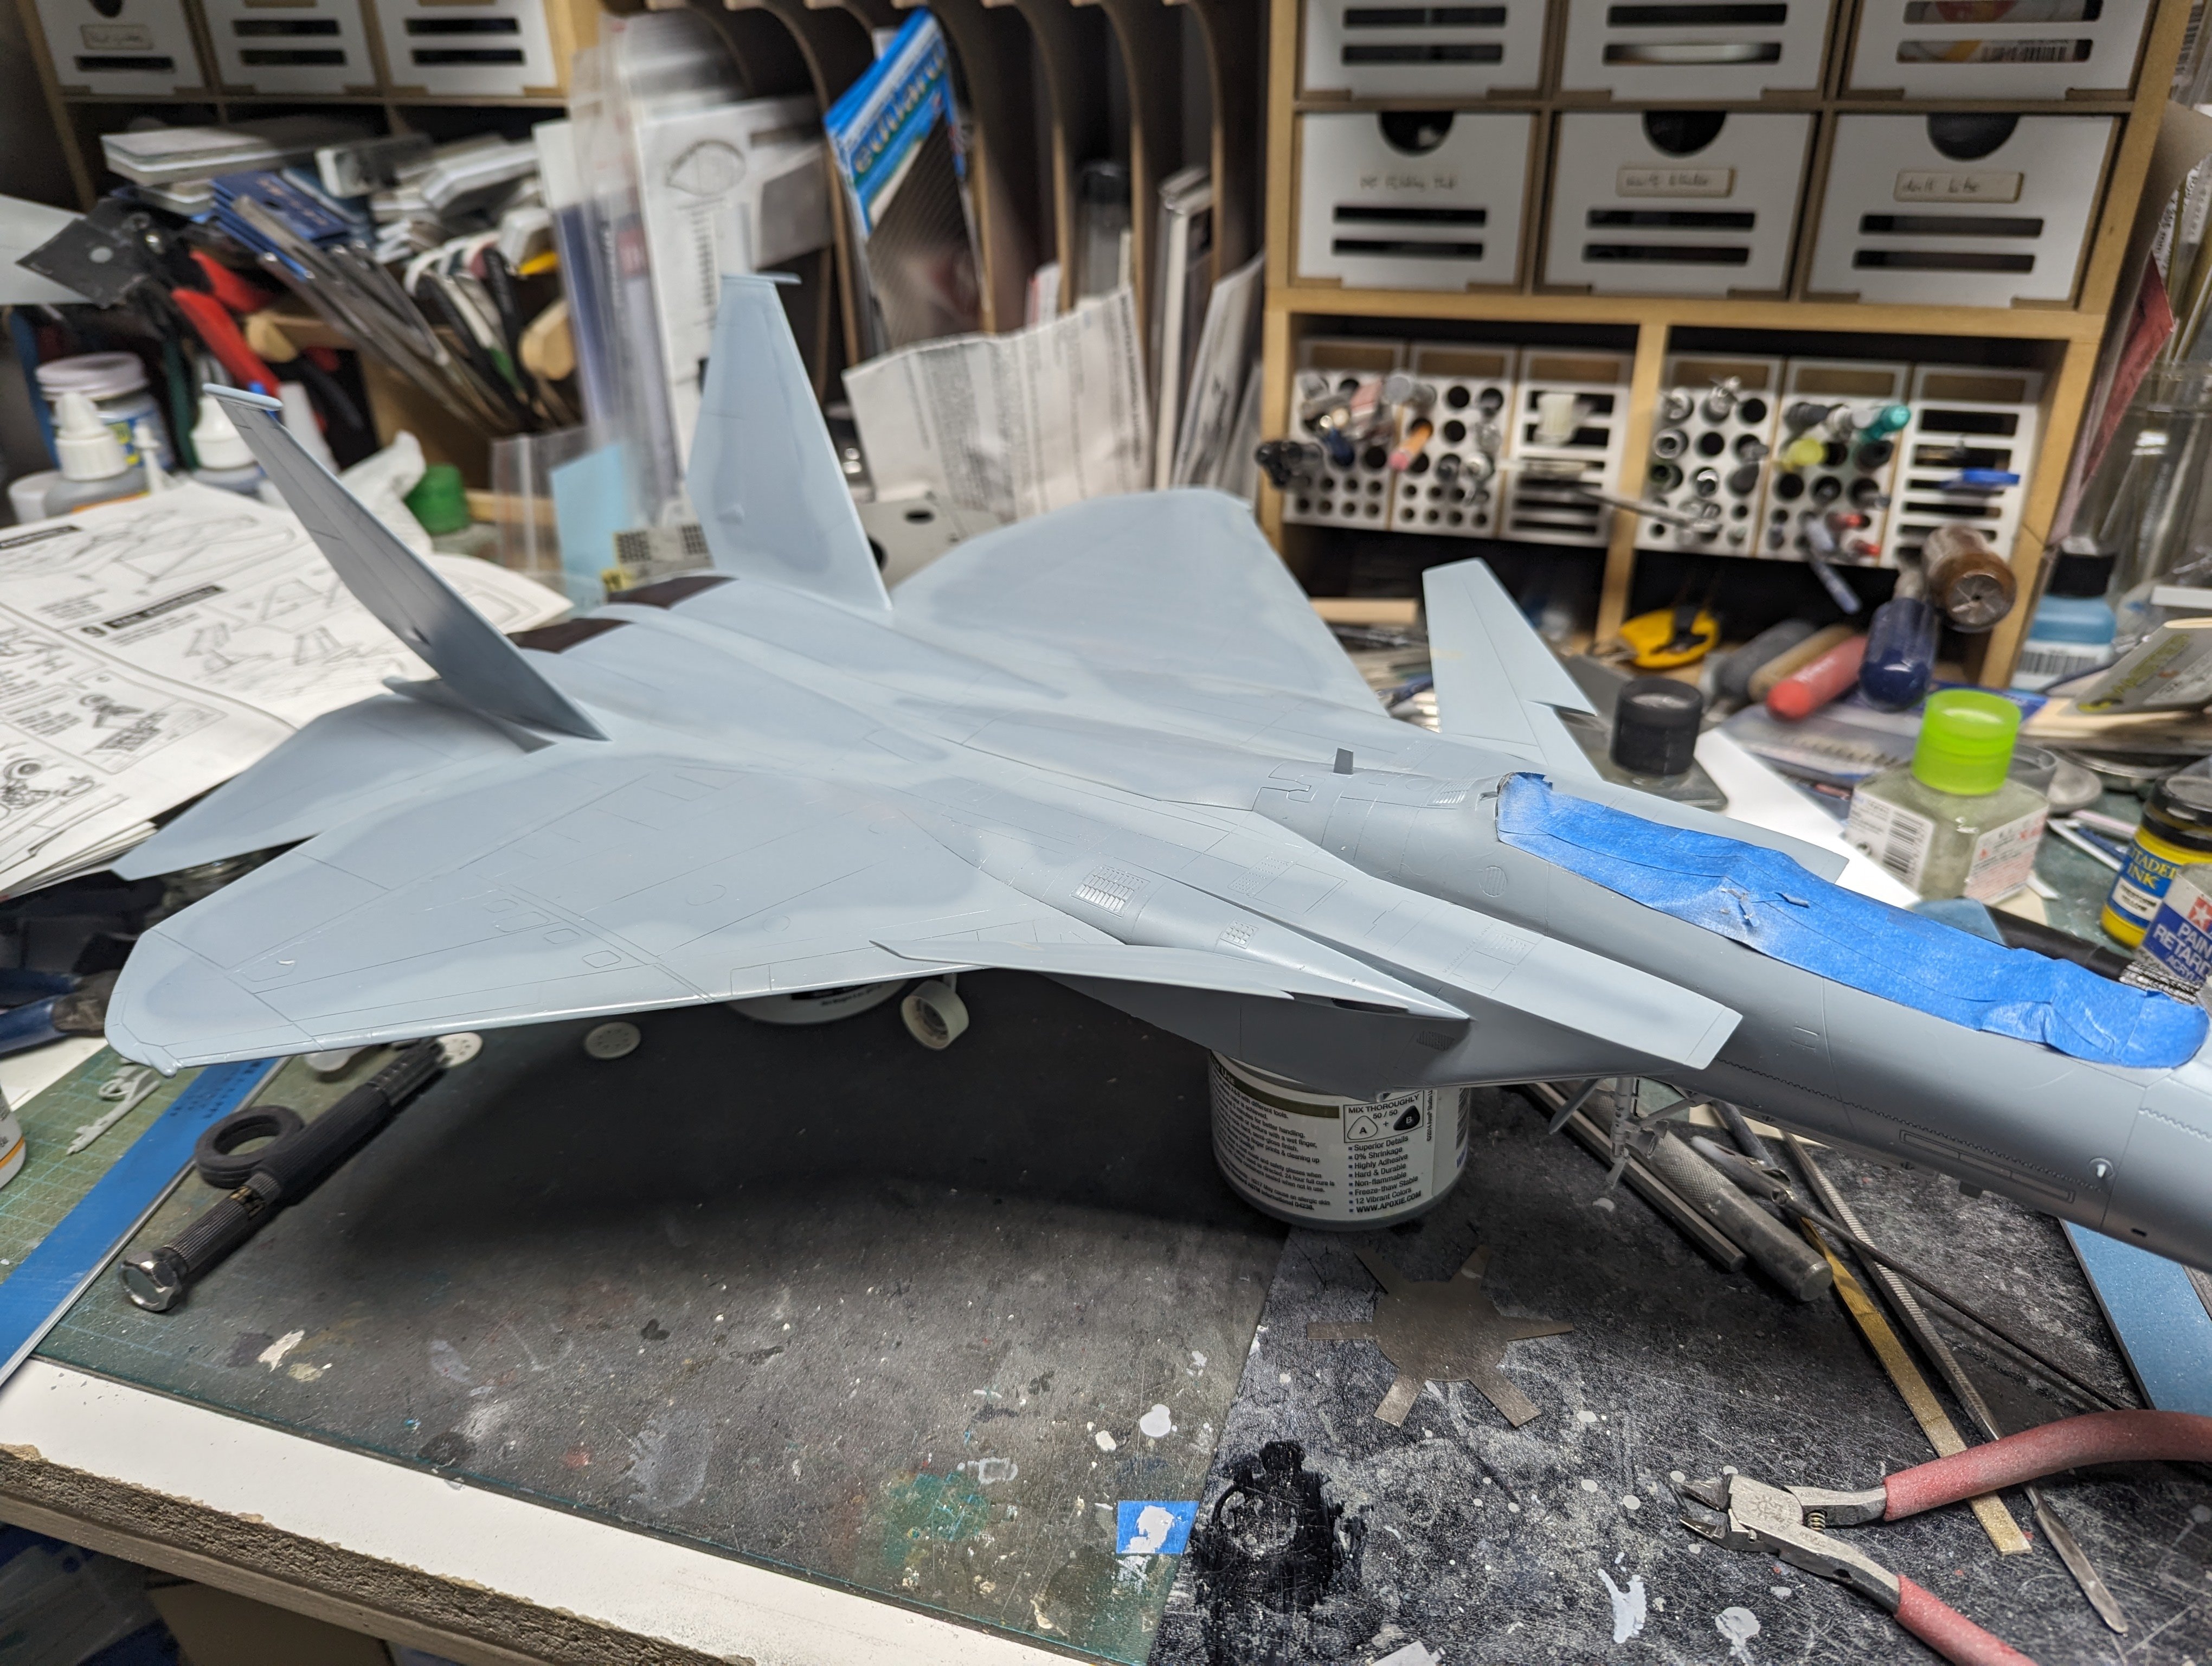
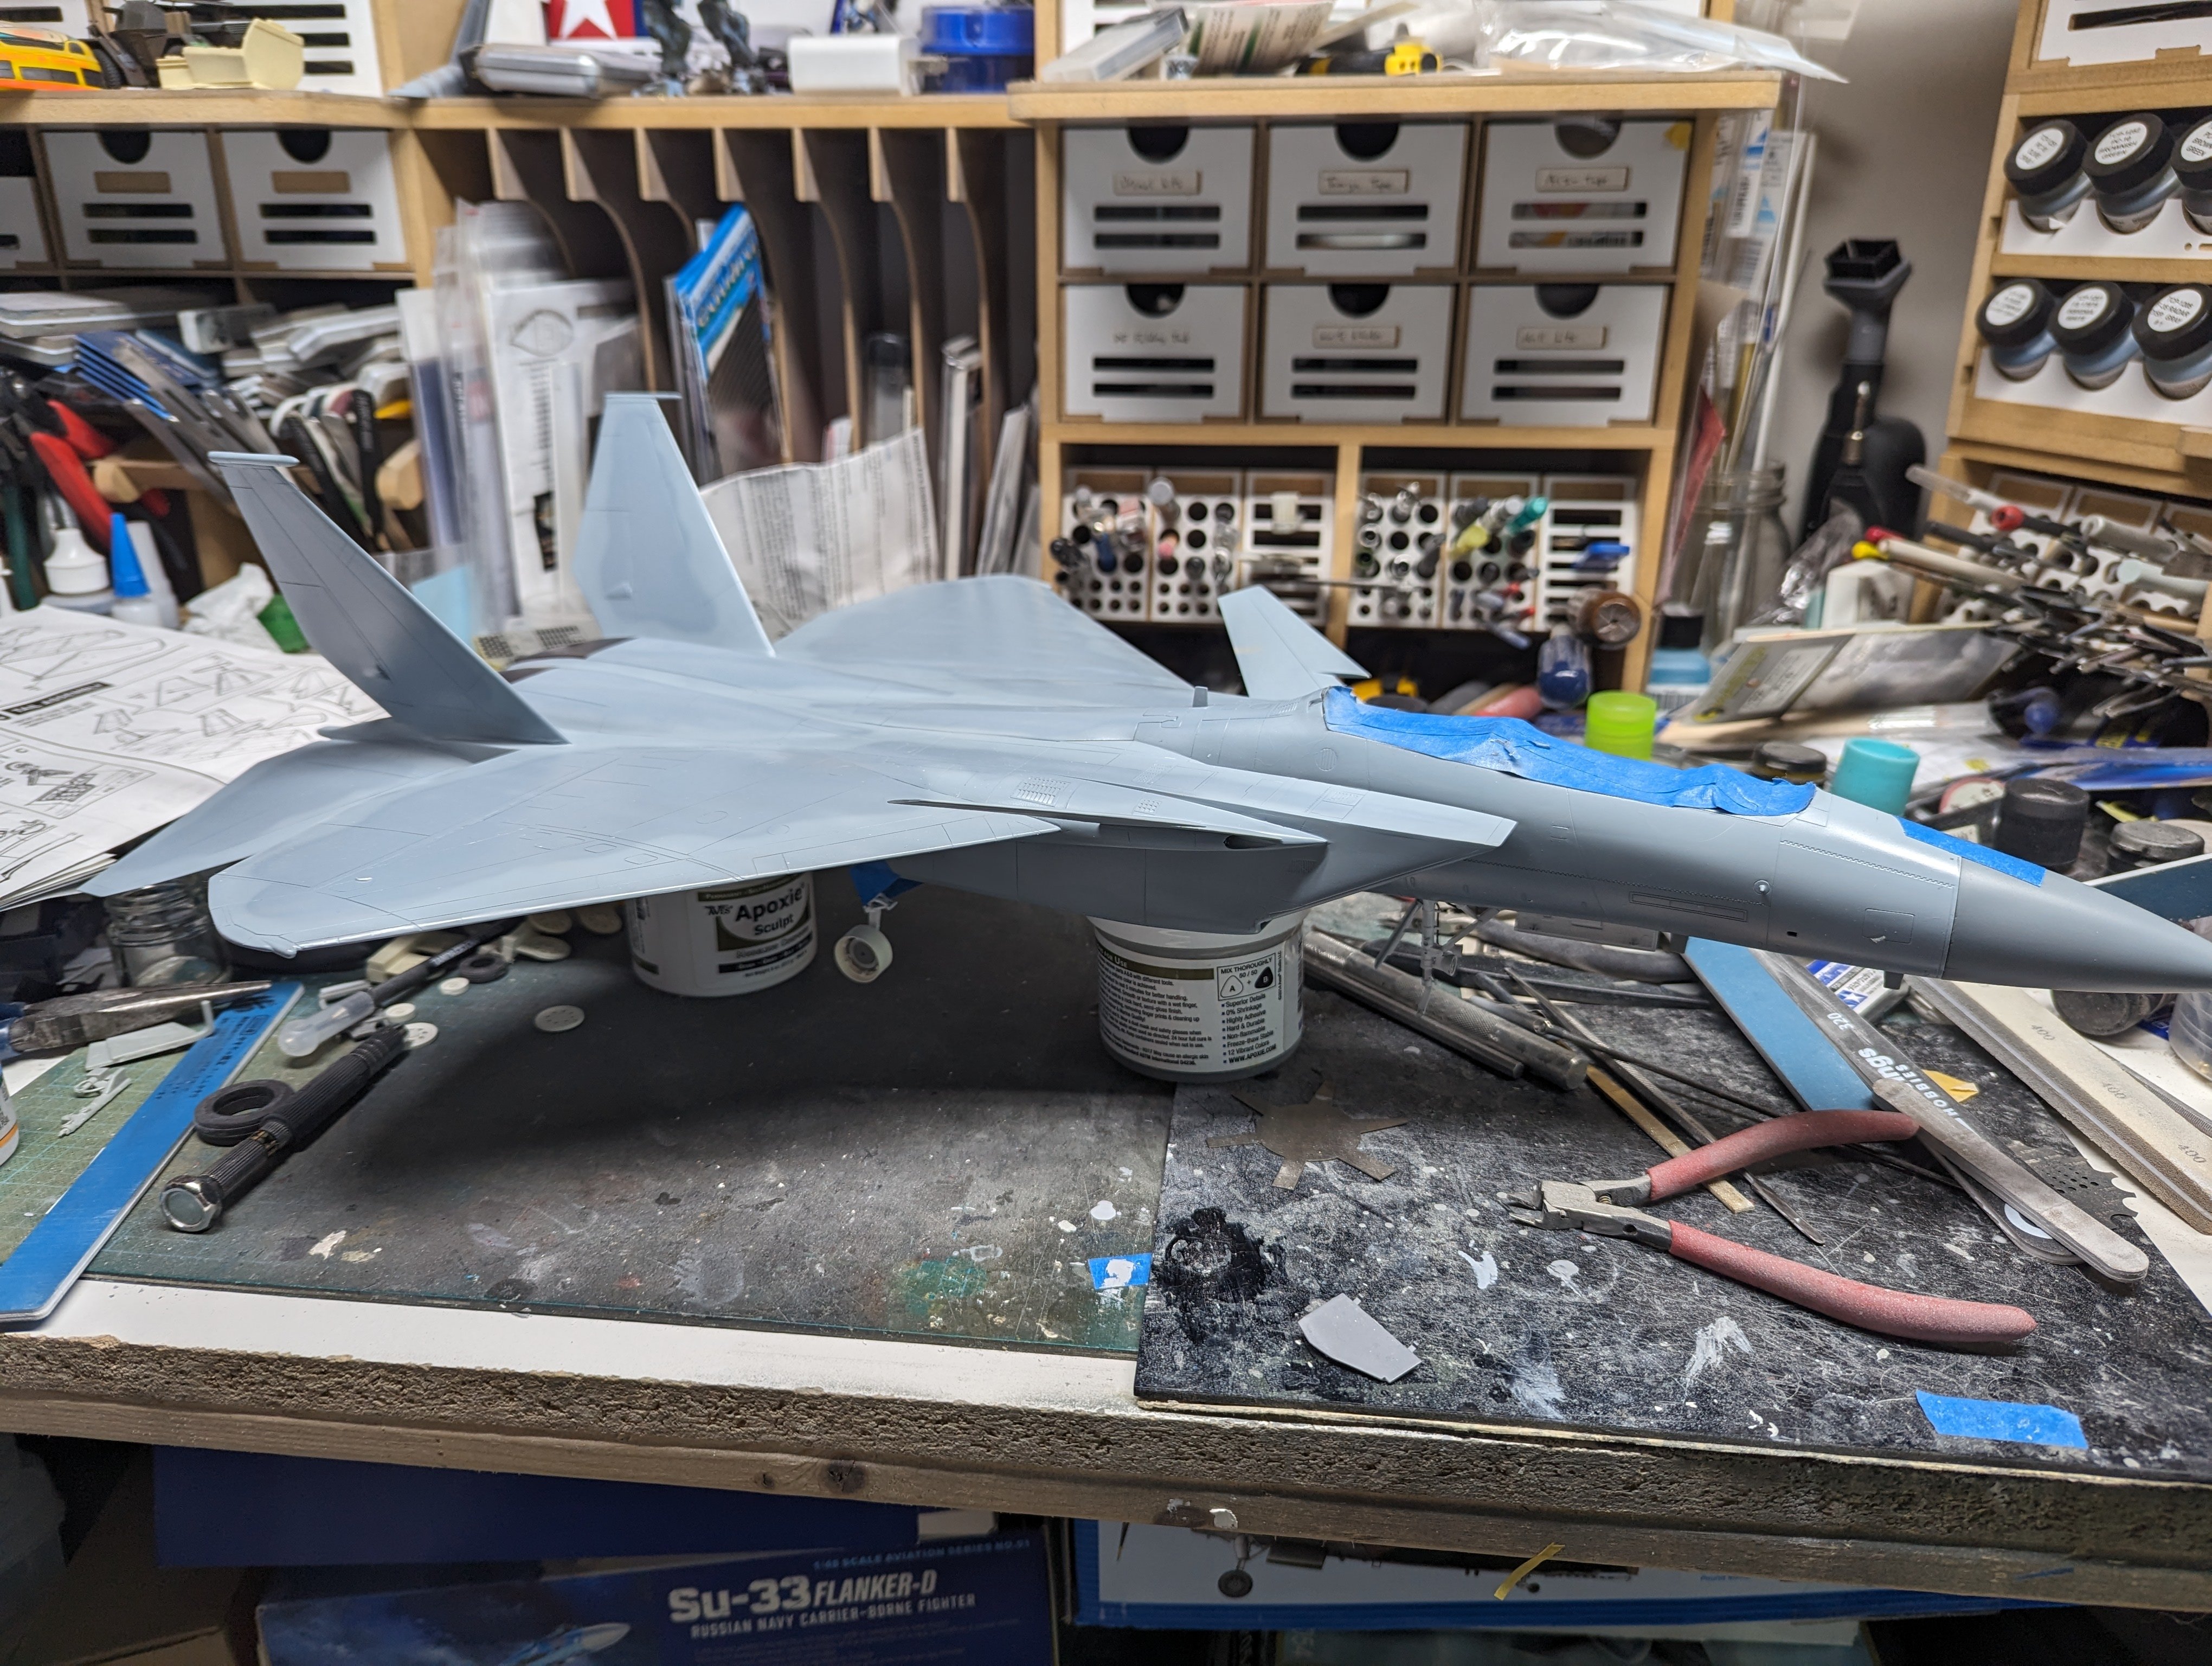
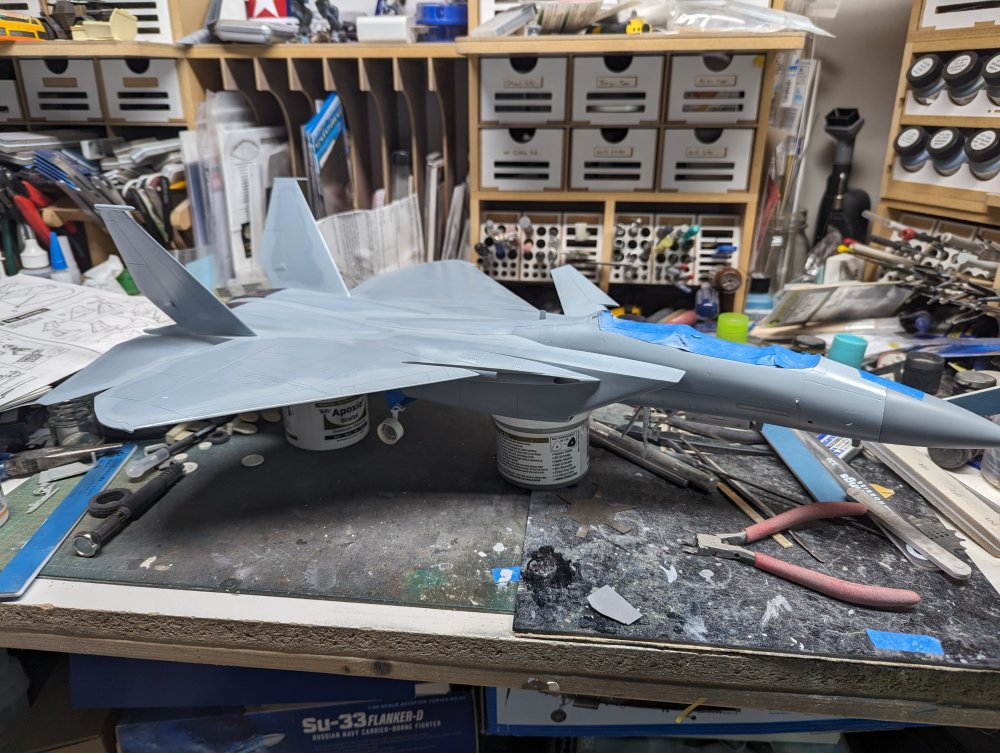
Thanks Peter! It's certainly been more filler and scribing than I usually do on a build but it'll be something different when done. I did some touch ups on the filler and then then sprayed some more paint.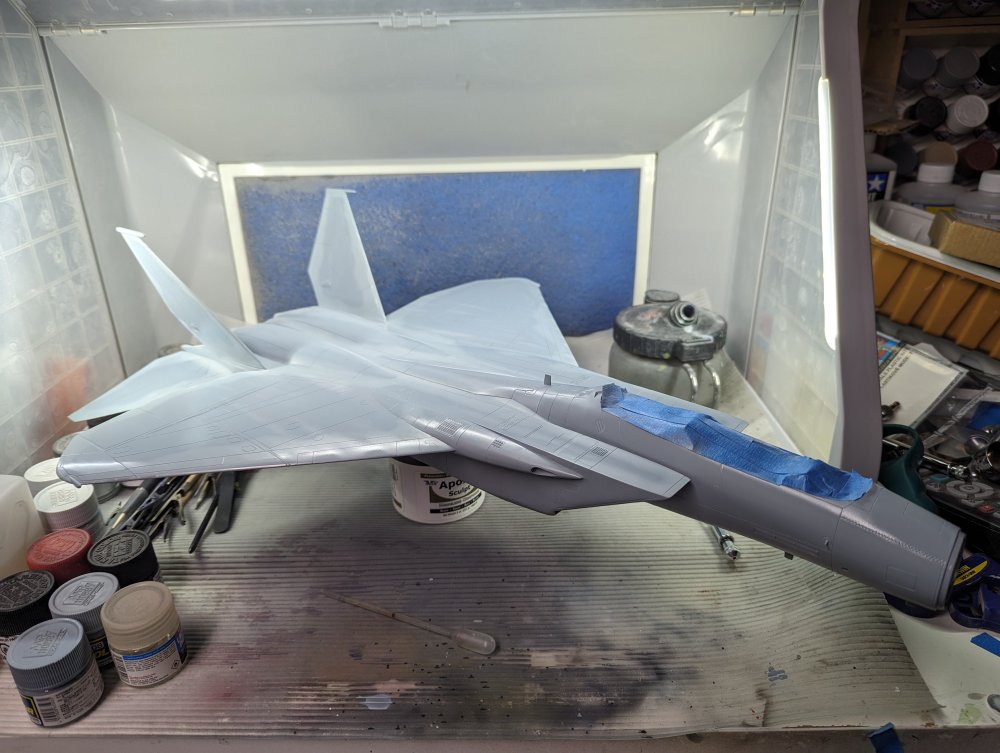
-
What is on your bench right now ? Share a picture :)
BlrwestSiR replied to Martinnfb's topic in Modelling Discussion
The Border Tiger makes a return appearance. Just wanted to glue some parts together. I almost started a new kit just this was closer than the stash.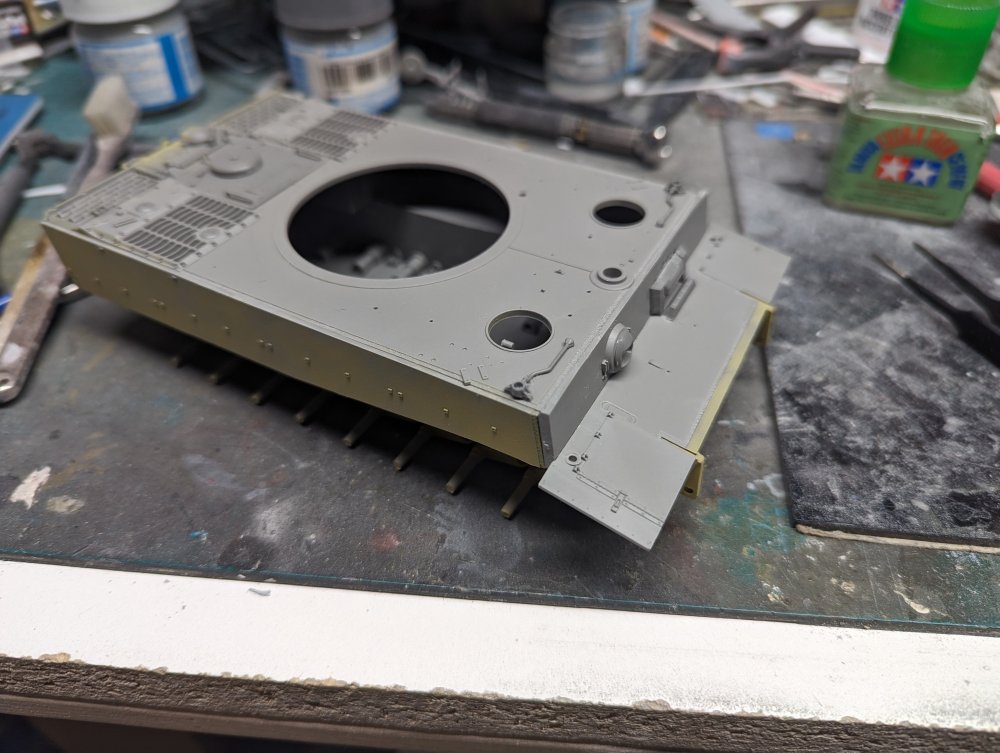
-
But which ONE? Daytona would be near the top for me.
-
I had the same thing happen to me once. I placed an order from a hobby shop 30 km away. Canada Post sent it to a depot 3,000 km away, then back again. So what should have been next day took 2 weeks. That being said, I did get this today after it was ent out yesterday afternoon so it's not always bad.
-
F-15DJ Kai or Eagle Plus- Finished!
BlrwestSiR replied to BlrwestSiR's topic in The Great Twins Broup Bluild
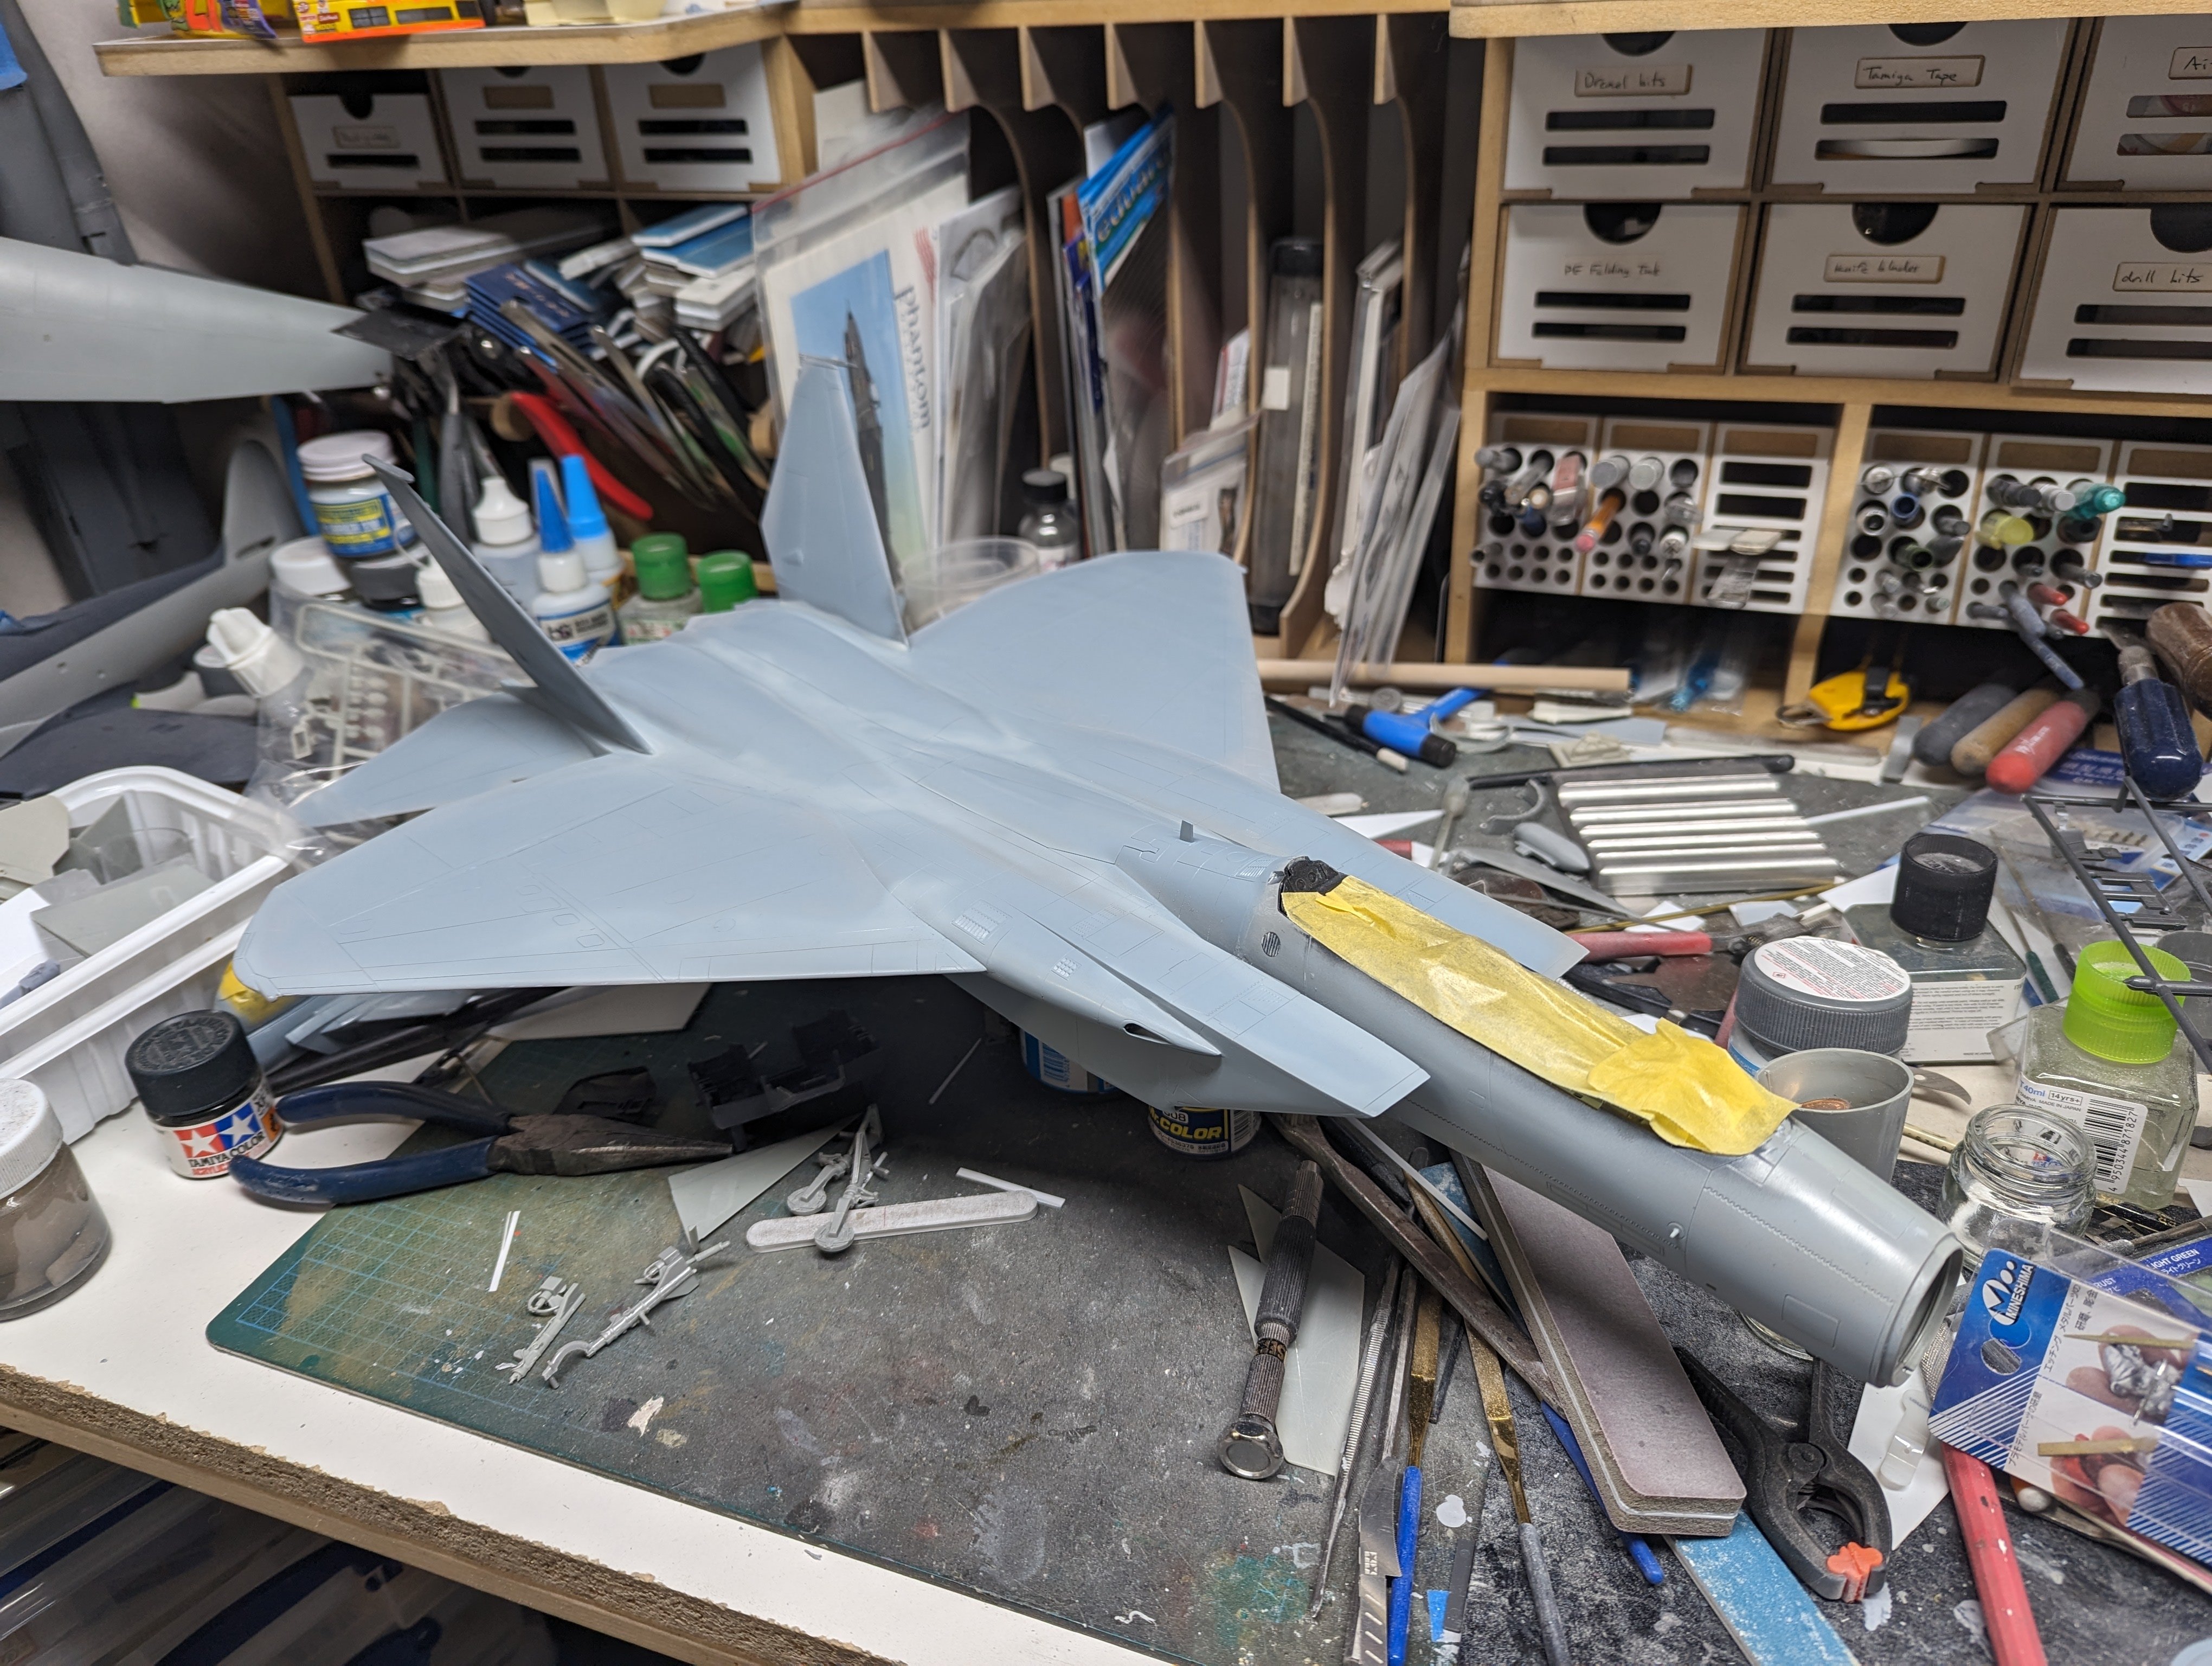
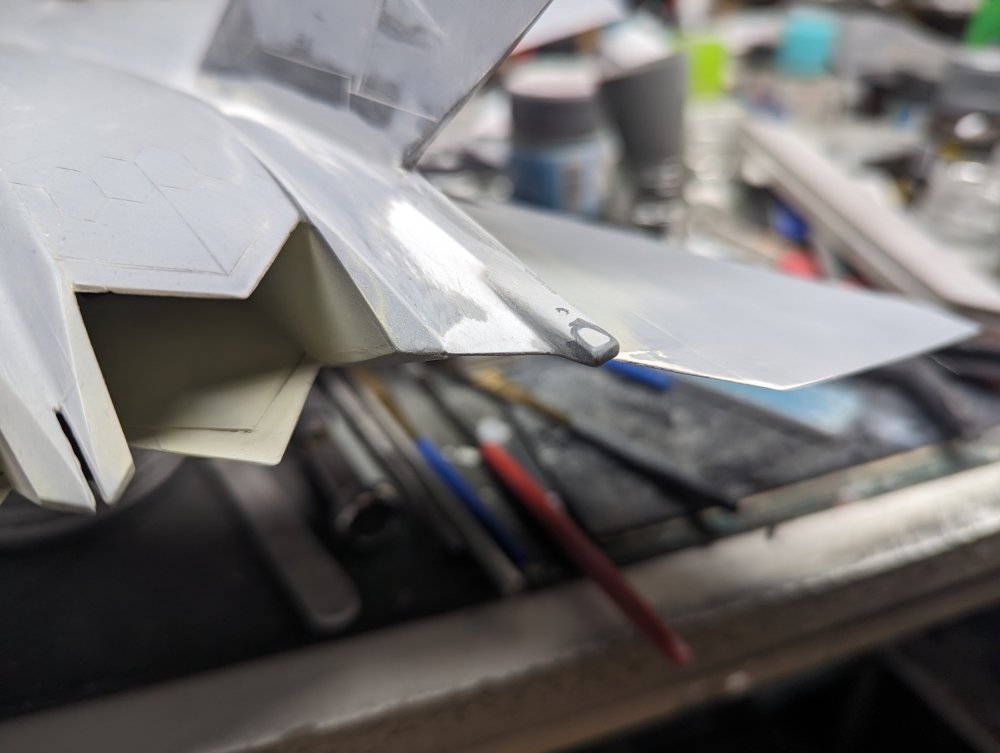
I think I finally got all the seams filled. Of course I dropped it and snapped the nose section off so that had to be glued back on and seams filled again. Speaking of dropping the model, I did that earlier on in the build and snapped off one of the tips on the aft end. I tried to make a replacement from Apoxie Sculpt but didn't have any luck. So I ended up grafting on an ECM fairing from the Tamiya kit. With that done, I started on the paint.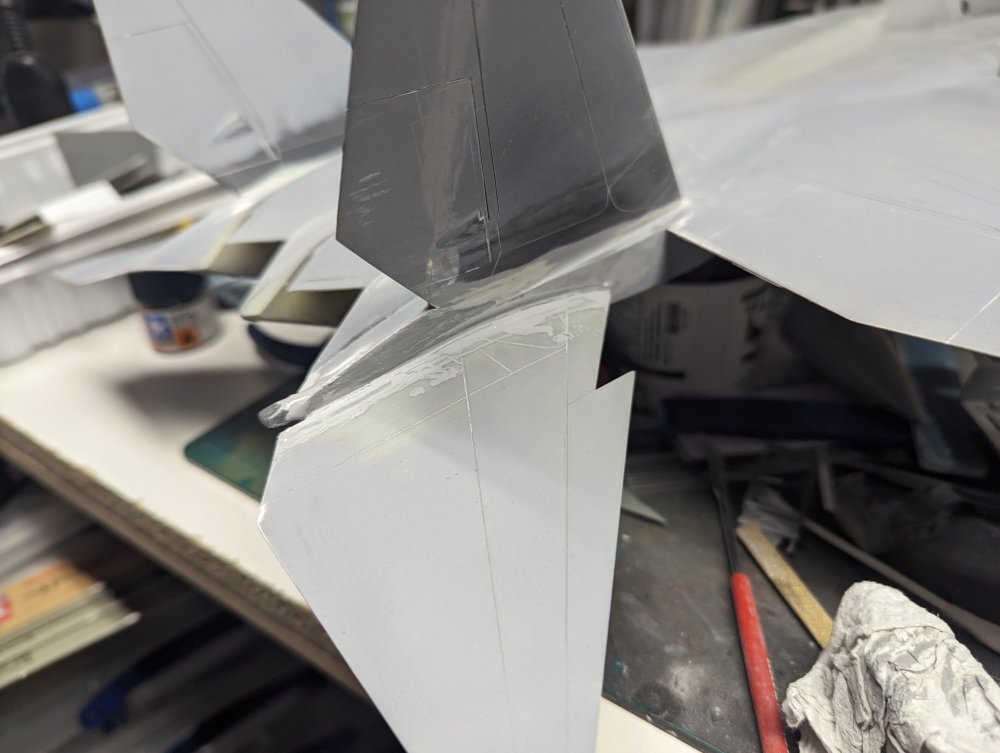

-
Where you're at in the build is often where my procrastination starts to kick in and I have to fight the urge to go onto something new. I haven't heard of AAA either so hopefully they can come through for you.
-
Phantom Phans…..anyone see this? WANND Studios KAI conversion.
BlrwestSiR replied to ScottsGT's topic in Modelling Discussion
So Hobby Easy carries their products and have the EJ Kai conversions up for pre-order. Also, it turns out the company name is W & D but seems to get spelled out as WandD sometimes. Bestest English!