BlrwestSiR
-
Posts
9,173 -
Joined
-
Last visited
Content Type
Profiles
Forums
Events
Gallery
Everything posted by BlrwestSiR
-
For a moment, I thought the first pic was a forced perspective image. The tank looks awesome as does the presentation.
-

F-15DJ Kai or Eagle Plus- Finished!
BlrwestSiR replied to BlrwestSiR's topic in The Great Twins Broup Bluild
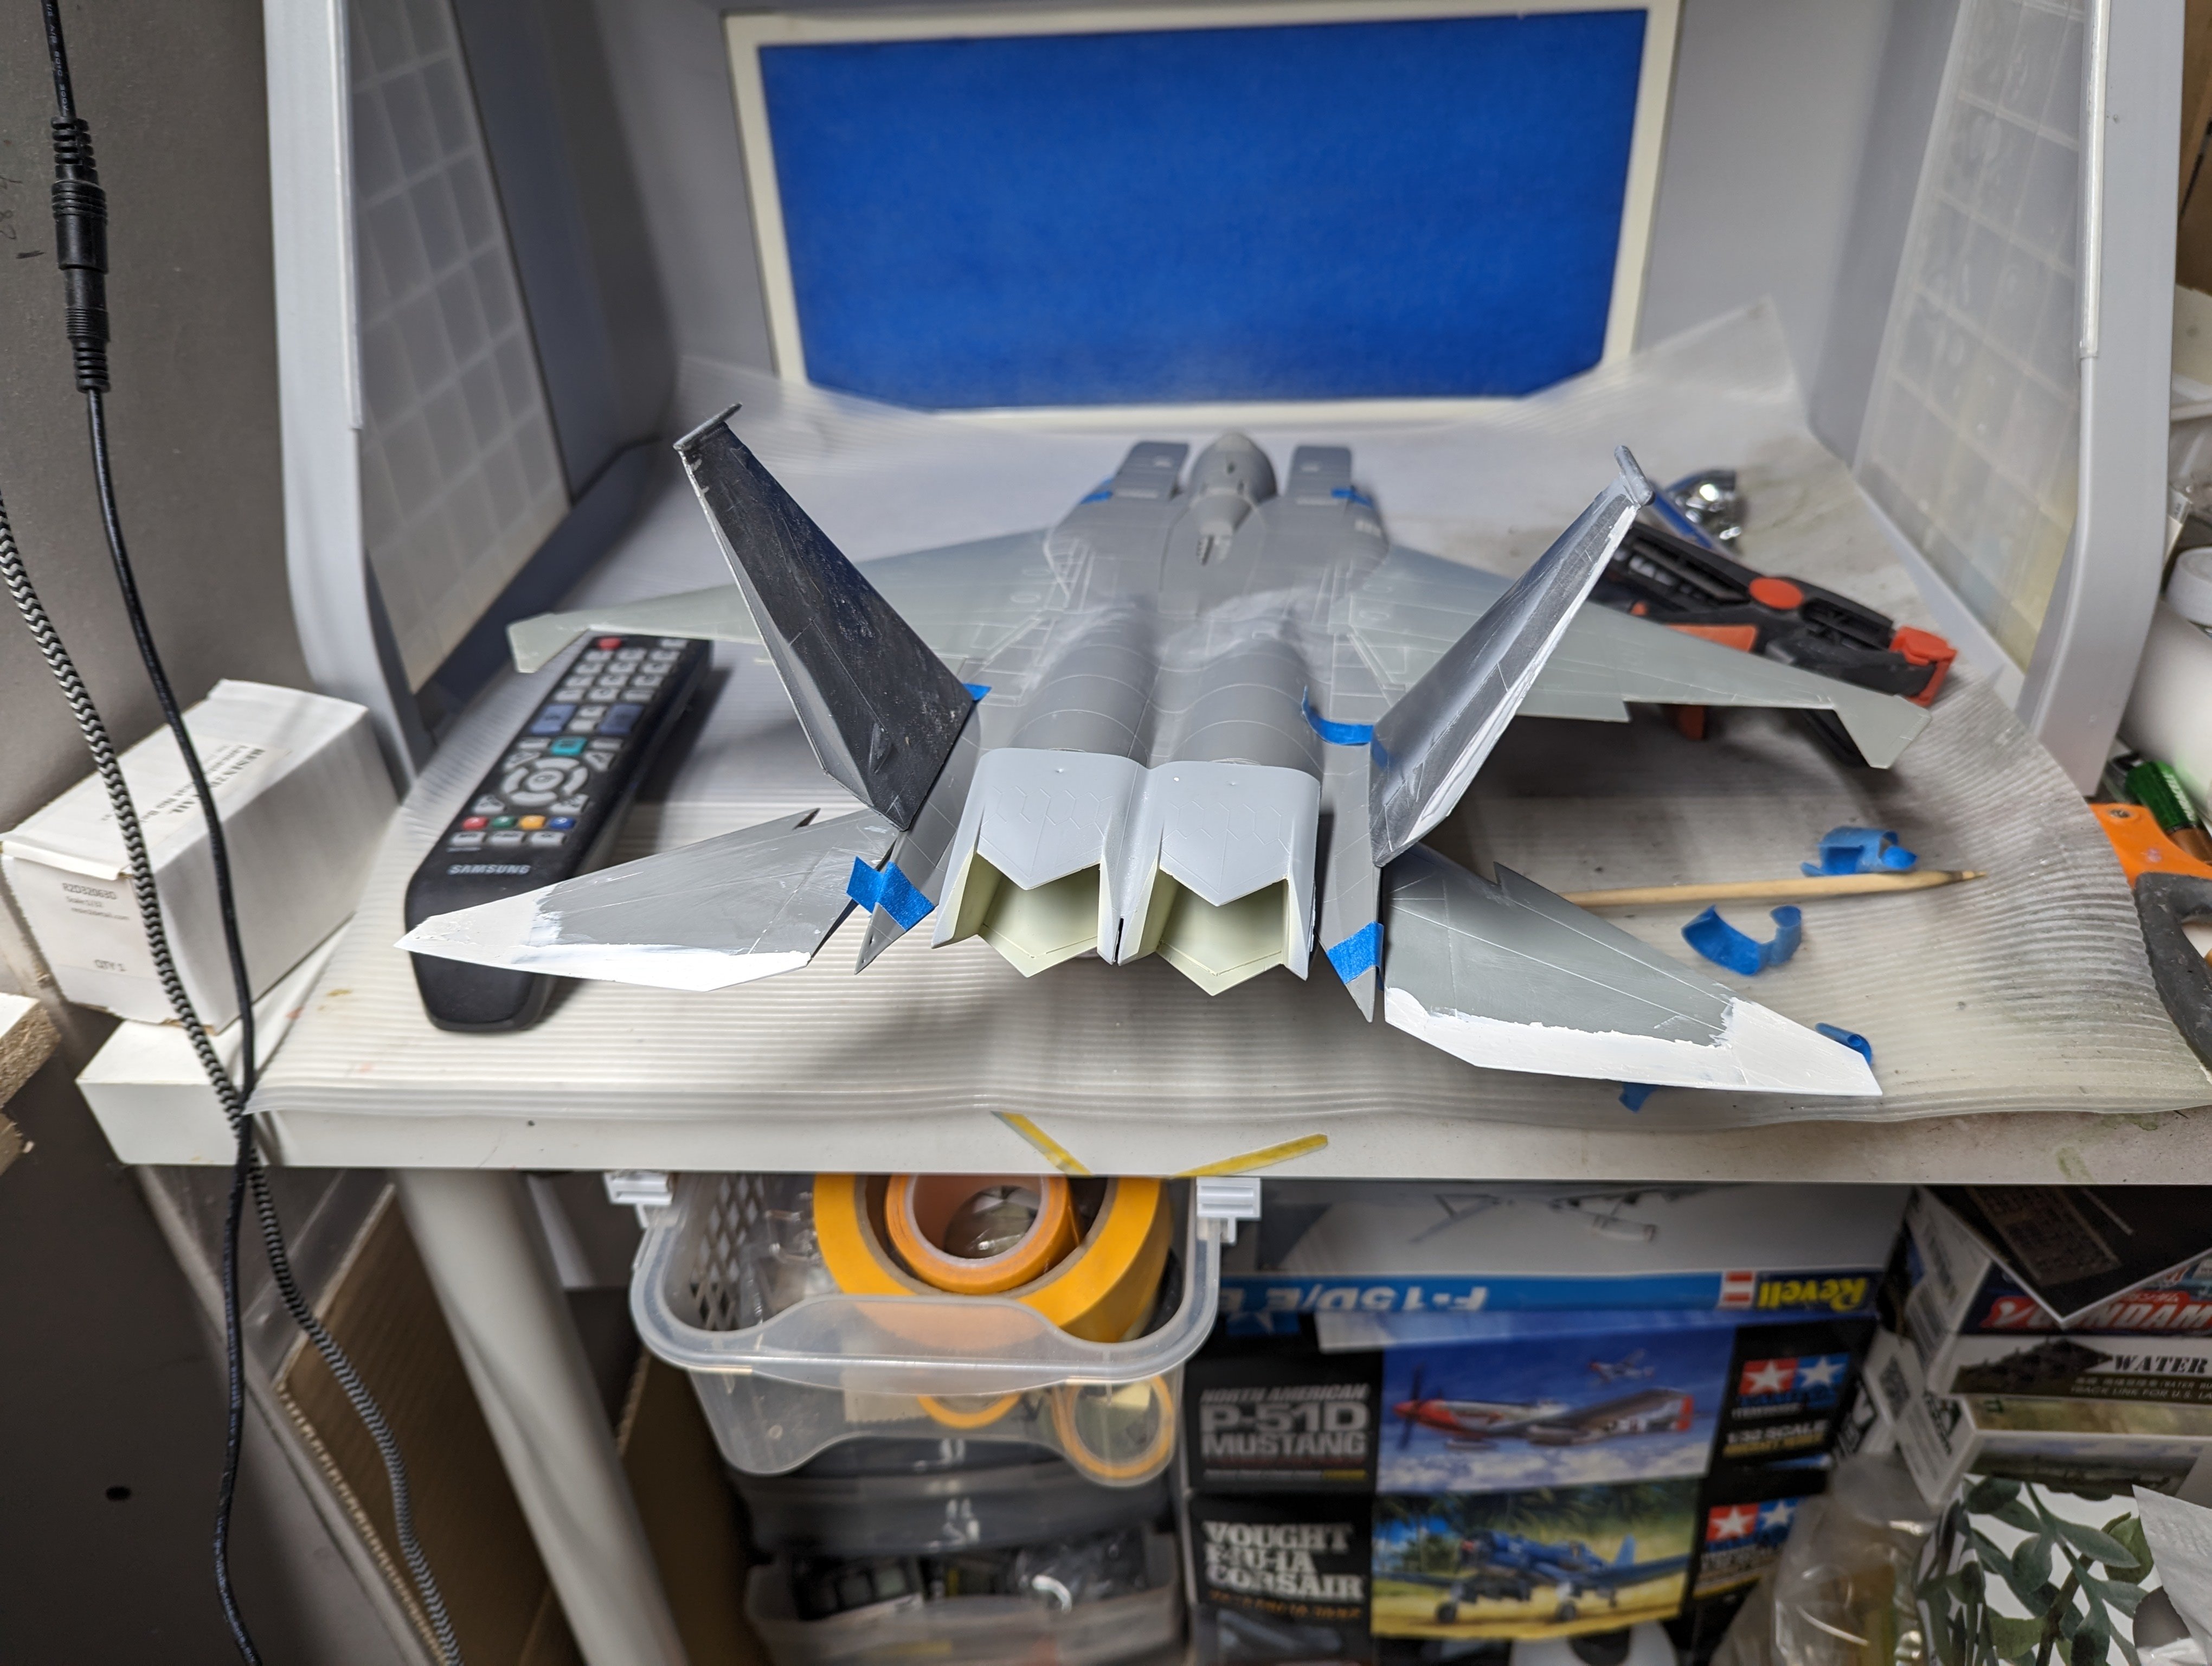
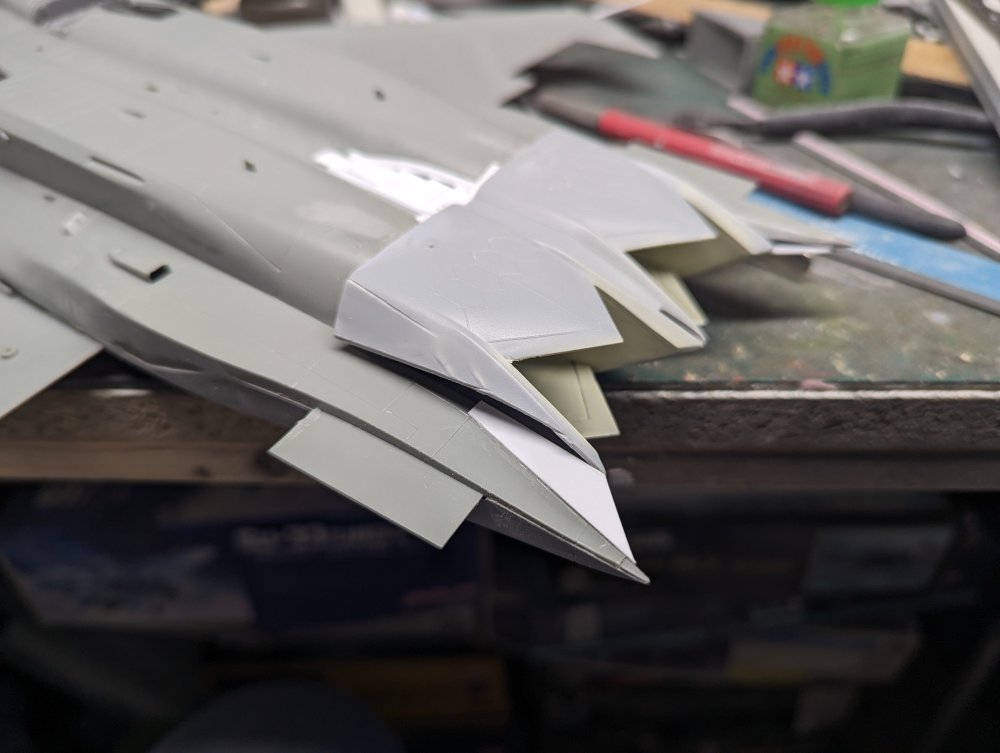
Thanks Peter. I've been trying to figure out the best way to fill the various gaps and smooth out the contours. I settled on planking the rear section and then sanding things smooth.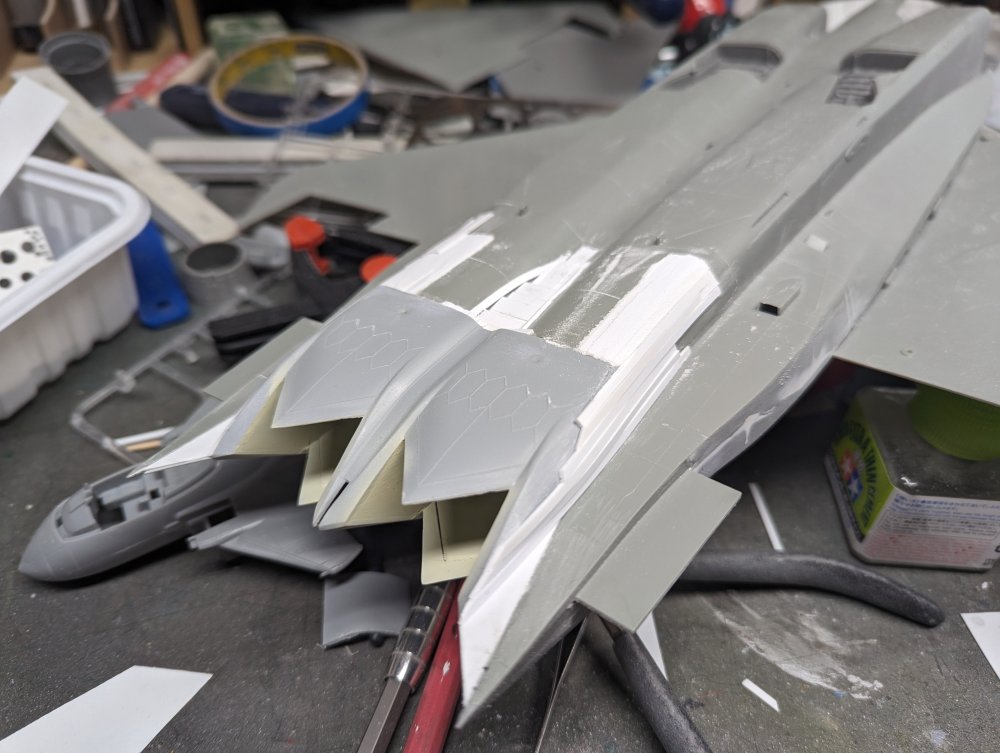
-
Looking good there Scott.
-
That looks great Dave. Nicely done. Carl
-
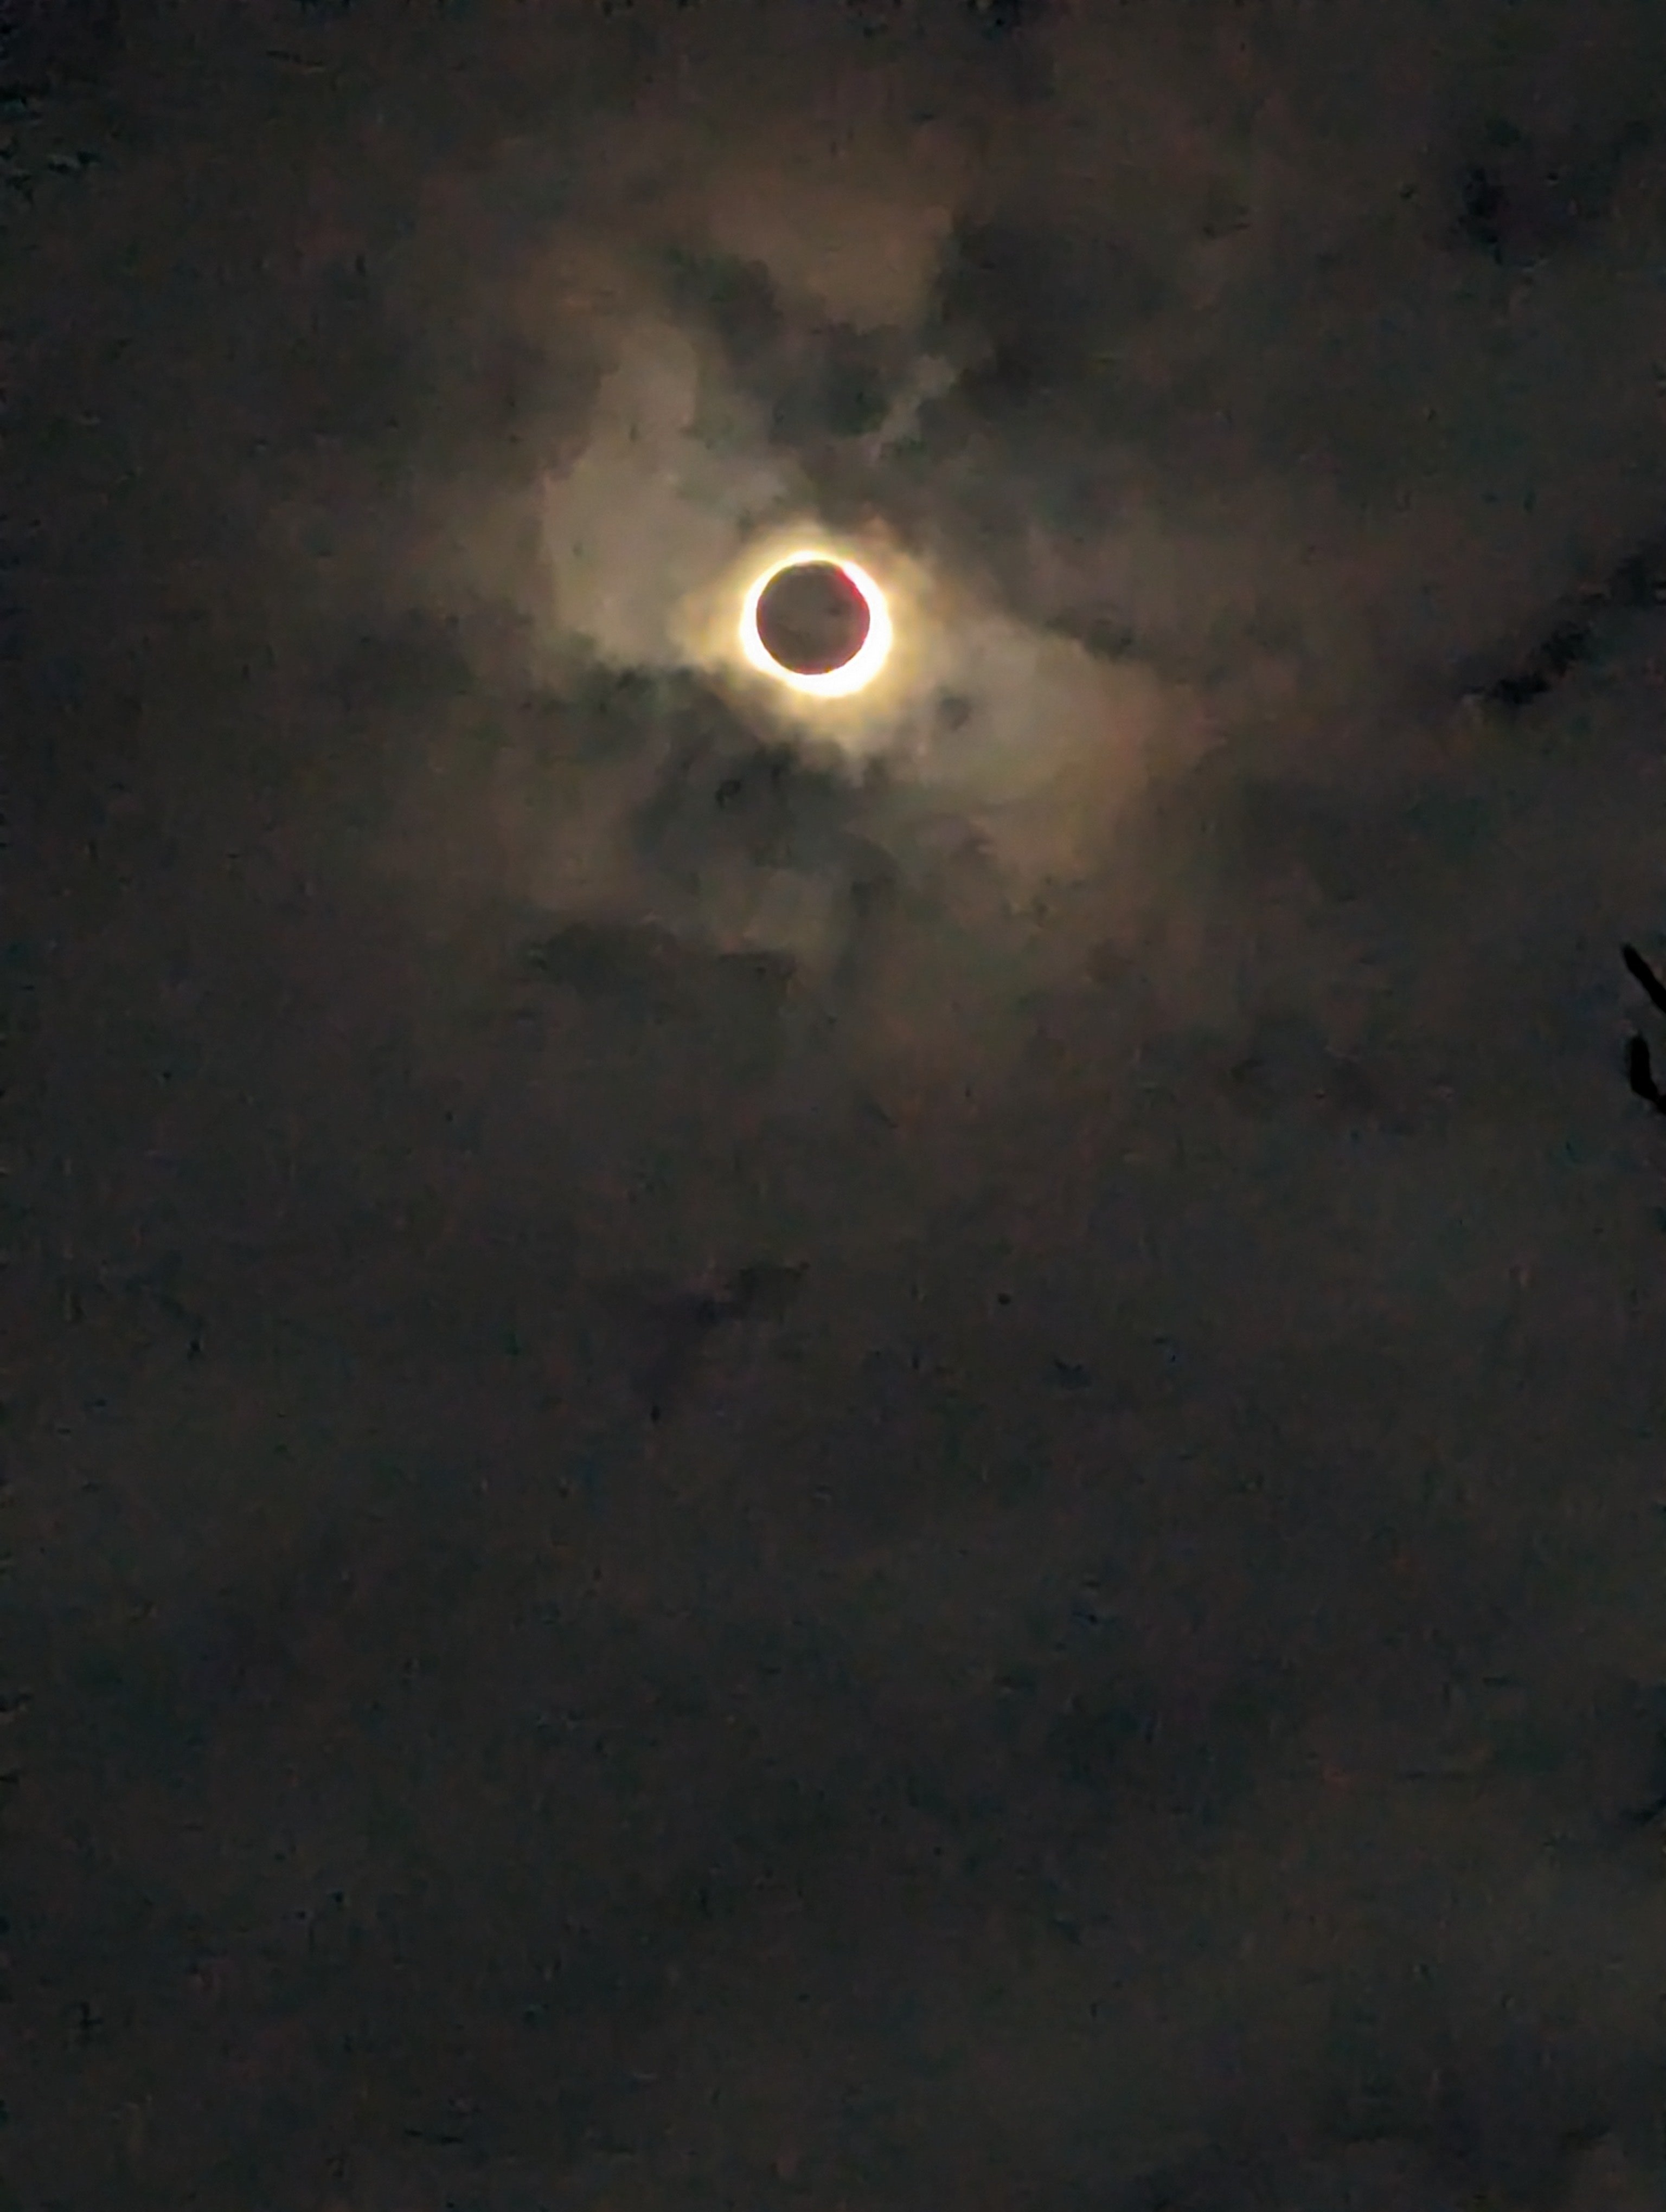
We were in a large park watching it so some folks had dogs with them and a few started to bark right before the totality. I think the birds stopped chirping at around the same time. It was definitely quieter during the eclipse. Well, except for Edward being loud with excitement.
-
Now I'm really jealous. I've got the Gunze 1/24 kit but it doesn't compare to that.
-
Gundam can be quite the rabbit hole to fall into. And potentially addictive too. If you're thinking of building a larger one, Master Grade is the next size up. They're 1/100 scale, Real Grade (the one you built) being 1/144. Master Grade have more detail, and generally more pivots. The top of the line is Perfect Grade. Those are 1/60 but quite a bit more in price. Then there's SD which is the eggplant style series of kits. They're generally simpler in build than the Real Grade ones. Recently Bandai has come out with MG-SD which combines the details of the Master Grade kits with the SD style. Like I said, quite the rabbit hole. Anyways, looks like you had fun and hopefully the grandsons will like trying them out.
- 1 reply
-
- 4
-

-
Or possibly the size of the mess on one's workbench.
-
I'm liking the bronze look myself. I have a set of Koenig Heliums on my Beat in the bronze. They're great with the burnt orange that the car is. Had to do a +2 fit to find tires that would fit due to the stagger. I'm hoping to find something similar for our next car which might be dark blue.
- 2,036 replies
-
- 2
-
-
- car related stuff
- anything about cars
- (and 6 more)
-
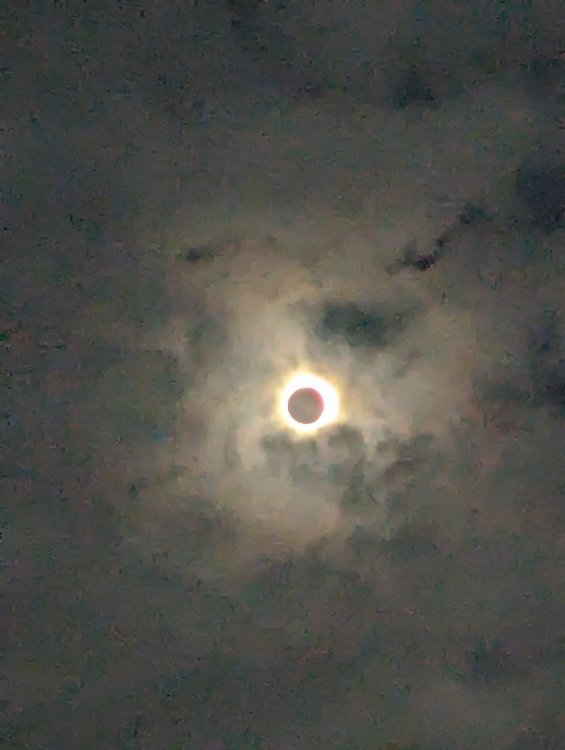
Ernie, it does doesn't it?
-
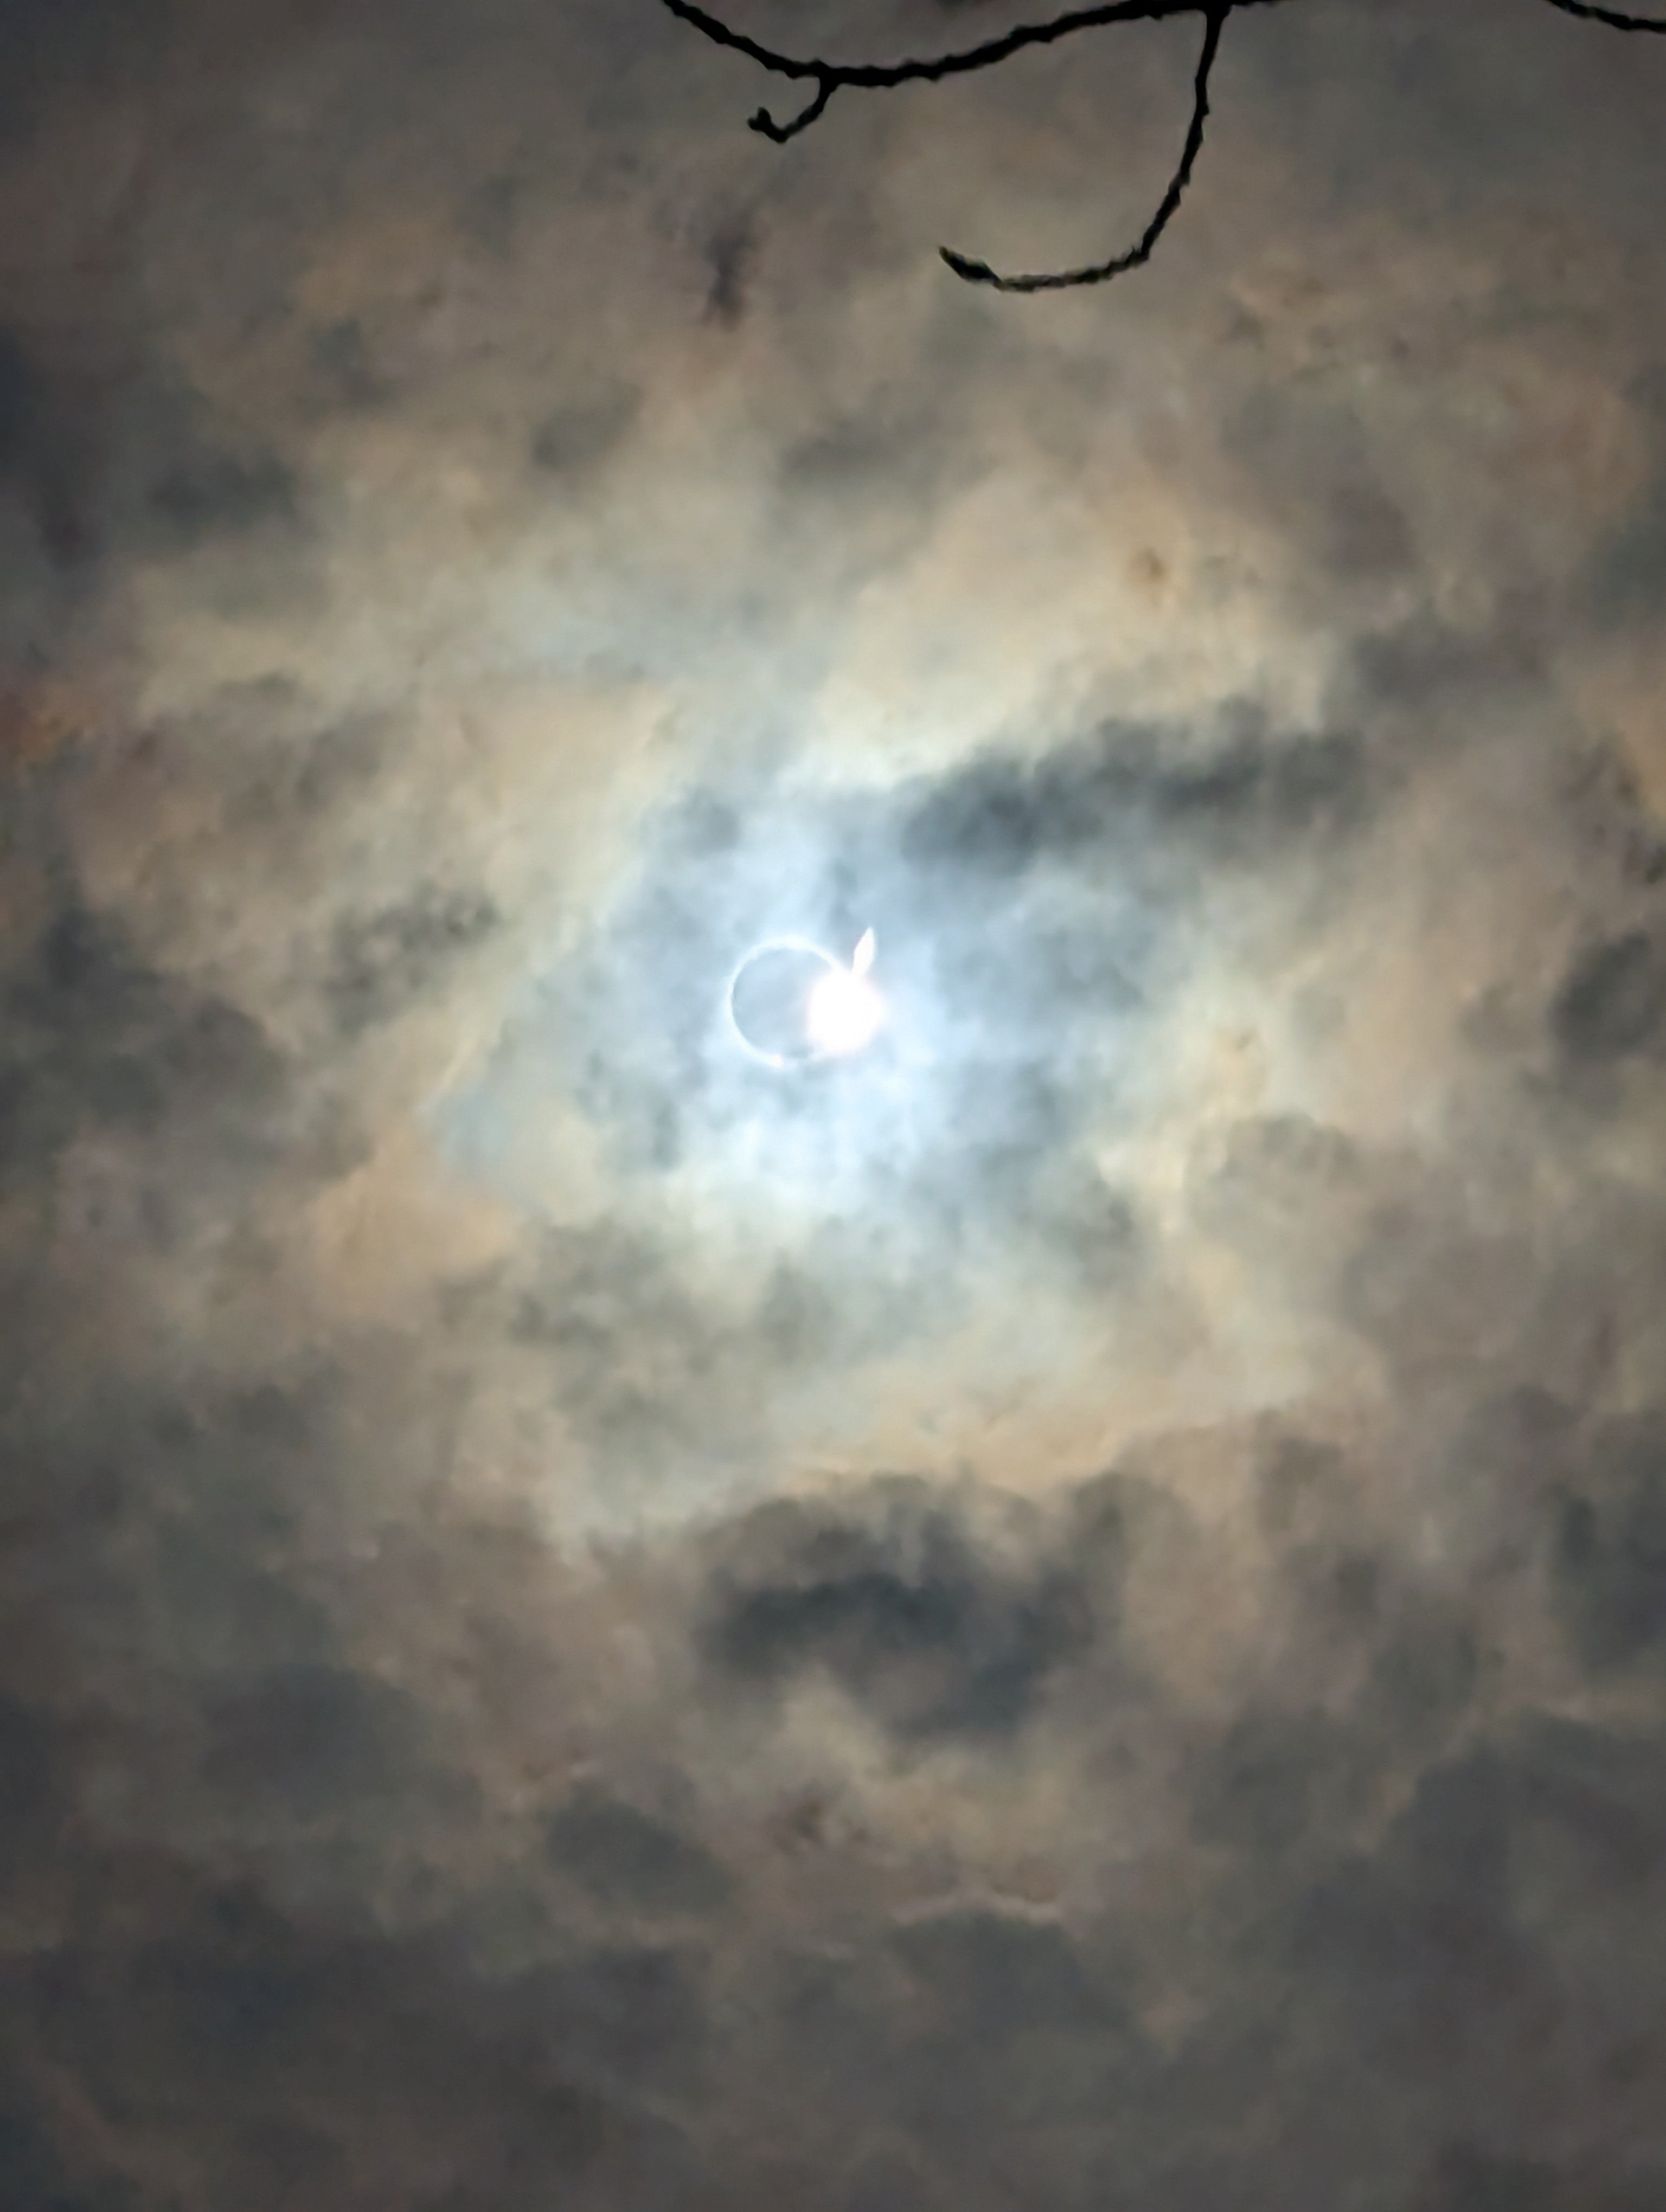
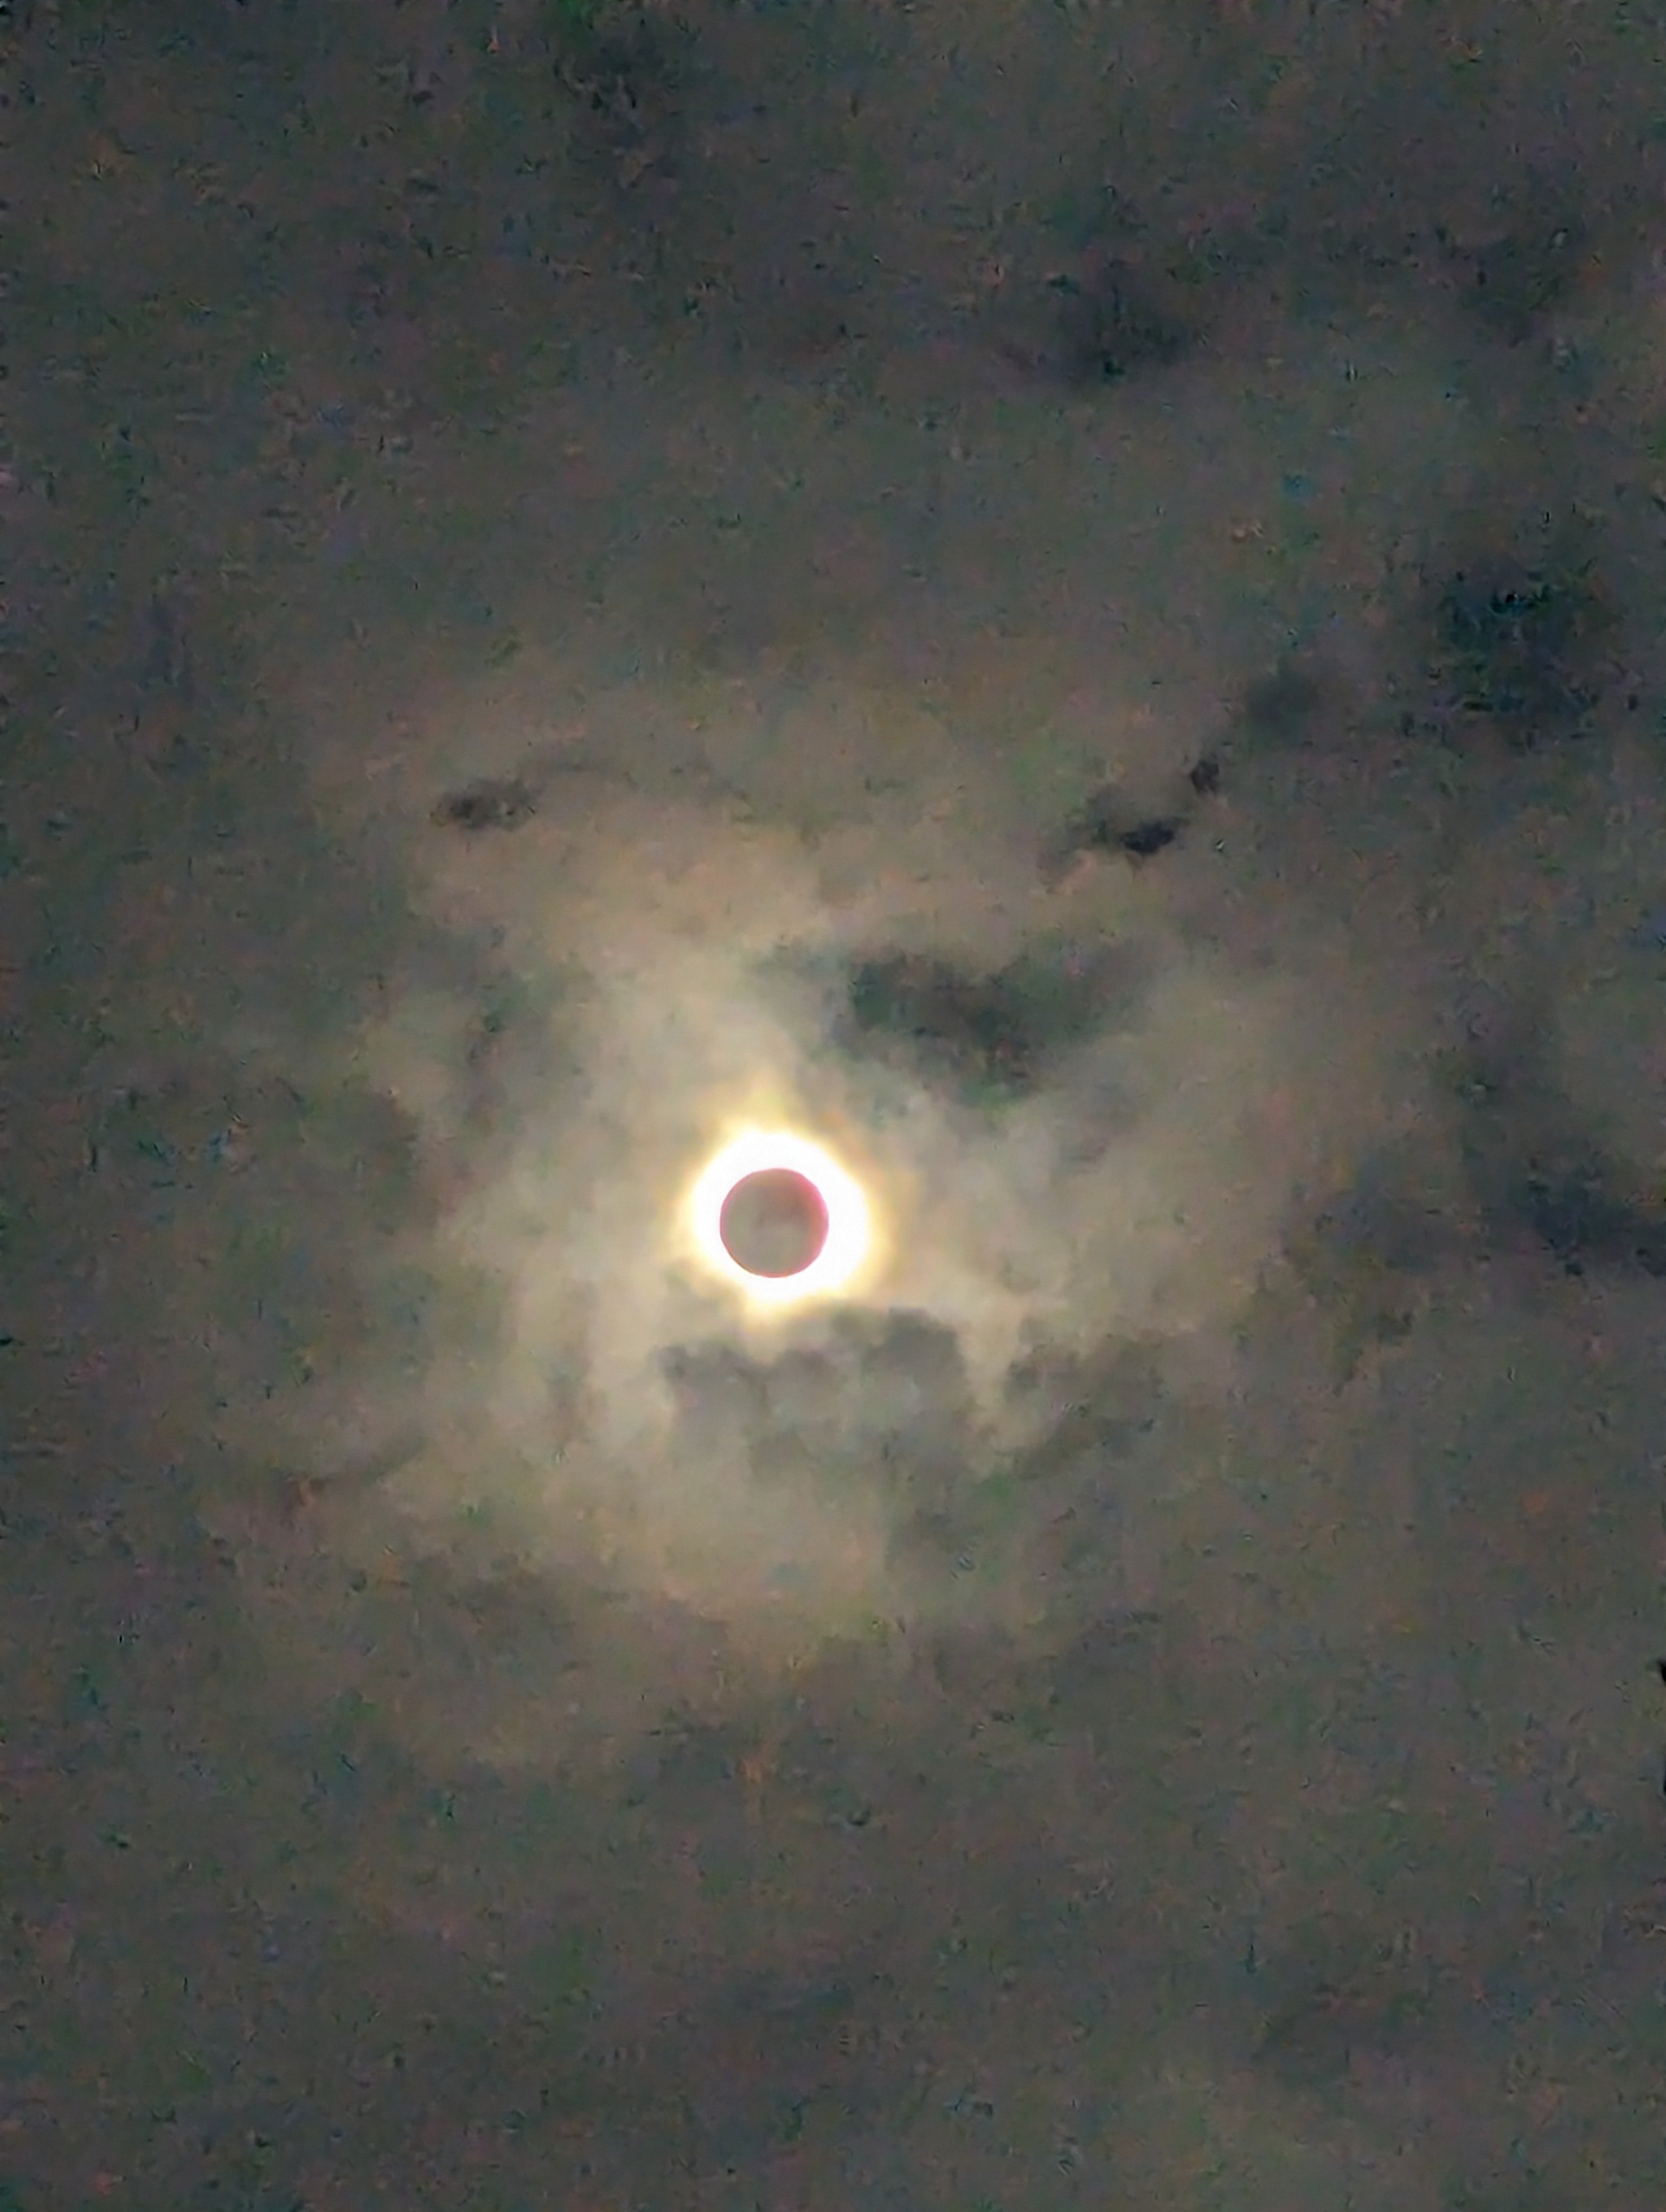
Ours was just over 3 minutes long. Just finished. The clouds broke just enough to see it.


-
Nice scheme there John. I've heard the kit is like a smaller version of the Tamiya kit.
-
It's just started up here. We drove to Hamilton so hopefully will see a total eclipse as Toronto will only get a partial one. Right now it's overcast but it looks like we're getting some breaks in the cloud cover.
-
Anyone make a hard wing conversion for the Revell F-4E?
BlrwestSiR replied to ScottsGT's topic in Modelling Discussion
It does indeed. -
F-15DJ Kai or Eagle Plus- Finished!
BlrwestSiR replied to BlrwestSiR's topic in The Great Twins Broup Bluild
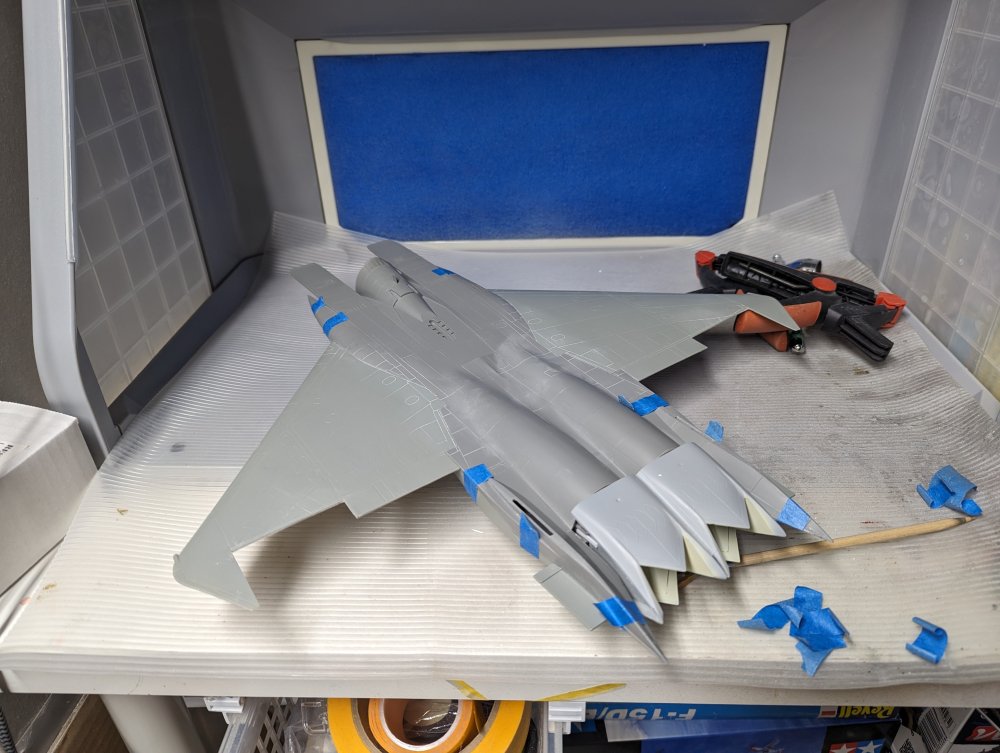
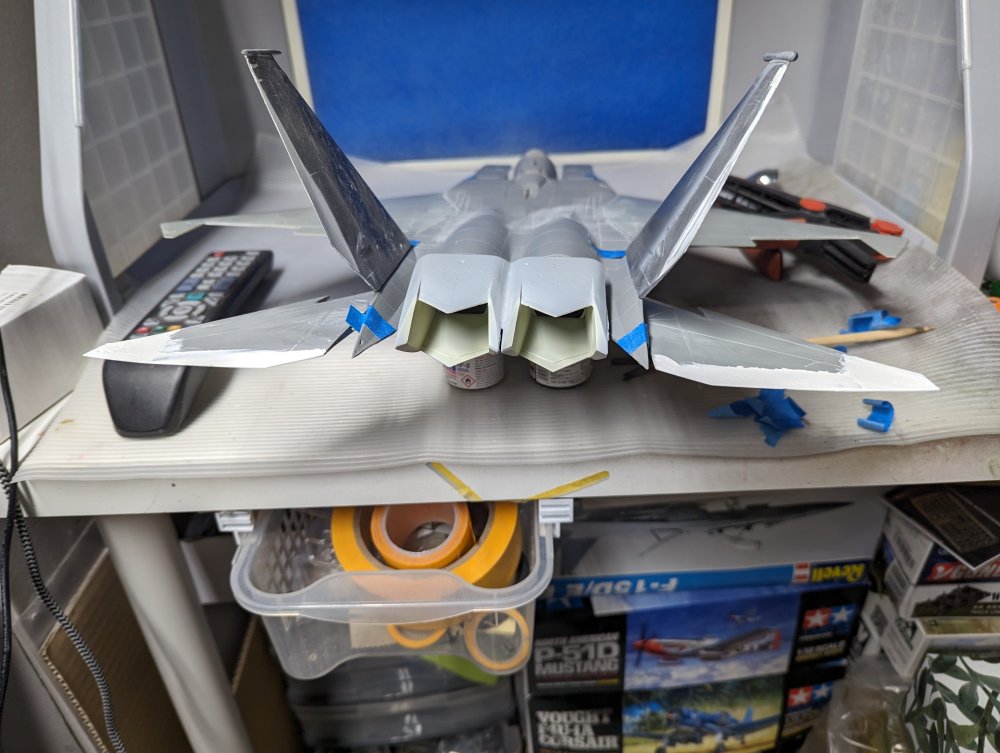
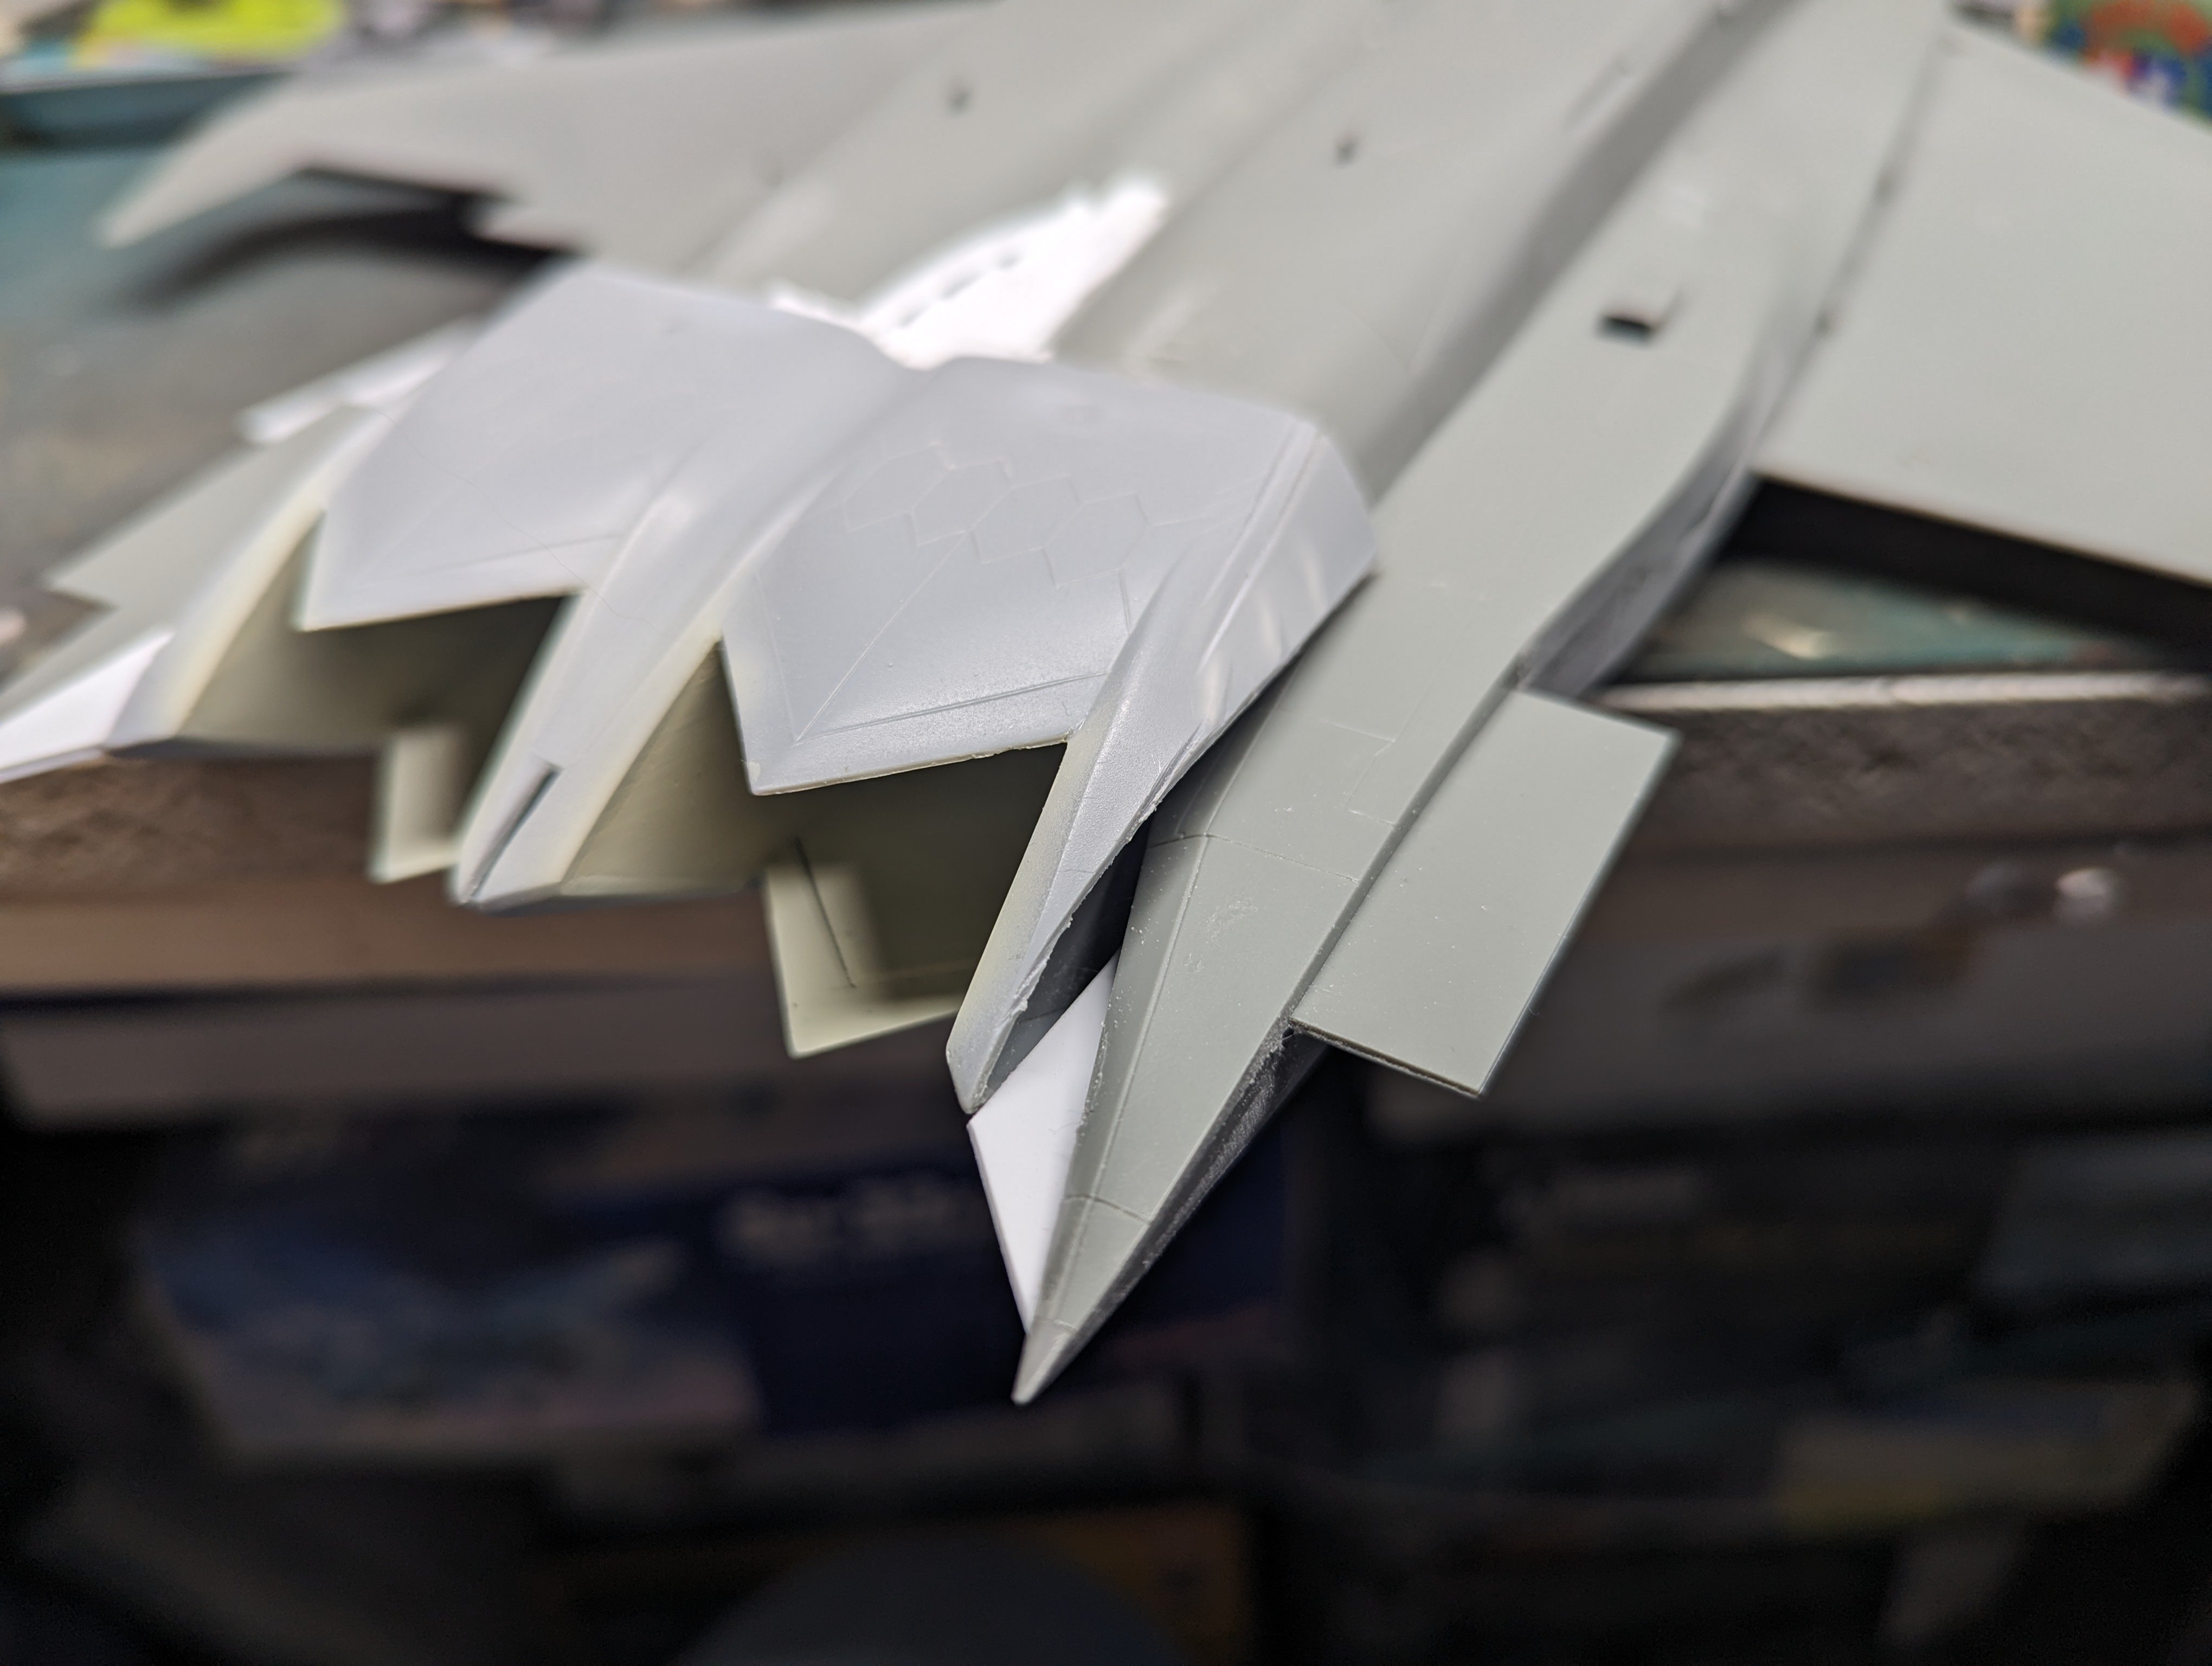
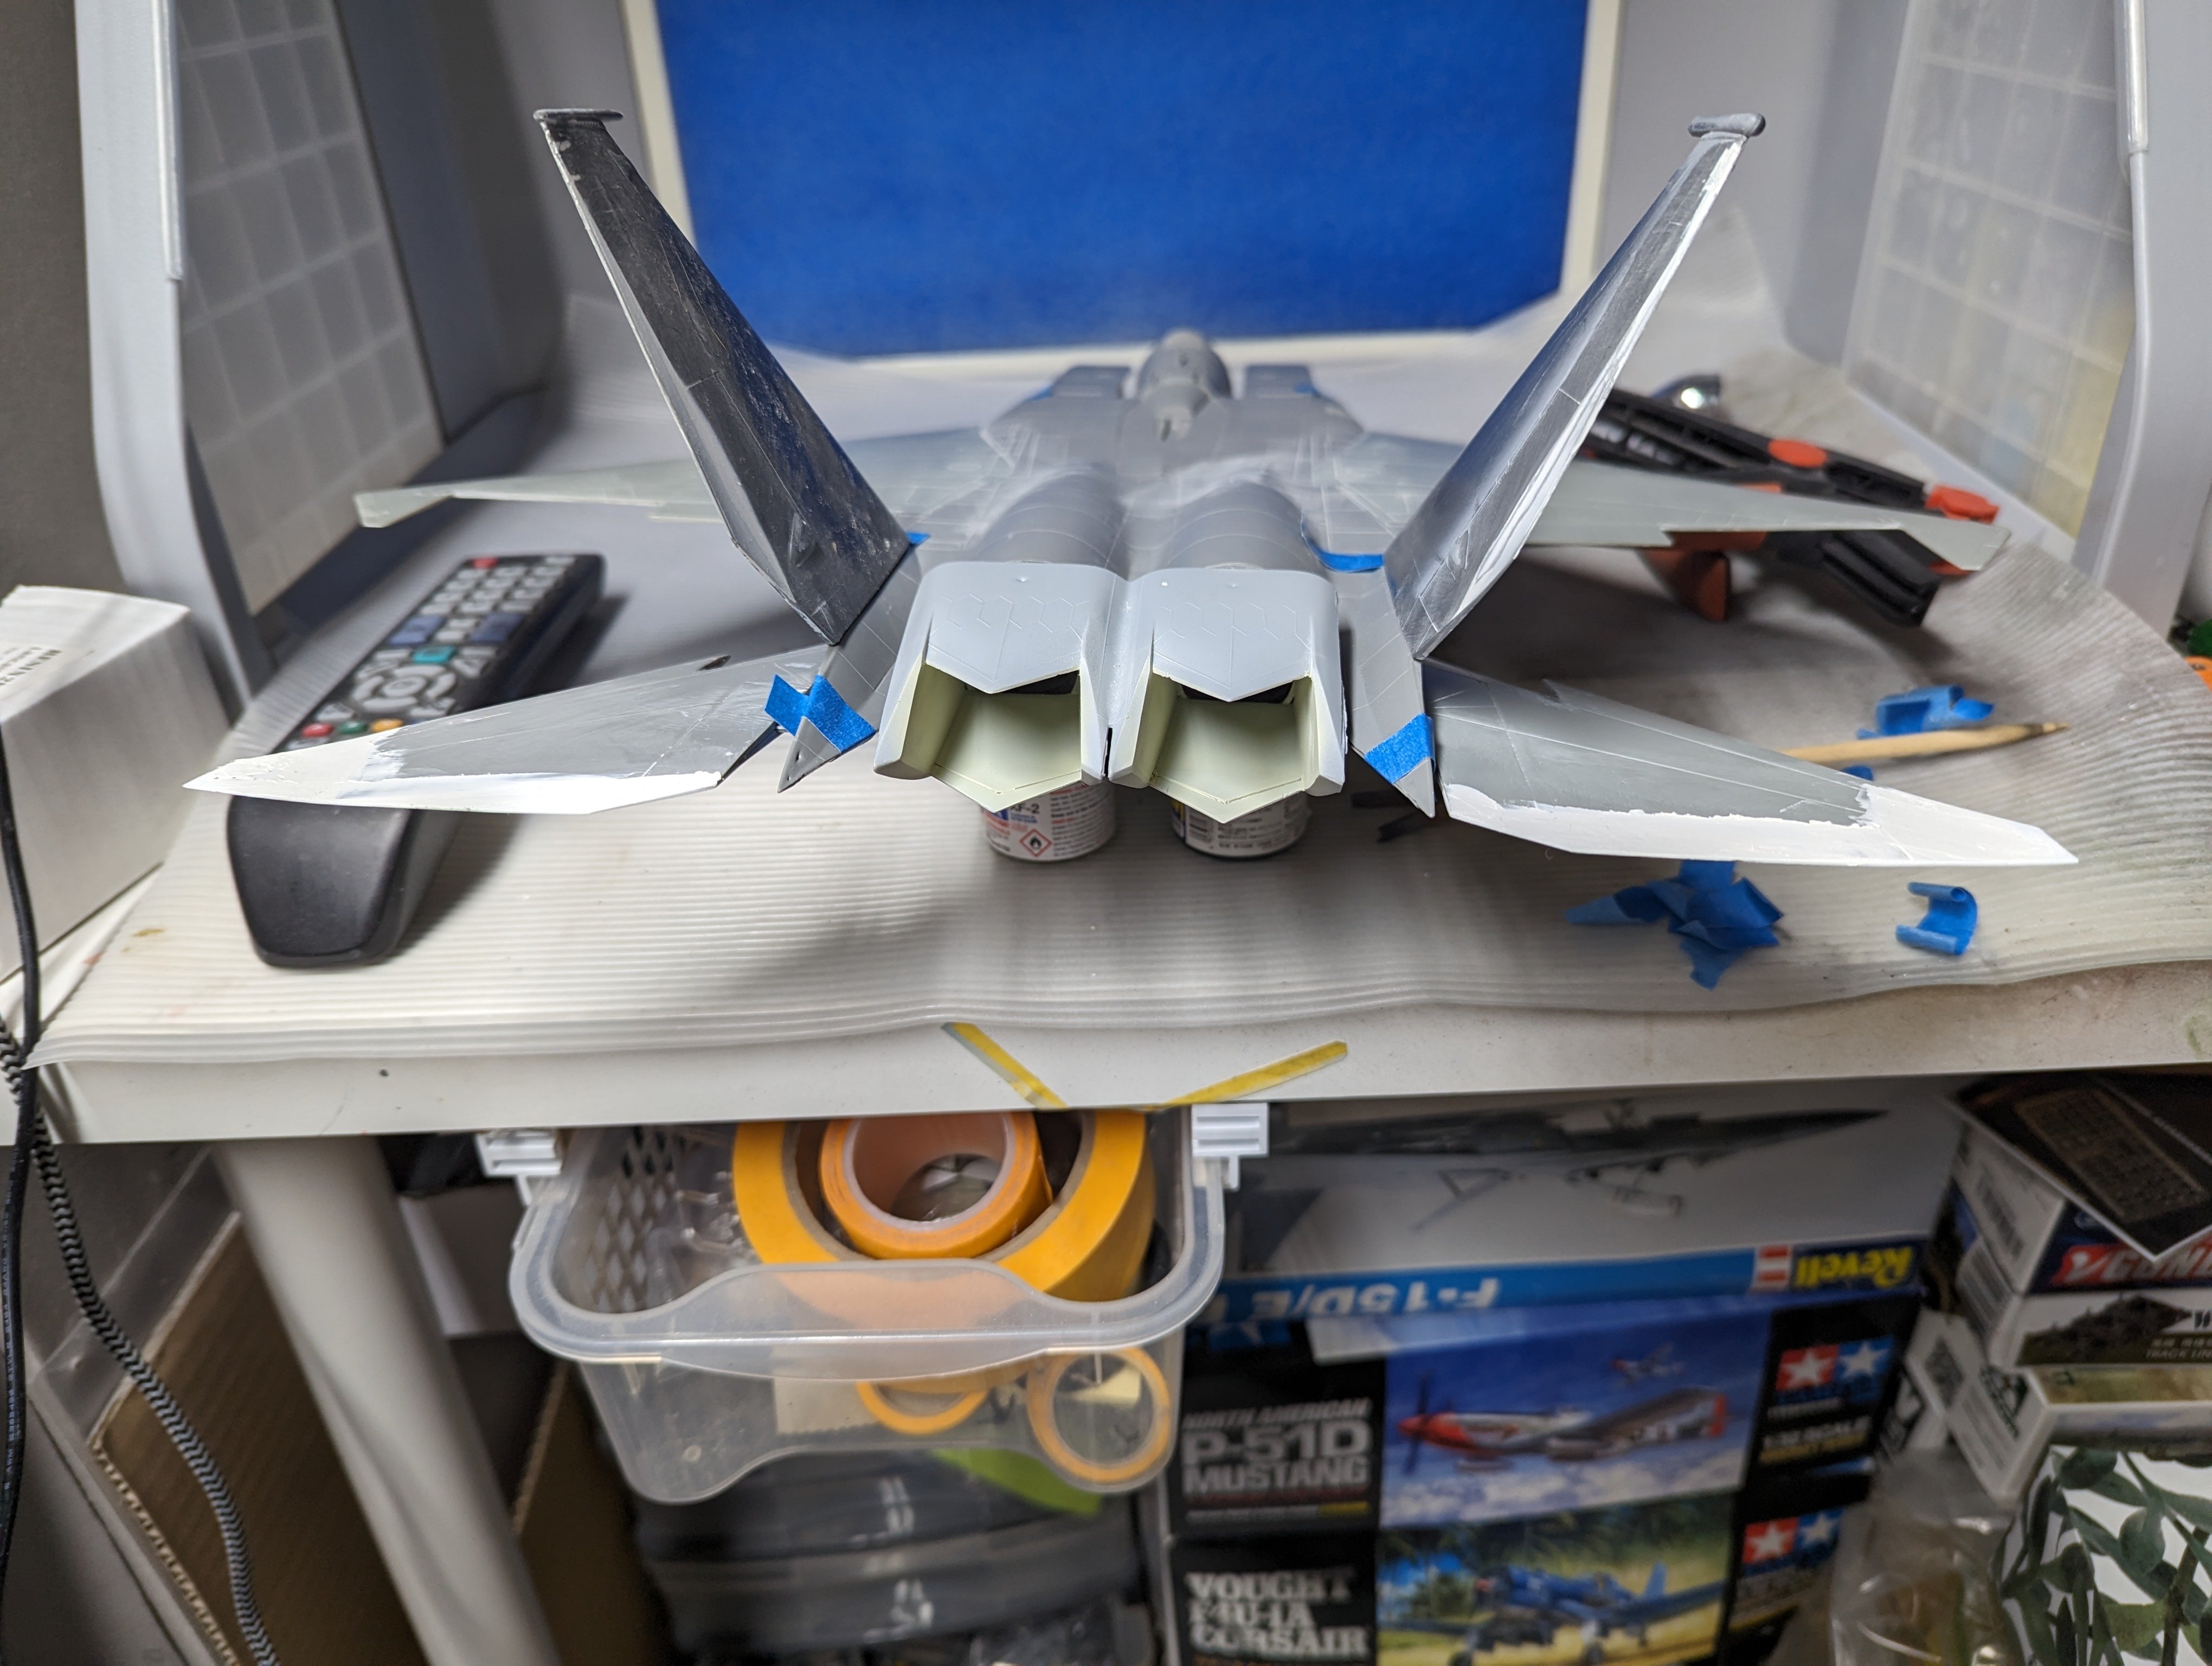
Time to start filling in the gaps around the nozzles. Topside: Bottom side: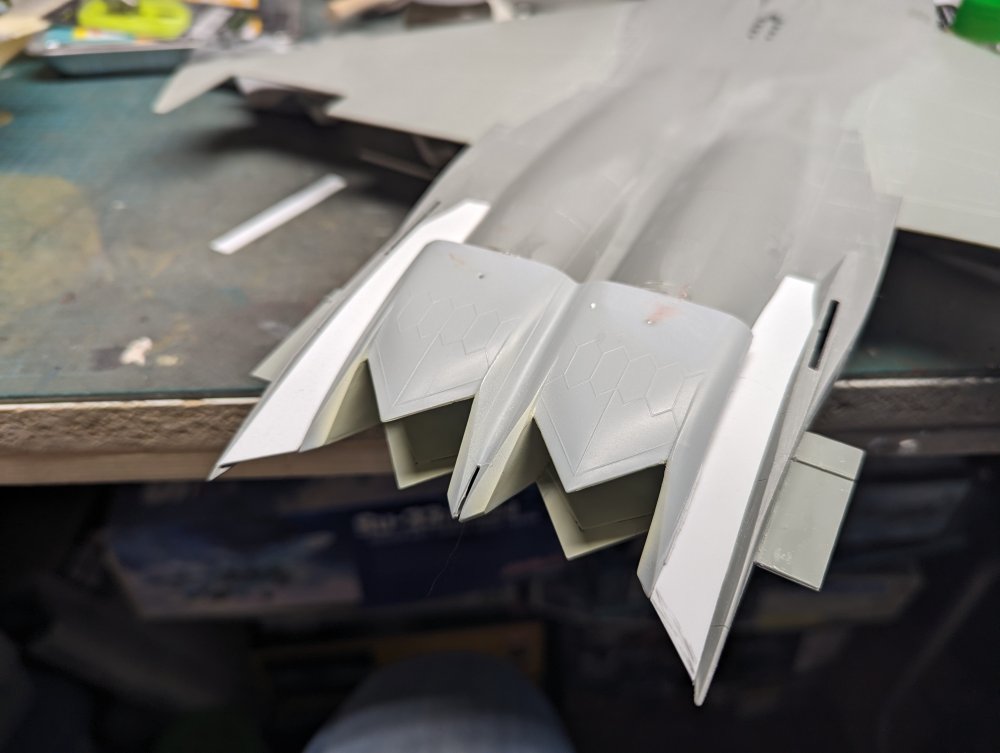

-
Anyone make a hard wing conversion for the Revell F-4E?
BlrwestSiR replied to ScottsGT's topic in Modelling Discussion
Scott, my bad. The F-4F has an unslotted tailplane which I got mixed up with the slatted wing. -
Ralph, that's great progress that you've made. Nice to hear that the fit is still good all these years later.
-
Autocar 9964 B conversion to heavy haul...
BlrwestSiR replied to Jeff's topic in LSM 1/35 and Larger Work In Progress
Jeff, thanks for sharing. It's great to hear the back story on some of these subjects and with your hands on experience with the real things, it brings a greater sense of appreciation of your work.- 56 replies
-
- 2
-
-
- hevy haul off road tractor
- b.c. logging
- (and 1 more)
-
Anyone make a hard wing conversion for the Revell F-4E?
BlrwestSiR replied to ScottsGT's topic in Modelling Discussion
The hard wing also comes in any of the Revell Germany F-4F kits too. There's lots of those kicking around if that helps. I have a couple extra Tamiya hard wing outer panels if you want those and try a kit bash. -
At least you got the cover back on in time.
- 2,036 replies
-
- 1
-

-
- car related stuff
- anything about cars
- (and 6 more)
-
The 56th annual Calgary World of Wheels
BlrwestSiR replied to Martinnfb's topic in General Discussion
Thanks for sharing the pics. A great variety of cars. Nice to see the JDM cars out. The red Civic is the same one I had as my first car. -
You could try spraying a very light coat of the base colour paint over them. Thin the paint down a bit more than usual and then mist a coat over the stencil. Best to try it out on a mule first but that might work.
-
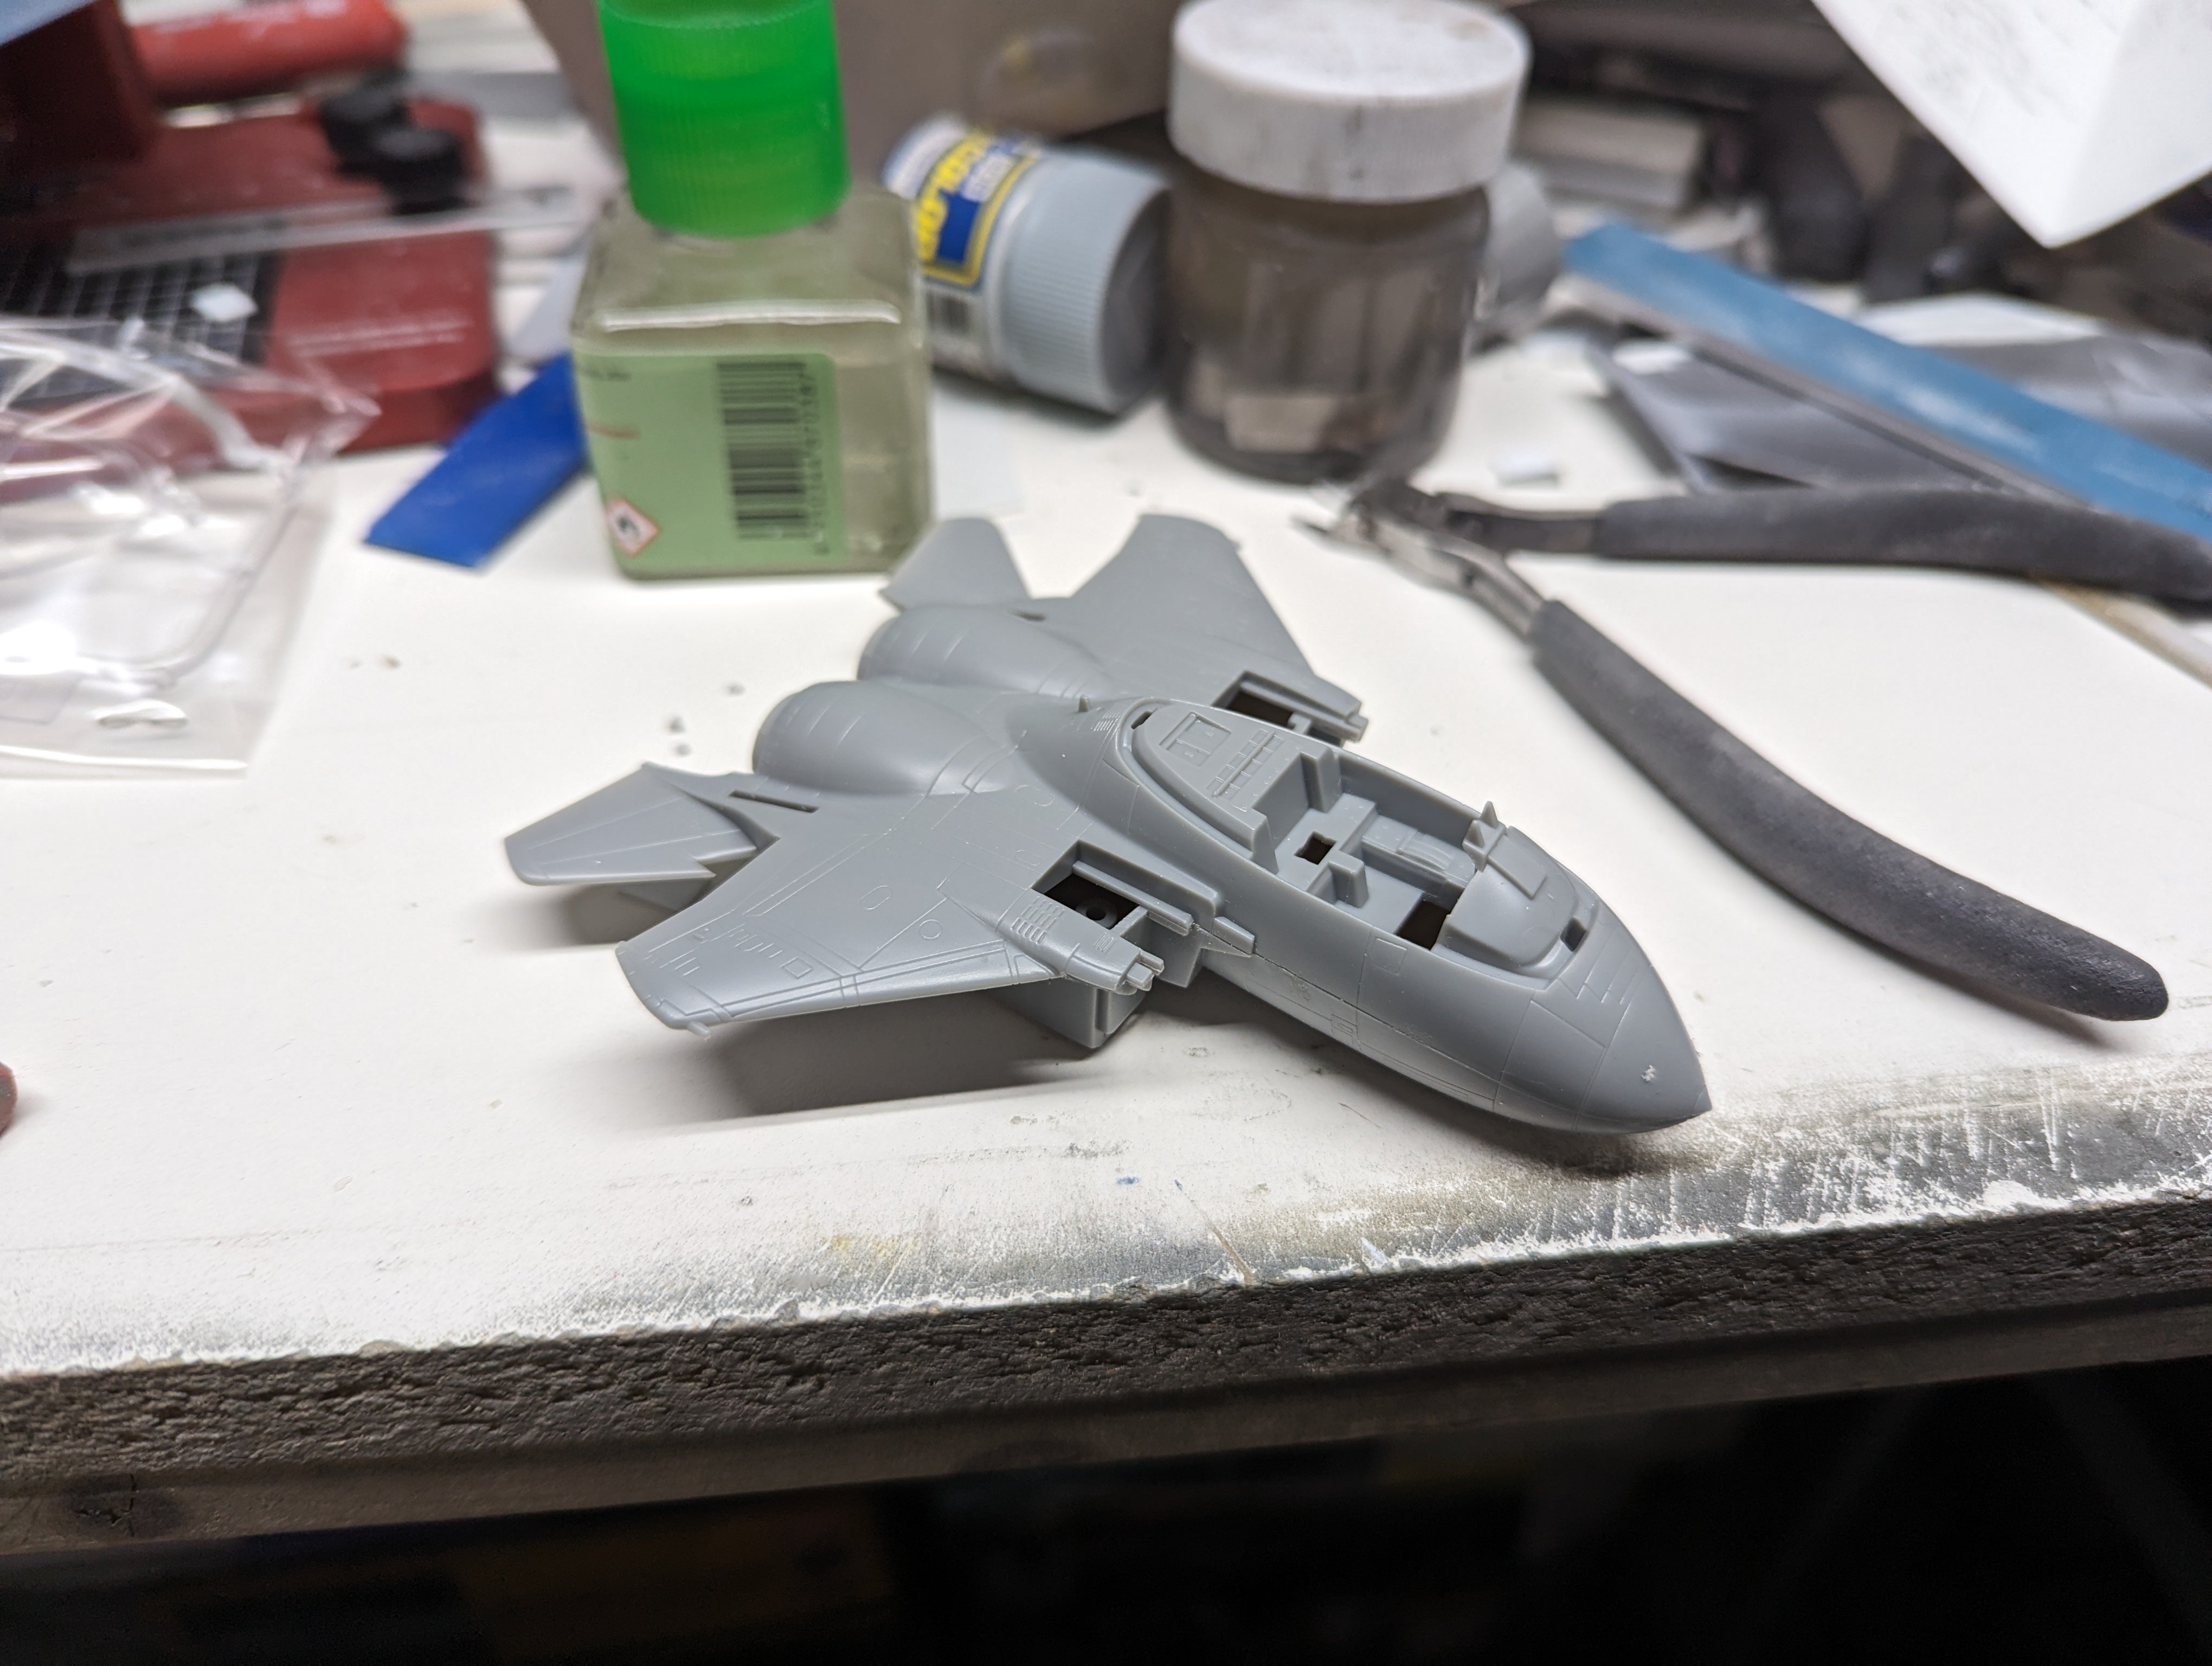
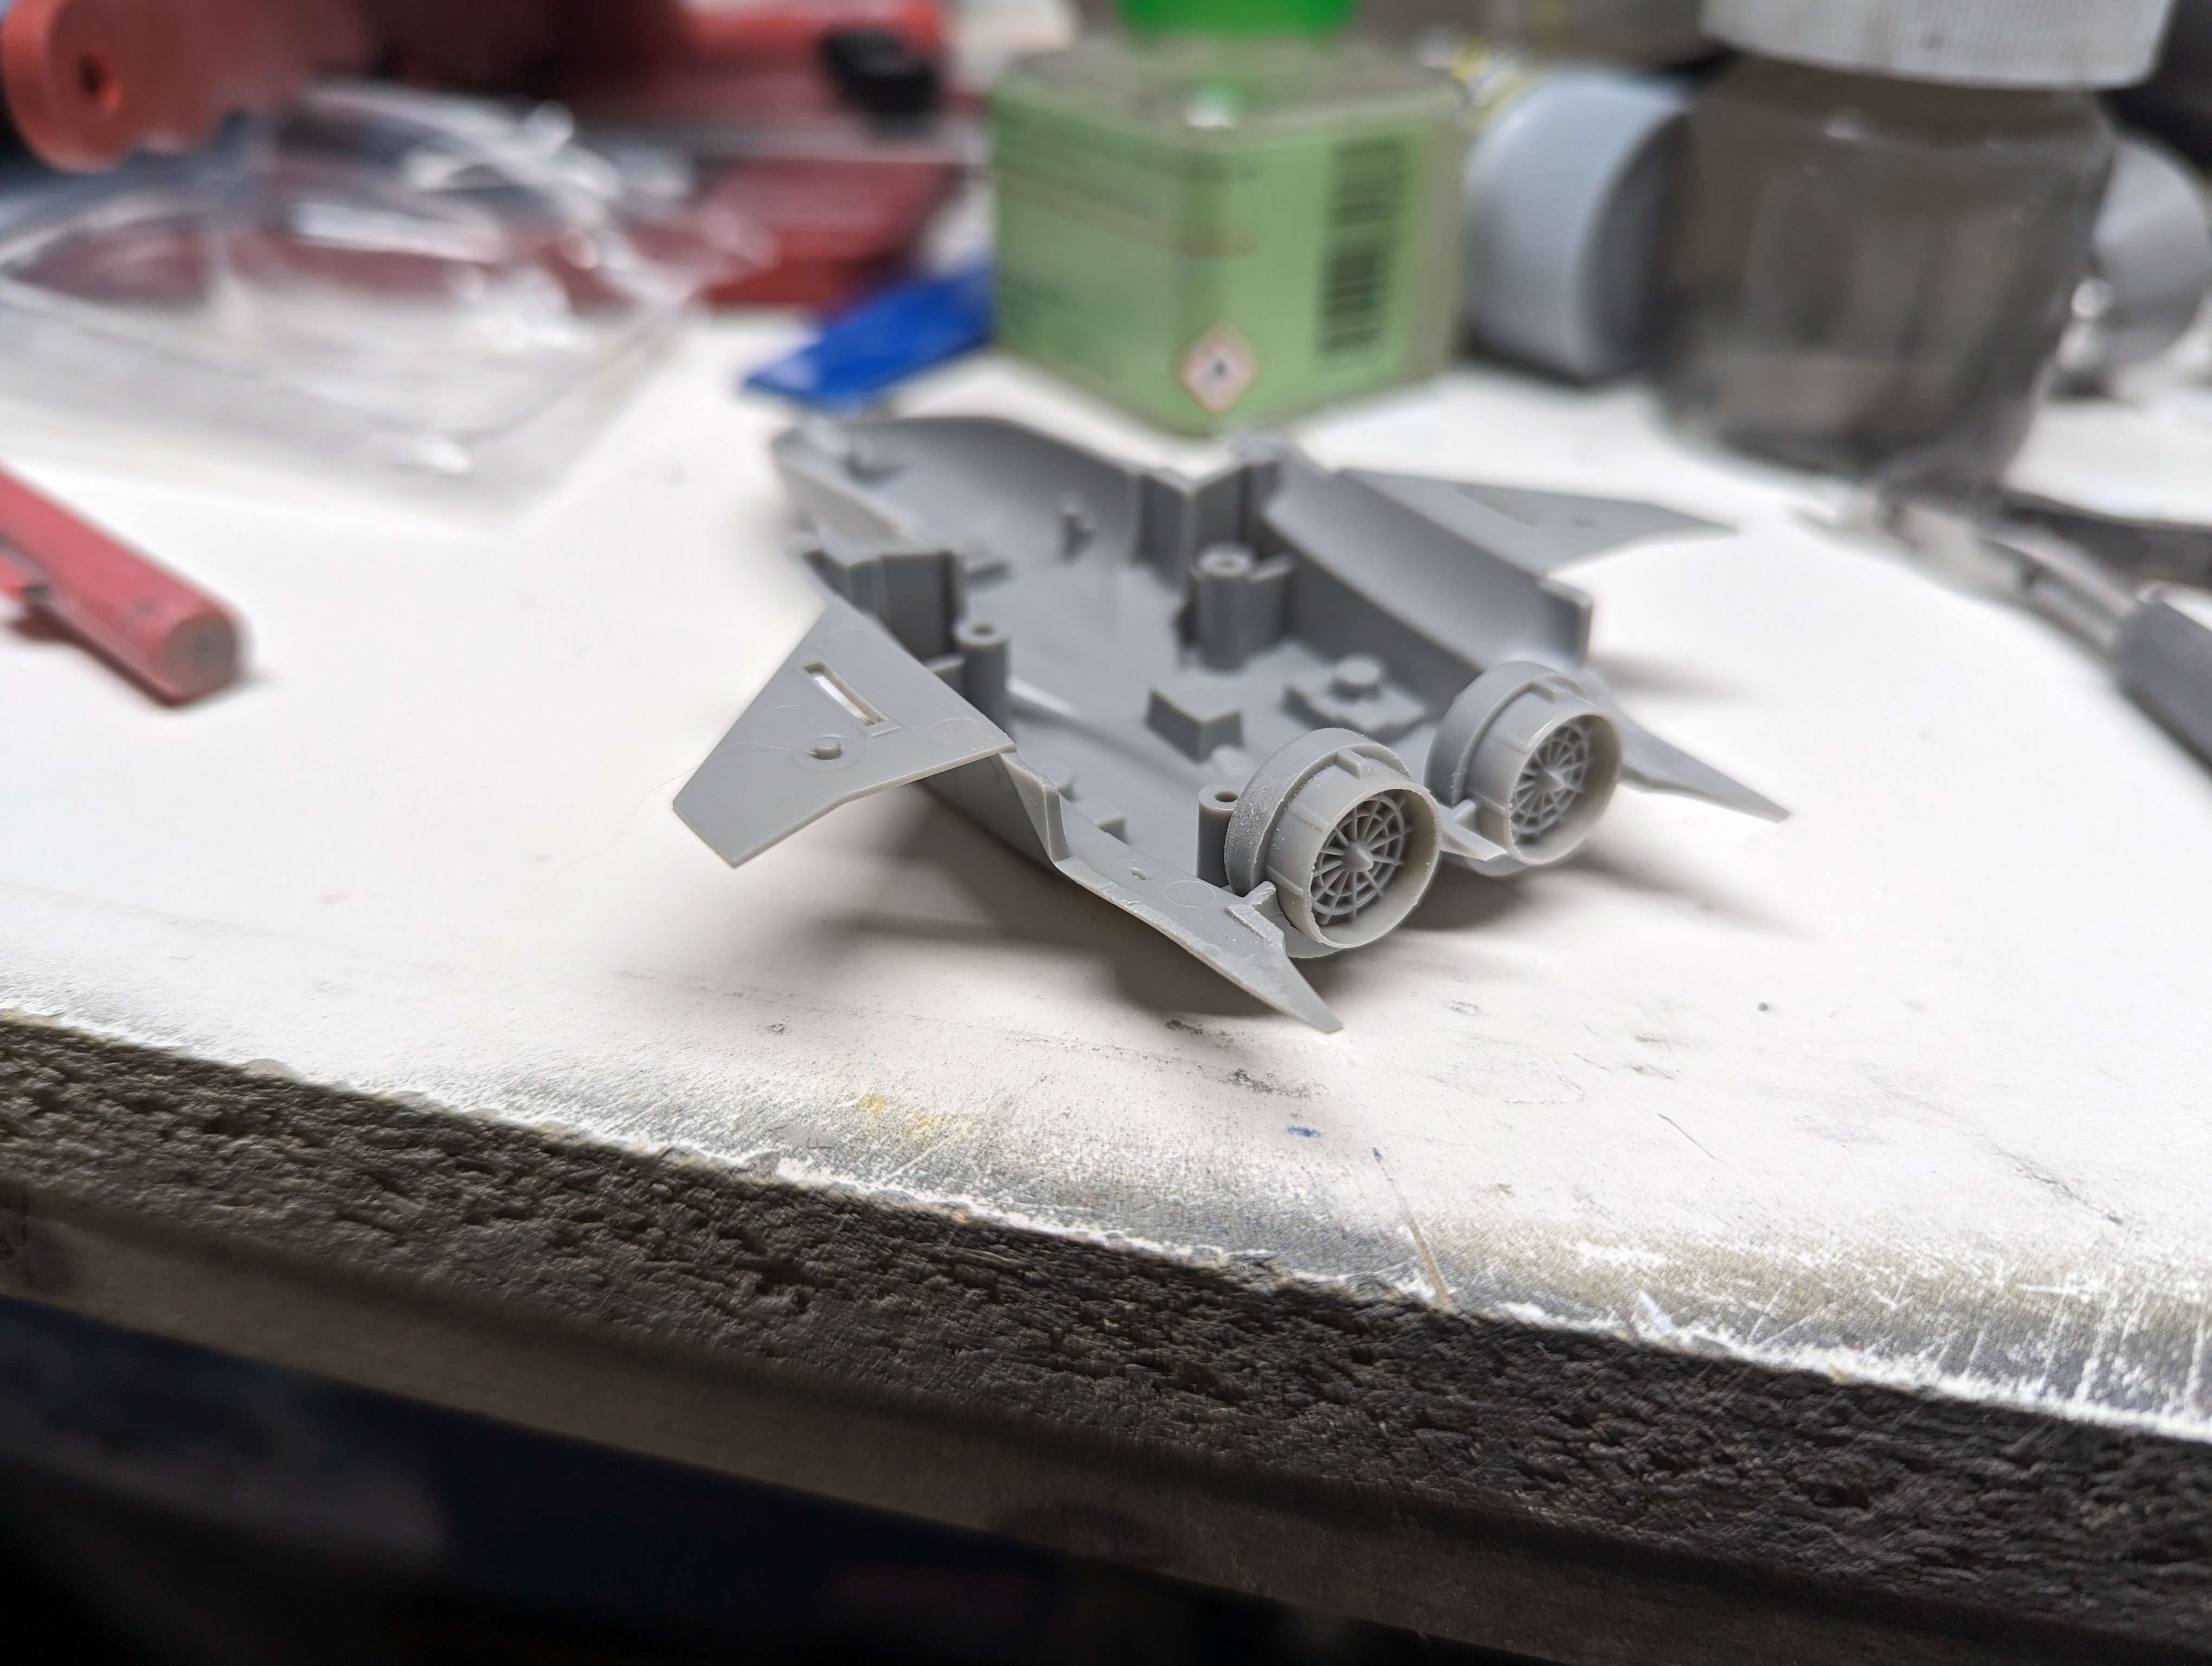
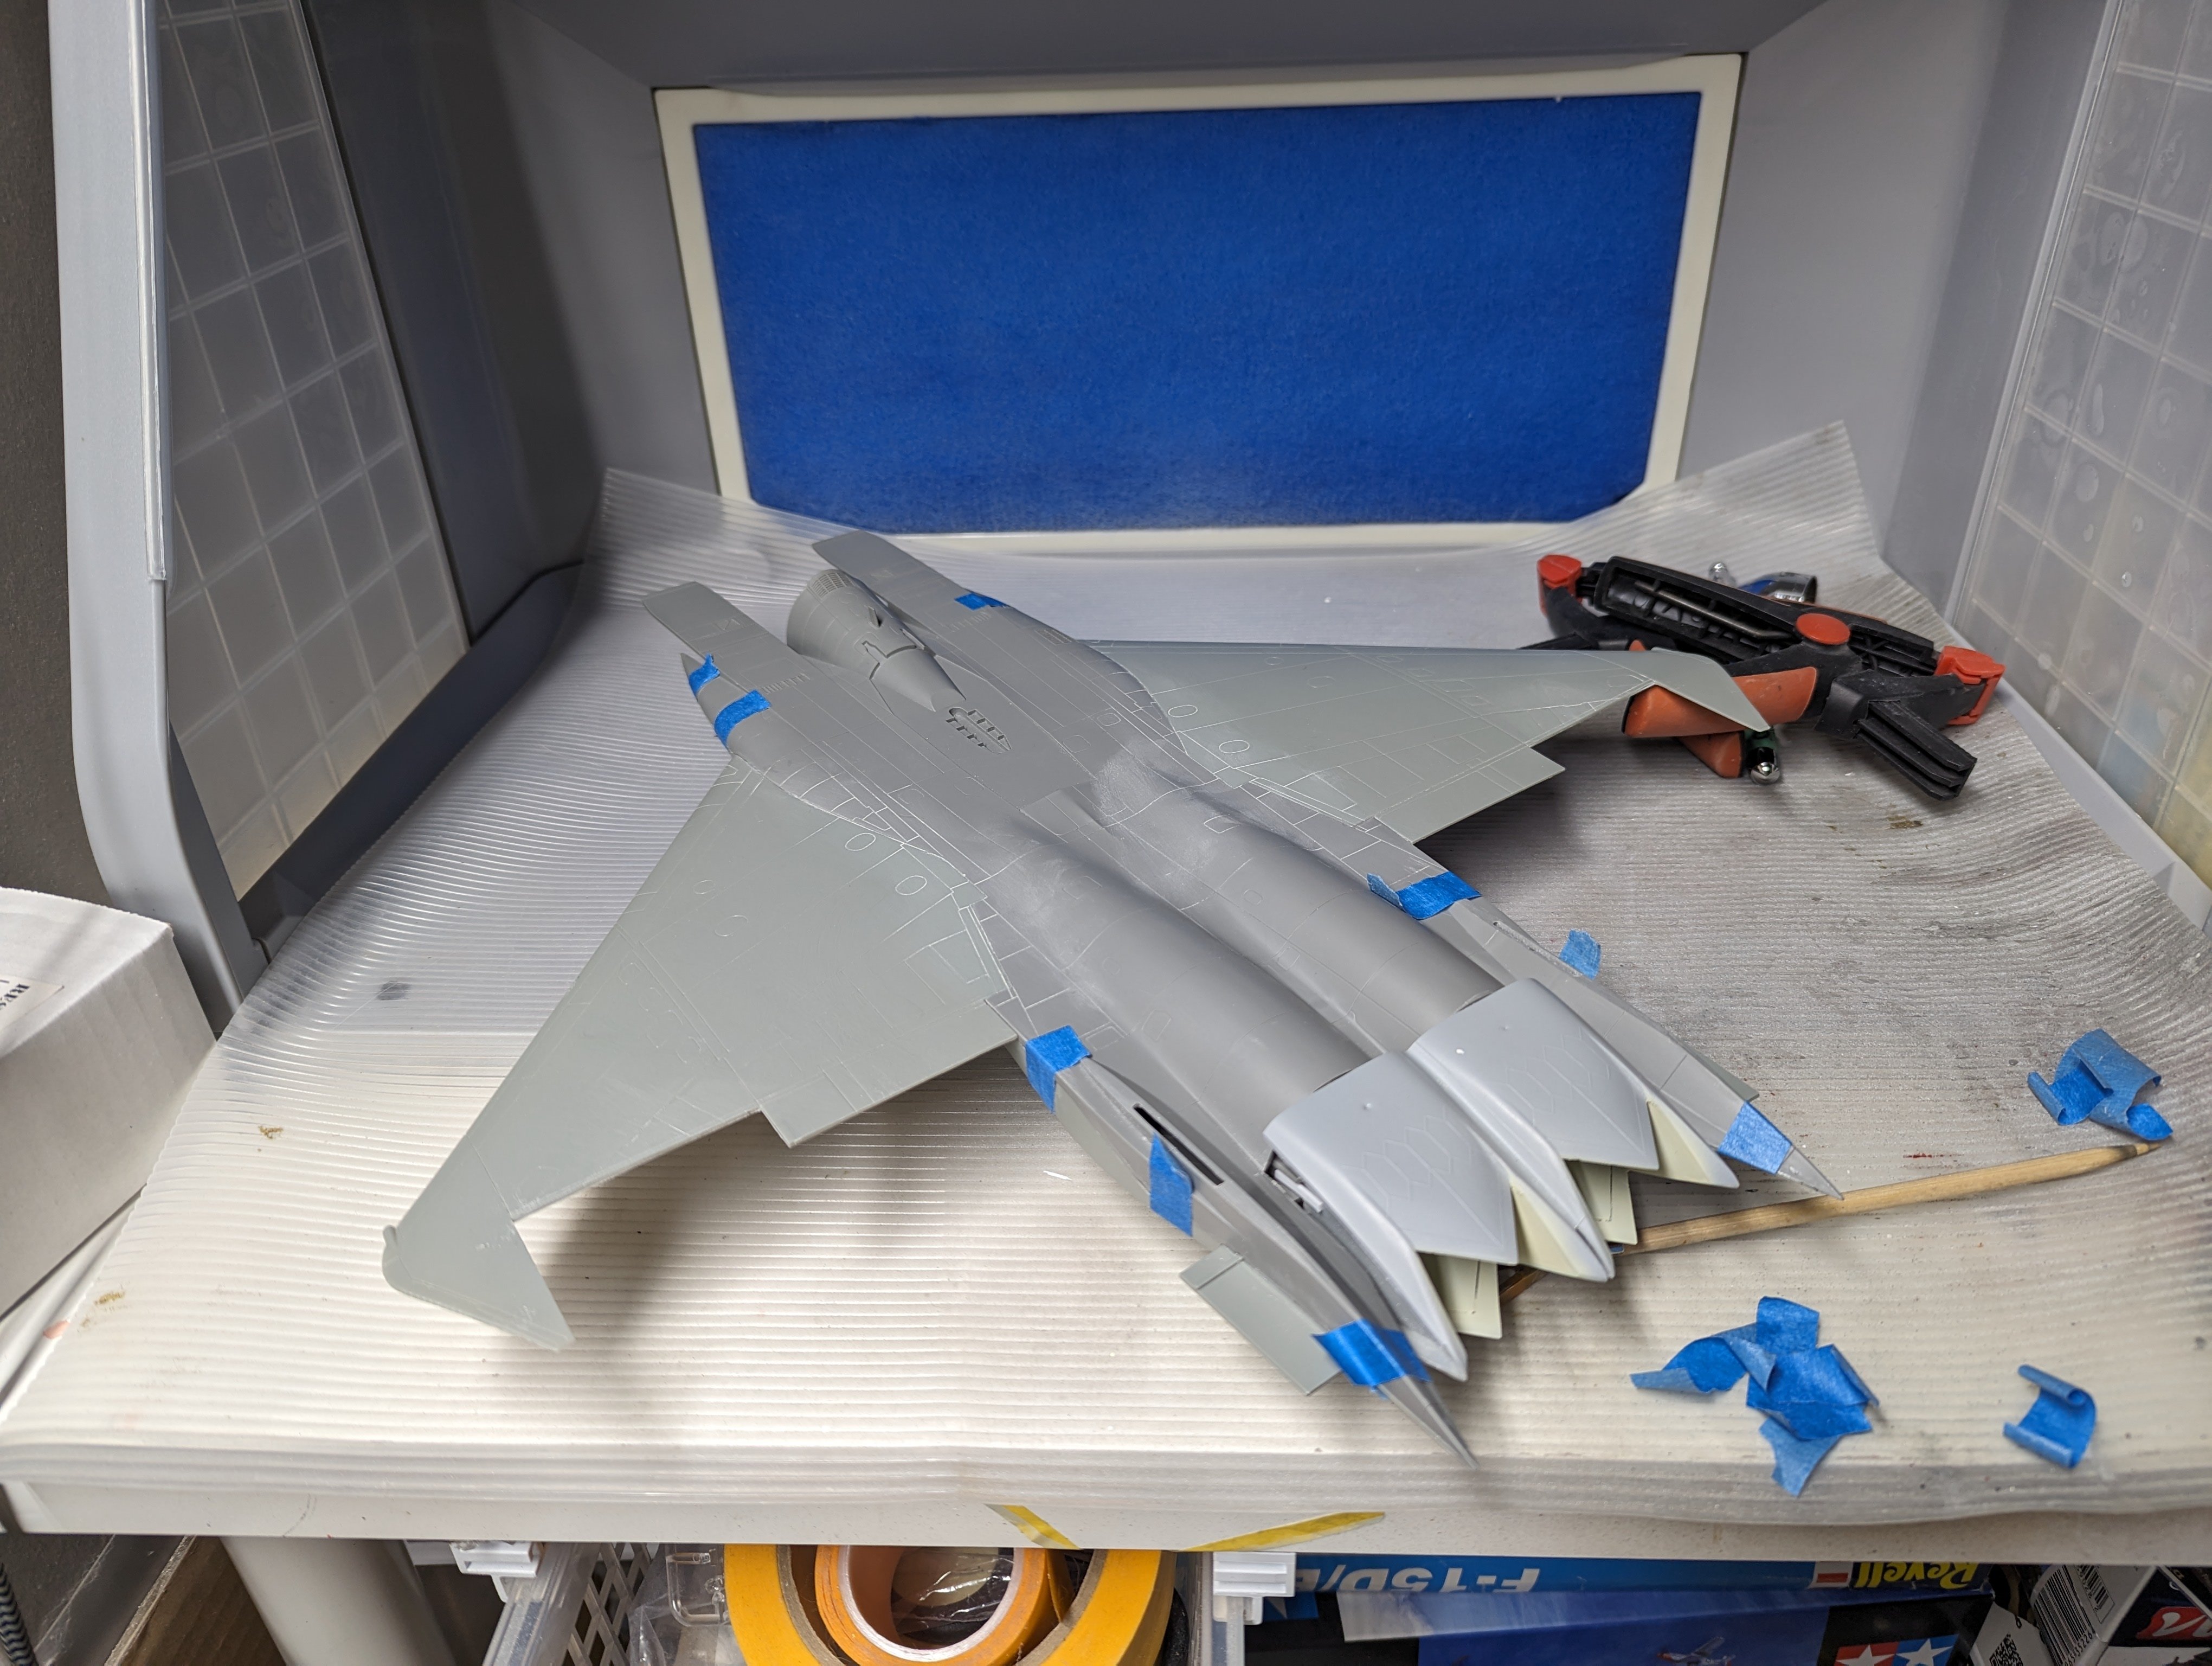
First step was the cockpit, just kidding. It was the exhaust flame holders. Someone's tail is in the way. Let's try again. Then the upper fuselage half was added. Thankfully with the way GWH has moulded the wings, there's no worry about misalignment.
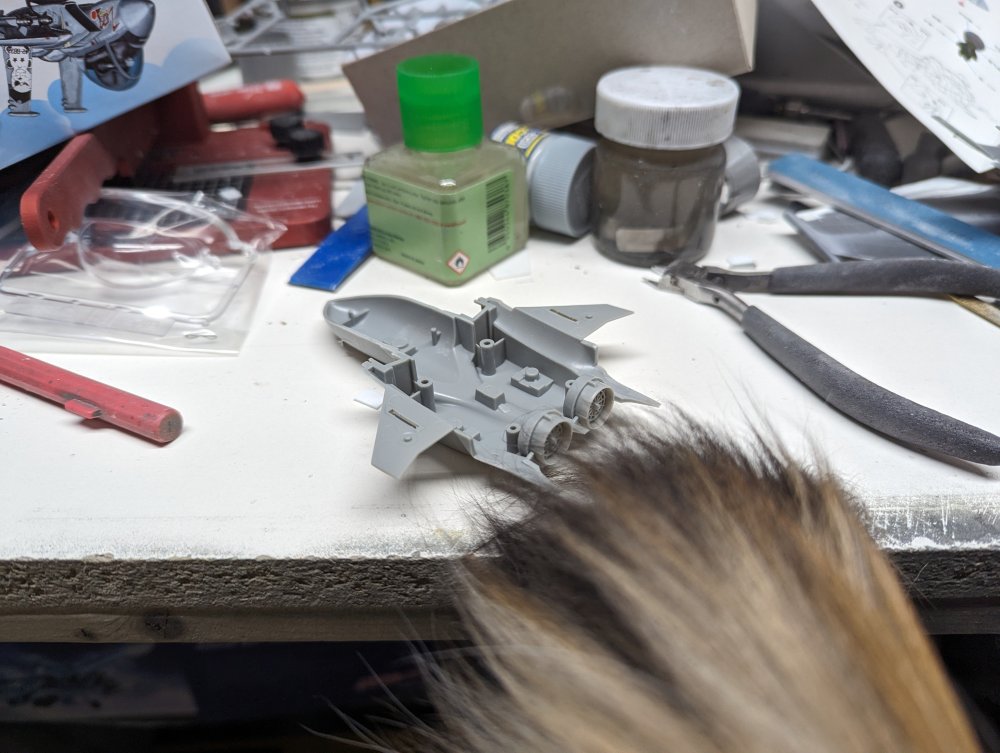


-
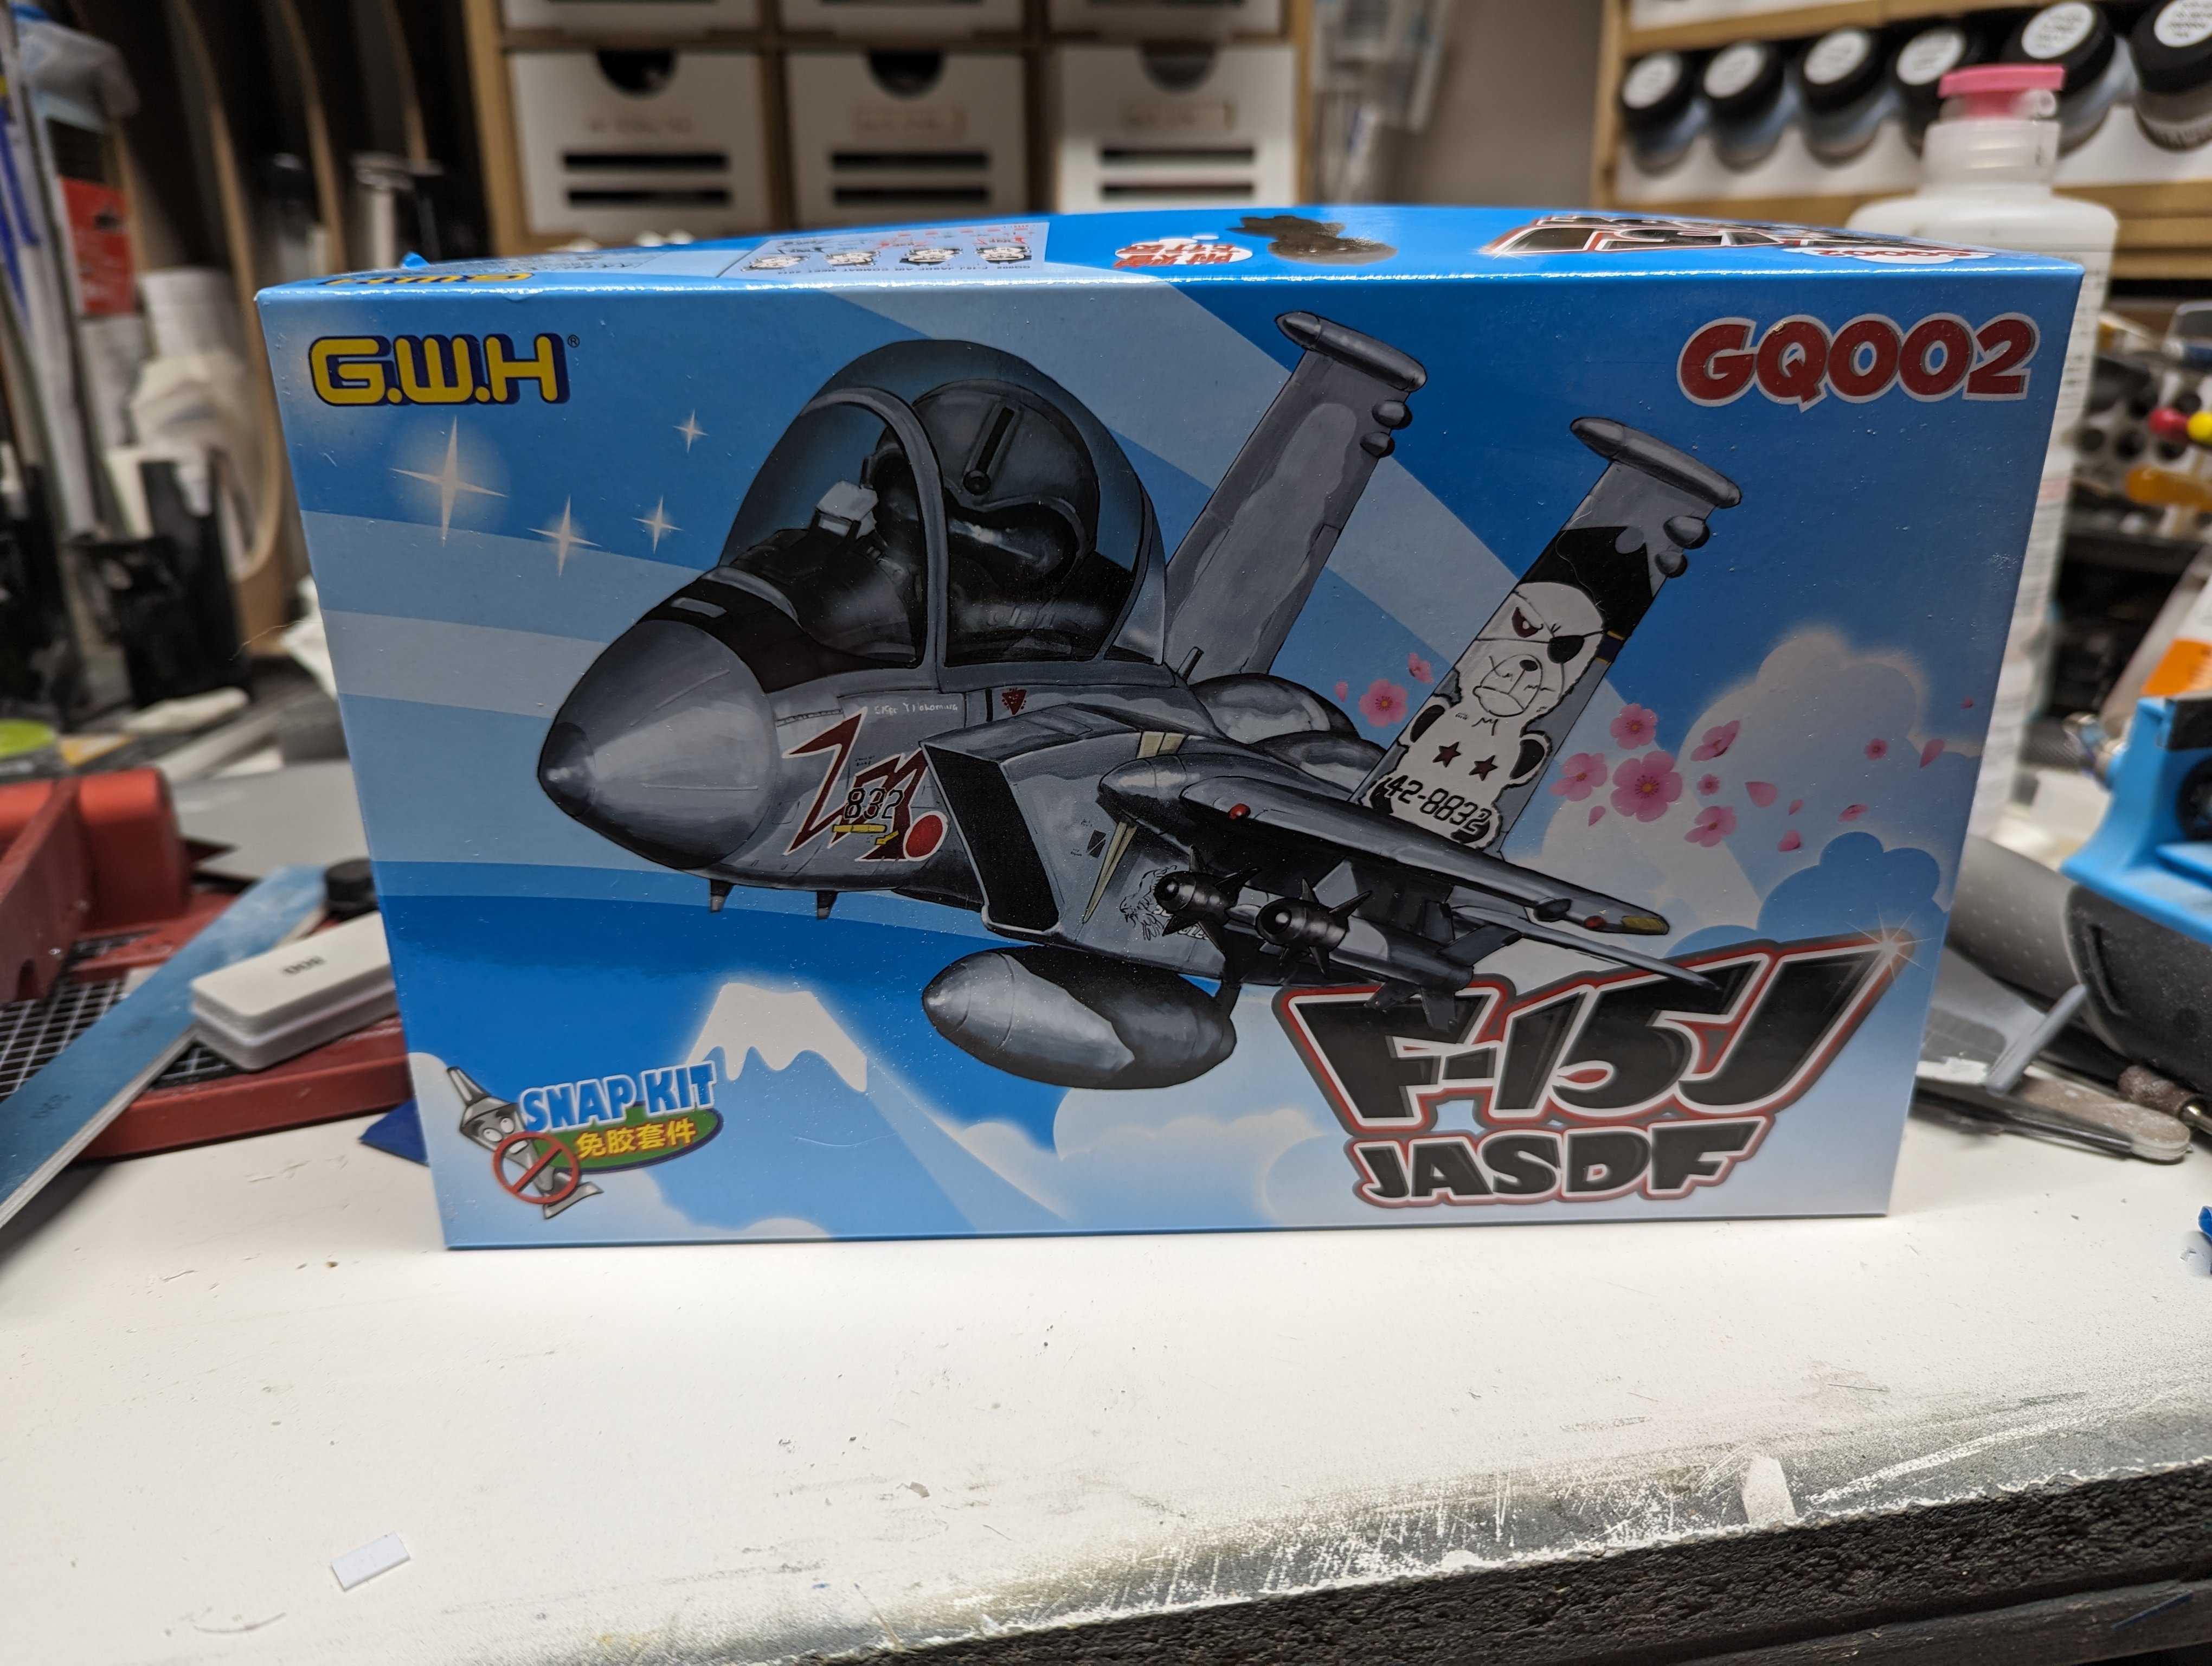
Well, I found this under the bench and I figured since I'm building one JASDF F-15J, I might as well do another. Although this one won't be a fictional version.

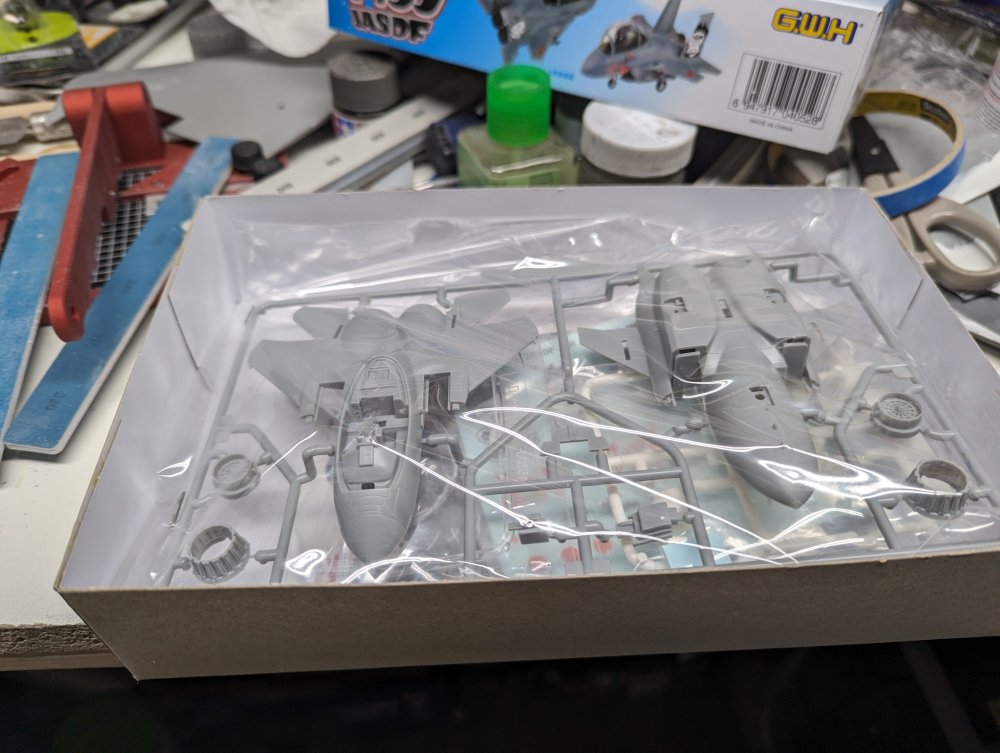
-
F-15DJ Kai or Eagle Plus- Finished!
BlrwestSiR replied to BlrwestSiR's topic in The Great Twins Broup Bluild
The upper fuselage is now on. With a quick dry fit of the rear stabs.