BlrwestSiR
-
Posts
9,212 -
Joined
-
Last visited
Content Type
Profiles
Forums
Events
Gallery
Everything posted by BlrwestSiR
-

By Your Command...Finished!
BlrwestSiR replied to BlrwestSiR's topic in The Great Twins Broup Bluild
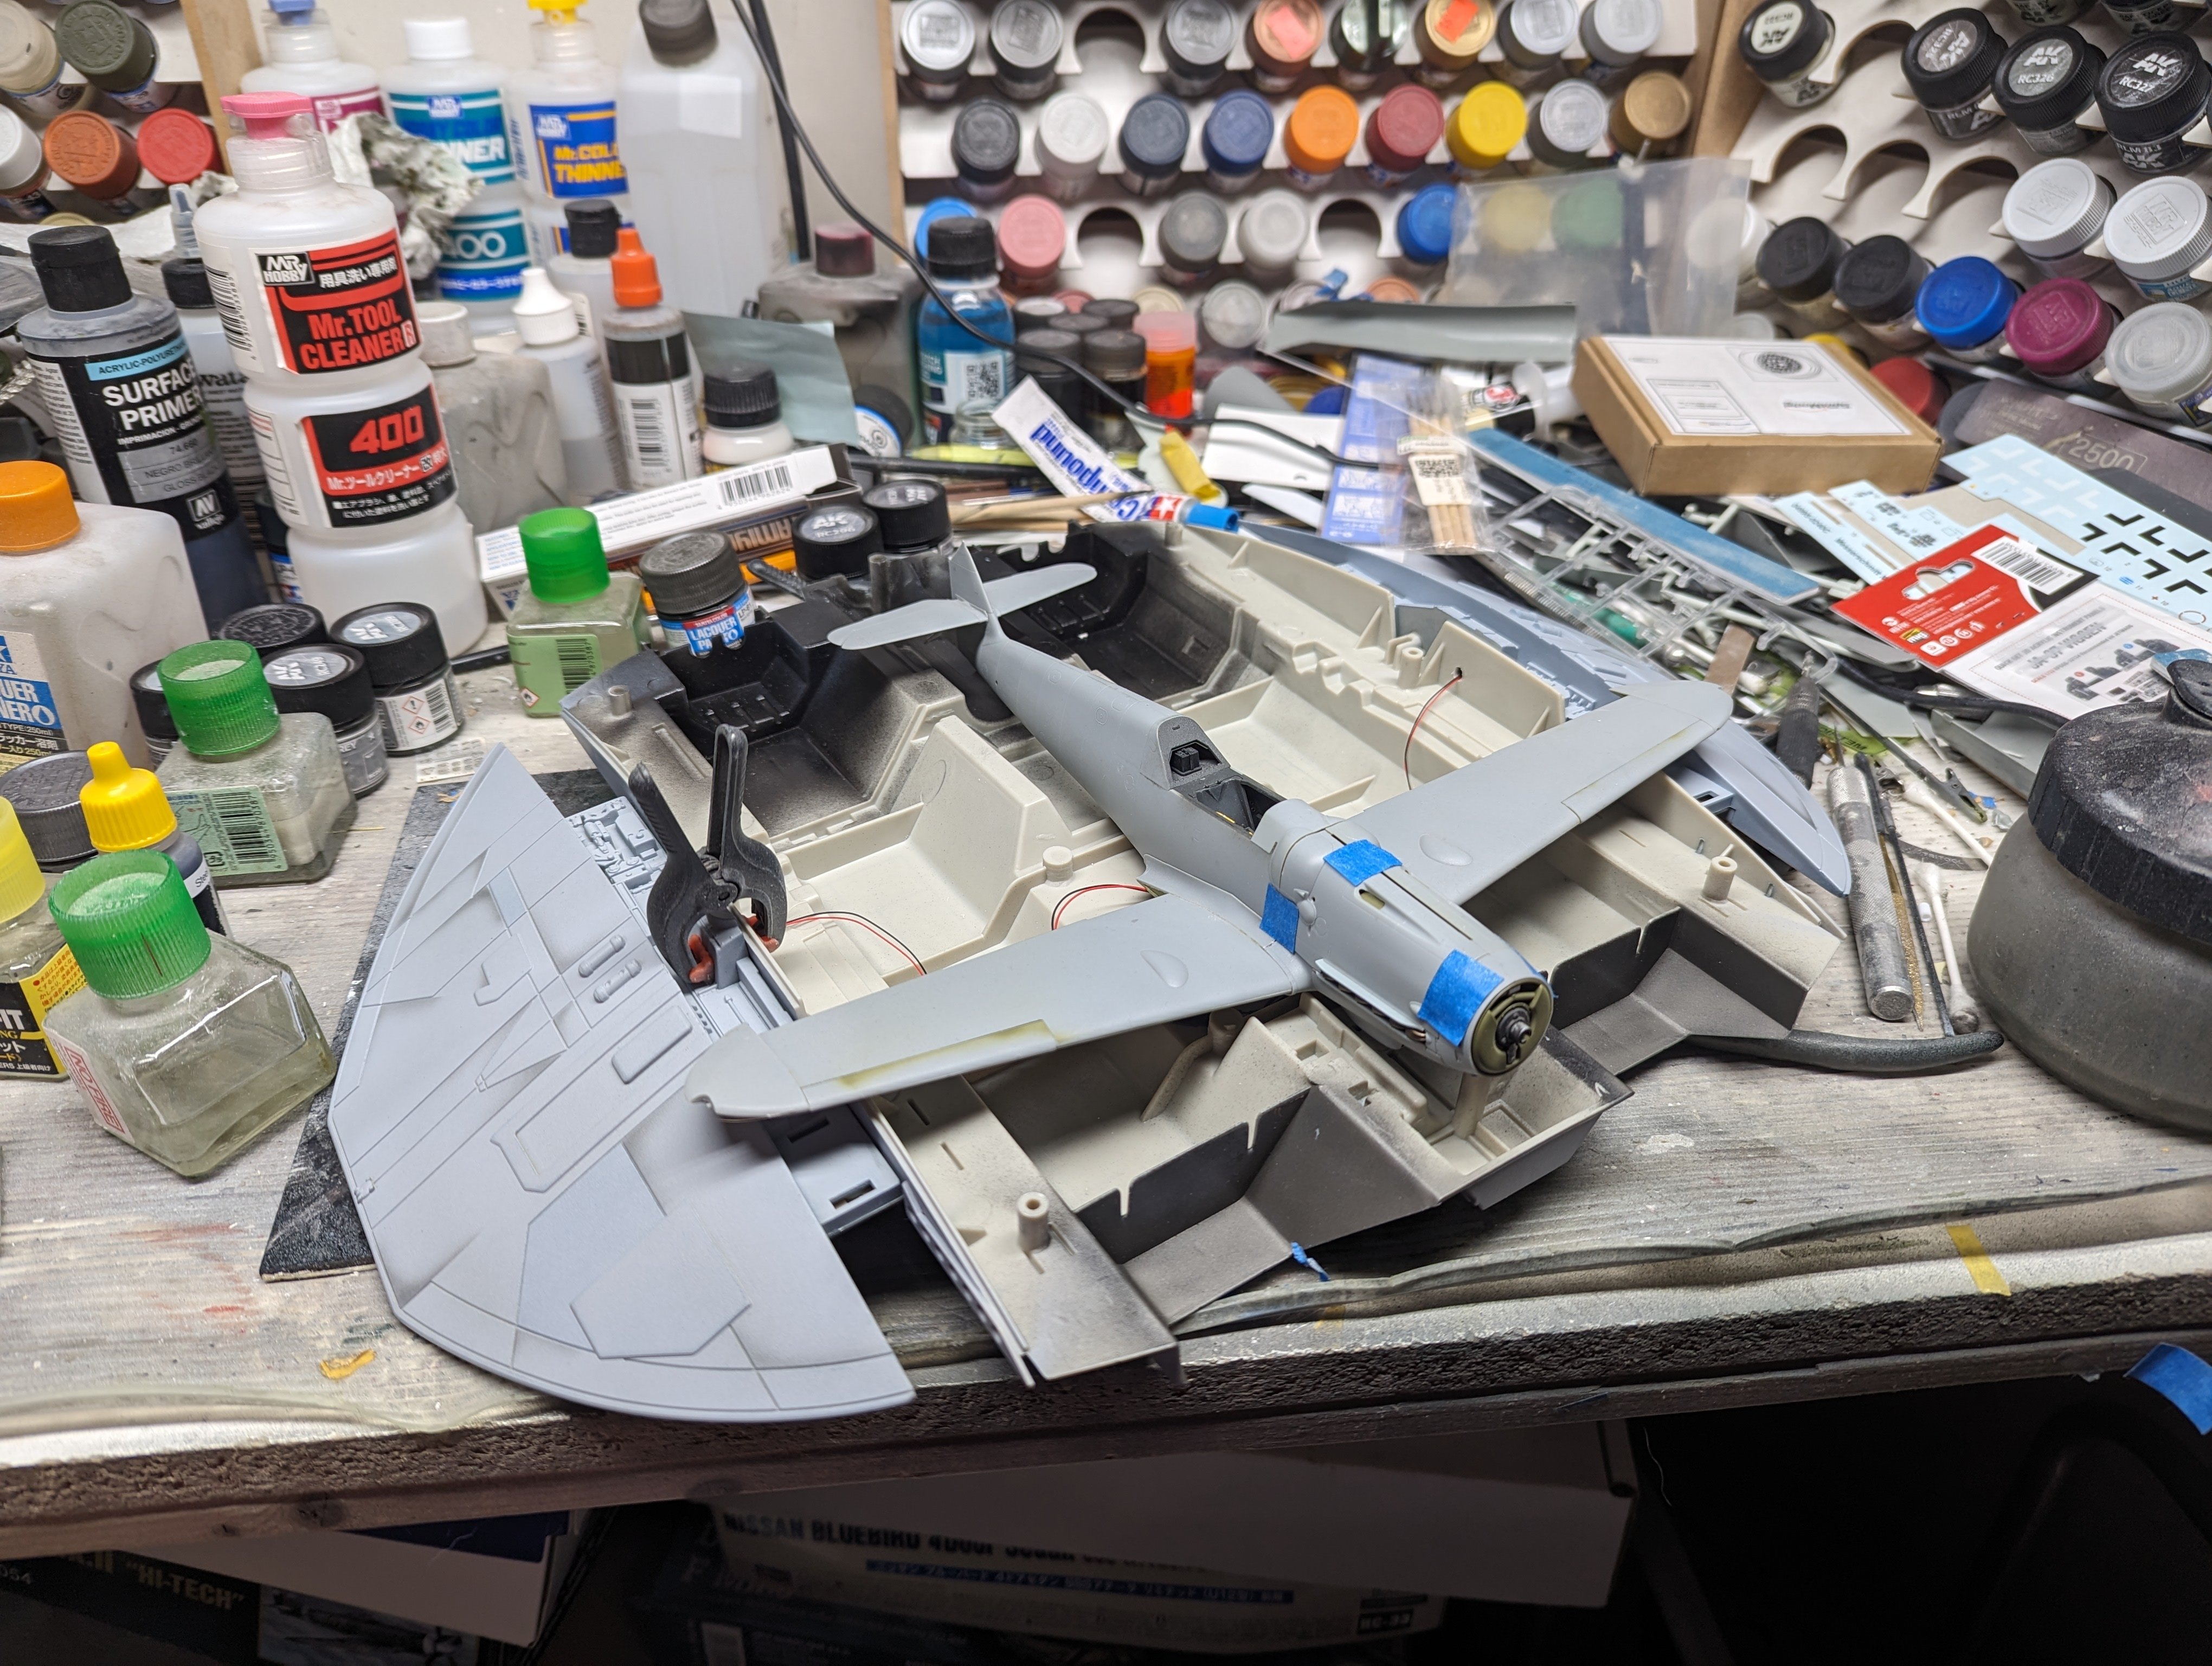
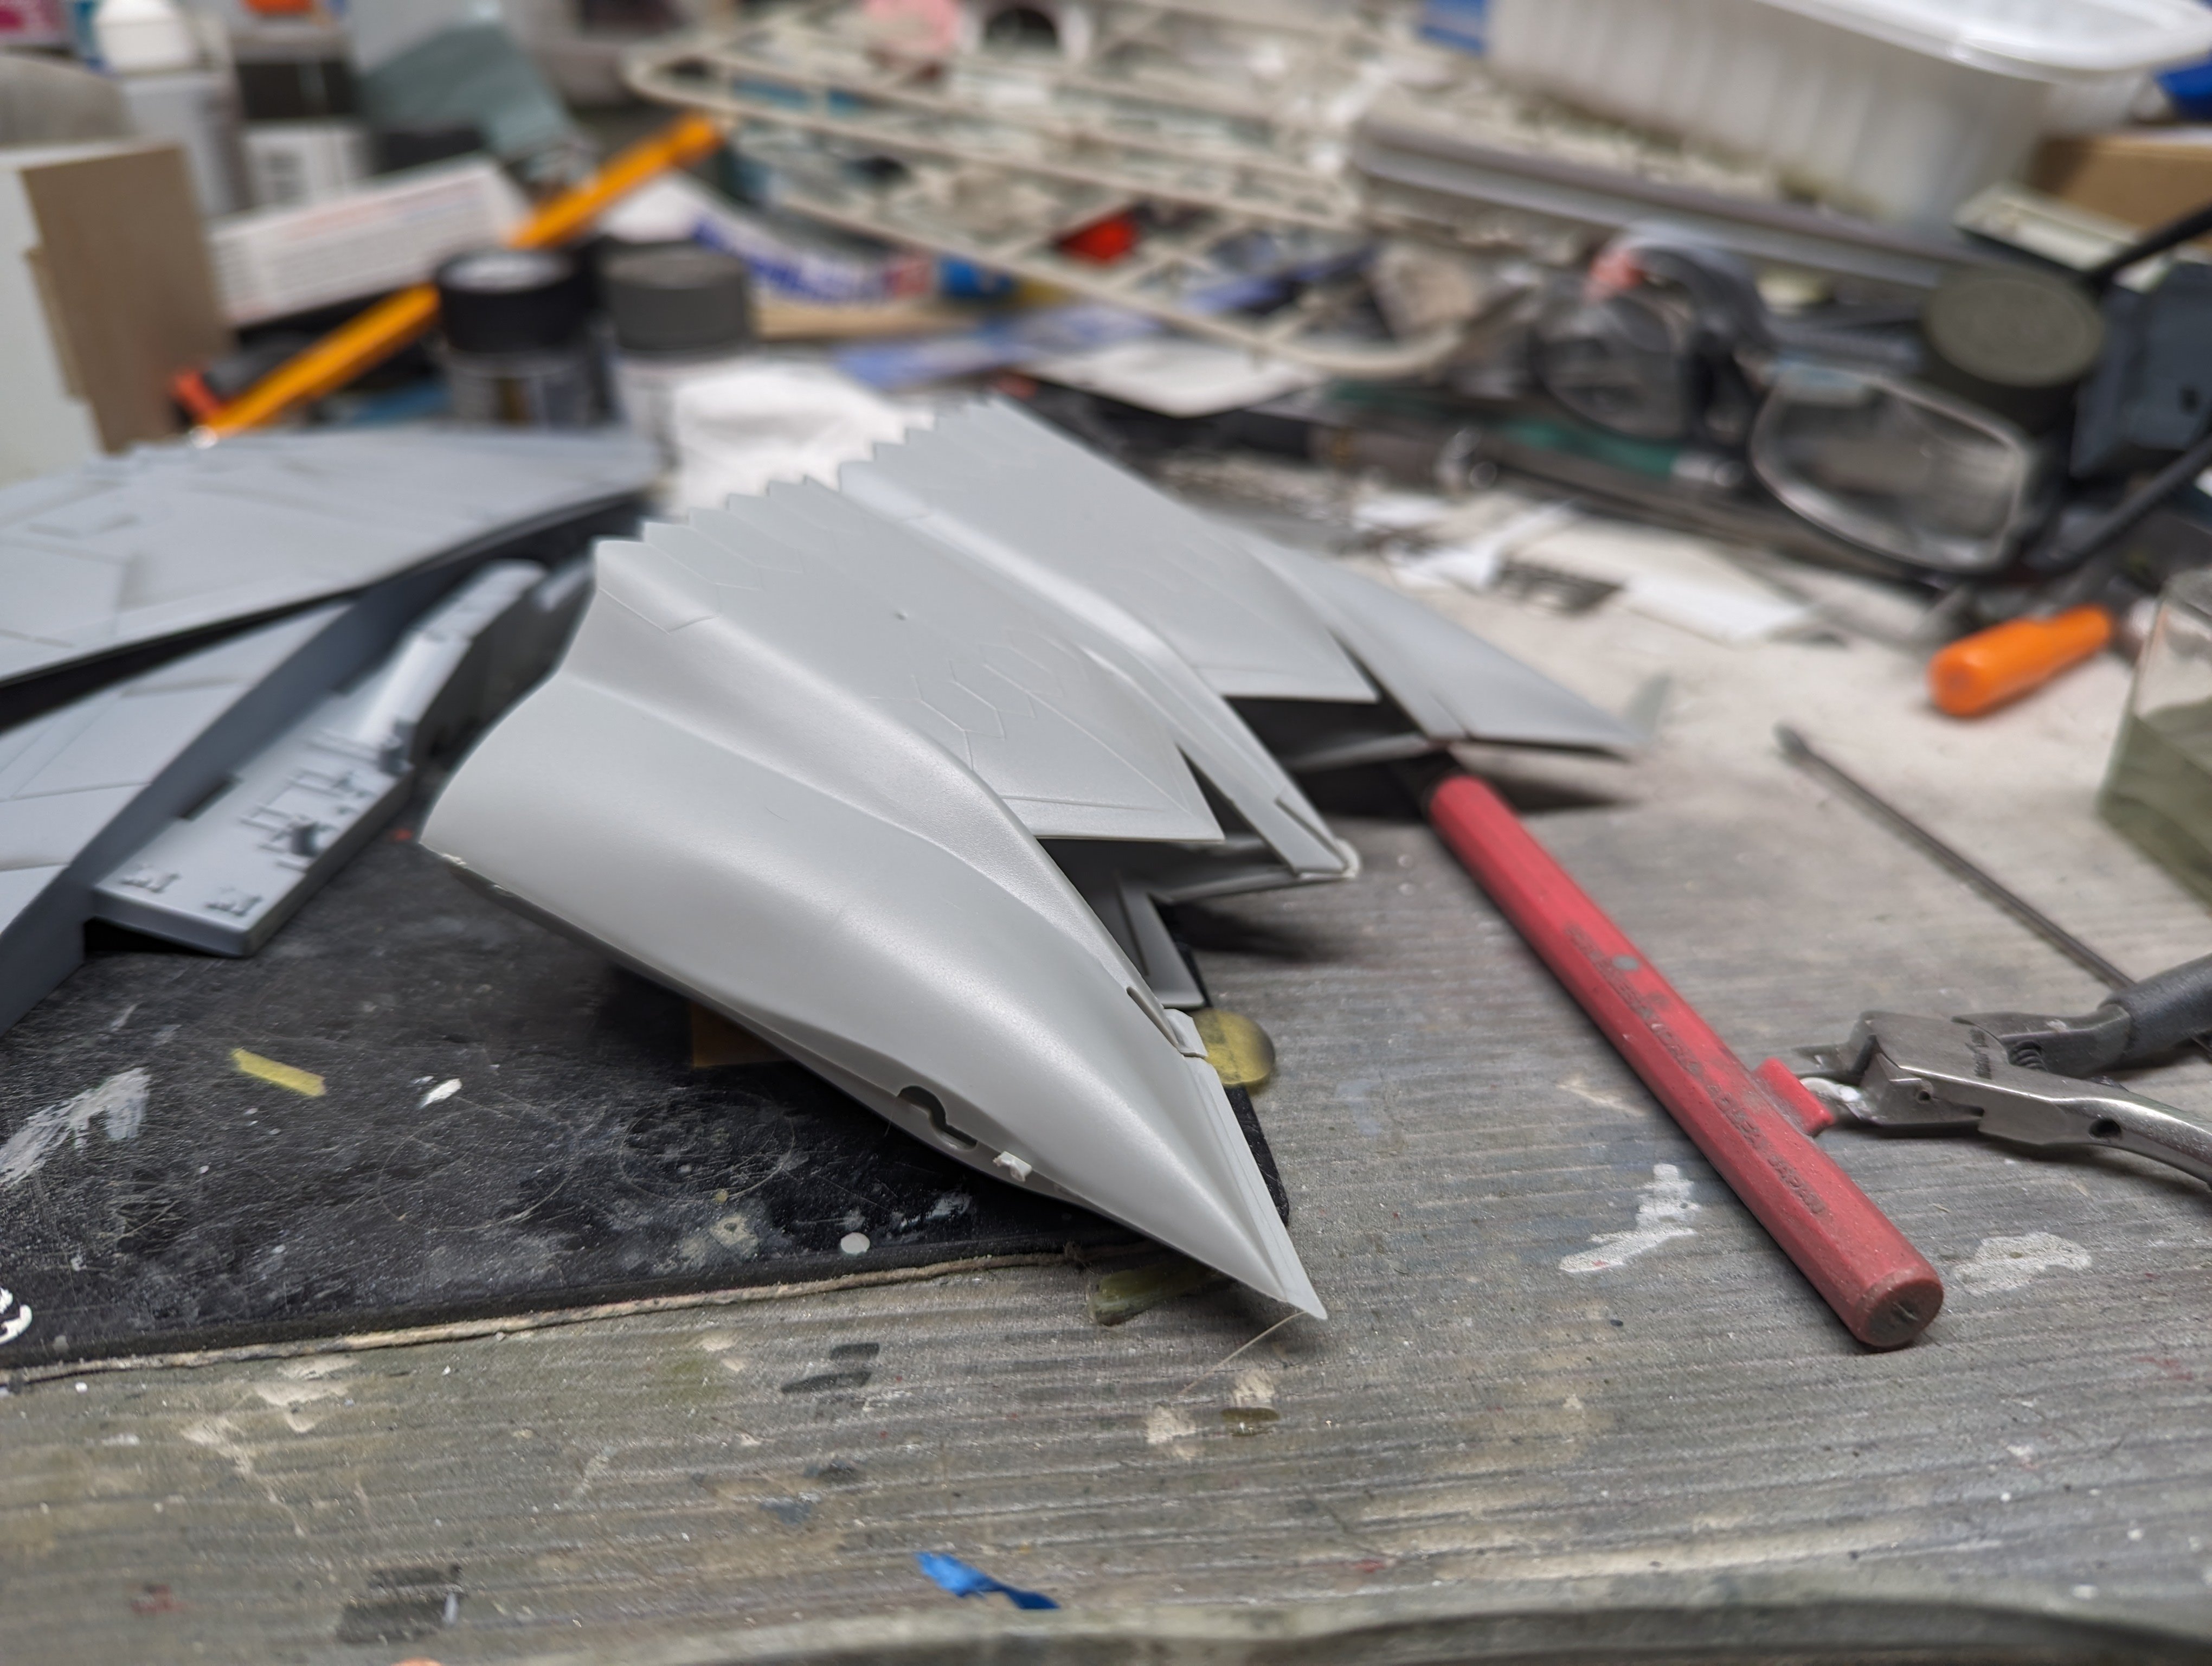
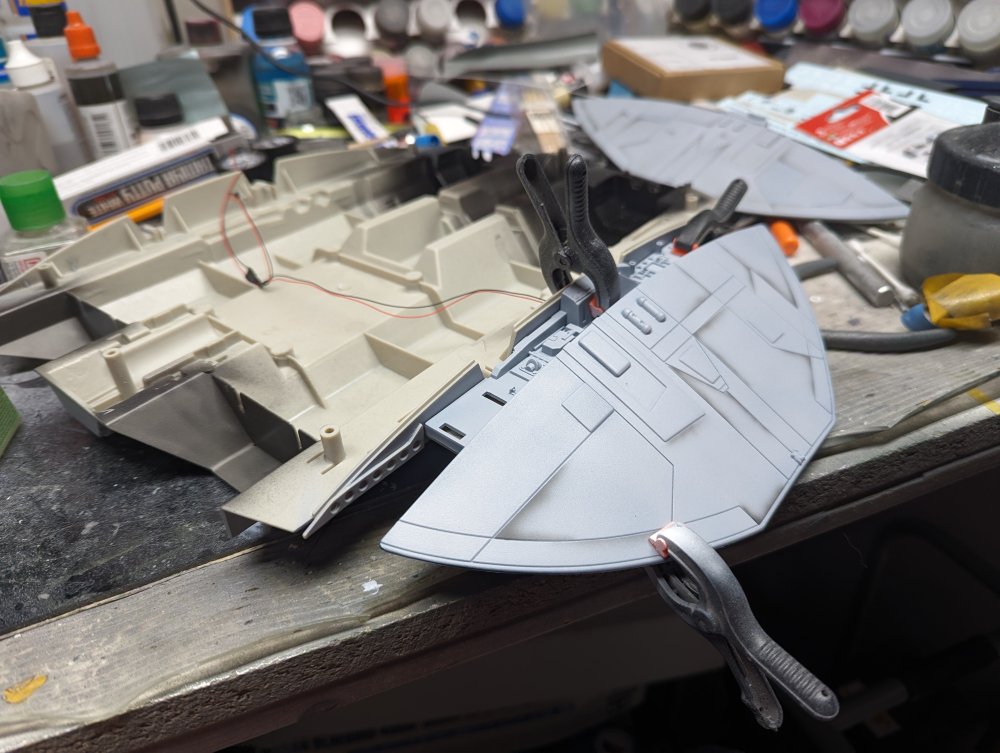
The second wing is now on. Size comparison.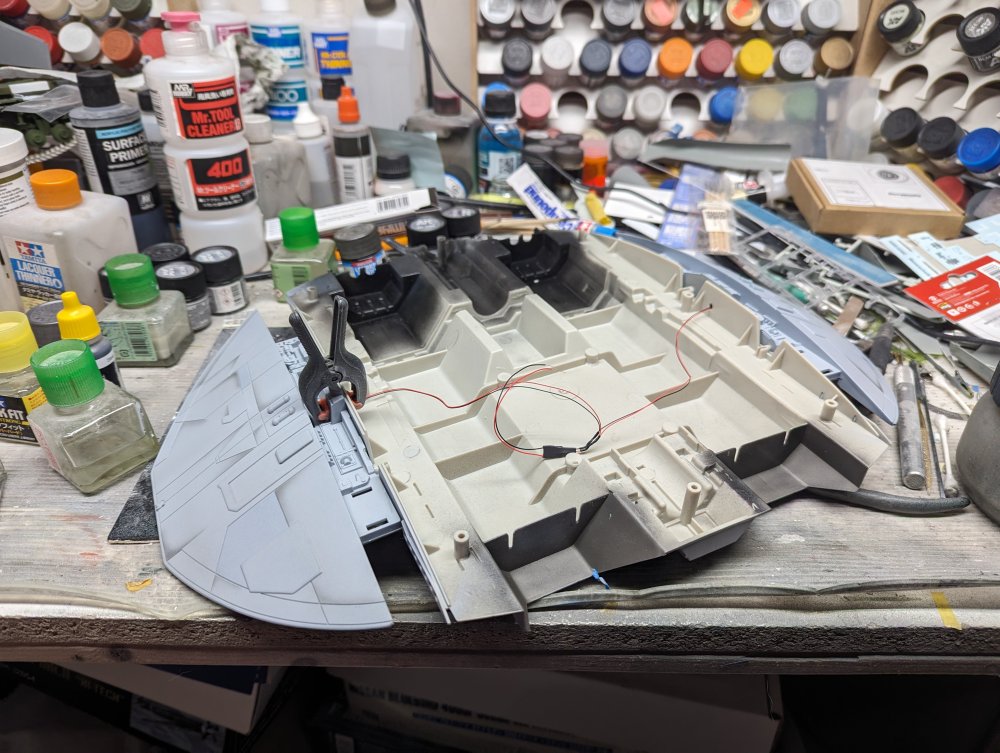
-
By Your Command...Finished!
BlrwestSiR replied to BlrwestSiR's topic in The Great Twins Broup Bluild
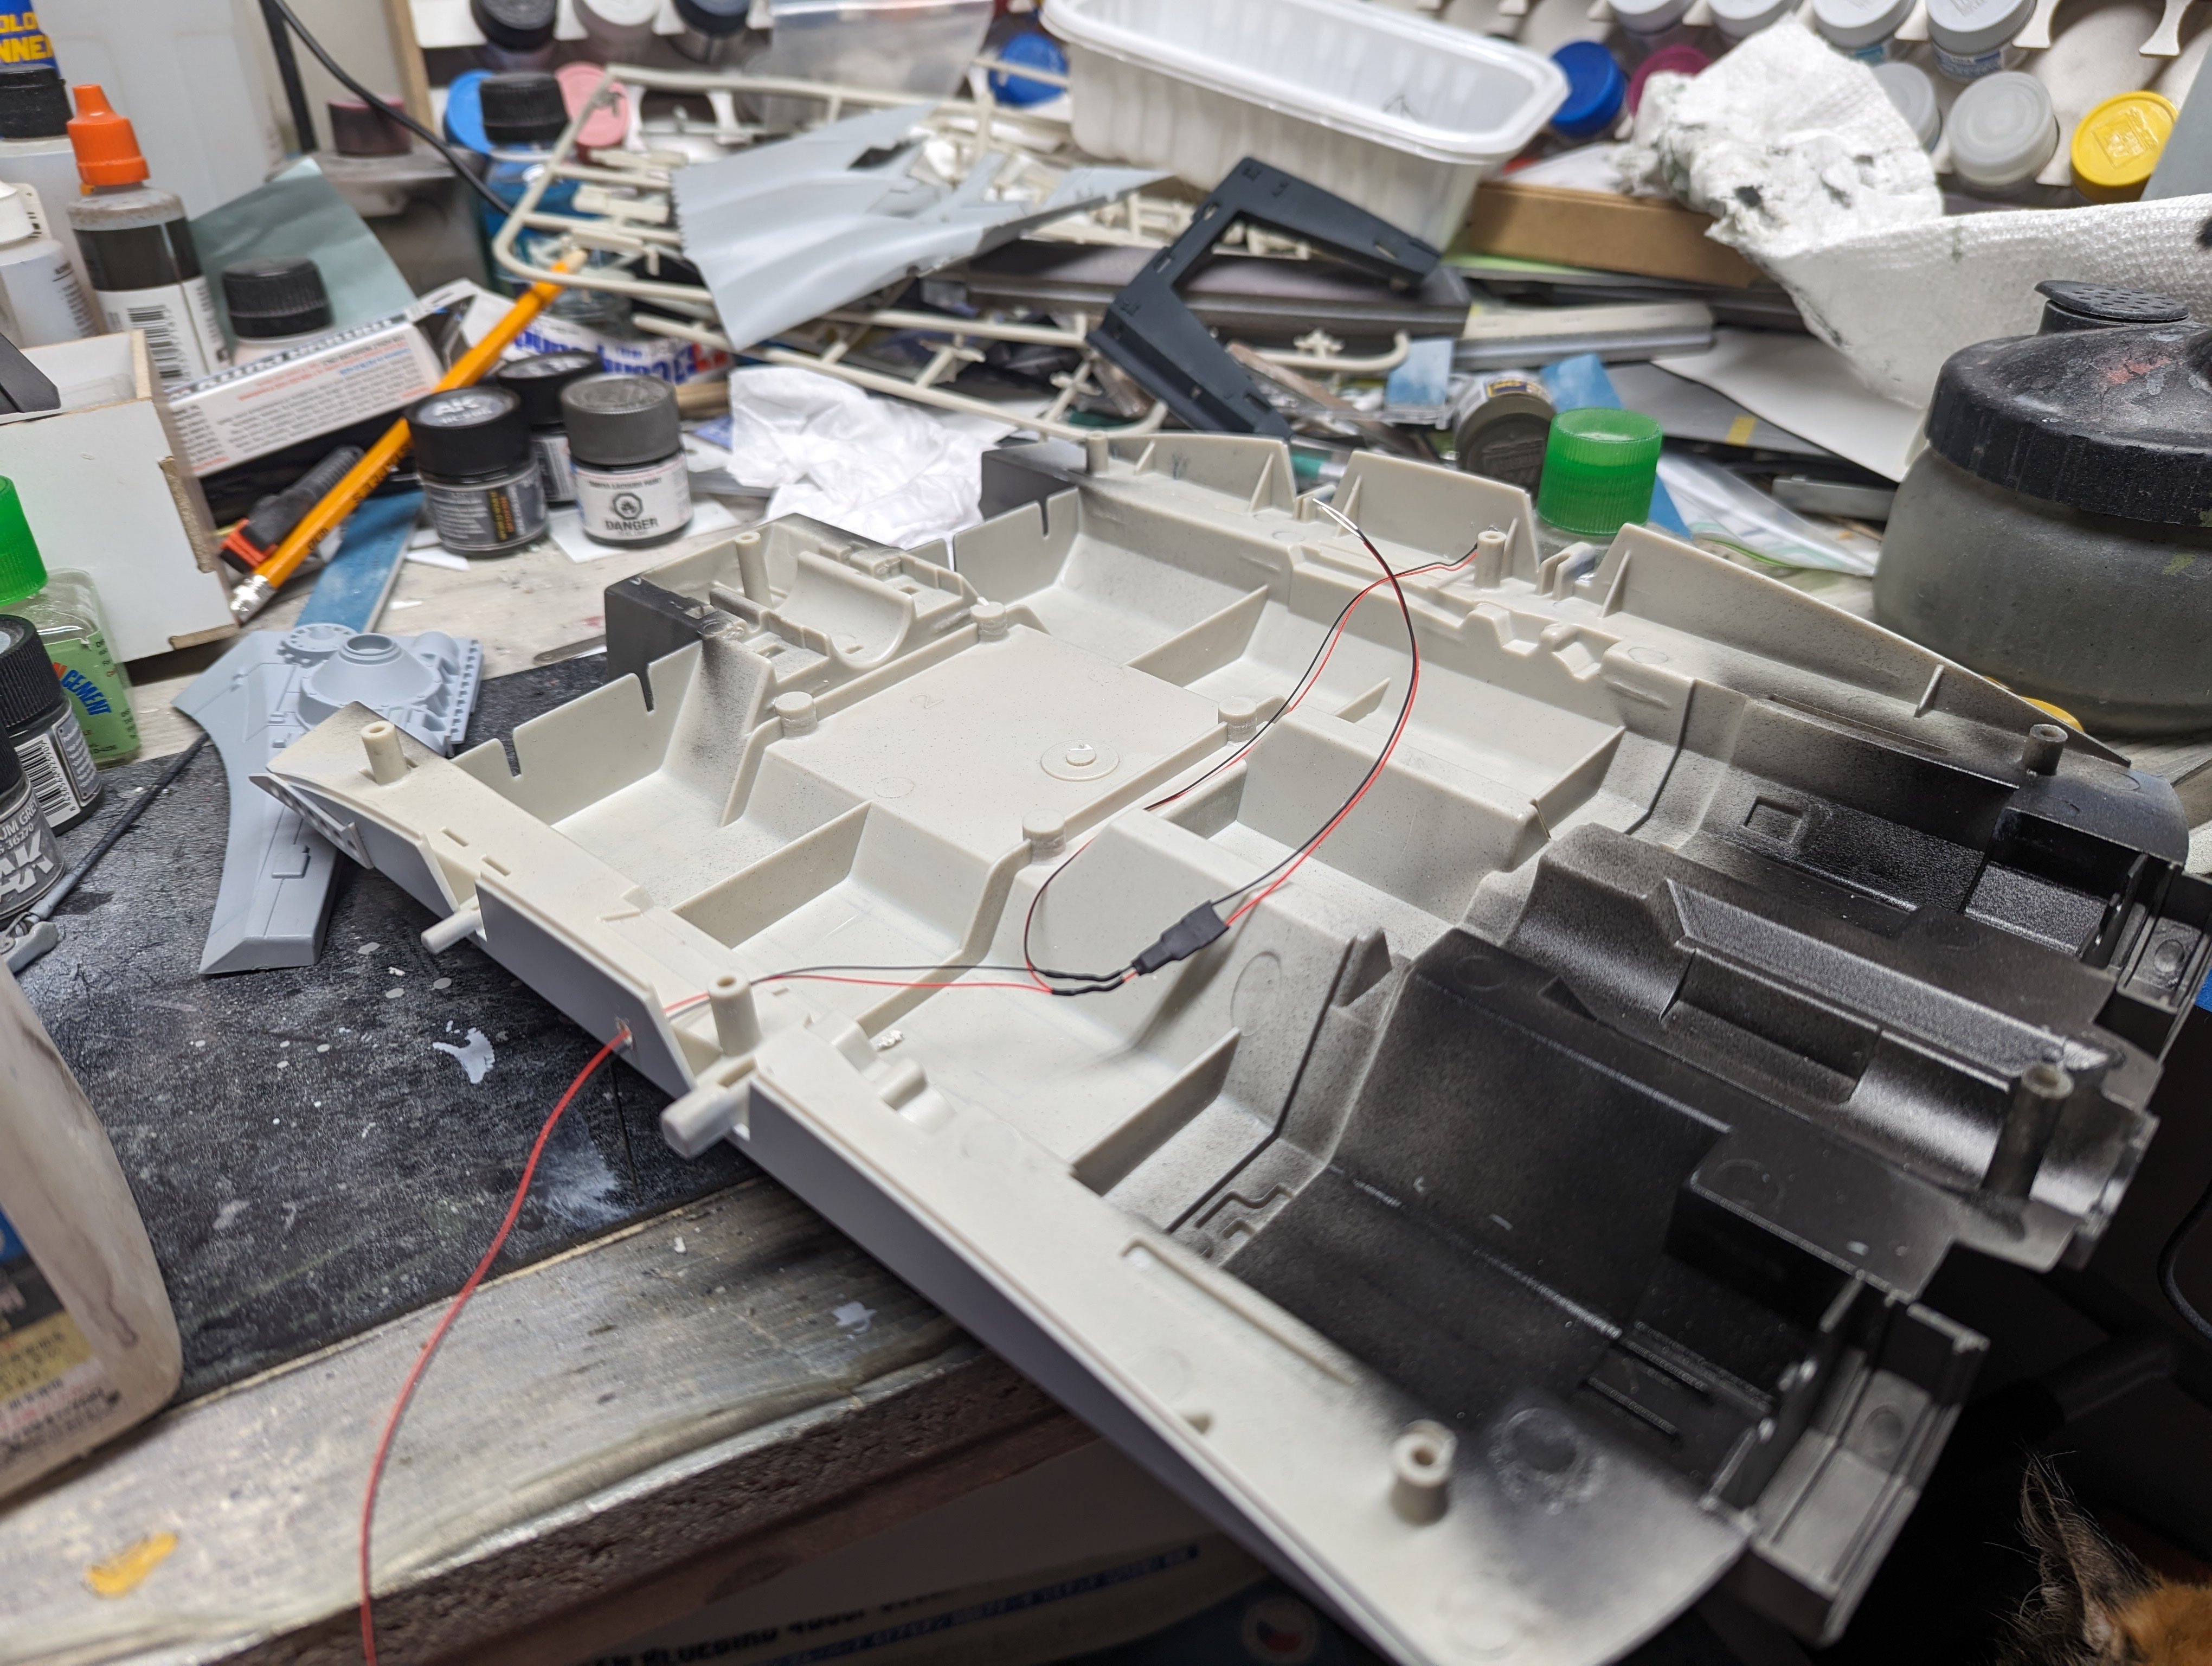
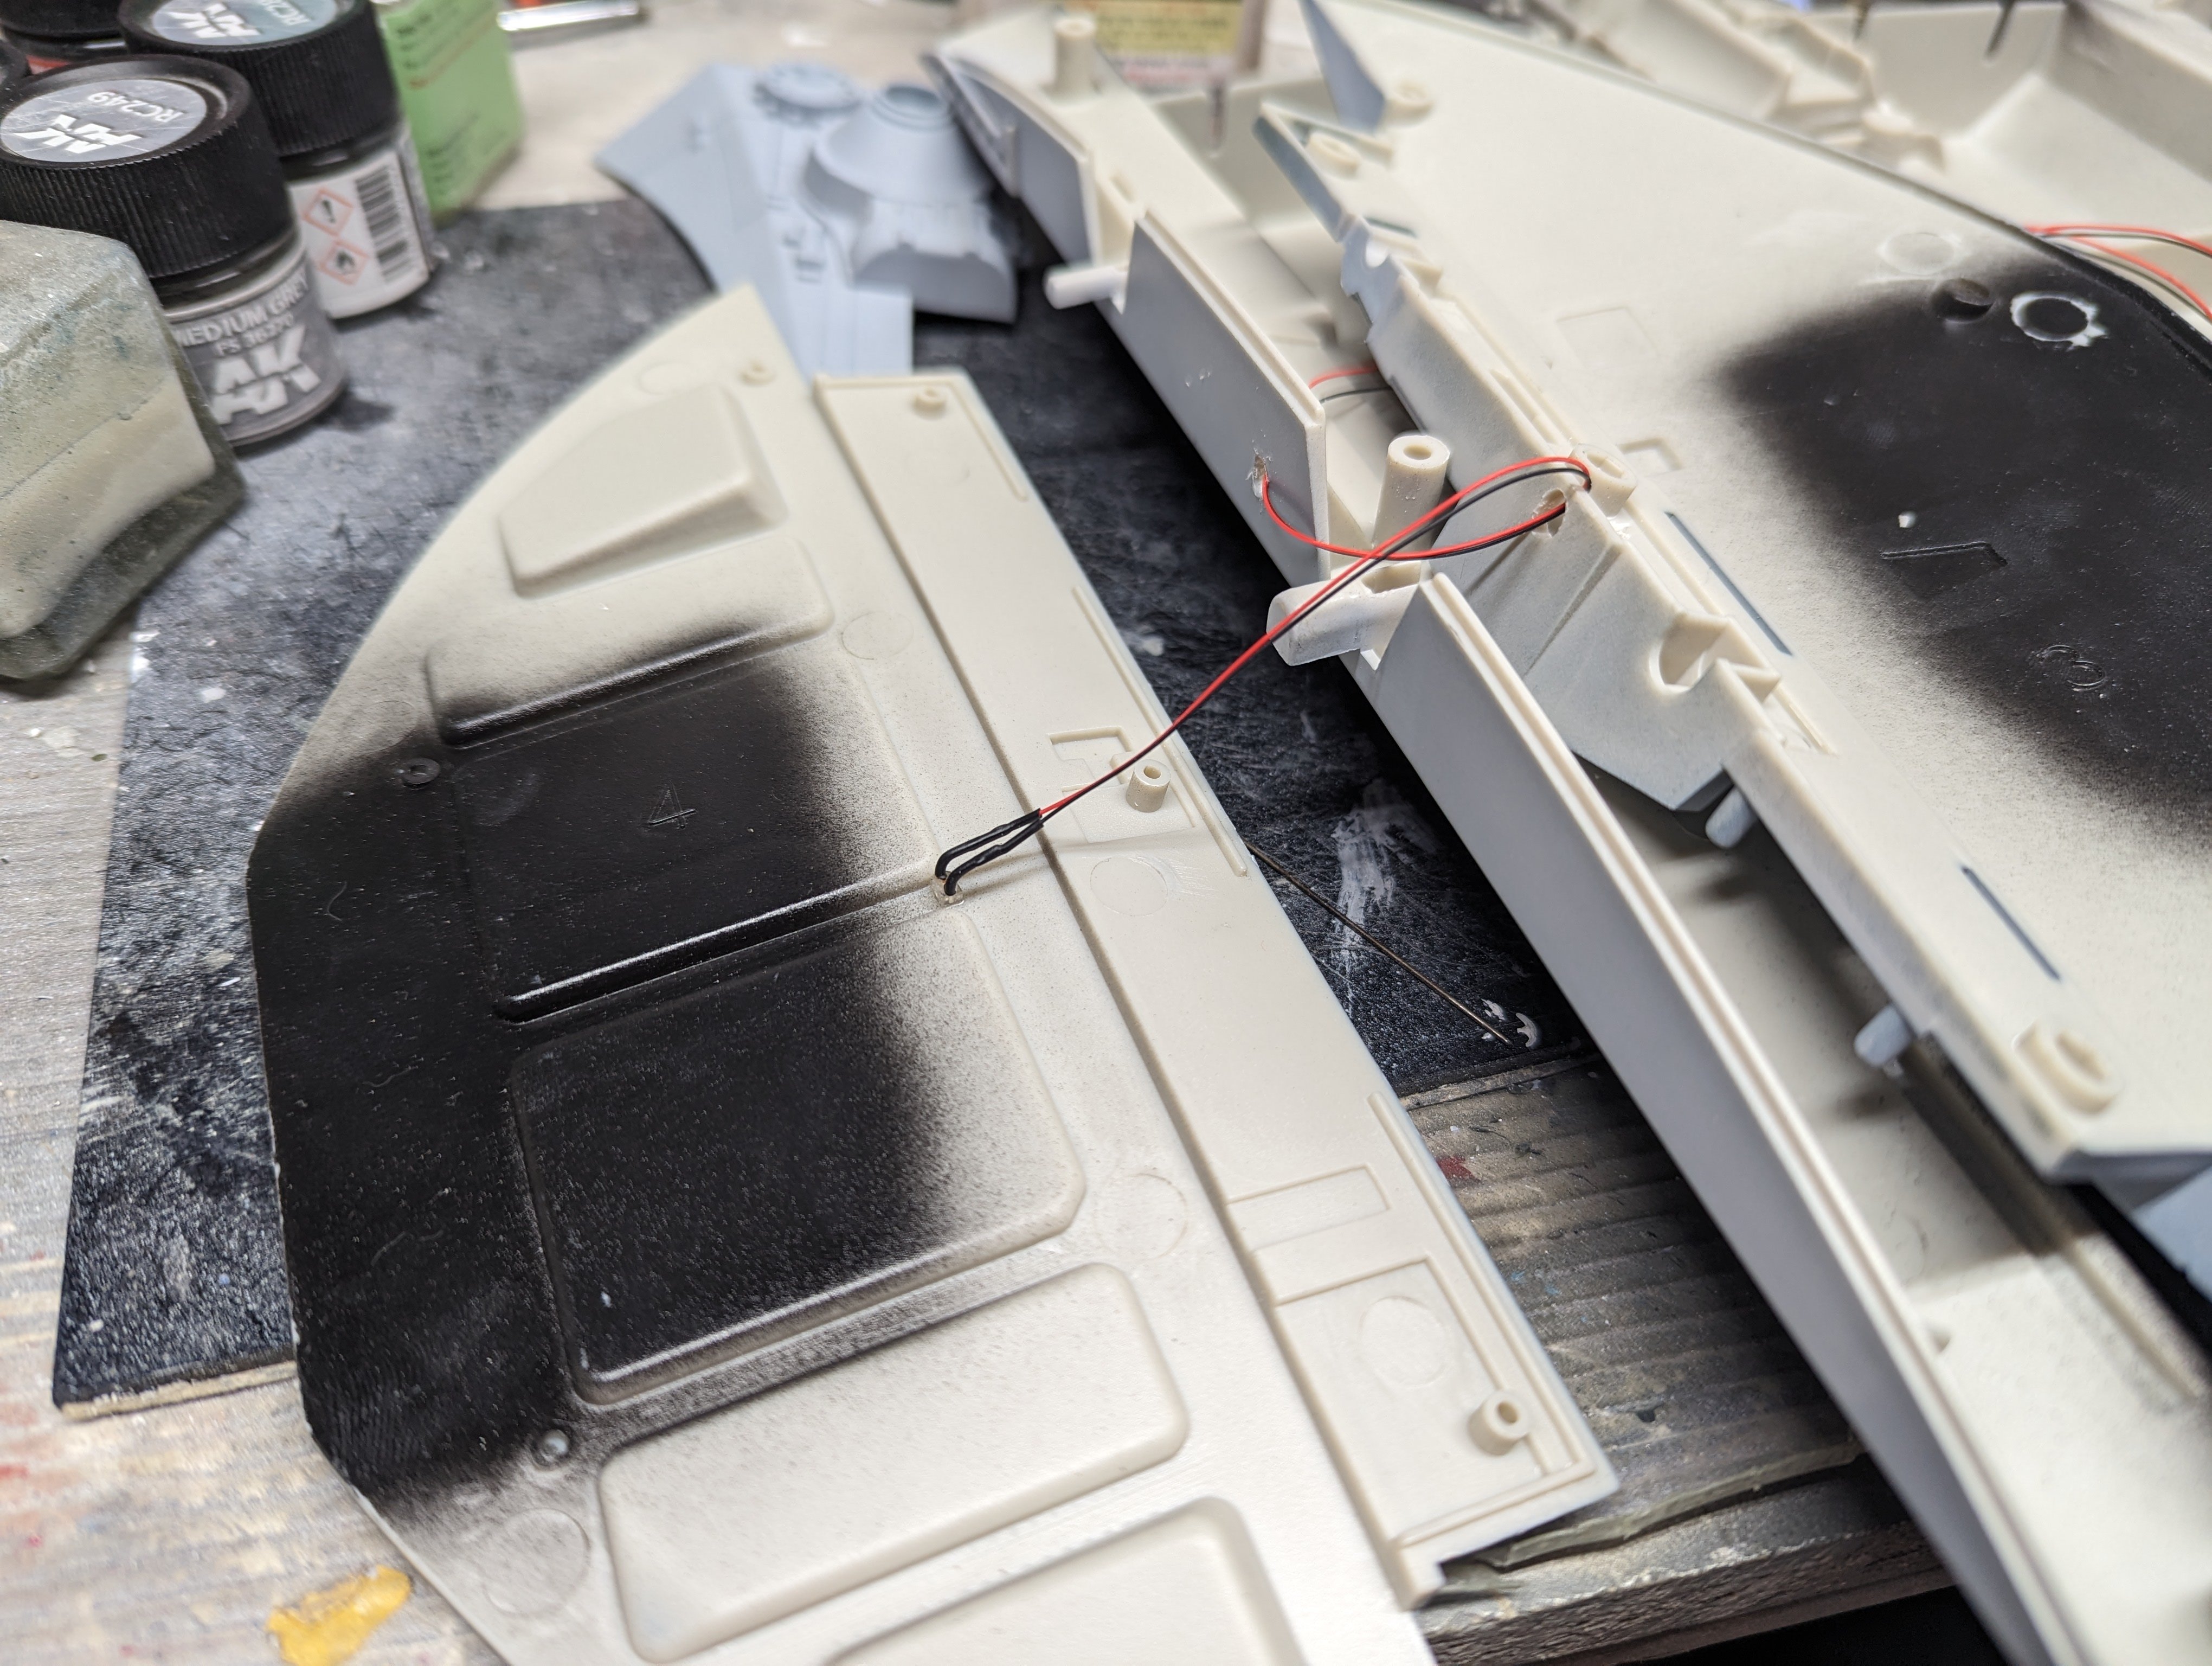
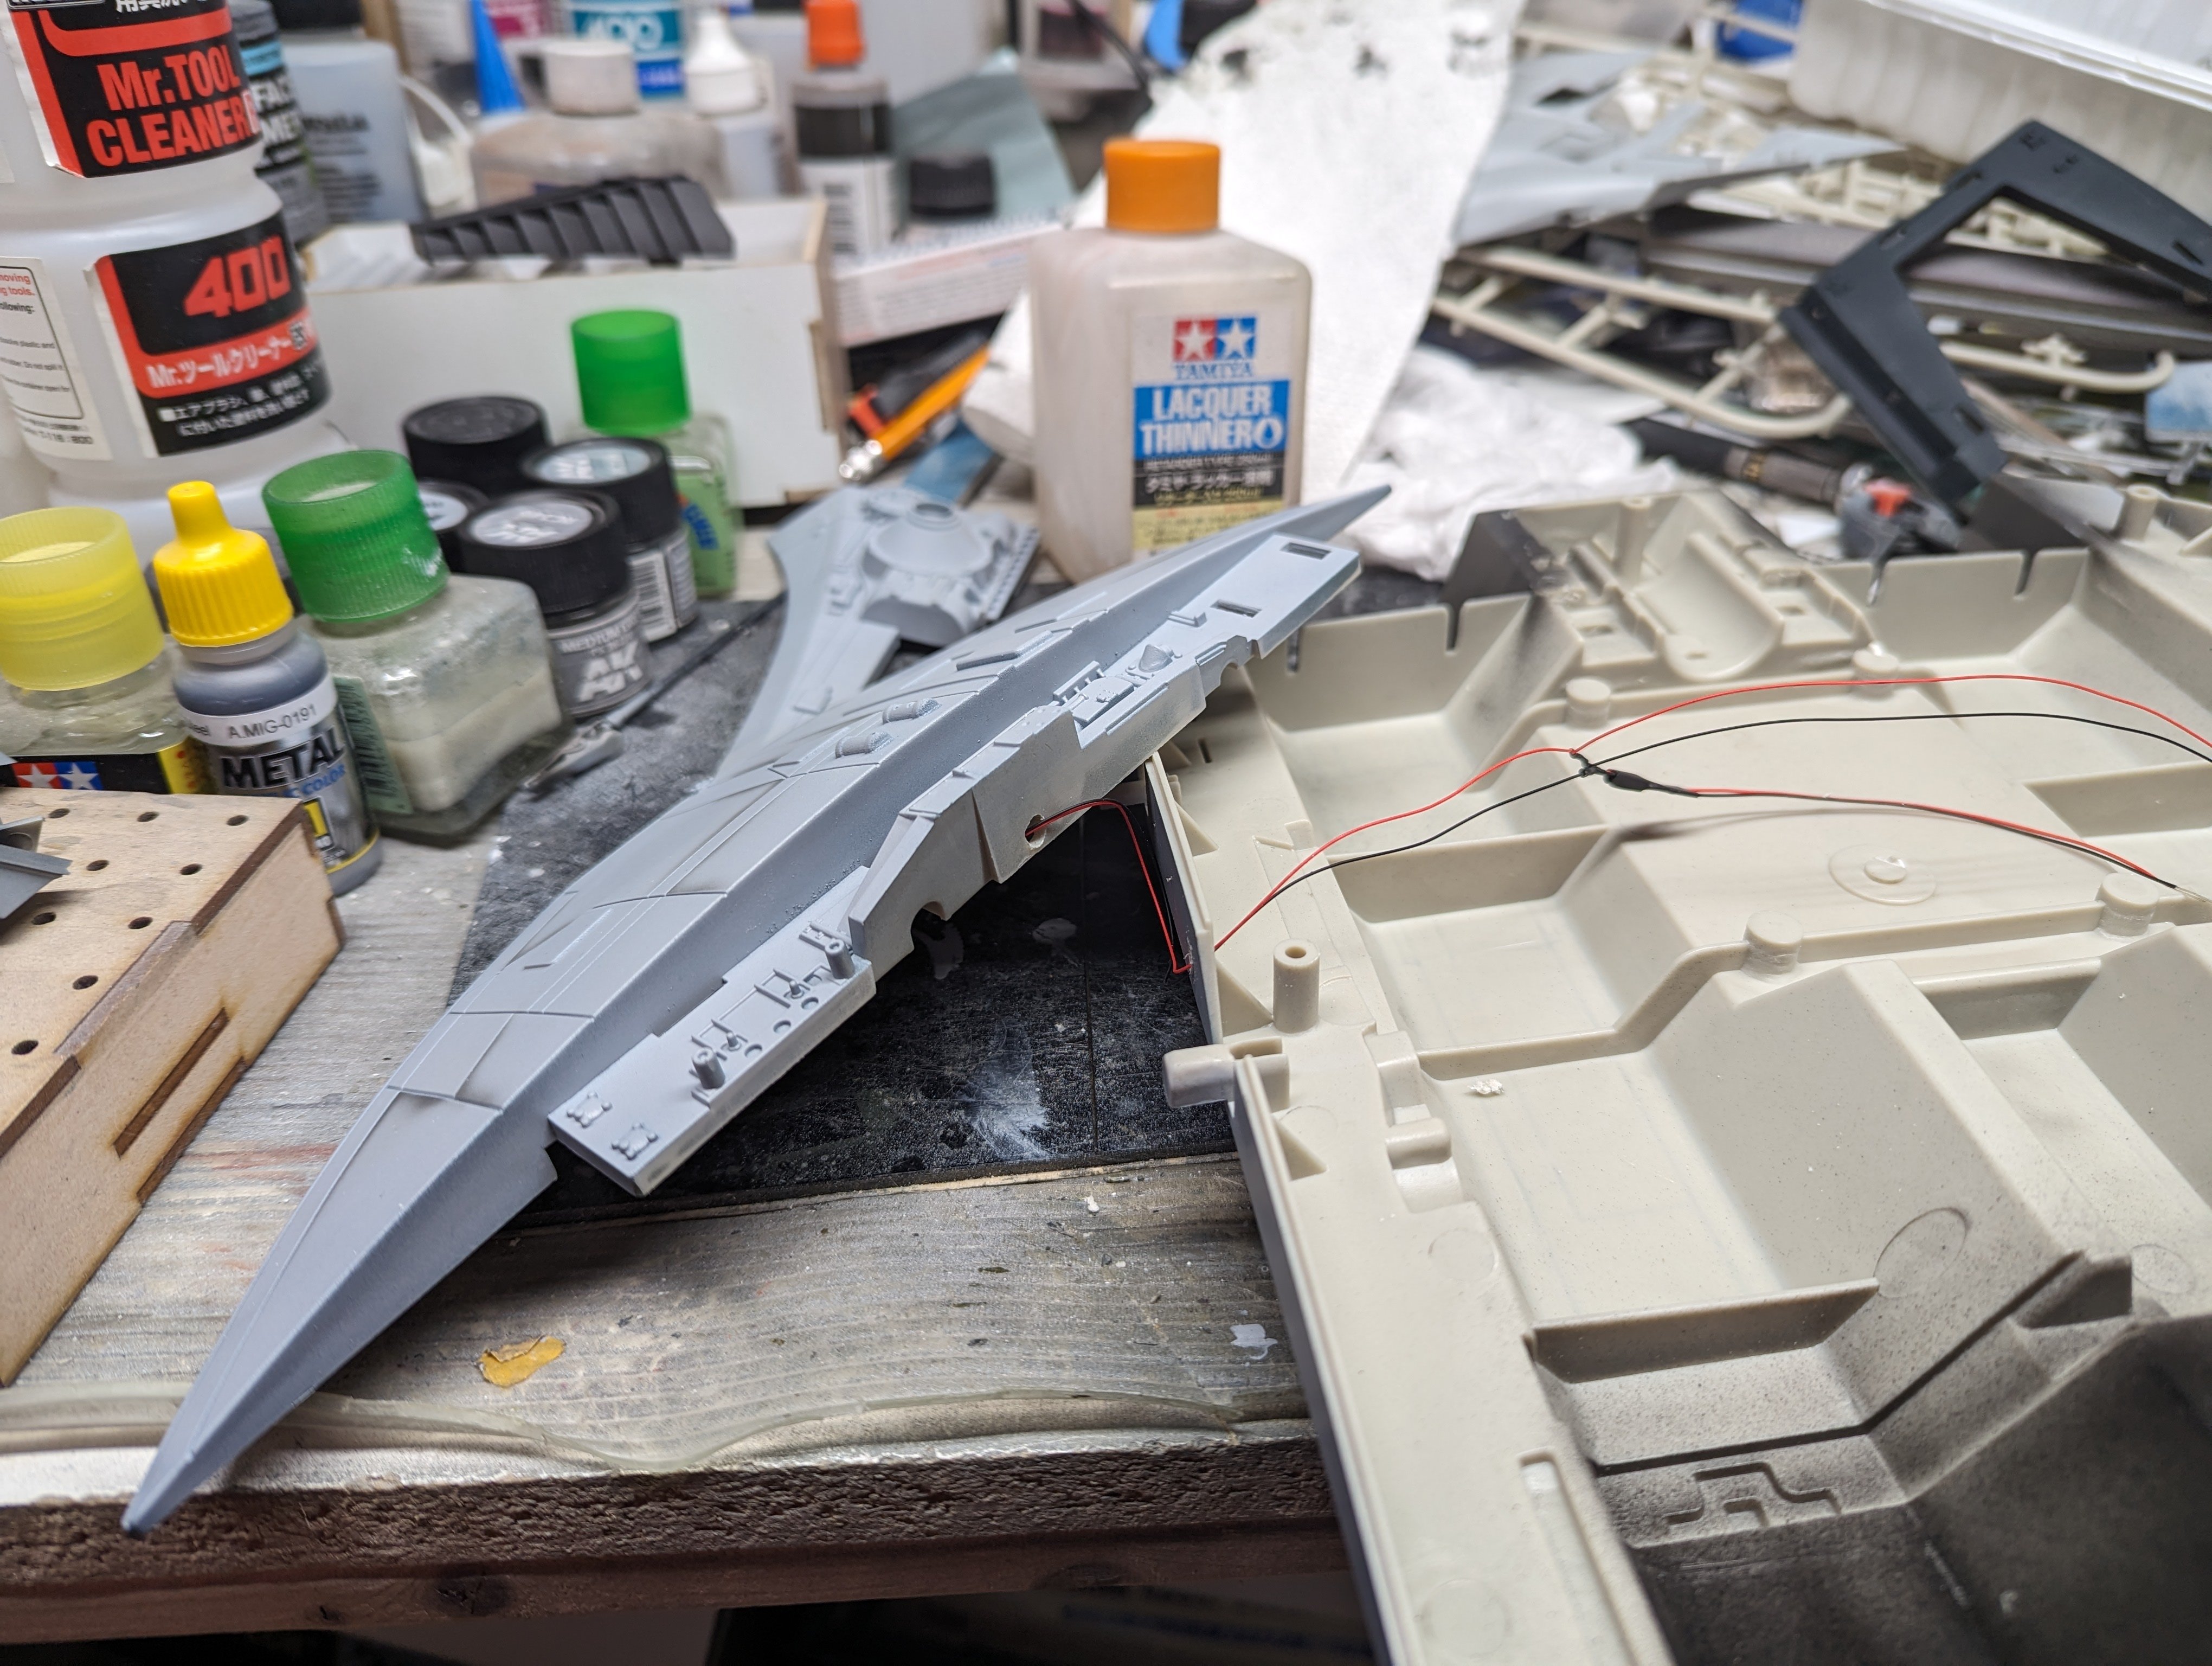
Time for fun with lights. The wing lights I bought are synchronized so that they'll blink in unison. Which means they're connected to one another. So I had to run them through the lower hull and then out to the wings. No biggie, except it meant I have to run them through the lower hull, then through the upper wing and then glue the LED to the lower wing. In order: 1) run through lower hull 2) run through upper wing 3) glue LED to lower wing 4) glue upper and lower wings together 5) glue wing to lower hull Now to repeat for the other side.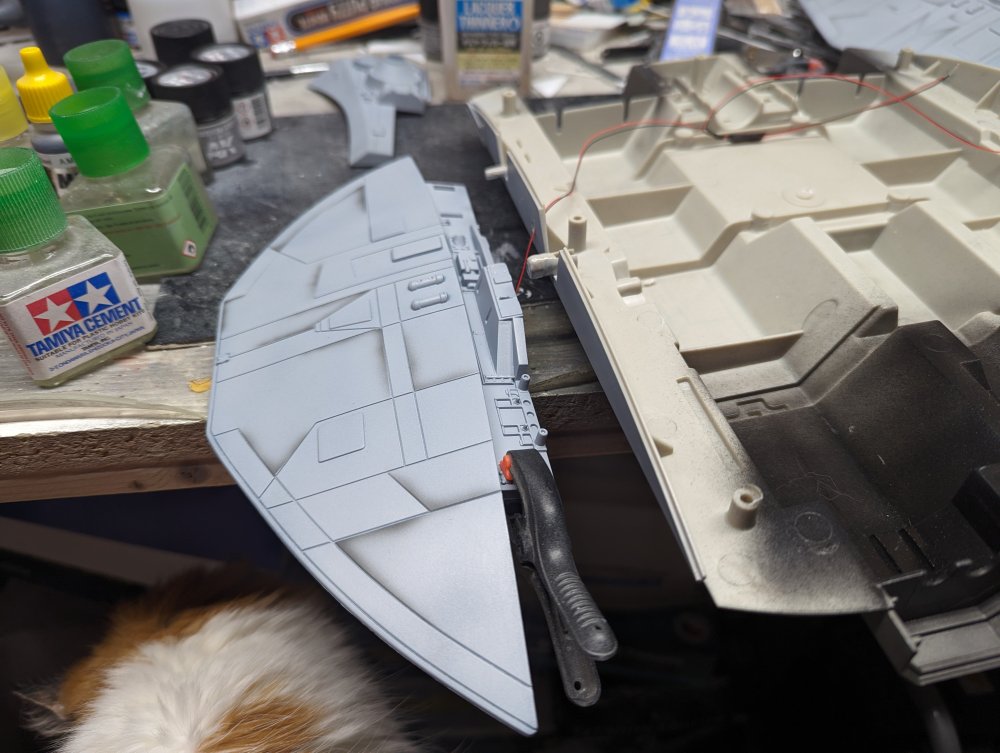


-
By Your Command...Finished!
BlrwestSiR replied to BlrwestSiR's topic in The Great Twins Broup Bluild
Peter, I probably have ADD or something. Honestly I have no idea how I keep track of things myself at times. -
F-15DJ Kai or Eagle Plus- Finished!
BlrwestSiR replied to BlrwestSiR's topic in The Great Twins Broup Bluild
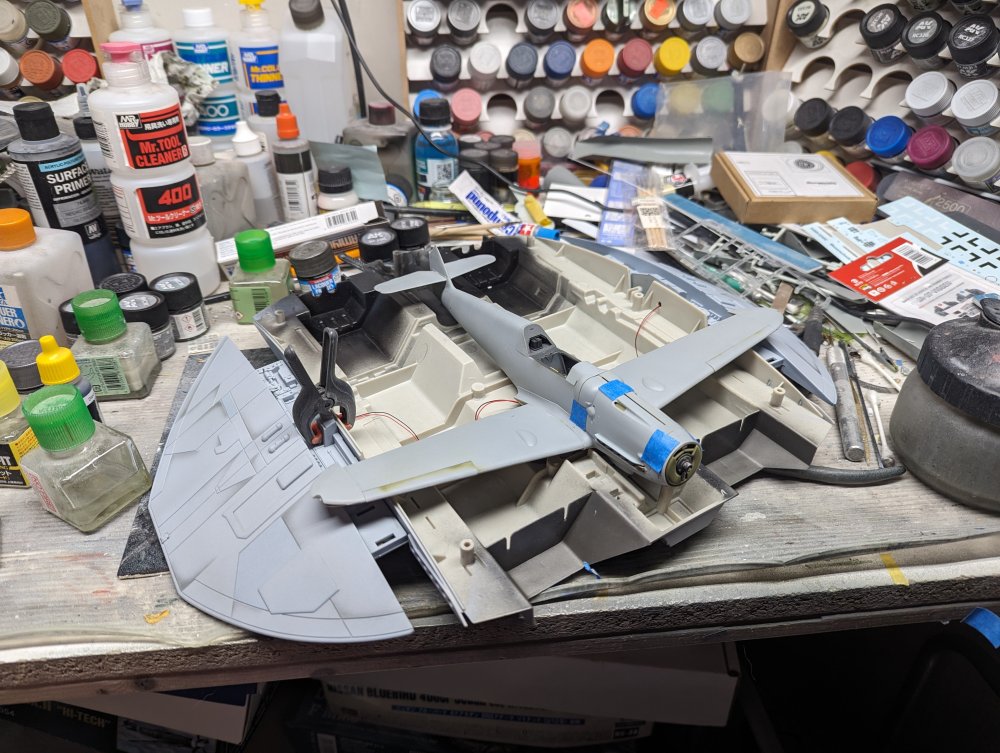
I finally picked up the YF-22 kit from the LHS today. It looks like the exhaust nozzles could work for my F-15.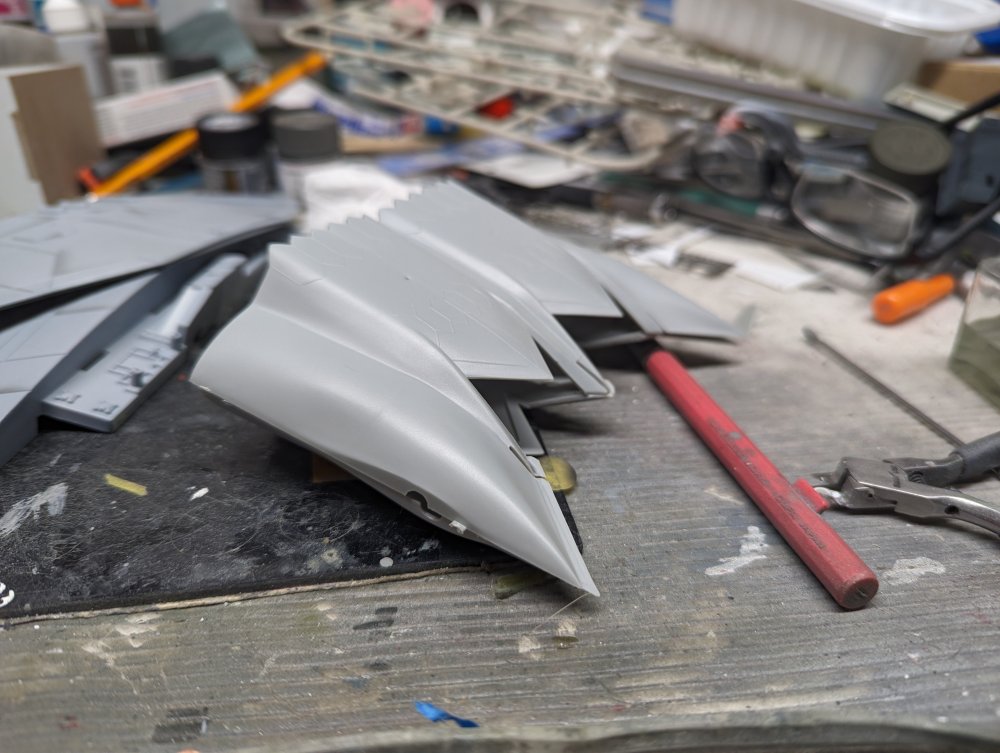
-
F-15DJ Kai or Eagle Plus- Finished!
BlrwestSiR replied to BlrwestSiR's topic in The Great Twins Broup Bluild
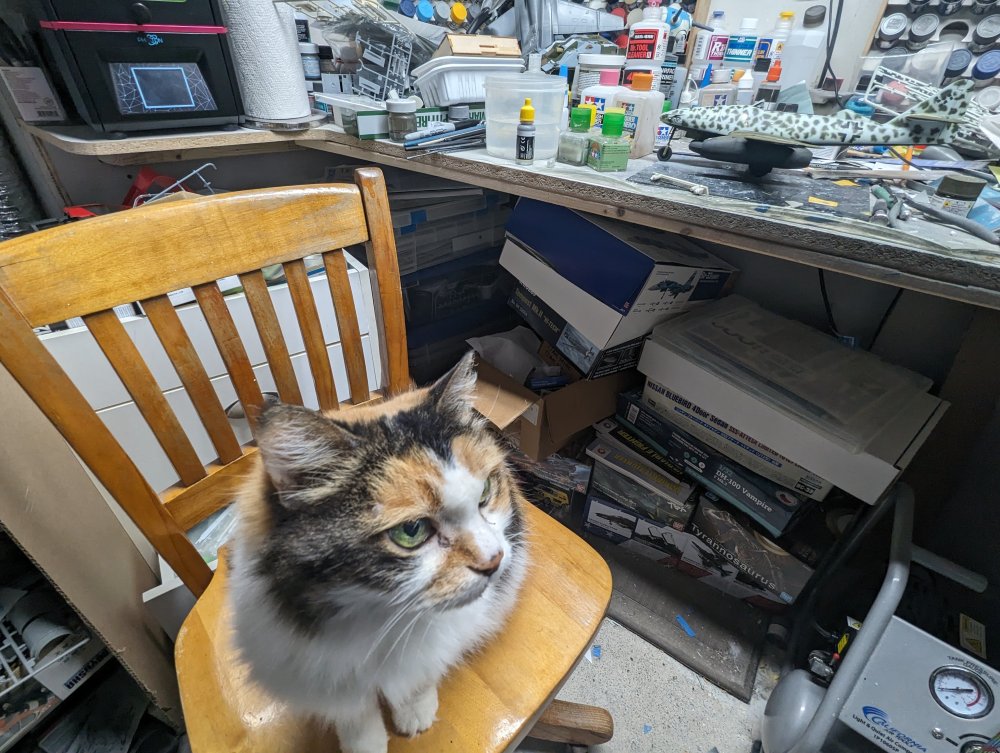
I got home from work today and Jimmy was on the couch fast asleep. He didn't even wake up when I came in. Just kept sleeping. -
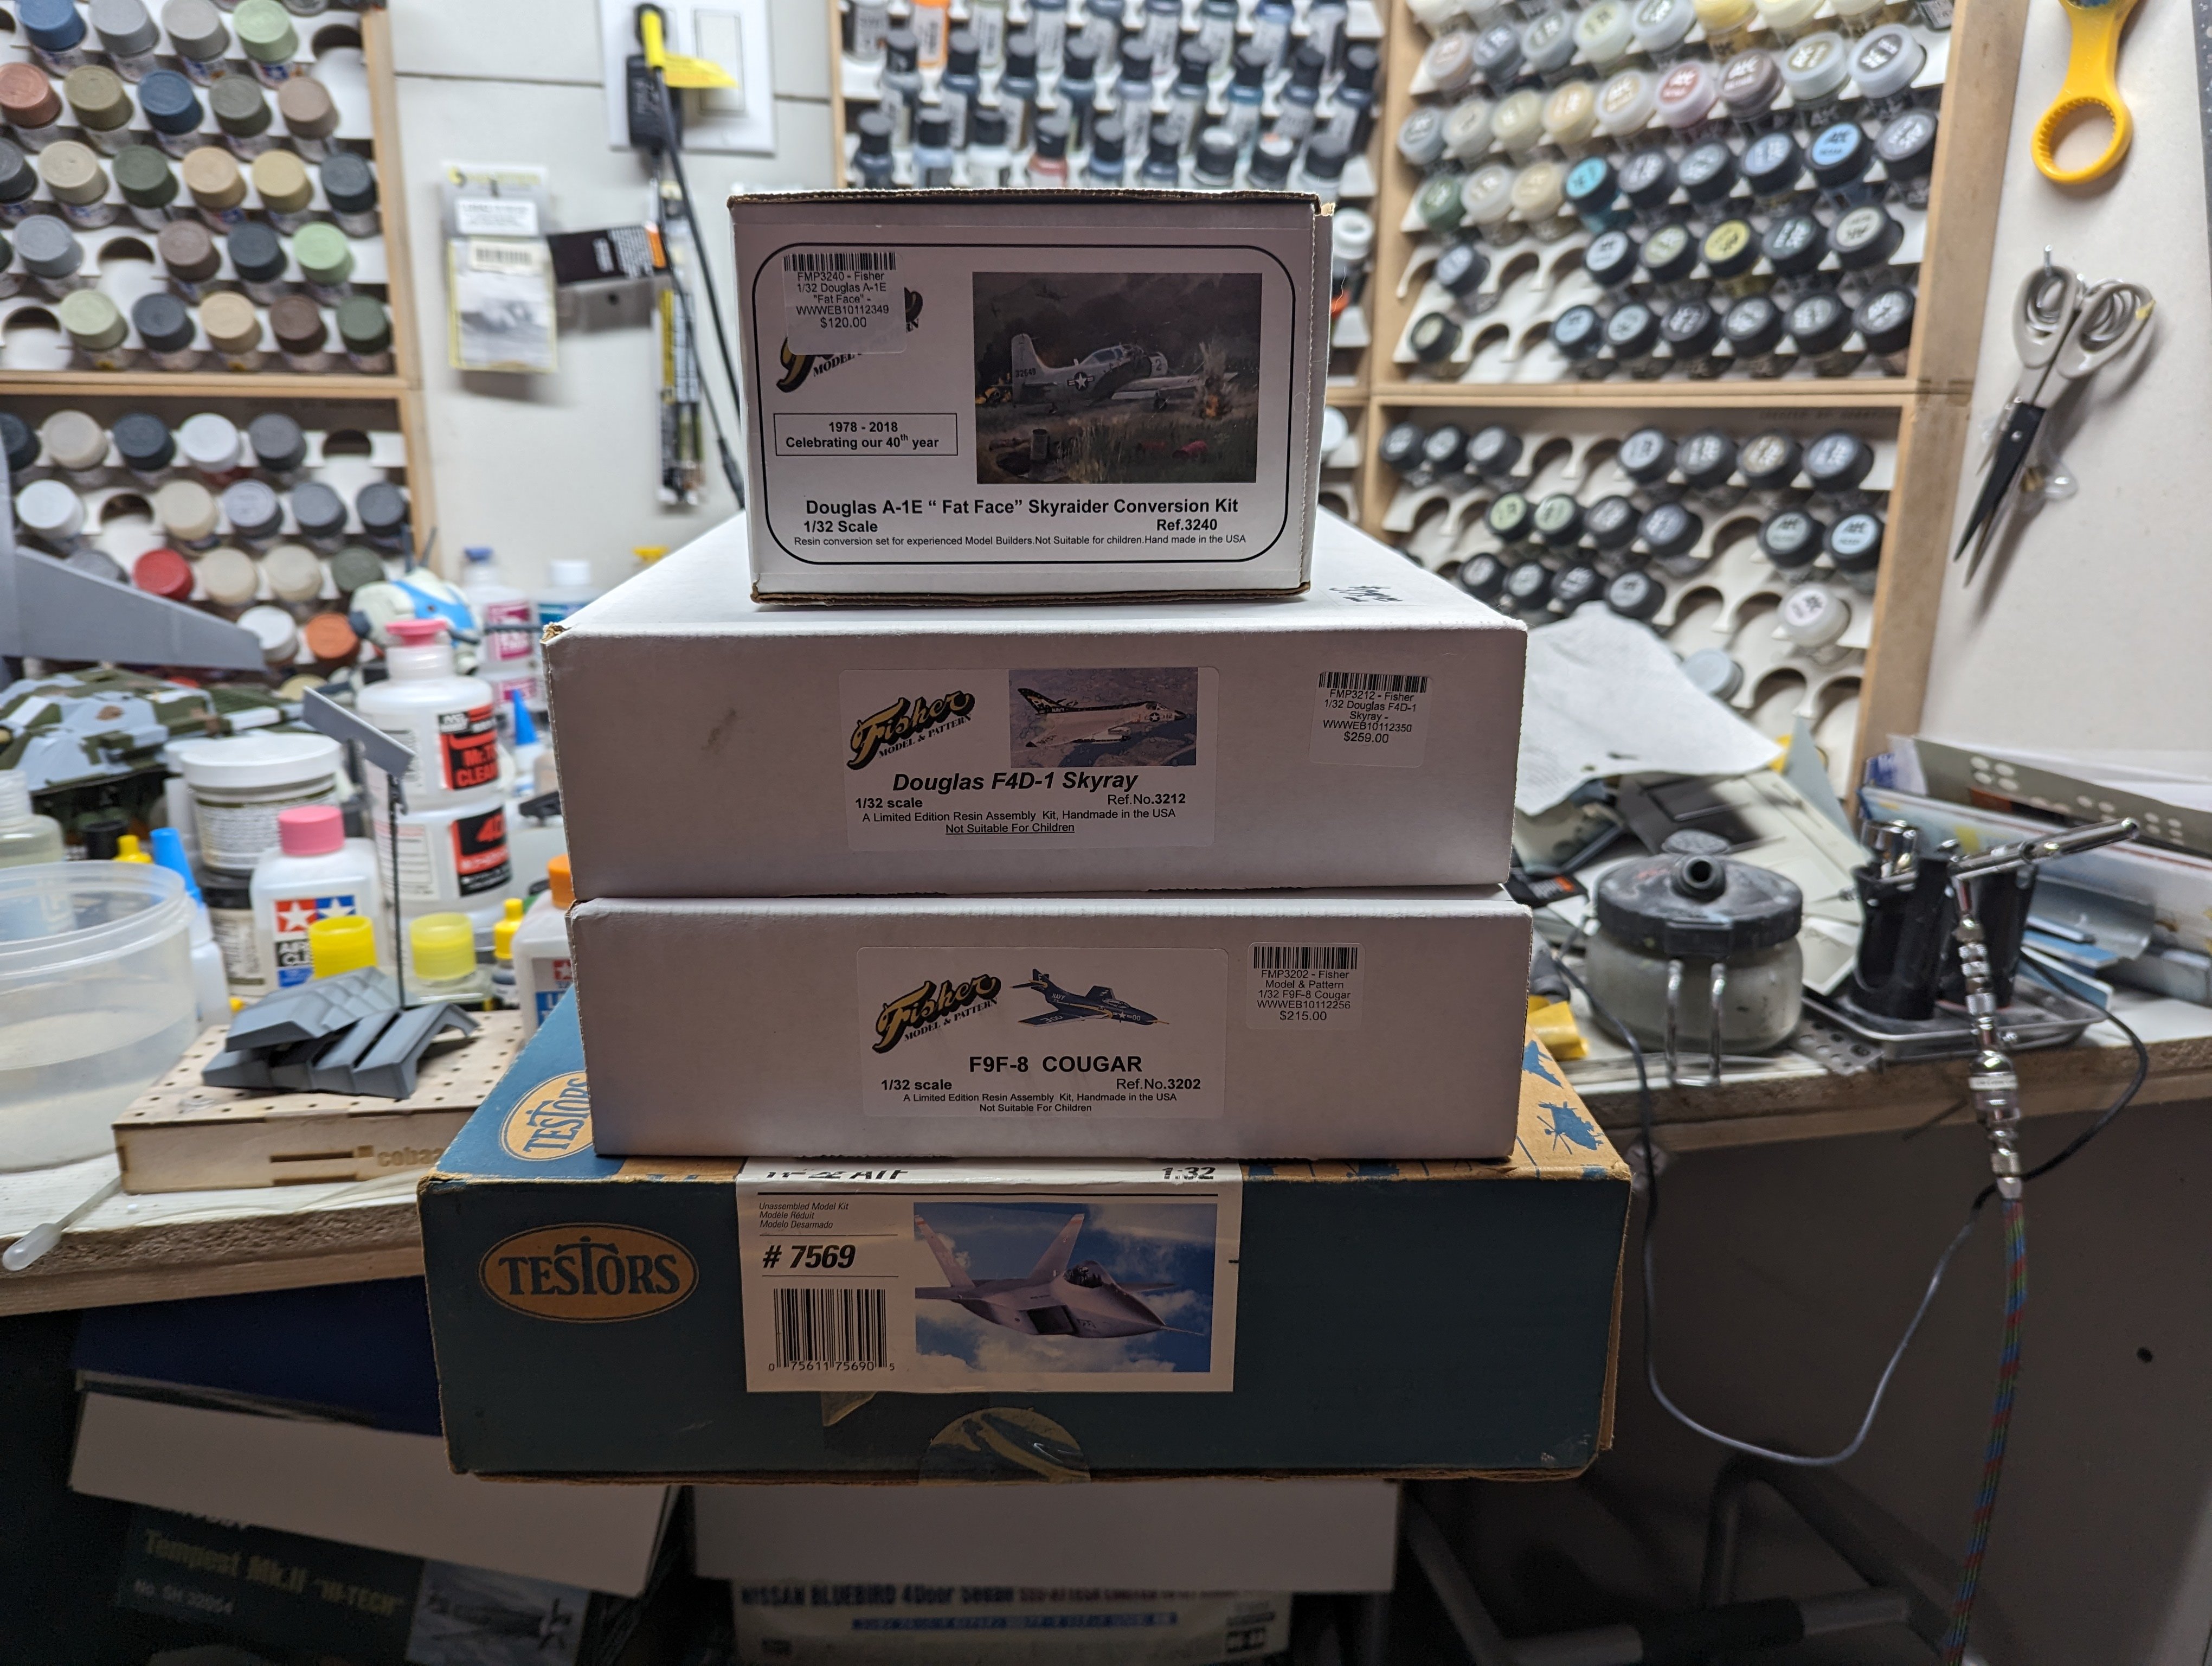
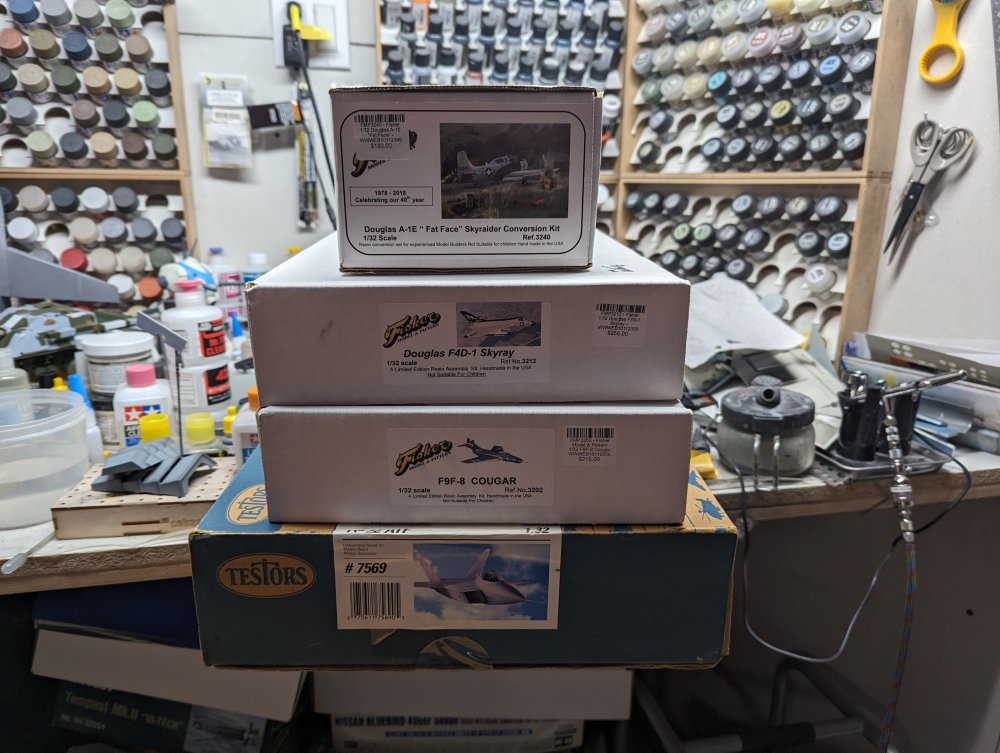
And then some! But worth it for being able to get some fairly rare kits at a really great price.
-
Finally made it to the LHS today. Work took me nearby so I ran in and grabbed the YF-22 I need for my F-15 J build. The LHS set aside a couple extra kits for me. That's the most I've spent in a long time at my LHS.
-
So what are you going to do when the Tomcat I sent you shows up?
-
By Your Command...Finished!
BlrwestSiR replied to BlrwestSiR's topic in The Great Twins Broup Bluild
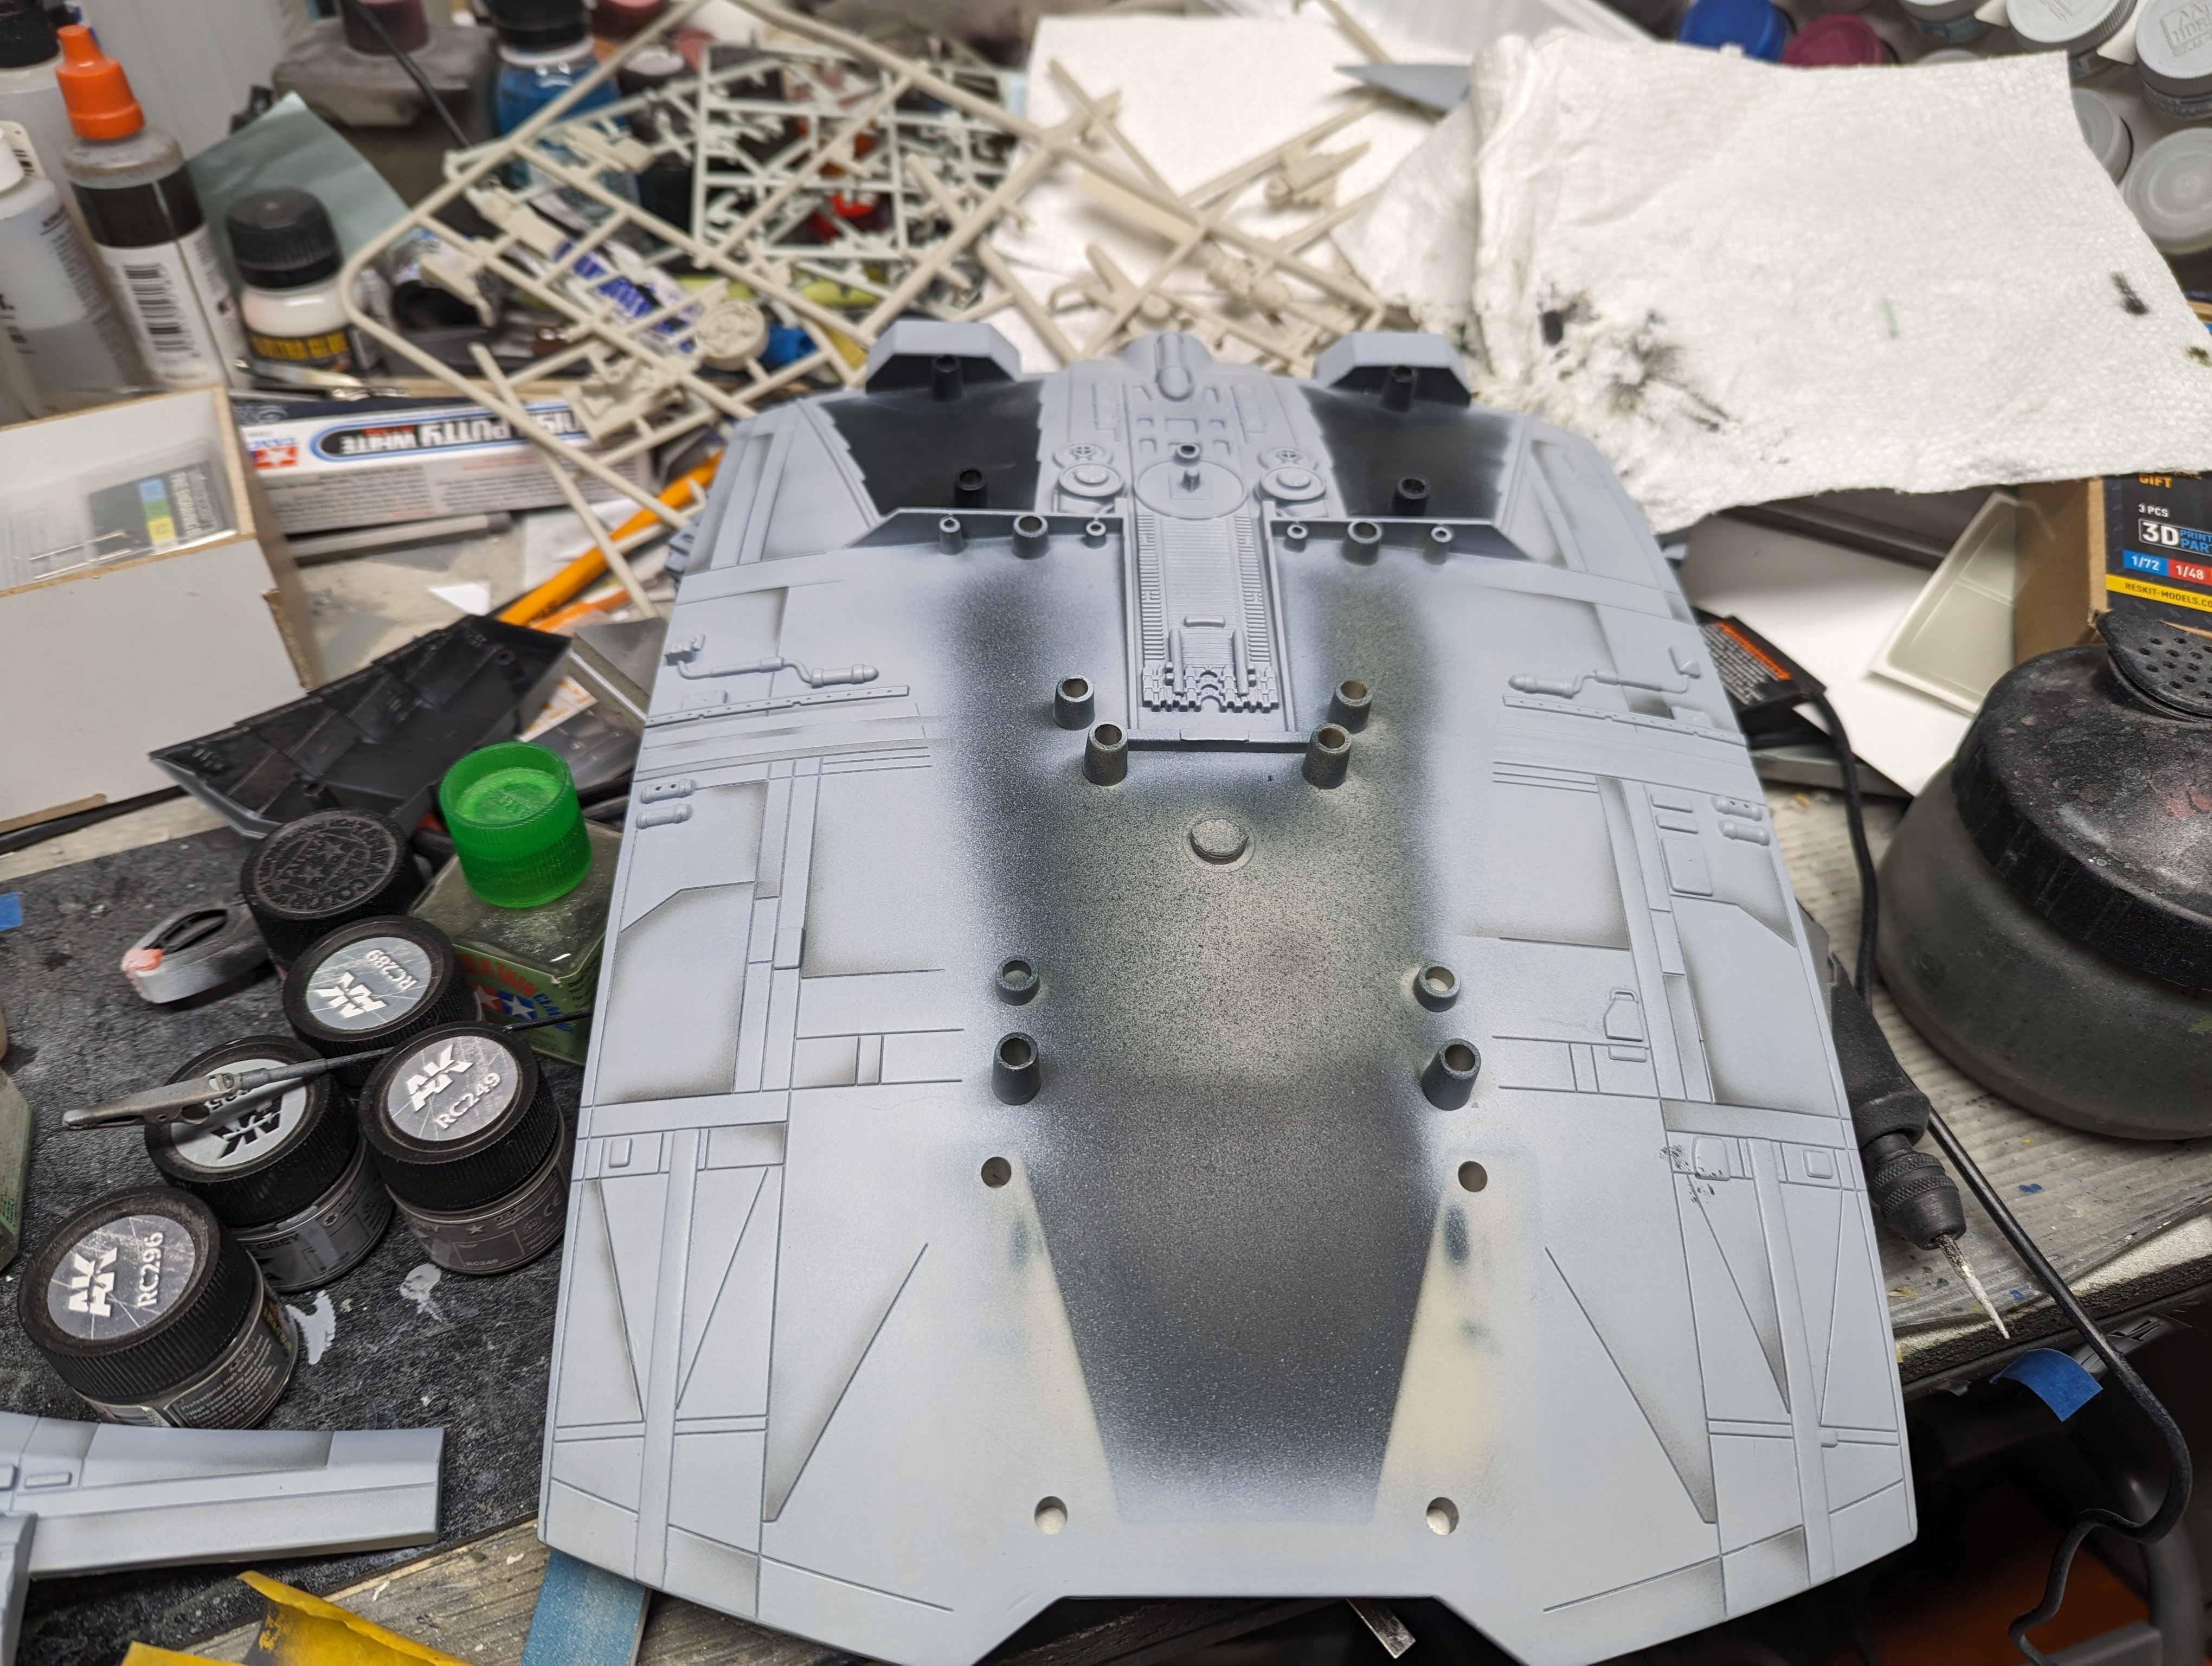
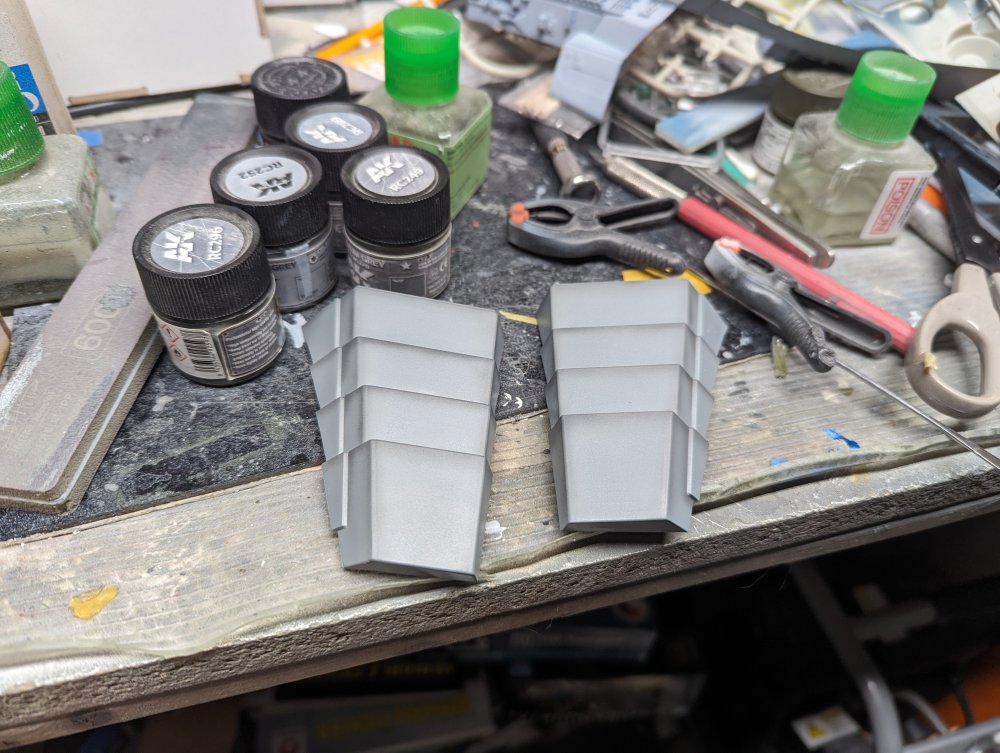
I did some more paint work last night which was basically post shading the model. I'm masking off the odd panel and then spraying a slightly darker grey to break things up.
-
By Your Command...Finished!
BlrwestSiR replied to BlrwestSiR's topic in The Great Twins Broup Bluild
Thanks Peter! The coaming lights were the hardest to sort out. The rest are going to be much easier to install. -
AEG G.IV - Creature of the Night - WNW 1/32
BlrwestSiR replied to DocRob's topic in The Great Twins Broup Bluild
Glad to hear you got a clear coat to work for you. The fuselage looks fantastic. Almost like an evil whale or shark. -
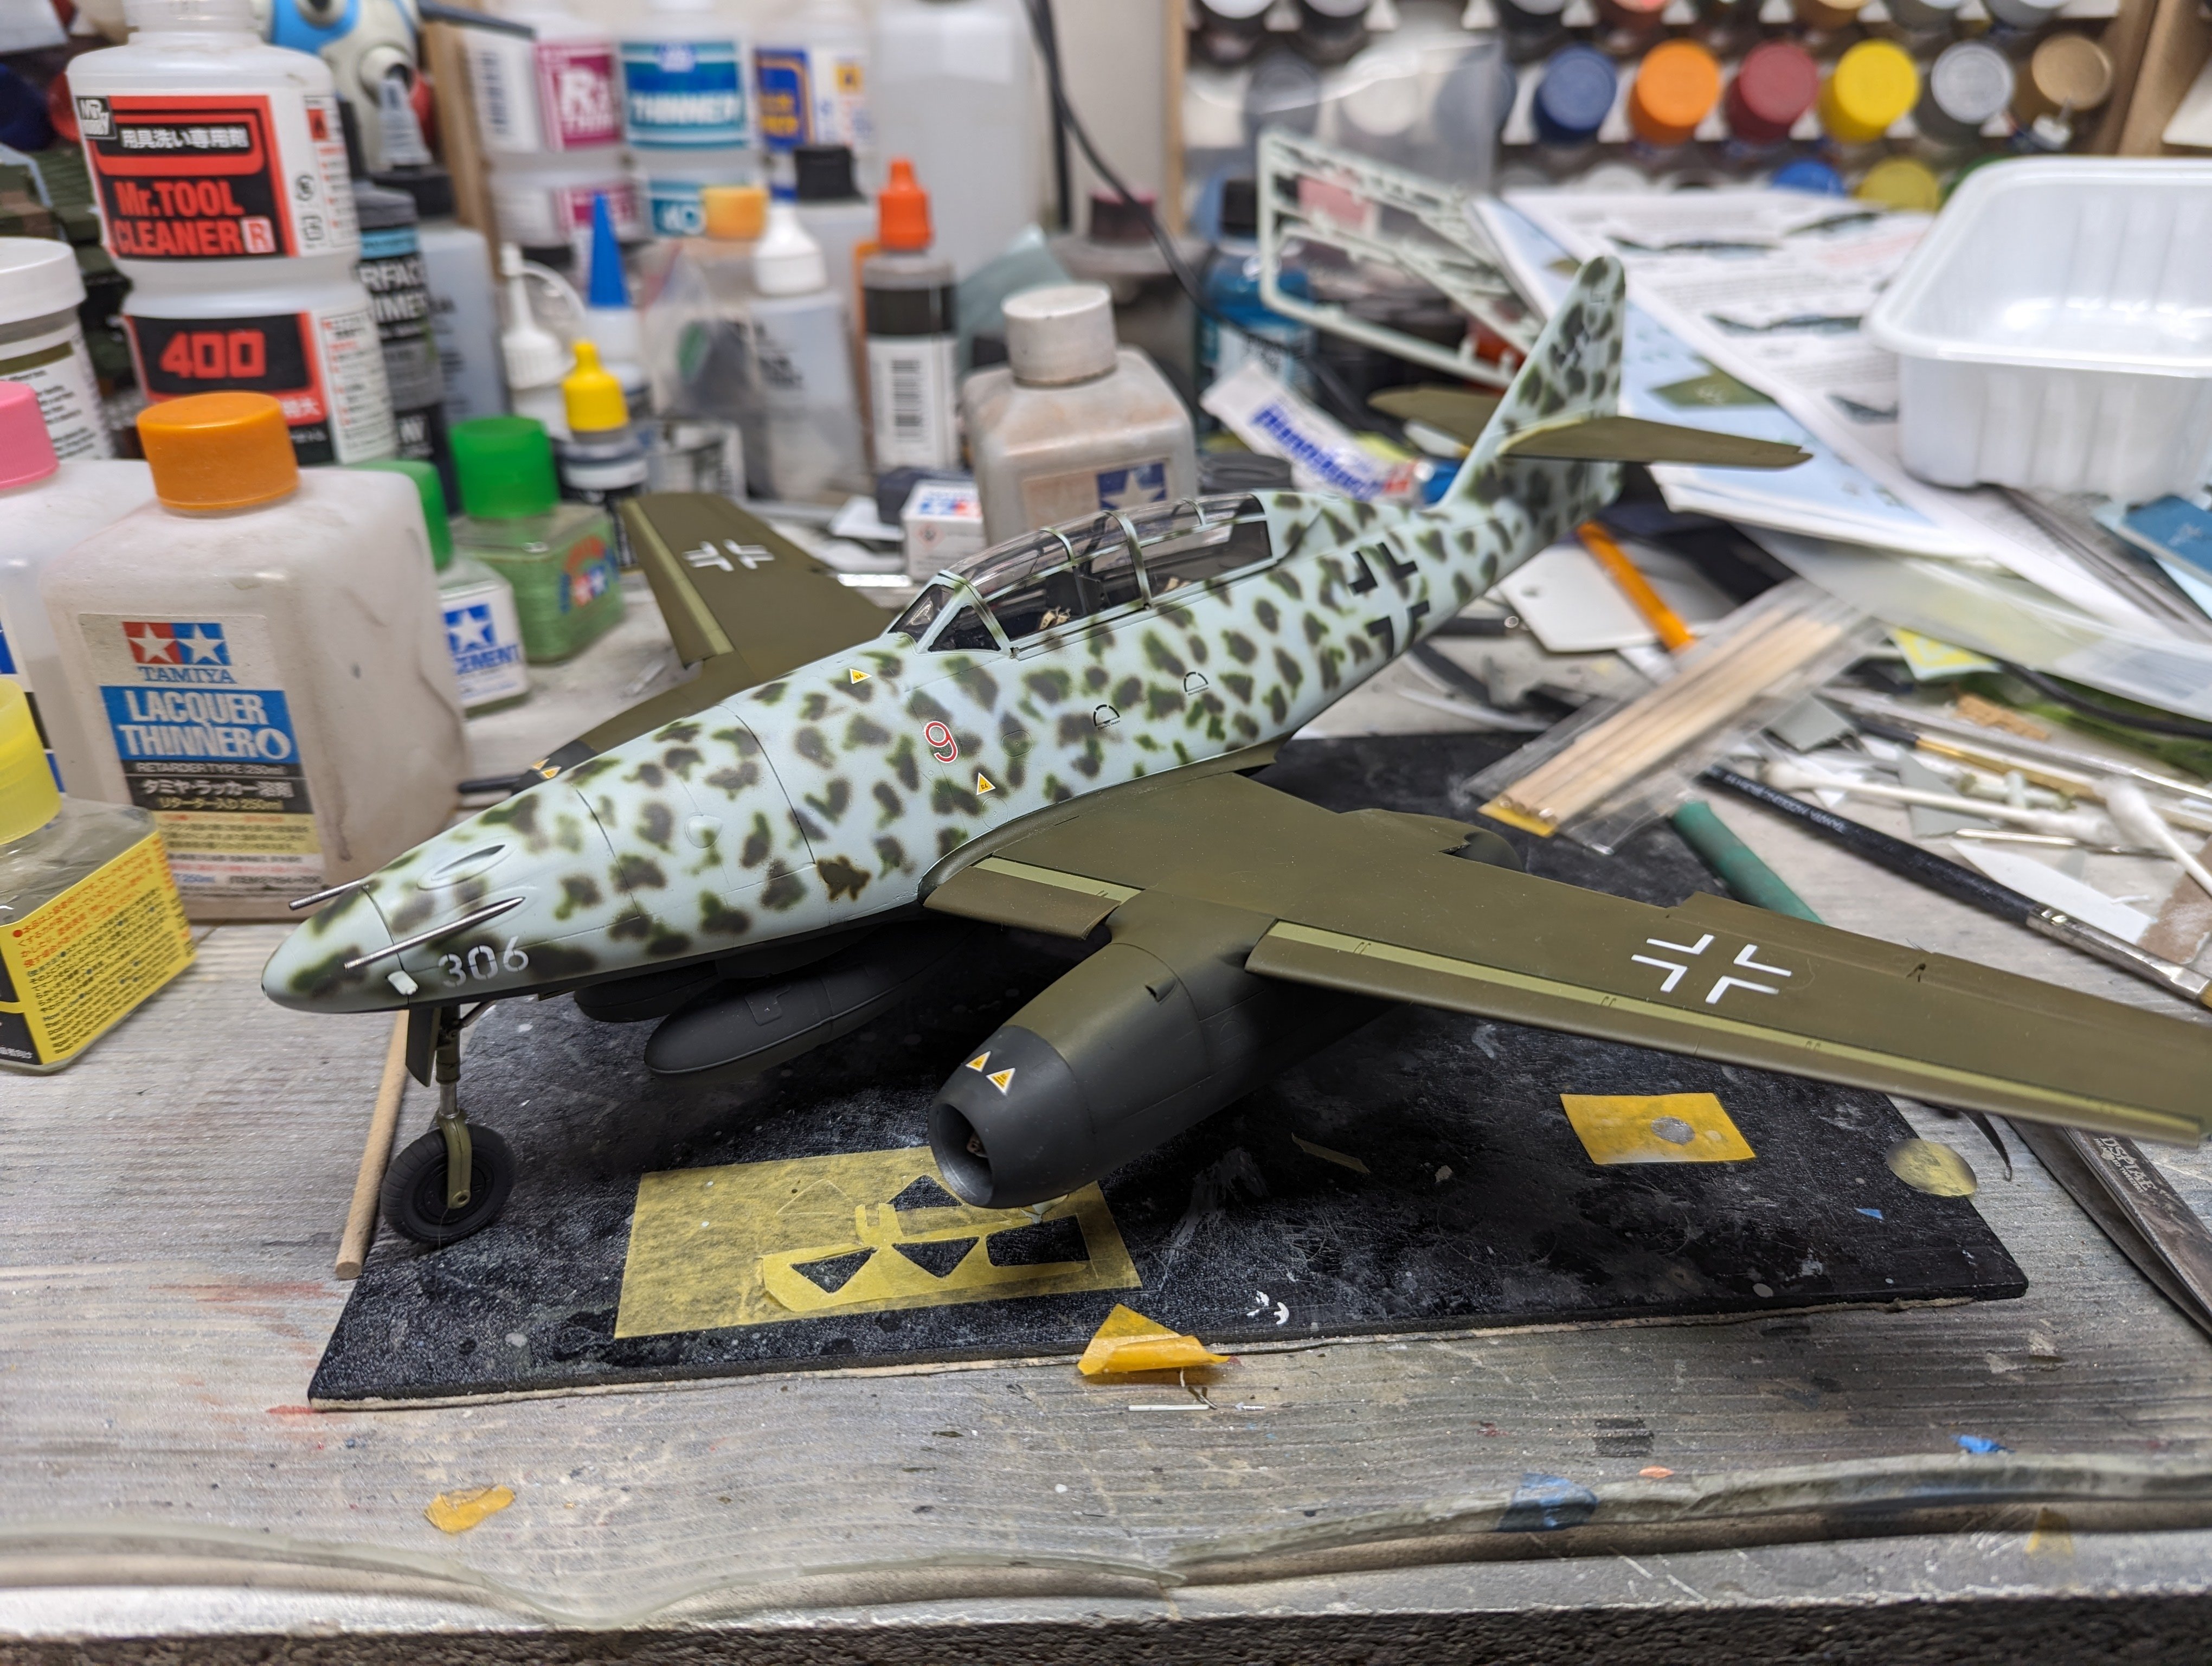
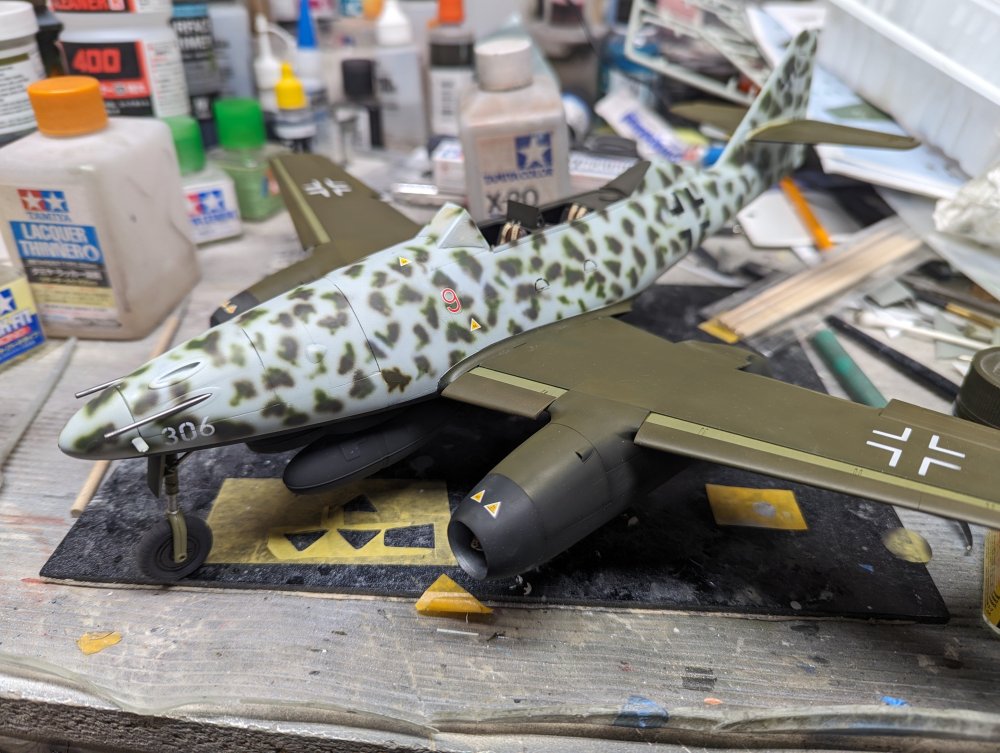
Rob, this particular aircraft had the lower Mk108 cannon replaced with a pair of Mk103s. The Mk103 has a much longer barrel so they stuck out. I can't find any reason why they did it but I thought it looked different enough to do.
-
LSM Modelling News 2023 merged Fran and Artful69’s threads
BlrwestSiR replied to Fran's topic in Modelling Discussion
This would be great. I was just looking at the Model Monkey bits for the Beaufighter. It's beautiful stuff but if you get them all, it's easily 4x the price of the Revell kit if not more. -
AEG G.IV - Creature of the Night - WNW 1/32
BlrwestSiR replied to DocRob's topic in The Great Twins Broup Bluild
Rob, with those engine pics, I thought I was looking at museum reference photos. The engines look amazing. Very nice work there. Tamiya now make semi-gloss and flat clear paints so you no longer need to mix your own. -
By Your Command...Finished!
BlrwestSiR replied to BlrwestSiR's topic in The Great Twins Broup Bluild
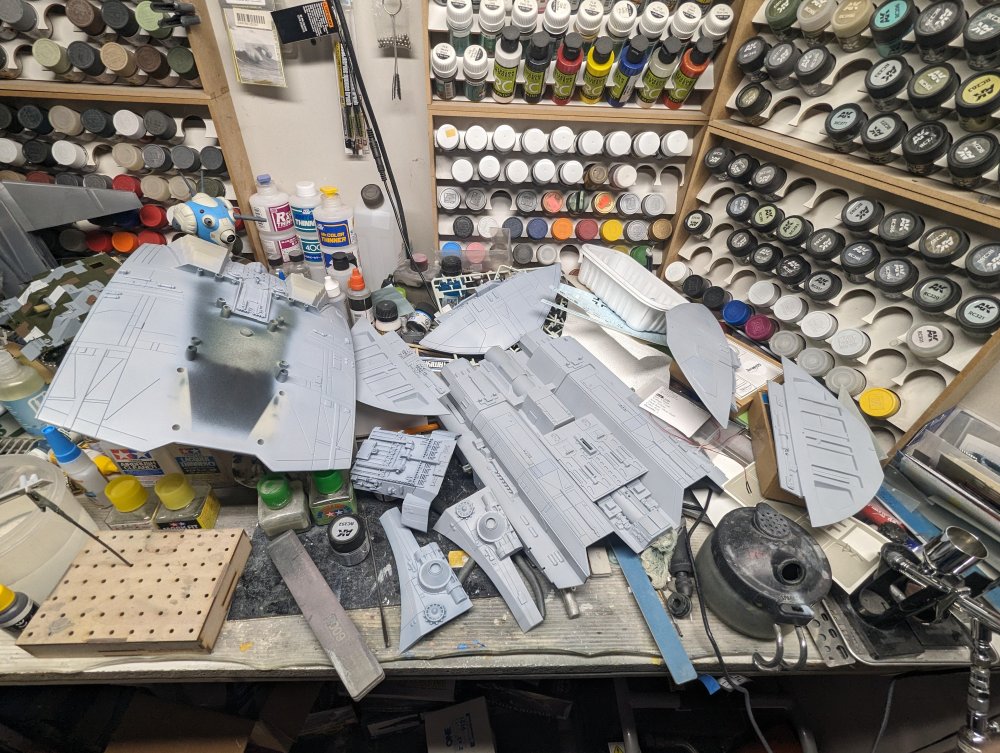
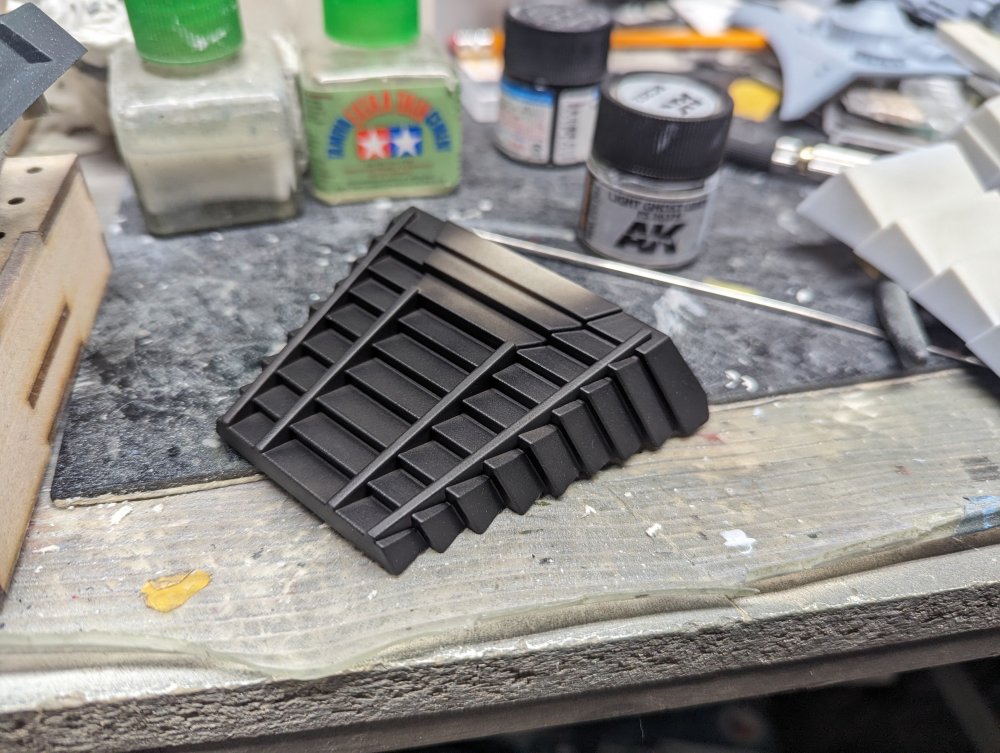
Okay, I was really not happy with the colour I had painted the fuselage. So I grabbed something different and started over. This time I went with Light Ghost Grey. For the engine louvers, I wanted to keep the undersides black so I put the louvers in place to act as a mask. I then found Fur in my seat. The canopy is now black as well.

-
Dune Ornithopter in 1/72! Just announced by Meng.
-
Is that aimed at me or Vince?
-
Thanks for sharing. Some great looking models. Those 1/8 Corvettes look absolutely huge next to the more typical 1/24 cars.
-
By Your Command...Finished!
BlrwestSiR replied to BlrwestSiR's topic in The Great Twins Broup Bluild
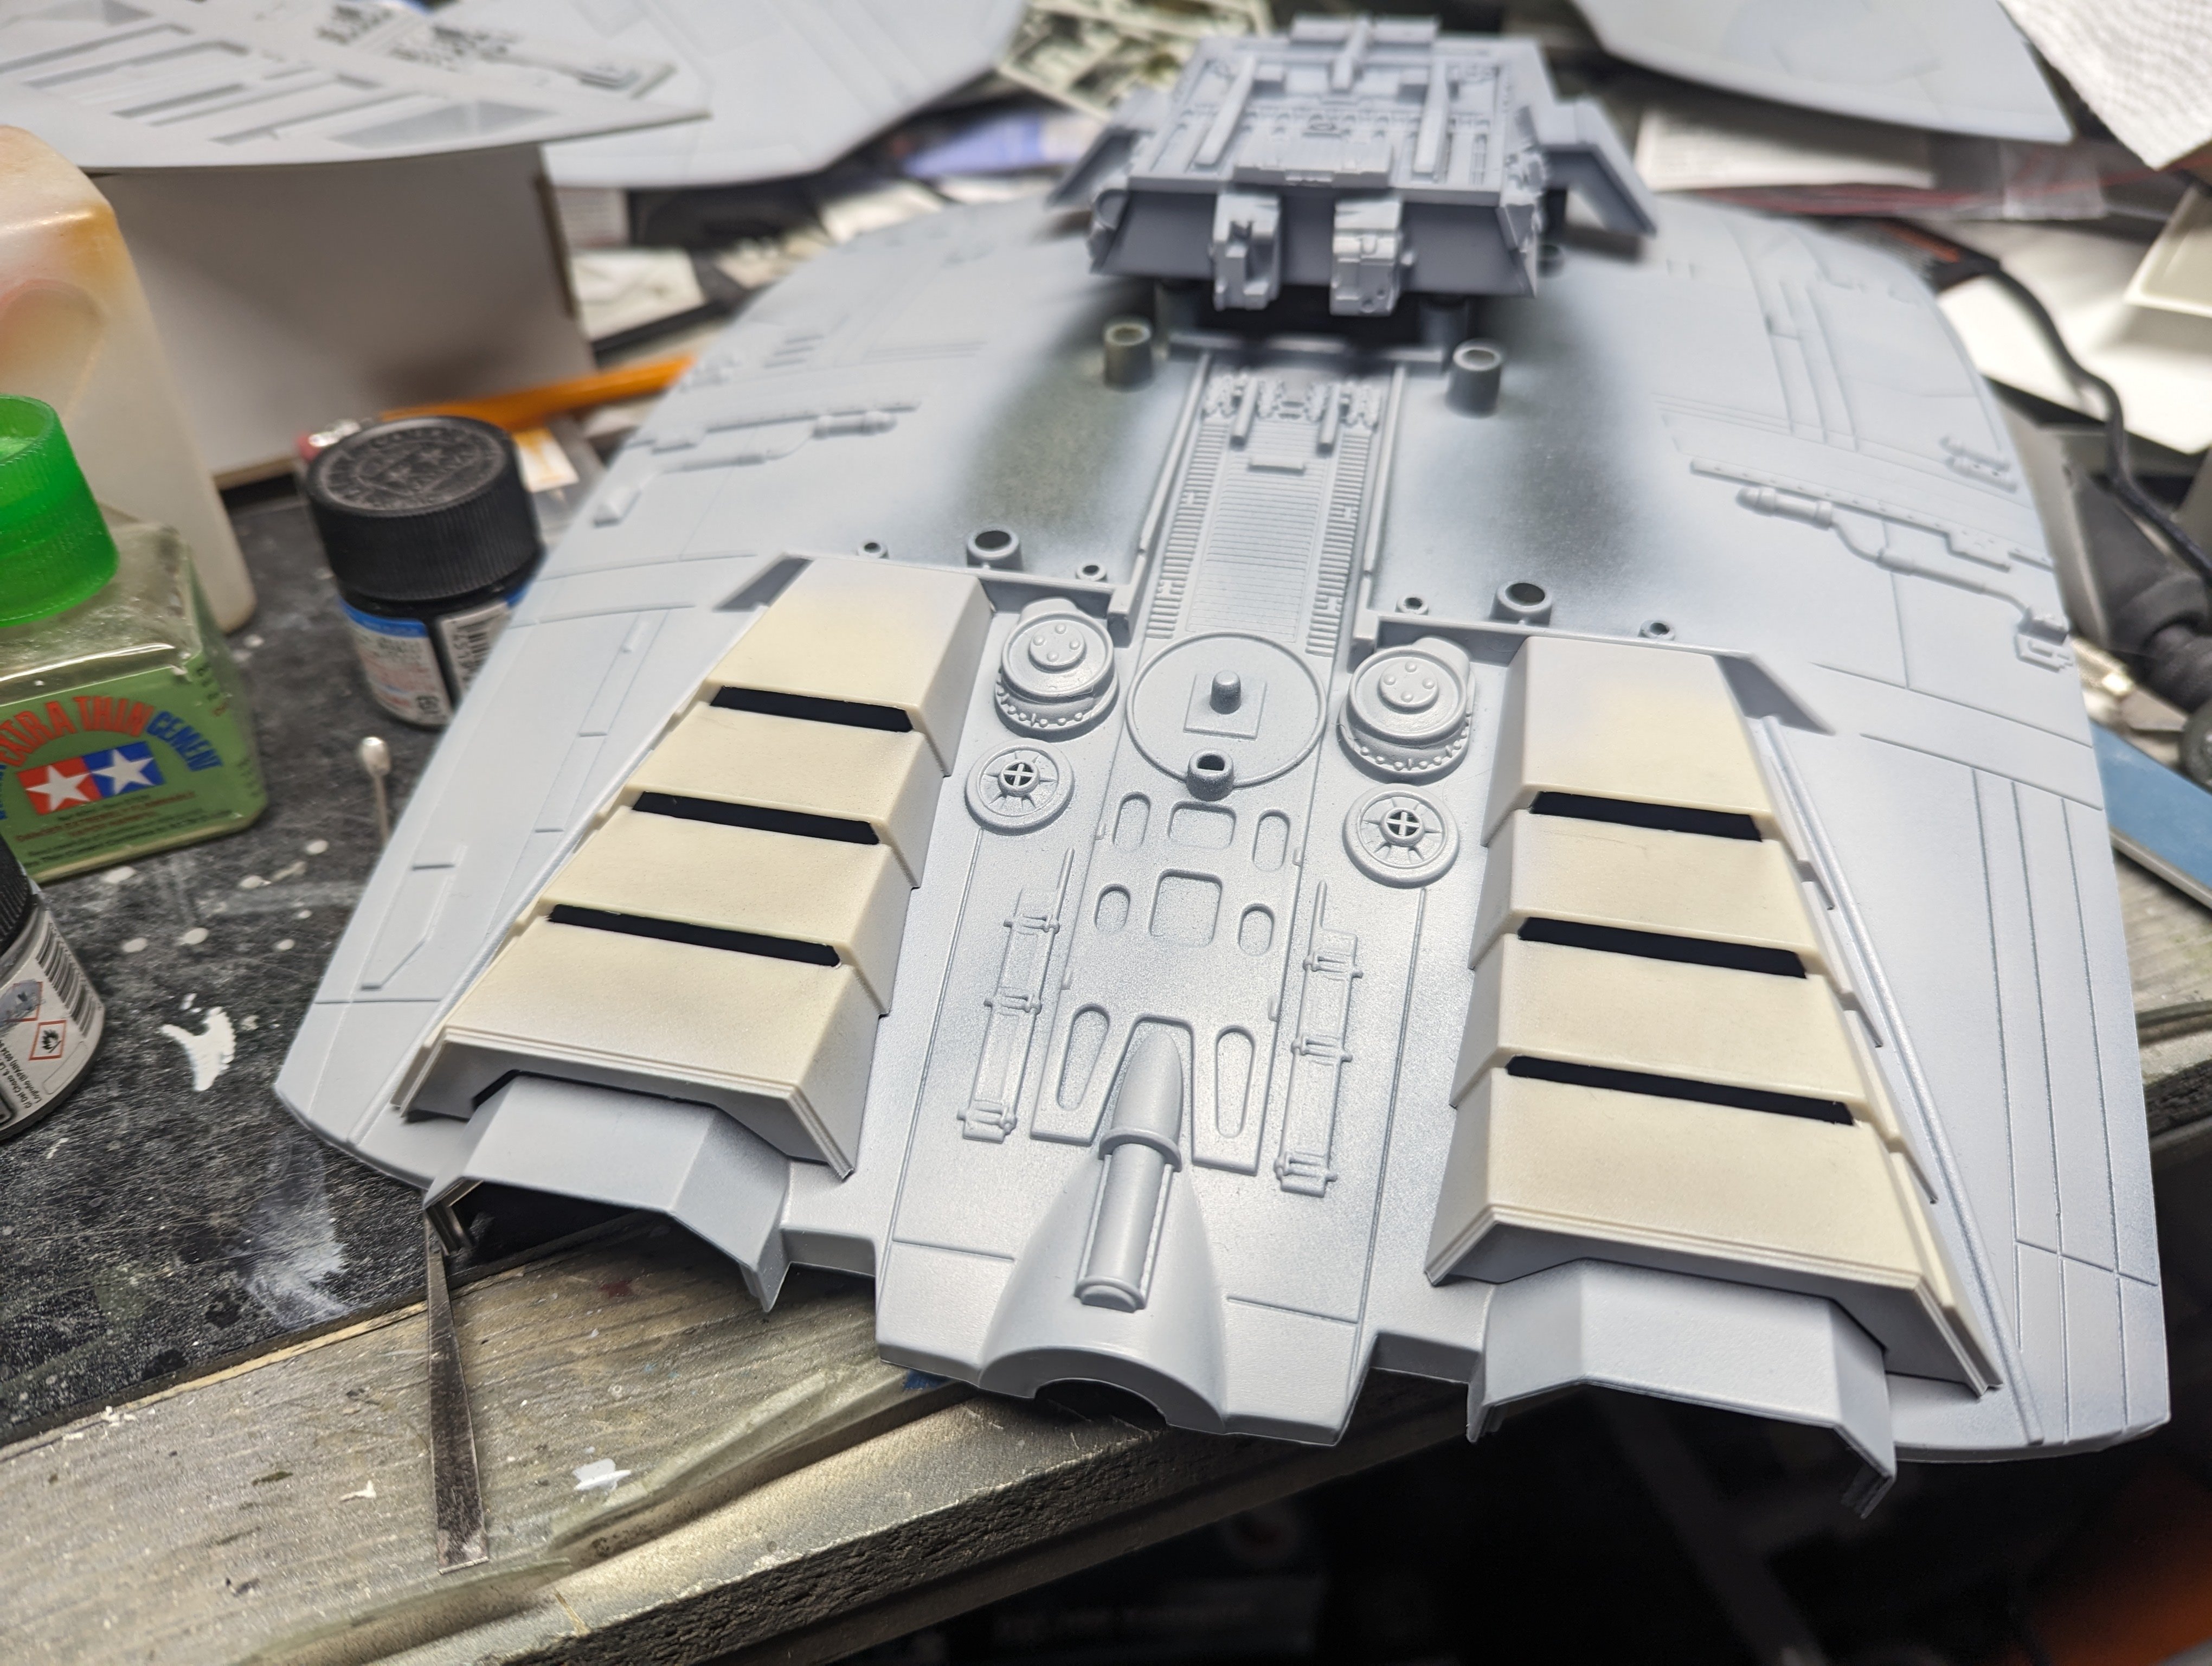
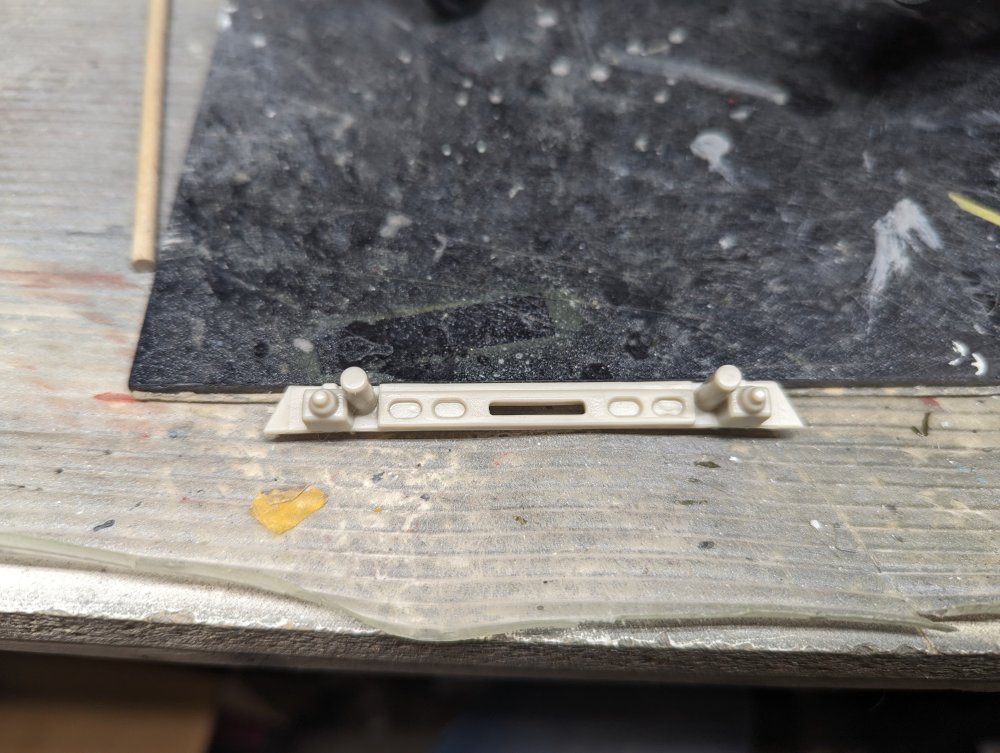
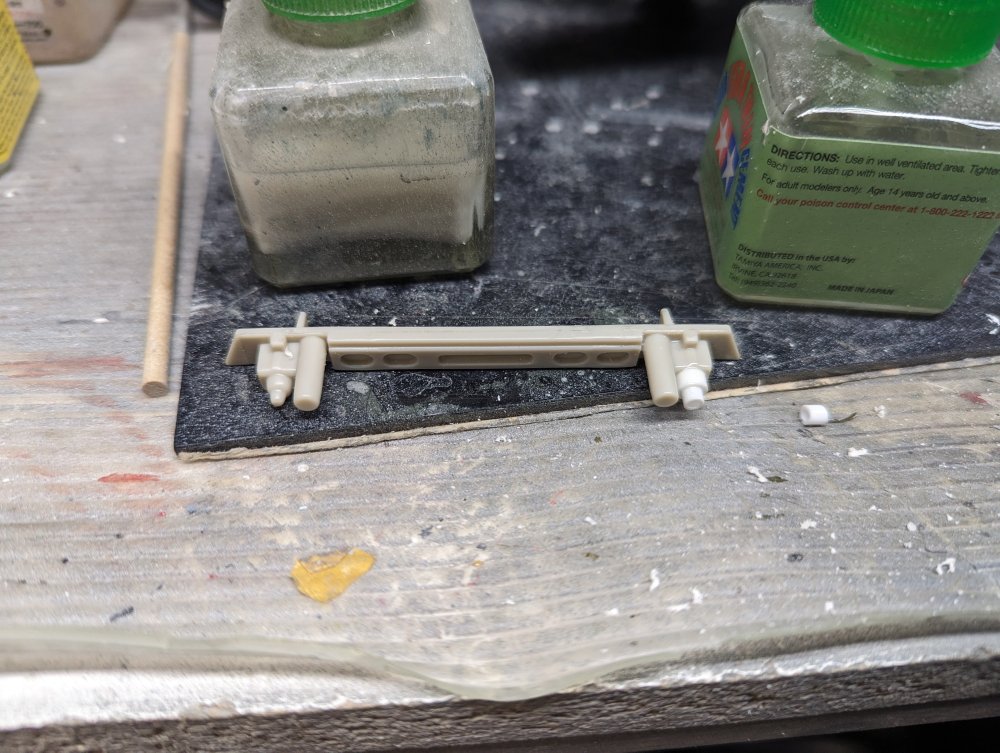
Time to try my hand at lighting a model. I'm keeping the lighting simple. First up are the lights just below the cockpit. The plan is to drill out and mount them to the outer pair of tubes/protuberances on this panel. It turns out that the tubes were slightly smaller than the LEDs I'm using so Plan B was cut them off and replace them with styrene tubing. This way I can mount the LED from behind and they shine through. Both now done. Next up was drilling holes in the cockpit coaming for the wires to pass through. The wing lights are up next.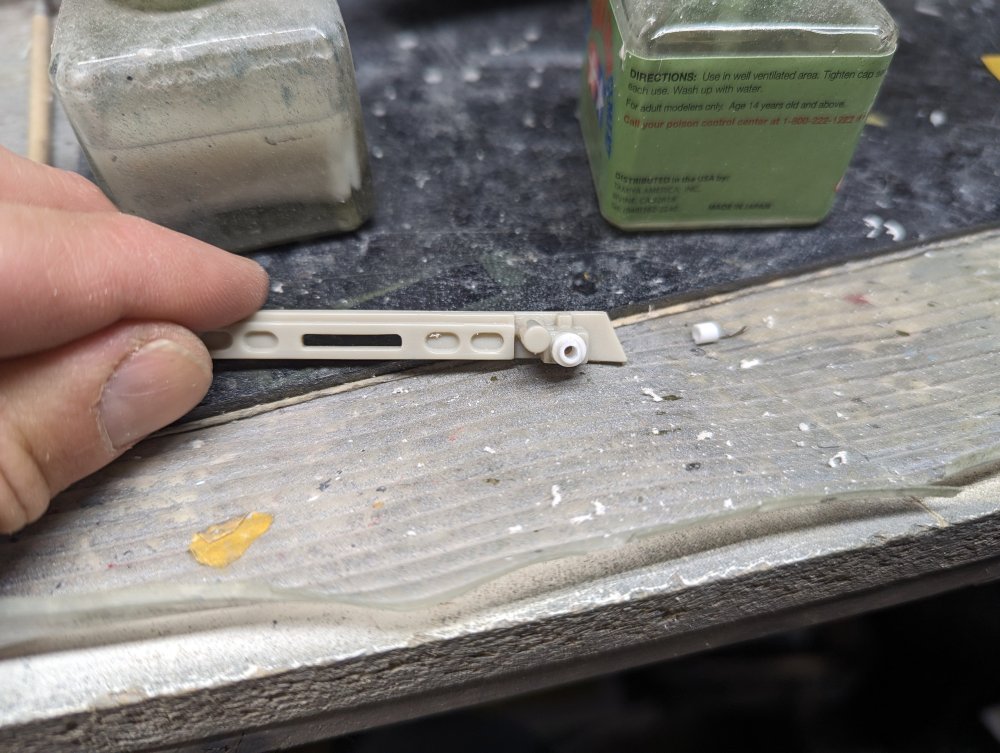


-
Rob, they were the kit decals which are by Cartograf. Not sure if I got a bad sheet but I'm going to use some artistic license and leave it as is. I was also getting a reaction with the decal softener in that the paint was melting. That was a first for me. So rather than risking things I'm calling the decals done.
-
Great work on the loadout and gear legs. The fuselage is coming along nicely too.
-
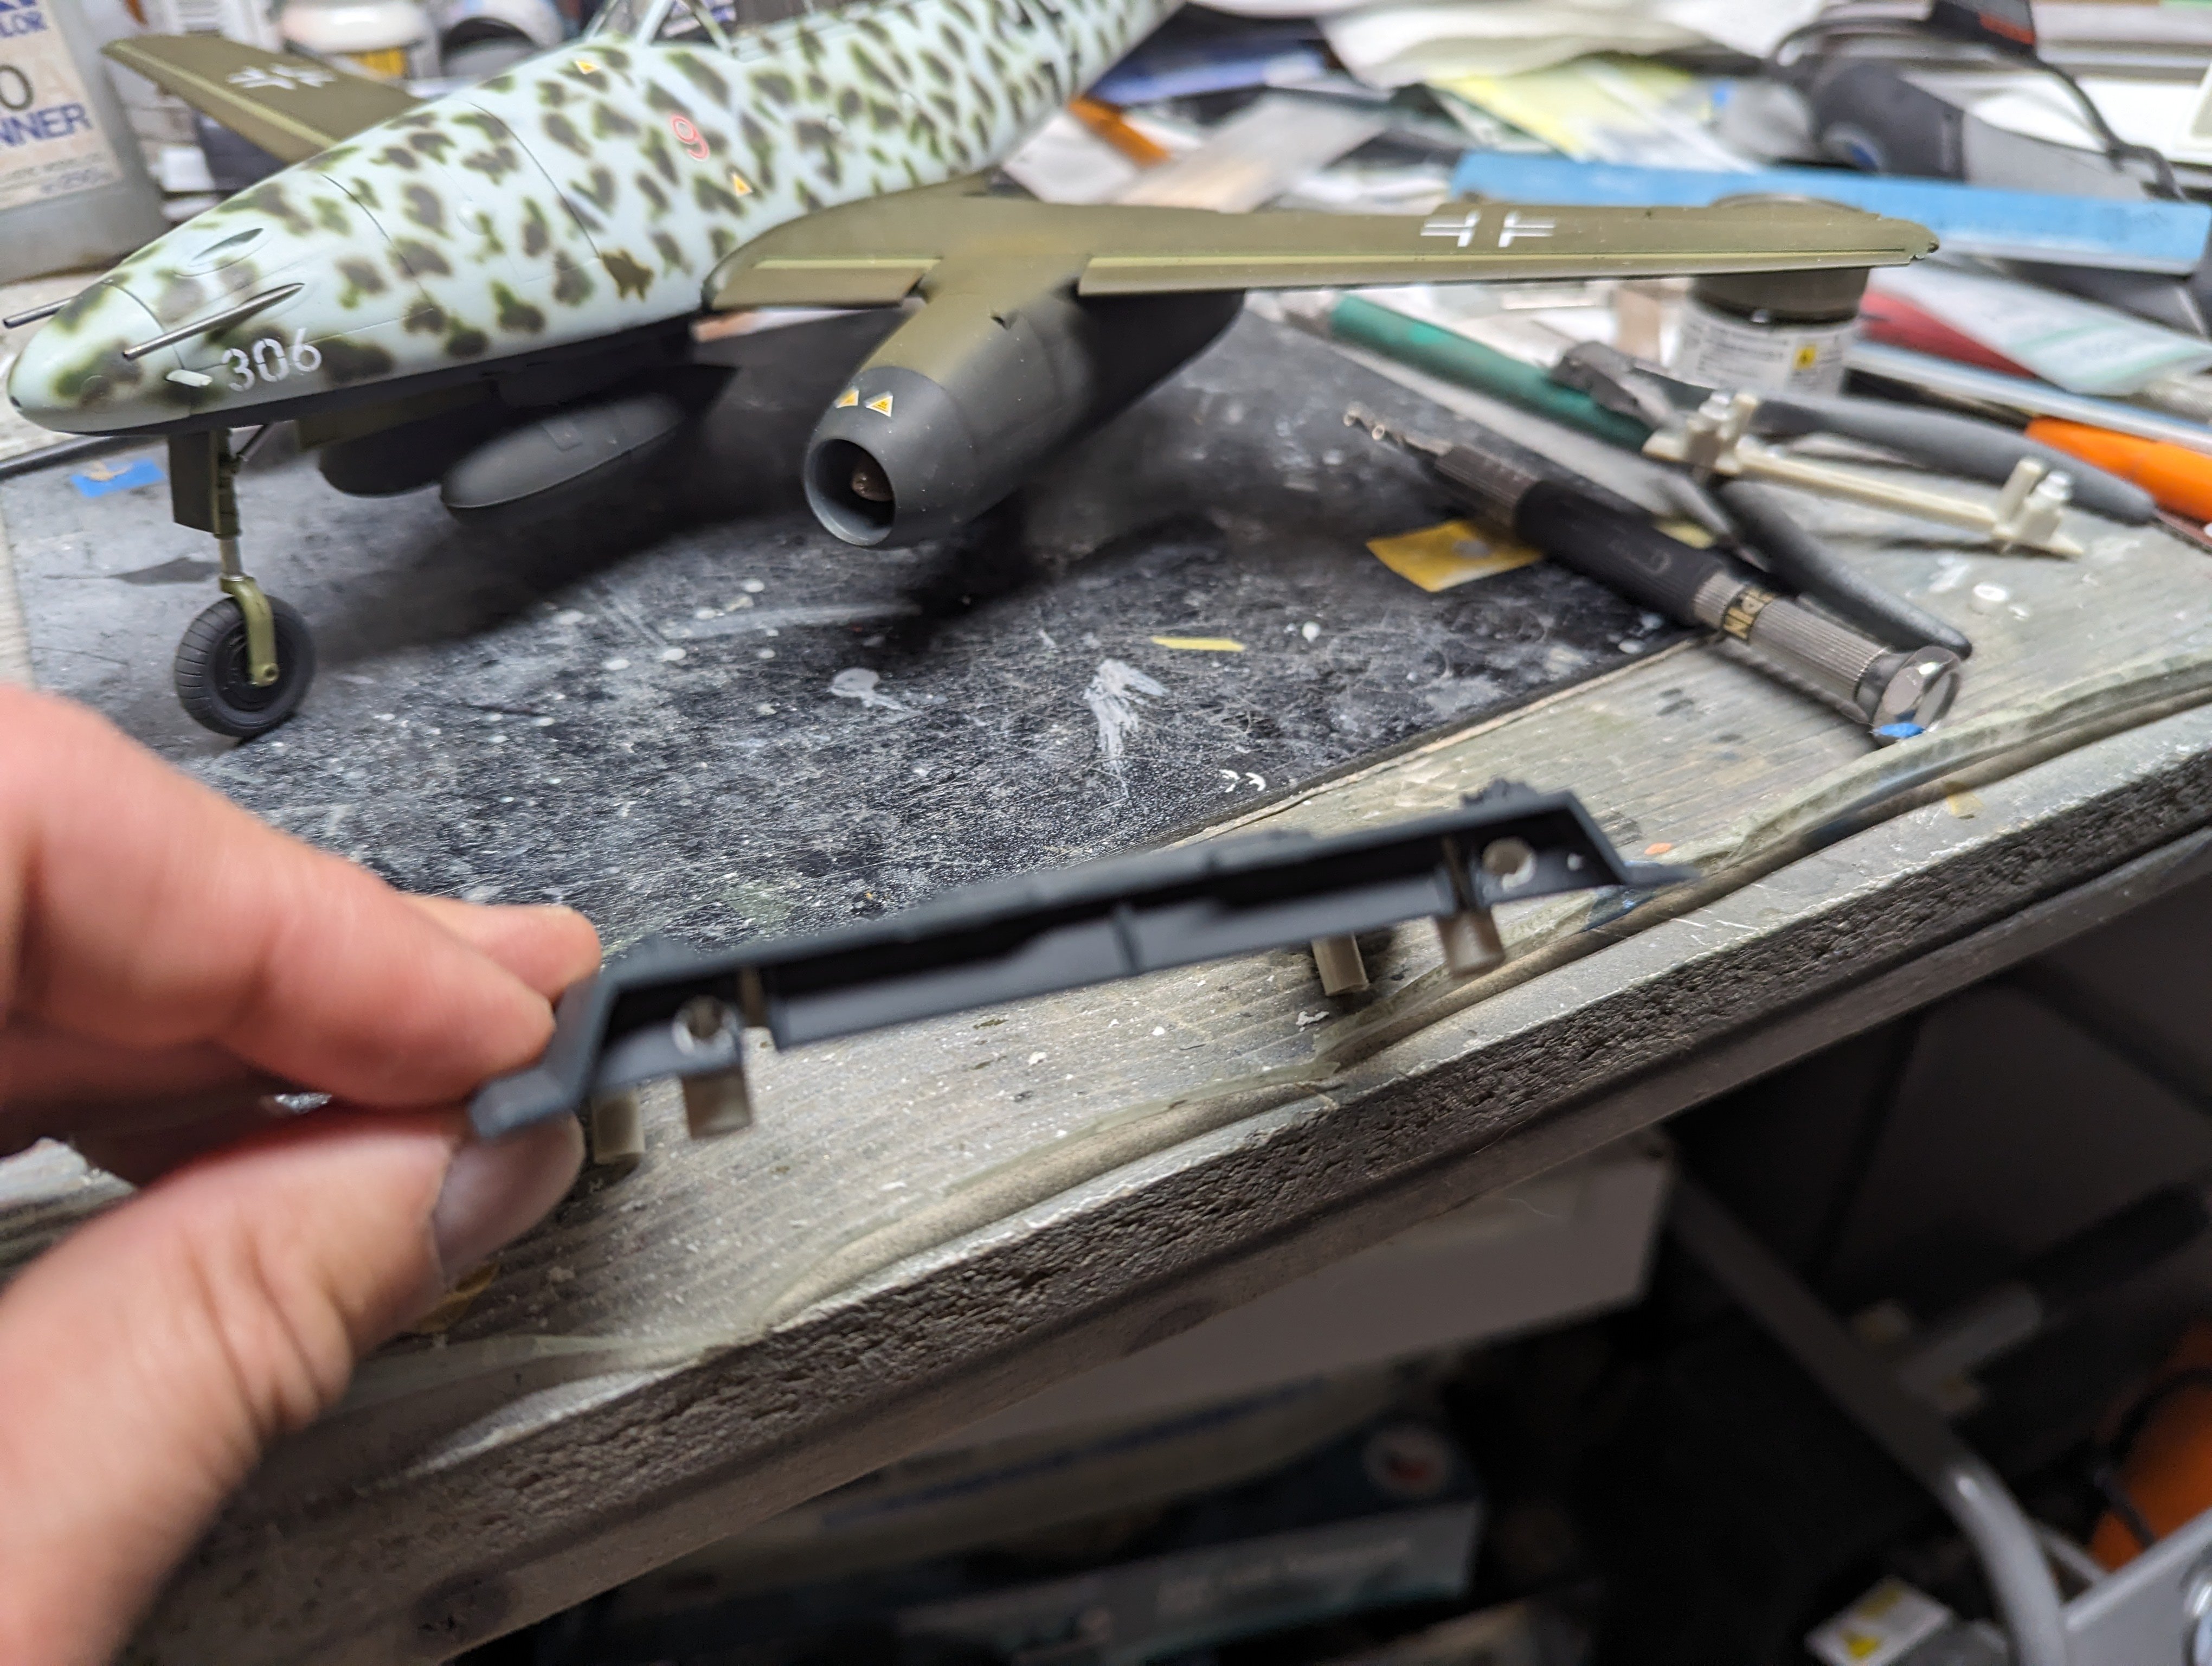
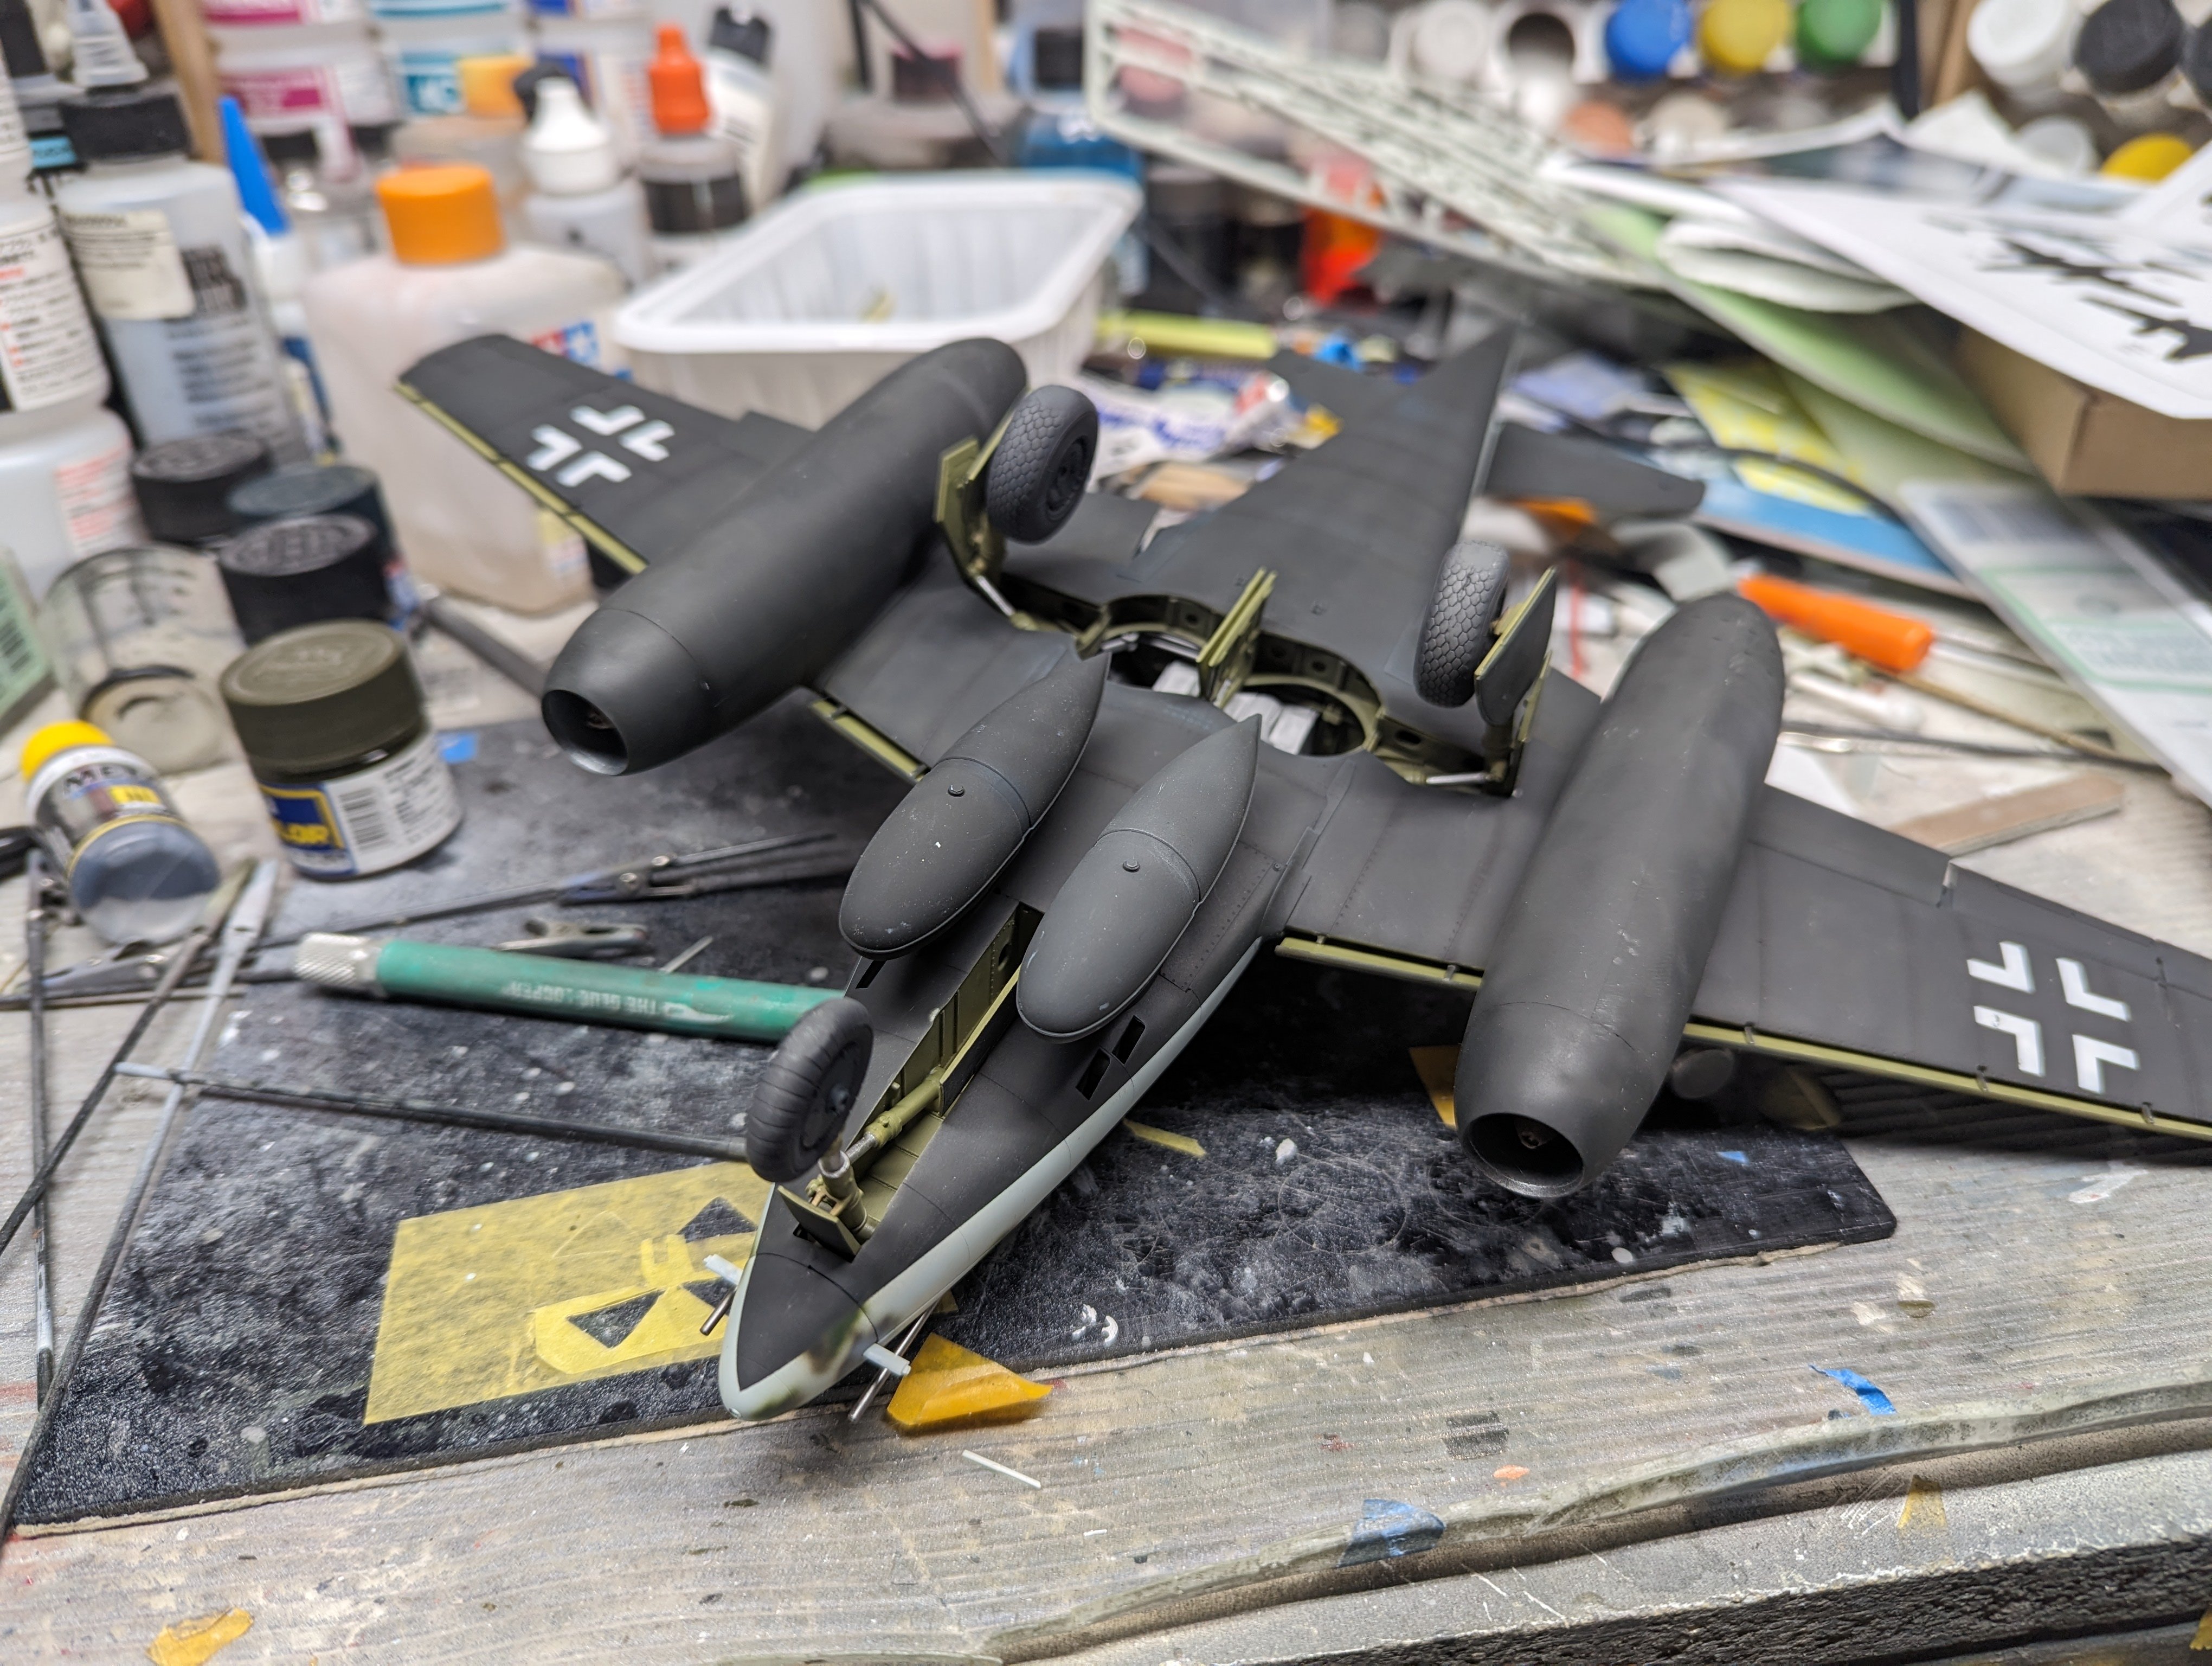
Meantime, the Me 262 is getting closer to finished. I started on the decals and that went sideways. The stencils started to curl up and the silvering was absolutely nasty. So I ended up removing most of the them. I had to do some paint touch-ups as a result. I'm probably going to just leave it at this point. I may look at the 1 Man Army stencils if I decide to revisit this. I also added the landing gear doors and the drop tanks. Lastly, I removed the masking and fitted the canopies. Well, test fitted them anyways. They're going to be in the open position.


-
Jeff, Peter I'll try to find them and let you know who made them. If I recall, they're a Japanese company but a quick search around my bench and I can't find them. I did find B-25 parts, Tse Tse Mossie parts and Kingfisher parts though.
-
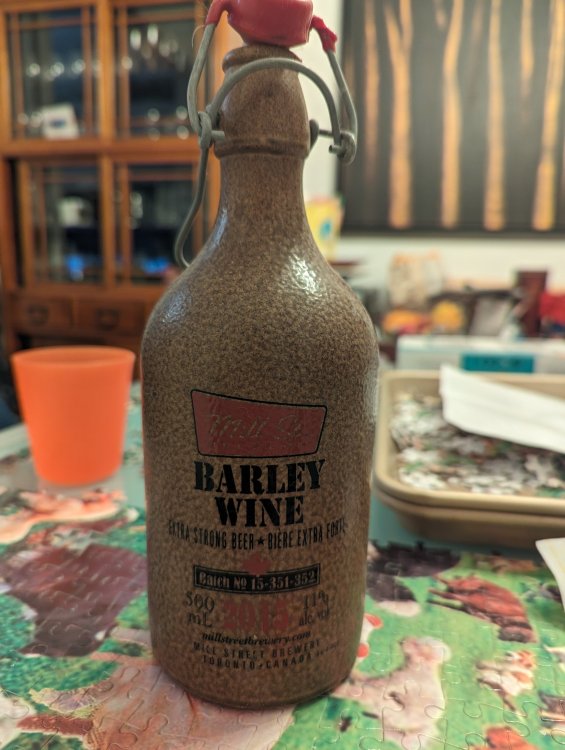
Jeff, I definitely drink more beer than Scotch or Bourbon. Much more approachable and there's so much good beer out there these days.
-
Mill St Barley Wine. Brewed by Mill St Brewery in the Distillery District, Toronto. 11% ABV. On the sweeter side, definitely something to be sipped. Full bodies, a great after dinner drink It's usually only available aright before Christmas. This is the one from 2015. It can be cellared so that's what I do. There's been a couple beers that have sadly been one offs and never made as regular items. One was Black Oak Brewery's barrel aged Dark Cherry porter. This was made to celebrate the opening of their Toronto location. I went with some friends and we figured we would get the odd ounce or two sample cups of their beers to try. We were wrong. They were handing out full pints for free. Thankfully none of us drove but the bike ride home was eventful. Another one was from our neighbourhood brewpub called Indie Ale House. They made a raspberry cask ale exclusively for someone's wedding called Punch Buggy. They sold the leftovers in the pub after the wedding. It was absolutely awesome but try as I might, I couldn't convince the owner to make it again. It took way too many raspberries to make it. At least I got to have some.