JeroenPeters
-
Posts
4,867 -
Joined
-
Last visited
Content Type
Profiles
Forums
Events
Gallery
Everything posted by JeroenPeters
-

1/32 Westland Whirlwind
JeroenPeters replied to JeroenPeters's topic in LSM 1/35 and Larger Work In Progress
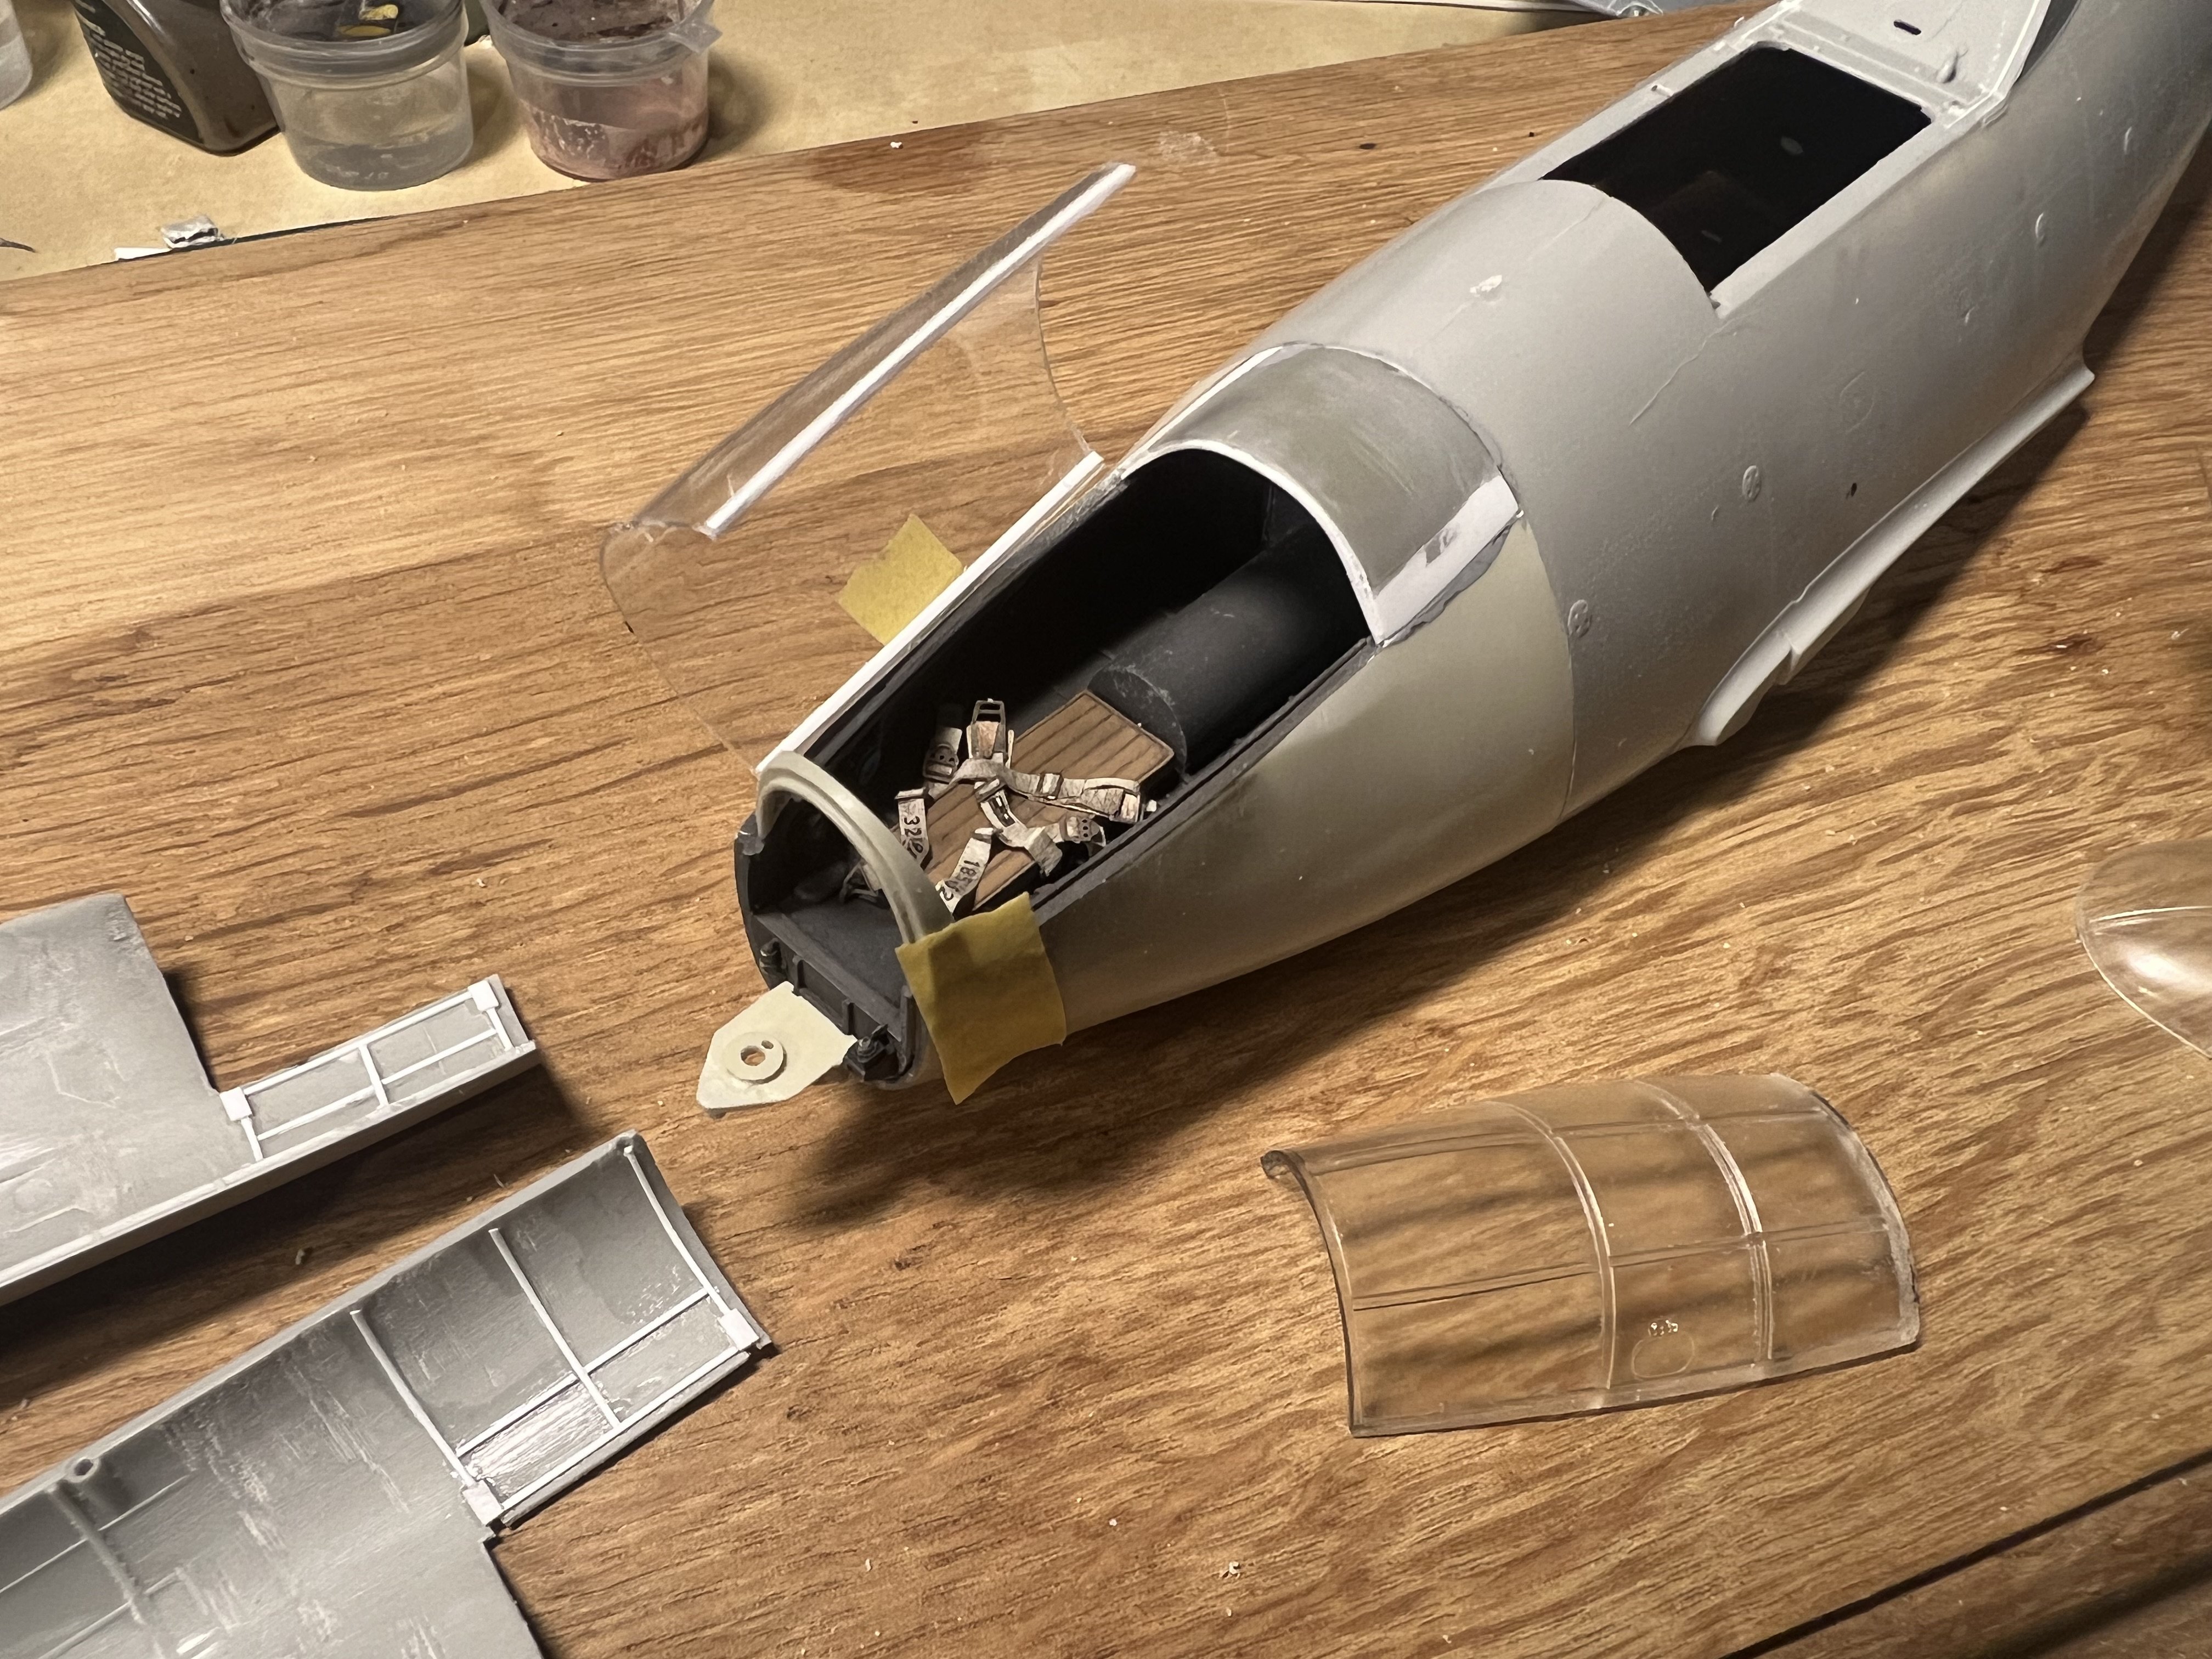
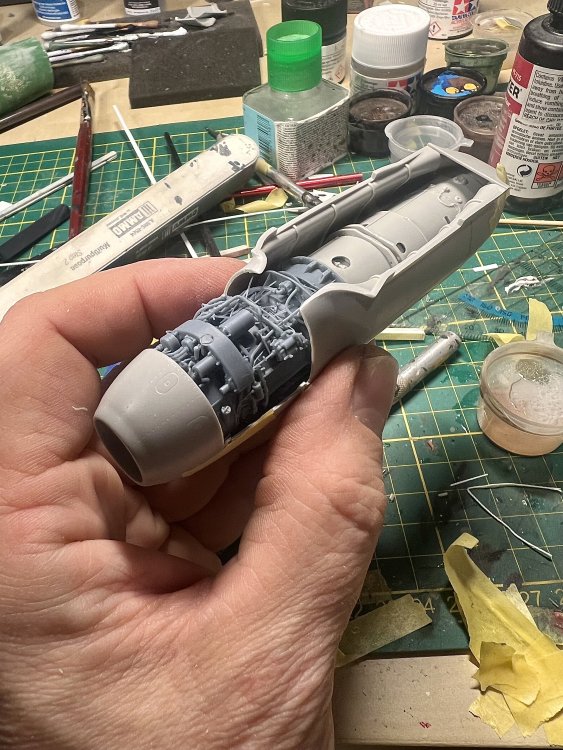
Installed the inner frame. A real pain! Also assembled the 3d printed and resin nose. The fit to fuselage is nice. But i will pose it on the ground.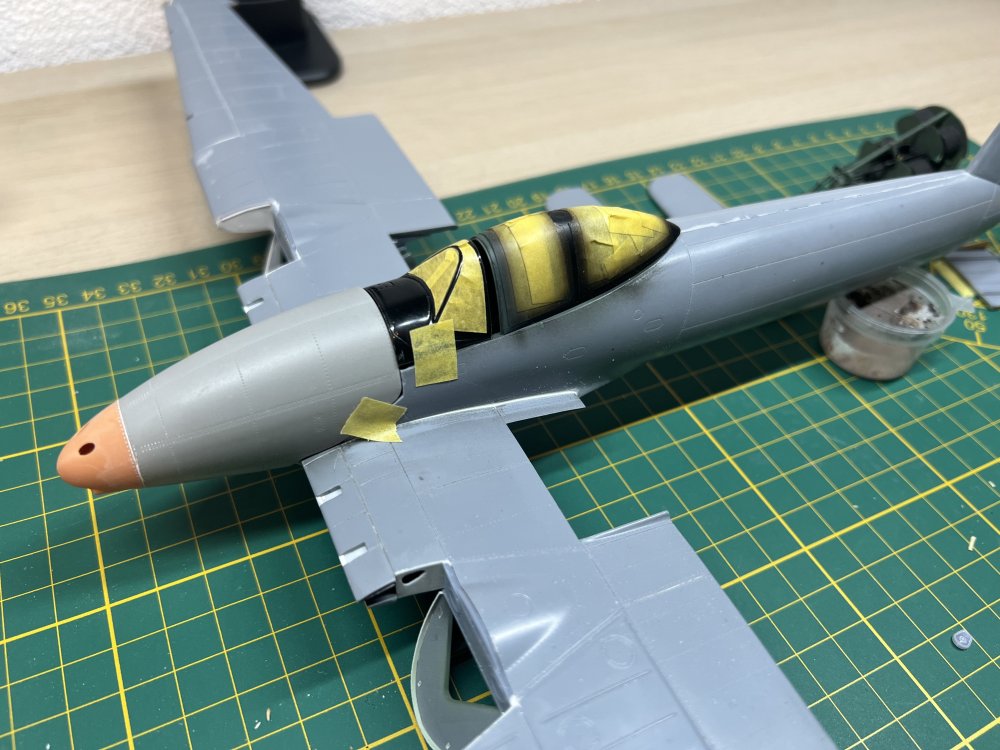
- 439 replies
-
- 10
-

-
Aaahh.. i never make them smaller. No need. But still weird. Should work fine…
-
Hmmm. i always shoot pics with my iphone and immediately upload them to the forum. What platform and type of inages are you trying to upload?
-
no. Ships the 10th of january
-
I’d be in!
-
This:
.thumb.png.c5b83d20d586fd247ccd3c9666961796.png)
-
1/32 Westland Whirlwind
JeroenPeters replied to JeroenPeters's topic in LSM 1/35 and Larger Work In Progress
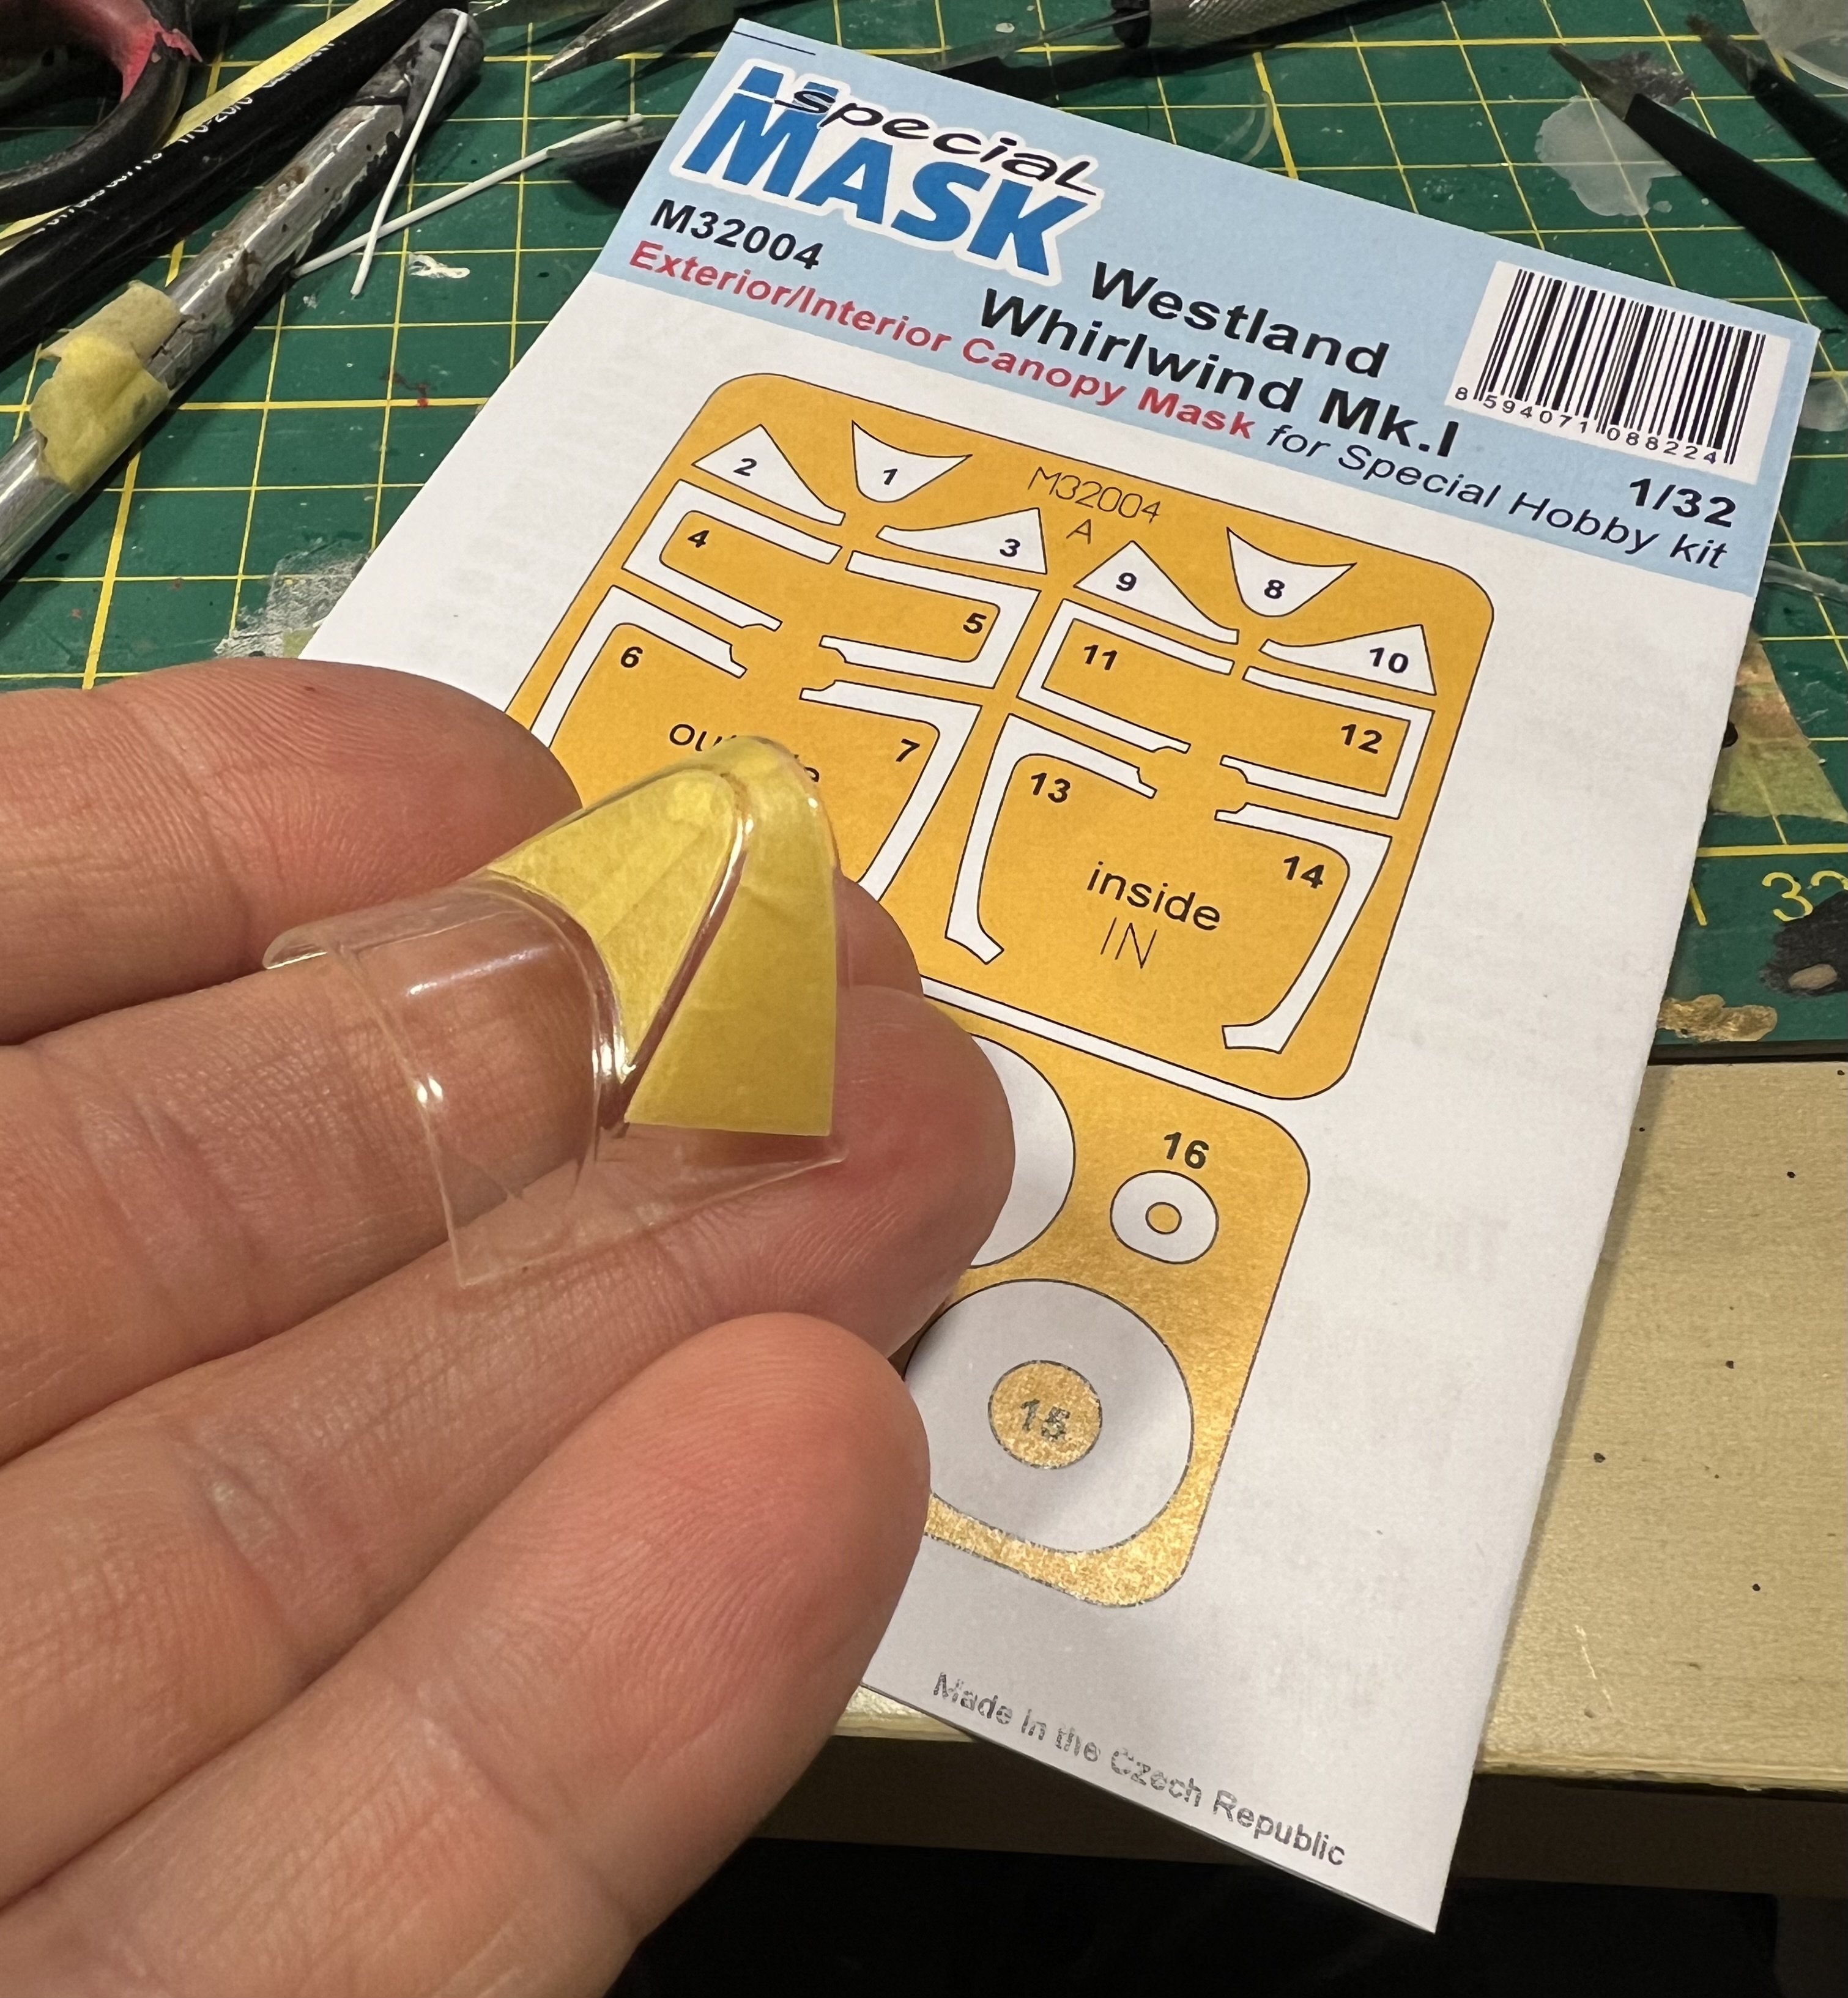
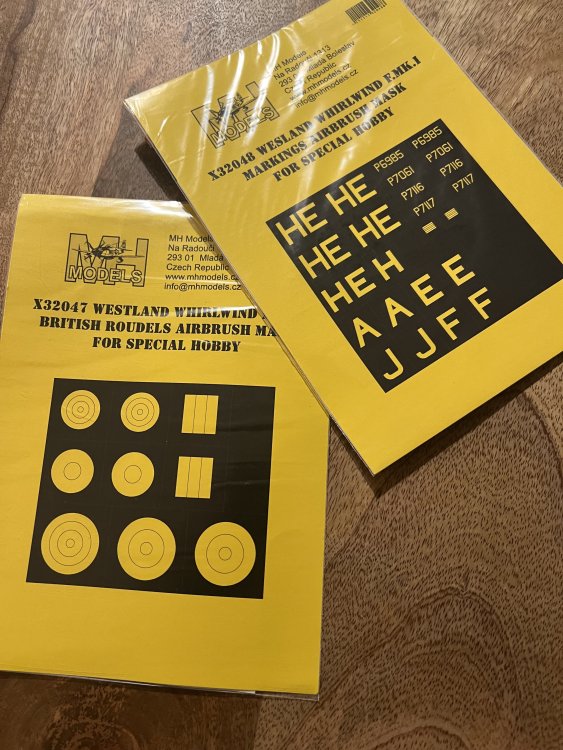
Bought some paint masks today. I can alter the serial to P7111 and the codes i can cut myself with my mask cutter. Started to install the inner framing of the canopy.
-
1/32 Westland Whirlwind
JeroenPeters replied to JeroenPeters's topic in LSM 1/35 and Larger Work In Progress
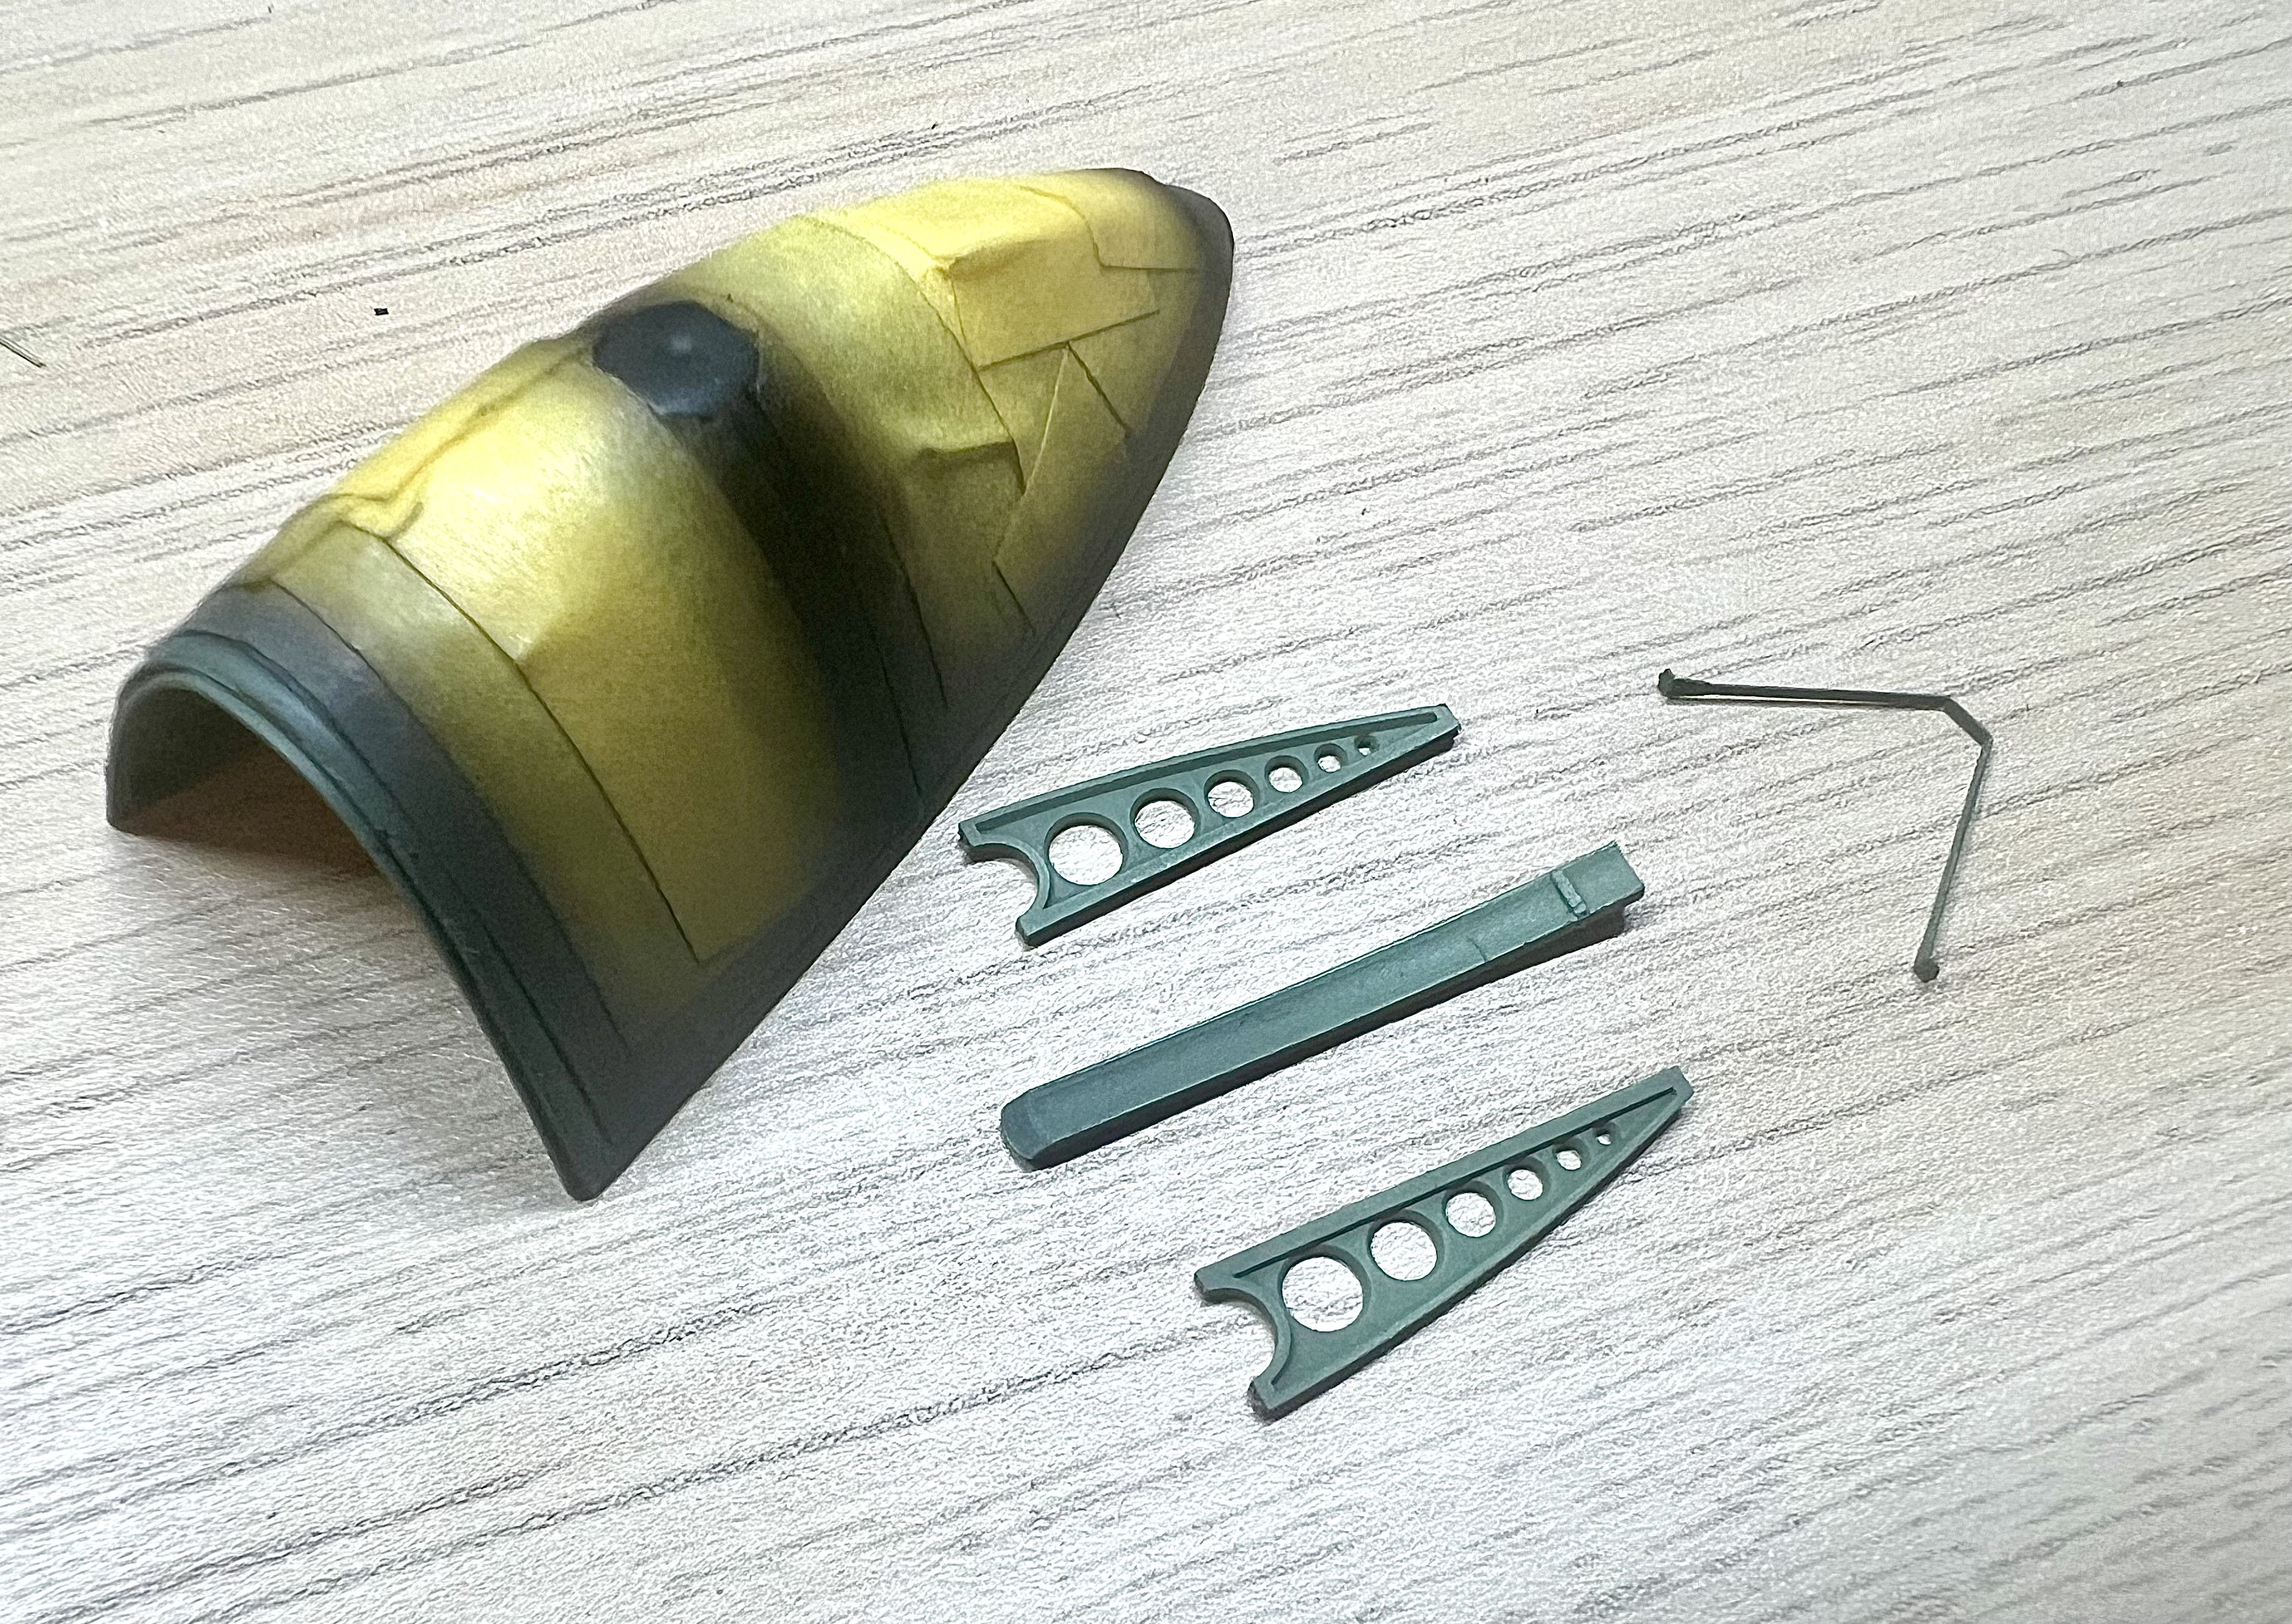
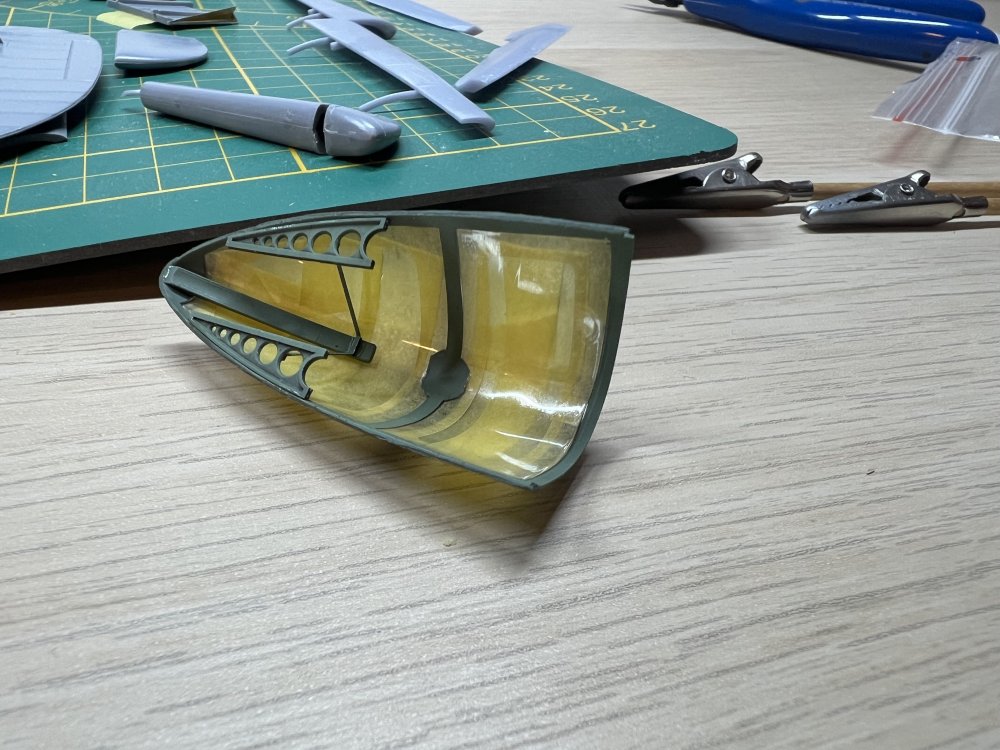
Baby steps. Working on the canopy frame. This had to be painted prior to installing for obvious reasons
-
1/32 Westland Whirlwind
JeroenPeters replied to JeroenPeters's topic in LSM 1/35 and Larger Work In Progress
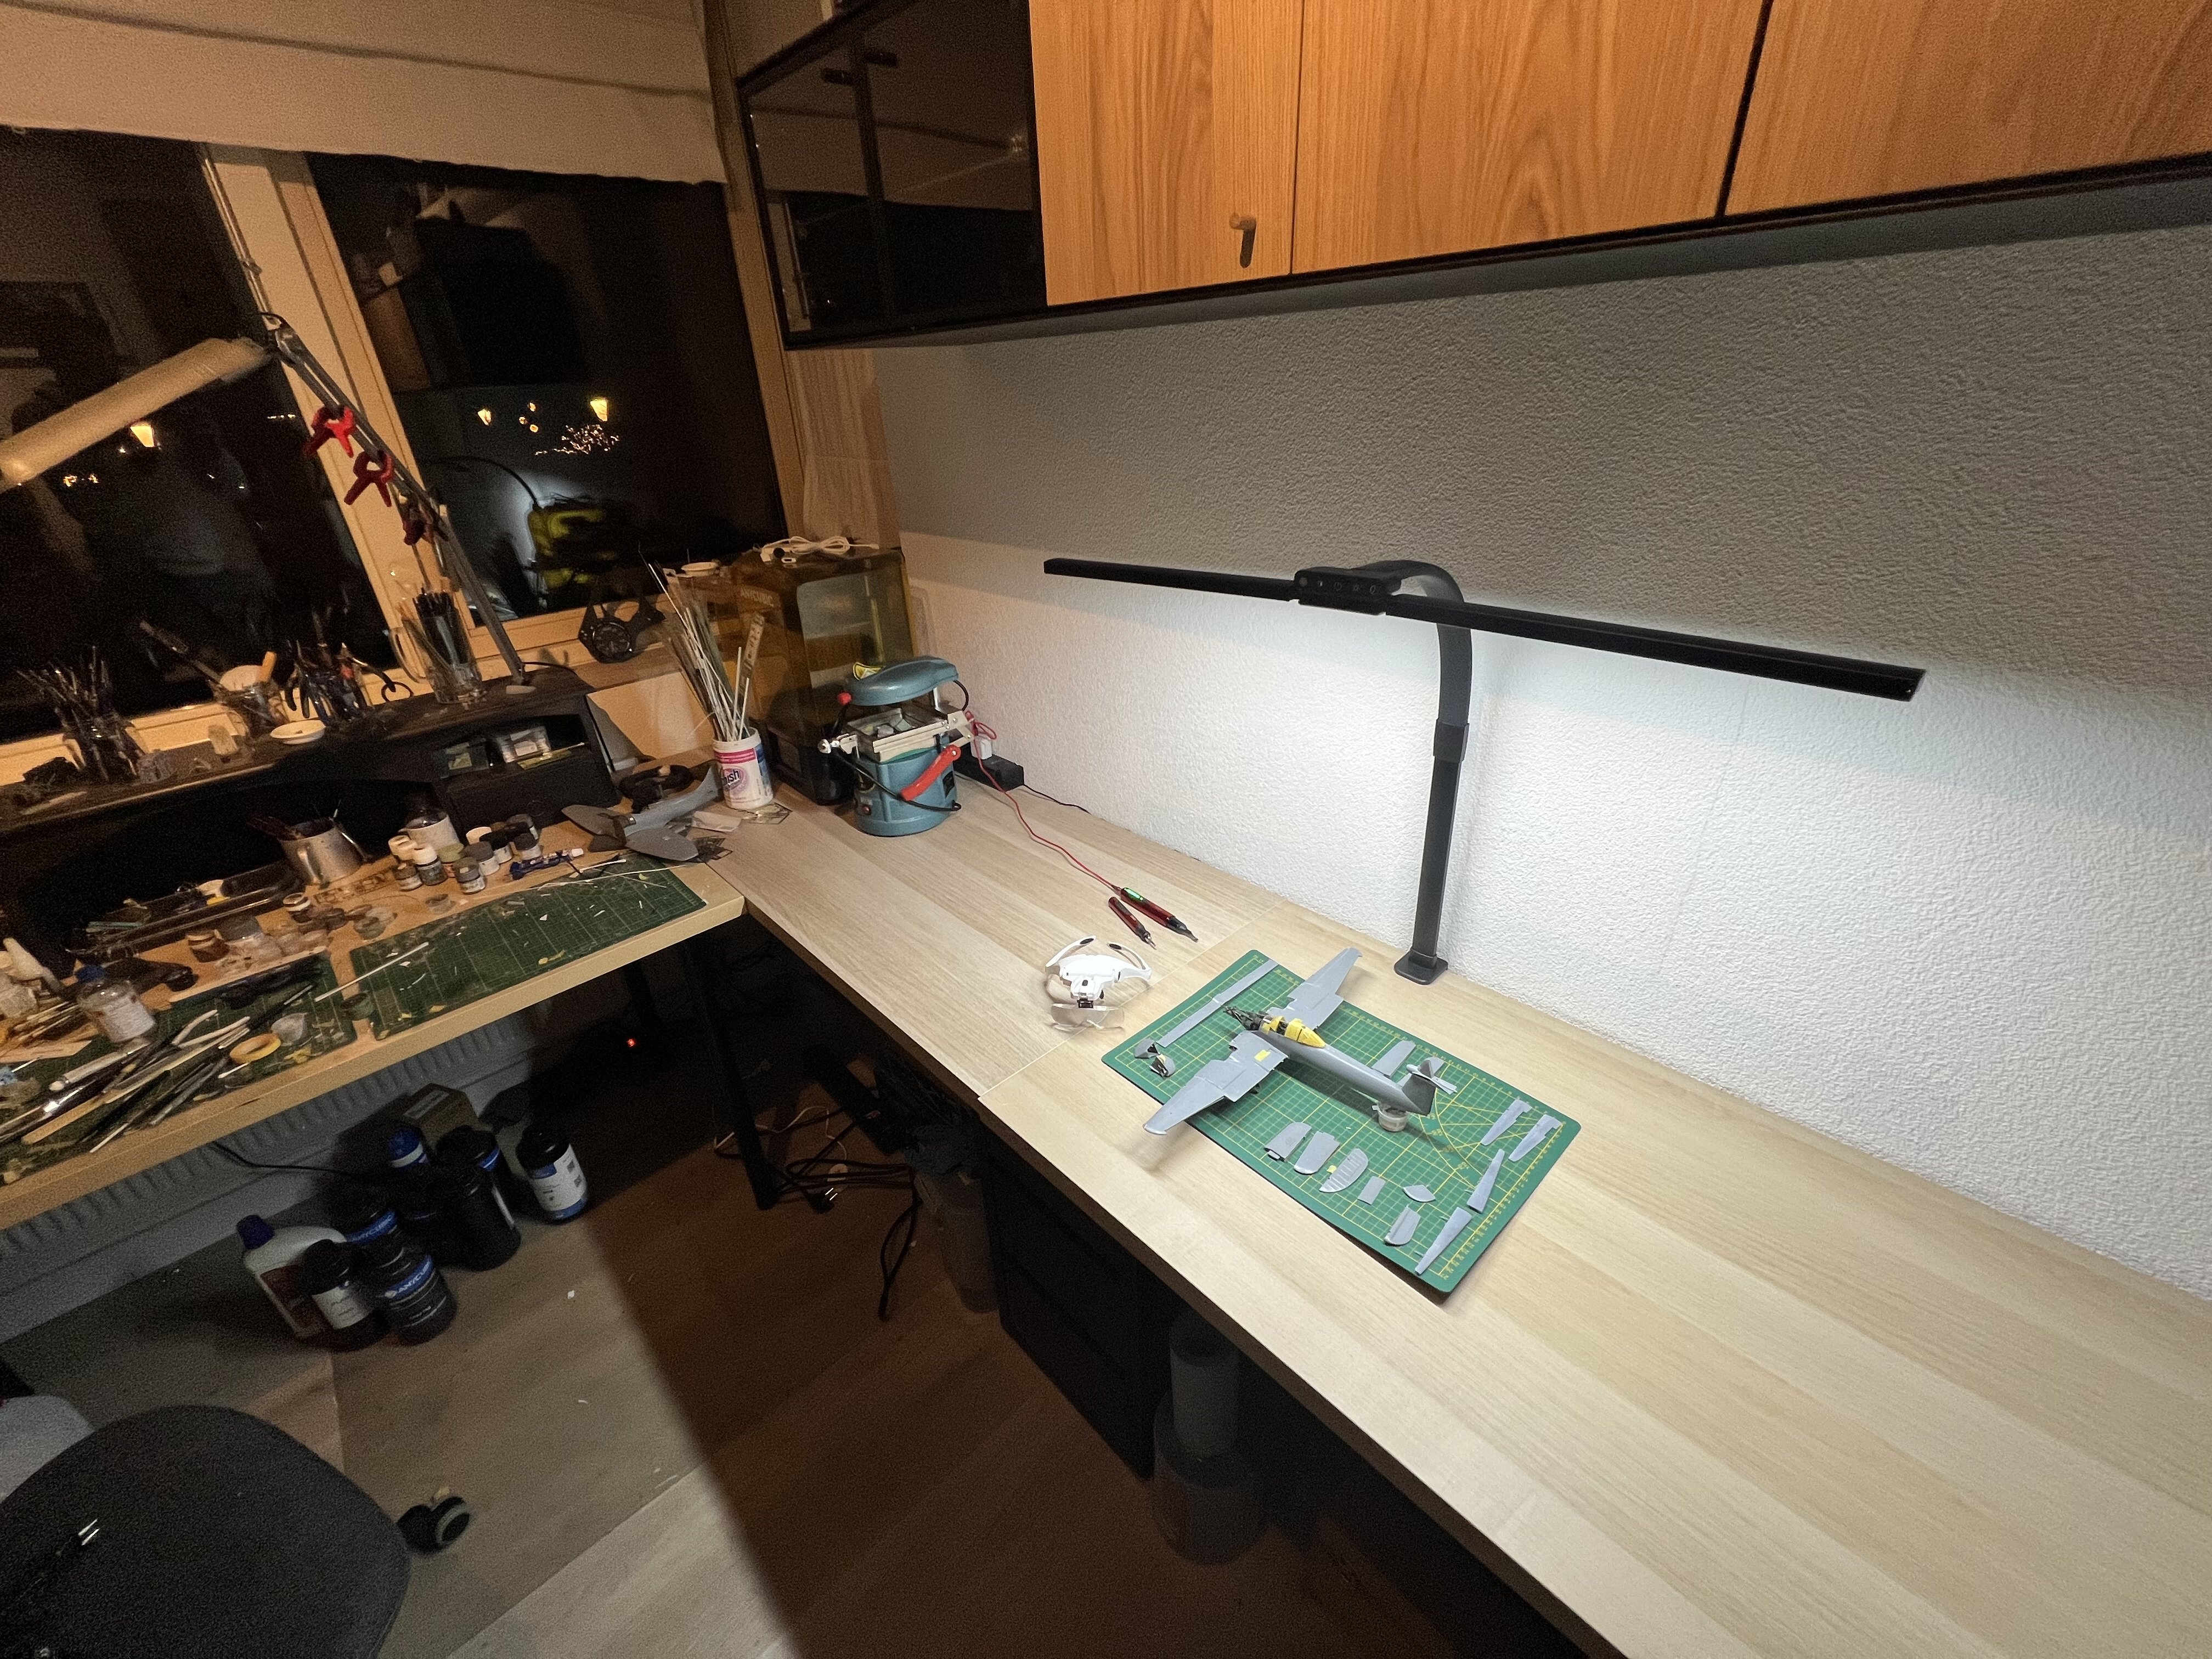
Added the flange to the vacform hood. Also installed a new light above the bench. Makes a world of difference!

-
1/32 Westland Whirlwind
JeroenPeters replied to JeroenPeters's topic in LSM 1/35 and Larger Work In Progress
Took a lot of test fitting, sanding and adjusting to get the nose guns to fit properly.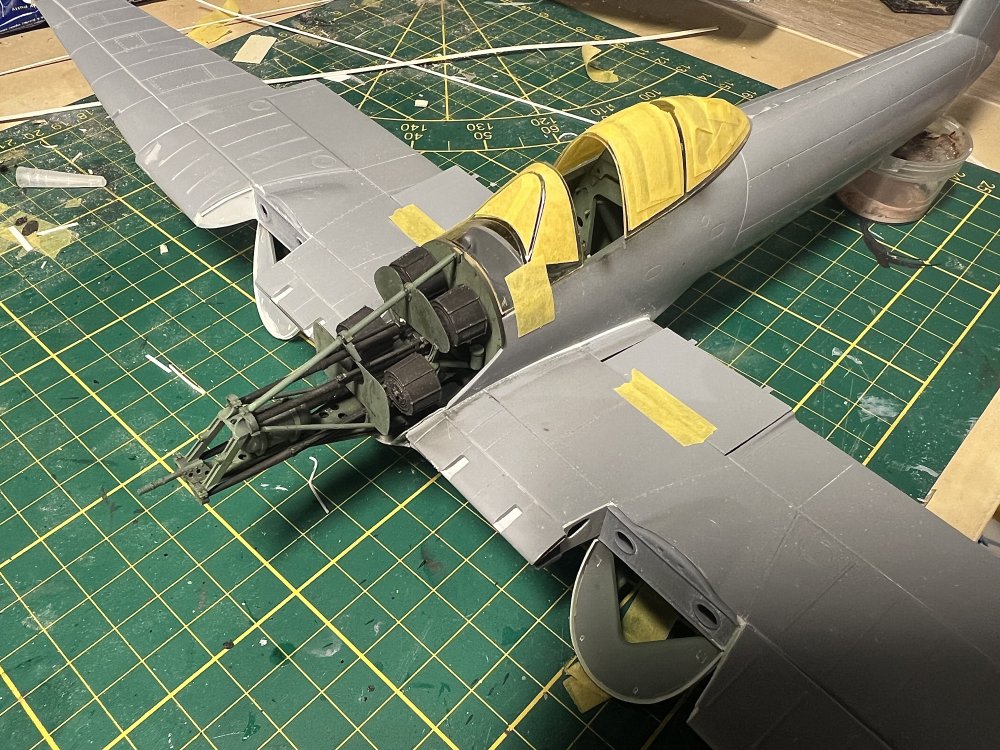
-
1/32 Westland Whirlwind
JeroenPeters replied to JeroenPeters's topic in LSM 1/35 and Larger Work In Progress
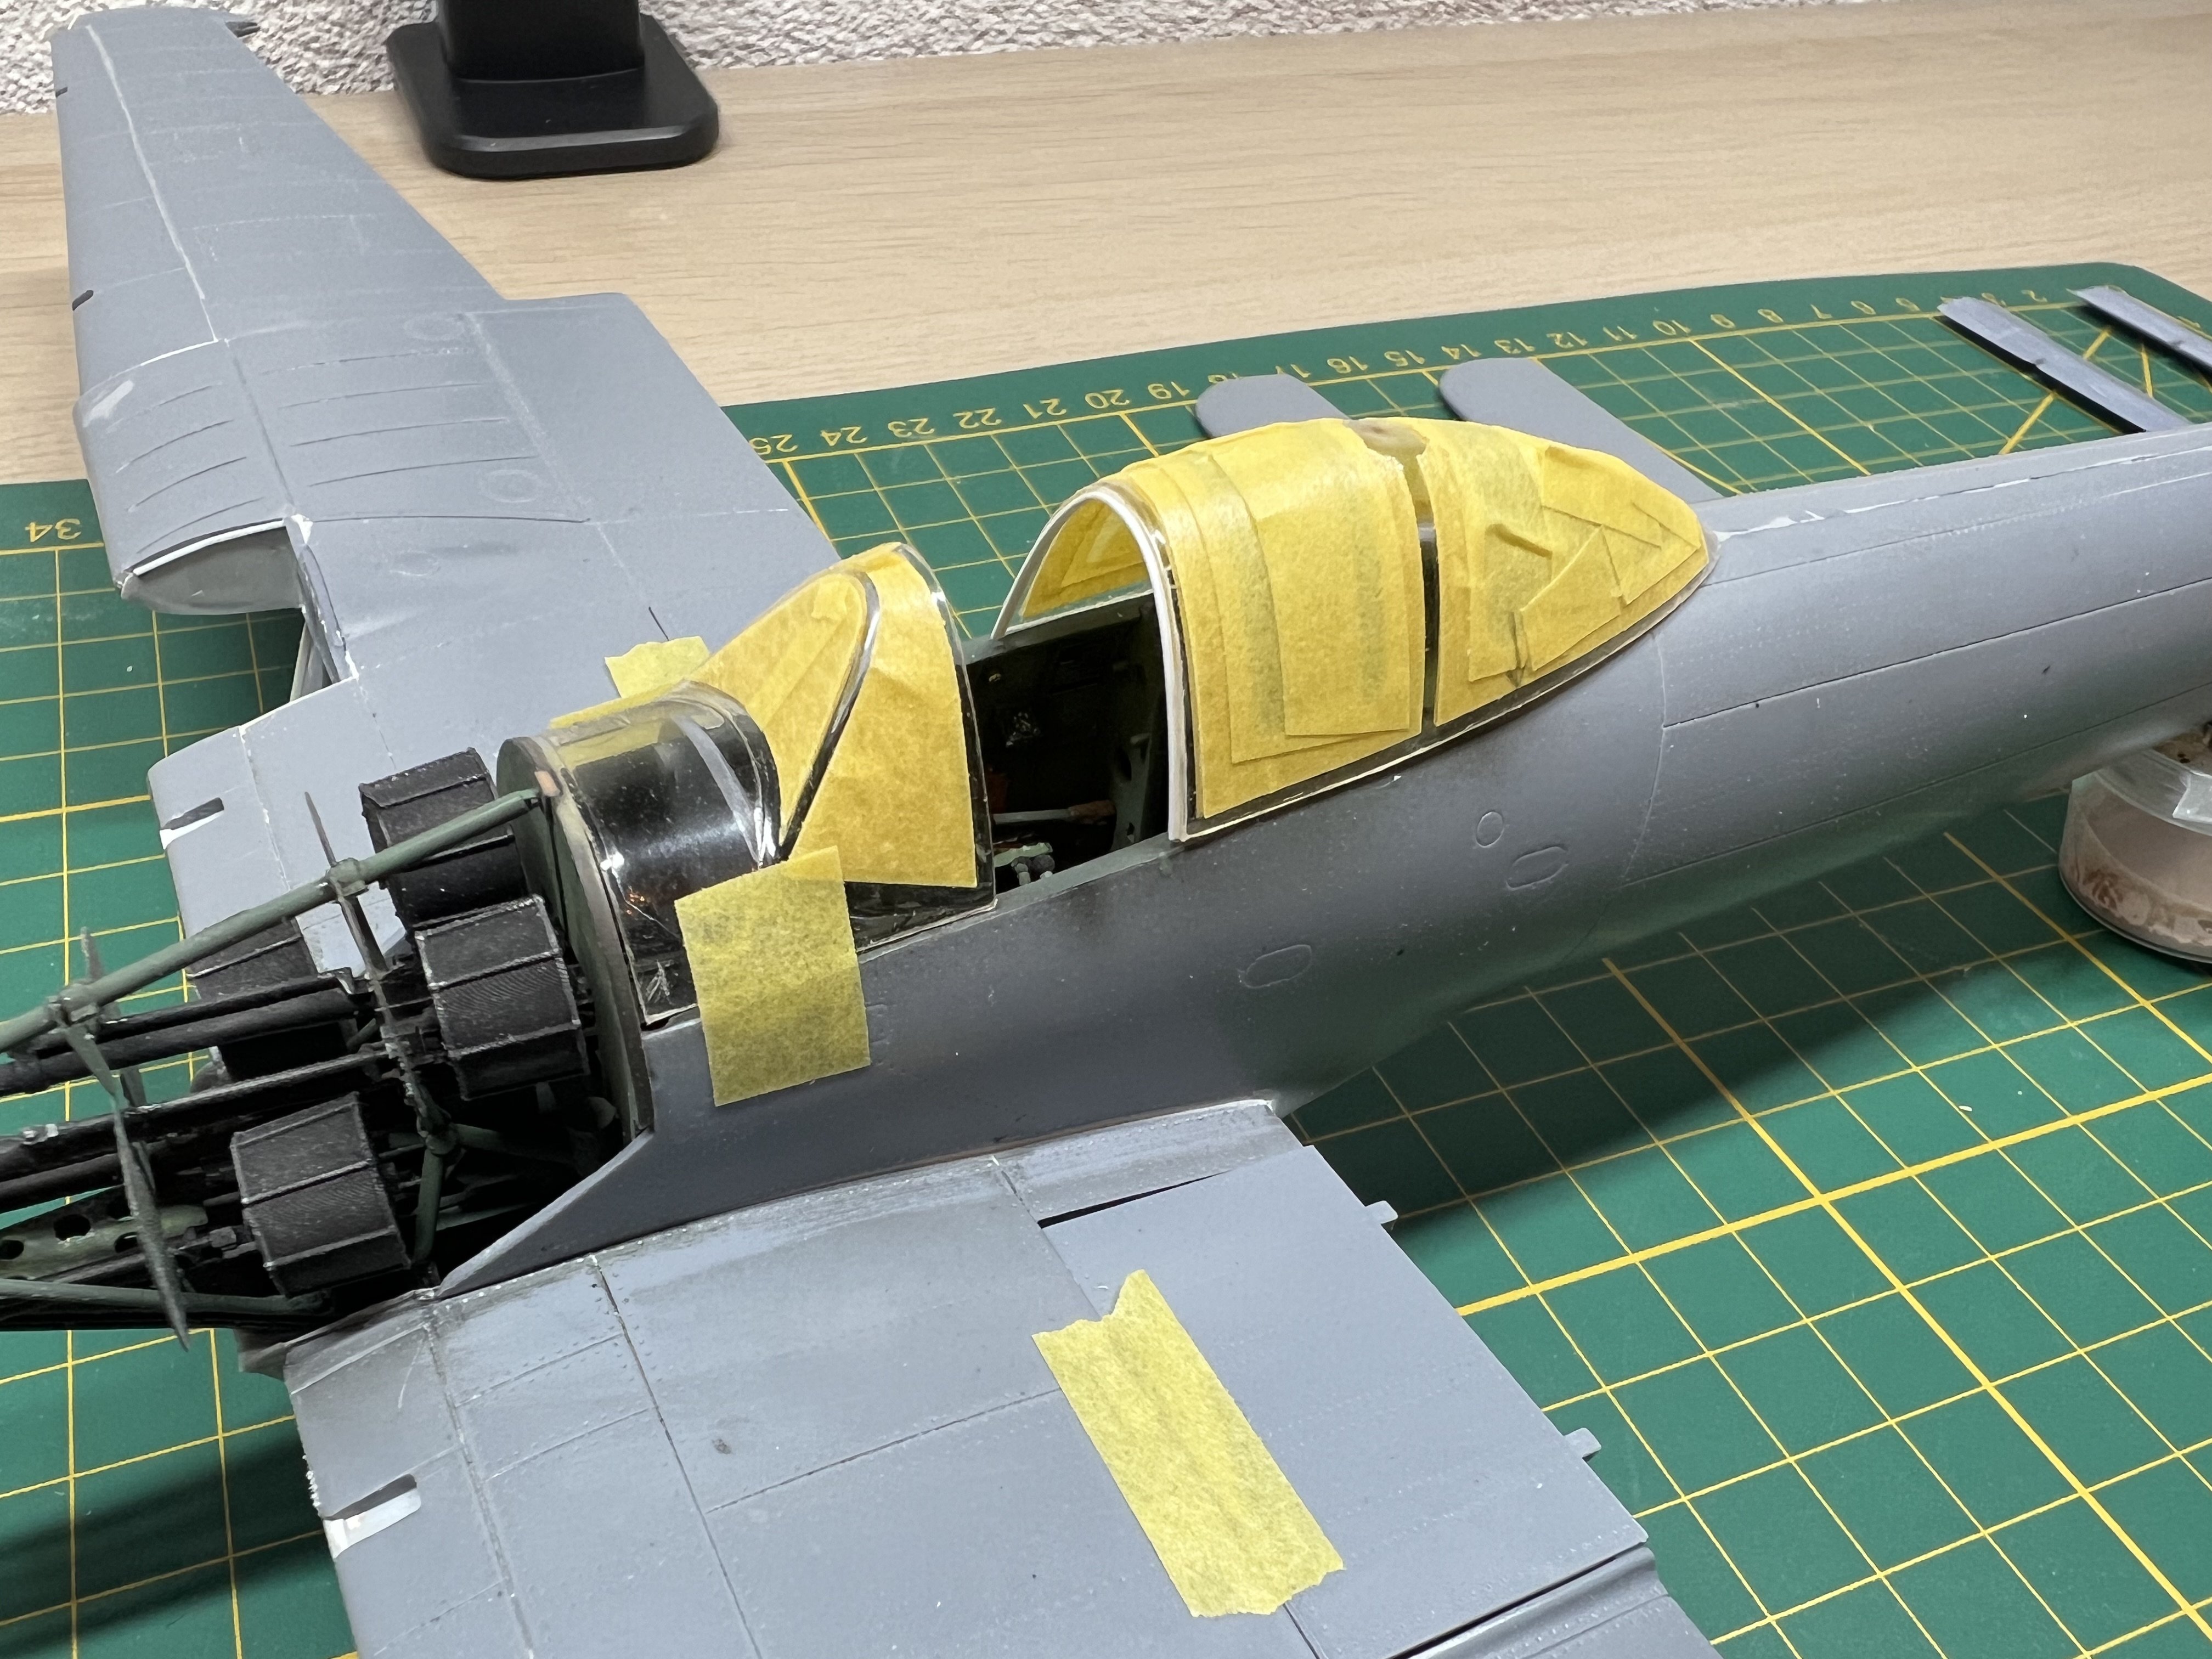
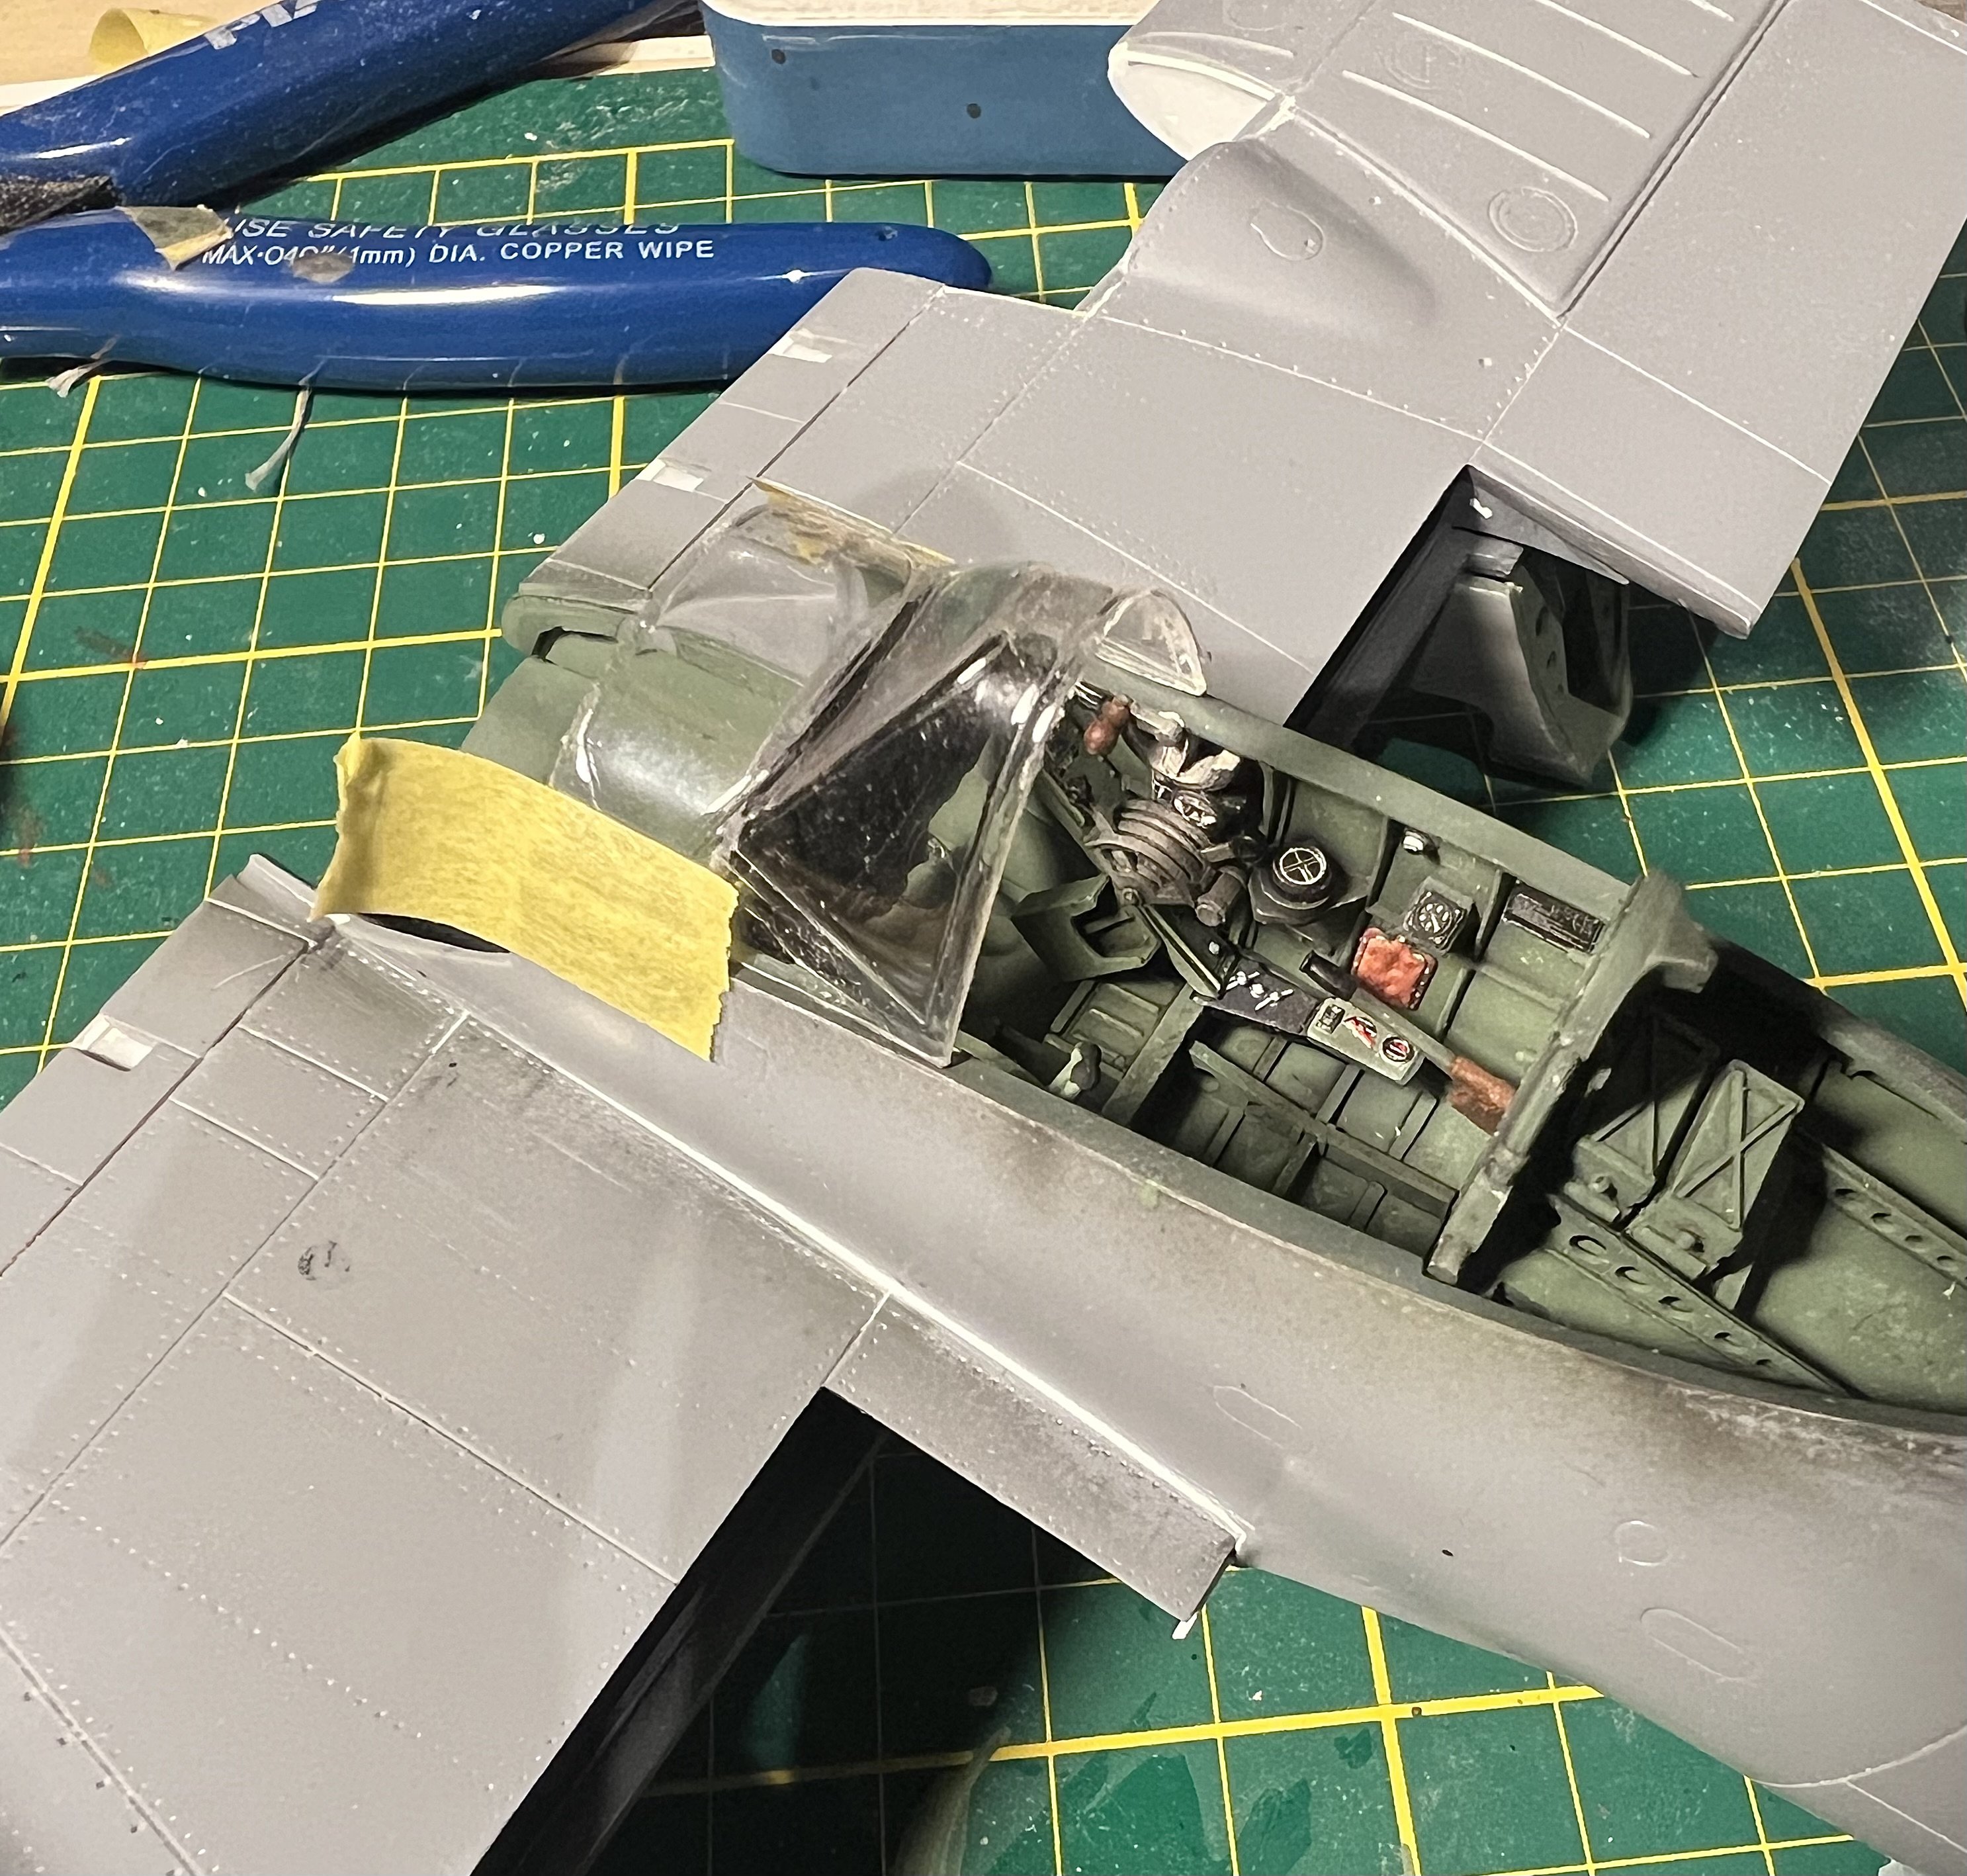
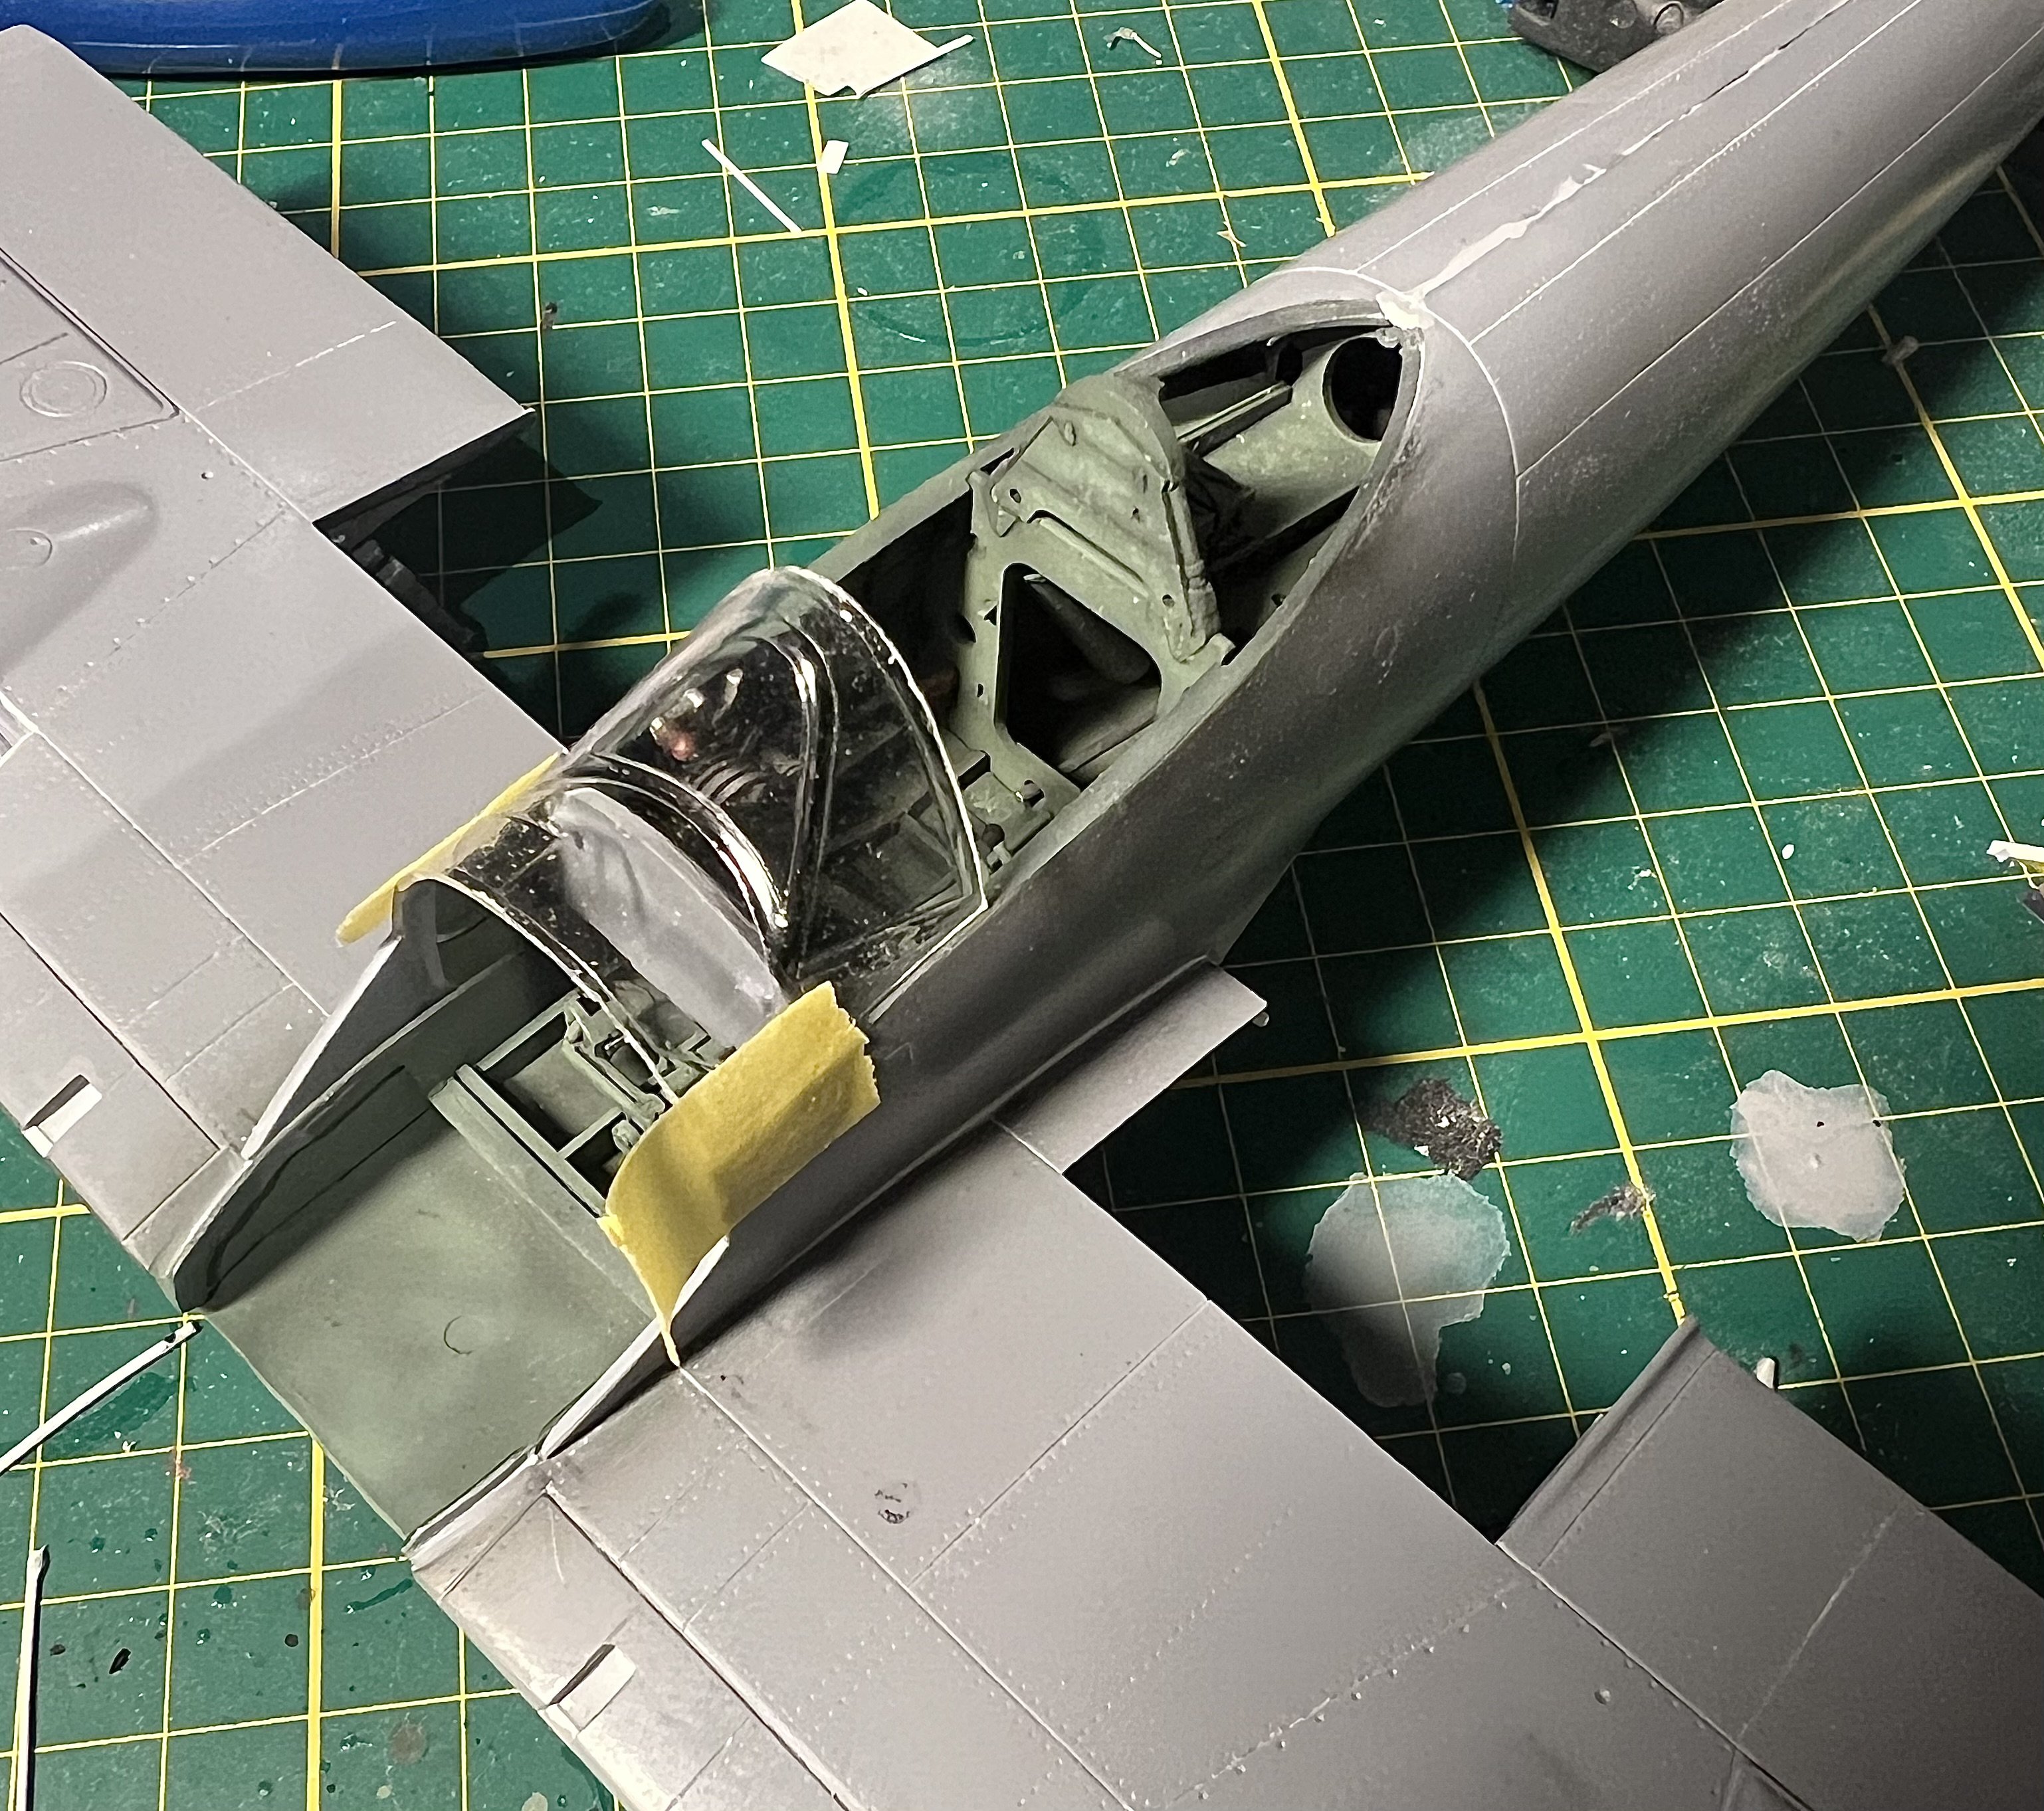
The canopy is fully masked inside and out. In pictures i can see the edge of the canopy hood needs a flange. The top of the windshield still needs a mirror.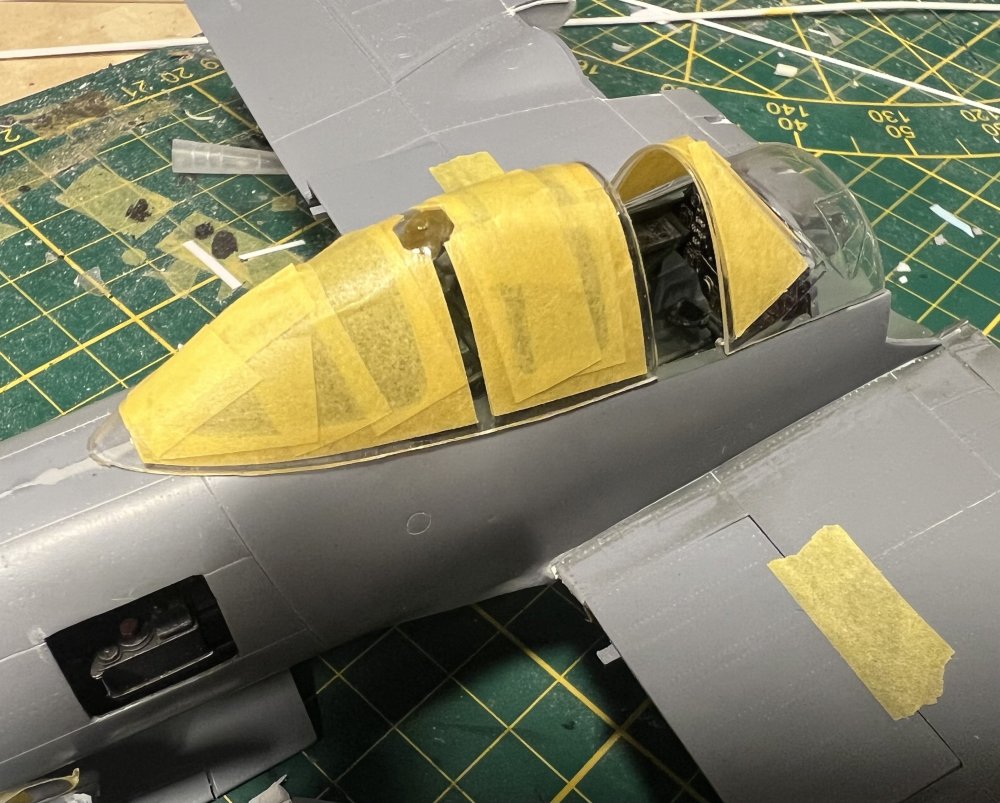
-
1/32 Westland Whirlwind
JeroenPeters replied to JeroenPeters's topic in LSM 1/35 and Larger Work In Progress
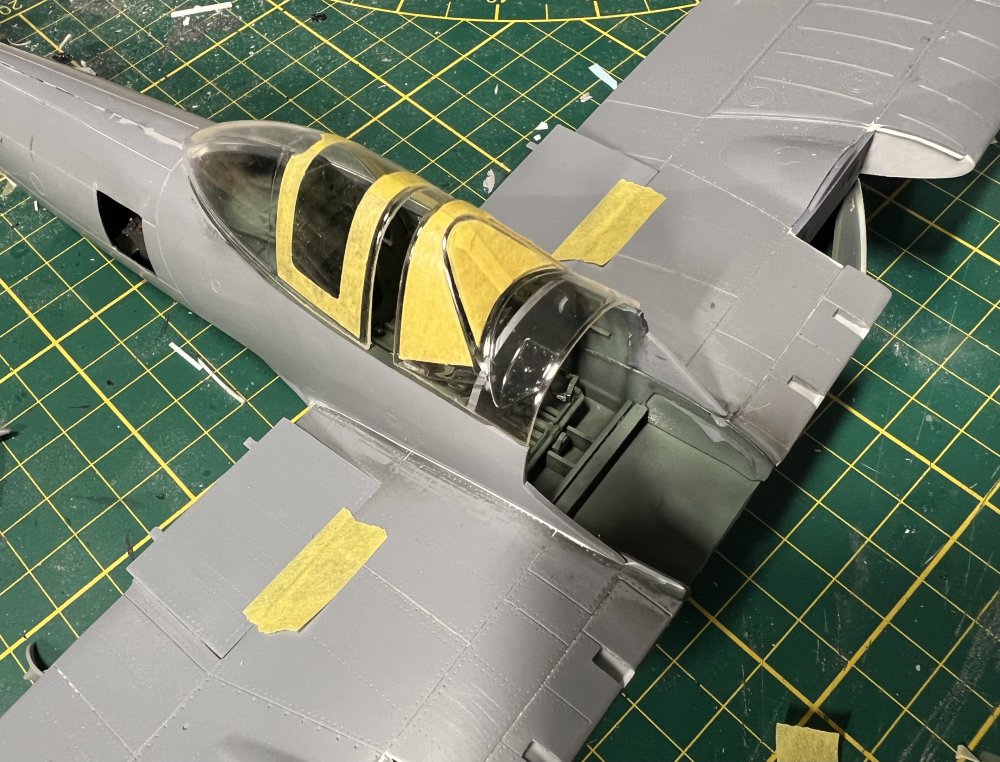
The vacform canopy has been cut and cleaned. Now masking time. Inside and out.
-
1/32 Westland Whirlwind
JeroenPeters replied to JeroenPeters's topic in LSM 1/35 and Larger Work In Progress
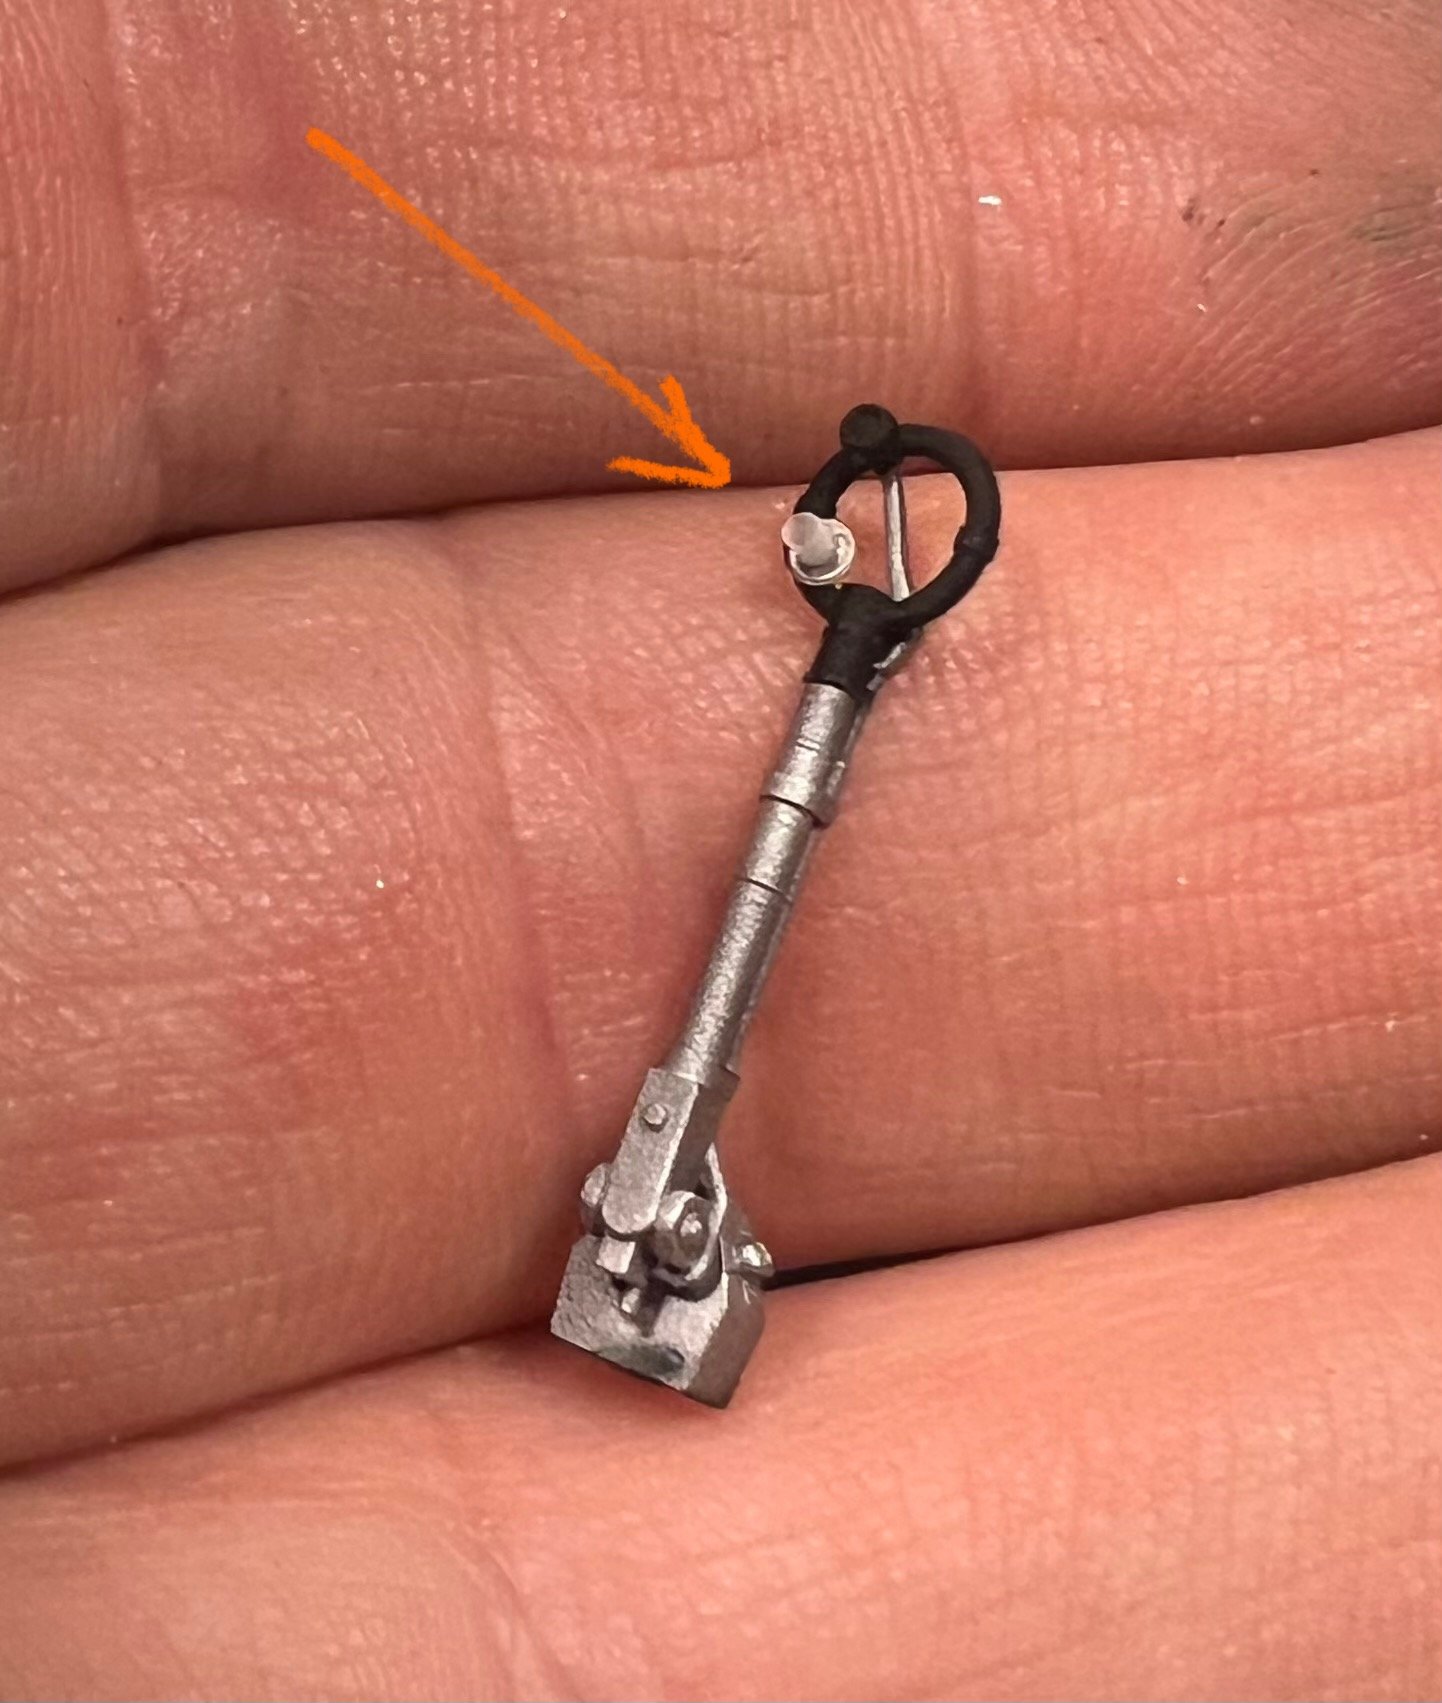
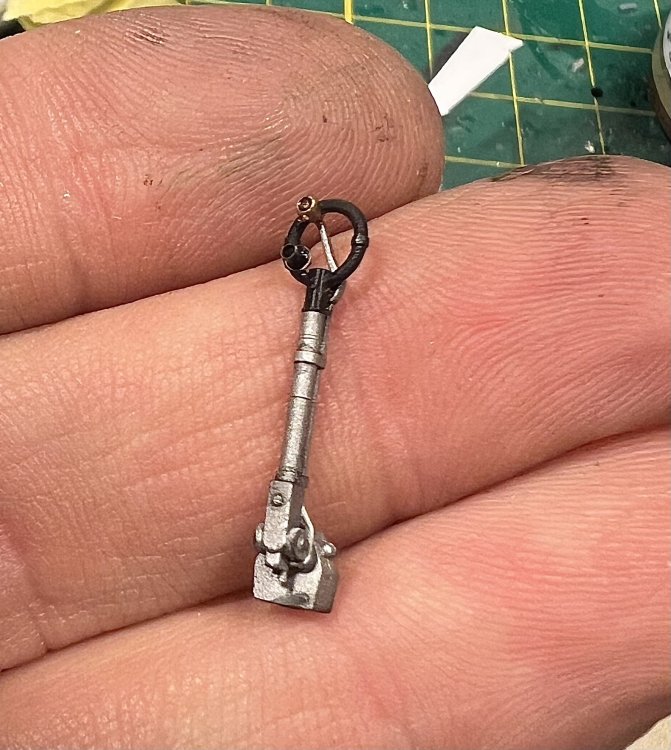
The high tech version of this kit offers a beautiful 3d printed control column. Only thing lacking is the prominent gun camera button. I made this from some photo etch and stretched cotton bud plastic.
-
1/32 Westland Whirlwind
JeroenPeters replied to JeroenPeters's topic in LSM 1/35 and Larger Work In Progress
Worked on the radiator flaps. Tricky photo etch to fold, but came out nice.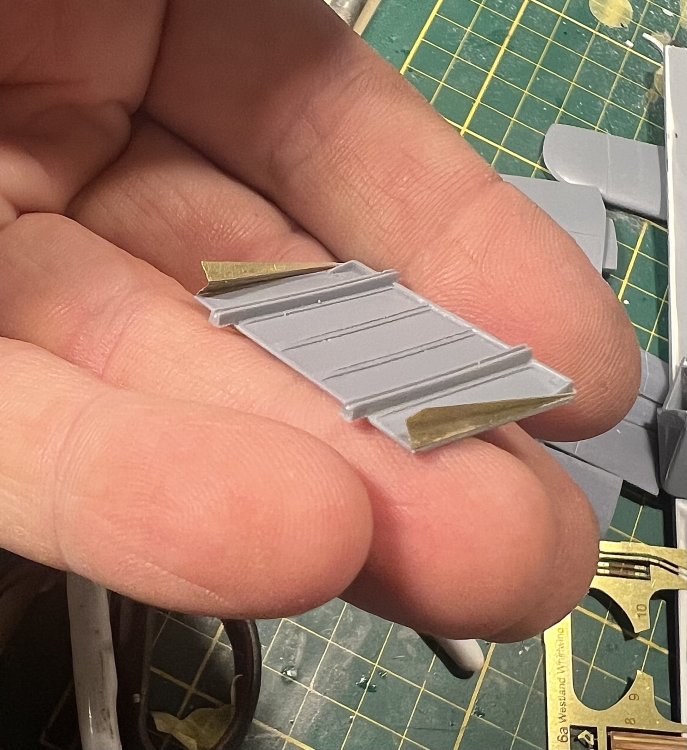
-
1/32 Westland Whirlwind
JeroenPeters replied to JeroenPeters's topic in LSM 1/35 and Larger Work In Progress

- 439 replies
-
- 10
-
-

-
1/32 Westland Whirlwind
JeroenPeters replied to JeroenPeters's topic in LSM 1/35 and Larger Work In Progress
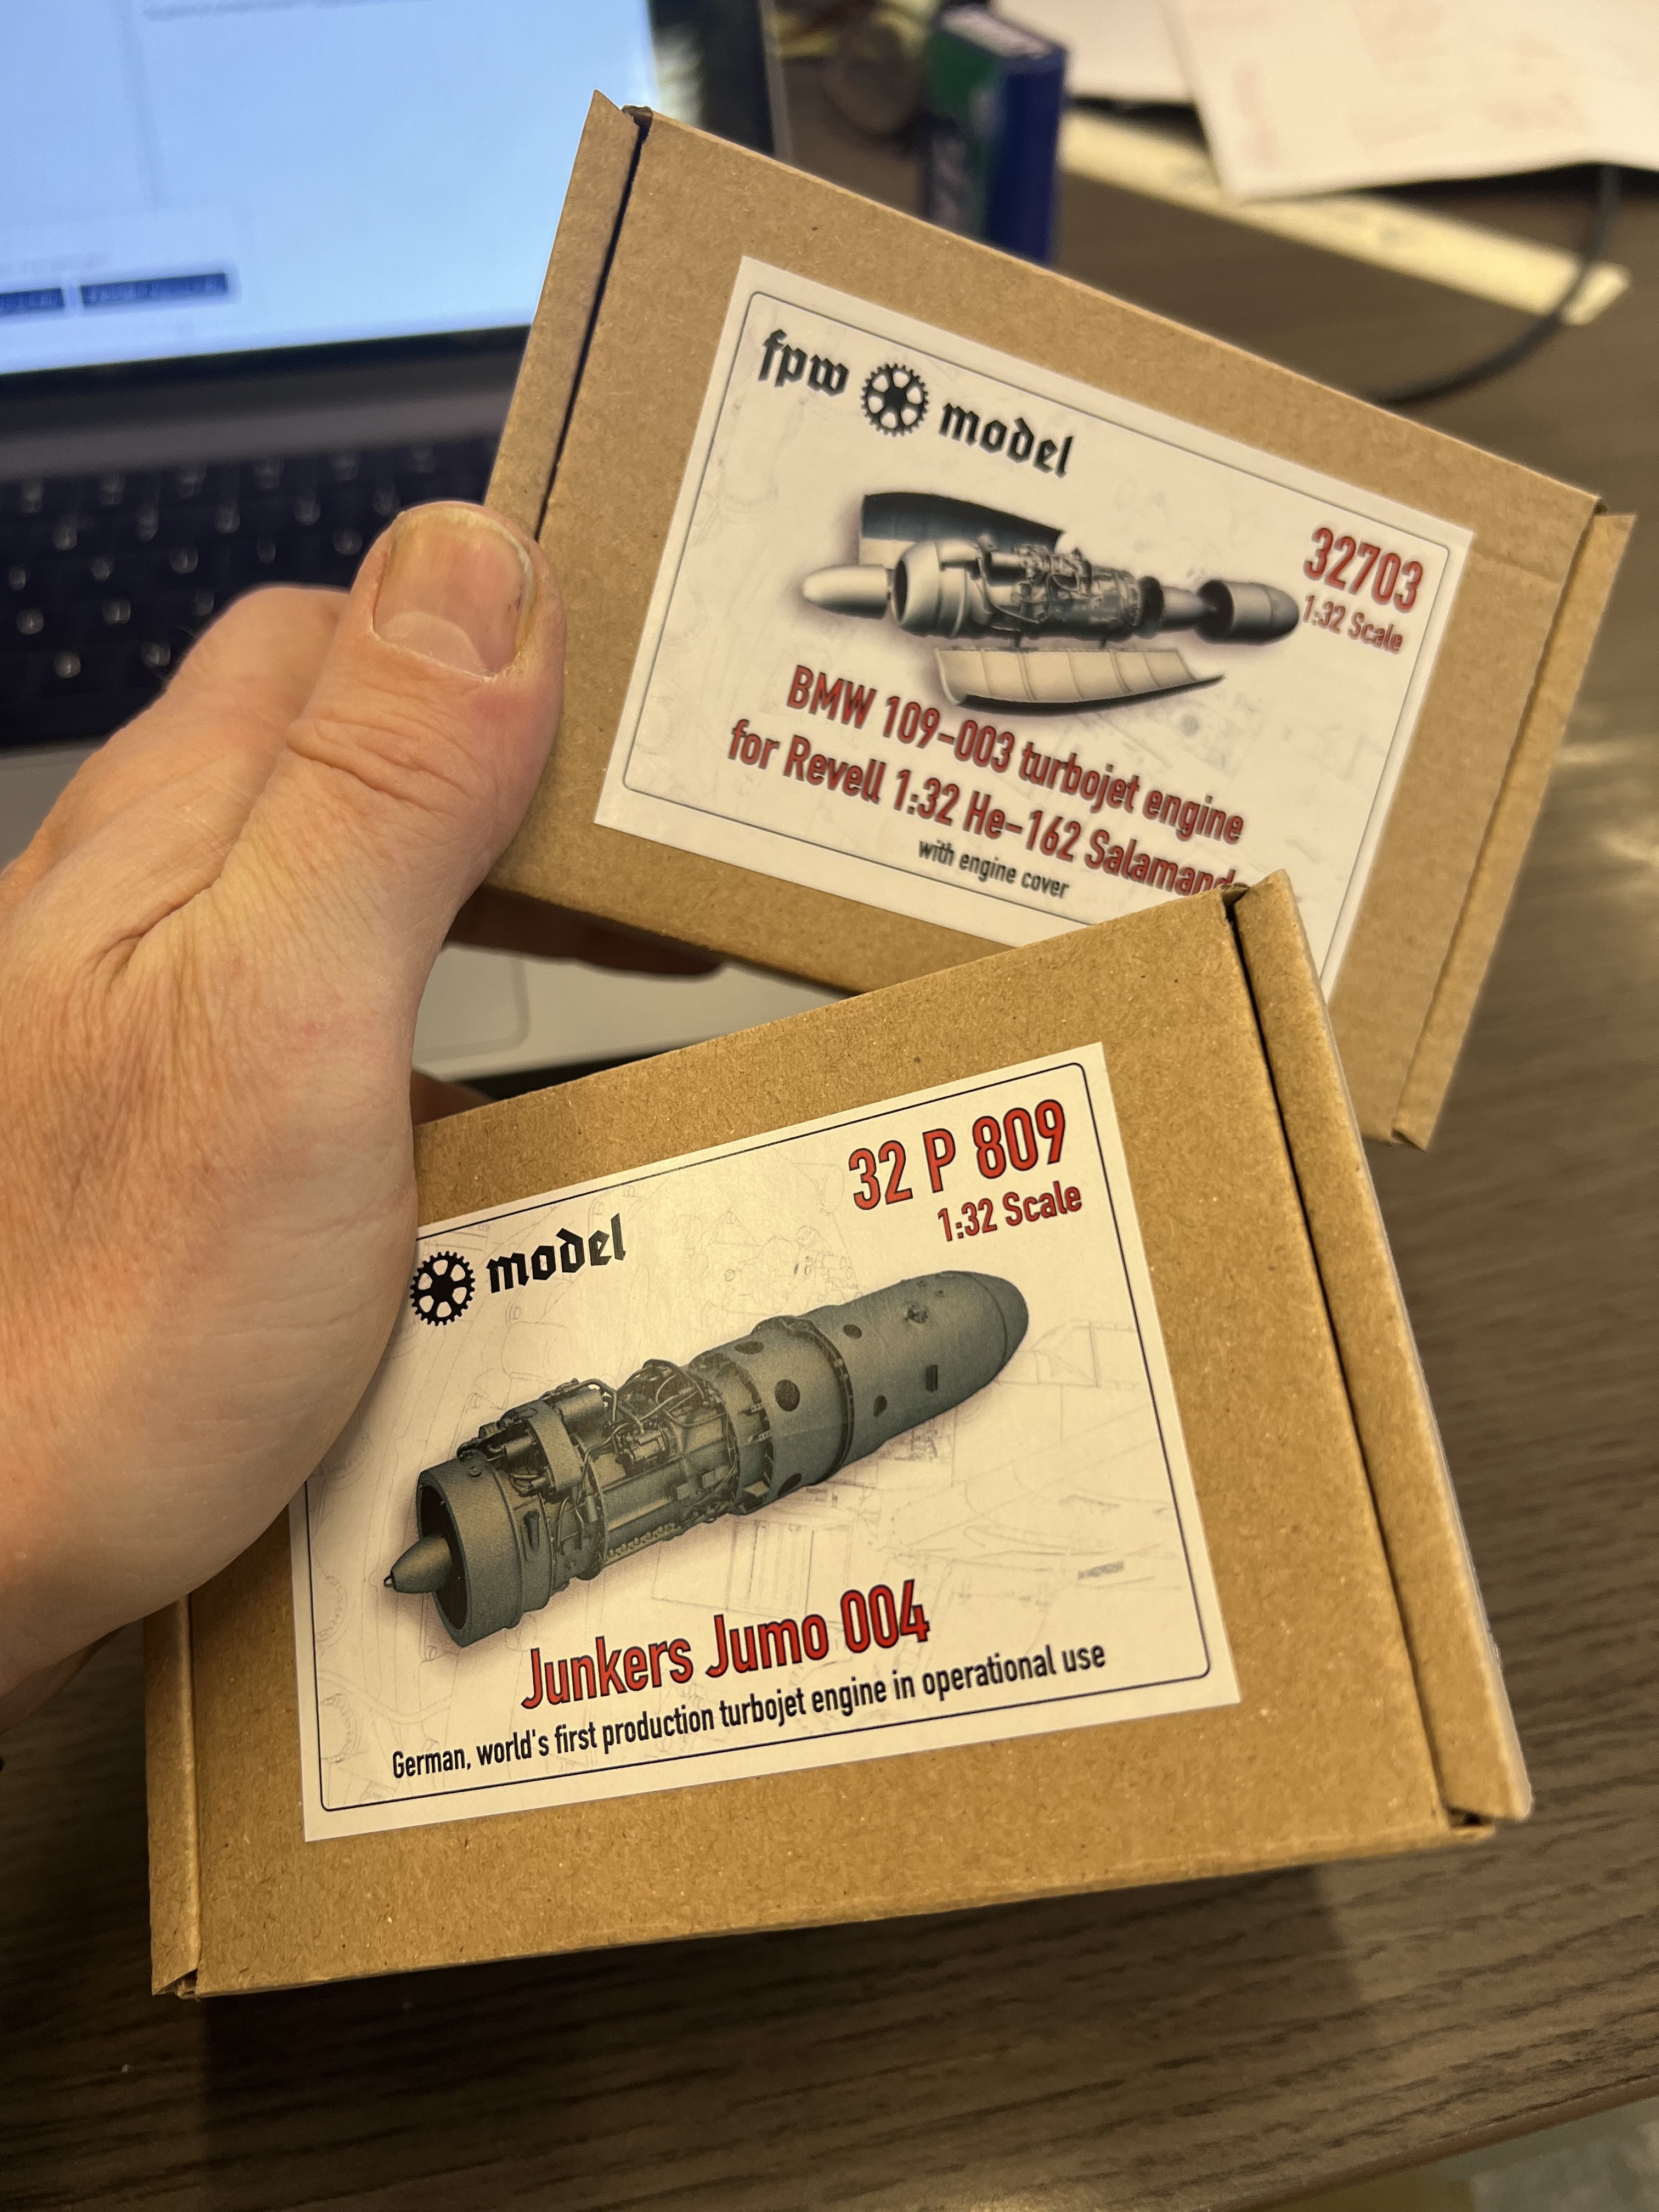
This is a AM part;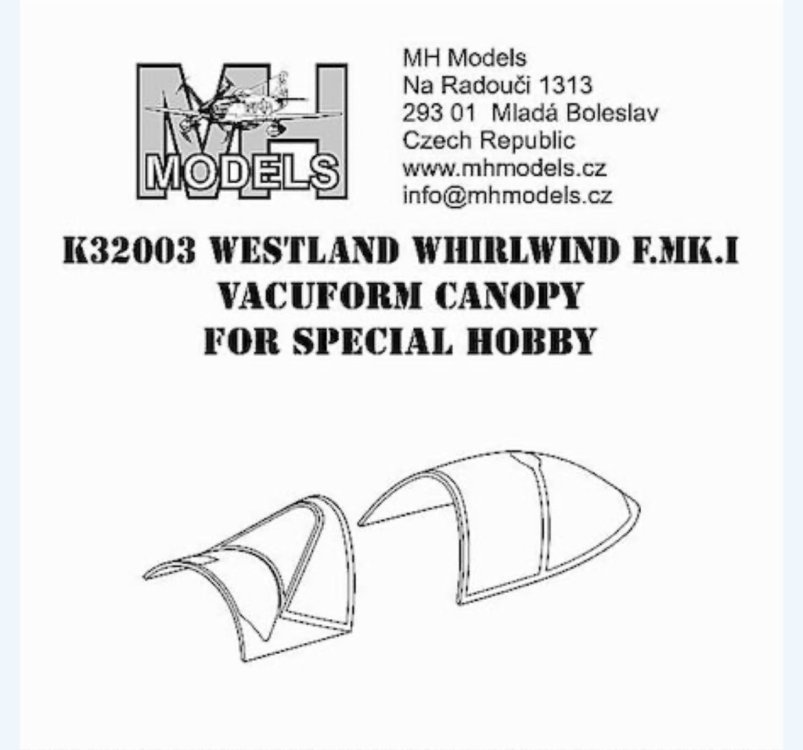
-
1/32 Westland Whirlwind
JeroenPeters replied to JeroenPeters's topic in LSM 1/35 and Larger Work In Progress
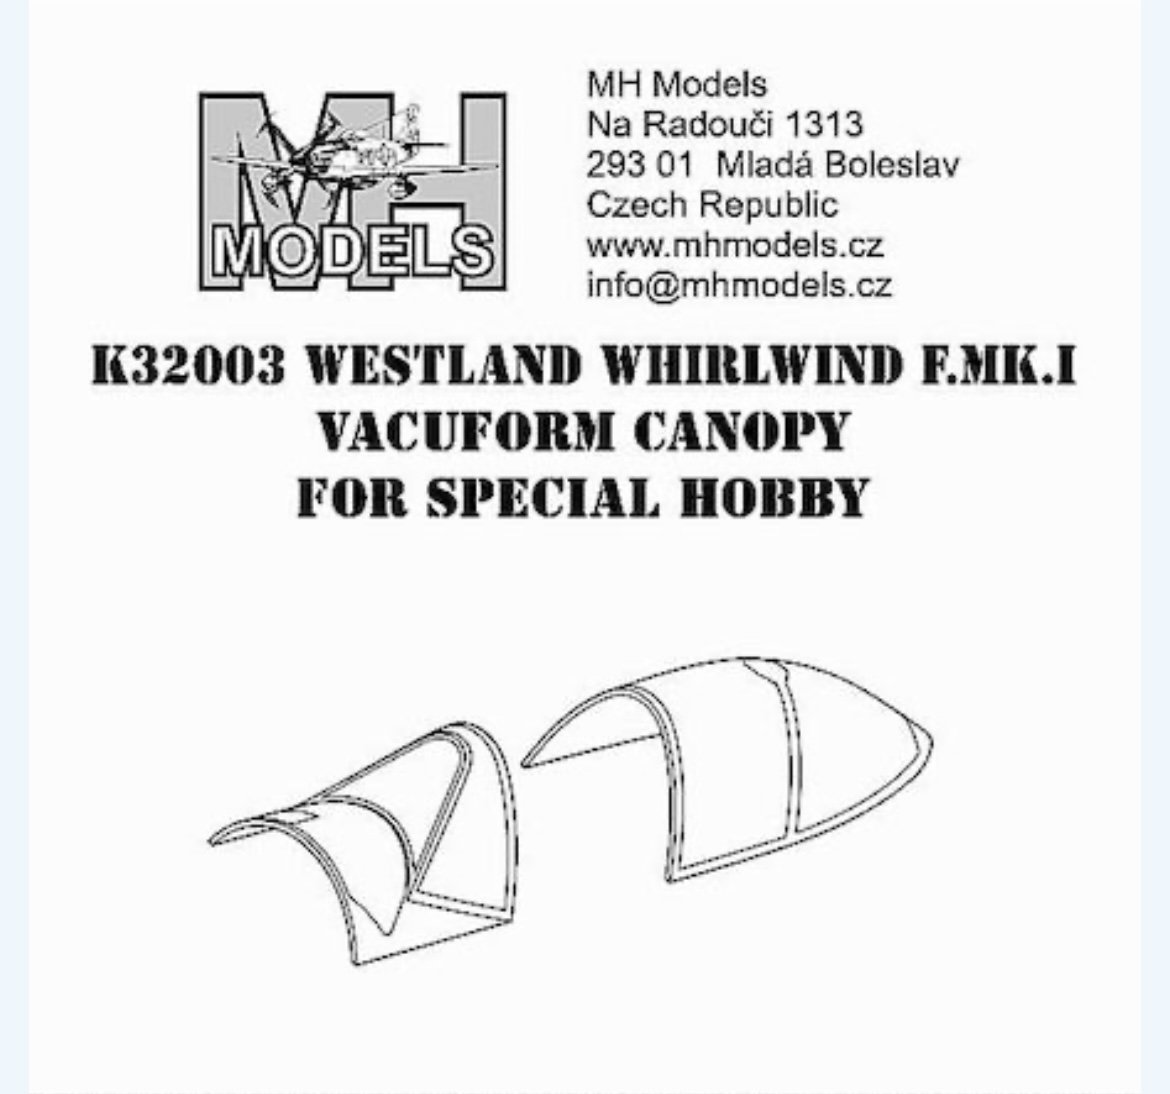
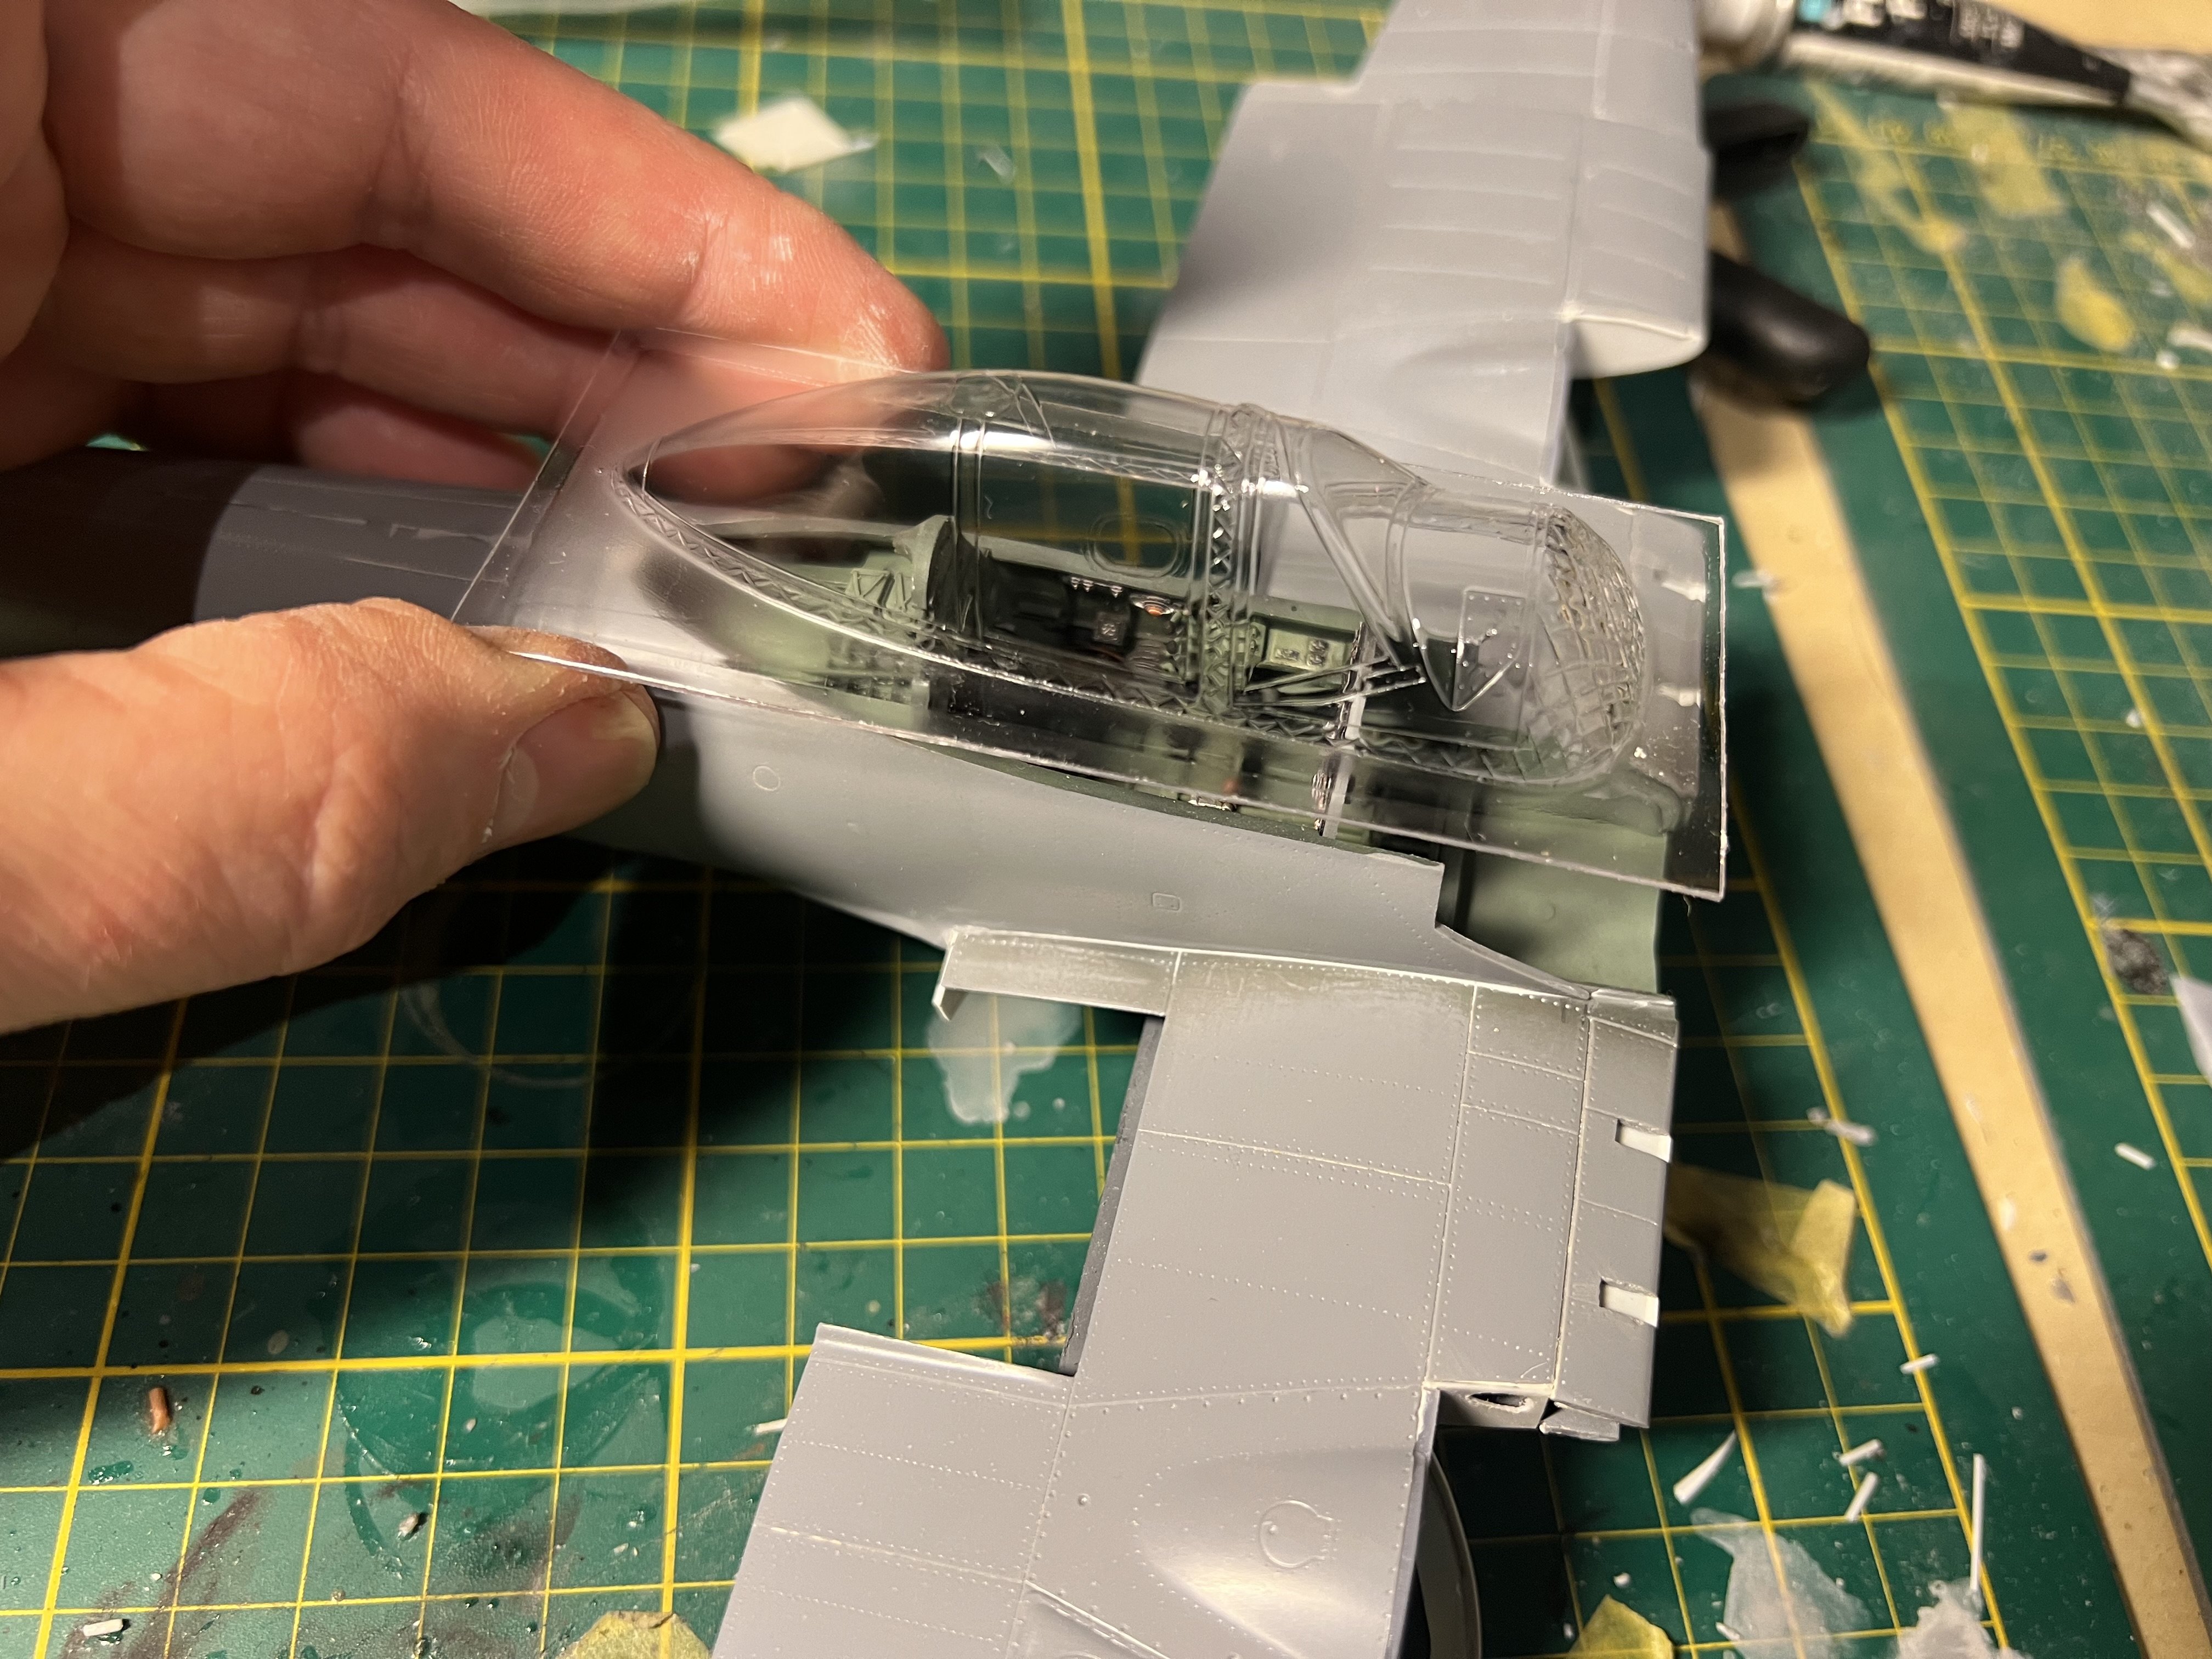
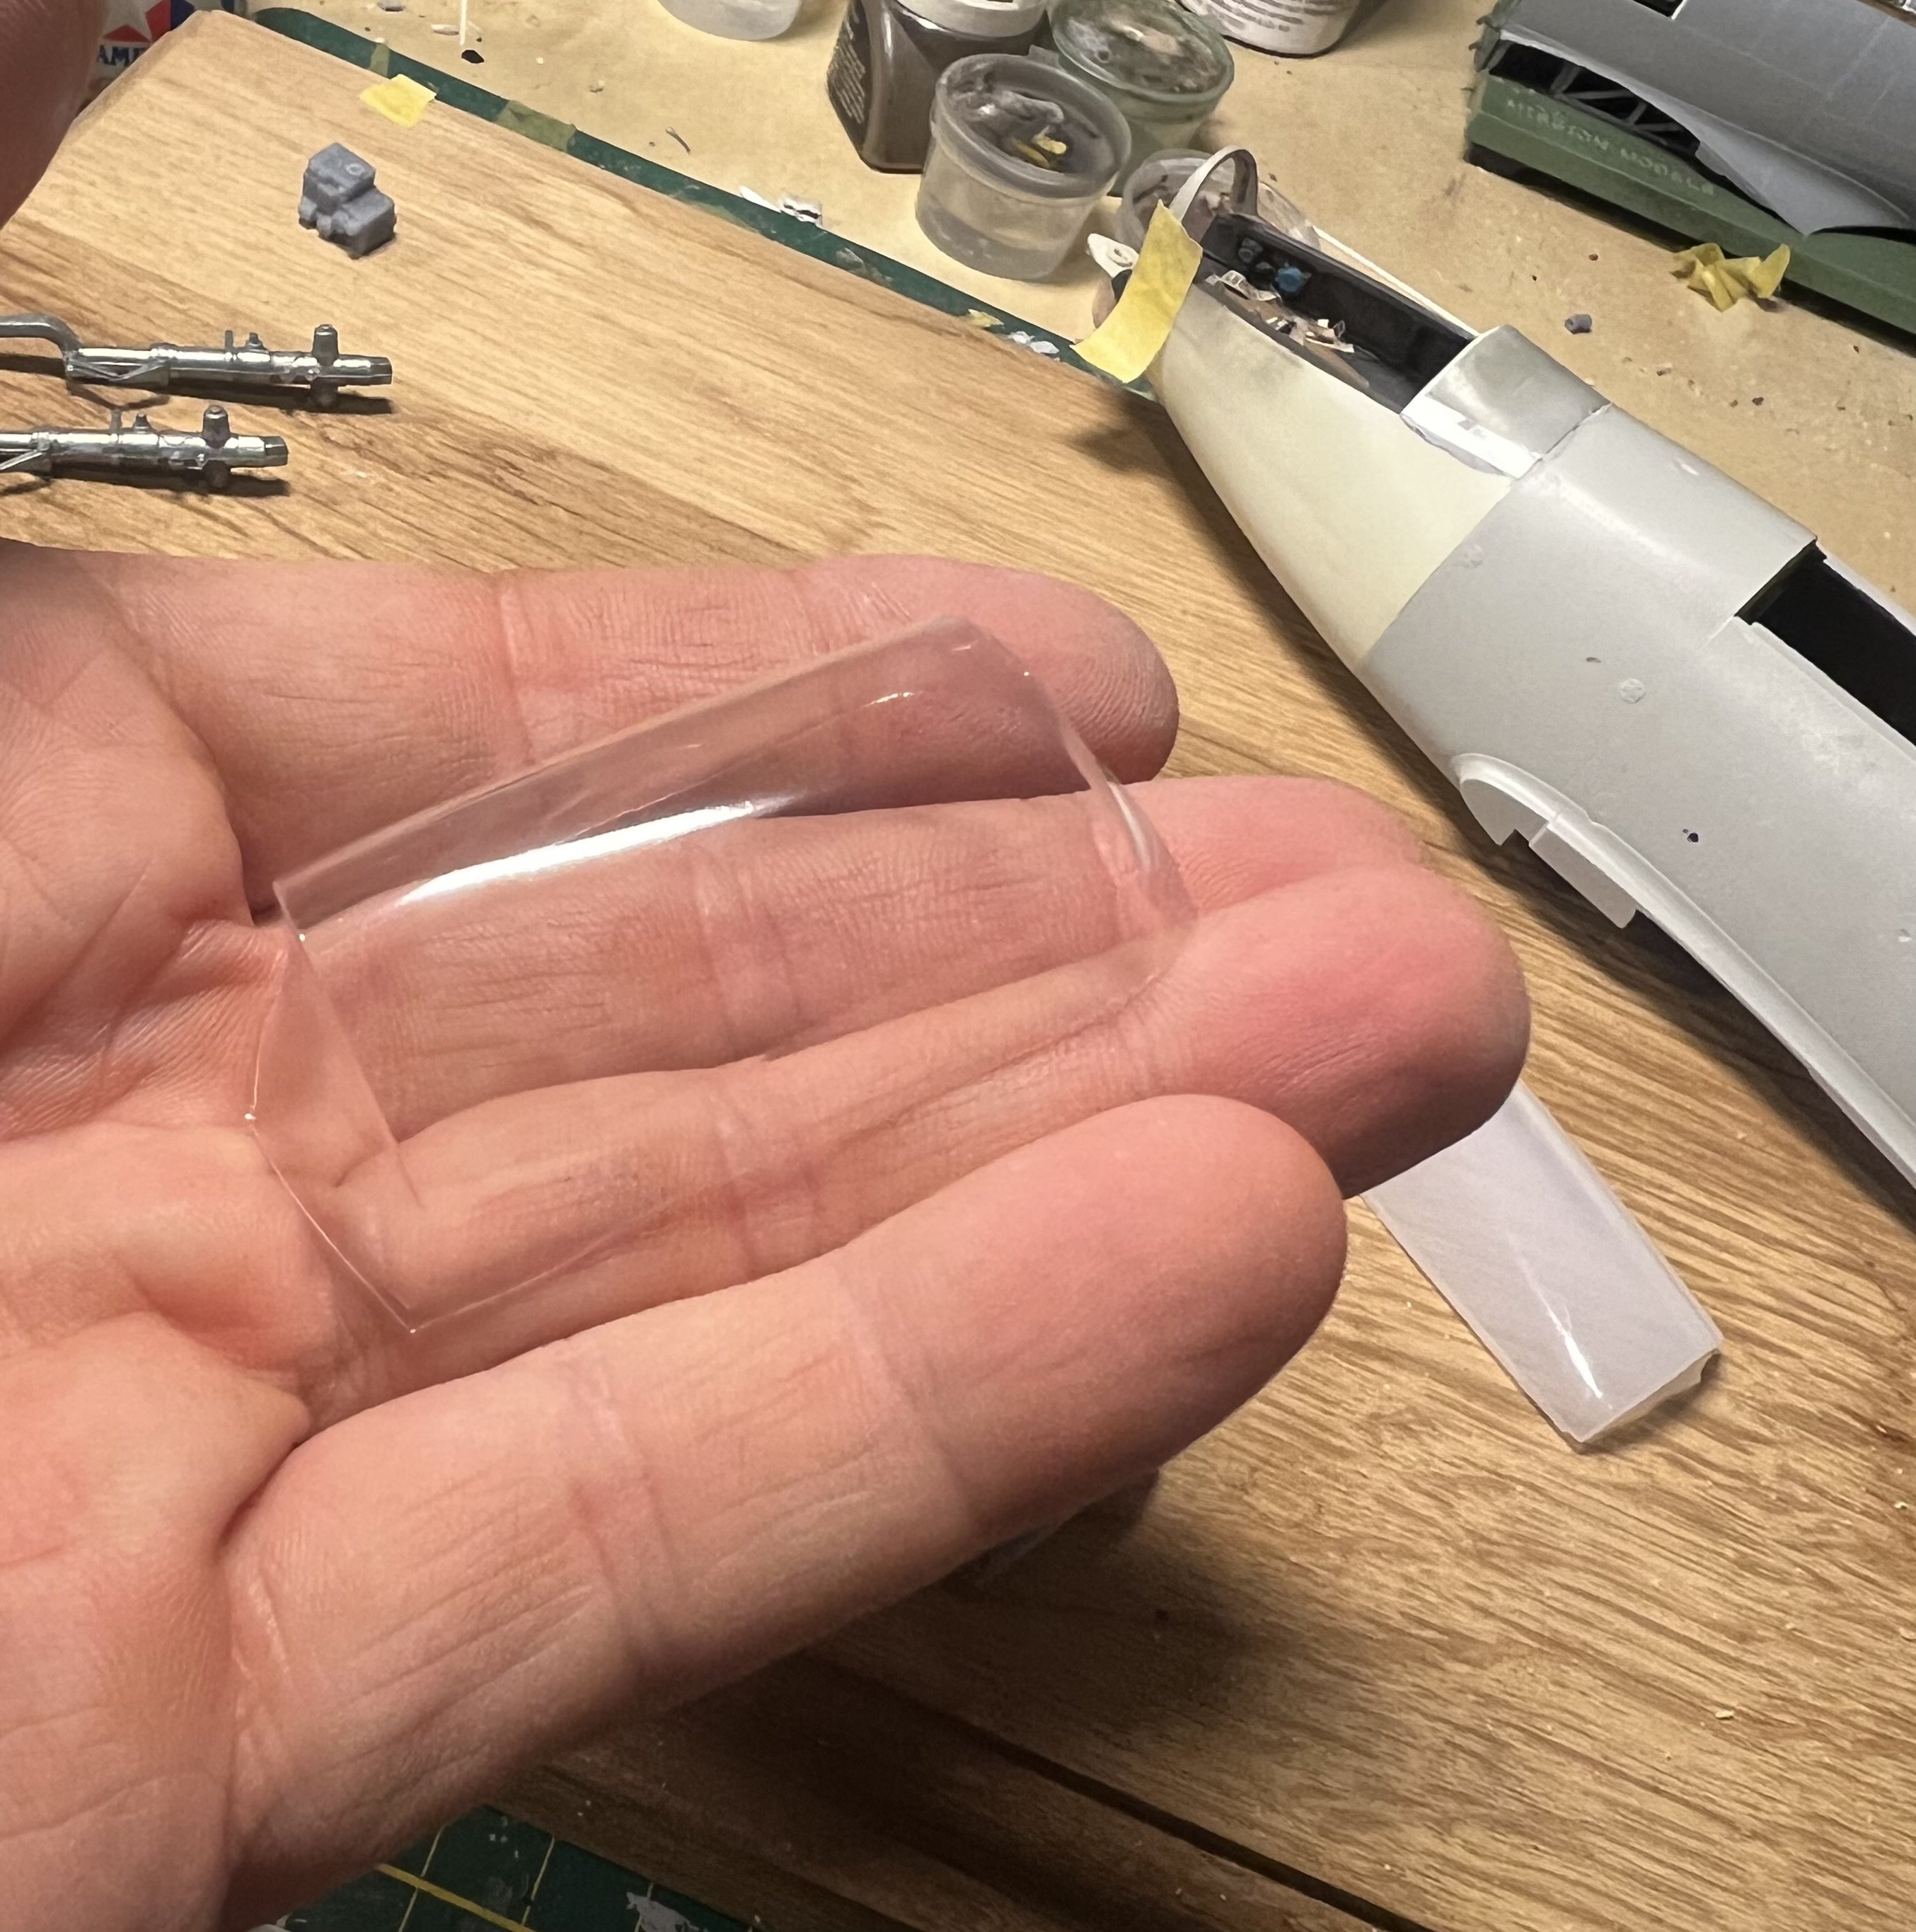
Started work on the Vacuform canopy. The windshield is amazing. Perfect fit. Sturdy and super clear.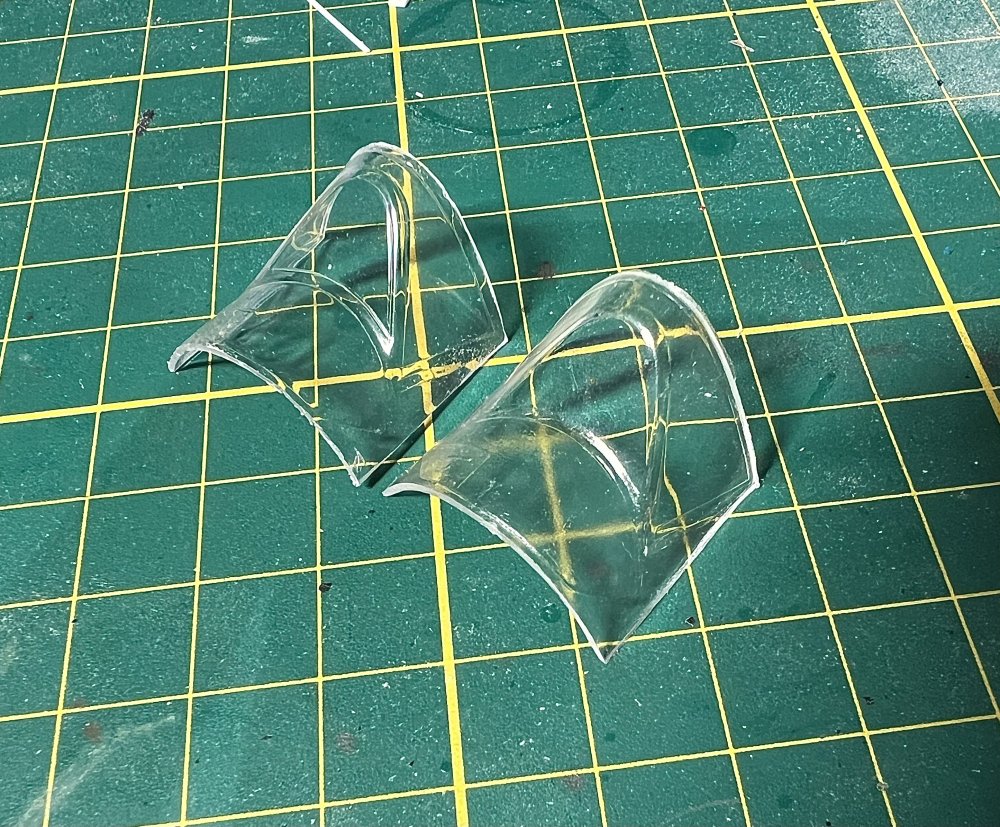


-
1/32 Westland Whirlwind
JeroenPeters replied to JeroenPeters's topic in LSM 1/35 and Larger Work In Progress
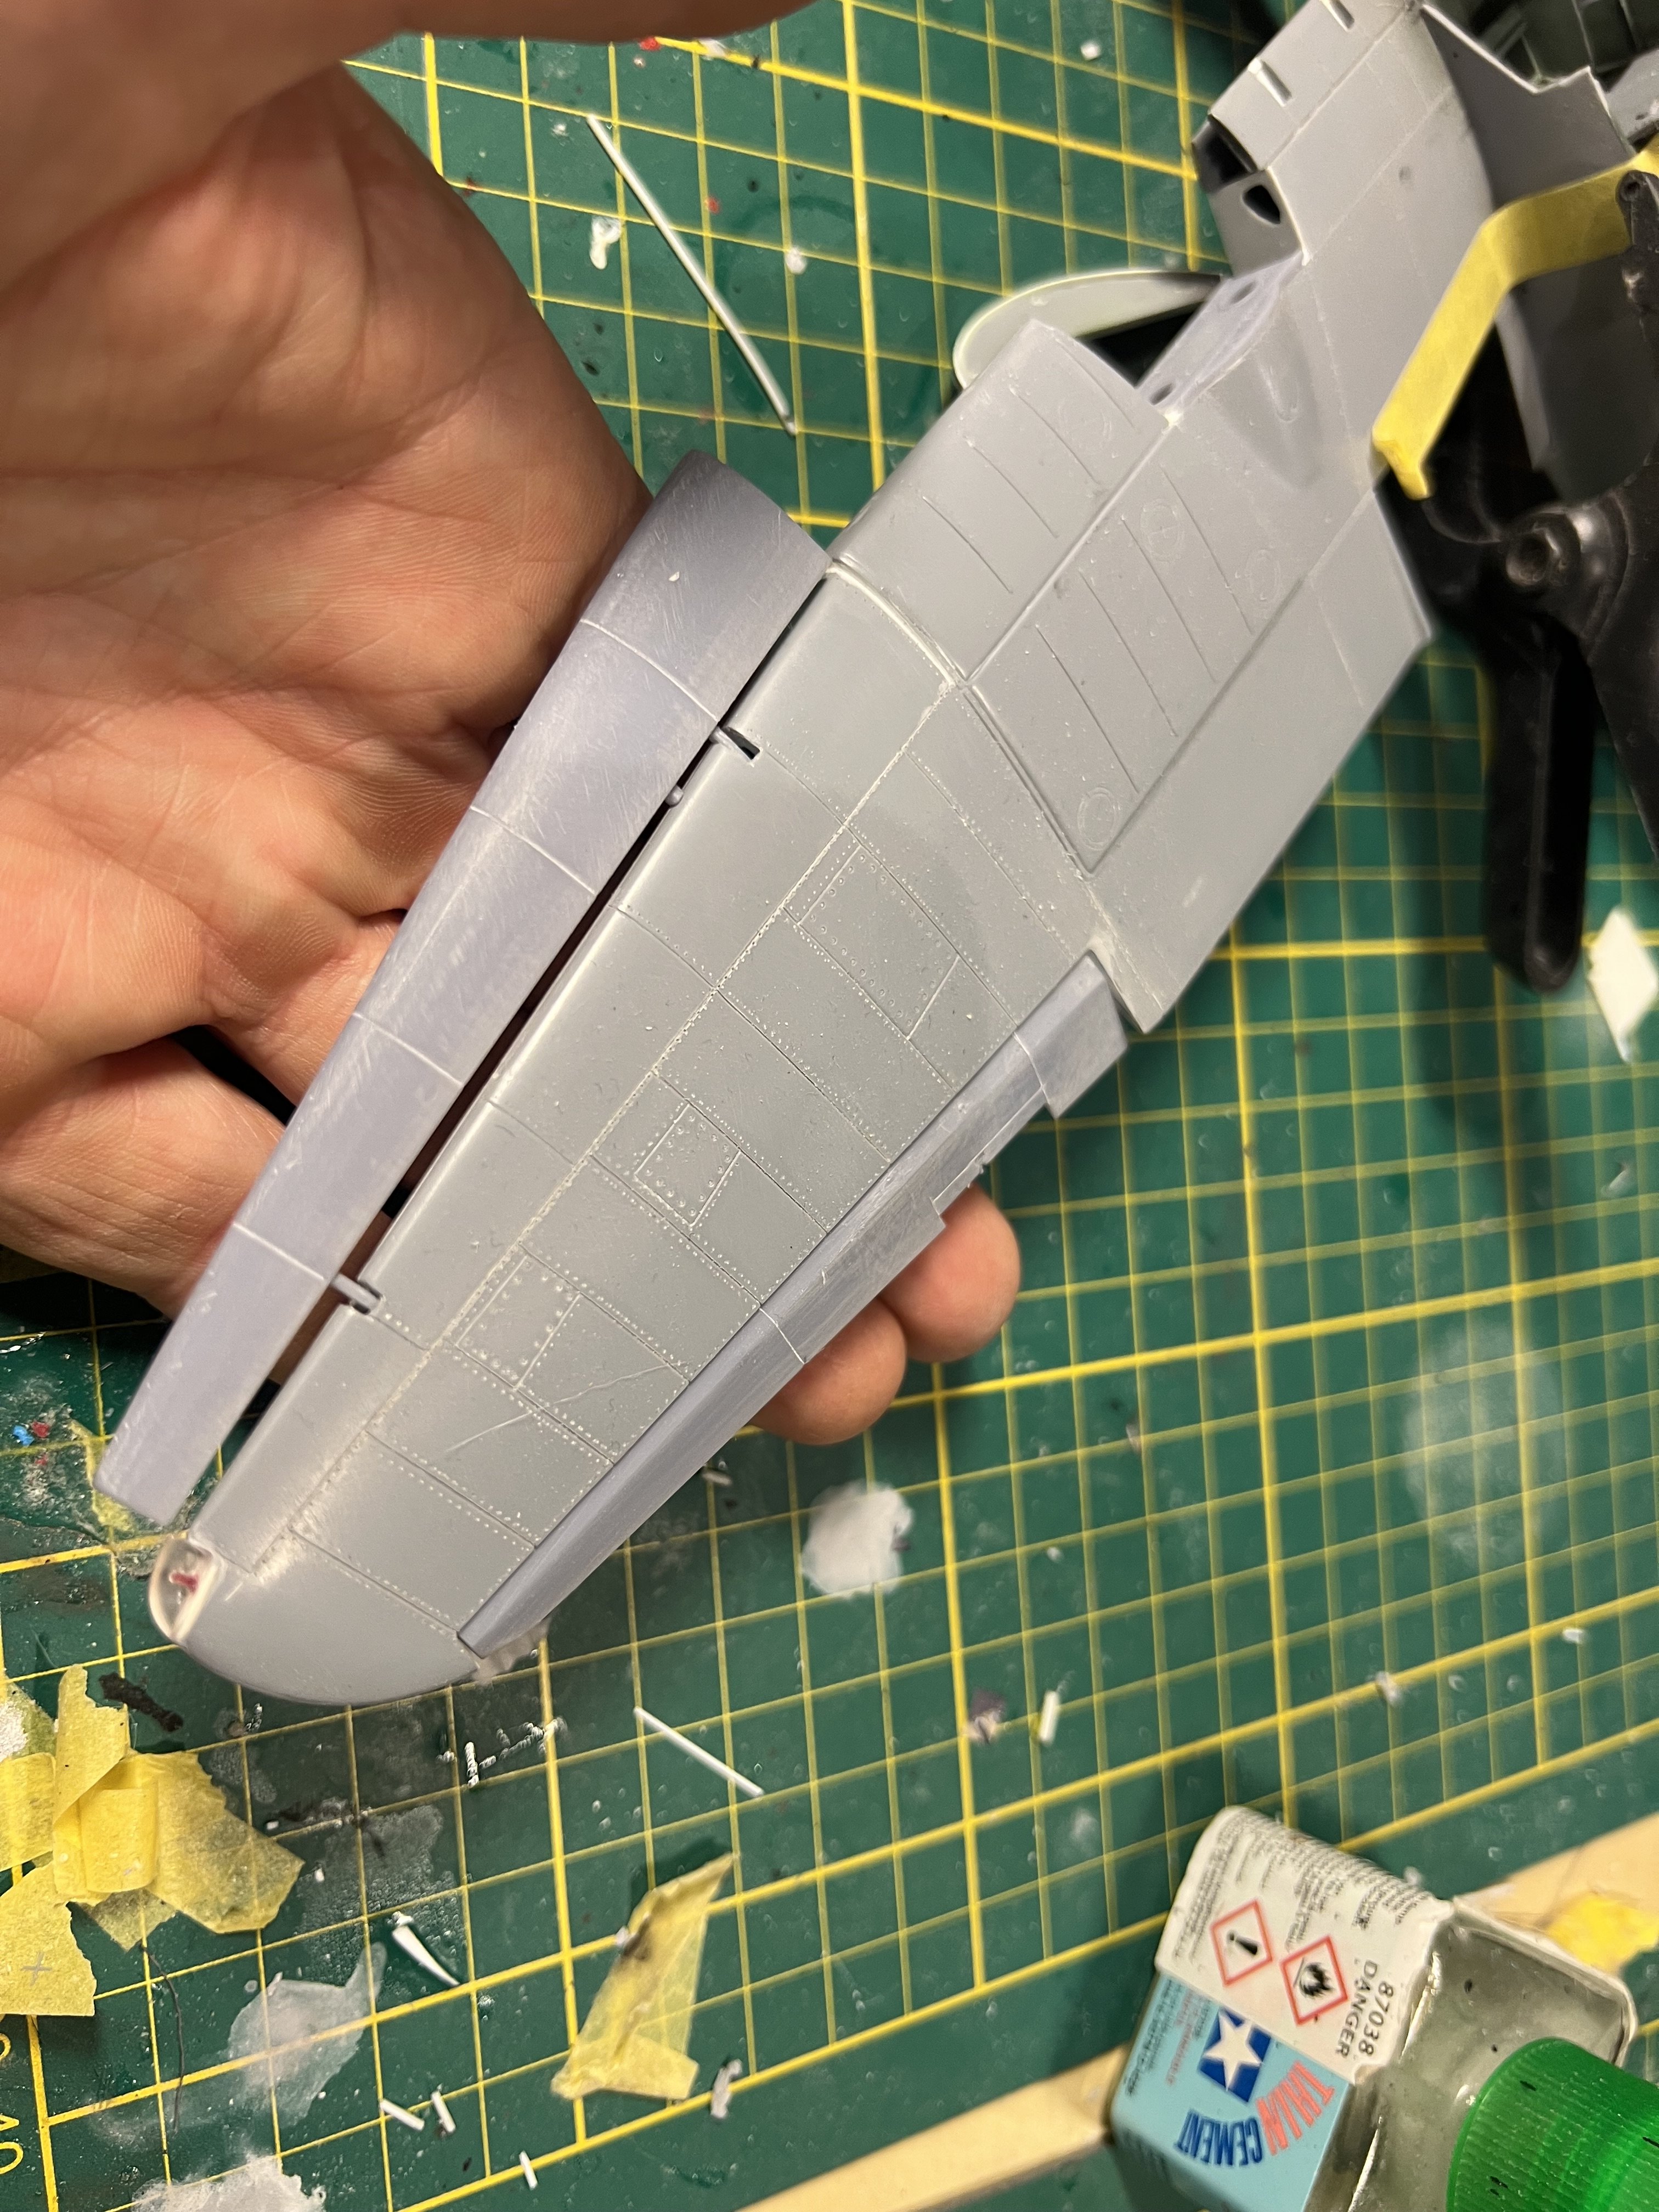
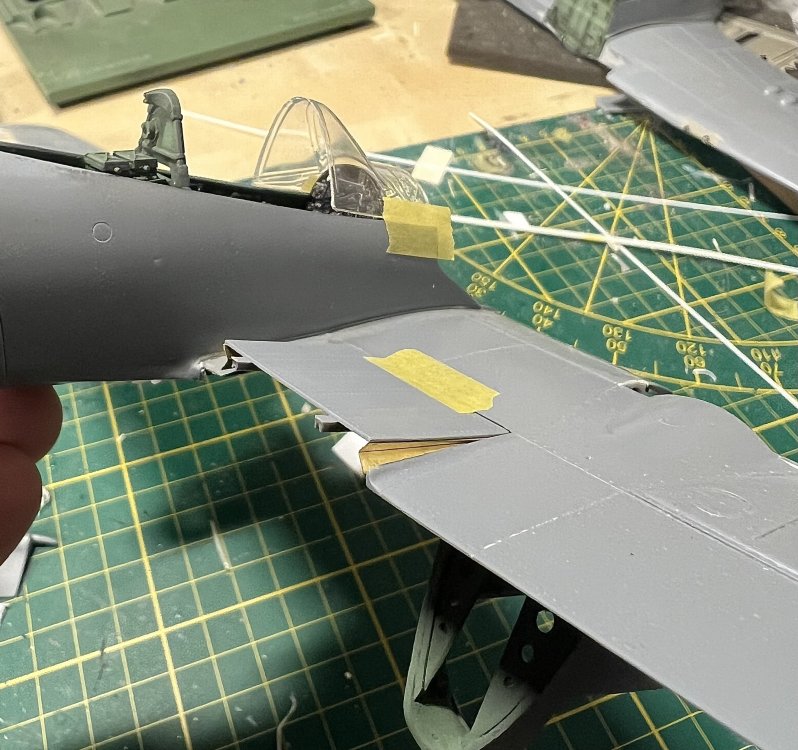
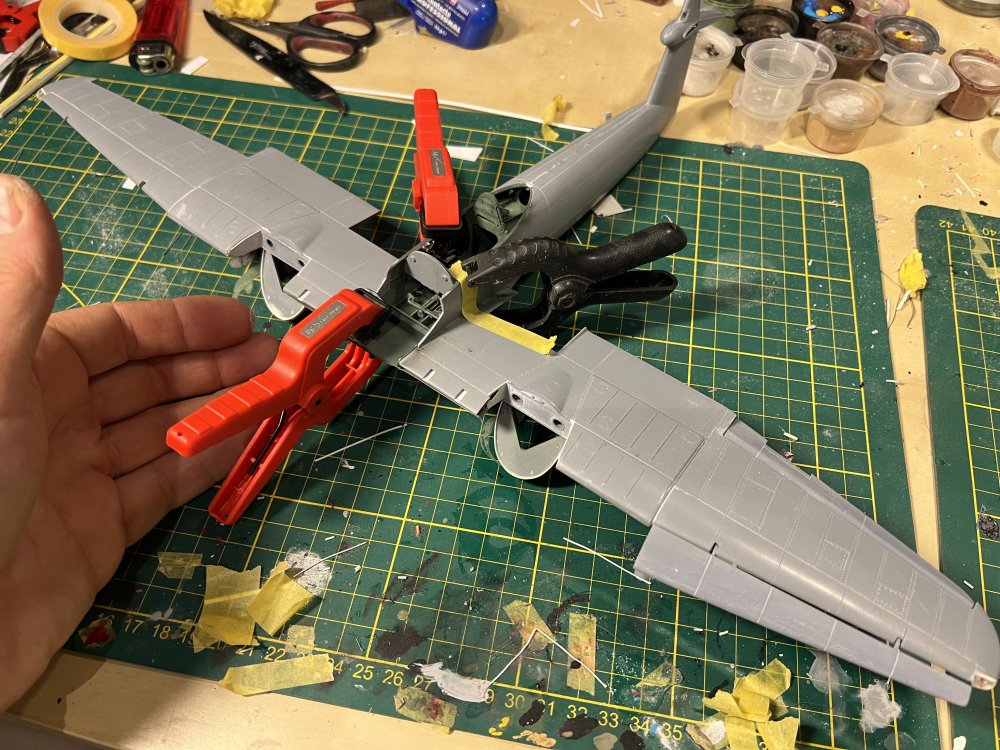
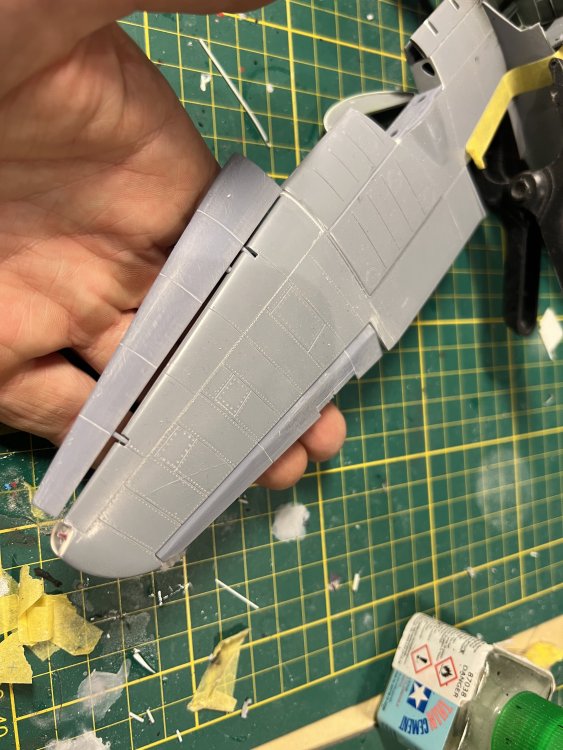
Time to Pick this up. Attached the wings to the fuselage and started to replace lost rivets and panellines. The extended slats really add some drama to the wings. Love it.
-
1/32 ME-262A-2a/U2
JeroenPeters replied to JeroenPeters's topic in LSM 1/35 and Larger Work In Progress
Attached the wings. Just smeared some putty in preparation of sanding the seam away. My gut feeling is to deepen the panel lines, but i won’t since in reality these were puttied away. As a matter of fact i might not even use panelliner wash
-
1/32 ME-262A-2a/U2
JeroenPeters replied to JeroenPeters's topic in LSM 1/35 and Larger Work In Progress
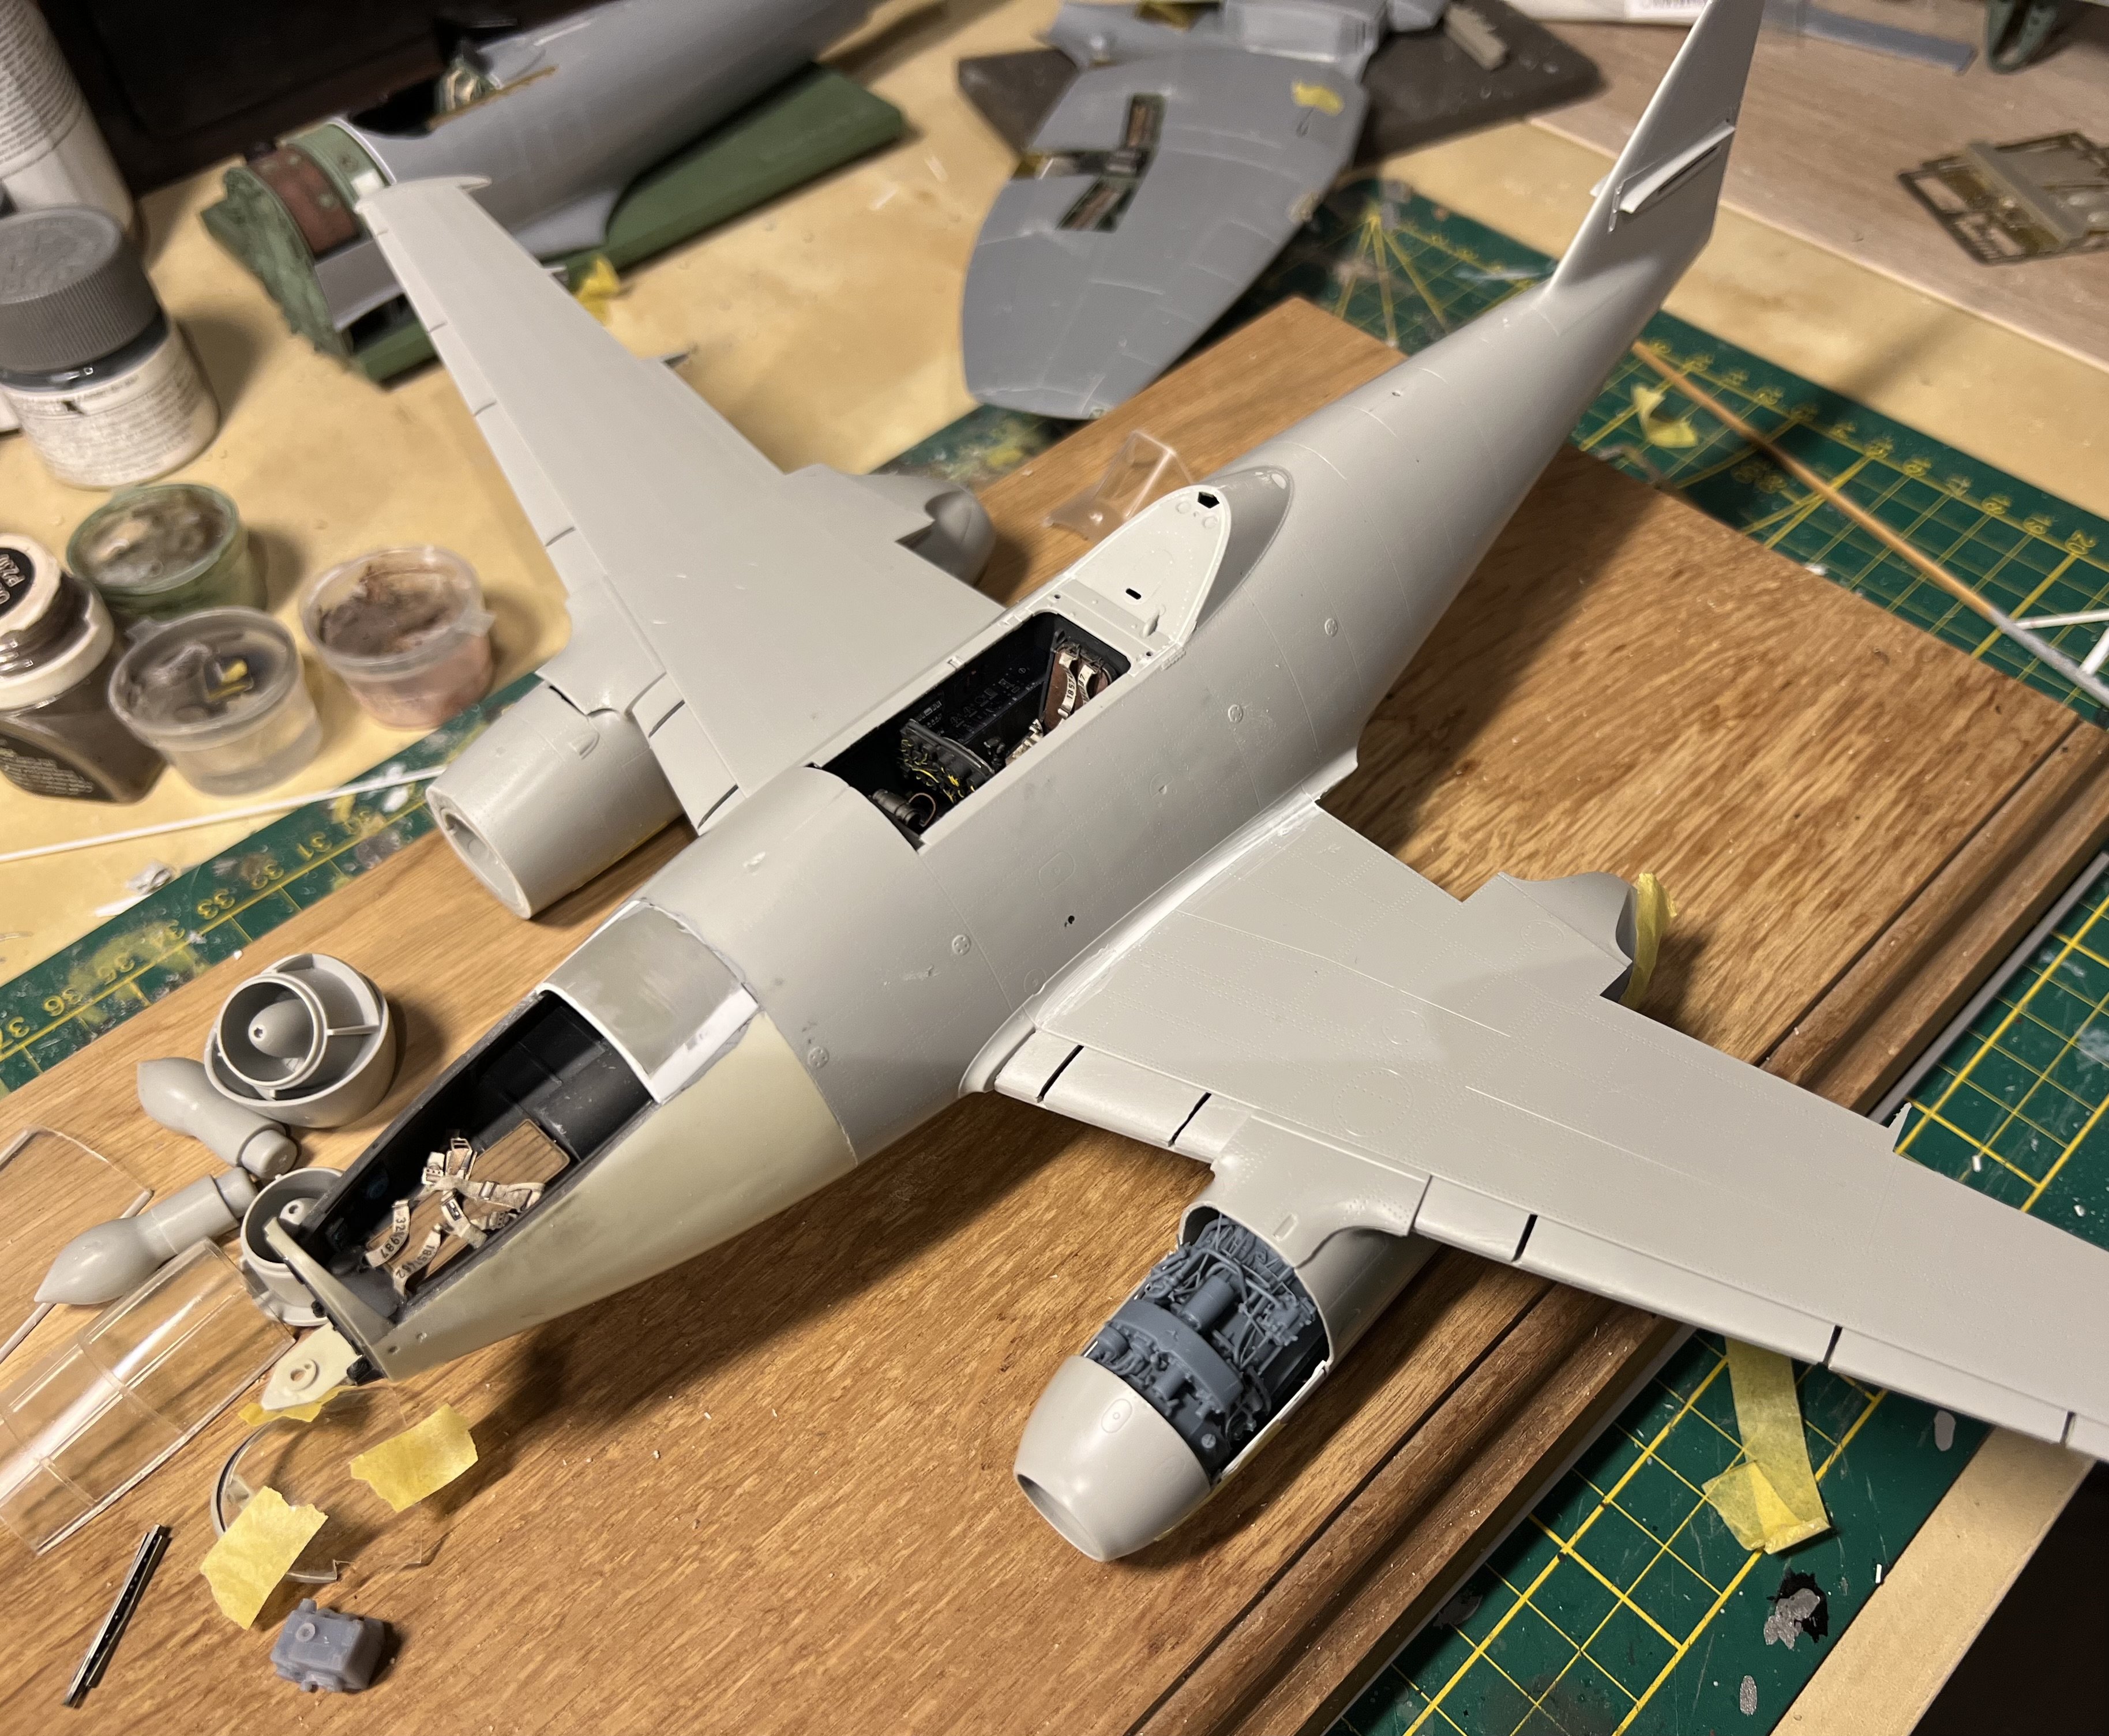
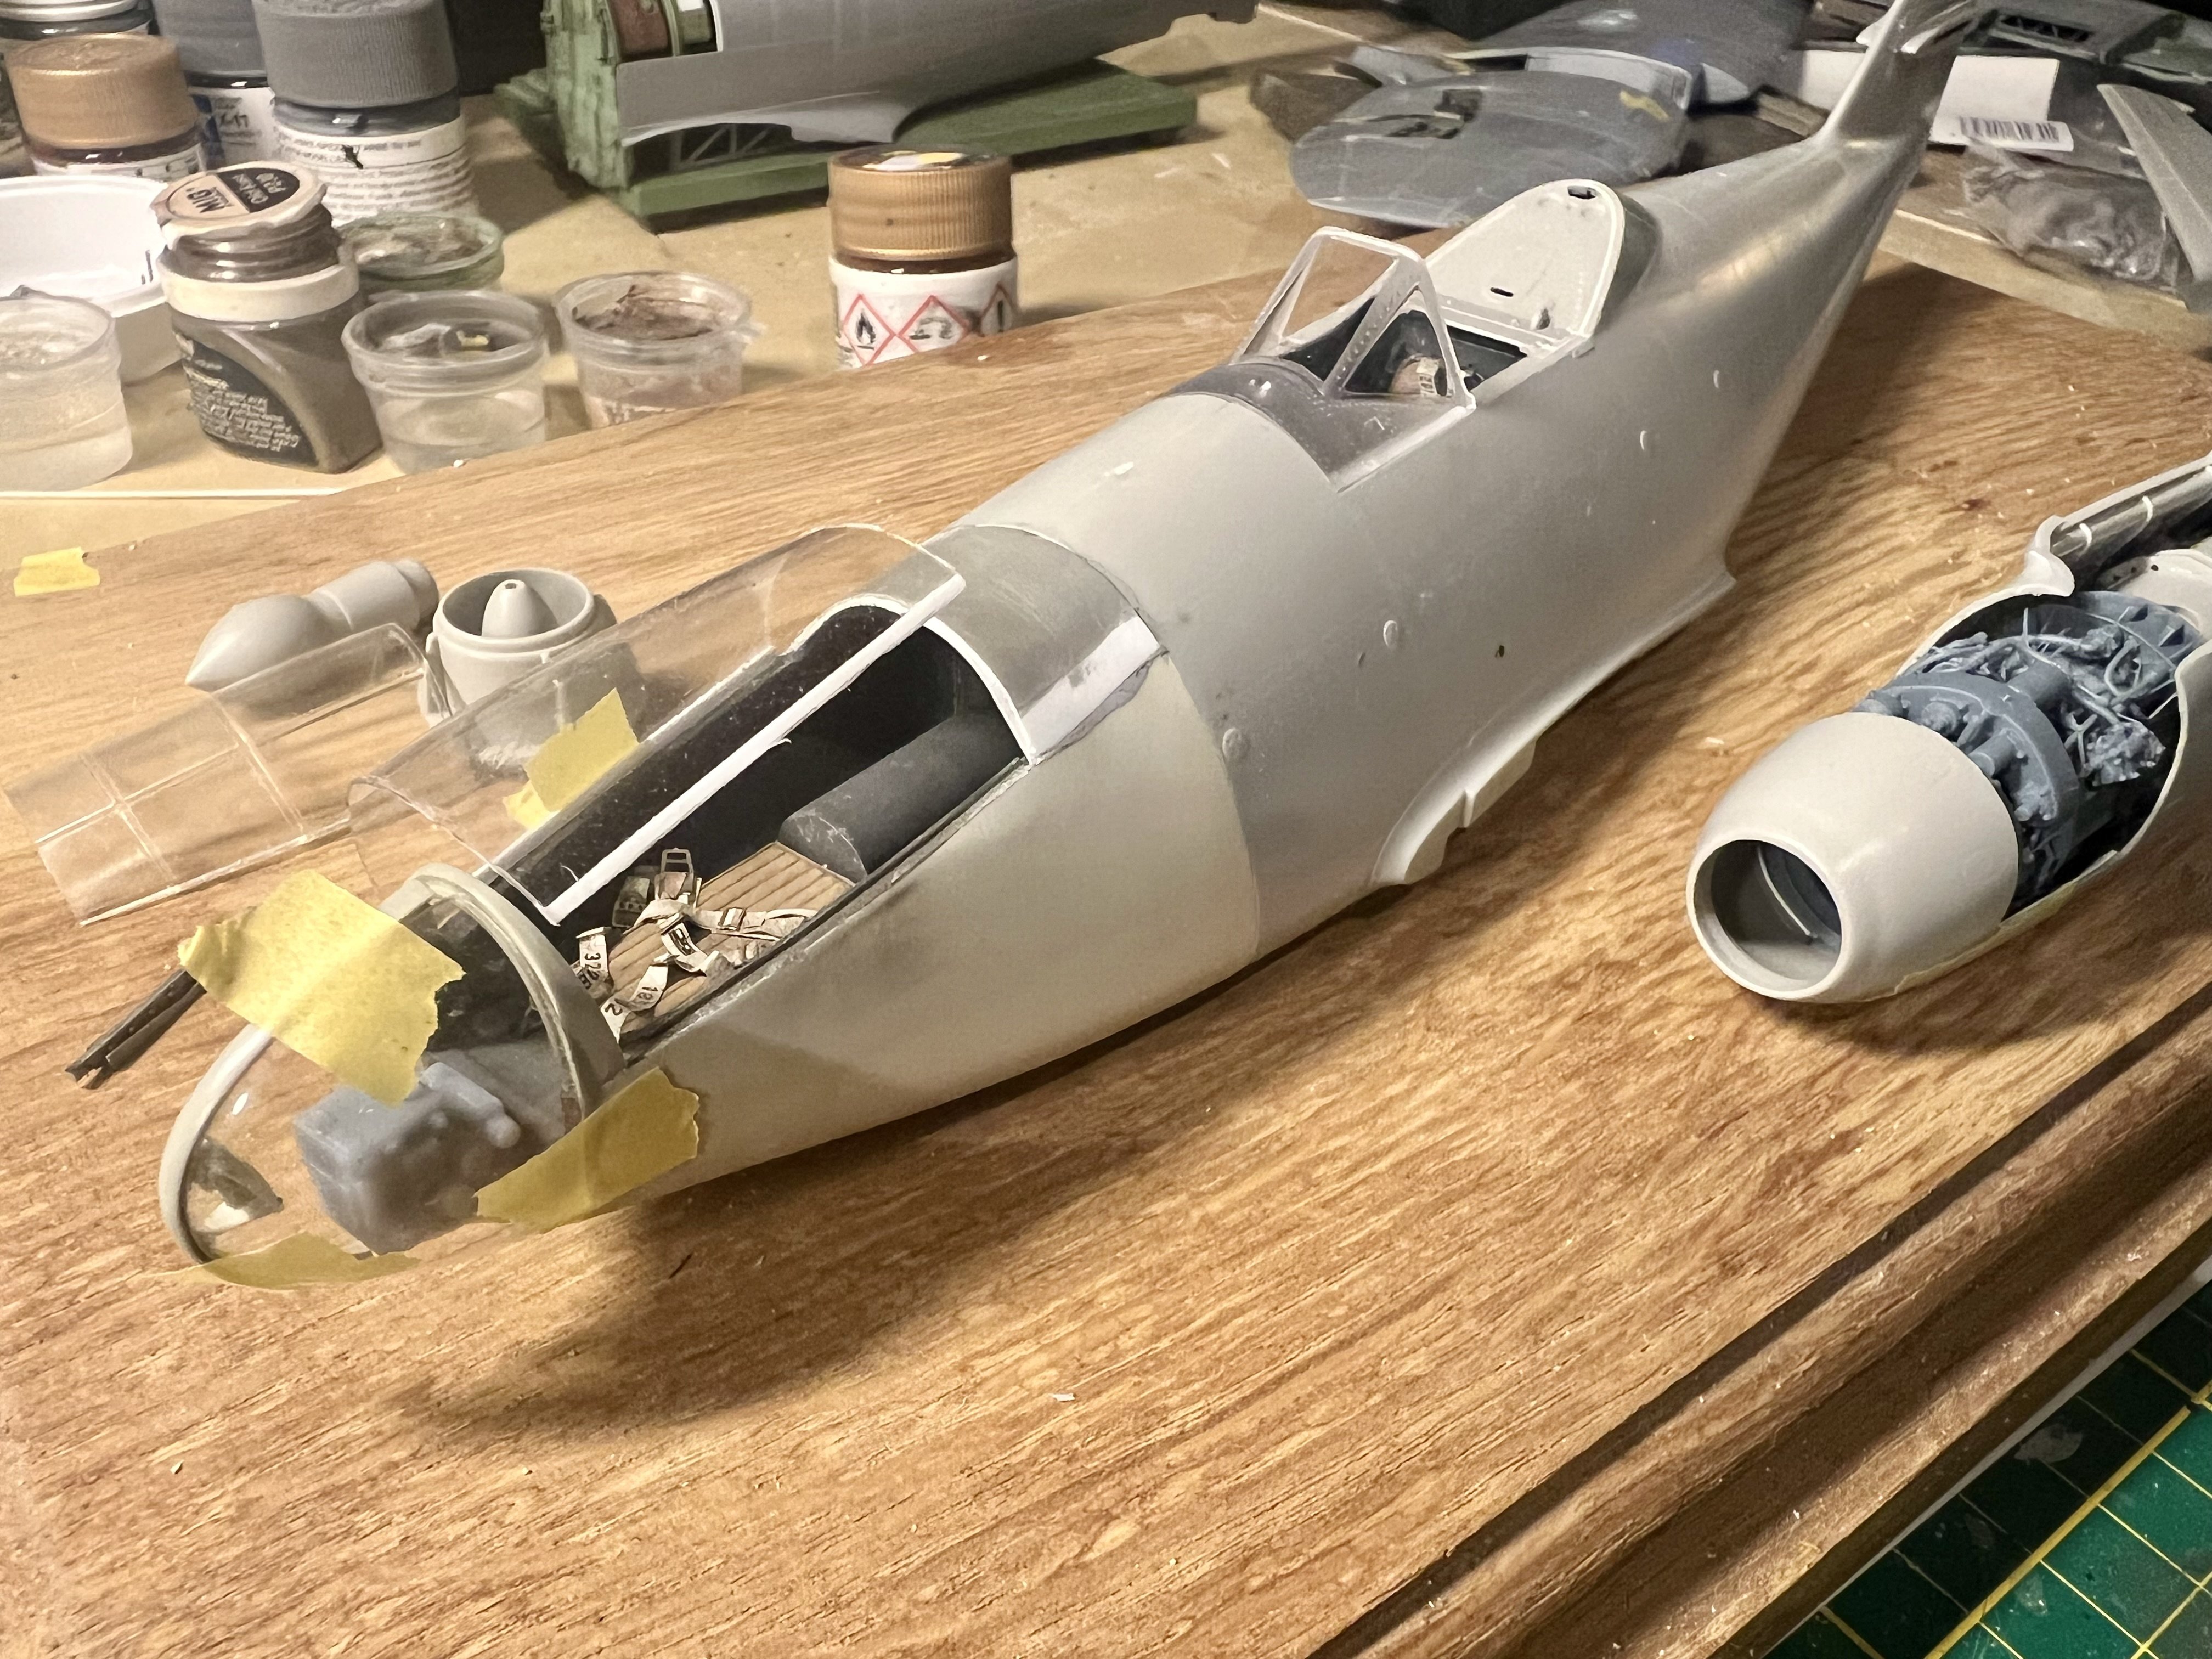
Tiny steps. The glass nose is getting better and better. I might even vacform the pilot’s canopy hood. The engine is a perfect fit. So far so good!
- 151 replies
-
- 11
-
-
-
That’s right! I replaced the less common mk101 cannon for the more common mk103. Also have a complete mk101 round
-
1/32 ME-262A-2a/U2
JeroenPeters replied to JeroenPeters's topic in LSM 1/35 and Larger Work In Progress
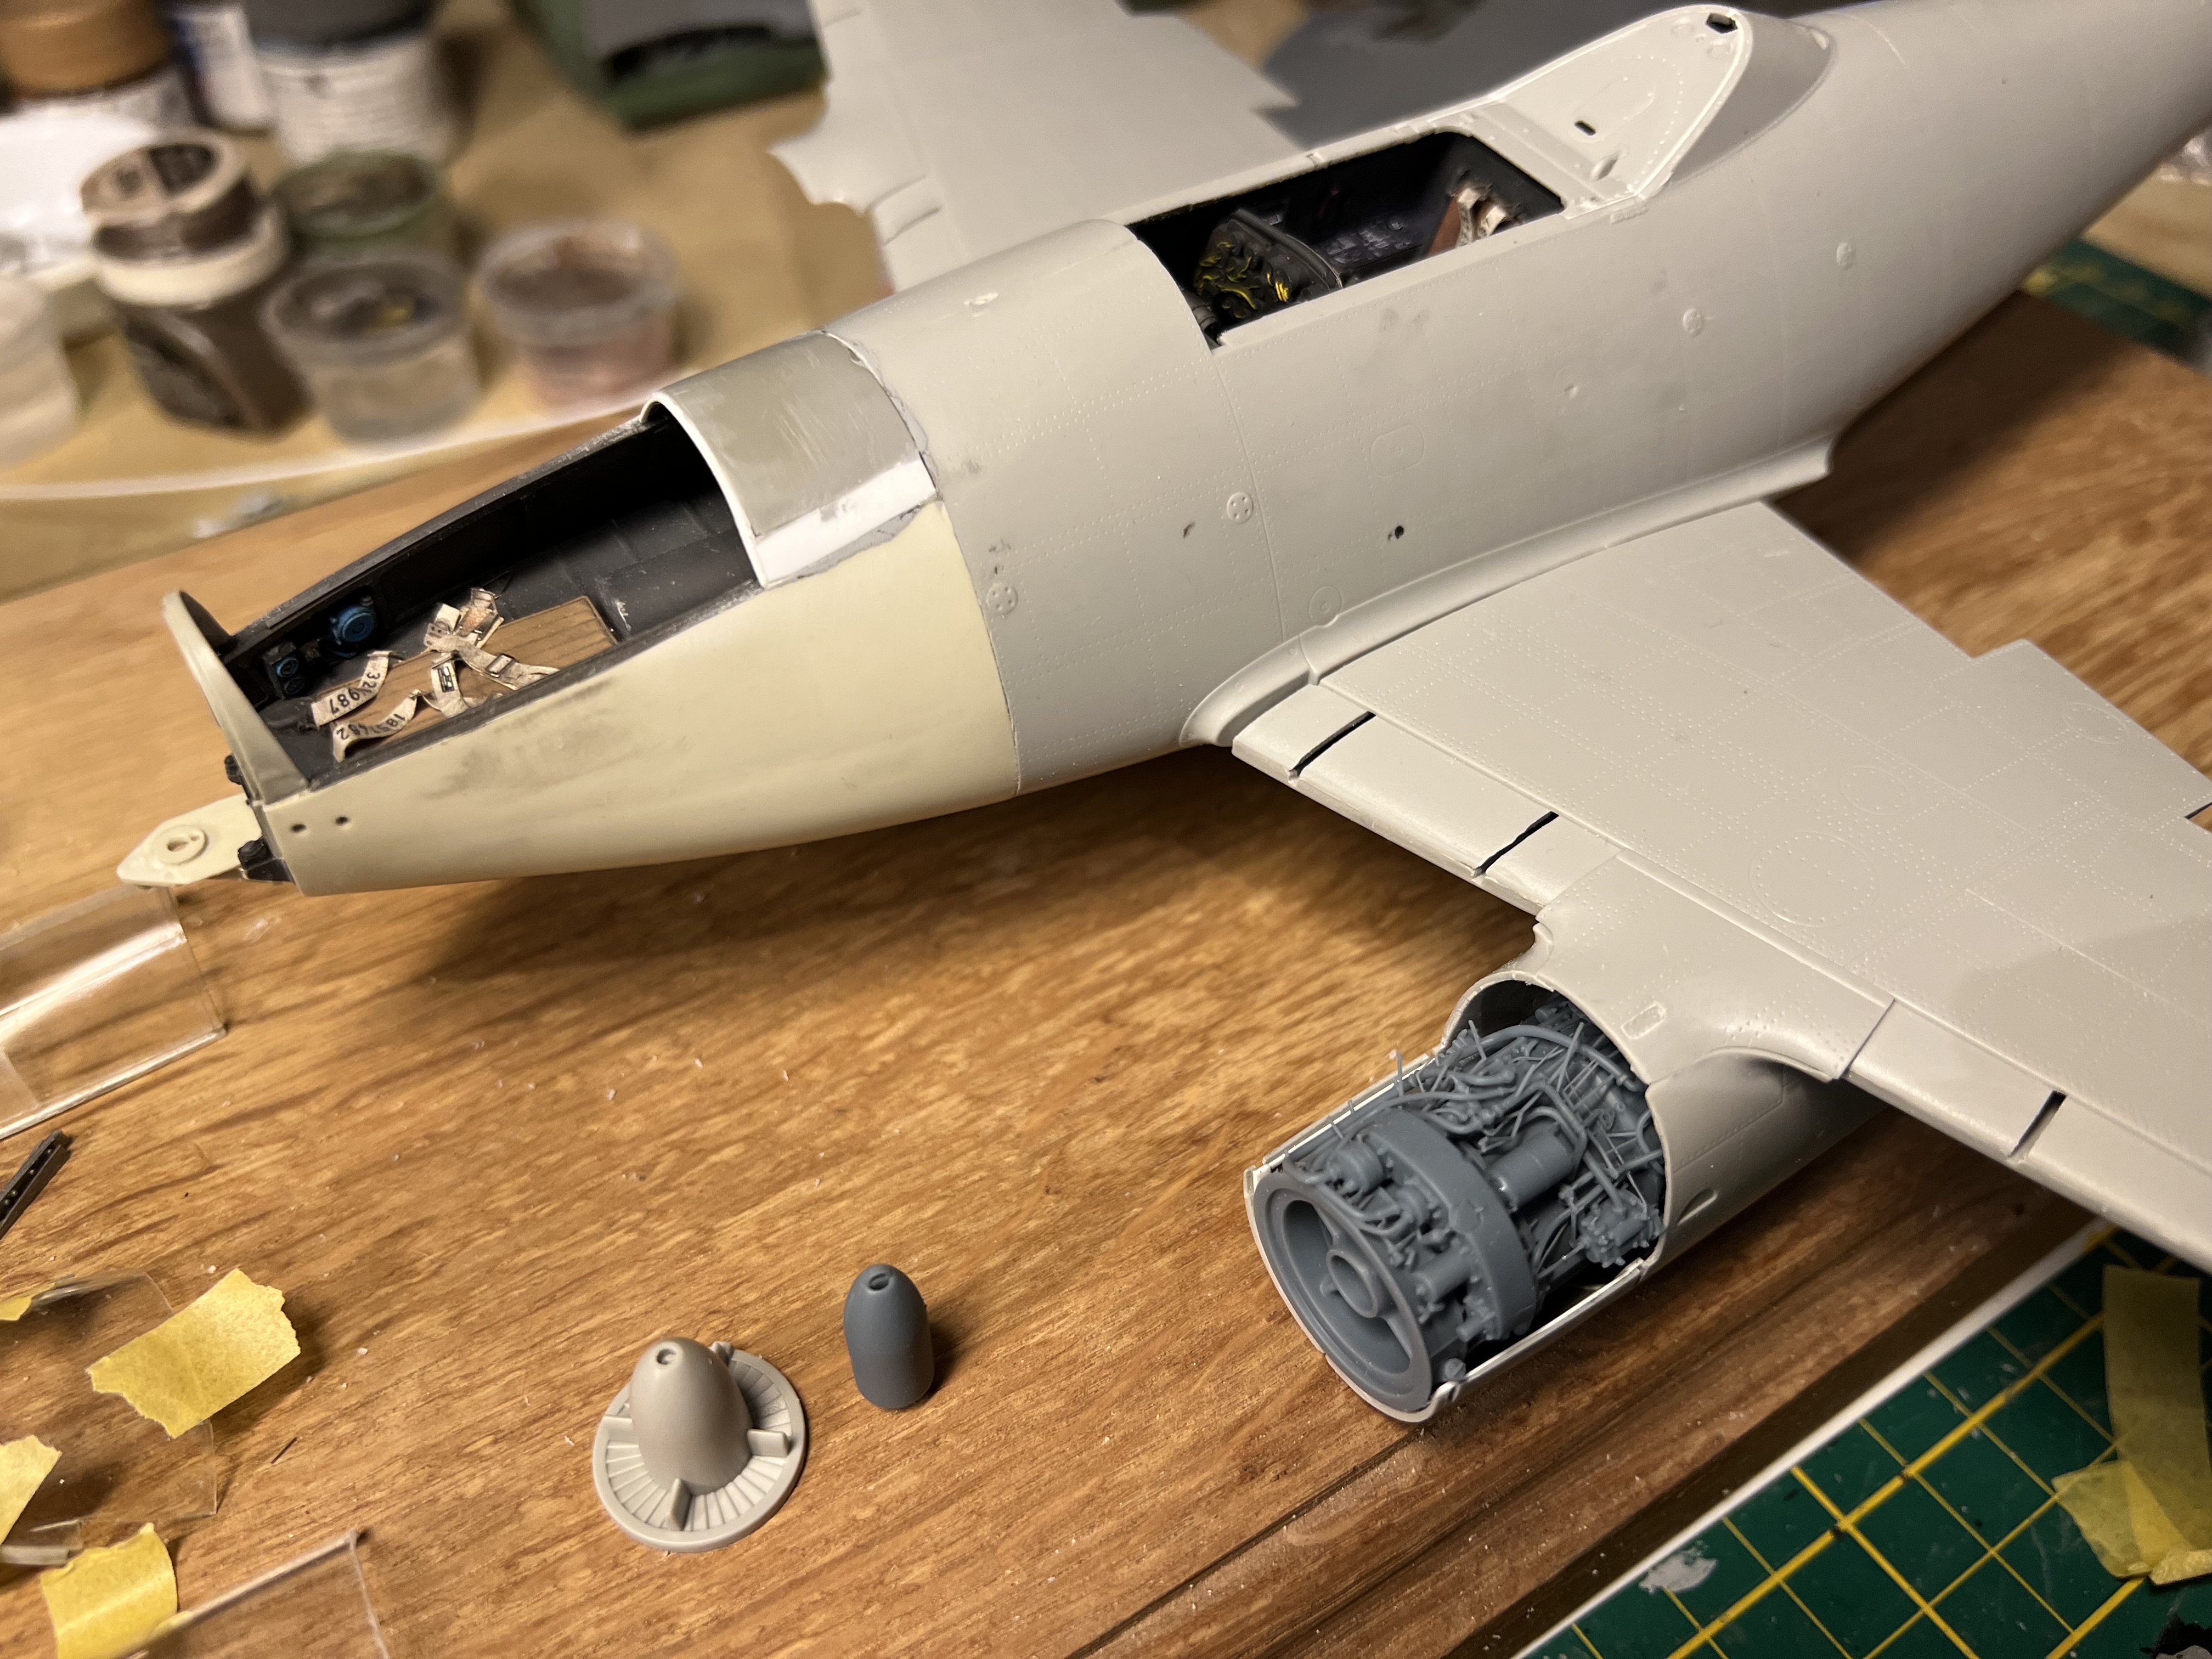
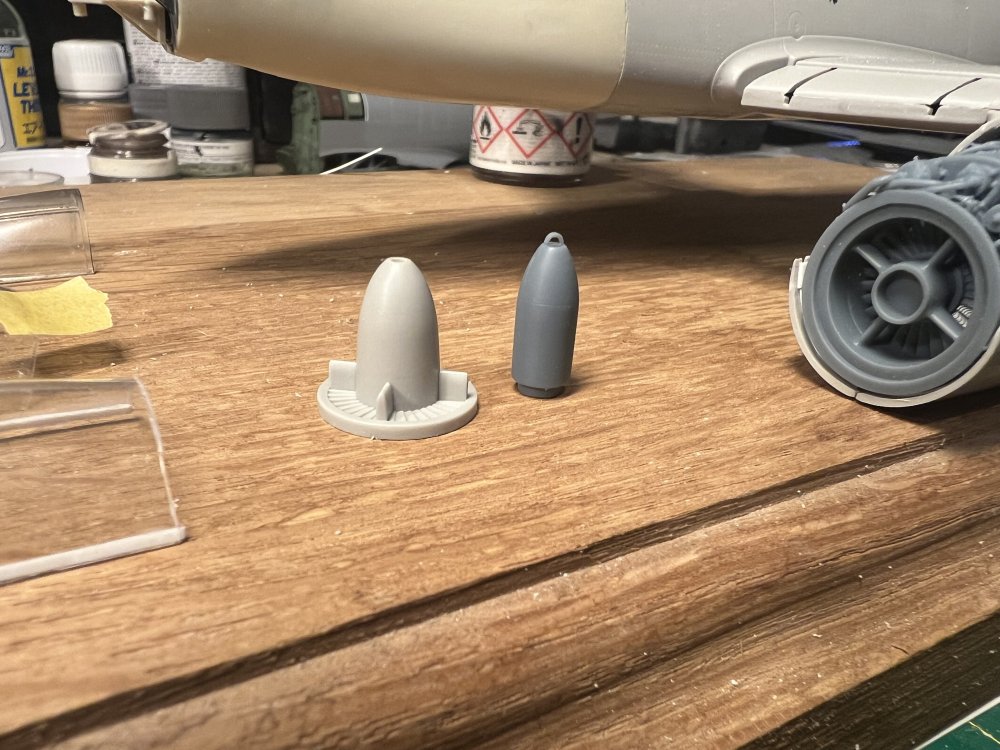
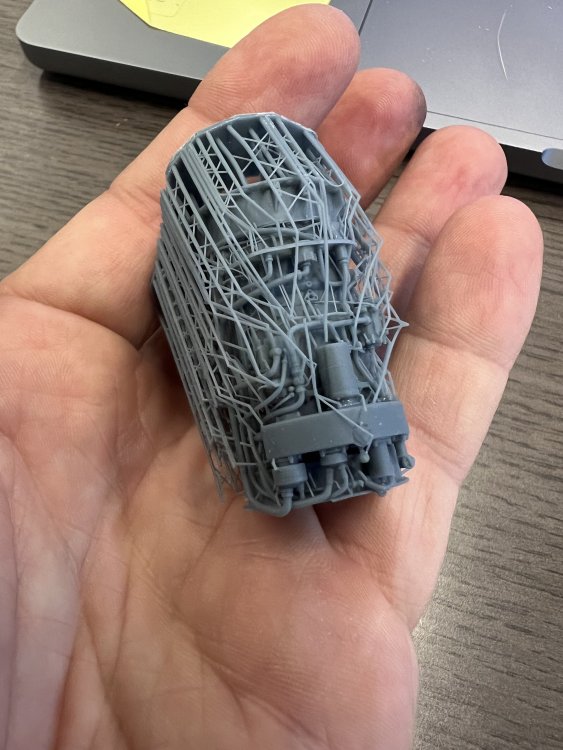
A really quick cleanup from the supports. These are very delicate and it’s easy to snip off wiring that needs to stay. Really impressed with the detail! The inlet cone is much slimmer (and more correct) than the Trumpie one. Only way to use it is to: buy two engines, or… 3d print another one myself.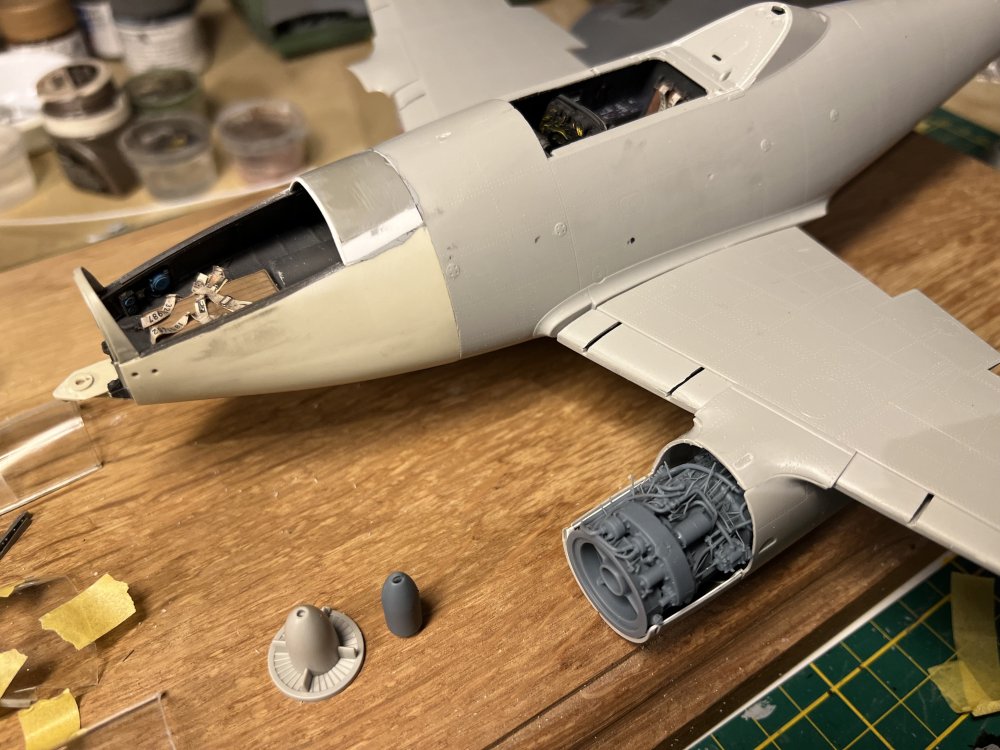
-
1/32 ME-262A-2a/U2
JeroenPeters replied to JeroenPeters's topic in LSM 1/35 and Larger Work In Progress
Yeah baby!
-
1/32 ME-262A-2a/U2
JeroenPeters replied to JeroenPeters's topic in LSM 1/35 and Larger Work In Progress
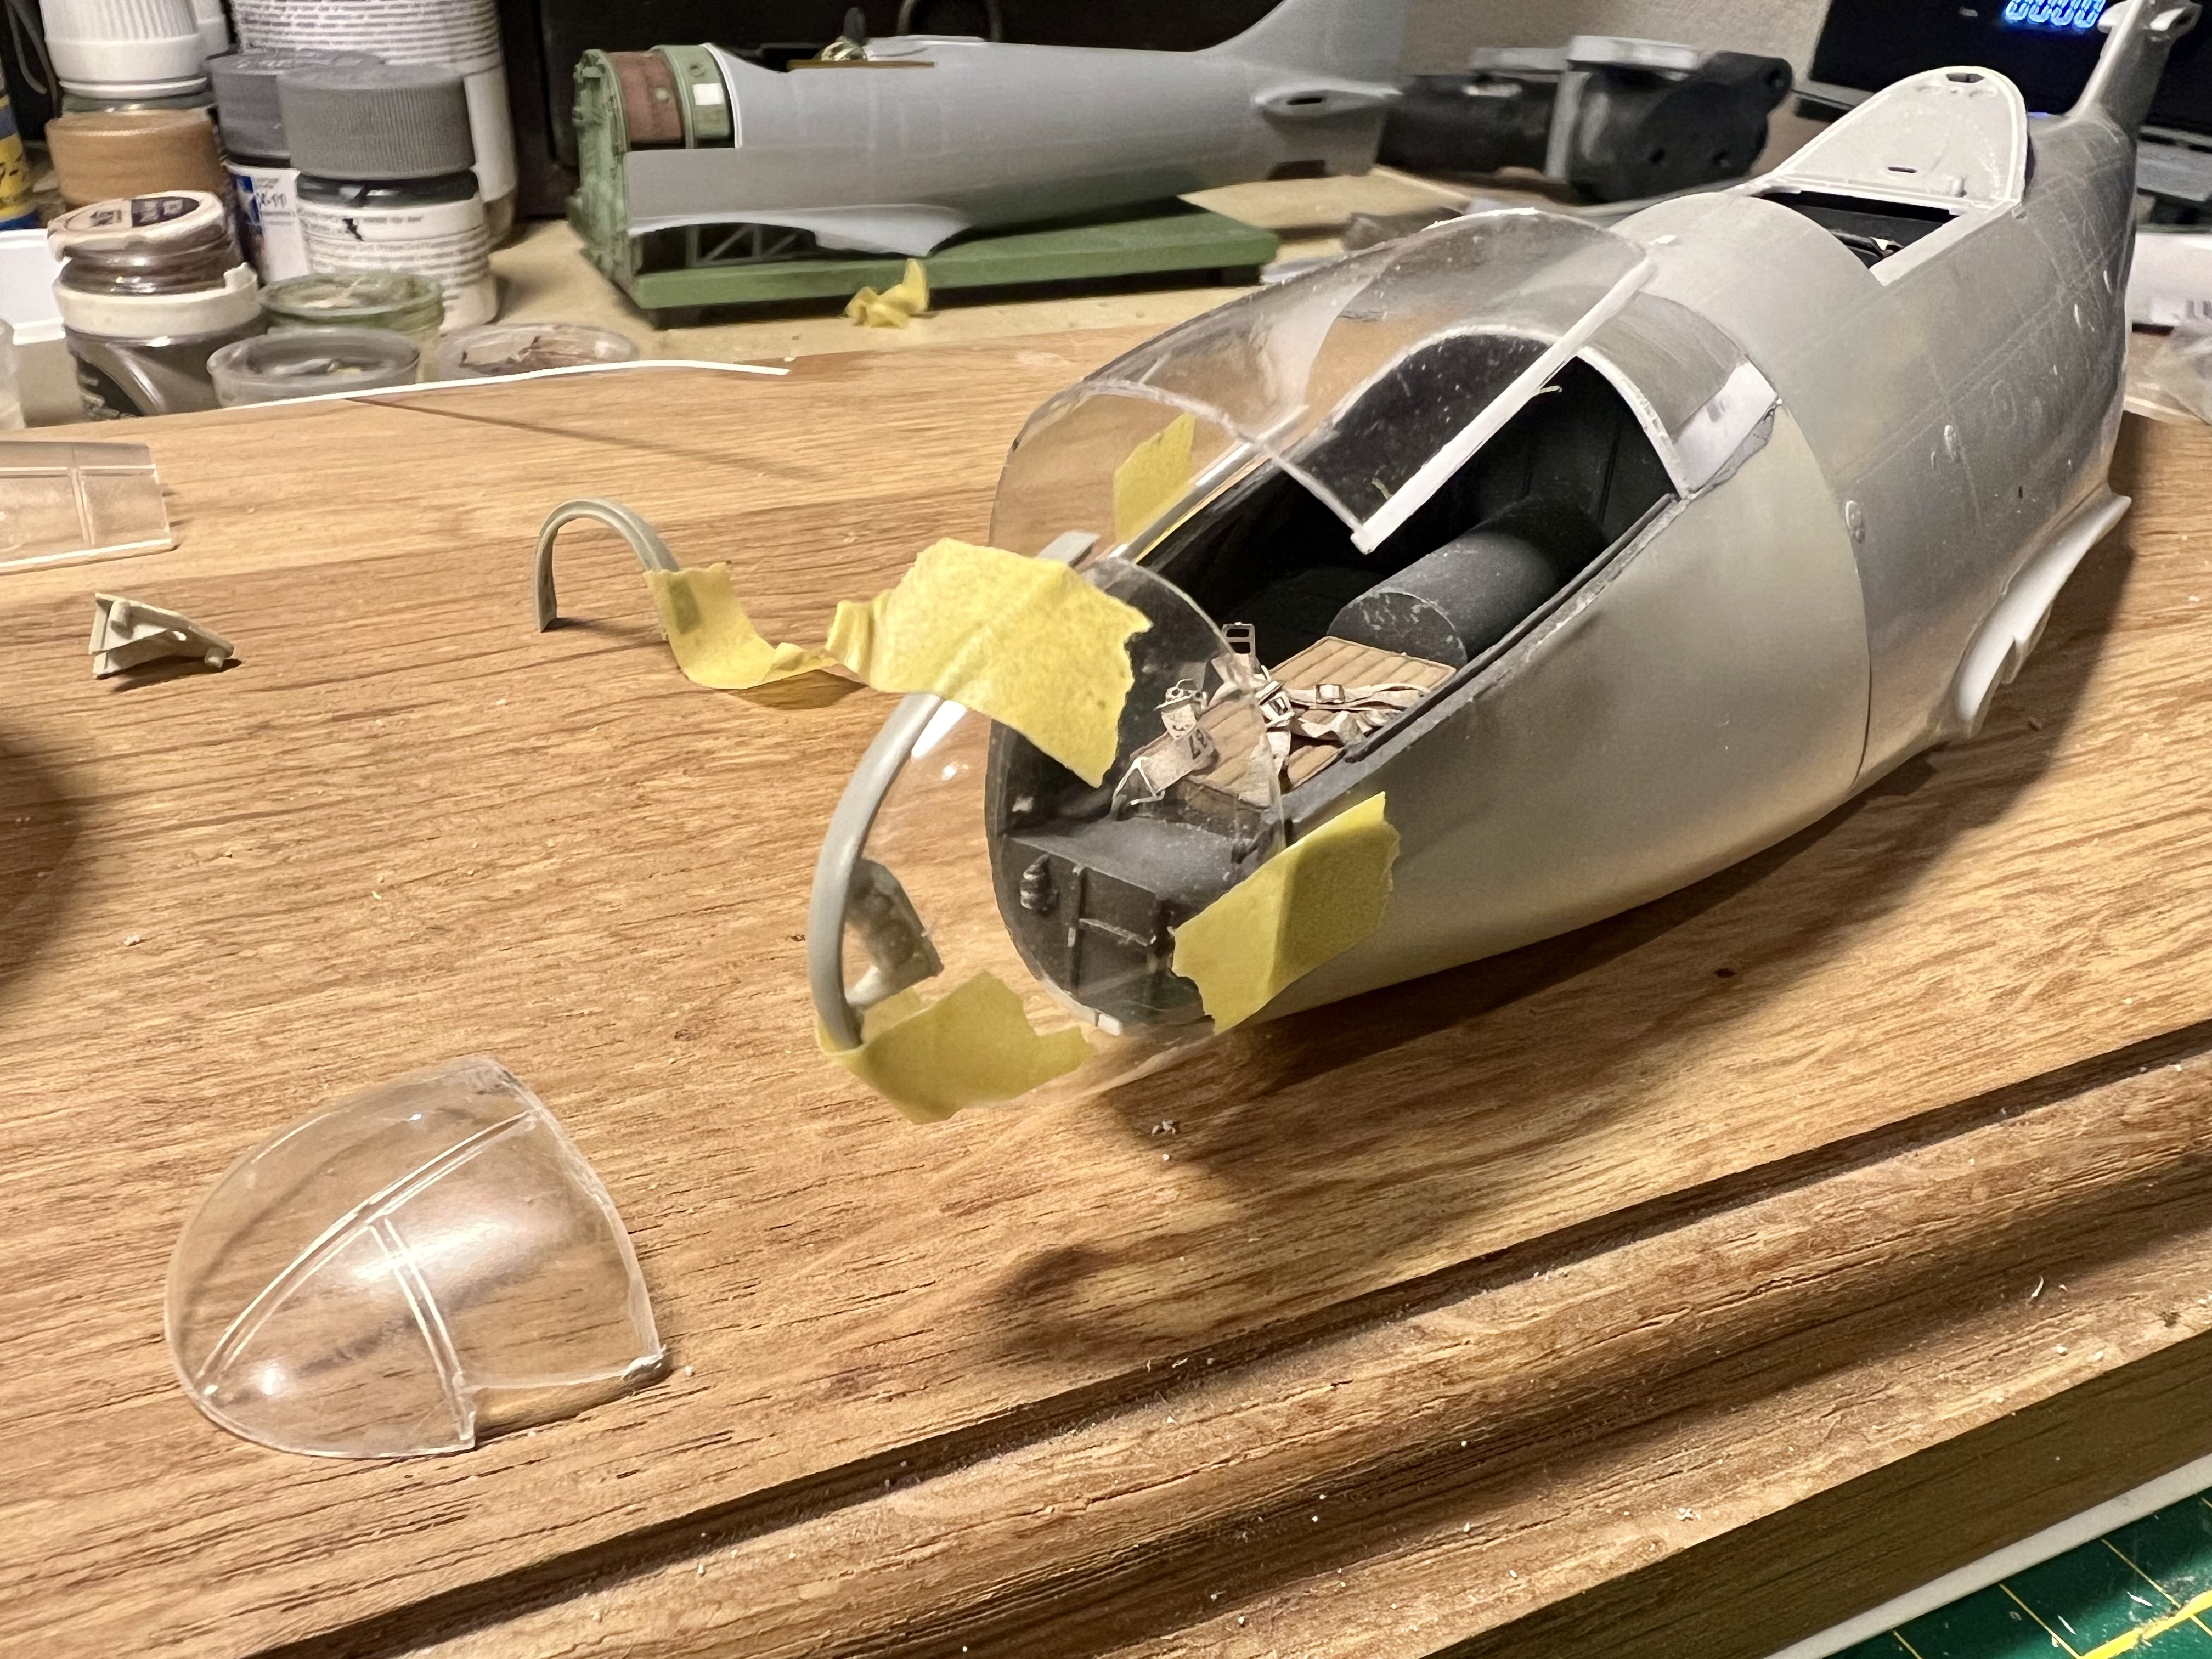
Getting a bit more confident. Vacformed the left side of the nose.
-
1/32 ME-262A-2a/U2
JeroenPeters replied to JeroenPeters's topic in LSM 1/35 and Larger Work In Progress
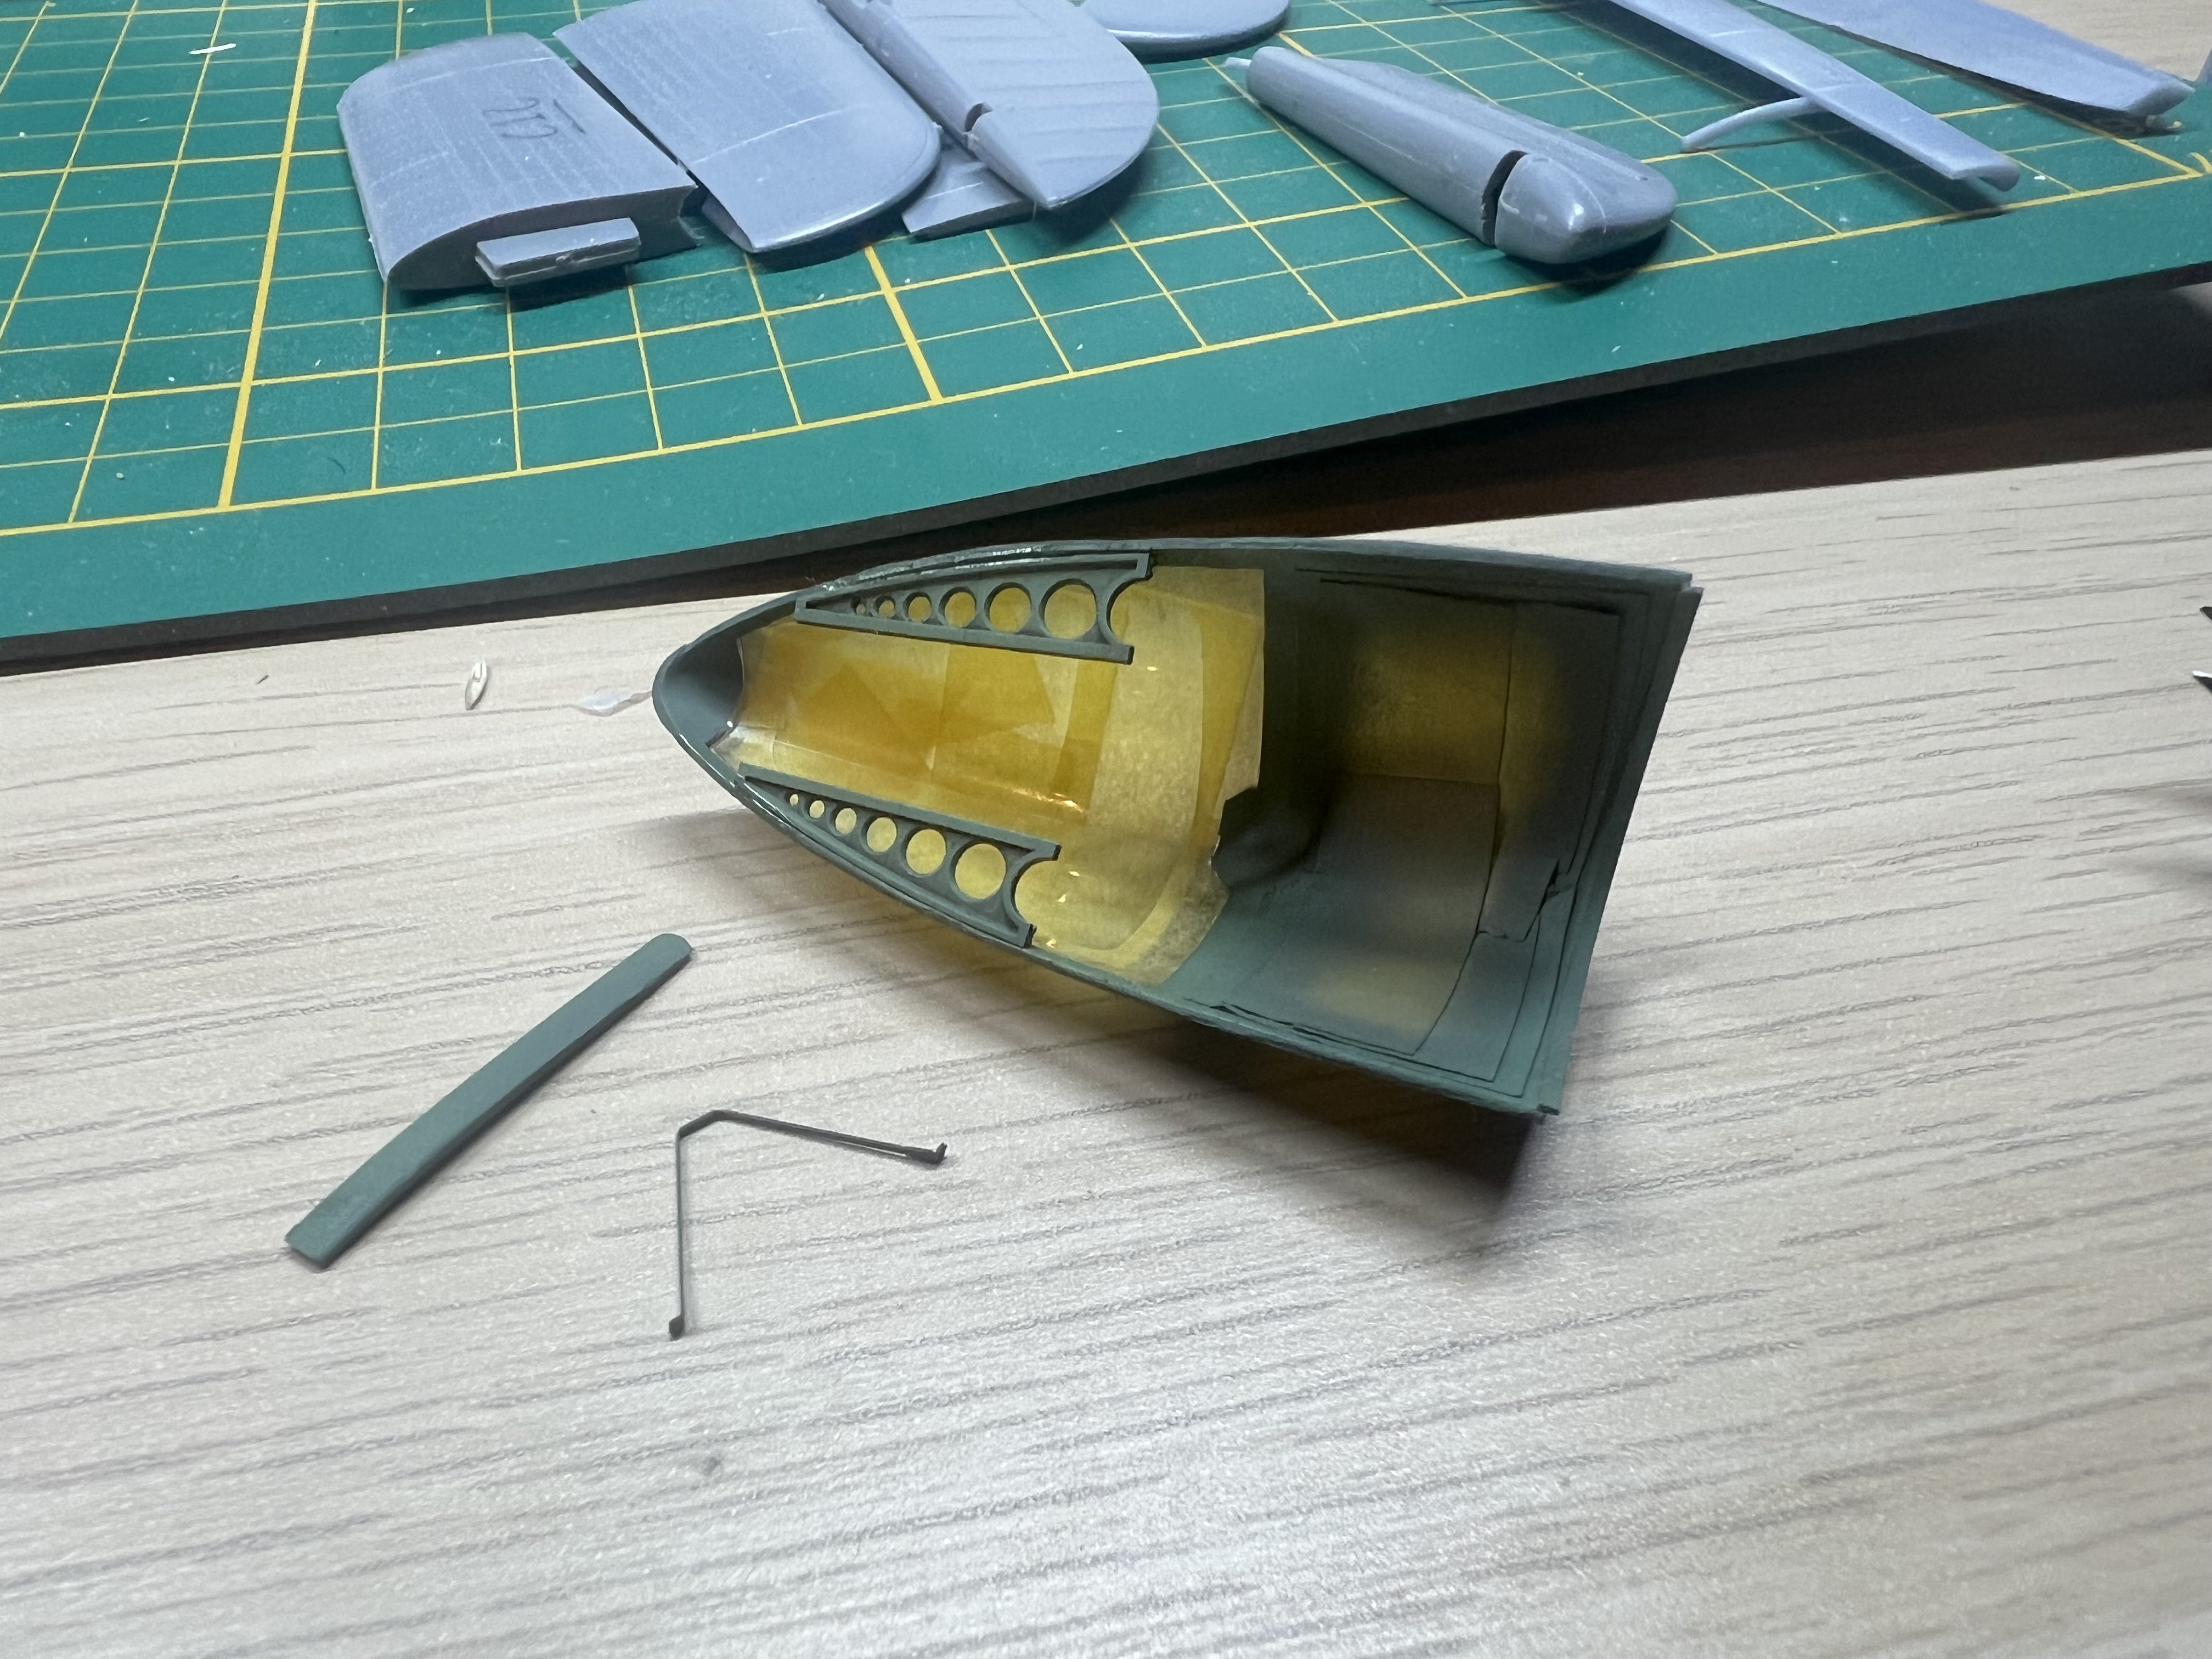
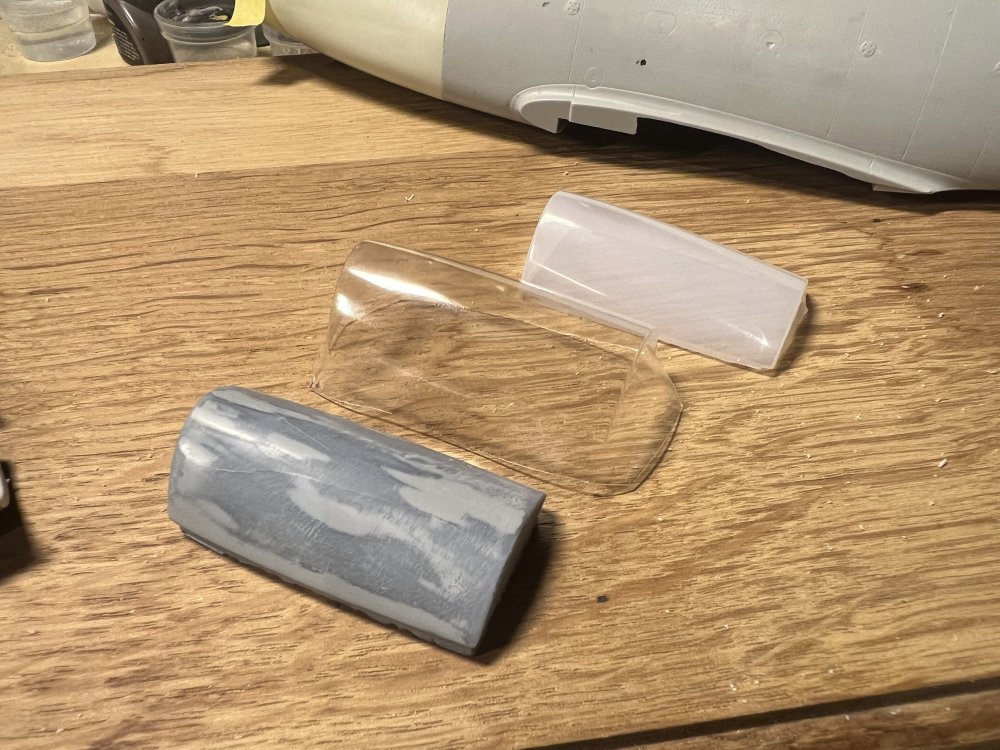
Today the PETG sheets arrived. Tried them in the vacform machine and after 3 tries there was success. If you heat the sheets for a little too long, it all turns white. Now adding the internal framing. The nose cone halves will be the most difficult. If it all fails i will do my best to shine up the MDC resin ones’ and still use those. We’ll see.

- 151 replies
-
- 10
-


.png.1caad93c3e446d91a10de96cd640f292.png)