JeroenPeters
-
Posts
4,867 -
Joined
-
Last visited
Content Type
Profiles
Forums
Events
Gallery
Everything posted by JeroenPeters
-

1/32 Westland Whirlwind
JeroenPeters replied to JeroenPeters's topic in LSM 1/35 and Larger Work In Progress
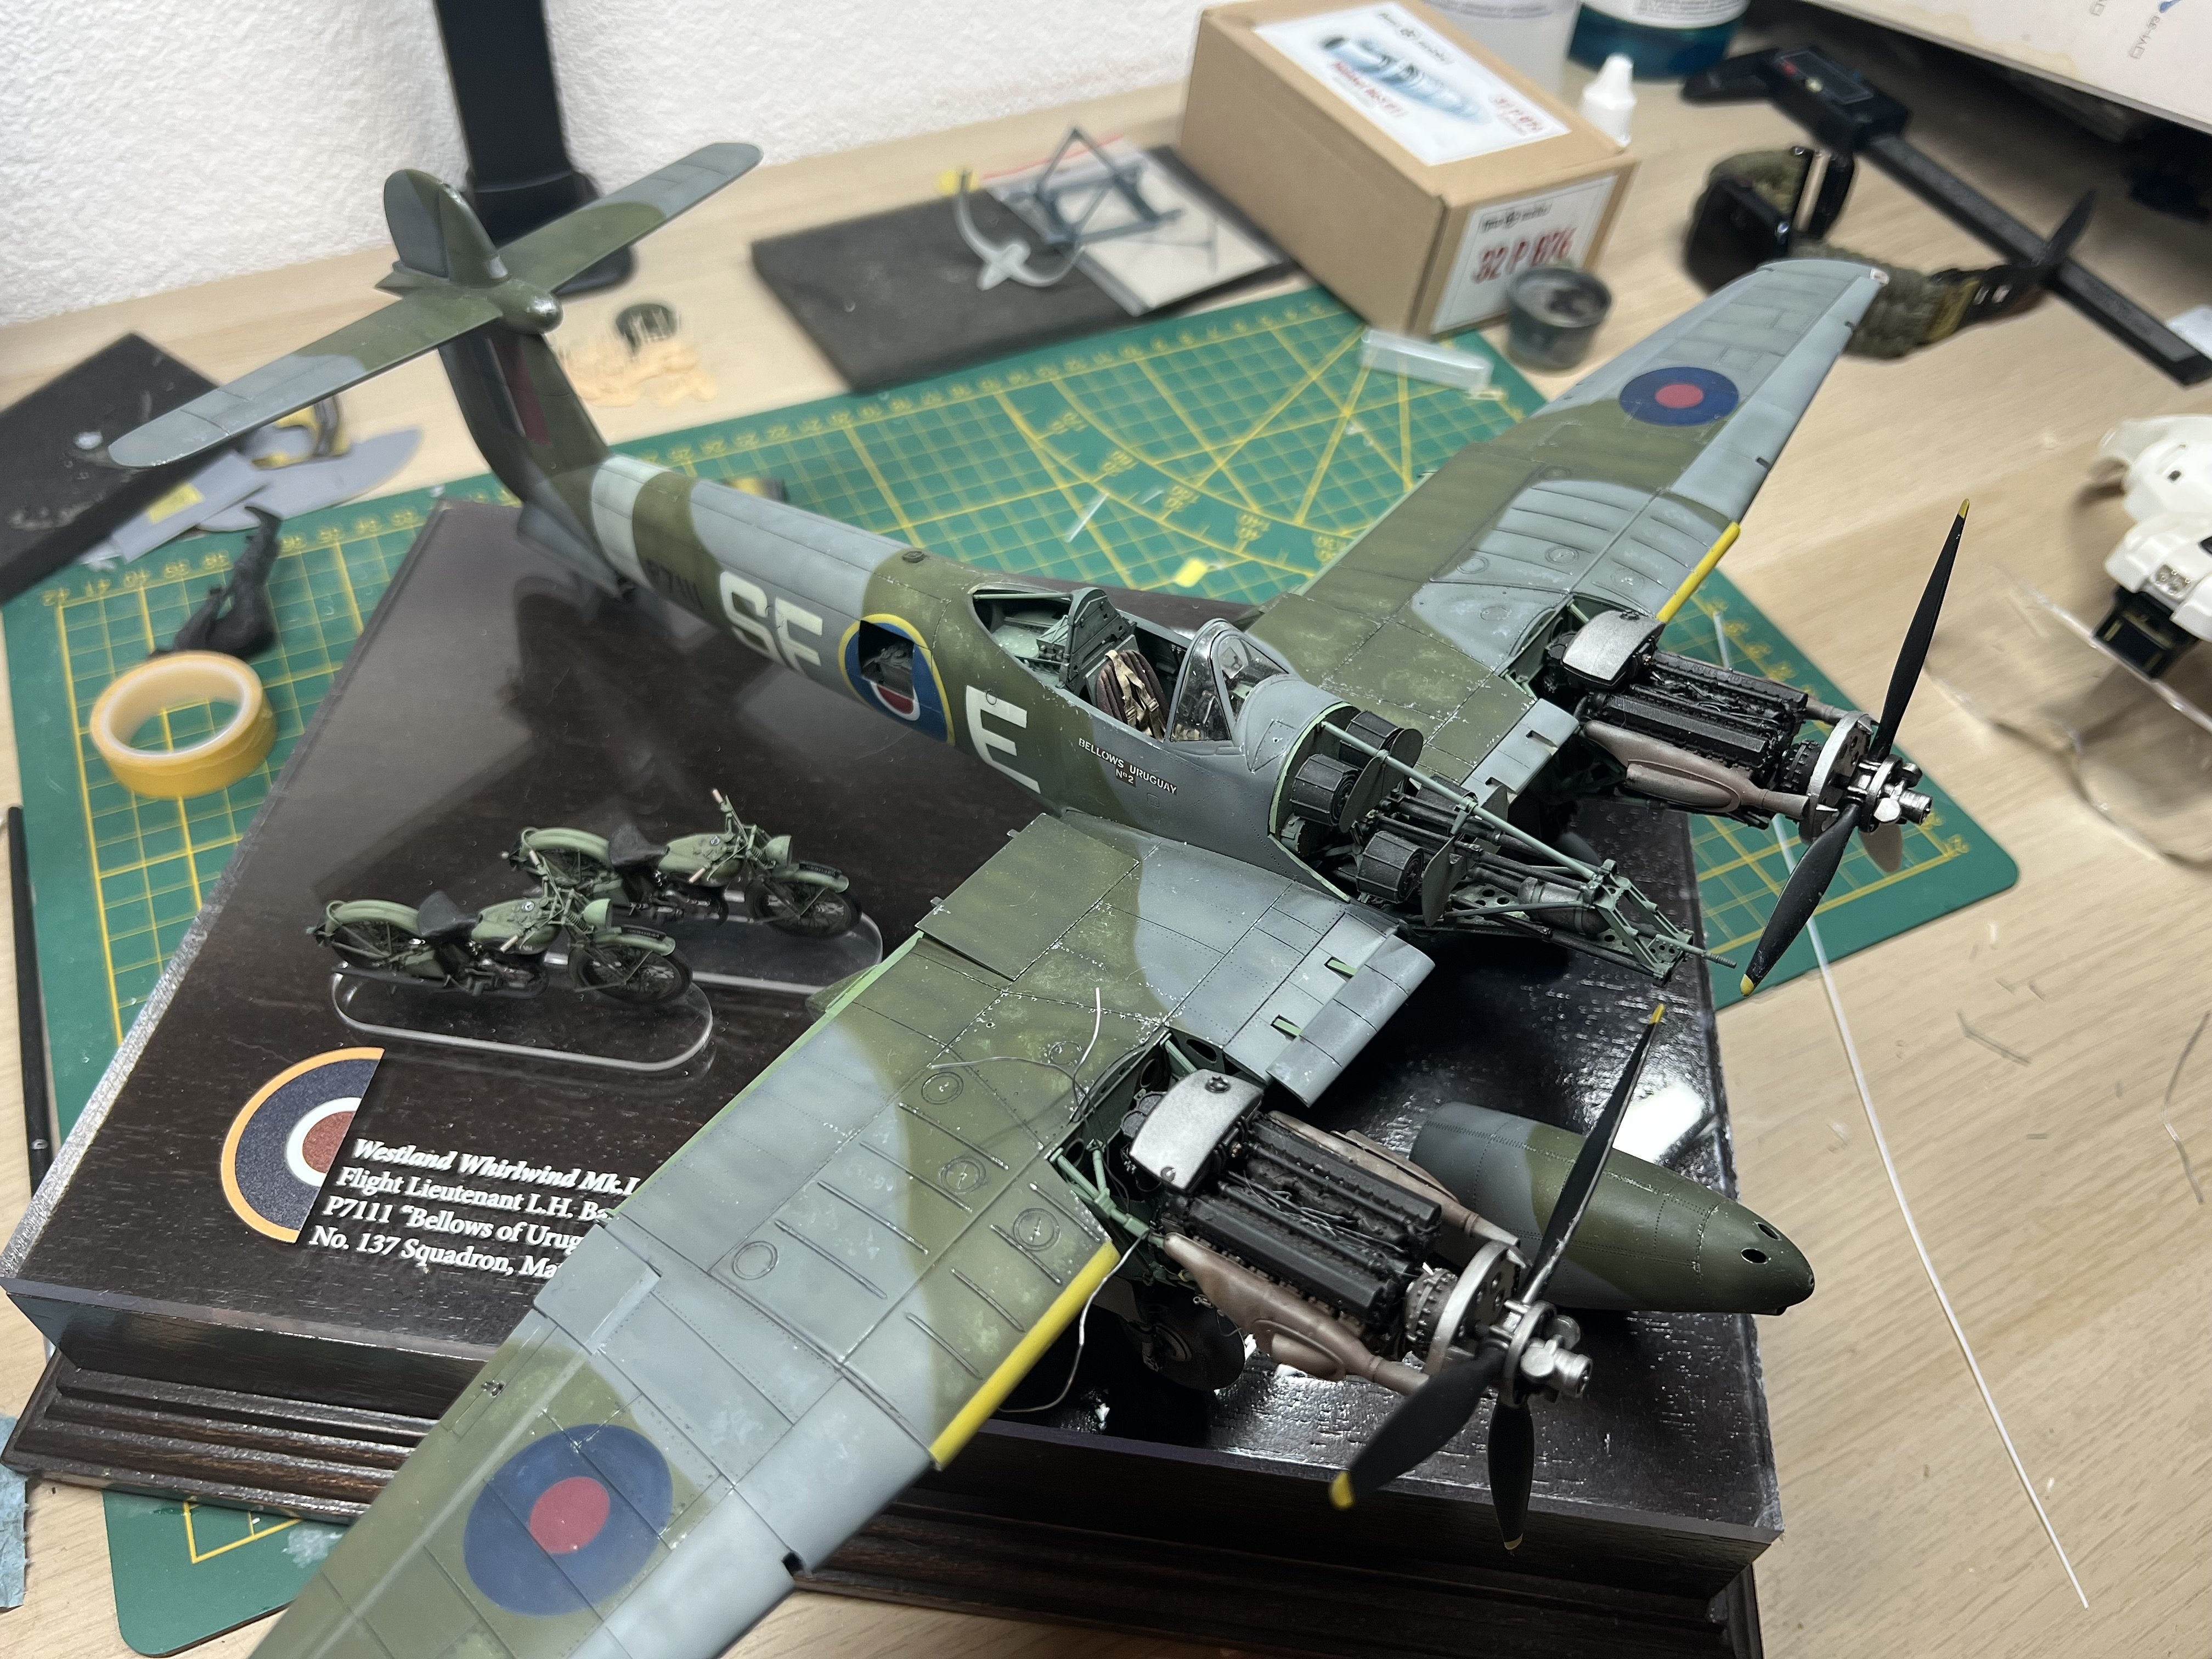
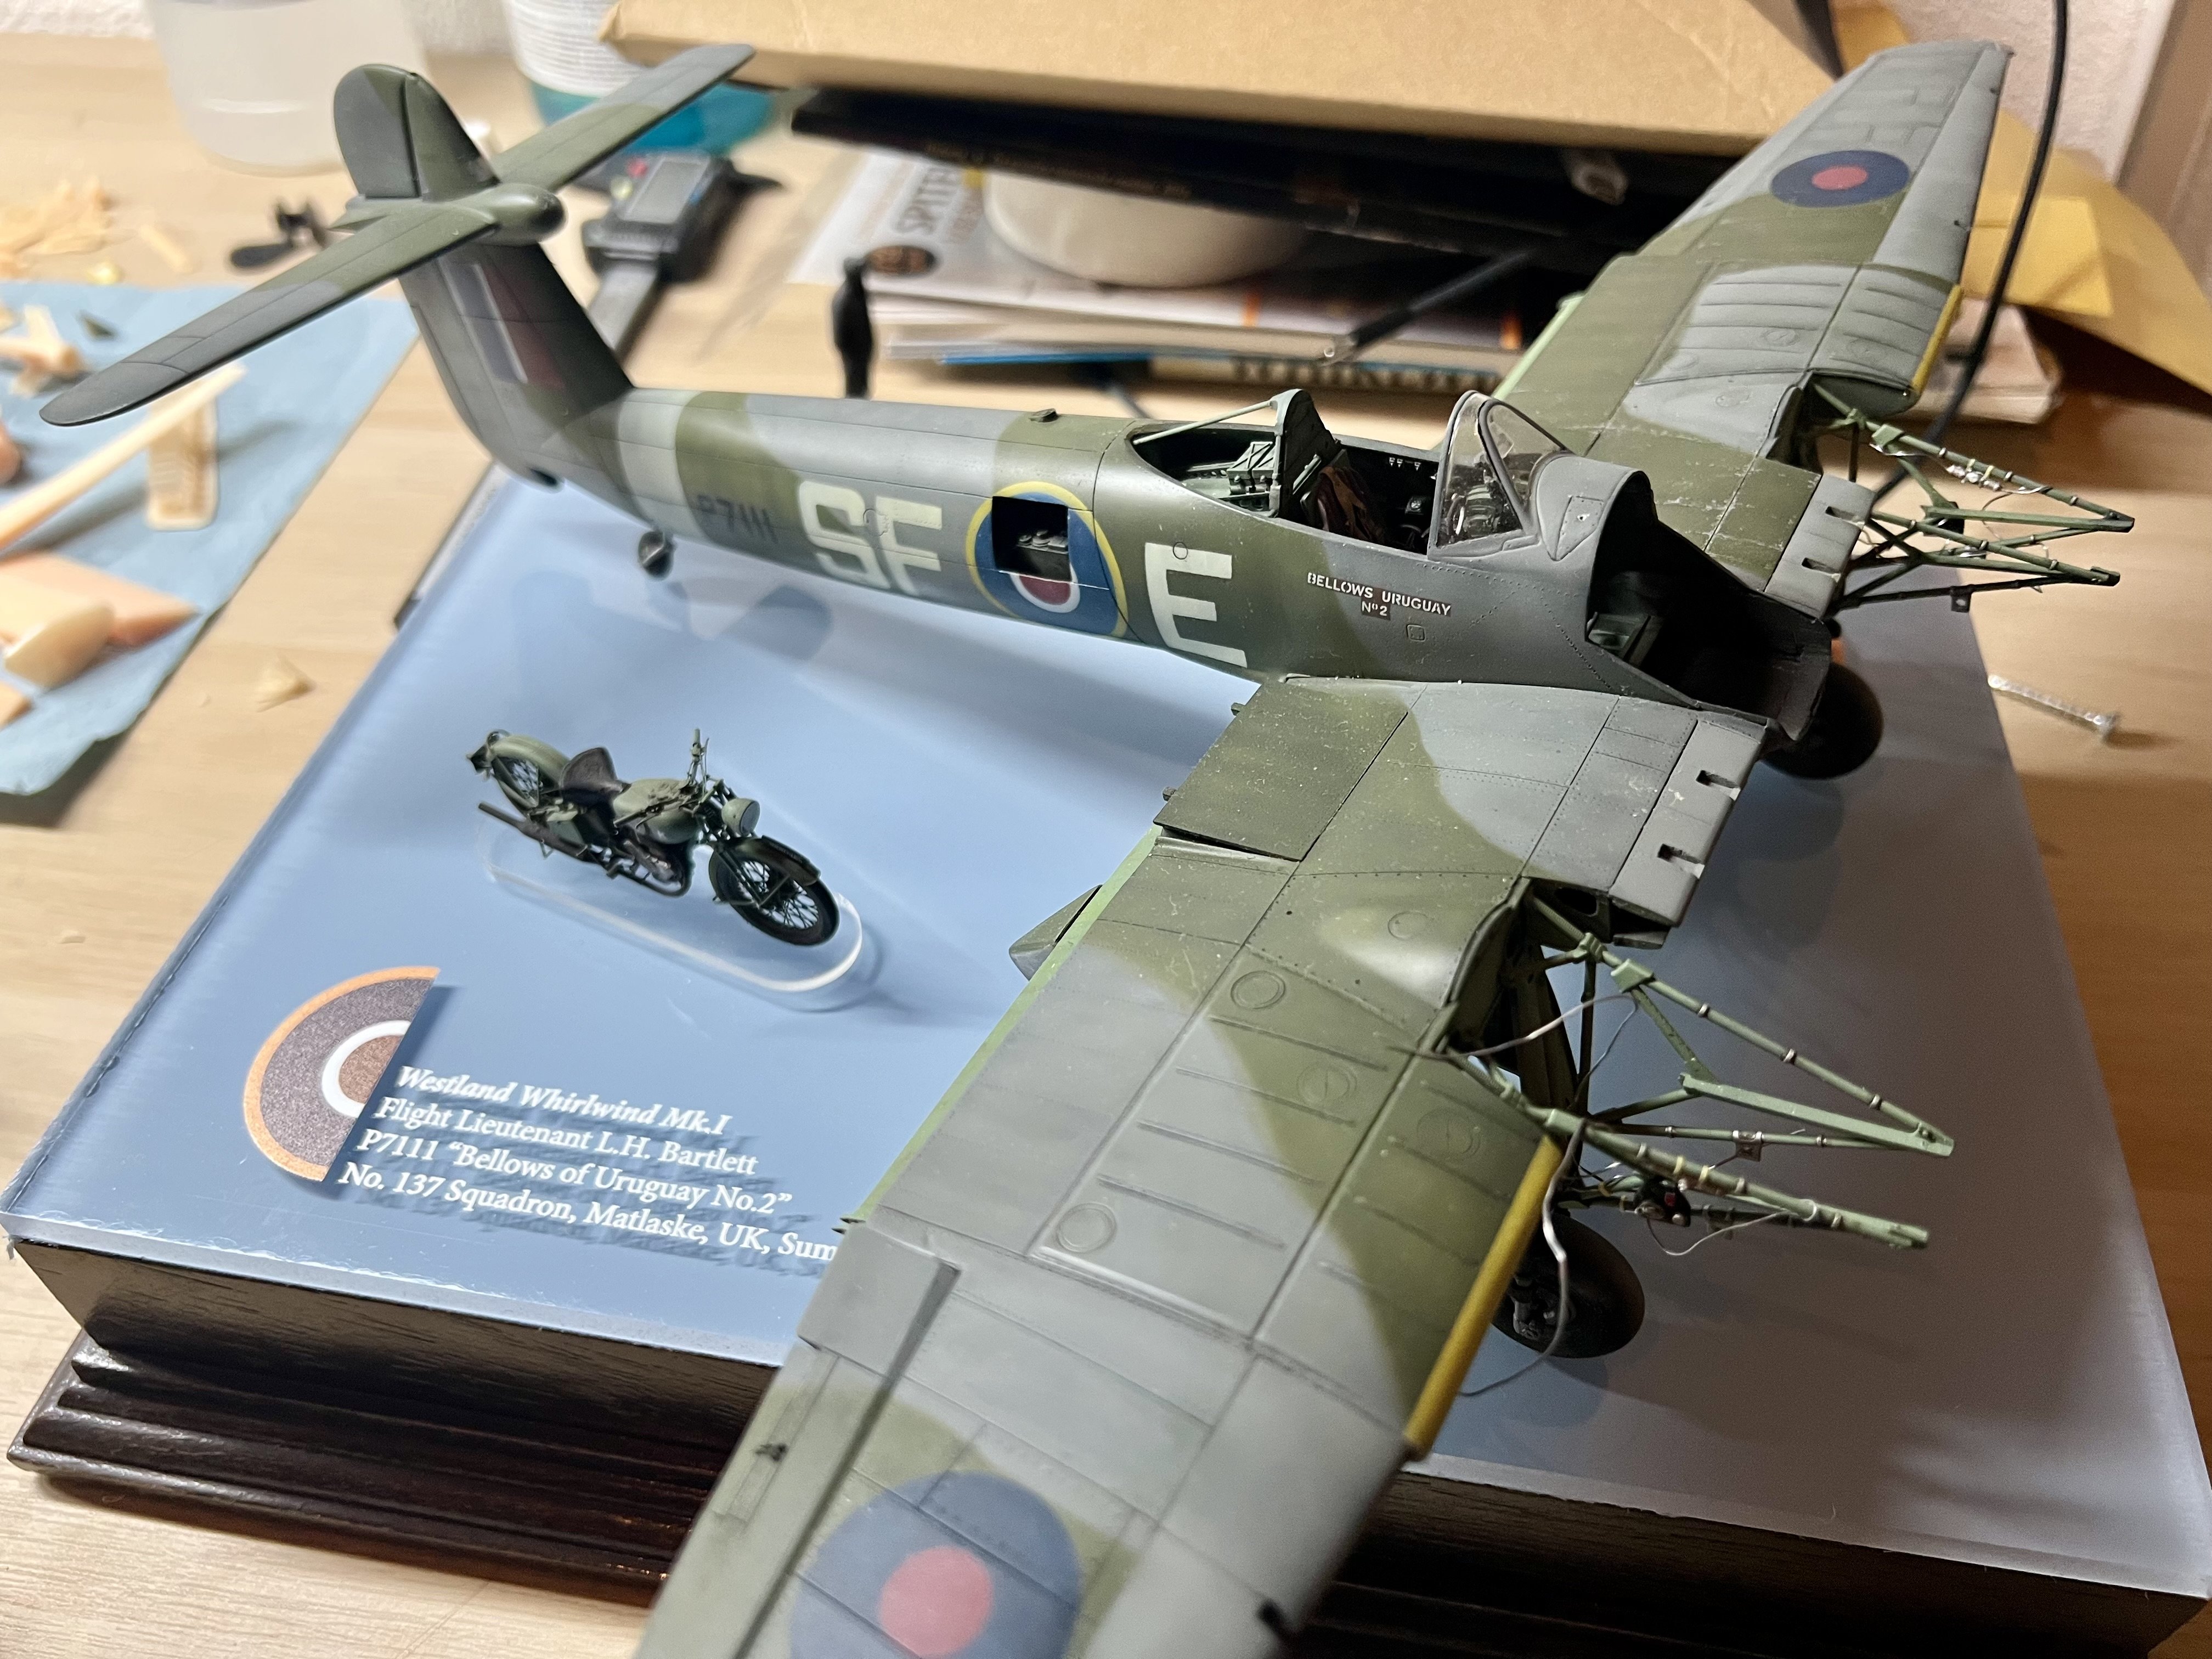
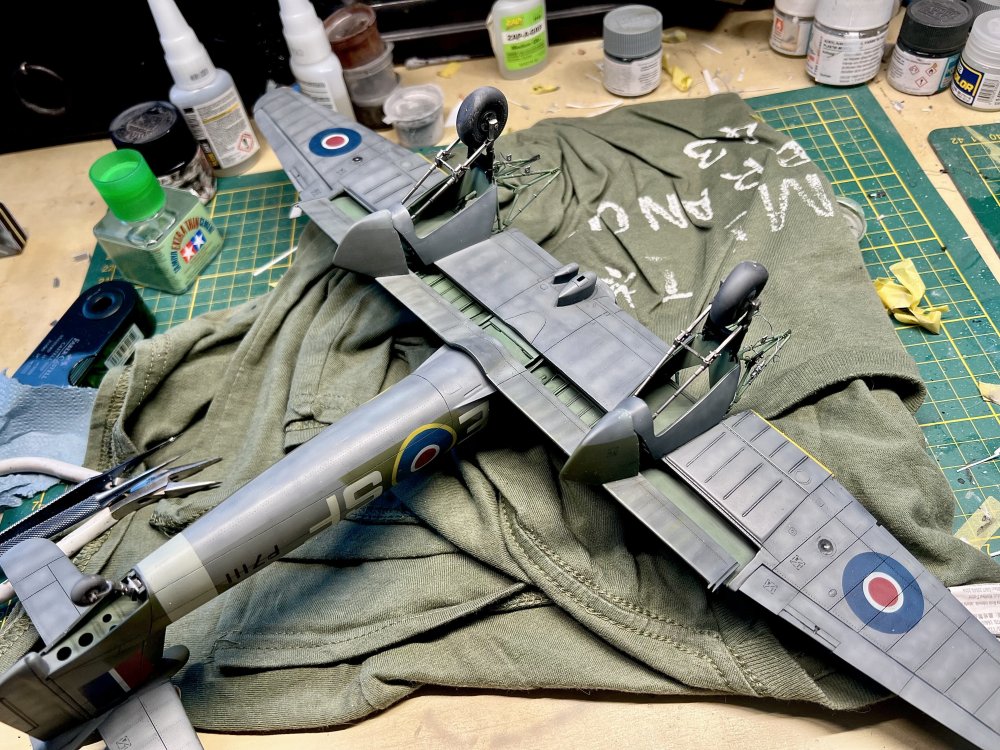
Aaaaaaaalmost. Just beed to add antenna wires, flap weights, ladder and some other small details. The vac form canopy fits nicely.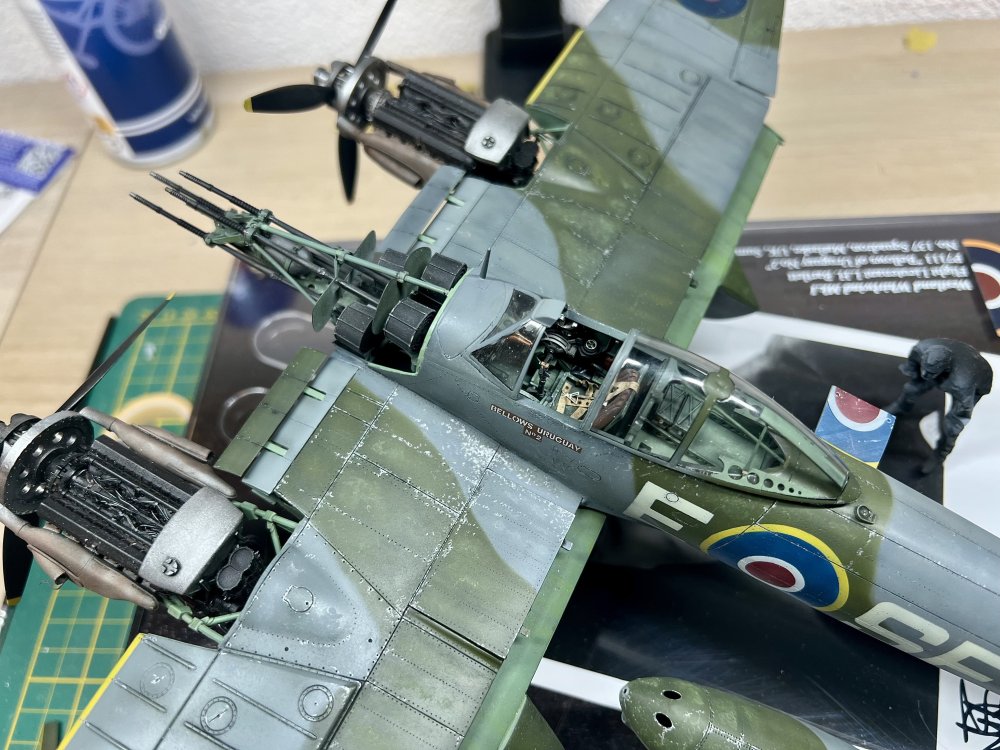
-
1/32 Westland Whirlwind
JeroenPeters replied to JeroenPeters's topic in LSM 1/35 and Larger Work In Progress
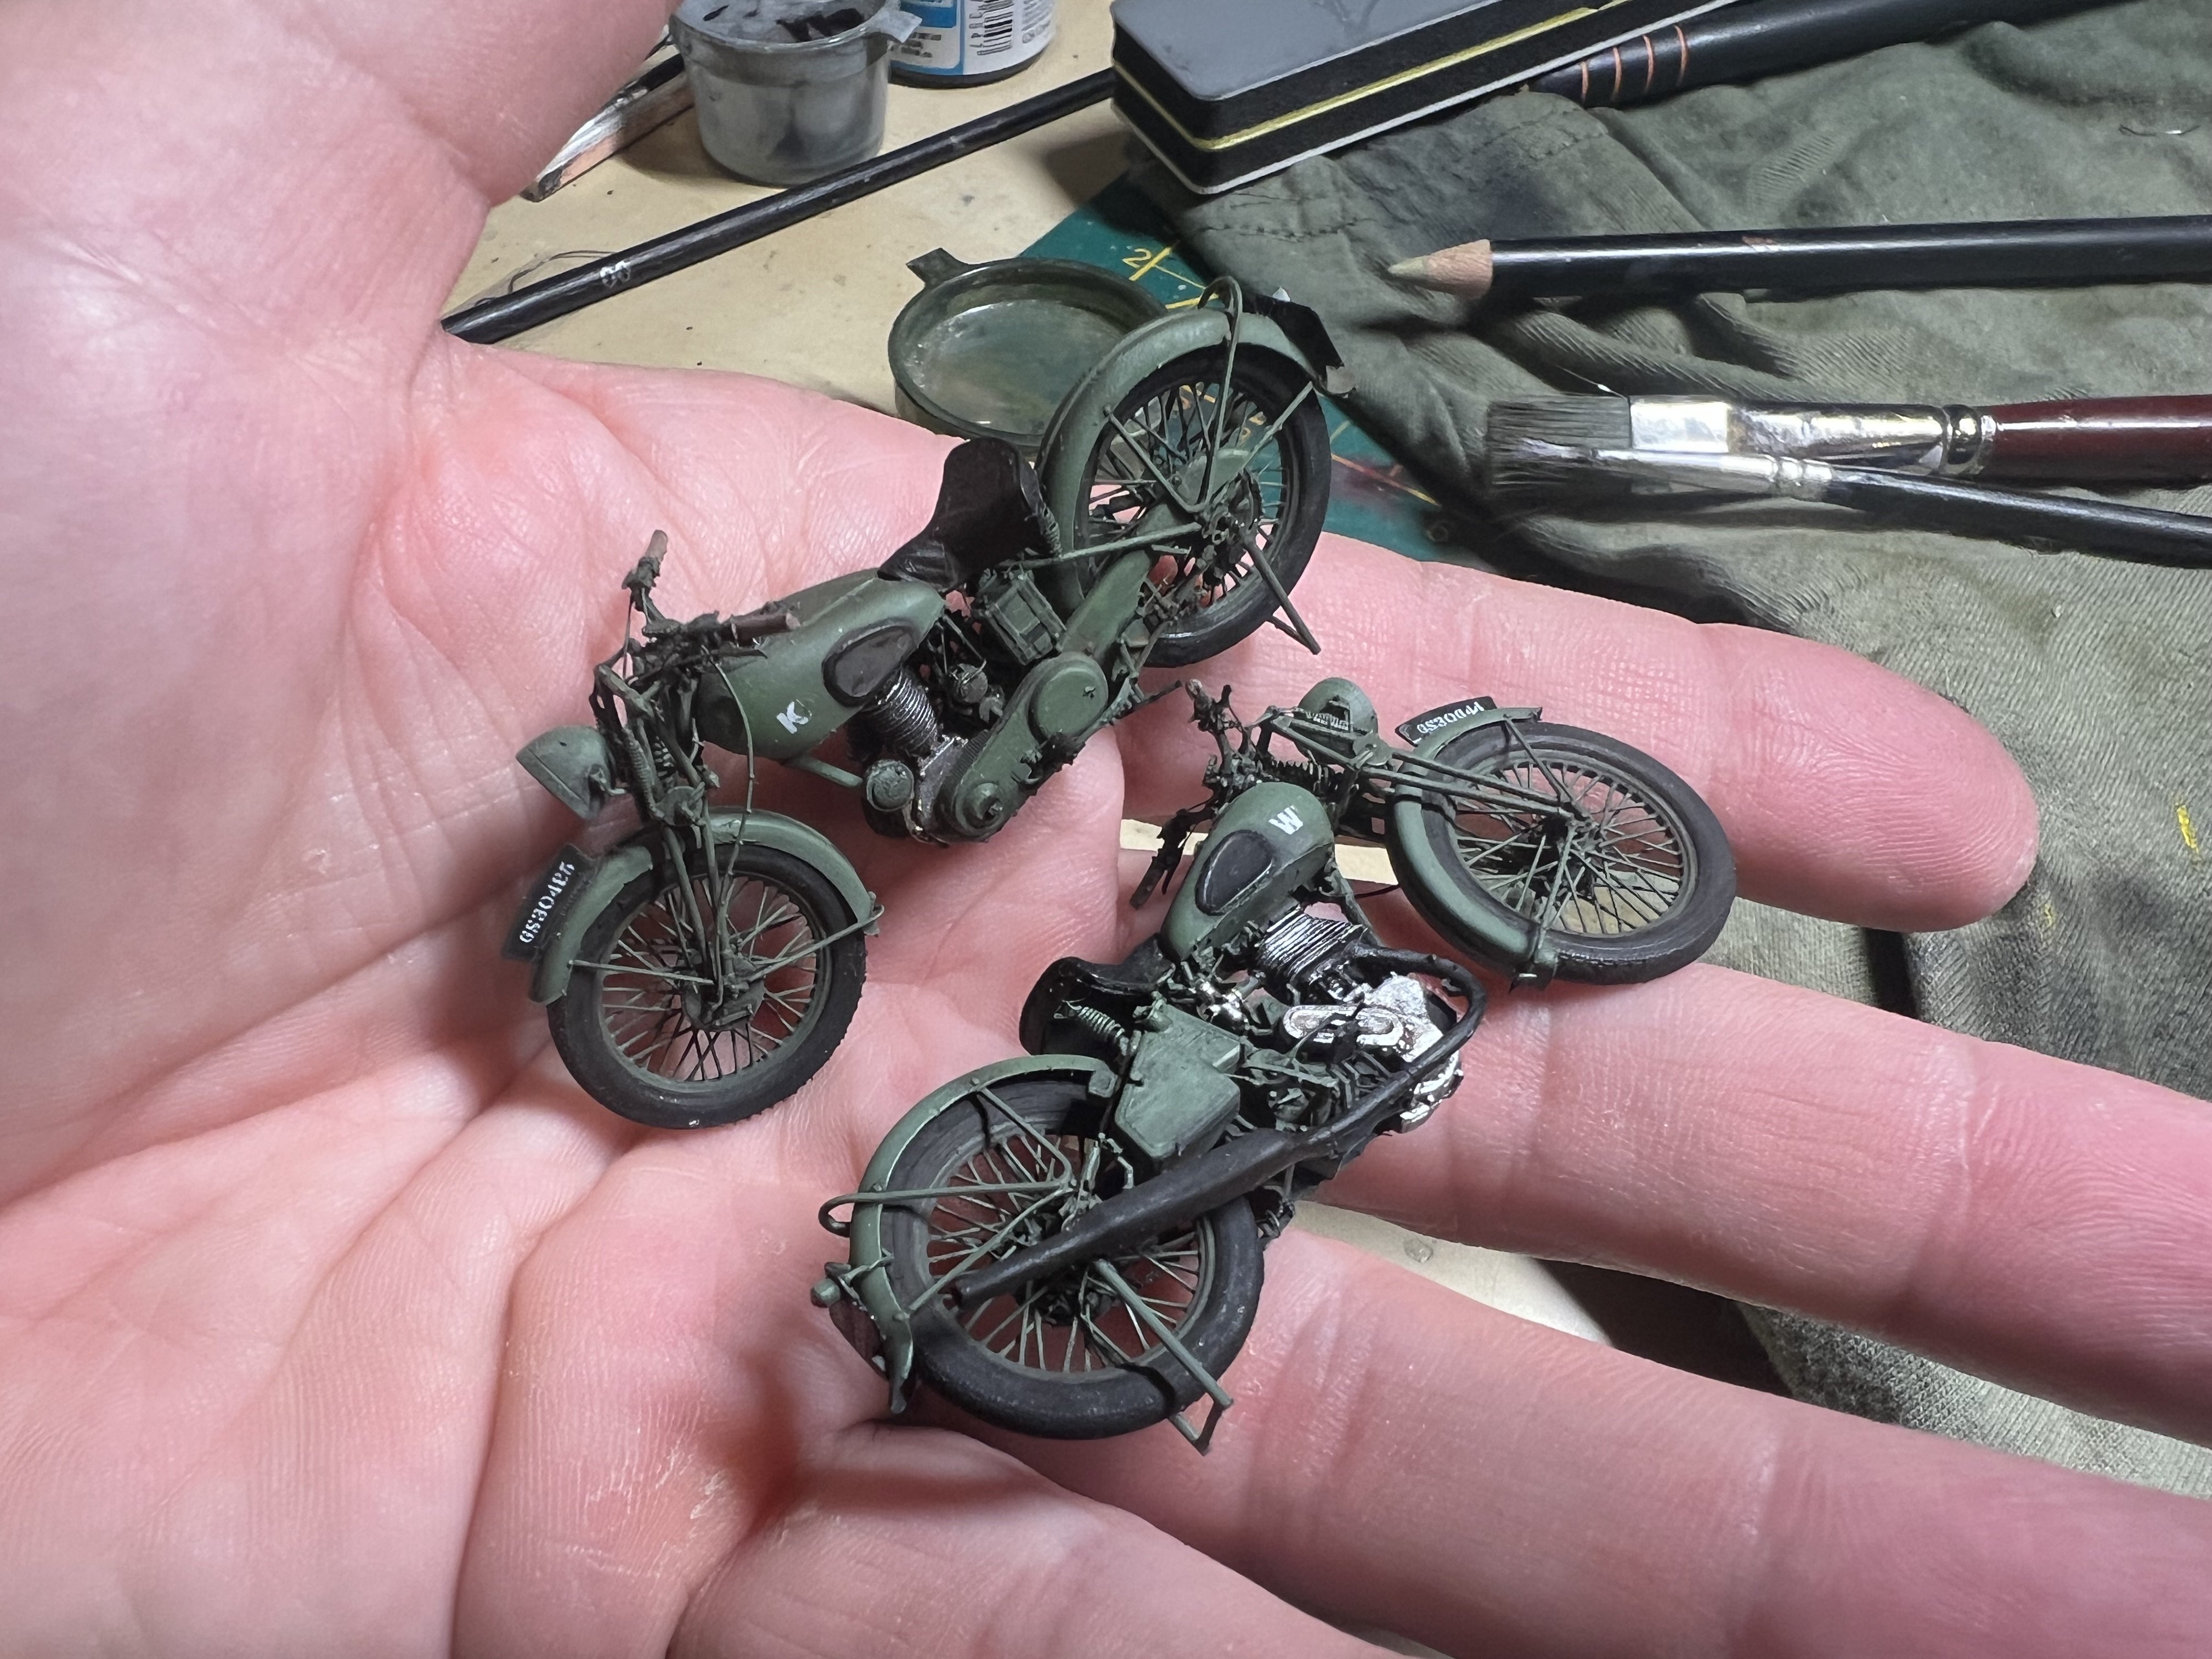
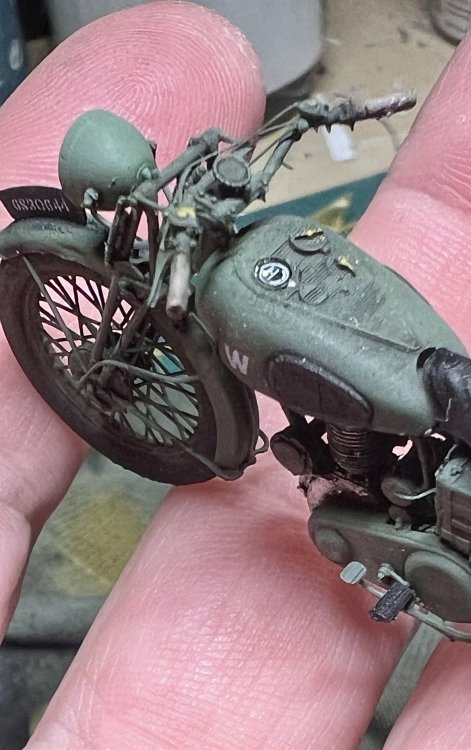
The Nortons are almost finished. Added fuel gauges. Someone asked what the deal was with two bikes alongside the Whirlwind. My initial idea was only to write on the base: It wasn’t the engines. Referring to the mistake people make when they say the problem with the Whirlwind were the Peregrine engines. Seemed funny to place two engines/motors under it’s wings. These Nortons were used by the RAF to get around, so seems appropriate.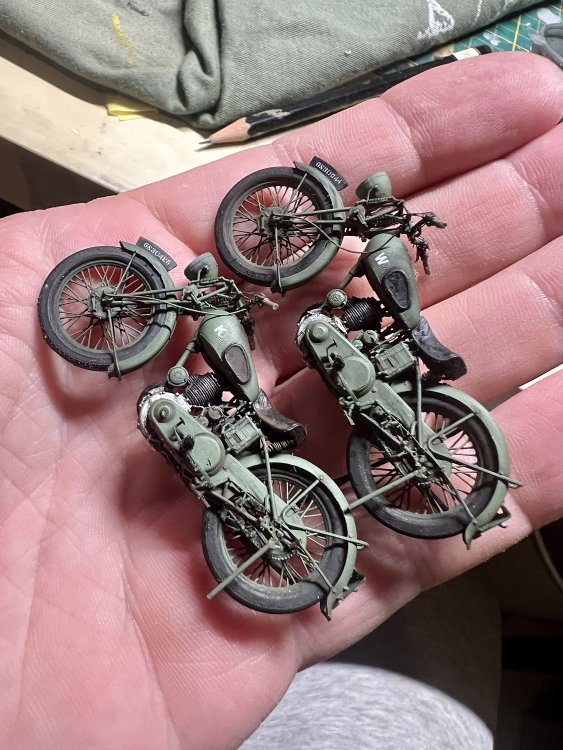

-
1/32 Westland Whirlwind
JeroenPeters replied to JeroenPeters's topic in LSM 1/35 and Larger Work In Progress
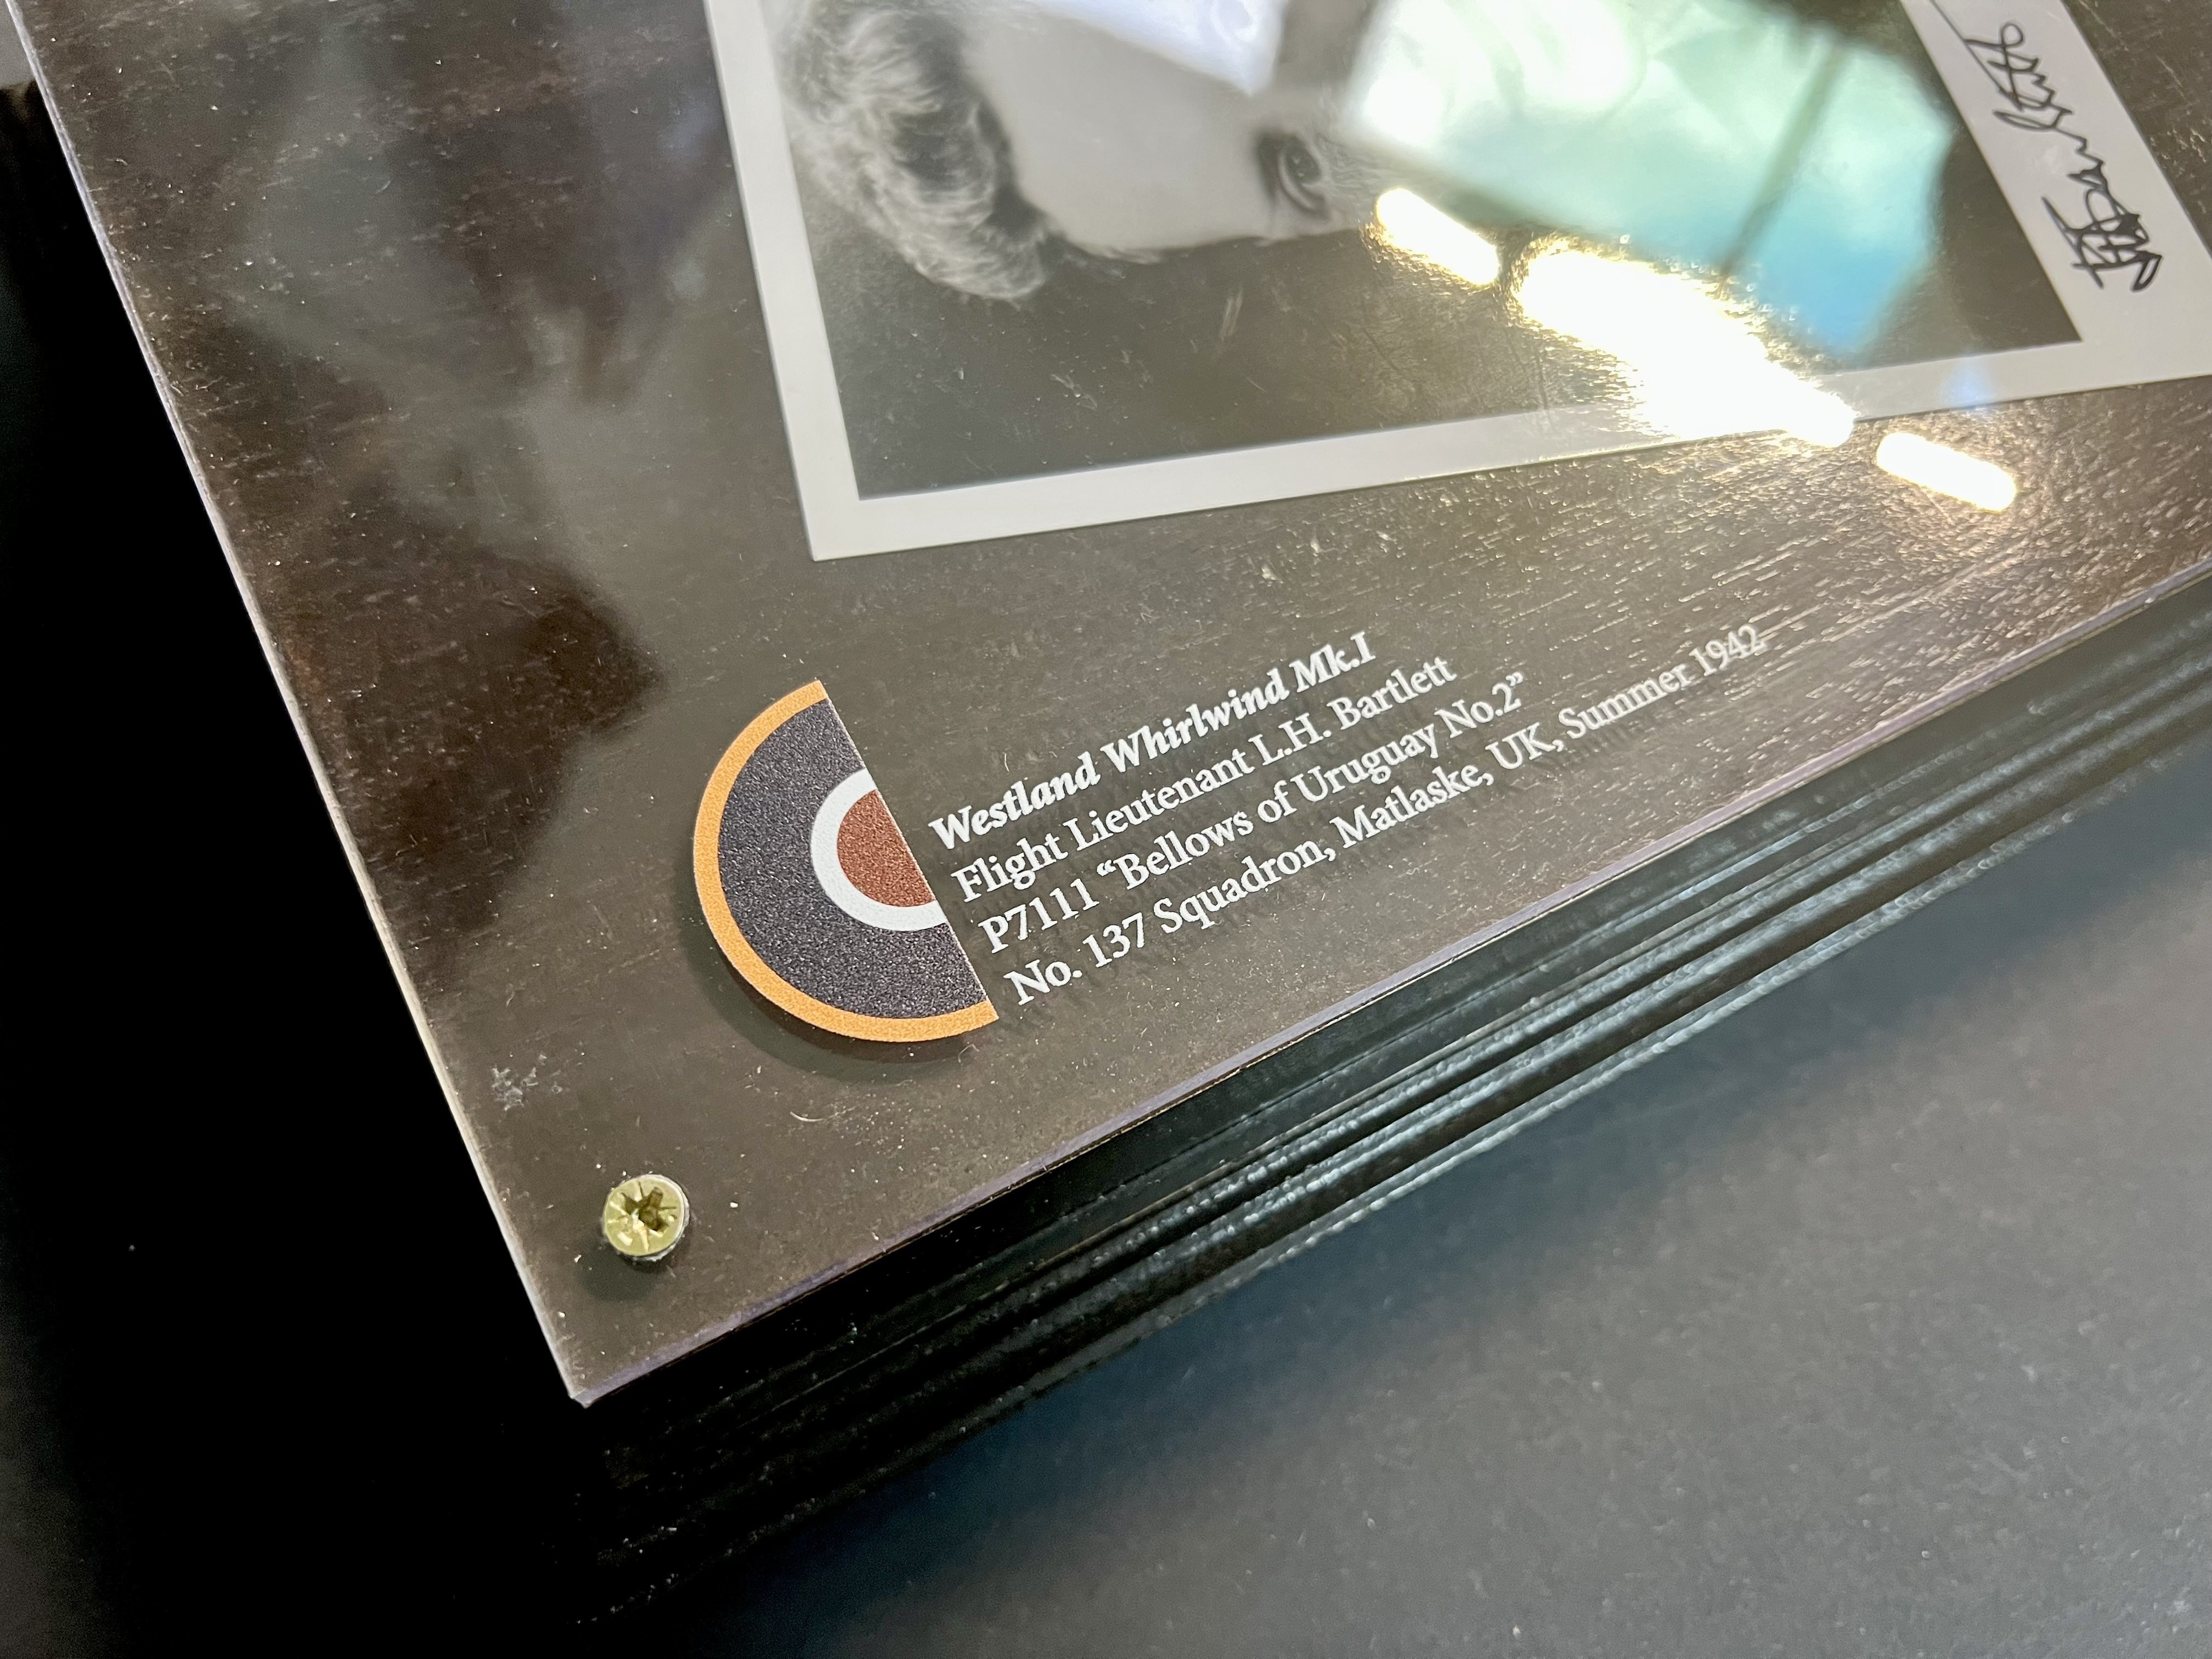
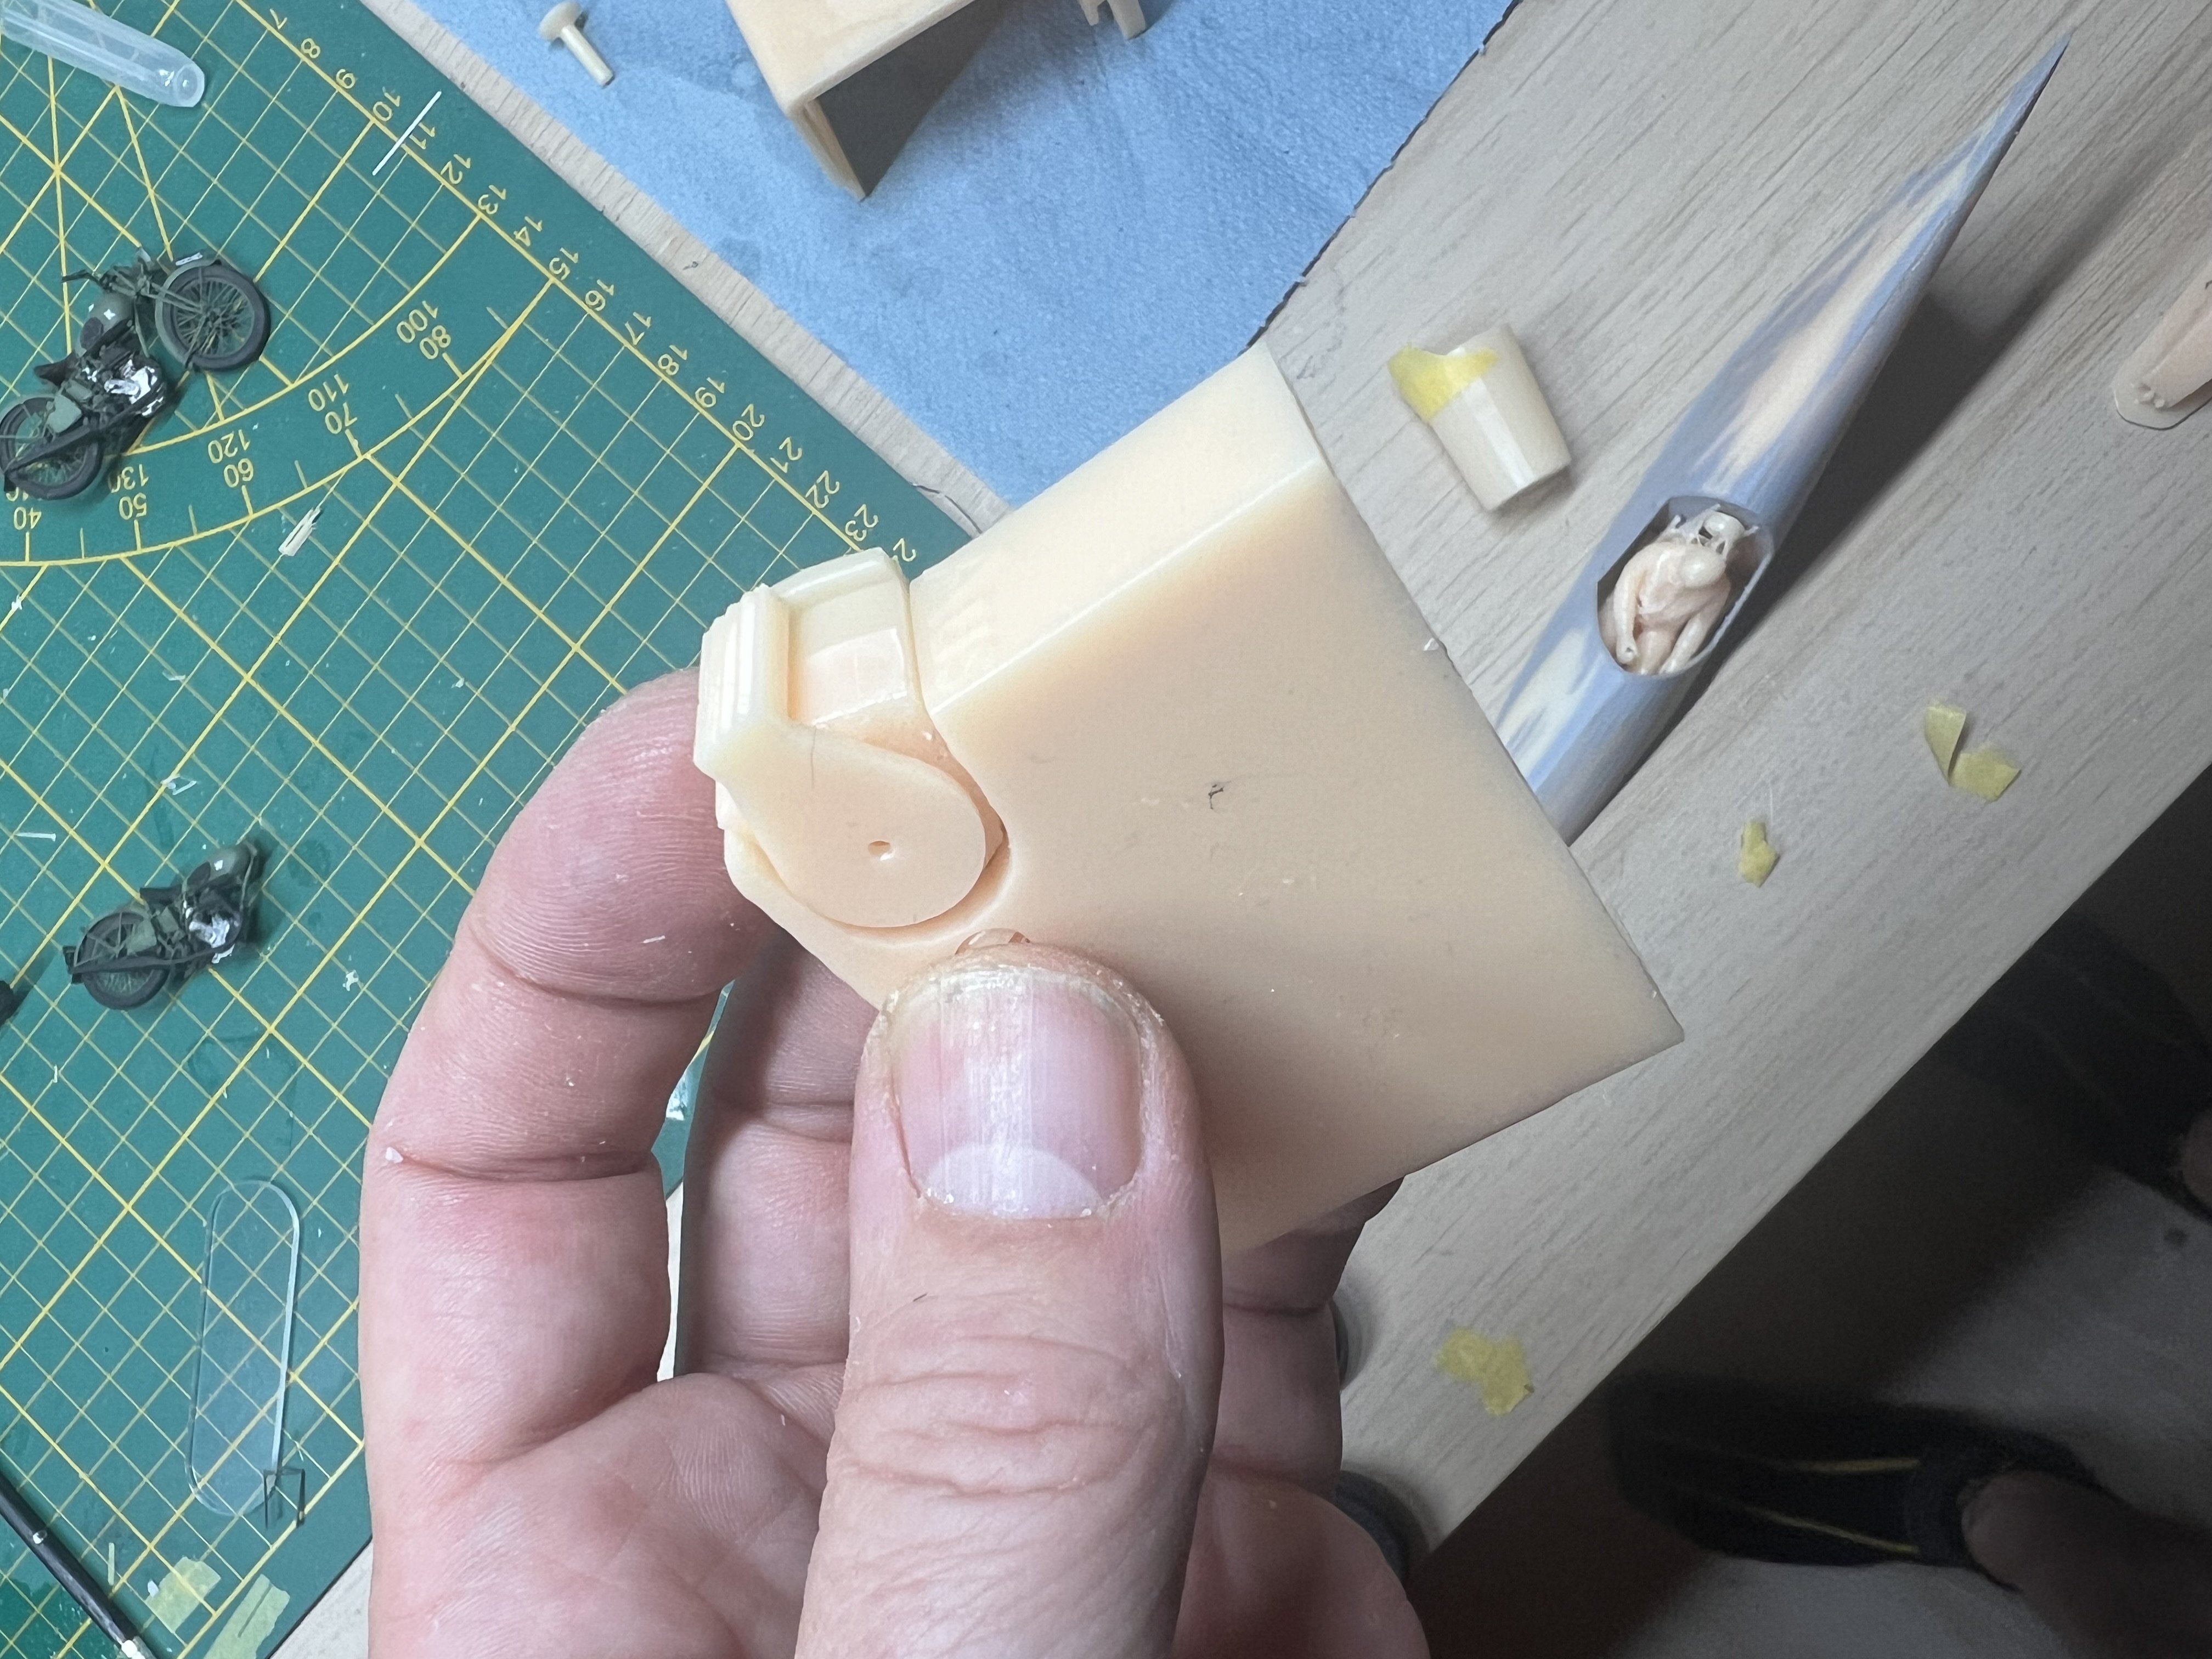
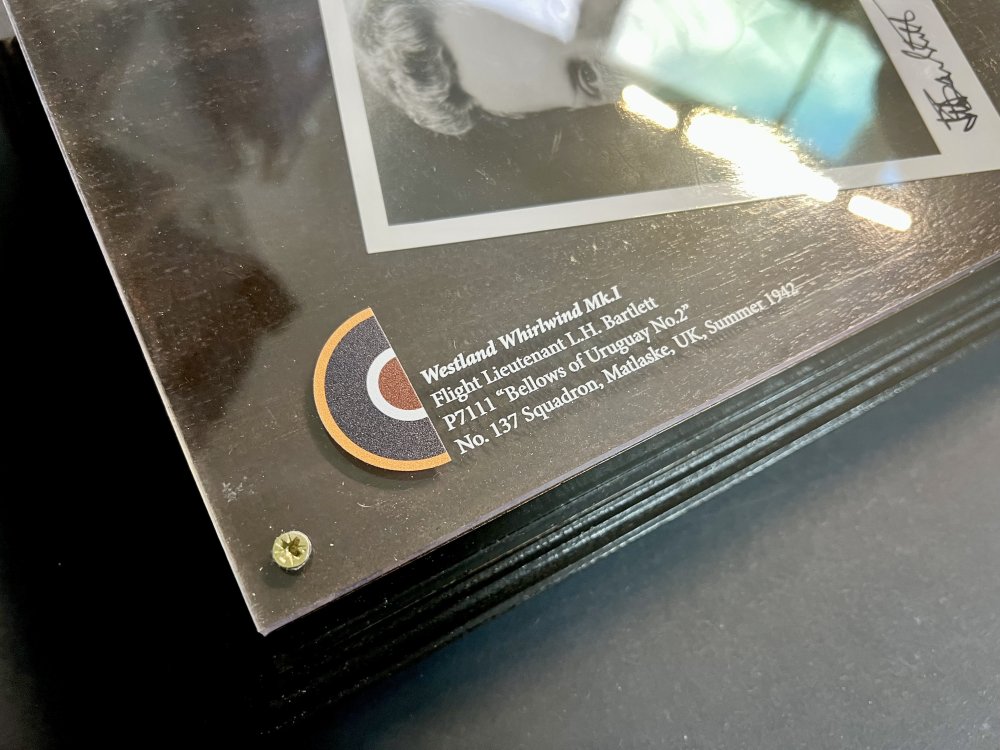
Drilled holes for sunken screws. Bit nerve wrecking since i was afraid the acrylic would crack. Started with a 1mm drill and went from there.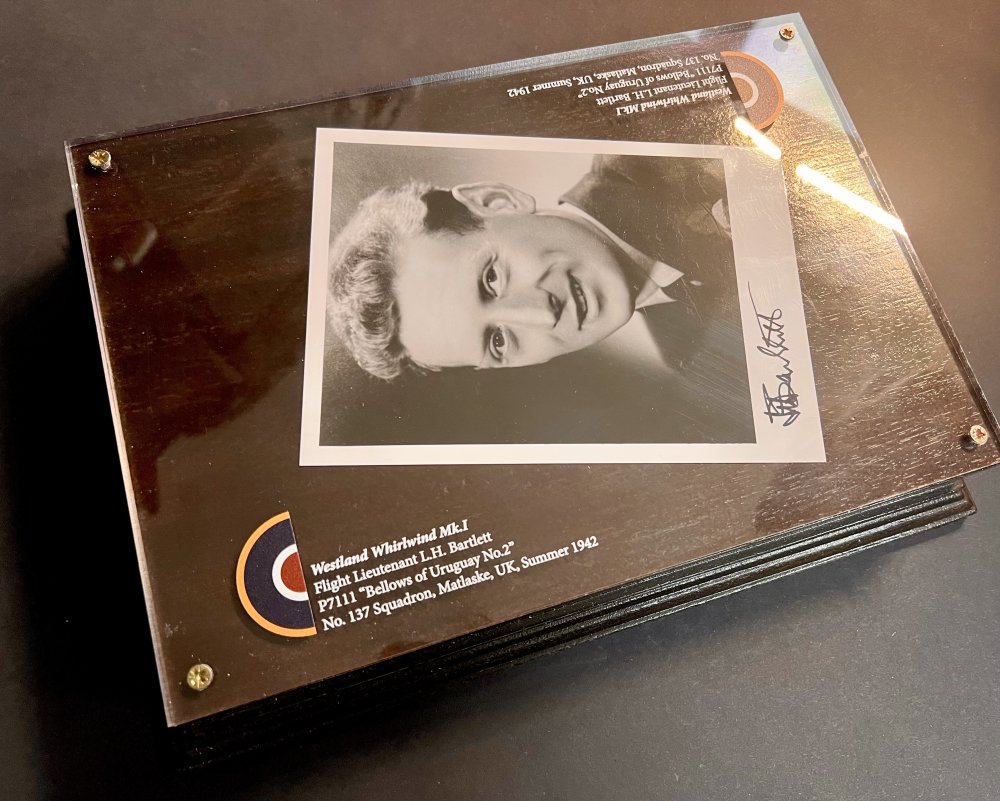

-
1/32 Westland Whirlwind
JeroenPeters replied to JeroenPeters's topic in LSM 1/35 and Larger Work In Progress
Lined out the radio hatch. Racing towards the finish line.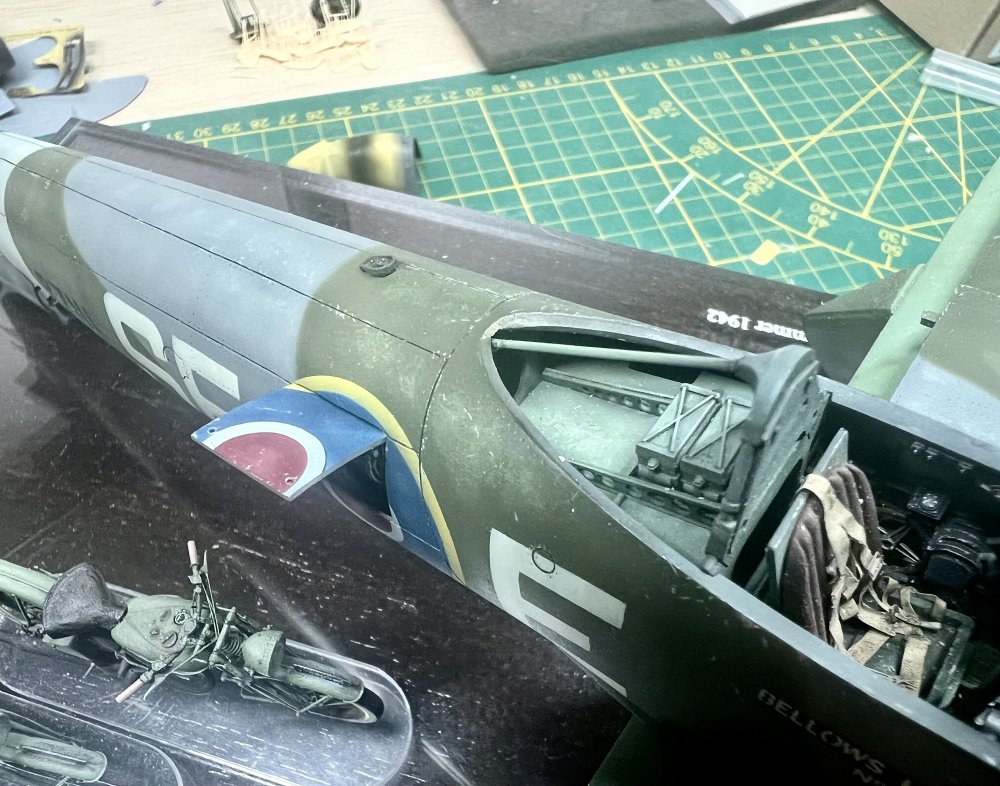
-
1/32 Westland Whirlwind
JeroenPeters replied to JeroenPeters's topic in LSM 1/35 and Larger Work In Progress
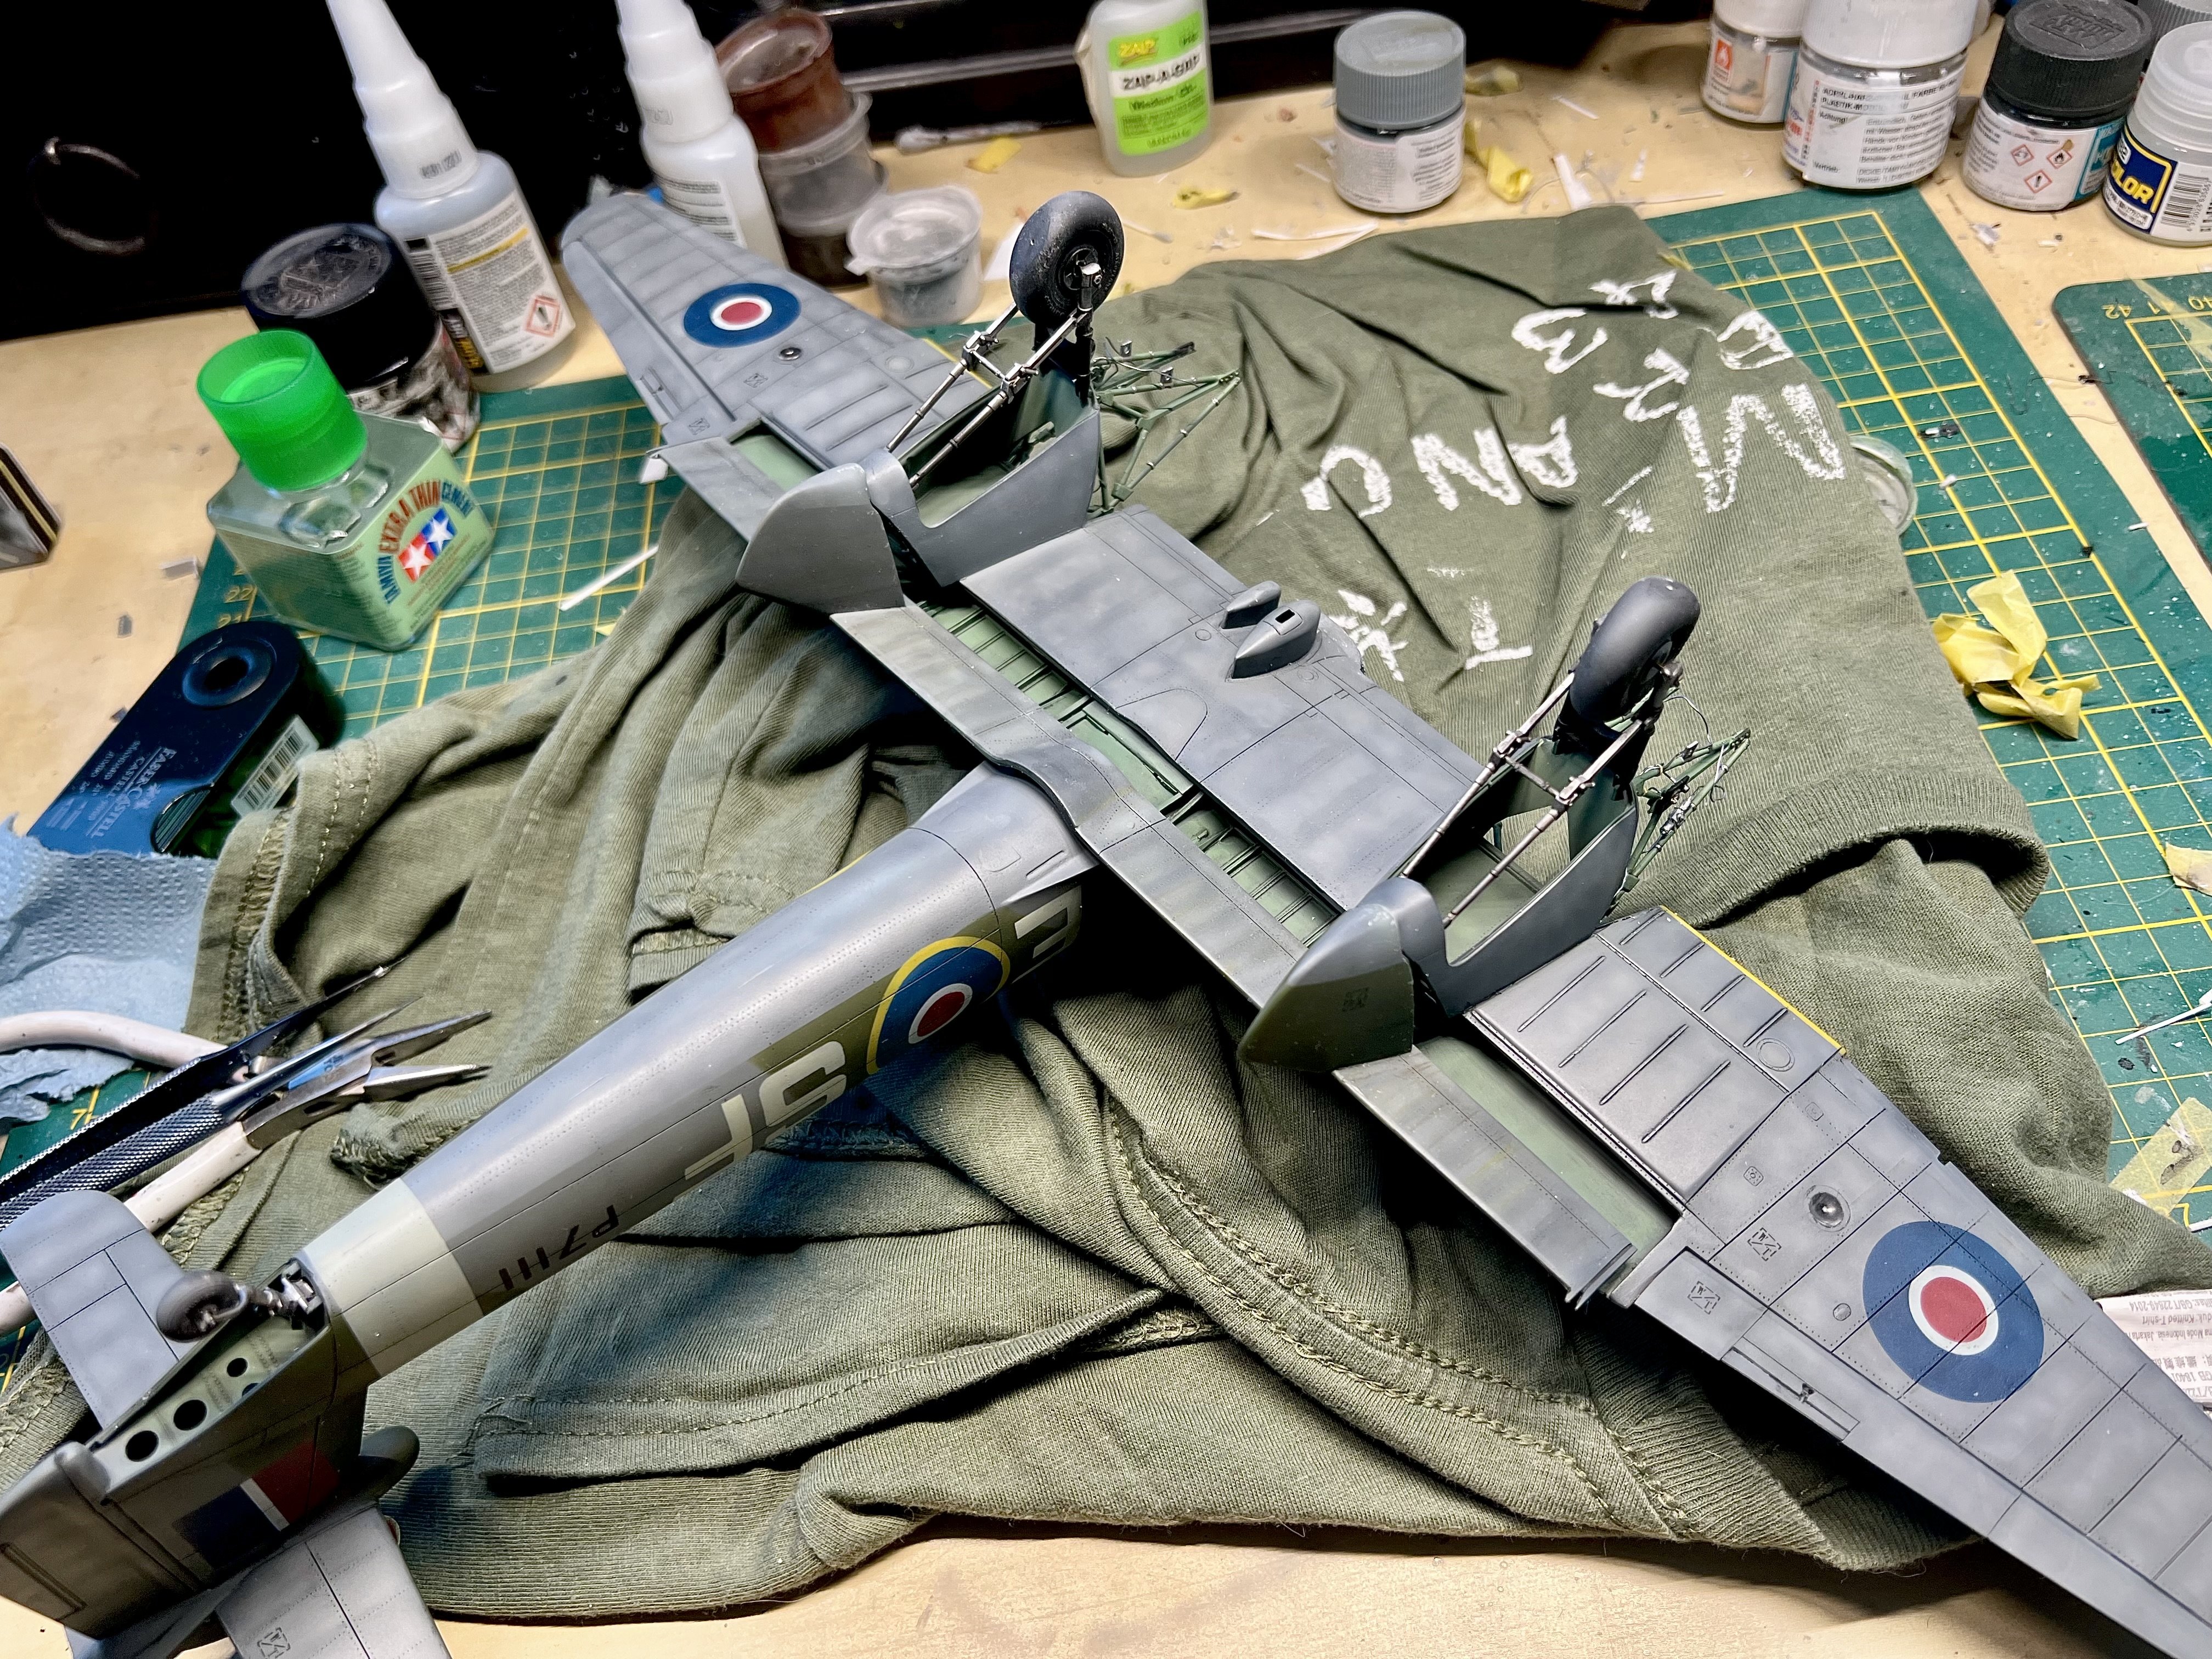
Not much longer now. Wheelbay doors are on. Some more weathering to do and bits to add.
-
1/32 Westland Whirlwind
JeroenPeters replied to JeroenPeters's topic in LSM 1/35 and Larger Work In Progress
I can’t wait to put this thing in the cabinet! So much more to do though…
-
1/32 Westland Whirlwind
JeroenPeters replied to JeroenPeters's topic in LSM 1/35 and Larger Work In Progress
More weathering and chipping and scratching.
-
1/32 Westland Whirlwind
JeroenPeters replied to JeroenPeters's topic in LSM 1/35 and Larger Work In Progress
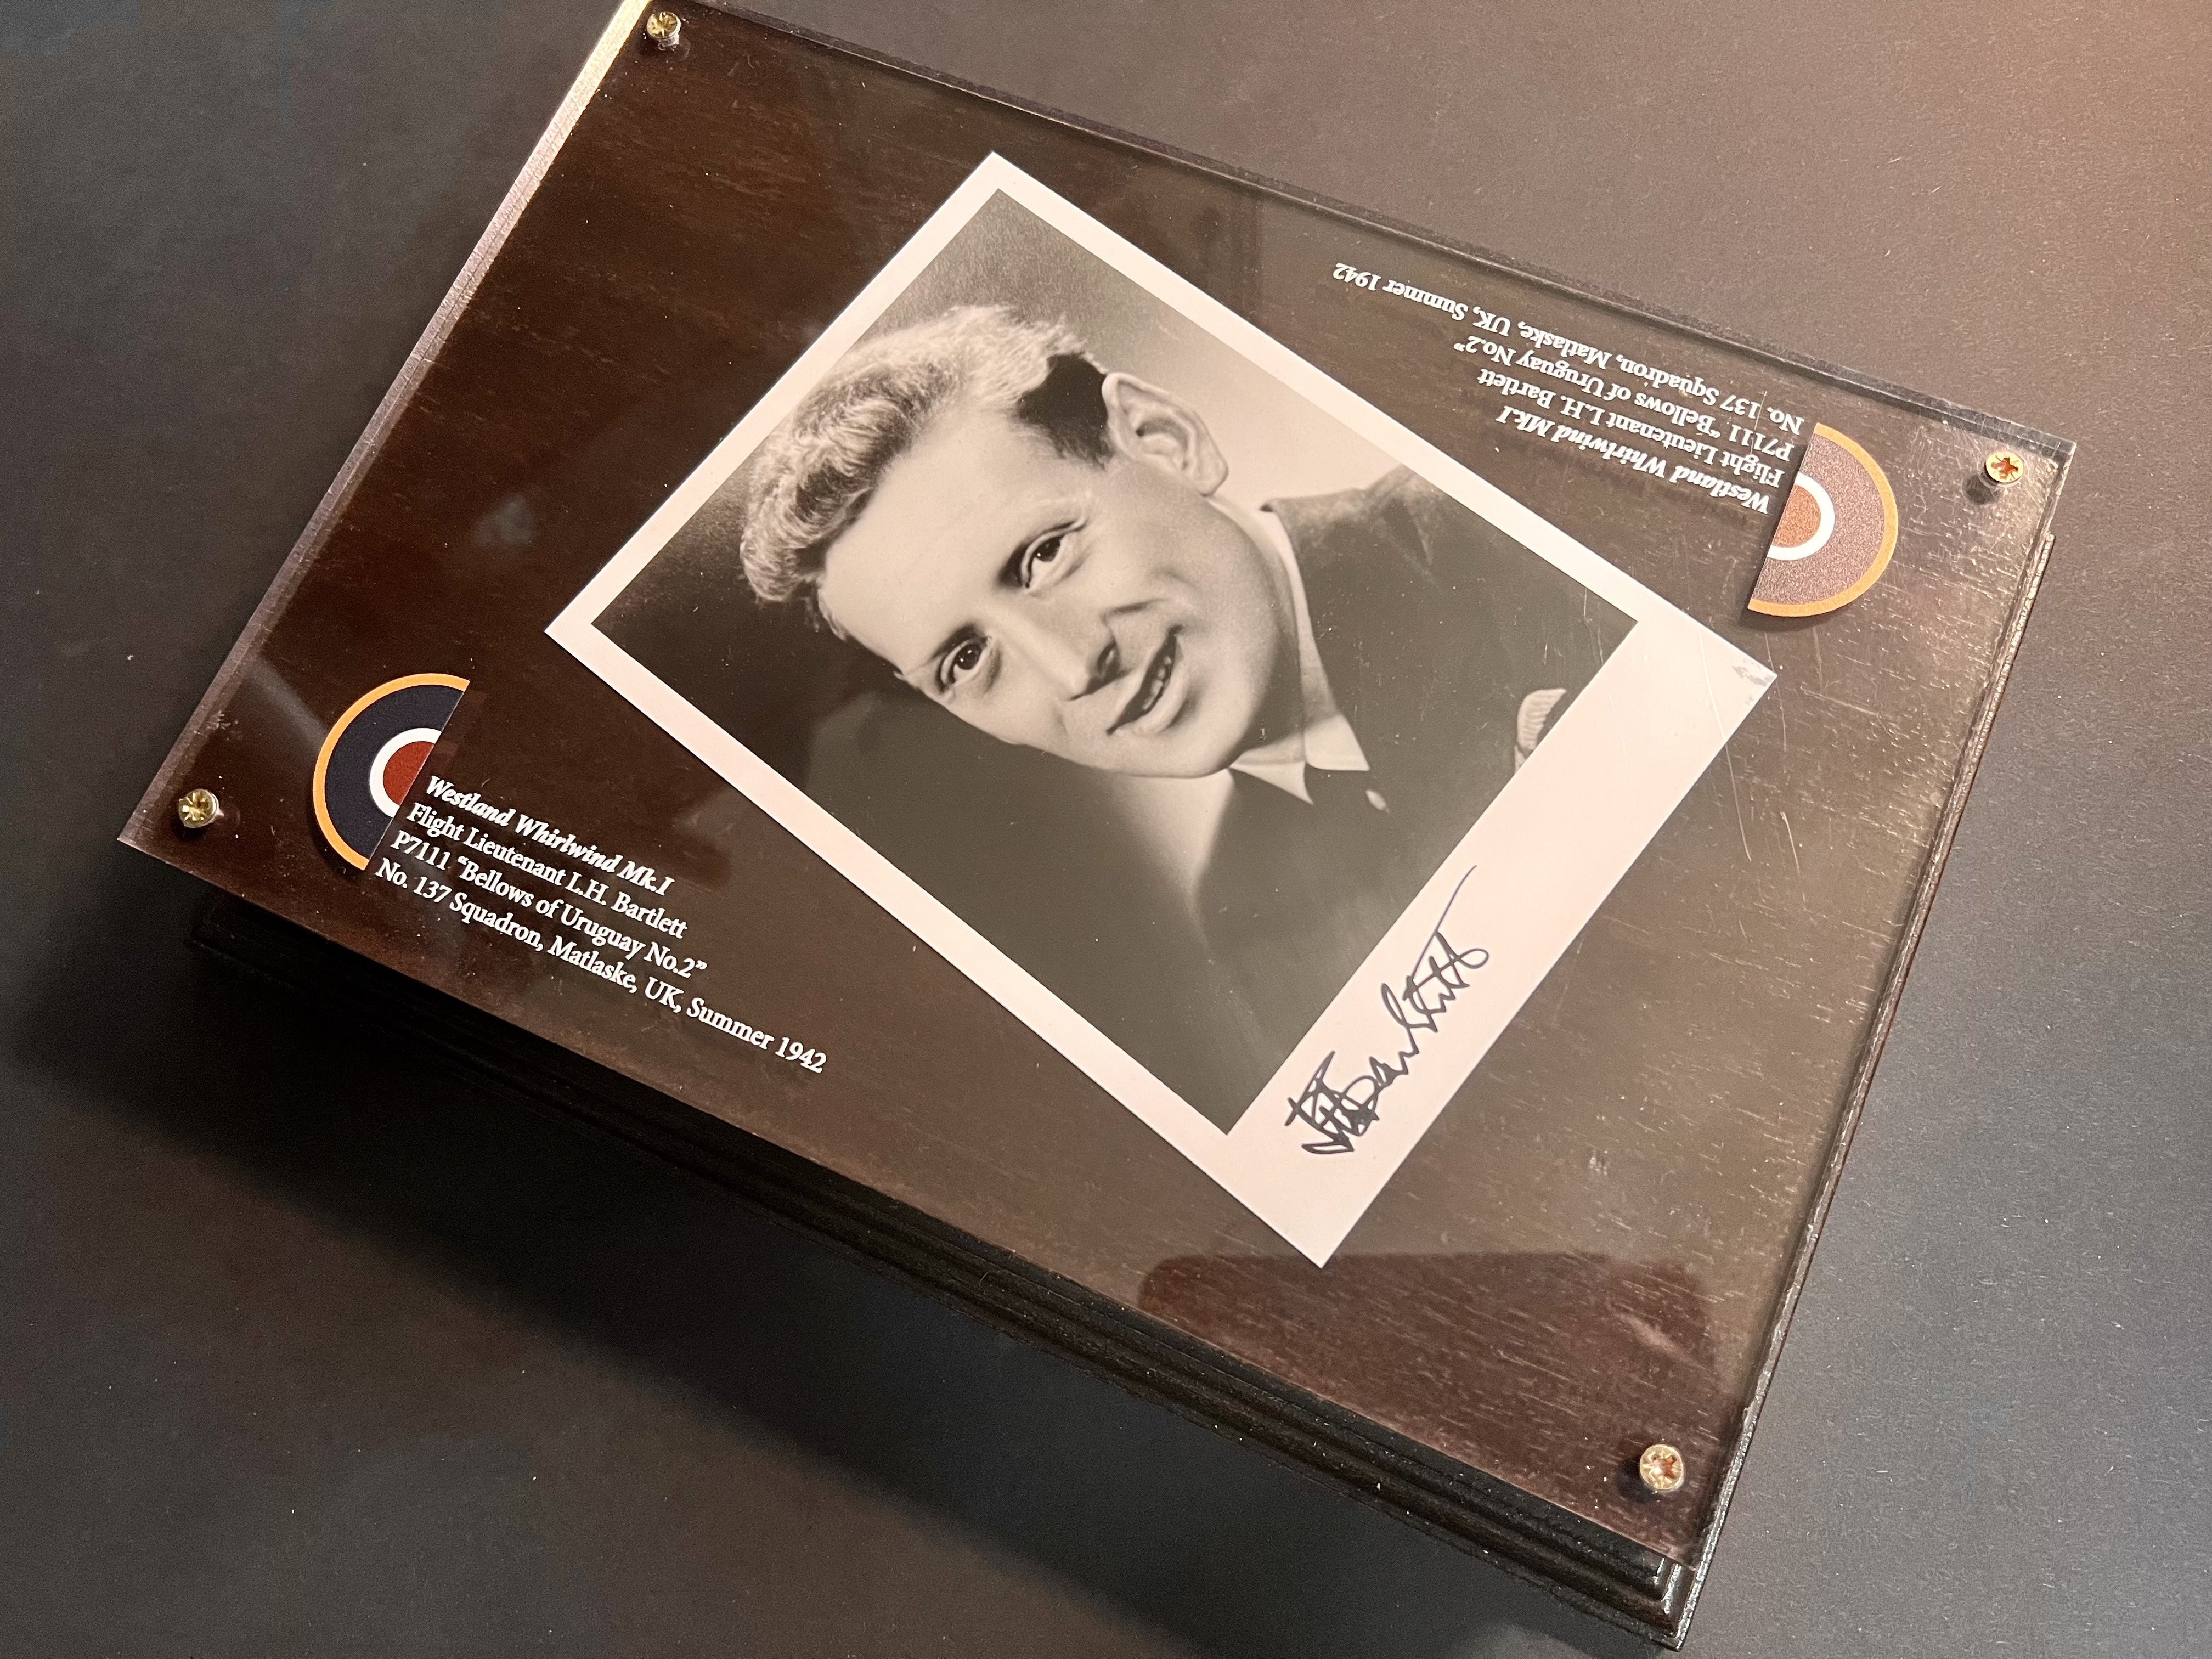
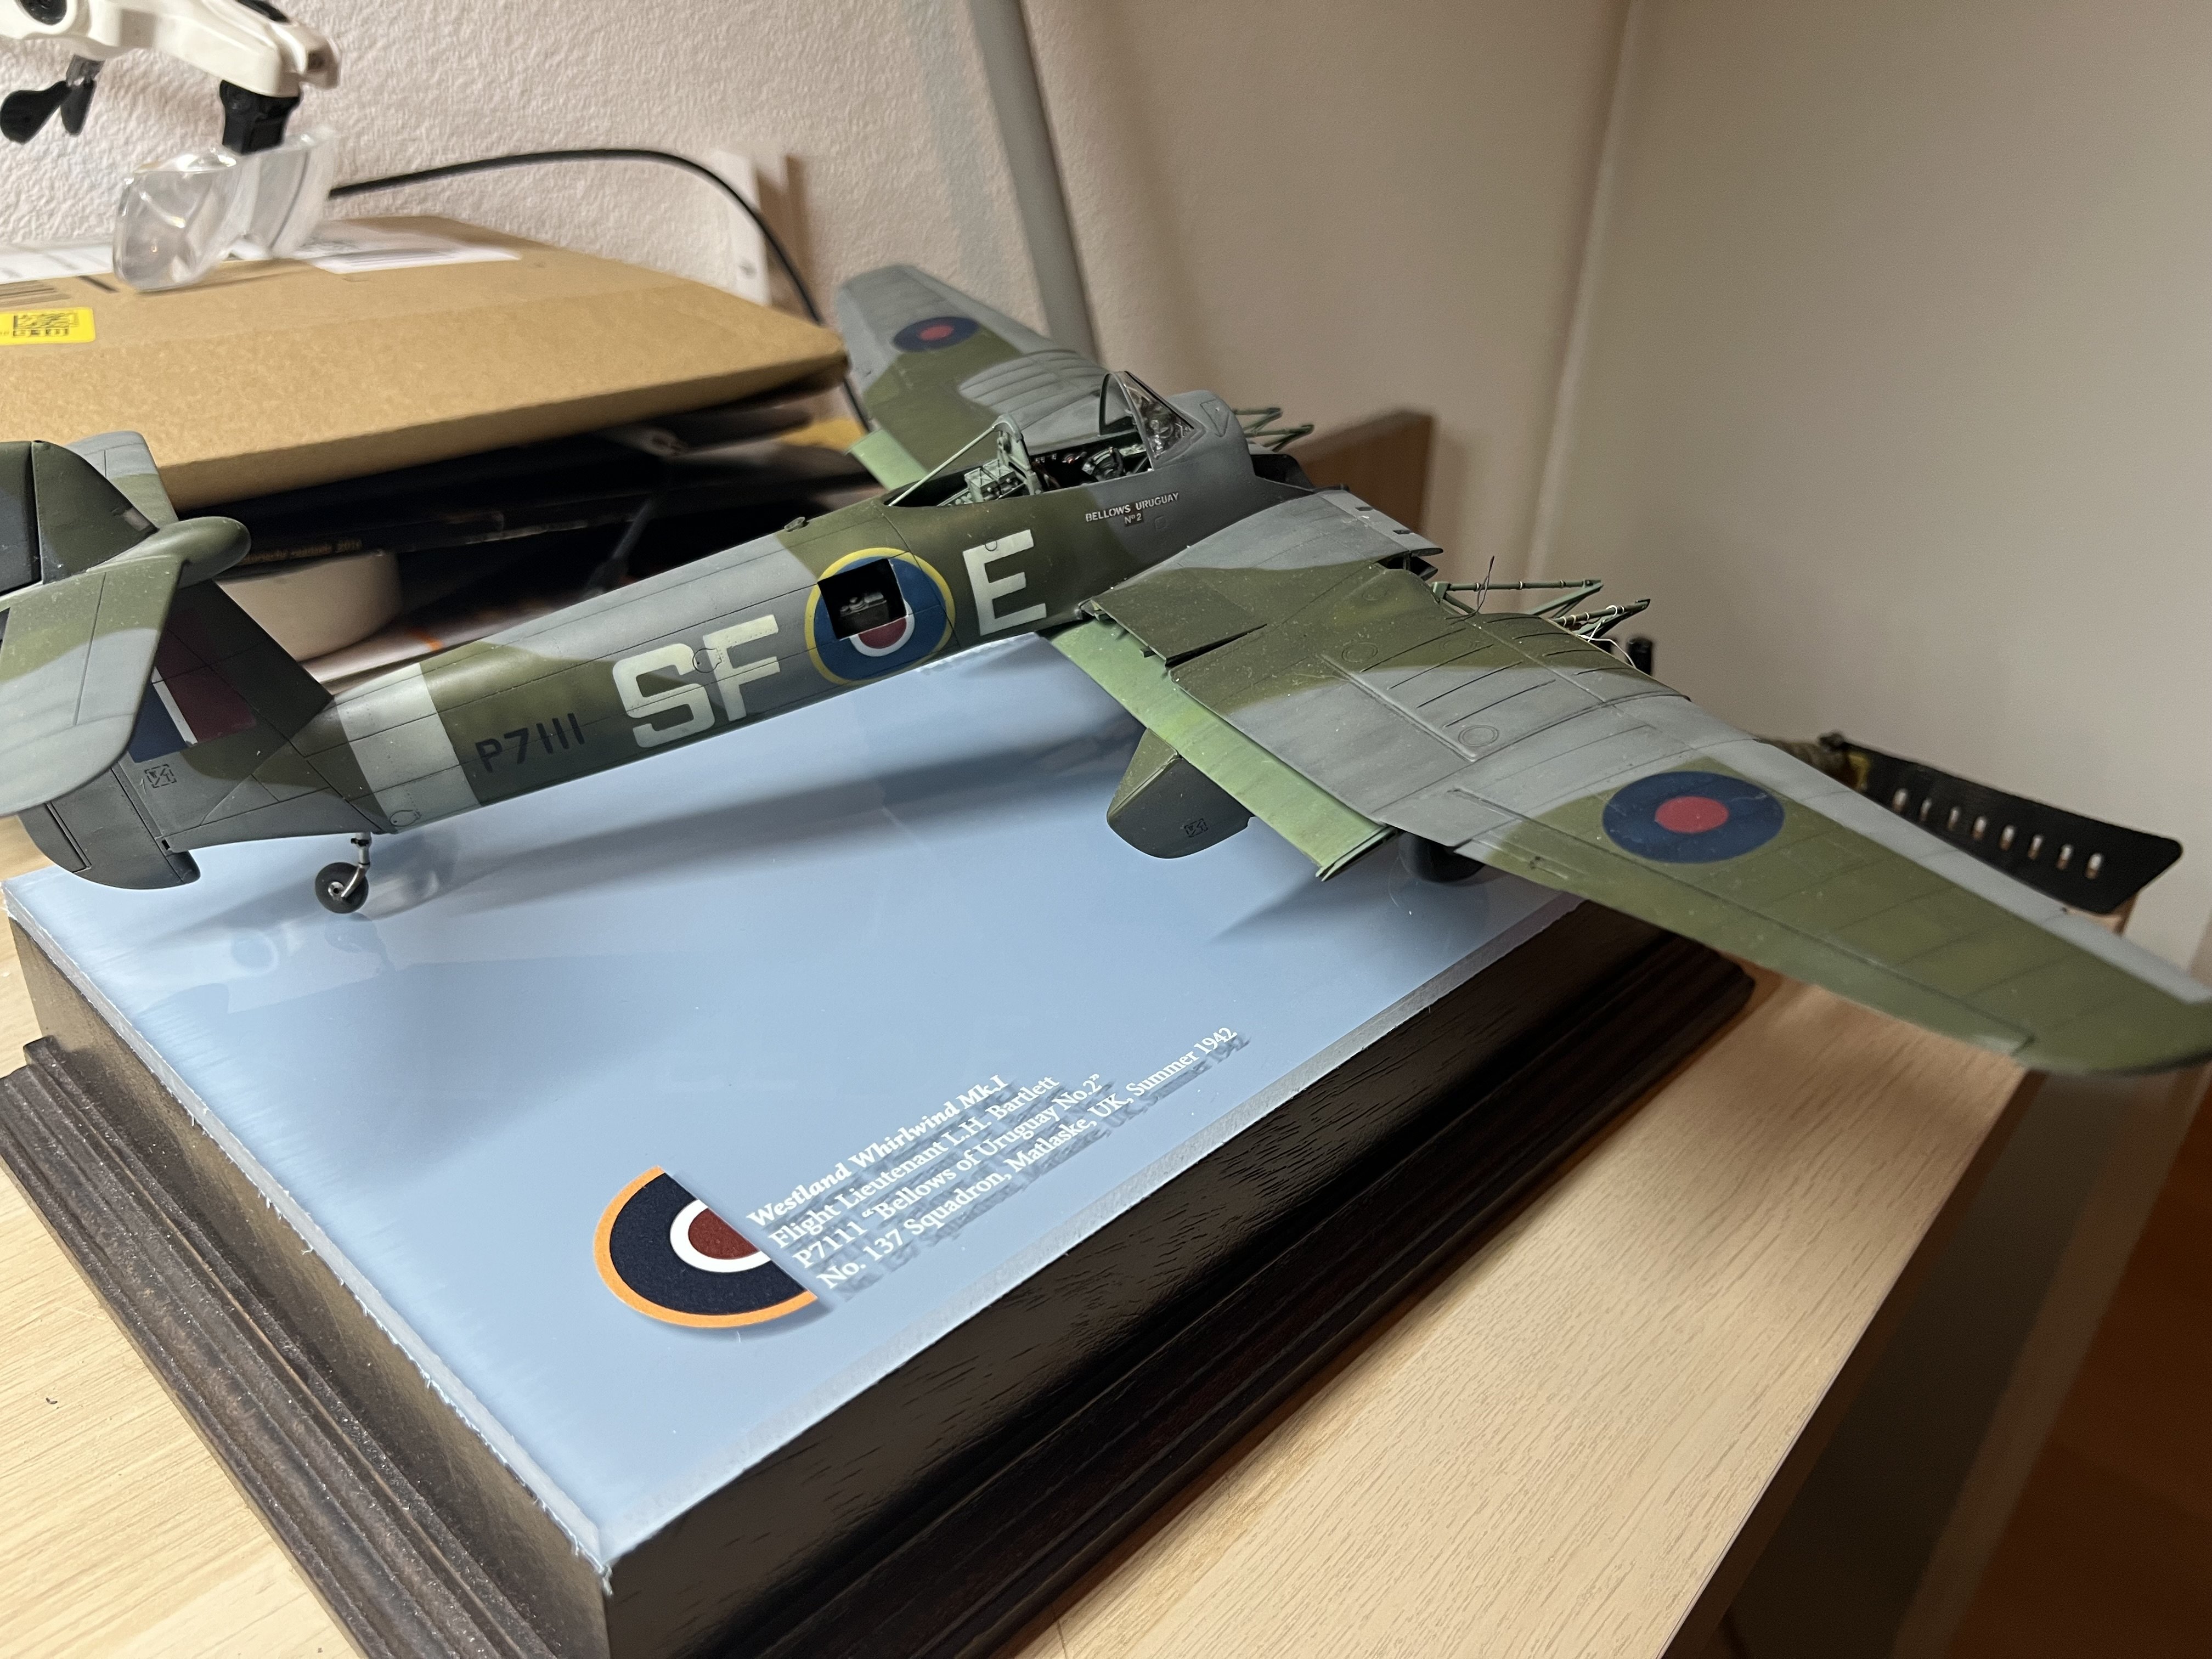
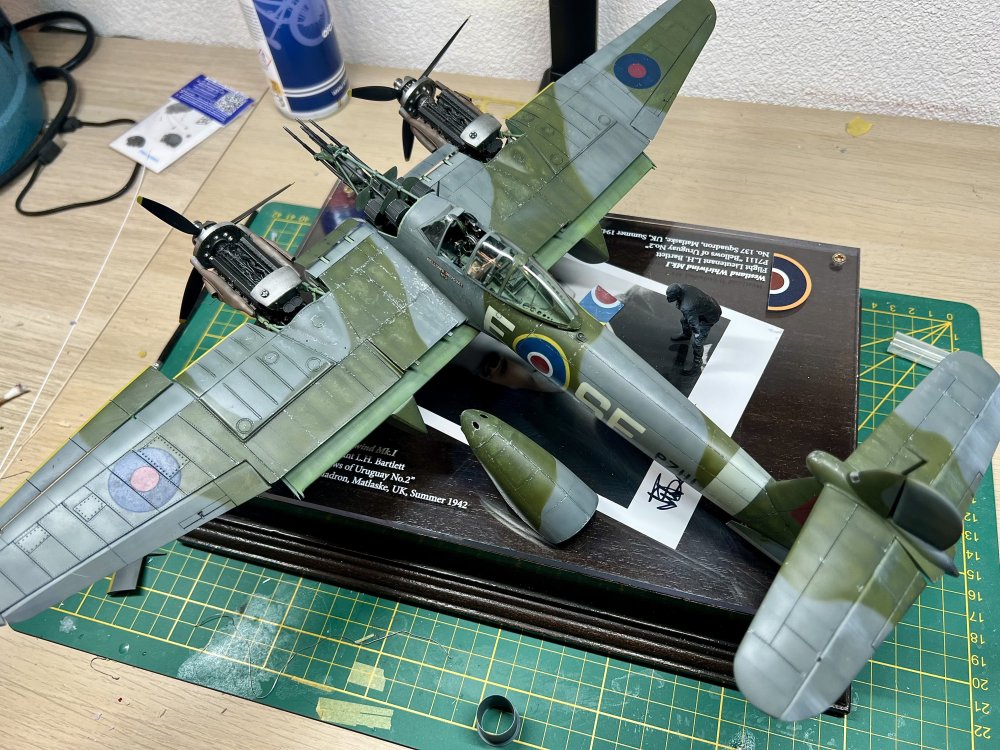
Up on her legs. Also made a new acrylic base with the Matlask base name changed to the properly spelled ‘Matlaske’. It still has it’s blue protective film in this pic.

-
1/32 Westland Whirlwind
JeroenPeters replied to JeroenPeters's topic in LSM 1/35 and Larger Work In Progress
With so many projects on the go and the P1101 begging to get started it’s time to finish the Whirlwind. Assembled the Nortons and adding their rear wheel stand. More weathering to be done on them and to find some spare dials for fuel gauges. Also started to build the Whirlwind’s landing gear. It’s difficult to explain but the struts are connected to the extended flap, needing me to alter some parts.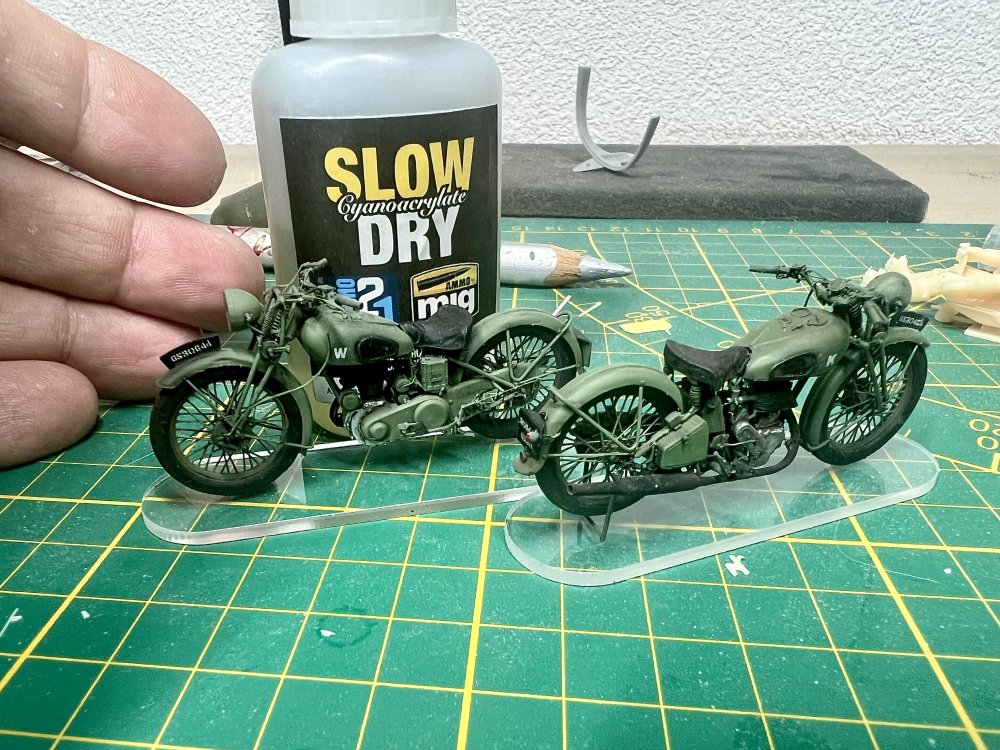
-
1/32 Lippisch P.13a / 3d printed
JeroenPeters replied to JeroenPeters's topic in LSM 1/35 and Larger Work In Progress
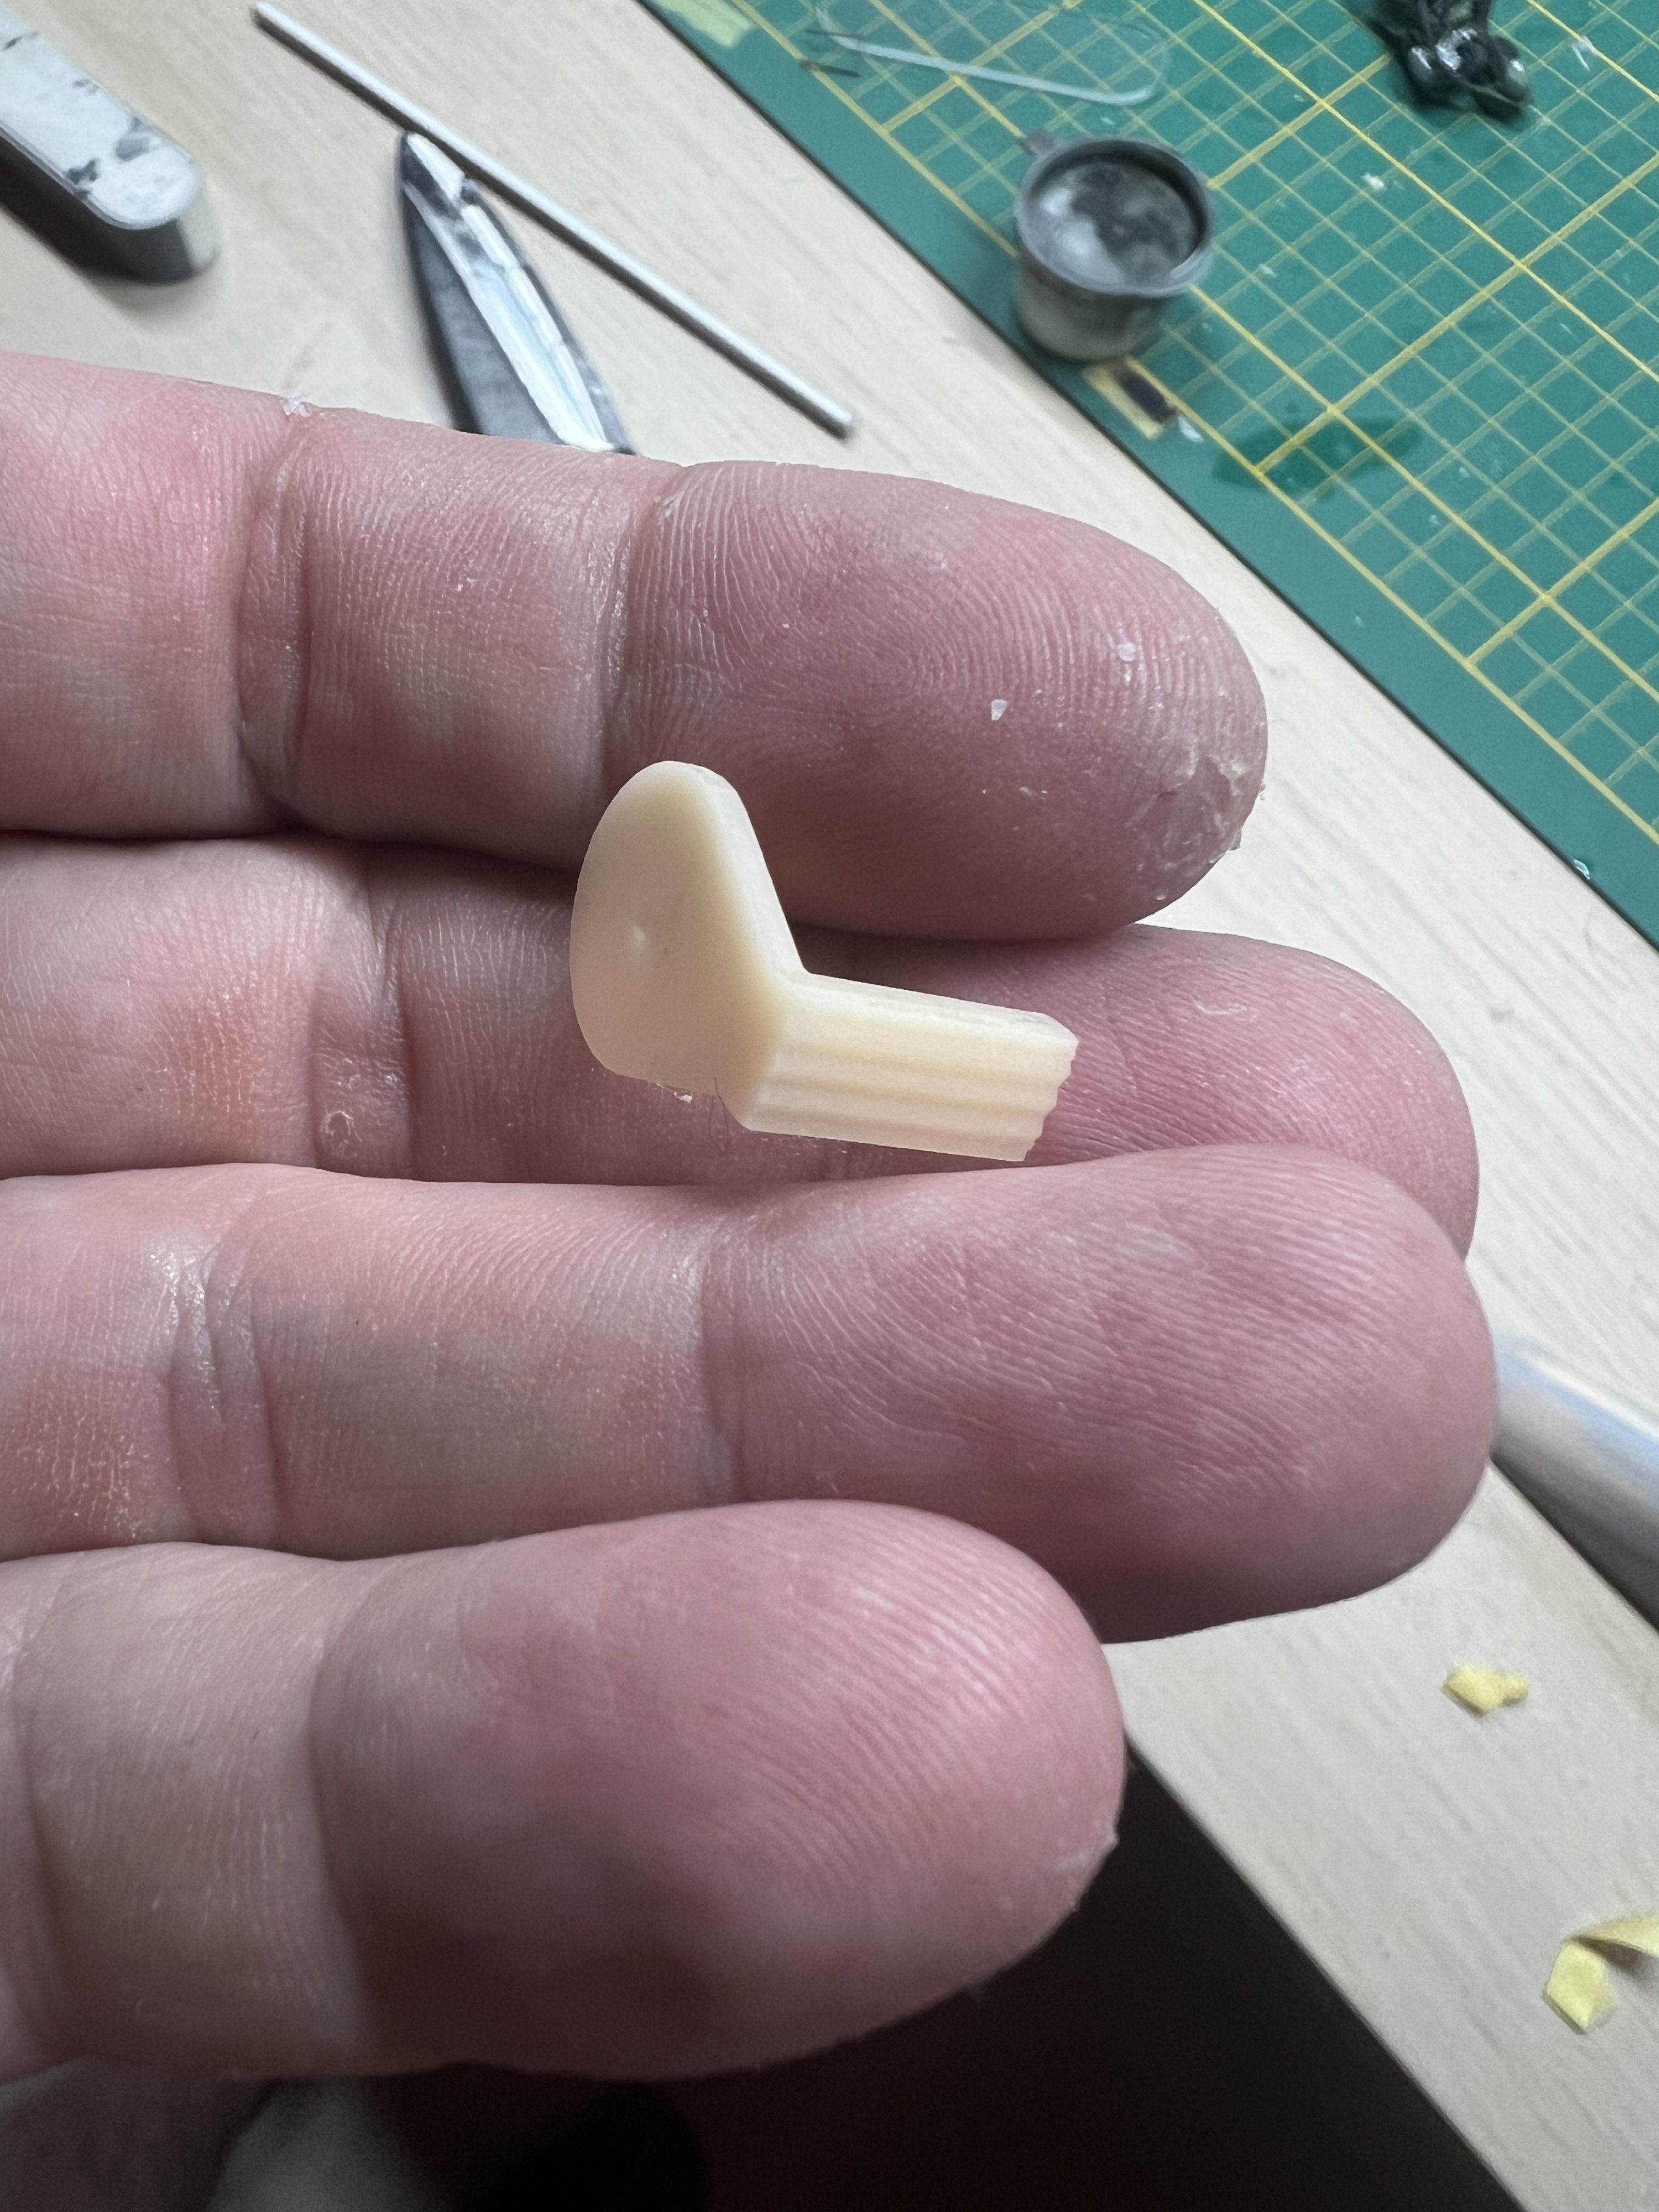
Measuring the HK Models pilot seat and adjusting the pilot to the correct dimensions and posture. Next up is the nose gunner.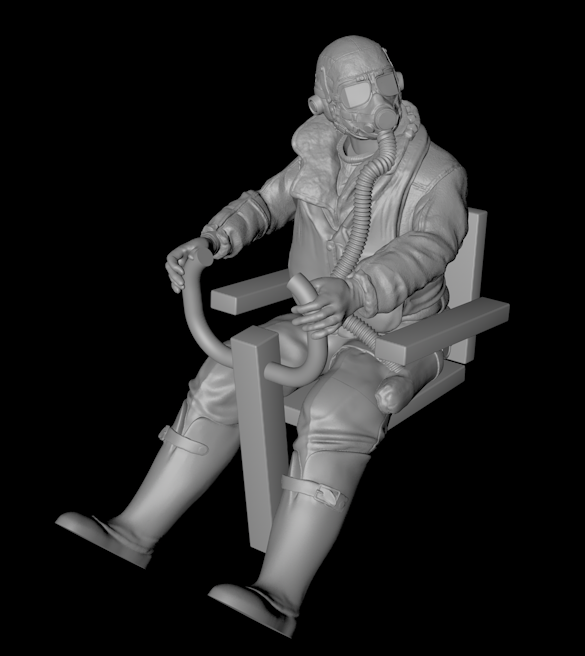
-
1/32 Lippisch P.13a / 3d printed
JeroenPeters replied to JeroenPeters's topic in LSM 1/35 and Larger Work In Progress
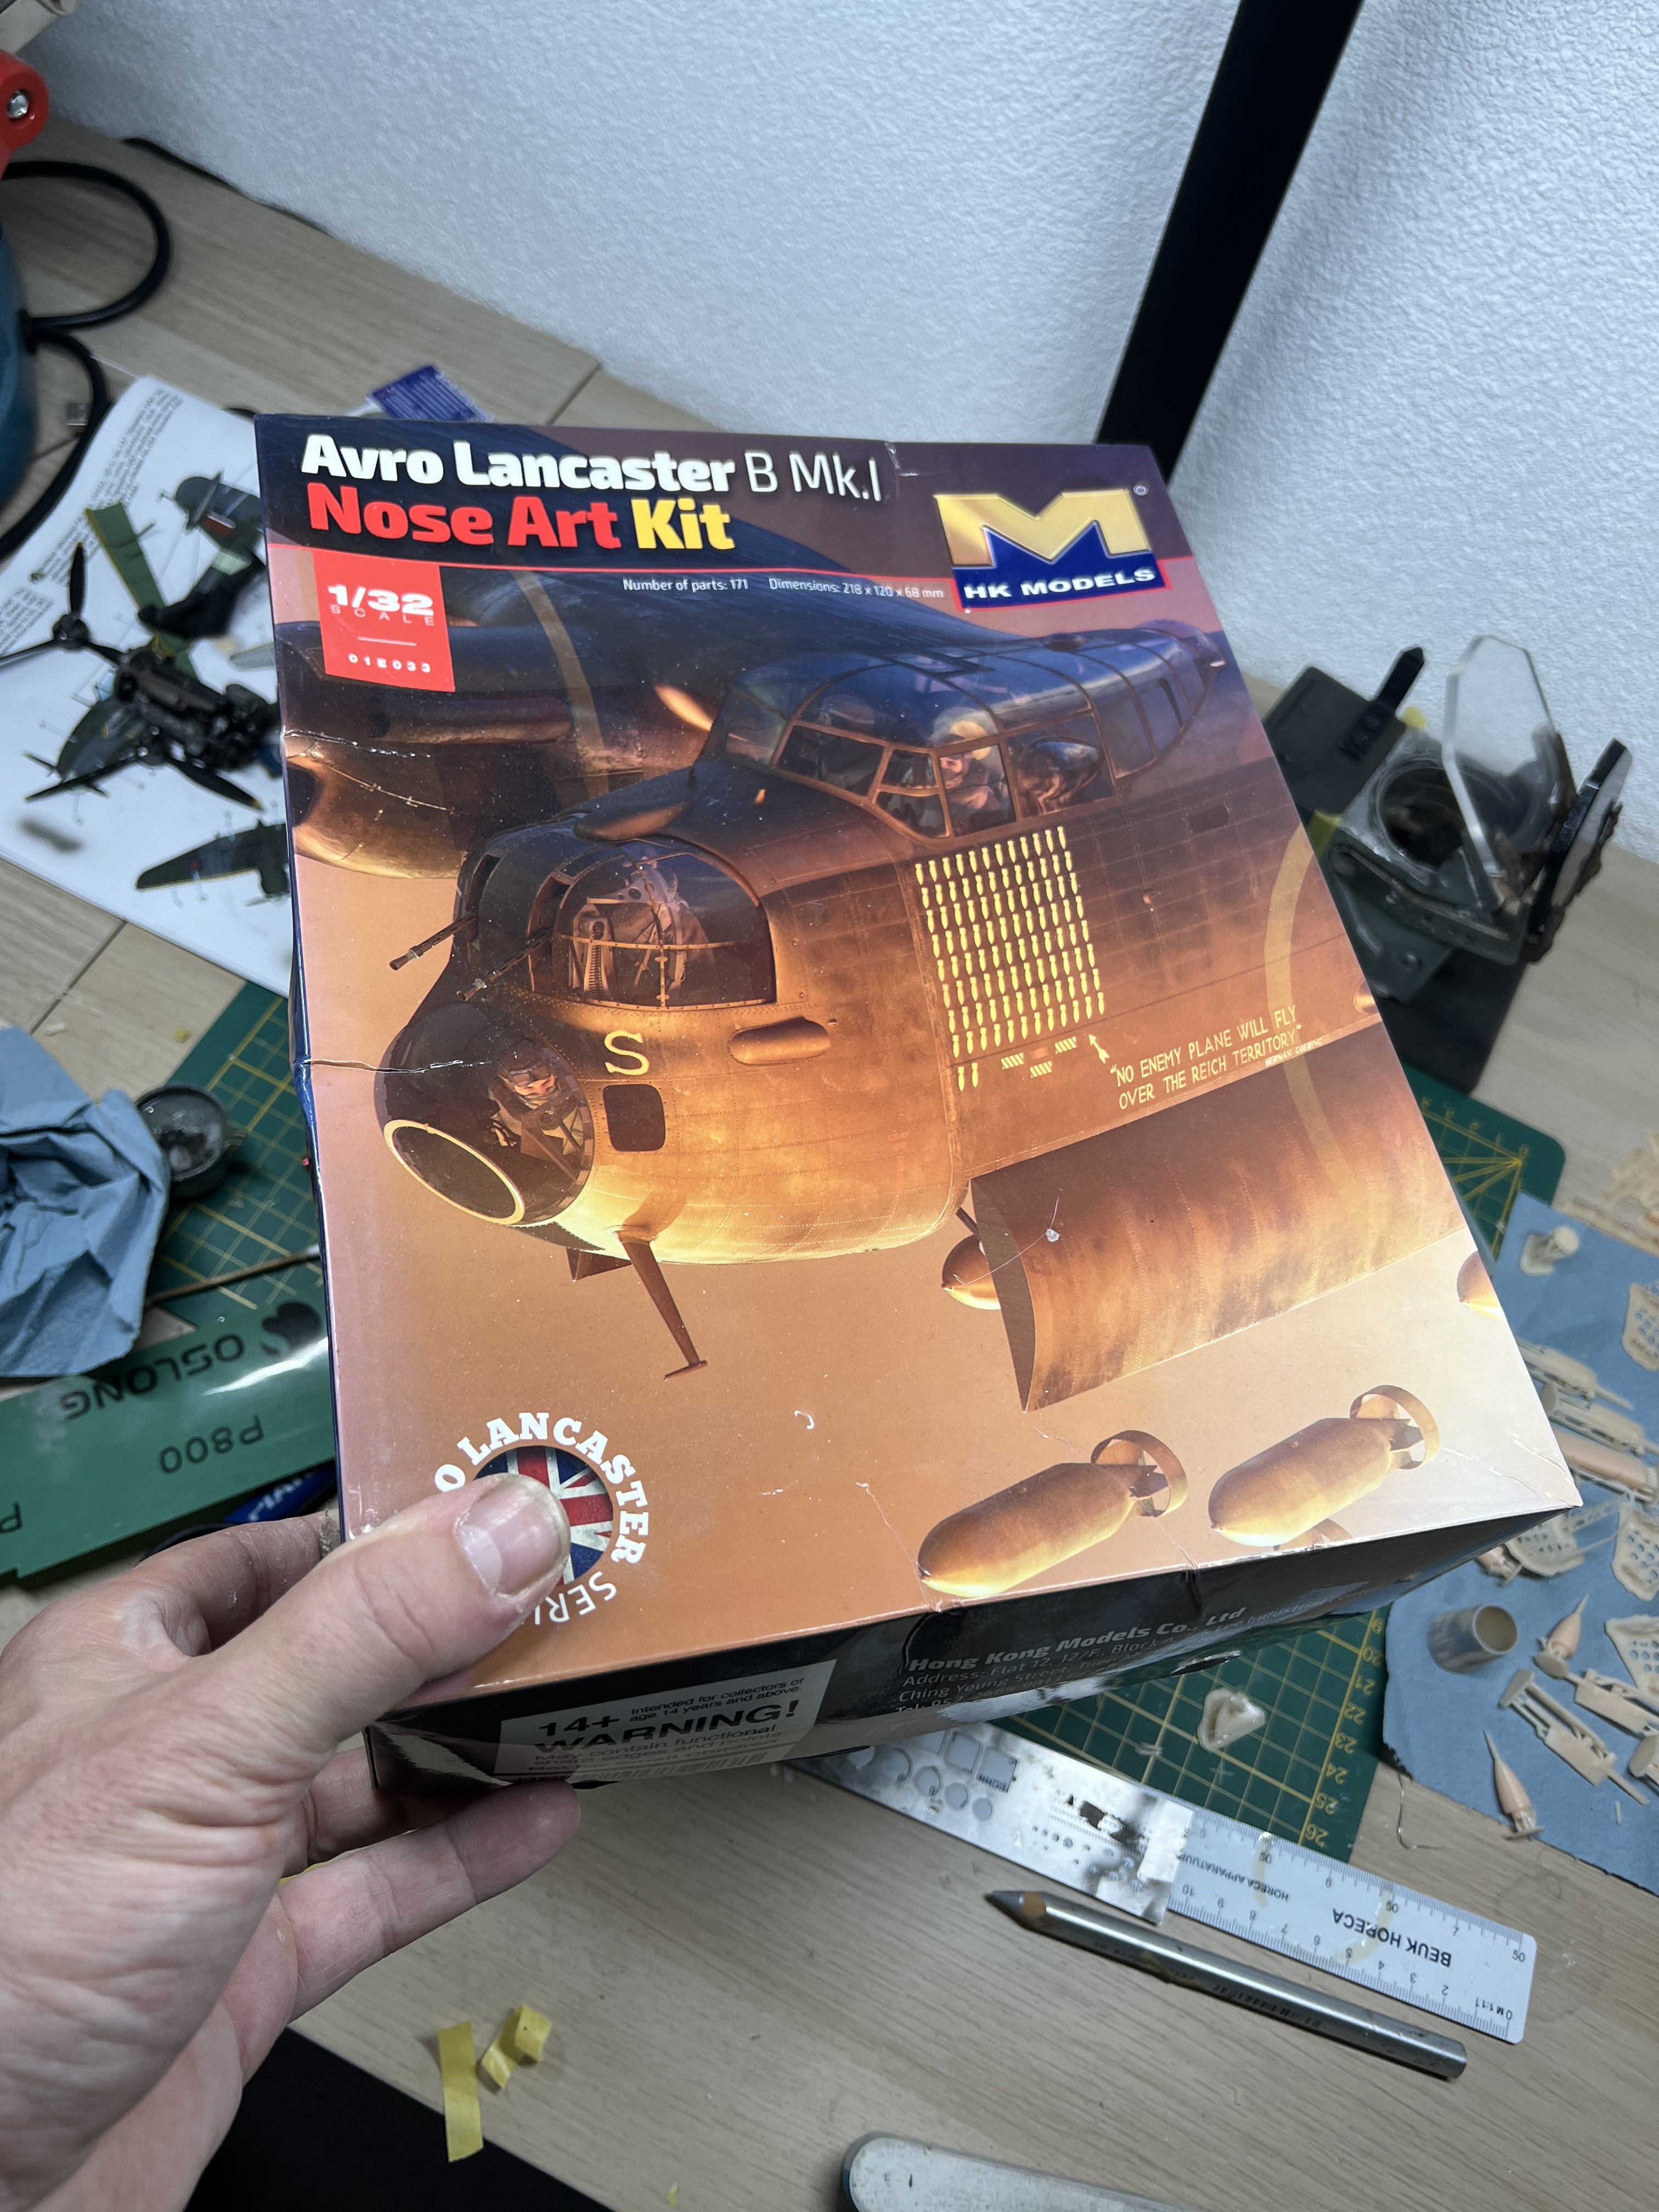
I have an unstarted HK lanc cockpit kit and one that has been built for a telford show some years ago. The latter is perfect for taking measurements for the pilots, and composition tests.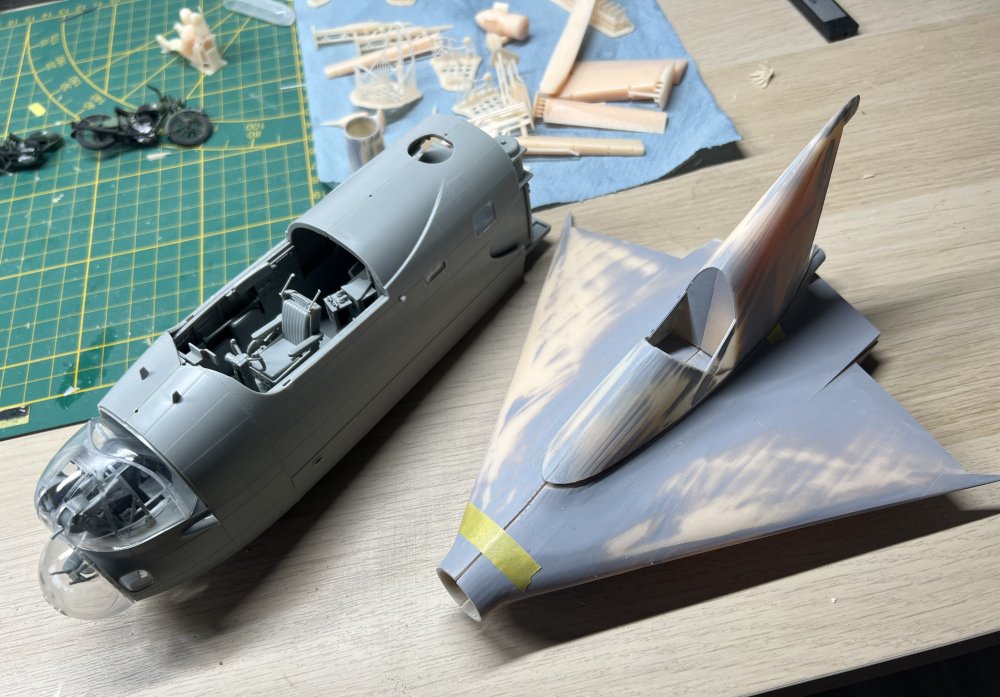

-
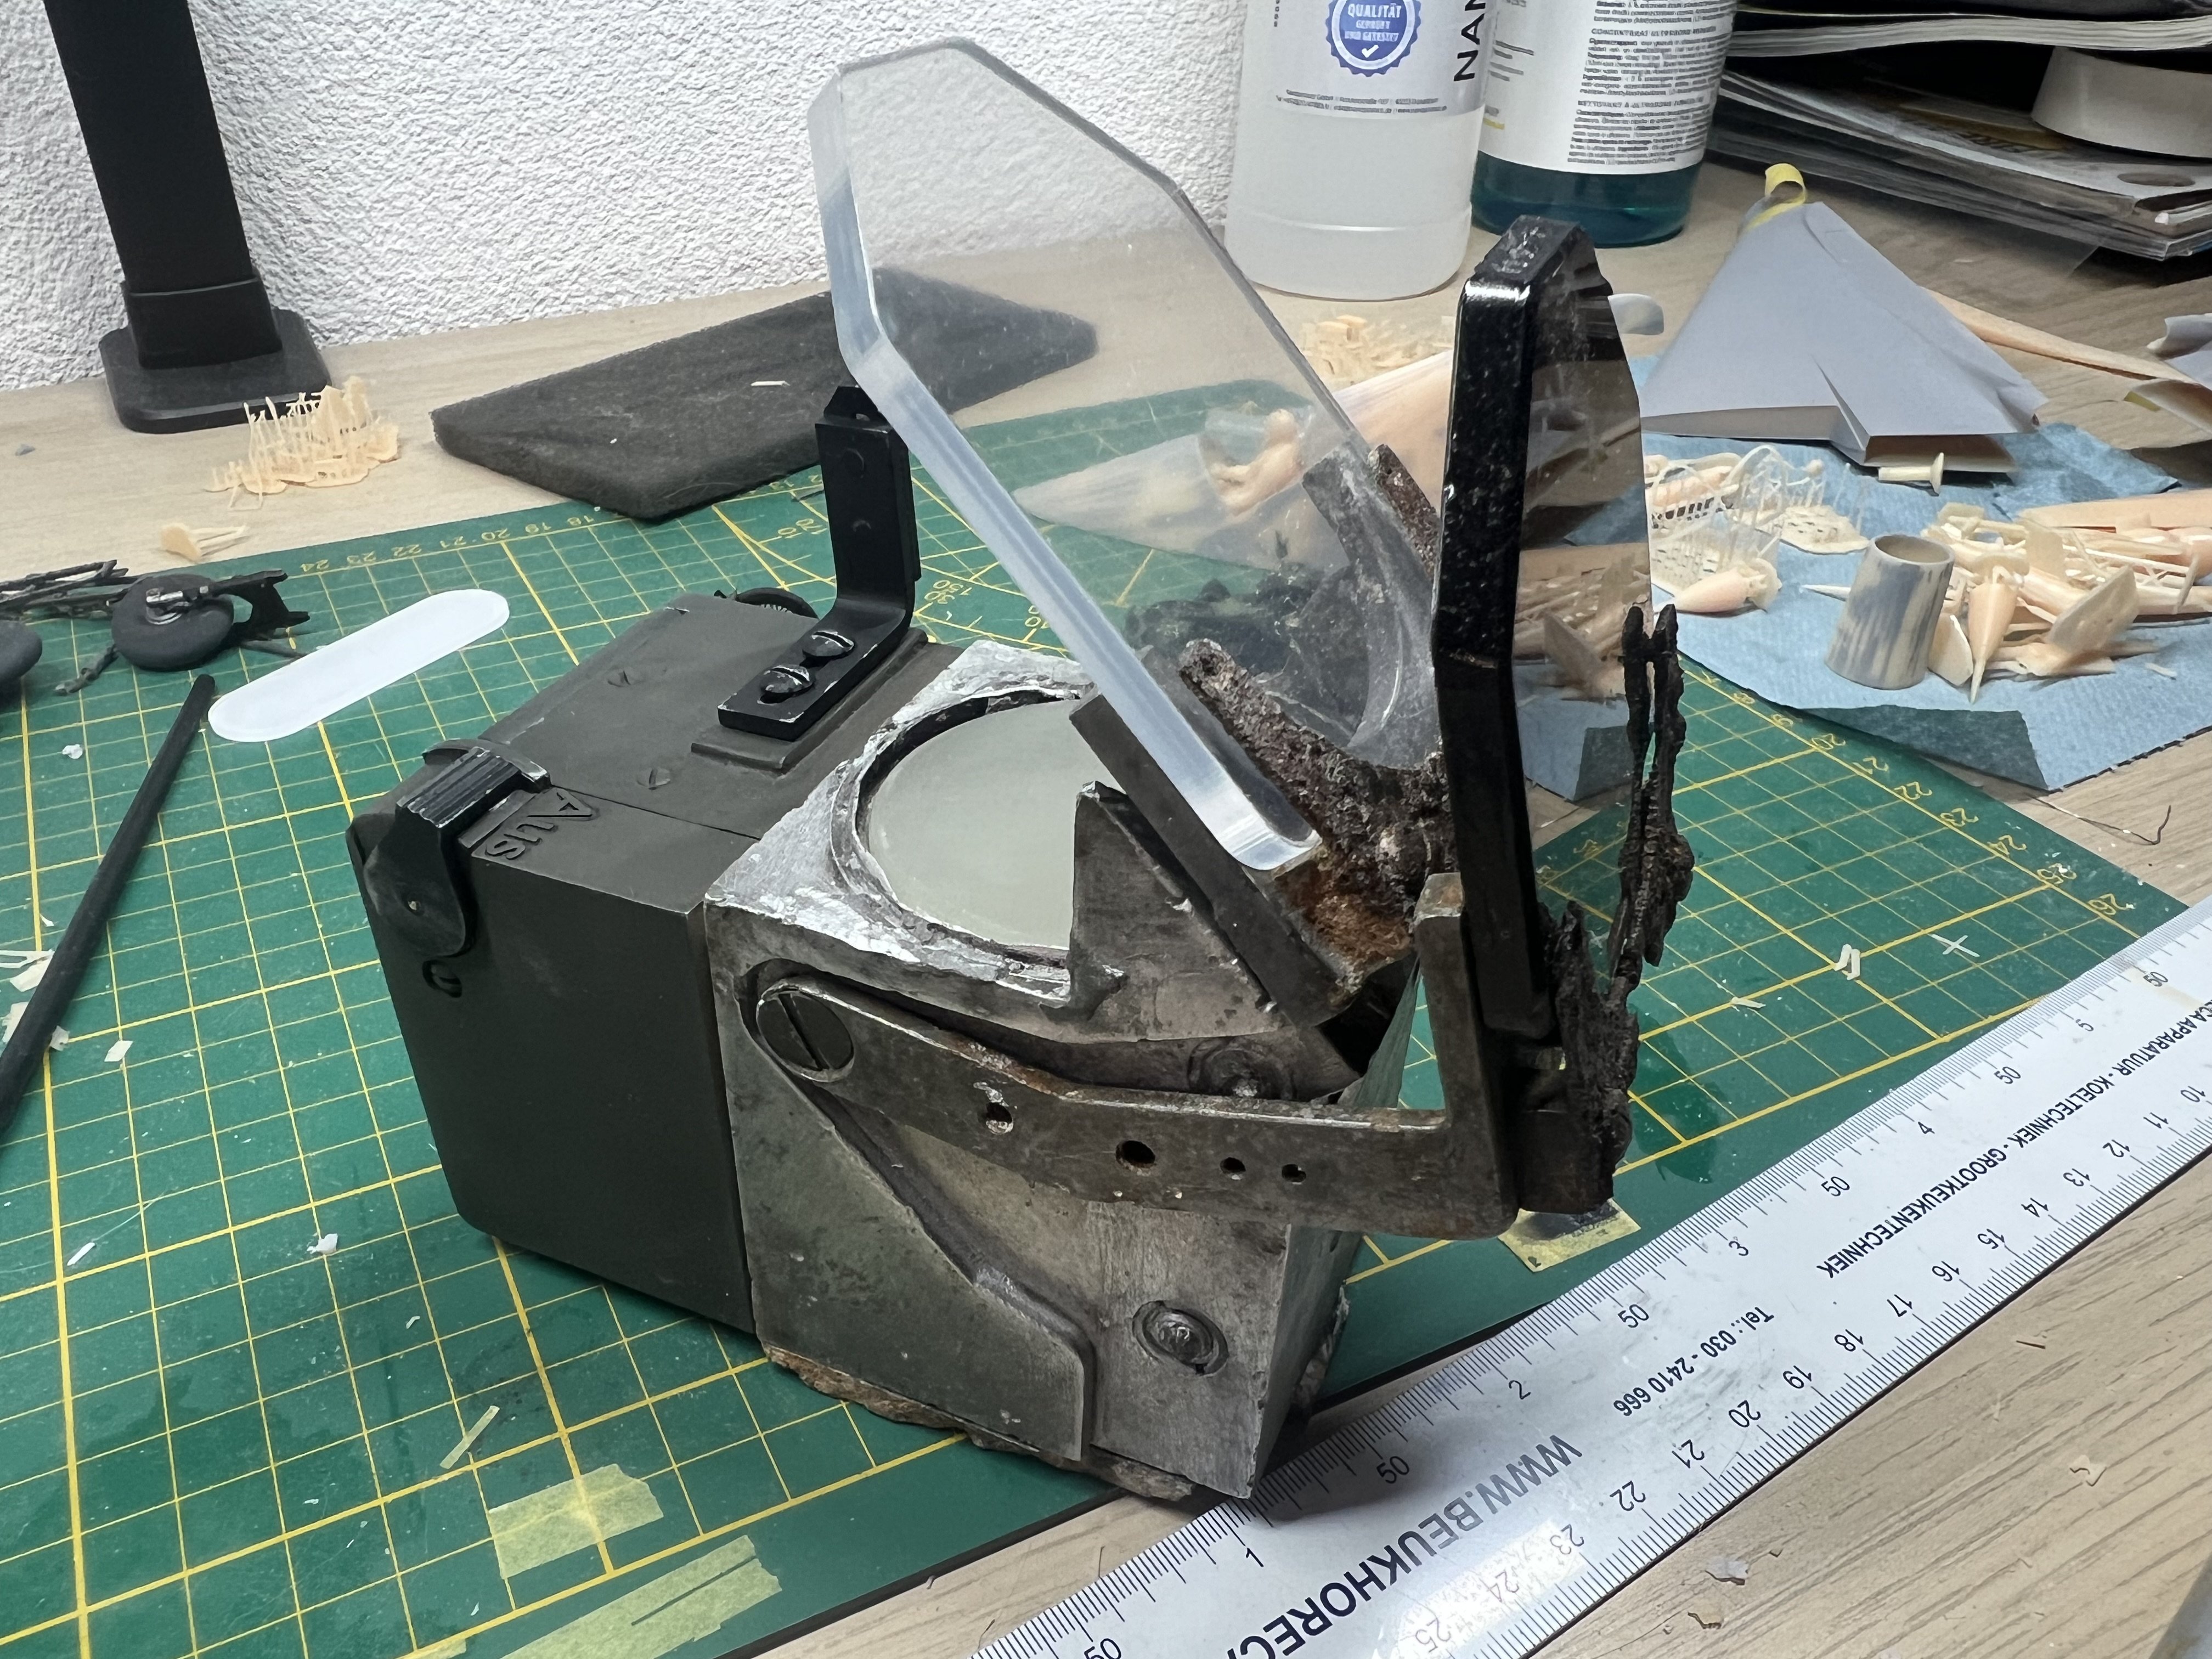
1/1 Revi16 restoration
JeroenPeters replied to JeroenPeters's topic in LSM 1/35 and Larger Work In Progress
First paint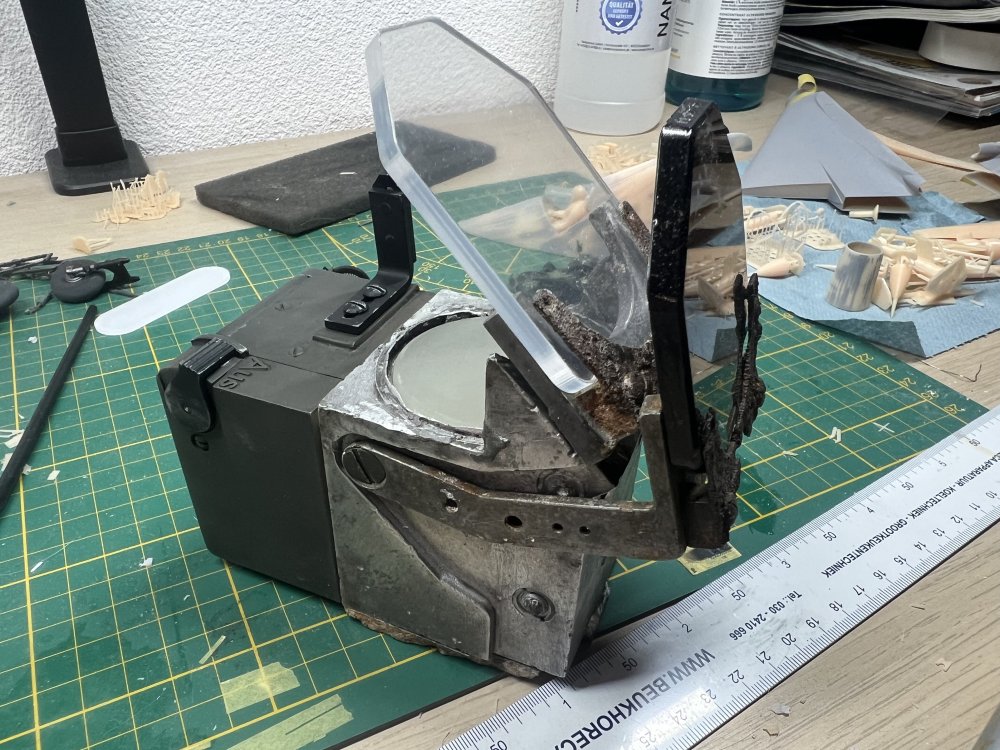

-
1/32 Lippisch P.13a / 3d printed
JeroenPeters replied to JeroenPeters's topic in LSM 1/35 and Larger Work In Progress
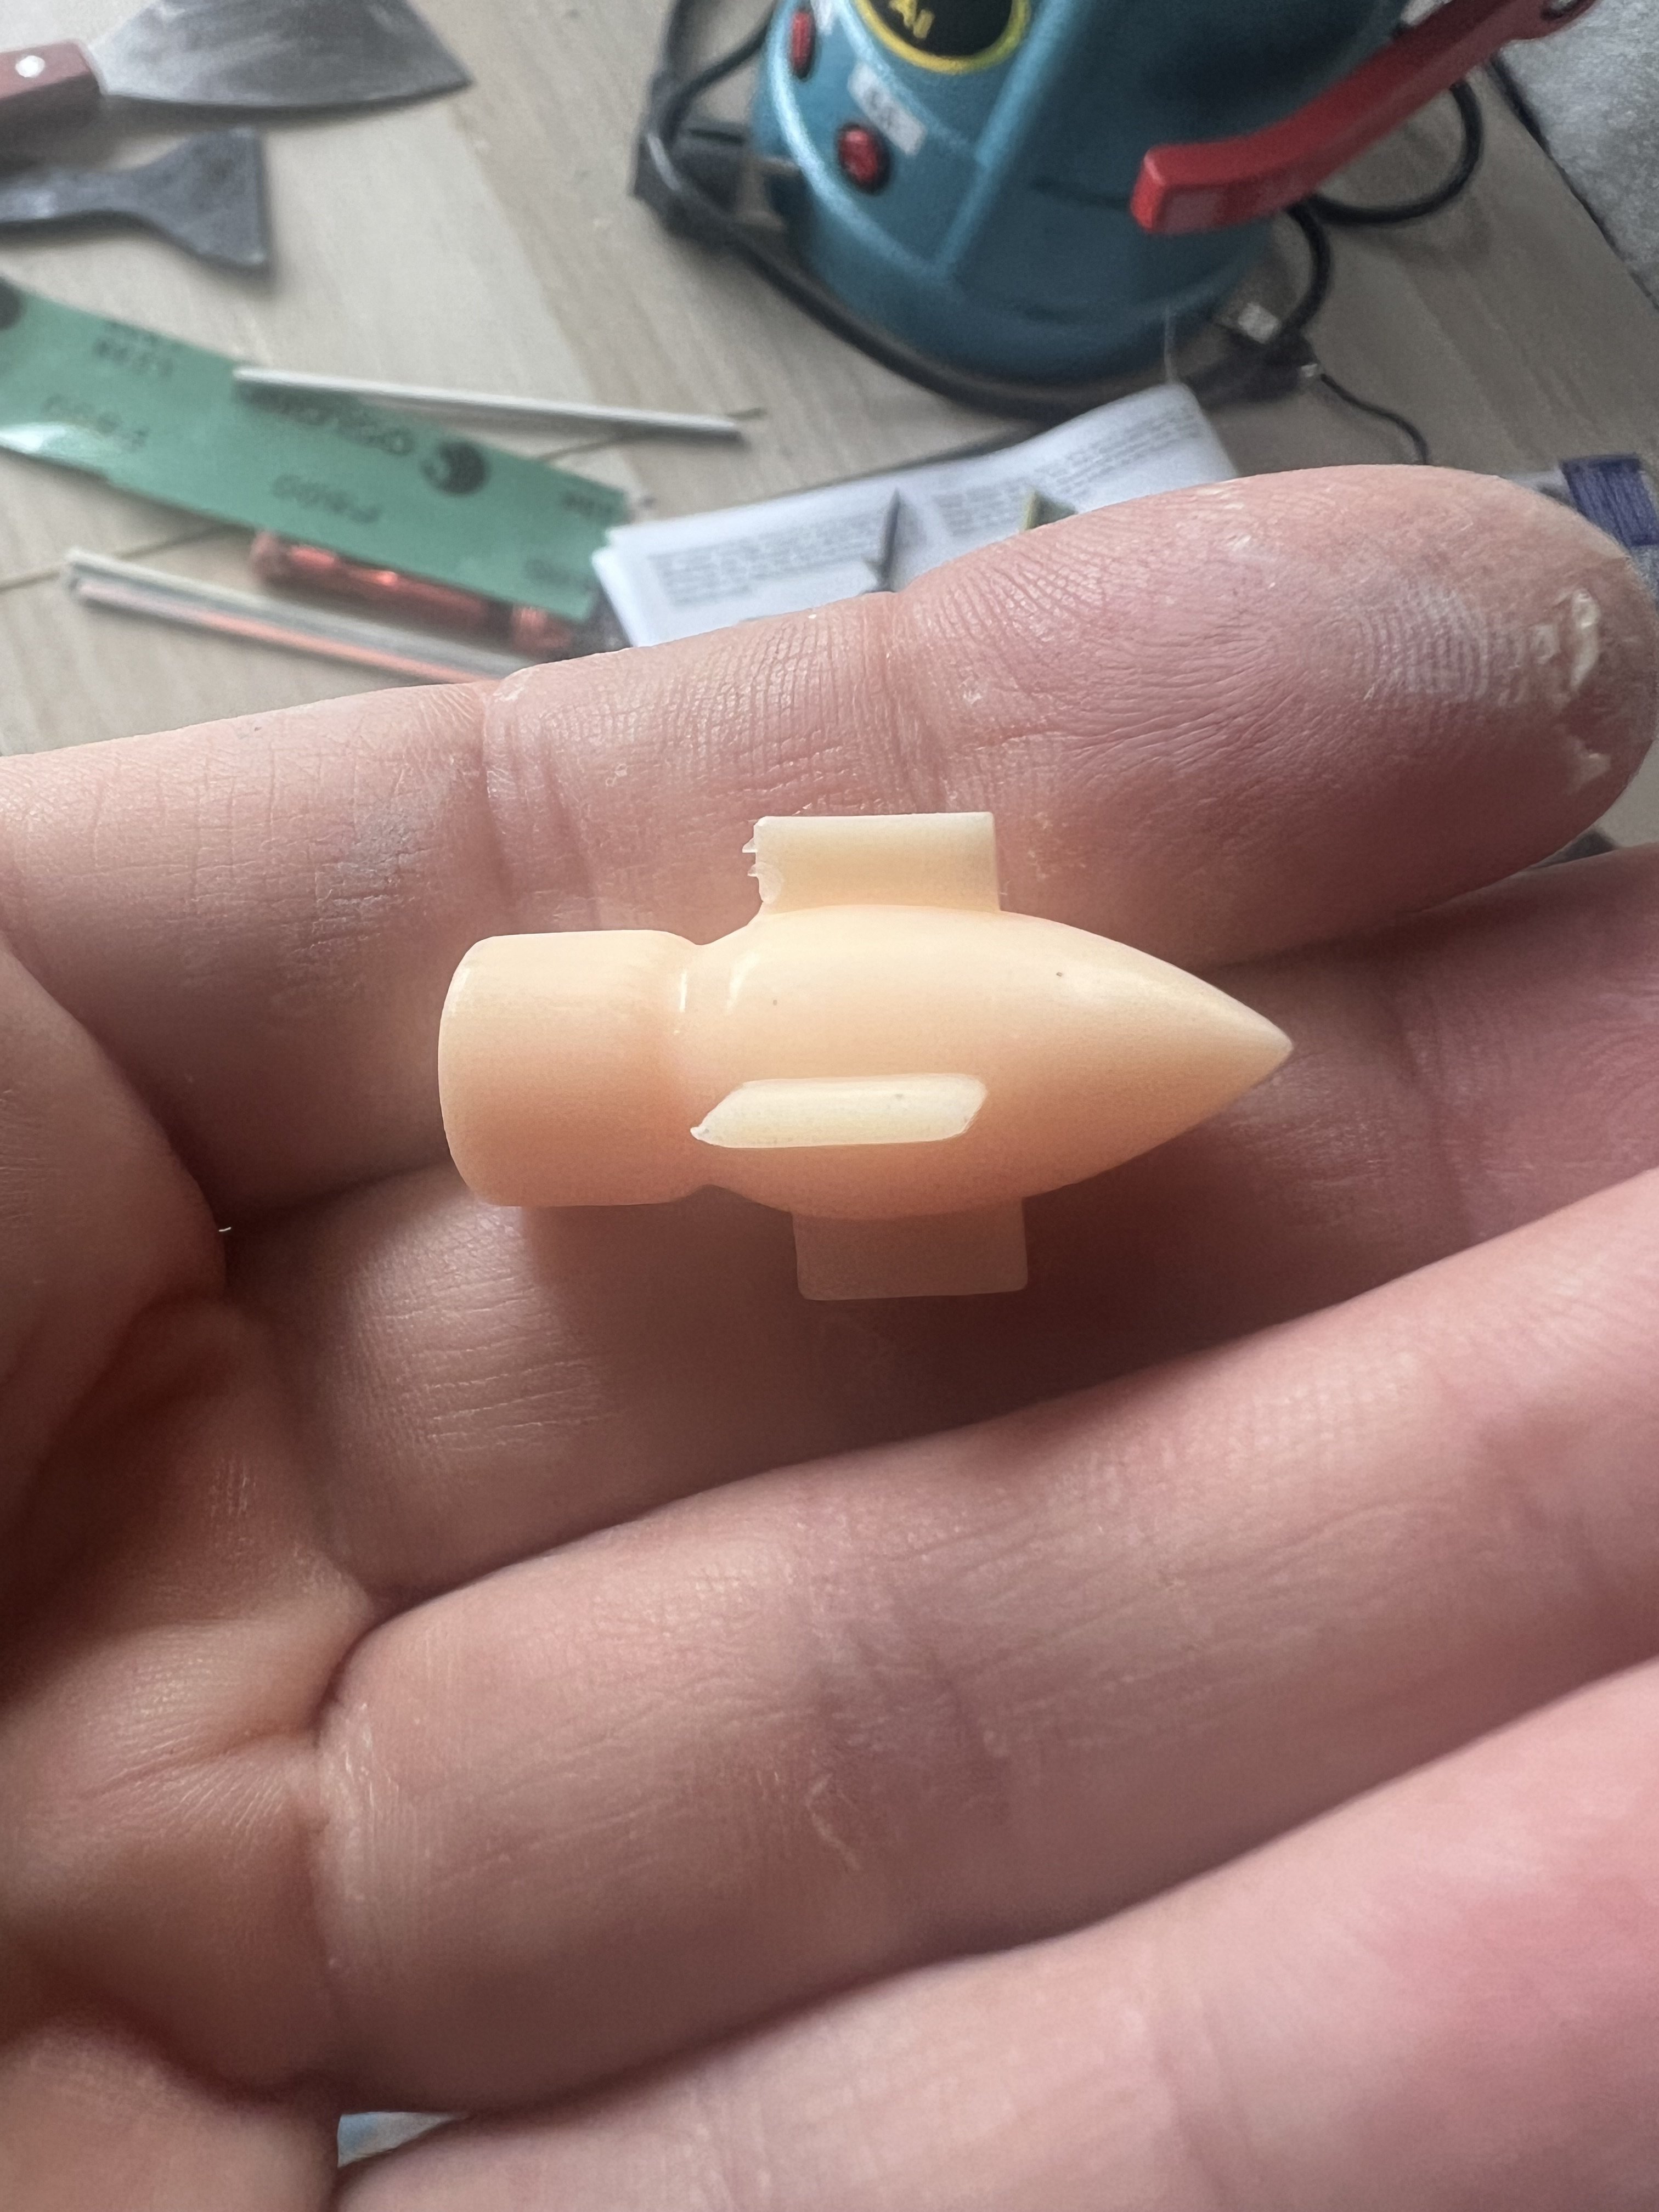
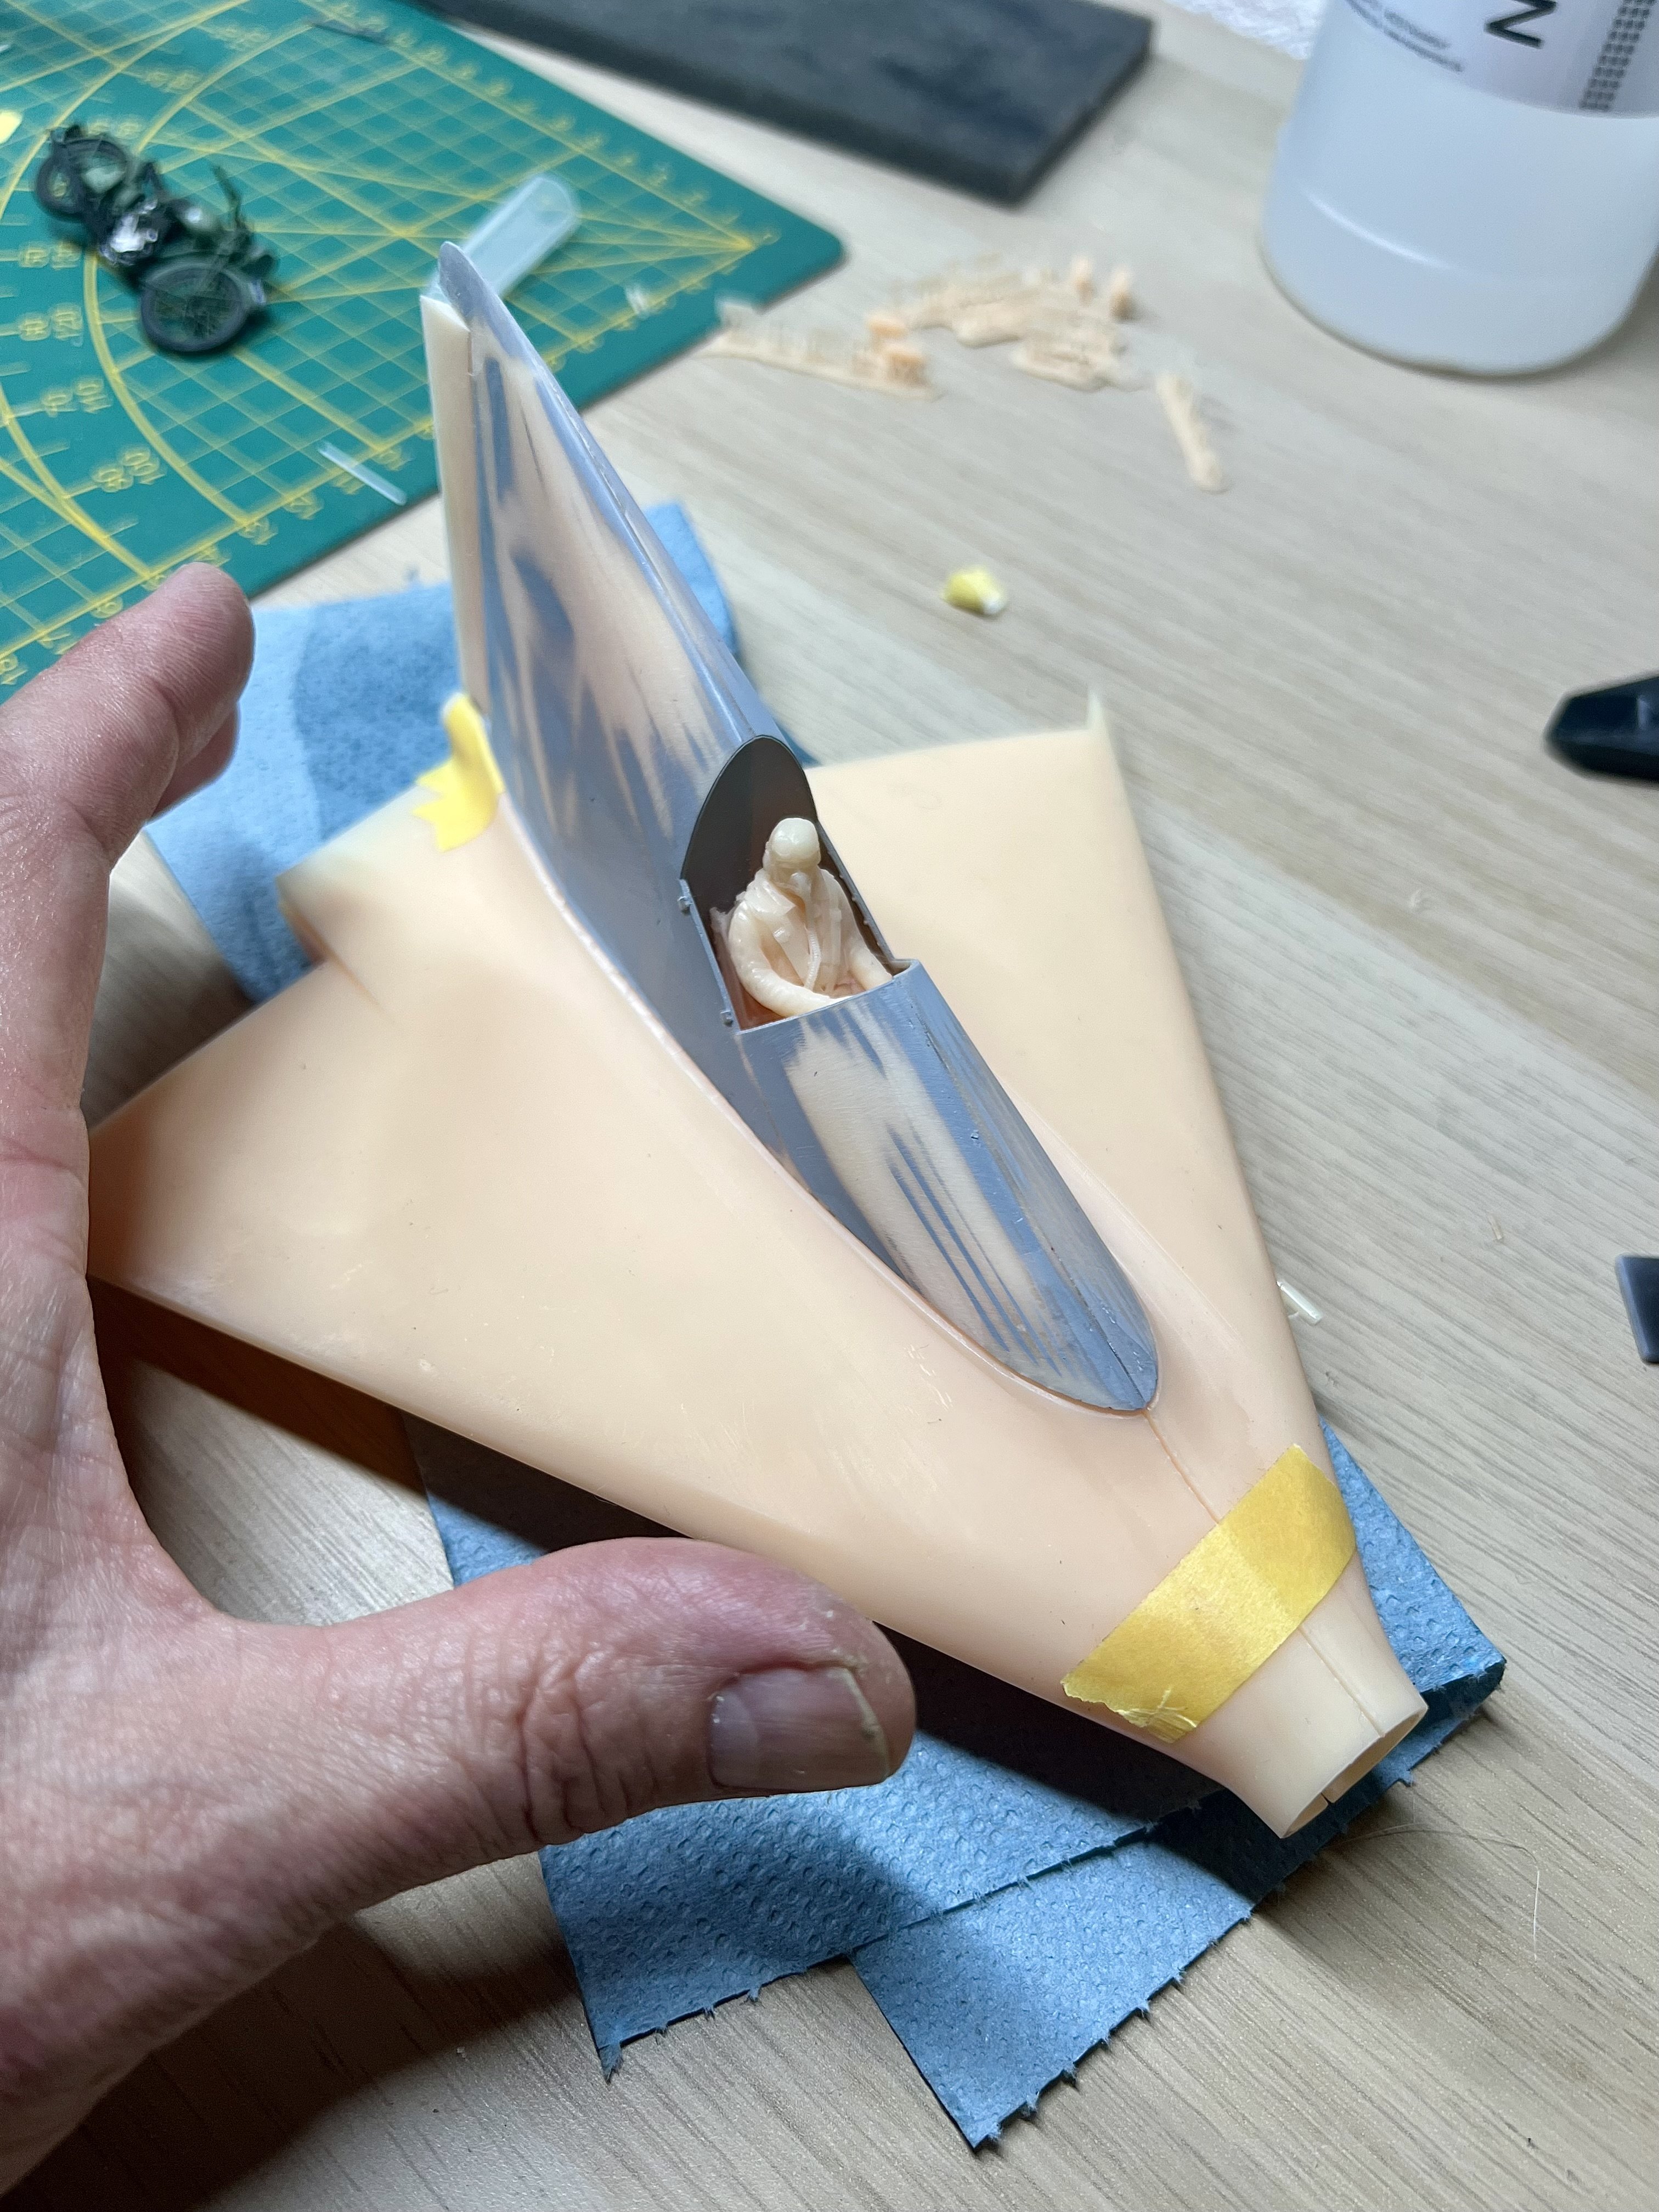
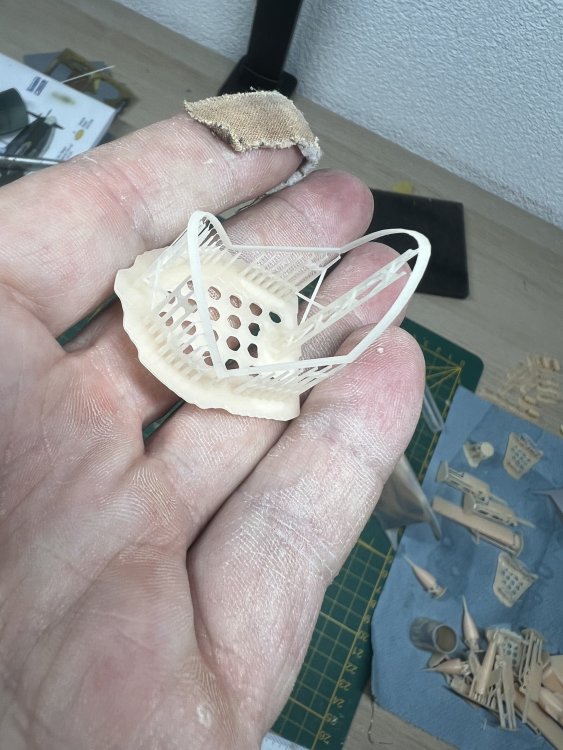
Printed the final details. Instrument panel to which i drew the Revi gunsight attached. Canopy framing. Very delicate! Cockpit detail. Exhaust Rockets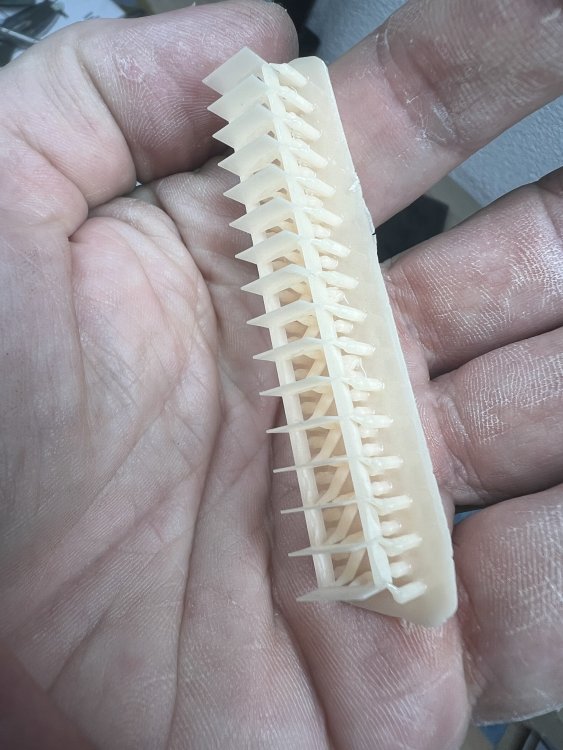

-
1/32 Lippisch P.13a / 3d printed
JeroenPeters replied to JeroenPeters's topic in LSM 1/35 and Larger Work In Progress
Having some issues with the printer, but managed to squeeze out a few more parts including the onion for the engine intake.
-
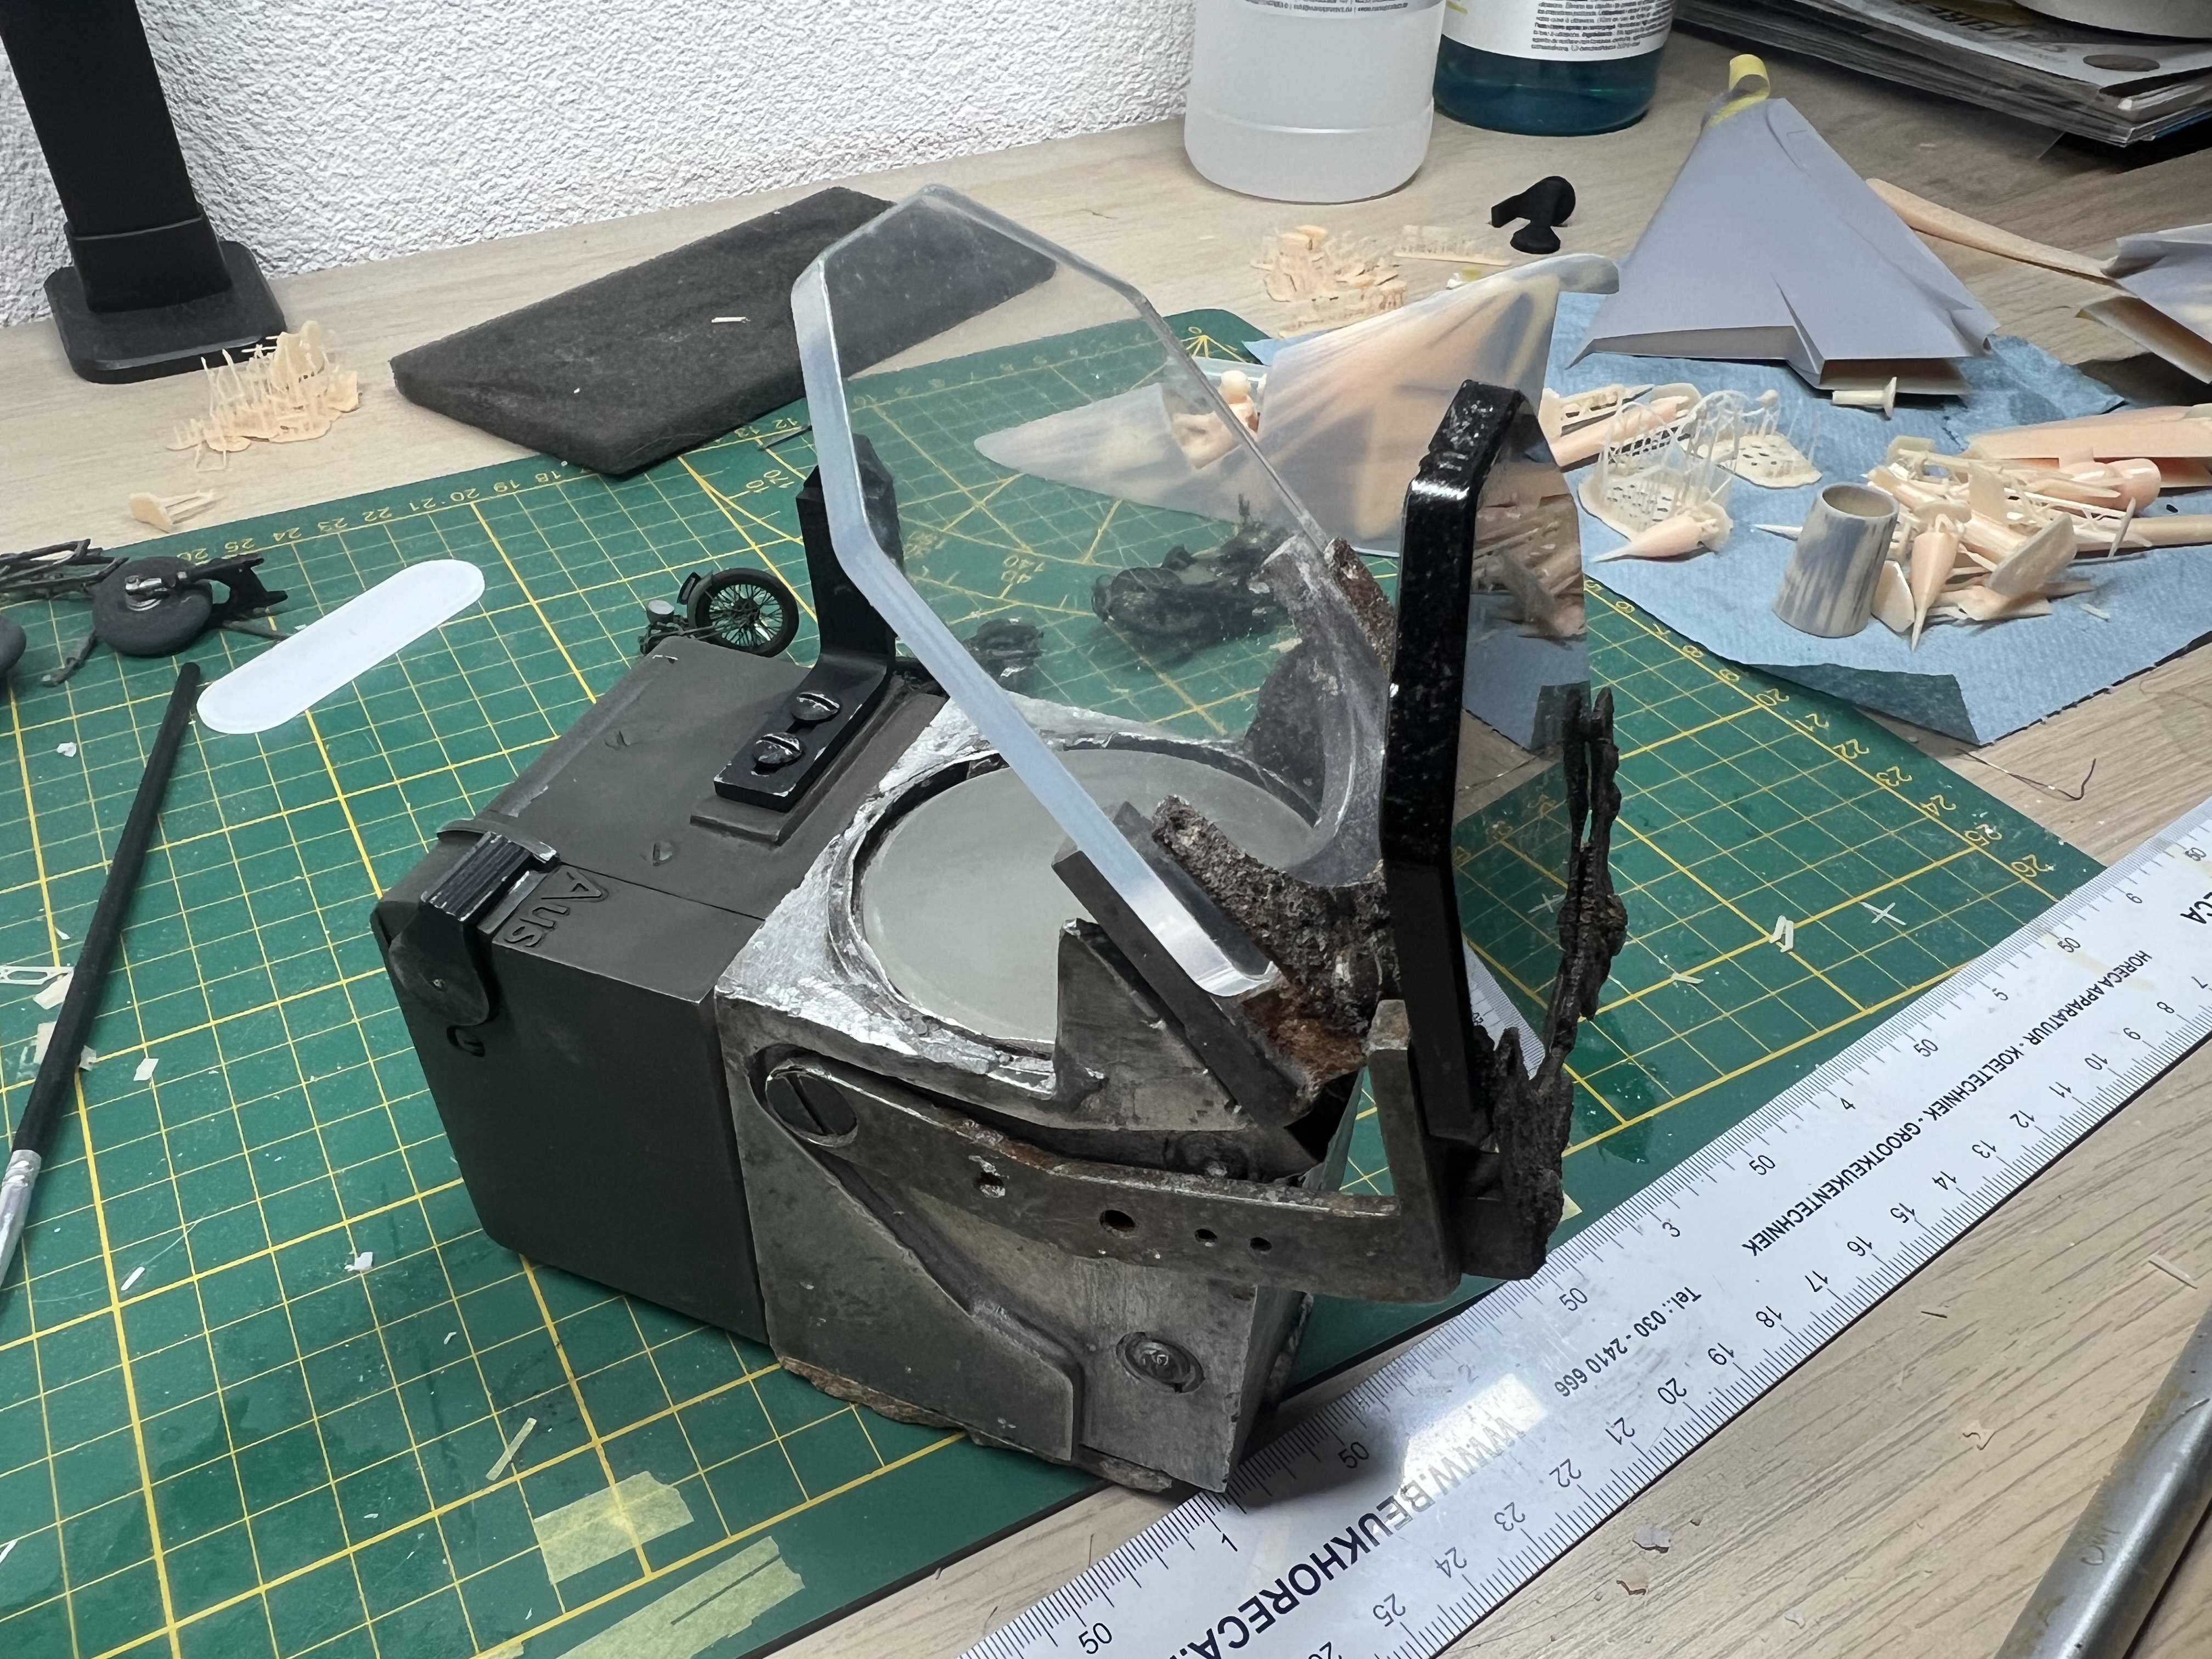
1/1 Revi16 restoration
JeroenPeters replied to JeroenPeters's topic in LSM 1/35 and Larger Work In Progress
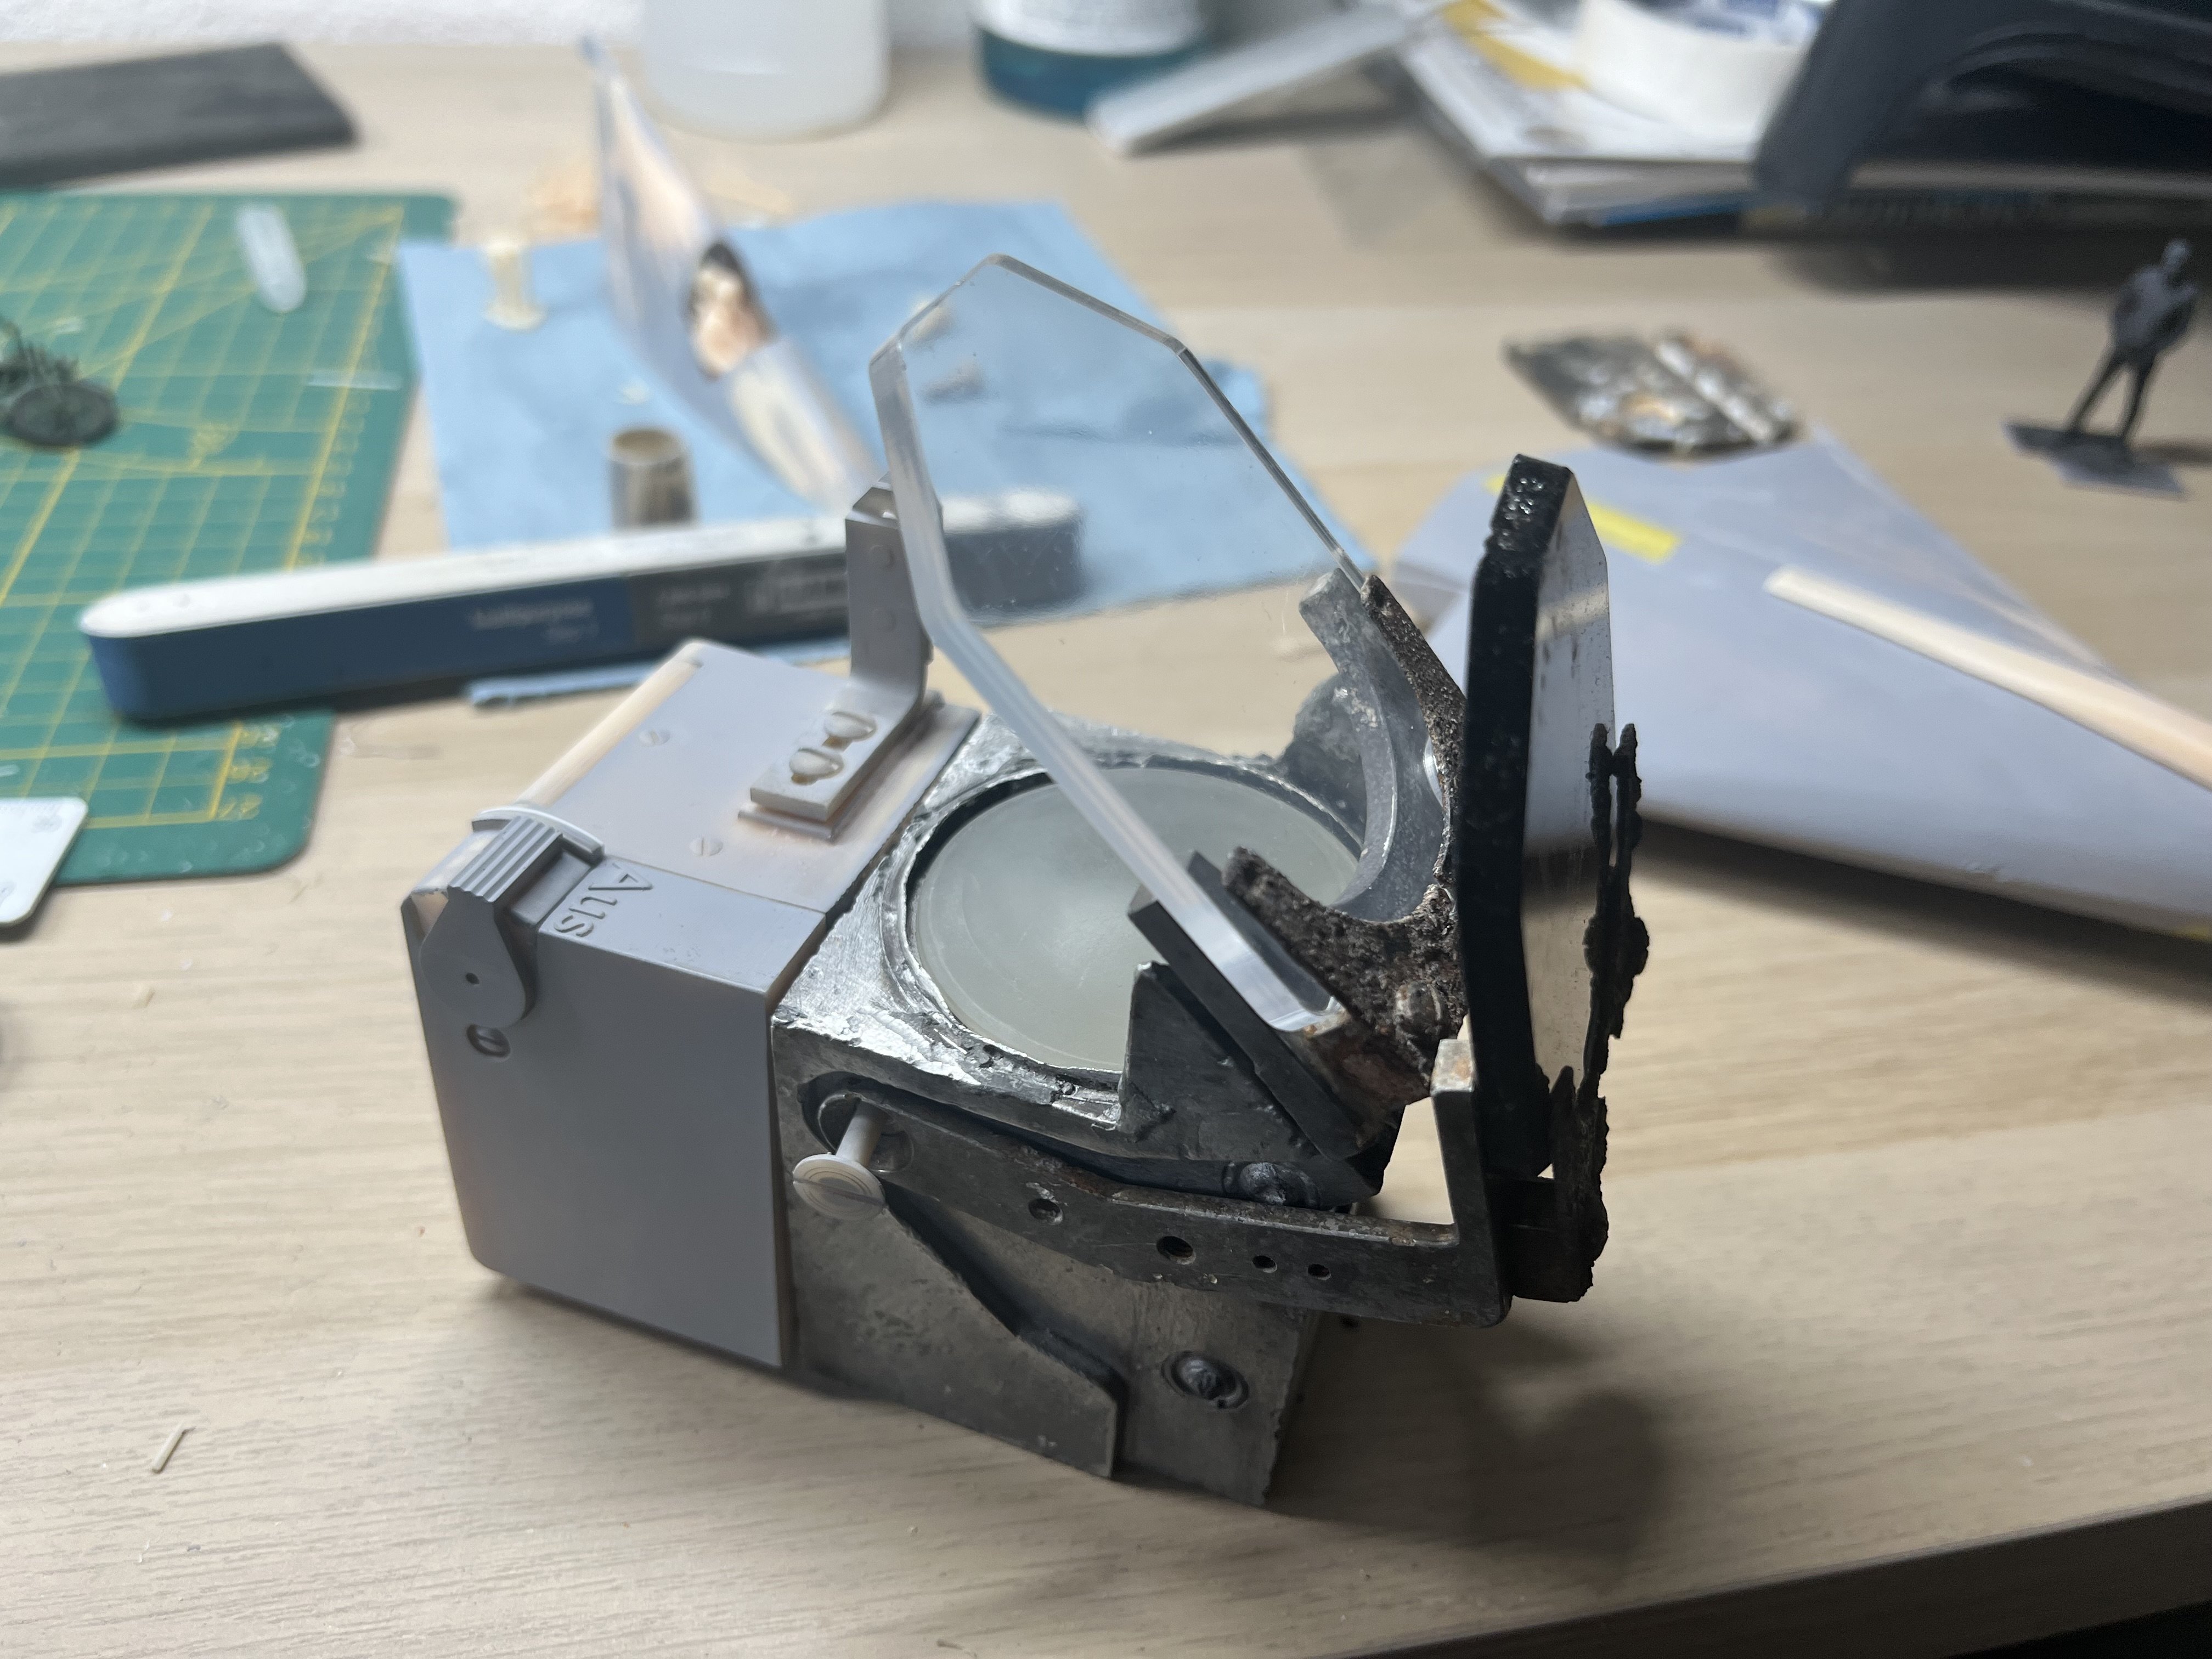
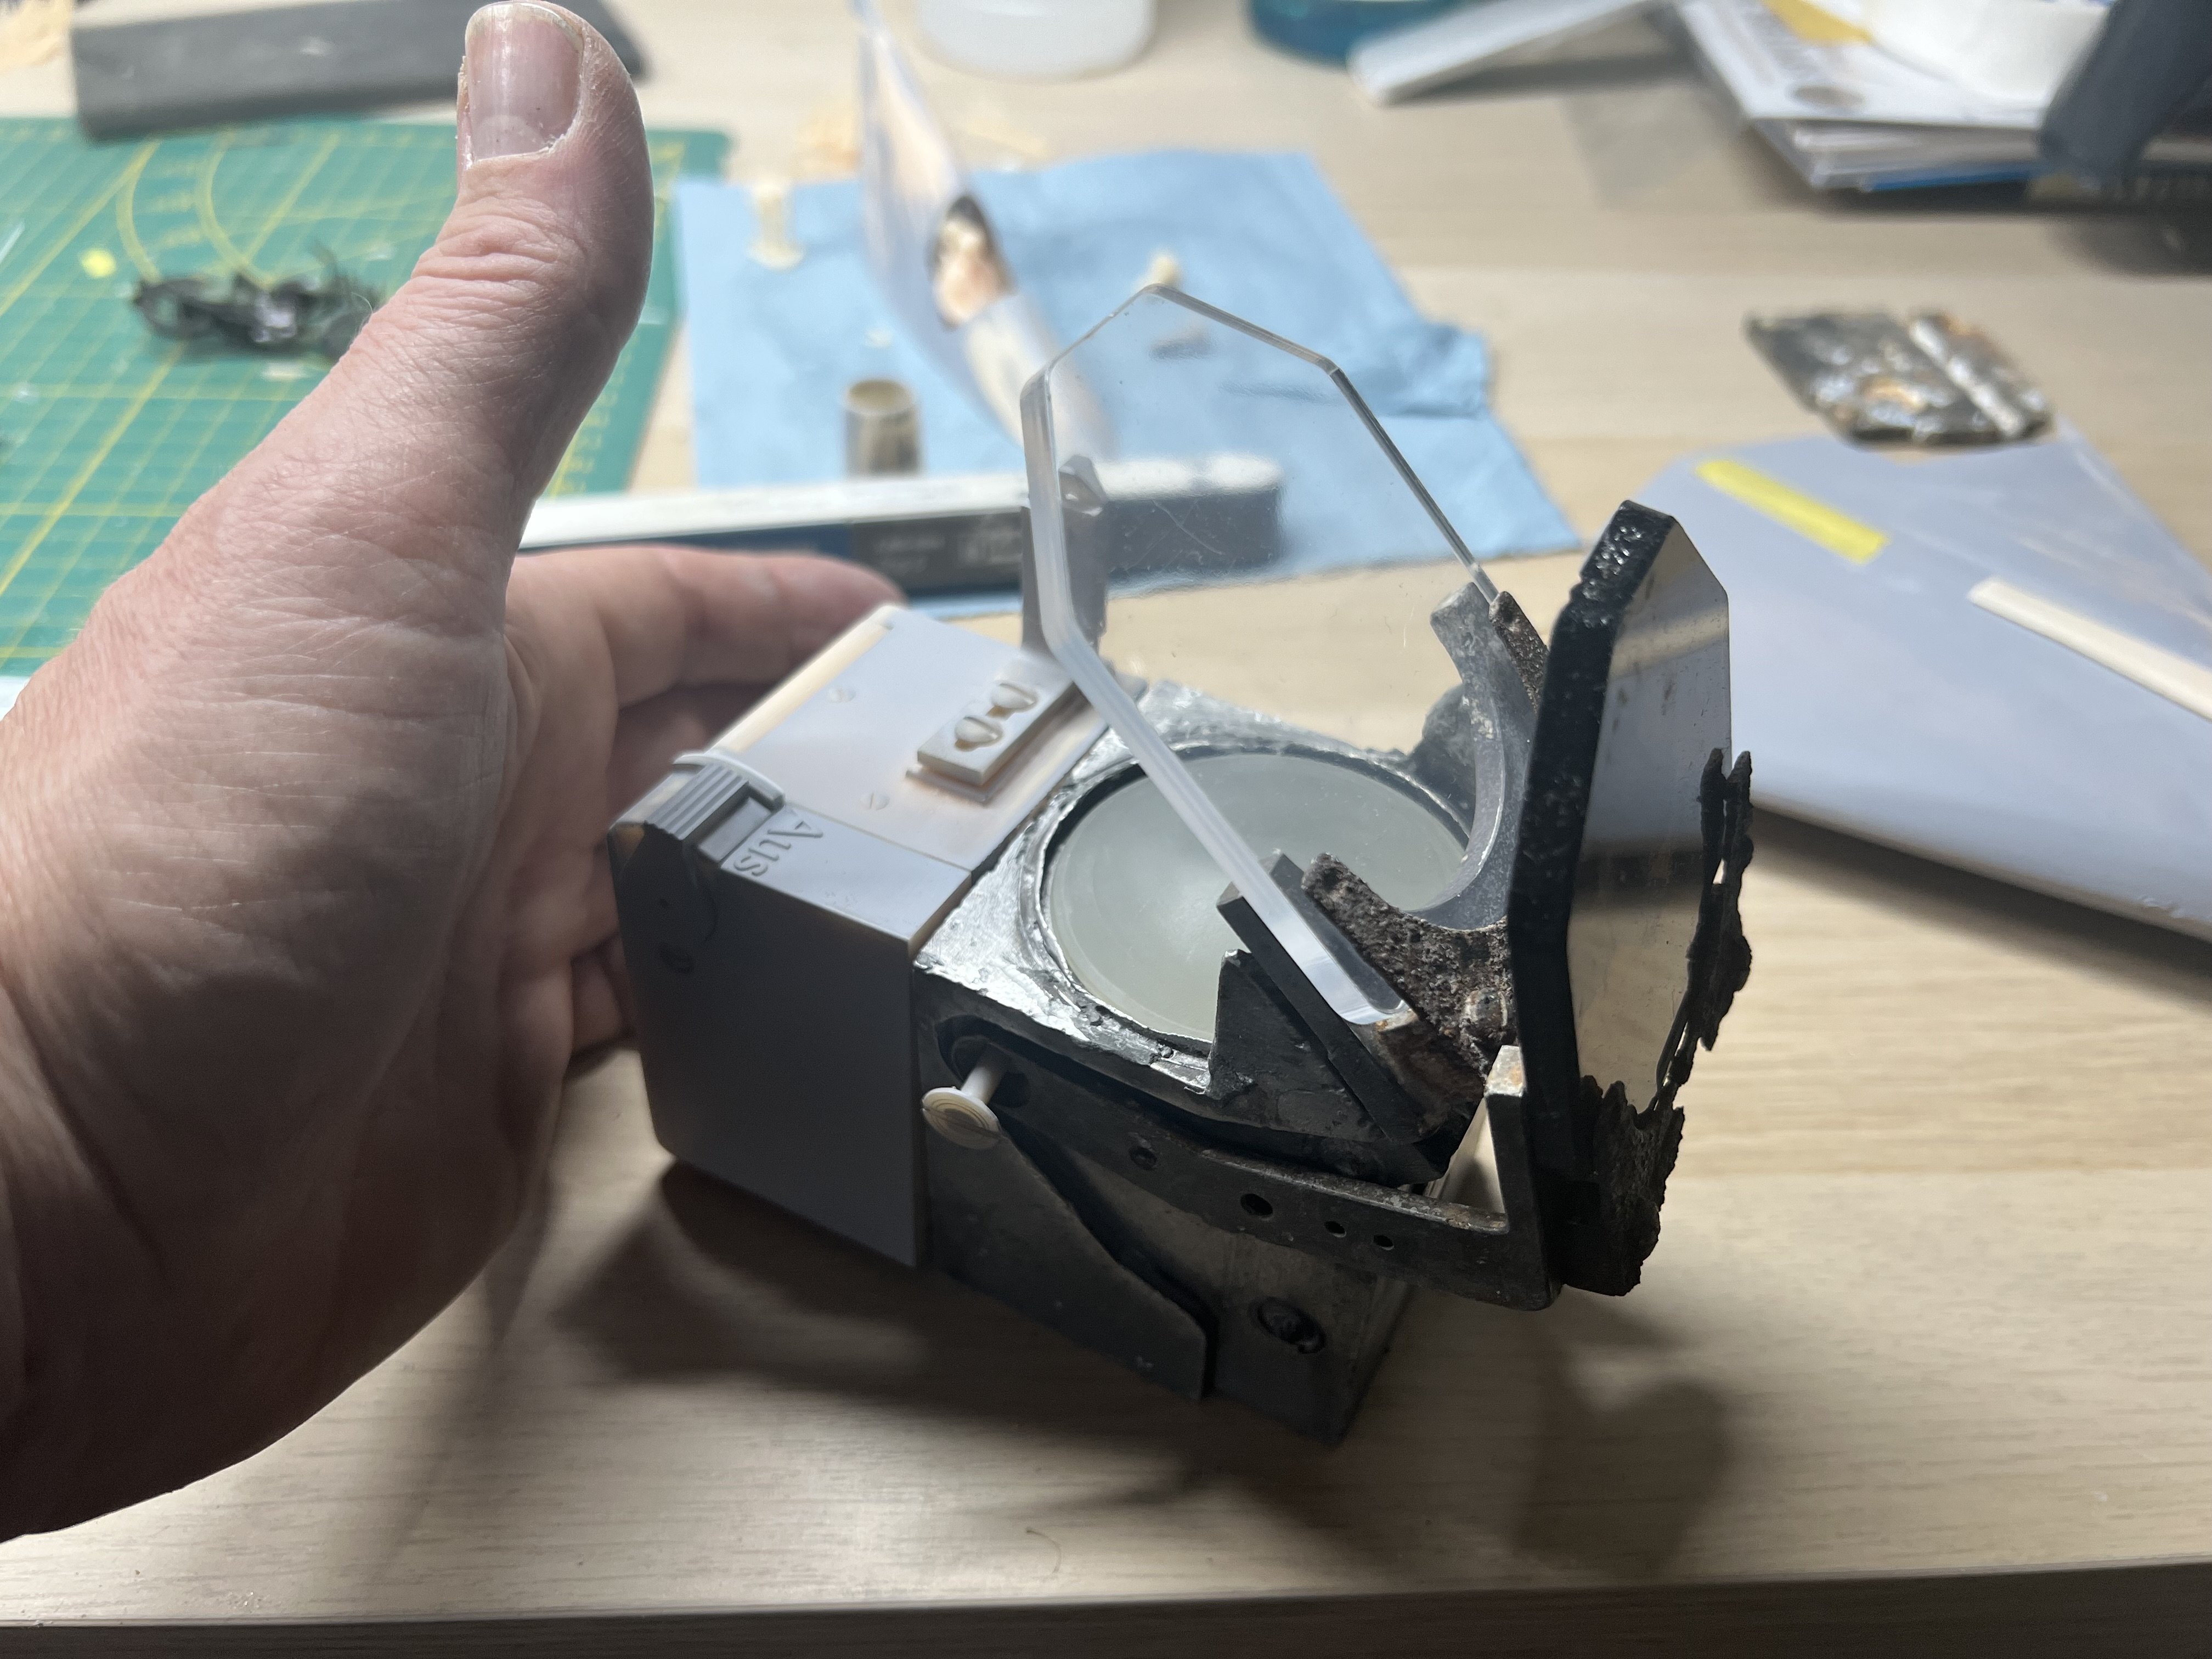
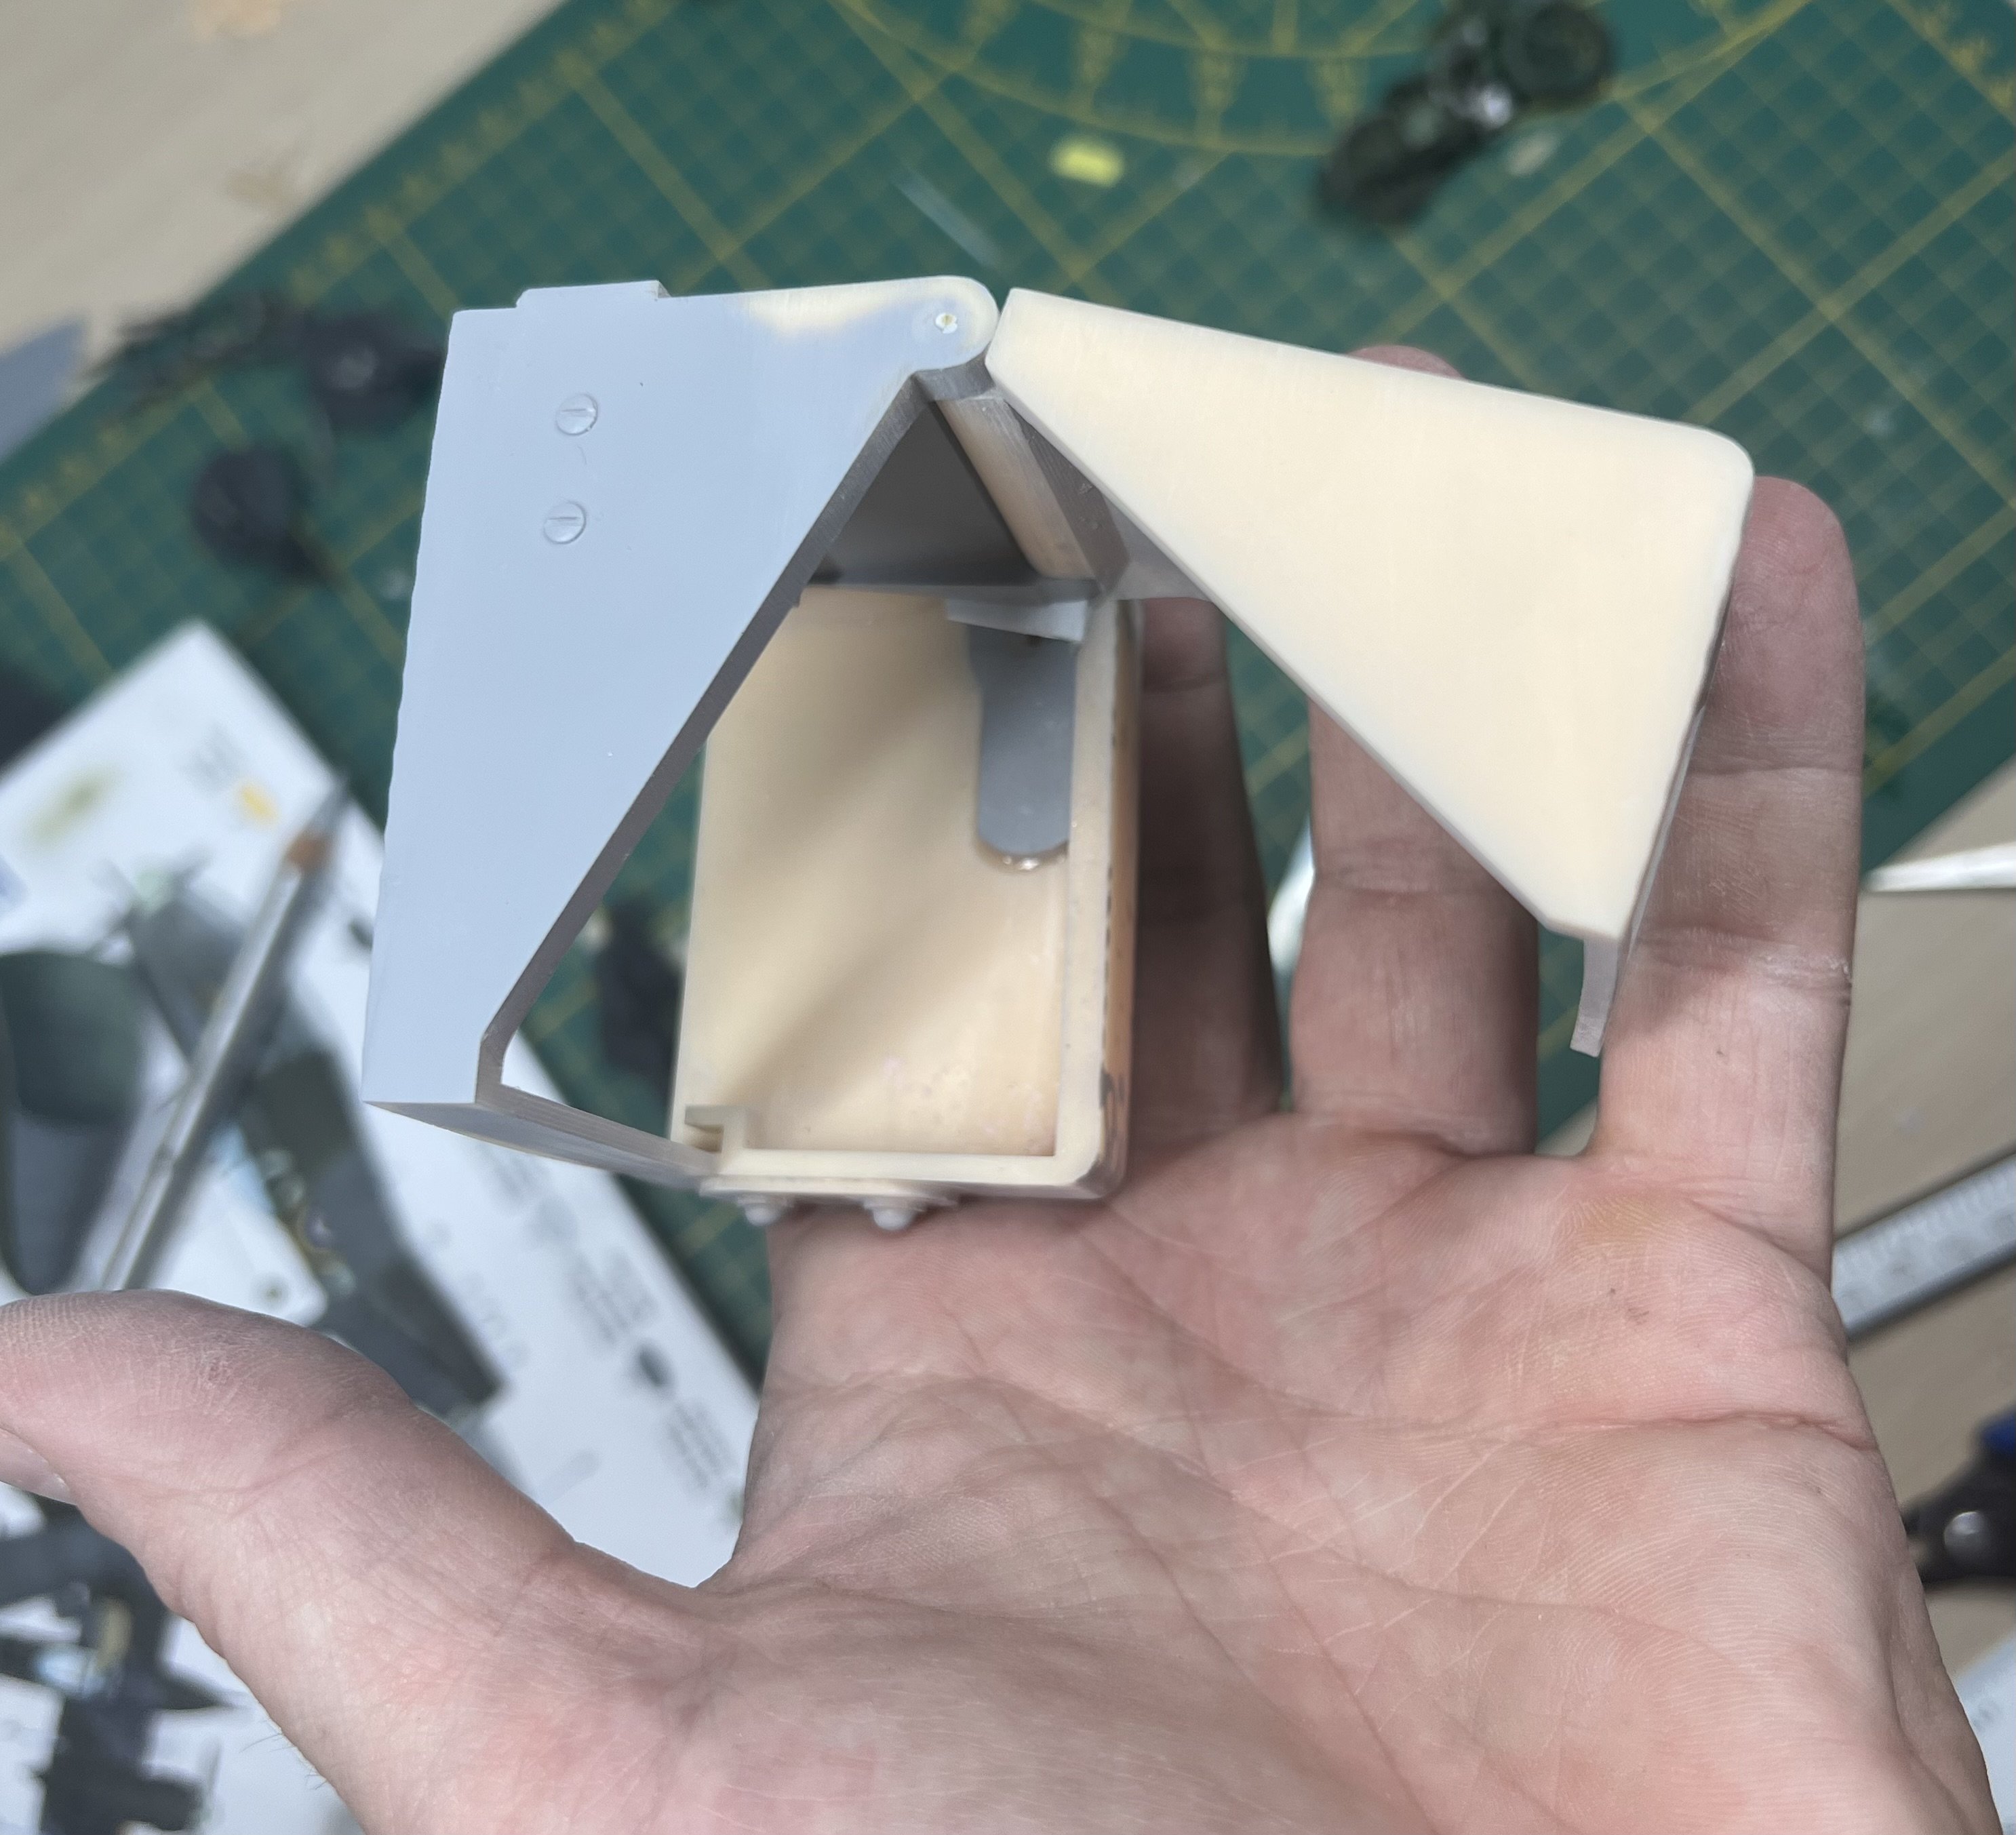
Figured life is too short for polishing and had the clear glass lasered from acrylic transparent plastic. Only need to sand the edge in an angle.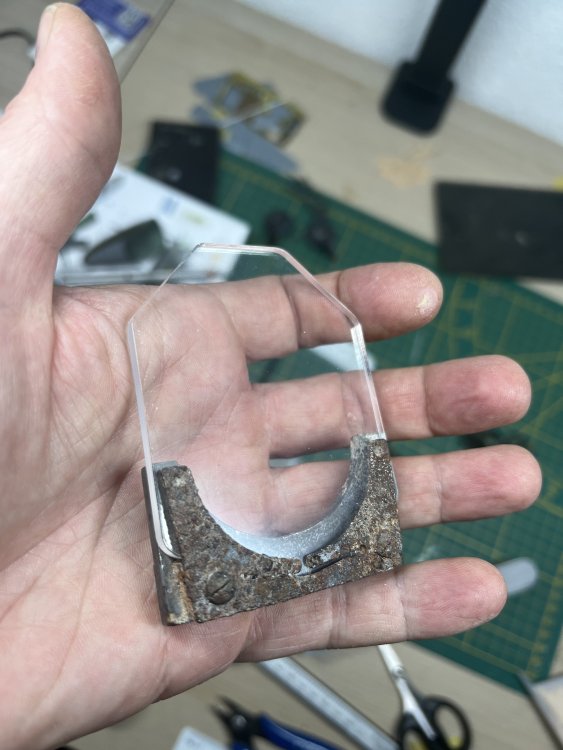


-
1/32 Lippisch P.13a / 3d printed
JeroenPeters replied to JeroenPeters's topic in LSM 1/35 and Larger Work In Progress
Final bits and bobs
-
1/1 Revi16 restoration
JeroenPeters replied to JeroenPeters's topic in LSM 1/35 and Larger Work In Progress
Assembling and sanding the box. Made a hinge from copper rod.

-
1/1 Revi16 restoration
JeroenPeters replied to JeroenPeters's topic in LSM 1/35 and Larger Work In Progress
Printed the transparent glass too. Now for a lot of polishing and after care to get it properly transparent IMG_2800.mov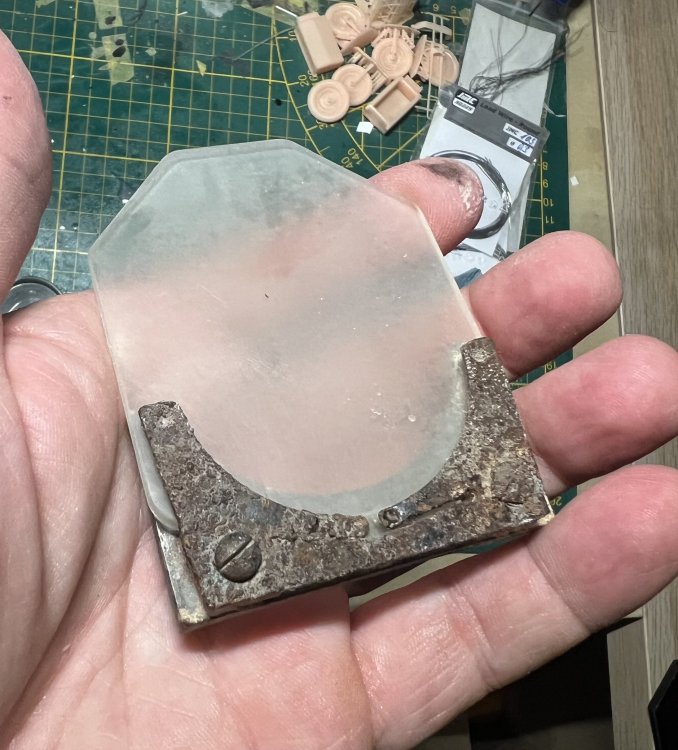
-
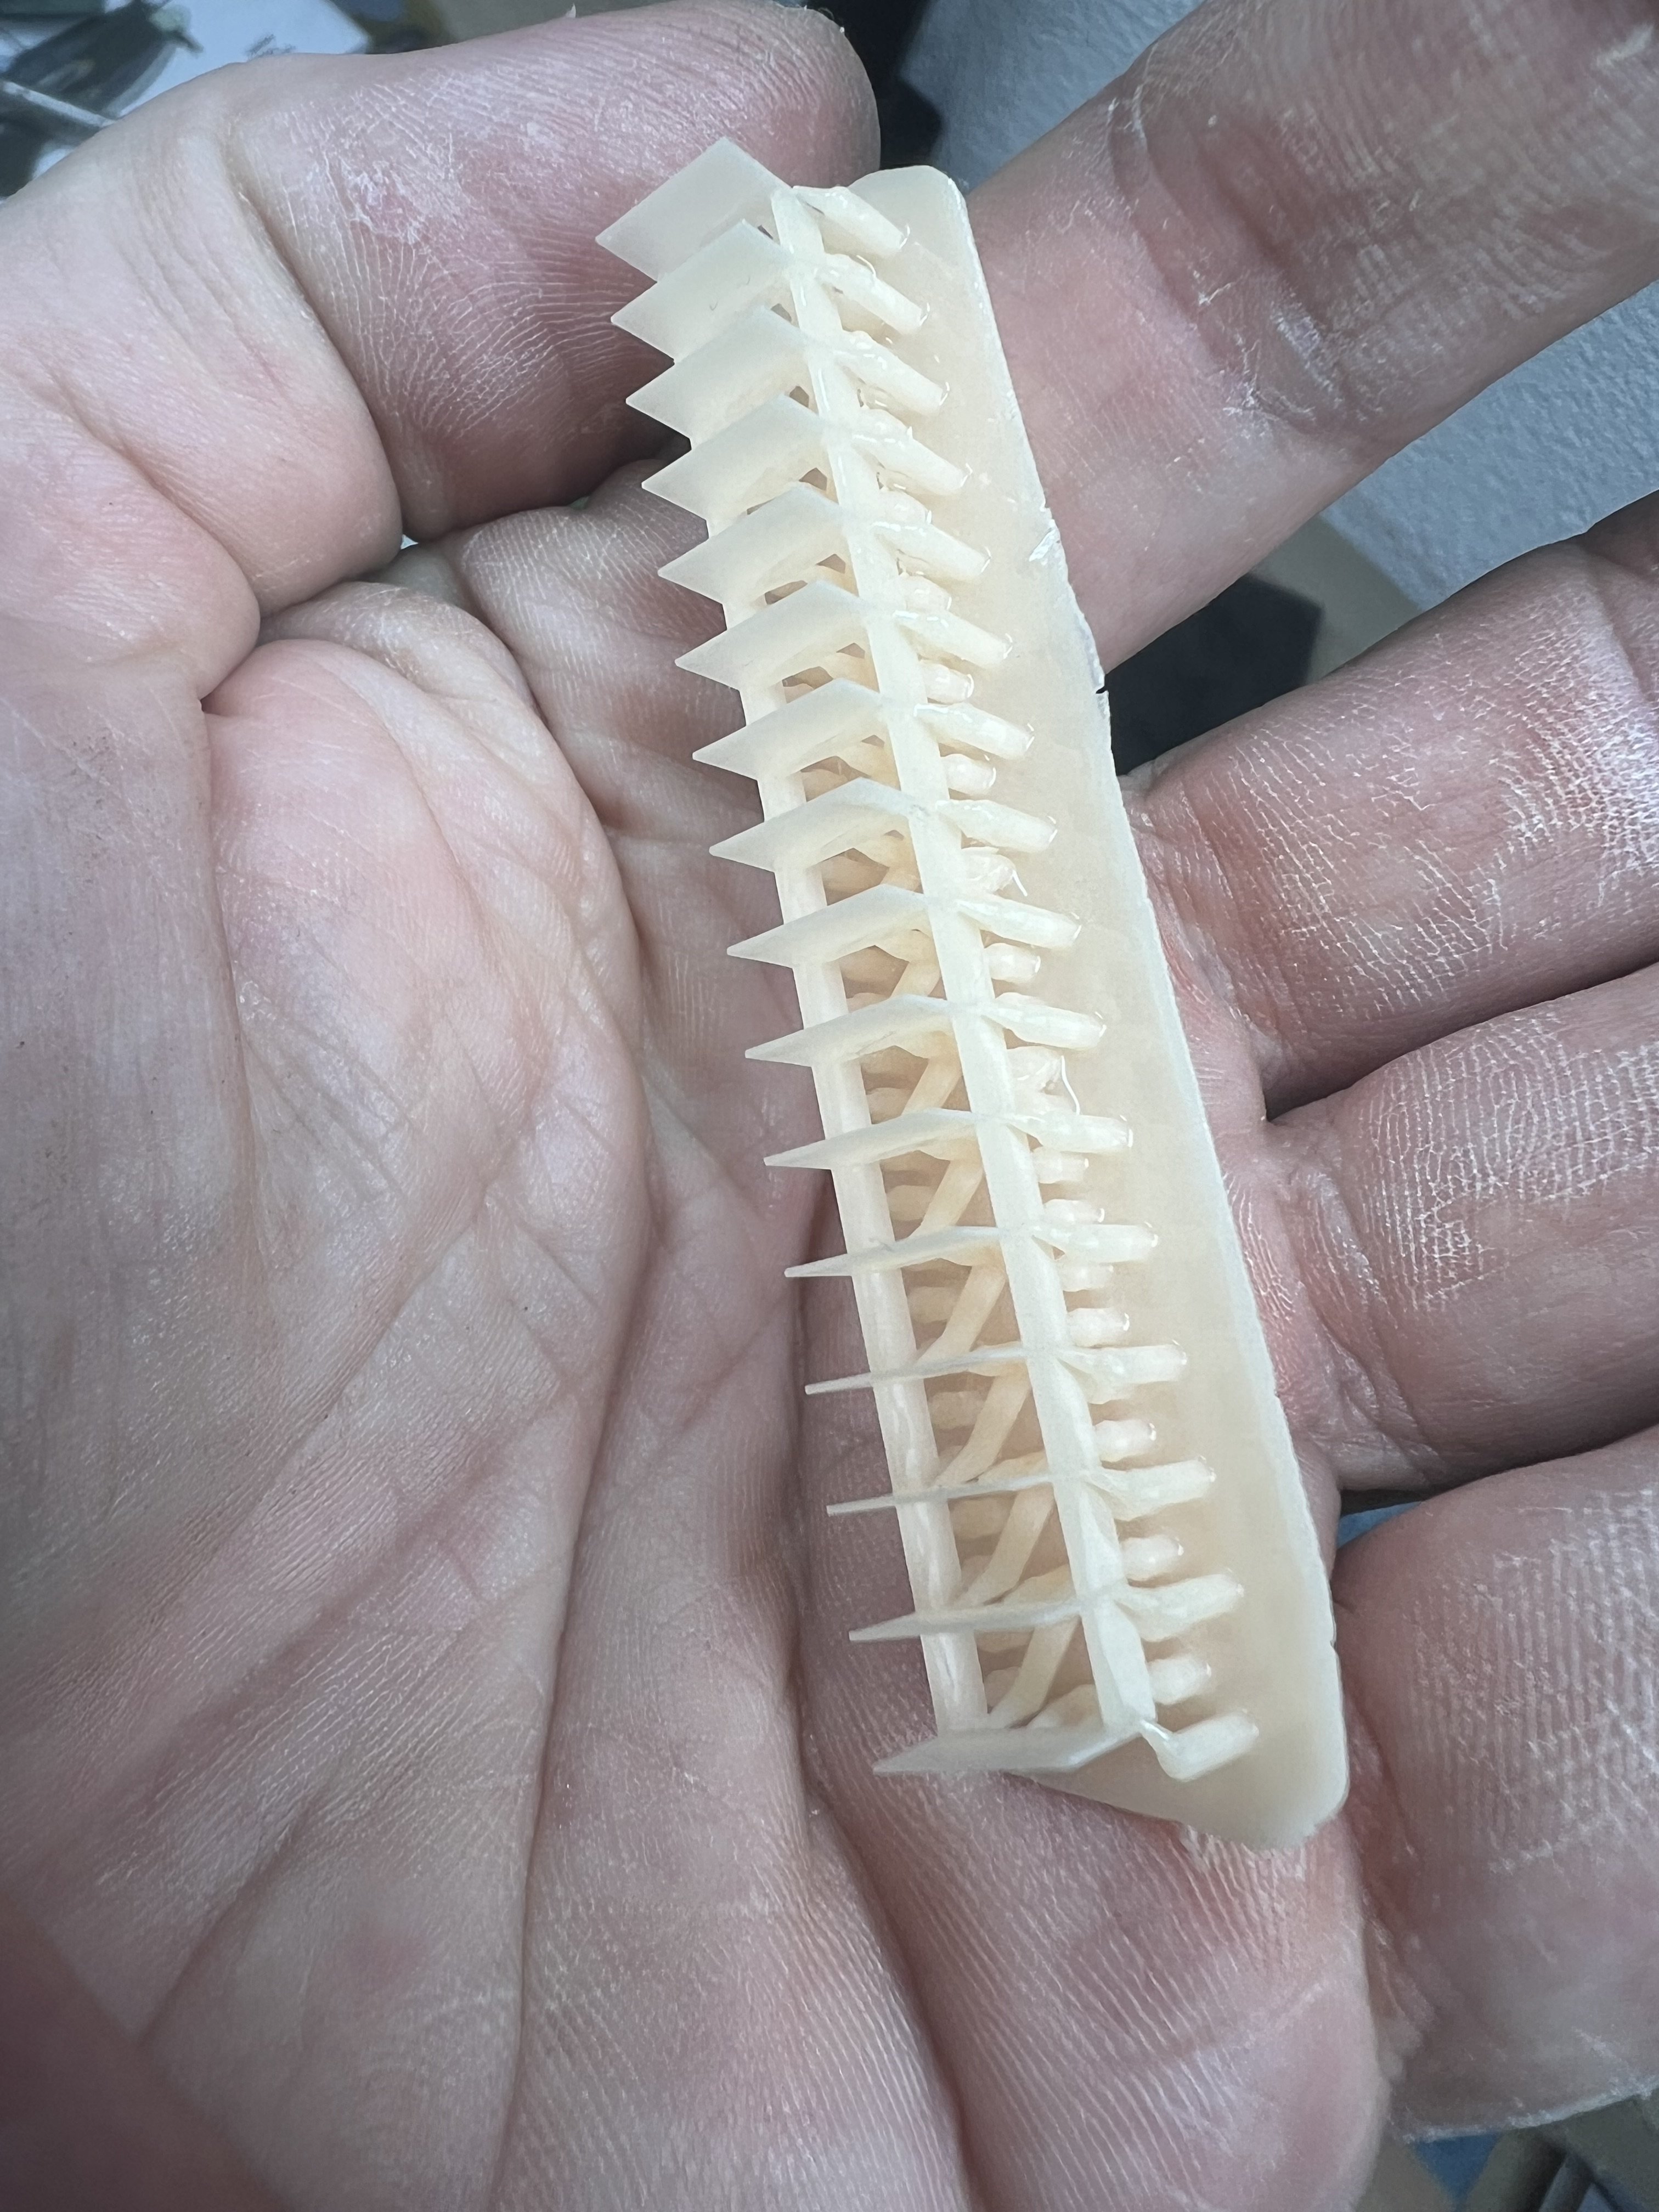
1/1 Revi16 restoration
JeroenPeters replied to JeroenPeters's topic in LSM 1/35 and Larger Work In Progress
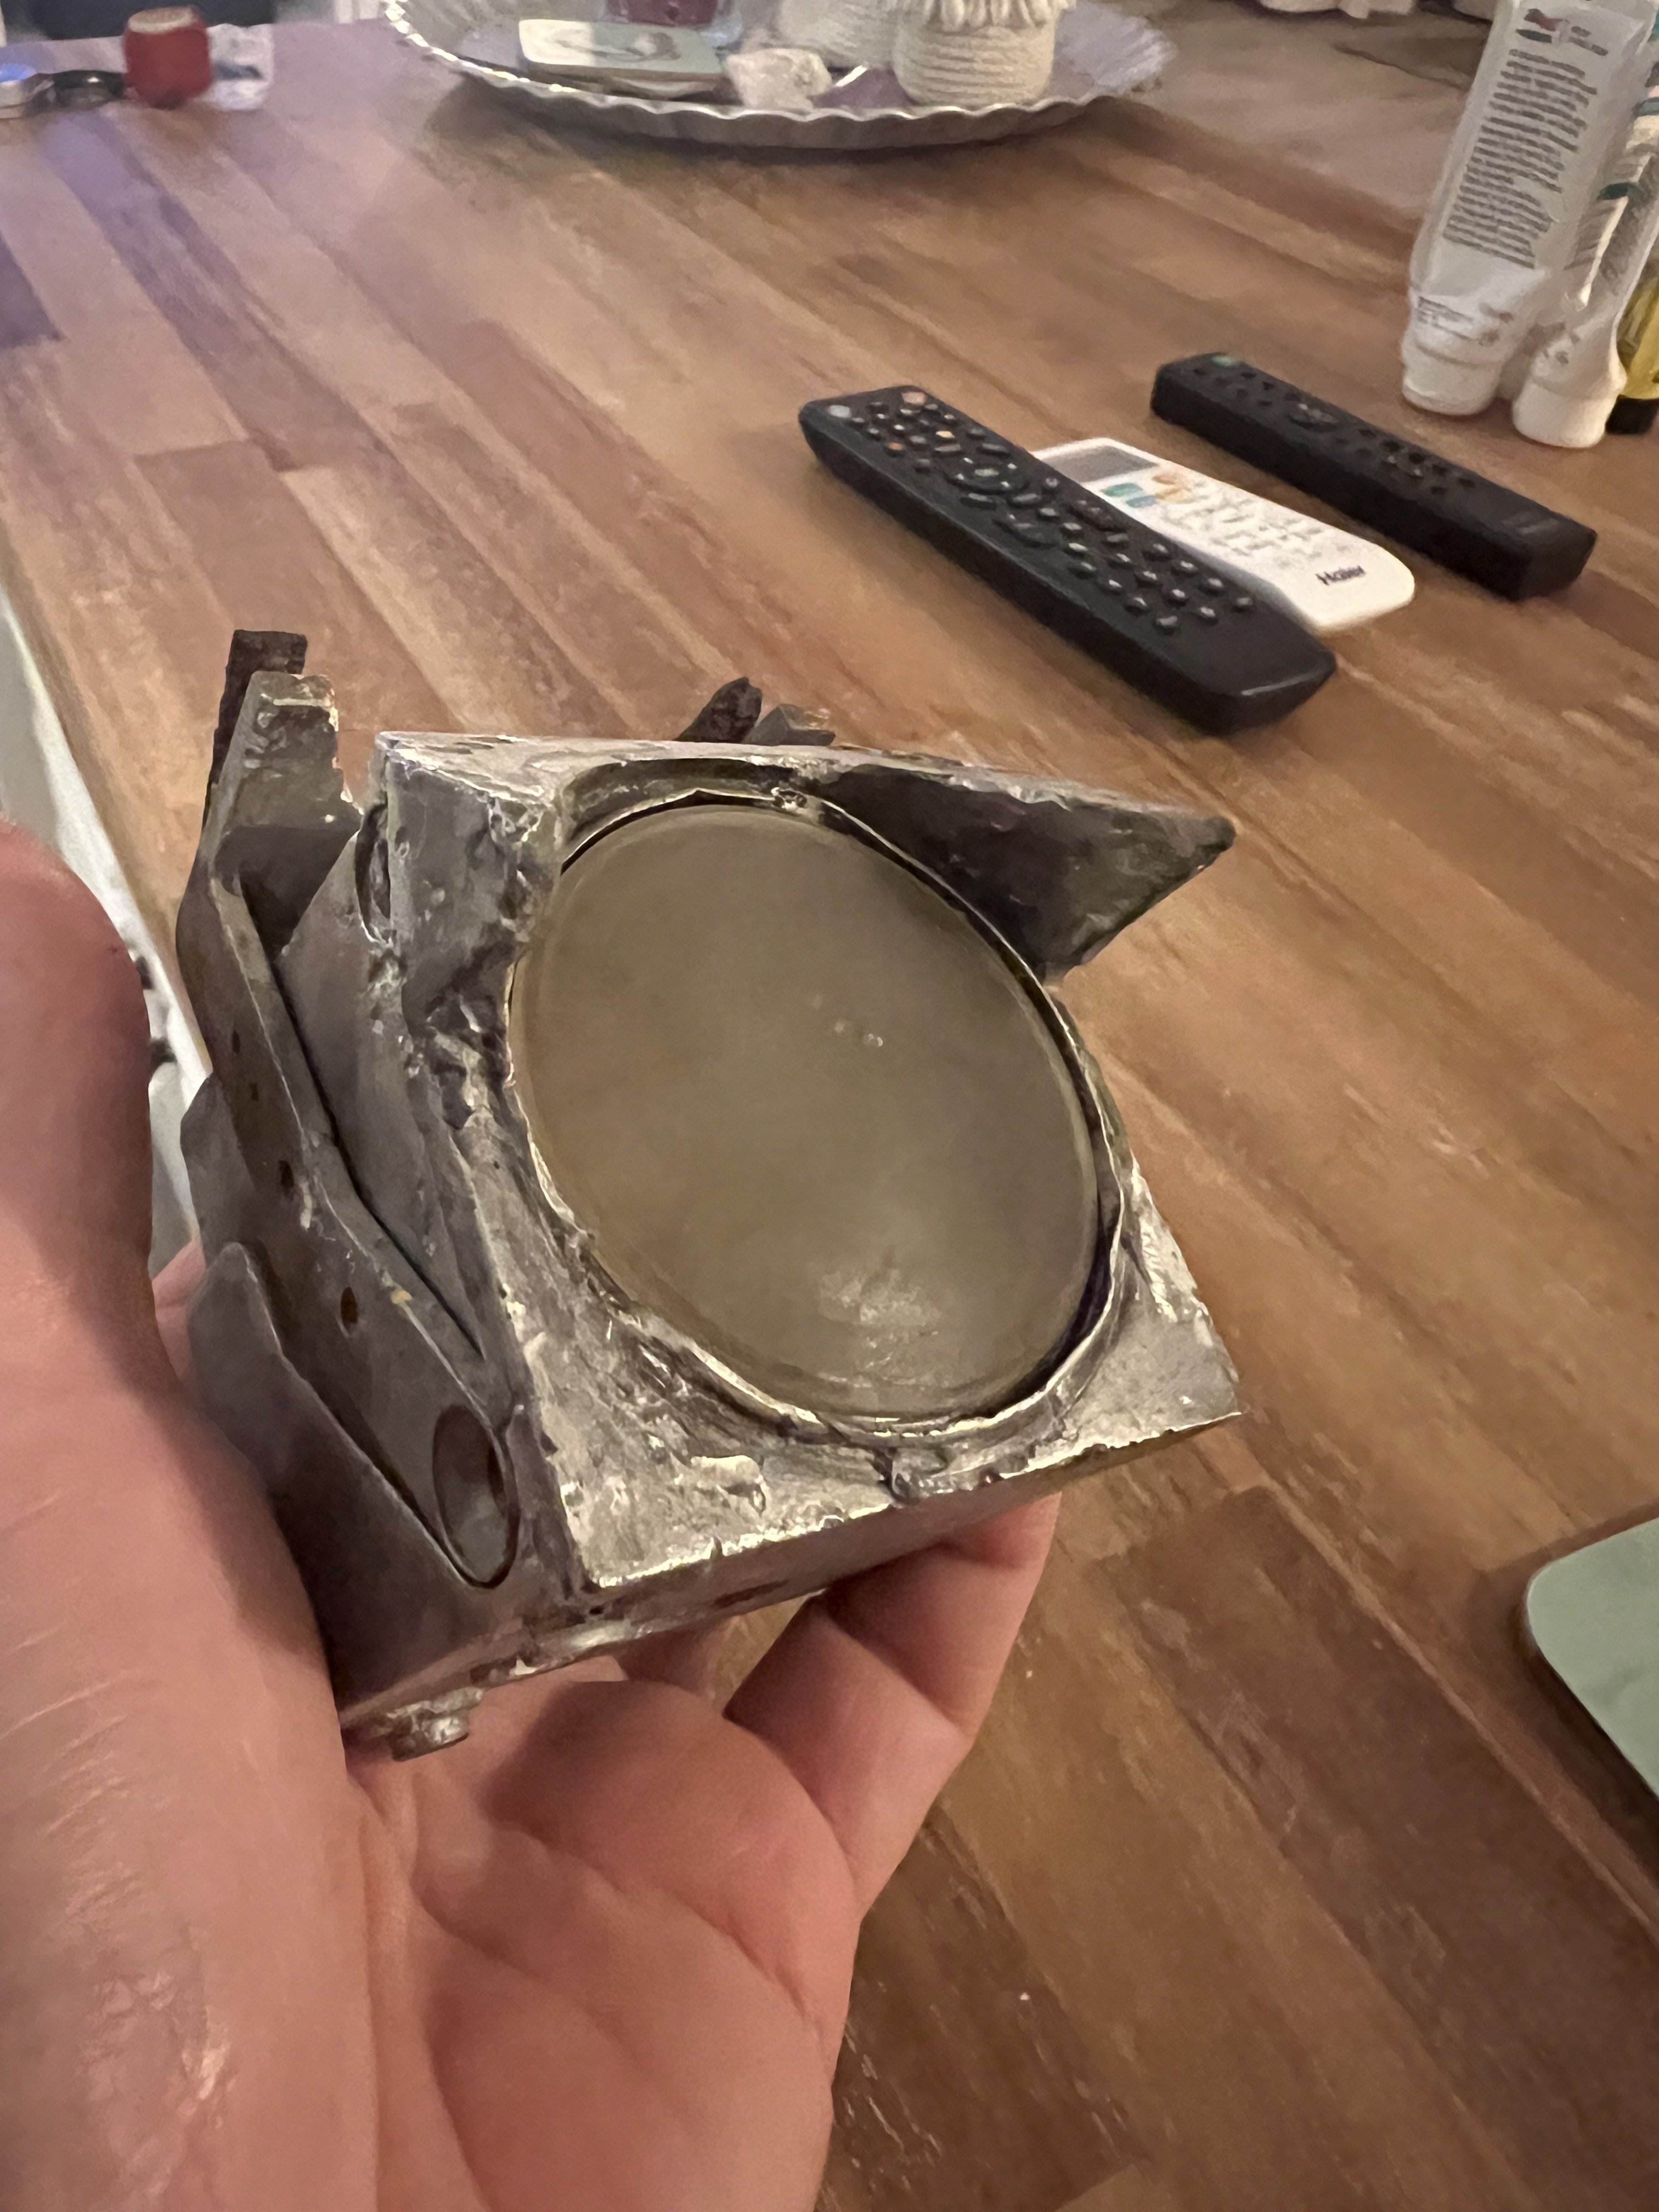
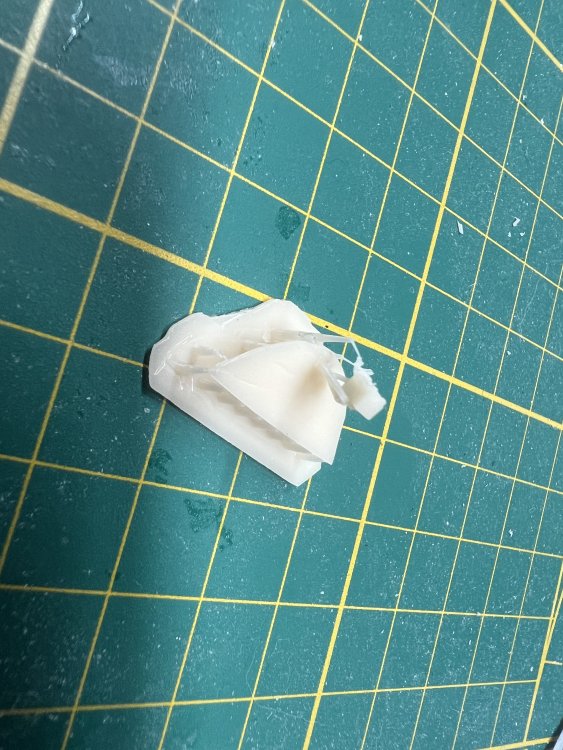
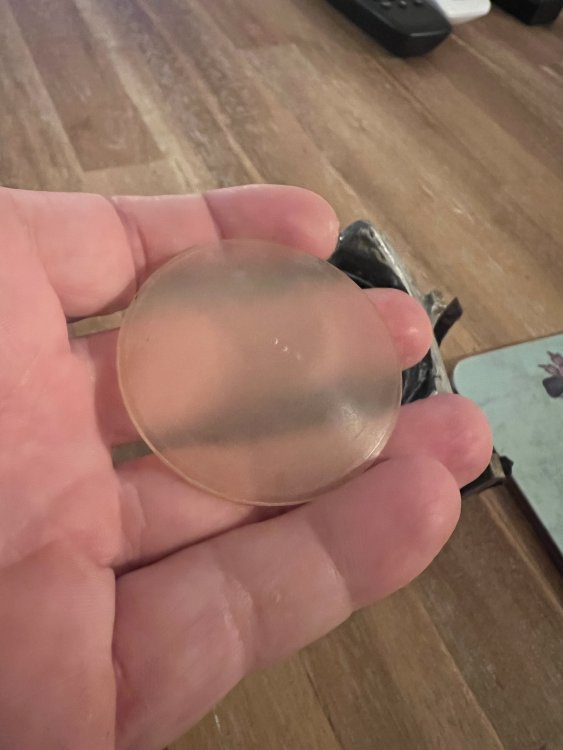
I have some technical drawings and drew a 3d model of the top lense. Printed it in transparent resin and it fits like a glove. Now to polish it and treat it with a heat gun to make it crystal clear.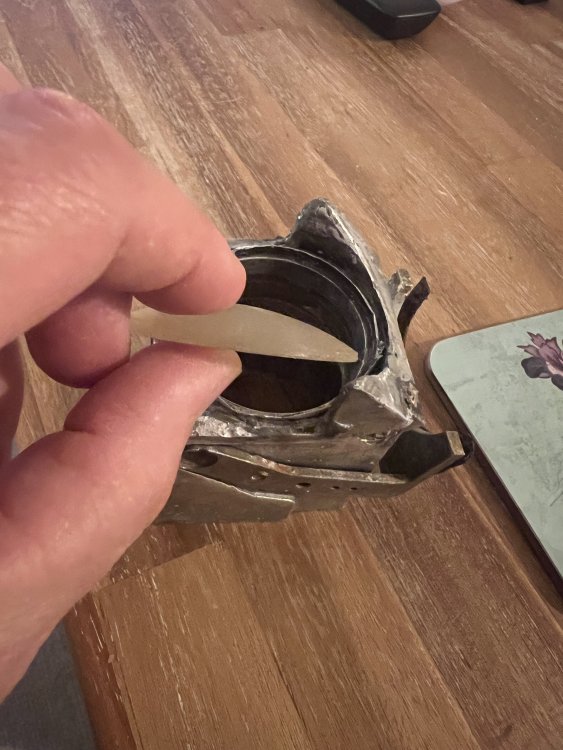


-
1/32 Lippisch P.13a / 3d printed
JeroenPeters replied to JeroenPeters's topic in LSM 1/35 and Larger Work In Progress
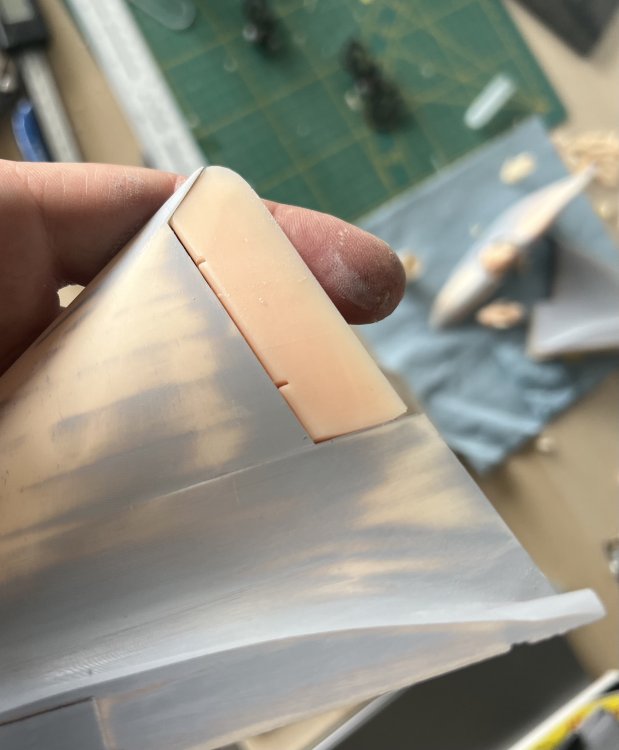
Things are getting smooth!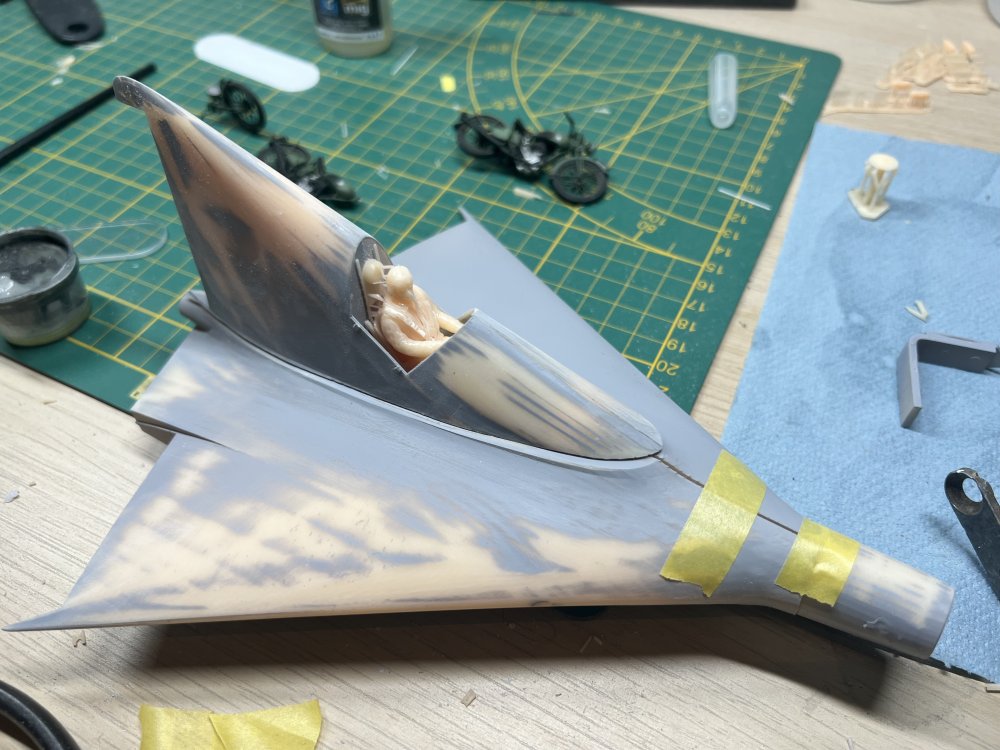
-
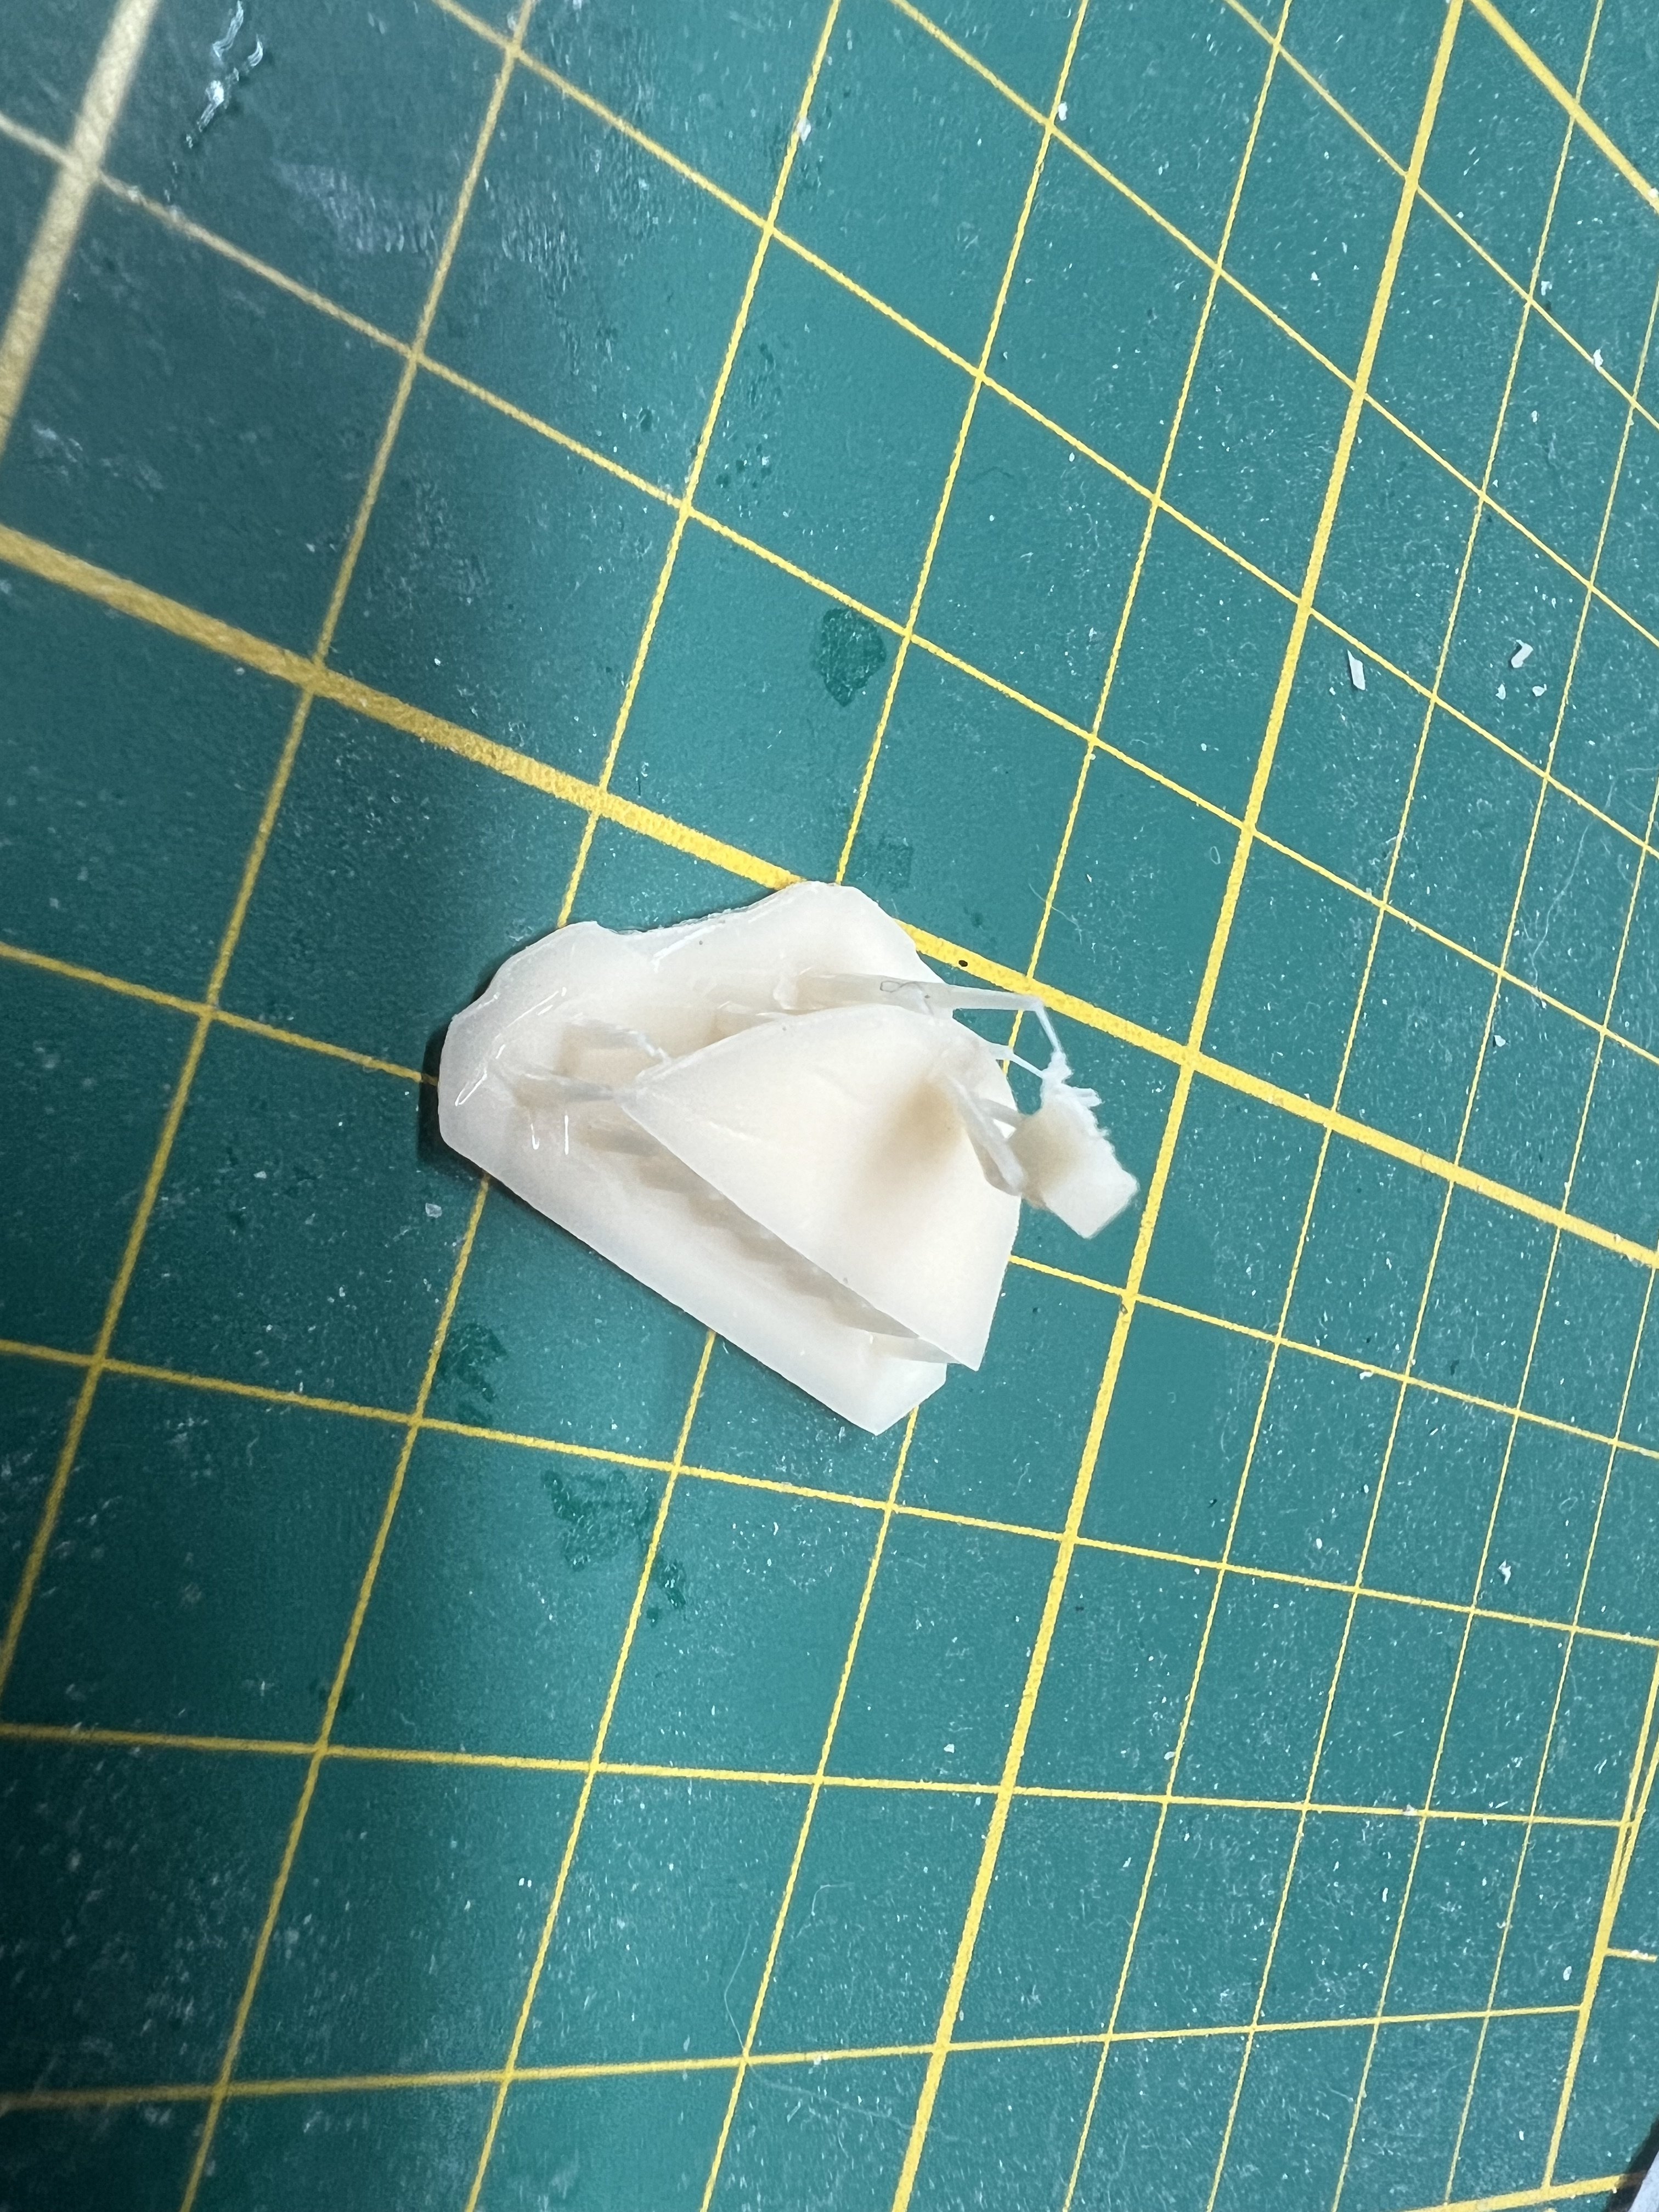
1/1 Revi16 restoration
JeroenPeters replied to JeroenPeters's topic in LSM 1/35 and Larger Work In Progress
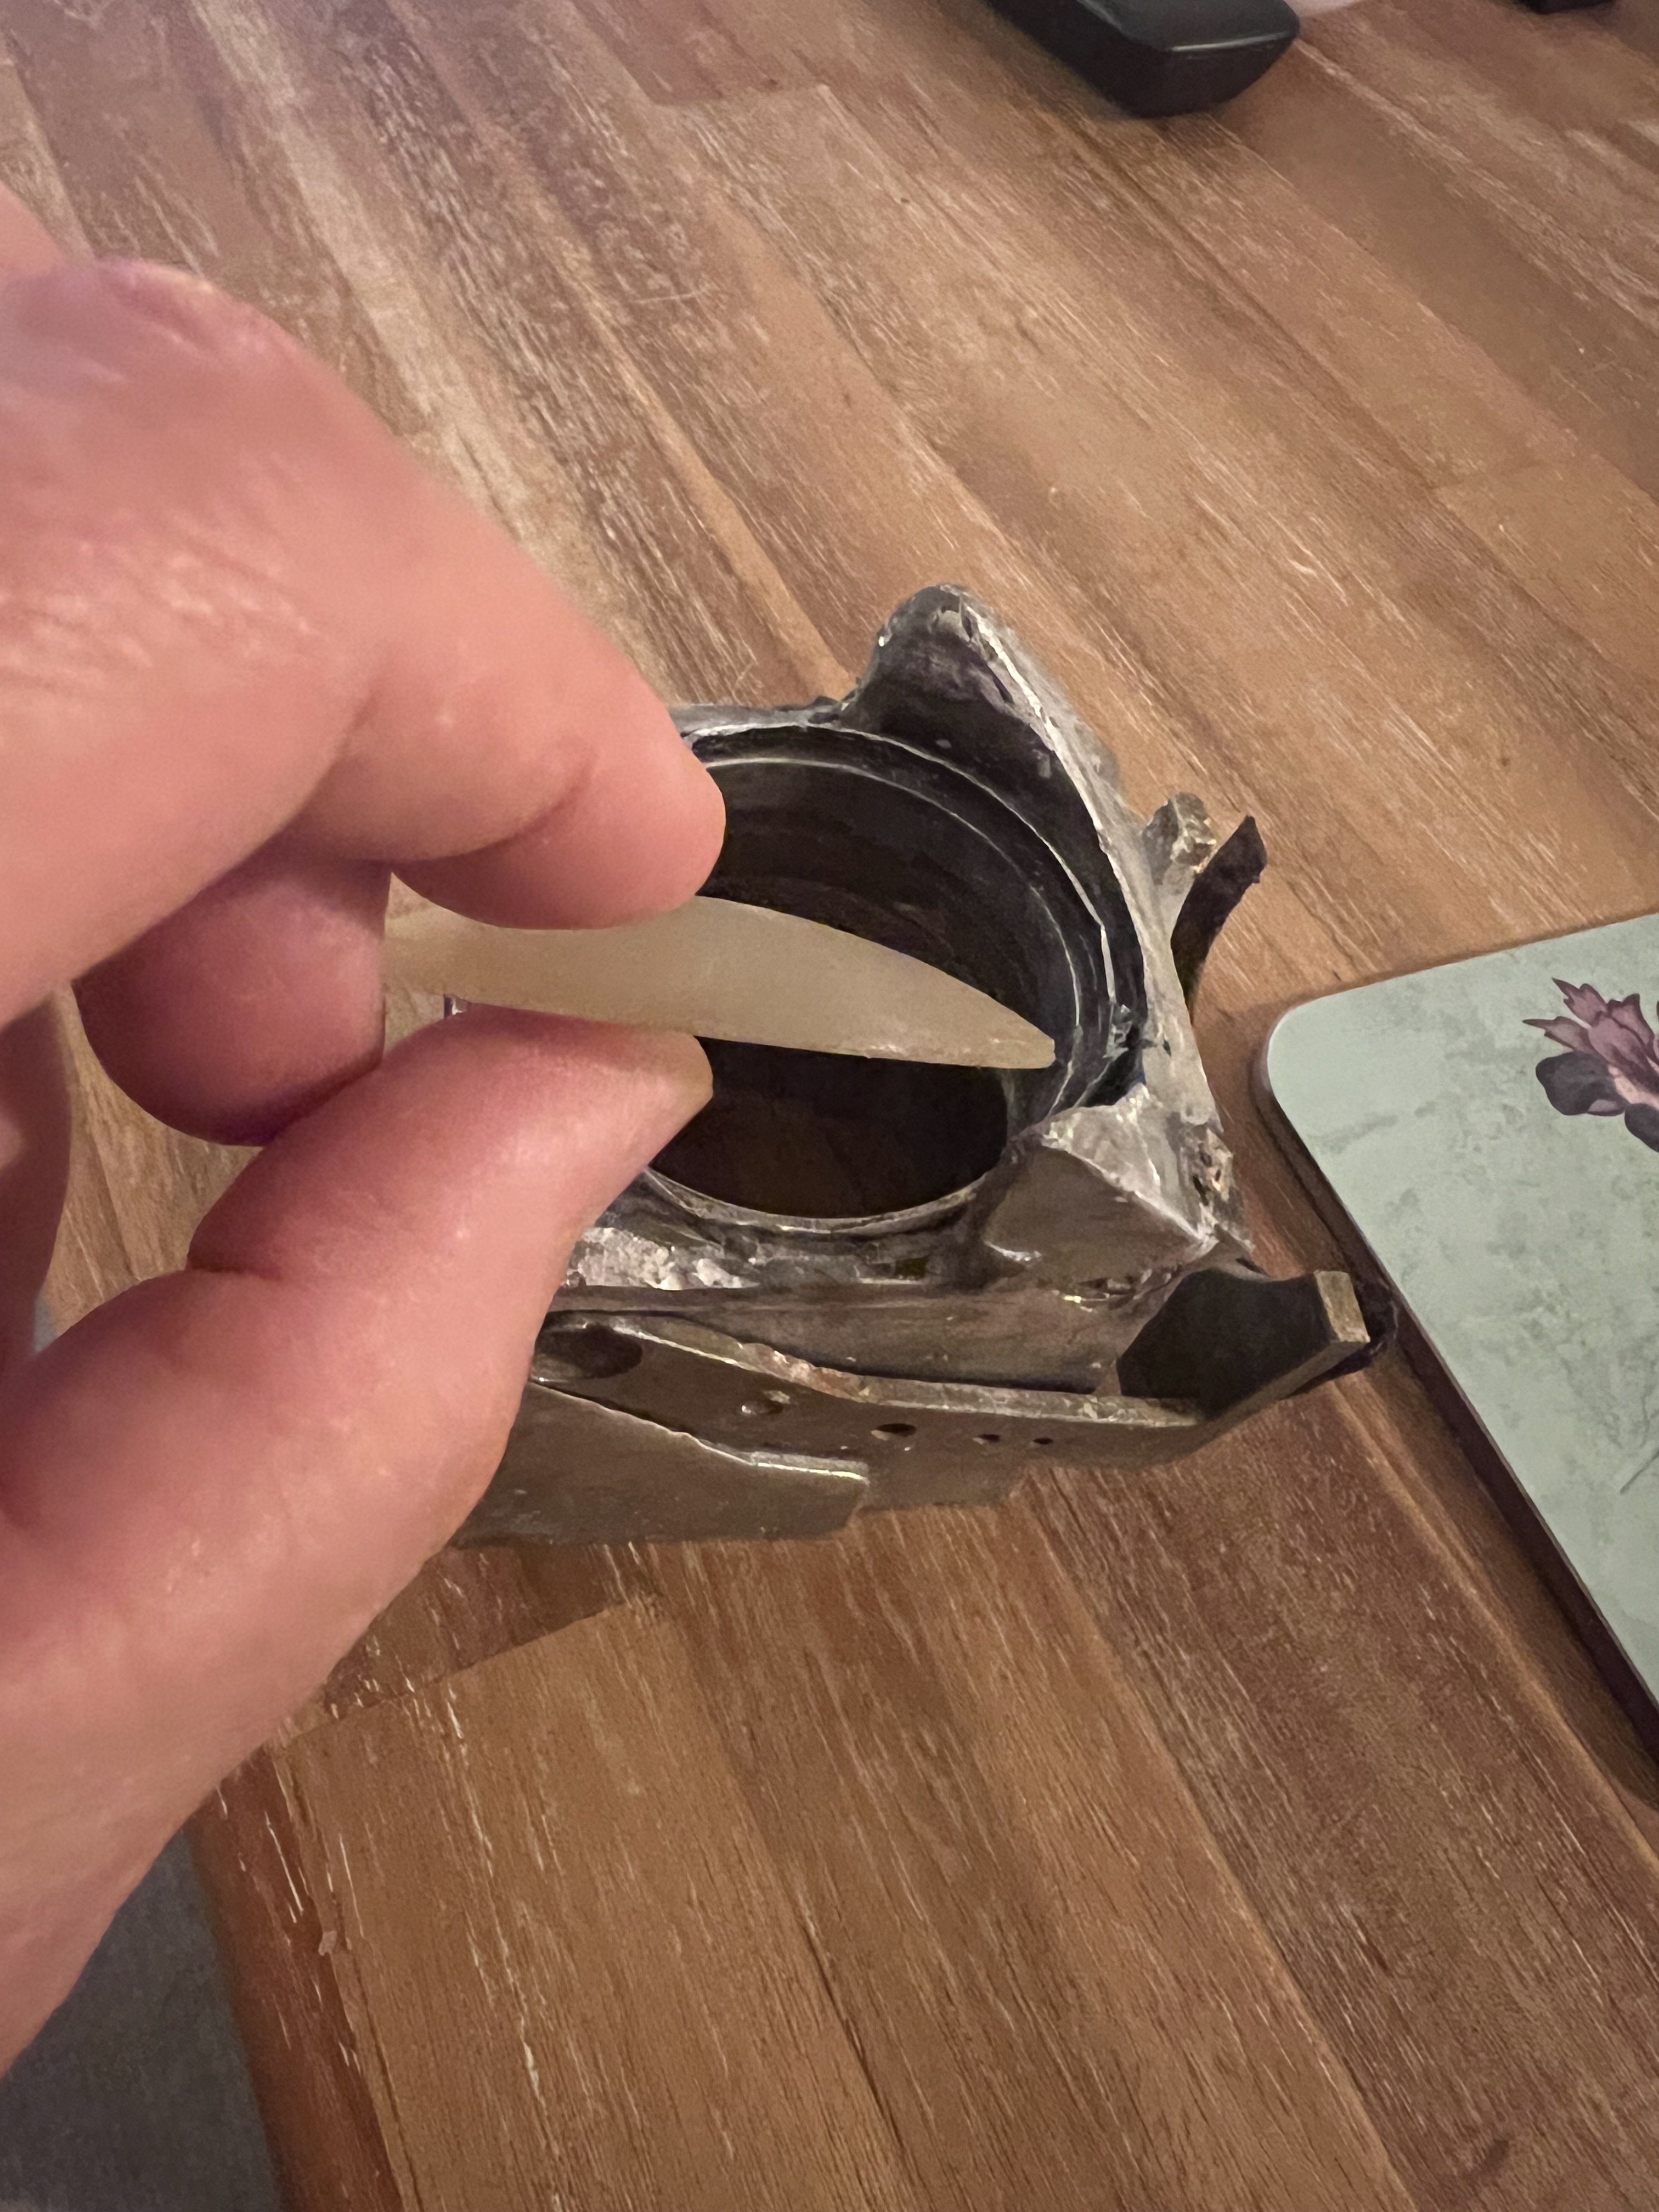
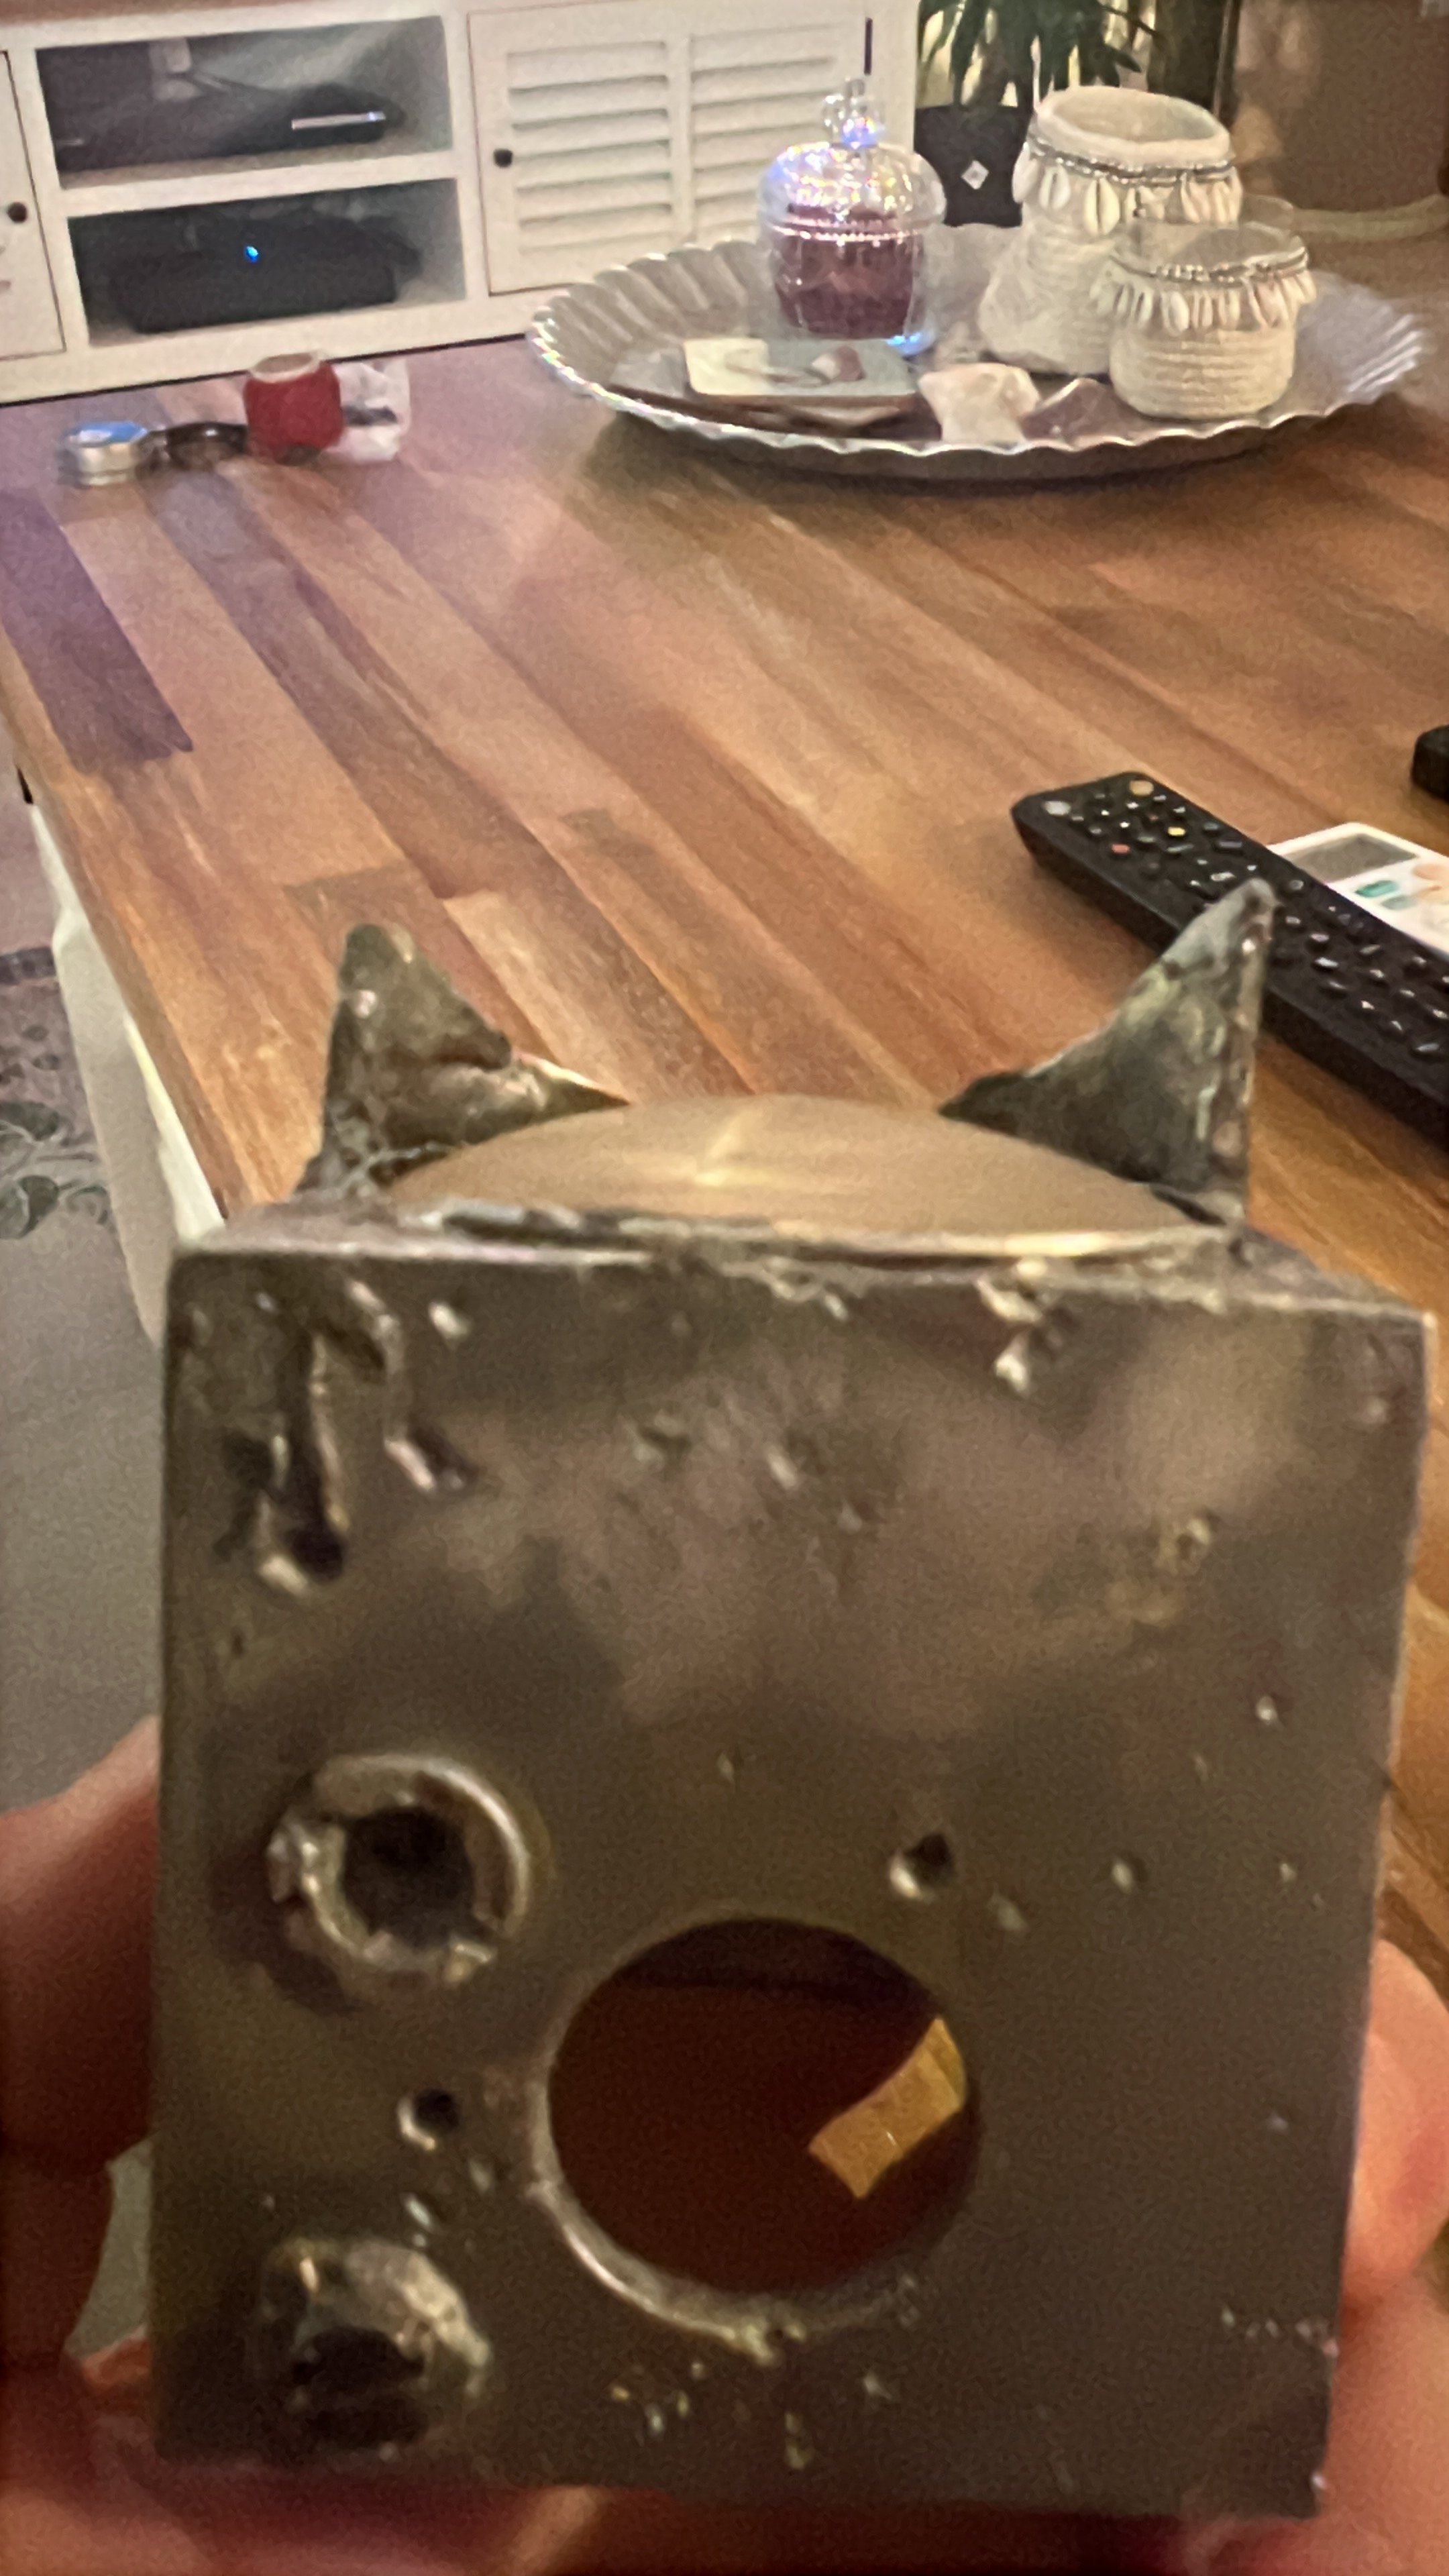
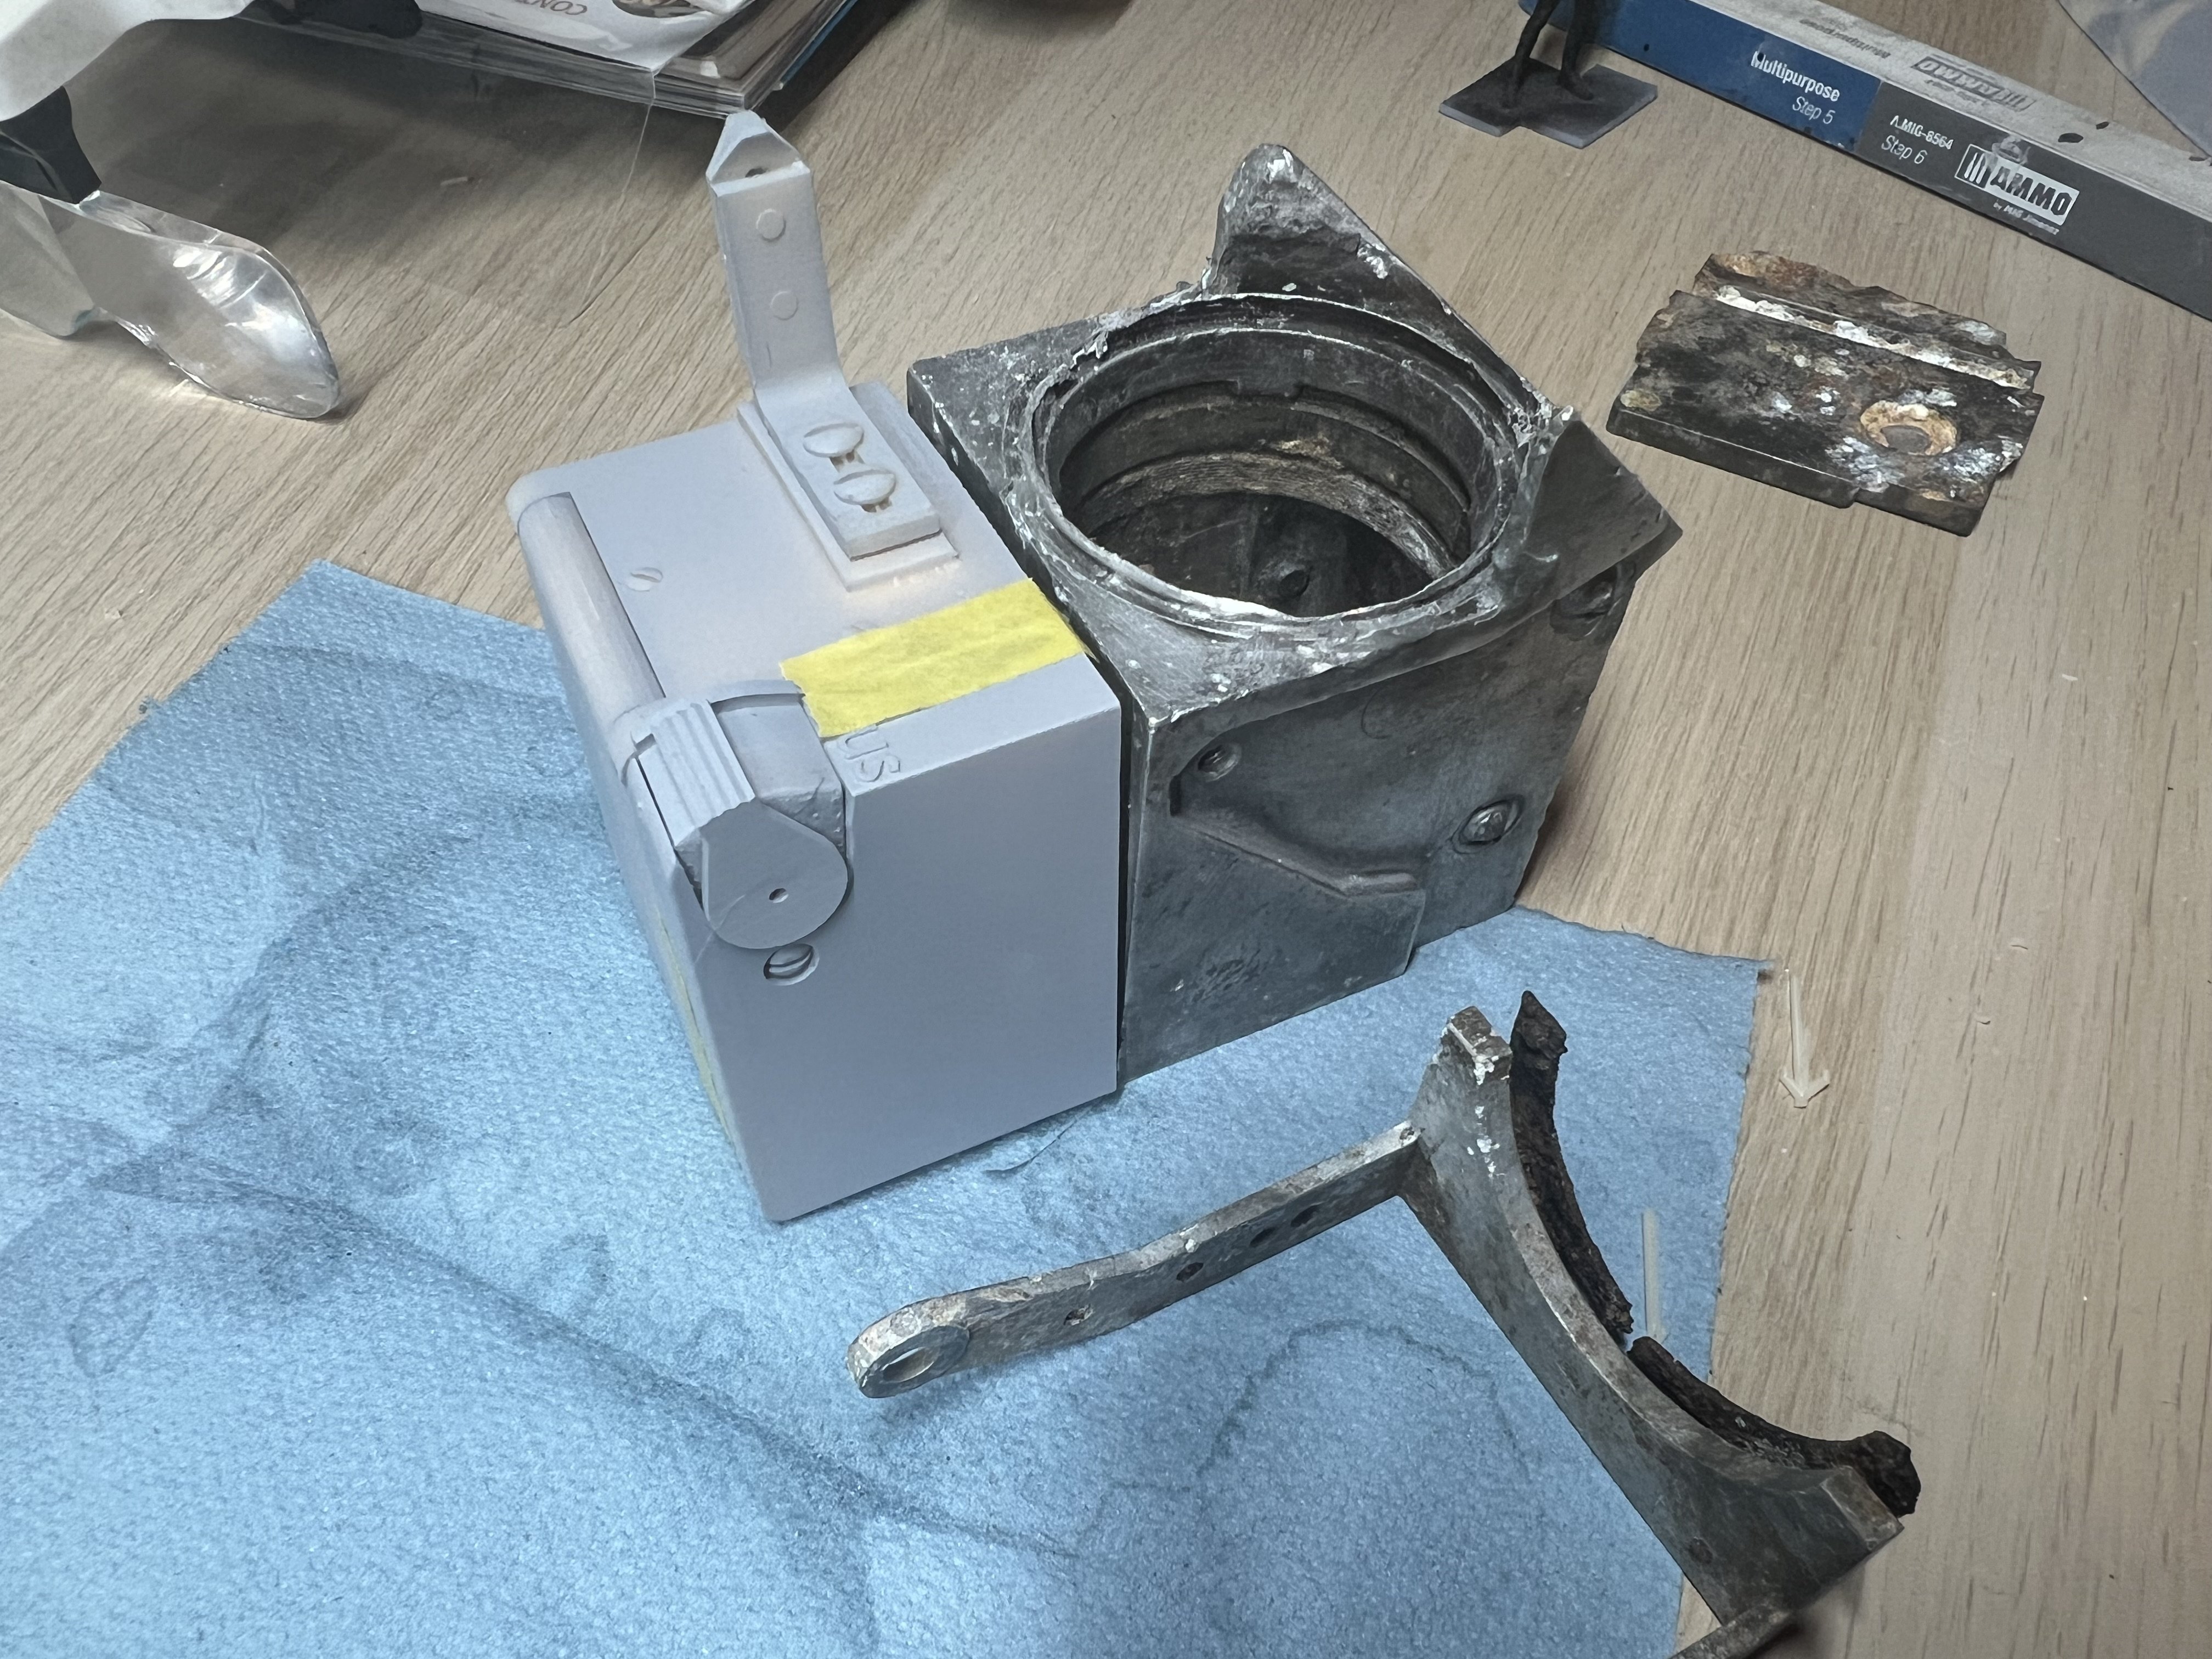
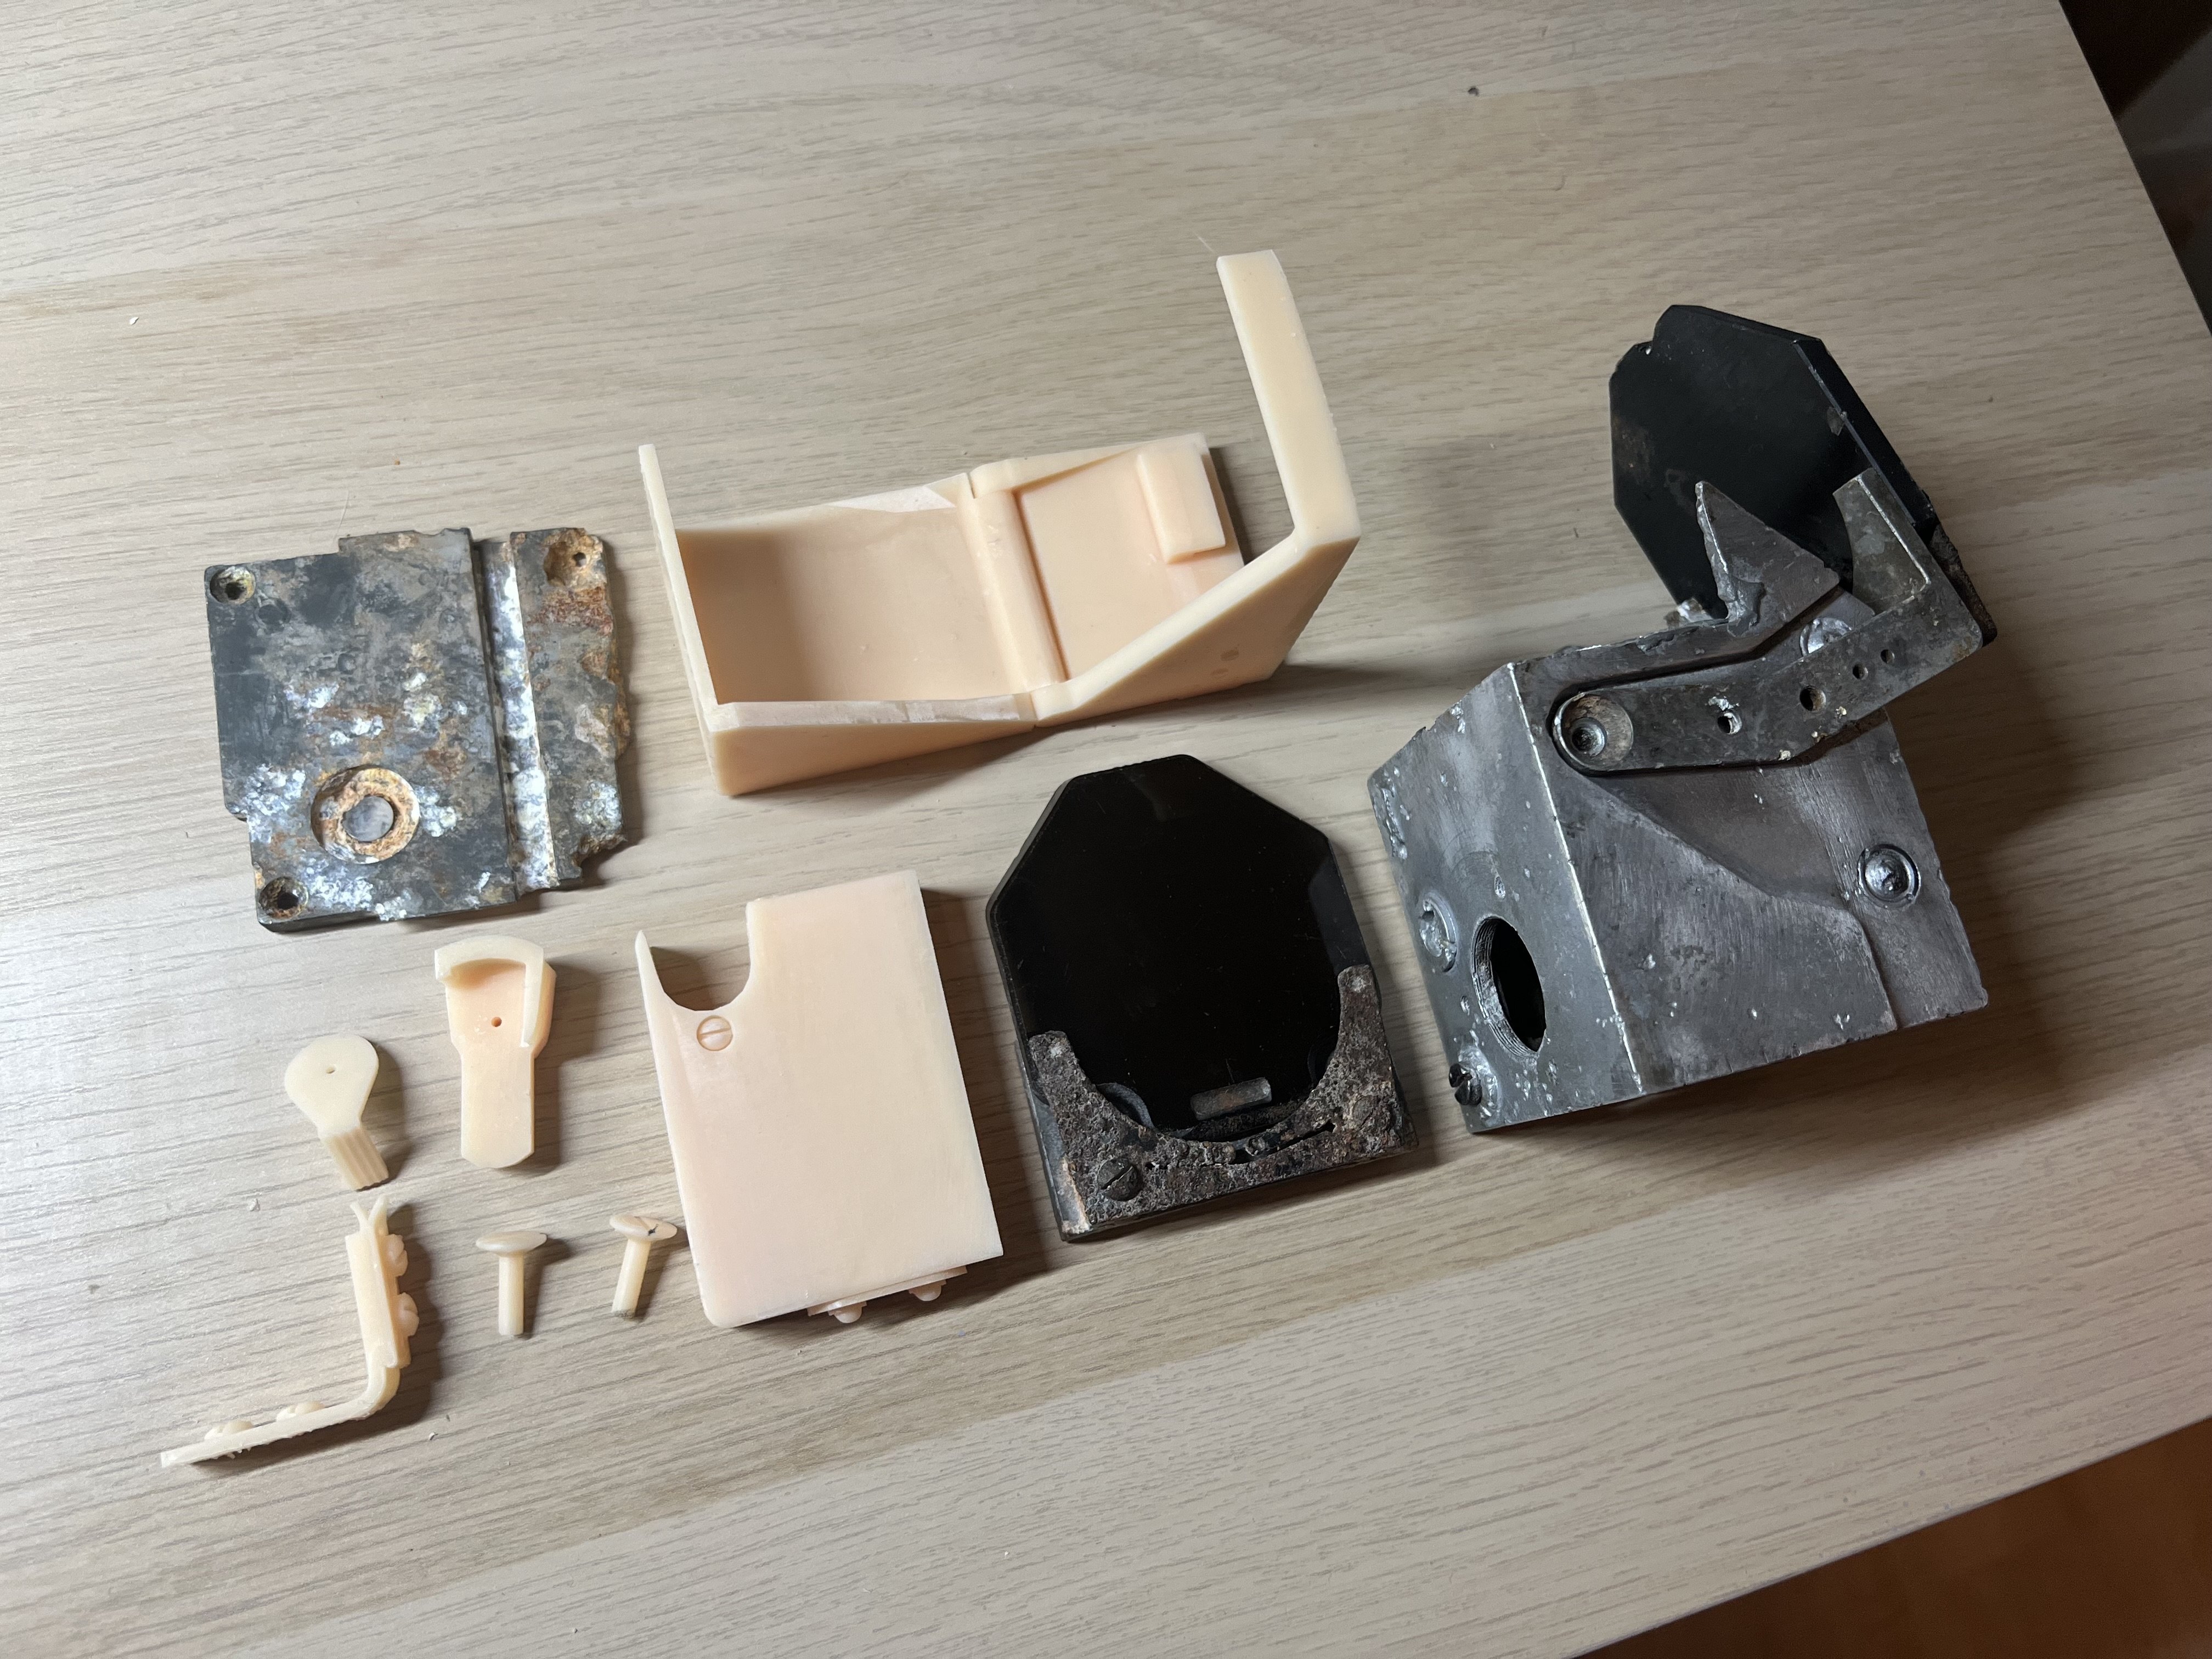
Here we go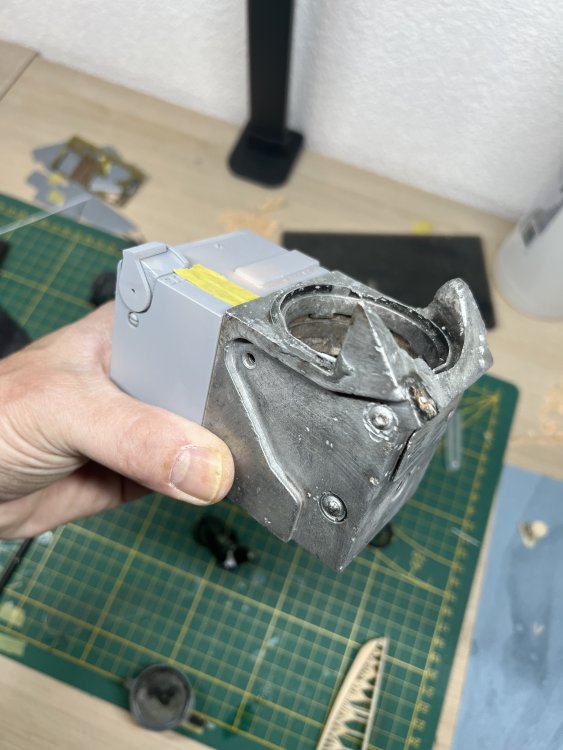

-
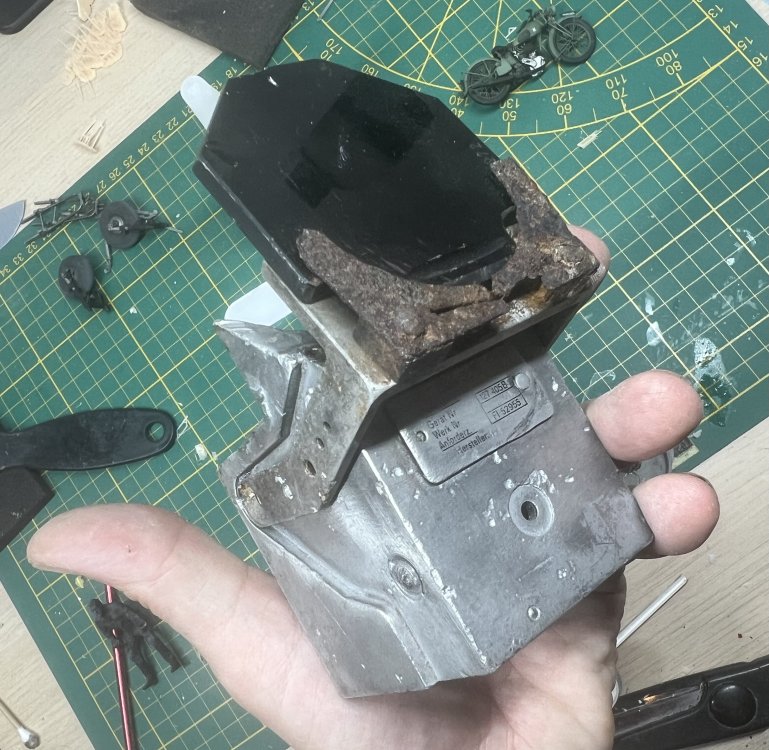
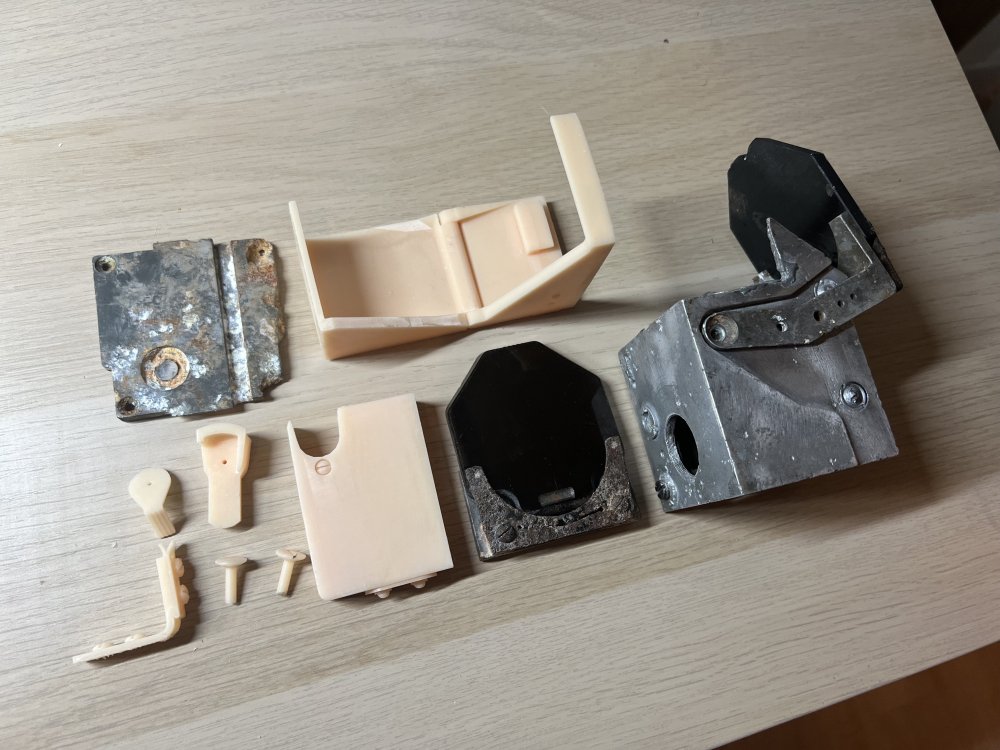
Another side project. Got this revi16 crash relic with missing half of it’s body. Drew these parts in 3D and printed them.


-
1/32 Lippisch P.13a / 3d printed
JeroenPeters replied to JeroenPeters's topic in LSM 1/35 and Larger Work In Progress
Started altering a RAF Bomber pilot I bought online. Drew the oxygen hose in a way so I can alter it to any pose. Now I'll need to measure the HK pilot seat in order to make this fit. Then on to the nose gunner. The booths look a little off-ish, but they won't be visible.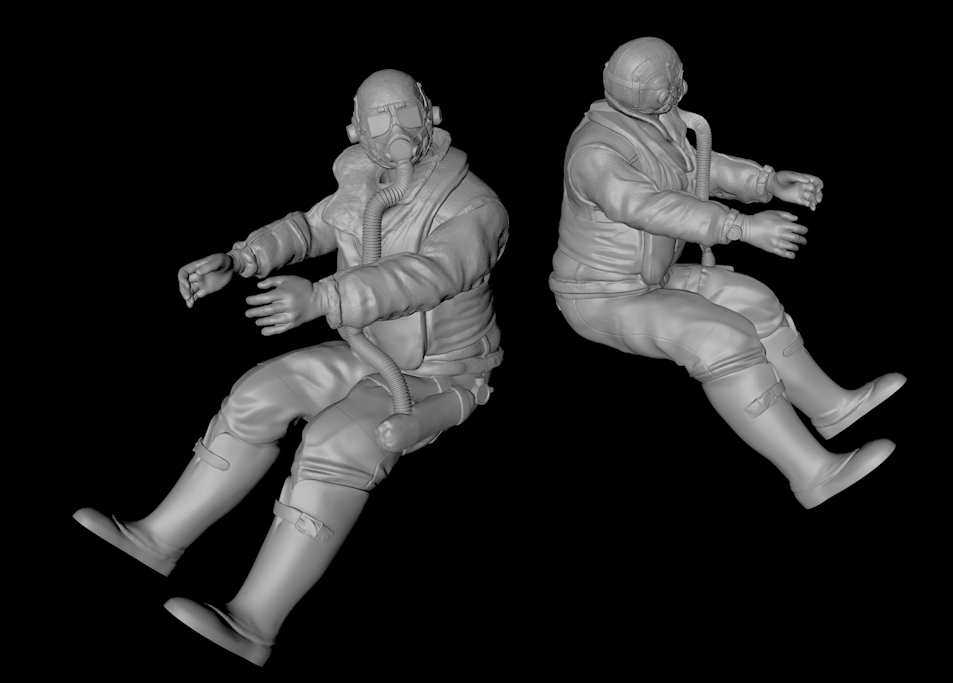
-
1/32 Lippisch P.13a / 3d printed
JeroenPeters replied to JeroenPeters's topic in LSM 1/35 and Larger Work In Progress
This is the idea: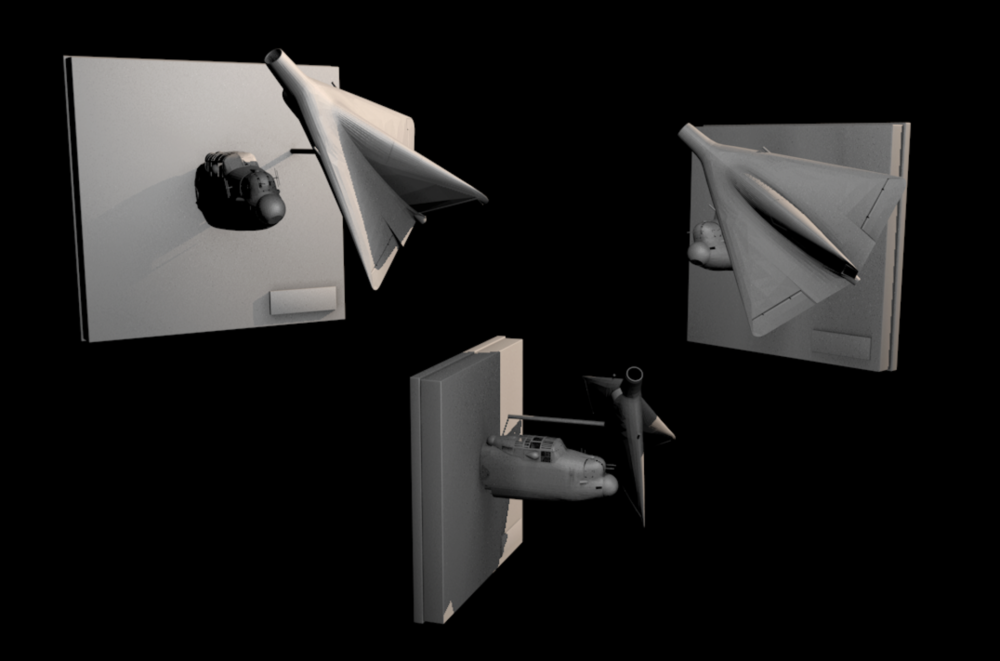
-
1/32 Lippisch P.13a / 3d printed
JeroenPeters replied to JeroenPeters's topic in LSM 1/35 and Larger Work In Progress
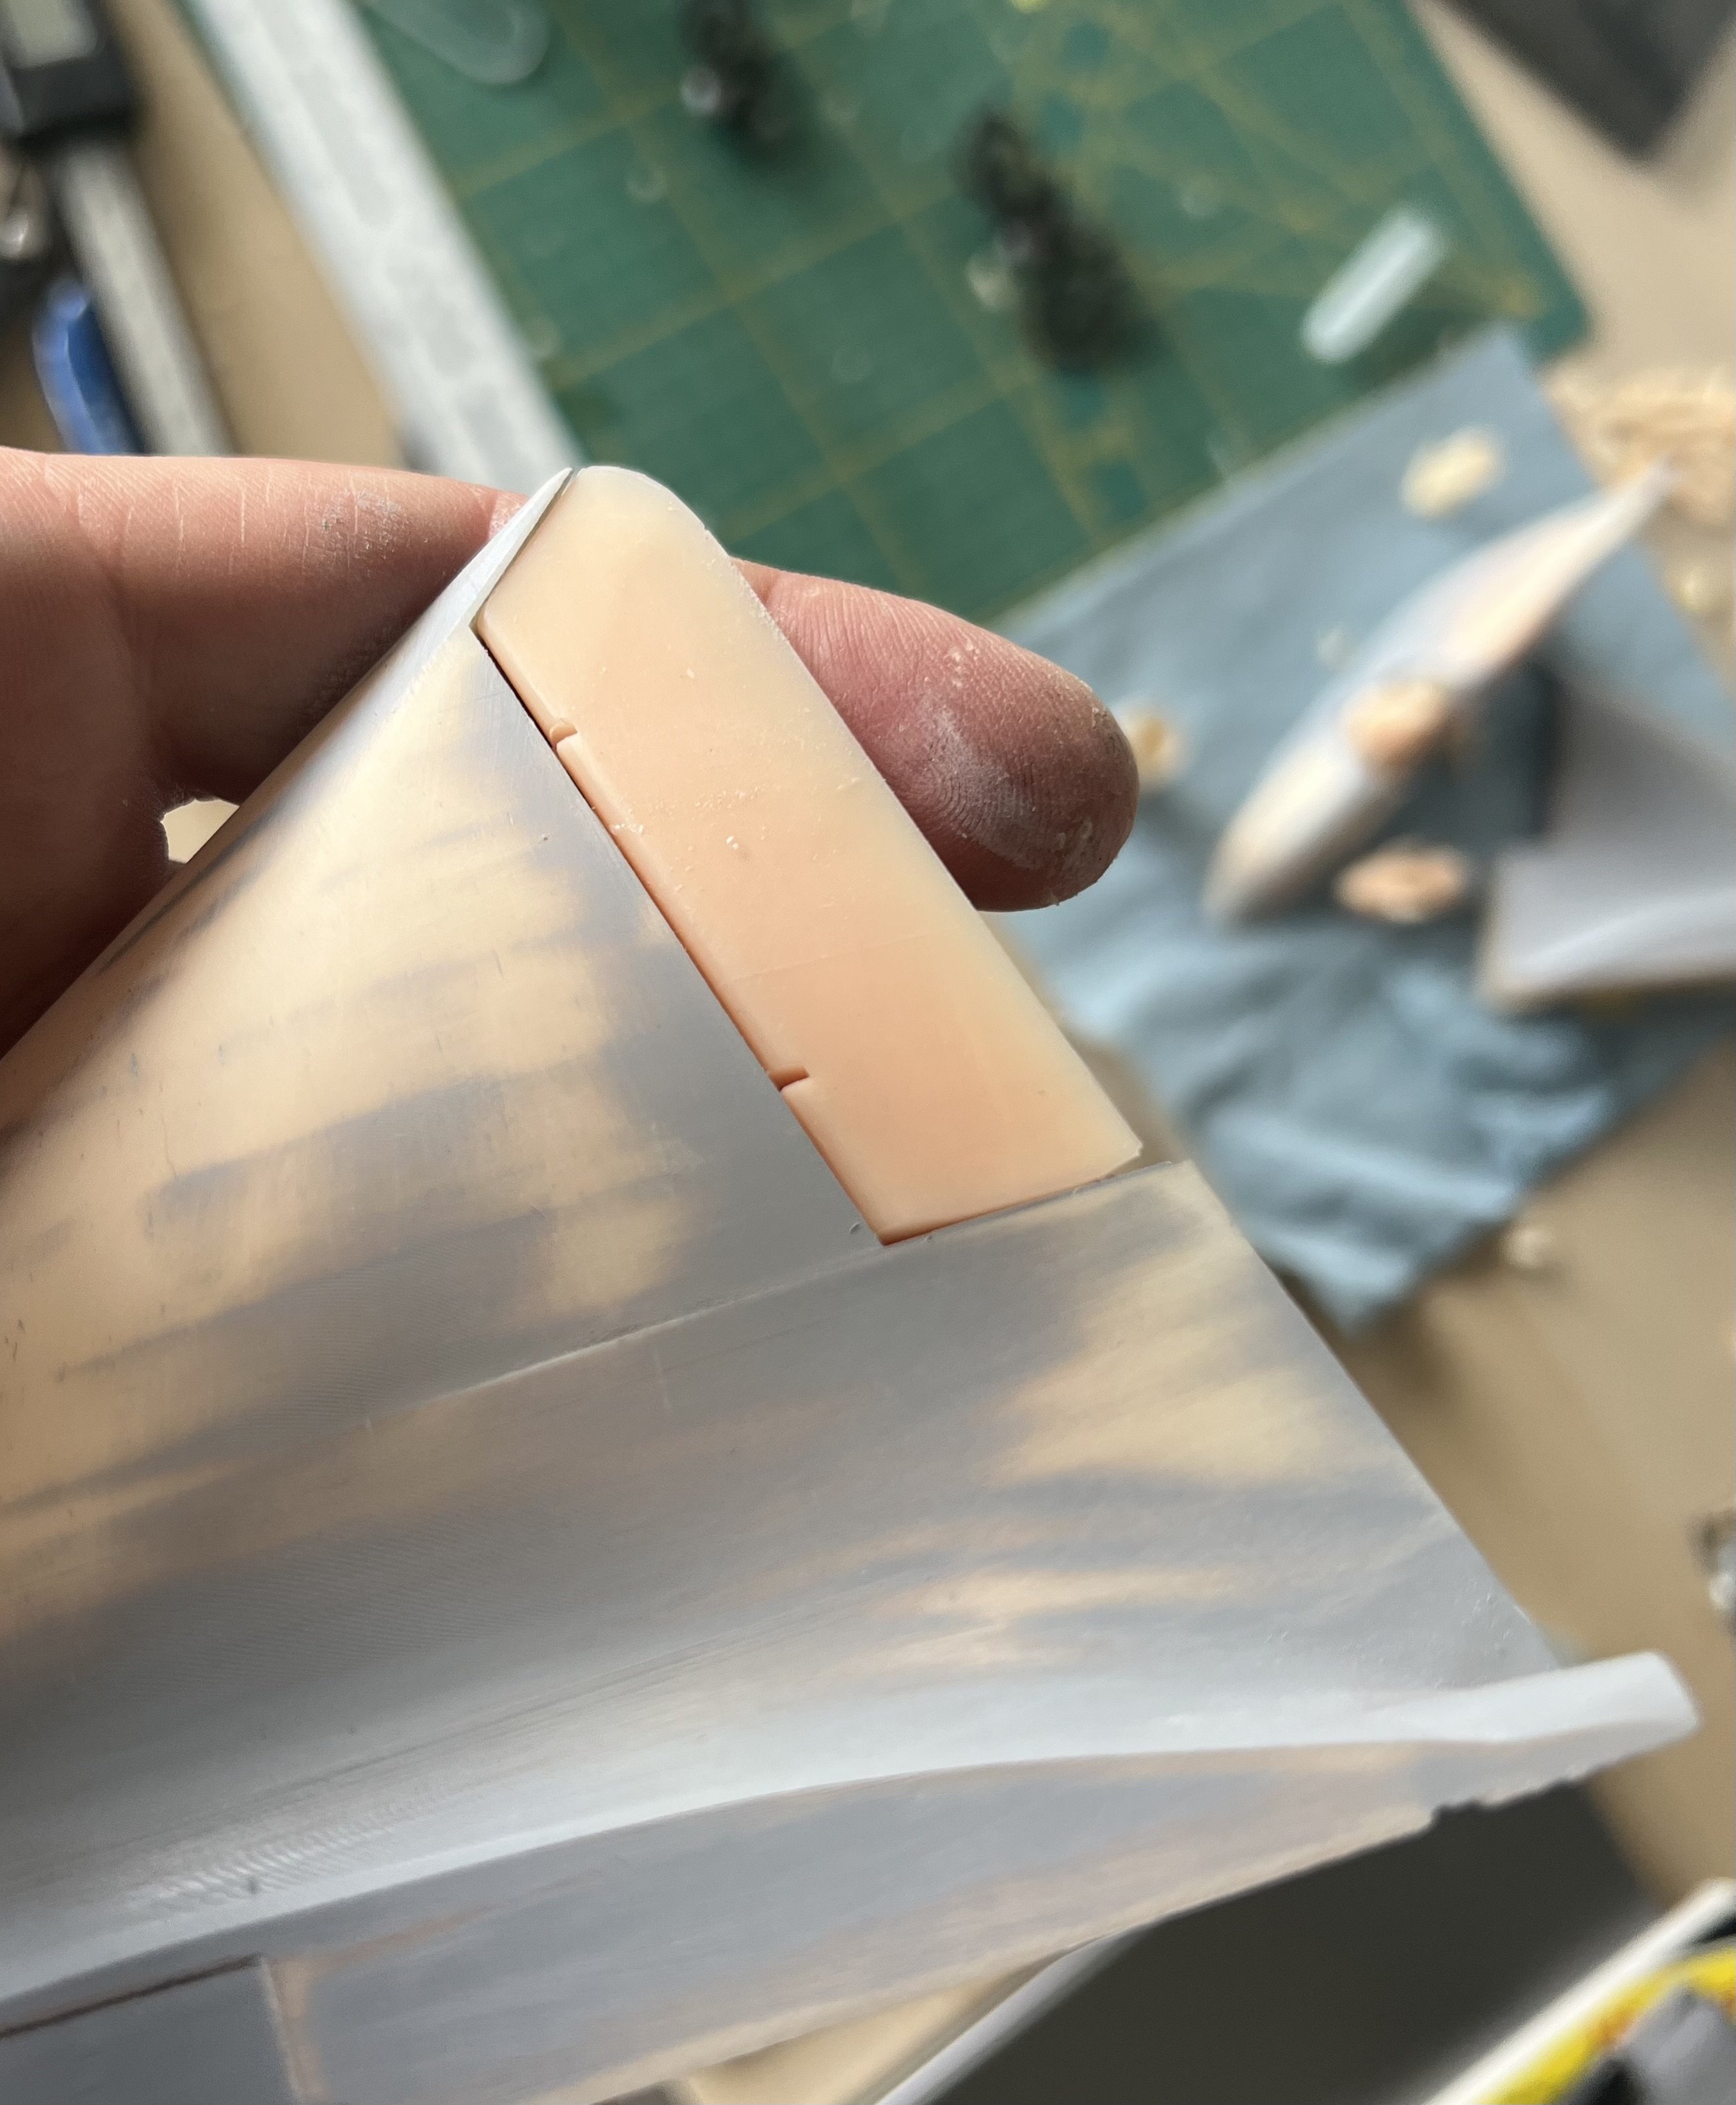
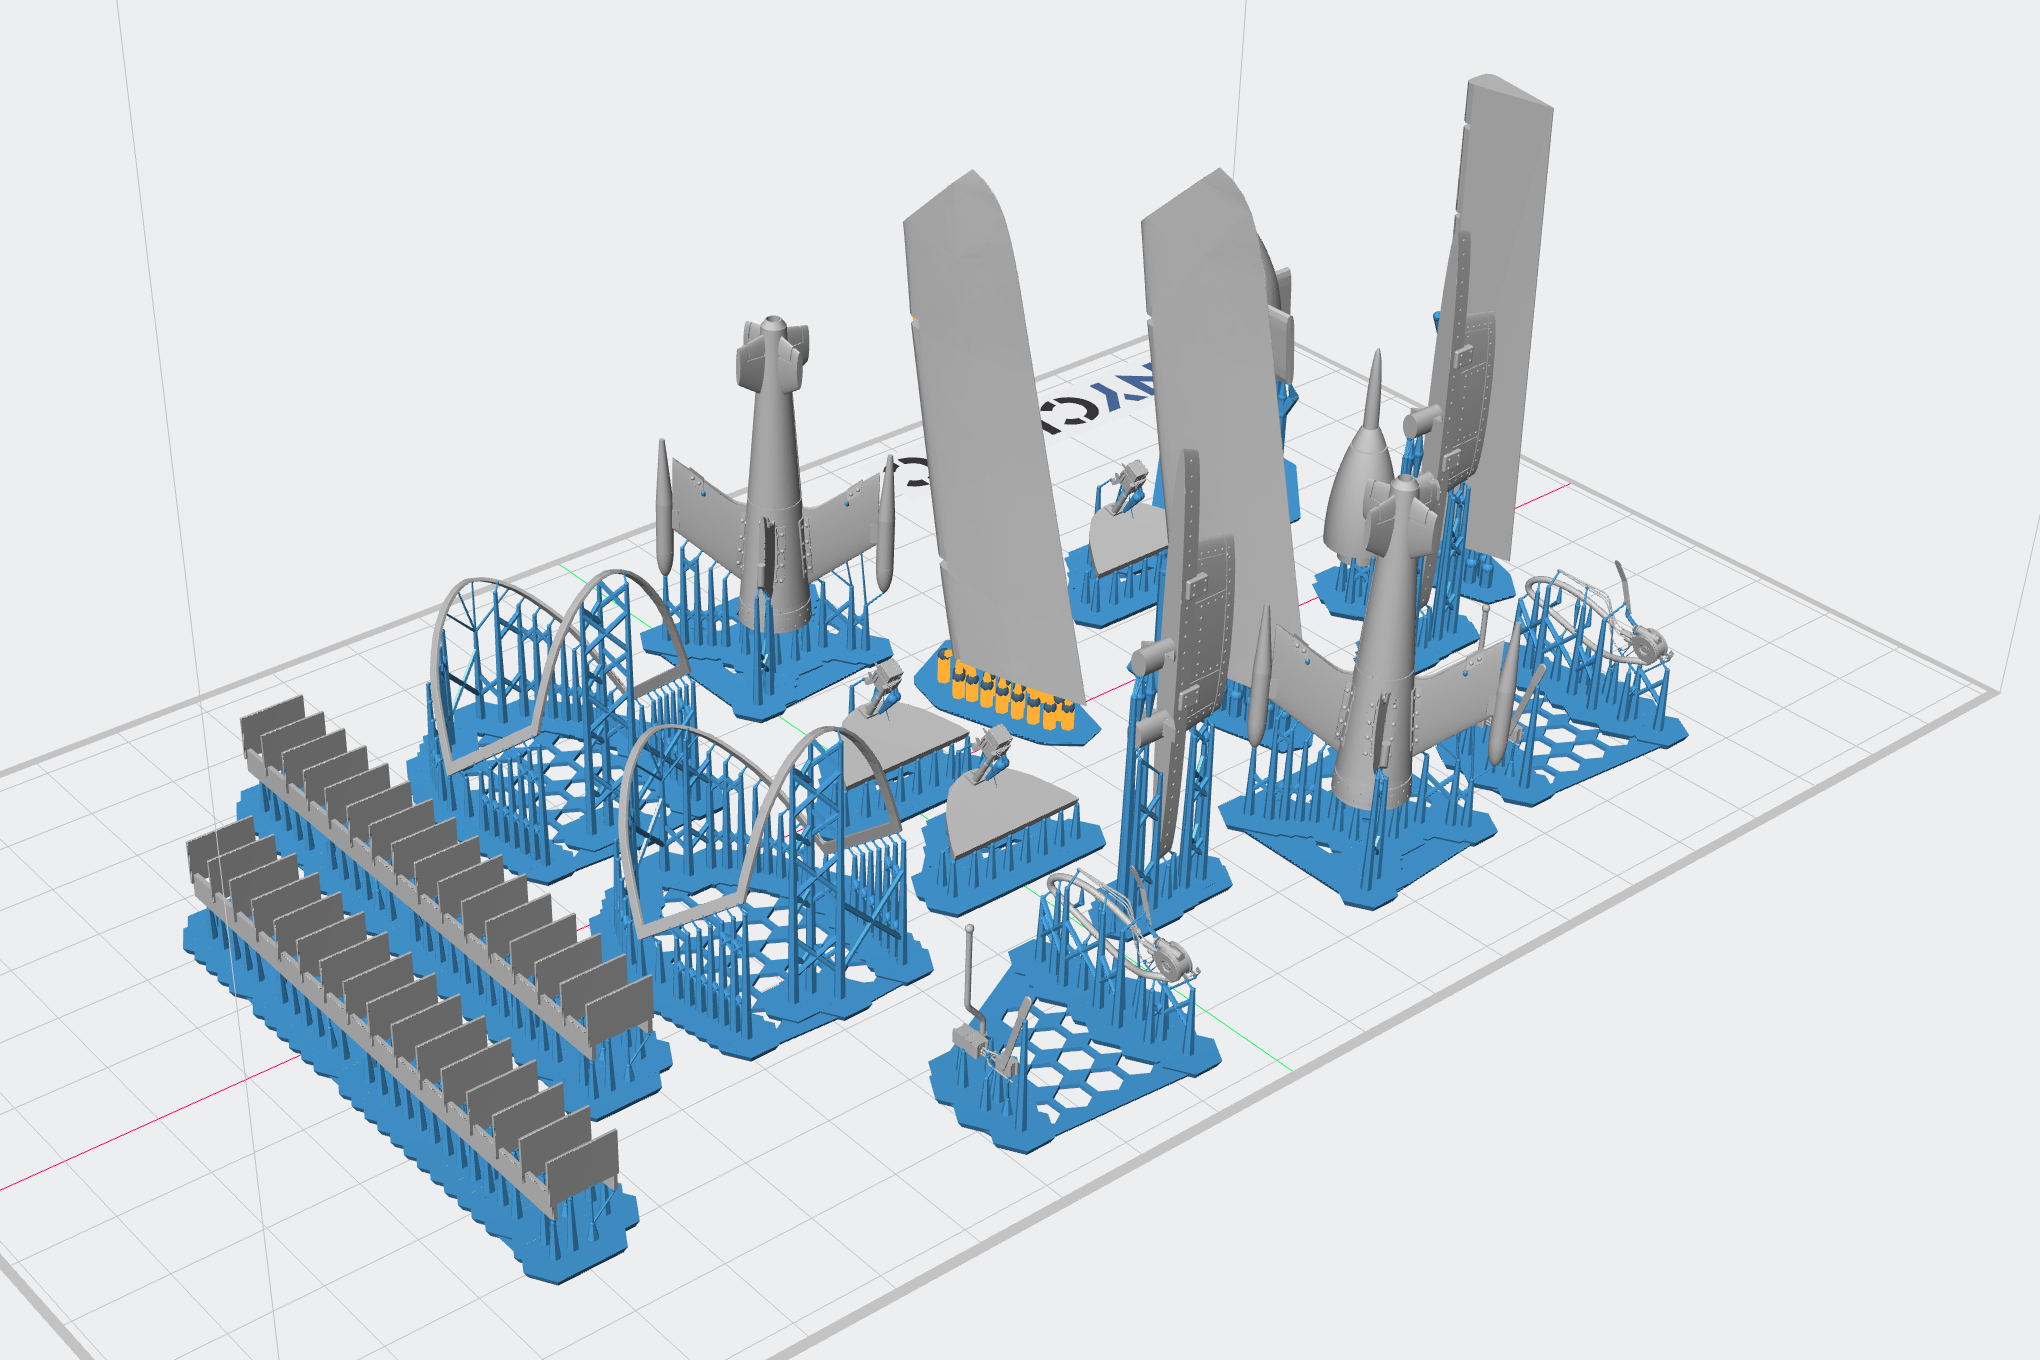
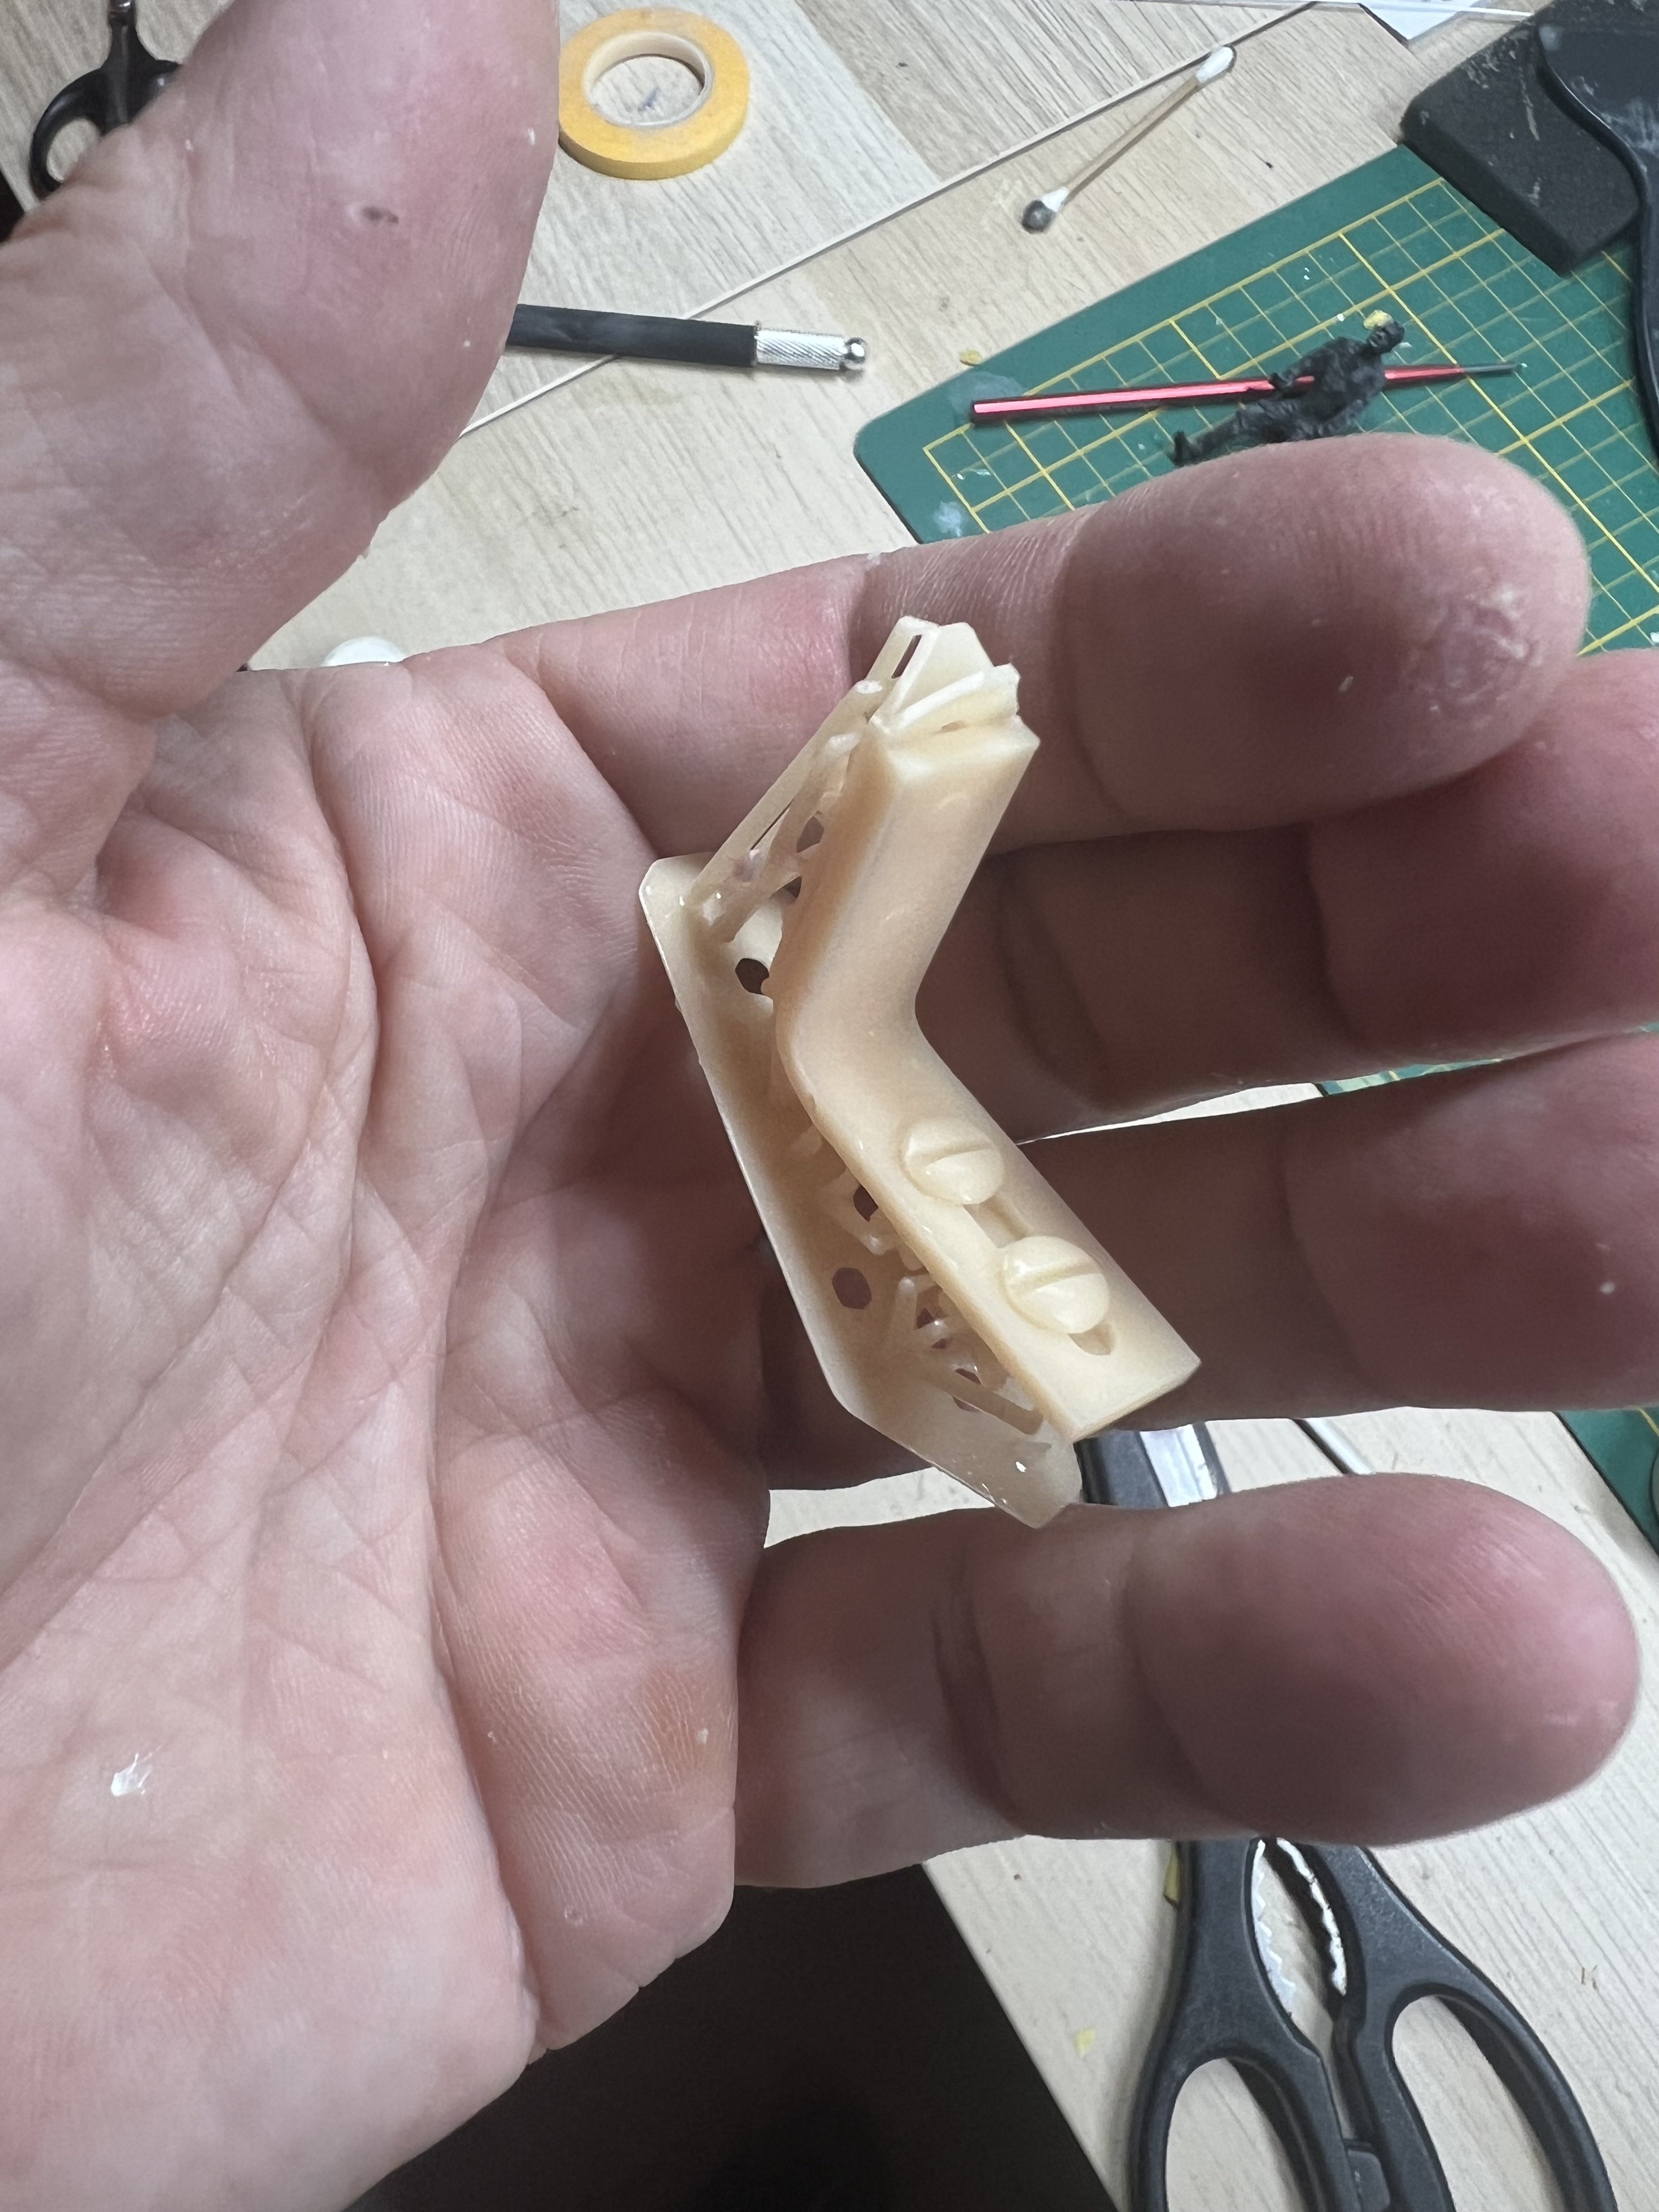
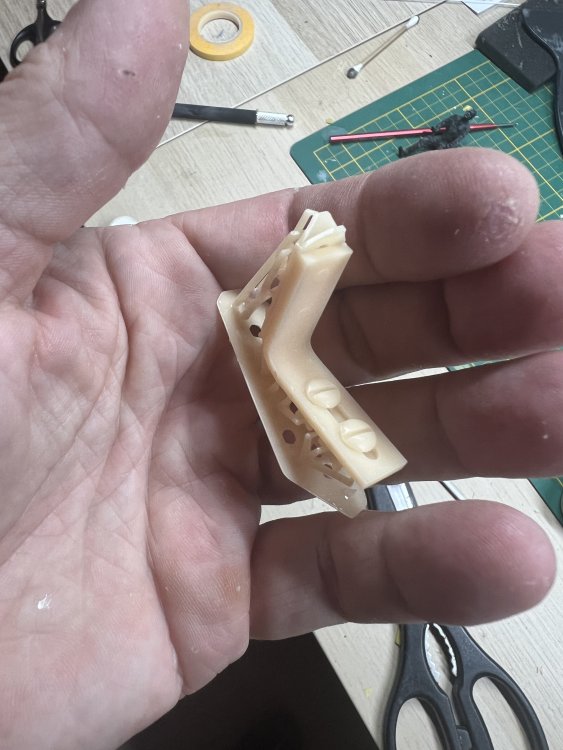
Fresh of the printer! Now you realize how big this thing is. The internal structure is hollow with a honeycomb and has drain holes. I managed to add polygons in order to ger a smooth surface. Now: priming and scribing, the nose, skid and new printed pilot are curing now.