
Kaireckstadt
-
Posts
1,705 -
Joined
-
Last visited
Content Type
Profiles
Forums
Events
Gallery
Everything posted by Kaireckstadt
-
 Do you build this for „Das Boot 2“ ? Looks like the real thing! Awesome!
 -
Israeli Mirage III C with Atar9C
Kaireckstadt replied to Kaireckstadt's topic in LSM 1/35 and Larger Work In Progress
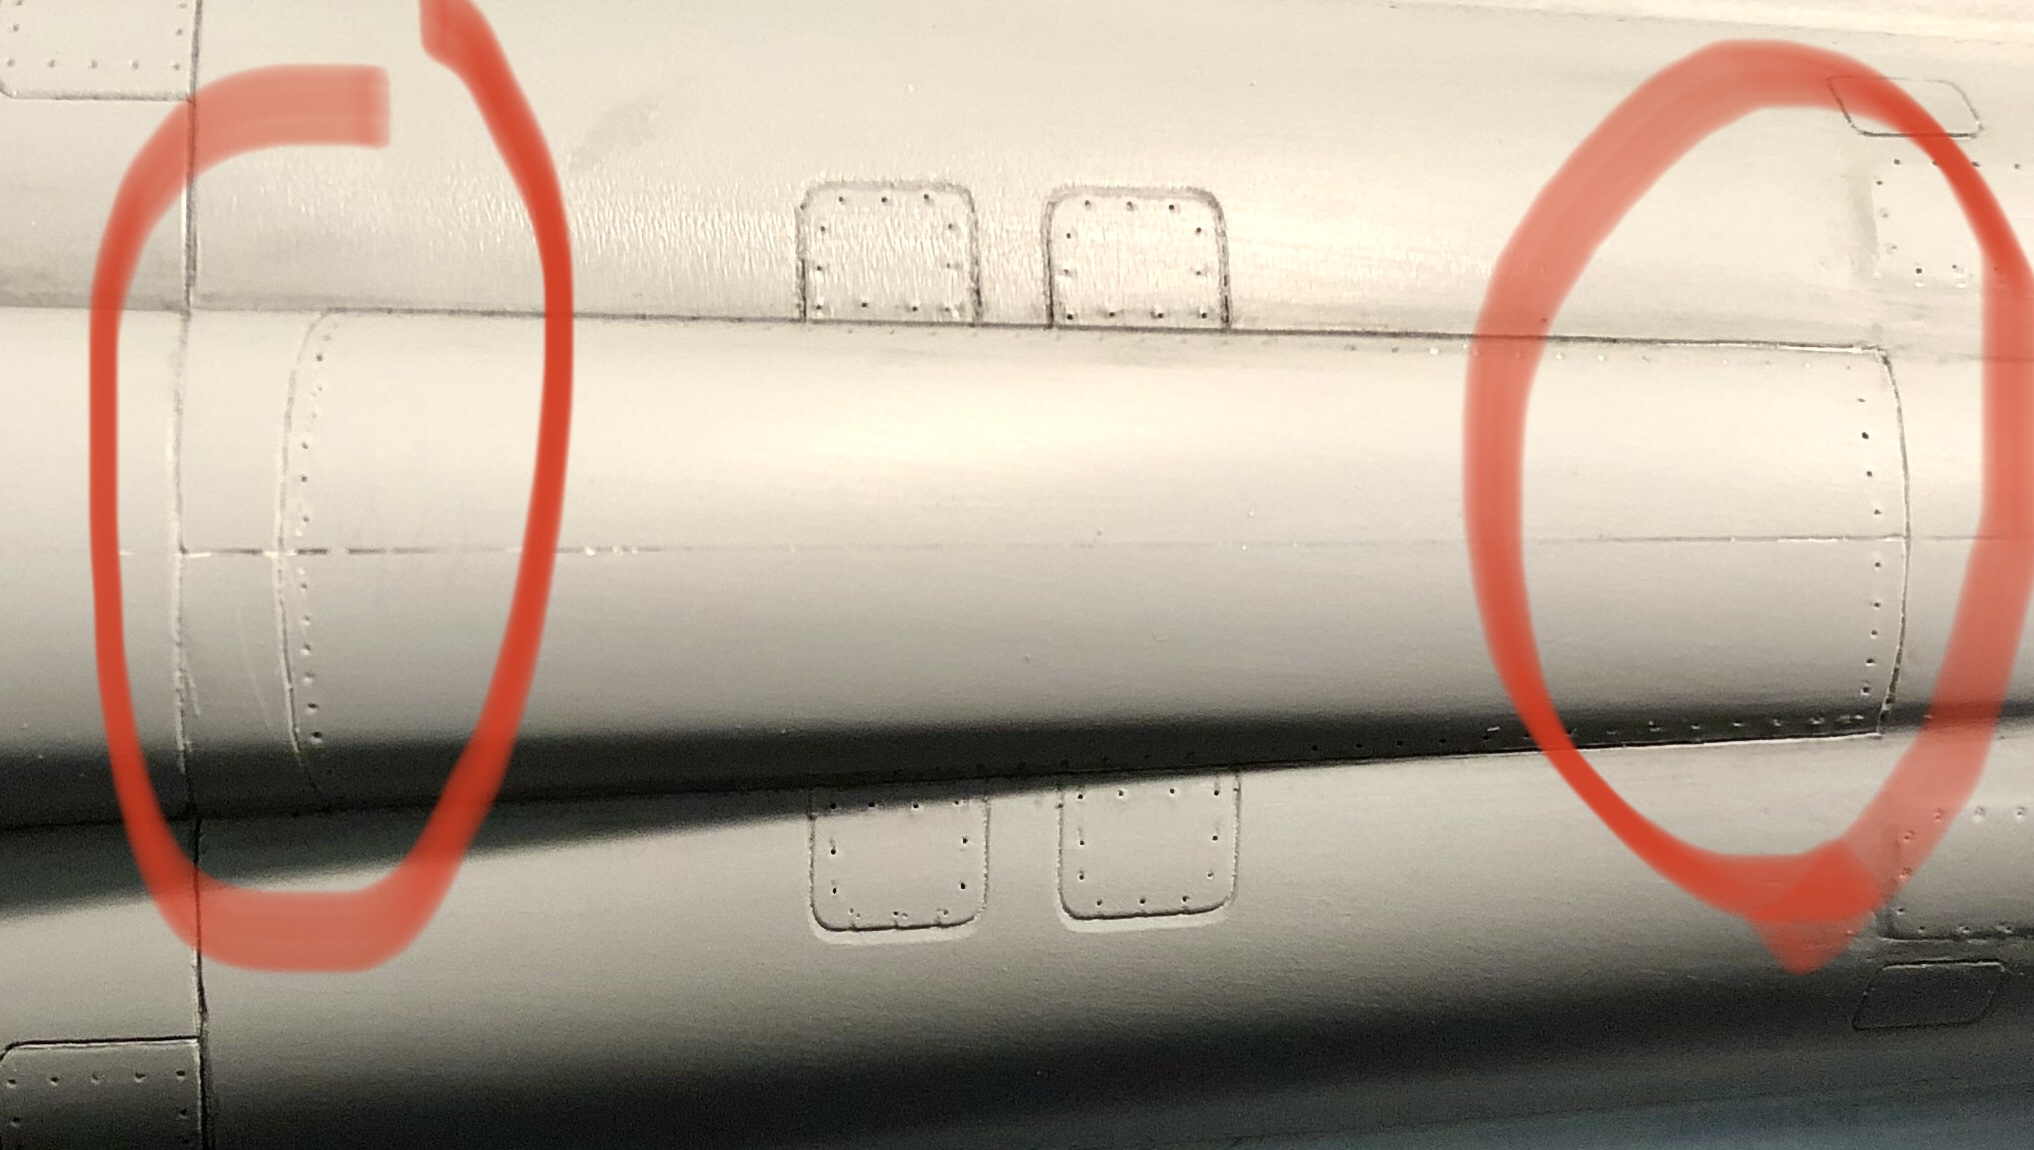
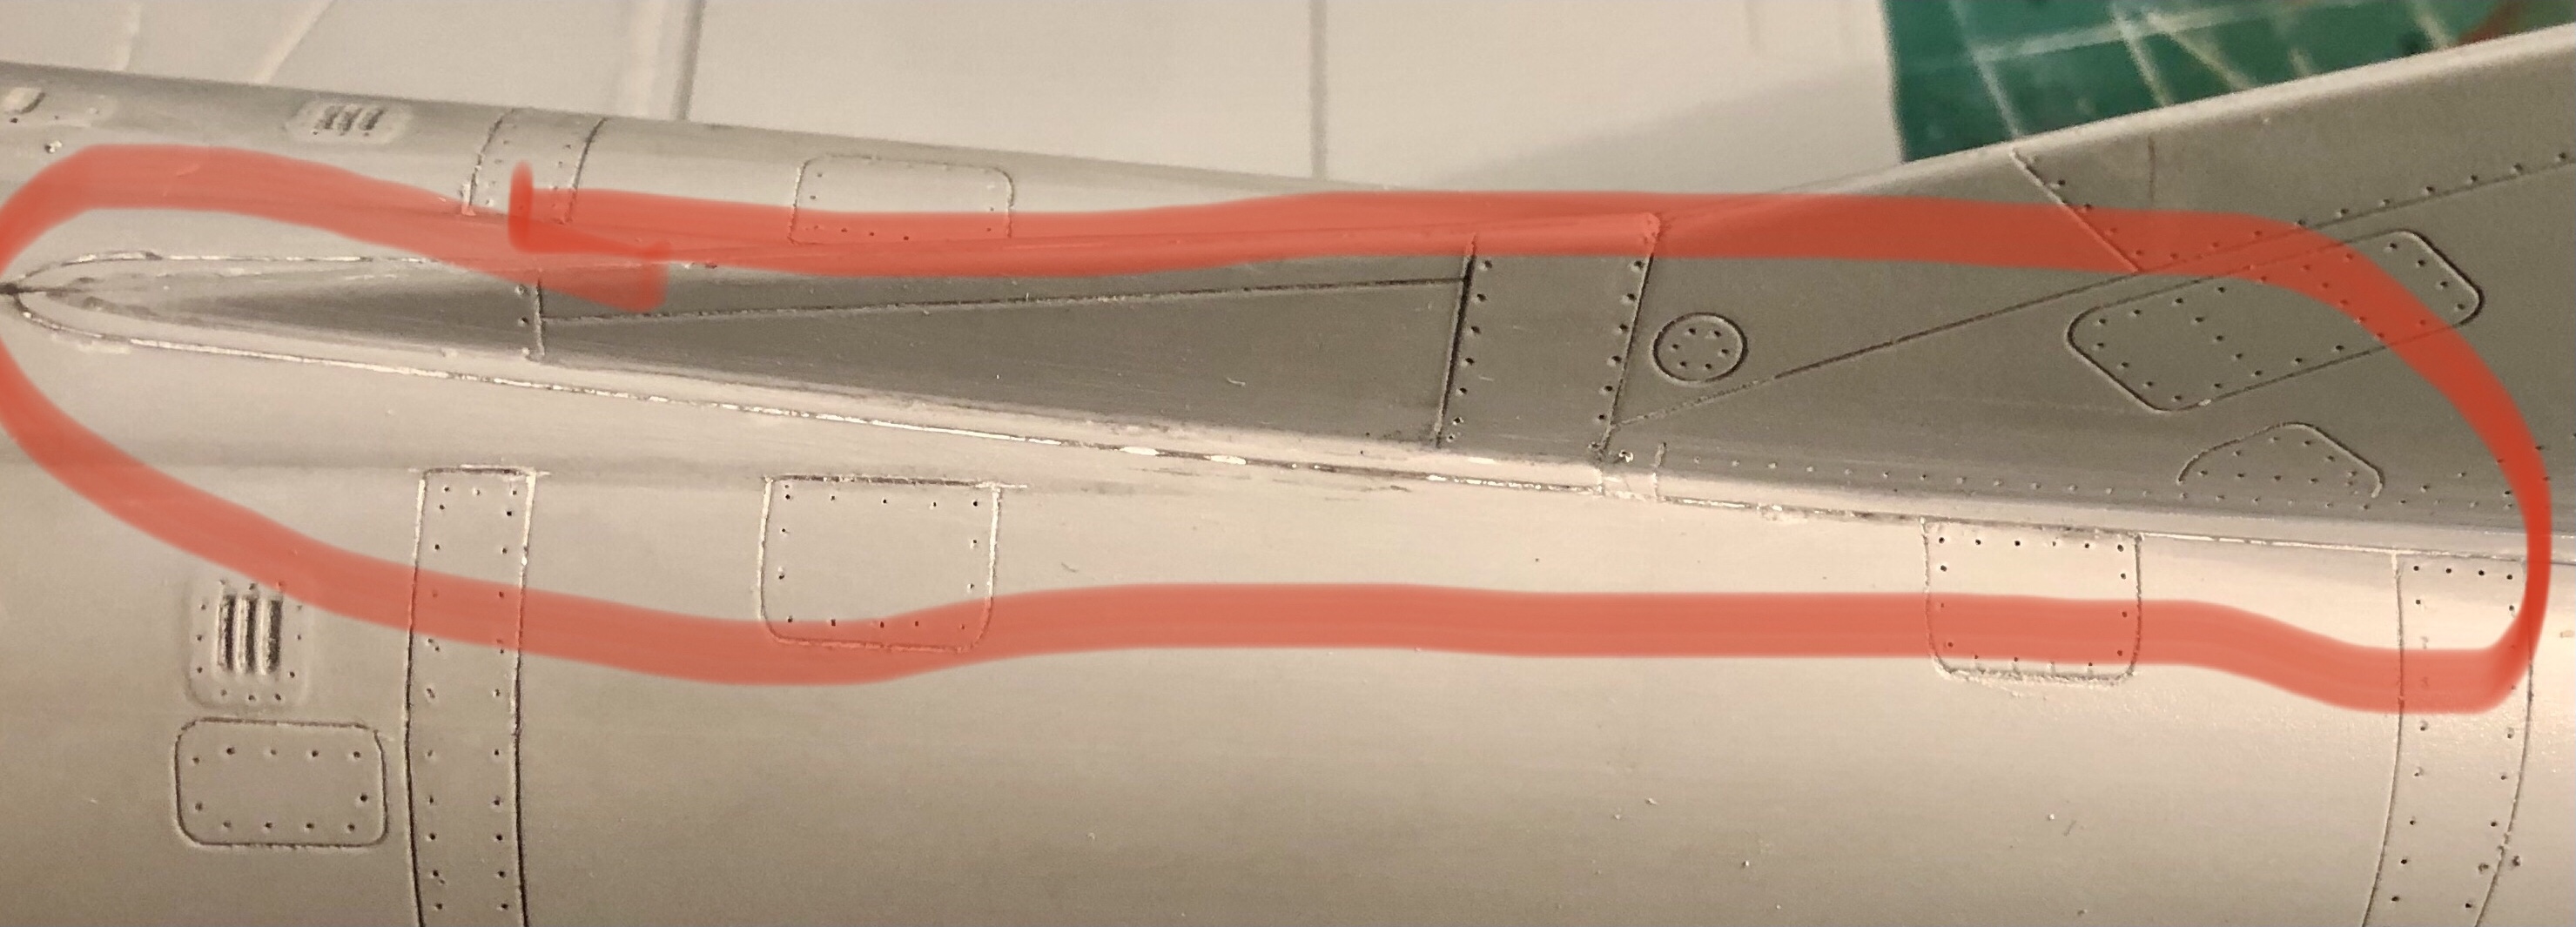
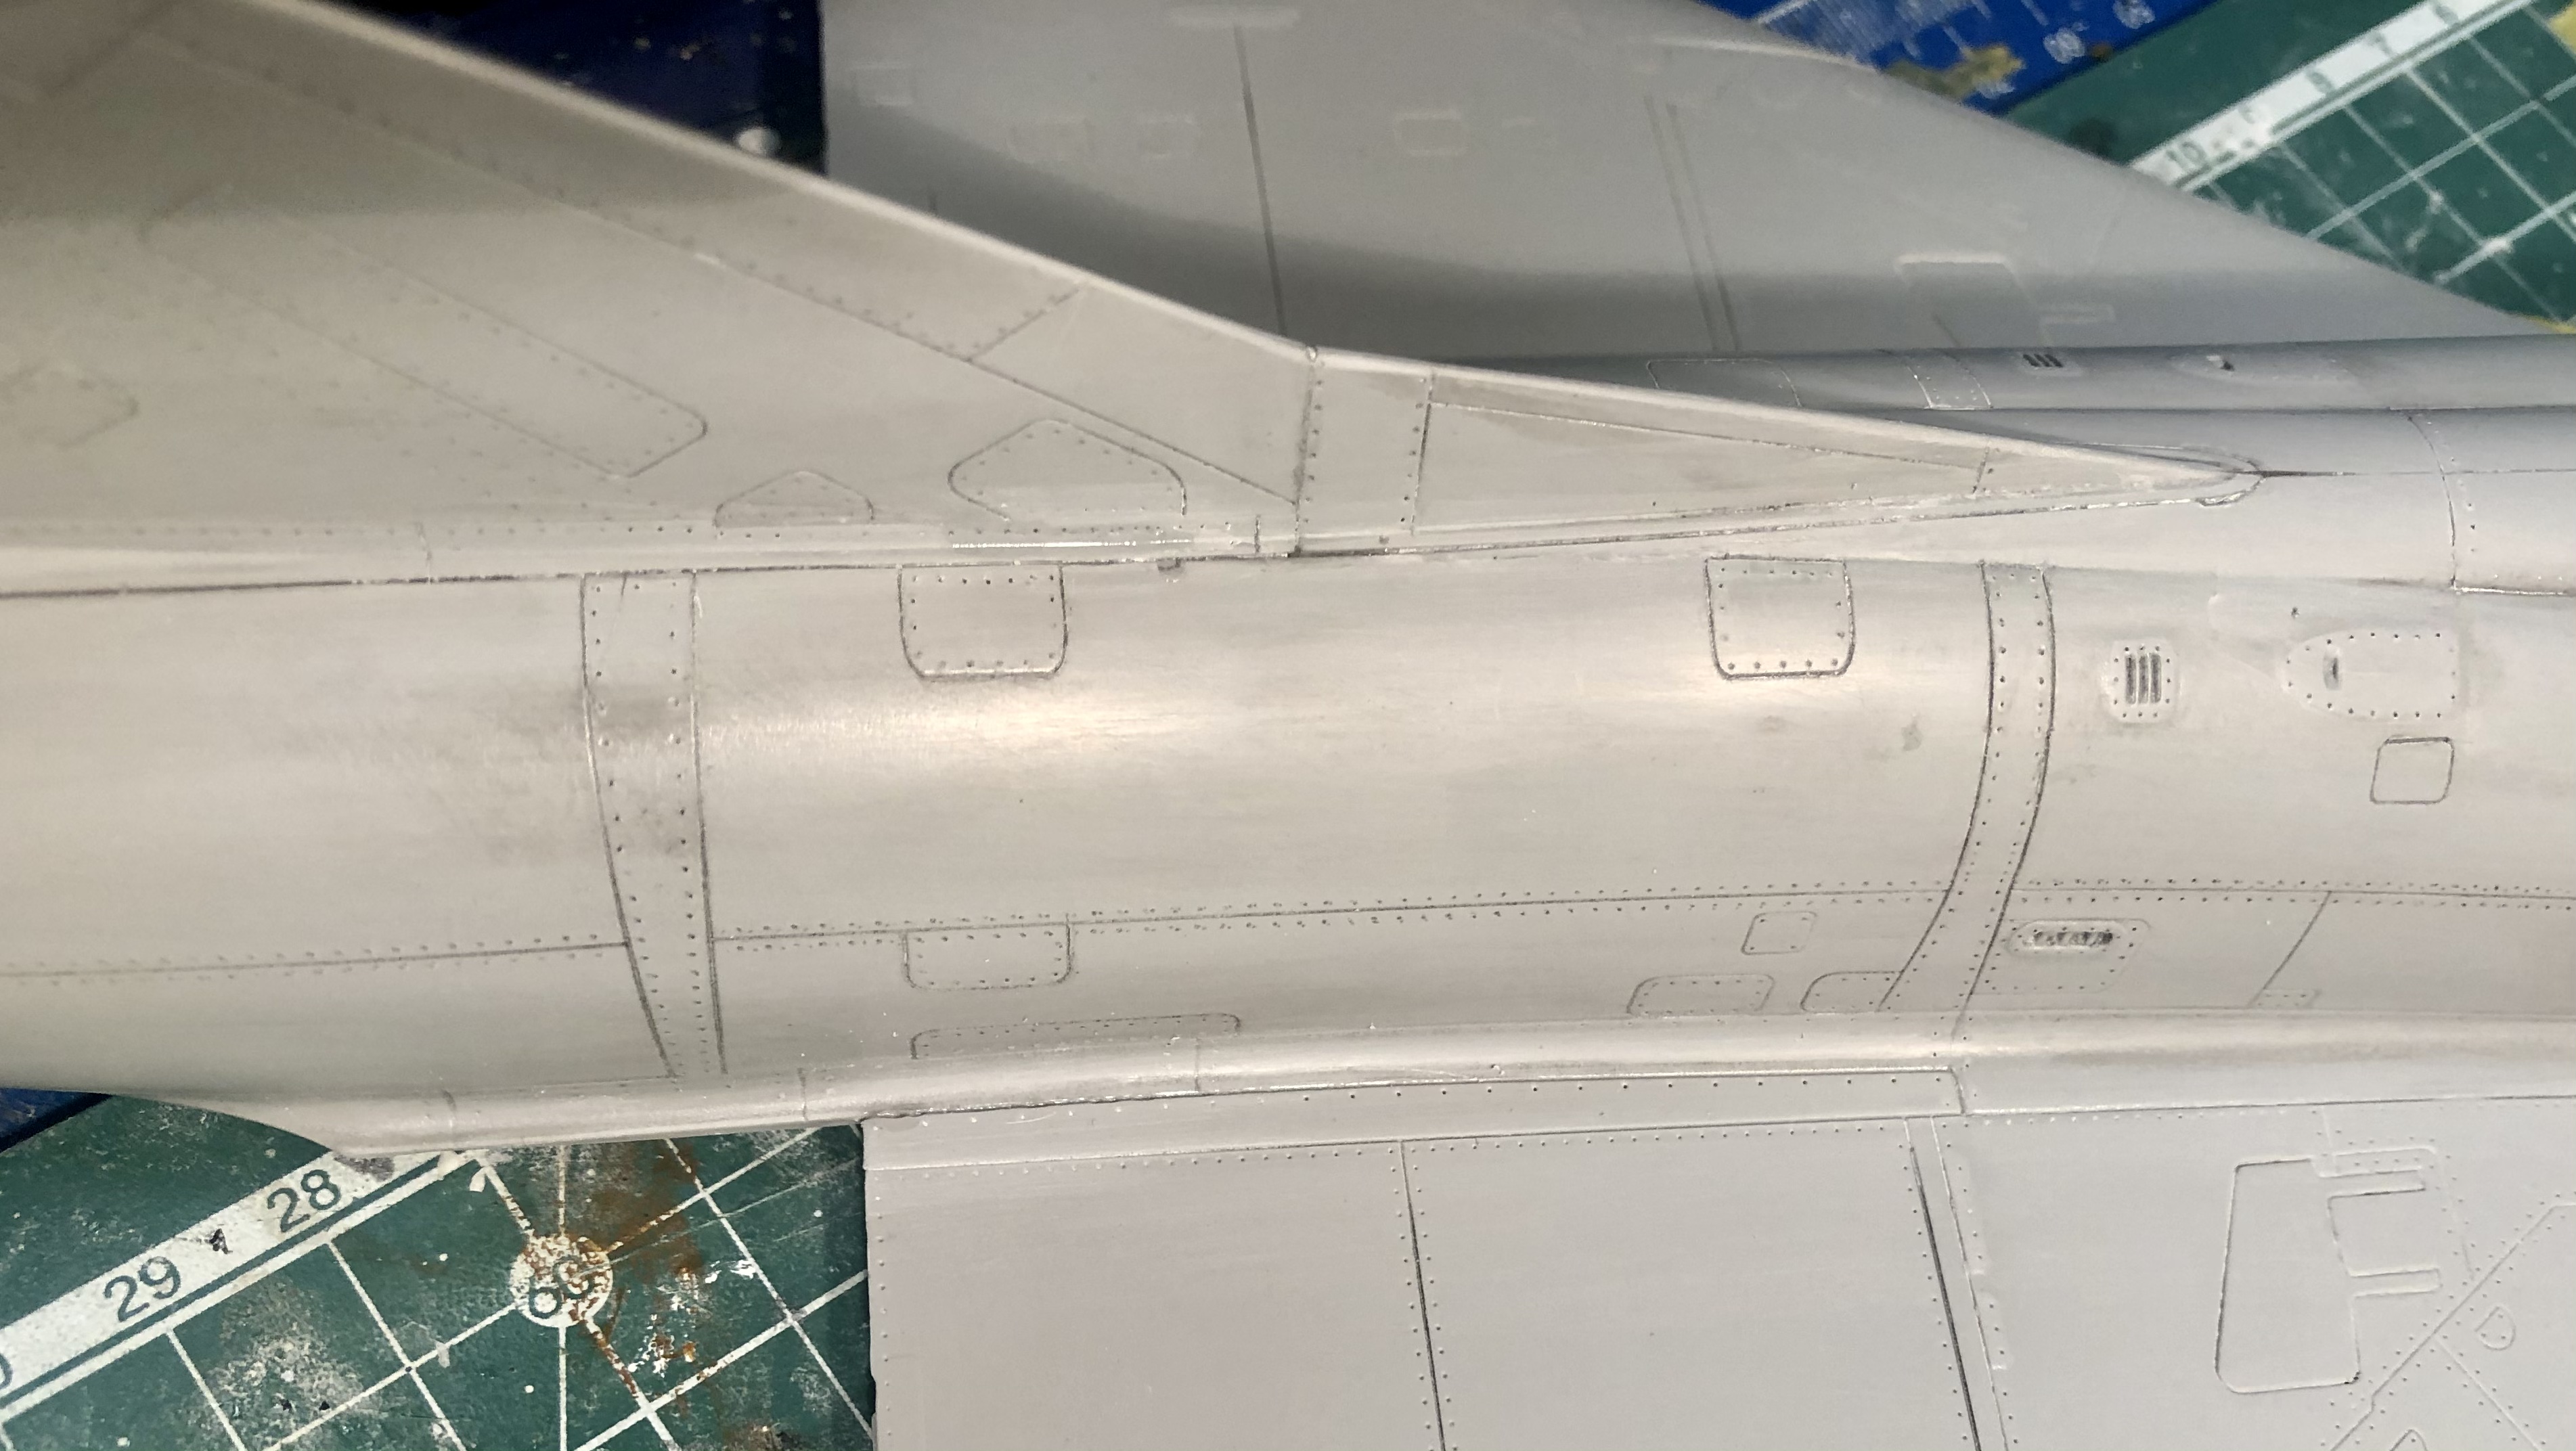
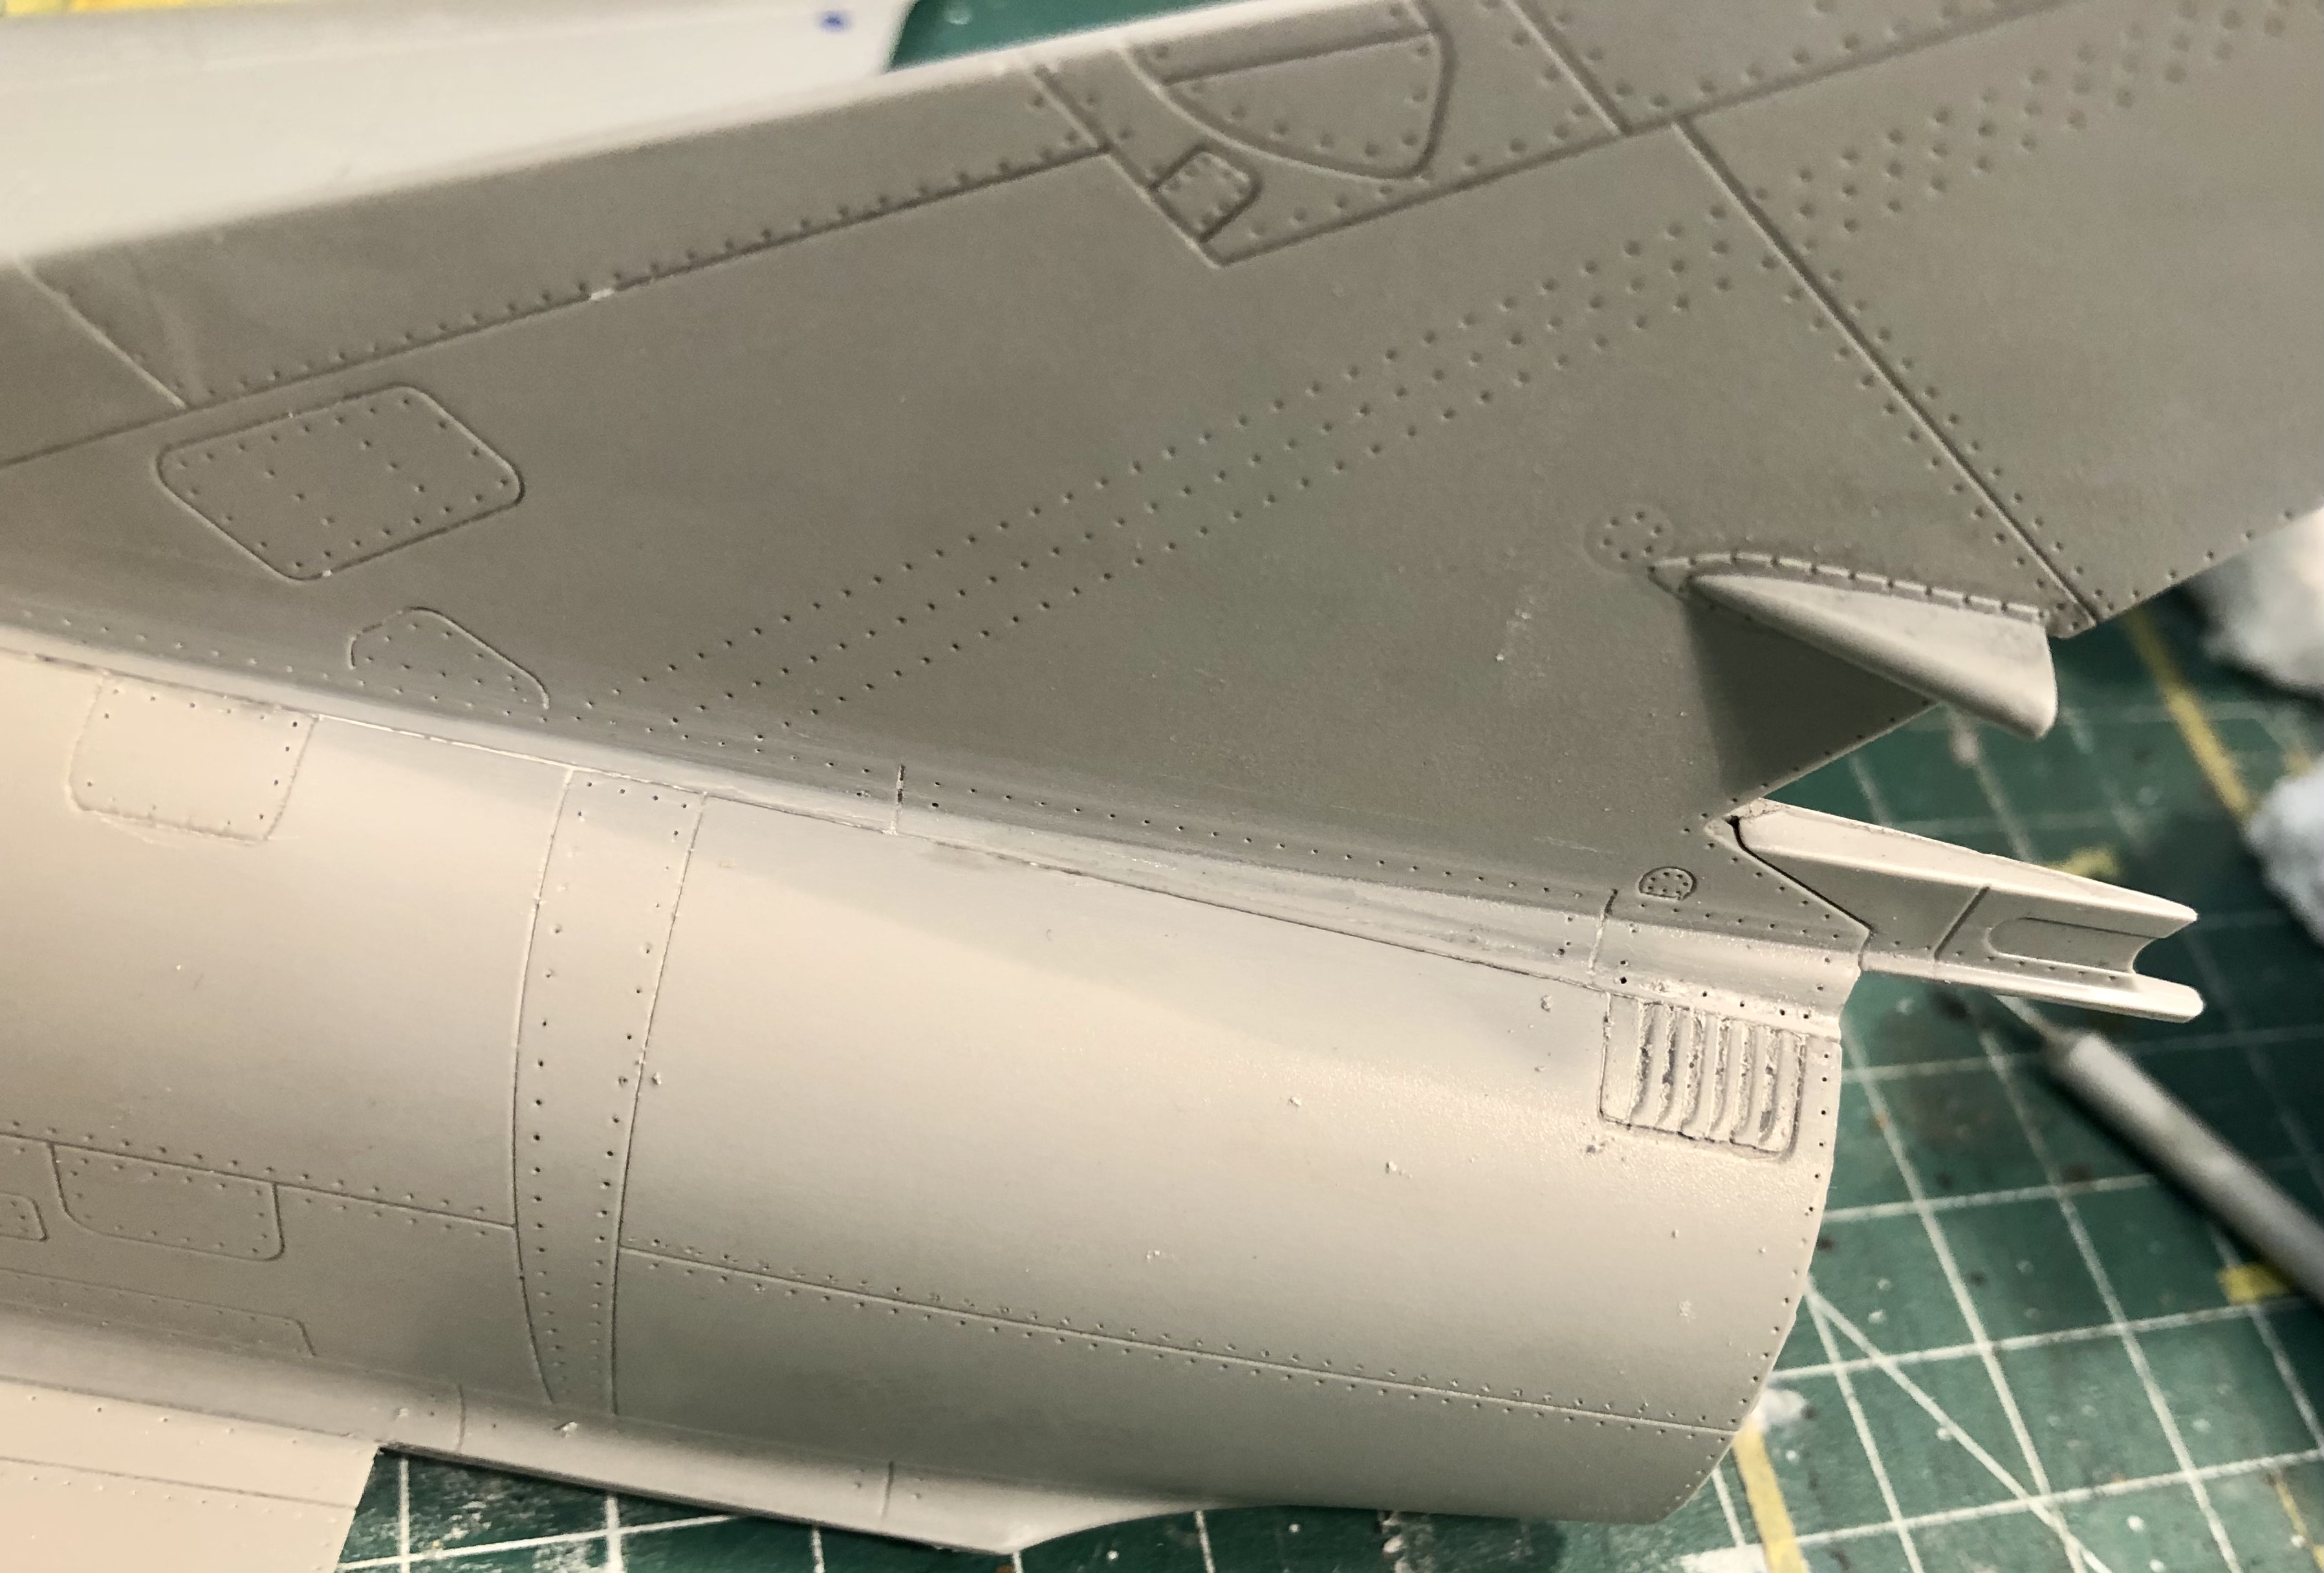
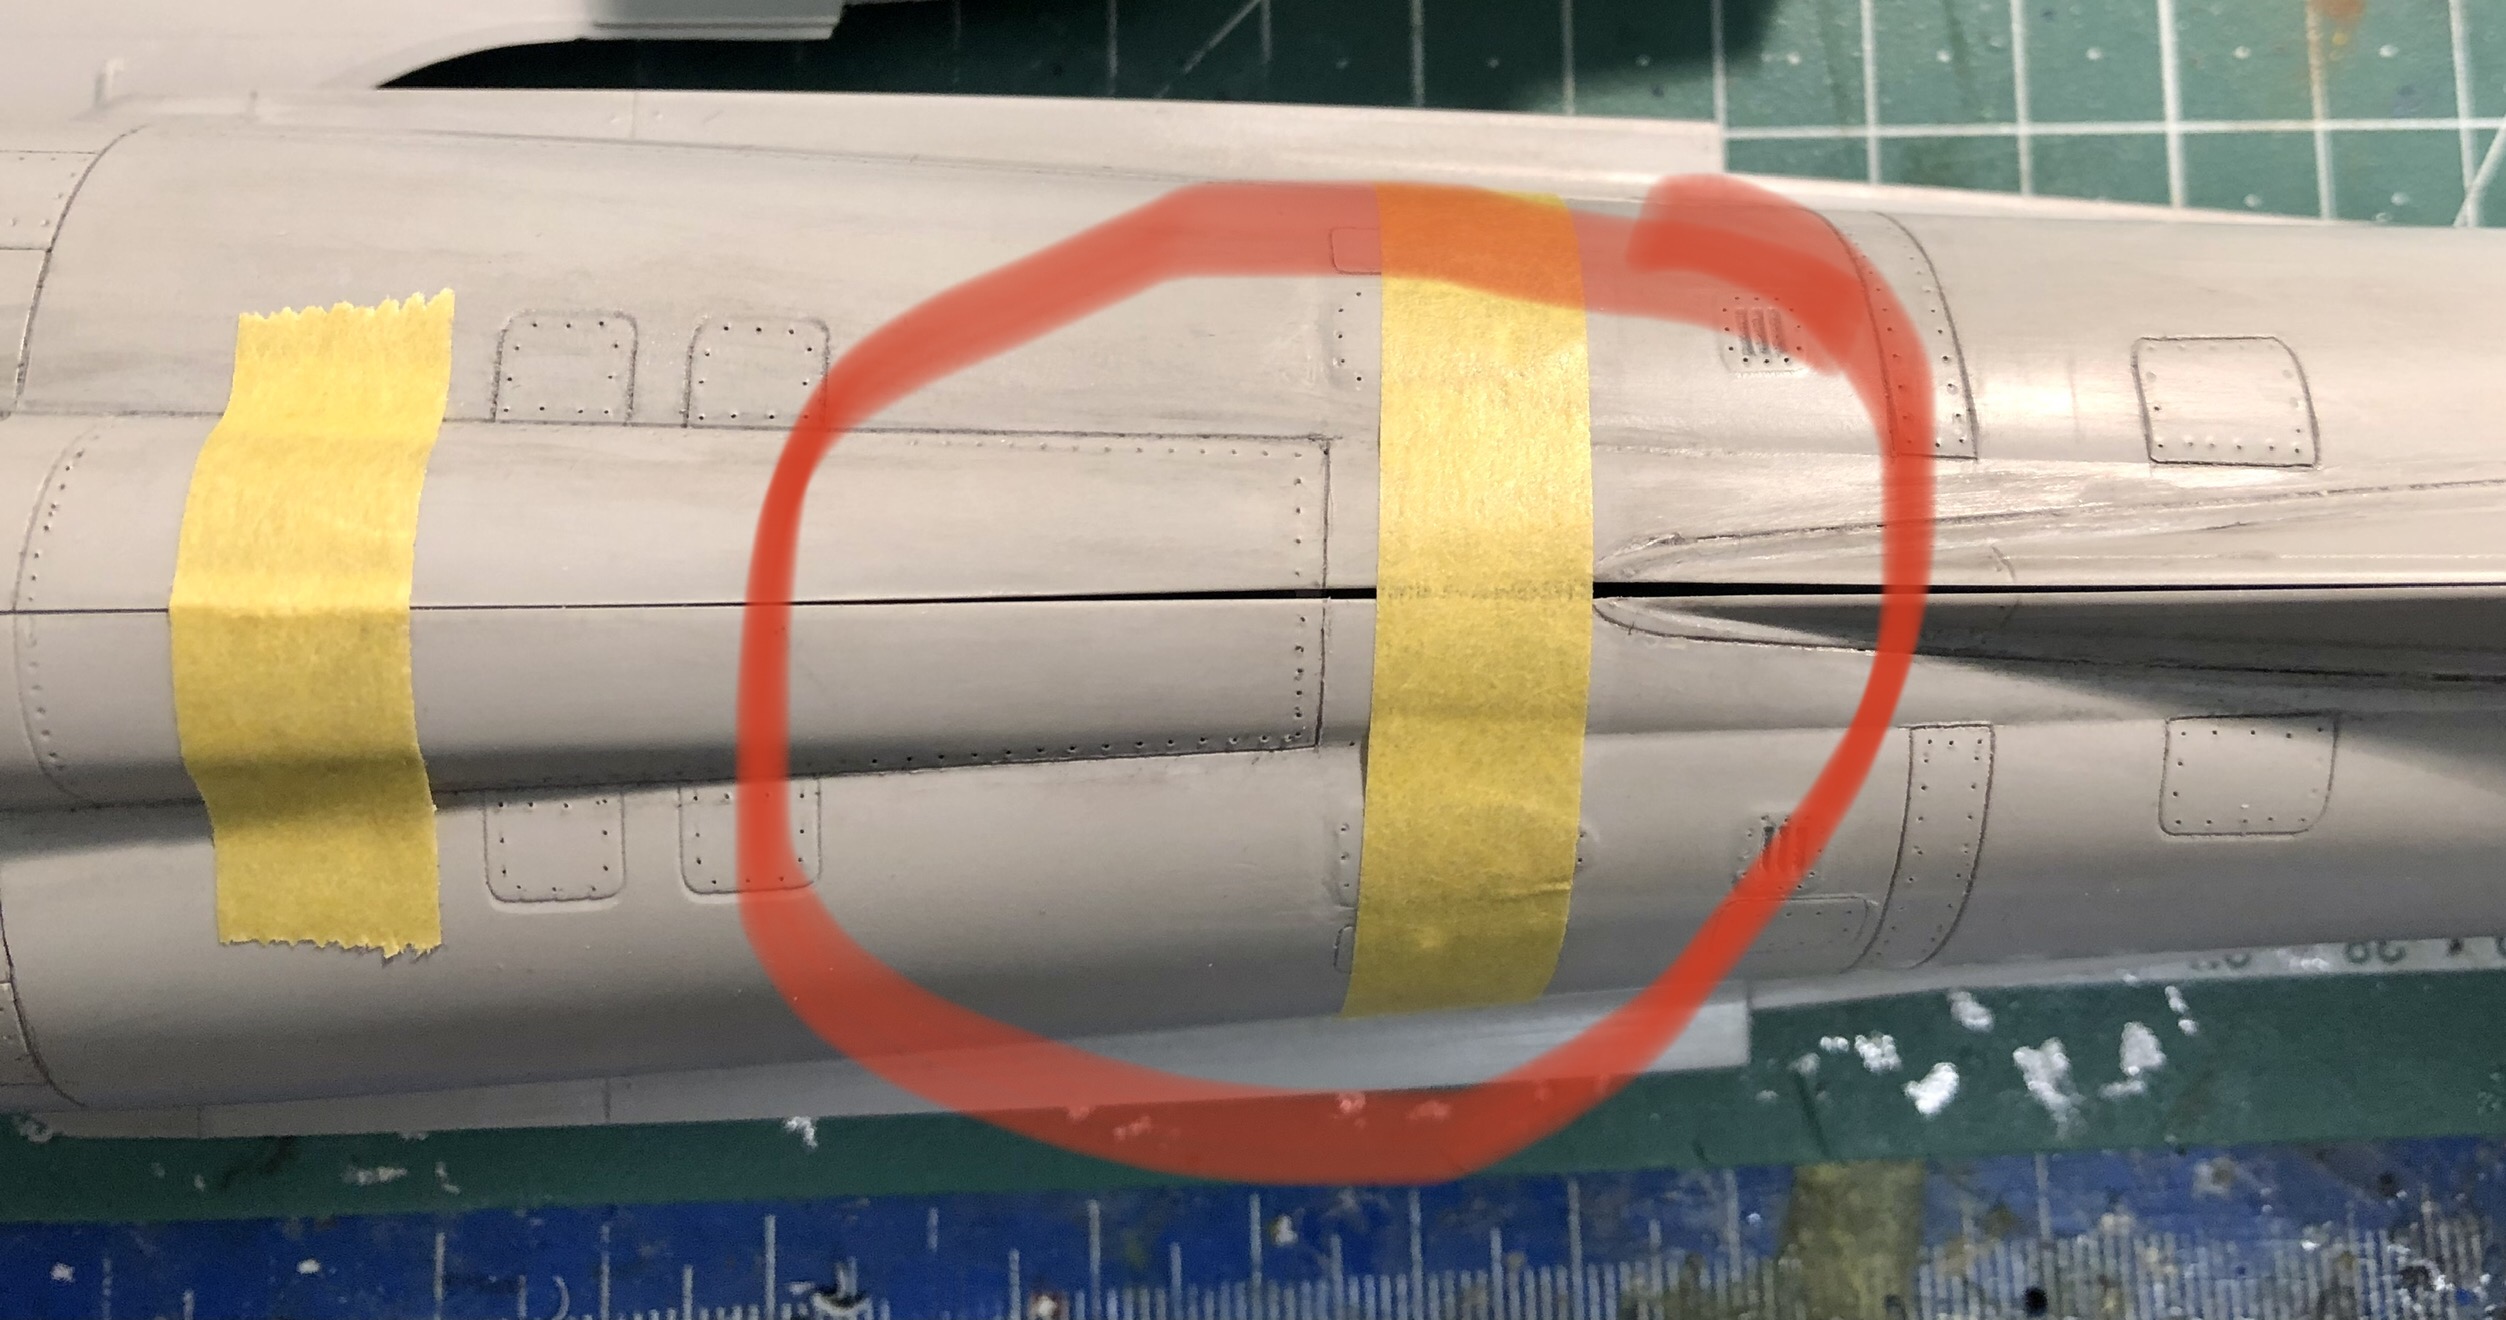
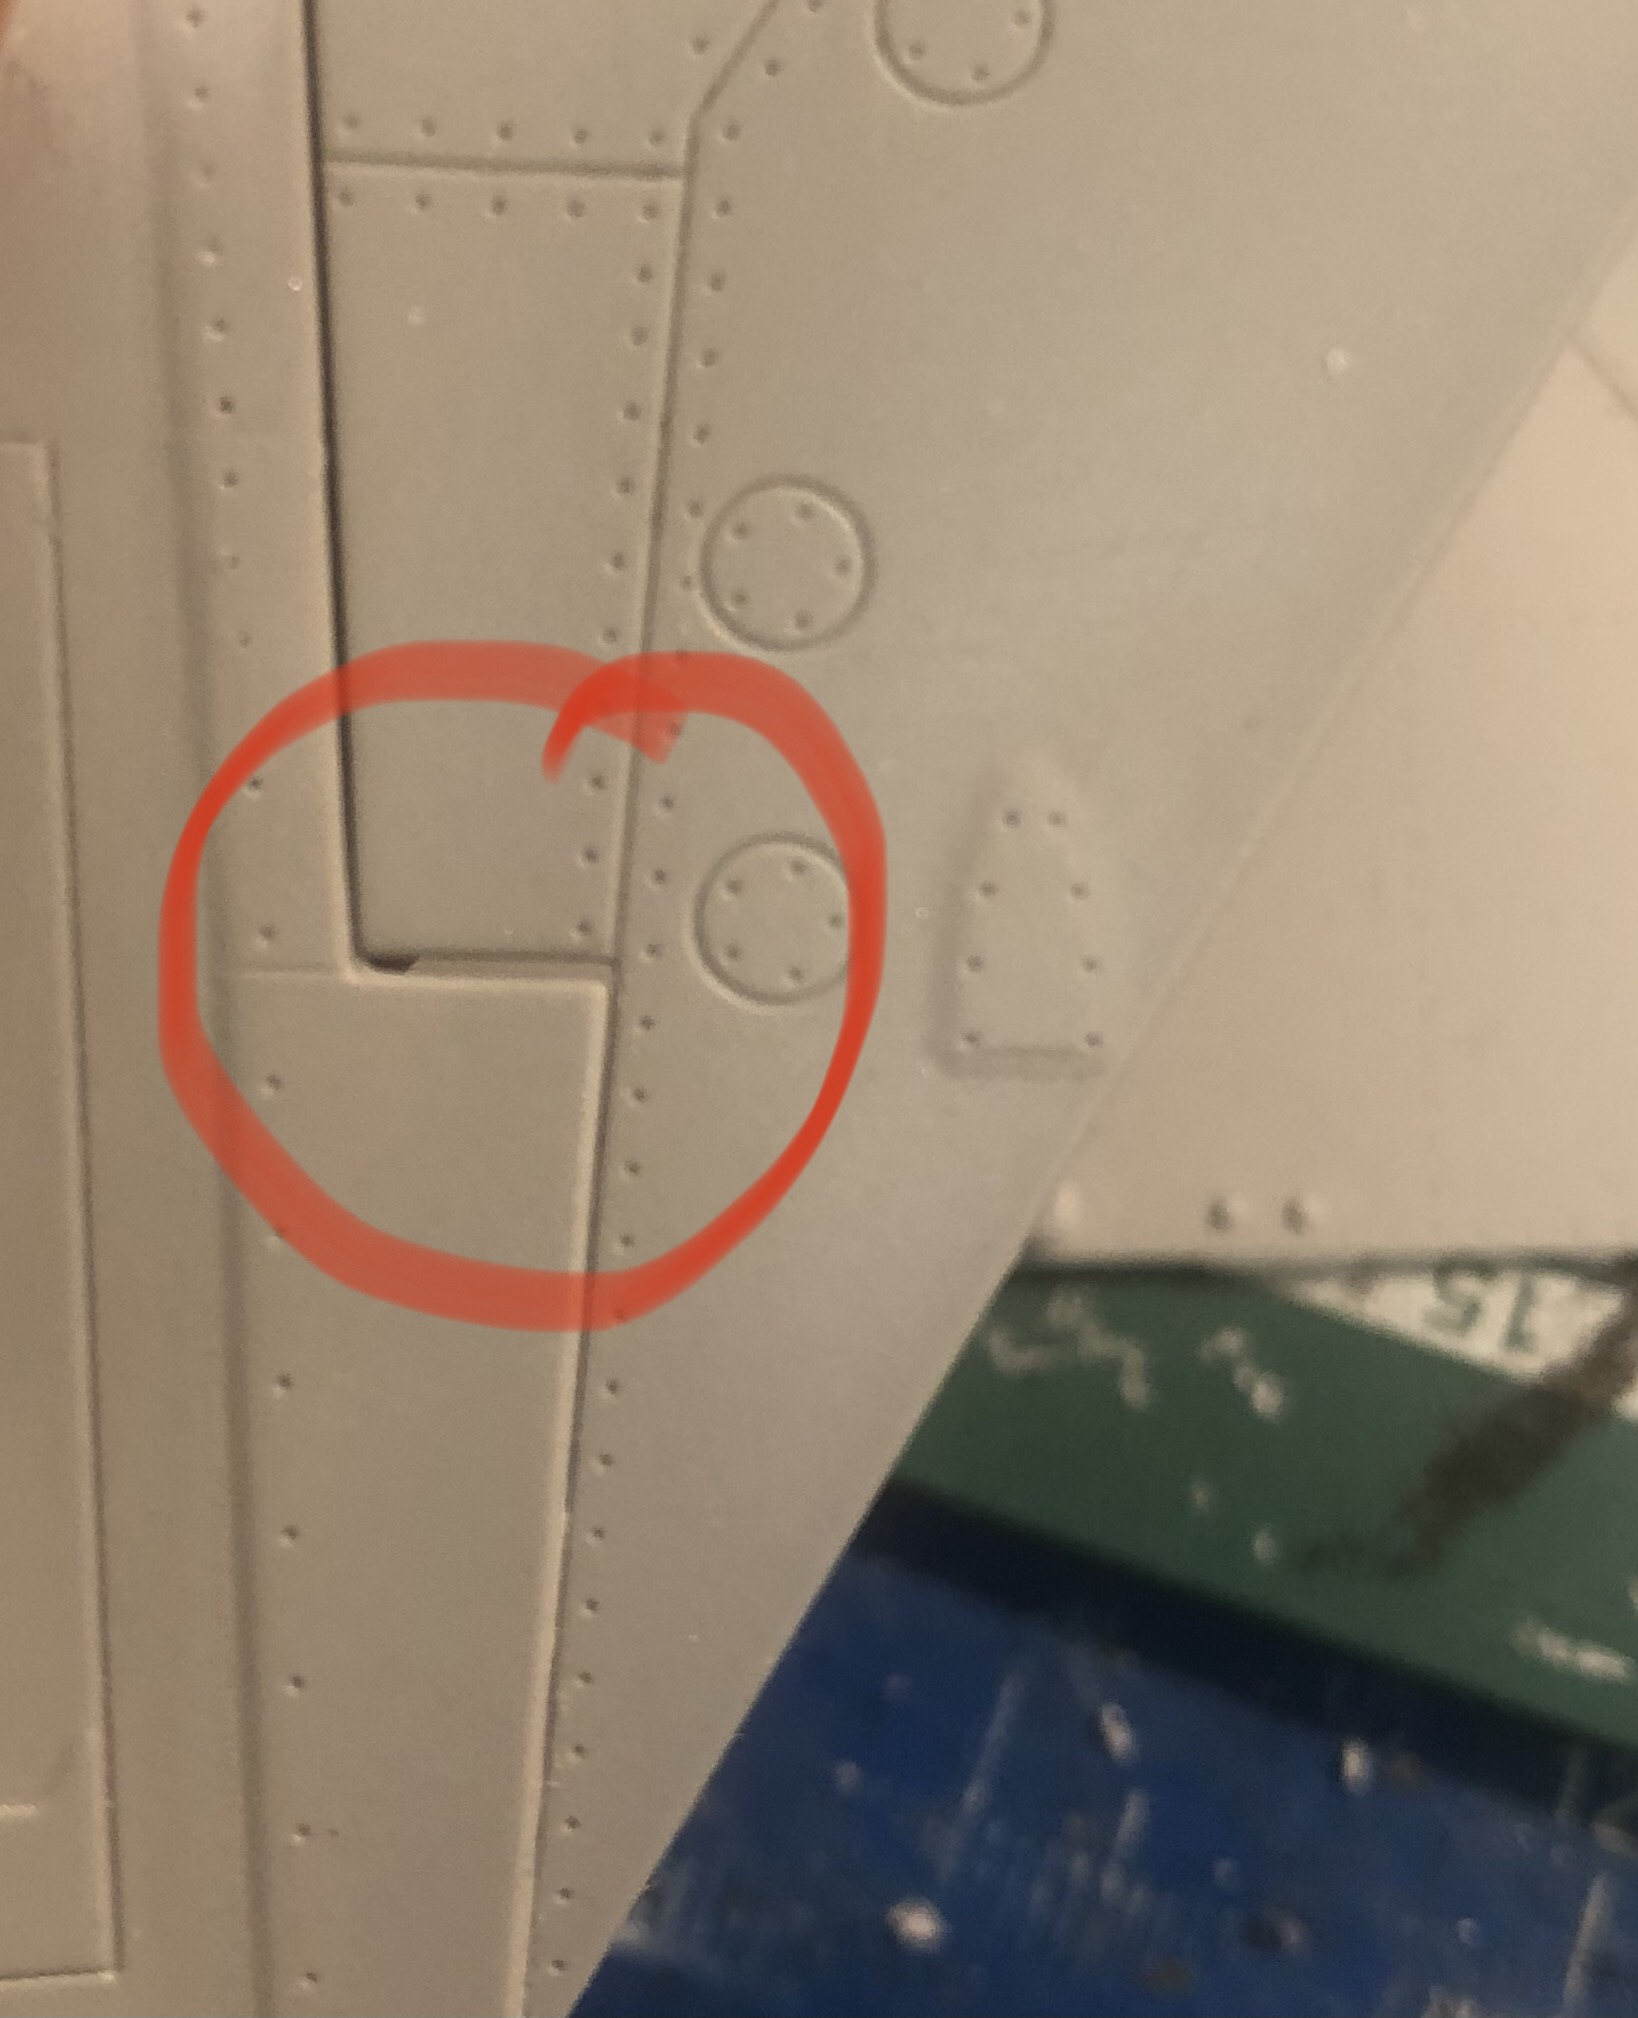
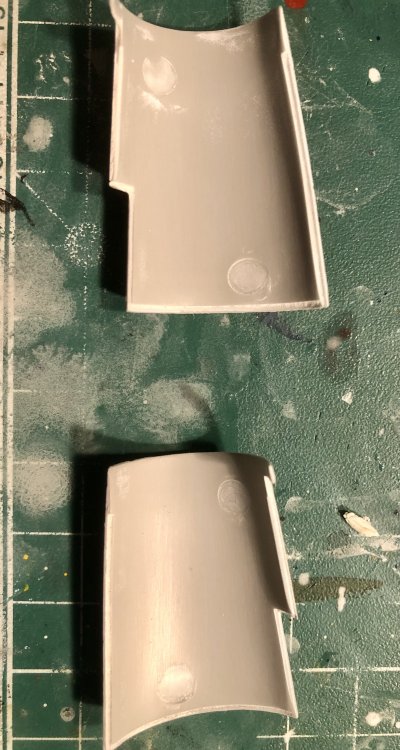
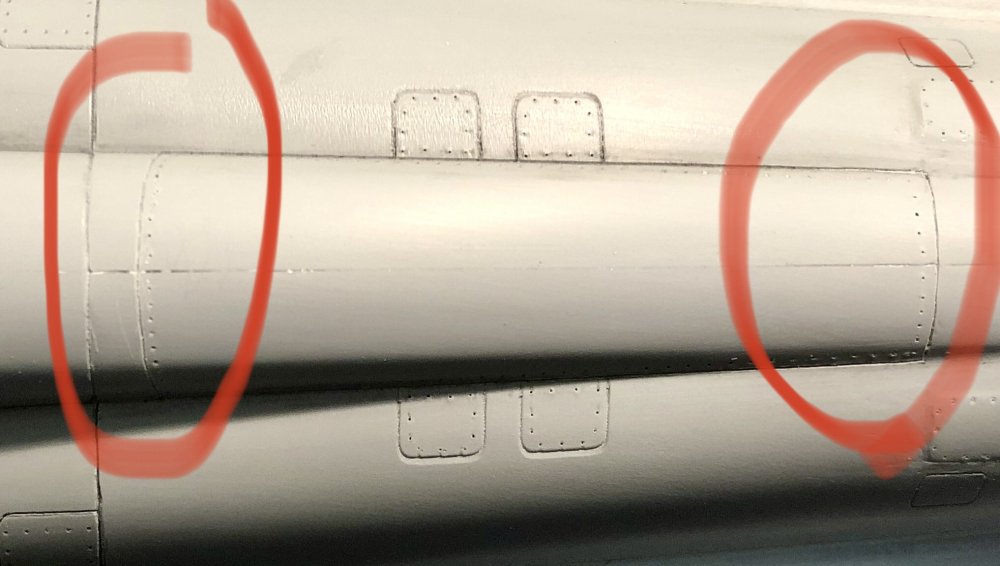
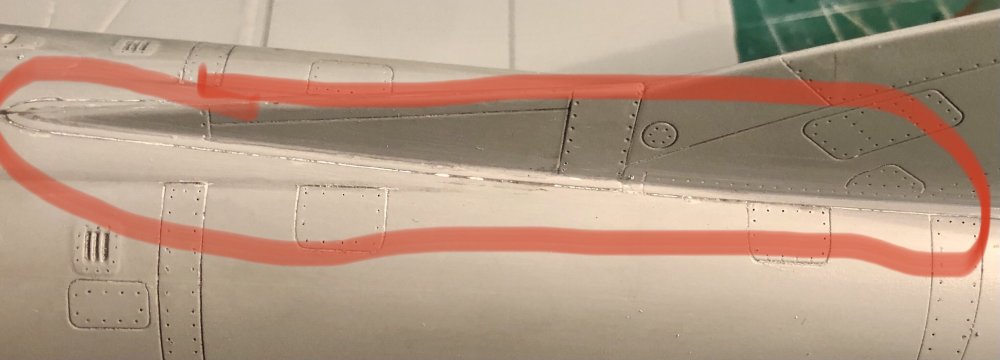
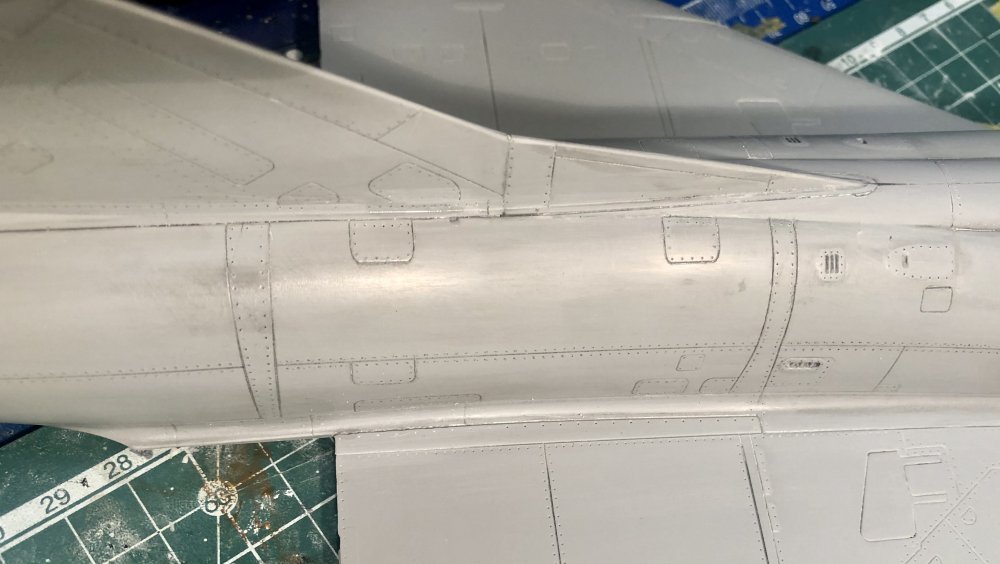
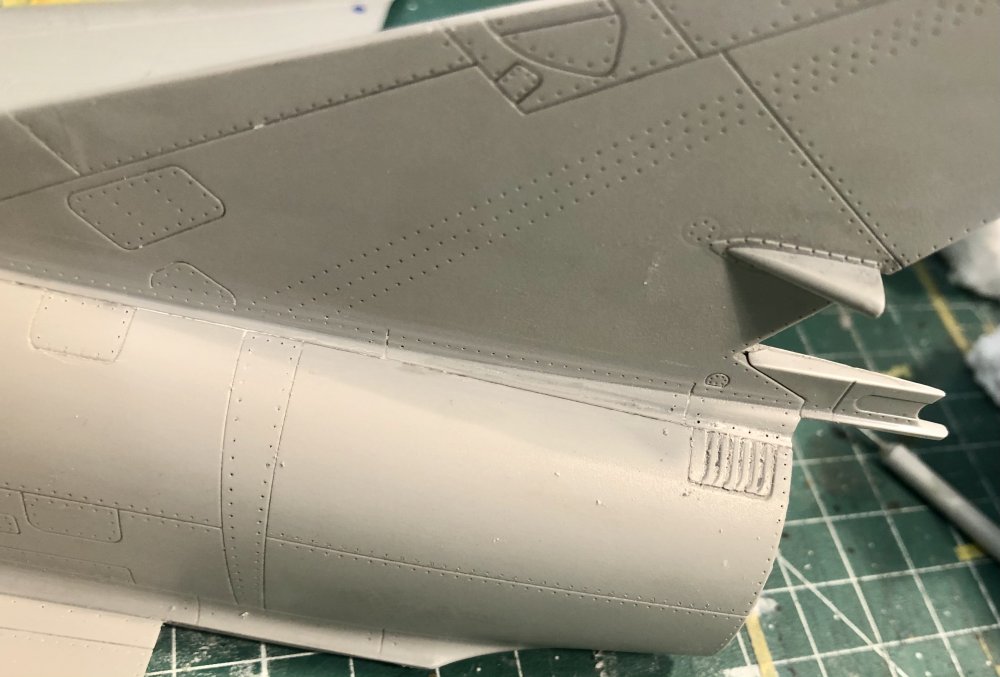
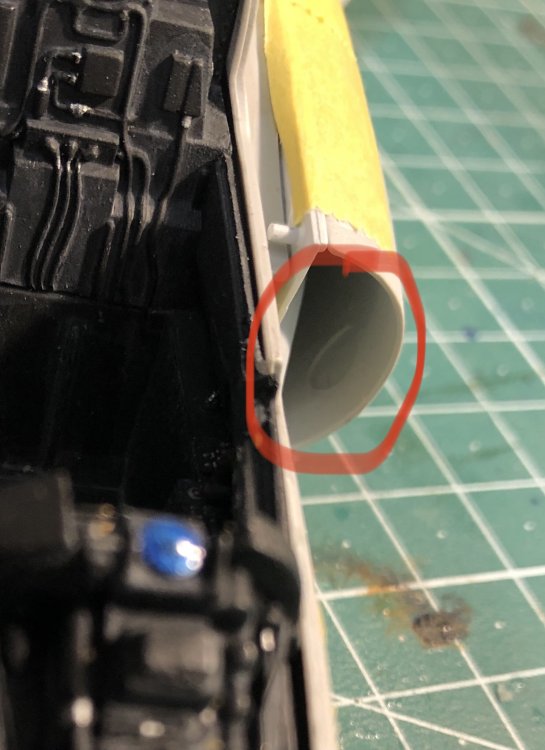
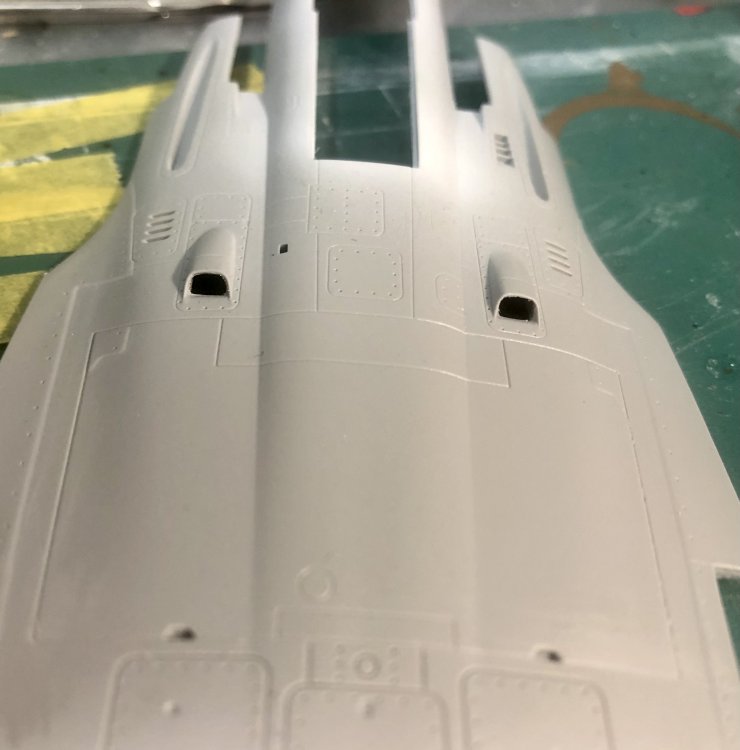
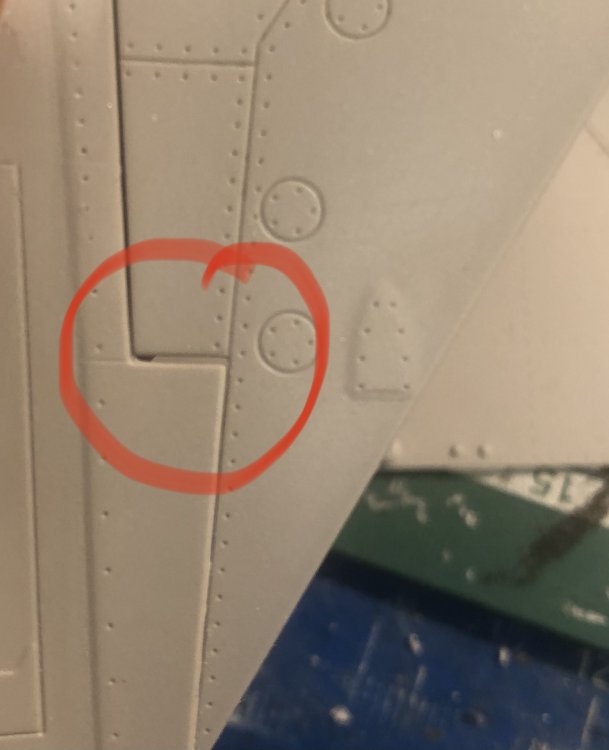
Yesterday I started the job which isn’t one of my favorites: sanding and rescribing. What is a simple job on a Tamiya-kit (on my Corsair it was limited to really nothing, that’s what I call good engineering) is a huge one on an Italeri-kit! The first thing I corrected was the really big ejector pin-marks on the intakes. I filled them with superglue and sanded the whole surface: What I usually do before painting is to check with a color-wash if something has to be corrected: As you can see, everything was ok. Cleaned it up again with Mr. Color Thinner (not the leveling thinner) which doesn’t react with the plastic. You can even use it to clean up glass-parts if you had a mishap during painting. Saves a lot of work with sanding and polishing. Now I can paint it again. I also sanded the upper fuselage part and started the rescribing and riveting process: The job on the base of the vertical tail will be more time consuming due to the bad fit: And the end part: That’s all for today. Happy Easter and happy modeling! Kai

-
Wow Gaz I‘m deeply impressed! The method to blacken the tracks is stunning and simple! Is it your invention? Looks absolutely realistic! The same applies for the mud. Looks really convincing! The wash is the thing I like most. It really brings the white to life. And it is subtle what I really like (as on your 190). Good choice to use blue-grey. I‘m really curious how this all will look after treatment with oils. I‘m also a fan of oil washes because you can really play with color-tone variations and do it subtle. You should really add some figures and put it on a small vignette. Will look awesome! Happy Easter and happy modeling too! Cheers Kai
-
News from the truck factory! That‘s awesome, stunning and gorgeous! You are THE scratchbuilder!
-
Awesome ! Looks like the real thing!
-
Tim you are the uncrowned king of superdetailing. Awesome work! I love it (although I‘m no tank-builder).
-
Israeli Mirage III C with Atar9C
Kaireckstadt replied to Kaireckstadt's topic in LSM 1/35 and Larger Work In Progress
Thanks Rob! Never thought that you are German too! Your interpretation to my translation is really creative! Haven’t thought of that! I also love the shape of delta-planes. Started with the Me 163 in WWII and ended with the SR71 which I will buy in 48 scale when the new Revell Kit is available this year...This one will be big... You’re right, now starts the chapter with sanding and rescribing. Always my favorite work... But before I will assemble and paint the exhaust. -
Israeli Mirage III C with Atar9C
Kaireckstadt replied to Kaireckstadt's topic in LSM 1/35 and Larger Work In Progress
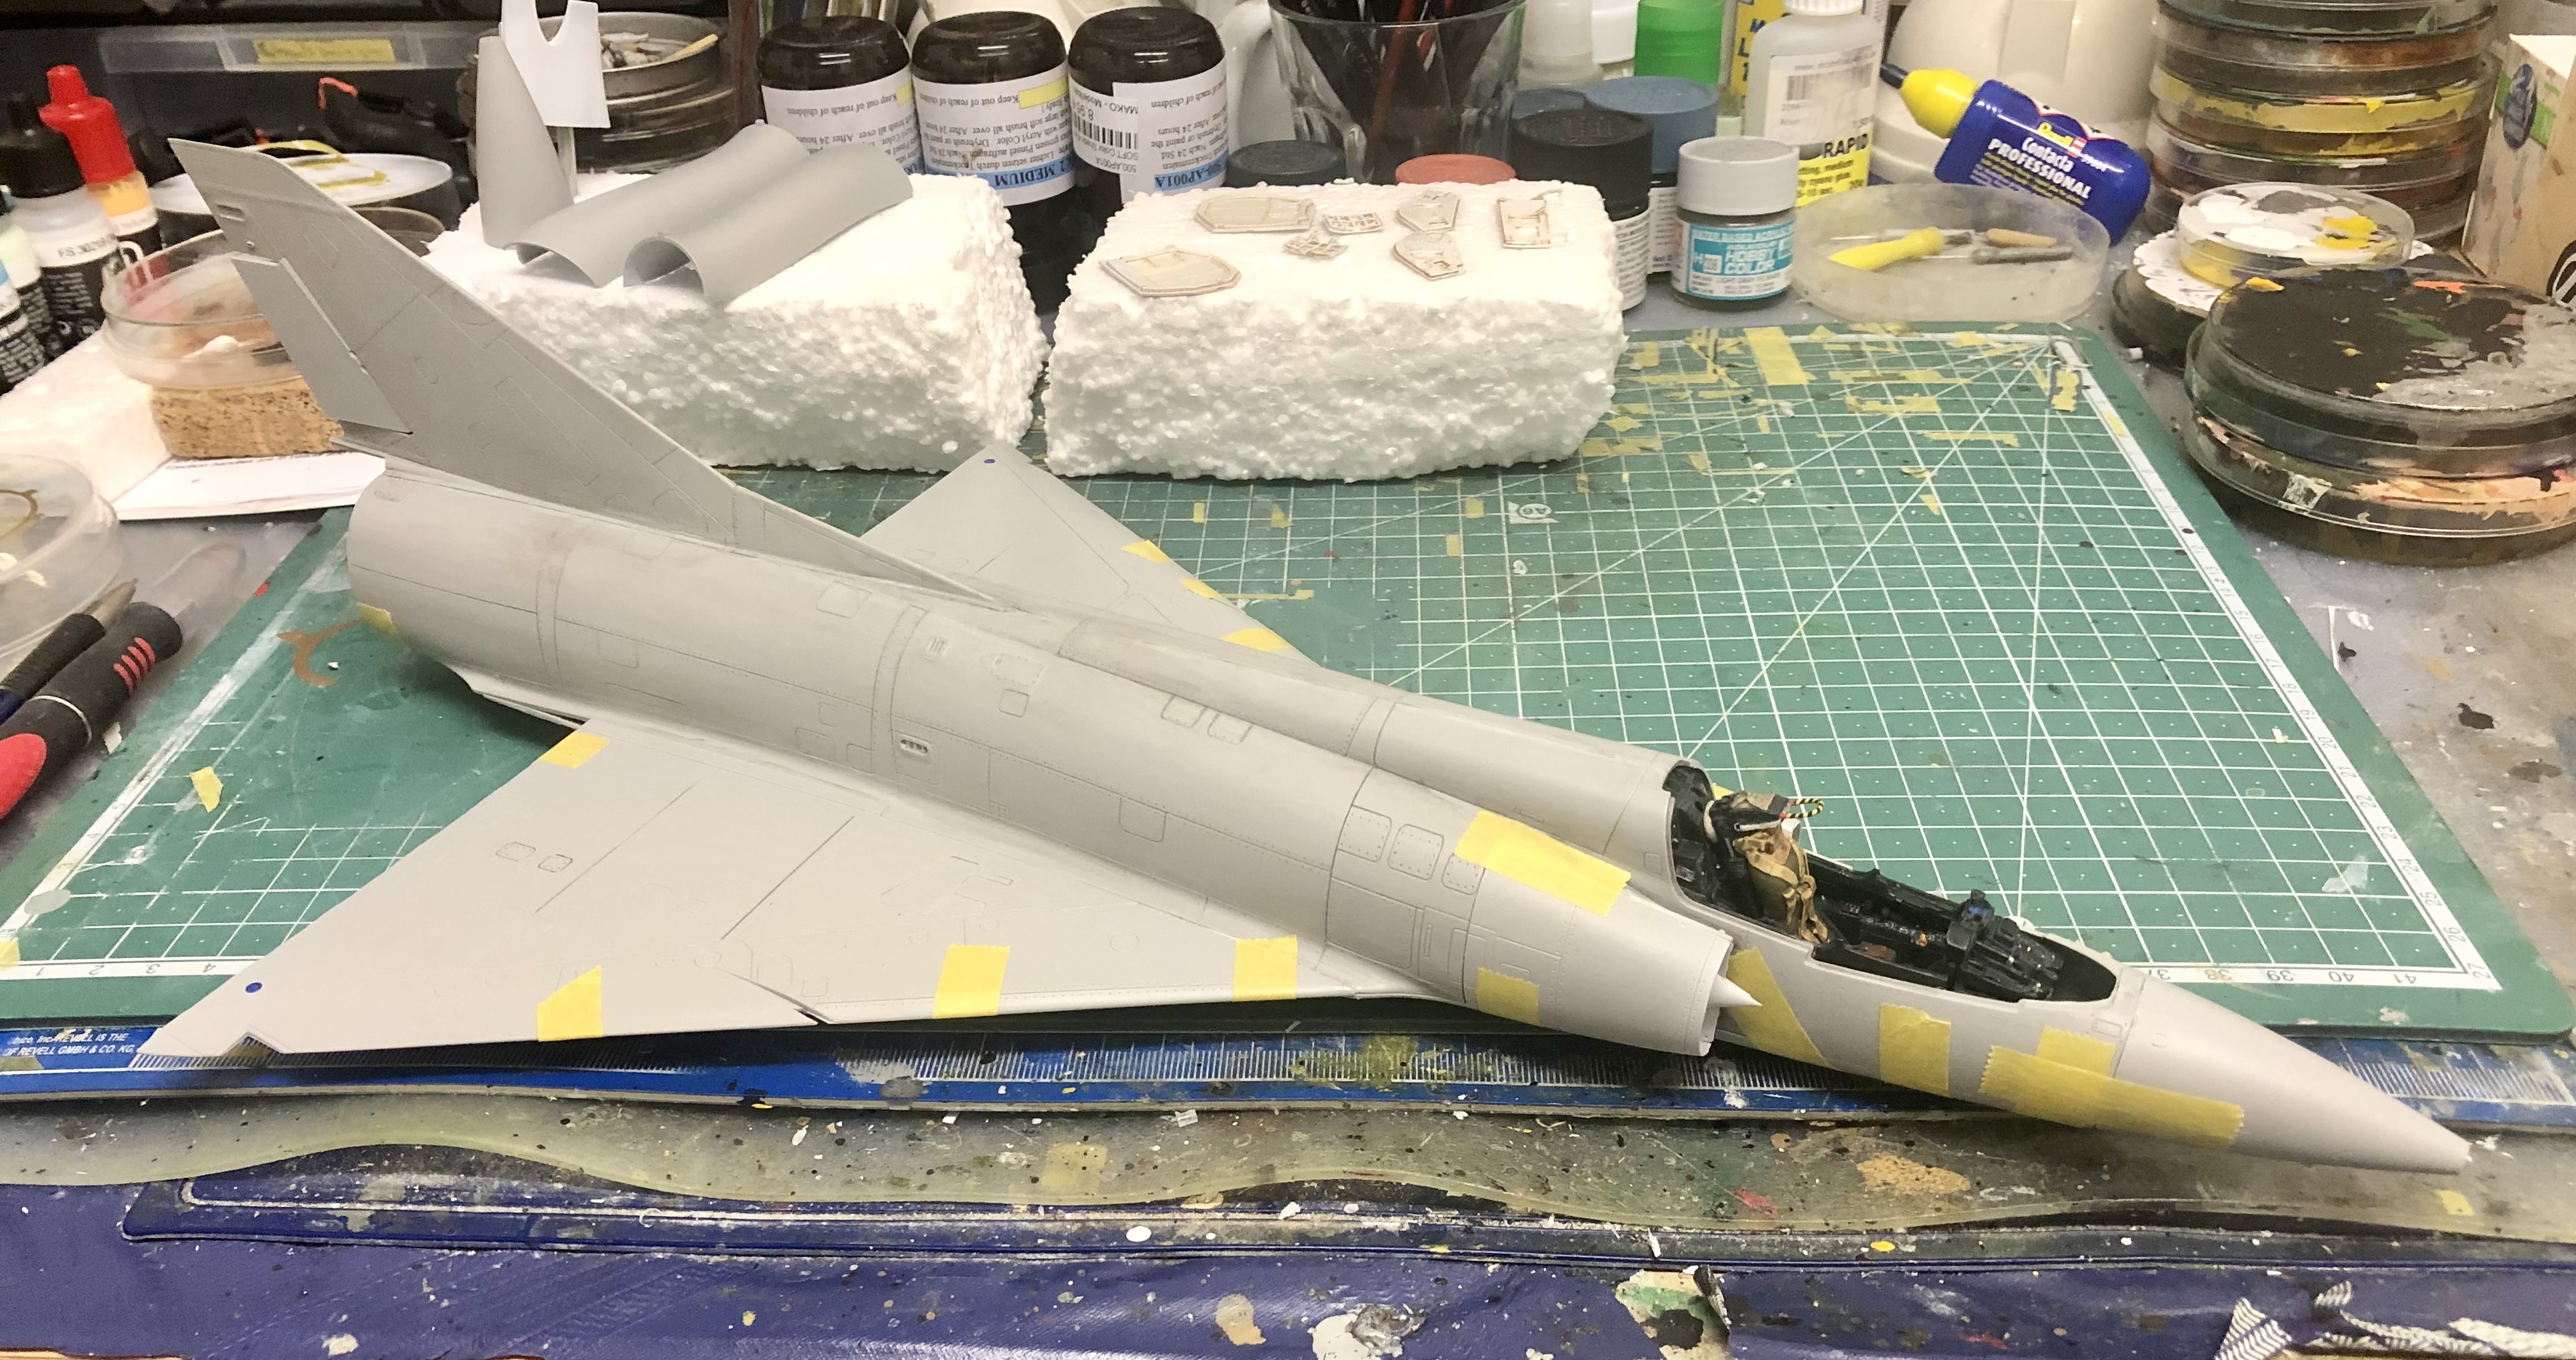
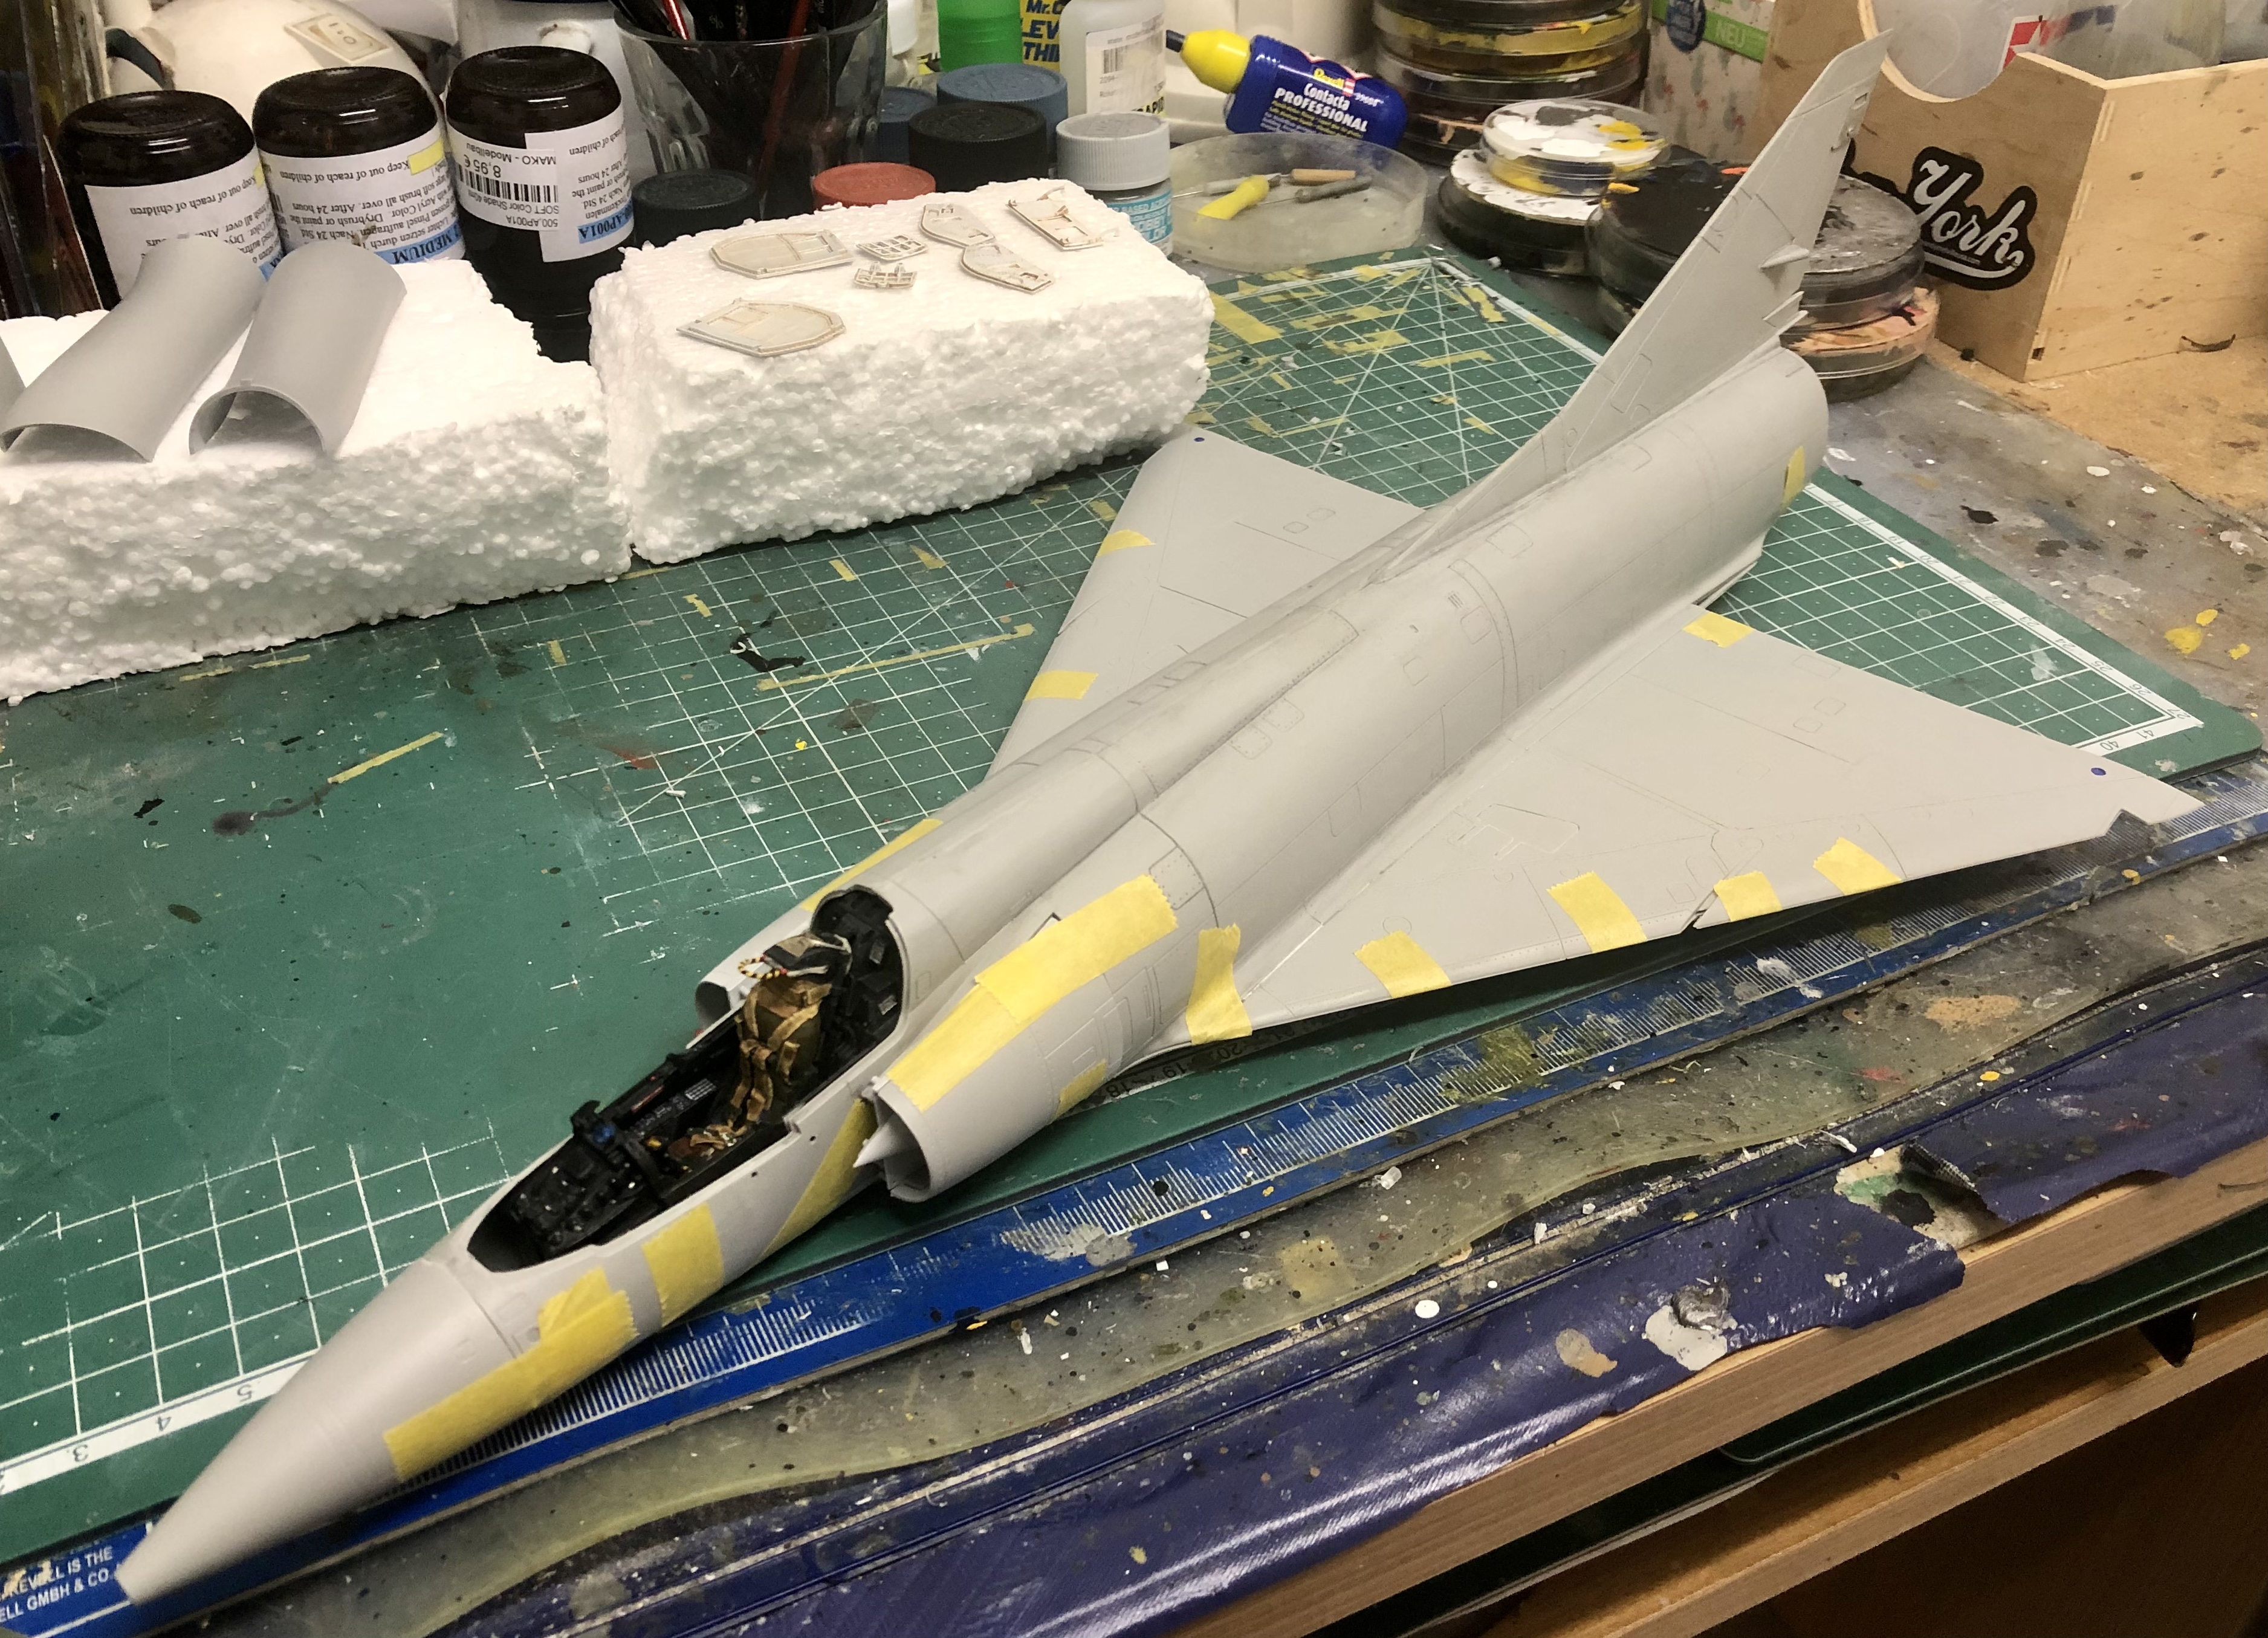
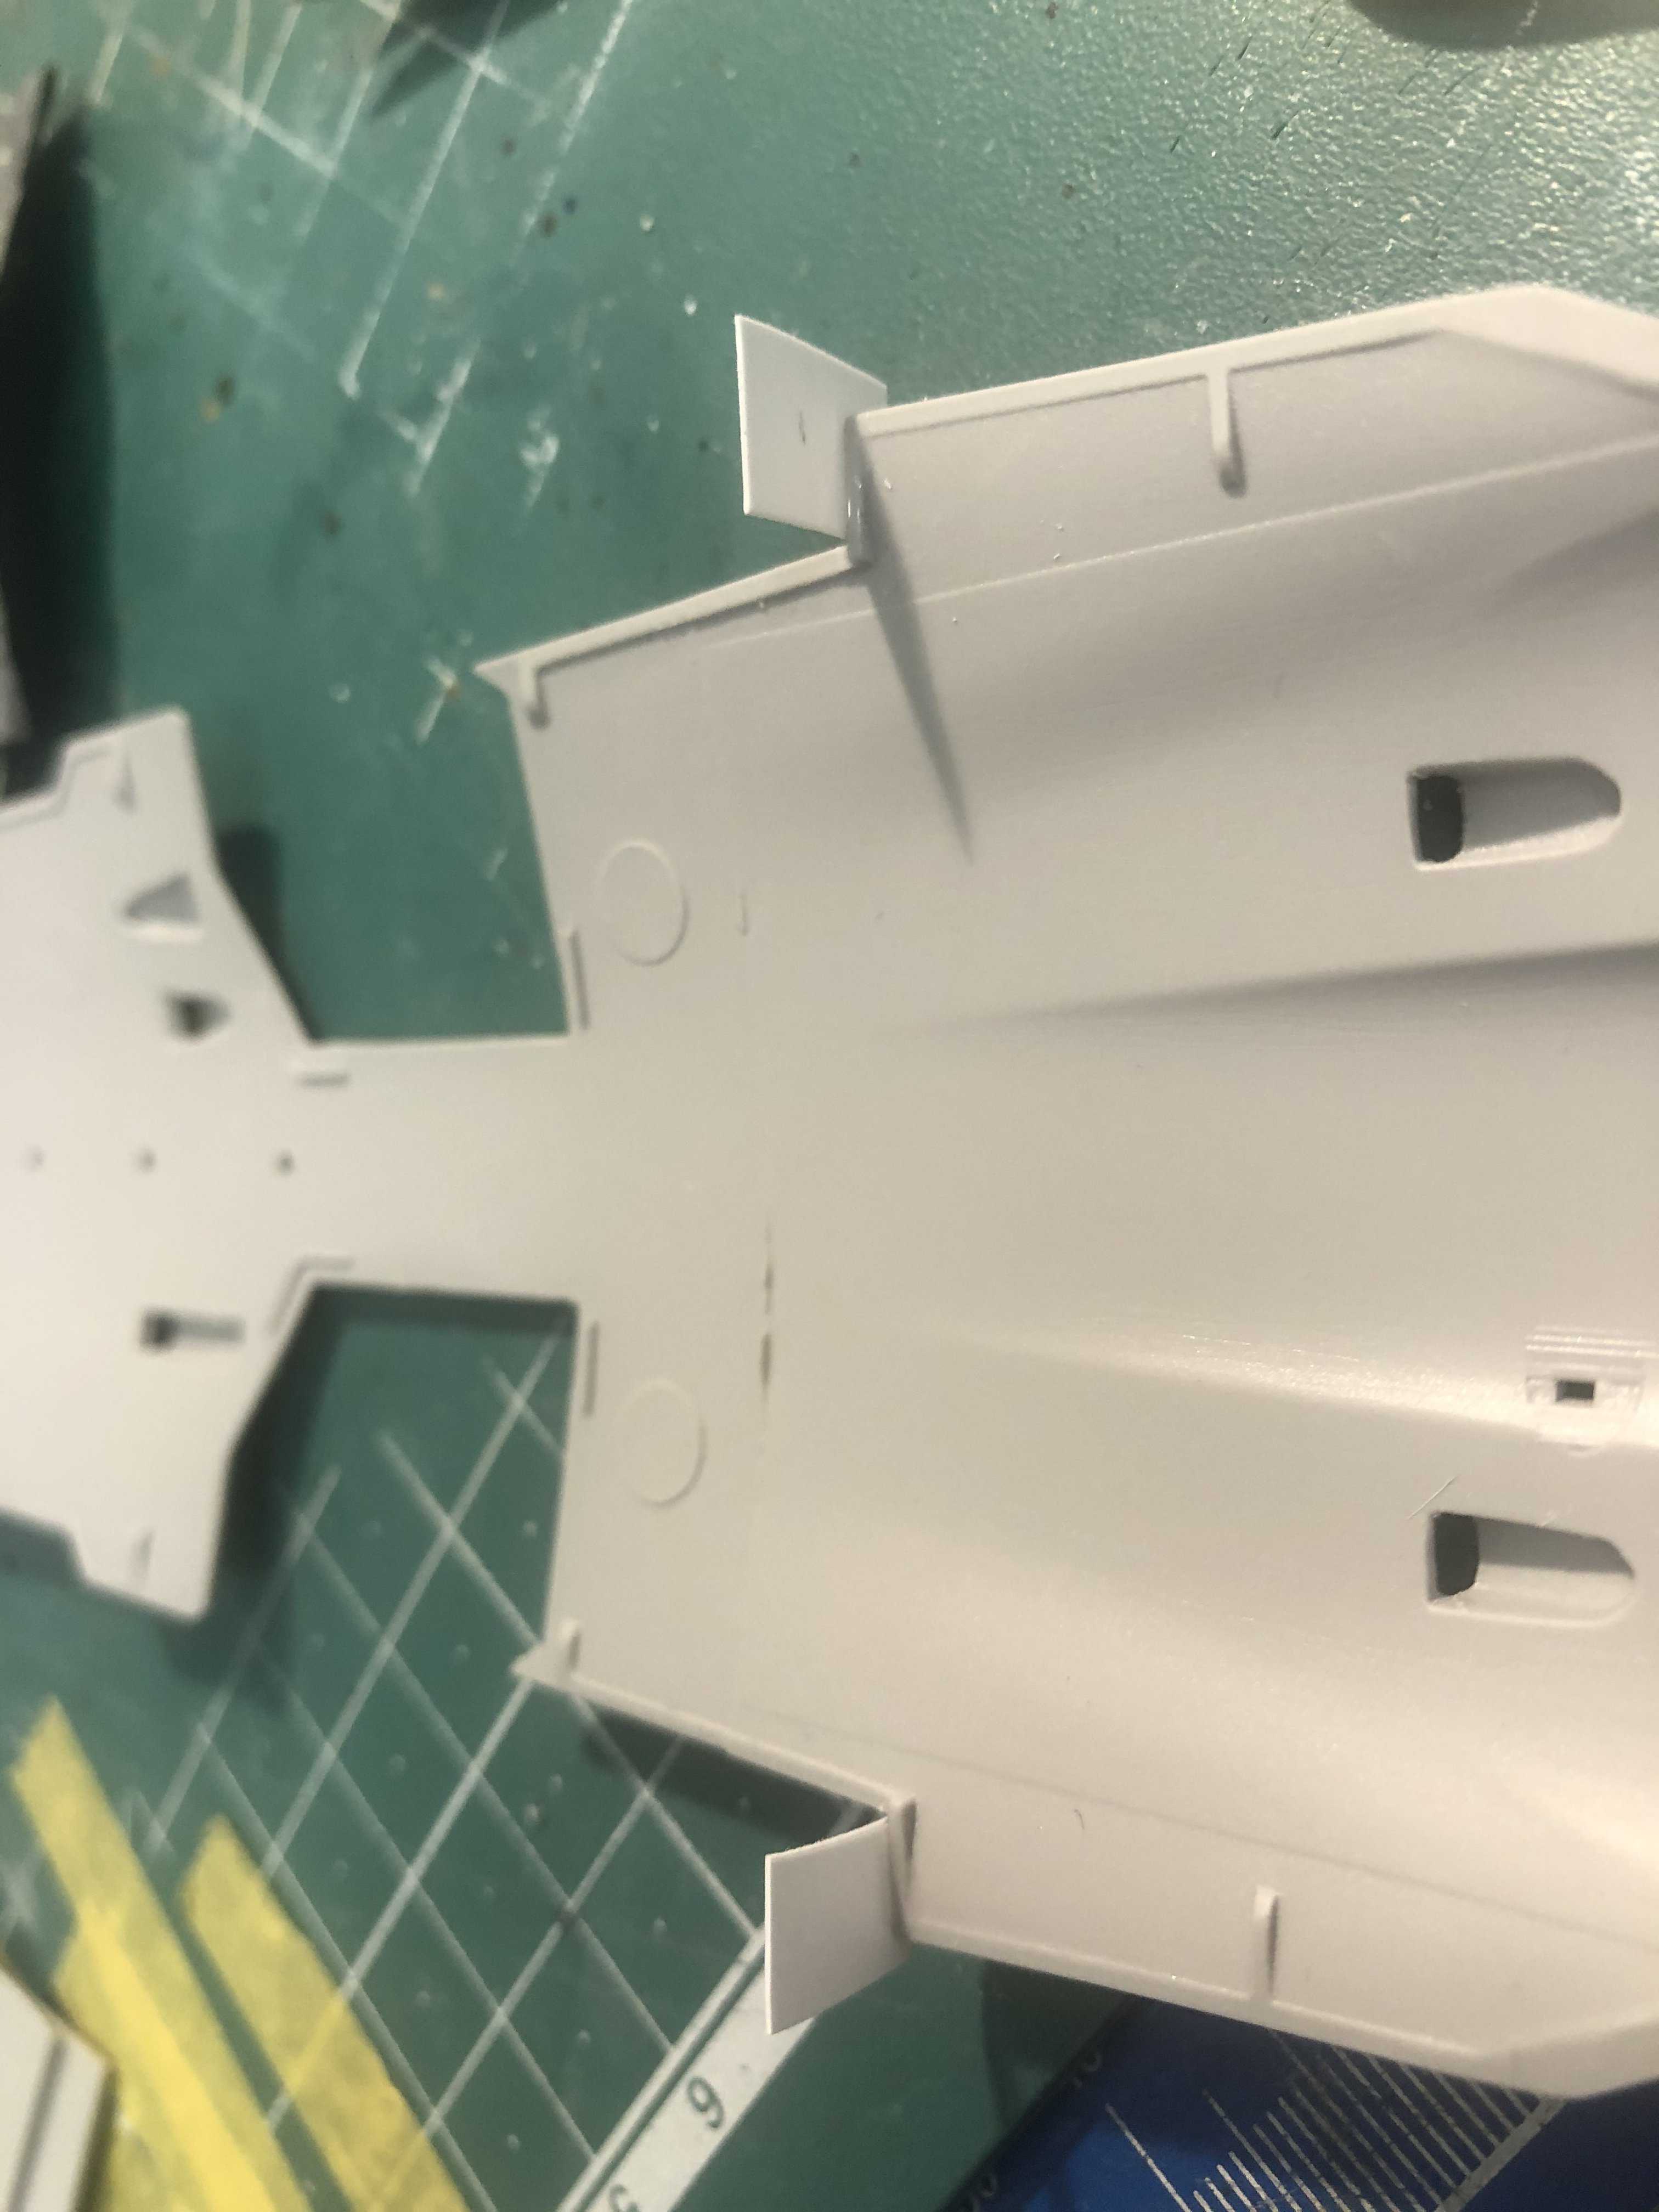
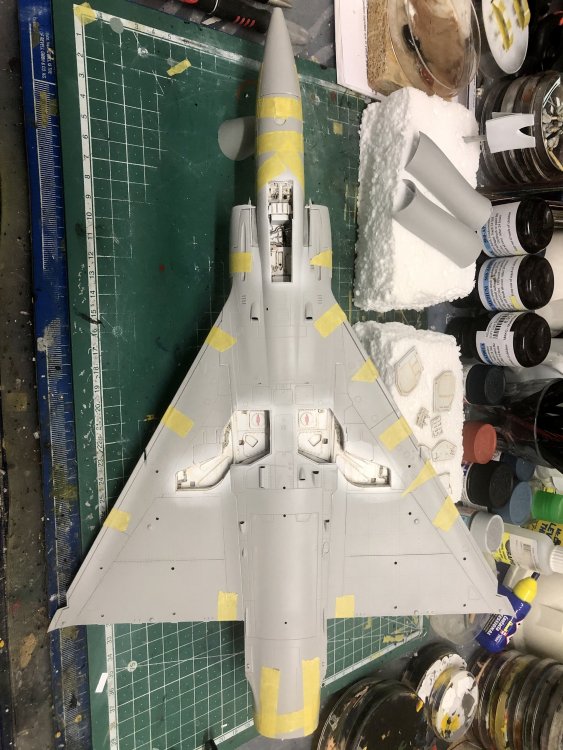
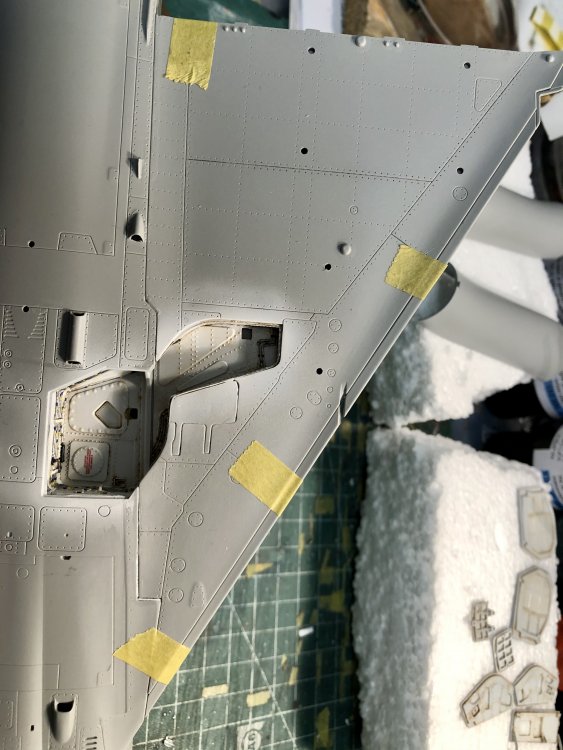
Next update: glued the fuselage-halfs together and the wing-upper-parts to it. Only small corrections with sheet necessary due to a gap in the wingroot at the leading edge. Then I made a test-fit of the complete assemblies. Was the right decision to go this way of assembly: Fit of vertical tail, tail, cockpit-section and even the intake and the nose is acceptable. Not Tamiya quality but handable with usual (Italeri-) rework. Also a quite visible big ejector pin-mark in the intake. The Italeri engineers seem to be no model builders... Starts to look like a Mirage...


- 719 replies
-
- 11
-

-
Israeli Mirage III C with Atar9C
Kaireckstadt replied to Kaireckstadt's topic in LSM 1/35 and Larger Work In Progress
Thanks Gaz, I hope that it wouldn’t take years to complete the model, but I‘m not superdetailing it. Are the landing gear legs really that bad? Hope that I can enhance them with piping. The translation for SOD in German is „Regal des Untergangs“. I would call such models „5 feet models“... -
Israeli Mirage III C with Atar9C
Kaireckstadt replied to Kaireckstadt's topic in LSM 1/35 and Larger Work In Progress
Thank you Peter. I‘m really a test-fitter because I made the same experience you had with your Mustang. Learned this lesson with the first Italeri Starfighter I built. Lots of work if not detected and even sometimes not possible to correct. -
Israeli Mirage III C with Atar9C
Kaireckstadt replied to Kaireckstadt's topic in LSM 1/35 and Larger Work In Progress
I will win the fight Rob! SOD (thanks Harv!) is no option -
Israeli Mirage III C with Atar9C
Kaireckstadt replied to Kaireckstadt's topic in LSM 1/35 and Larger Work In Progress
Thank you Rob! I have to out myself because I‘m not a native English. What does SOD stand for? Please don’t laugh! -
Israeli Mirage III C with Atar9C
Kaireckstadt replied to Kaireckstadt's topic in LSM 1/35 and Larger Work In Progress
Thank you Harv! Didn’t think that this build would become such a challenge. But we are modelers so we face them -
Good decision to keep decaling to a minimum! Looks so nice as it is! Also beautiful work on the accessories! Love the gas-bottles. Interesting technique how to apply the tonal variations of the base color!
- 100 replies
-
- 5
-
-

-
- hasegawa
- ammoknight
- (and 1 more)
-
Israeli Mirage III C with Atar9C
Kaireckstadt replied to Kaireckstadt's topic in LSM 1/35 and Larger Work In Progress
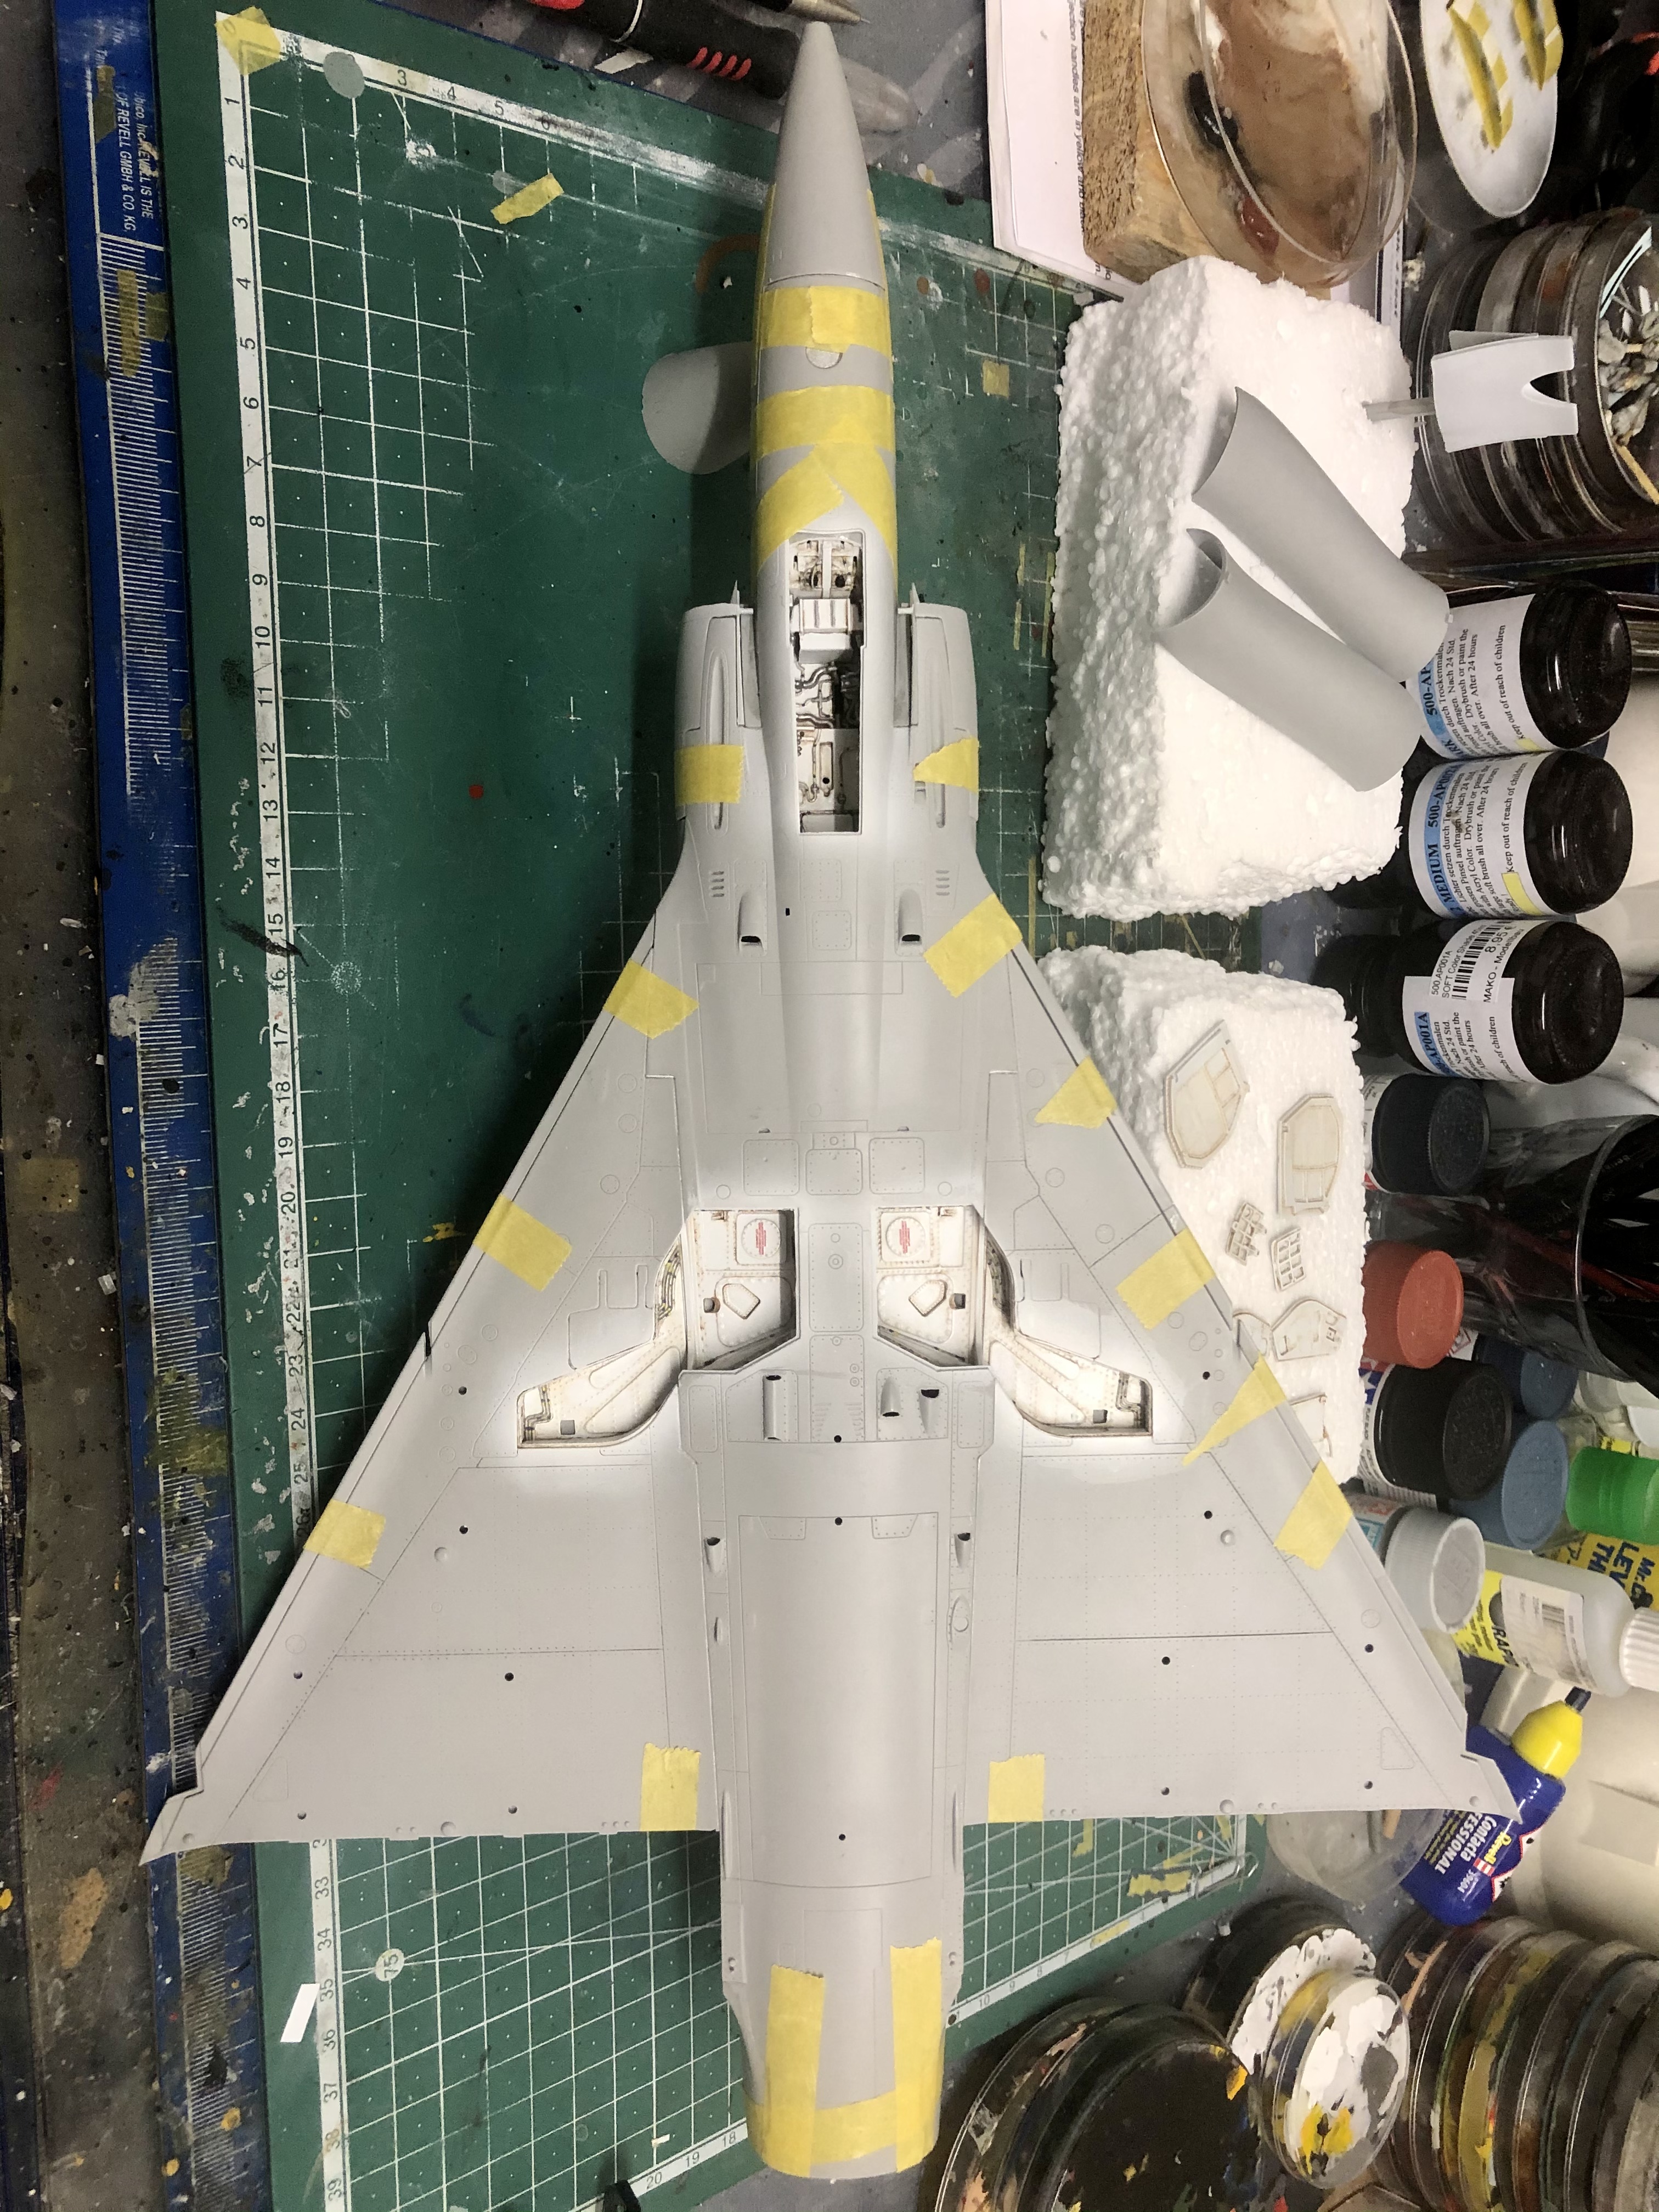
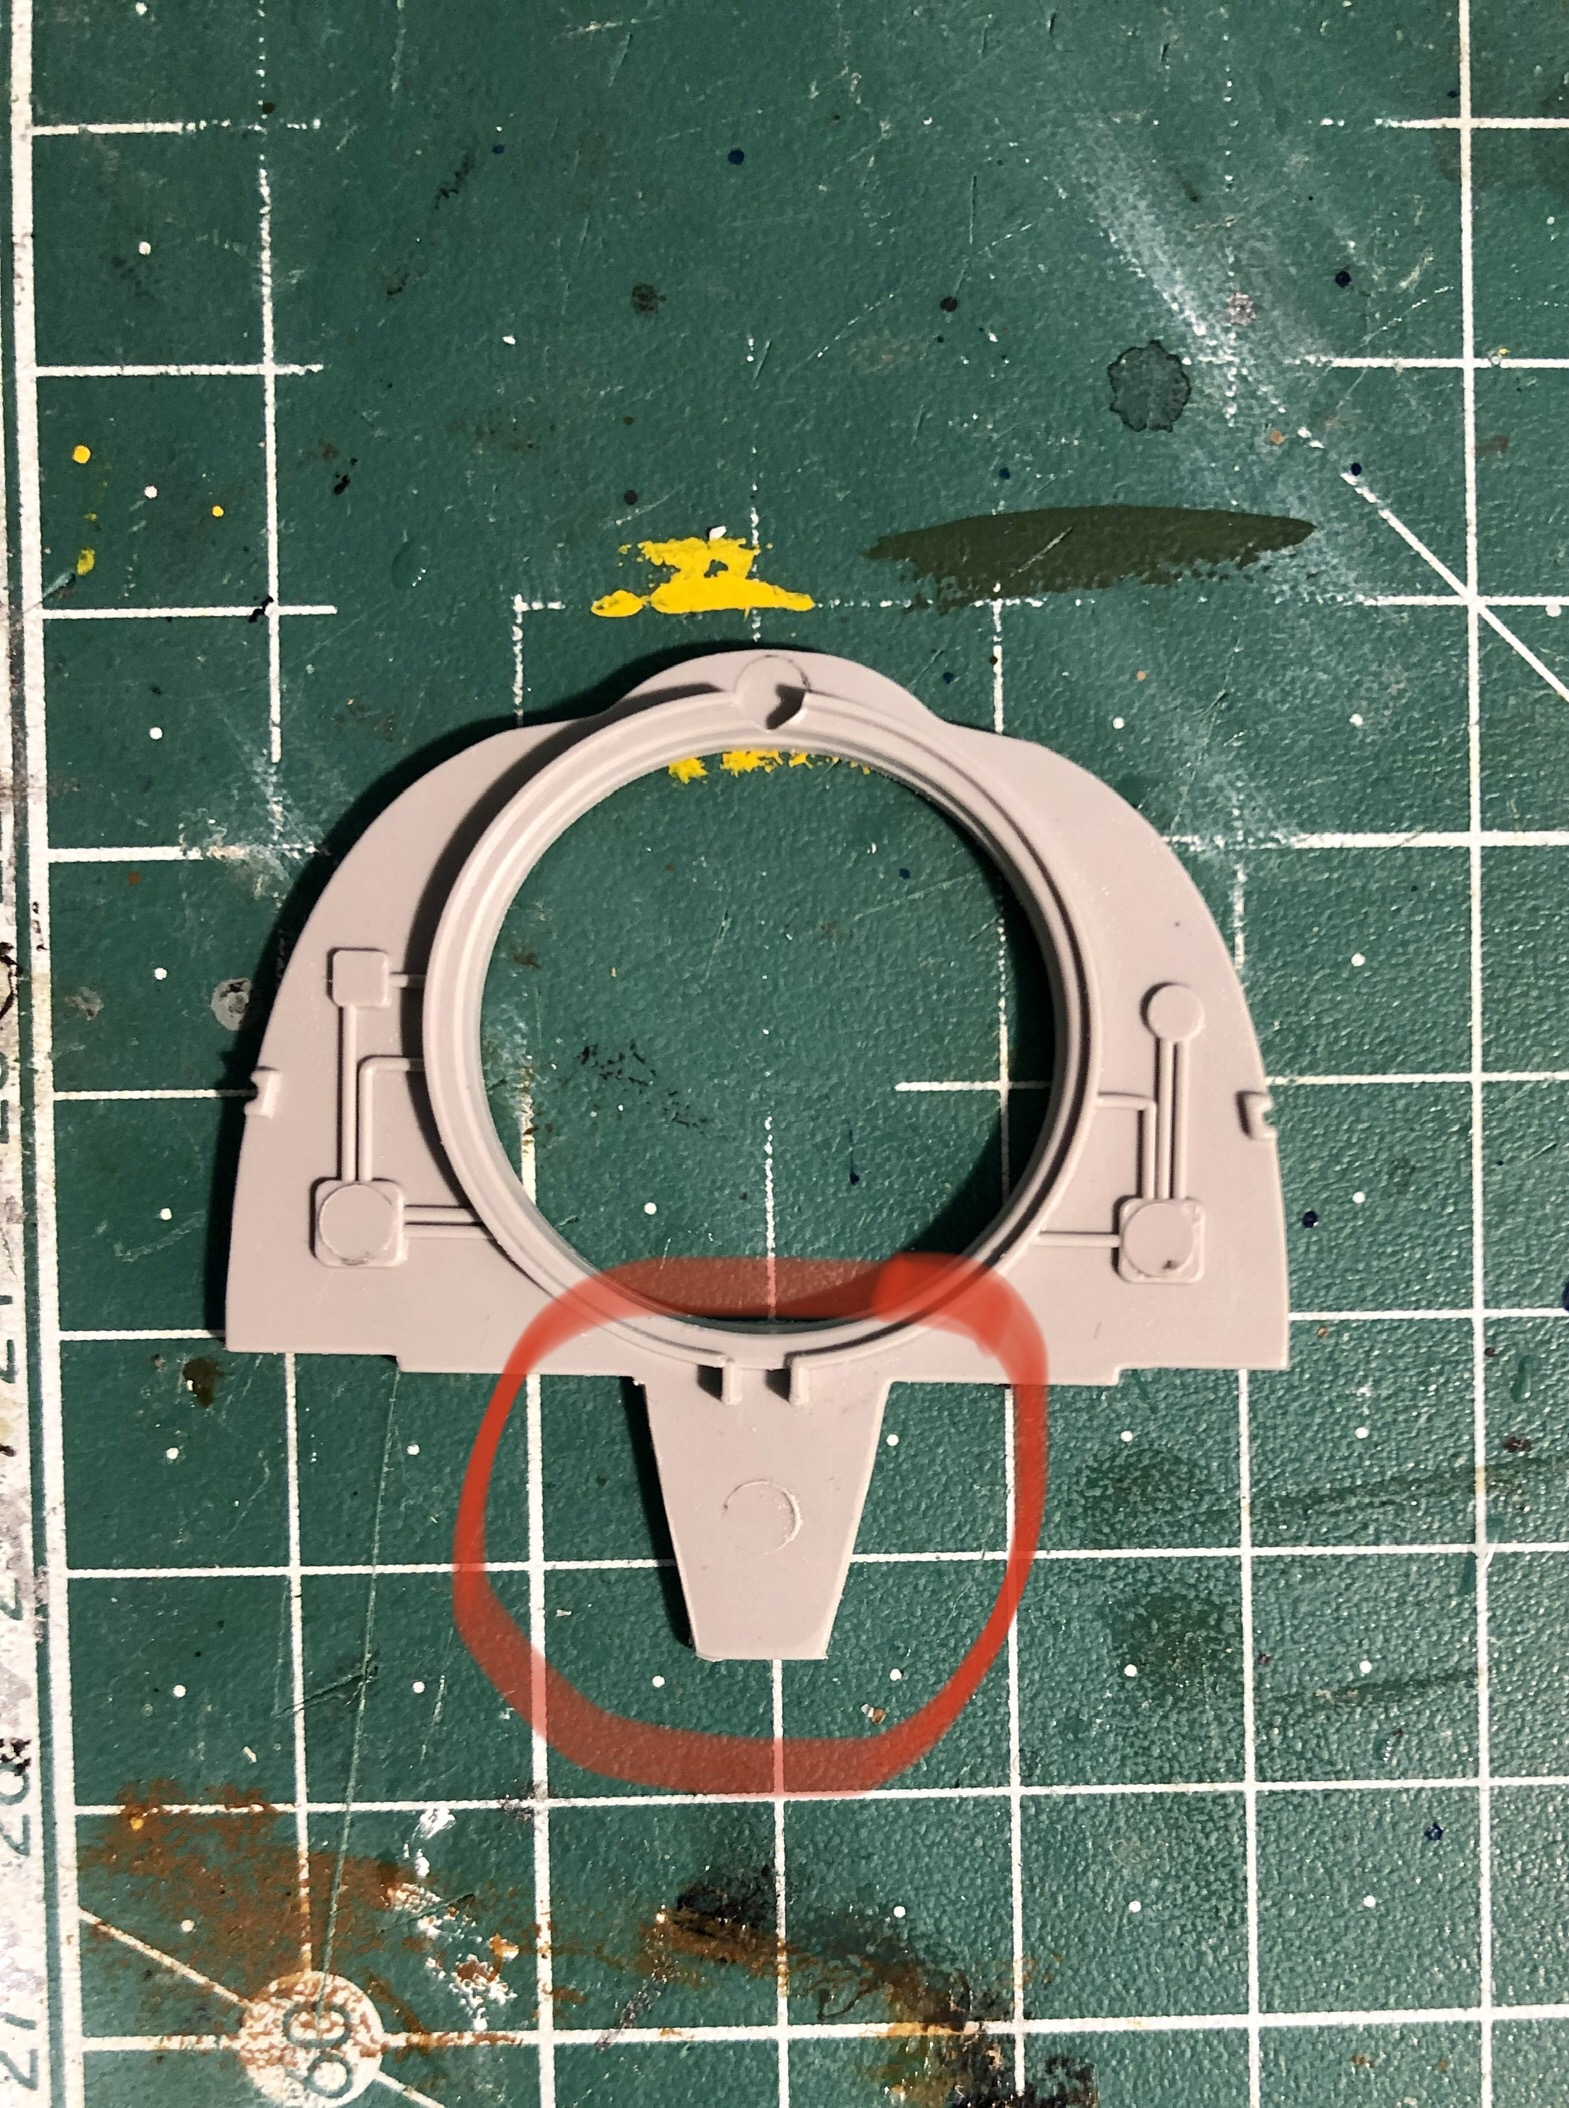
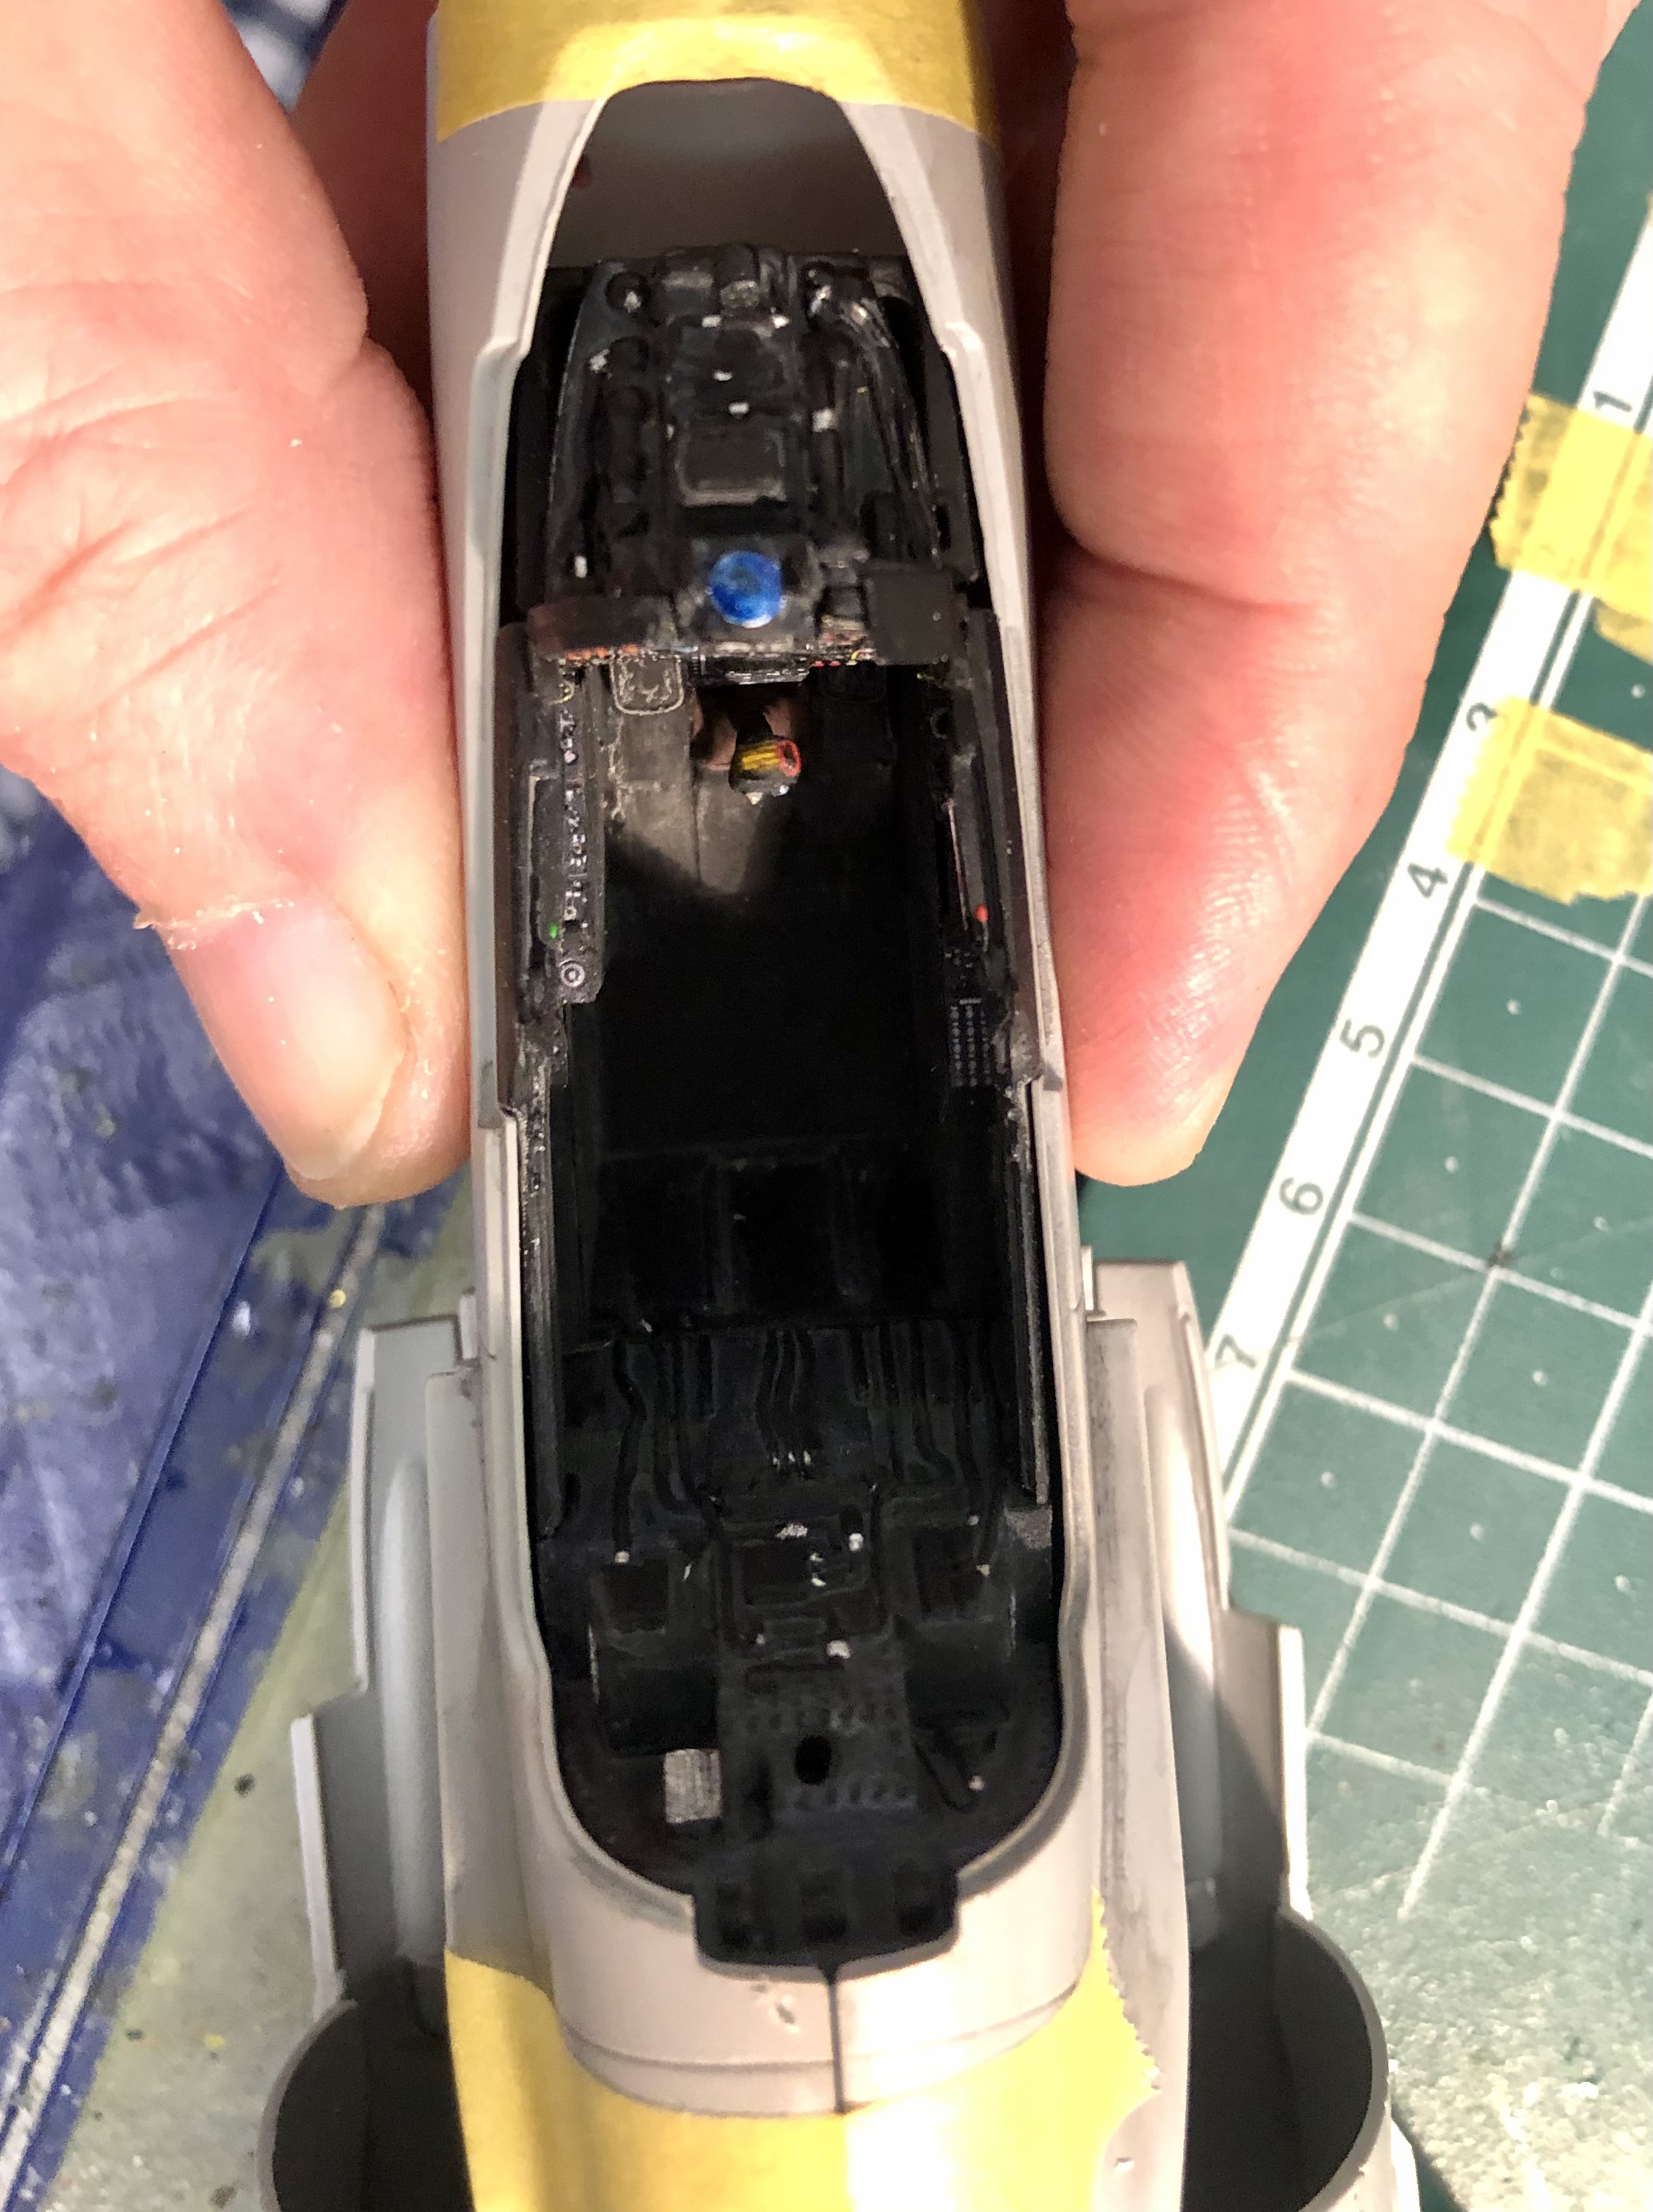
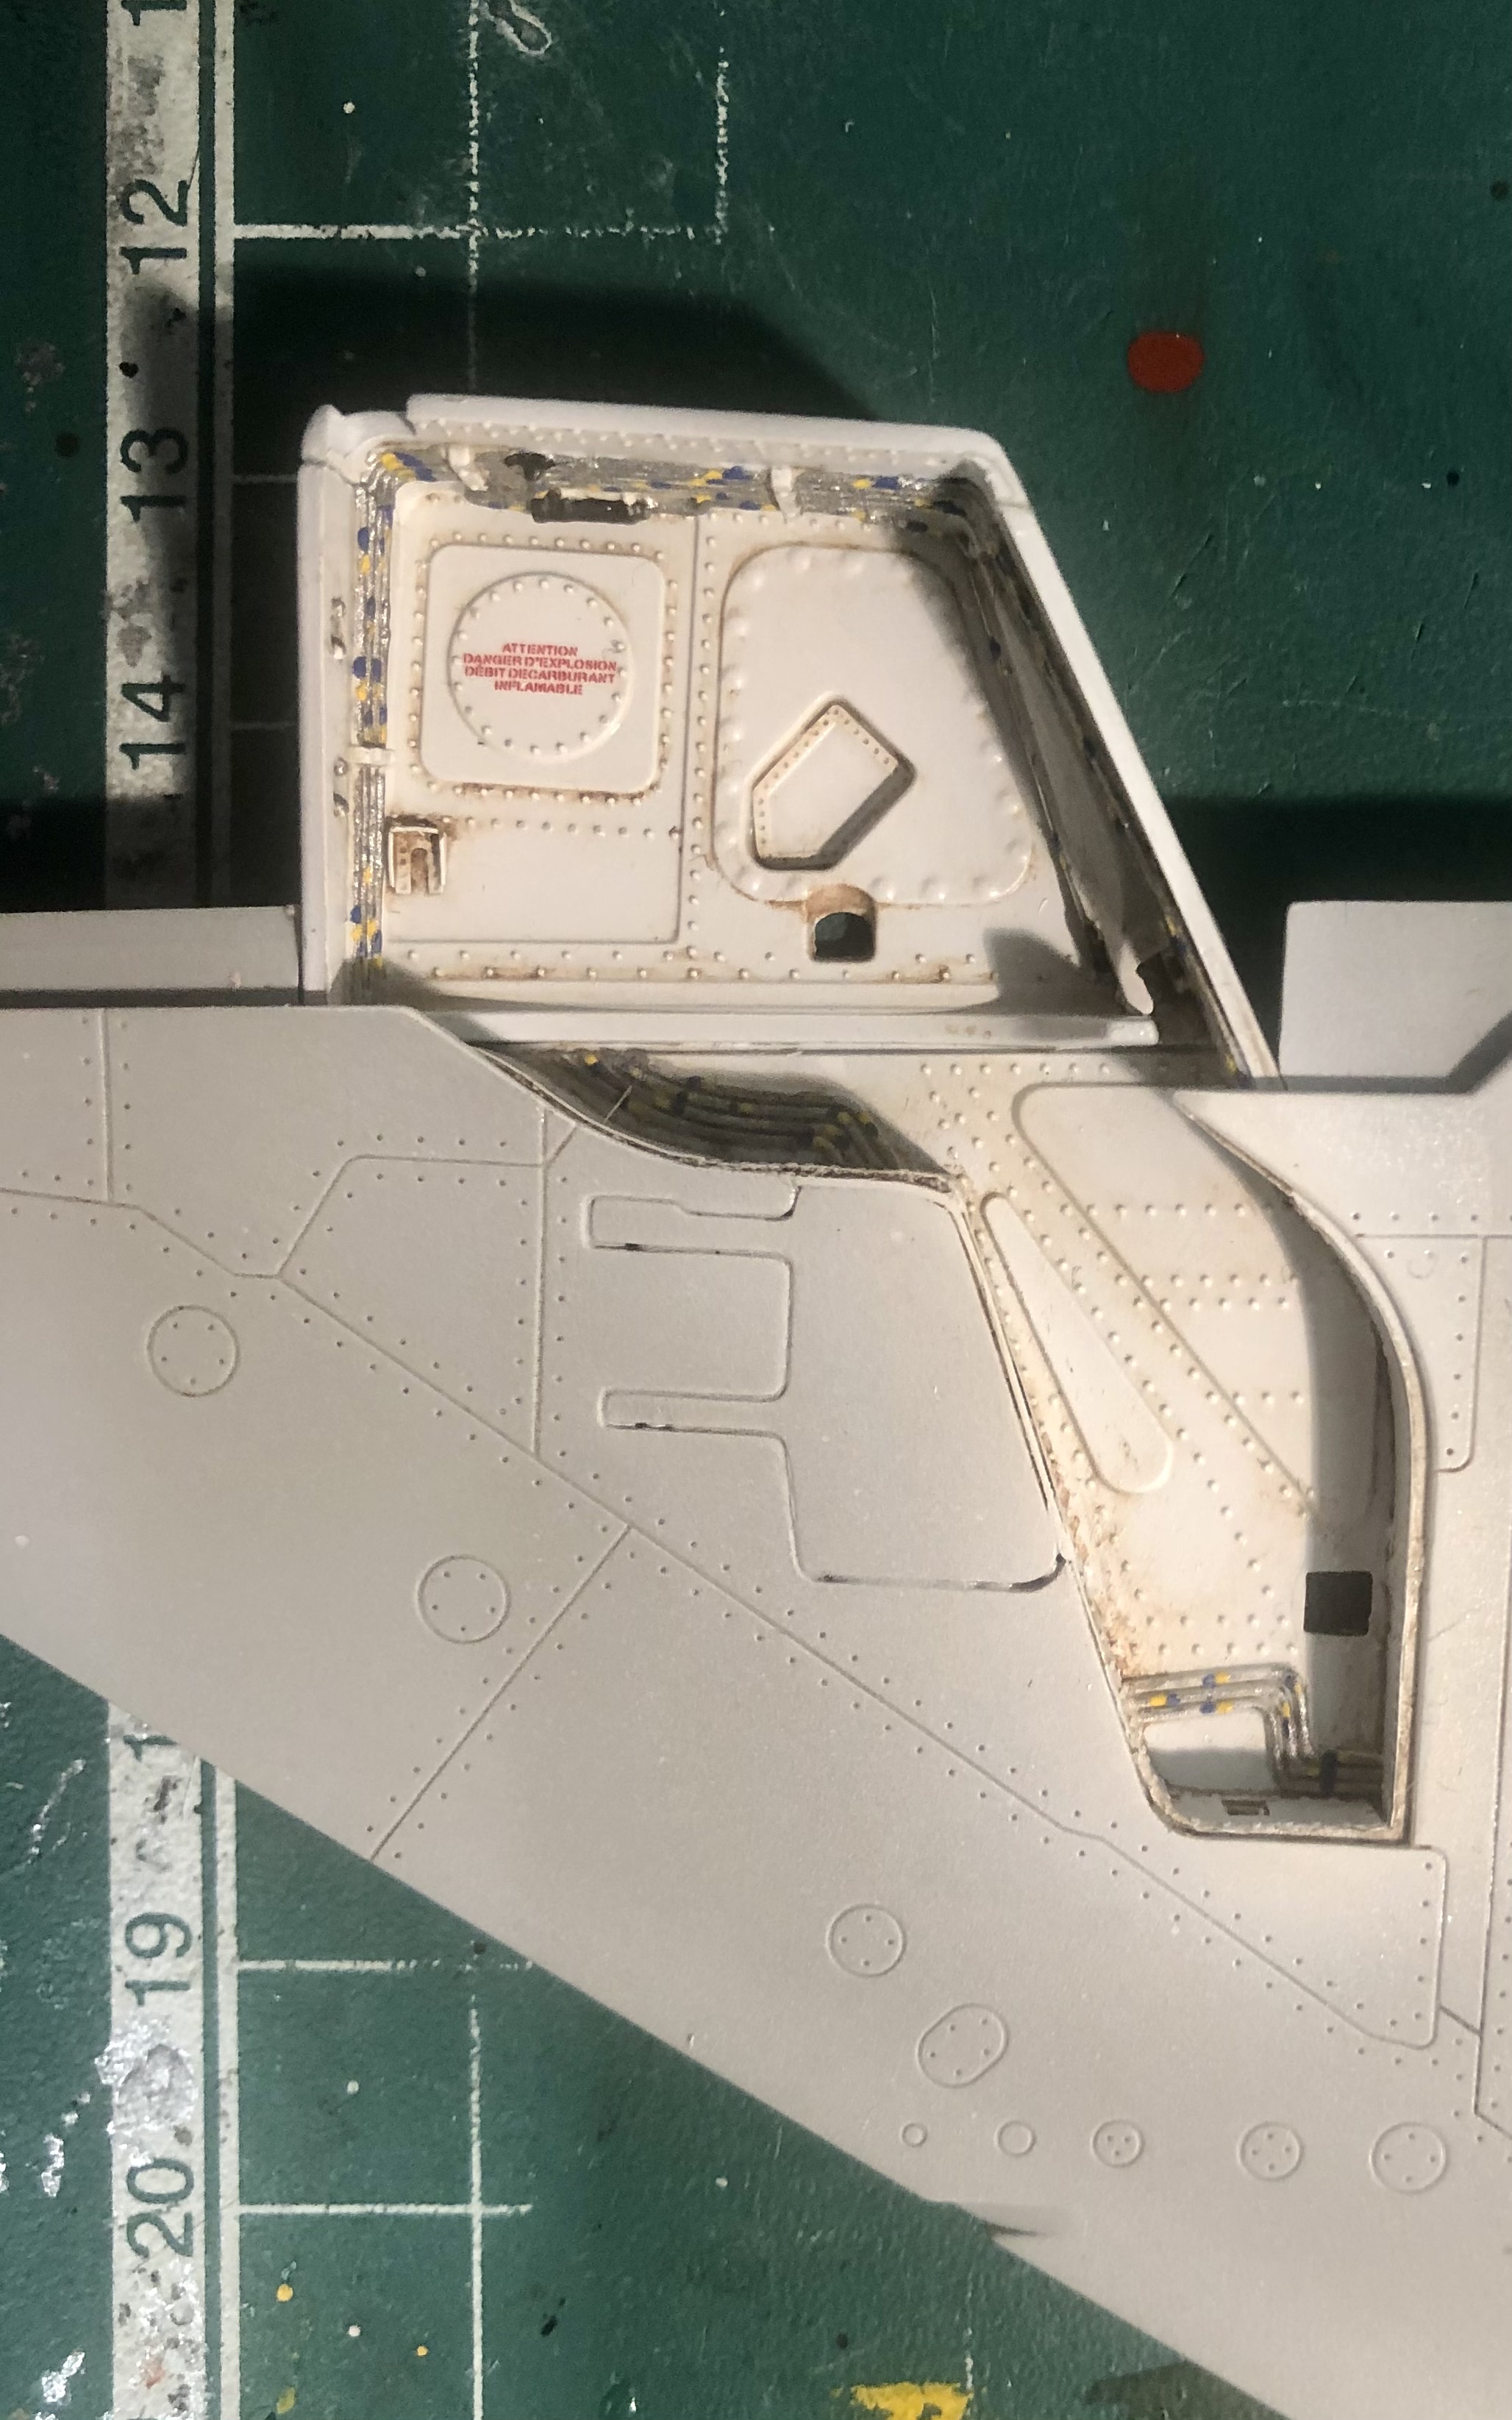
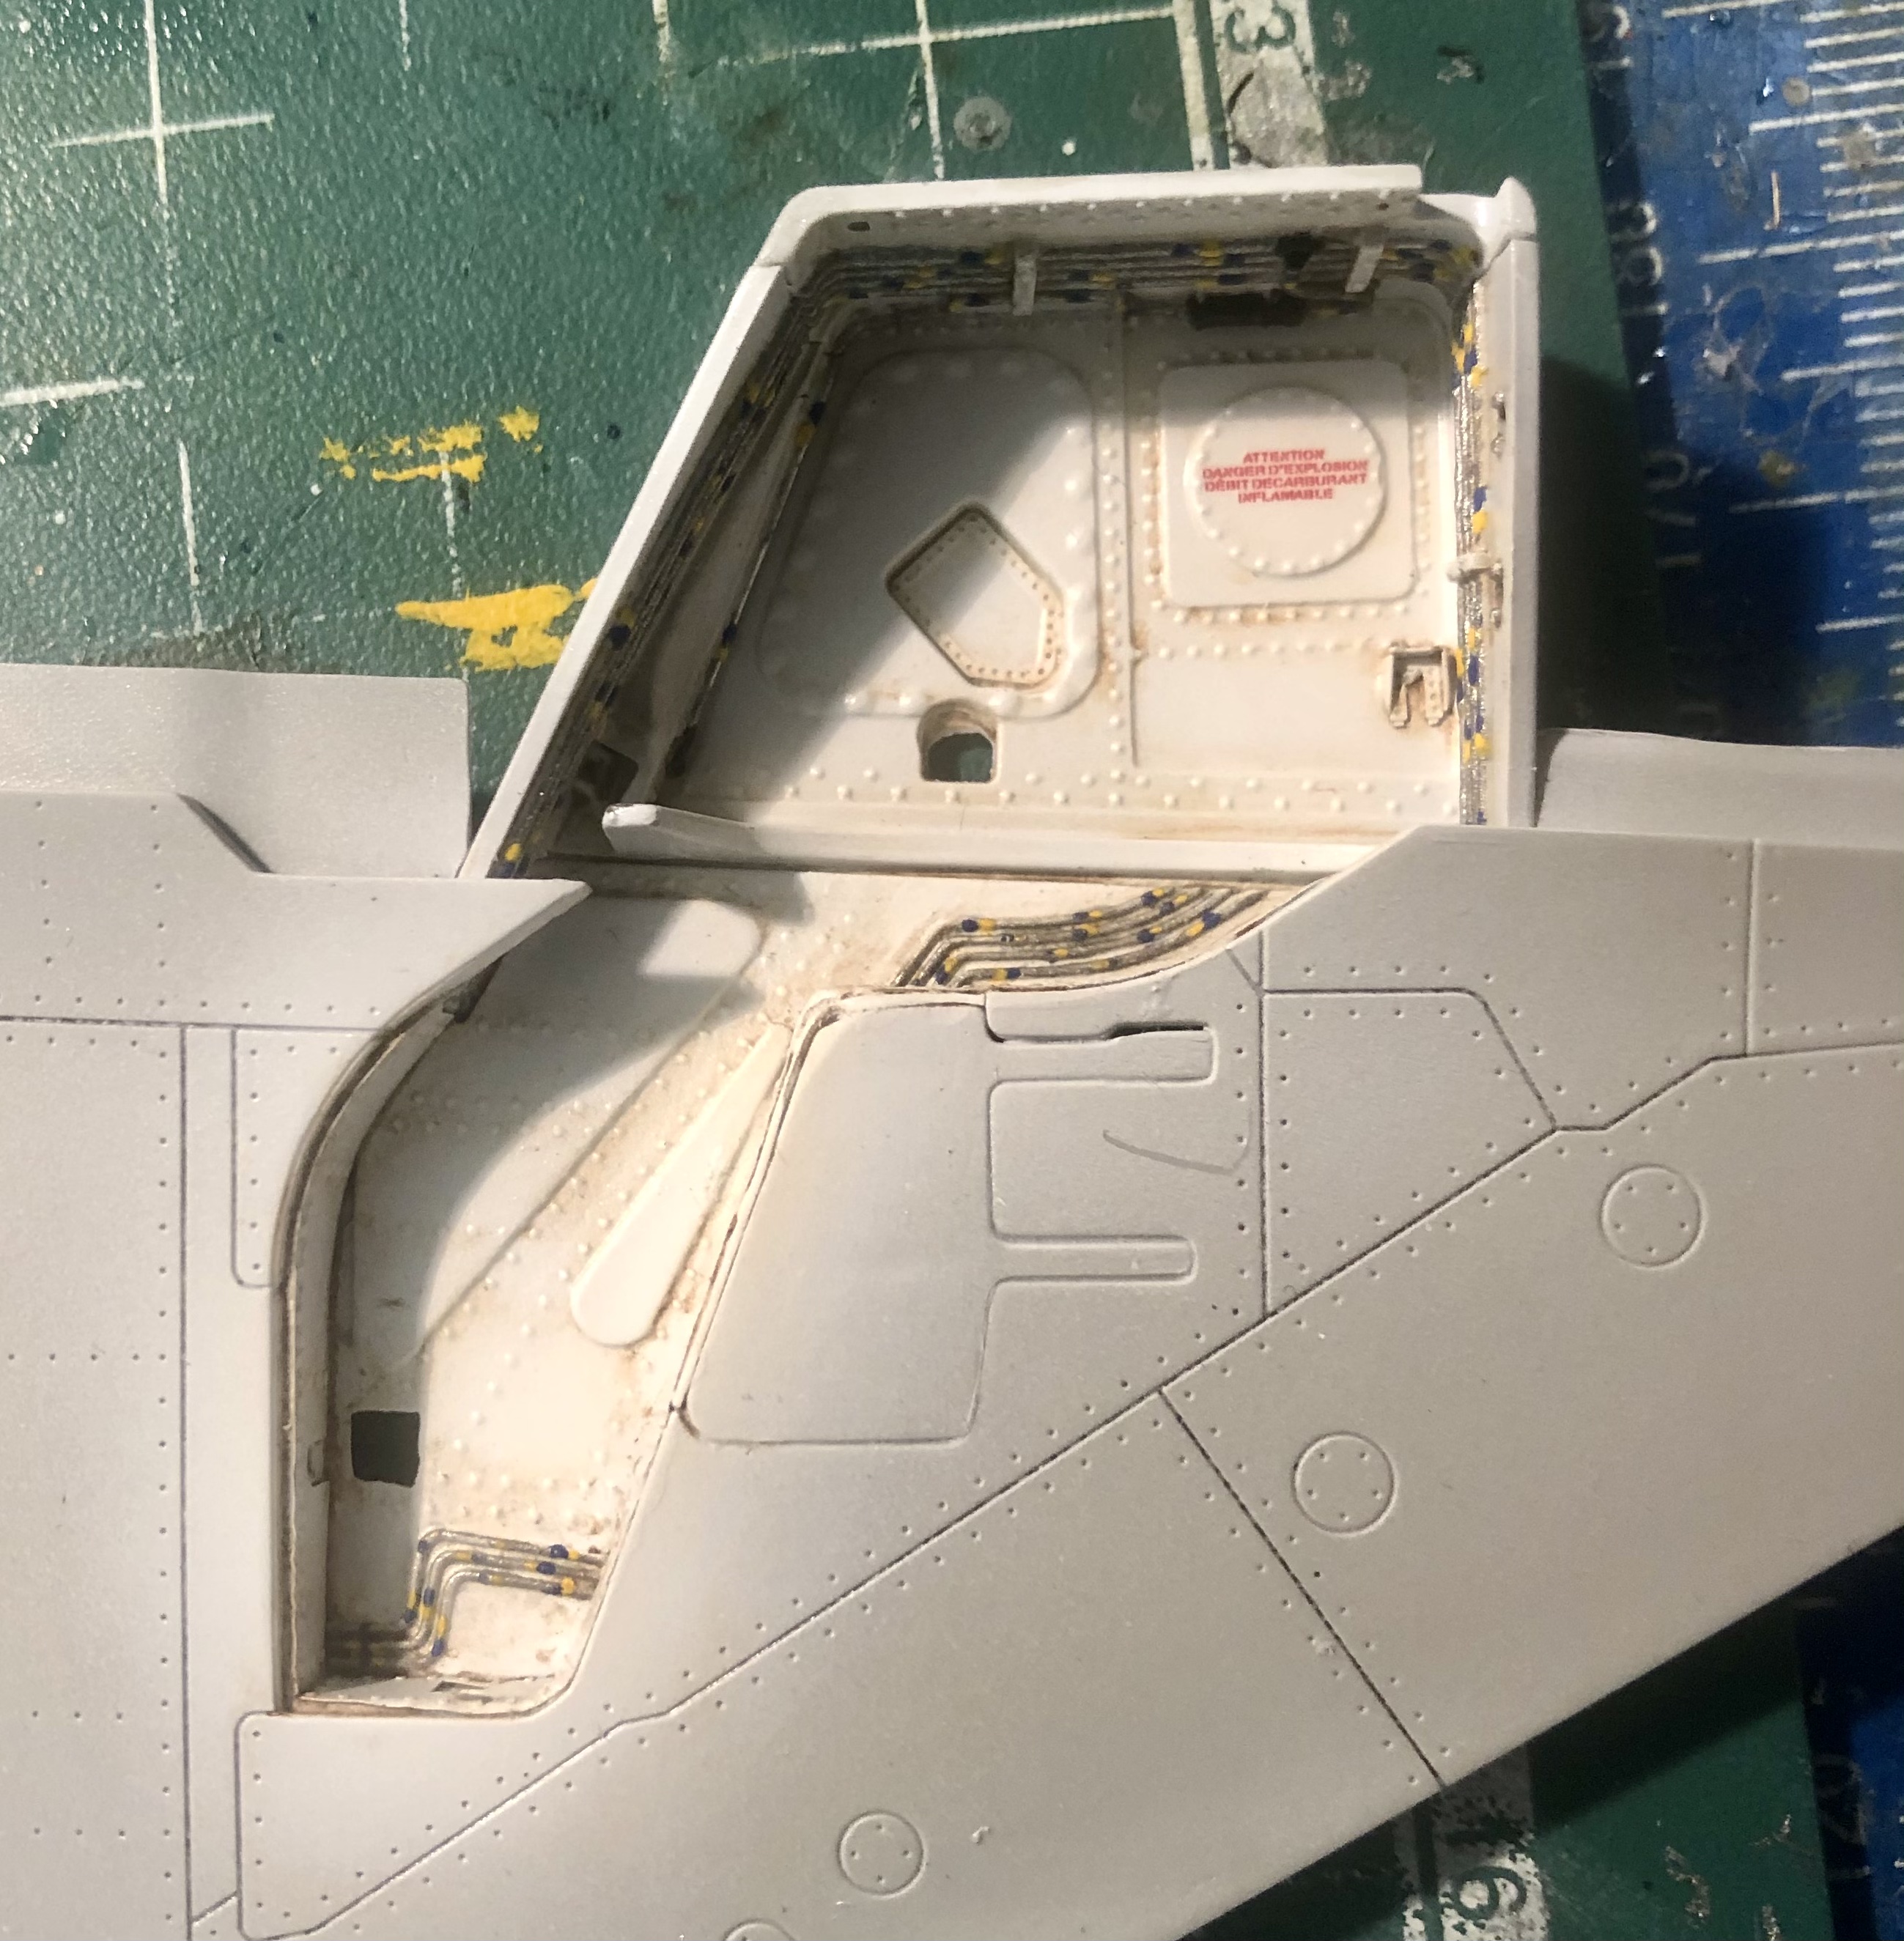
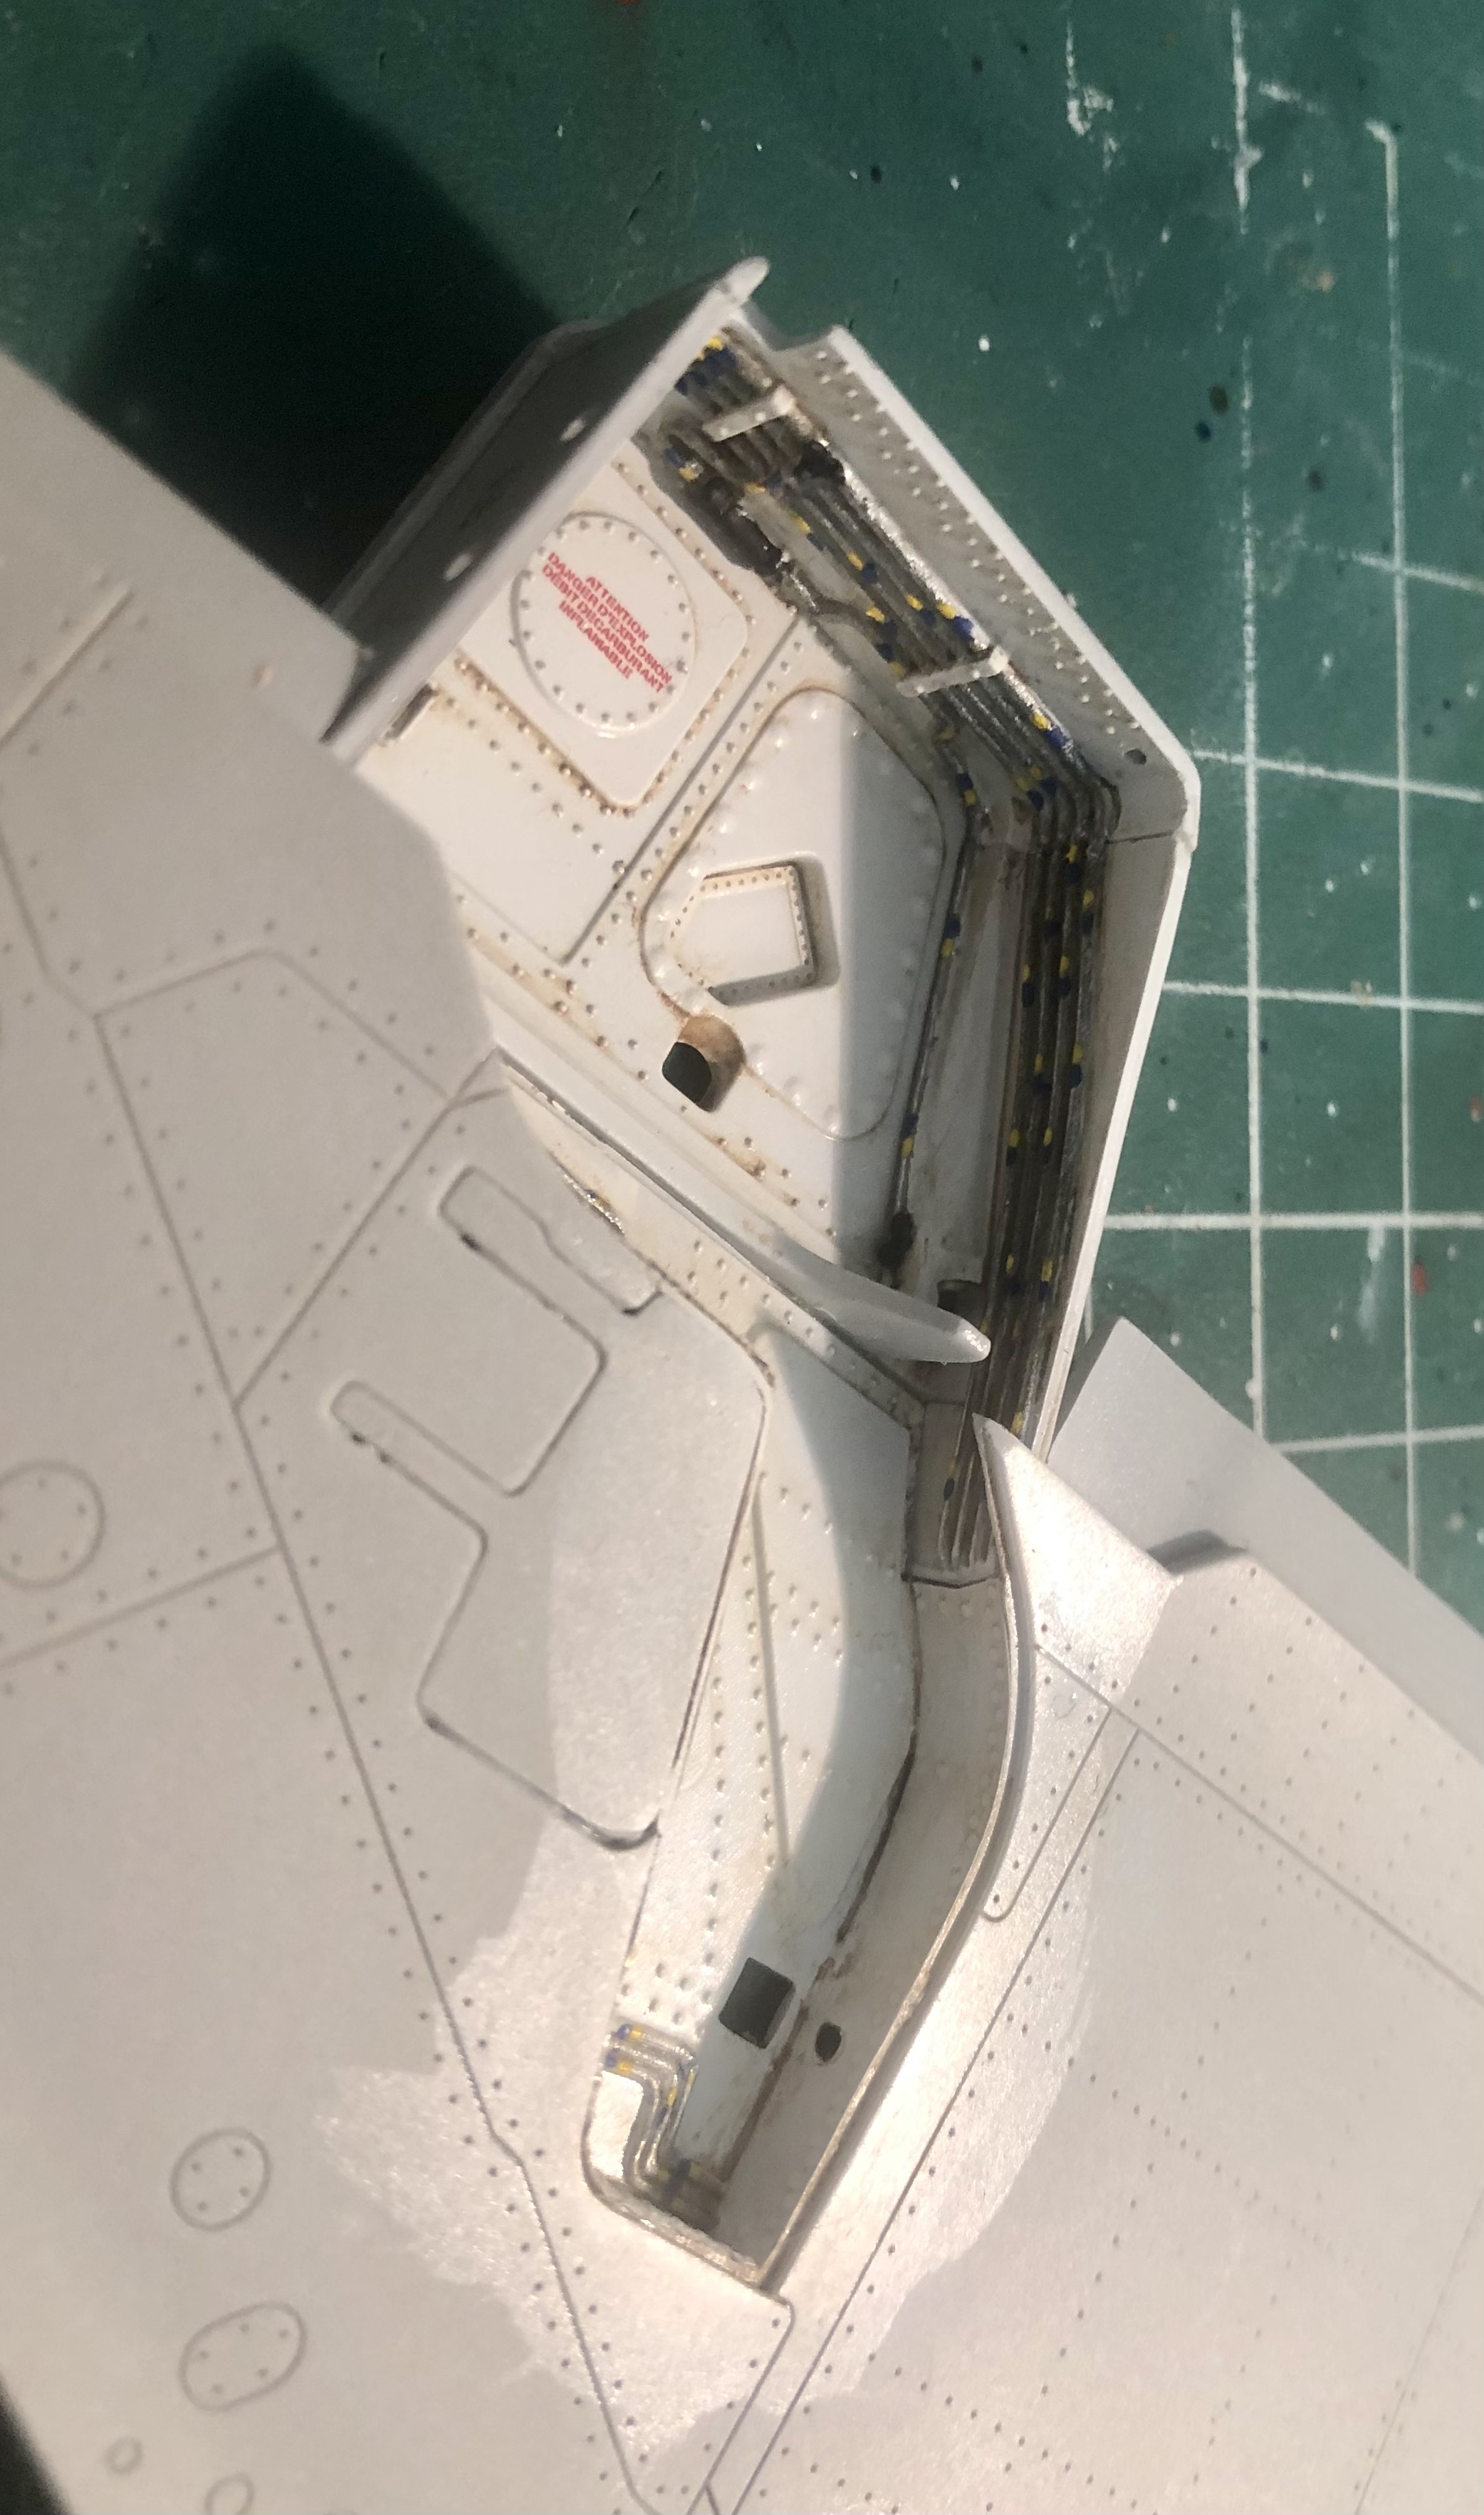
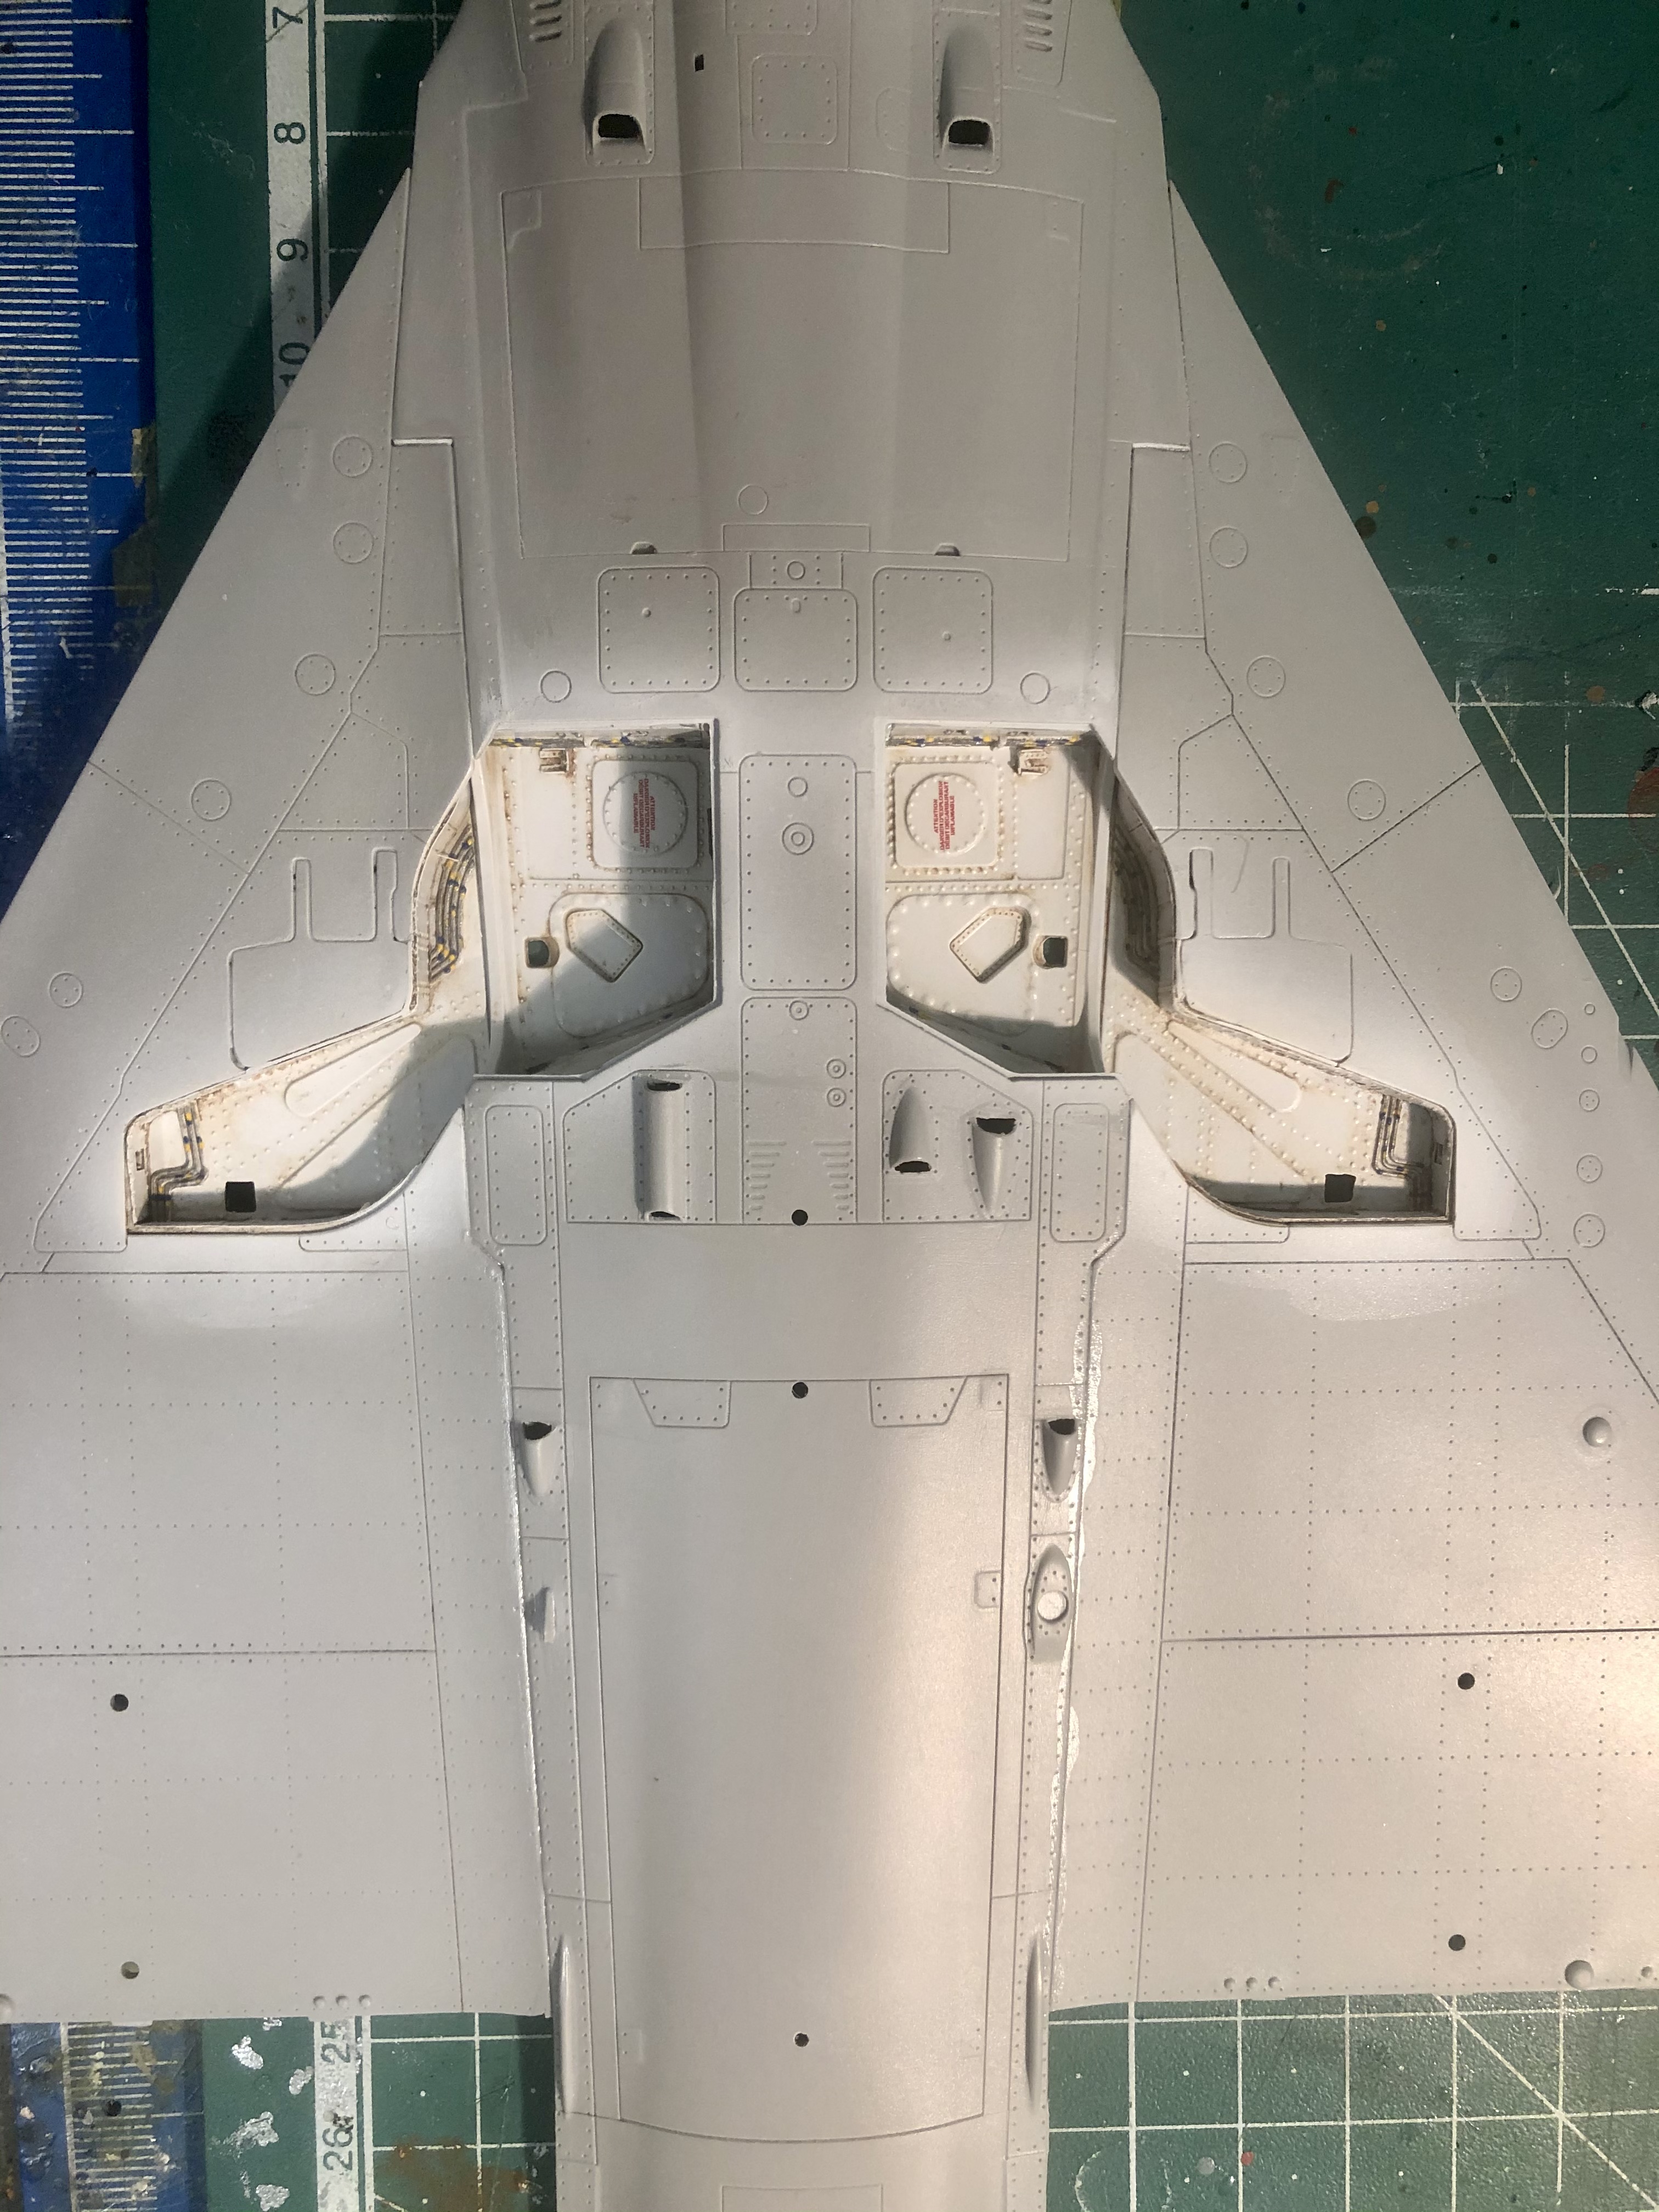
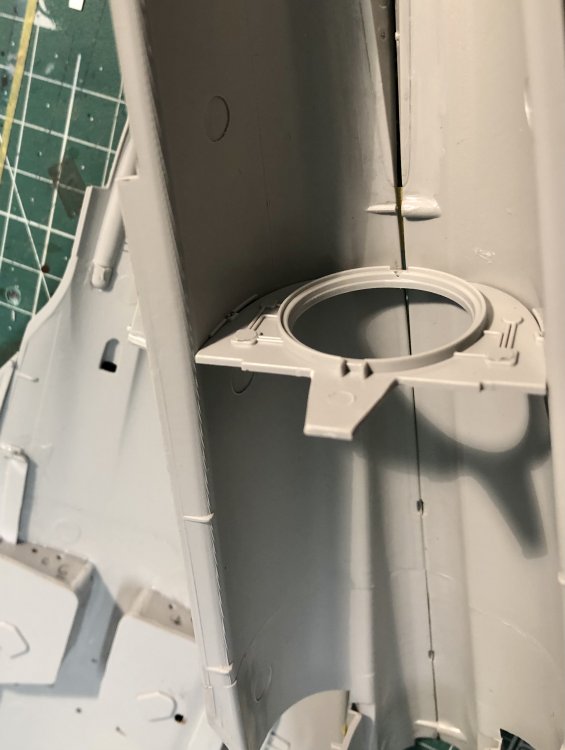
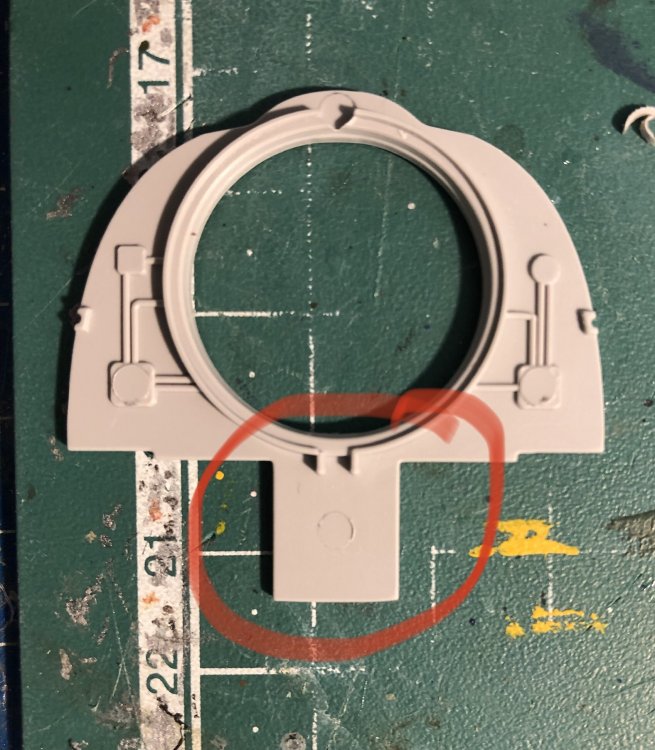
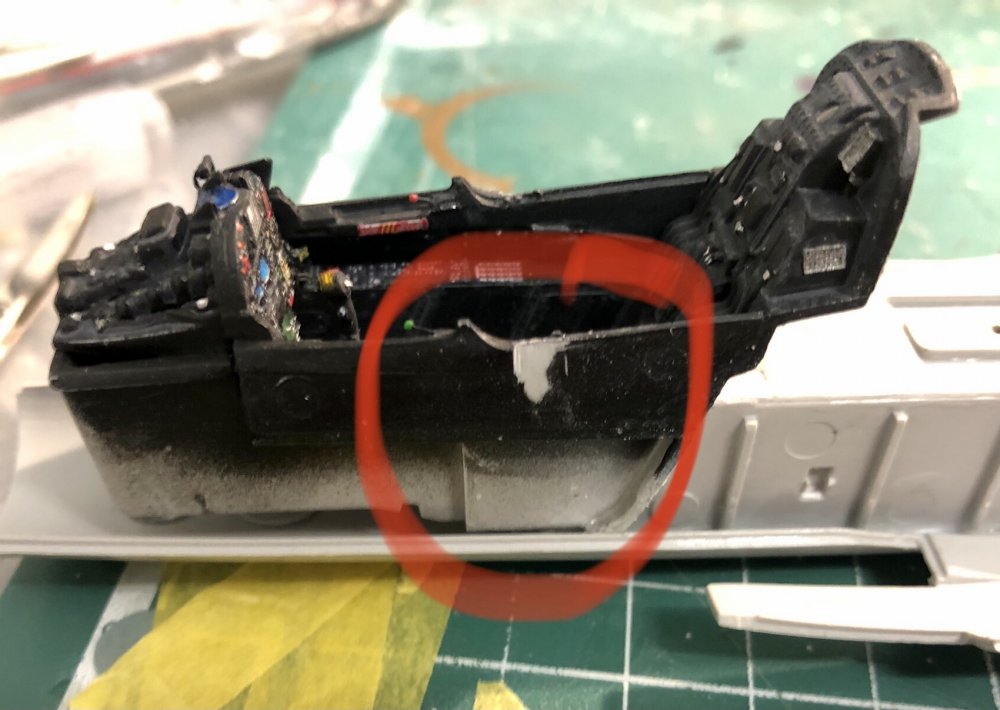
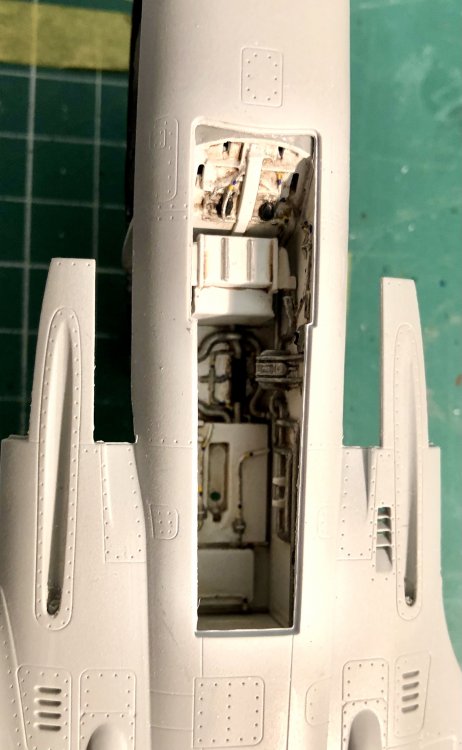
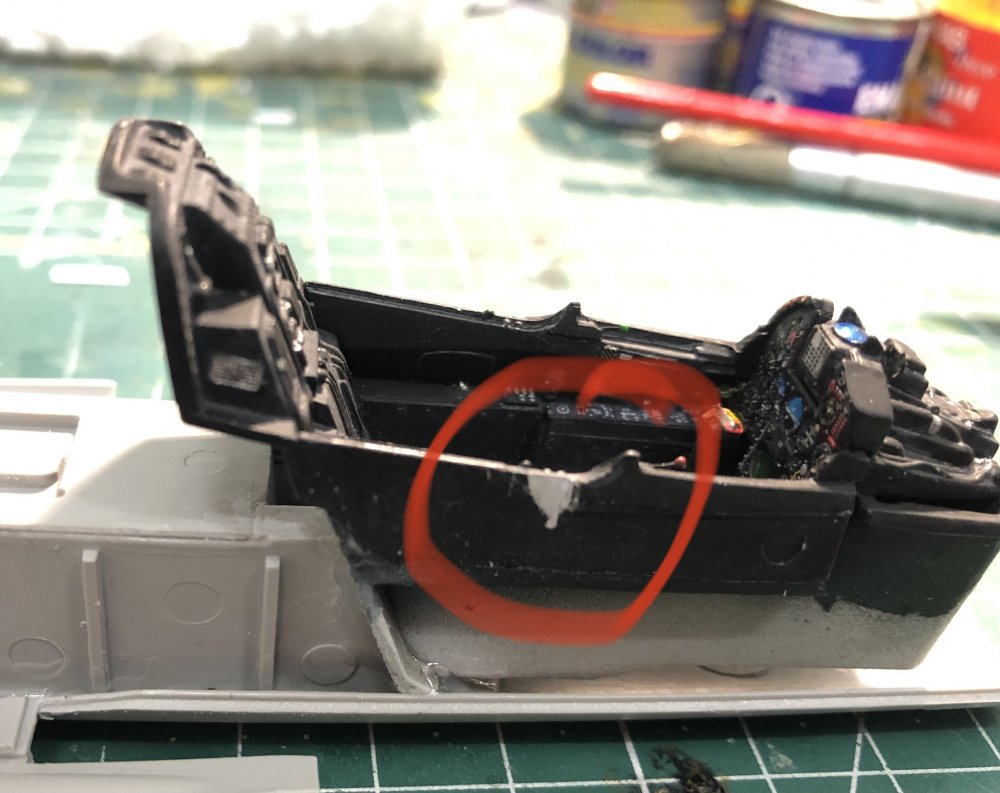
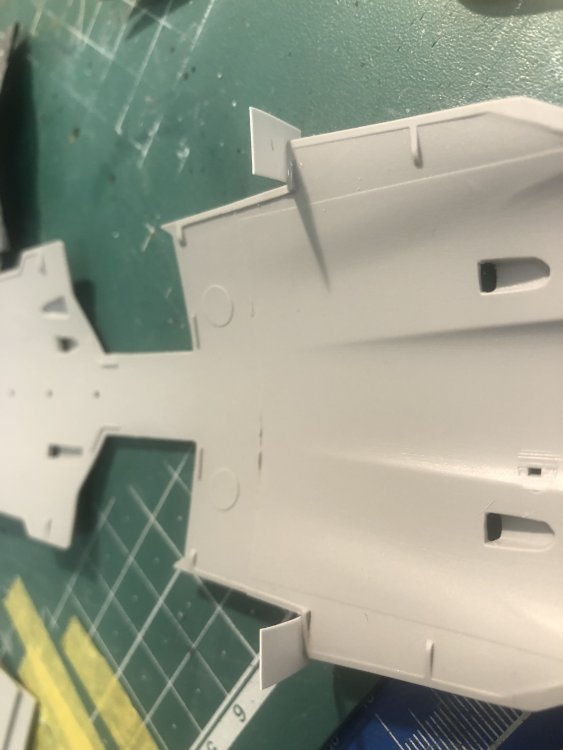
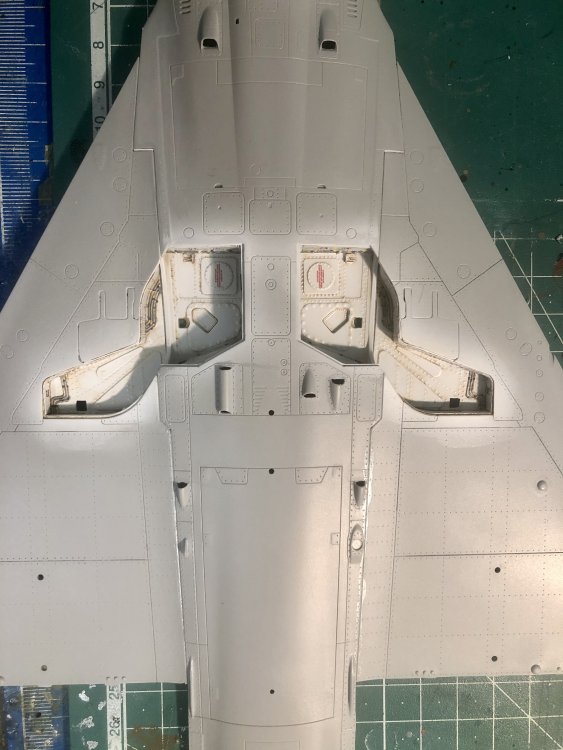
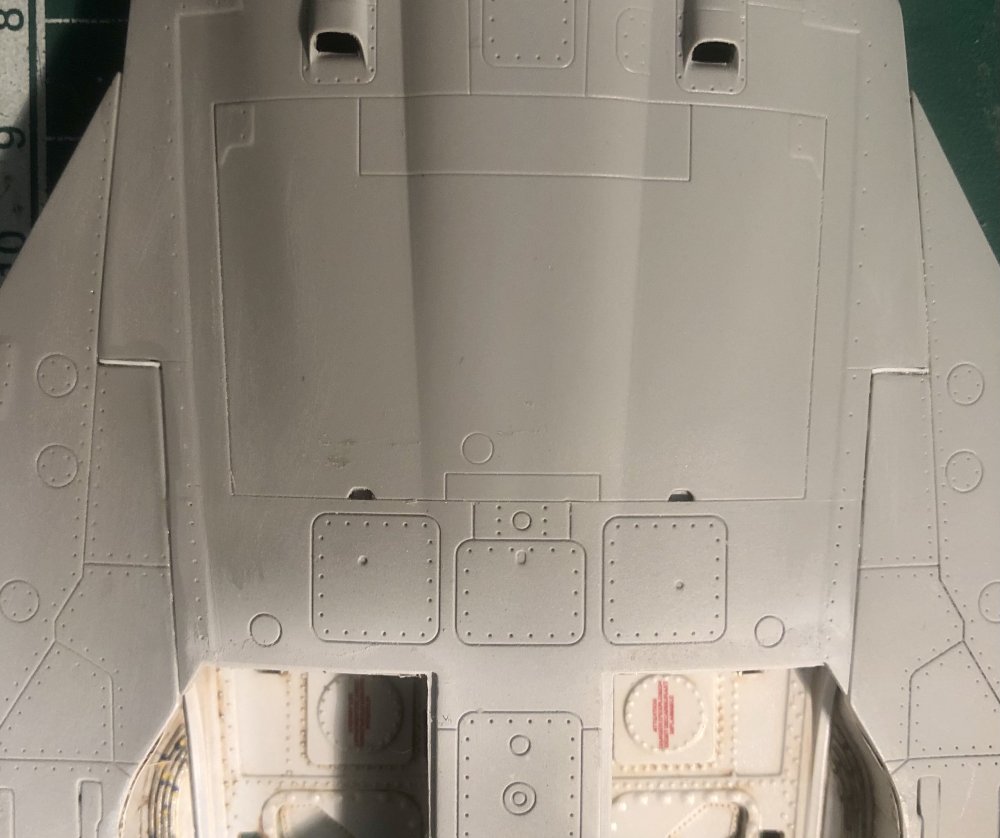
And here is the next part. The preparation of the fuselage lower half was finished by glueing the cockpit-tub/ wheel well construction to it. Fit was good and no rework necessary. Test-fitting of the fuselage halfs showed that the distance between them is very narrow caused by the kind of kit construction. When installing the hull-frame to the halfs a gap occurs which can only be pressed together with force. The hull had also to be reworked because the hull won’t fit between the wheel-wells on the lower fuselage. I also decided not to install the intake tubes because through the small air-intakes hardly anything of it can be seen and cutting it off makes the assembly of the intakes much more simple. But I will describe this in a later post. Test-fitting of the fuselage to its lower part showed that the sidewalls of the cockpit don’t fit exactly to the cutout in the fuselage halfs. I had to grind away 1 mm on each side and the the fit was perfect. I would not recommend to glue the sidewalls to the fuselage halfs instead to the cockpit tub because the resulting gap at the end between the tub and the sidewalls can simply be not corrected. Next step will be to bring the fuselage halfs together.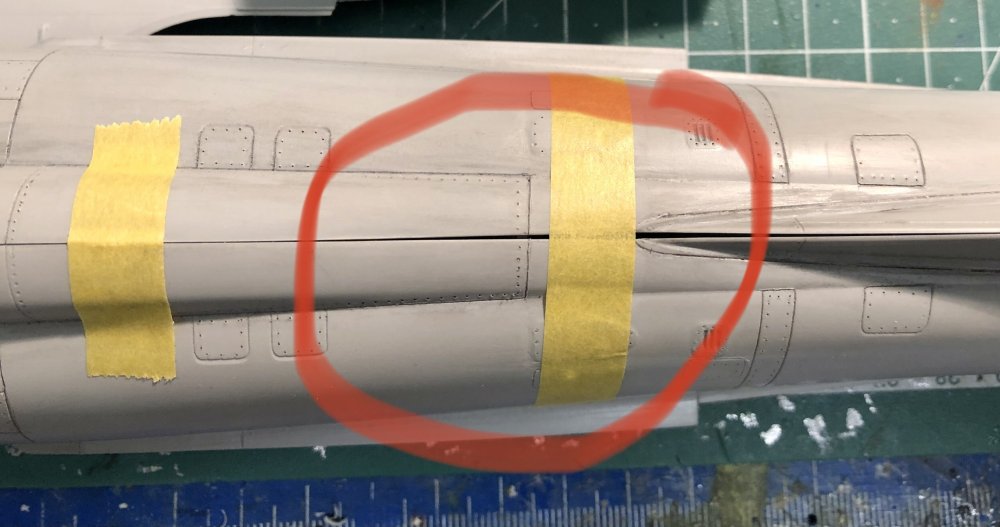


-
Great progress! And lots of work ahead of you! It’s more than huge!! Will you add a metal wing spar ? Where will you store that big b...?
-
Israeli Mirage III C with Atar9C
Kaireckstadt replied to Kaireckstadt's topic in LSM 1/35 and Larger Work In Progress
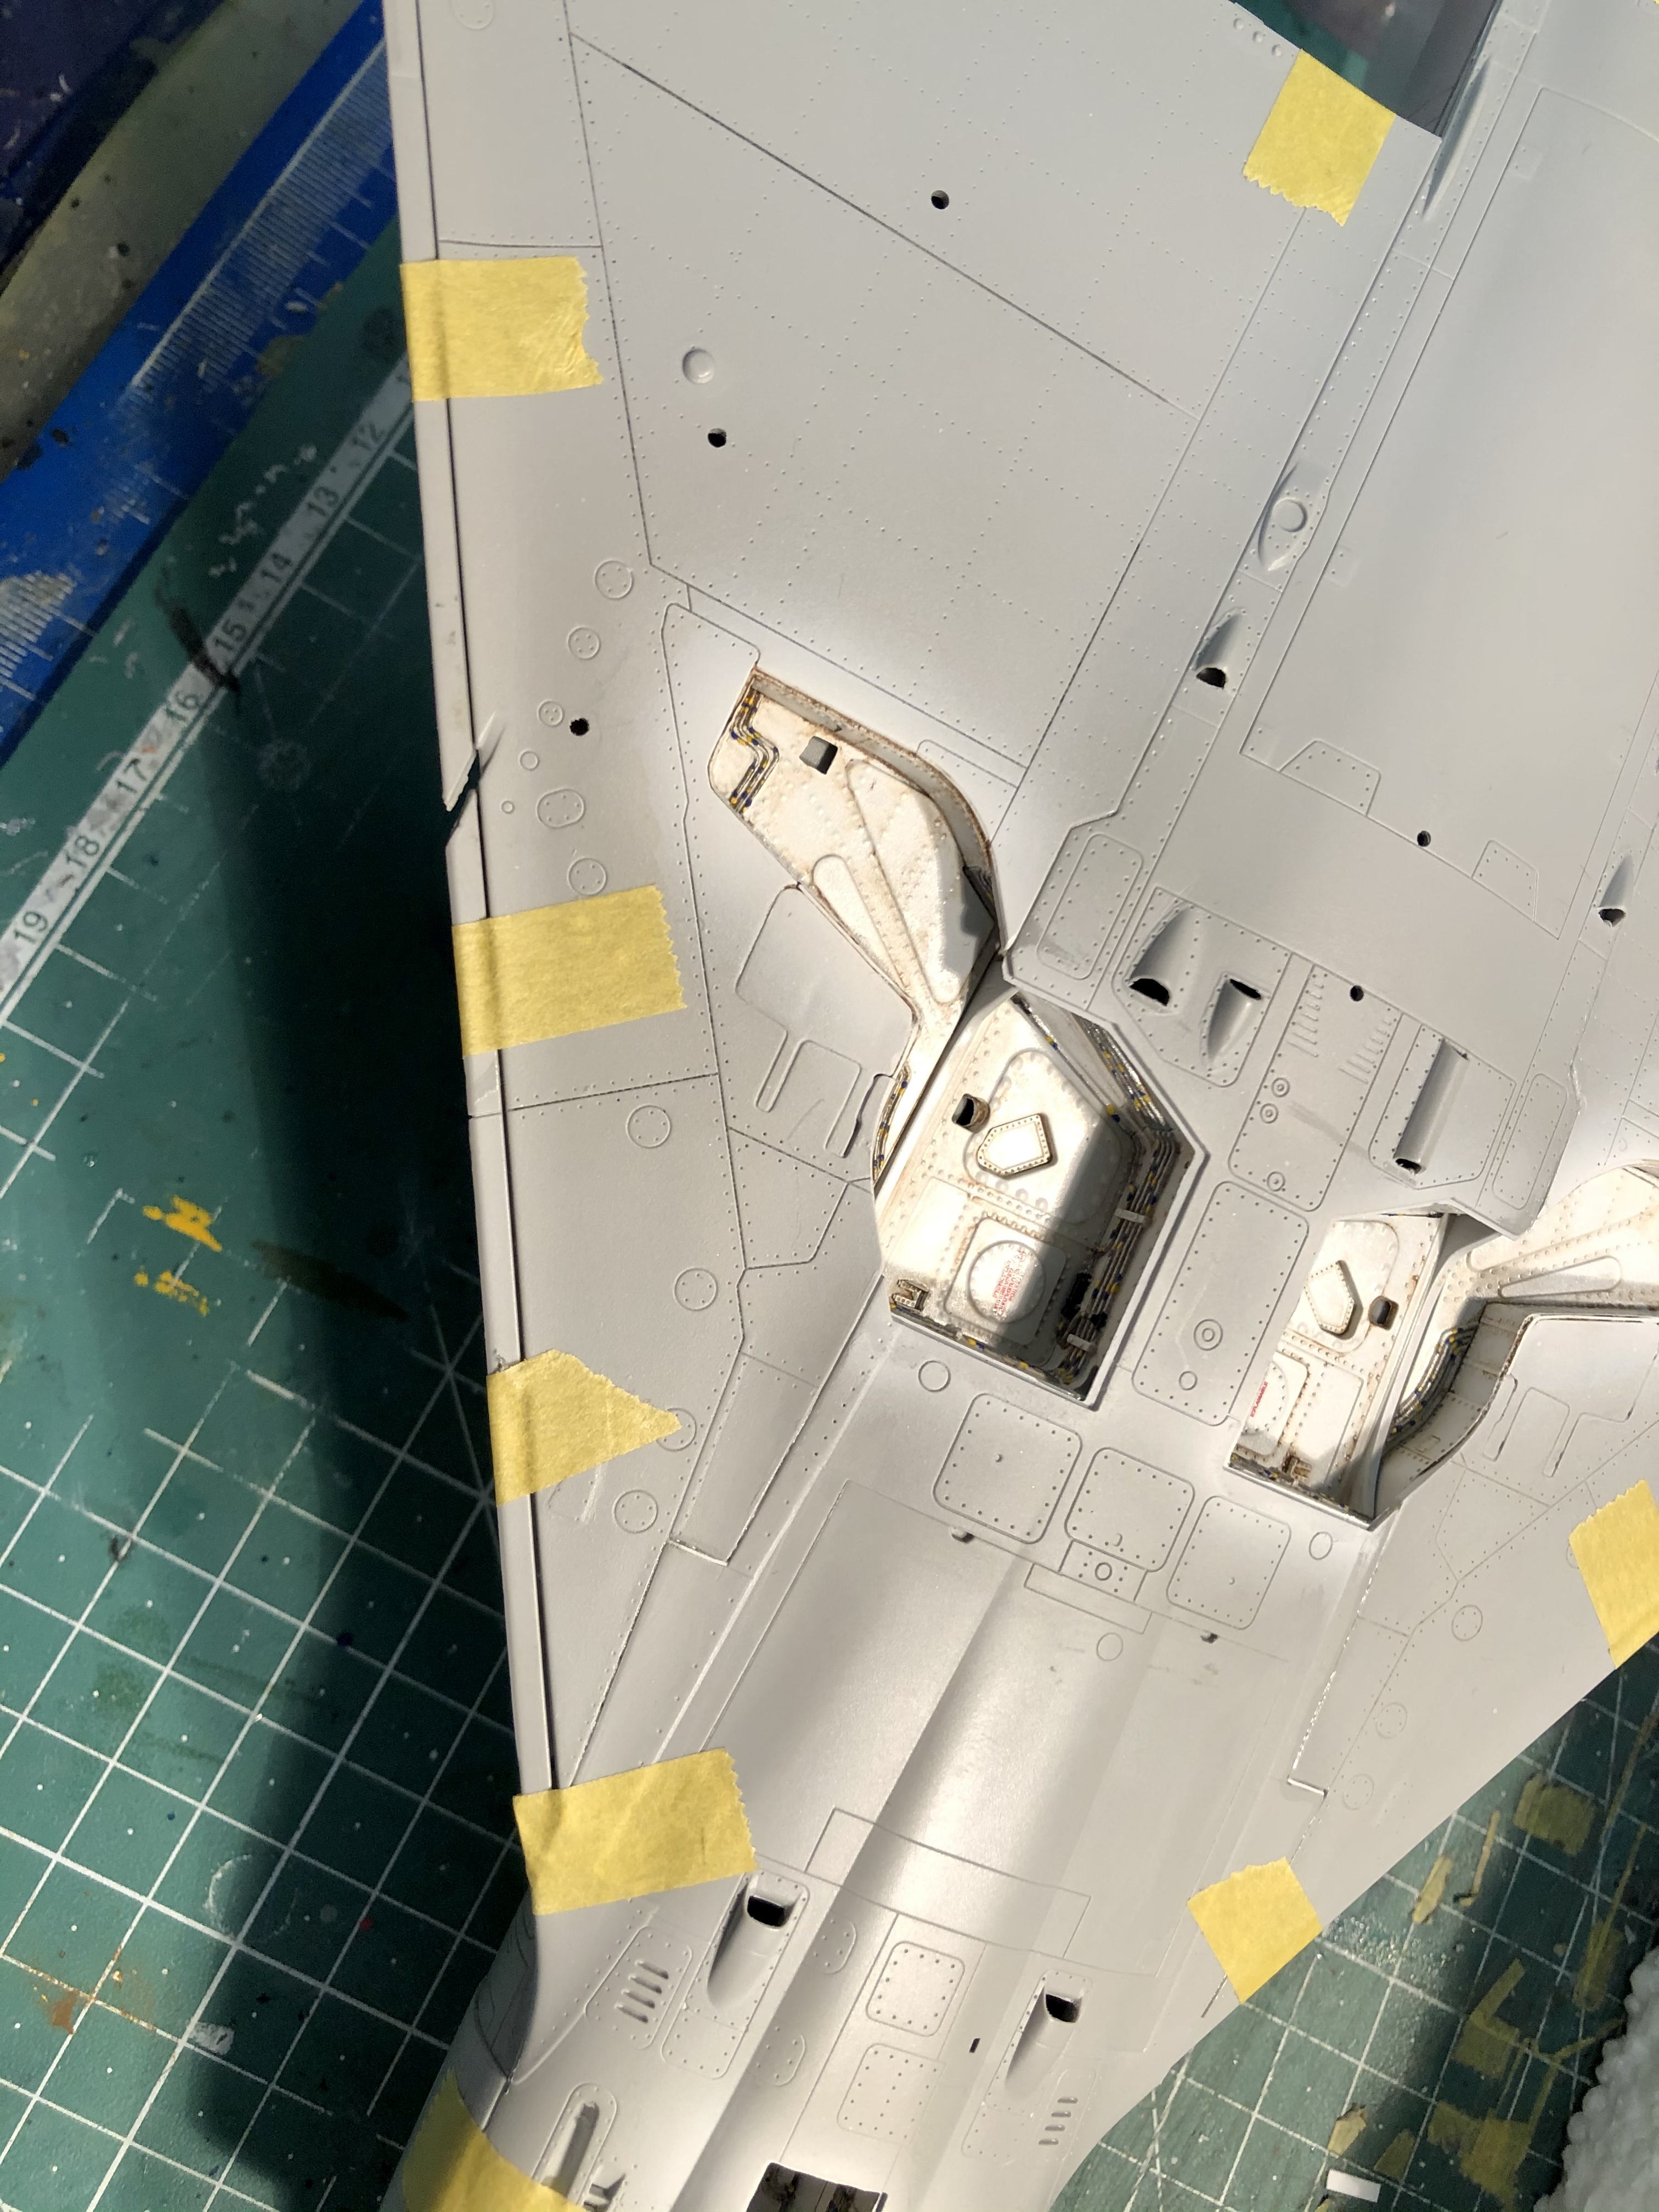
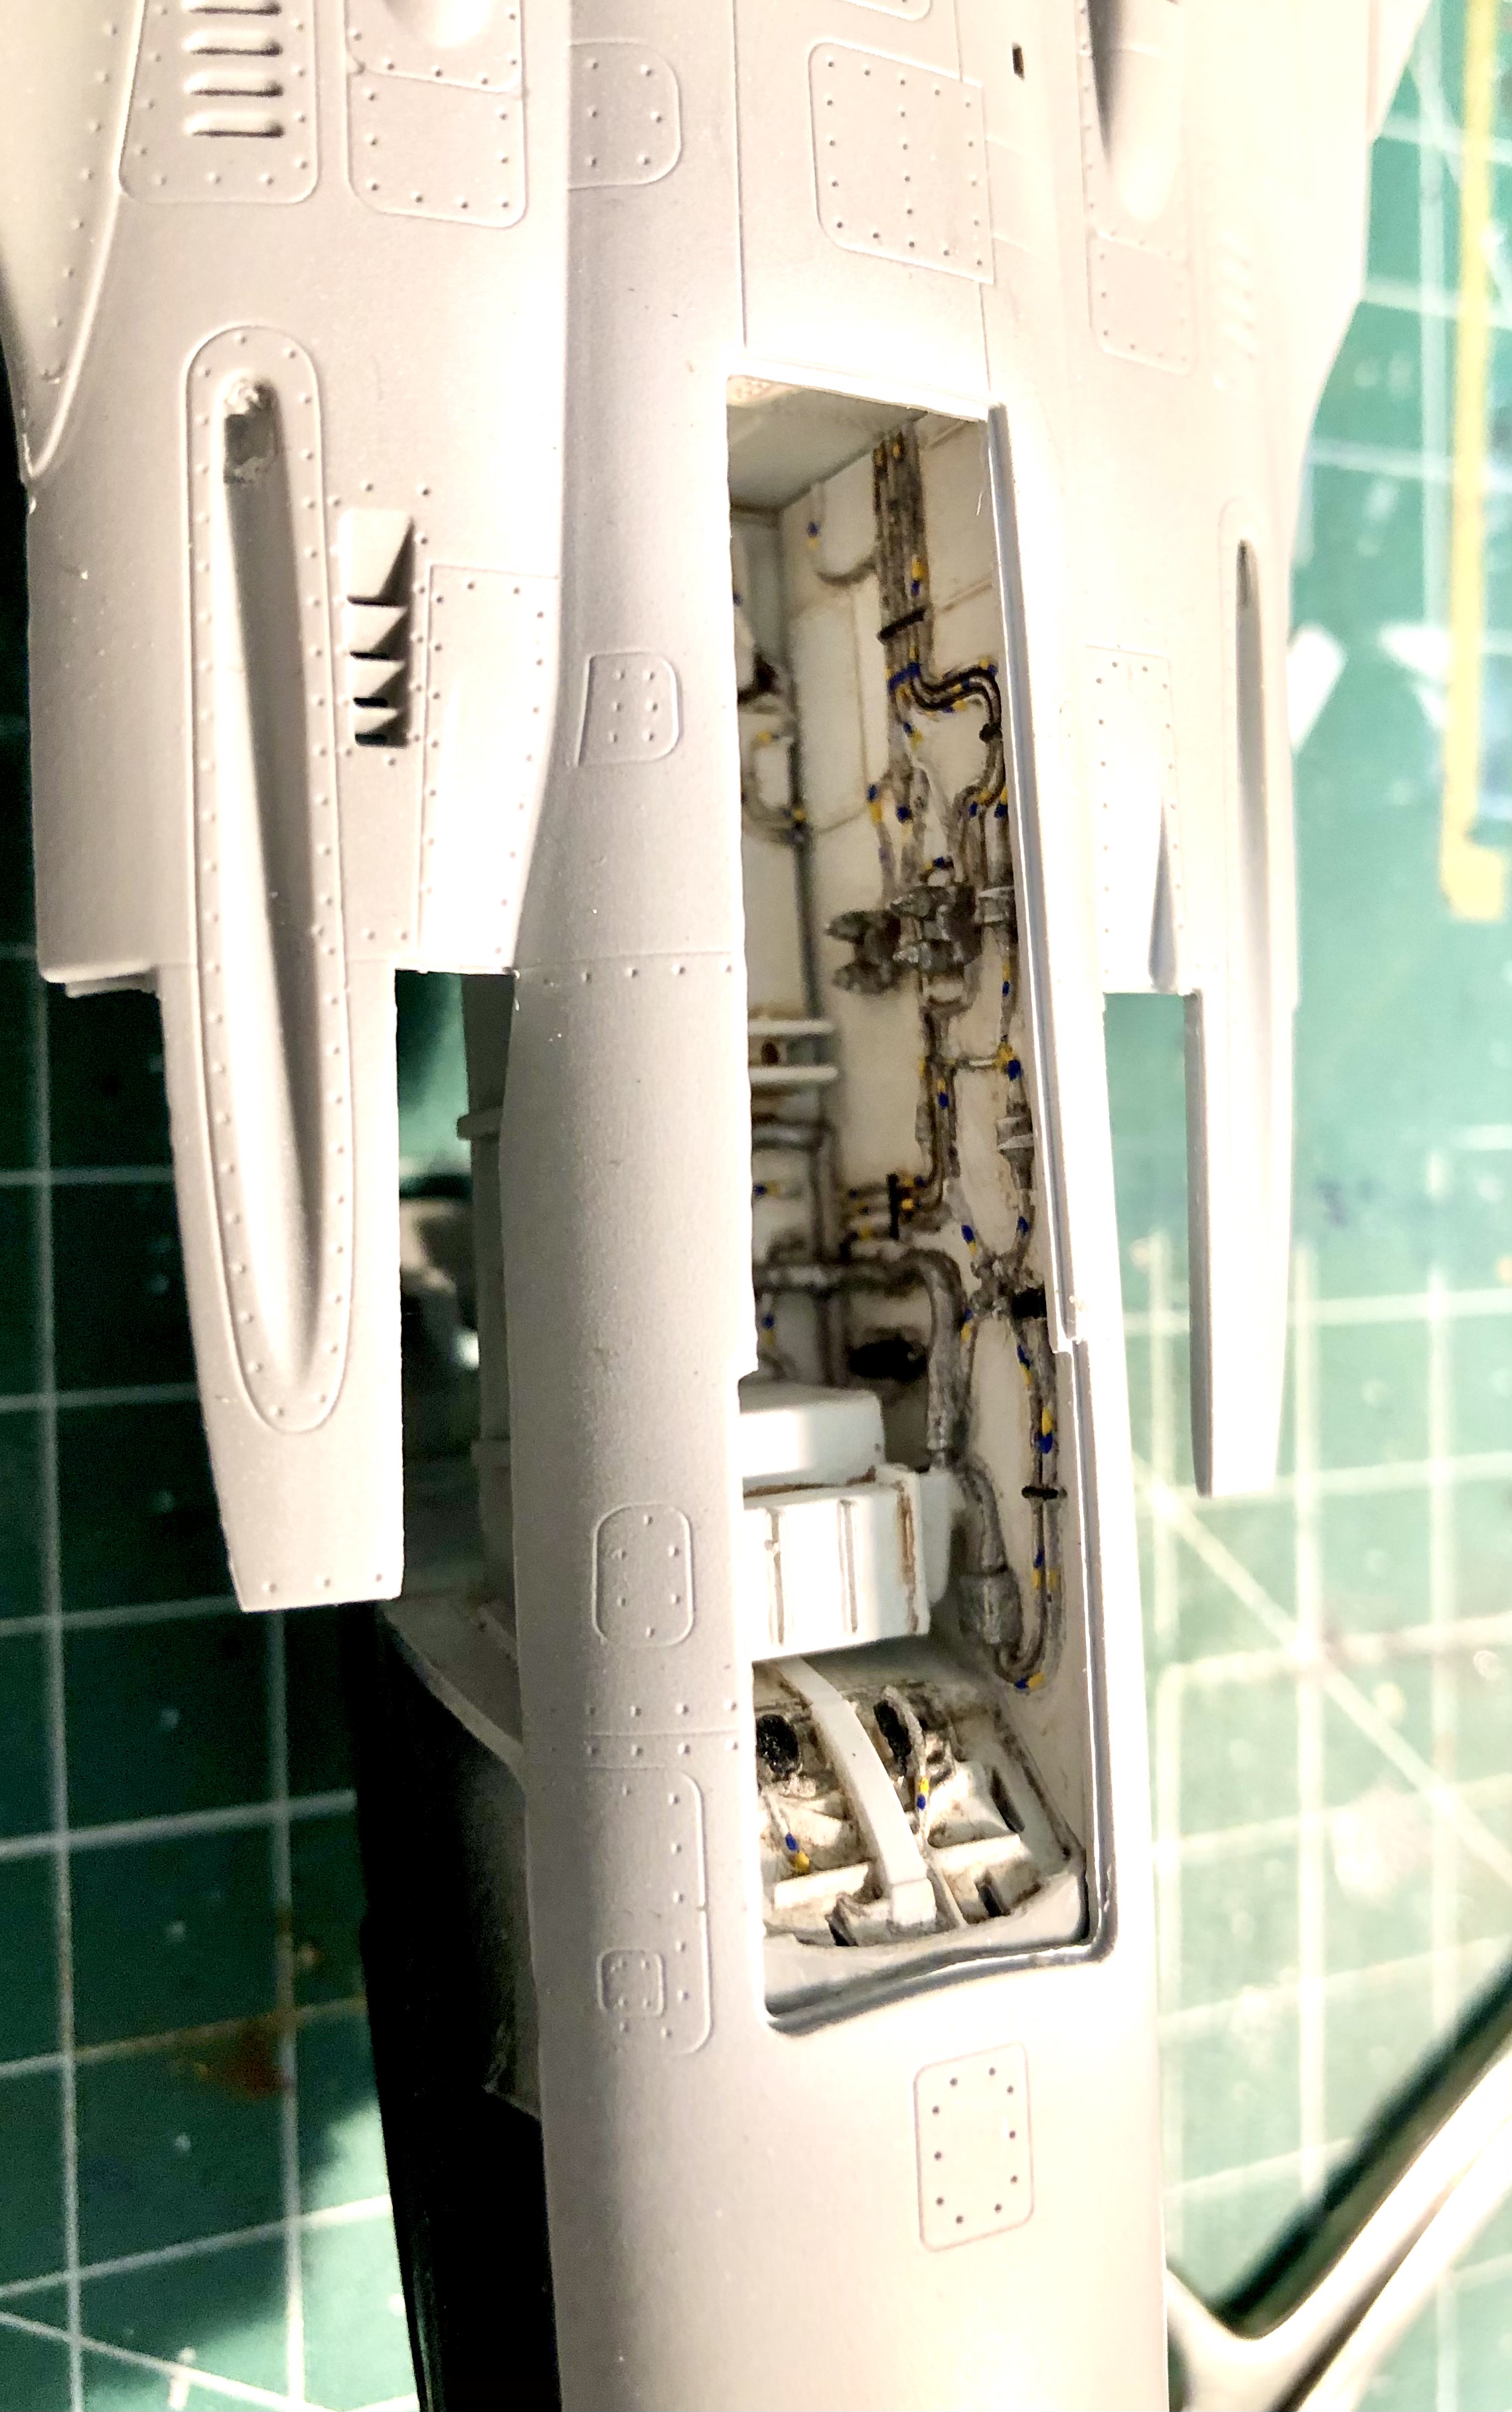
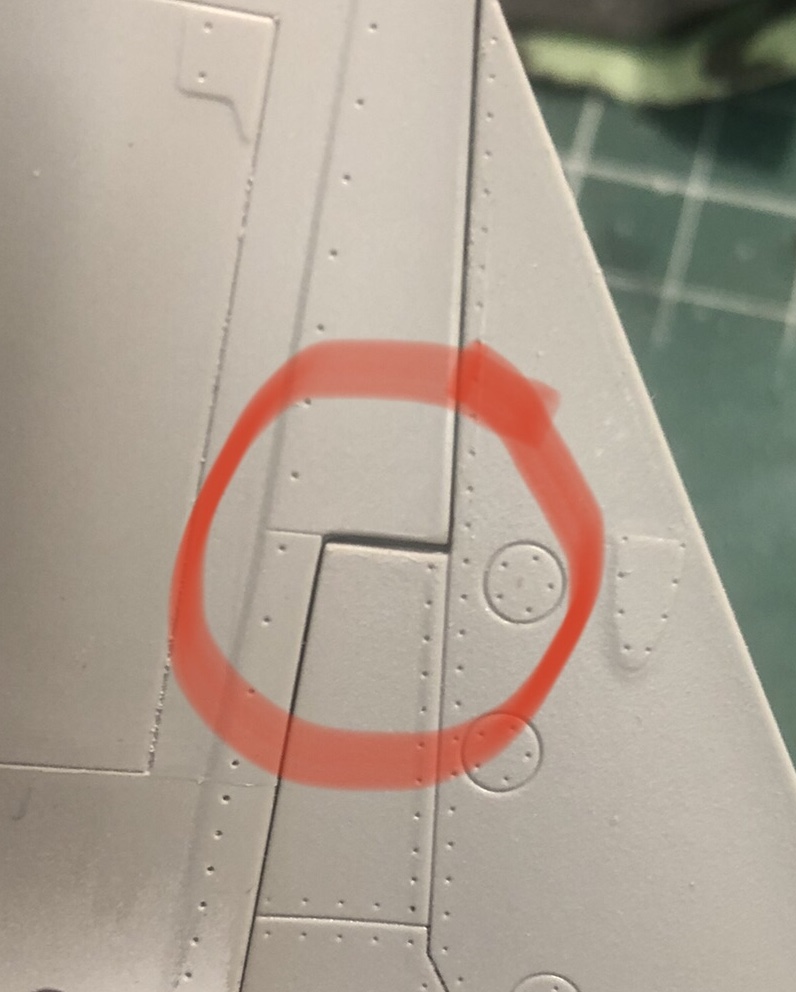
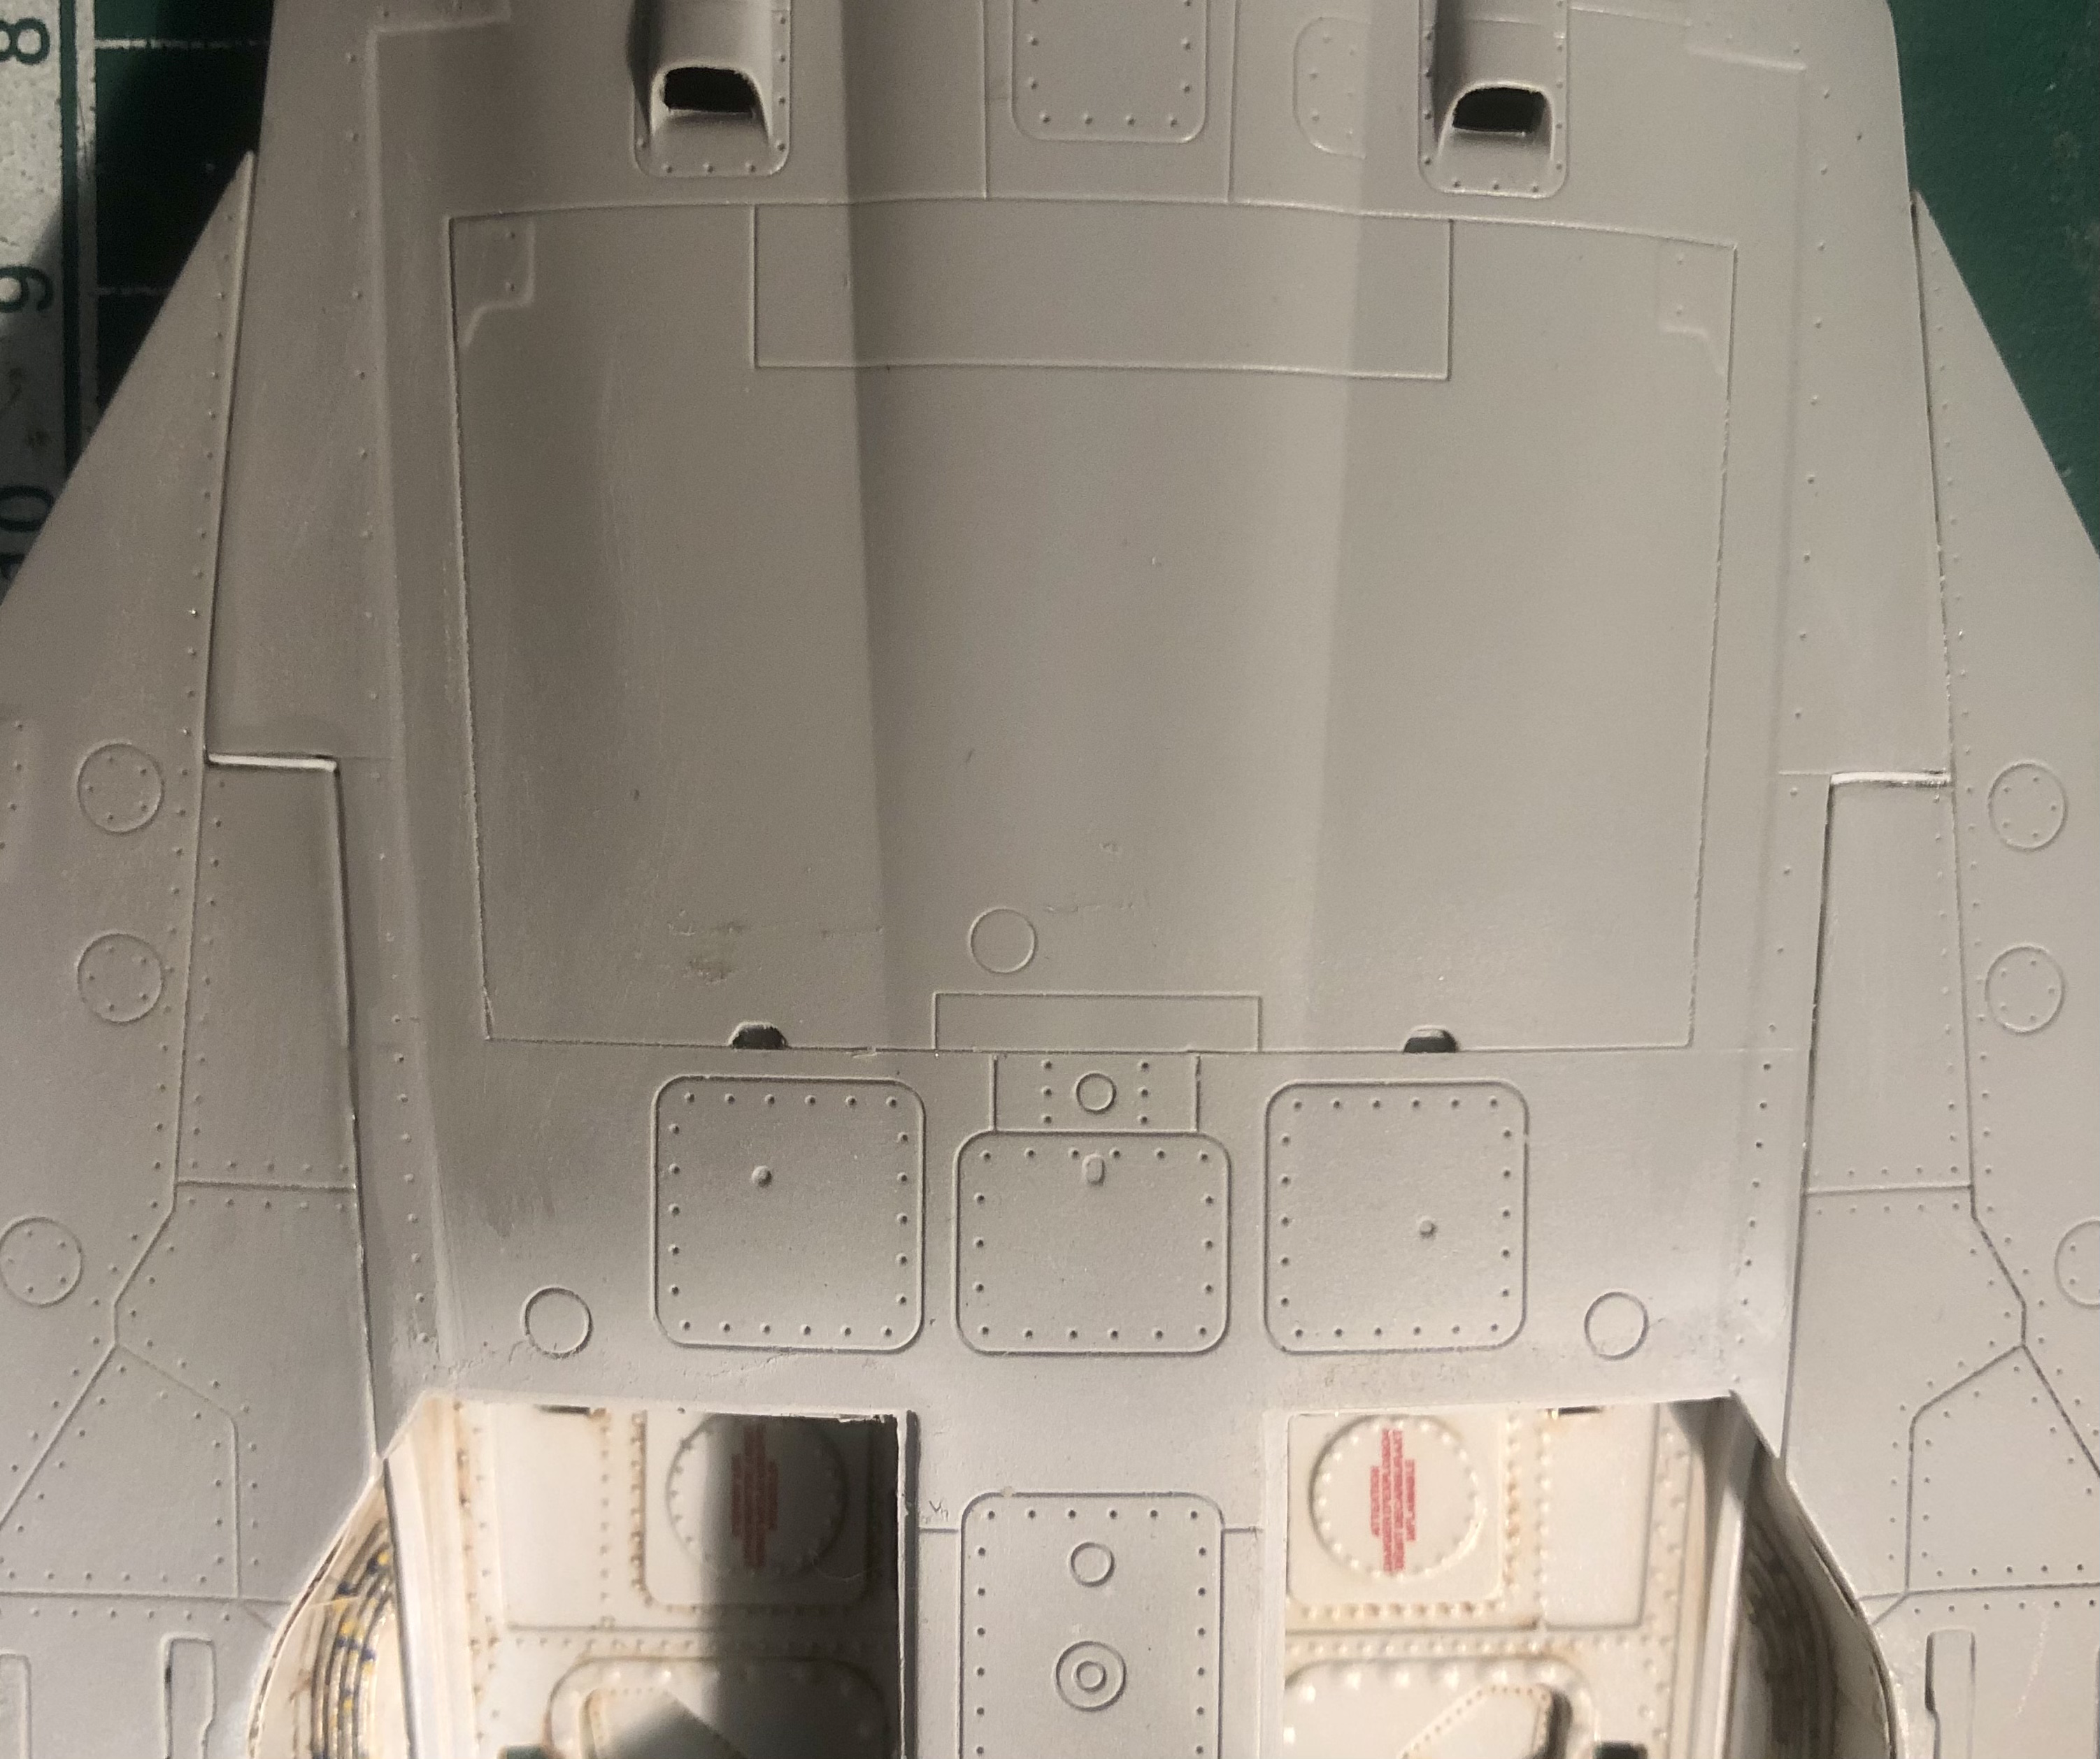
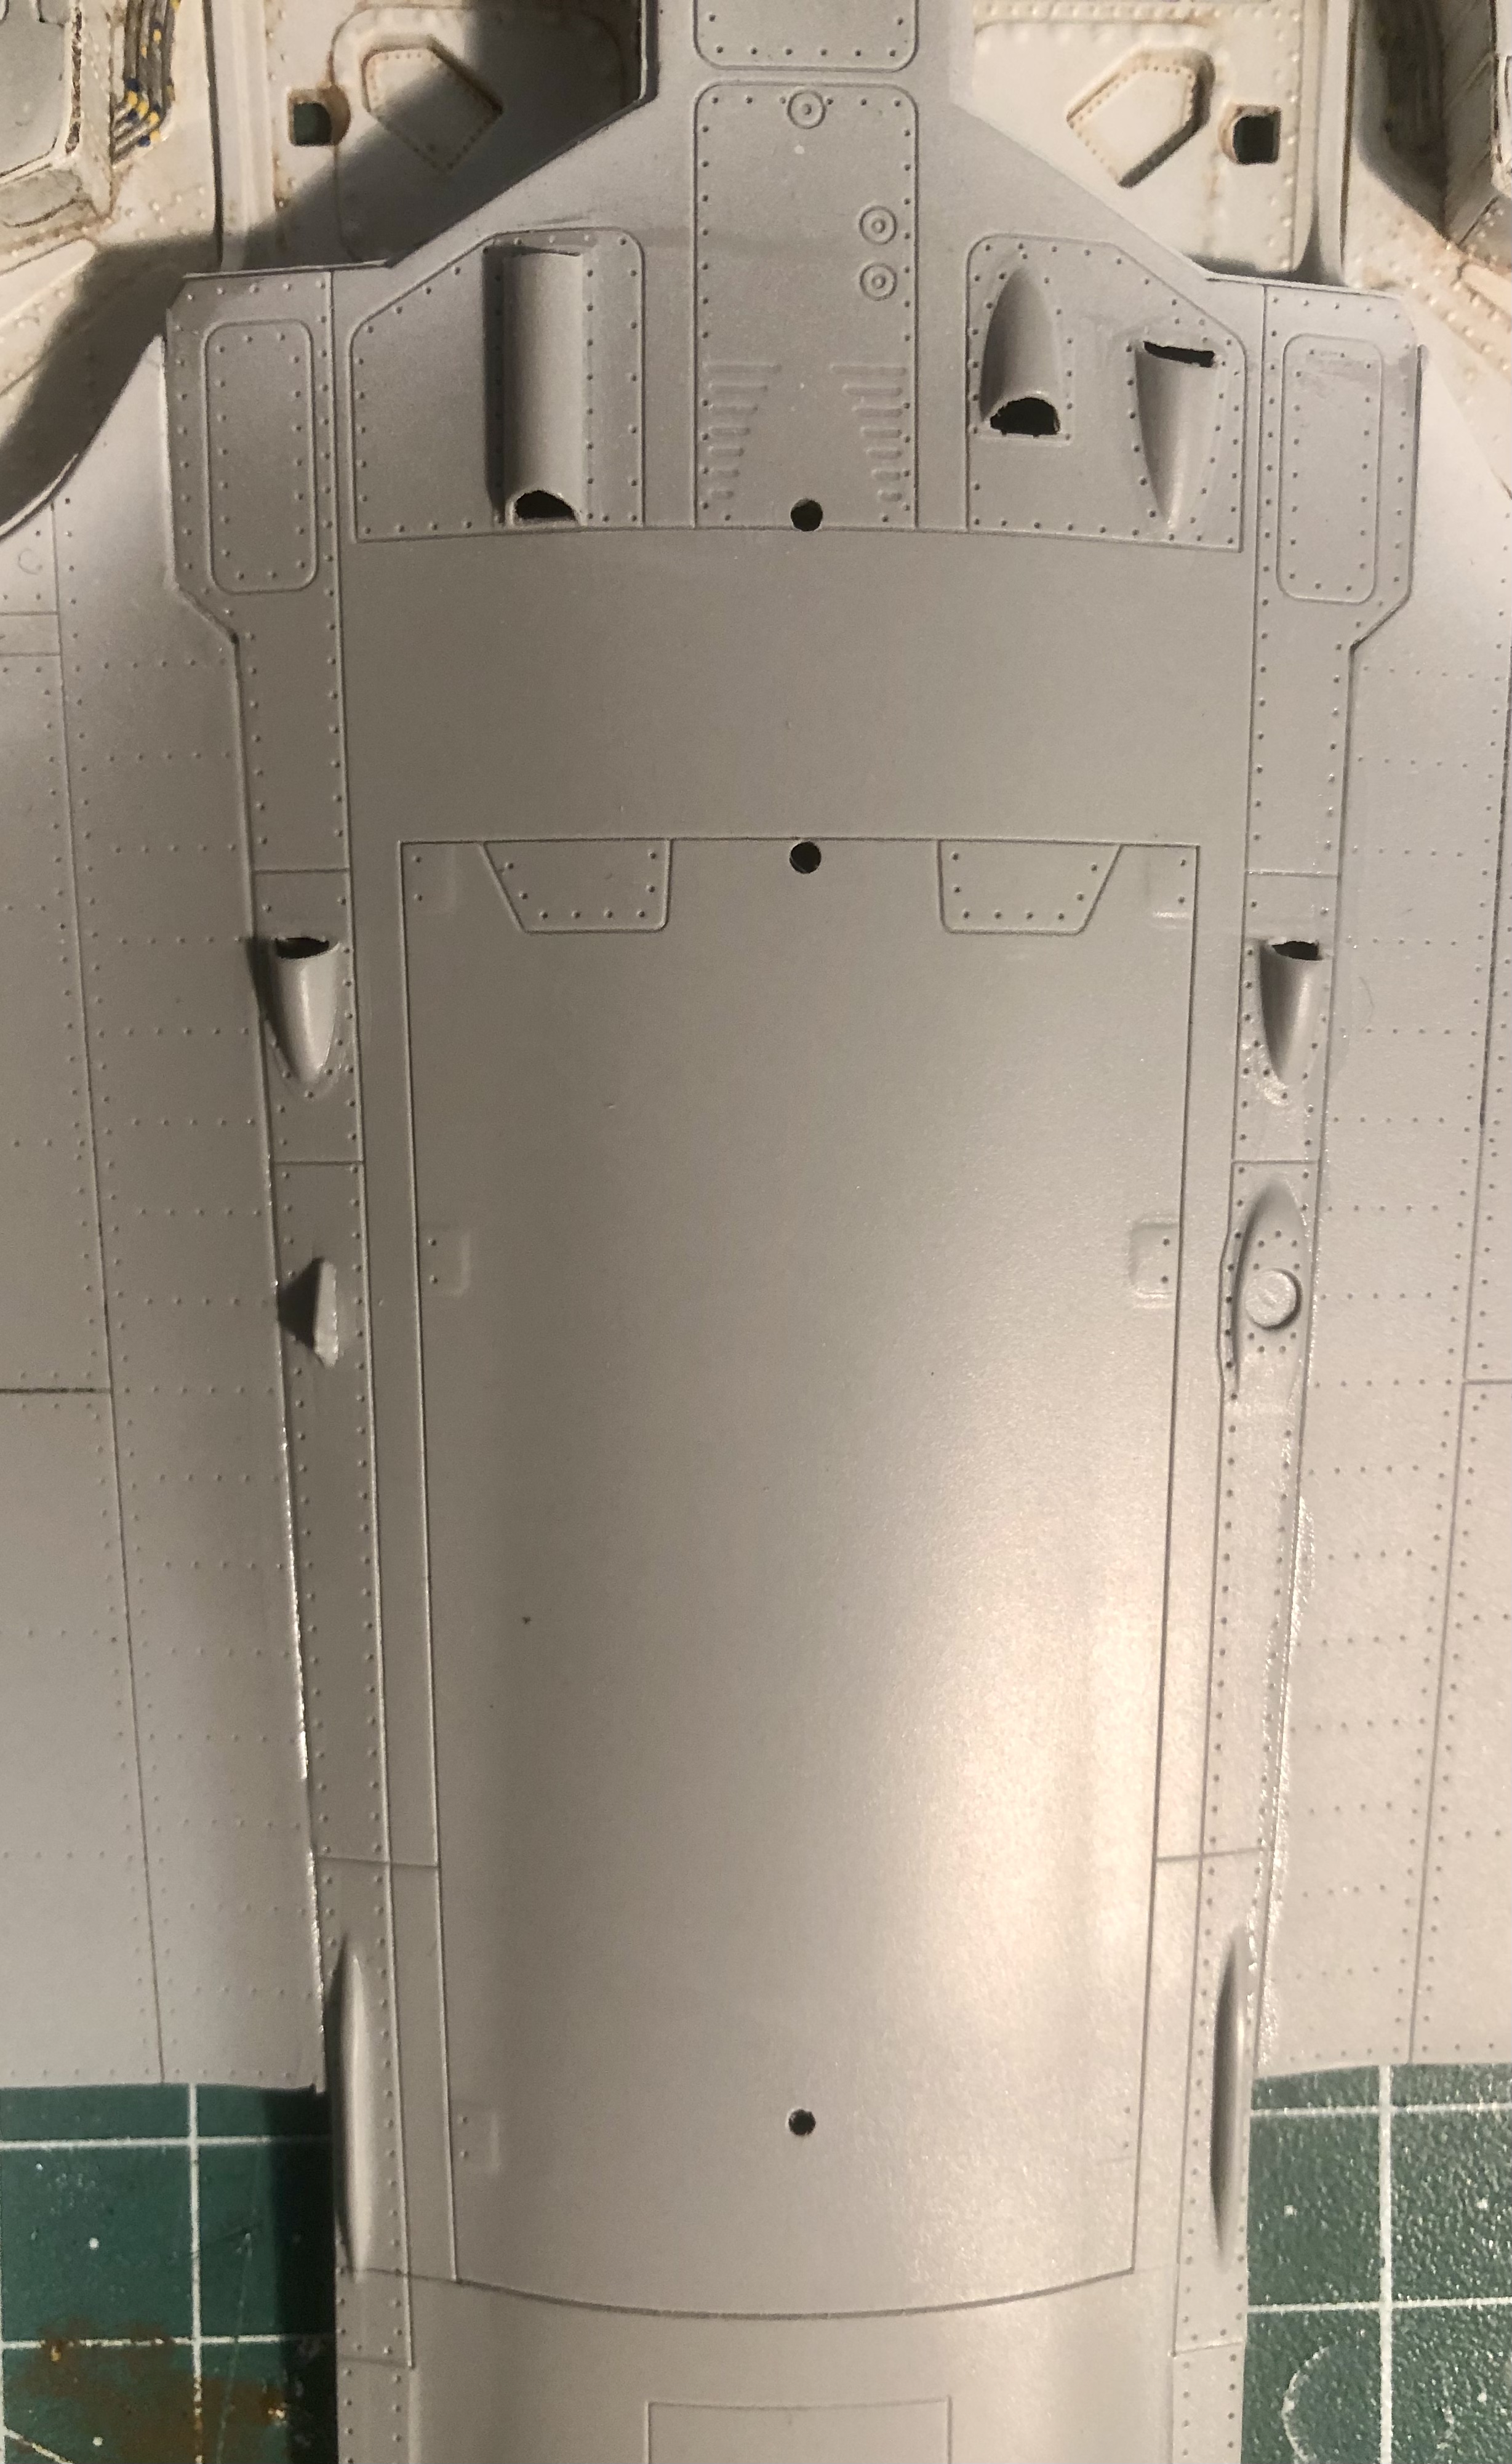
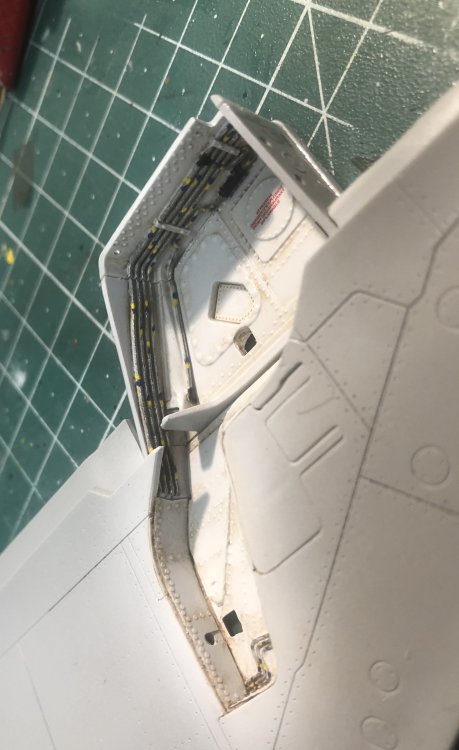
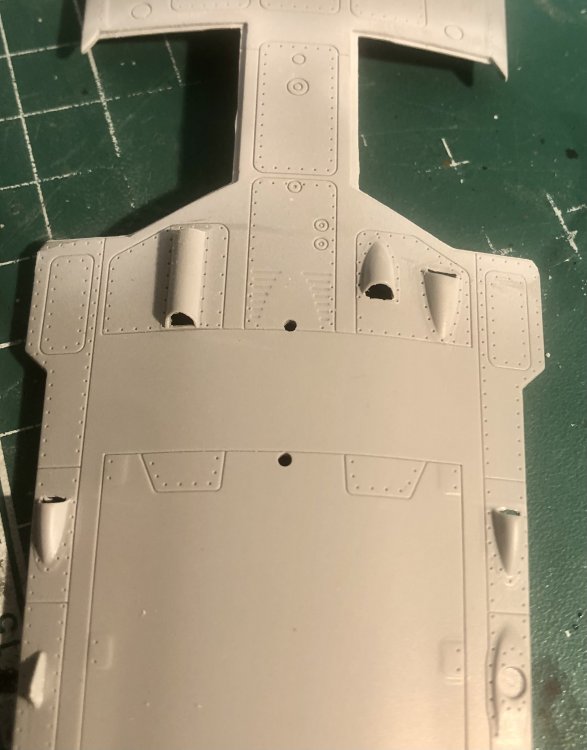
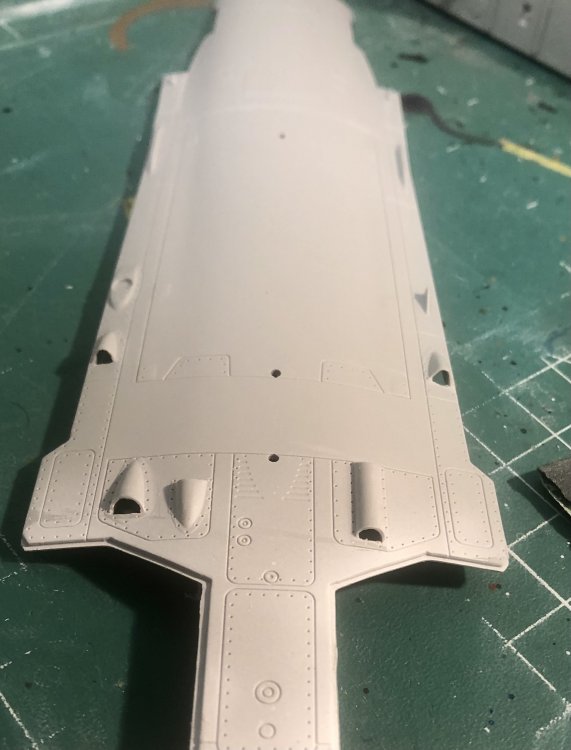
Yesterday I continued with the glueing of the wheel wells to the lower part of the fuselage. I didn’t follow the instructions because this would lead to a bad fit with lots of rework. Therefore I first glued the big wheel wells to the smaller parts in the lower wing halfs. Perfect alignment possible. Then I glued the lower wing halfs to the fuselage lower part. Test fitting showed that the rear fixing edge for the wheel well has to be removed from the fuselage lower half to get a proper fit of the wing to fuselage. What remained was a bigger gap which I closed with sheet. Too broad for filling. With these measures the fit was very good. I also had to rework all small air scoops on the lower fuselage half. Bad casting quality by Italeri. I‘m really disappointed with the fit and engineering of the kit. A newbie to the hobby has no chance to get a good result. I also tested the fit of the fuselage halfs and their fit to the lower fuselage half and the cockpit tub. The next construction site! I love Italeri! This I will post next...


-
That looks stunning Gaz! You are a real artist! Perfect winter camo and weathering!
-
Real cable wire in 72nd scale? Wow! Looks stunning! Also love the camo with the shading in lighter colors!
-
This is for Jeff
Kaireckstadt replied to CrankyCrafstman's topic in LSM 1/35 and Larger Work In Progress
Beautiful Progress Ron! -
Lancaster ND644 in 32nd scale
Kaireckstadt replied to FME erk's topic in LSM 1/35 and Larger Work In Progress
If the pilot is 1,60m in real life, it fits! Who measured the seat at the supplier? -
Israeli Mirage III C with Atar9C
Kaireckstadt replied to Kaireckstadt's topic in LSM 1/35 and Larger Work In Progress
Thanks Gaz! Will try that too! -
Zoukei-Mura P51D Mustang SWS No 4.
Kaireckstadt replied to Bomber_County's topic in LSM 1/35 and Larger Work In Progress
That‘s great Peter ! So we have the same beautiful source. I‘m really struggling with me if I do the build like you with all possible hatches and covers open to show the awesome interior. On the other side it partly destroys the outward shape of the plane which I normally want to keep as much as possible (same as with folding wings on e.g. a Corsair). But I can decide according to your progress! -
Israeli Mirage III C with Atar9C
Kaireckstadt replied to Kaireckstadt's topic in LSM 1/35 and Larger Work In Progress
Sounds very interesting Rob! I will order both and give it a try. Especially when seeing the results on your Ammoknight!