DocRob
-
Posts
7,045 -
Joined
-
Last visited
Content Type
Profiles
Forums
Events
Gallery
Everything posted by DocRob
-
Cute little bugger. The drybrushing of the cockpit let the detail pop. The camo looks great too. Cheers Rob
-

F-15DJ Kai or Eagle Plus- Finished!
DocRob replied to BlrwestSiR's topic in The Great Twins Broup Bluild
There is a lot of work involved, Carl, but in the end you will have a really unique F-15X. Cheers Rob -
Thank you Carl, I´m indeed aware of the two side collets of the Tamiya pin vises. Mine took hold of a 0,3 mm drill bit a while ago, but seemed to be worn out a bit due to constant use of tiny drill bits. Cheers Rob
-
Nice haul, Paul, like Peter, I´m interested into the quality of the DSPIAE drill vise. I have the Tamiya one, not bad, but yesterday, I tried to hold a 0,3 mm bit with it and couldn´t tighten it properly. A 0,4mm bit worked. I once built a Prague Uprising Hetzer from Academy, the `B´ version on your sheet. It was a nice little kit and looked different. Cheers Rob
-
AEG G.IV - Creature of the Night - WNW 1/32
DocRob replied to DocRob's topic in The Great Twins Broup Bluild
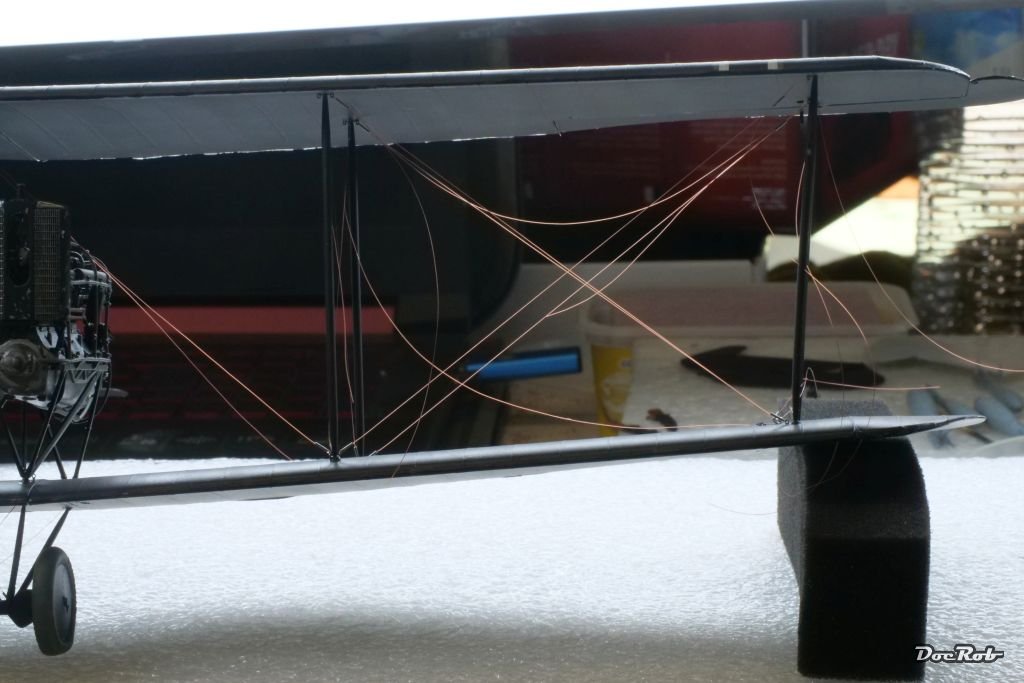
Today, I pre rigged one wing in about four hours, not too bad. First, I fitted all the lines to the eyelets, like shown above for the entire lower wing. Then I added the struts, where the inner ones had eyelets in their connecting stubs, which were also pre fitted with fishing line. With a pulling test, I made sure, all connections were ok. This is a step, where you want to make proper preparations, as mounting on the second side, the upper wing is more difficult, due to space limitations. I also made sure, that all the struts fit completely into the wing holes. In the next step, I pushed the lower wing onto it´s connecting tab, but still without glue and carefully slid the upper wing onto it´s tab, without breaking the struts. When everything aligned correctly, I glued the wings and upper strut connections in place. Luckily the fit is very good. Then I turned the AEG onto it´s upper wing and made the same loop and tubes like before with the upper wing eyelets. This is, where I am now. The fishing line isn´t pulled taut and CA secured for now, as this will be done in one flush, to maintain taut lines in the correct positions throughout. Cheers Rob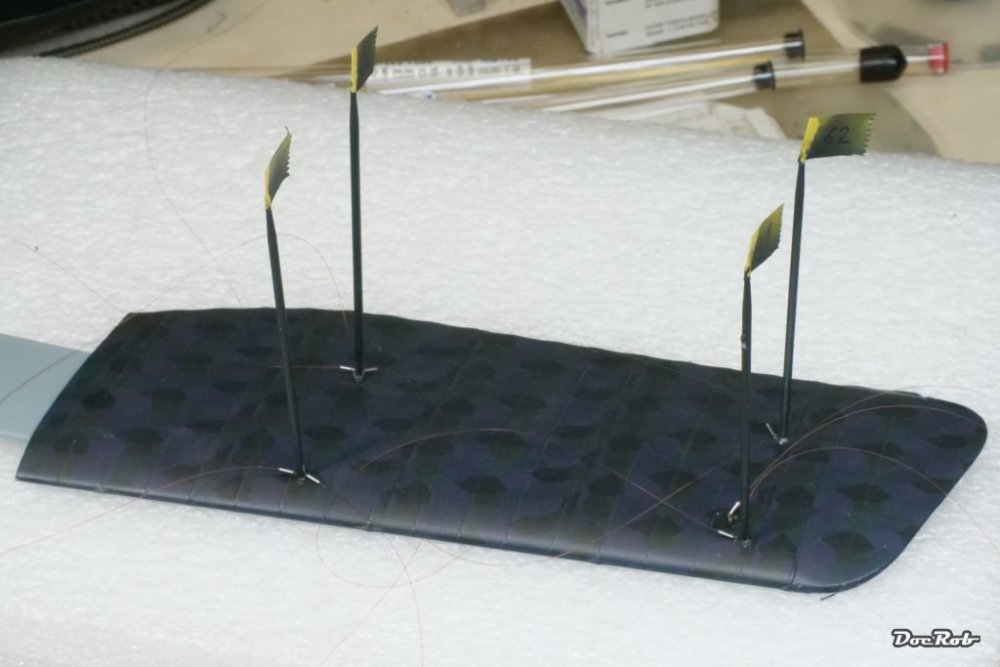


- 263 replies
-
- 10
-

-

-
AEG G.IV - Creature of the Night - WNW 1/32
DocRob replied to DocRob's topic in The Great Twins Broup Bluild
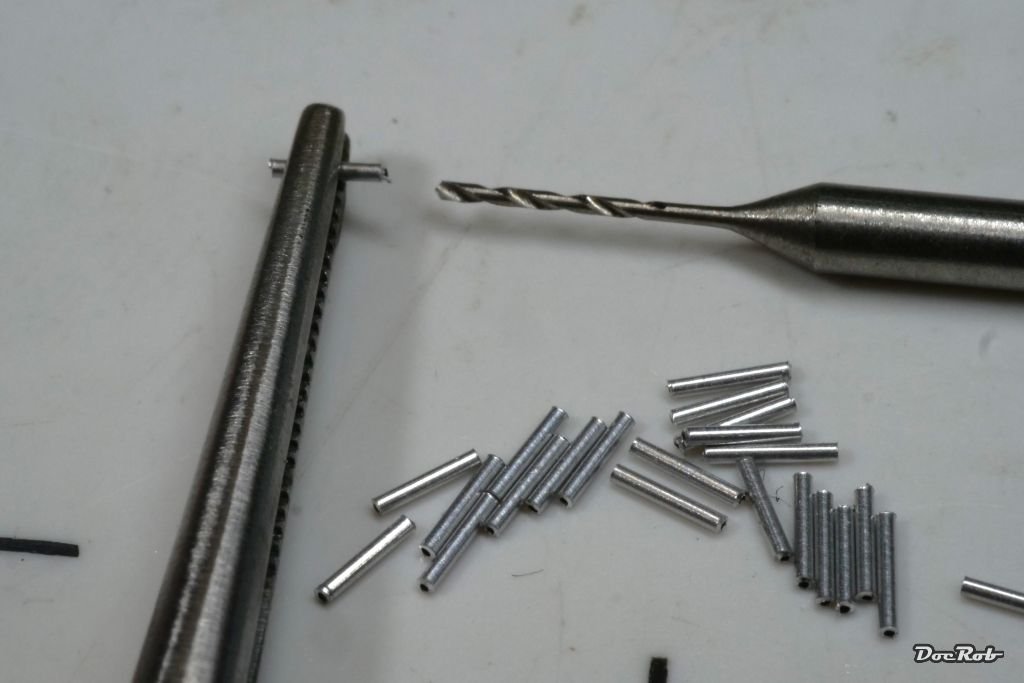
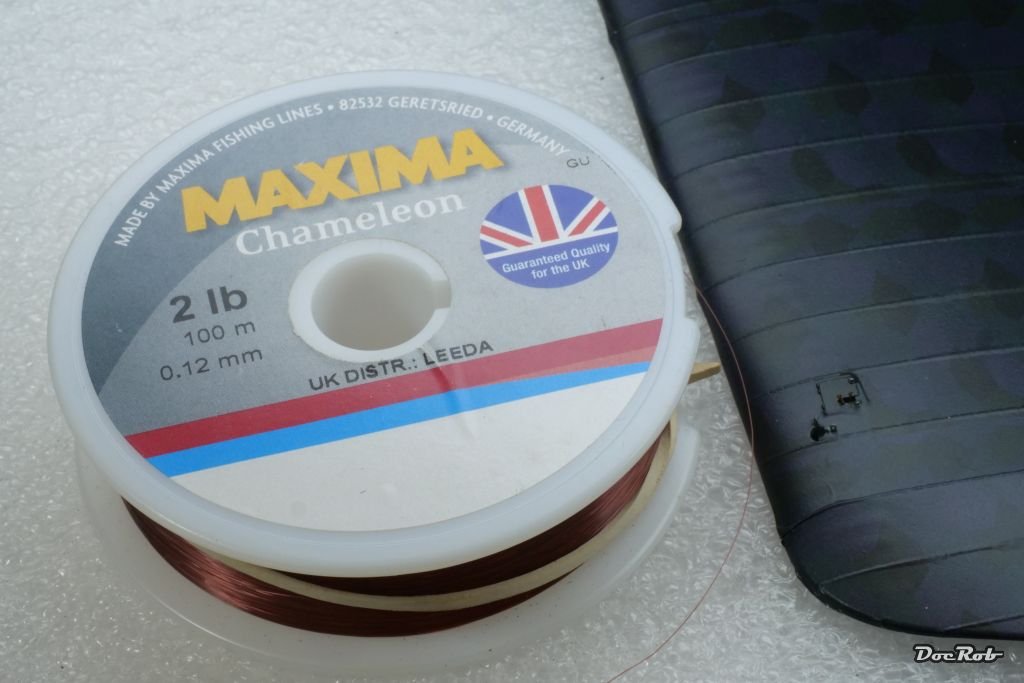
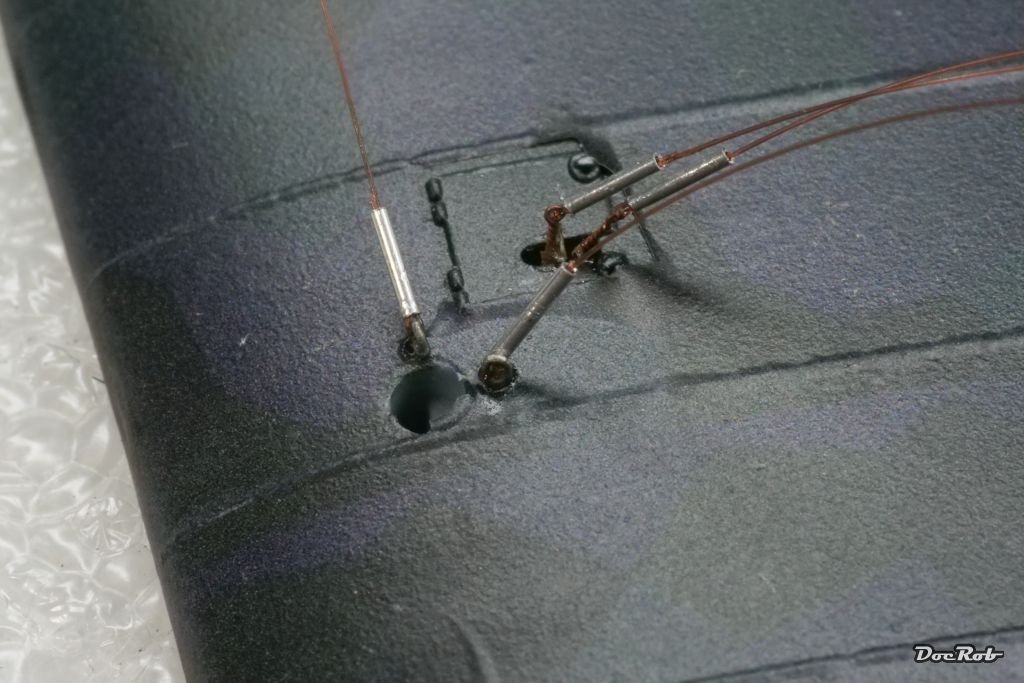
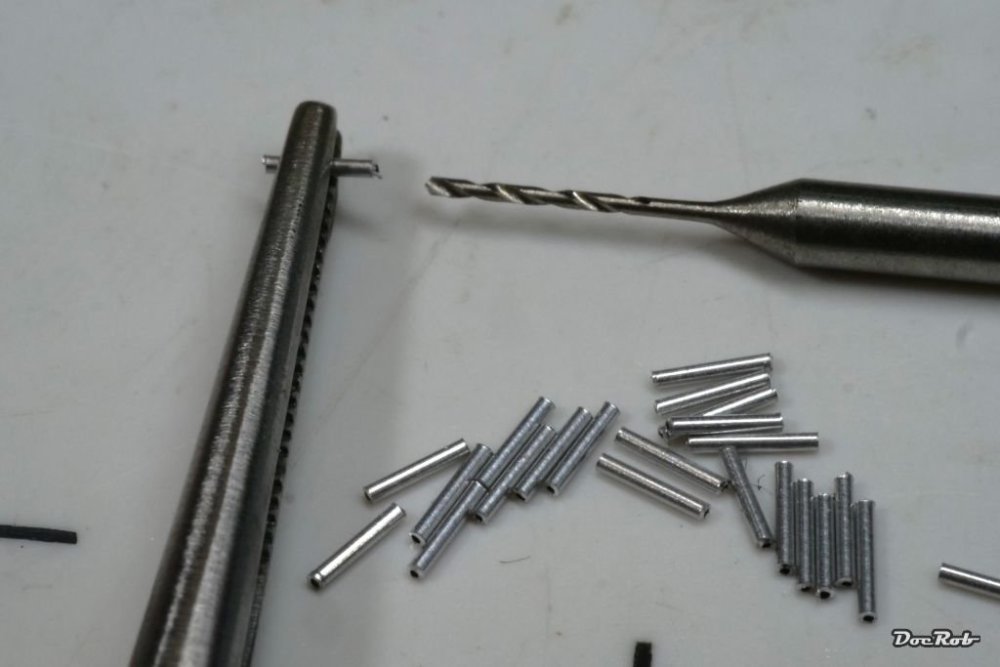
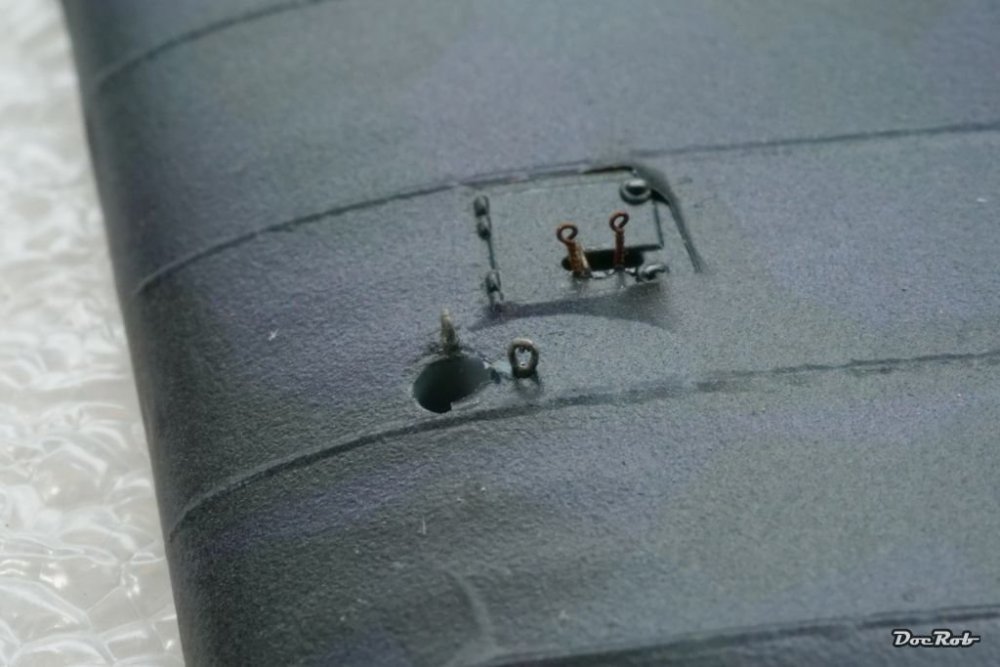
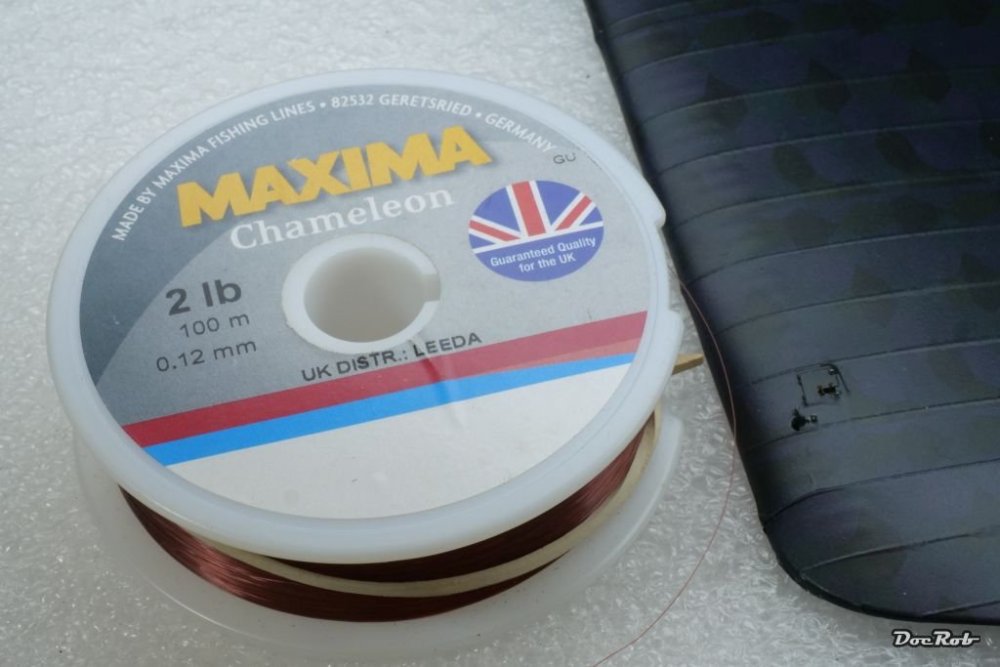
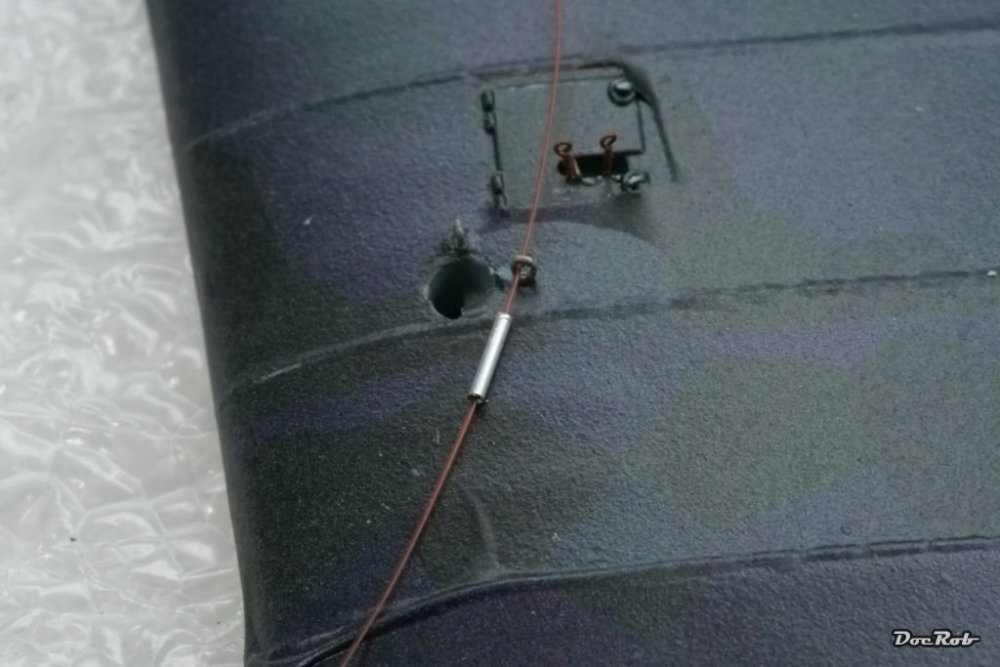
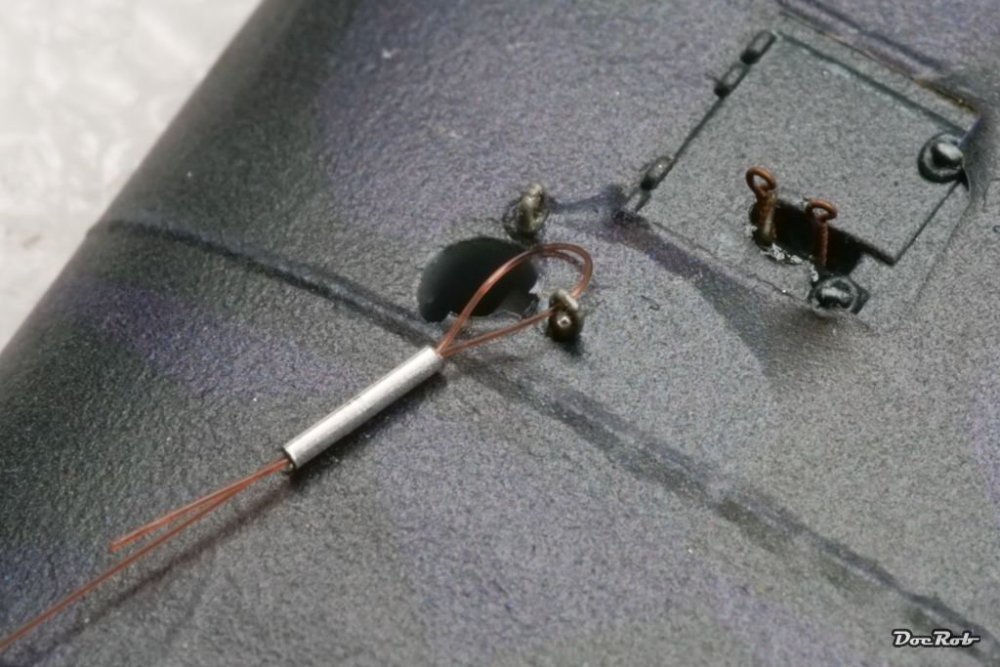
Ok, there was a lot of talk about tubes, loops, eyelets, ... through the last steps of the build, so I thought, it might be helpful to explain my rigging process. I cut my ´turnbuckles´ from aluminum tube with the inner diameter of 0,3 mm, the outer 0,5 mm with a length of about 3mm. I roll a fresh blade over the tube until it splits. You don´t want to run into trouble with burr, later when you try to loop the fishing line through in the middle of a fragile spider web, so I use a 0,5 mm drill bit to remove the burr, holding the tube with a reverse action tweezer. I glued the eyelets into pre drilled holes into the wing, like here around one strut and for the ailerons with CA. I use Gaspatch eyelets for the structural rigging and Bob´s buckles eyelets, which are finer for steering lines. I orientate the eyelets for the easiest possible rigging. Maxima Chameleon fishing line is the weapon of choice, the brownish color looks ok to me and it´s monofilament. Now it gets serious, using one piece of tube onto the line and pass it through the eyelet. With tweezers, I pick up the end of the thread and bend it back to the tube and fiddle it through the tube for a second pass. Finally, I apply a drop of CA to near to the eyelet and push the tube onto it, holding the fishing line into it´s designated direction and cut the protruding rest with a scissor. Cheers Rob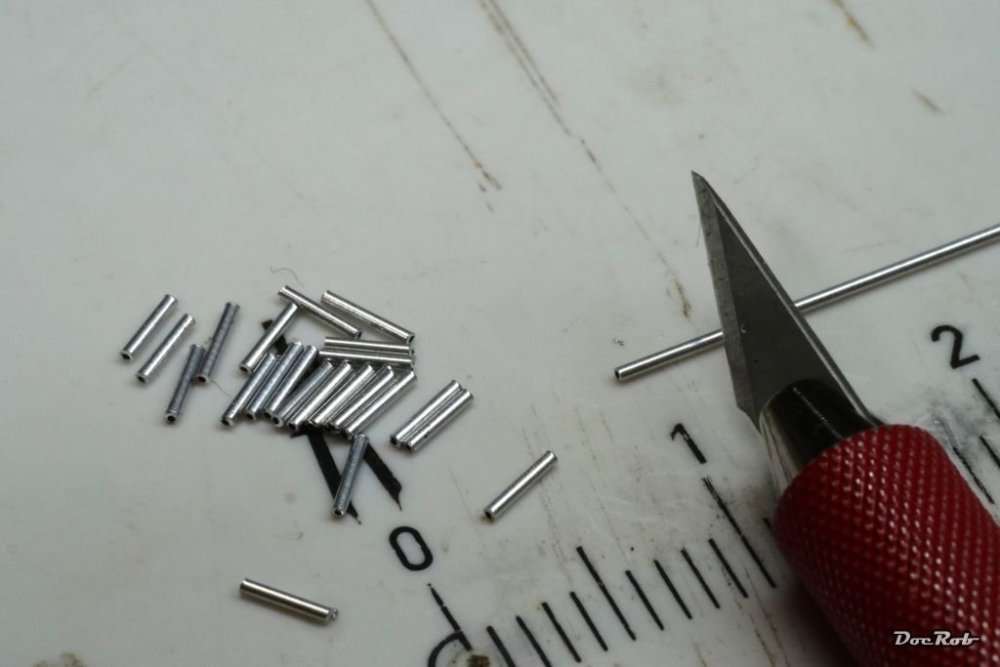

-
An absolute stunner, Peter, from nose cone to burner cans. Everything looks so real on one hand and on the other, like made to please the eye, fantastic. Cheers Rob
-
Poco a poco, I still have to figure, how to get a magnetic tumble polisher to my island. Not so easy unfortunately, but this helps a lot with cleaning and refining the metal parts. Cheers Rob
-
I´ve seen the the FW16 on the MFH site. I could be tempted, but never liked the Williams too much. There is also a standing Senna figure included into the set. I have until the seventh of may to decide. Cheers Rob
-
Nice work on the seats and cockpit, Chris. The stenciling seems to be pure madness, I still have nightmares from my 1/48 Kai Phantom build. Hopefully the quality of the stencil decals is good and you have no silvering problems. Thorough prep work, like Peter mentioned is the key. Cheers Rob
-
AEG G.IV - Creature of the Night - WNW 1/32
DocRob replied to DocRob's topic in The Great Twins Broup Bluild
Isn´t that called the Angel Share? Make it a double to counter evaporation. Cheers Rob -
I got a melody in my head, whistled, taa, taa, ta, ta, taaa,.... Cheers Rob
-
Good to see you back on the Mossie, Bill. Cockpit and engines look beautiful. Seems to be a demanding kit with all these detailed sub assemblies. Someday, I will start mine. Cheers Rob
-
No probs with the intakes, Carl ? Cheers Rob
-
(RFI) S.M. 79-II „Sparviero” 1:48 Trumpeter
DocRob replied to Kriss's topic in LSM 1/48 Aircraft Ready for Inspection
The Sparviero came out beautiful, you nailed the delicate camouflage, Kriss. I recently bought the `new´ Eduard boxing, which I hopefully start soon. Cheers Rob -
AEG G.IV - Creature of the Night - WNW 1/32
DocRob replied to DocRob's topic in The Great Twins Broup Bluild
Thank you for your sympathy, Hubert, mine will be a Sazerac or a Remember the Maine, just love the combination of rye whiskey and absinth. Cheers (literally) Rob -
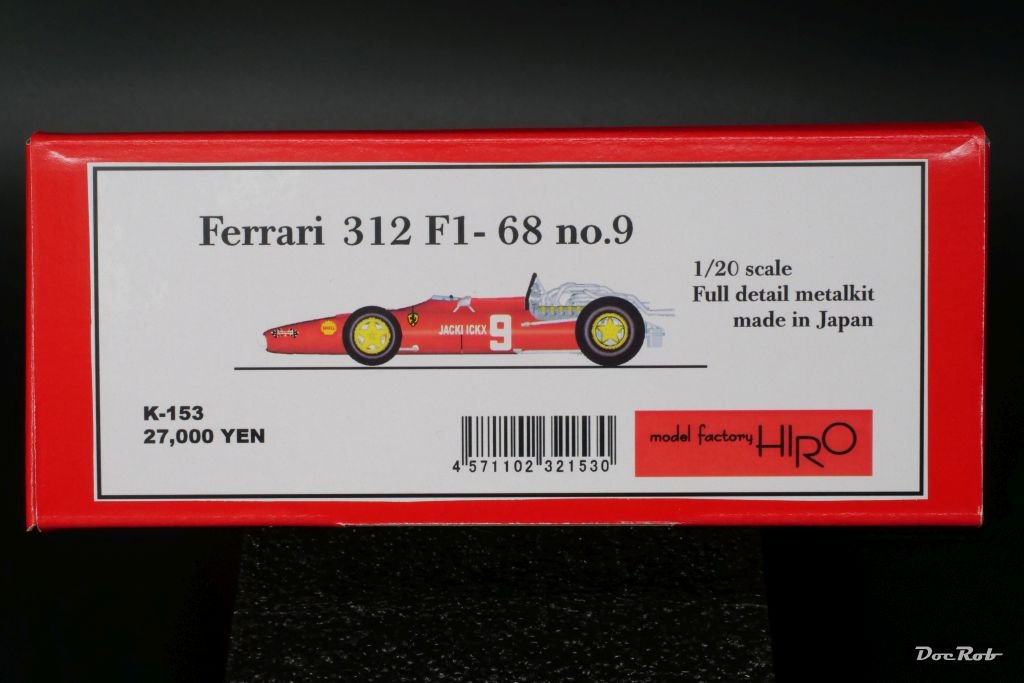
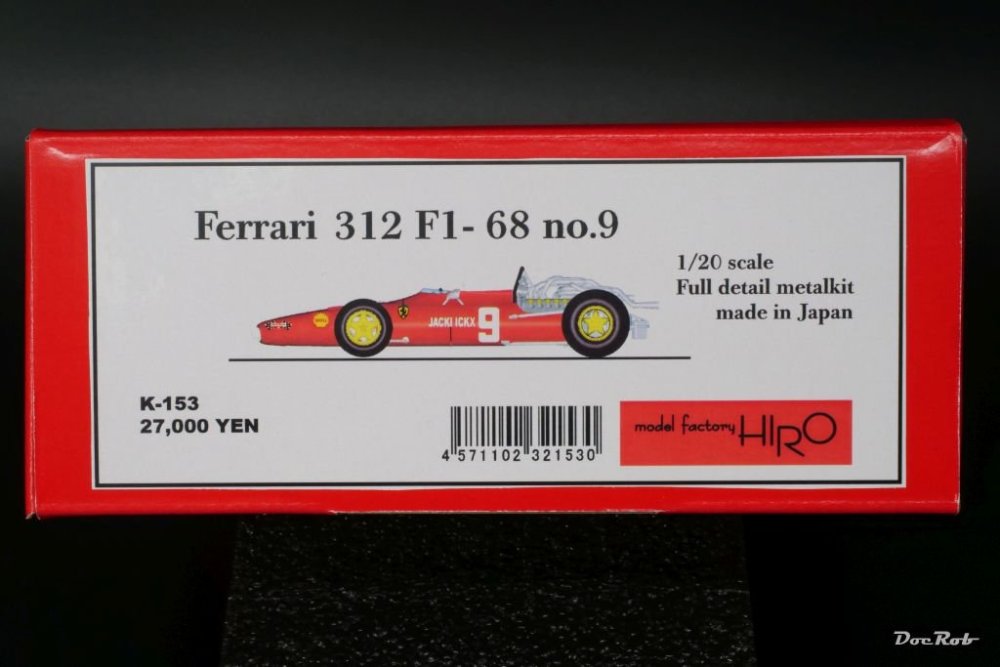
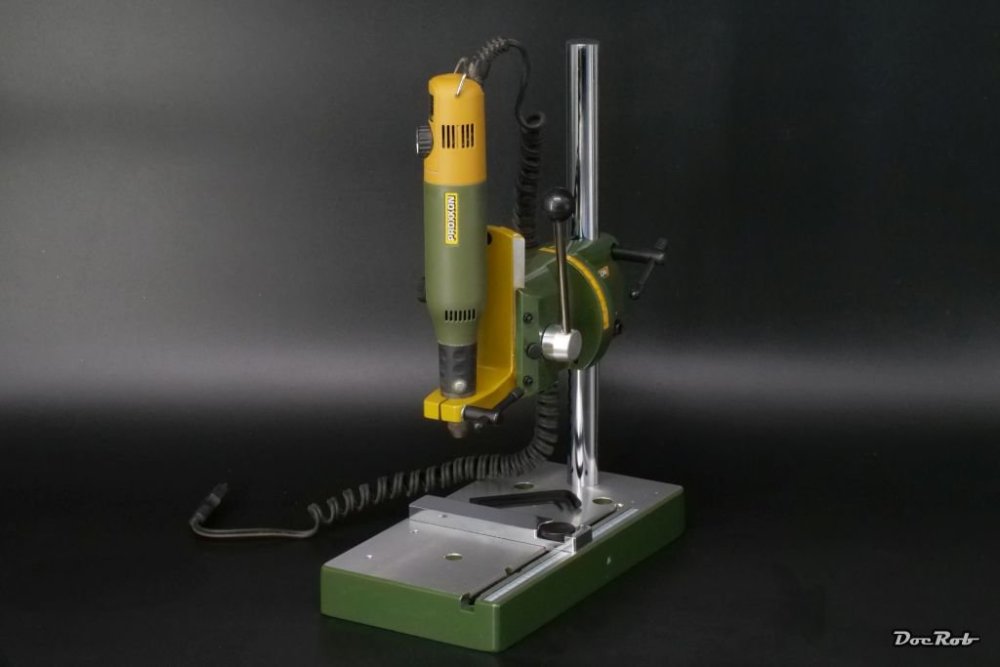
Today my third Model Factory Hiro kit arrived, a 1968 Ferrari 312. I decided against the same car with wings, because I like the undisturbed view at the beautiful 12 cylinder engine. Before I received the kit, I thought about riveting the whole body with tiny resin rivets, but after inspecting the resin part, decided against, as there are so many so close to each other, I would fear for the stability of the body. I think, this will be my first MFH building venture, to get a grip for the materials, specially white metal. I try to get a magnetic tumbler polisher to my place at the world, but until now without success. Also my Proxxon drill stand arrived, which will be a nice ´third´ hand for metal polishing and of course drilling with my trusted old Proxxon drilling machine. Cheers Rob
-
AEG G.IV - Creature of the Night - WNW 1/32
DocRob replied to DocRob's topic in The Great Twins Broup Bluild
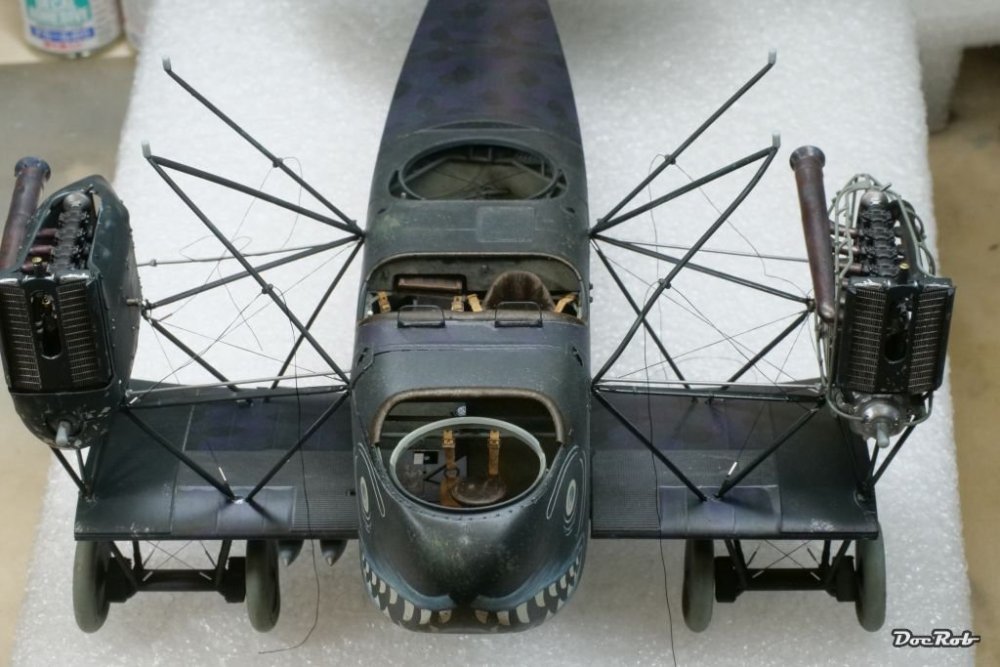
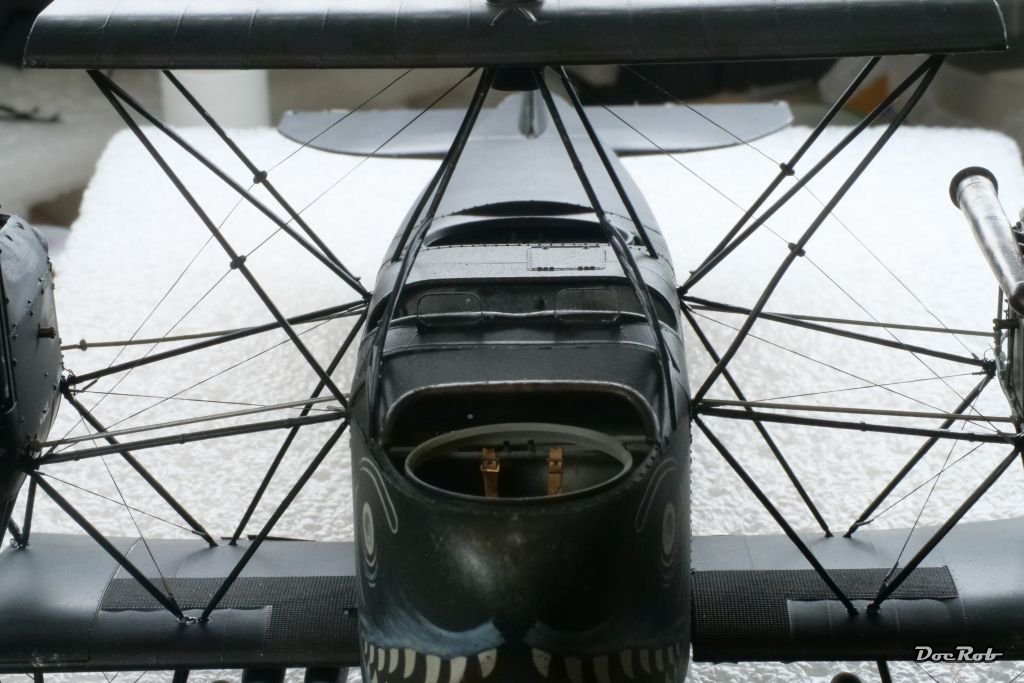
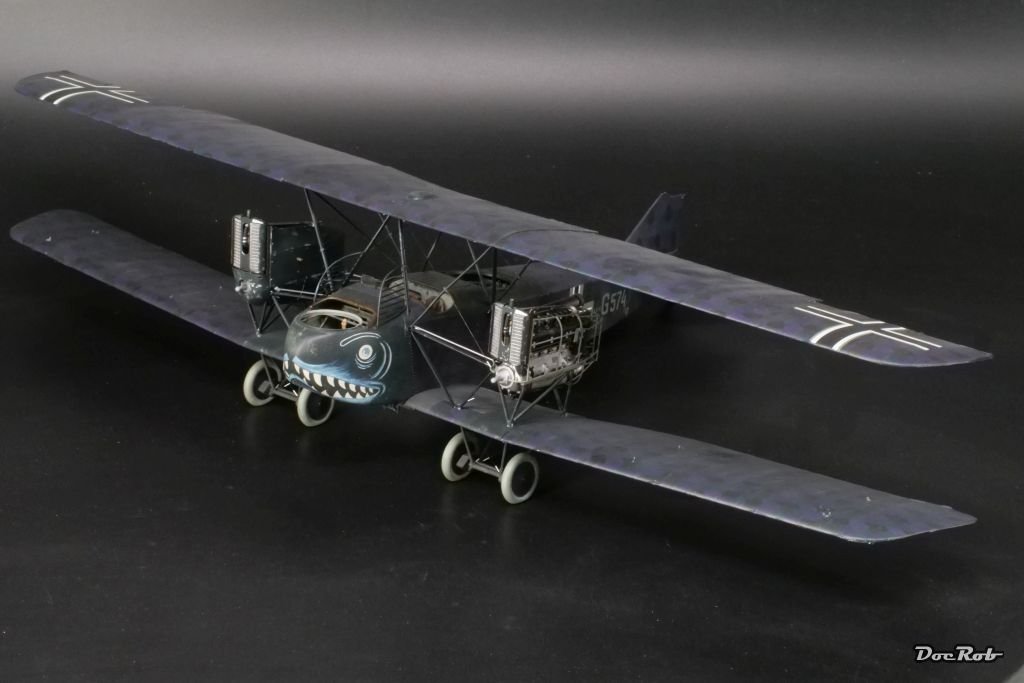
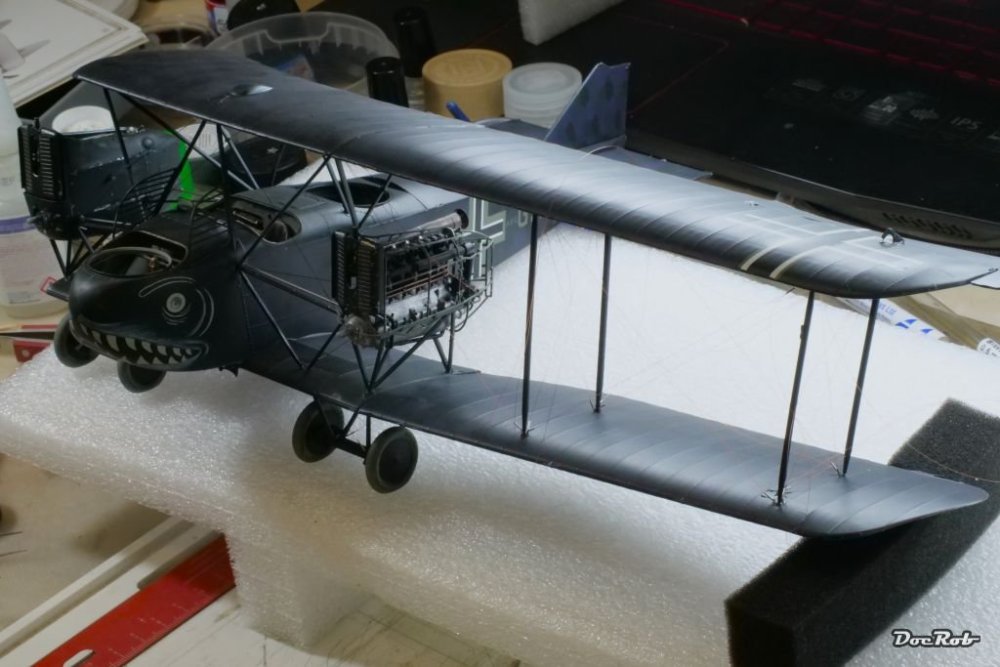
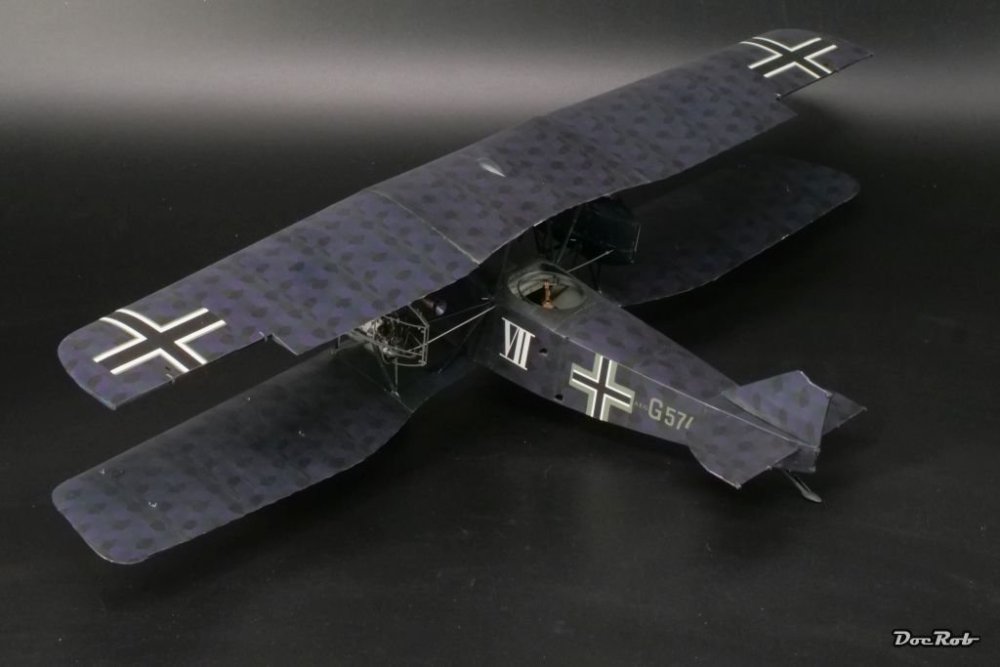
Got the center section rigging done. @HubertB, all the rigging threads are taut, sweet dreams . It was not easy to fiddle everything in place with different tweezers, using magnifiers, backlight and a lot of care not to break anything. Now I have to stretch my back and help myself to a nice stiff cocktail. After testing the stability of the center section, I decided, I could take a peek with the outer wings inserted. She´s a big bat. Somehow the wings disturb the view onto the more interesting middle section, but I will build her with complete wings anyway. Cut away outer wings is scheduled for my Felixstowe maintenance build. Cheers Rob

- 263 replies
-
- 10
-
-
-
Good news it seems keep a good eye at Diana and care for her, Peter. Cheers Rob
-
AEG G.IV - Creature of the Night - WNW 1/32
DocRob replied to DocRob's topic in The Great Twins Broup Bluild
Thank you Jeff, a mostly enjoyable build for me too, but the areas in need for touch up add, as well as parts getting knocked off during mounting and rigging. It wasn´t supposed to be the easiest of builds, but still enjoyable. Somehow these WNW builds are always demanding and a pleasure to build at the same time. Cheers Rob -
AEG G.IV - Creature of the Night - WNW 1/32
DocRob replied to DocRob's topic in The Great Twins Broup Bluild
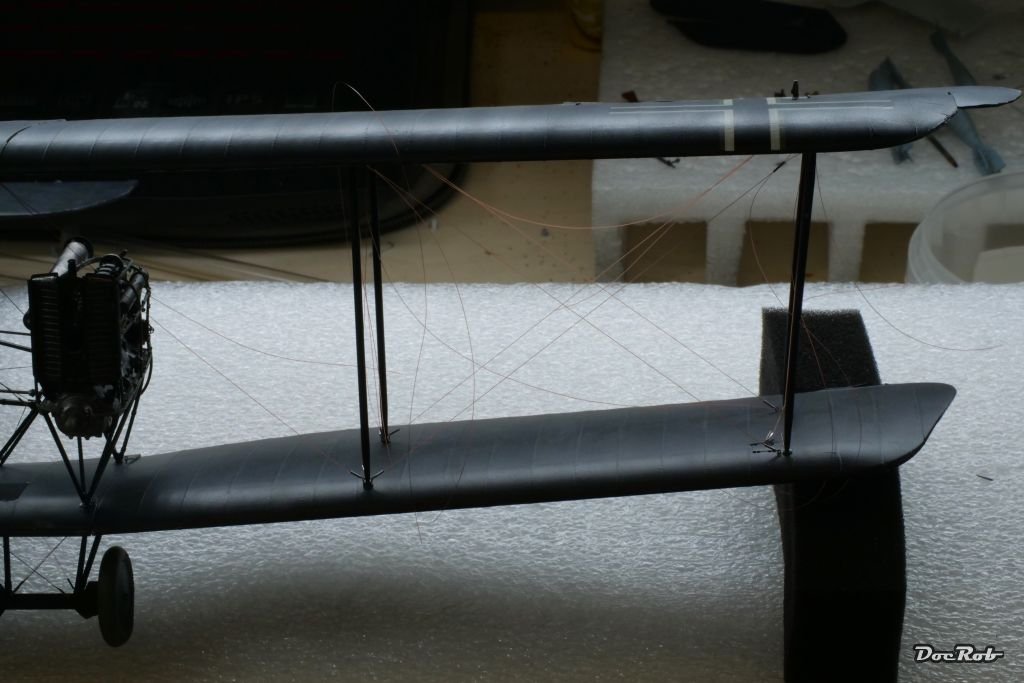
There are huge tabs, connecting the inner to the outer wings, like you can see on this pic, where they are masked, Carl. This will secure a good fit and hopefully no sag. Cheers Rob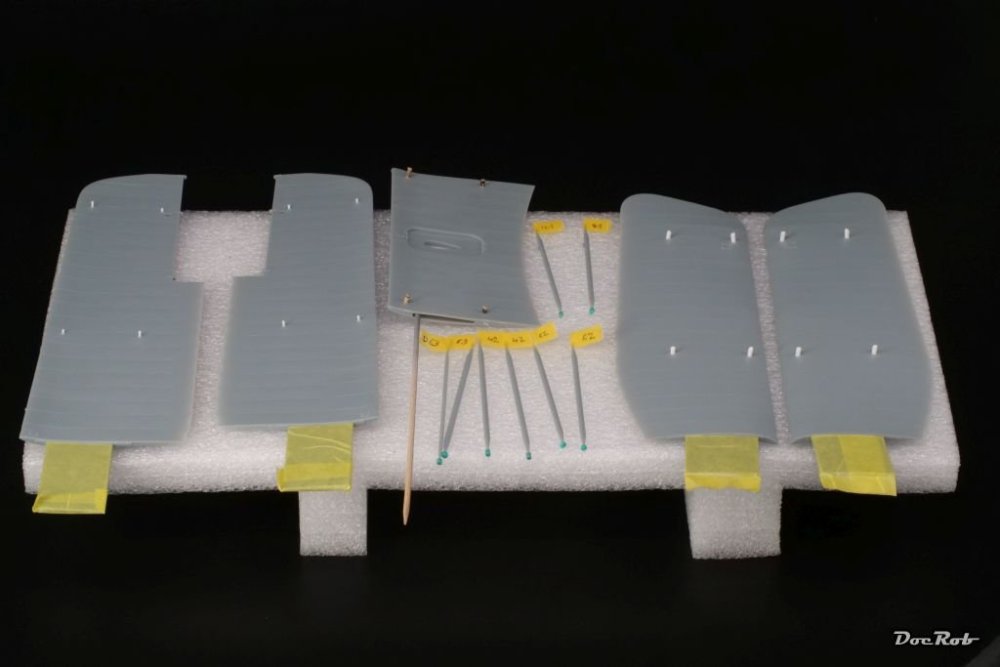
-
AEG G.IV - Creature of the Night - WNW 1/32
DocRob replied to DocRob's topic in The Great Twins Broup Bluild
Patience Hubert, it´s not finished yet Cheers Rob -
AEG G.IV - Creature of the Night - WNW 1/32
DocRob replied to DocRob's topic in The Great Twins Broup Bluild
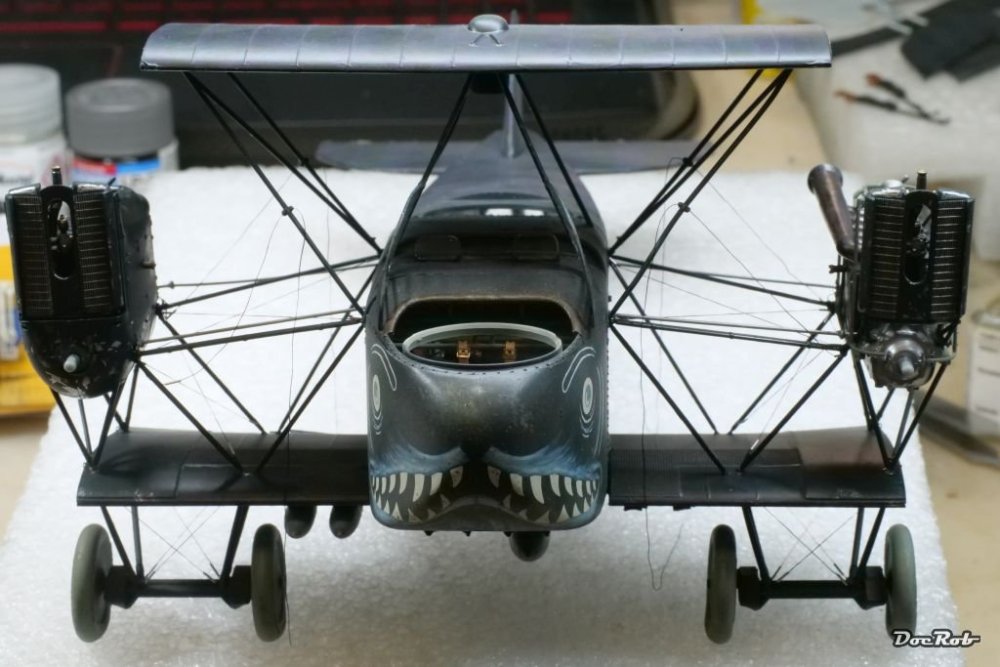
The big bat is haunting you in your dreams, Hubert? Don´t fear, as I feel the major part of rigging is done now. The rest is straightforward wing rigging, but I have to cut some brass tube, as I ran out of the aluminum ones . One night, it will come for you though, with rattling engines, grim jaws and showing all areas which I need to touch up . Cheers Rob -
What is on your bench right now ? Share a picture :)
DocRob replied to Martinnfb's topic in Modelling Discussion
And the SM Cheers Rob -
AEG G.IV - Creature of the Night - WNW 1/32
DocRob replied to DocRob's topic in The Great Twins Broup Bluild
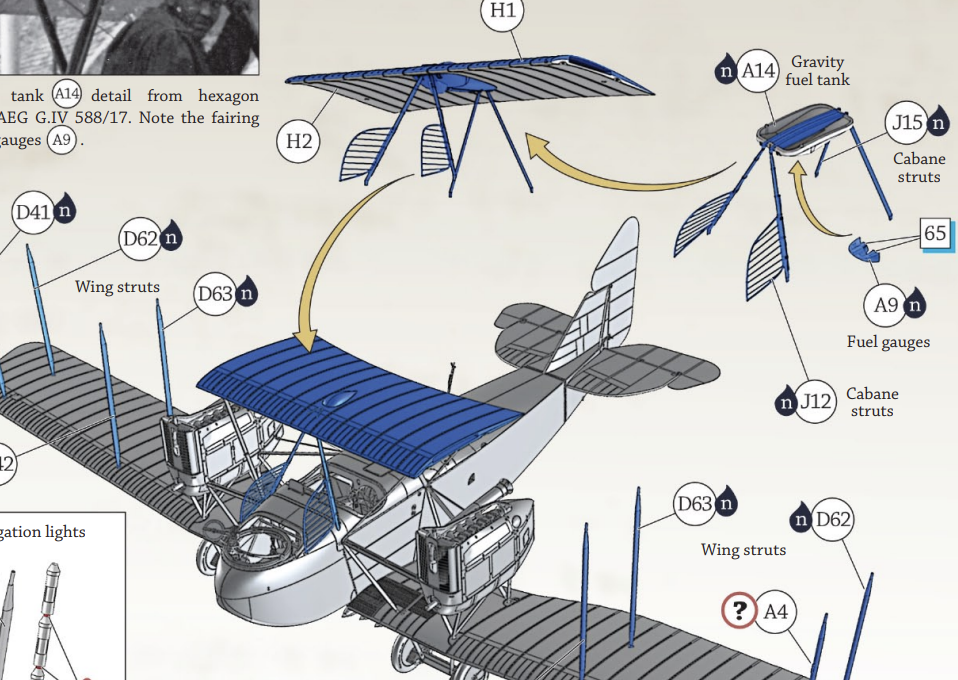
Today, I managed a very dreaded step in the build, finishing the mid section of the upper wing. Before, I added rigging wires from the nacelles through the cabane struts and later to be fixed under the upper wing, therefore they are not taught. WNW tells you to install the cabane struts first, reaching diagonally from the fuselage, which makes perfect sense, but then let you put the inner struts from the top of the fuselage to the gas tank in the middle of the upper wing to be glued into it´s wing fitting and then last into the fuselage. I didn´t like that second part like shown here in the manual and preferred to have all strut gluing to make on the upper wing, which worked good. Alignment was not easy, but now all looks more or less straight. Cheers Rob