DocRob
-
Posts
7,045 -
Joined
-
Last visited
Content Type
Profiles
Forums
Events
Gallery
Everything posted by DocRob
-

1:32nd scale Hansa-Brandenburg W12
DocRob replied to sandbagger's topic in LSM 1/35 and Larger Work In Progress
Wonderful as always Mike. I have a bit of a deja vu, having built one too, but on black dinged floats. Cheers Rob -
Yummy, happy birthday Carl, enjoy the cake. Cheers Rob
-
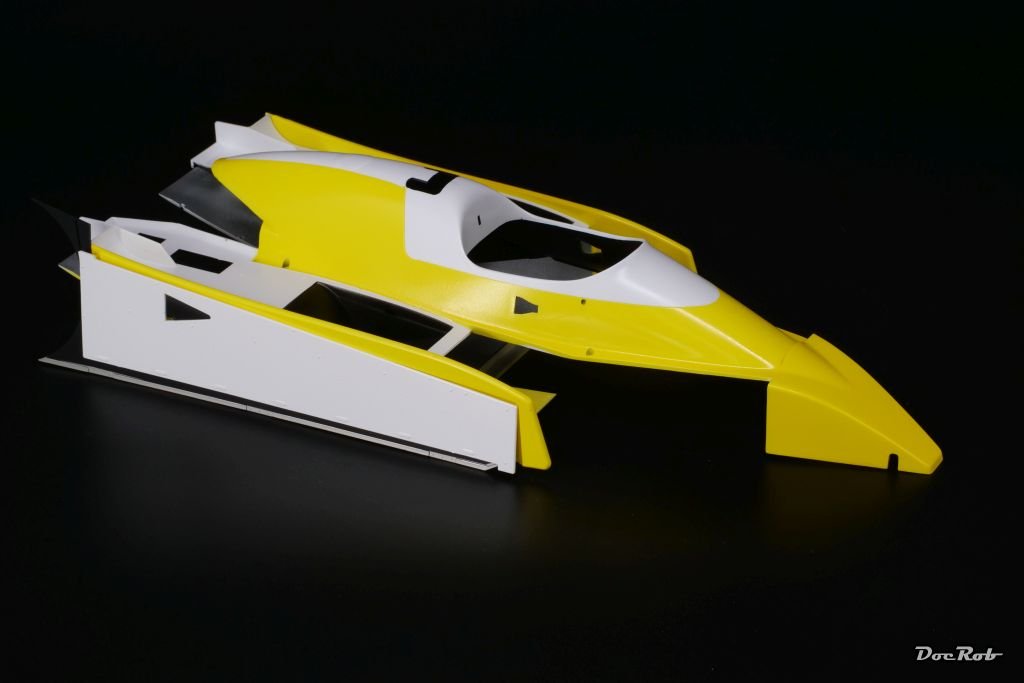
At least it did, while spraying for some hours today. Even the evil yellow levelled beautifully on my Renault F1 body . Cheers Rob
-
Renault RE20 Turbo - Tamiya - 1/12
DocRob replied to DocRob's topic in LSM 1/35 and Larger Work In Progress
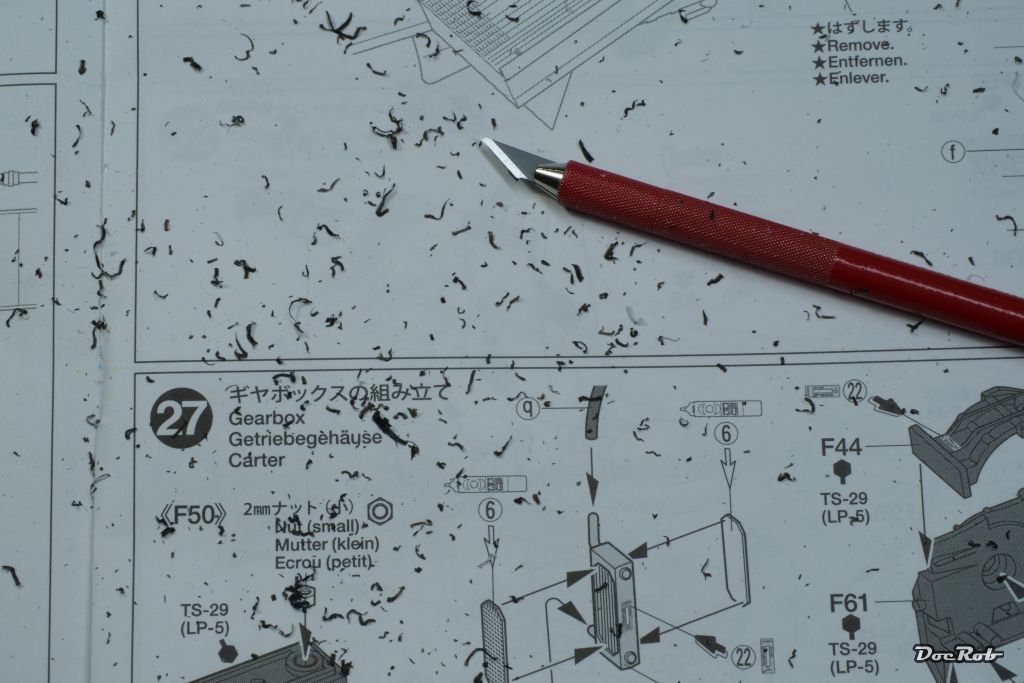
My new compressor arrived after a long week of making up the engine and cleaning parts. A task, not to underestimate wit this kit. Every part has to be inspected, sanded, scratched with a blade, the age of the mold forms is obviously. I will show you a total un-Tamiya look with lots of scratched off material only from the turbo system and gear housing . Finally I had to test my new Sparmax compressor and what better to try is spraying yellow onto the body parts. I really like the result, where only minimal polishing will be needed before I apply the decals. I sprayed the heavy thinned Tamiya LP8 with low pressure at about 13 psi or 0,9 bar. Next test was spraying lots of the innards with different metallic colors, AK's Extreme Metal Aluminum and from the Tamiya LP range titan gold, titan silver, gun metal, pearl silver and finally semi matte black for the air intakes on the upper body. Cheers Rob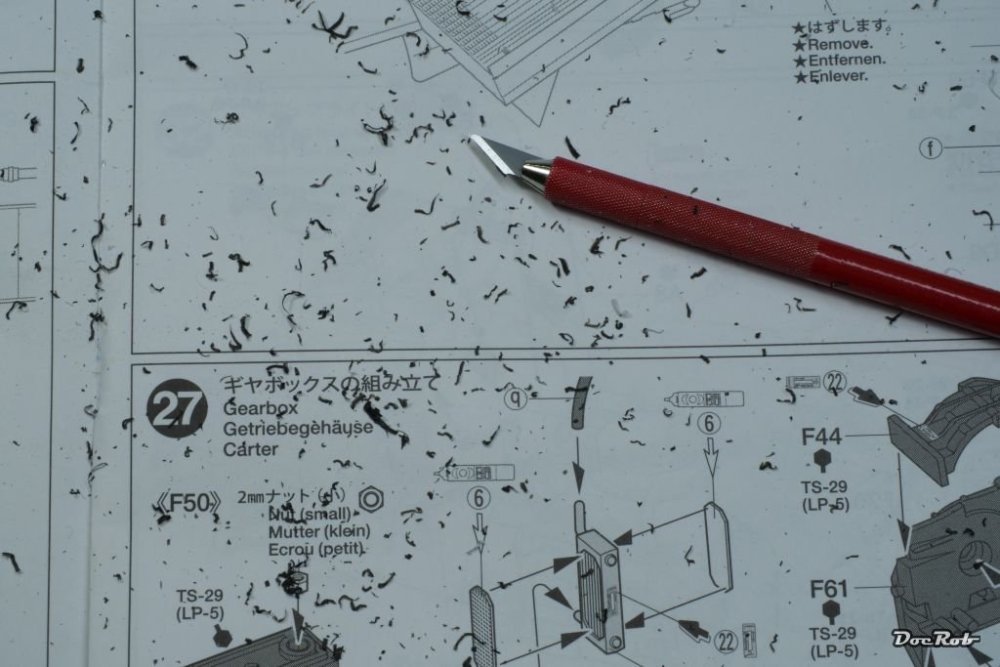

-
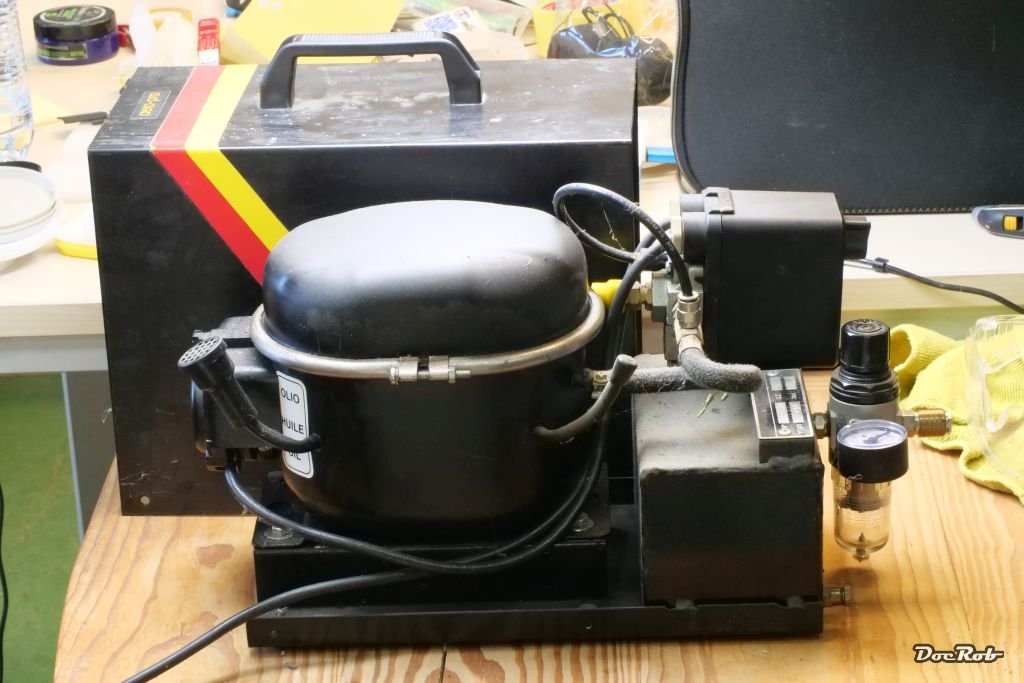
Luckily my new compressor took only a week to get here, record breaking . It is a Sparmax TC620 X and it looks good, works good and emits about the same level of noise, like my 34 year old one, which passed away sadly, but this is a two piston oil less construction. It was the only decent model available with fast shipping, but I'm happy after some hours of spraying. Cheers Rob

-
A true beauty, sweet like Bill said. Cheers Rob
-
Final Countdown Tomcat done!
DocRob replied to ScottsGT's topic in LSM 1/32 and Larger Aircraft Ready for Inspection
What a great looking Tomcat, Scott. You built (and painted) a beauty, congratulations. Cheers Rob -
Right, missed that one Martin . Roisin Murphy's still is up to it, to my eye one of the last true Pop Divas, not solely a dance act with some lyrics and some synchronized moves around her, like so many others. Always a bit weird, but I loved what she had done through Covid, where so many stuck with their creativity, she made feeds from her living room, covering her own songs acustical and culminating in a concert without audience, only for the pure want of performing. Needless to say, I own all her vinyls. Cheers Rob
-
The time is now... ...the georgeous goddess Roisin Murphy always knew it Cheers Rob
-
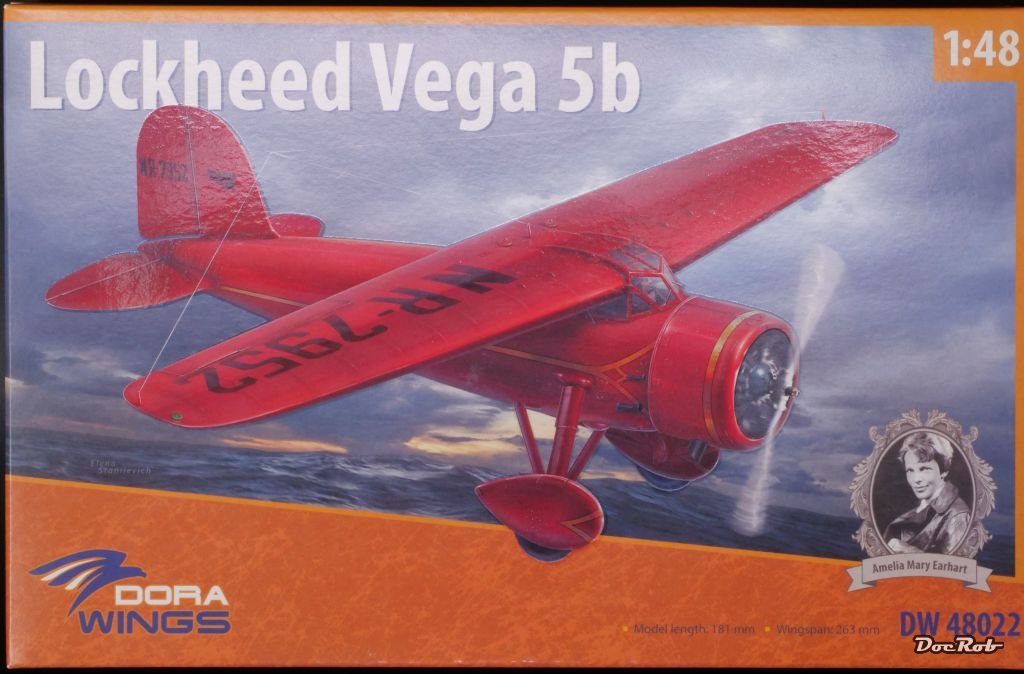
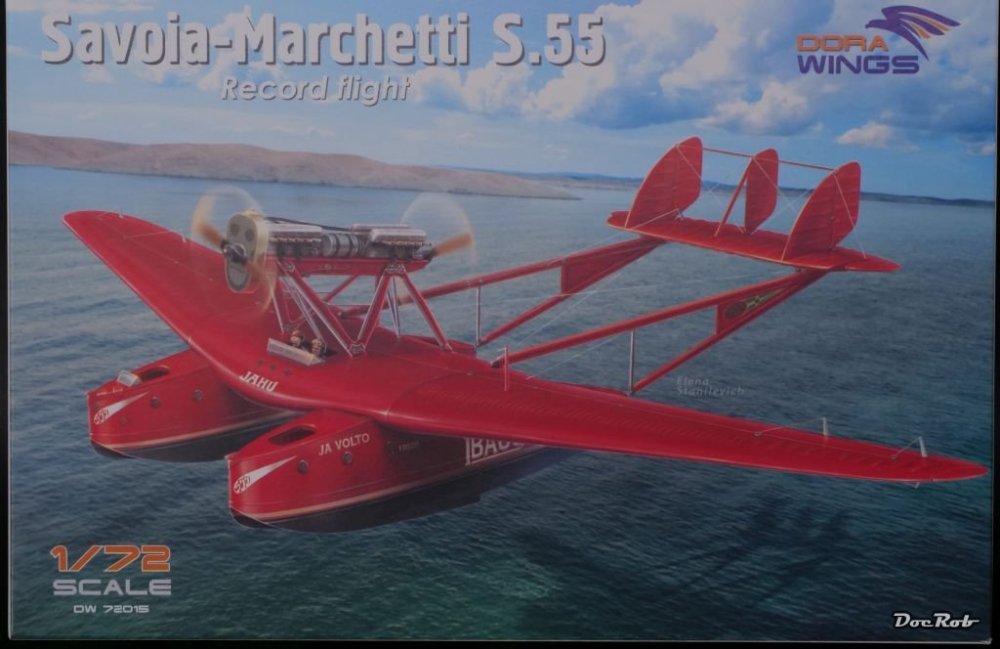
Some more obscure additions to my stash from Ukraine. I look eagerly forward to build all of these soon. Cheers Rob

-
Wow, what a nice flashy surprise, the scheme looks great, Ernie. Cheers Rob
-
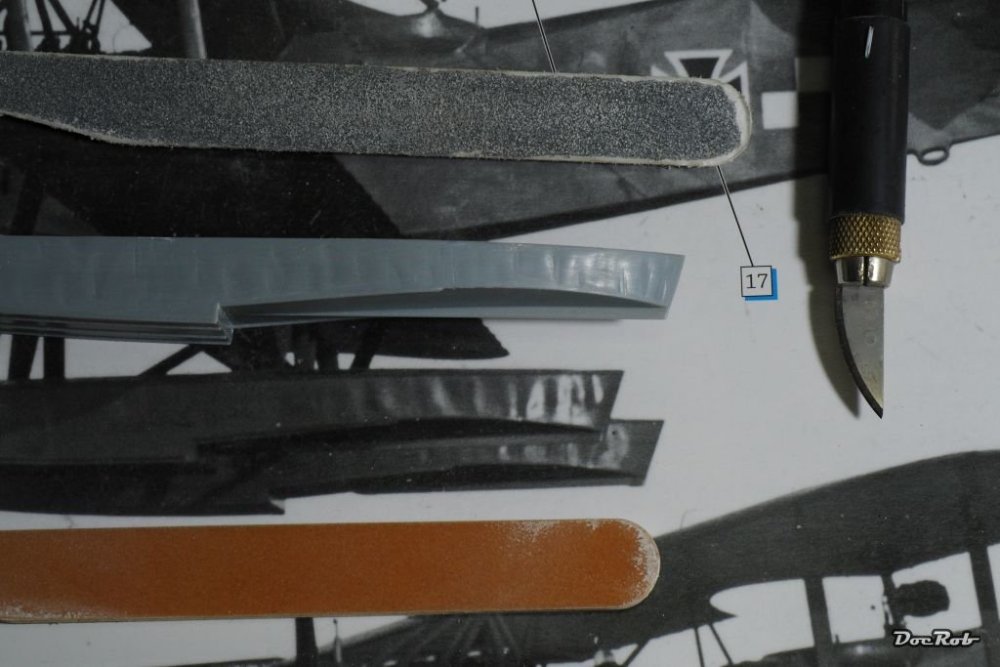
Well, when I dented something last time, it was a bit more on the rough side. I tried to let the floats of my Hansa Brandenburg look a bit more abused, like on the photos. Before the Extra Thin, I smoothed out the dents with sanding sticks. Cheers Rob
-
I'm hardly an expert, but the German name of RLM 81 ist Braun Violet, meaning brown violet and as far as I have used it, it's a dark brown tone. I used it only on one plane build, namely my recently finished Arado 234. The RC235 from AK's Real Color was a good interpretation to my eye and sprayed also exceptionally well. Which plane are you planning to build? I can hardly imagine a plane solely covered in RLM 81, but again, I'm not an expert. Cheers Rob
-
No wonder you didn't finish in time Hubert, with so many precious extra detailing going into the front wheel well only. It clearly is more visible with that natural near tail sitter and will be eye candy with equally detailed landing gear struts. You should move your thread to the LSM under construction section, as, I won't speak it out again, ...deadline, ... GB..., ...wet,..., finished. Cheers Rob
-
Nice progress, Gary. I like the drop tank, with a matte coat it will look good. I 'dent' surfaces mostly with a rounded scalpel blade and carve very carefully. With an application of Tamiya Extra Thin, I round the few edges a bit. Cheers Rob
-
Renault RE20 Turbo - Tamiya - 1/12
DocRob replied to DocRob's topic in LSM 1/35 and Larger Work In Progress
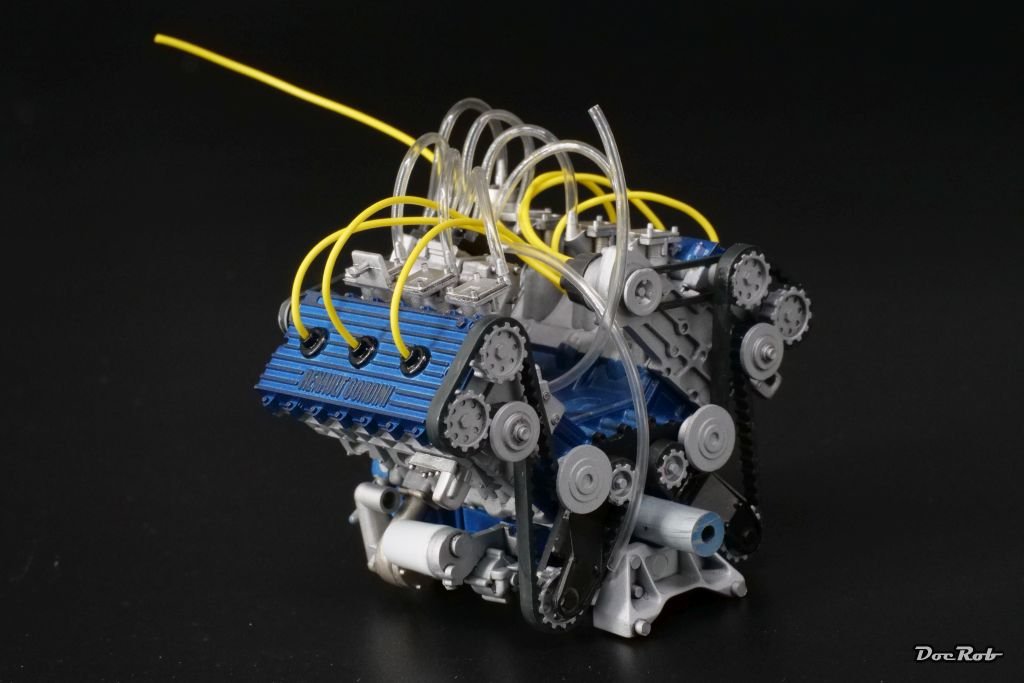
Muchas gracias amigos, the ignition wiring still looks overscale, but I don't have yellow cable or tube in a better size, but the Model Factory Hiro tubing looks more like the real thing. I wonder how much will be visible later, with the exhaust on top, but it needed to be done. The Tamiya tubing looked a bit toy like. Cheers Rob -
Kitty Hawk 1/35 SH-60B Seahawk
DocRob replied to Peterpools's topic in LSM 1/35 and Larger Work In Progress
Best wishes for your wife Peter and also for sorting out the obstacles KH put up on your building process. Detail looks decent so far, but a bad manual and kit design can make things a bit awkward. I hope you got it sorted and maybe some extra detail in the huge cabin will make it standout. Cheers Rob -
Tamiya Mosquito FB Mk VI 60326 - 1/32
DocRob replied to Bomber_County's topic in LSM 1/35 and Larger Work In Progress
Looking all good Phil, you are truly flying through this build. I loved the wheels especially, when I glued them together, as a test, if AM is necessary, but the way Tamiya engineered the wheels there is no need. Cheers Rob -
Renault RE20 Turbo - Tamiya - 1/12
DocRob replied to DocRob's topic in LSM 1/35 and Larger Work In Progress
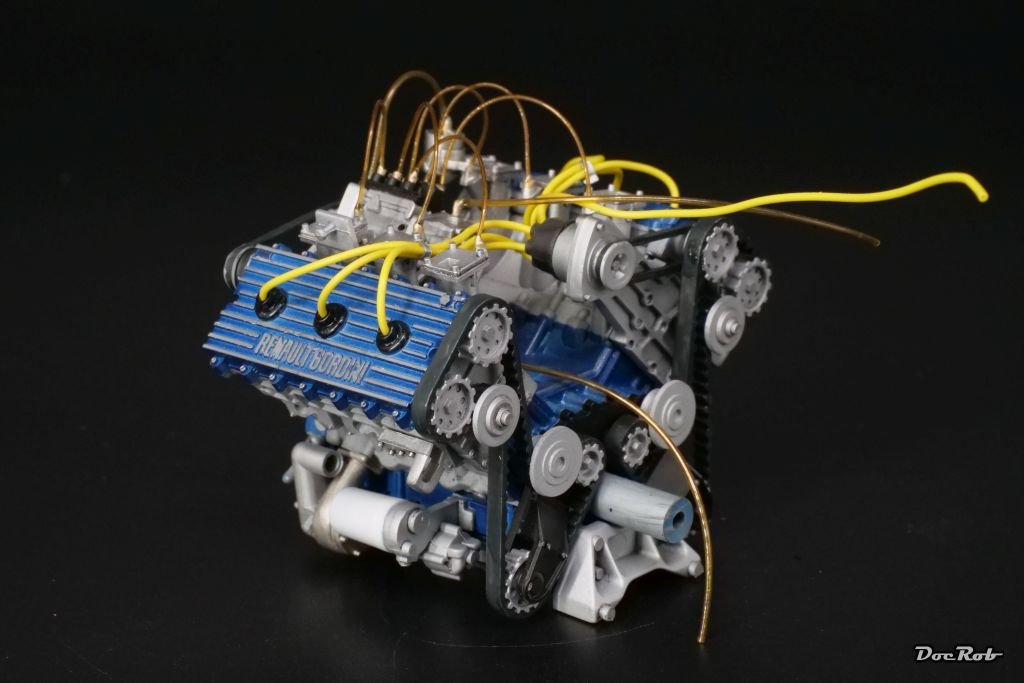
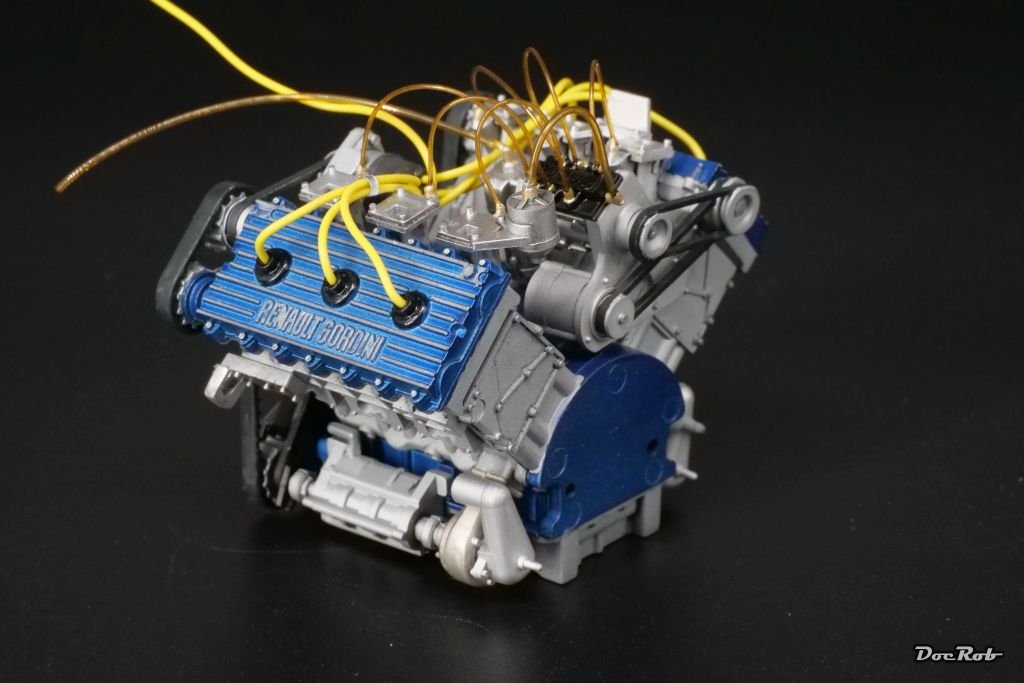
I know, I know, I promised you a pause from my efforts, but today, while cleaning the bench, I thought about my desire to change the engines fuel tubing. I cut off the plastic connectors and glued on sections of clear brown tubing with an outer diameter of 0,4 mm and 0,6 mm. The first one, I pre-drilled and inserted 0,2 mm micro silver rod, but that proved tedious and simply butt gluing the tubes did the job. Then I painted all the tube connection points titan silver for contrast and all the screw heads around the engine in silver and sparkling silver. Last but not least, I found my cylinder head detail work showing not enough contrast, with the pencil onto the anodized blue. I carefully scratched the pencil and blue color away with a blade and voila, now it looks much better. Finally, I shortened the yellow ignition wires and bundled them with clamps made by tiny strips of wine cap foil. Now I feel good about the engine. Only for comparison, how it looked before: Cheers Rob


-
I will make a small comparison of the CR Plus and the Giraldez edition, when the compressor arrived and I have used both for a while. Cheers Rob
-
Very nice Kevin, I like your bluebird a lot. Liquid masks, hmm, I use different brands, but my go to's are from Mr. Color, I think they are called NEO and SOL NEO, one is solvent, the other is a bit thinner and water based. I never had problems removing these. I also have Molotow masking fluid, which smells horrible and I used it for half flood parts in it. It's a big bottle and therefore perfect for these occasions. I once used Microscale liquid mask, and this was nearly impossible to remove, horrible stuff. Cheers Rob
-
Absolutely, since 1989, I never thought about compressors, I only had a vage recollection of the producing brands, because members posted something about their compressors. RIP god old Aero Pro. Aren't the best tools these, you use permanently but never really think about them. Cheers Rob
-
Renault RE20 Turbo - Tamiya - 1/12
DocRob replied to DocRob's topic in LSM 1/35 and Larger Work In Progress
I ordered the fastest available one, with good reviews and all the features I'm looking for. In my case it was the Sparmax TC-620X. Living remote like me, there is not a great deal of availability, but I think the Sparmax will be fine. I really liked the old Aero-Pro compressor, it never failed me and you are right Peter, there are no devices out there anymore, lasting 34 years of permanent use and minimal maintenance, the last year surrounded by usually between 80 and 95% humidity . Cheers Rob -
Renault RE20 Turbo - Tamiya - 1/12
DocRob replied to DocRob's topic in LSM 1/35 and Larger Work In Progress
Thank you for sharing your experiences Peter. I will try to achieve good results with the Mr. Color GX-100, when times come. I may have an idea, where the problem sources, that lead to the GX-100 changing to frosty goo on my last test. It might be, that I mixed it with thinner in a plastic jar, which possibly melted a tiny bit, leaving residues in the mix. Unfortunately this build is paused for a while, and experiments have to wait, because my trusty old airbrush compressor, which I bought in 1989 passed away yesterday. I hope the new one arrives soon. Cheers Rob -
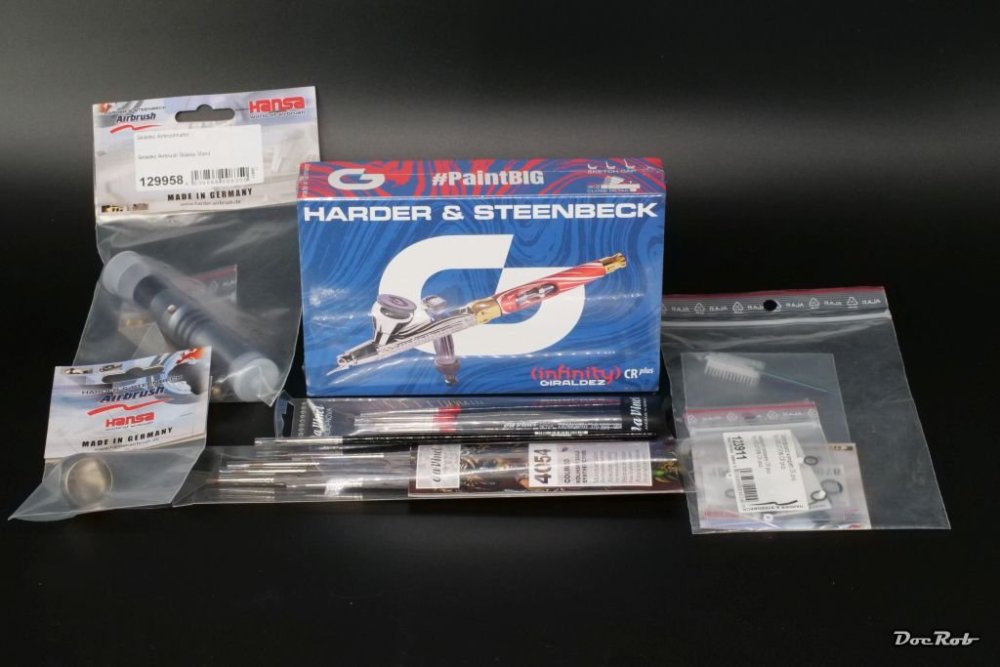
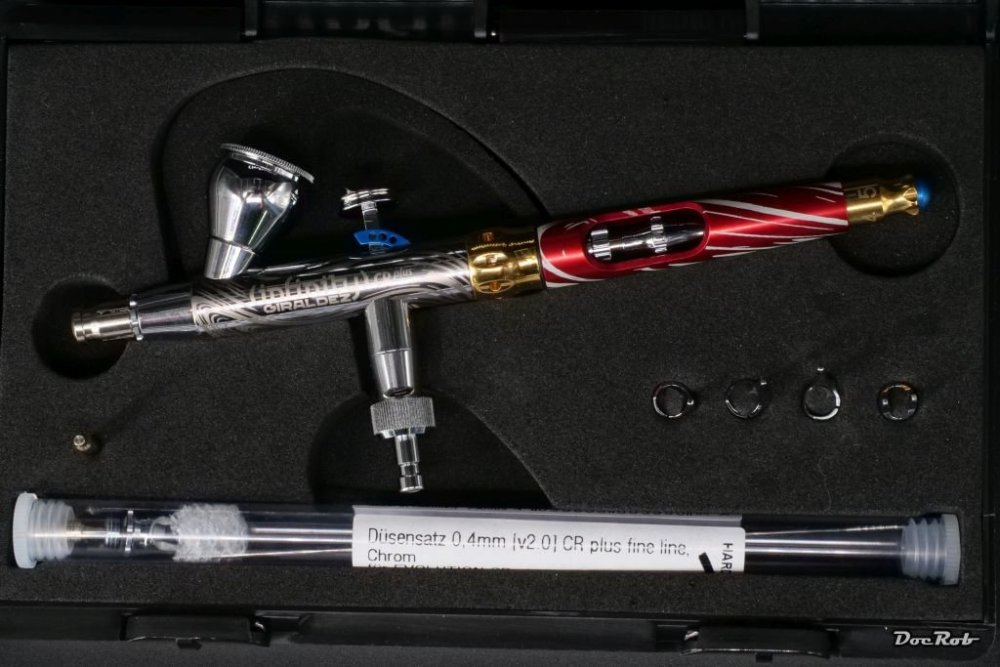
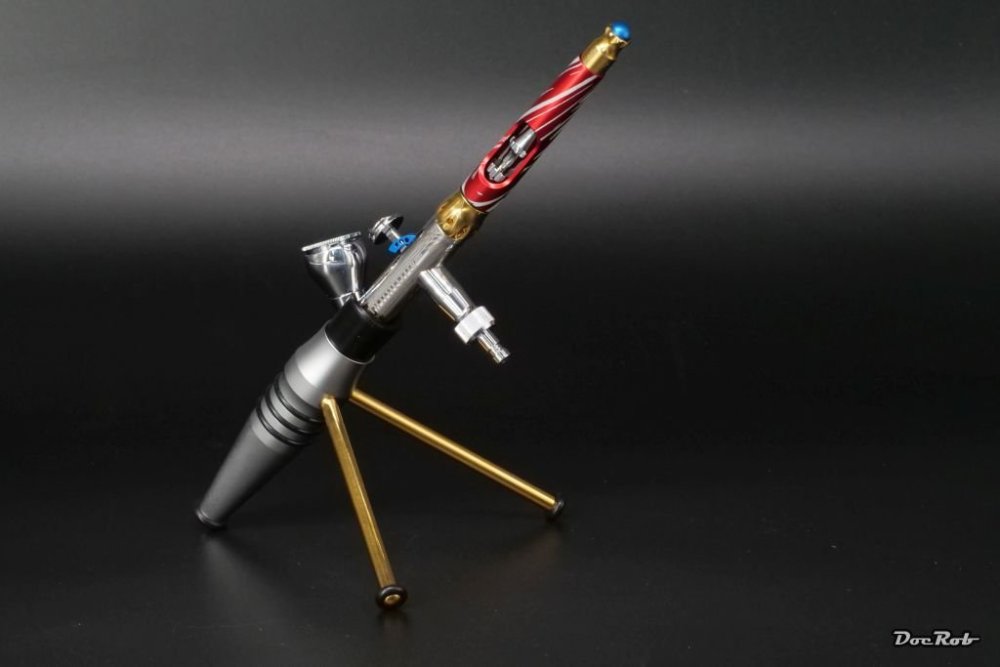
Bittersweet news for me. After two month of struggle, mailing the customs office umpteen times, the packet went back to Germany to be sent again, painful custom delays again and then, tataaa, my new airbrush finally arrived along some nice paintbrushes, maintenance sets and a beautiful stand. It is the new Harder & Steenbeck CR Plus Giraldez edition. It looks nice in the box, albeit a bit kinky for my liking, but if you expect a only optical changed product, you are completely wrong. If there is some interest, I will make a small comparison, between the new and between the standard CR Plus. It looks great with the new stand. First observations: The trigger went forward and has a distinctive new design and works much smoother than the normal CR Plus. The complete back chuck system is new and allows to fiddle in the needle from the backside, as there are no inside edges anymore. With the standard model, I inserted the needle always from the front side. Well, I mentioned bittersweet, but why? Two hours before the long awaited airbrush materialized on my doorstep, my trusty old compressor passed away with some enerving whoosh sounds. I bought the Aero Pro compressor 1989 in Berlin, so it has done it's duty always reliable, but why broke it exactly this day? Anyway, I ordered a Sparmax TC-620X as a substitute, the only reliable model, with hopefully ultra fast delivery, which in my case might mean two weeks. Cheers Rob